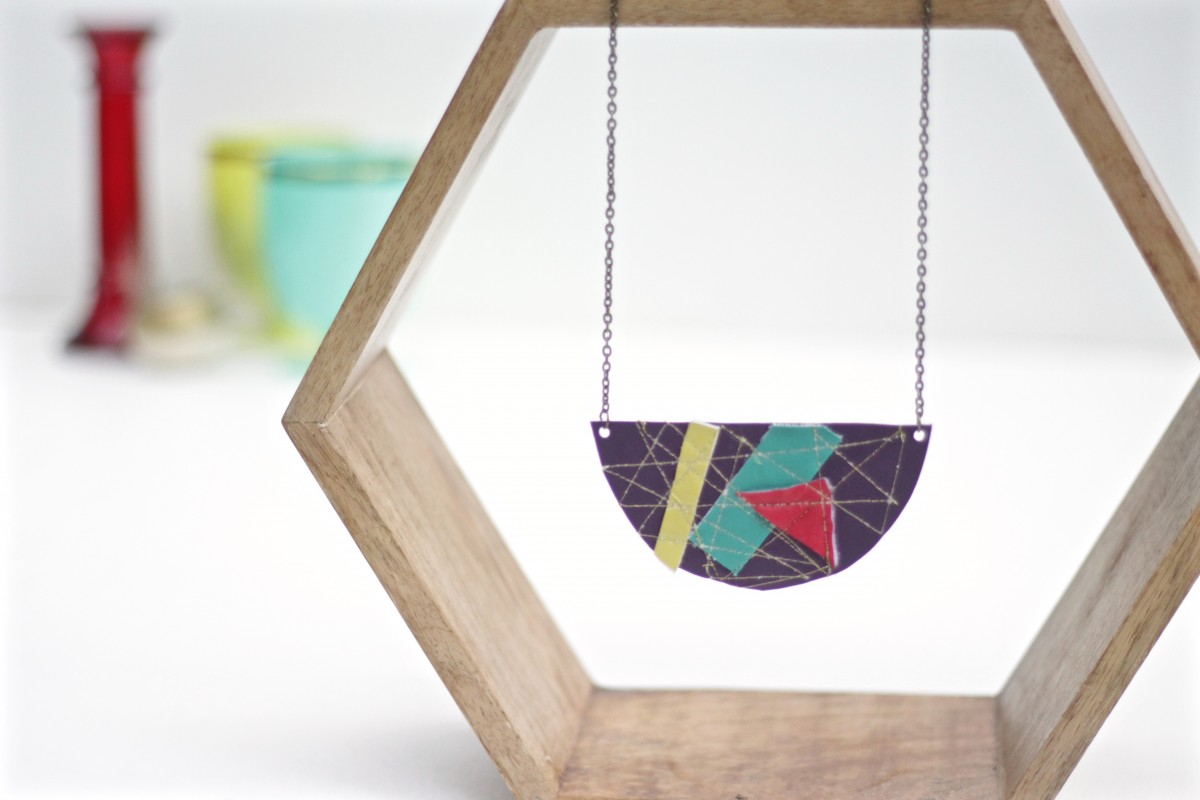
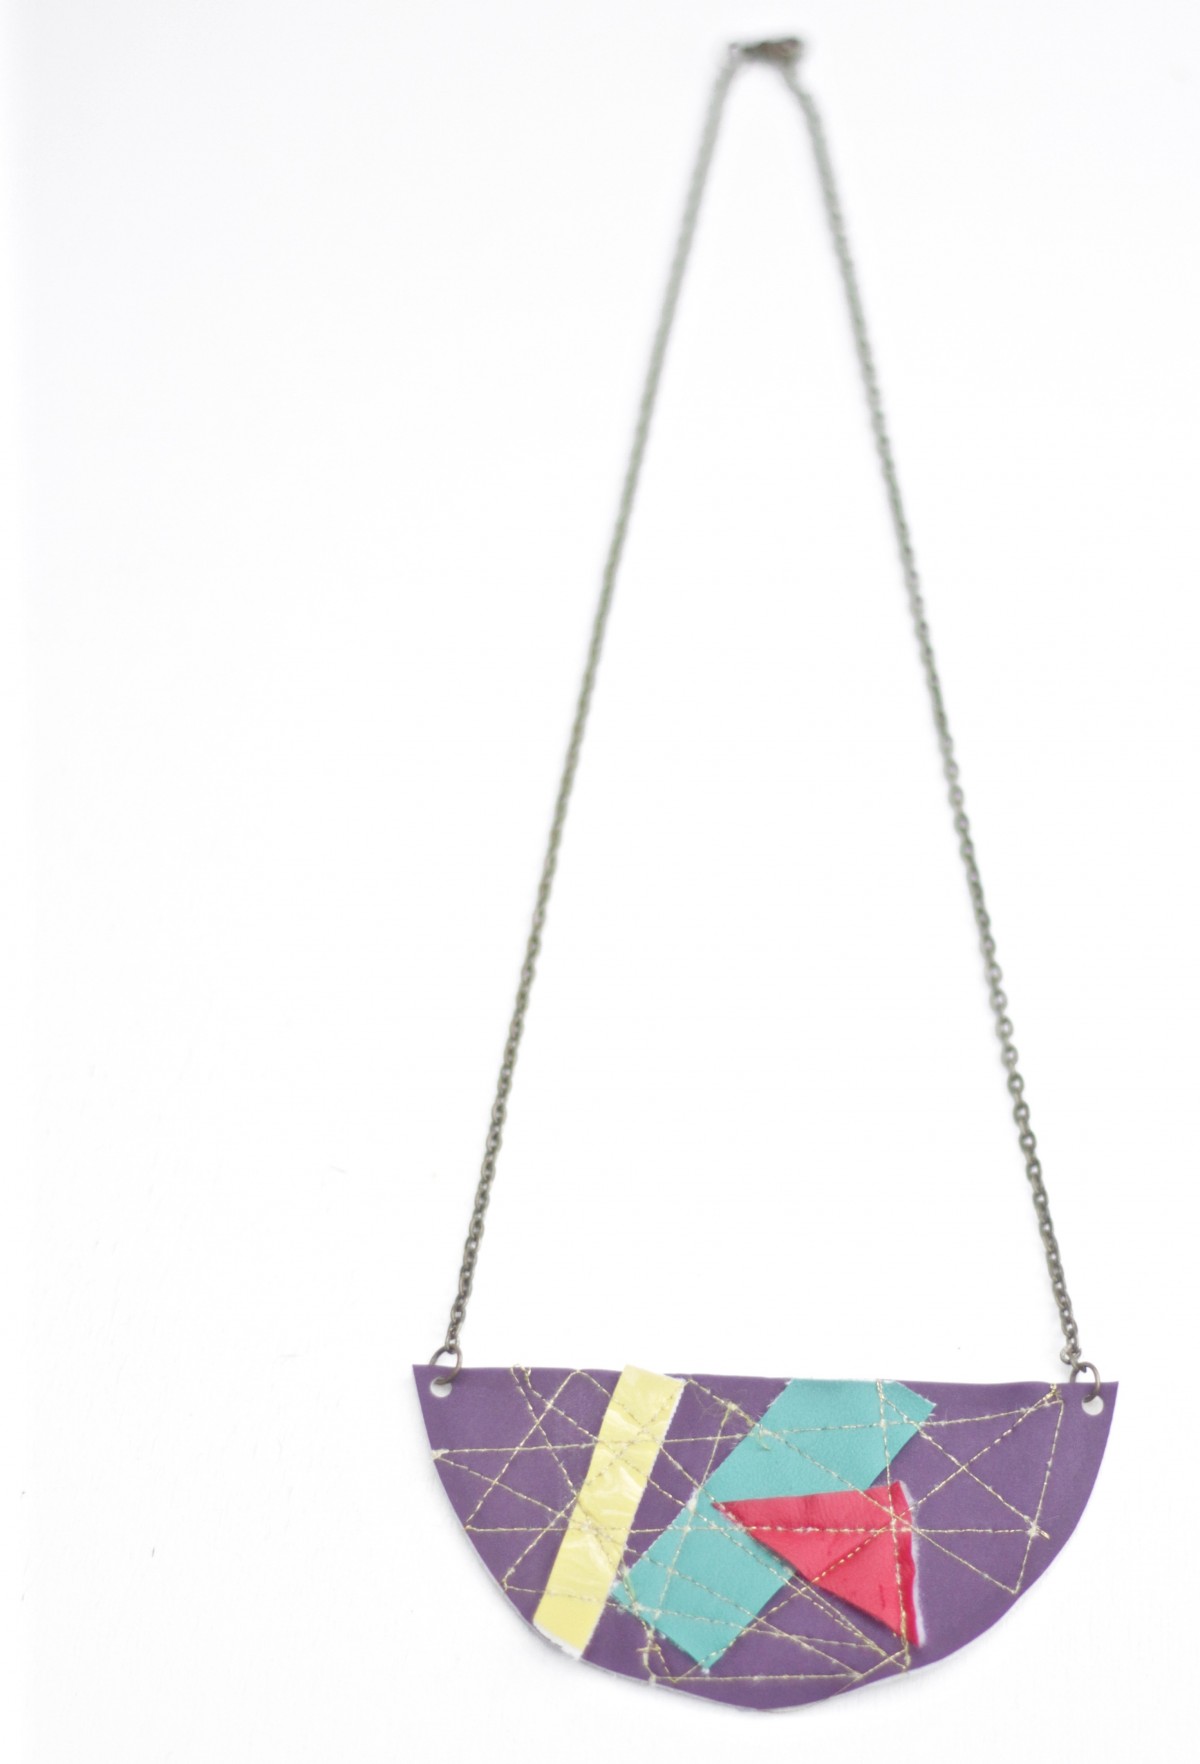
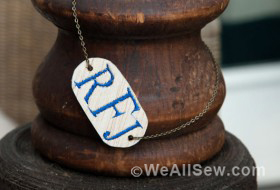
DIY Geometric Vinyl Necklace Tutorial
My early teens happened during the 1980s. If you were around during those times you’ll likely remember the joys of jelly shoes and jelly bracelets, teased up bangs with tons of Aqua-Net hairspray, leg warmers, the Walkman, Cabbage Patch Kids, Pac-Man… Oh man I could go on for pages talking about all the stuff from the 1980s that I thought was cool at the time but by the 1990s I was totally done with.
Then a few years ago the 1980s style came creeping back. I started seeing girls wearing babydoll dresses and high-waisted acid washed denim jeans. You’ll never catch me in a pair of acid washed jeans BUT there is one 1980s trend that has come back that I’m totally on board with… geometric shapes. Someone gave me a bunch of vinyl samples from an interior decorator’s studio. Since the samples are pretty small (most of them are about five inches) my first thought on how to repurpose them was jewelry.
Not only did this DIY geometric vinyl necklace allow me to reuse something that someone was about to throw away but it pays homage to my 1980s youth but with a modern aesthetic. If you aren’t on the receiving end of a bunch of vinyl samples like I was, you can hit up your local interior decorator shop and ask for any outdated samples or check out the home décor section of a fabric store. One of the things I love most about this project is the freedom in choosing the colors, shapes and composition. Even though I won’t be wearing it with leg warmers and jelly shoes it still brings a bit of the 1980s aesthetic trend into my wardrobe. #mixtapesrock #80s4ever
-Nicole Stevenson of Dear Handmade Life
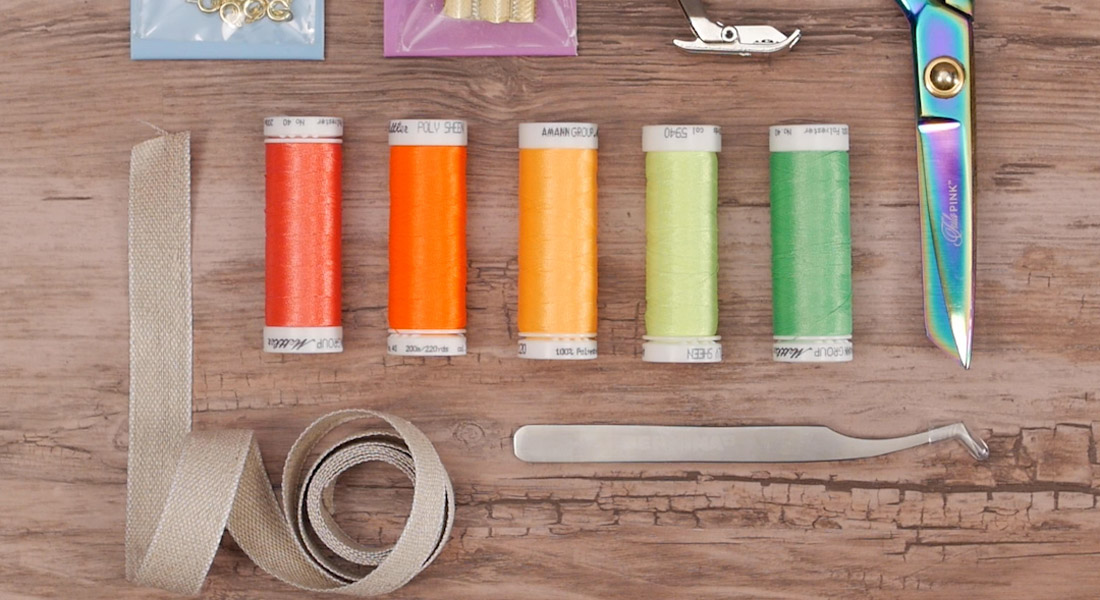
Materials to create a DIY Geometric Vinyl Necklace:
- Vinyl in a few different colors (you can find vinyl in the home fabric section of most craft stores)
- Needle nose pliers
- Sewing machine (I used my BERNINA 380 machine)
- Scissors
- Cardstock
- 4 jump rings
- 1 lobster clasp
- Chain (length depends on how long you want your necklace to be. I used two 9″ pieces)
- Metallic thread (I suggest Gutterman’s)
- Spray glue
- A Straight Stitch foot # 53 with non-stick sole OR if you don’t have one you’ll need a small piece of tissue paper and some tweezers
- Hole punch with a small diameter

Instructions to create a DIY Geometric Vinyl Necklace:
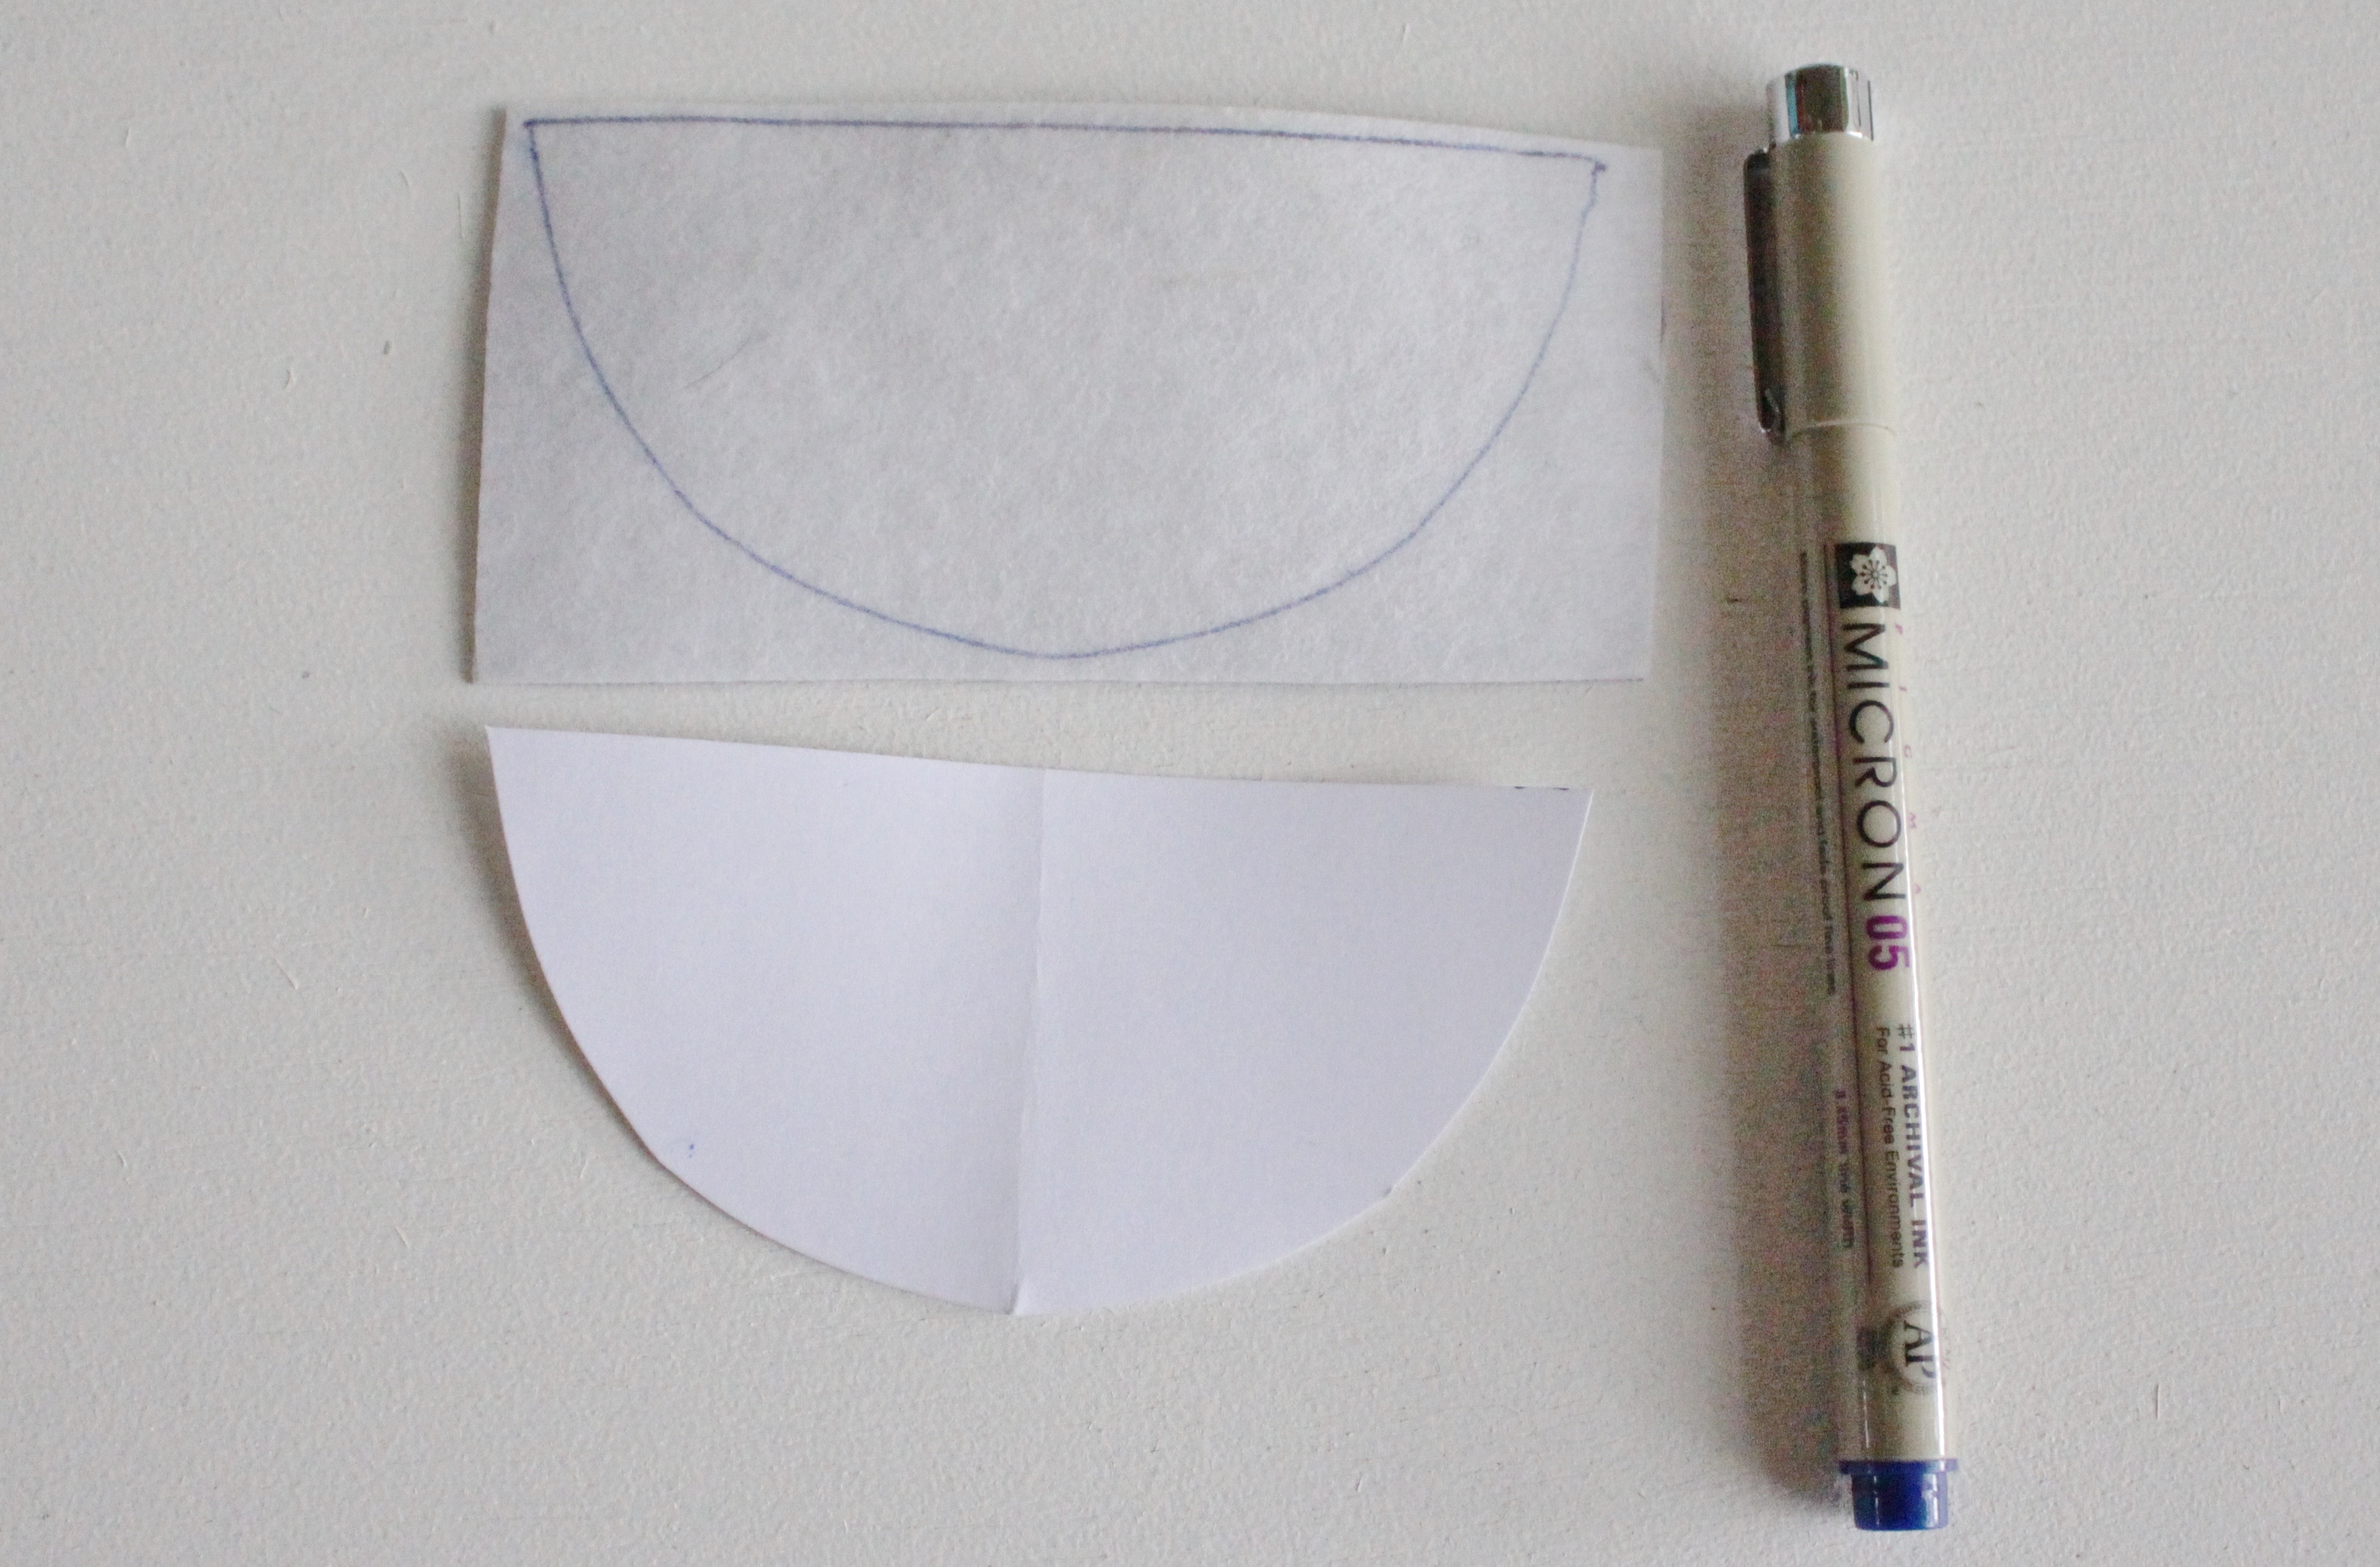
Step 1
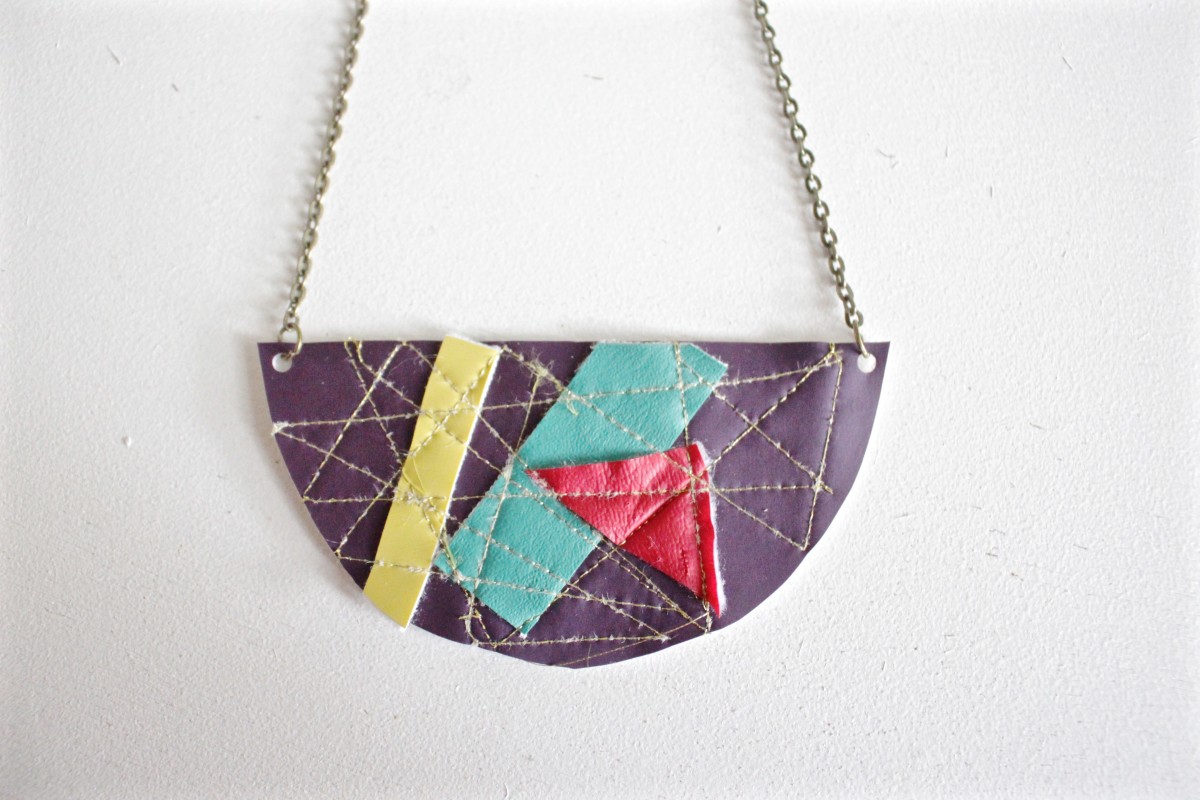
Create a template by tracing a half circle onto a piece of cardstock and cutting it out for the base piece of vinyl for your necklace (the purple piece in my example). My necklace was about 4″ across the straight section at the top. You can use a bowl to create your create your template.
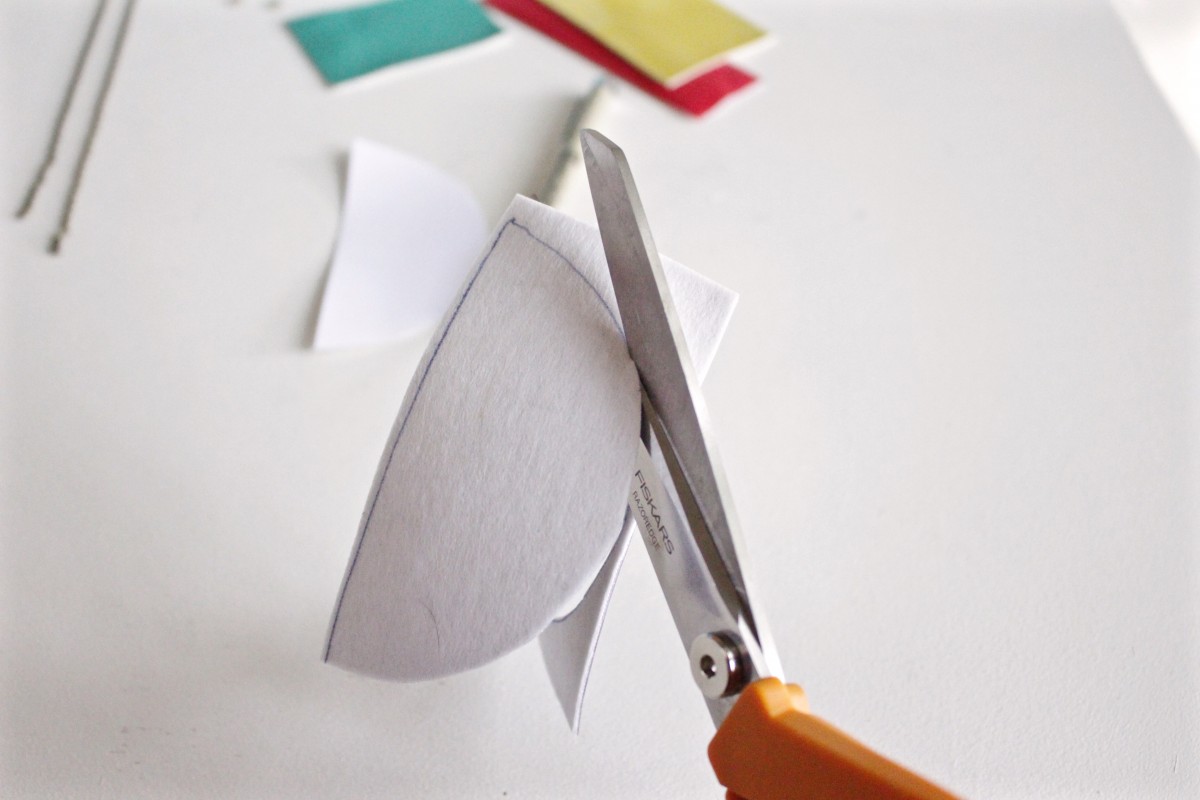
Step 2
Place the template on the back of your main piece of vinyl and then cut it out.
Step 3
Cut some various shapes out of the other pieces of vinyl. I made two rectangles and a triangle.
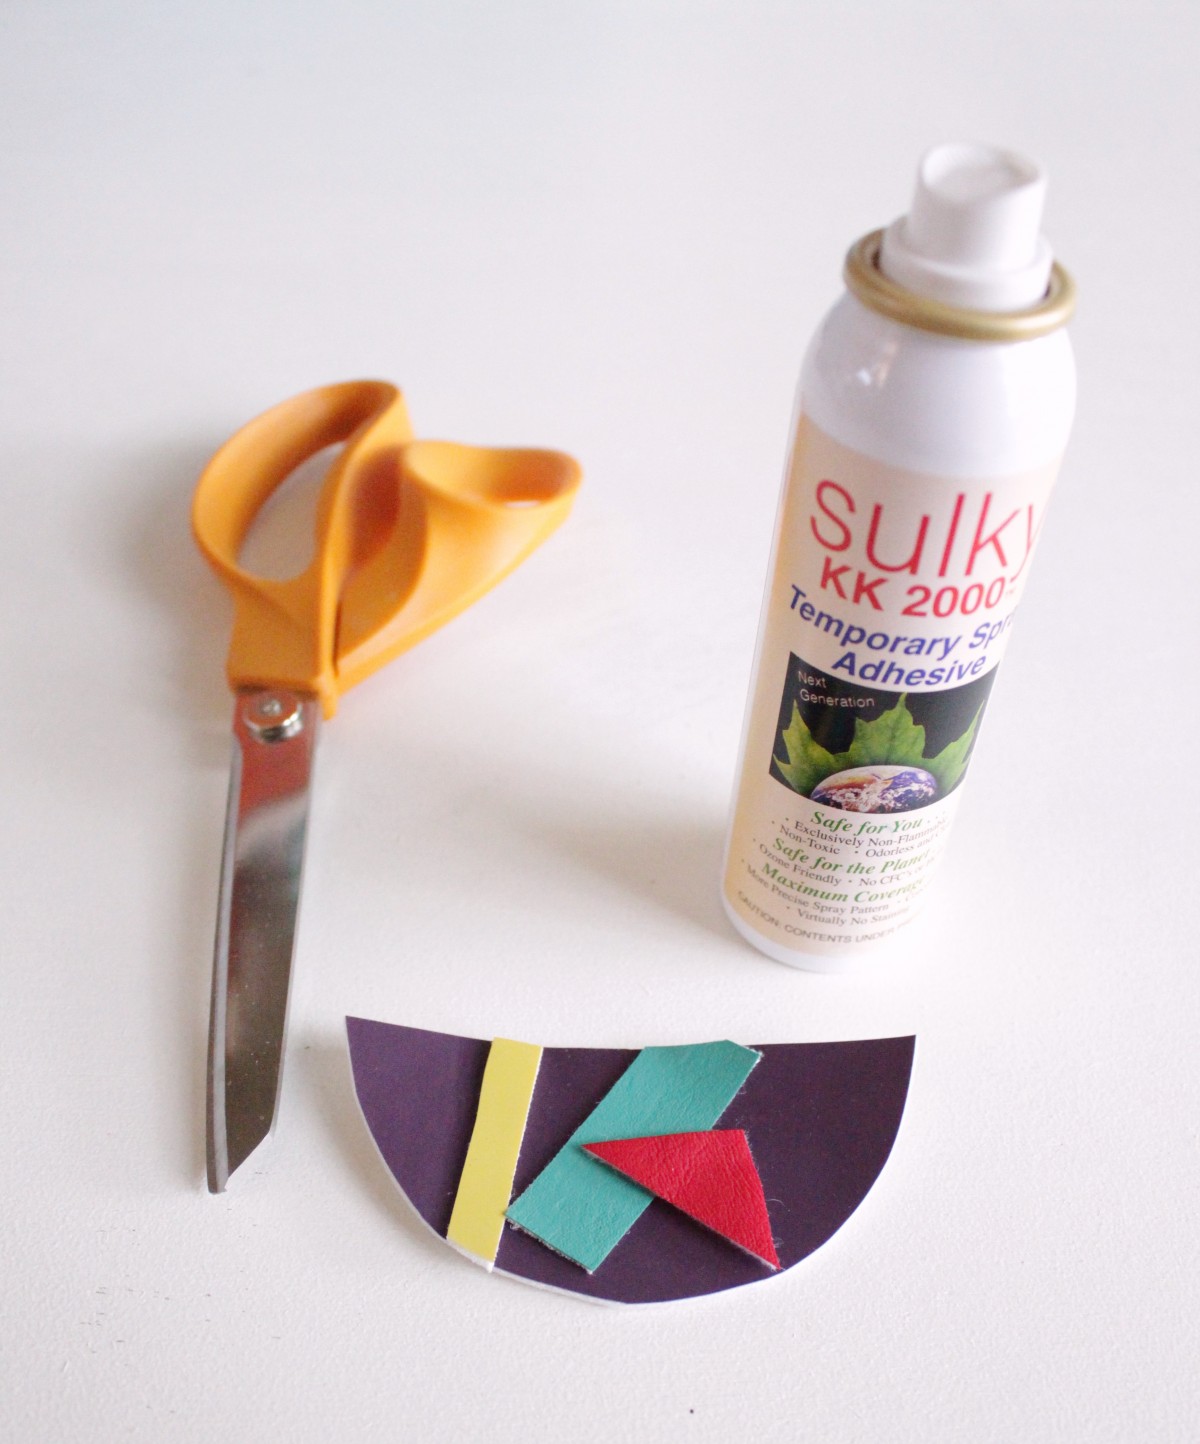
Step 4
Determine how you are going to arrange your shapes on your main piece of vinyl and trim as needed.

Step 5
Spray the back of your vinyl shapes with spray glue. Then place them on your main piece of vinyl.

Step 6
Load your machine with your metallic thread. NOTE: You may have to adjust the thread tension when working with metallic thread.
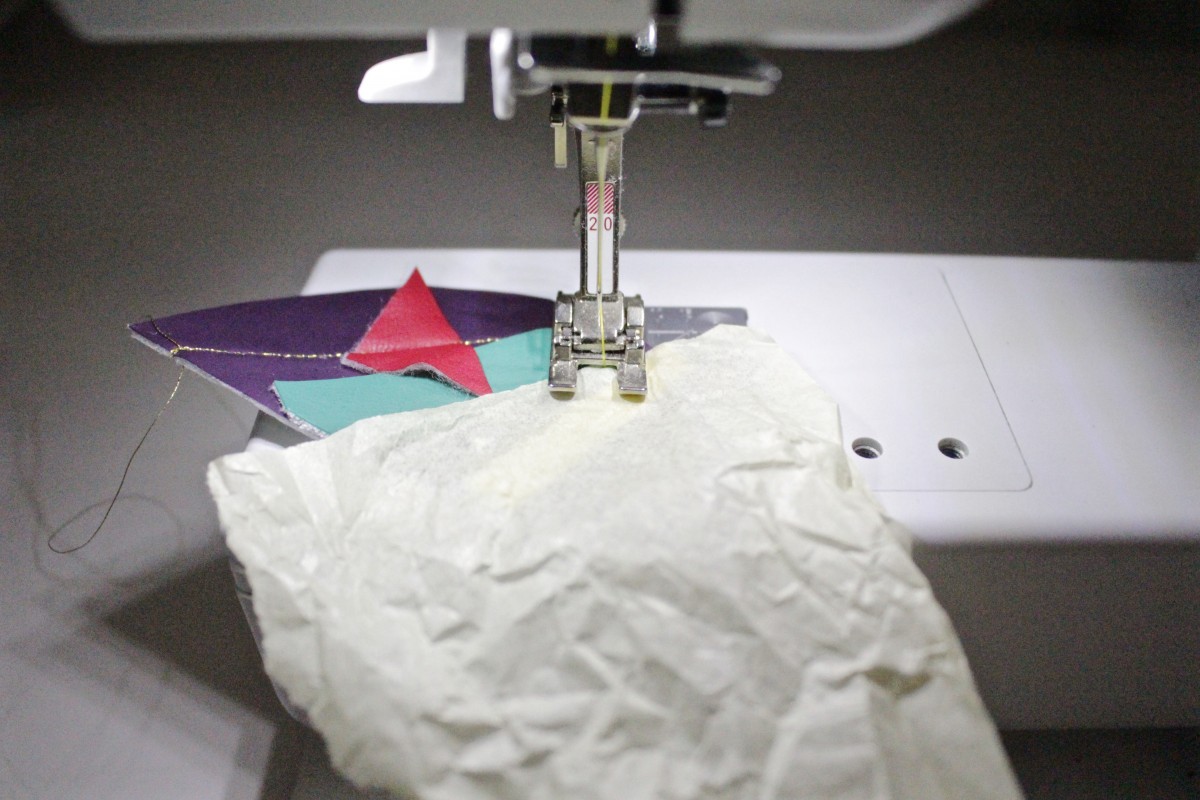
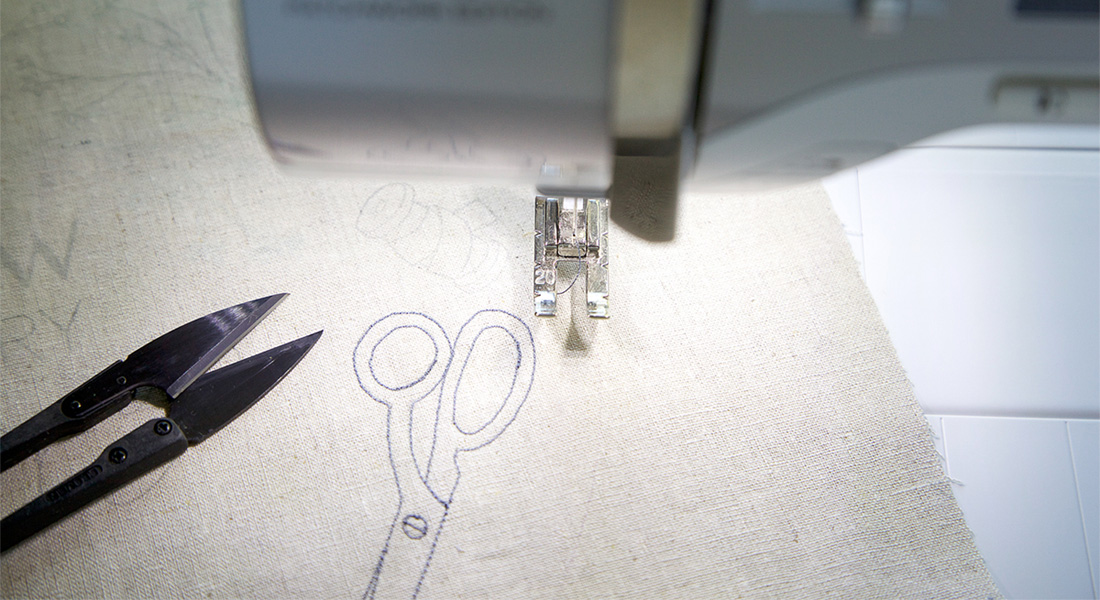
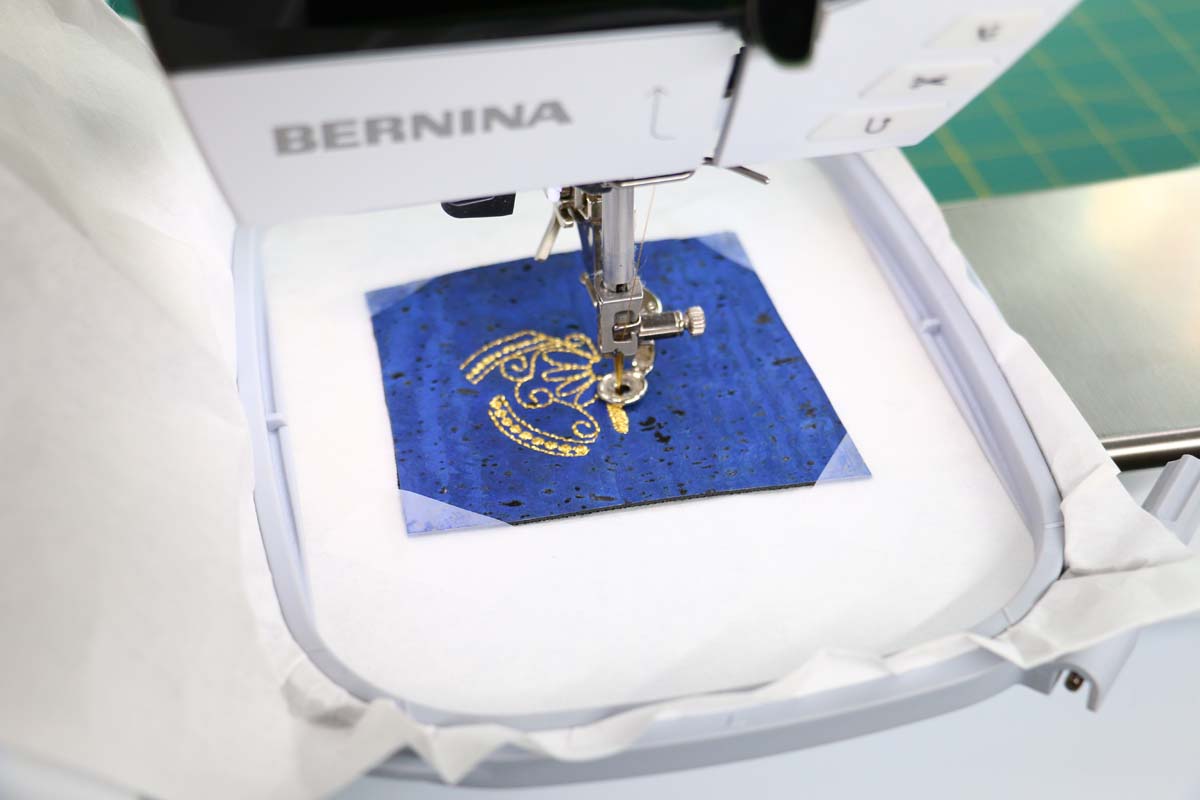
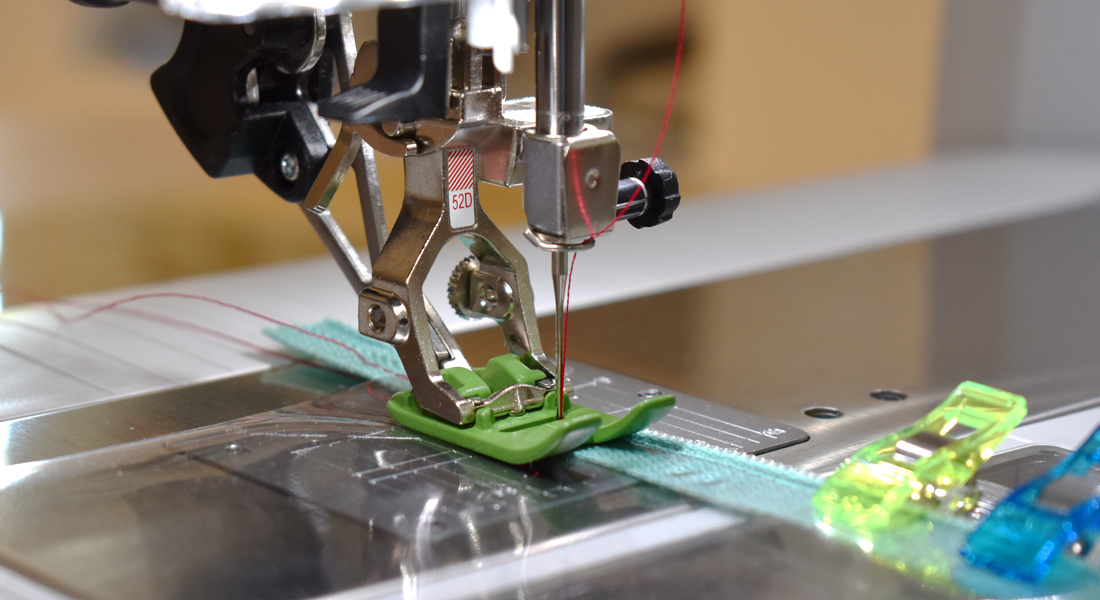
Step 7
Use a Straight Stitch foot # 53 with non-stick sole to sew a random pattern over your vinyl shapes and main piece of vinyl. Get creative and have fun with this! There is no right or wrong pattern. *If you don’t have a non-stick foot you can place tissue paper over your vinyl so that your foot will glide over it. I don’t suggest this because it’s tedious to remove the tissue paper from under the thread but if you’re in a pinch you can do it this way. I did it this way in the tutorial to show how it’s done BUT getting a non-stick is MUCH easier!


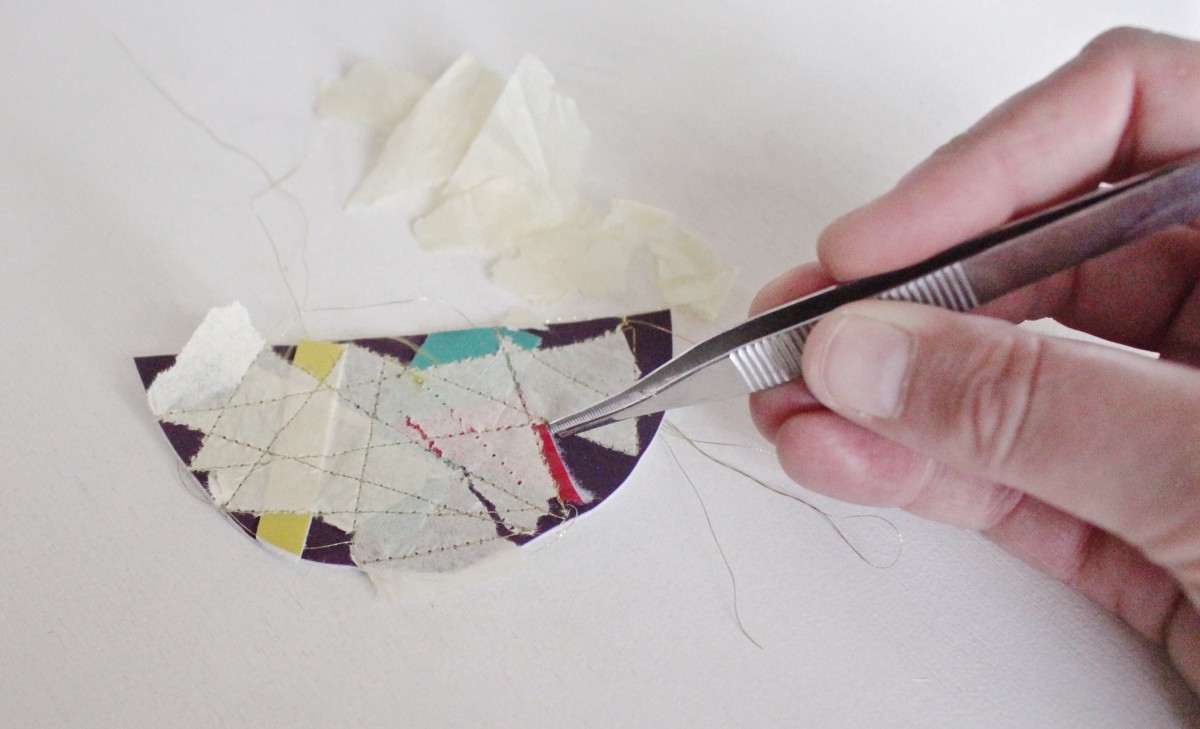
Step 8
If you used tissue paper, take some tweezers and begin removing the tissue paper from the vinyl. After a few minutes of this you’ll know why I suggested the non-stick foot.
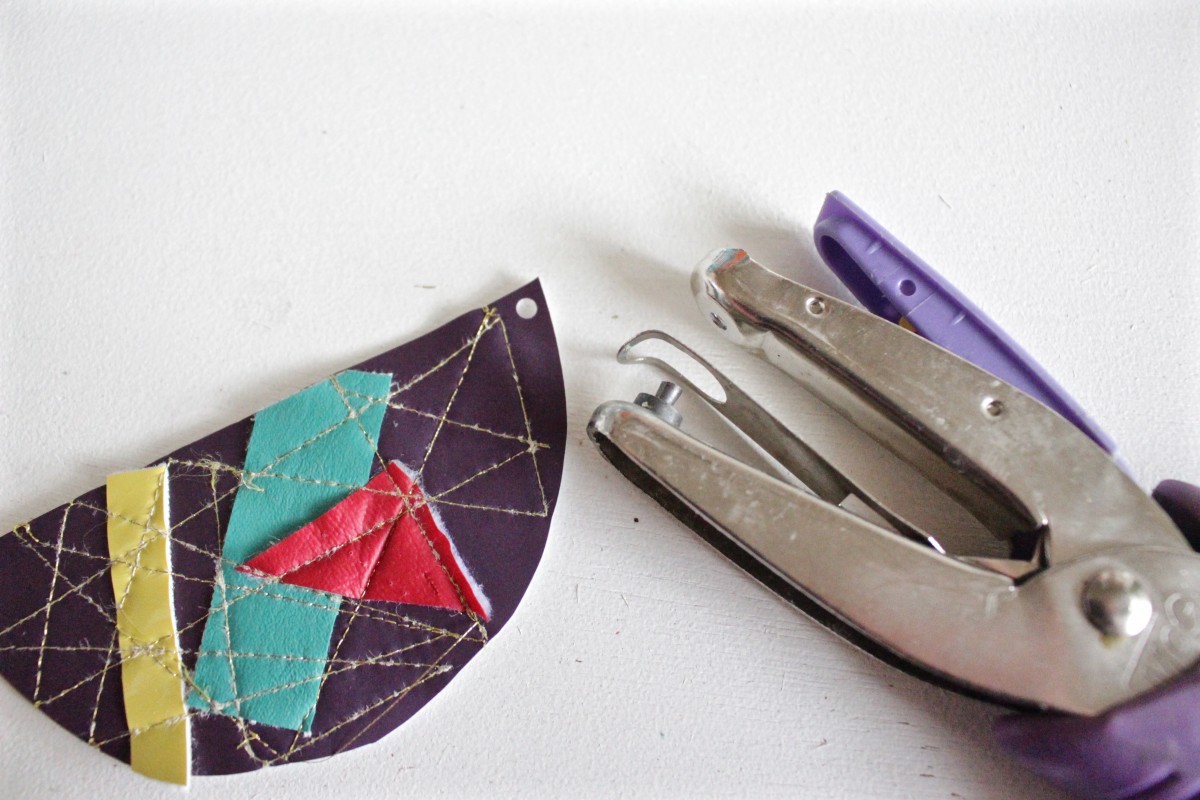
Step 9
Use a hole punch to create a hole in one corner where you’ll attach the chain.
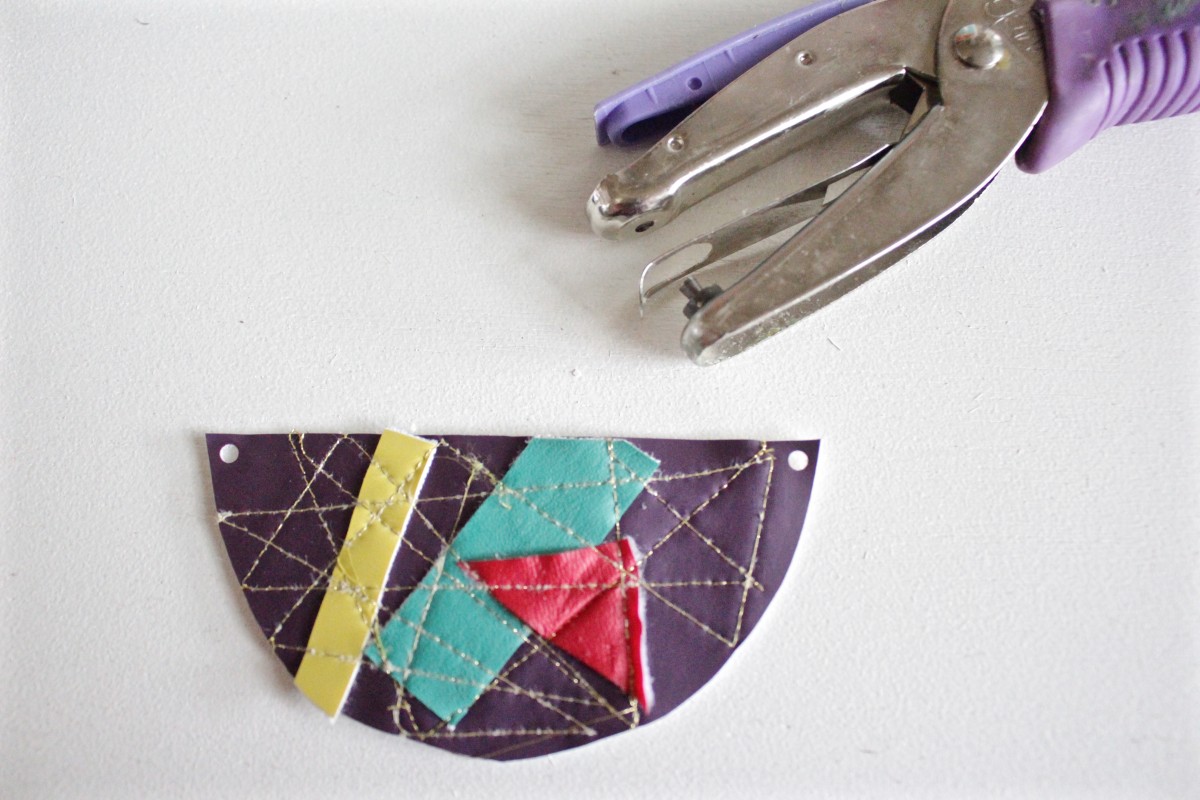
Step 10
Repeat step 9 for the other side.
Step 11
Open a jump ring and thread the hole on one side of your necklace and one piece of your chain through it.
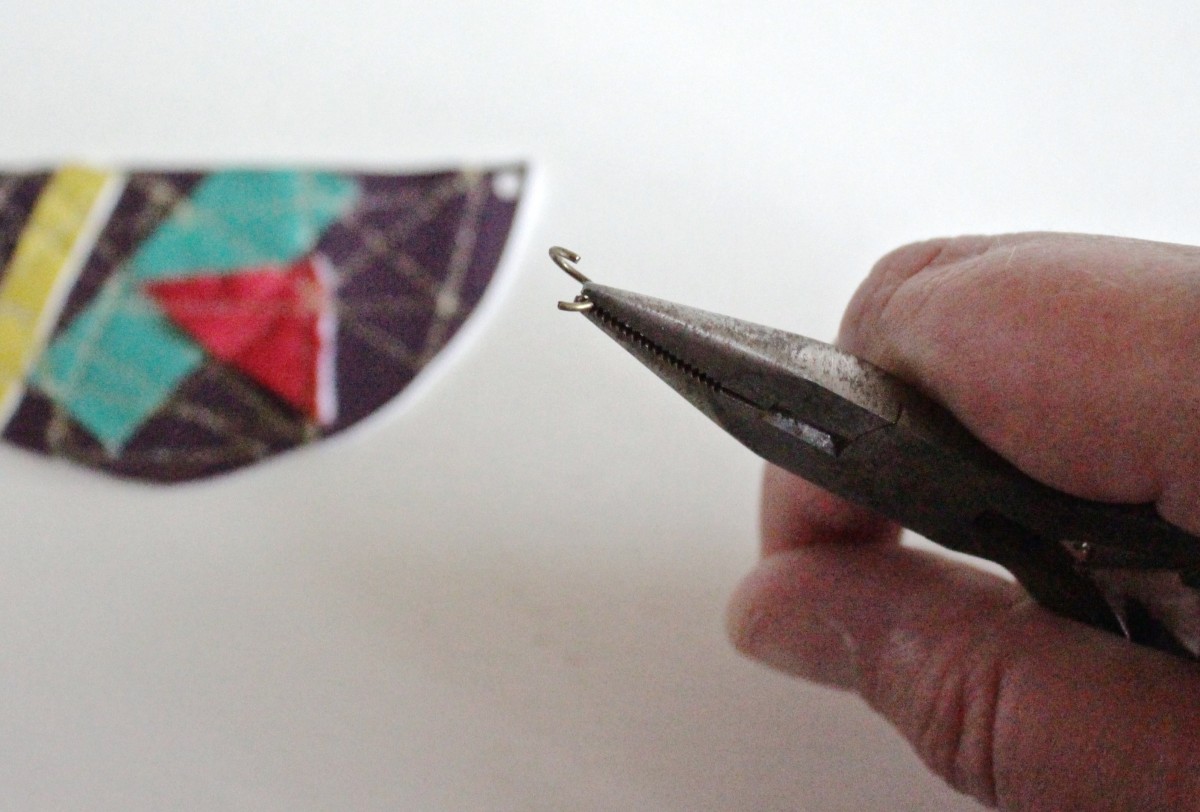
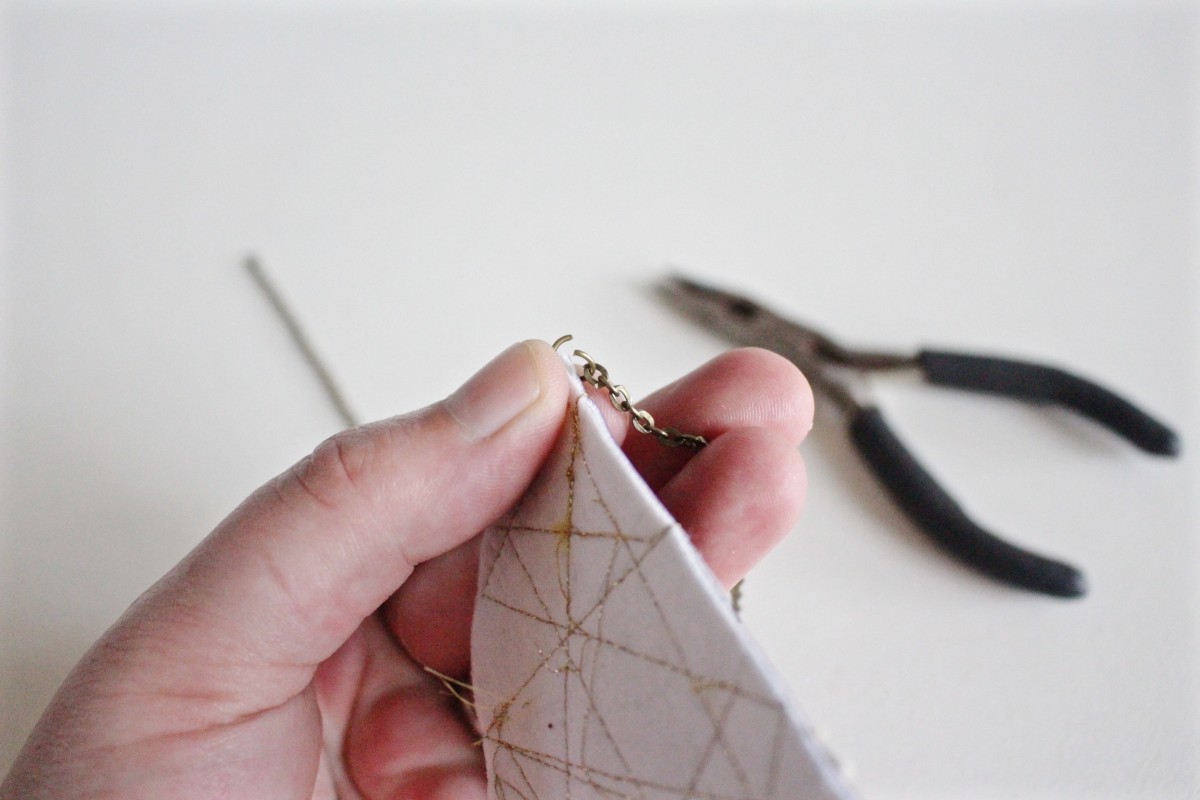
Step 12
Repeat step 11 for the other side of the necklace.
Step 13
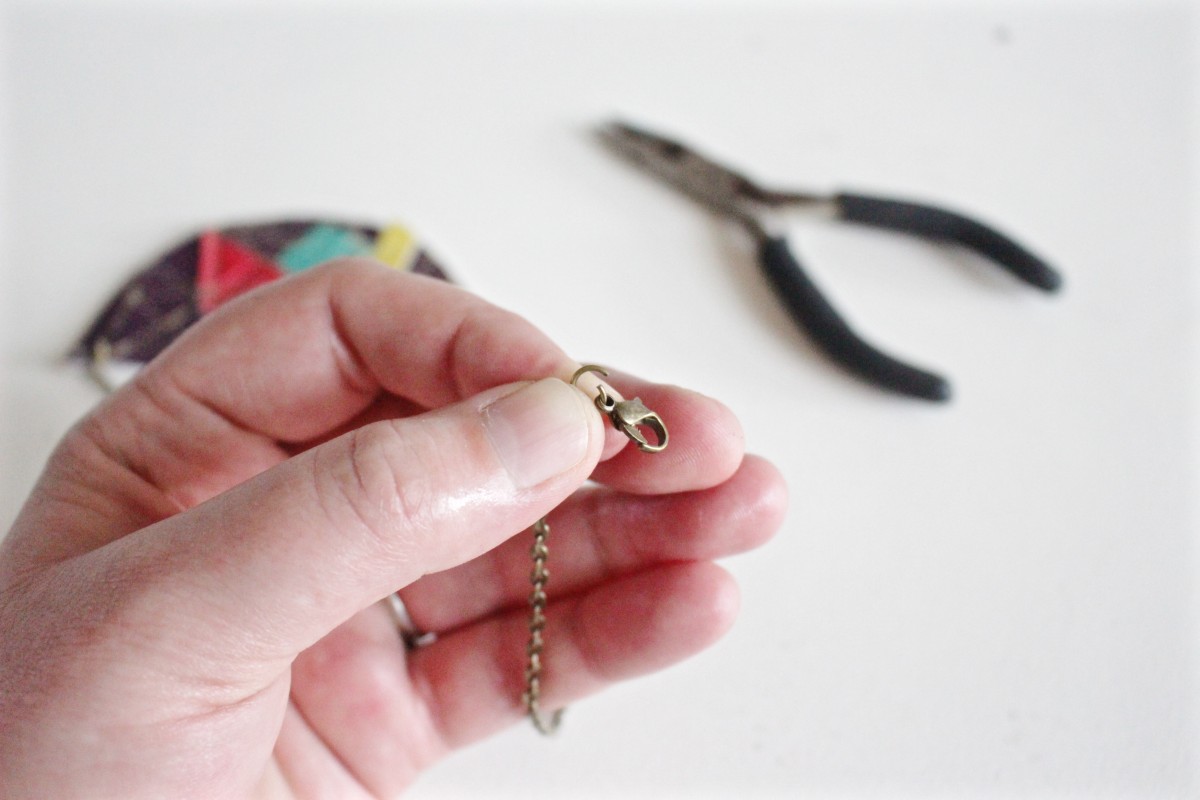
Attach a lobster clasp to one end of the chain and a jump ring to the other.


One comment on “DIY Geometric Vinyl Necklace Tutorial”