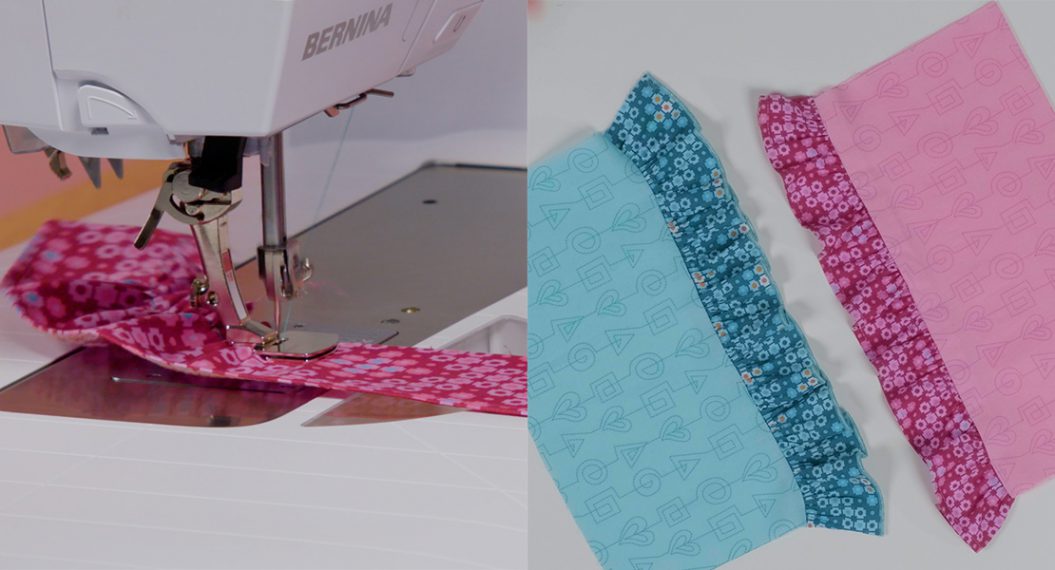
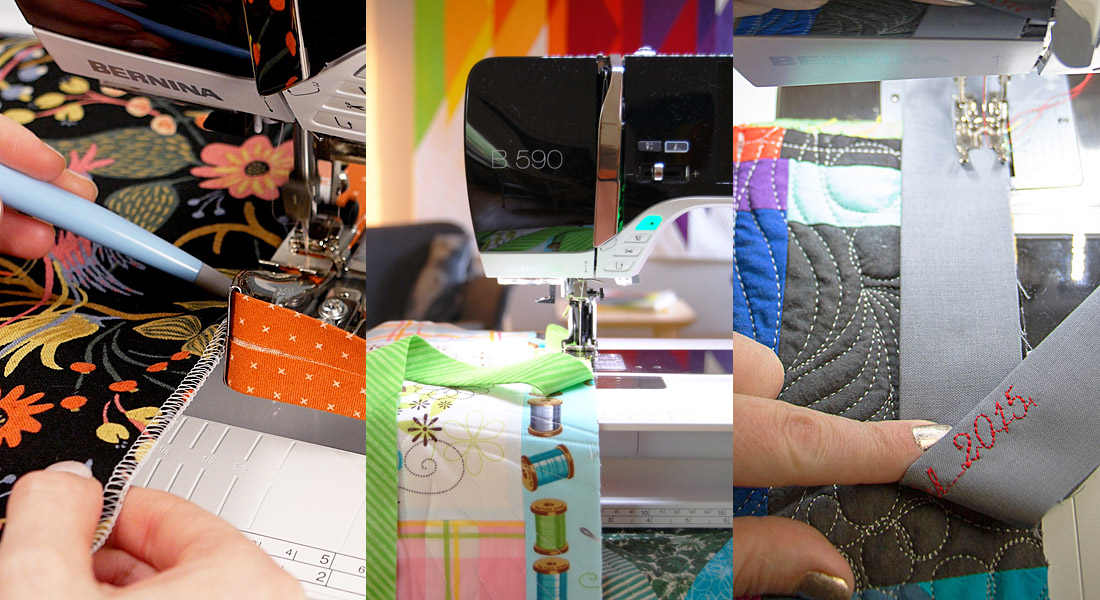
Binding with a Serger and Sewing Machine
Binding is typically the last step in finishing our projects and one many folks dread — hand stitching takes extra time when we just want to be done! The great news is there are much quicker options if you want to do this by machine, either with a serger or a sewing machine. Both are easy; you can decide which works best for you!
Let’s take a look side by side:
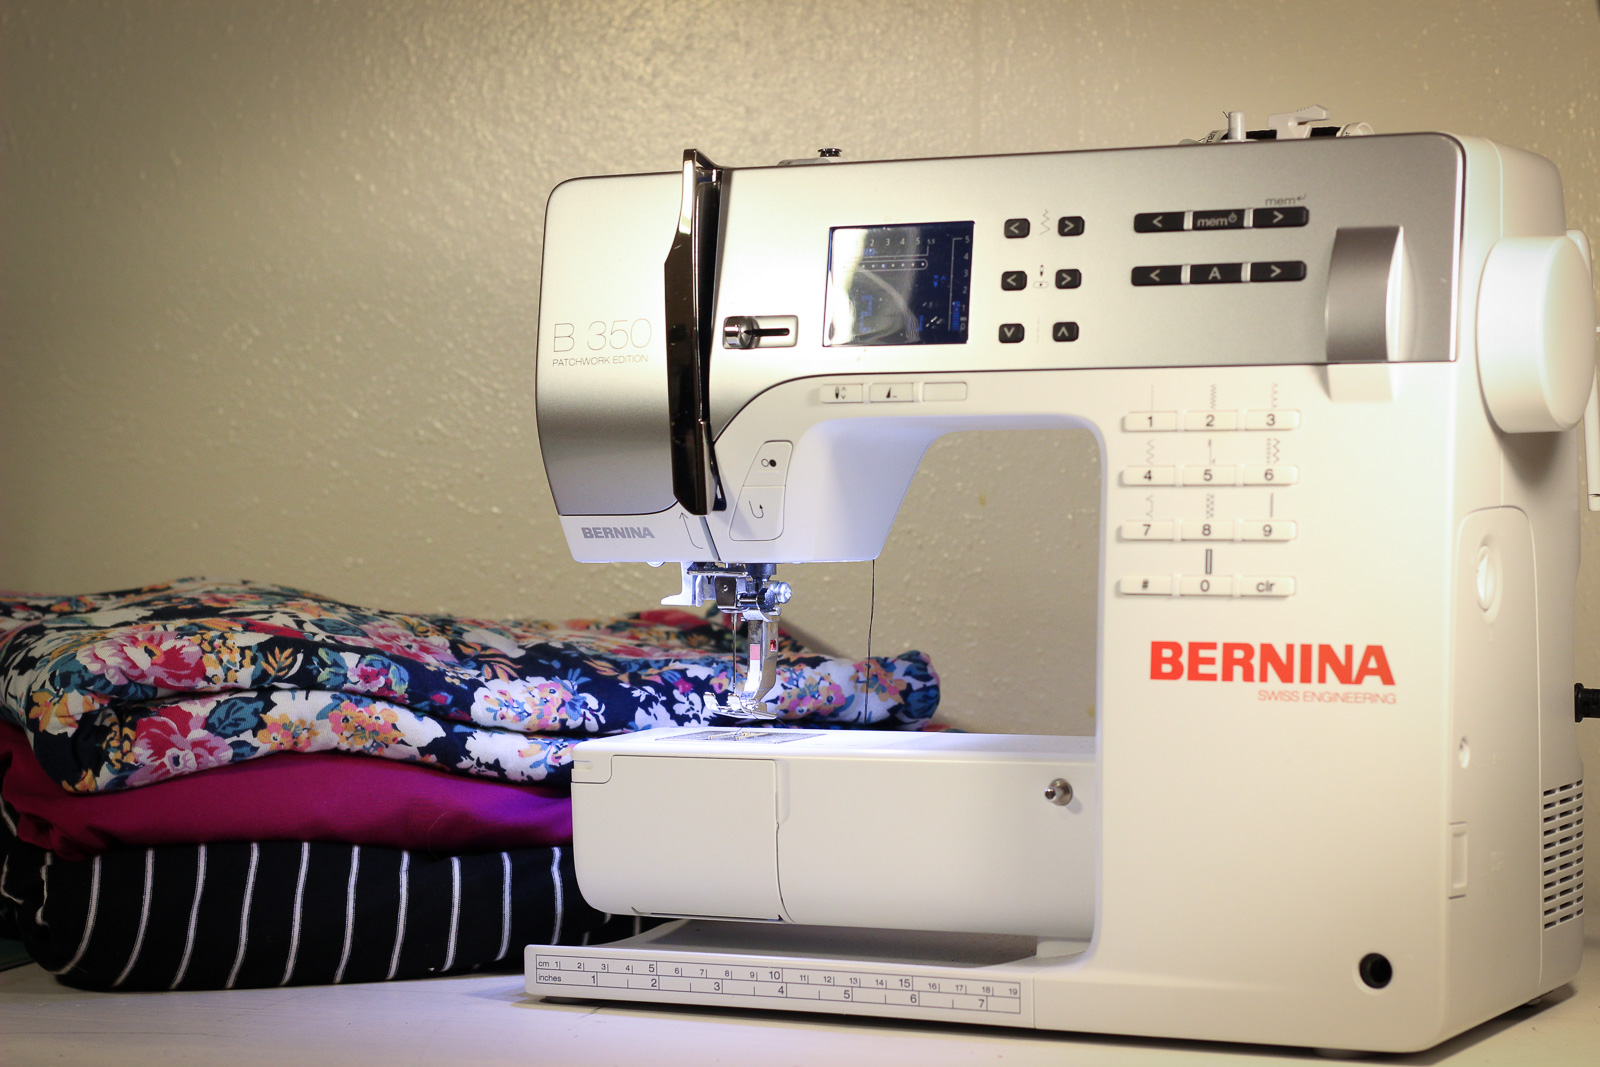
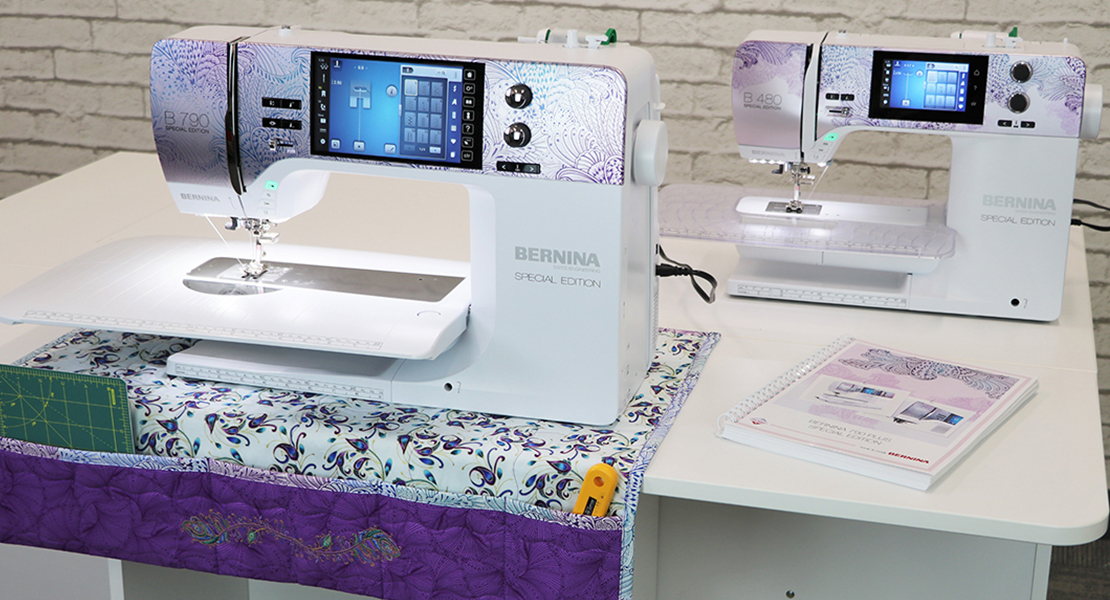
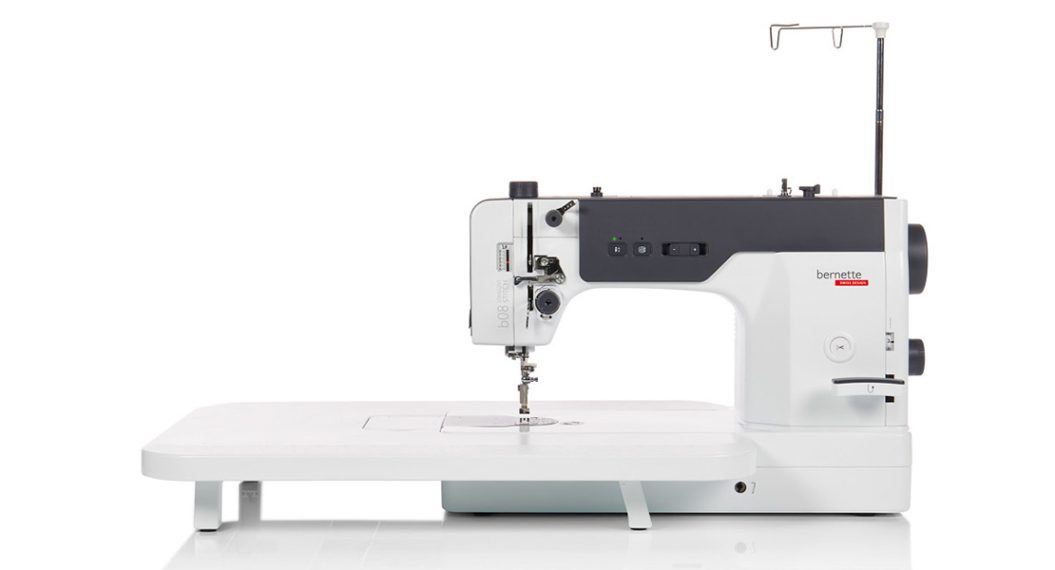
Machines Featured

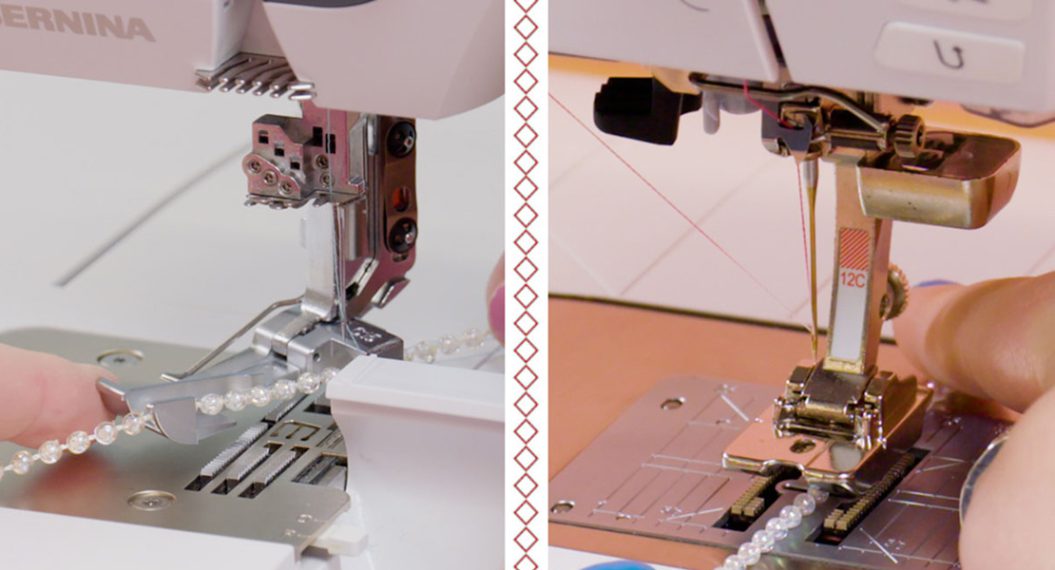
First Things: Feet
Serger – Cover-/Chainstitch Foot #C13
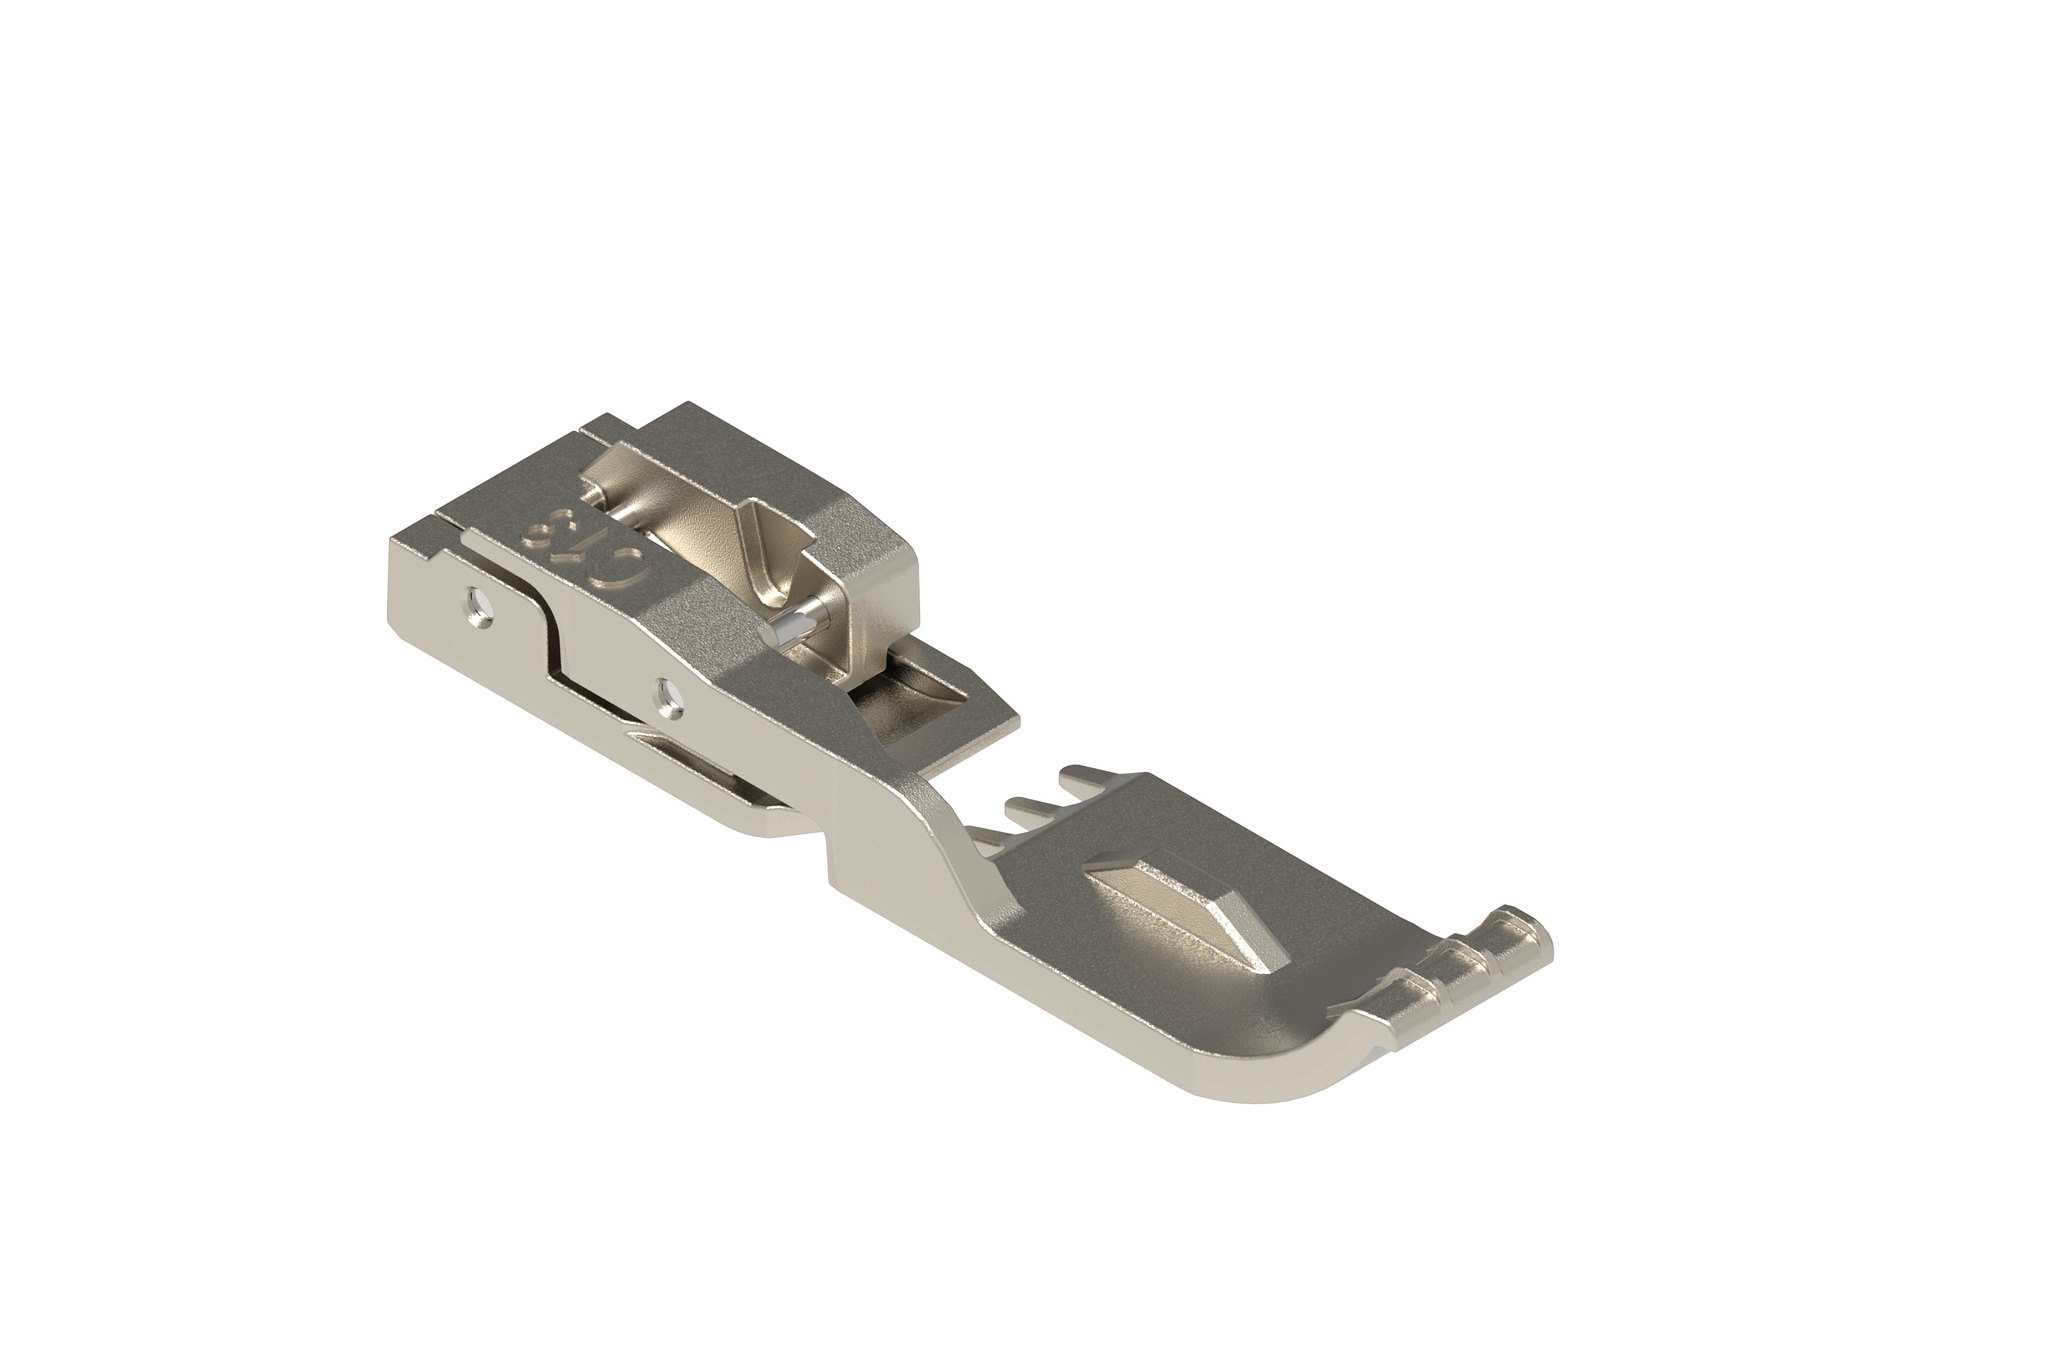
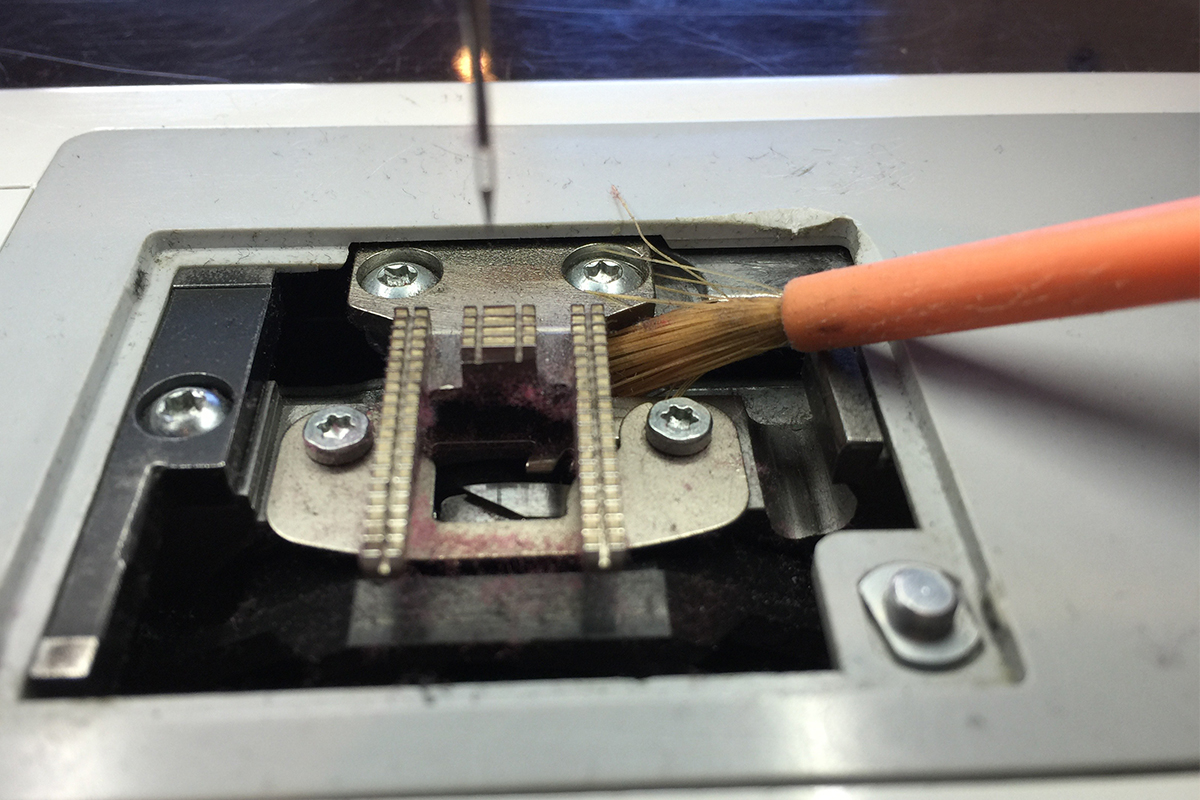
This is a standard presser foot for the L 890 (and included with the machine) designed for cover or chainstitching. There are three raised notches along the front edge of the presser foot indicating the three different potential needle positions you might use with a cover or chainstitch.
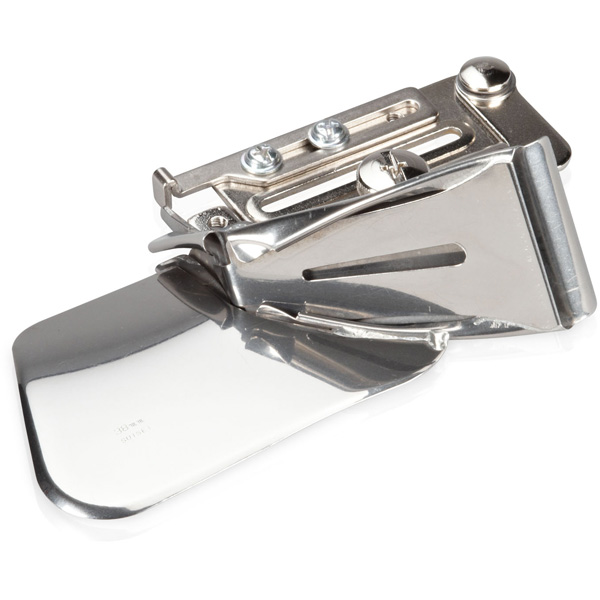
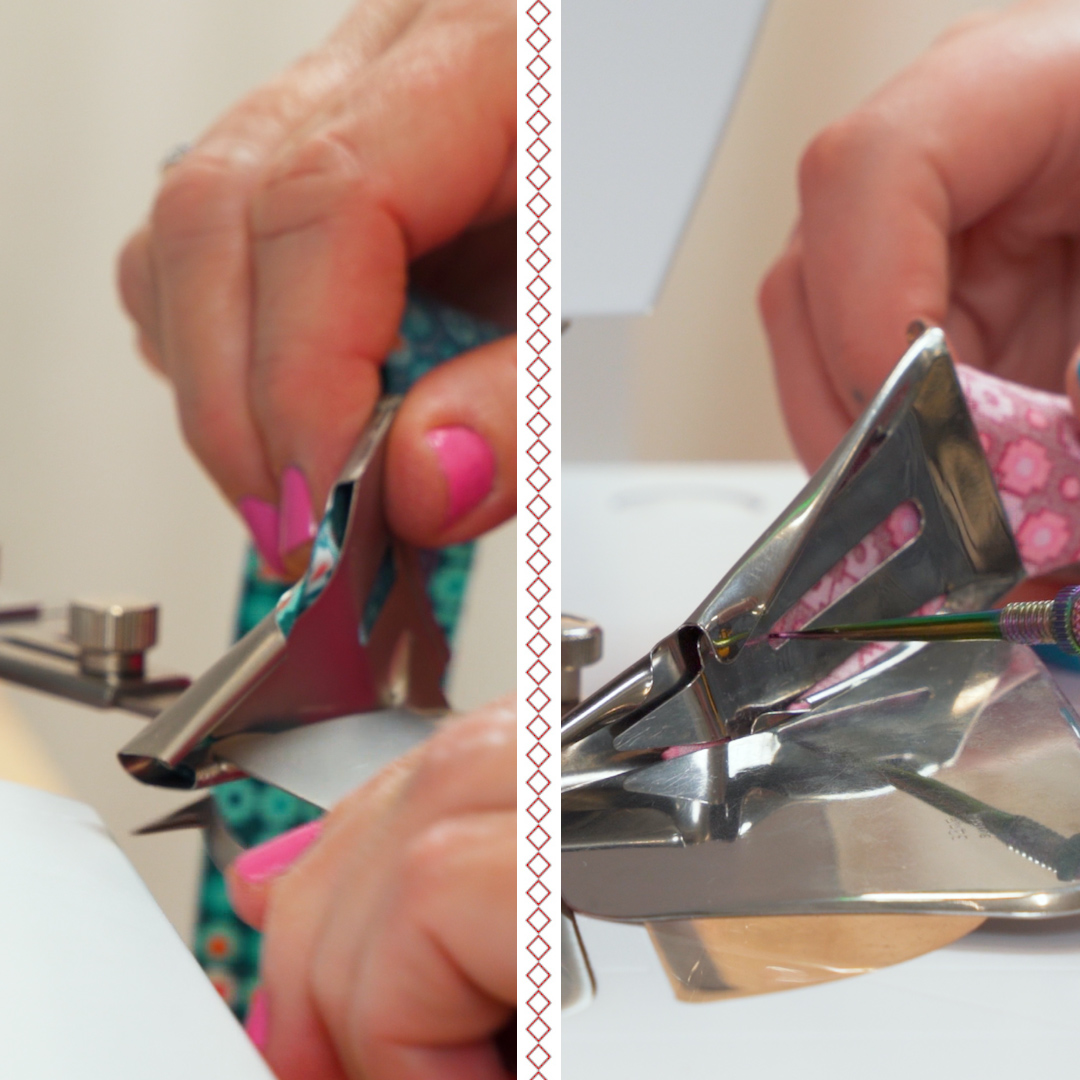
Double Fold Binder Attachment #C21
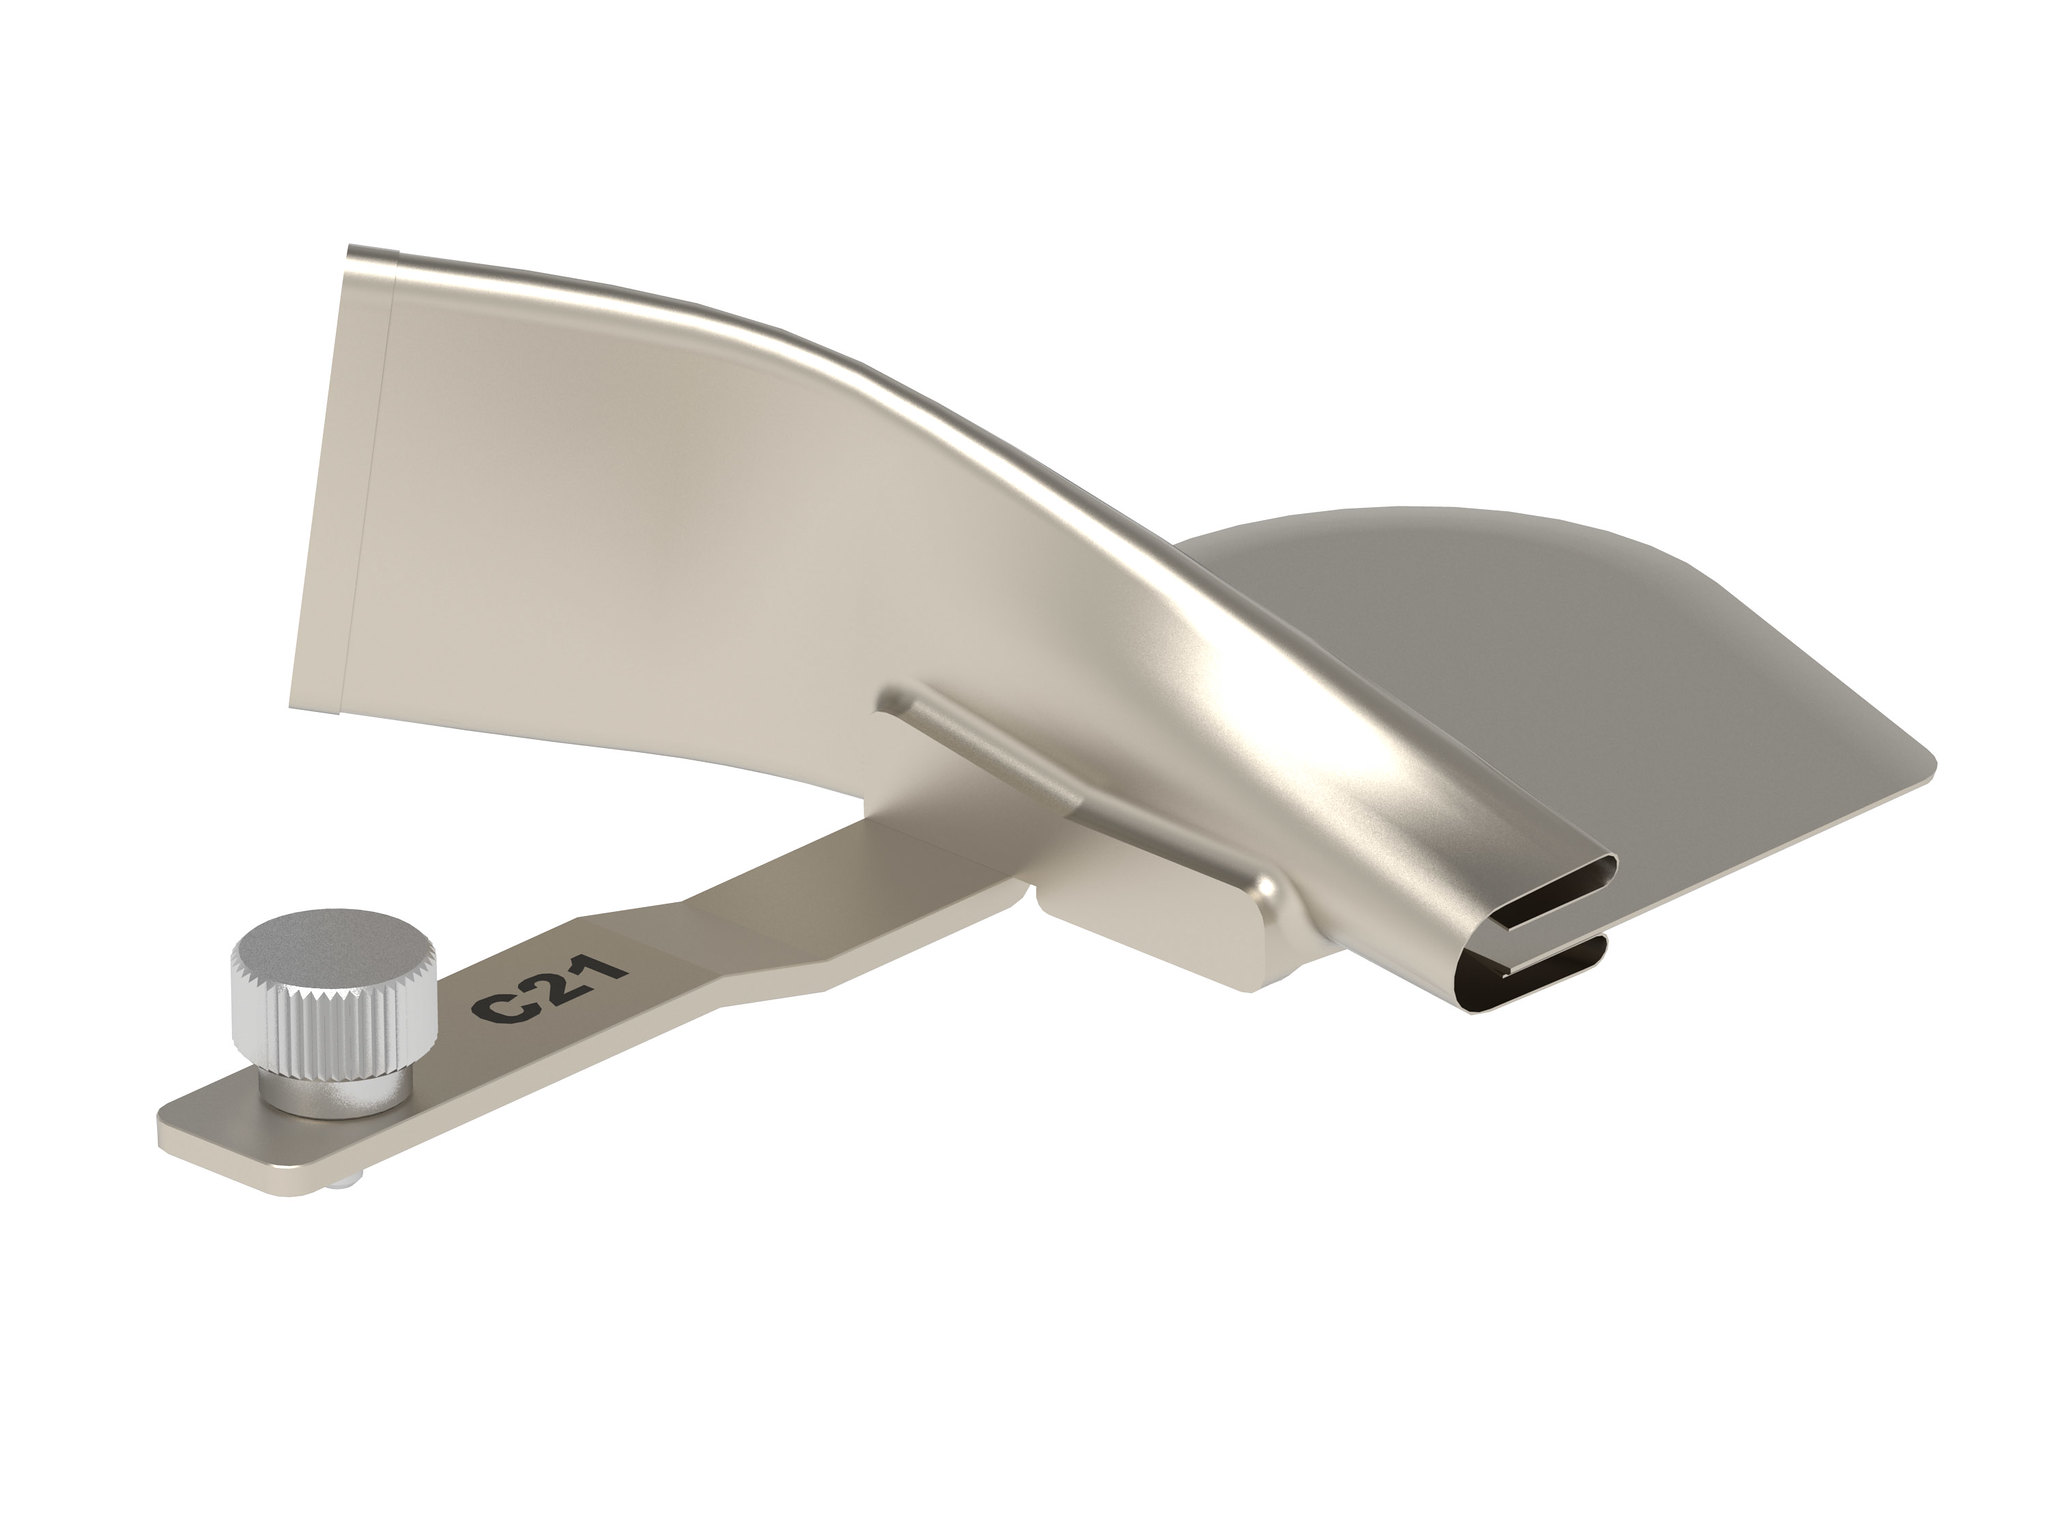
This binding attachment is to be used with 36 mm wide (or approximately 1 3/8”) unfolded bias binding and creates a double fold, so that all raw edges are contained within the binding. The Overlocker Accessories Holder is required to secure this attachment.
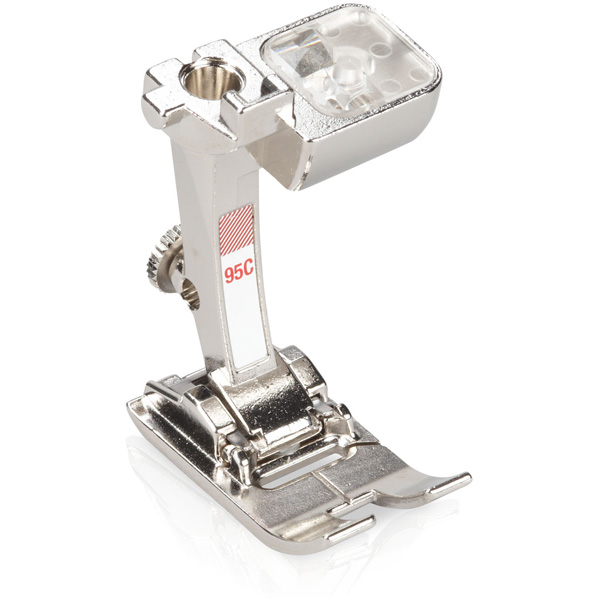
Sewing Machine – Binder Foot #95C
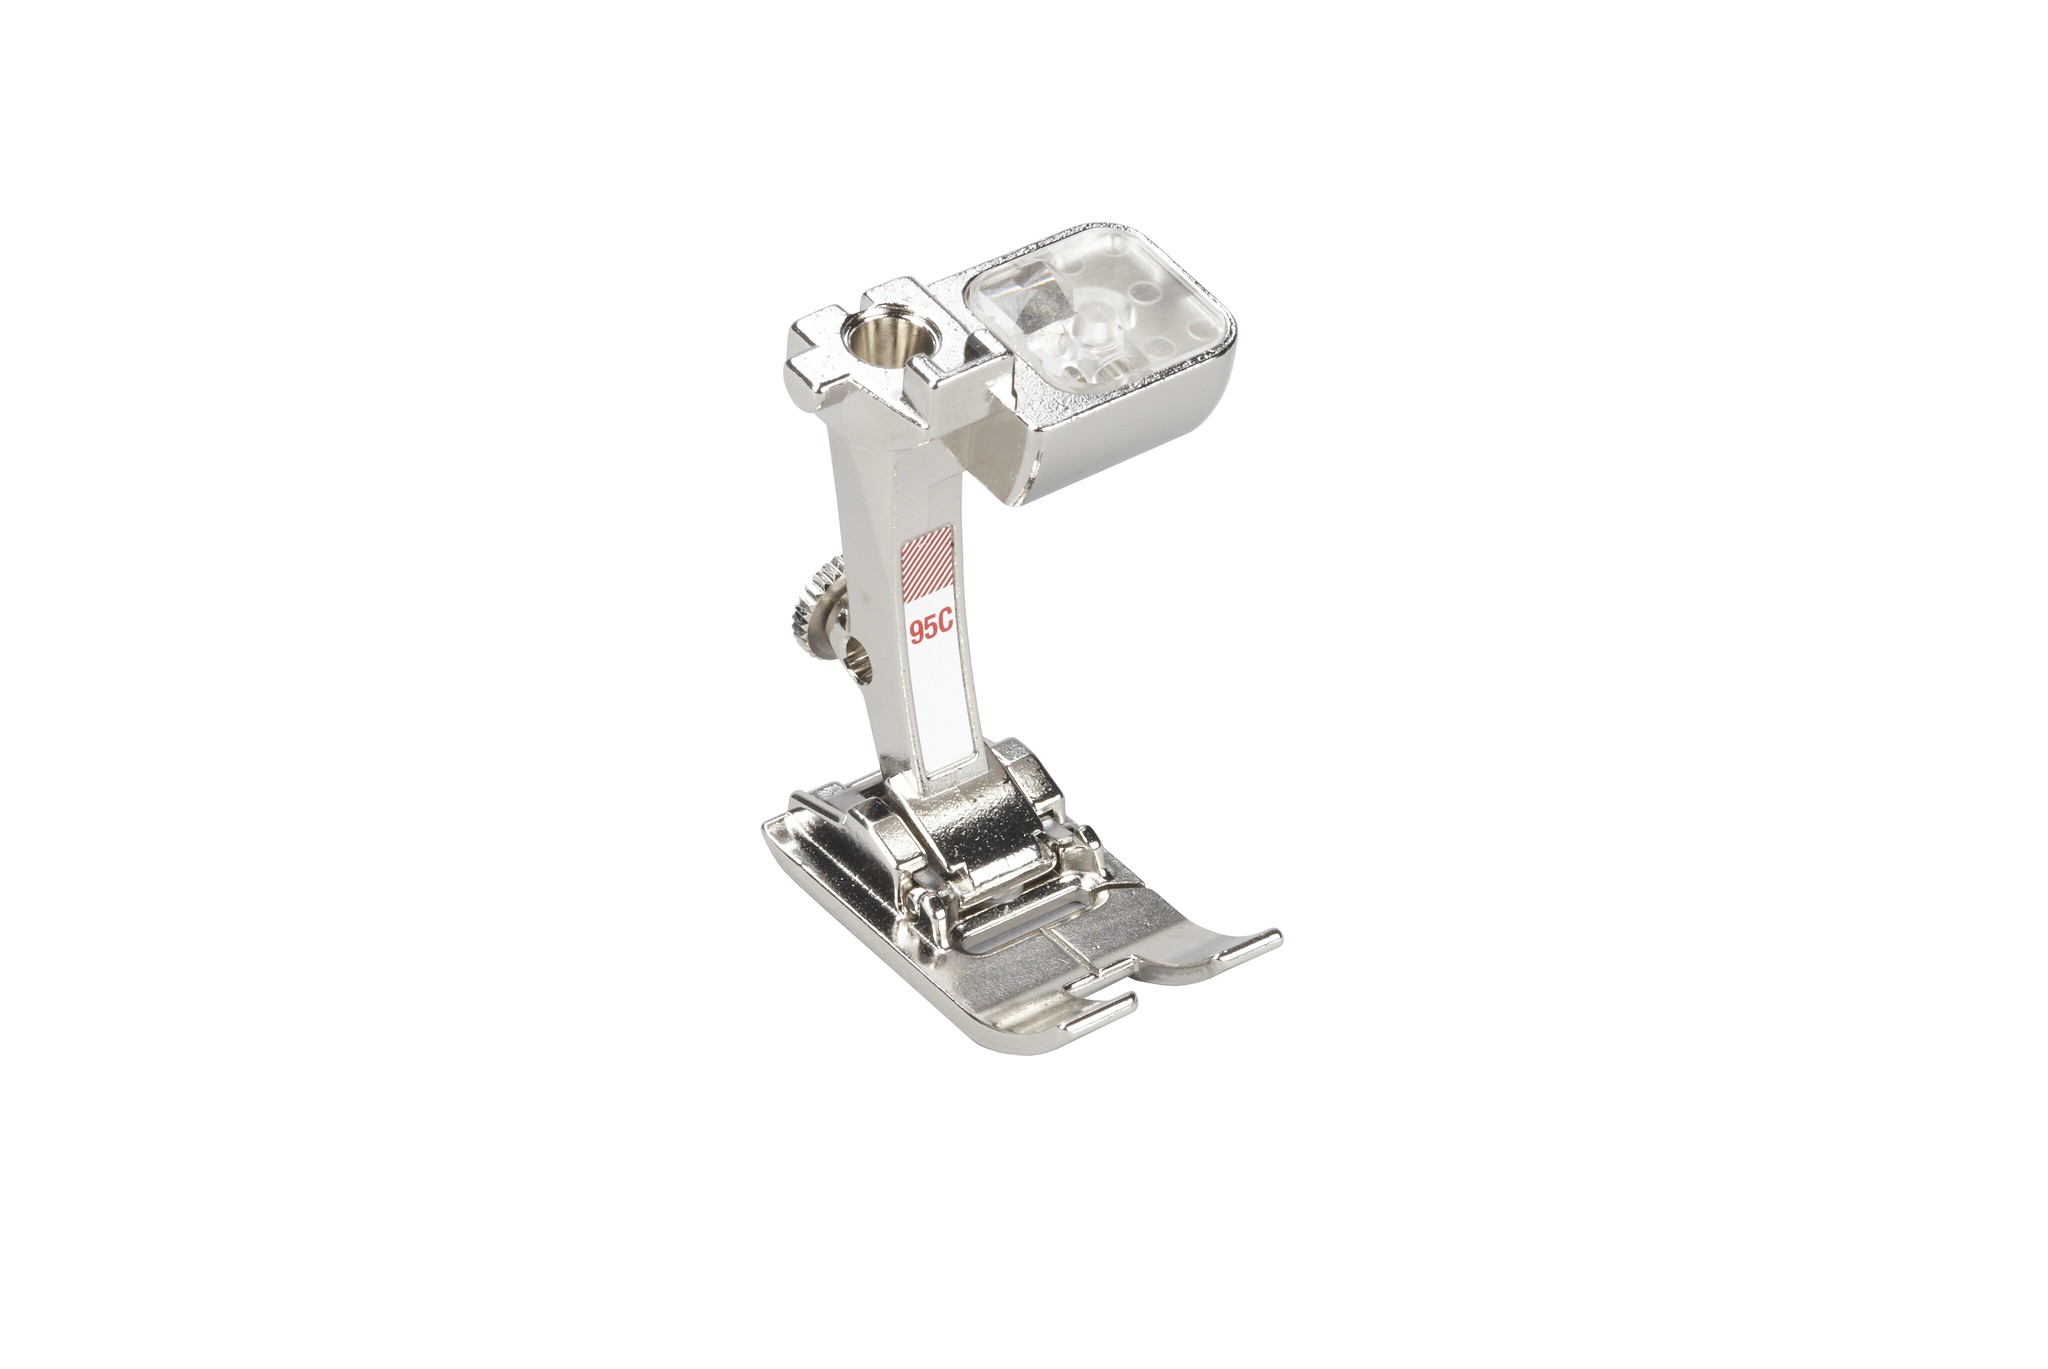
This presser foot is designed to be used with the binding attachments (which we will discuss momentarily). It has a 9 mm wide needle opening so you can use any needle position or even a decorative stitch. There is also a version of this foot for machines with a 5.5 mm maximum stitch width, the Binder Foot #95.
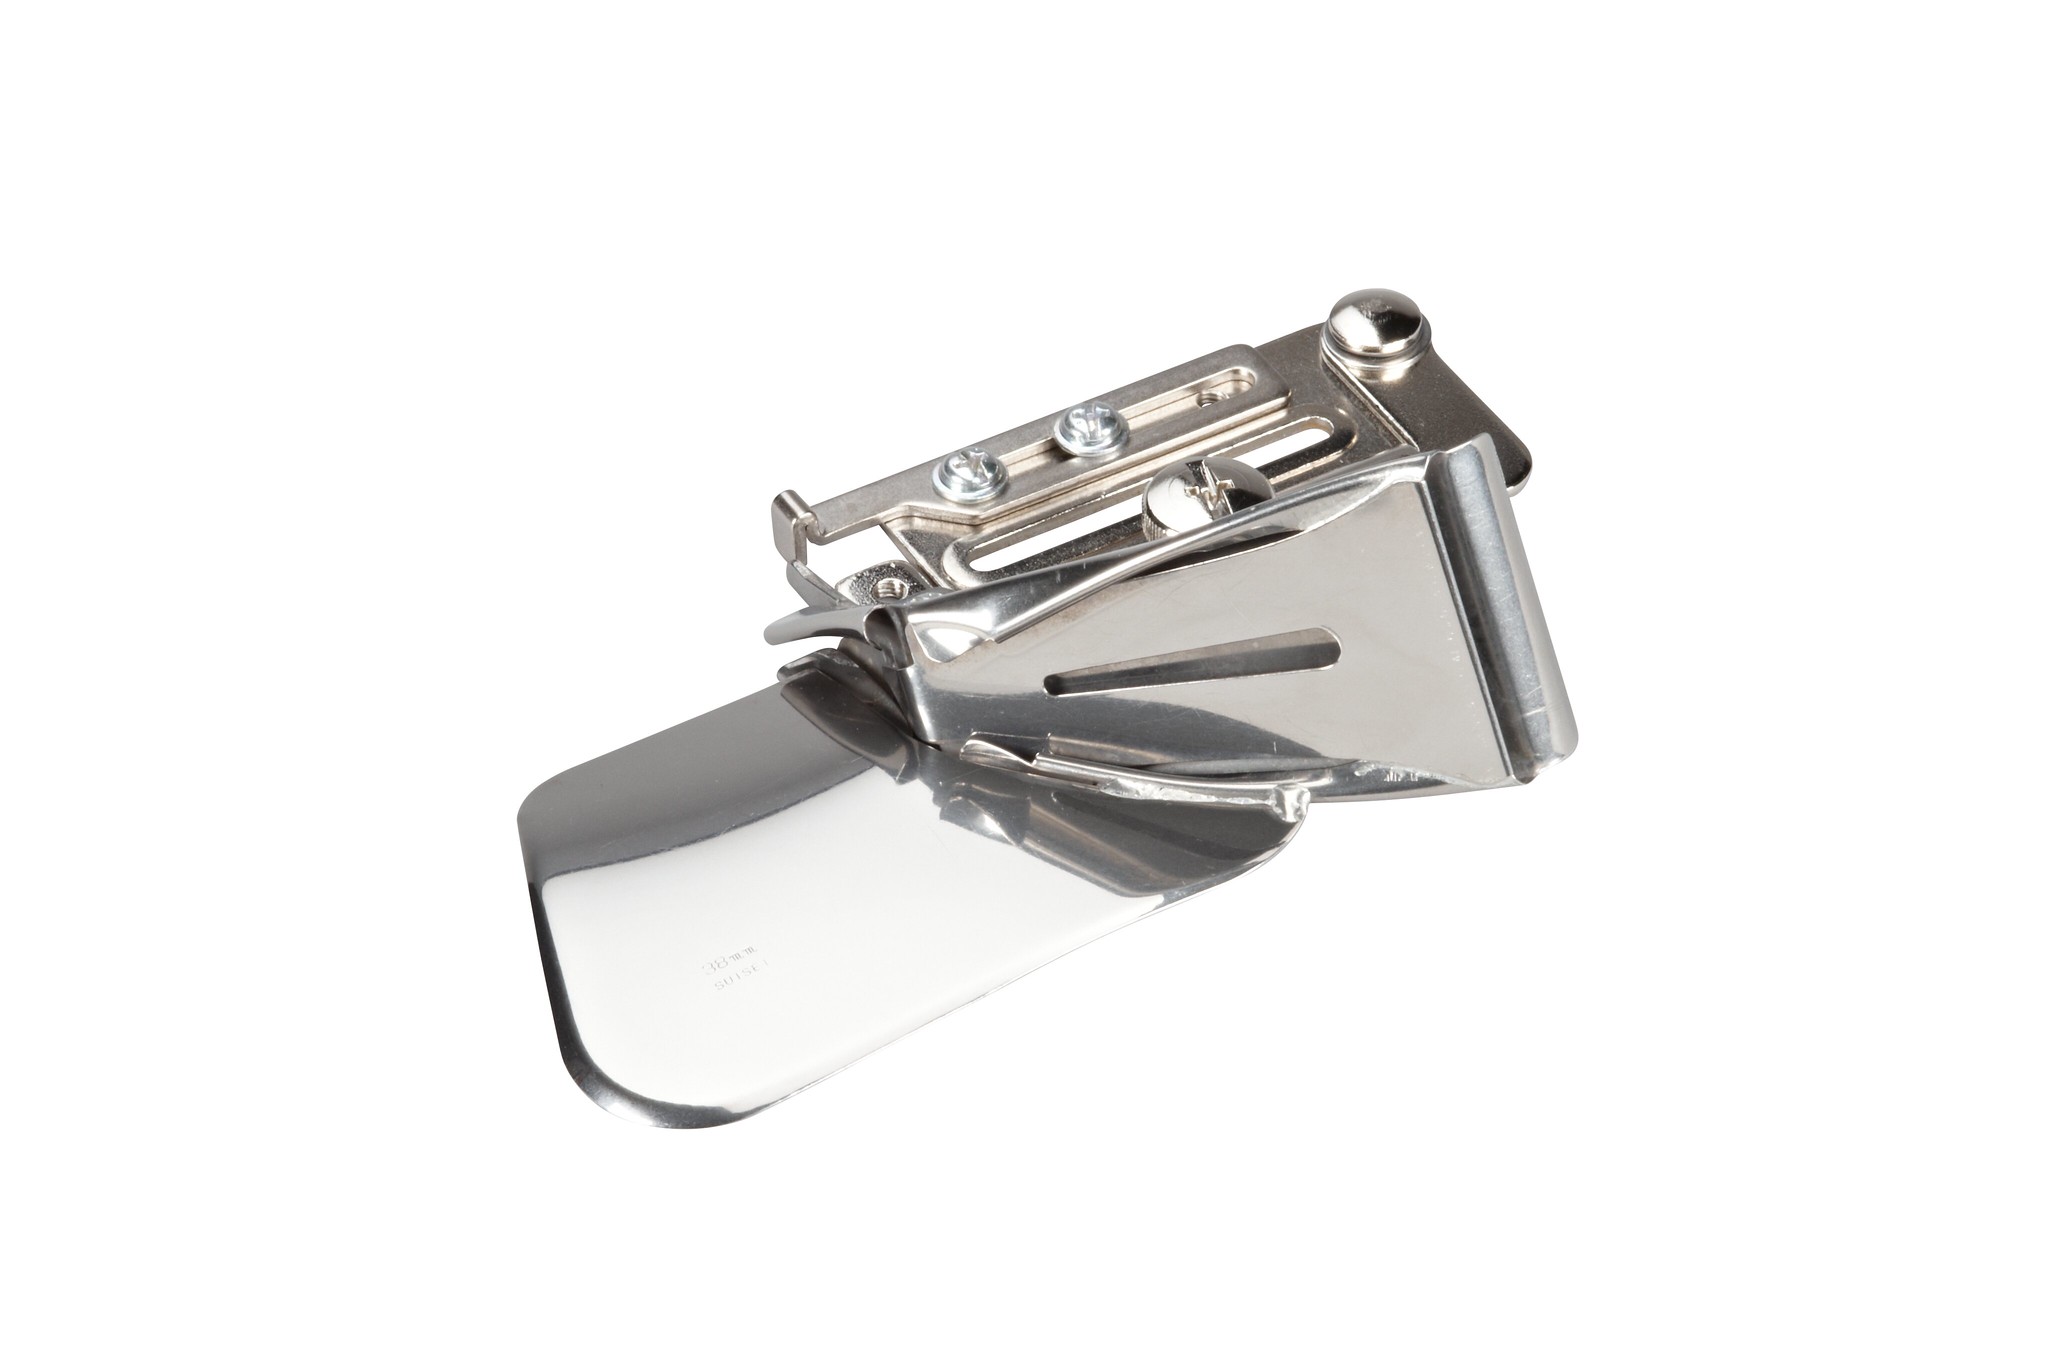
Binder Attachment for Unfolded Bias Tape #88
Like the serger version, this attachment takes unfolded bias binding and creates a double fold to encase all raw edges. Binder Attachment #88 is available in three sizes that result in three different finished widths of binding, 7 mm, 8 mm, or 11 mm.
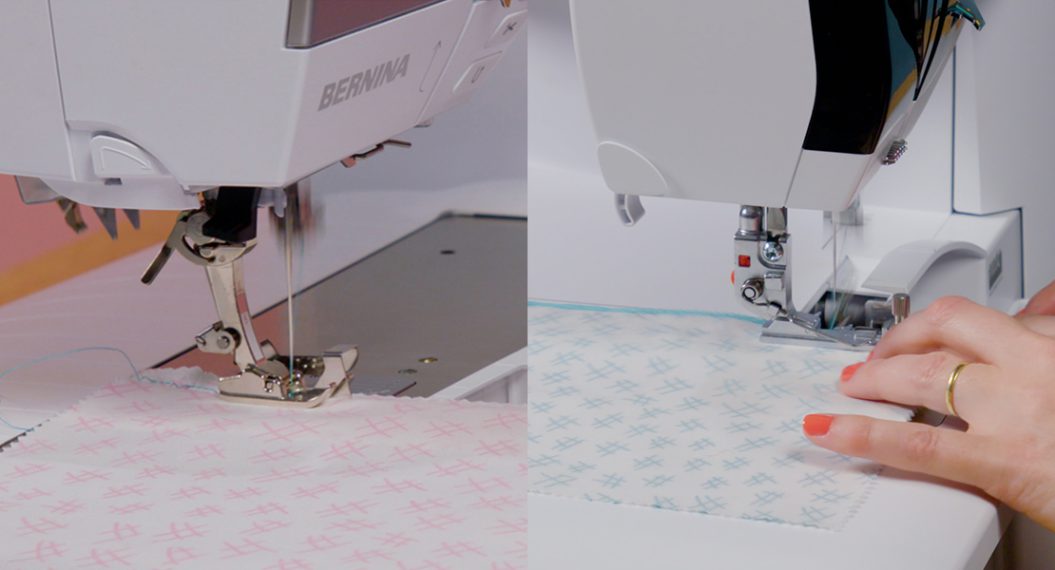
Set Up for Success: Machine Settings
Serger
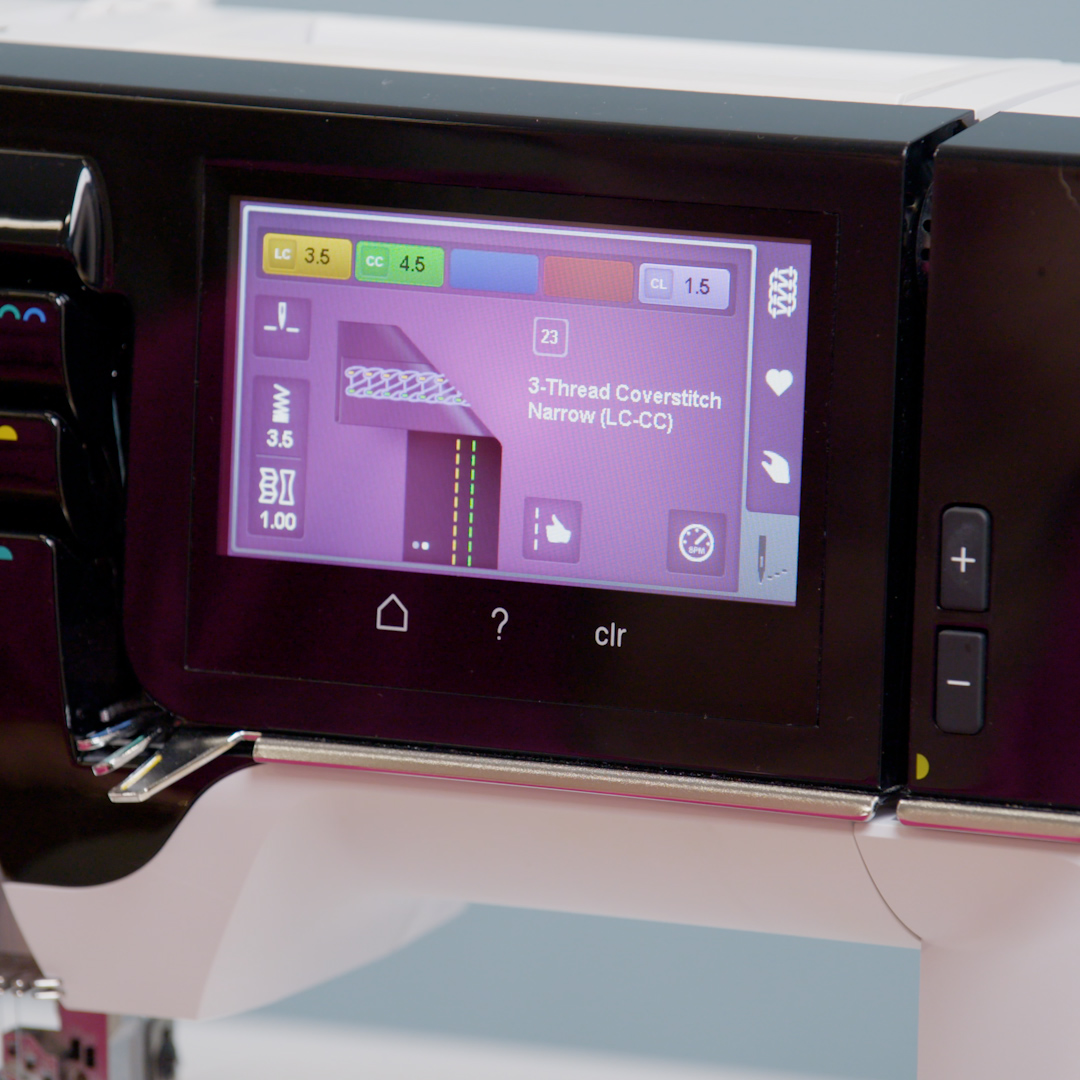
The 3-thread Coverstitch Narrow #23 is used to secure the binding. This stitch uses the left and center coverstitch needle positions.
Sewing Machine
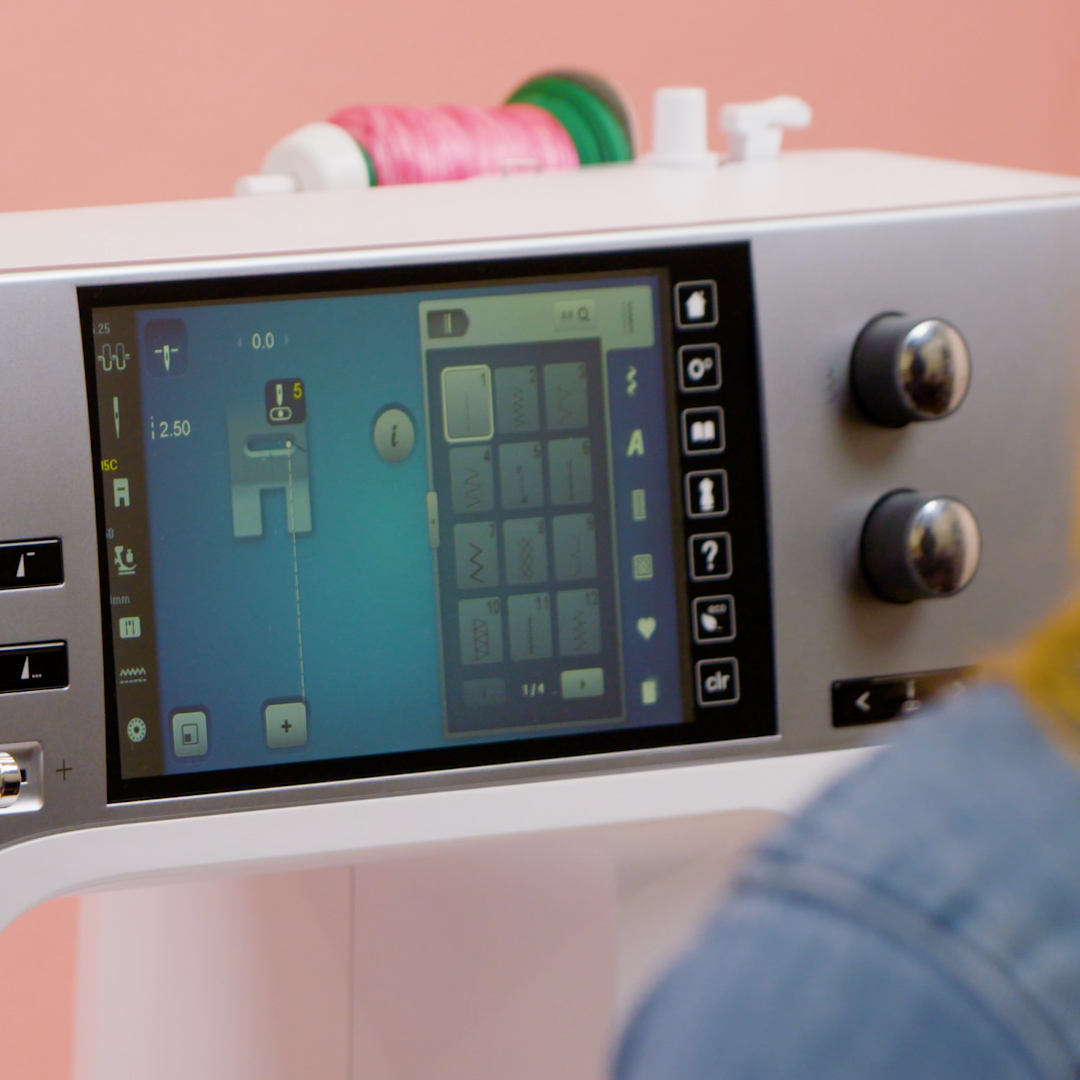
The basic Straight Stitch #1 is used to secure the binding. However, be sure to adjust the needle position, moving it to the right in position 5, in order to catch all the layers of fabric.
Tried and True: Technique
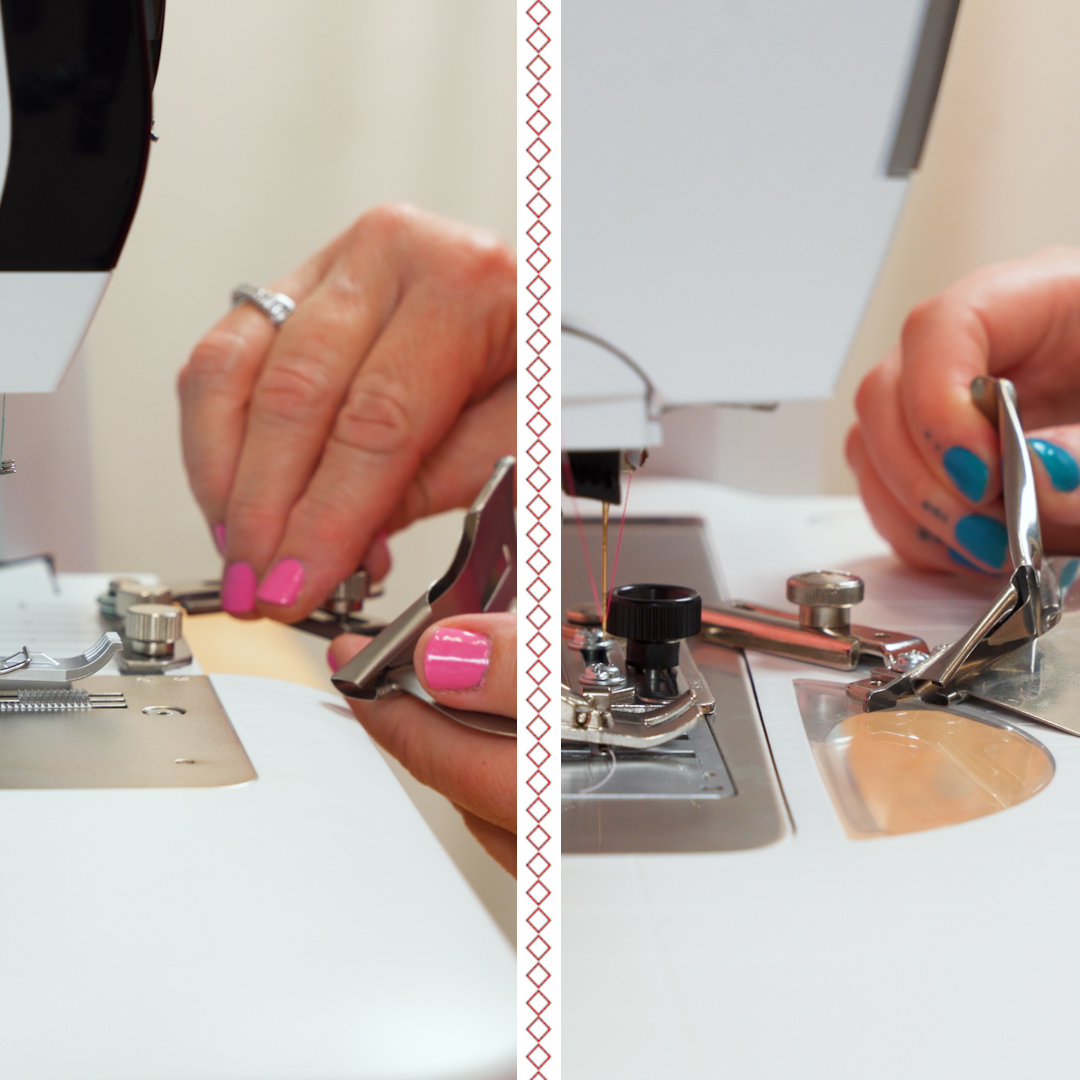
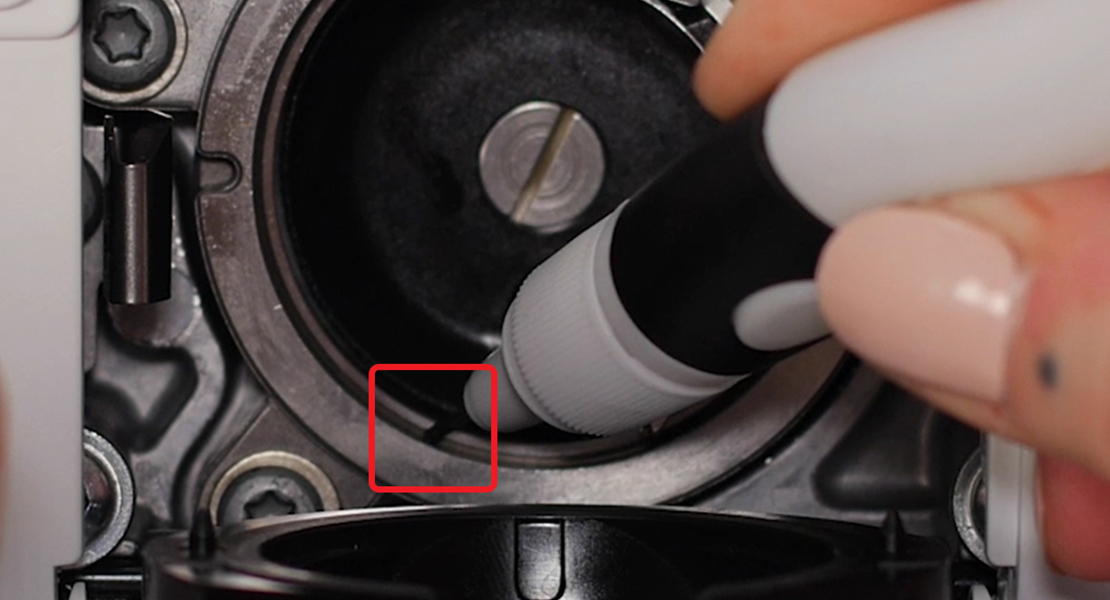
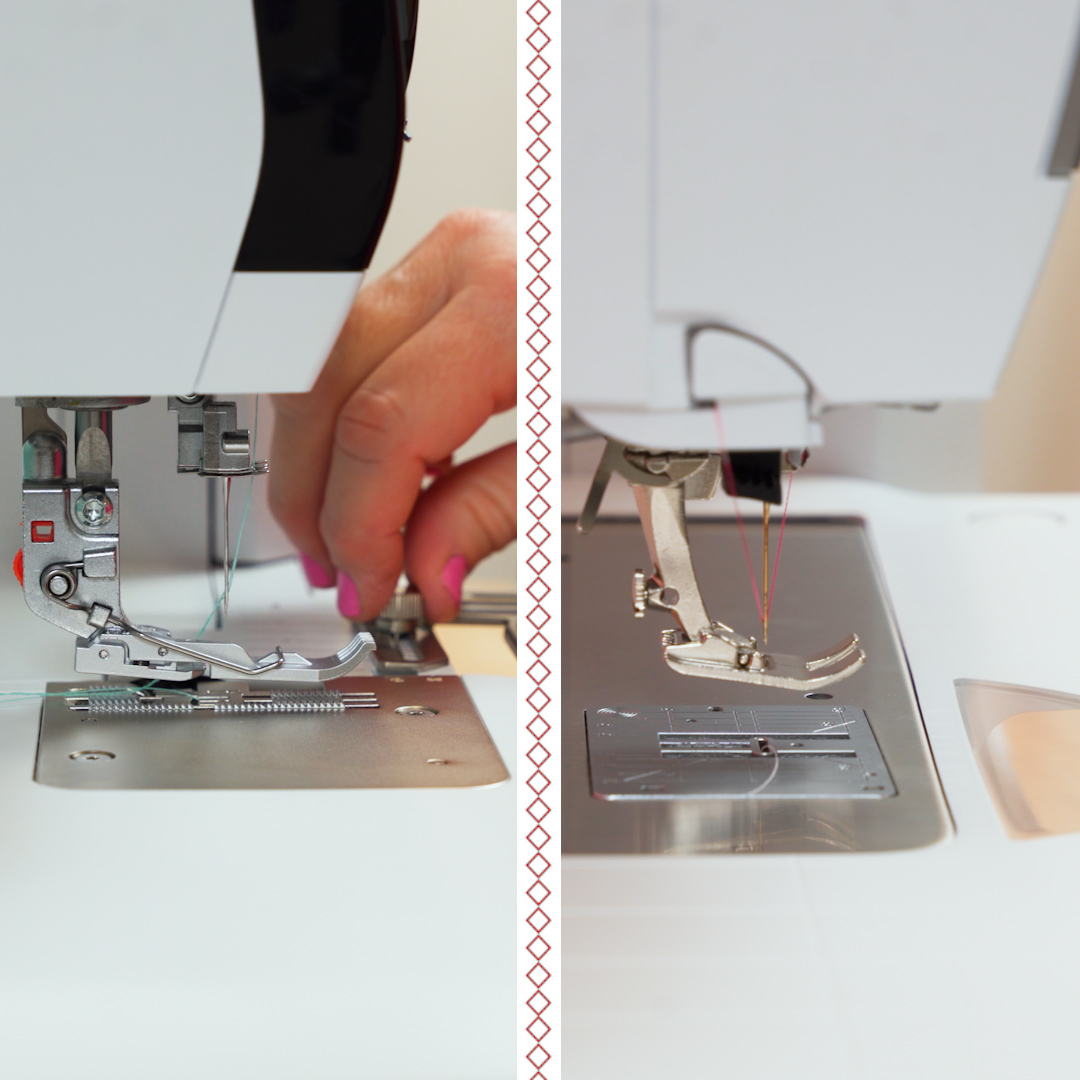
Once the binding attachment is secured to the machine, slide and adjust the opening of the attachment so that it aligns with the right edge of the presser foot. Then, tighten the screw hold it in place. The attachment will still be able to hinge toward and away from the foot so that you can move and position your fabrics.
For either machine, start by feeding the bias binding into the binding attachment and pull through about 1-2”. A sewing stiletto or tweezers can be helpful for this!
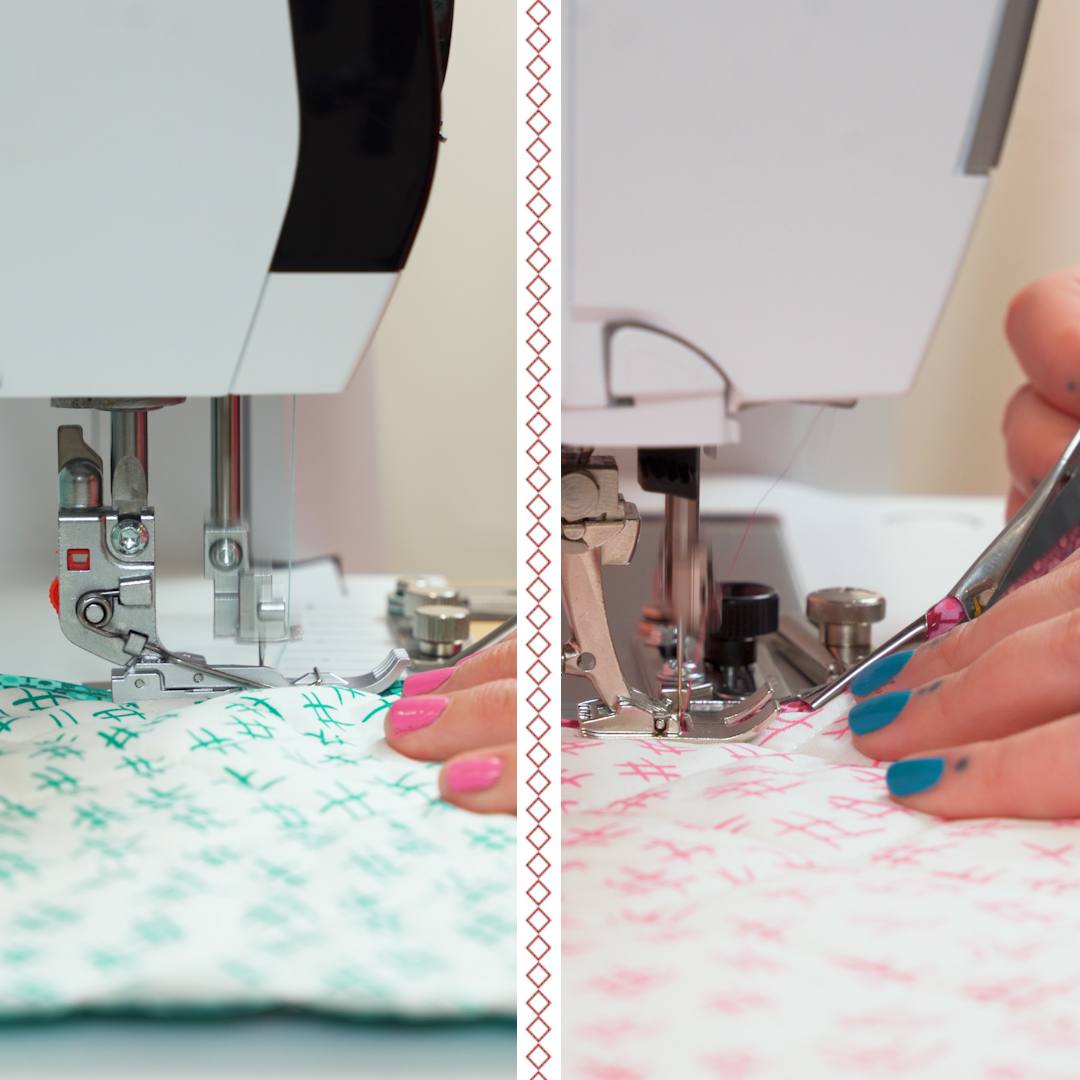
Then, place your fabric under the presser foot and nest it into the groove of the attachment. Use the Free Hand System to lower the presser foot (or raise it slightly) as you get your fabric positioned correctly.
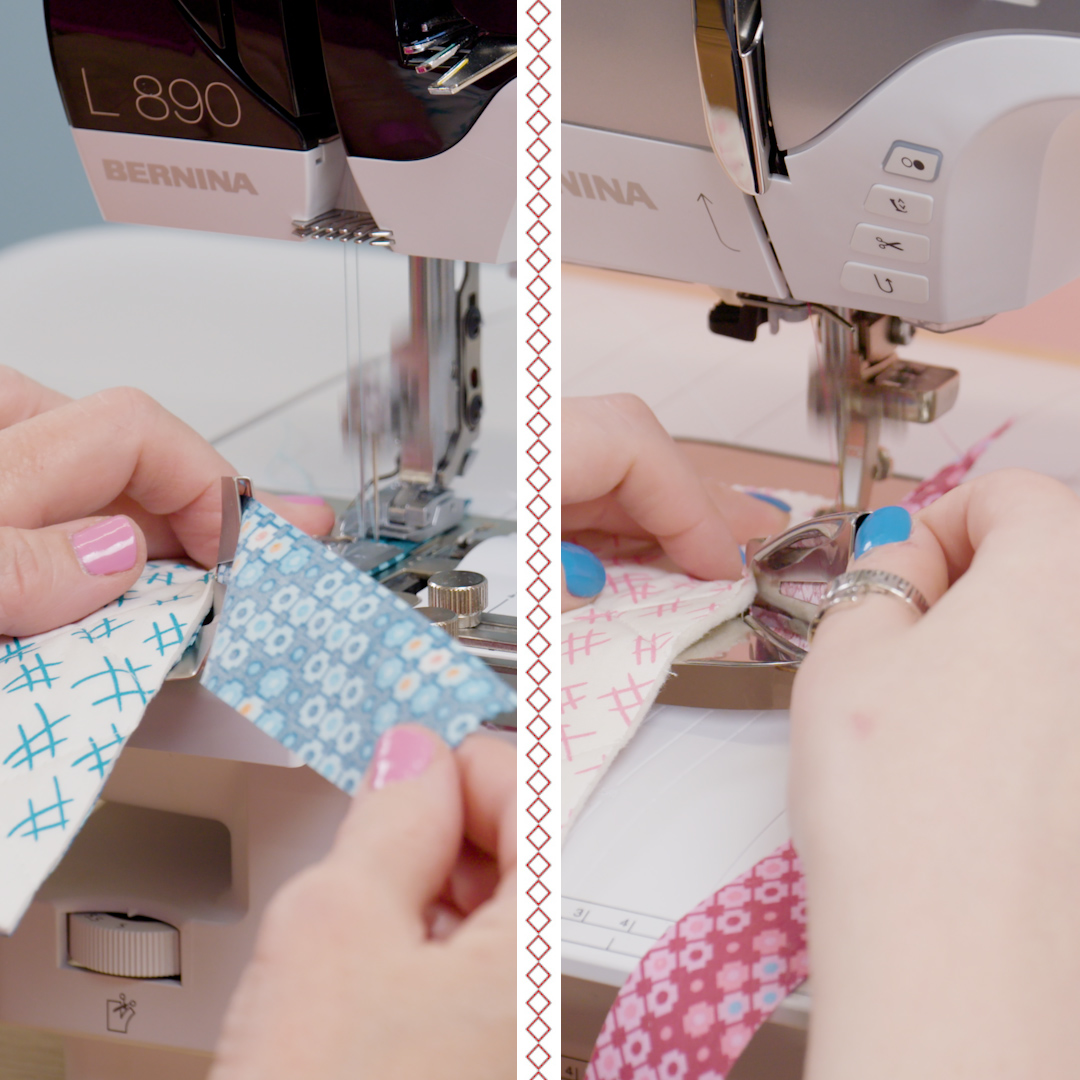
Start stitching slowly. Check periodically to make sure all layers of fabric and binding are being caught in the stitch.
Fabric Tips
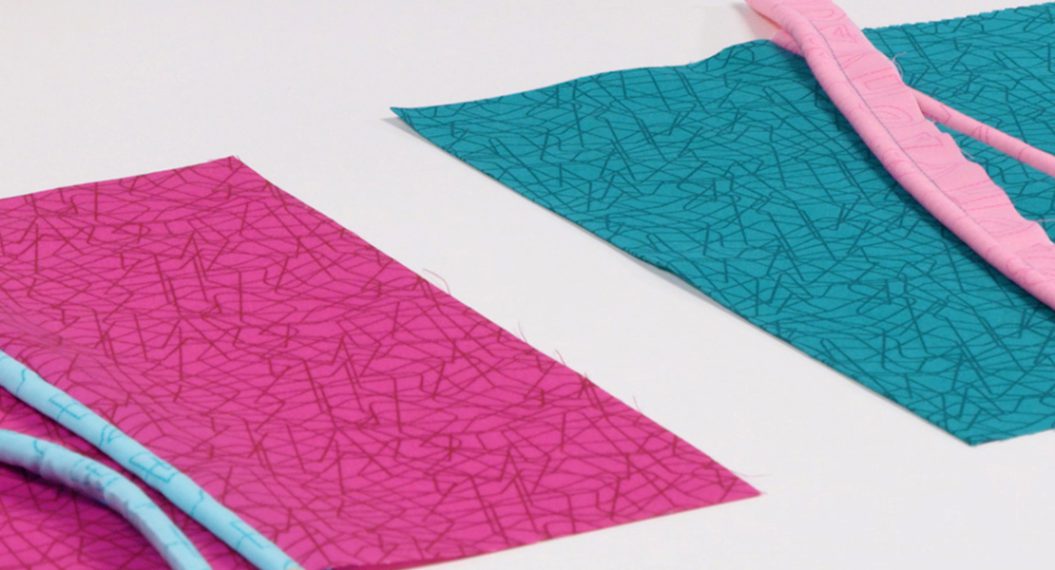
For best results, cut your binding on the bias. This will help the fabric be turned and moved more smoothly by the binding attachment.
The cutting width of your binding will be determined by the attachment. With the binding attachment for the serger, cut your bias binding 36 mm wide (or about 1 3/8”).
On the sewing machine, as mentioned, there are three different sized versions of the Binder Attachment for Unfolded Bias Tape #88. The smallest uses 28 mm (scant 1 1/8”) cut width for a 7 mm finished binding, the mid-size uses 32 mm (1 1/4″) cut width for a 8 mm finished binding, and the largest uses 38 mm (scant 1 1/2″) cut width for 11 mm finished binding.
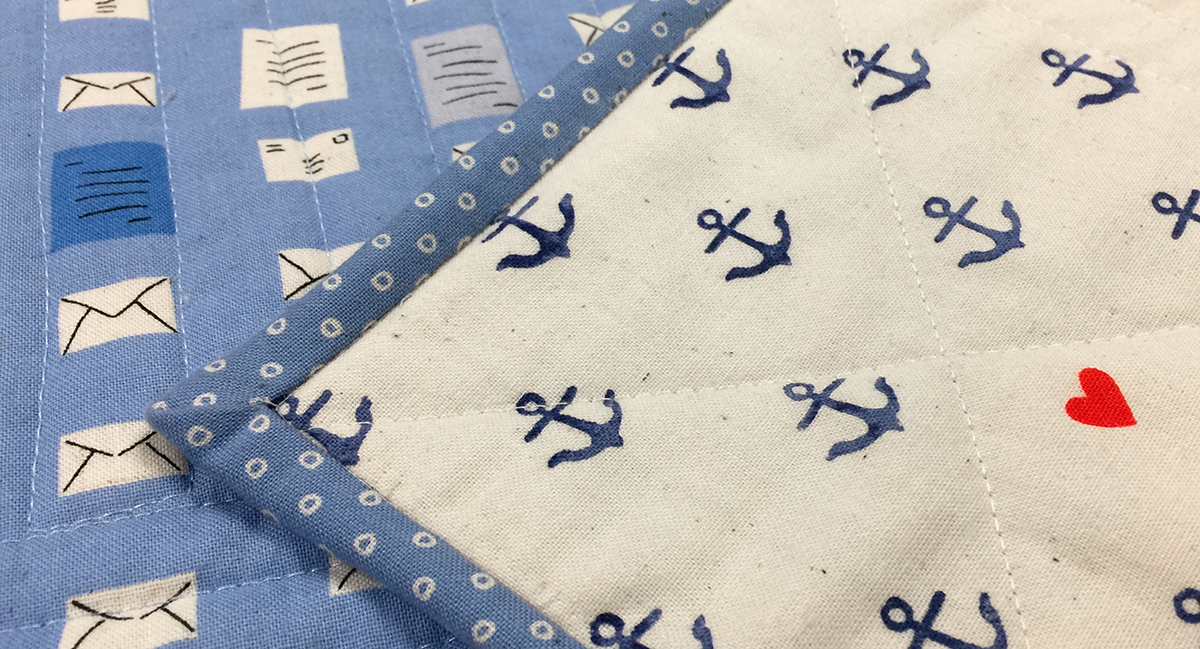
Sum of it All: Results
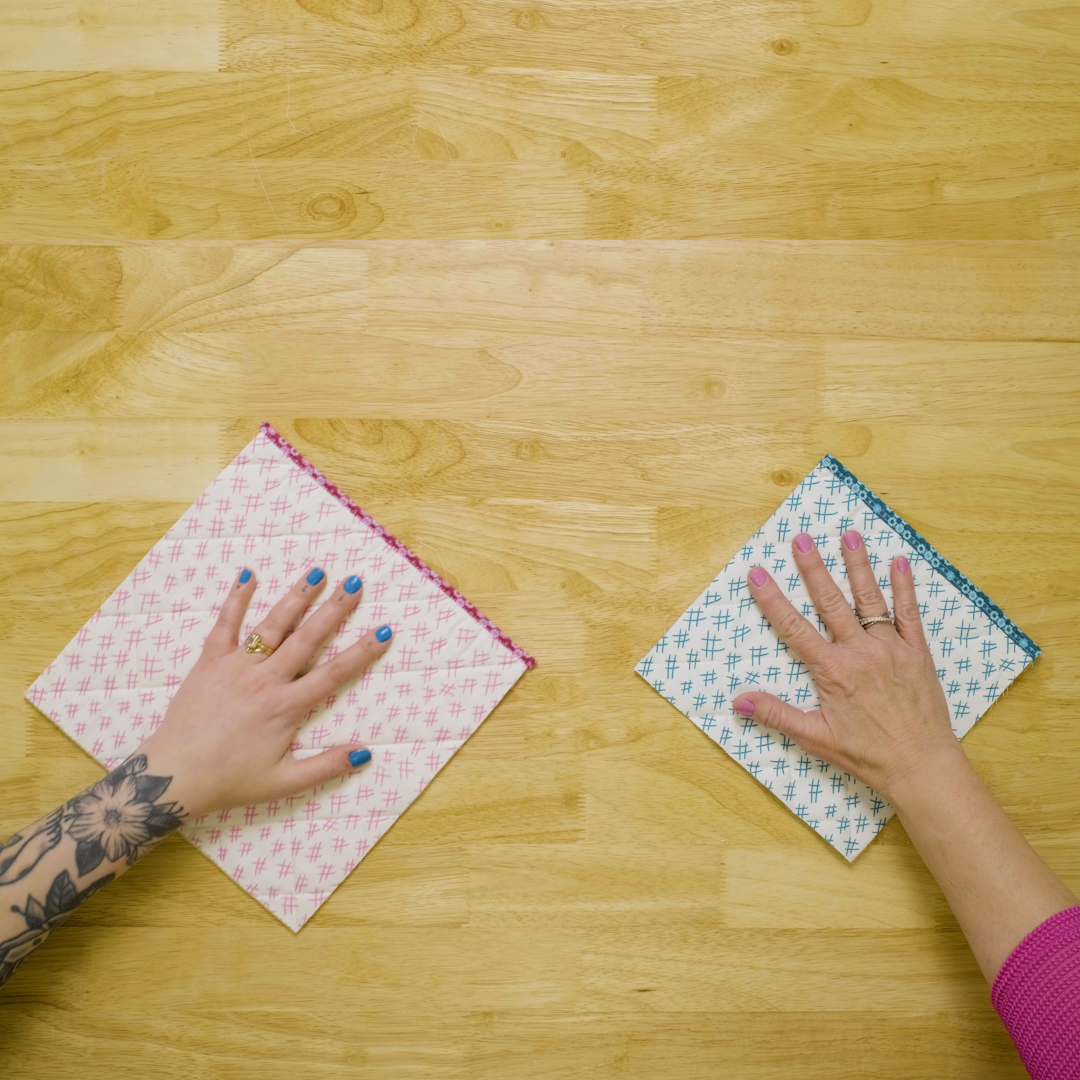
So, what do you think — which variation was easiest for you?
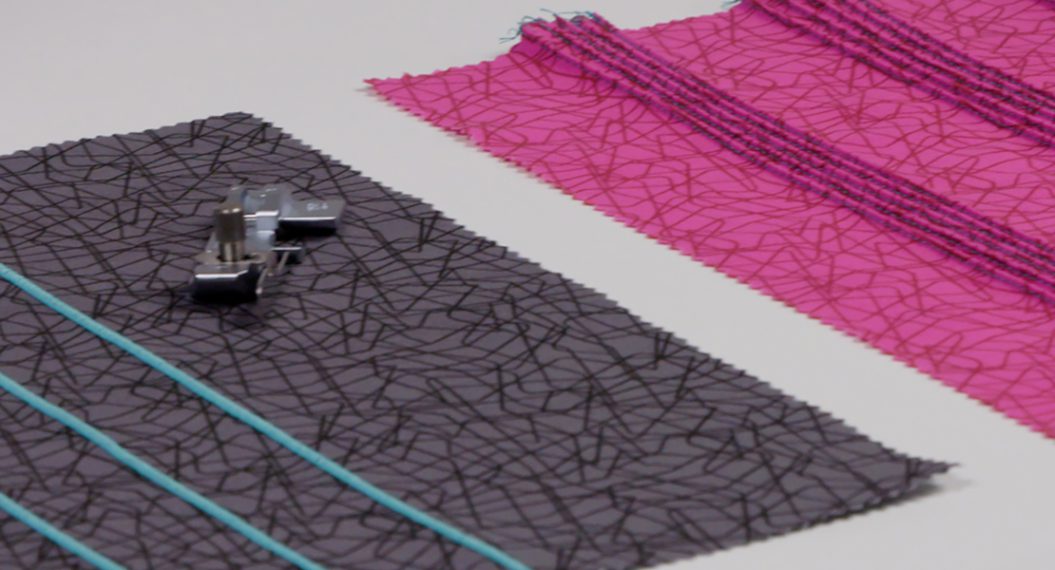
Both machines give beautiful results!
Serger
The coverstitch on the L 890 provides a particularly tidy and secure finish, with two needle threads shown on the top of the fabric and the connecting looper thread adds another opportunity for texture and dimension. Try adding a specialty textured or decorative thread in the looper for an unexpected extra detail on the back!
Sewing Machine
The variety of size options for the Binder Attachment for Unfolded Bias Tape #88 makes it a great choice if you have a specific binding size in mind. If you’re looking to create sleek, narrow bound finishes on garments, the smallest 28 mm version may be the right one for you. If you want to primarily bind thicker projects like quilts, the 38 mm will be a better fit.
No matter your preferred machine, you can get beautiful results with machine binding. For more ideas, be sure to check out the Big Book of Feet!