Tips for Sewing with a High-Speed Machine
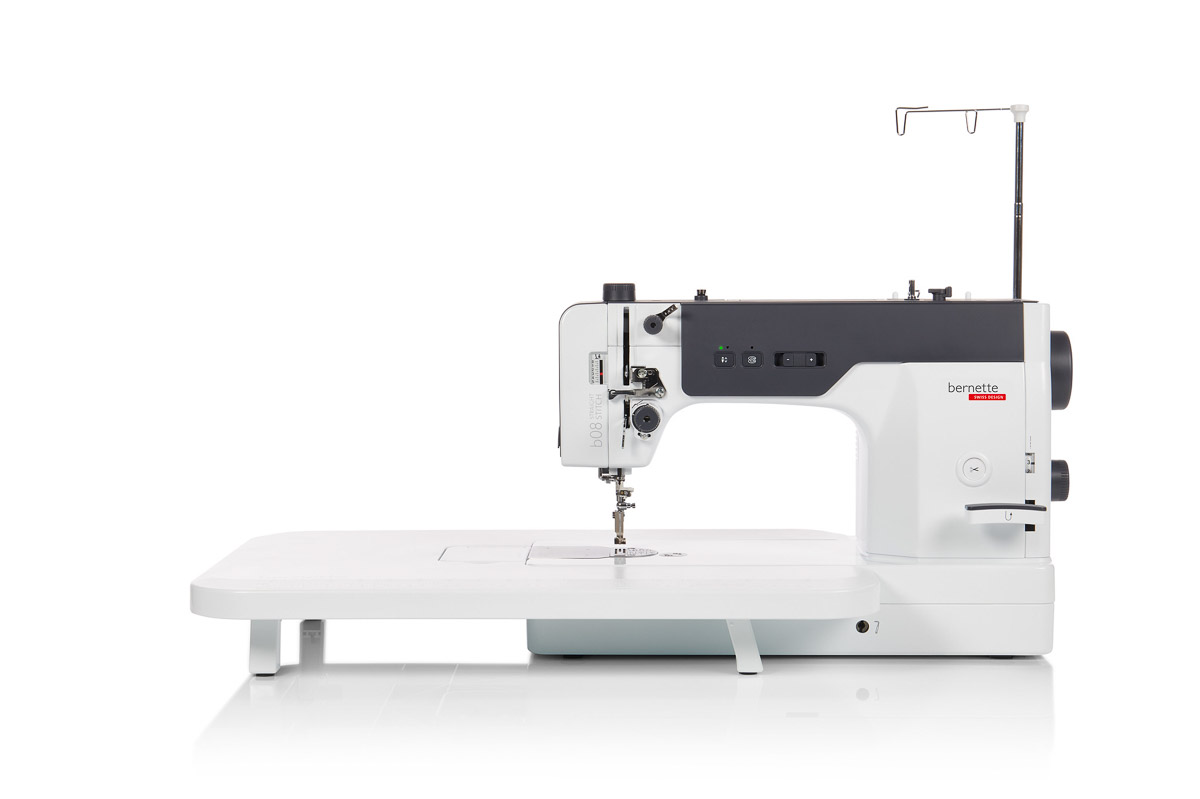
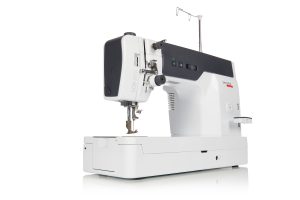
The bernette 08 Straight Stitch machine stands out for two basic attributes: speed and power. It can sew at up to 1600 stitches per minute and, thanks to its powerful DC motor, it has unmatched needle-piercing power. This makes it a darling of bag makers, DYI sewists, and gear makers. It’s also a champion of speed piecing for quilters who like to indulge in rapid stitching.
As the saying goes, with great power comes great responsibility. Simply put, it pays to learn to handle a fast machine. Luckily, that is easily done by considering a few key points, which I have laid out for you in this short video and extra tips below!
High-Speed Sewing Calls for a High-Speed Needle
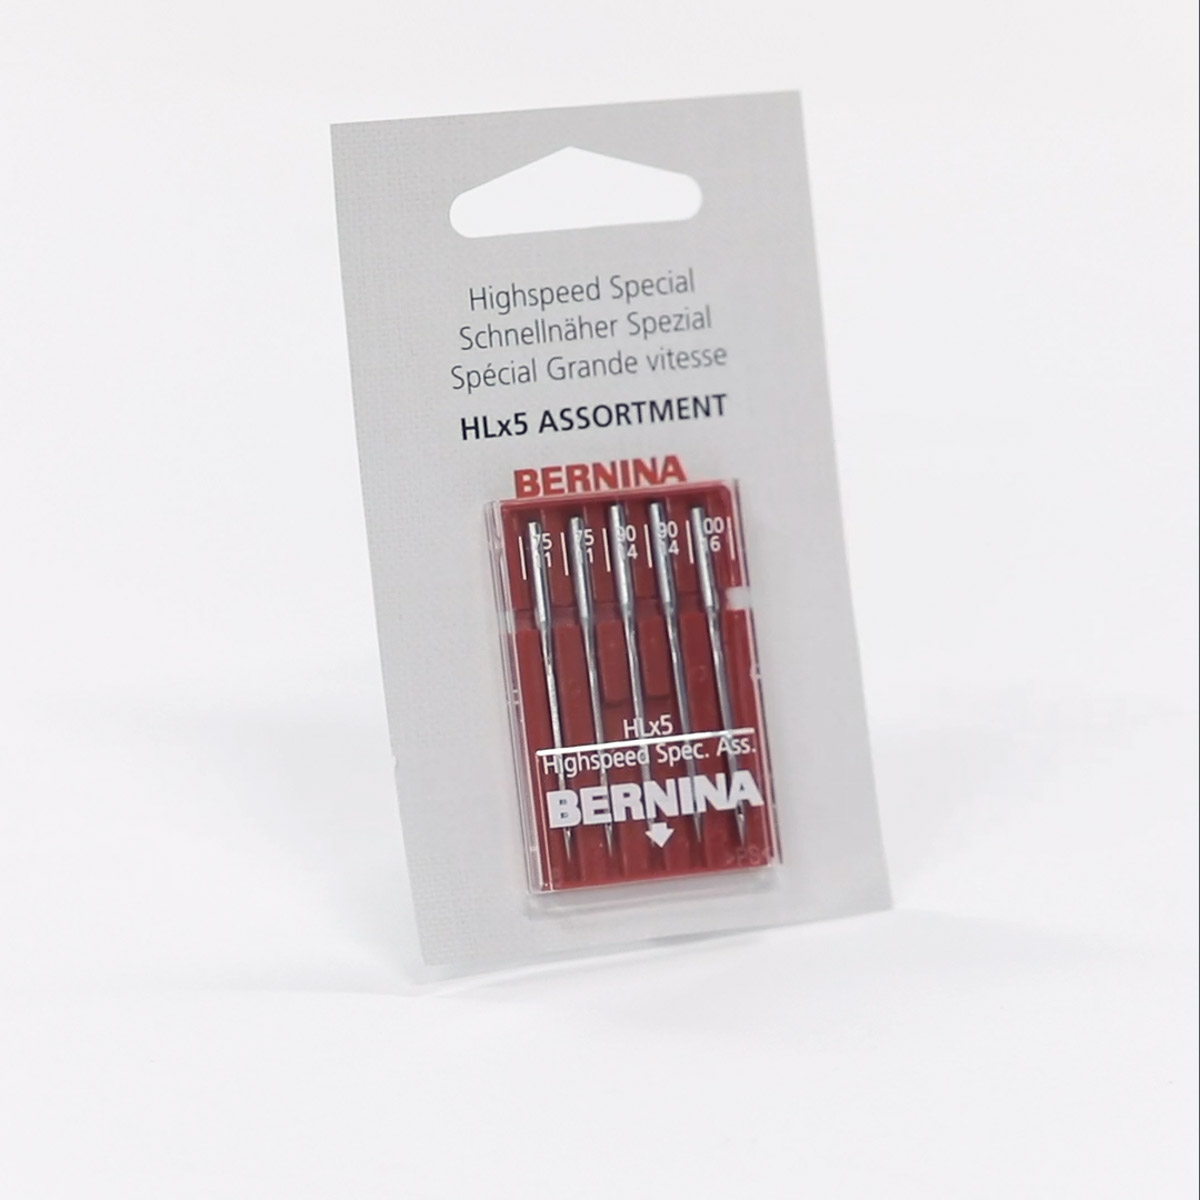
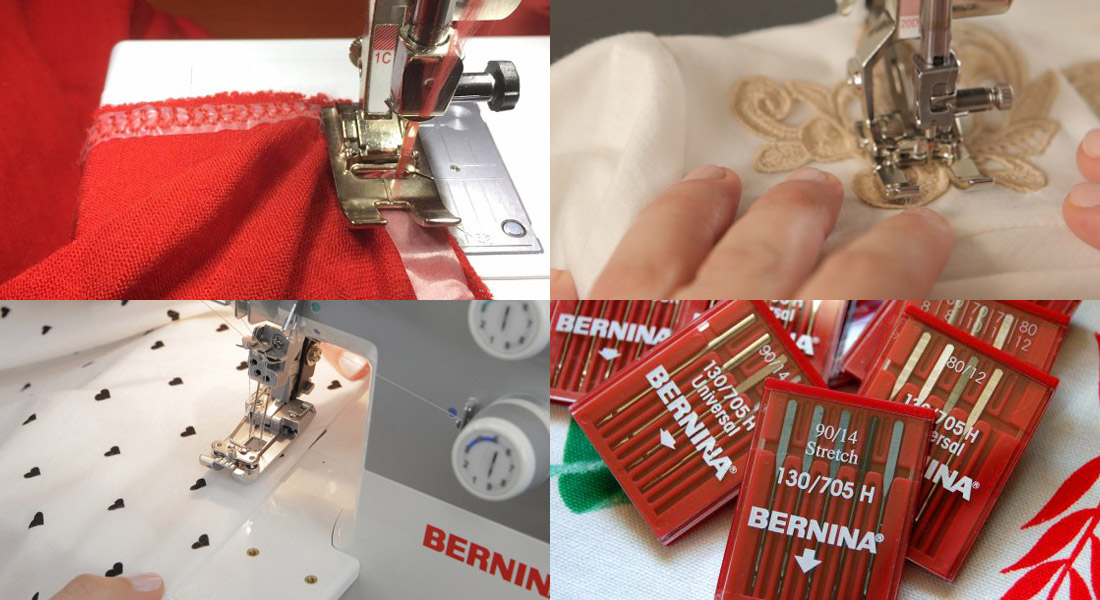
The b08 requires high-speed HLx5 needles.
- They are available in a variety of types and sizes.
- Their shaft is slender (yet strong) to reduce friction and heat at high speed.
- Be sure to use the right type (e.g. quilting vs Titanium) of HLx5 needles.
- The needle size is also key to ensure proper flow of the thread and good stitch formation.
- The bernette 08 comes with an assortment of HLx5 needles included. They are also available from Schmetz and Organ brands.
Threading the Machine
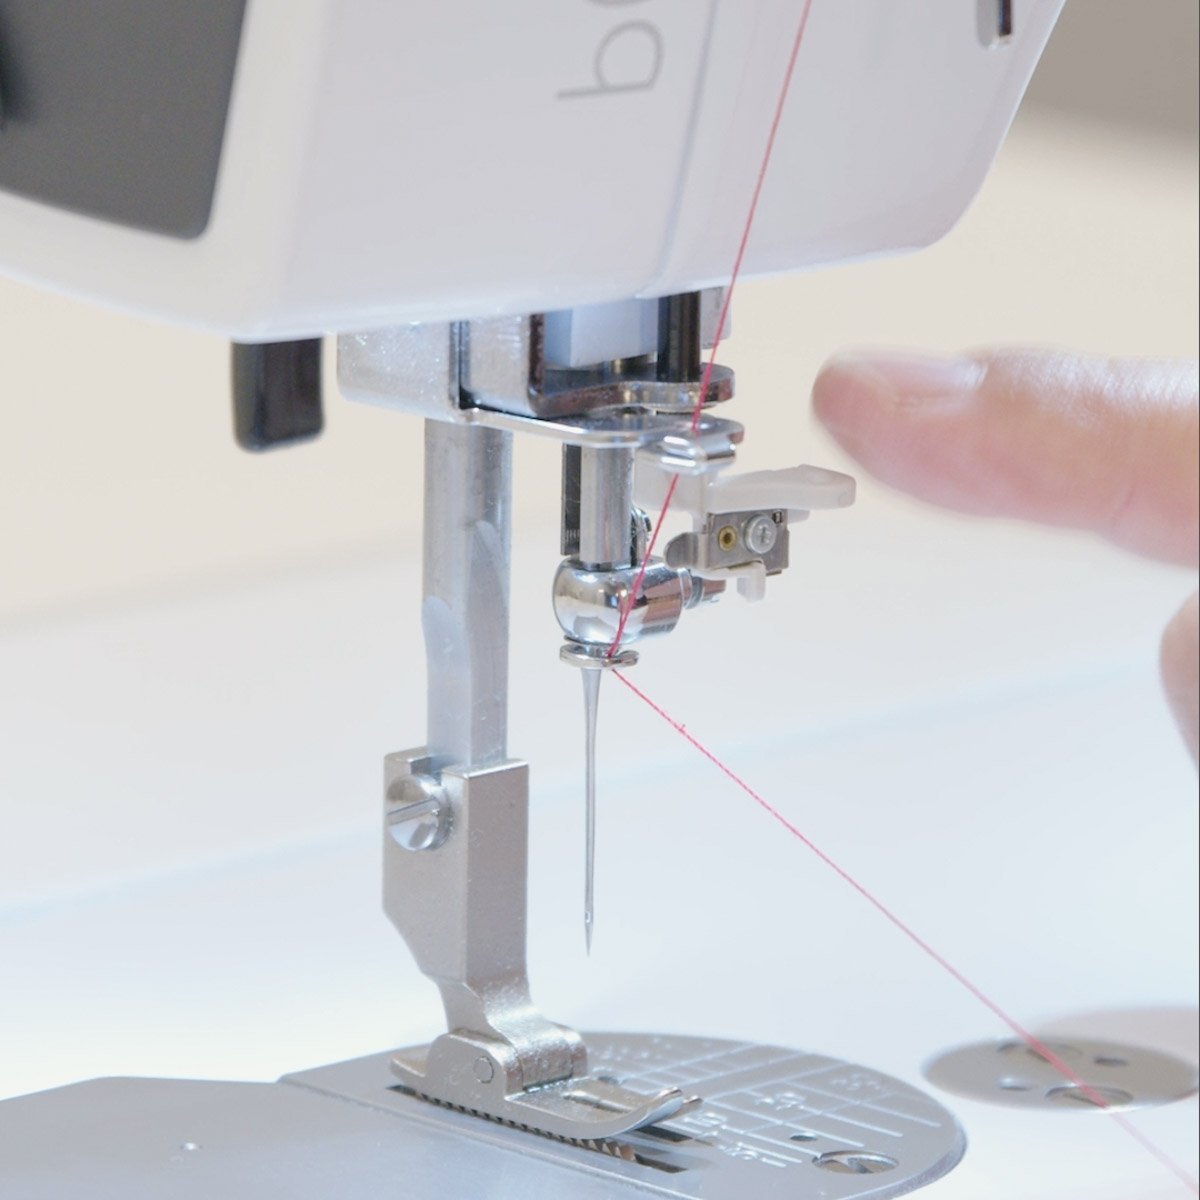
Proper threading of any sewing machine is the first and most important step … after selecting the proper needle. Here are some points to consider:
- Always begin threading with the presser foot in the UP position to ensure the tension discs are in the OPEN position.
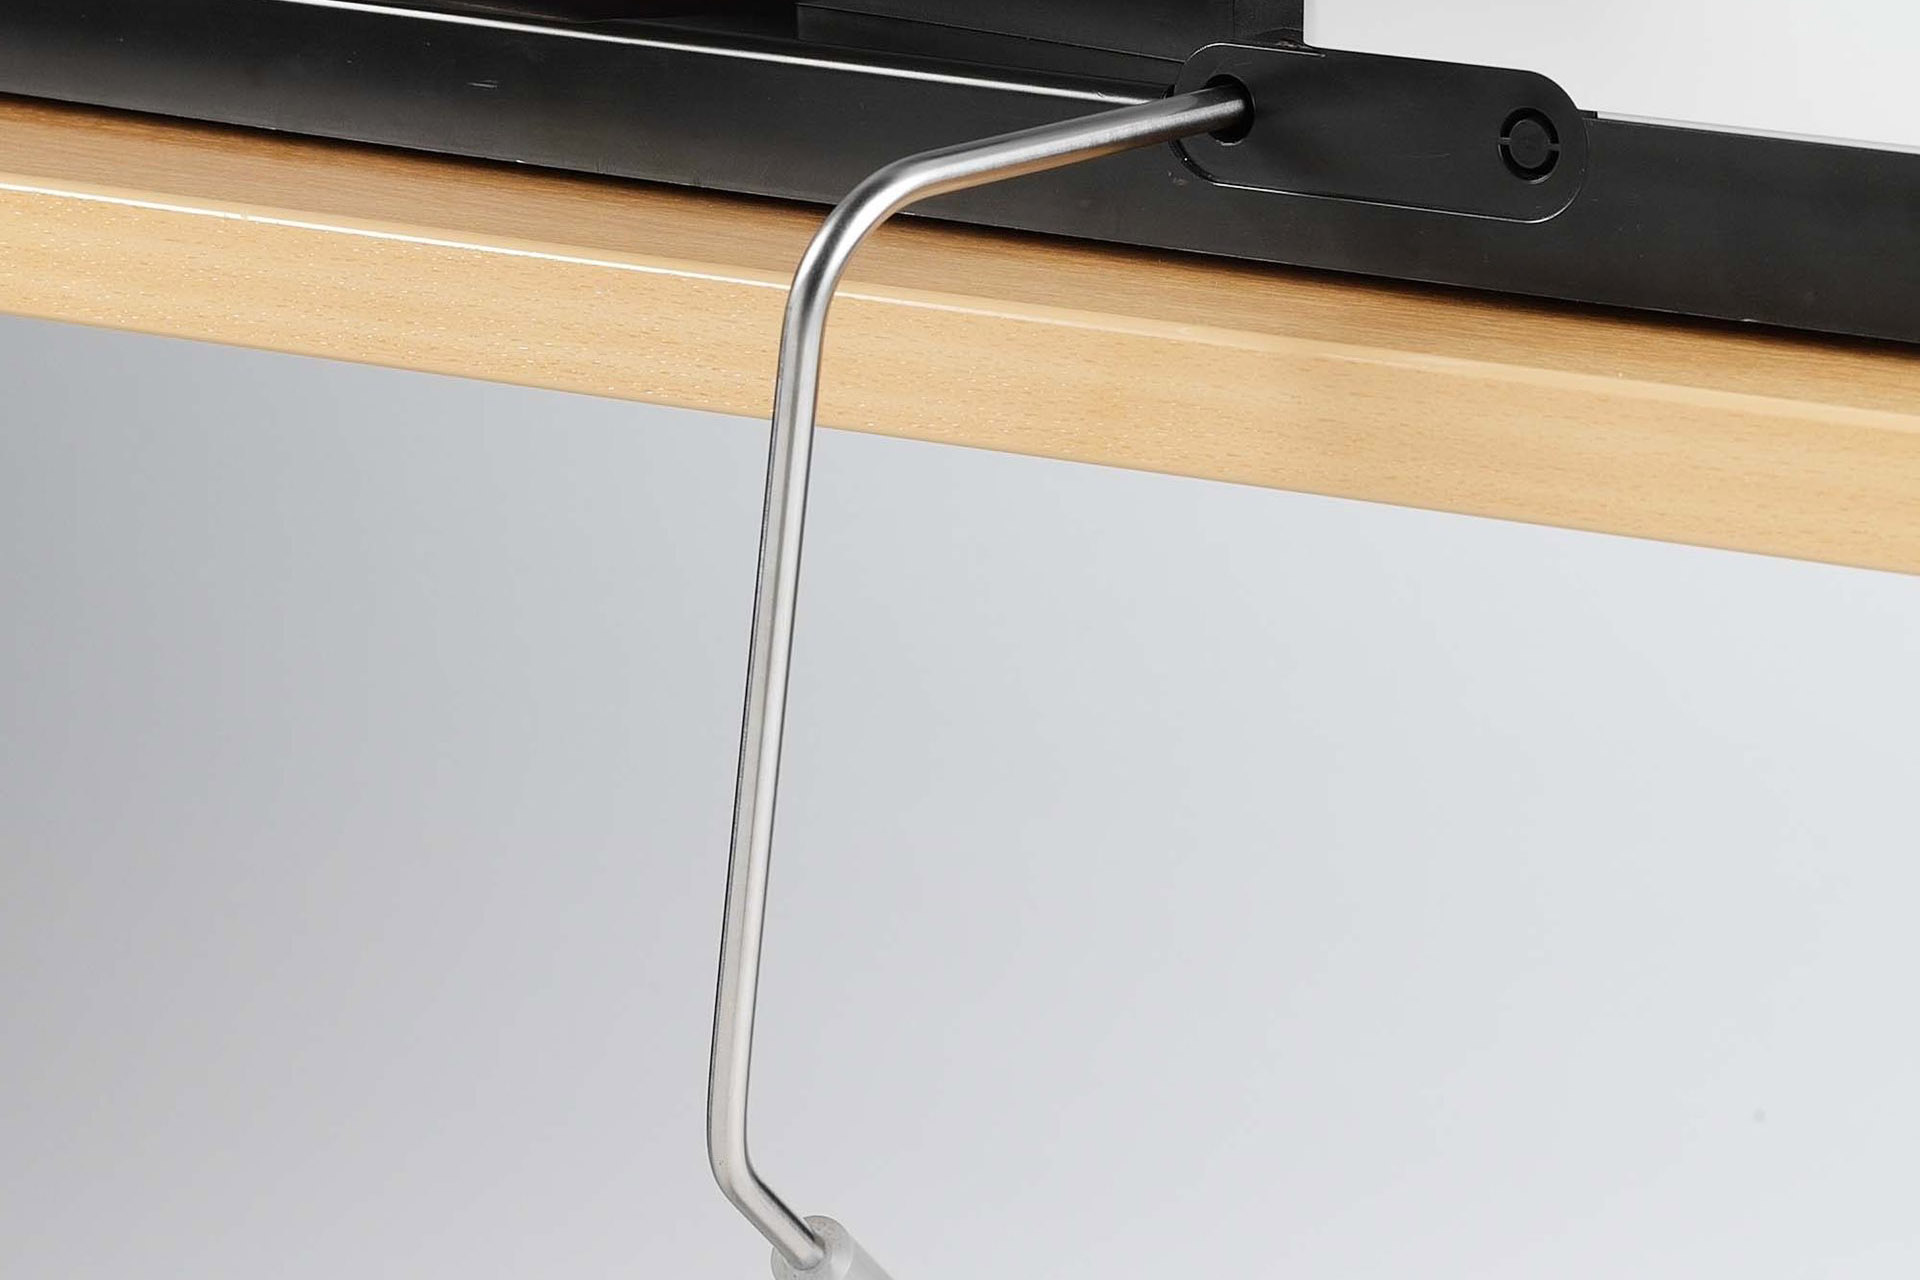
- TIP: when passing the main tension unit, lower the foot (with the bernette Free Hand System Knee Lifter). This will put tension on the thread and help ensure the thread is properly channeled through the machine.
- After threading, with the foot still down, tug on the thread tail to verify you have the expected tension on the thread.
- TIP: if you need to bring up the bobbin thread, use the needle UP/DOWN button while holding on to the needle thread to raise the bobbin thread.
Testing First Is the Best Way to Success
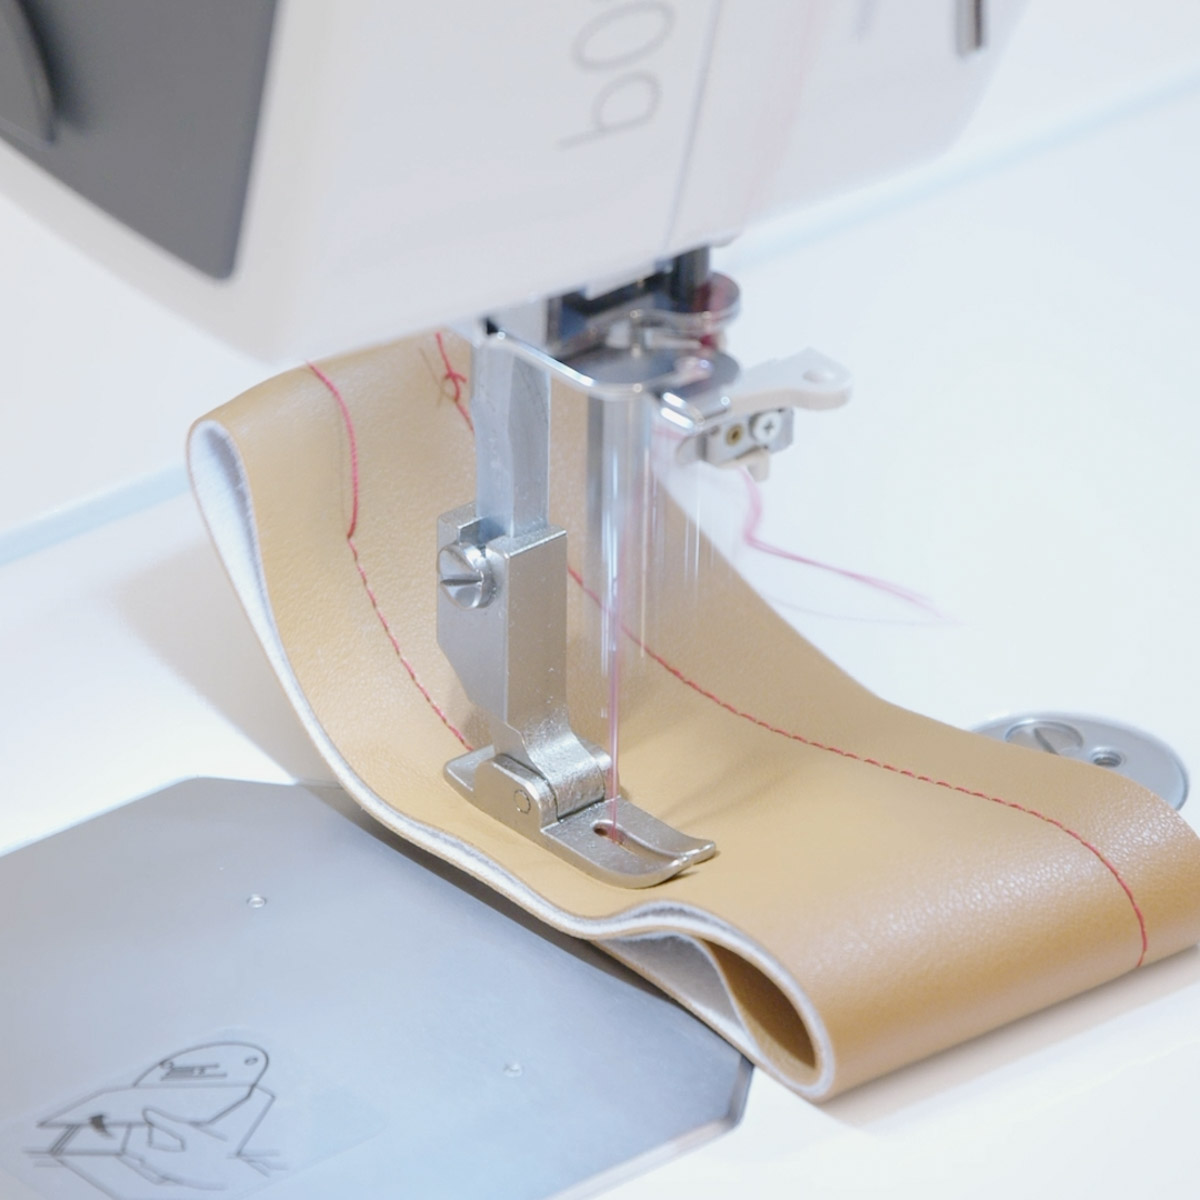
If it goes without saying … it needs to be said first. When working with a fast and powerful machine, testing your materials, thread, and needle first is crucial in ensuring good results.
Be sure to test all the representative scenarios of your project, such as:
- Two layers
- Folded pieces? Four layers
- Straps attached to a bag: six or more layers
- Zippers? Test, combining zipper tape with your material
Prime Your Seam Before Going to High Speed
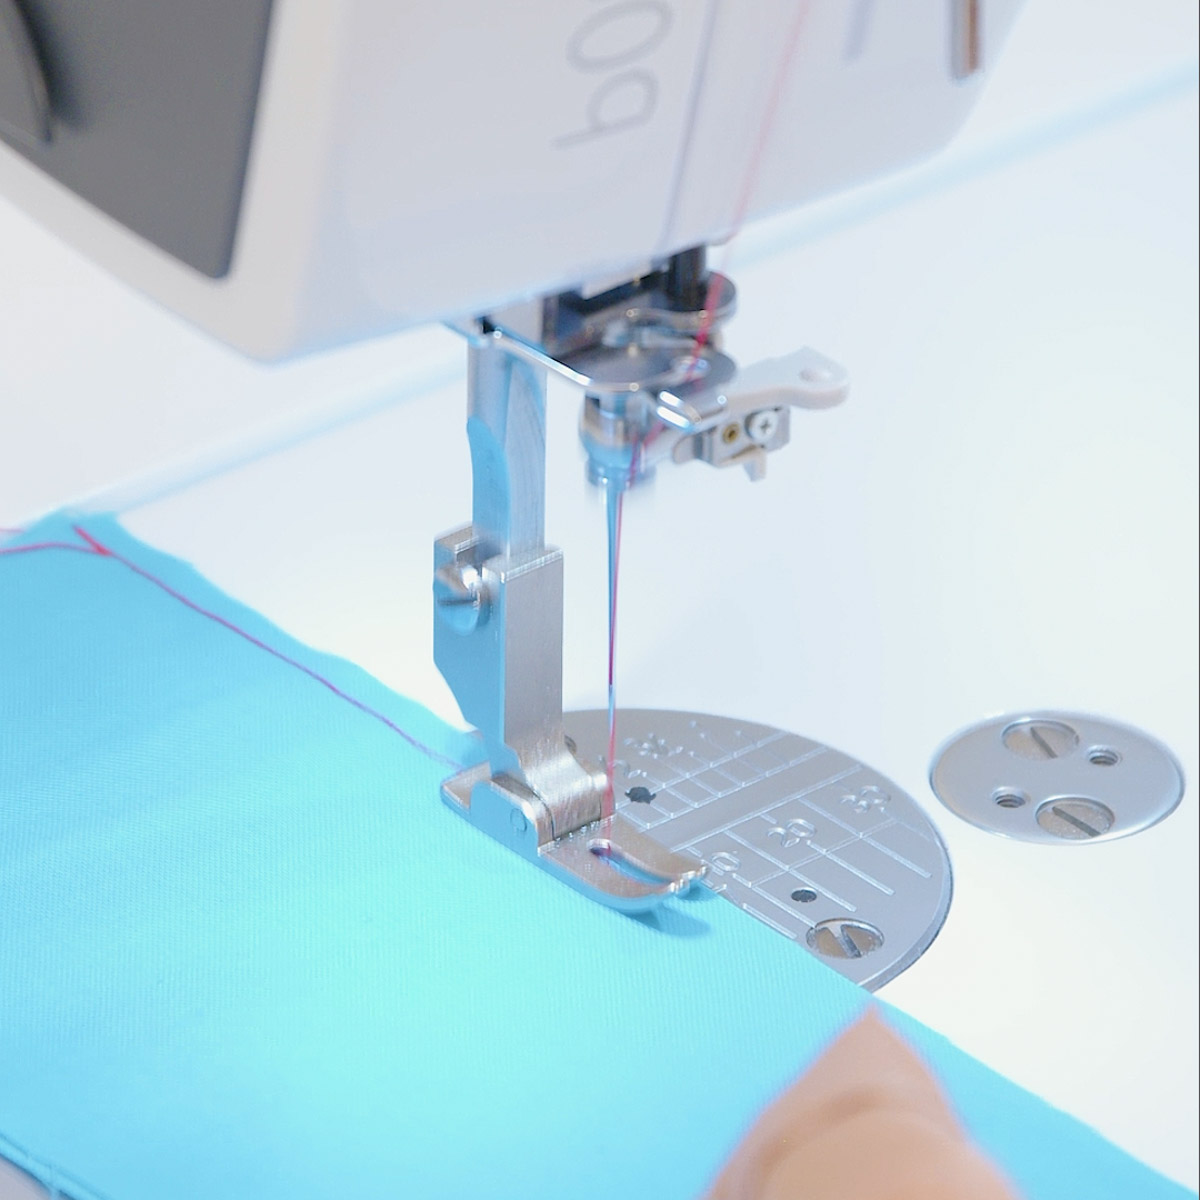
It’s always better to secure layers together before launching off at high speed. If the material or fabric is not prone to shifting (aka well behaved):
- Start at the leading edge and sew slowly until said edge reaches the back of the foot.
- Stop needle down.
- Make sure you have control of the fabric/material before you resume sewing.
- Increase speed, but not all at once, to maintain control of the material as you sew faster.
- Alternate method for fabrics that are prone to shifting at the start of a seam (e.g. very fine fabrics): start about 1/2″ into the seam and reverse to anchor the seam at the beginning, then sew forward again.
Calibrate Your Stitch Length for The Materials Sewn
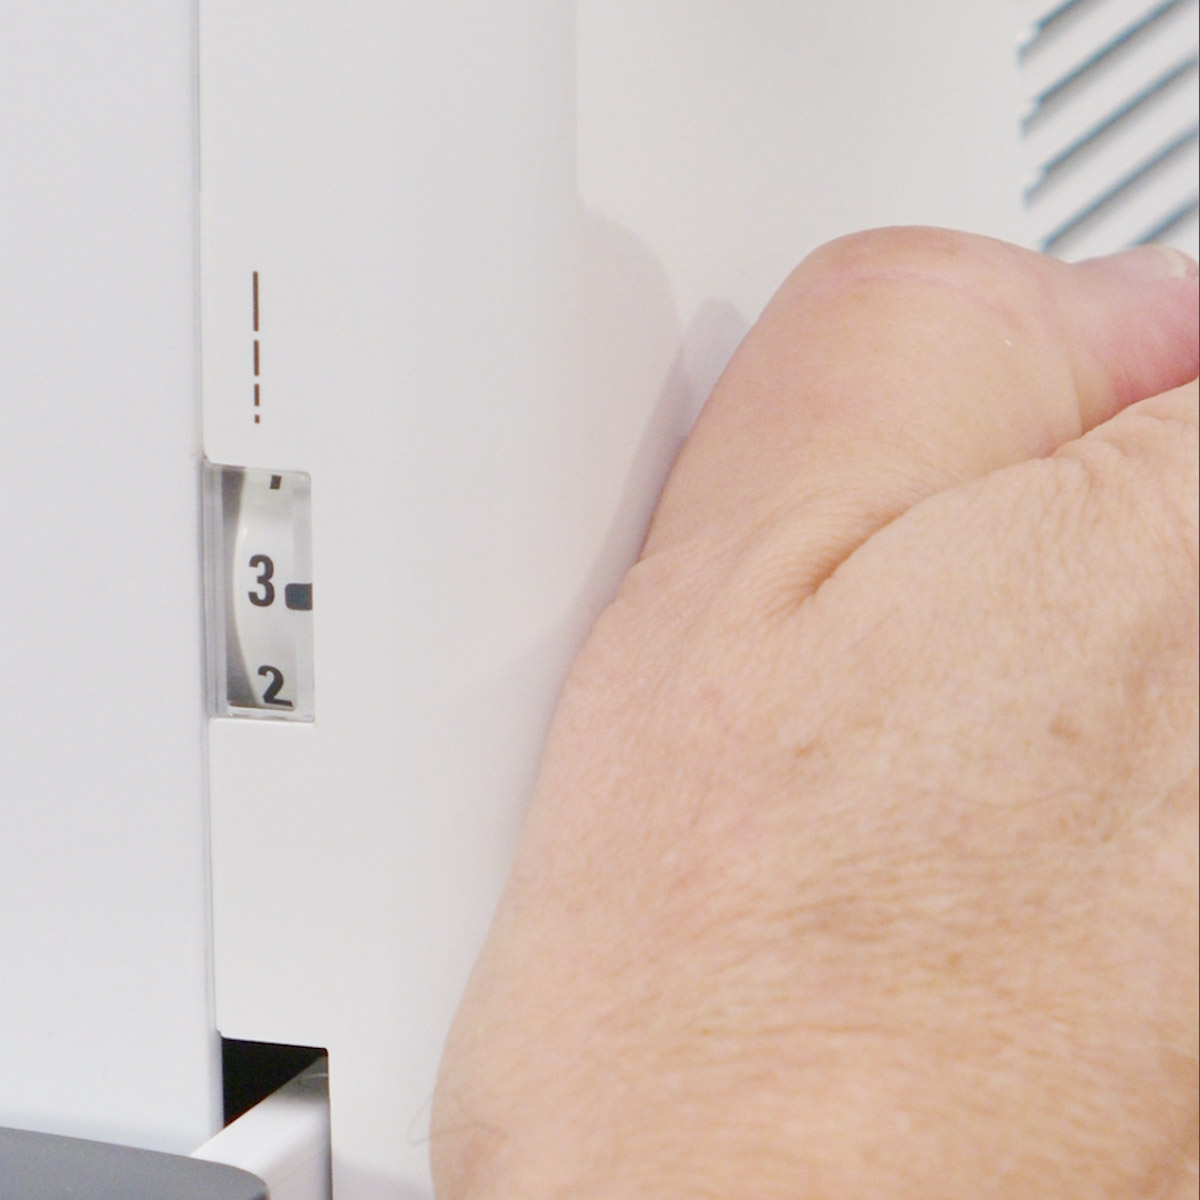
We all know that thinner fabrics typically call for shorter stitches and thicker materials require longer stitches, on average, to yield good seams. Assuming you have the right needle and thread:
- Adjust the stitch length for a basic project with two layers.
- Increase the stitch length for good results on heavier layers.
- Be sure to test all sets of layers so you can optimize your stitch length for every part of your project.
TIP: with heavier threads and/or layers, a longer stitch length is preferable.
Securing Stitches at The End of a Seam
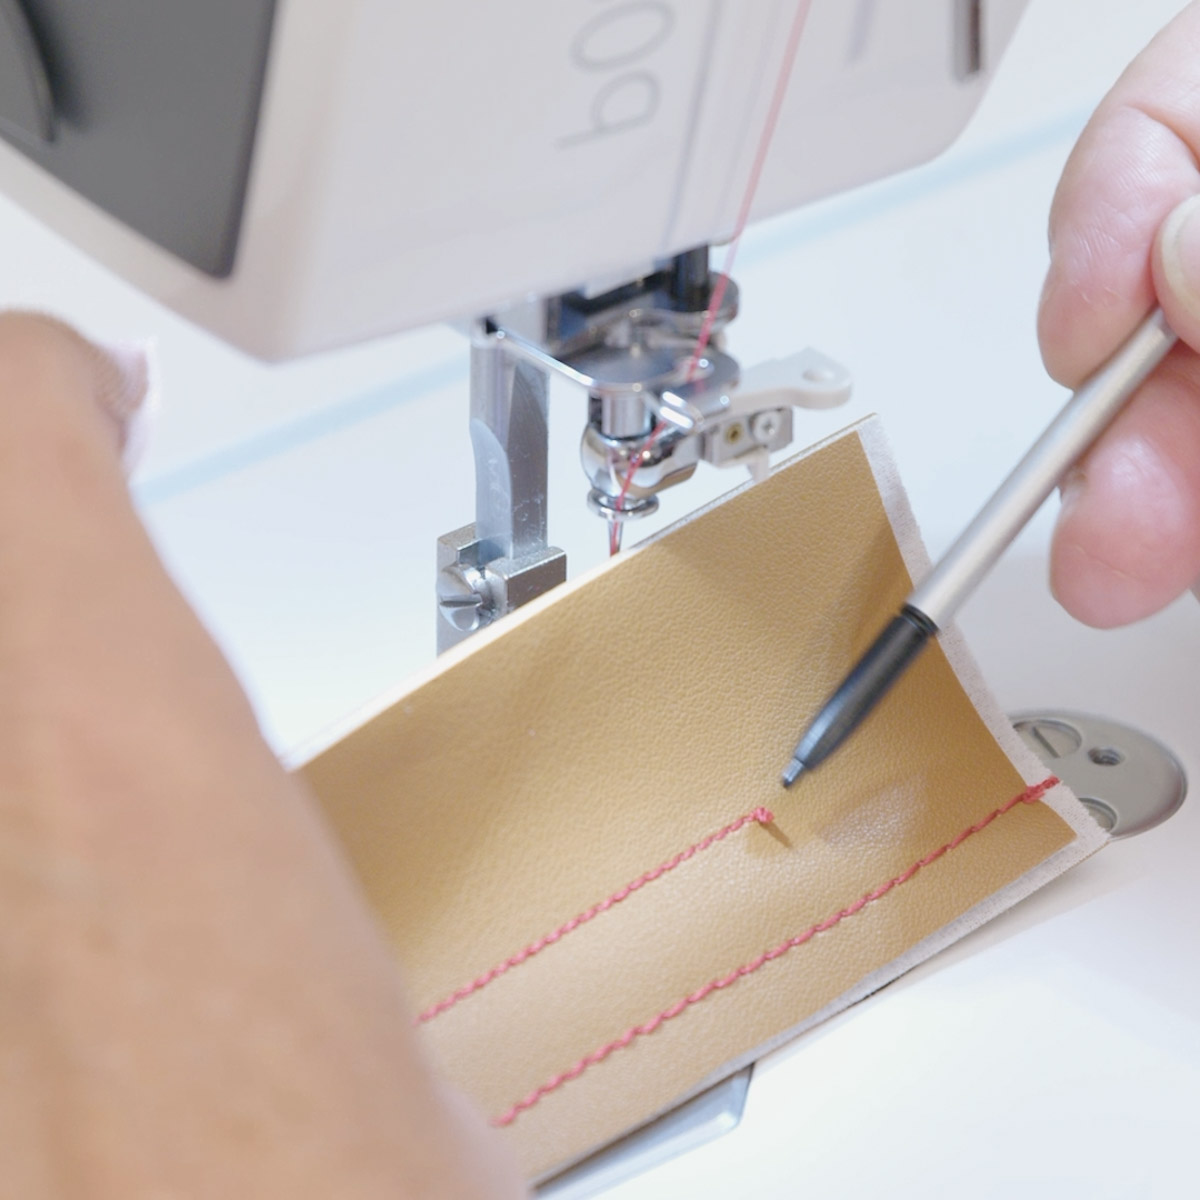
With a fast machine, the end of a seam can come by pretty fast. The best advice here is to slow down before reaching the end of the piece so that you can treat securing stitches as the separate step that they are.
When reaching the end of the seam:
- Reverse sew for about 1/2” at the end of the seam to secure the stitches.
- Option 1: sew a few stitches in reverse.
- Option 2: reduce the stitch length by ~1/2 (if practical) and sew in reverse to help conceal the securing stitches.
- Consider reducing the stitch length to 0 mm to secure in place, if adequate for your project.
Sewing with Heavy Threads
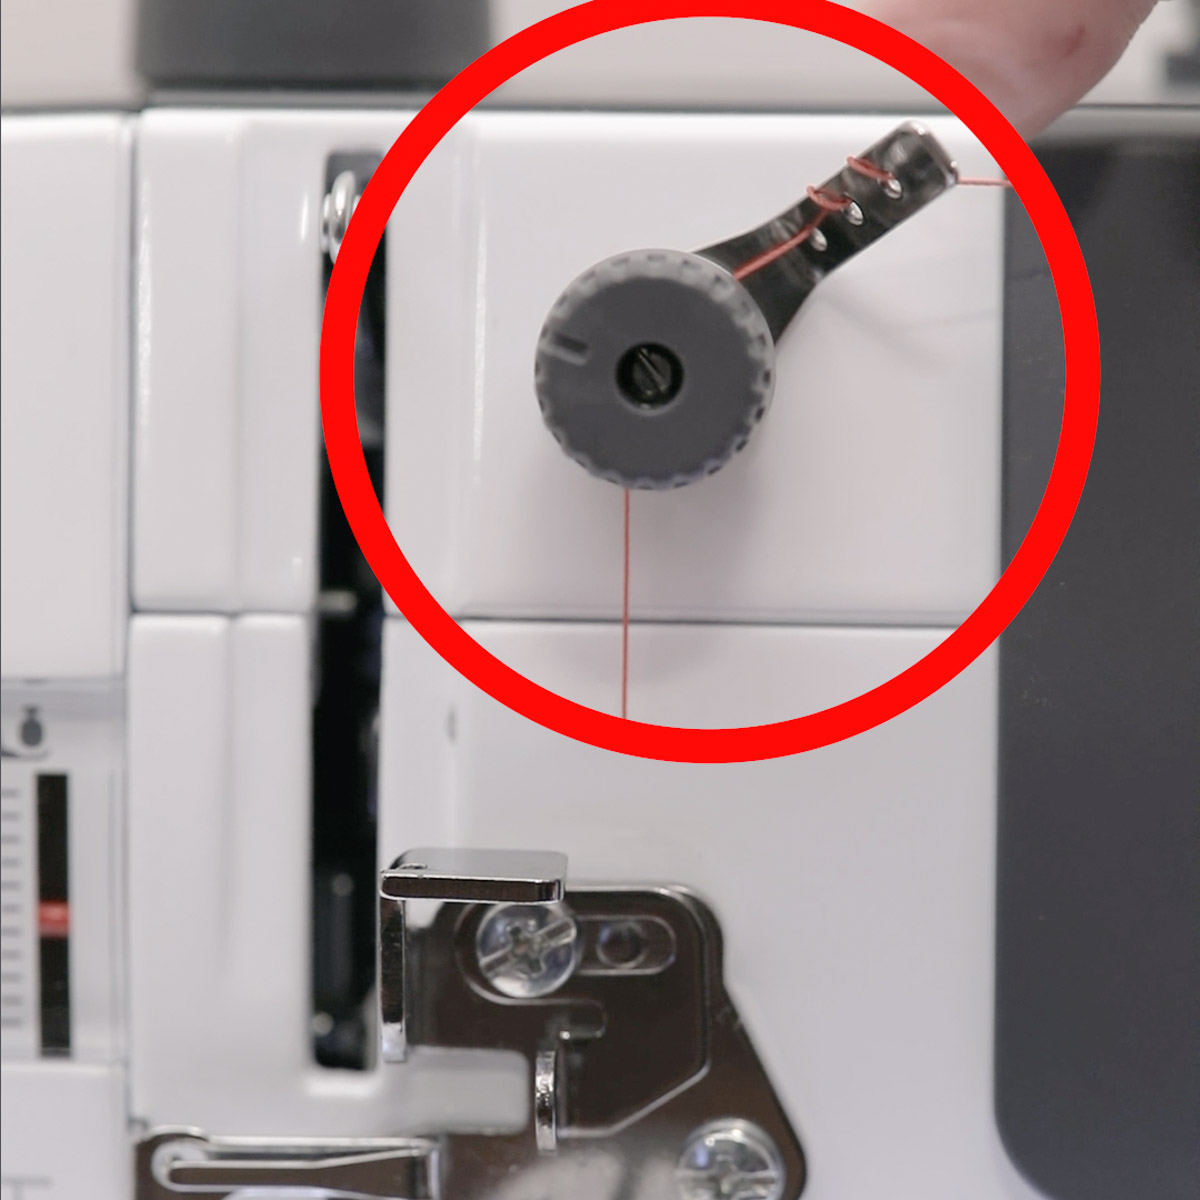
Sewing with heavy threads (e.g. Tex 50 and above):
- Use a larger needle (HLx5 type only).
- Consider manually threading the needle.
Note: needle threader may not be successful with threads Tex 30, 40 or above (some heavier threads have a twist to them that may not hook up with the threader as easily).
- DO NOT use the automatic thread cutter with heavy threads (as mentioned in the owner’s manual).
- Use the additional thread guide for heavy threads.
- TIP: Adjust the extra thread guide for heavy thread as needed (move right for more tension, left for less tension).
- Sew with a longer stitch (if a stitch is too short, heavy threads can sometimes loop in the seam).
- When sewing on specialty heavy materials, always research specific recommendations for threads and settings that match the materials.
Sewing on a high-speed machine is not so different from any other sewing machine. The key is to have all factors under control before launching at high speed. Otherwise, things can get out of control very quickly. With proper preparation, a fast machine like the bernette 08 Straight Stitch is a dream for productive sewing. And, oh yes! It also excels at slow-speed sewing, especially on very heavy materials.
What you might also like
One comment on “Tips for Sewing with a High-Speed Machine”
Leave a Reply
You must be logged in to post a comment.


I’ve been considering the purchase of this machine but I’m a little intimidated now after reading this post. Lol! Guess I’d get used to it. I don’t sew with specialty fabrics or make much besides quilts. I didn’t know I’d need special needles for piecing. Hmmmm….