Tips and Tools for Sewing With Waxed Canvas
Hi all! Paige here from Stitched Slowly. I’m a new BERNINA Ambassador ready to pump you up for sewing with one of my favorite fabrics-waxed canvas!
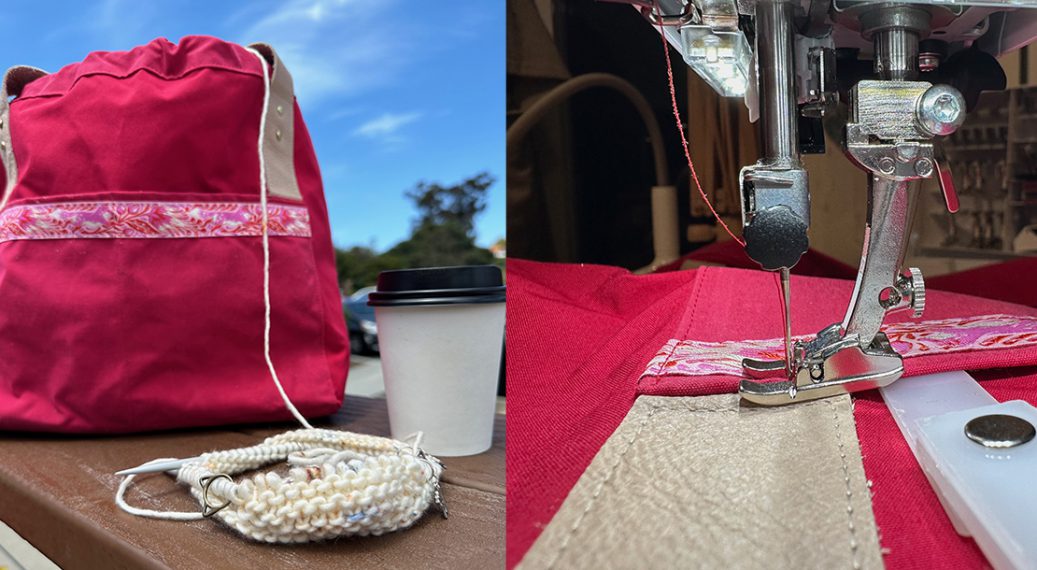
Waxed canvas bags and coats have seen a particular renaissance the last few years in the home sewing community, a trend I have leaned fully into. Today, I want to show you a few of my favorite tools and tips for working with this unique textile.
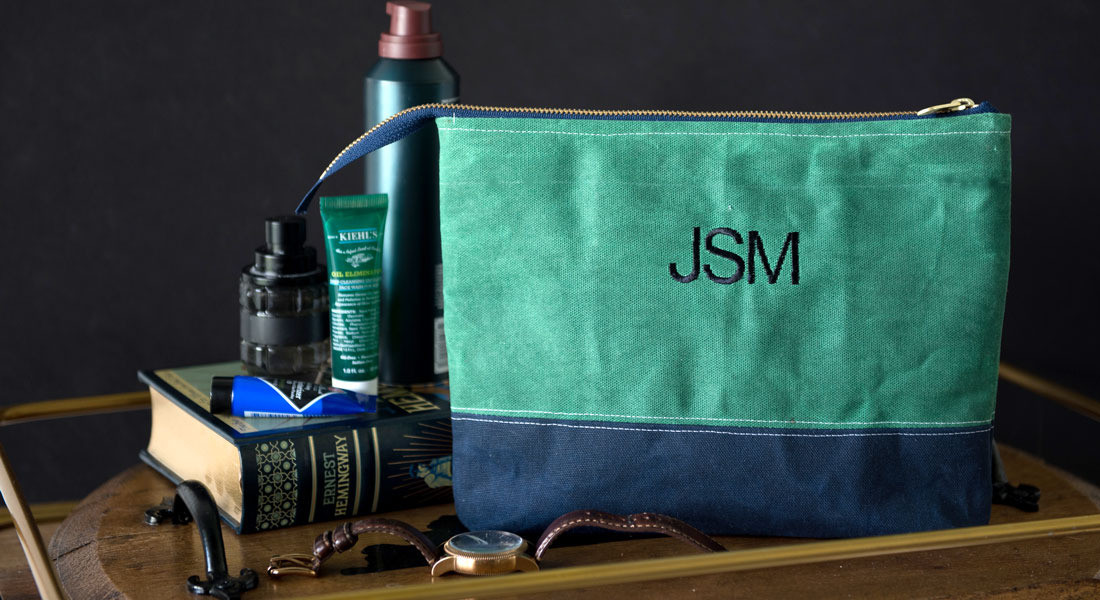
Waxed canvas and its cousins waxed cotton, waxed linen, and oilskin are a class of natural fiber fabrics coated with a wax particularly suited to hardwearing projects like bags and outerwear. The type of coating, base fiber and application of coating to the cloth determines the exact textile name. Discussing the differences could be a whole post on its own! They behave very similarly under the needle (weight depending!), so today we will simply use waxed canvas to refer to all the variations of waxed fabric.
Prep/Tools
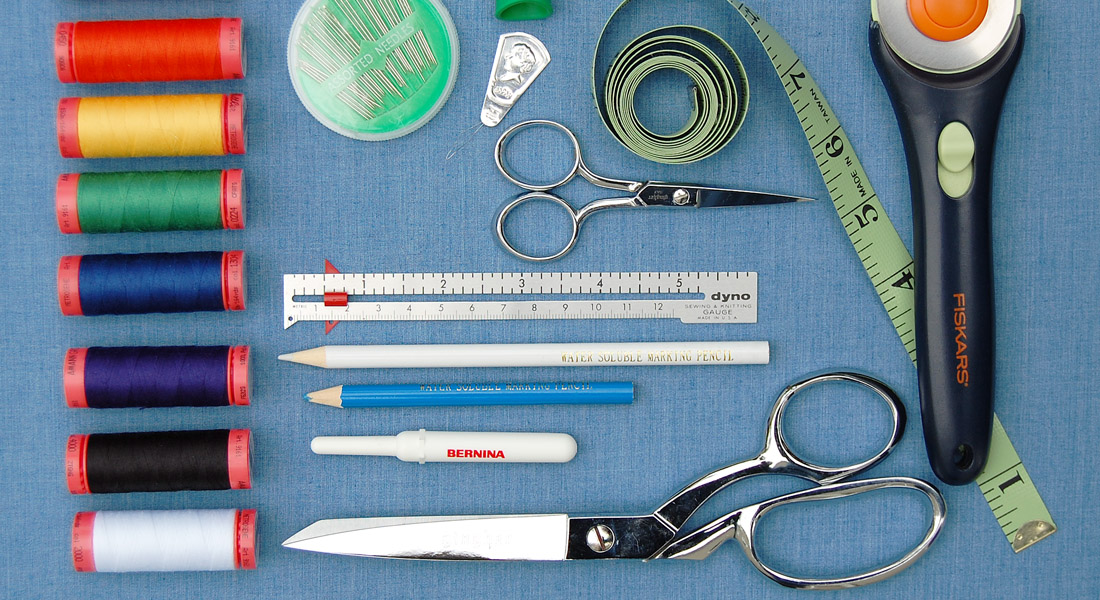
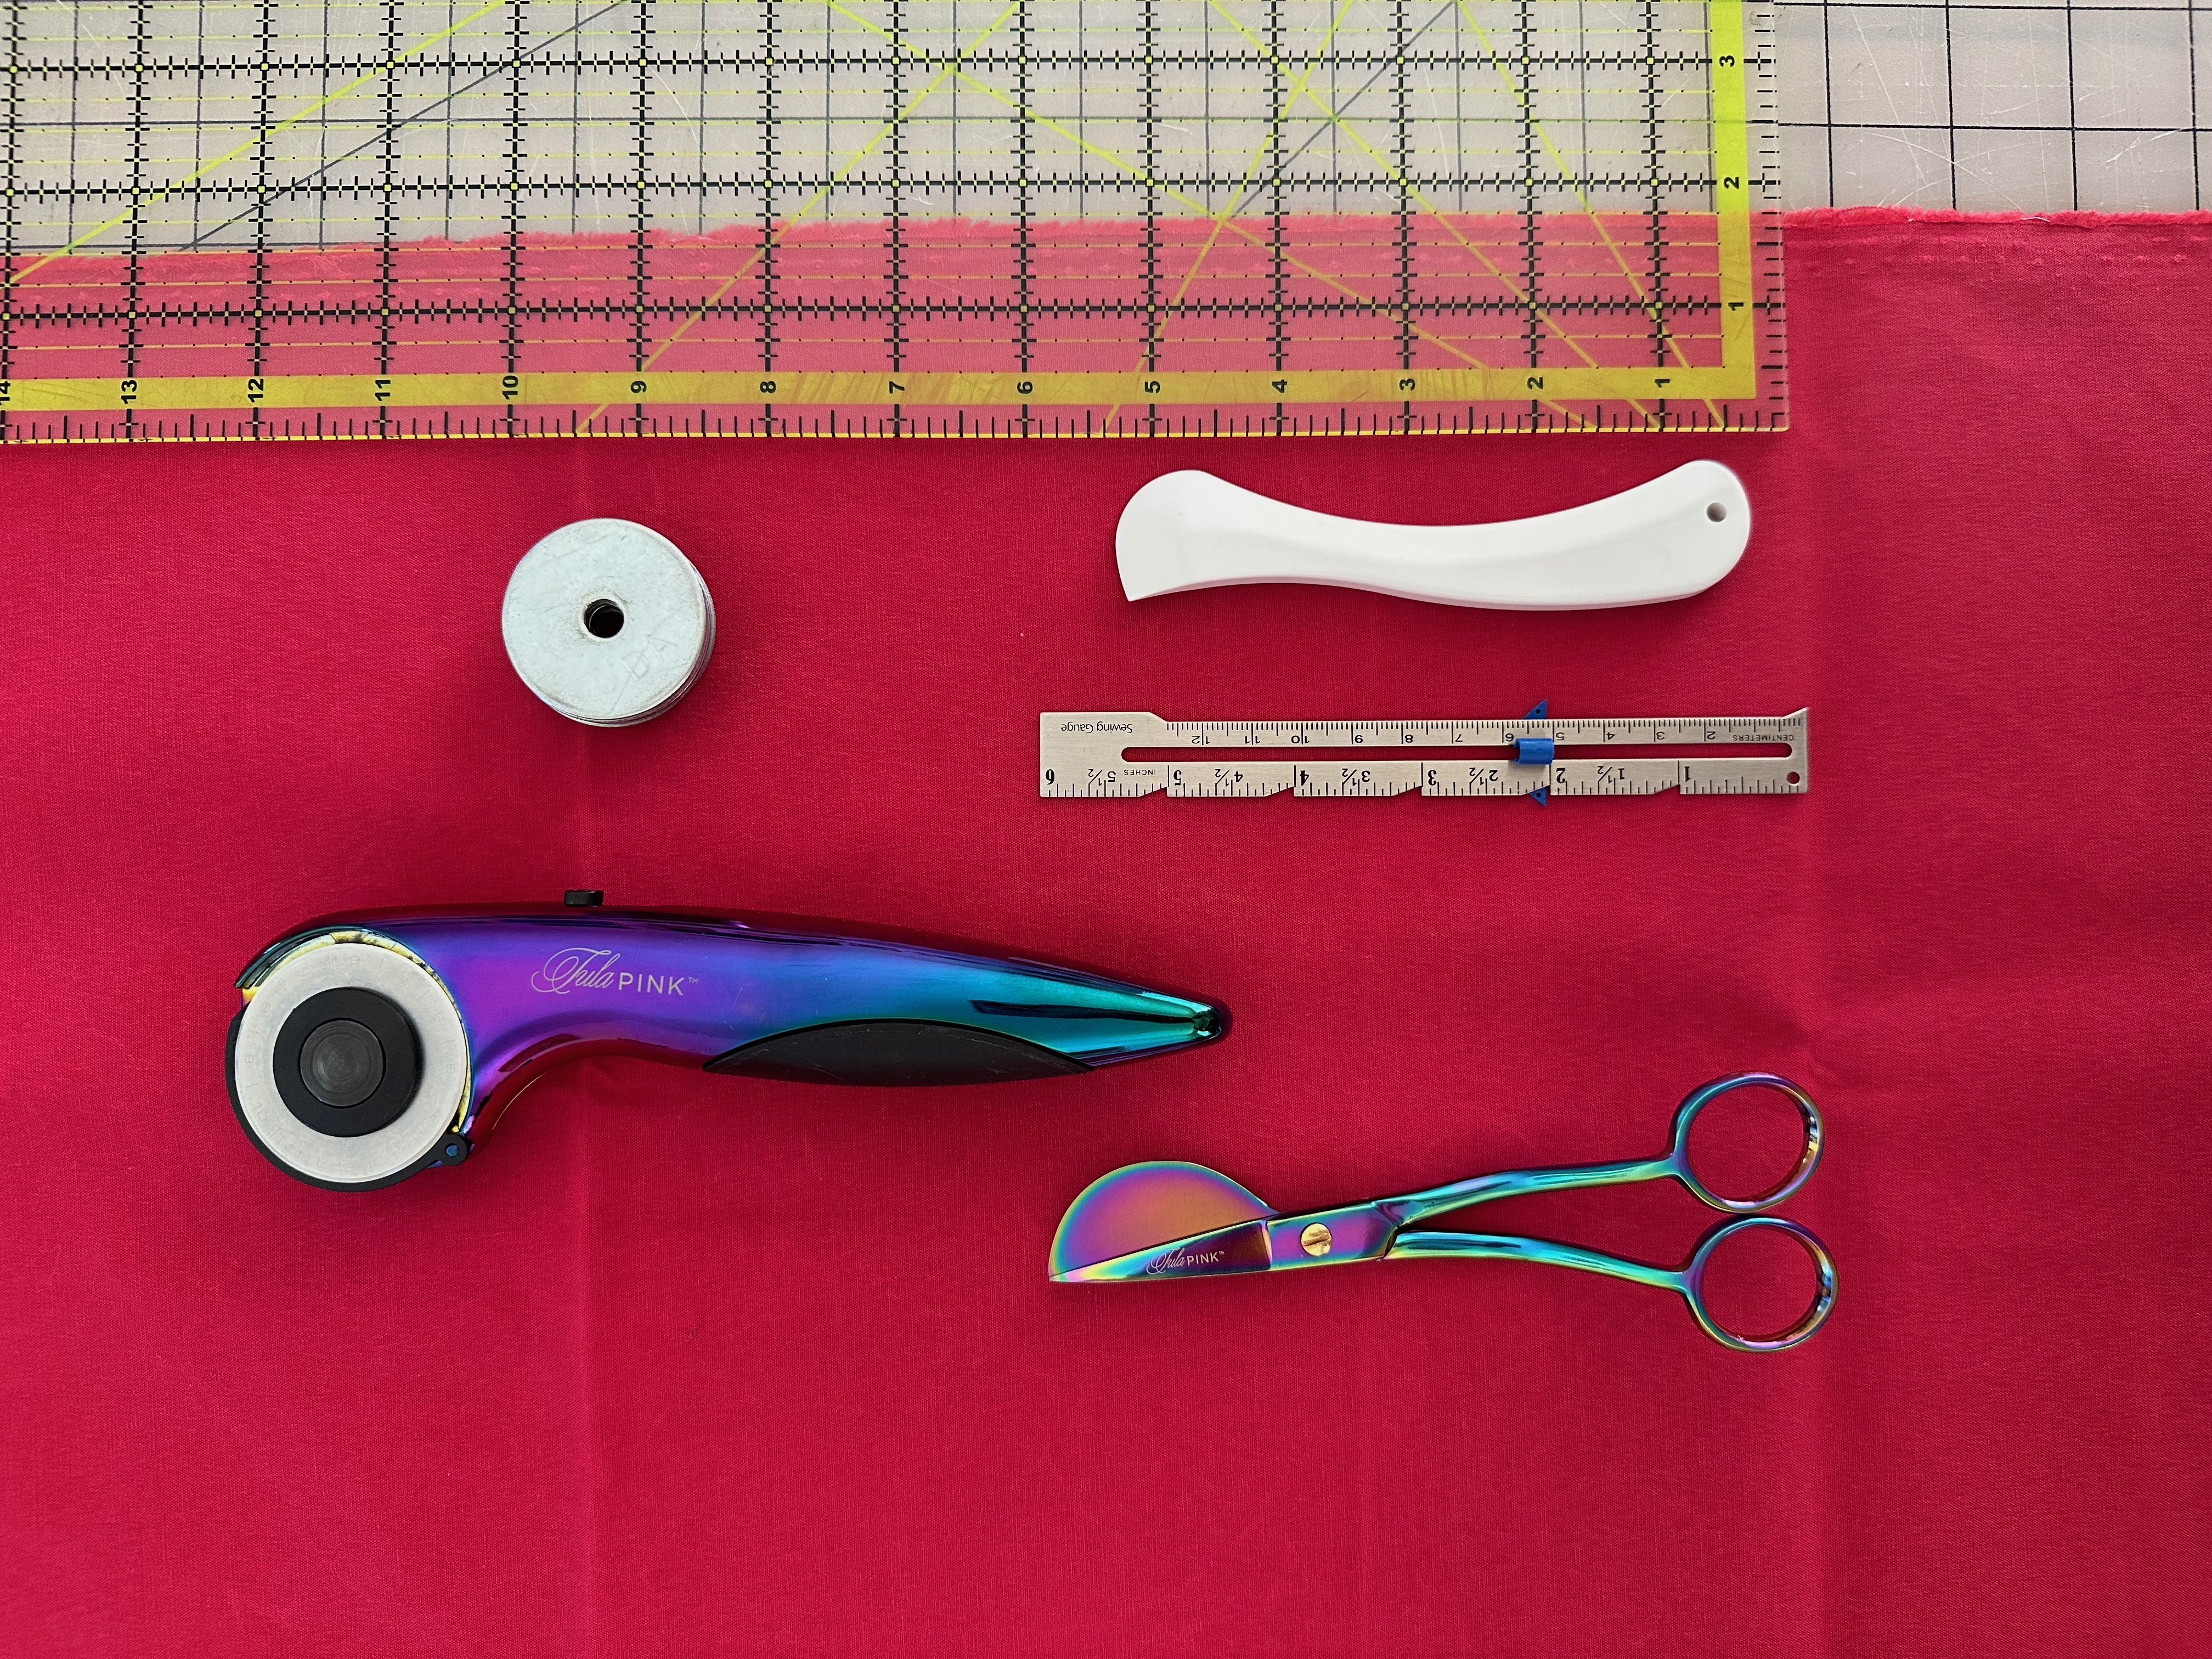
A few of my favorite tools and tips for working with waxed canvas: A seam gauge or Hera Marker are excellent for marking your fabric cut and seam lines. I like to use my seam gauge to trace pattern pieces and cut with shears or a fresh rotary blade. Once your pieces are cut, take the curved edge of the Hera marker and trace over the pattern to swiftly mark any seam lines, darts or hardware positioning.
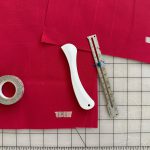

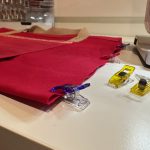
Every pin or needle that goes through waxed canvas will leave a mark, so I prefer to use Wonder Clips to hold things in place. These clips come in three sizes, both the Classic and Jumbo are great for holding together the bulky seams that can build up when working with a heavier material. My next suggestion is a little unusual, but definitely worth a mention: hair dryers are incredible for minimizing any miss-sews when working with oilskin. Heat helps the wax coating to redistribute and even out. If you have to seam rip somewhere the remainder of the stitch line will be visible, give it a couple of passes on warm heat and watch the magic. I add a few minutes with the hair dryer as the final step on all of my waxed canvas projects to help remove any deep creases or lines that were left through the sewing process.
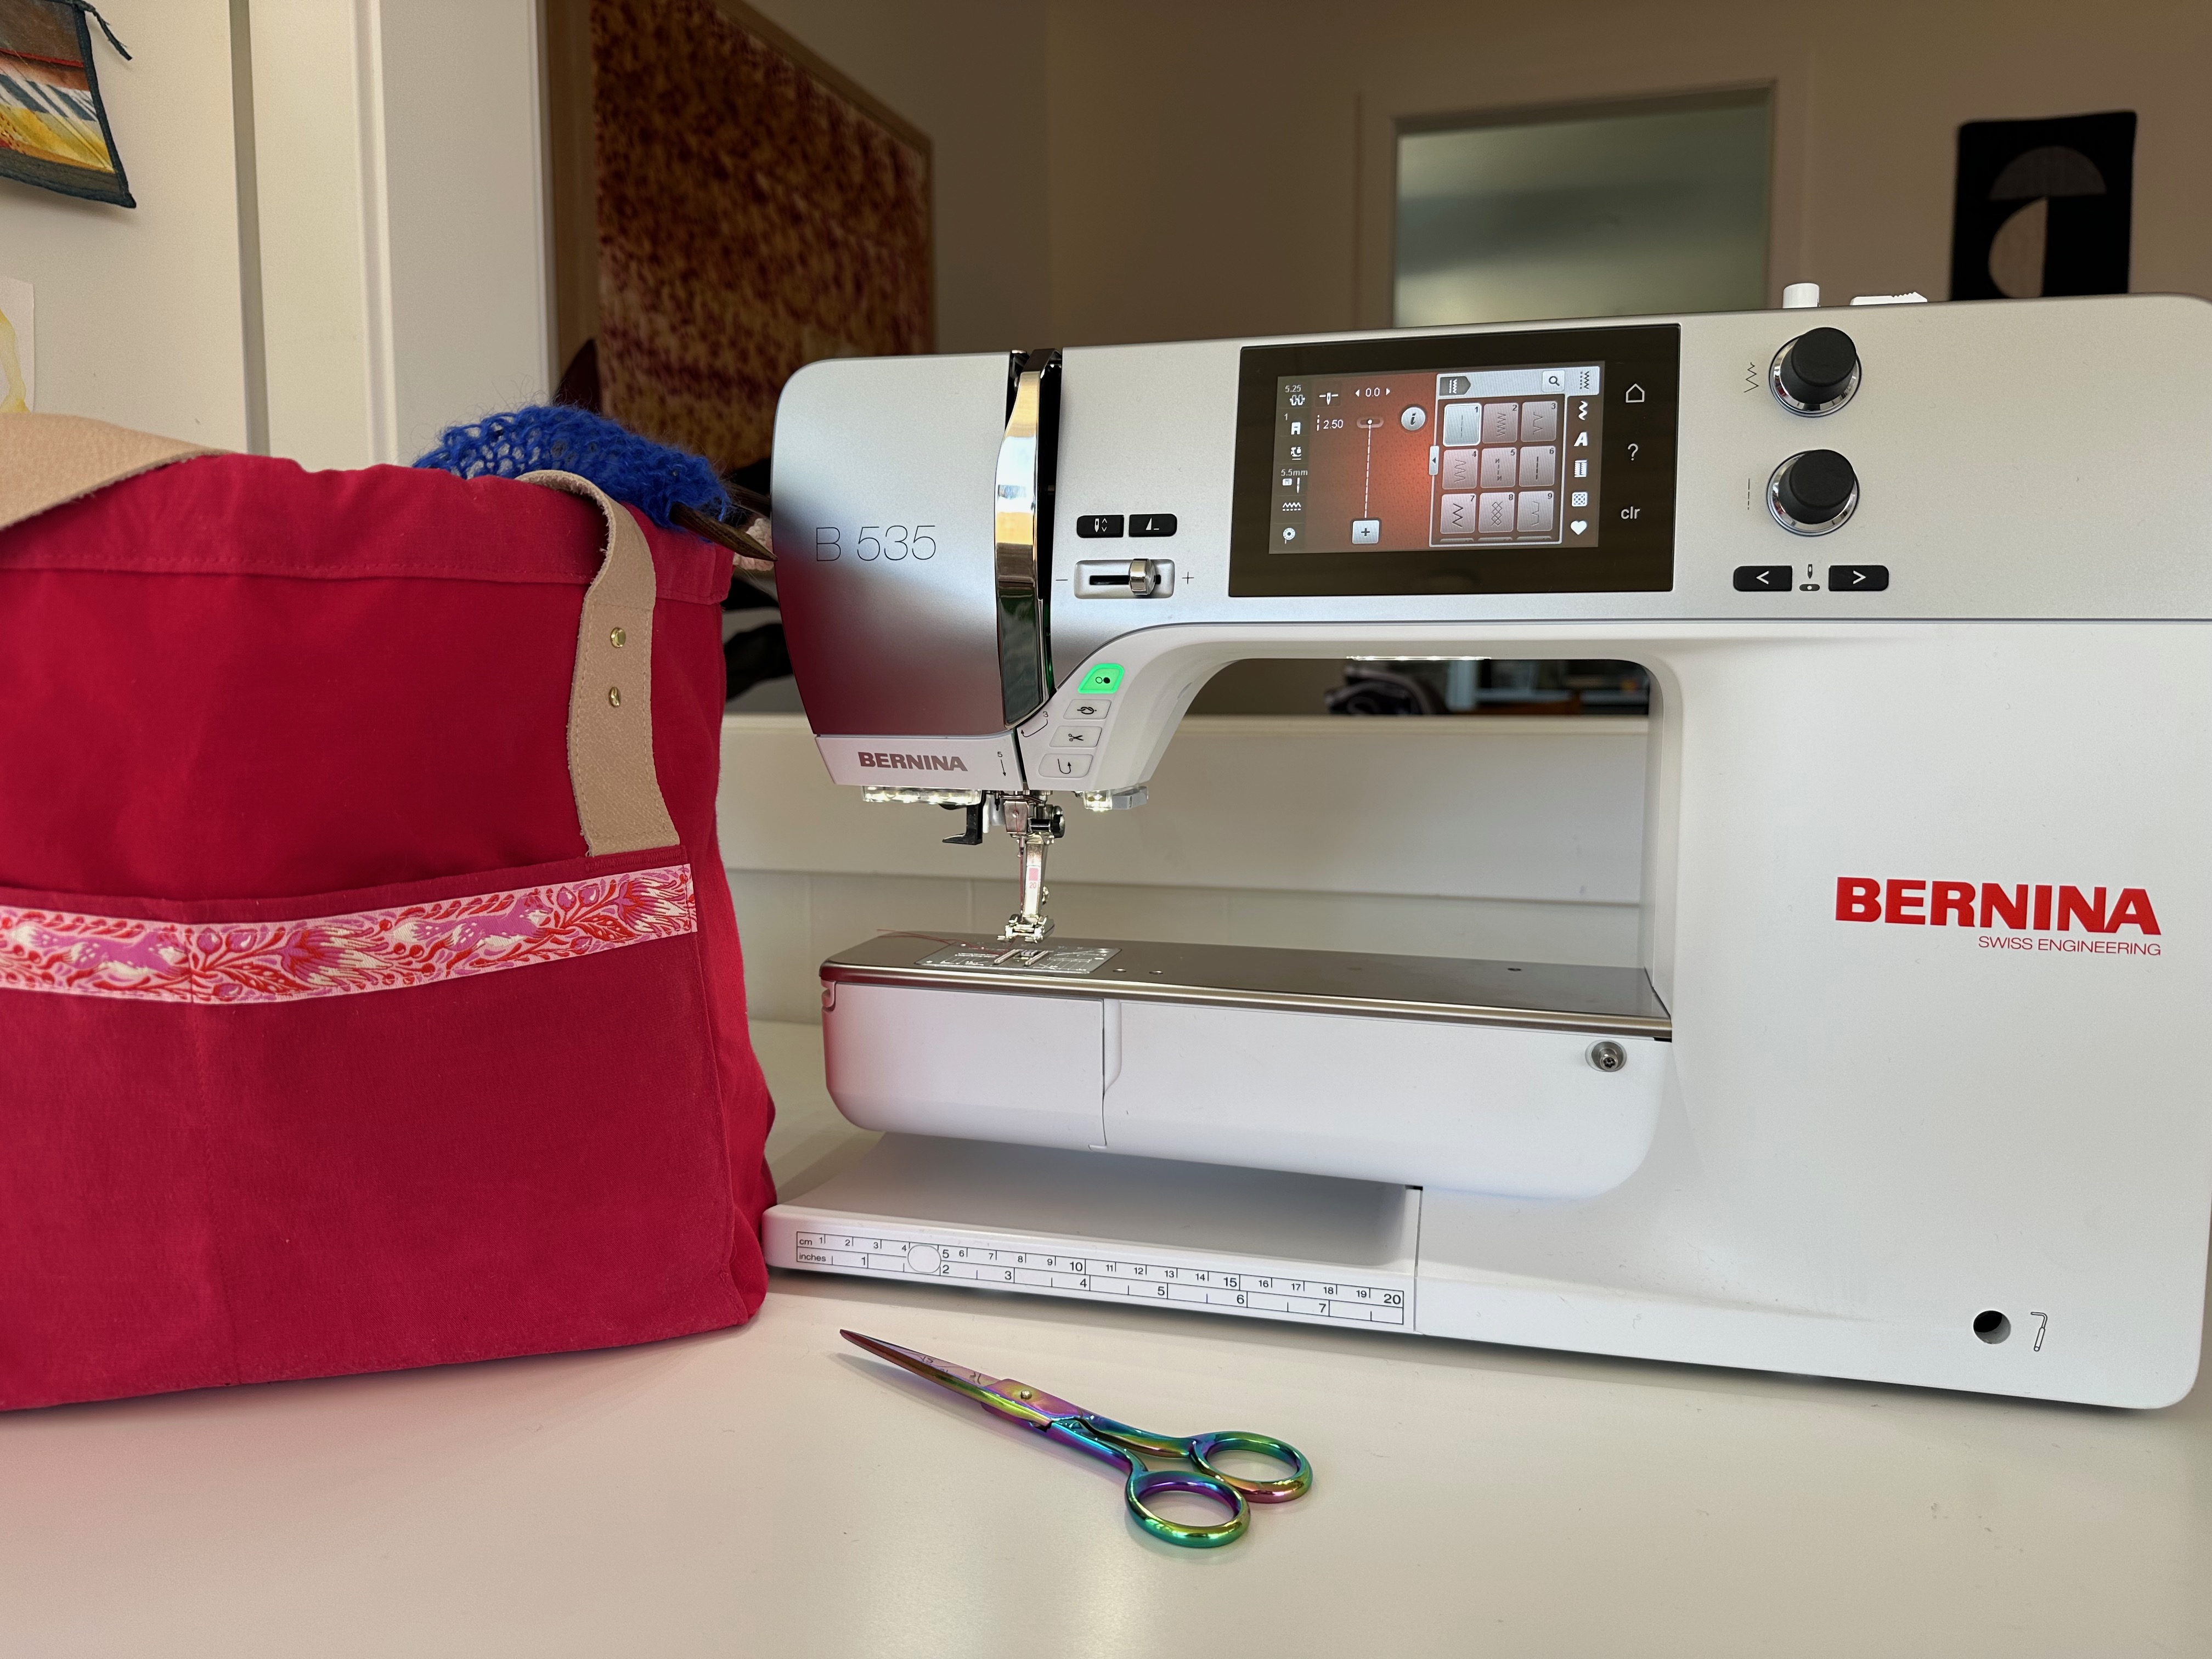
Prepping Your Machine
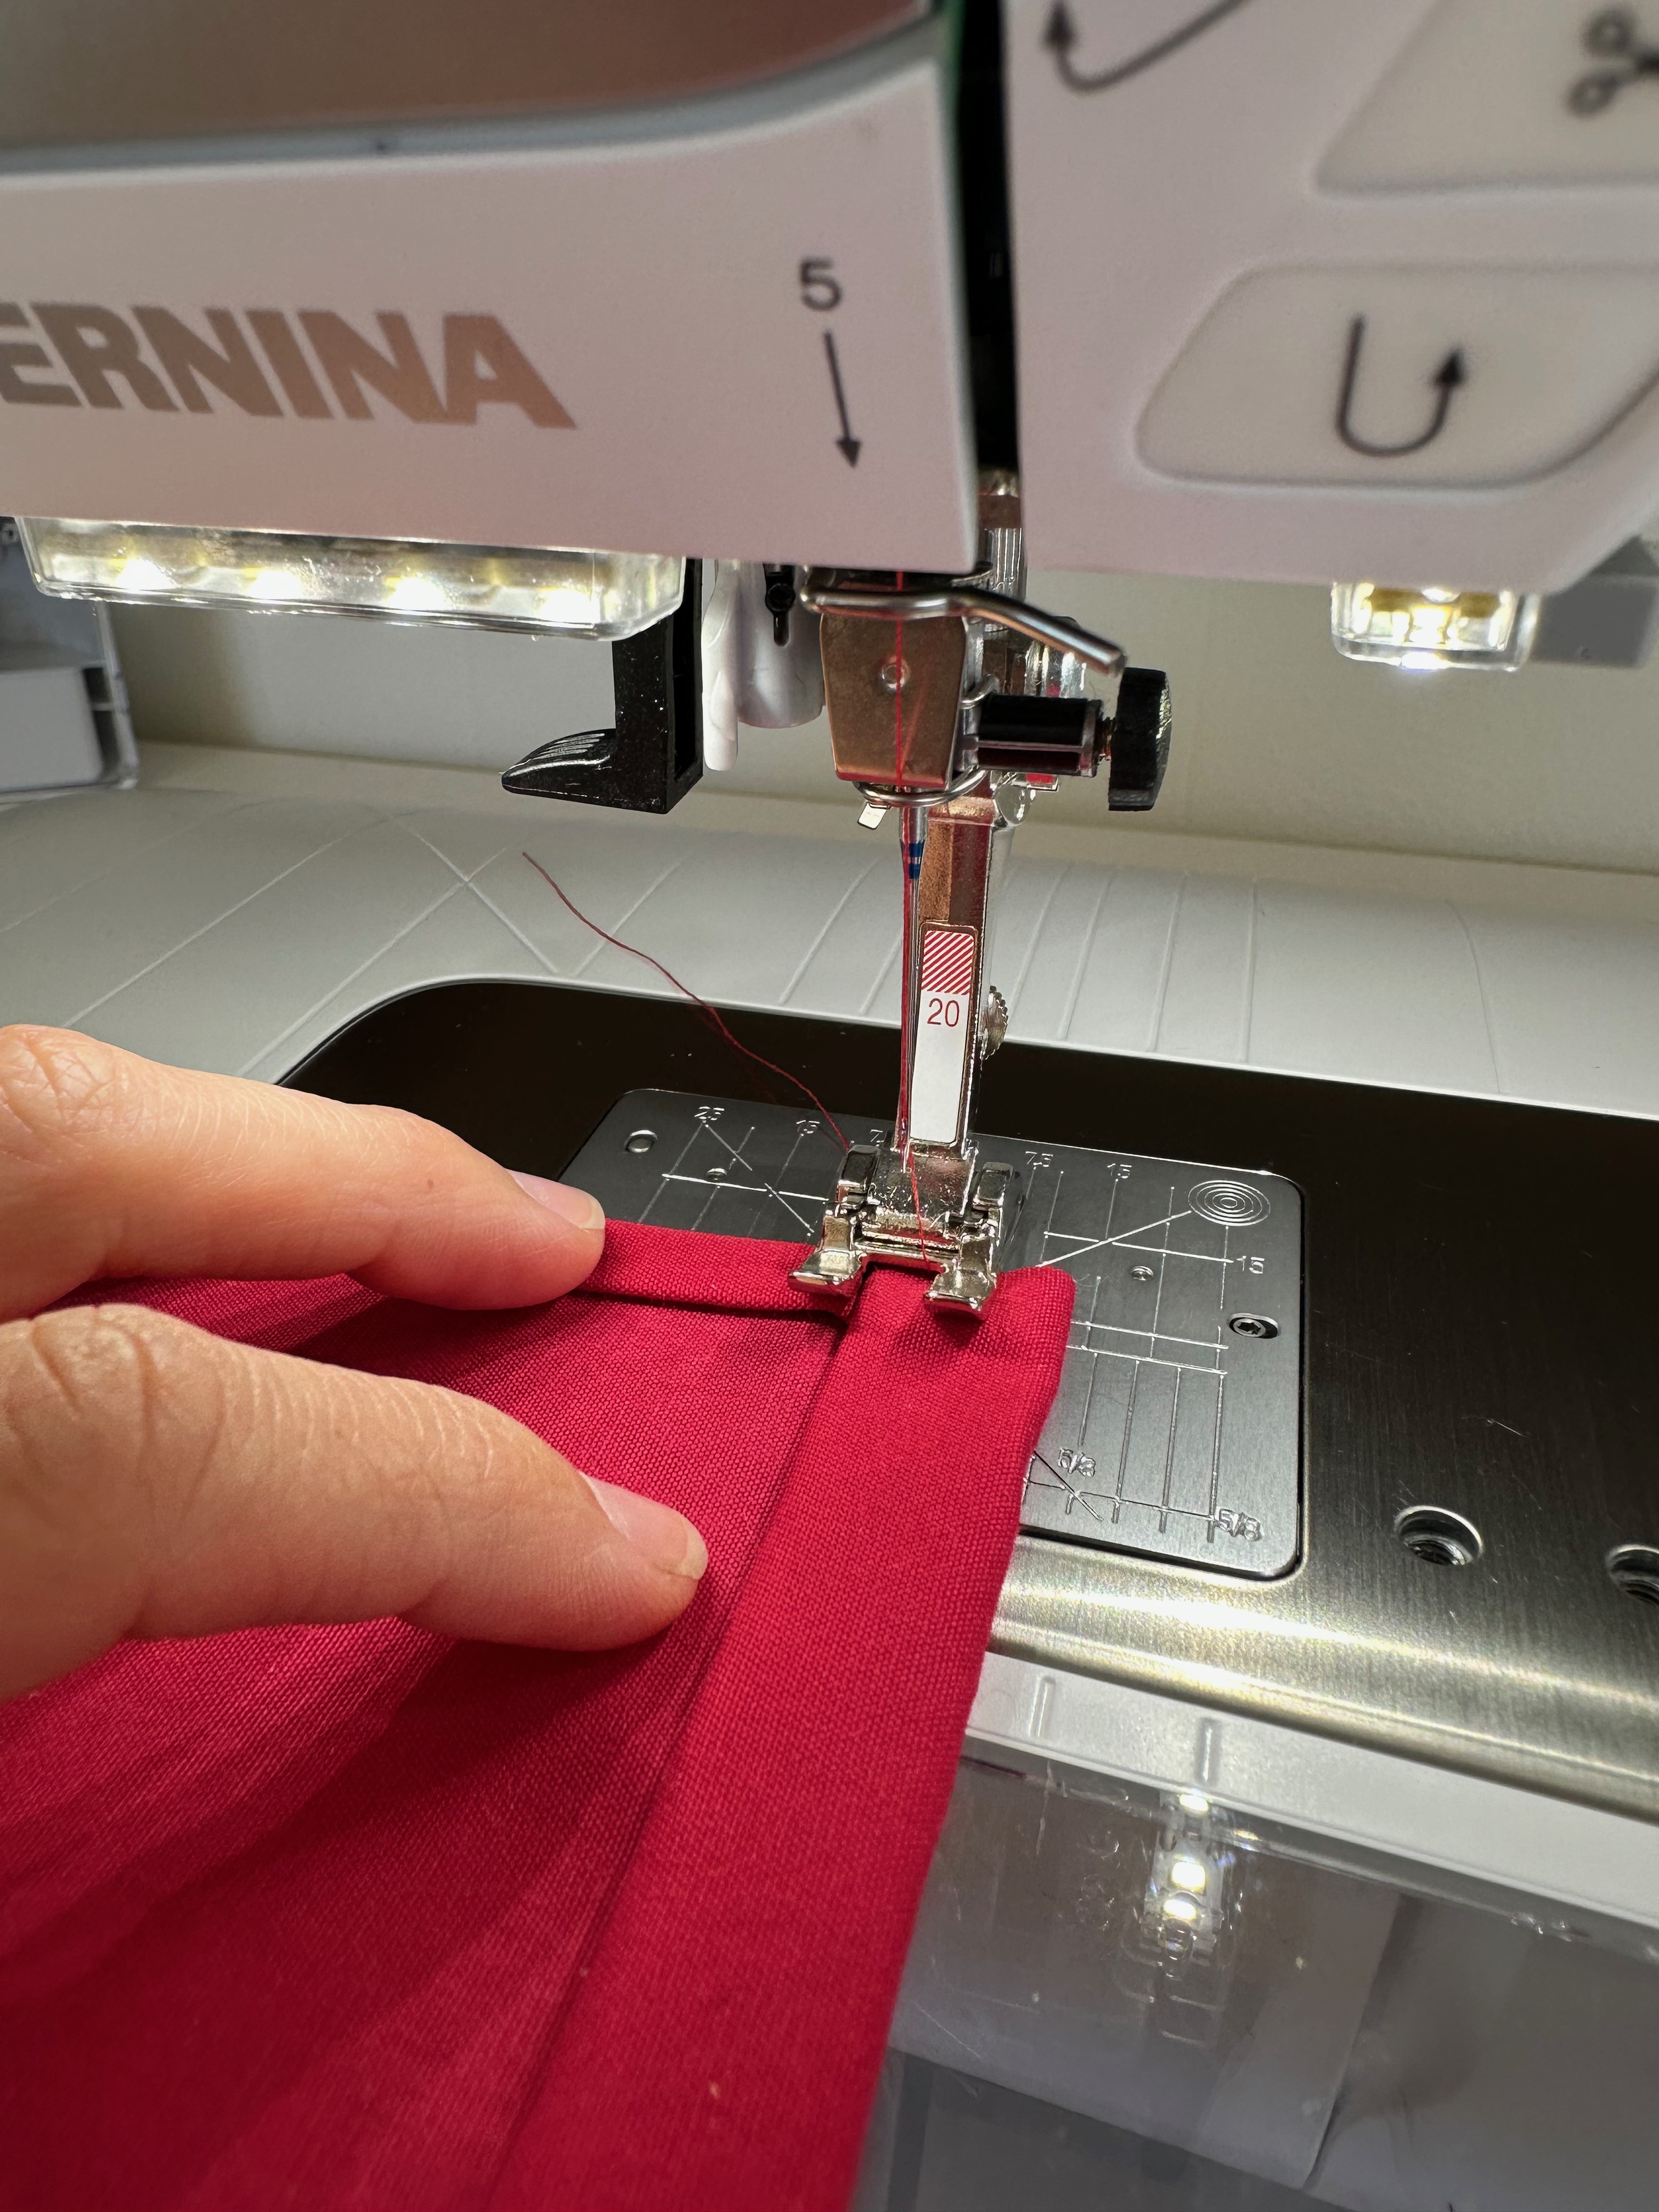
Before starting to stitch, make sure you’ve selected the proper needle and thread combo. My preference is a nice sharp denim needle (#16) and an all-purpose polyester thread. If you are sewing an outdoor cushion or some other gear, a UV-treated polyester will be longer lasting. A topstitching thread can be nice for more pronounced details on outer pockets or seams if you prefer as well. Once you have your needle and thread sorted, try a few sample stitches on some scrap fabric. I like to increase the standard straight stitch on my BERNINA 535 to a 3.25mm for heavier fabrics.
The slide-on table attachment is also incredibly useful for supporting the weight of the project, ensuring manipulation ease and super consistent stitchouts. Give your machine a pre-clean to remove any thread or dust build-up, lubricate if necessary and clean out your thread cutter. As you add layers to your piece during construction, it is a good idea to do a test sew on scraps and lower the feed dog pressure slightly if necessary. After sewing, dispose of your needle (safely!) and give your feed dogs and throat plate a wipe with a little rubbing alcohol to remove any remaining residue from your waxed material.
Coming Up
I’ll be sharing my experience sewing up the Grainline Studio x Fringe Supply Co Town Bag tomorrow, including the presser feet I chose for professional finishes. My B 535 handled building this bag with the most ease, no pressure adjustments necessary. Join me to see the finished product, with personalization and a few suggestions for creating your own unique project bag!