How to Sew a Waxed Canvas Bag
Hello again! Paige here from Stitched Slowly to finish up our waxed canvas conversation. Yesterday, I talked through a few of my favorite tips and tools for sewing with waxed canvas, as well as how to prep your machine. Today I want to focus on some of the fantastic BERNINA features available that made the process of building the Grainline Studio Town Bag so enjoyable!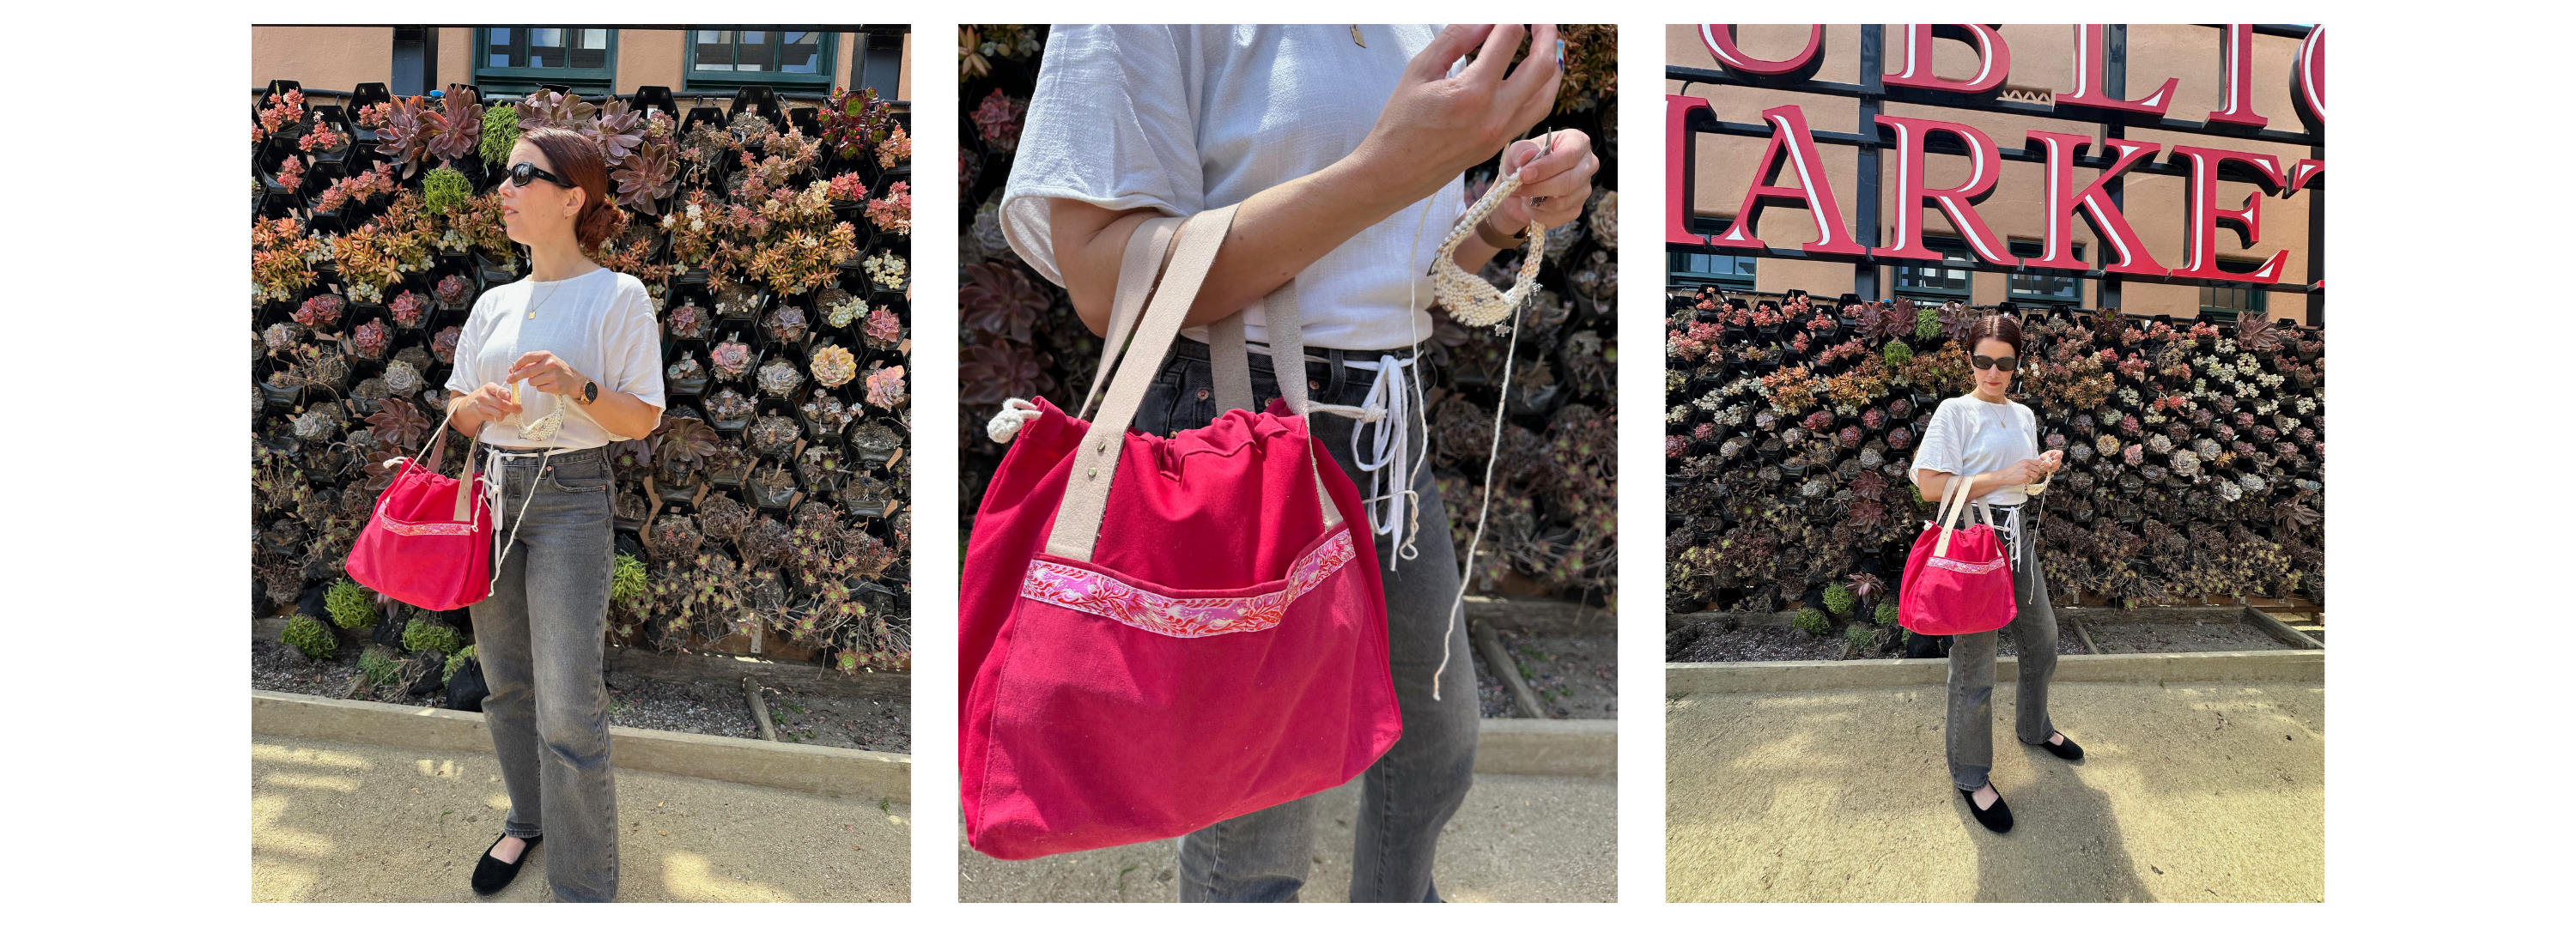
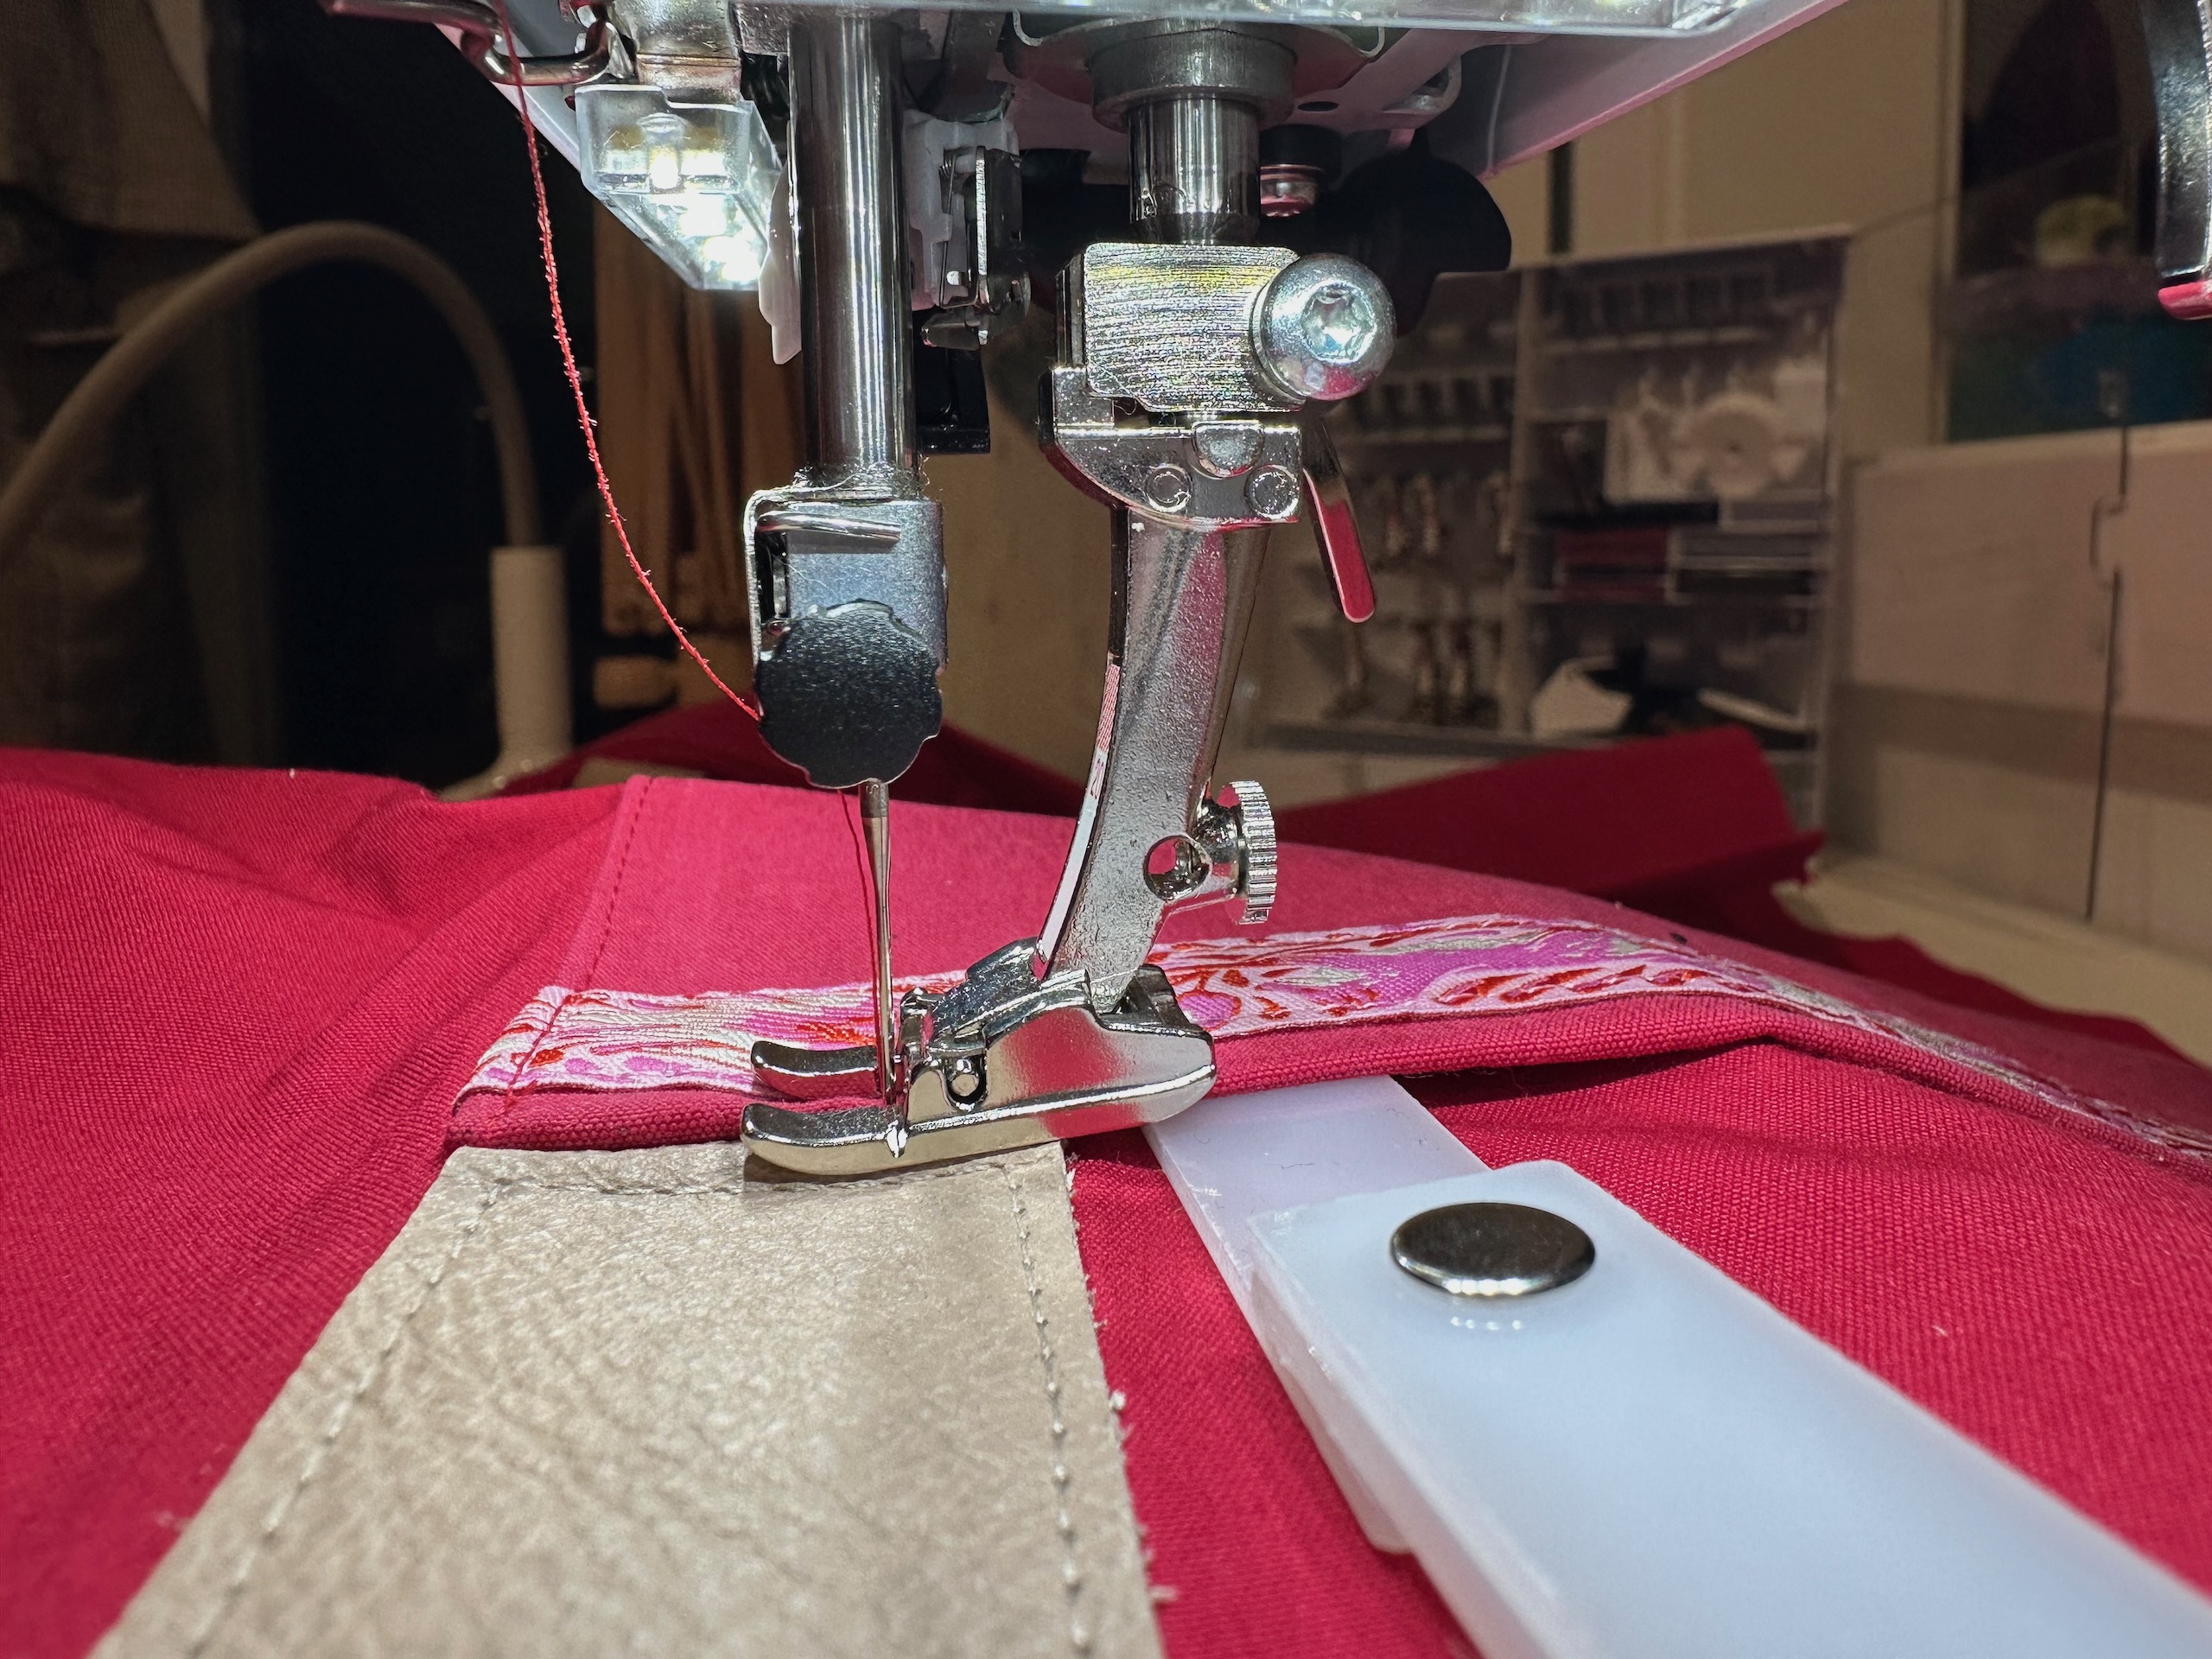
First up: the Compensation Tool. This adjustable tool is included with every BERNINA, and it is absolutely invaluable for keeping your stitching straight on bulky fabrics. I used mine multiple times through the sewing of this bag. I’m stitching through 8 layers of waxed canvas *and* leather in this photo, no handwheel necessary!
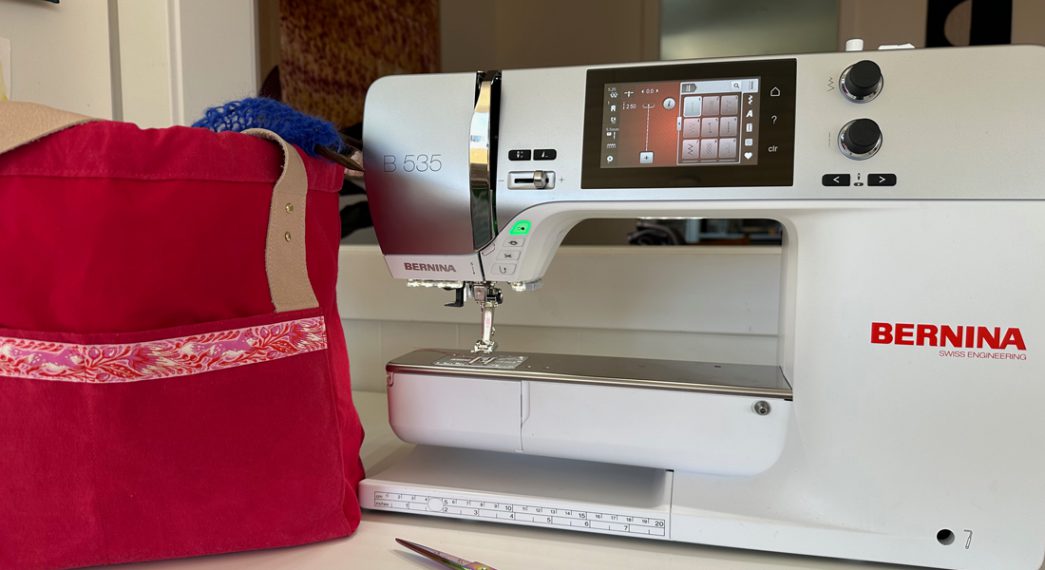
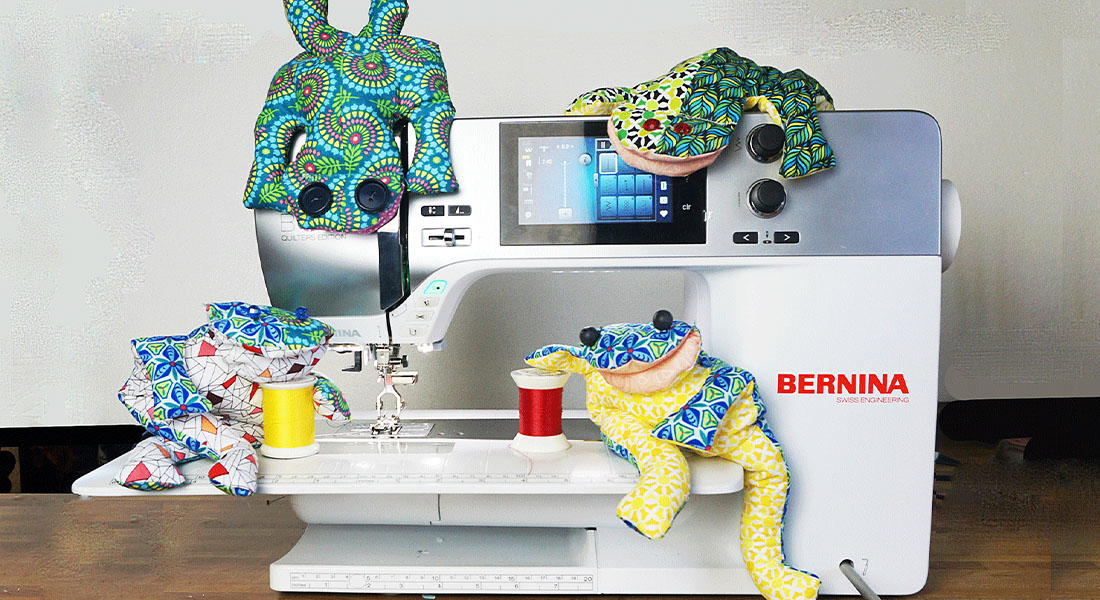
The large throat space (8.5” on my B 535!) and included Slide-on Table helped immensely with manipulating a larger, more rigid project. This project was an excellent opportunity to get comfortable with the BERNINA Free Hand System and Programmable Foot Control. I was blown away by my ability to keep both hands holding my project *just so* while lowering the needle and presser foot hands-free.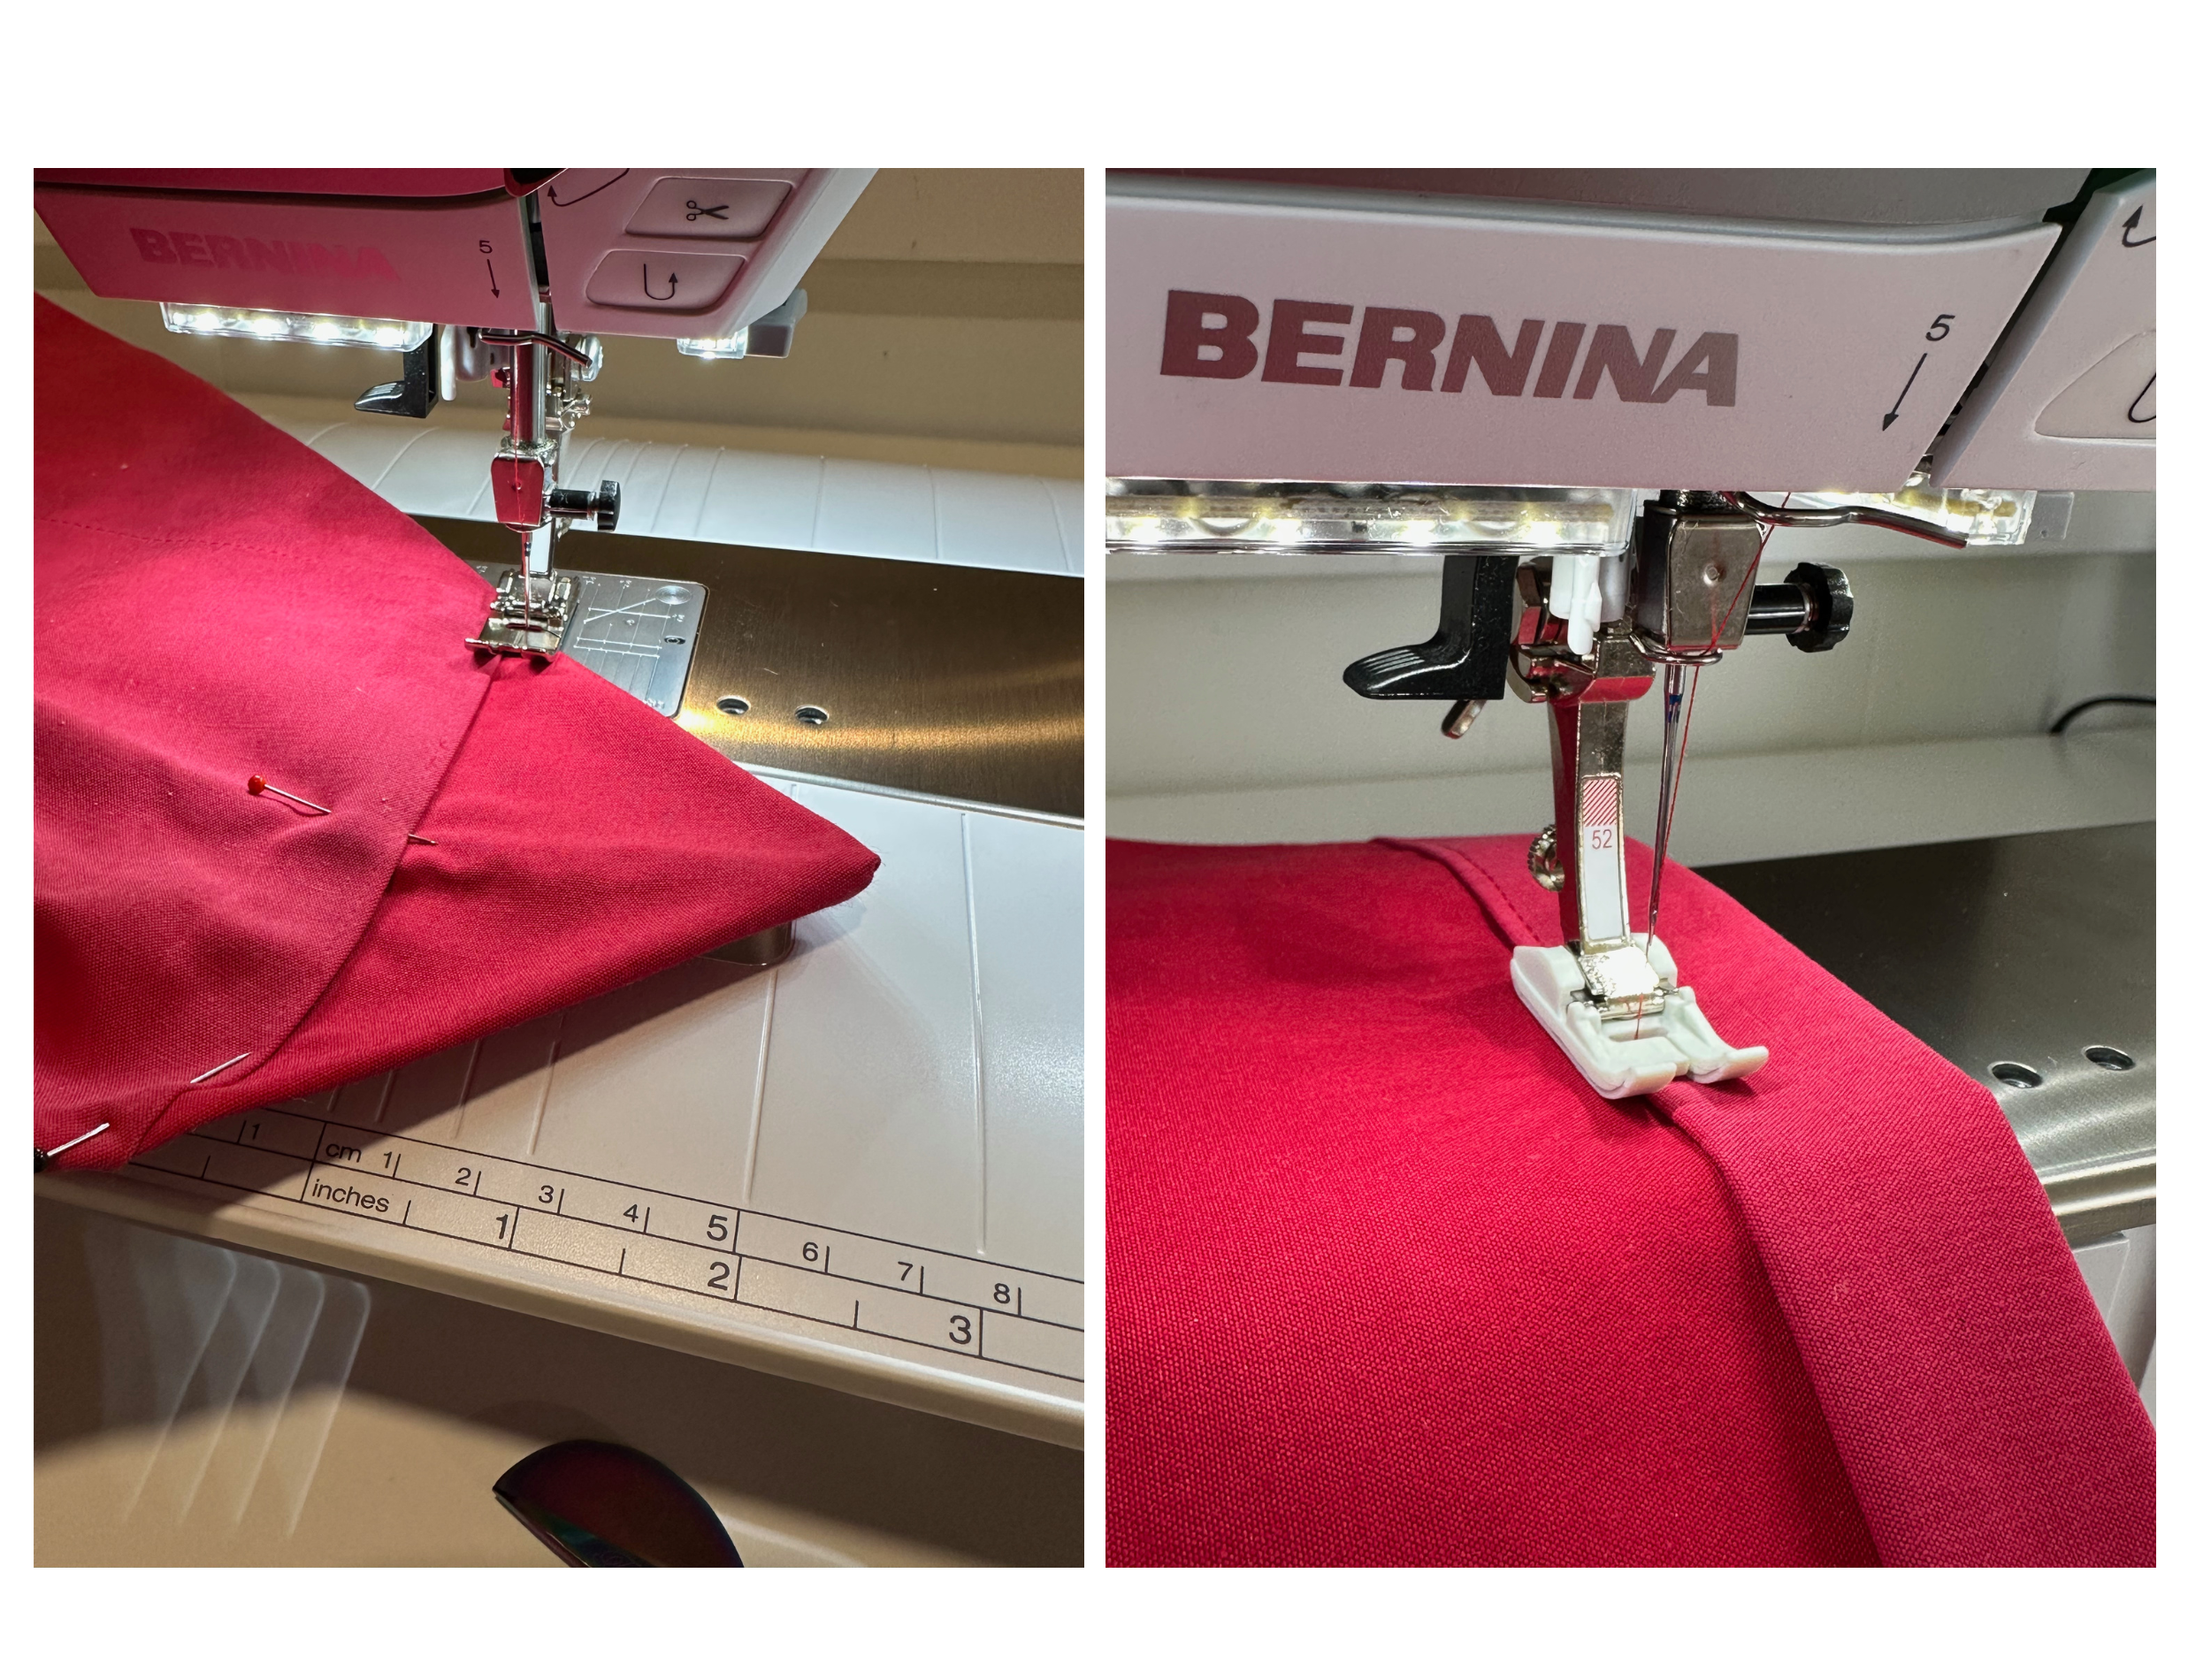
BERNINA Presser Feet
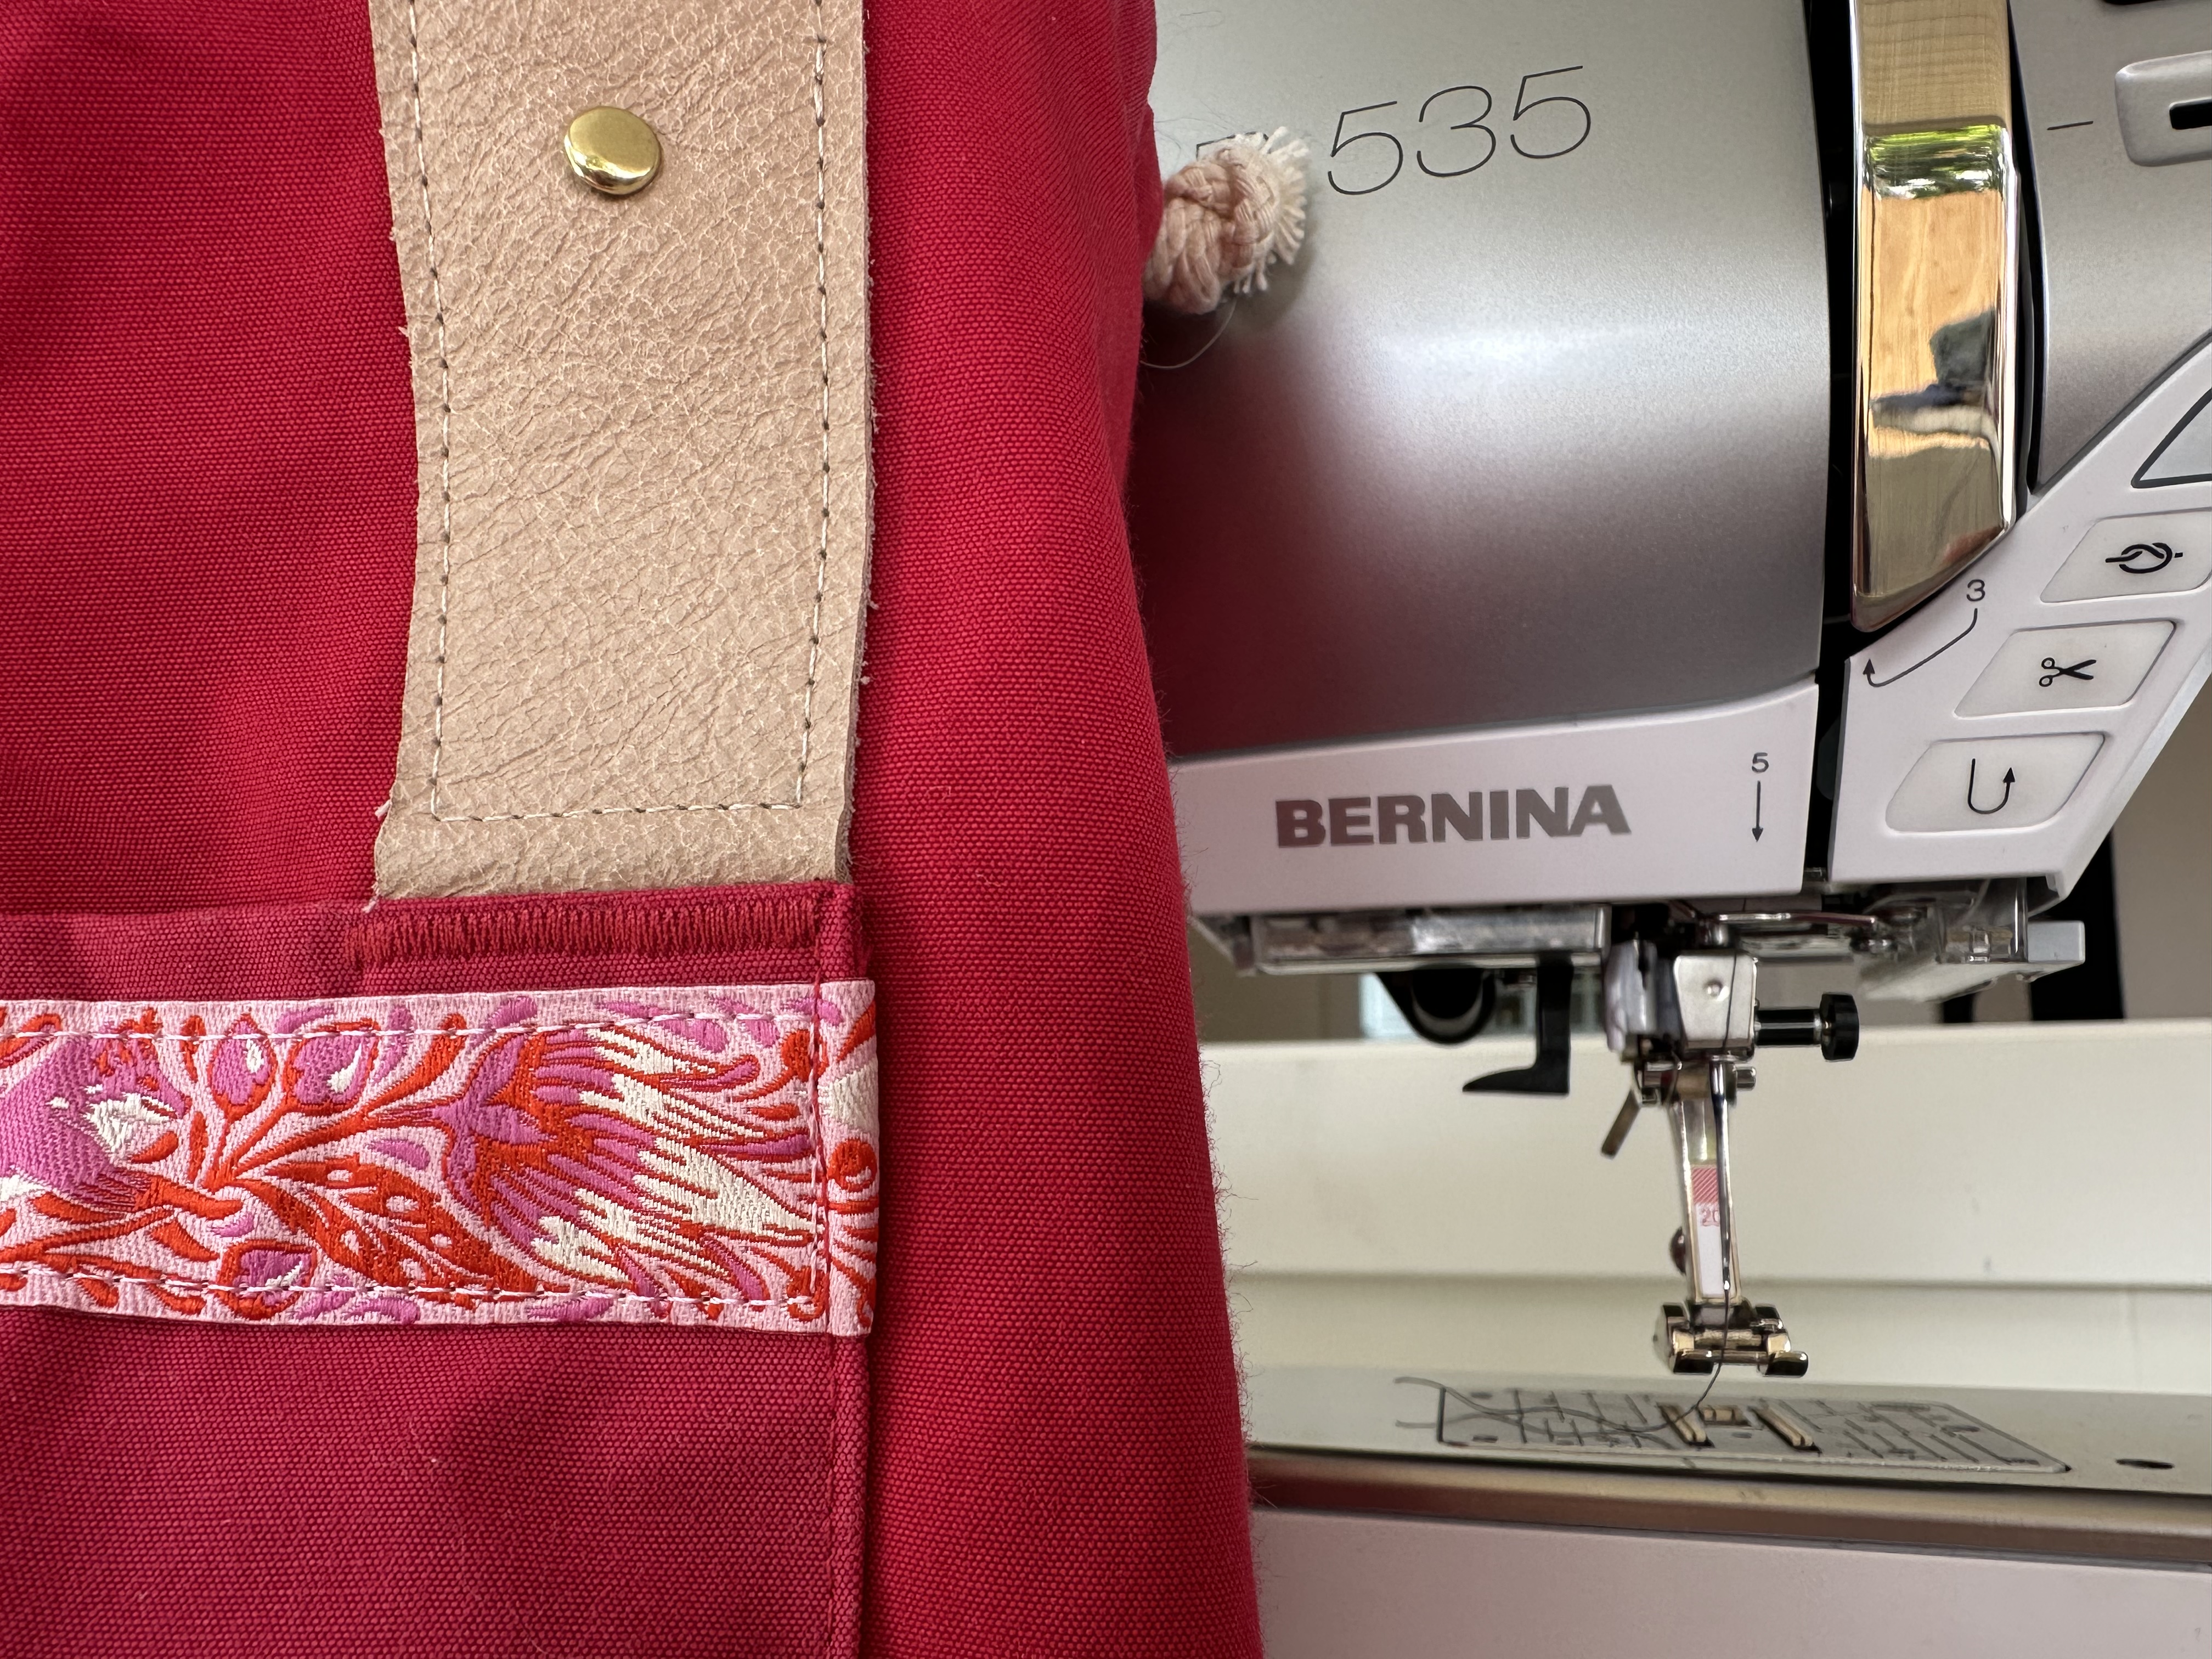
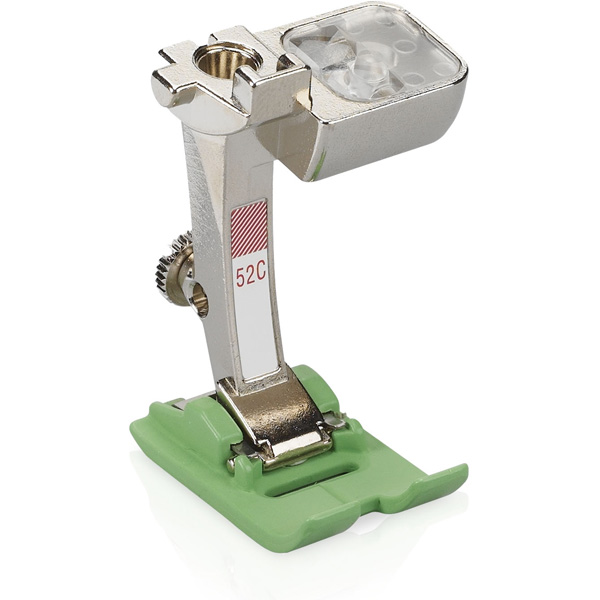
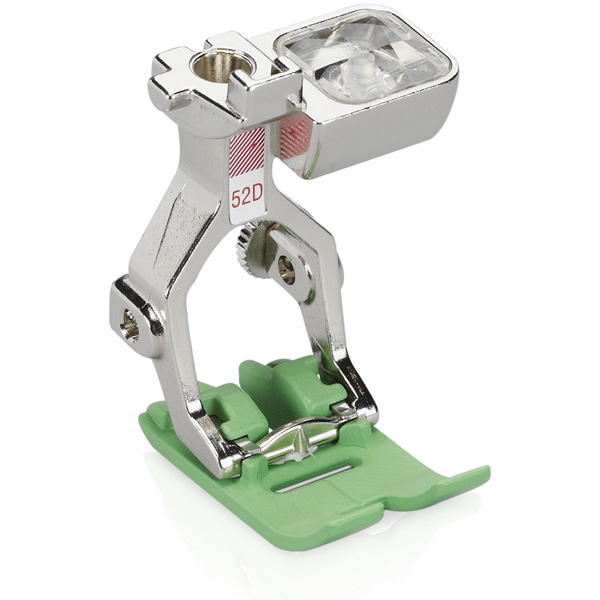
I utilized both the Zigzag Foot with Non-stick Sole #52/52C/52D and Open Embroidery Foot #20/20C/20D as needed. Some waxed canvas fabrics can have a slightly sticky hand, and the Non-Stick Sole helped keep things moving through smoothly. Using the Open Embroidery Foot was really helpful for precision sewing. It was so easy to see exactly where my needle was going to ensure I did not overstitch anywhere. These bar tacks turned out so beautifully!
Personalizing Your Bag
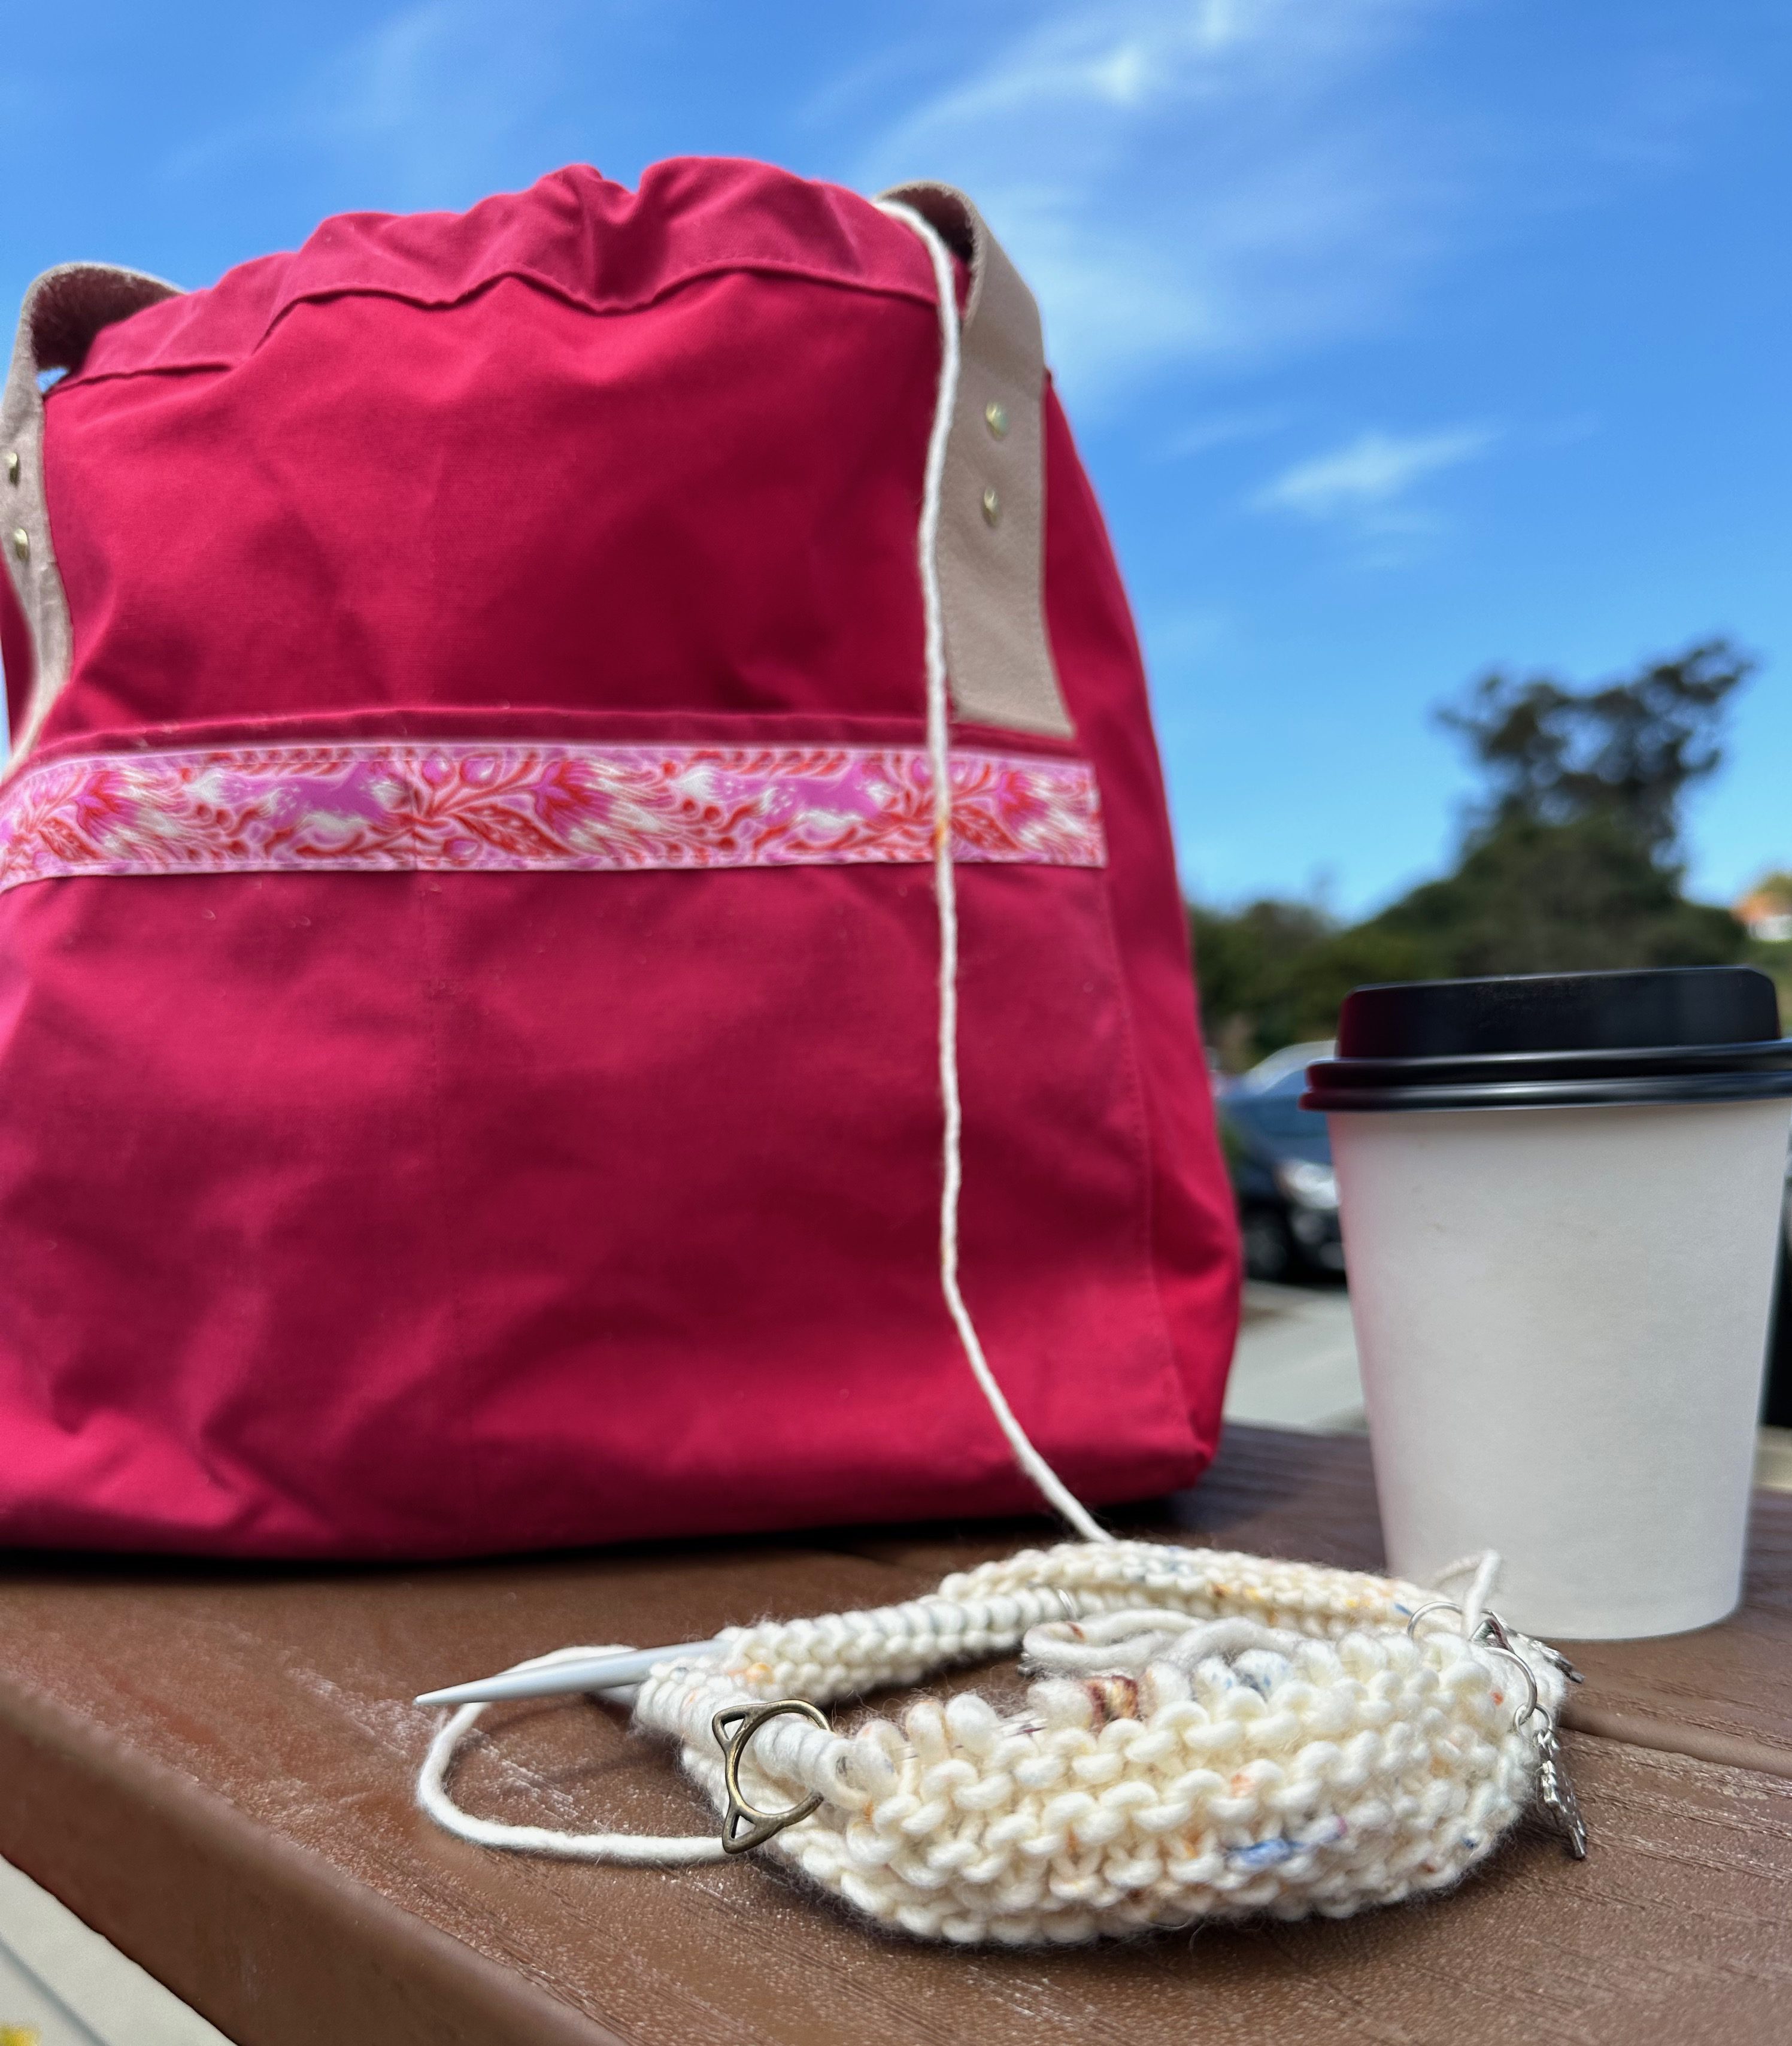
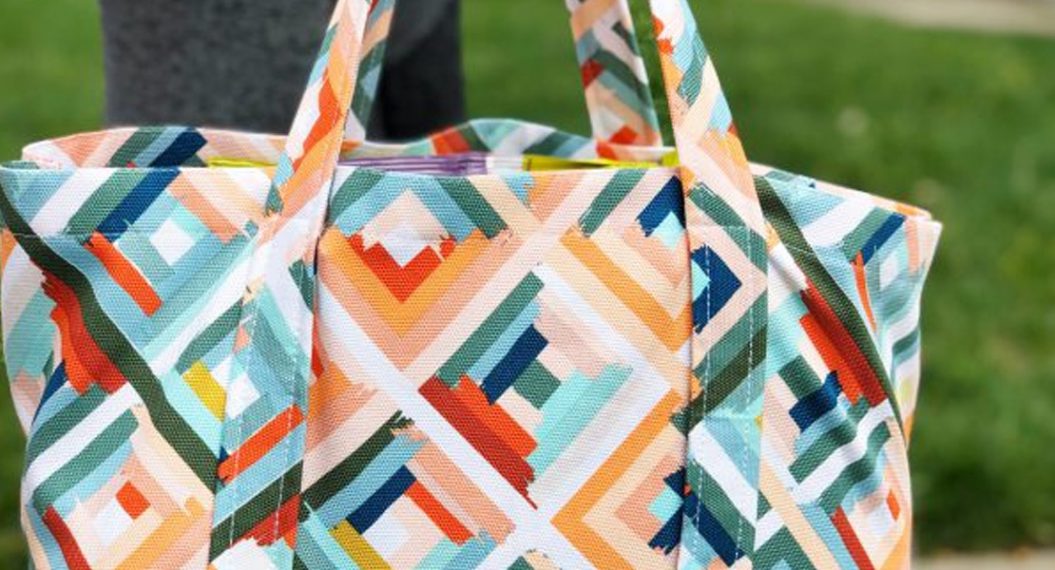
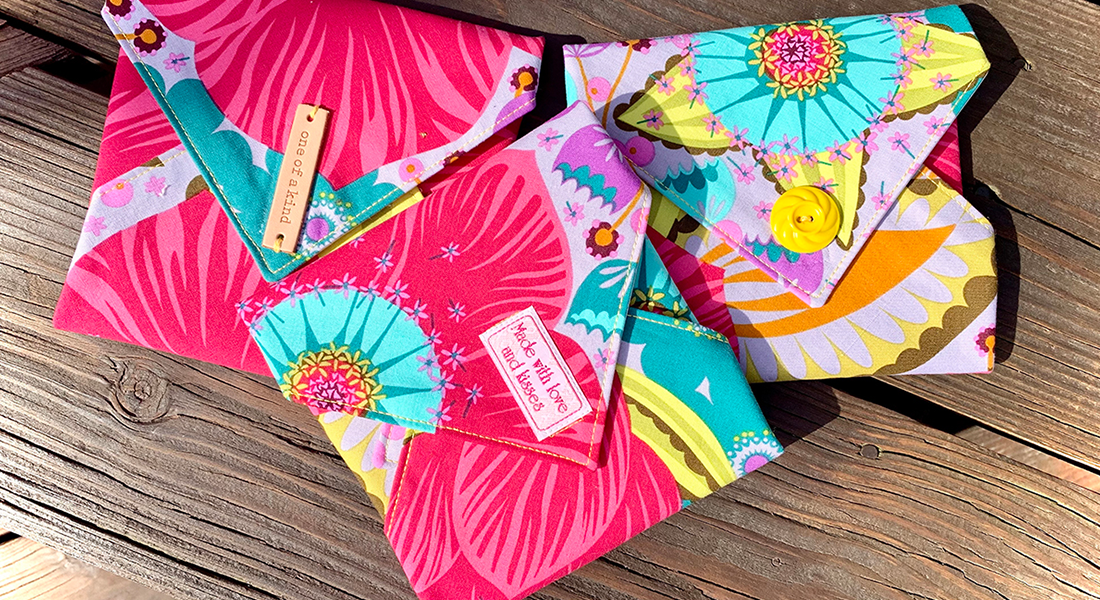
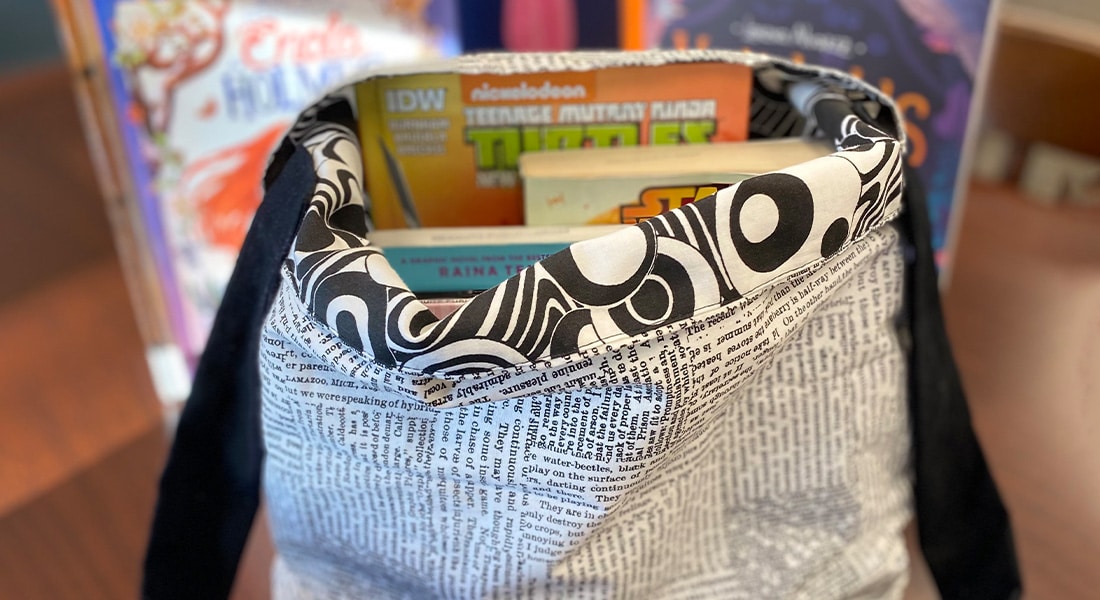
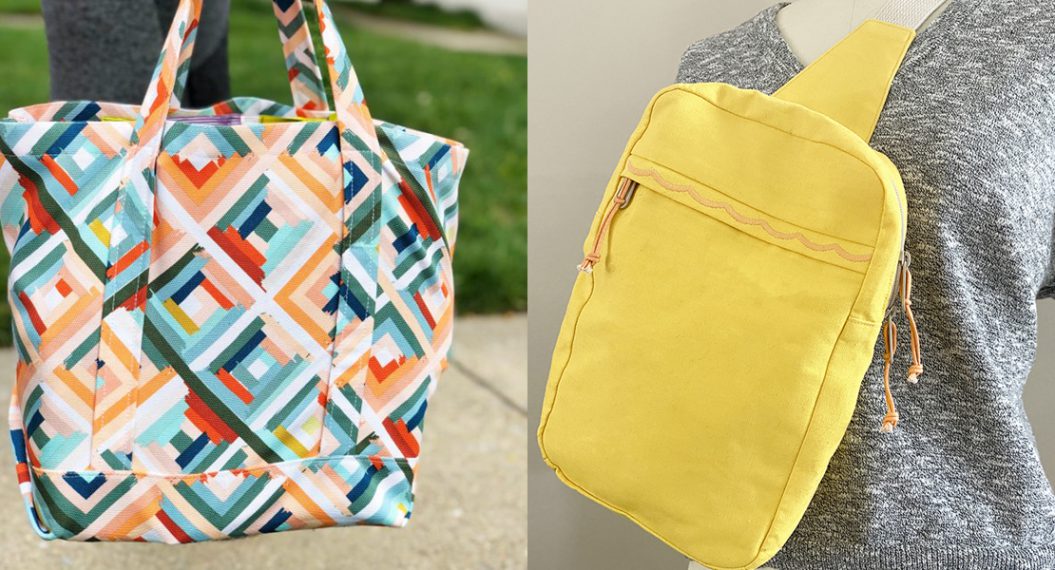
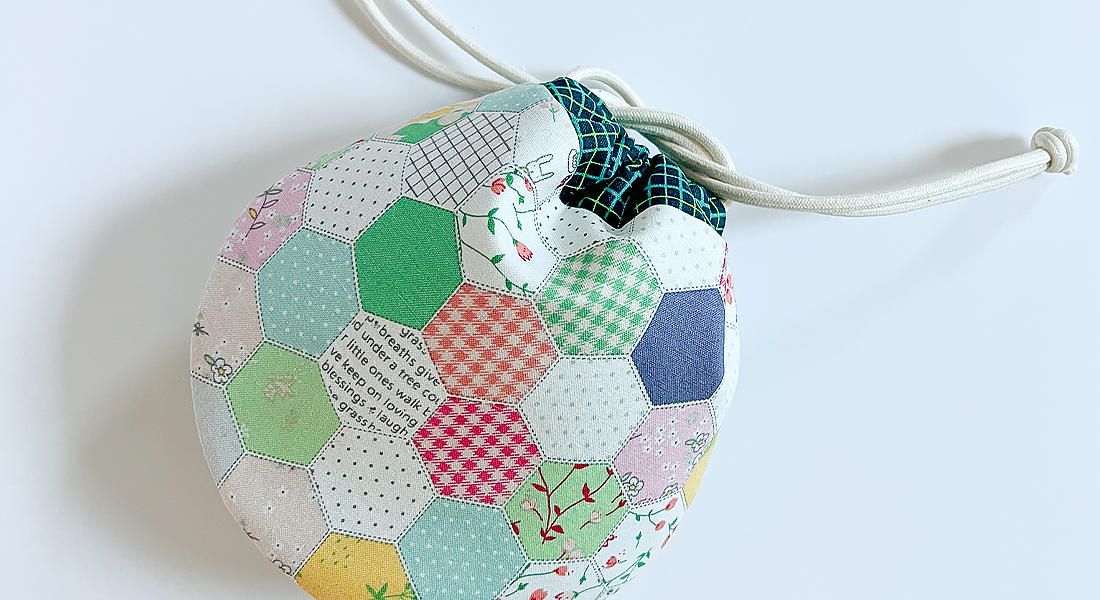
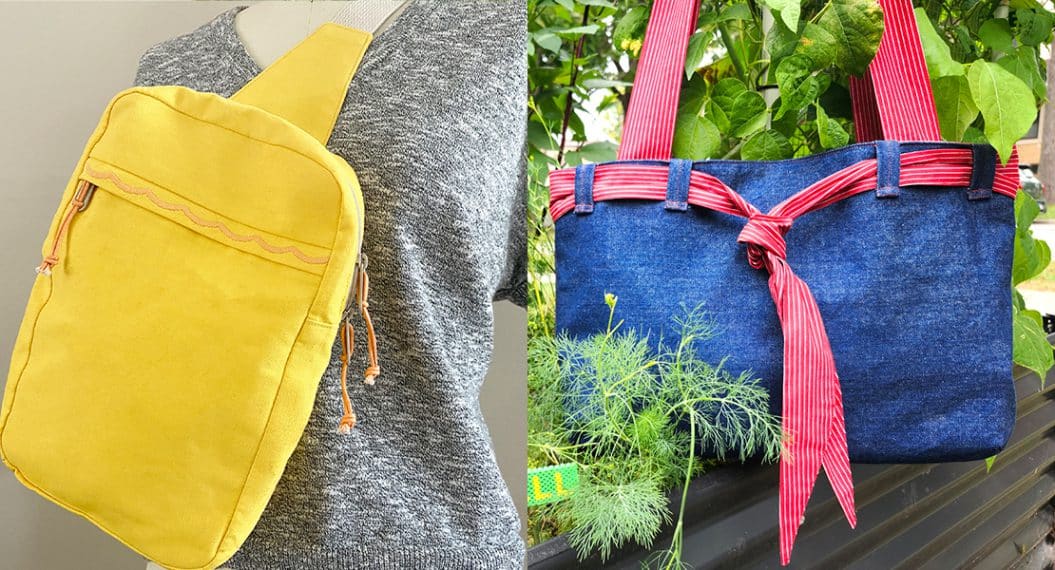
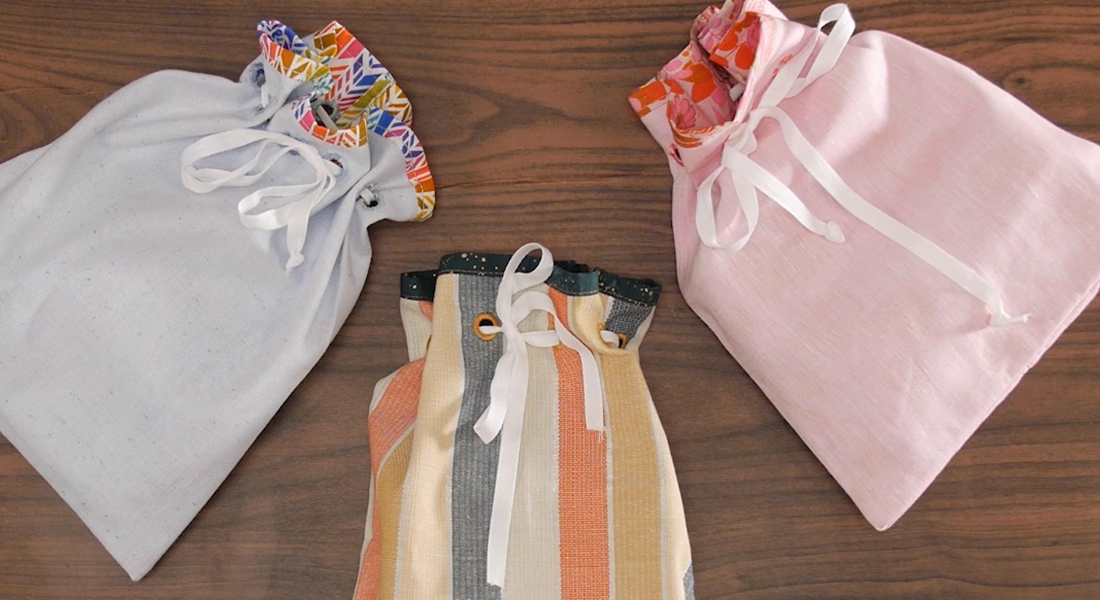
The Town Bag is designed with knitters in mind, generously sized to hold a full sweater. It would be perfect for carrying your English Paper Piecing or hand stitching/embroidery project on the go as well! The pockets are useful without being overly fussy, and the drawstring closure keeps everything in its place. I chose to use scrap leather and this darling Tula Pink ribbon on both the outer pocket and inner for a little pop of color. You could add embroidery or use scraps for color blocking to create your own unique bag!
I hope this mini-series has you feeling empowered to create your own project bag. They are a super quick sew, you really just need an afternoon! Be sure to drop a link in the comments to share yours, or any questions you may have. Join me on Instagram for many more garment and bag-making adventures!
Happy Sewing!
Oilskin used: Merchant & Mills Red Organic Cotton Oilskin, 1m
Ribbon provided by Brewer Sewing, many thanks!
Used Products


What you might also like


One comment on “How to Sew a Waxed Canvas Bag”
Leave a Reply
You must be logged in to post a comment.

A few questions…. what needle and size did you use? 90, 100? Topstitch? microtex? What thread did you use? 50 wt, cotton, polyester?