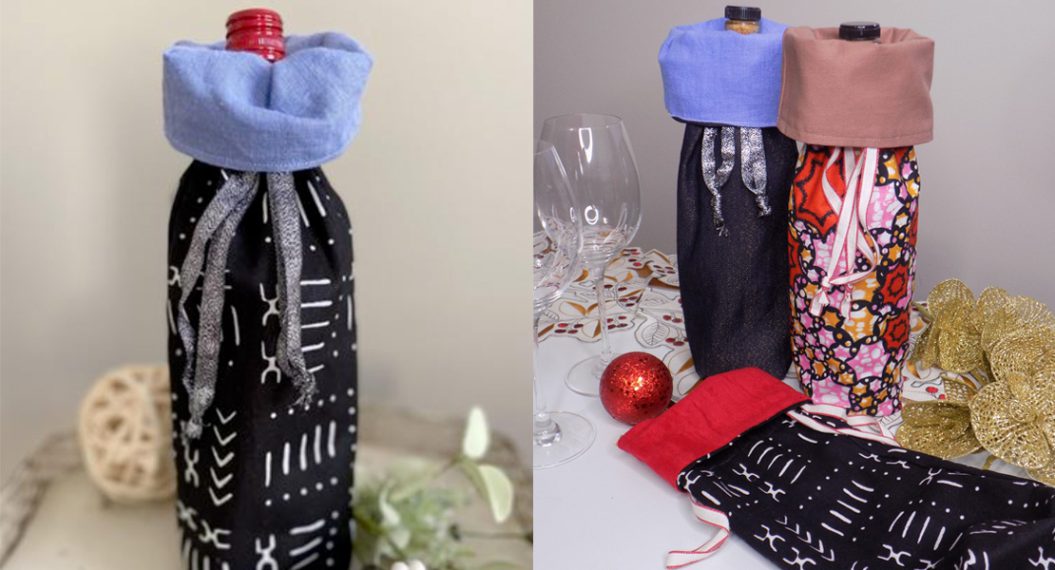
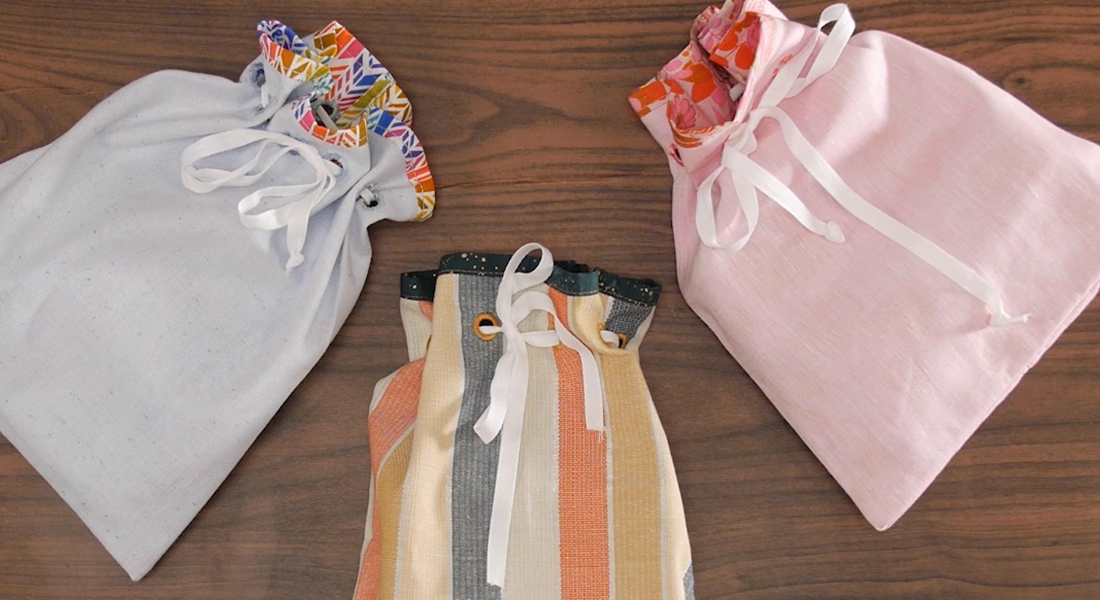
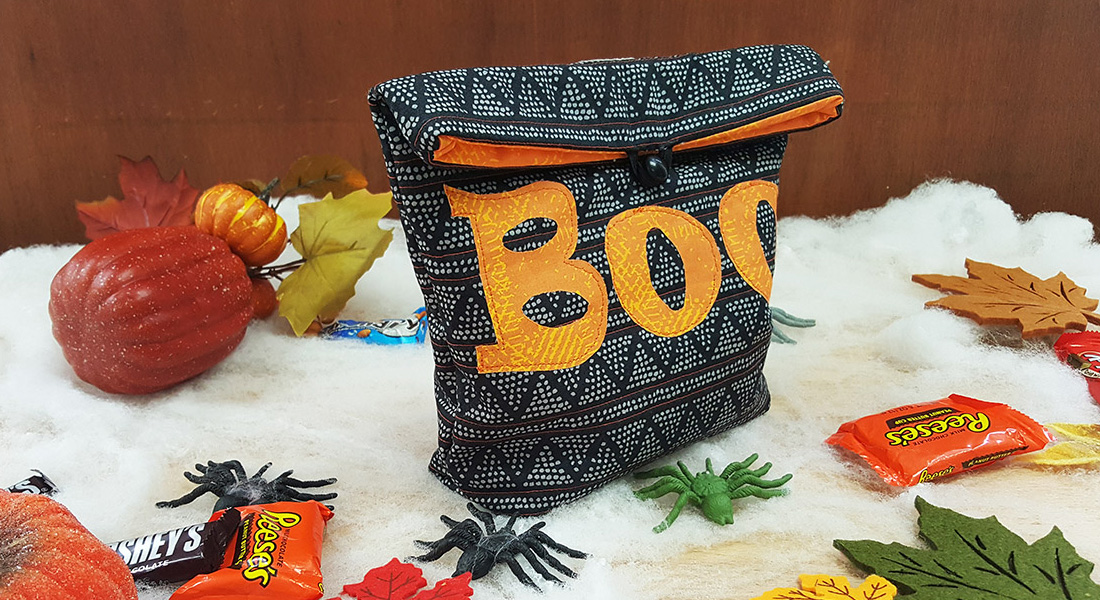
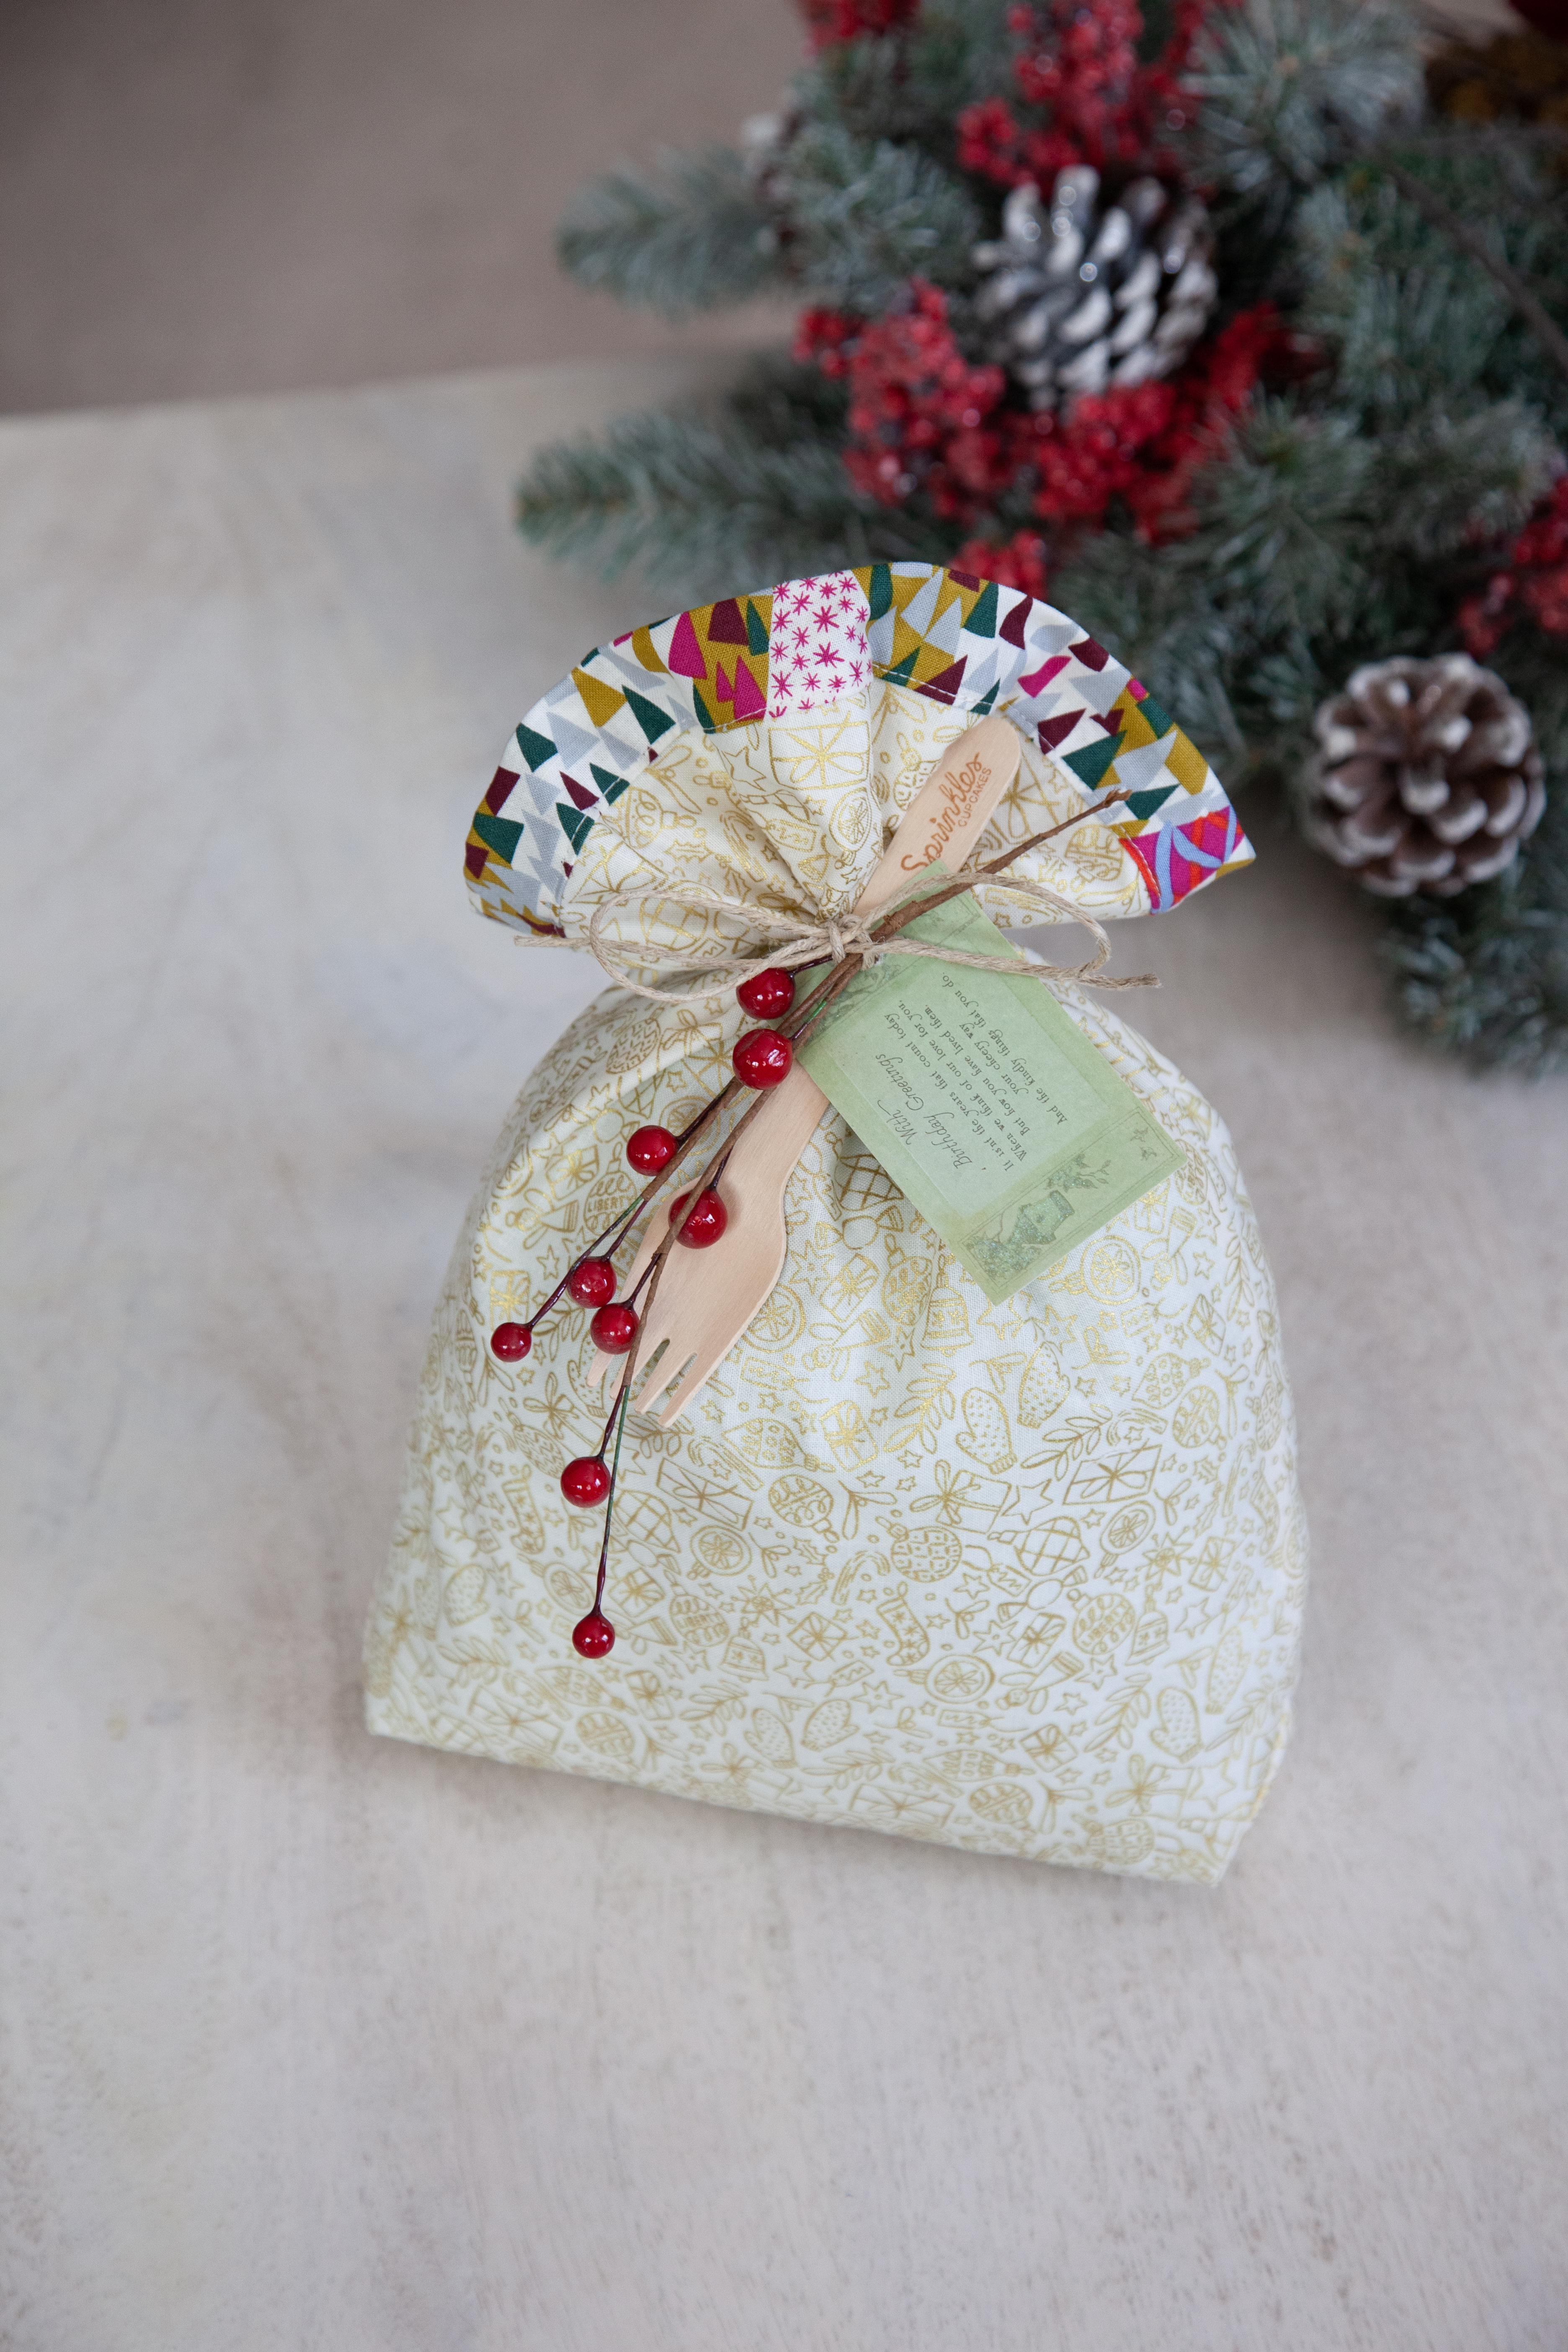
How to Sew a Holiday Gift Bag
Hello WeAllSew readers,
It’s Minki Kim, and you can find me on Instagram @zeriano and MinkiKim.com. I also design fabric for Riley Blake Designs and I have my own line of sewing patterns. I am excited to share this holday gift bag tutorial today.

Finished size: 10’’ wide x 11’’ height x 2’’ deep
Materials to Make a Holiday Gift Bag
- Print fabric A: two (2) 11 1/2’’ x 2 1/2’’
- Print fabric B: one (1) 11 1/2’’ x 26’’
Notes
- Seam allowances are 1/4″ unless otherwise noted
- RST = right sides together
- Fabrics used: Liberty Season’s Greeting collection
Steps to Make a Holiday Gift Bag
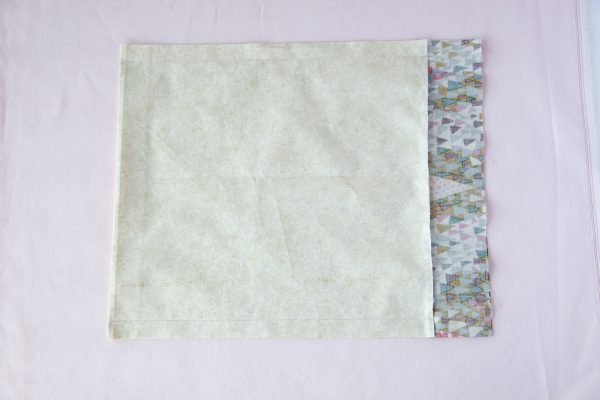
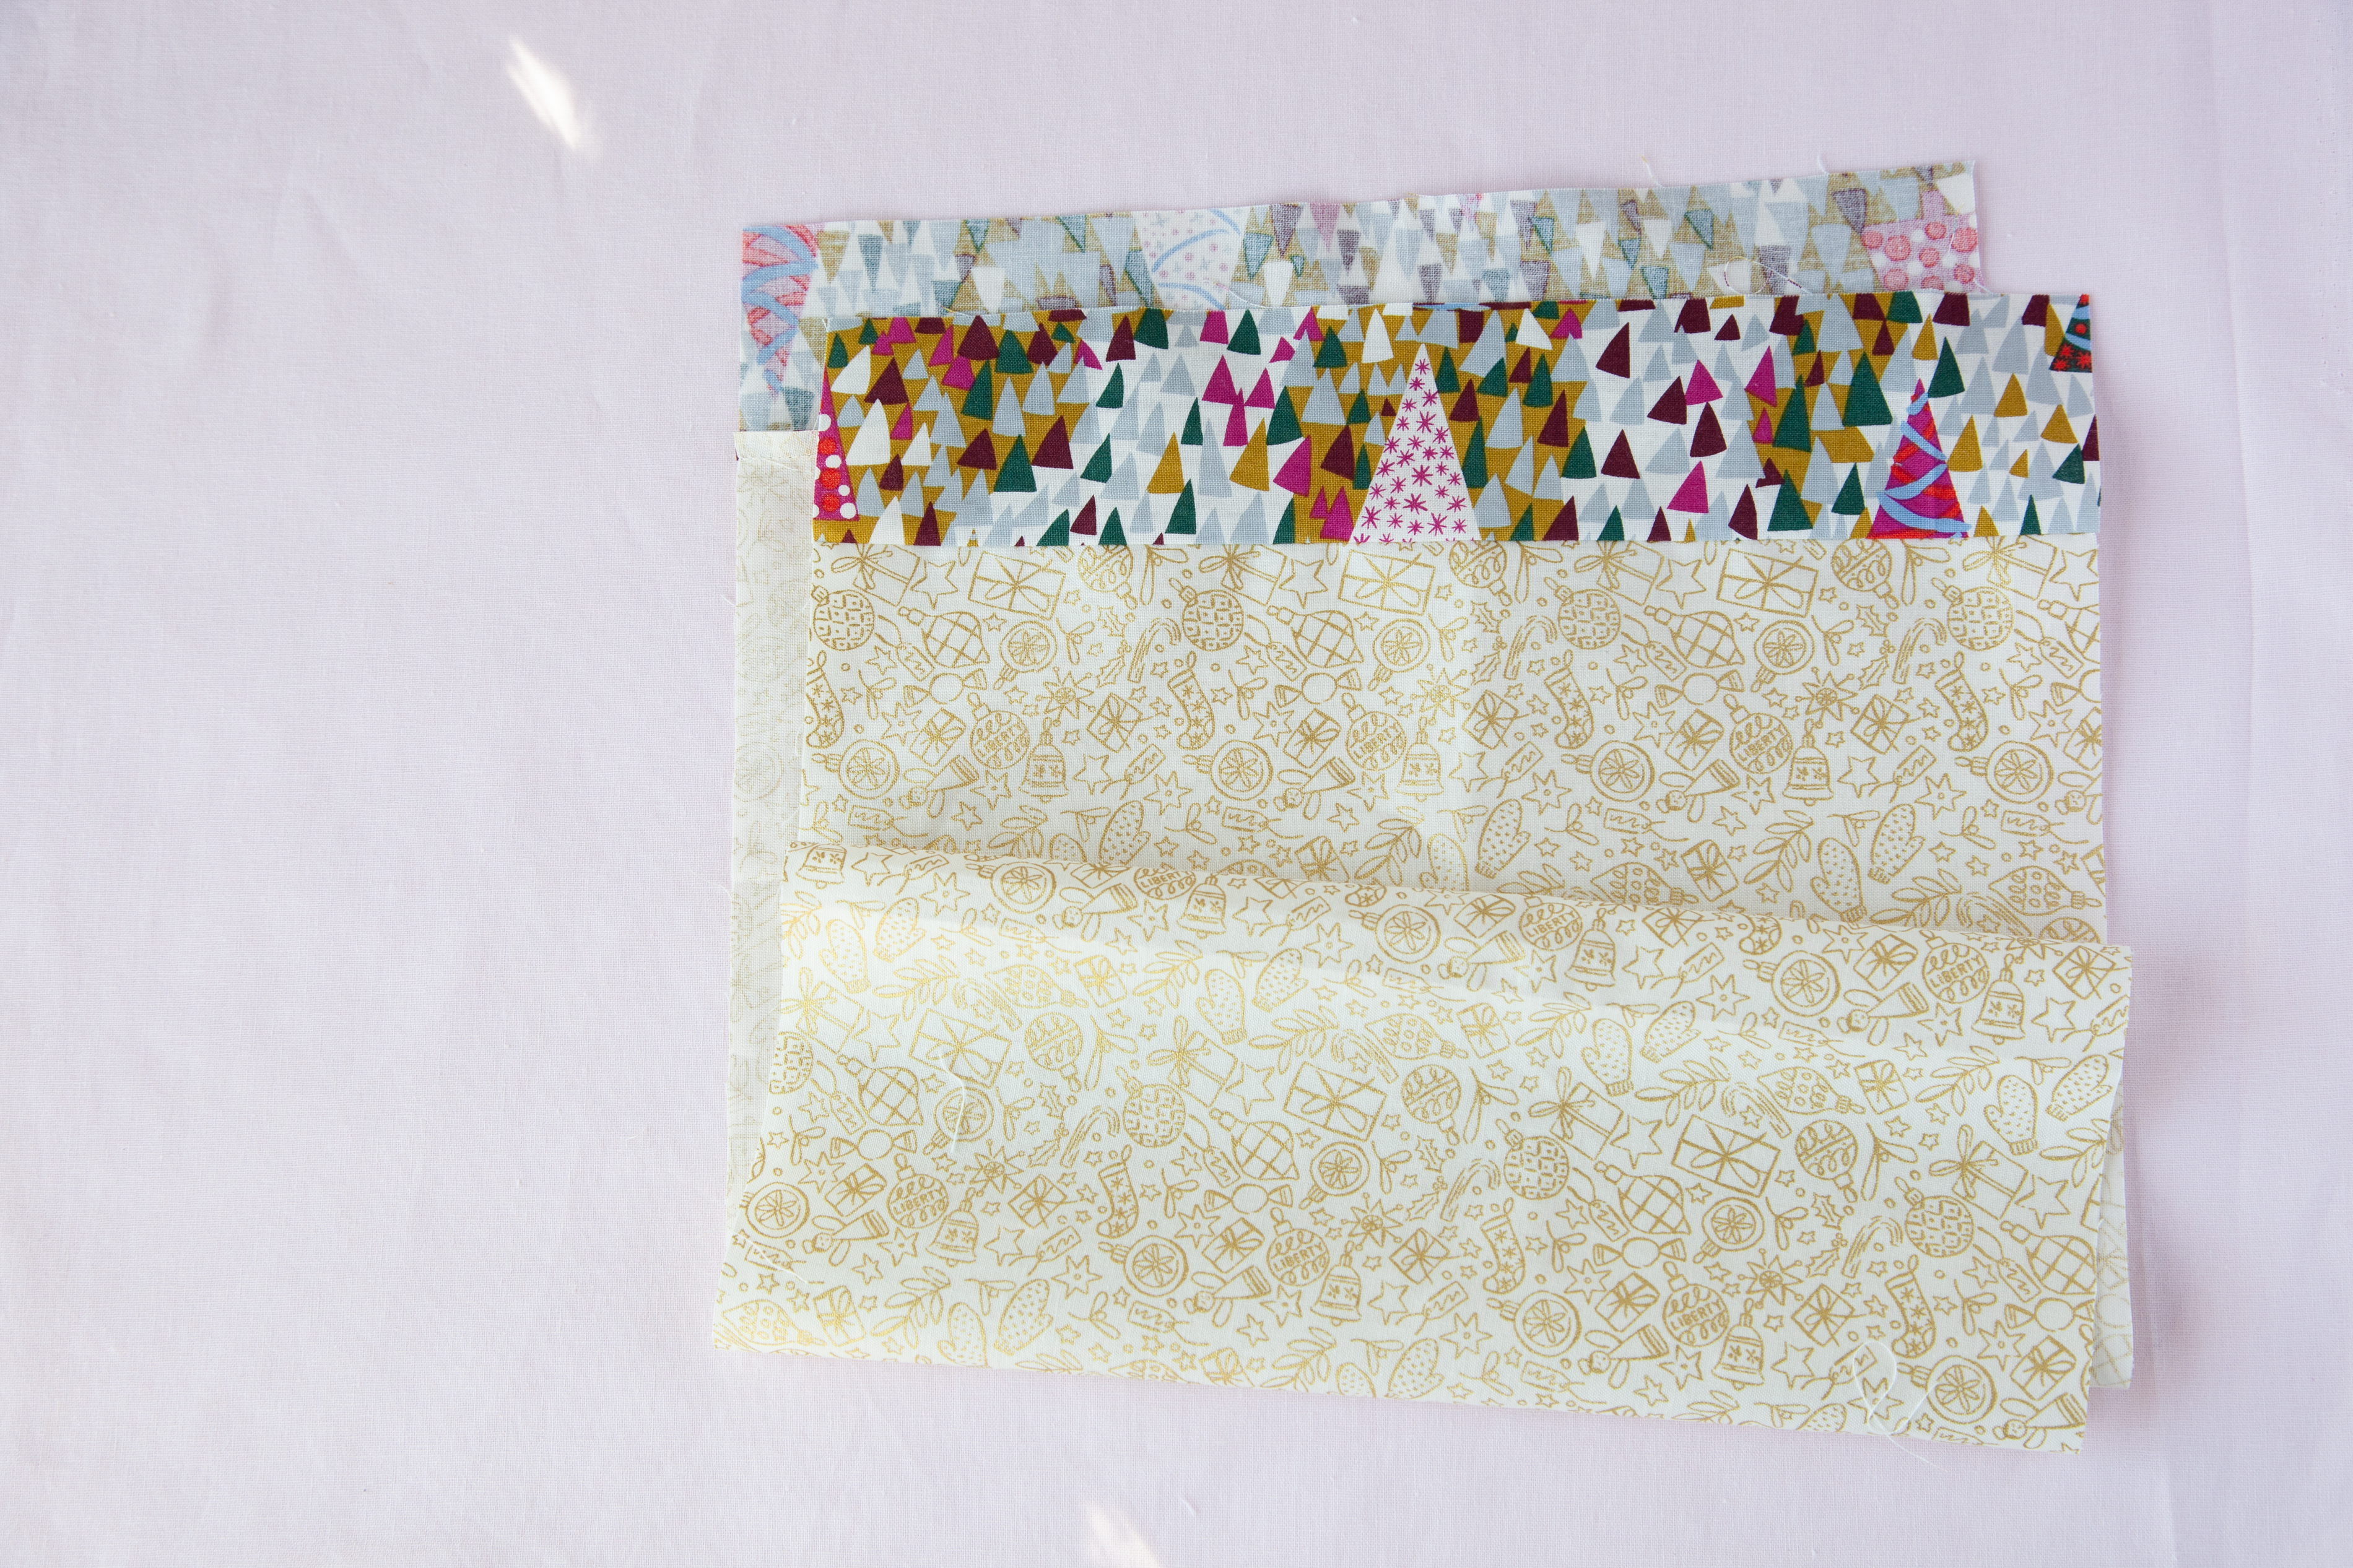
- Sew print fabric A strip to print fabric B rectangle aligning 11 1/2’’ edges. Sew the remain print fabric A strip to the other side of the print fabric B.


- WST fold in half and press. Unfold and mark both 1’’ from the center mark. Fold the center toward the inside of the bag and fold 1’’ marks as shown. Press well.

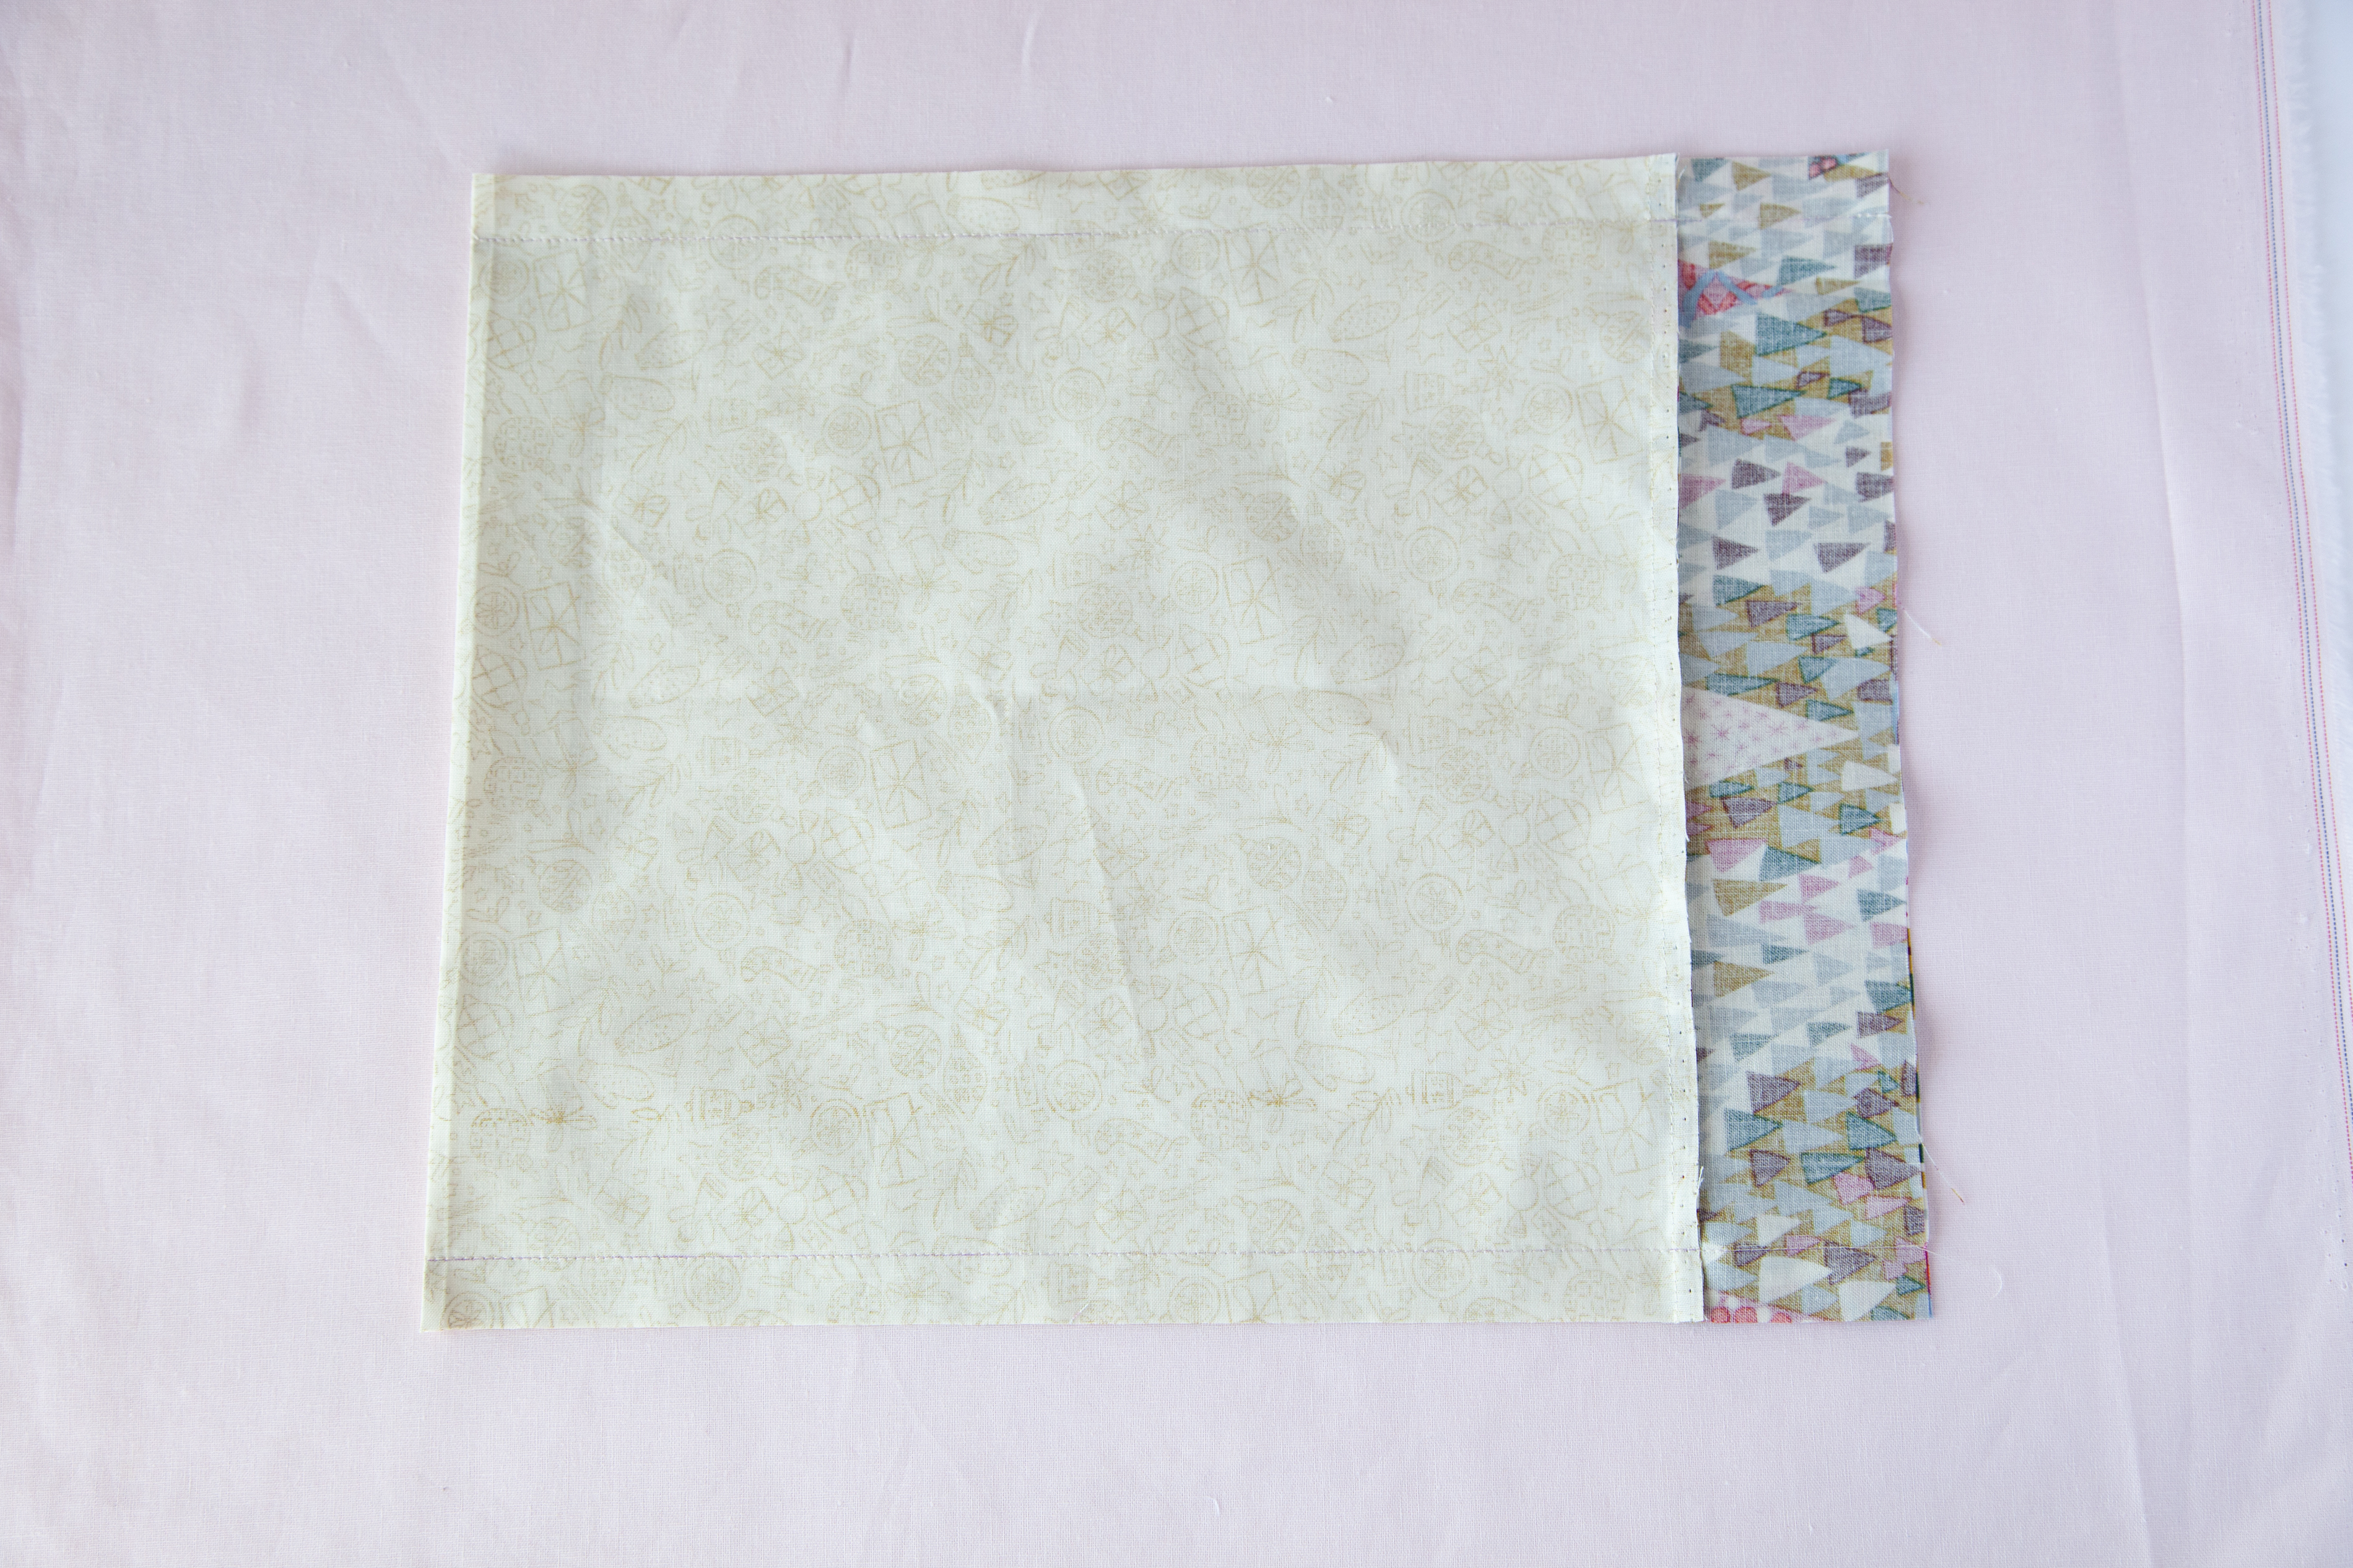
- With the bottom center inside, sew the bag side with 3/4’’ seam. Repeat for the other bag side.
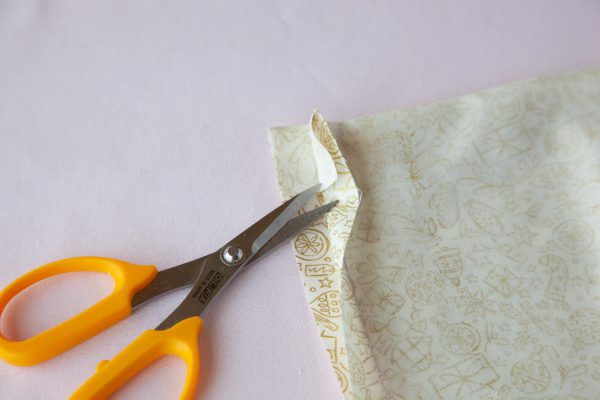
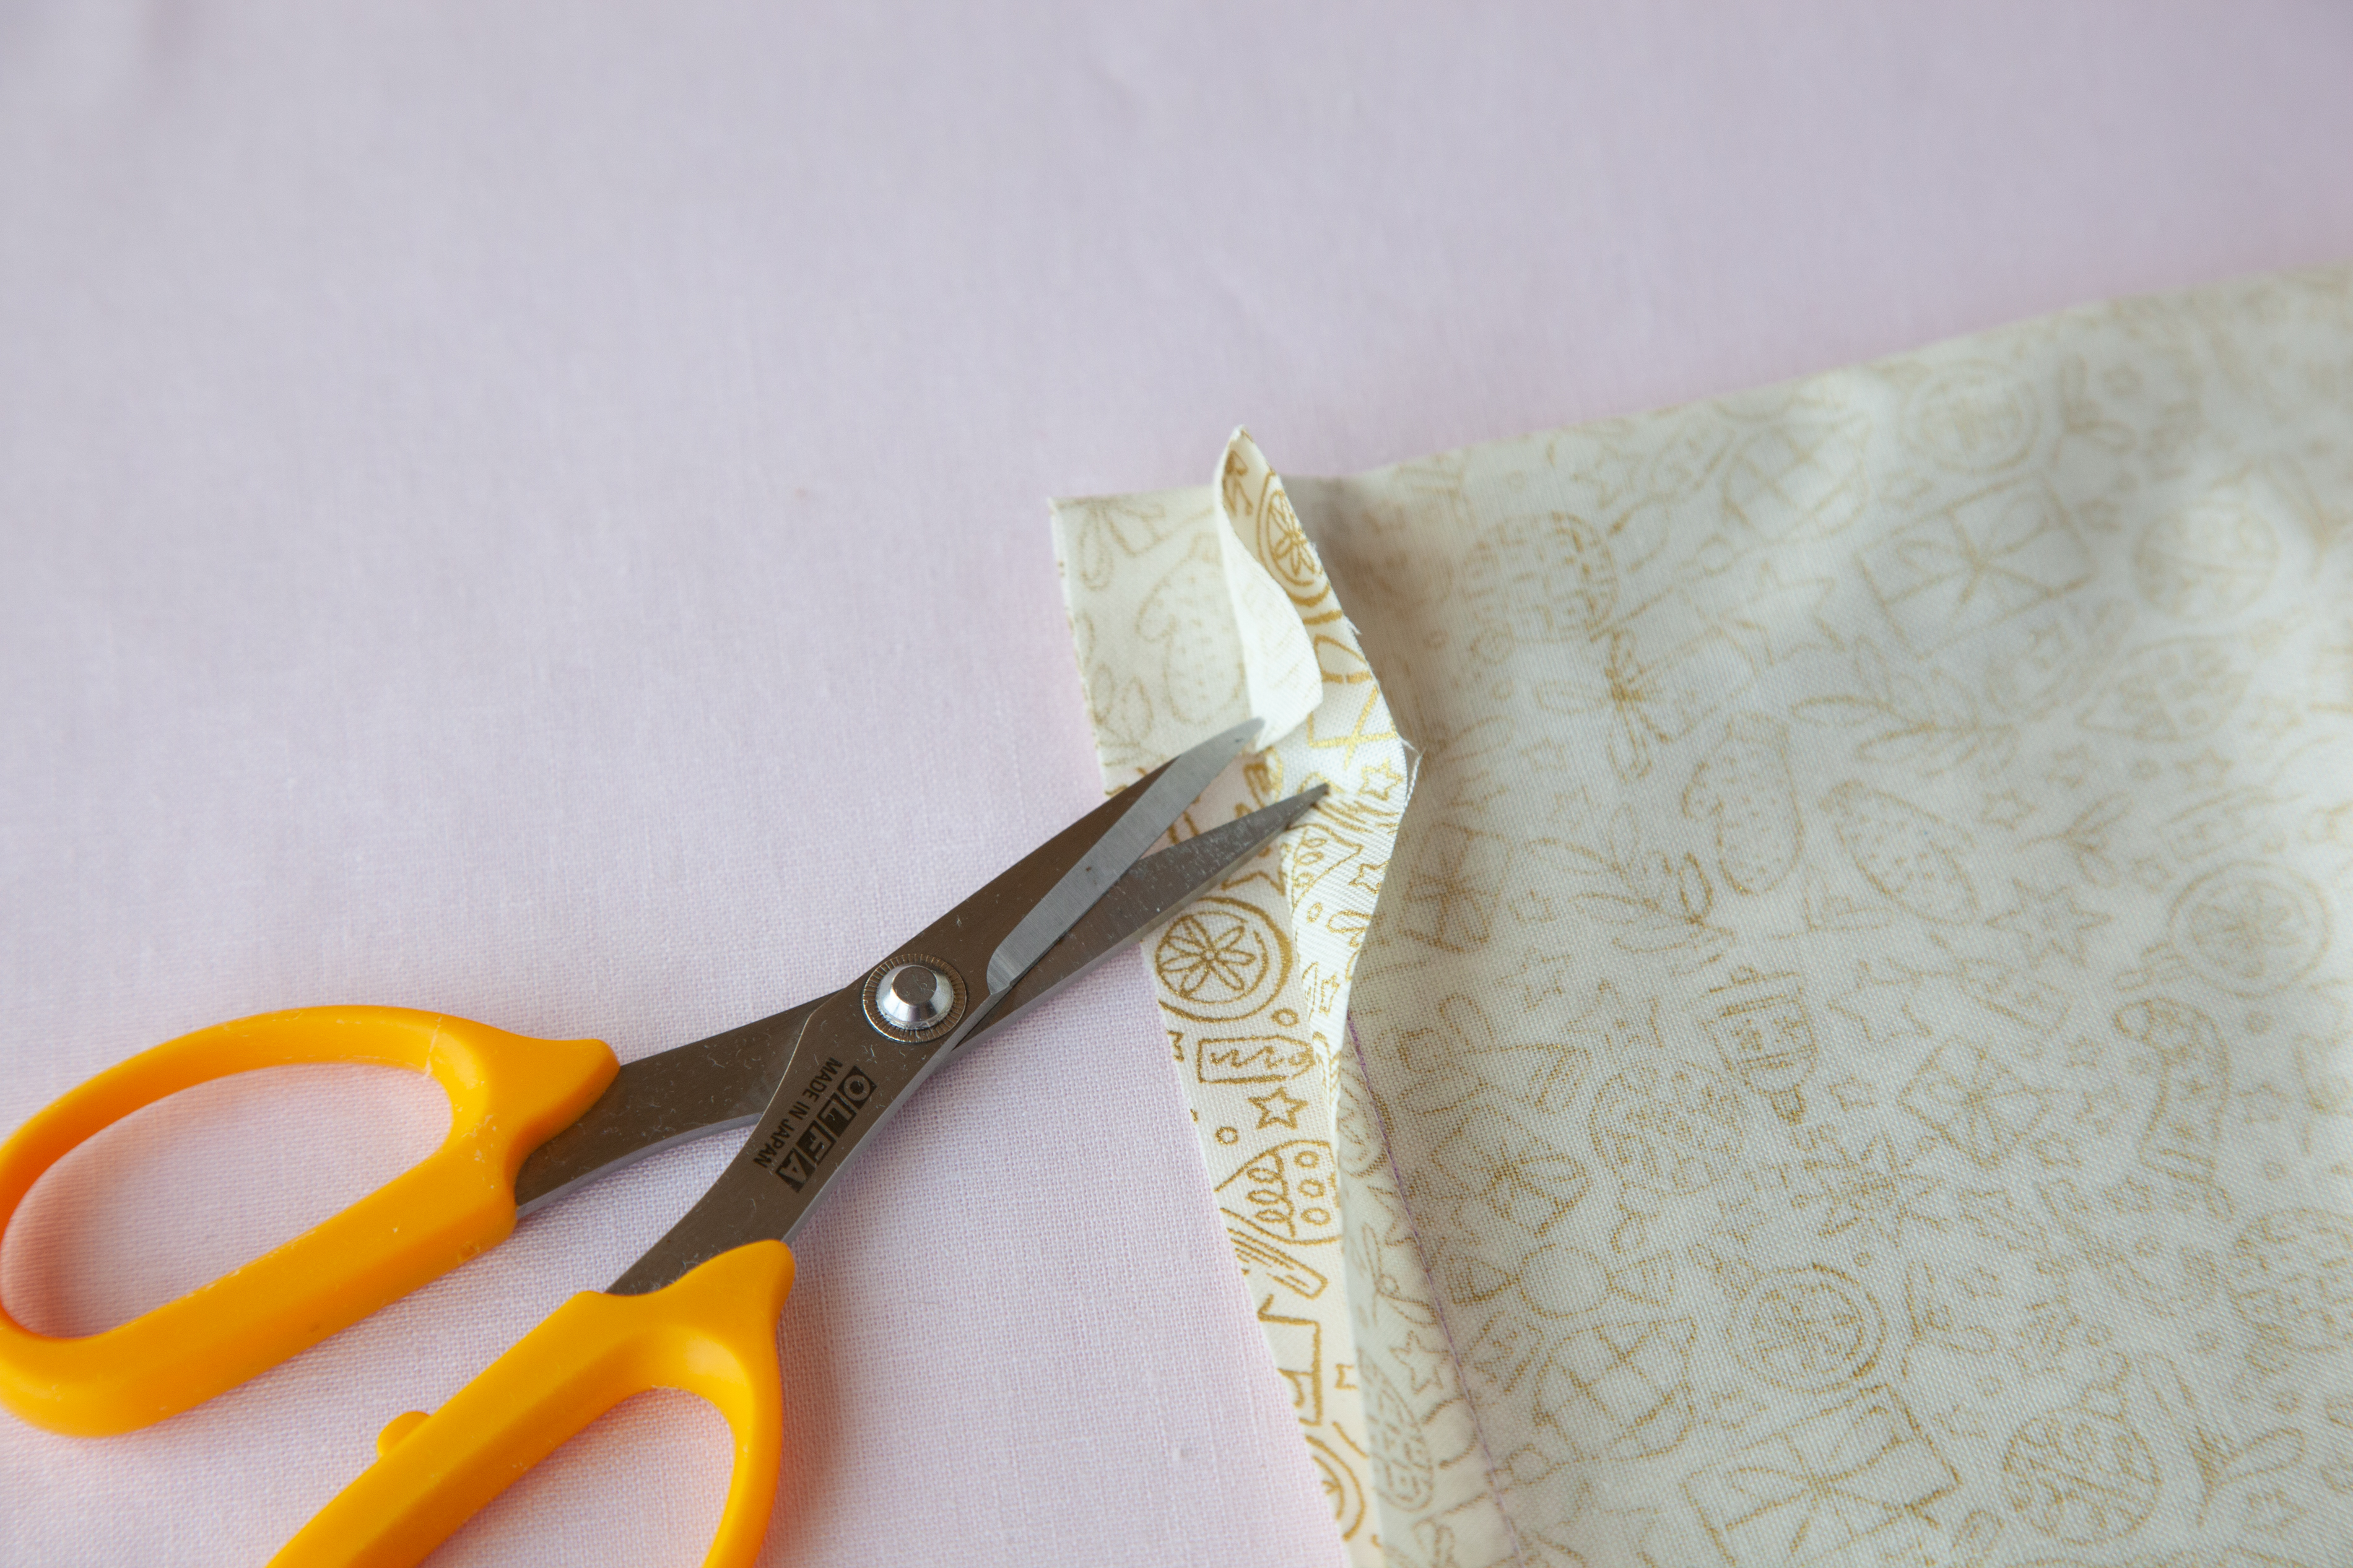
- Clip the bottom folded seam.
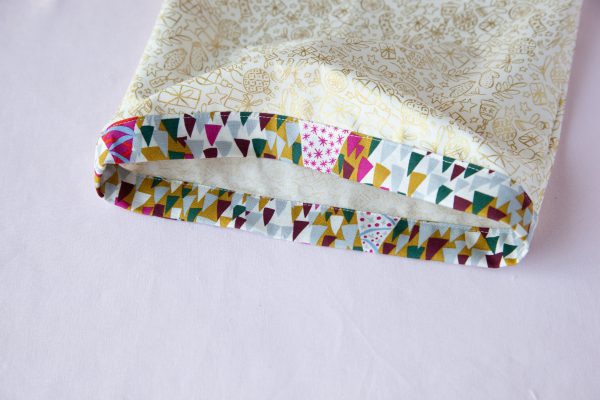
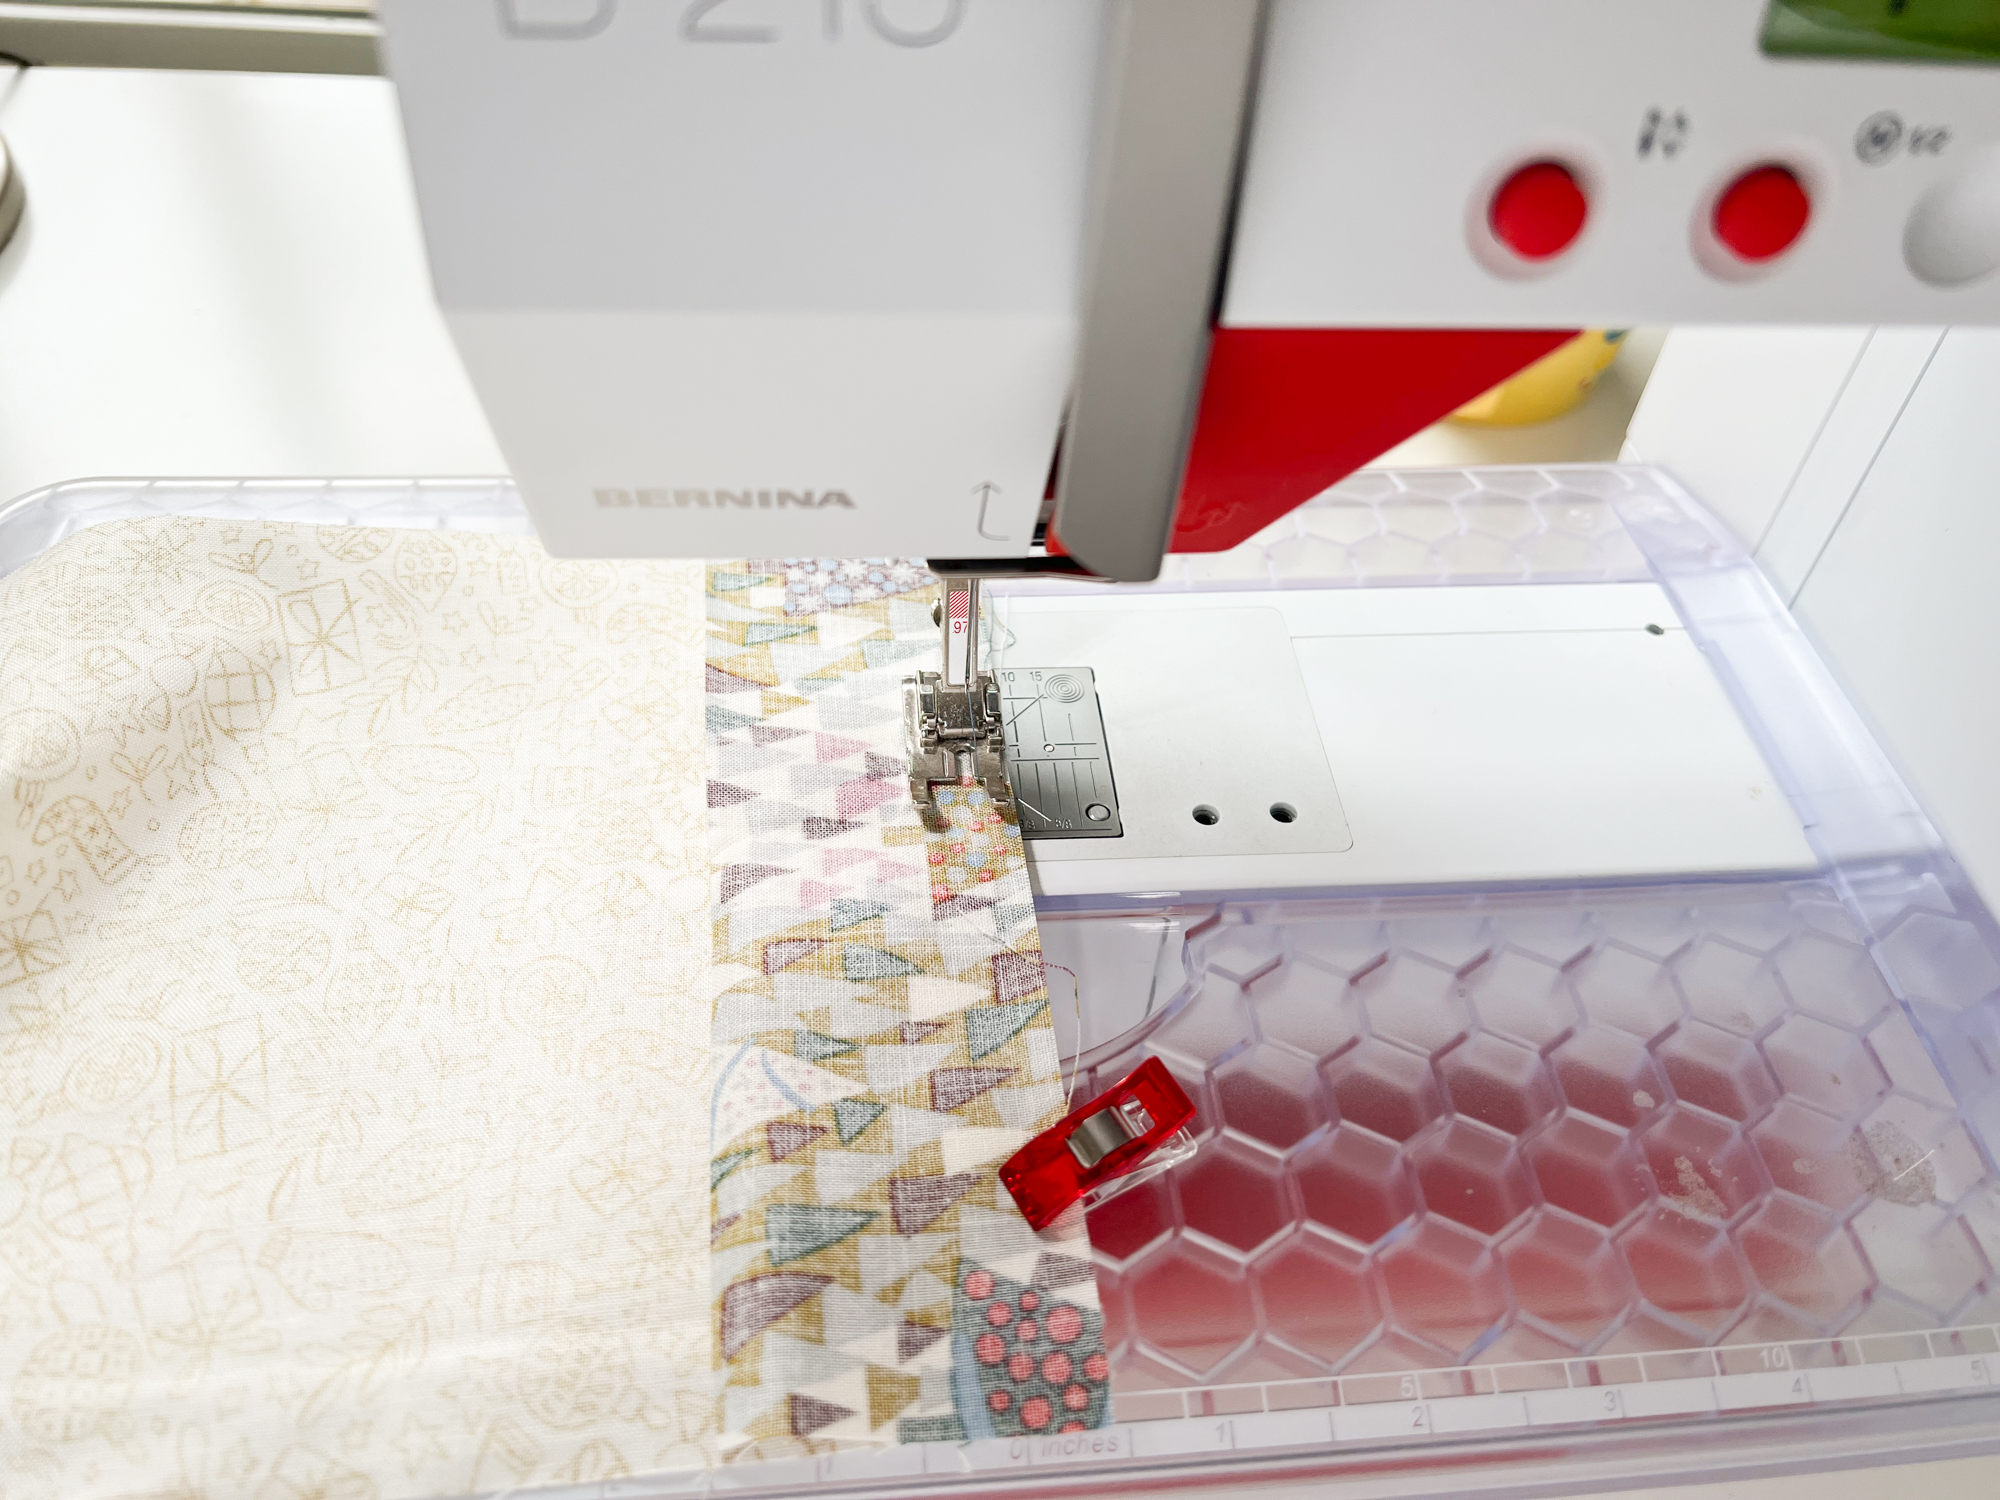
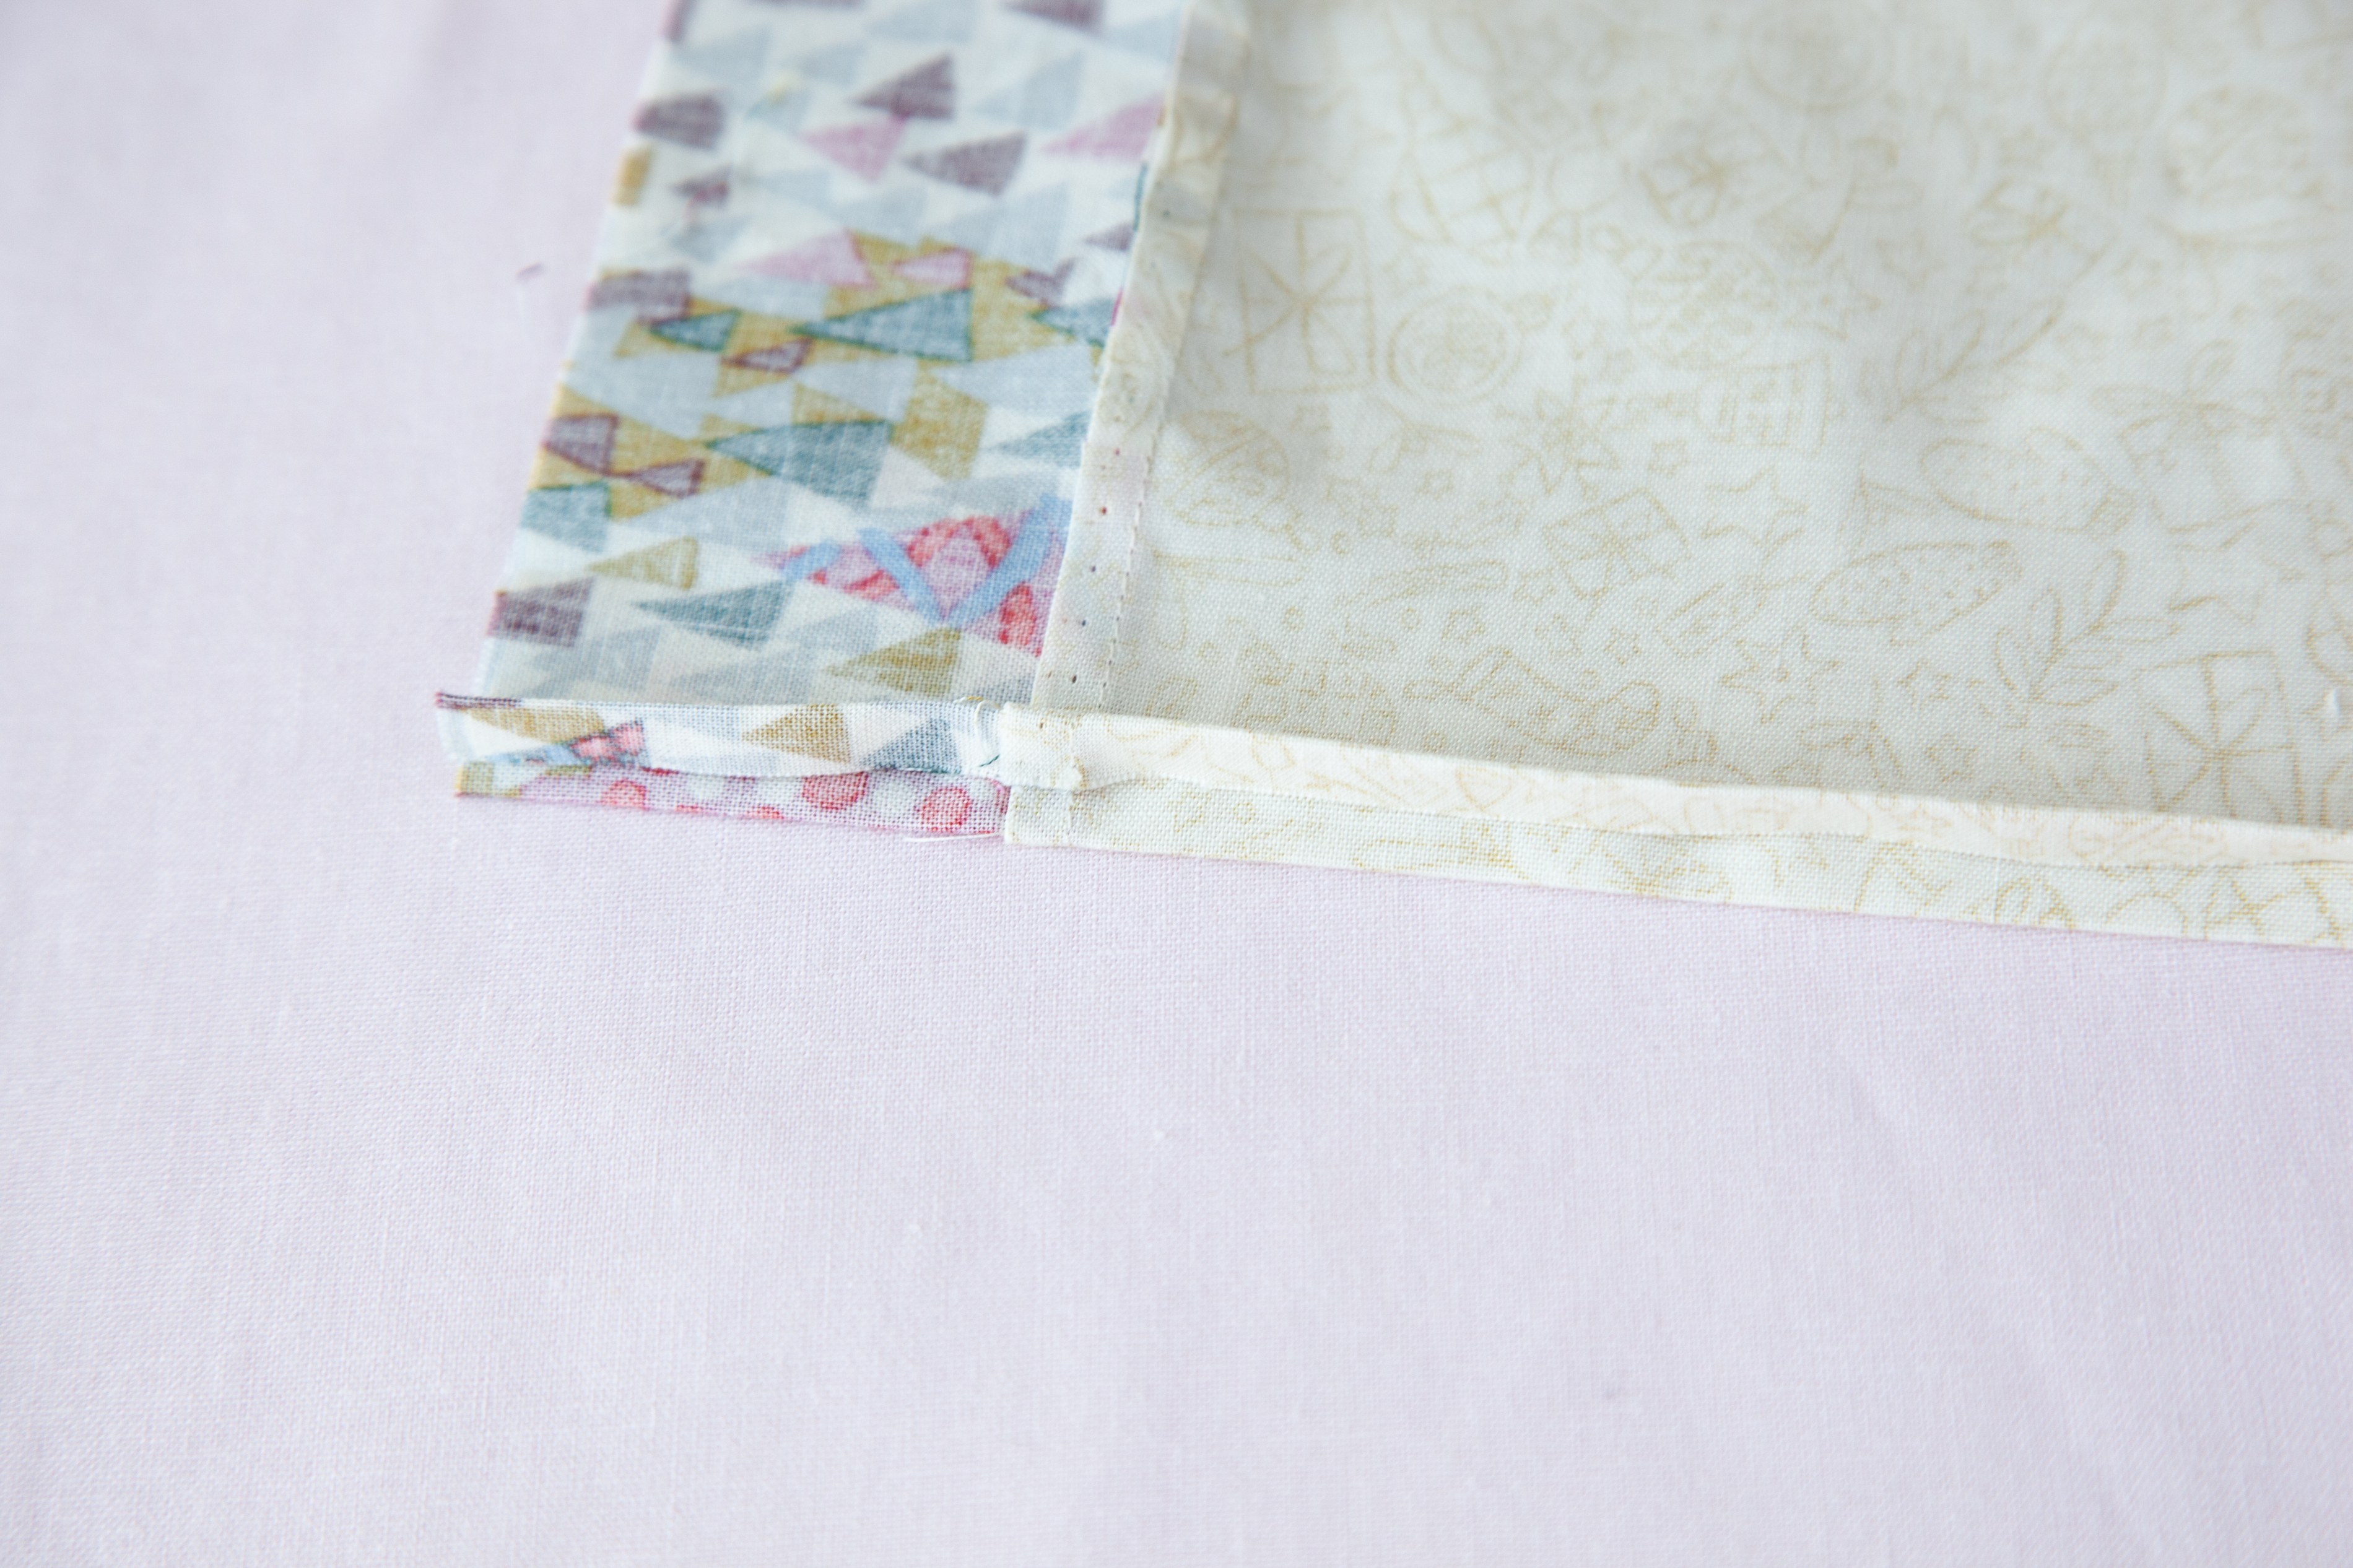
- Press the both seams in half the sew line so the raw edges go inside. Topstitch the seams together.

- Turn right side out. Fold 1/4’’ raw edge of the bag opening to WS. Then fold in half so the folded edge cover the seam allowances. Topstich to finish the bag. Press well in shape.


You can find more sewing ideas on my YouTube Channel.