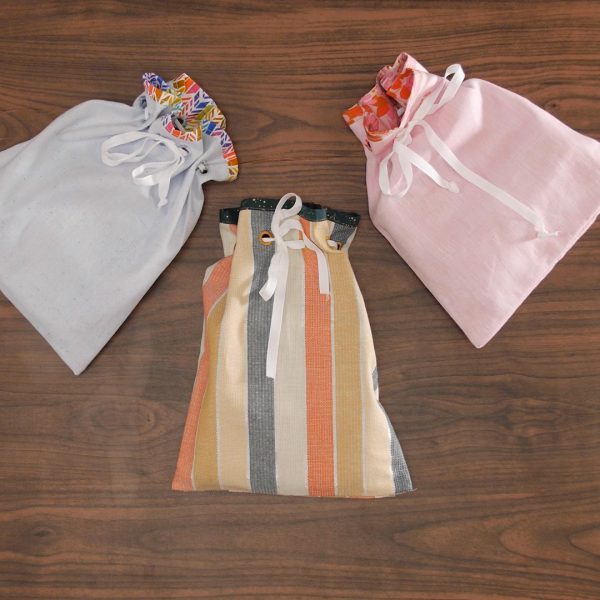
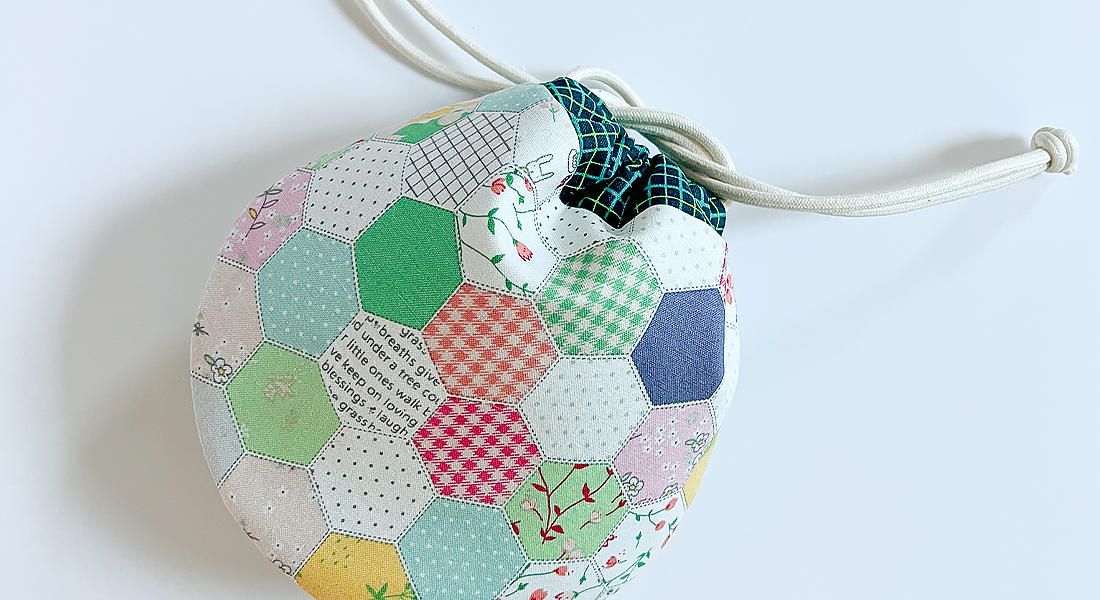
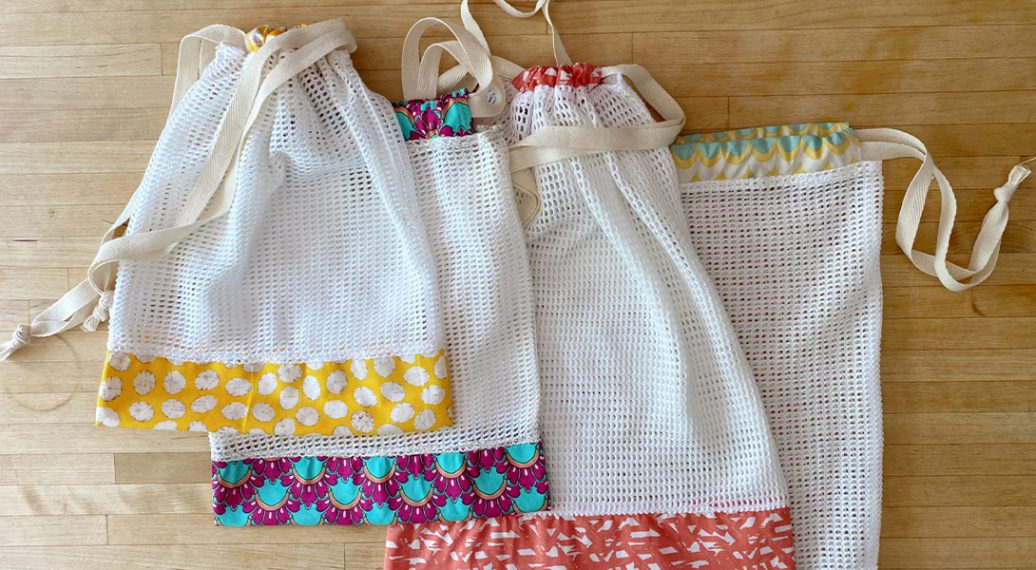
How to Make a Drawstring Gift Bag
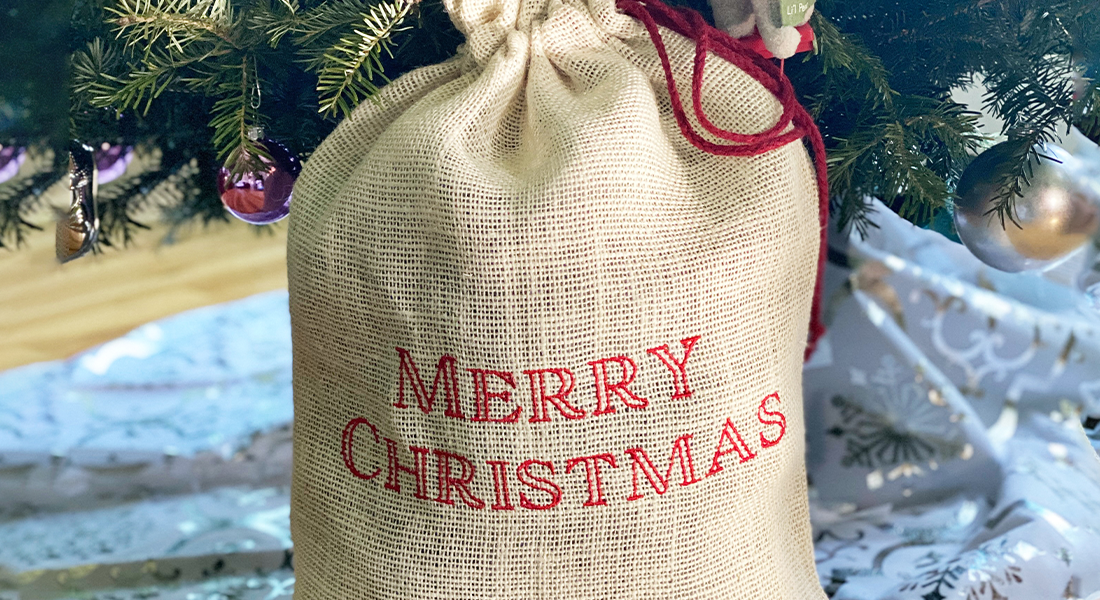
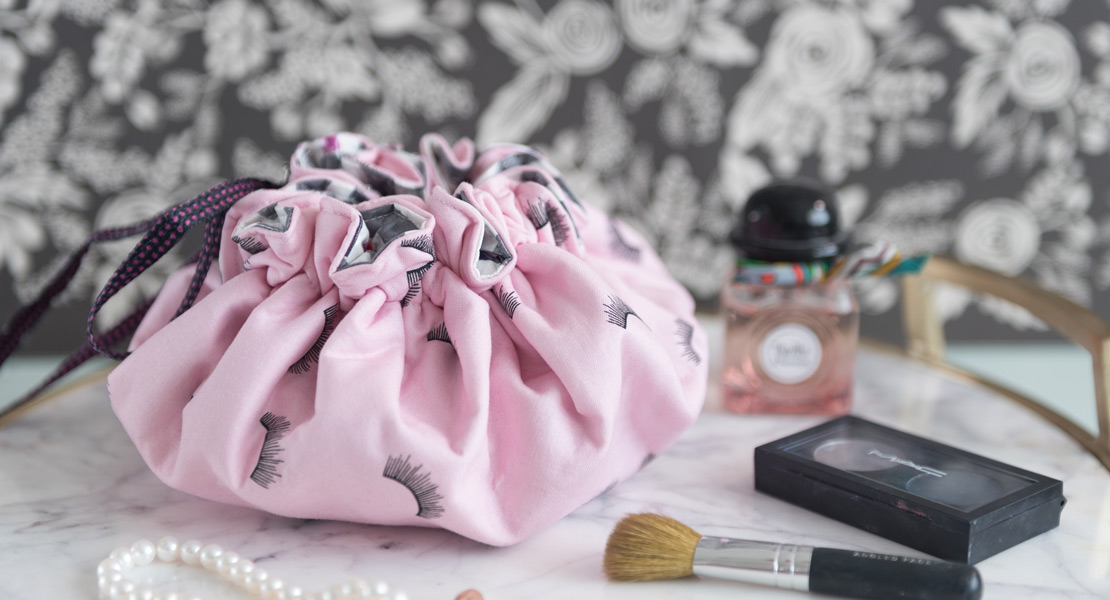
As the holiday season approaches, consider making fabric gift bags for your friends and family! These bags are quick to make, can use fat quarters from your fabric stash, and can be repurposed to reduce waste.
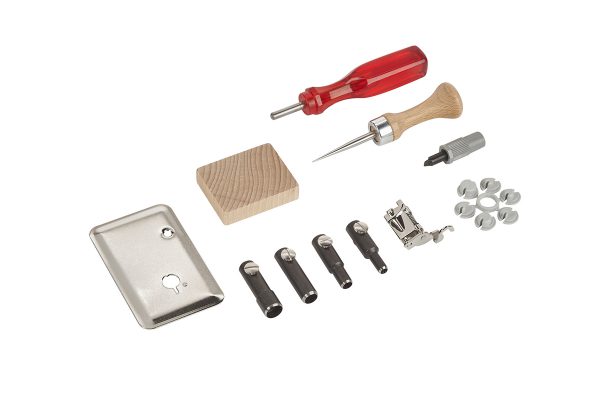
The closure on these bags is a simple drawstring using eyelets we’ll sew into the fabric! No need to break out the tools to set in special hardware for these—the BERNINA Eyelet Embroidery Set #82 with Foot #92 allows you to stitch out eyelets in a variety of sizes to best suit your fabric and cording.
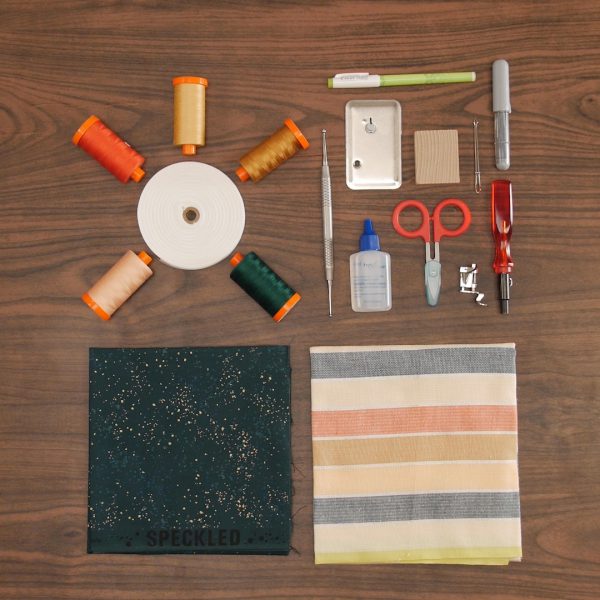
Supplies to Make a Drawstring Gift Bag
- 1 fat quarter exterior fabric
- 1 fat quarter lining fabric
- 24” twill tape, ribbon, or another decorative drawstring cording
- Coordinating cotton thread (40 or 50 wt)
- Fabric marking pen
- Fray blocker
- Ruler
- Rotary cutter + cutting mat
- Iron + ironing board/mat
- Thread snips
- BERNINA Eyelet Embroidery Set #82 with Foot #92
- Edgestitch Foot #10D
- Reverse Pattern Foot #1D
- BERNINA 770 QE PLUS
Steps to Make a Drawstring Gift Bag
Step 1. Cut and Assemble Exterior with Lining
Cut exterior fabric to 19” x 12”. Cut lining fabric to 19” x 13 1/2″. Be mindful of directionality in your fabric. Place exterior and lining pieces right sides together, aligning at one of the long edges, and pin.
Sew the exterior and lining together with a 1/4″ seam allowance. Press the seam allowance toward the lining fabric. Fold the lining to the back side of the exterior, so that the wrong sides are touching. Press this edge and pin.
Attach Edgestitch Foot #10D to the machine. Move the needle over to the right to position 3. Increase the stitch length to 3 mm. Topstitch along this folded edge to create the illusion of a bound edge.
If needed, trim the opposite long edge of the lining fabric so that it is even with the exterior fabric.
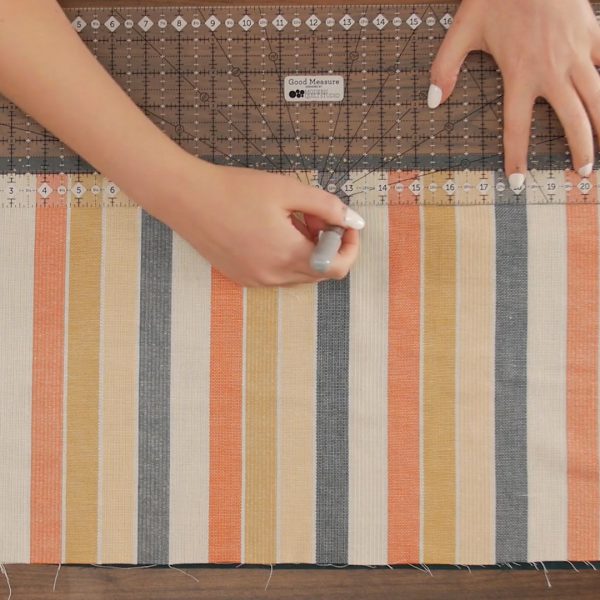
Step 2. Mark Placement for Eyelets
Using a long ruler, measure 1 1/2″ down from the bound edge and mark the length of the fabric using a fabric marker.
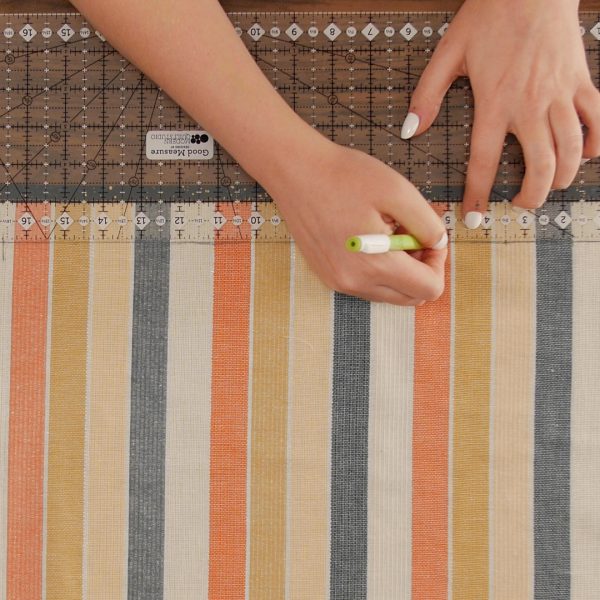
Measure 1/2″ in from the short raw edges and mark a crosshair at the first chalk marked line.
Beginning at the crosshair, measure and place a mark every 1 3/4″ along the long marked line. You will end up with ten marks.
Step 3. Punch Holes
Included with the Eyelet Embroidery Set #82 is a set of hole punches. These can be used for a variety of projects, but the sizes offered coordinate with the eyelet attachment. Determine the desired size of eyelet—smaller eyelets are easier to stitch and control but larger eyelets can accommodate larger cording or ribbon for our drawstring. When determining the size of the eyelet, you must choose the appropriate punch and eyelet peg pairing. The hole punched into the fabric will slide onto the peg. It’s important that the hole is not too large for the peg as this will make it more difficult to move the fabric smoothly and evenly. Fabrics with tighter weaves will be more stable and stretch less than a loosely woven fabric.
For my sample, I have chosen the third largest punch with the second largest peg. My exterior fabric is a fairly loose weave and stretches/warps very easily so a slightly smaller punched hole works well for this fabric.
Place the wood block underneath the fabric, centered under the first mark on the fabric. Center the hole of the punch on top of the mark and press straight down through the fabric into the wooden block. Twist the punch left and right slightly to make sure it cuts smoothly through the fabric.
Repeat this for the remaining nine marks. You will have ten evenly spaced holes punched in a straight line.
Step 4. Set Up the Eyelet Embroidery Attachment
Insert the appropriately sized eyelet peg into the metal cover plate. You will align the shallow groove on the peg with the small notch and the large groove with the large notch.
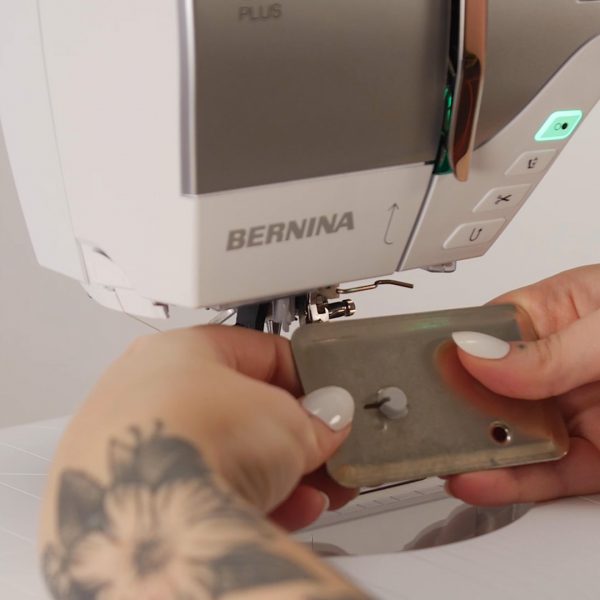
Lower the feed dog on the machine and place the cover plate over the stitch plate. Align the hole on the cover plate with one of the threaded holes on the freearm and screw the cover plate to the freearm. Attach Presser Foot for Eyelet Embroidery #92.
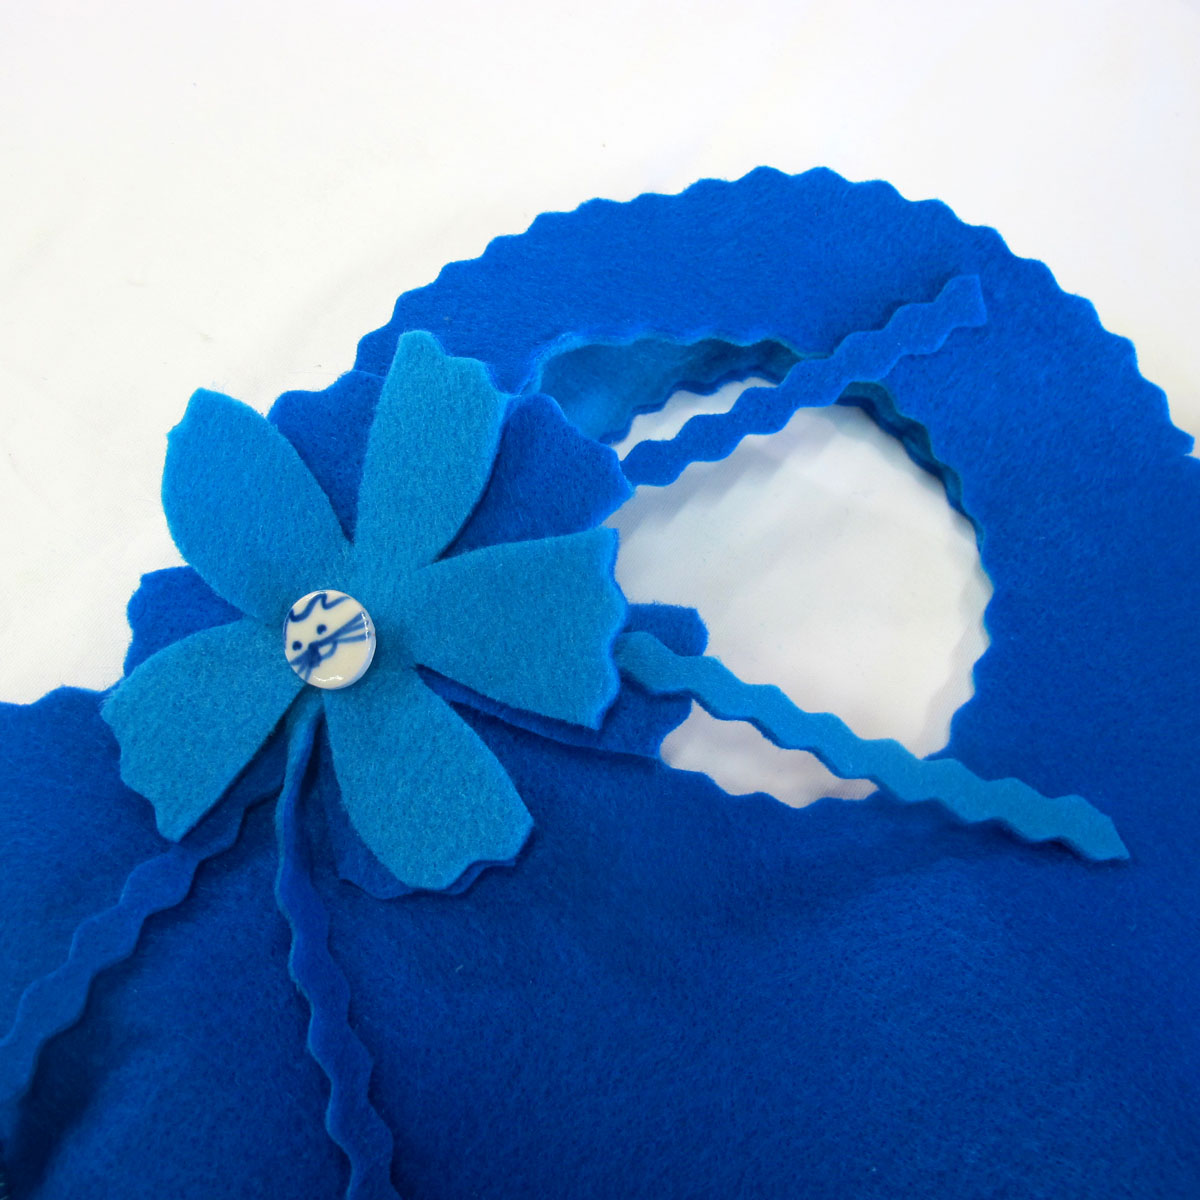
Step 5. First Round of Stitching
Wind a bobbin with the same thread you want to use in the needle. I recommend using a thread no heavier than 40wt—thicker threads can be difficult to stitch smoothly in this technique when our stitching is really dense. Thread the needle on the machine.
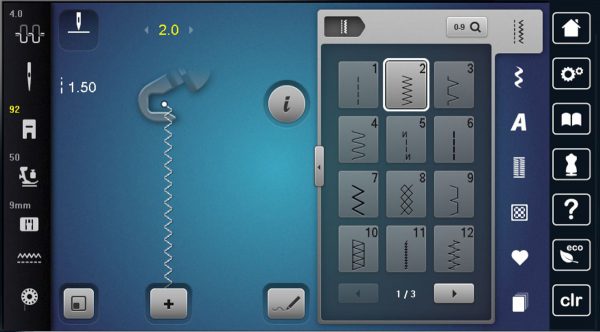
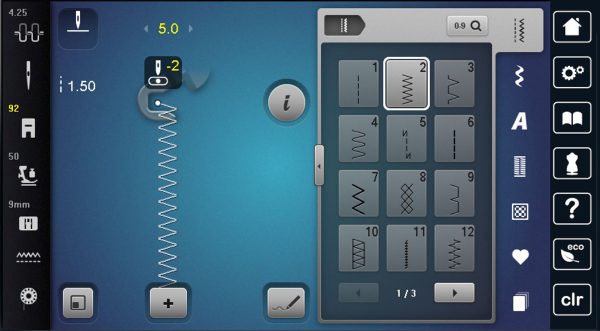
Select the zigzag stitch. Reduce the stitch width to 2 mm.
Press one of the punched holes on to the eyelet peg. Lower the presser foot and pull the bobbin thread to the top. Begin stitching slowly and simultaneously spin the fabric clockwise around on the peg.
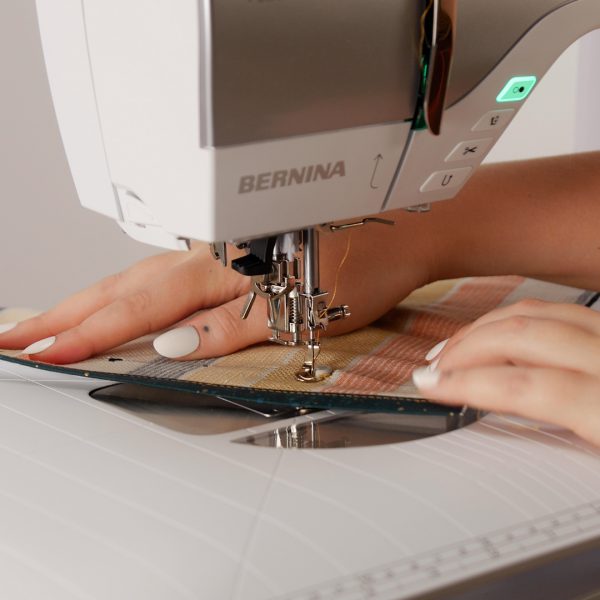
This first rotation should not be a very dense round of stitching. This first pass is simply to secure our layers and create a foundation for the eyelet stitching.
Step 6. Second Round of Stitching
When you reach your starting point, stop stitching with the needle down in the middle of the eyelet (not in the fabric).
Increase the zigzag stitch width to 5 mm and move the needle position over to the left, to position -2.
Begin this second round of stitching, sewing on top of the first round, and moving the fabric more slowly and deliberately than the first pass. This round should create a full, dense satin stitch look.
When you return to your starting point, select a straight stitch and move the needle position over to the left, near the outer edge of your satin stitch. Take two or three stitches in place to secure. Remove the fabric from the eyelet peg and manually cut threads, leaving long thread tails.
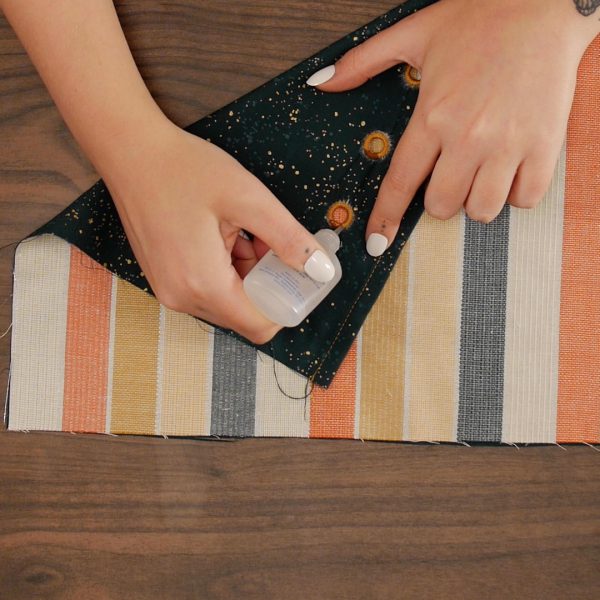
Pull threads to the backside of the fabric. Trim the thread tails and run fray blocker over the securing stitches.
Step 7. Constructing the Bag
To create a clean finish for your gift bag, and even make it reversible, we will construct the bag using French seams.
Fold the fabric in half with the wrong sides together, aligning the two short edges. Pin this edge.
Remove the Eyelet Embroidery Set from the machine. Attach Reverse Pattern Foot #1D. Press the Clear button to restore your straight stitch to default settings.
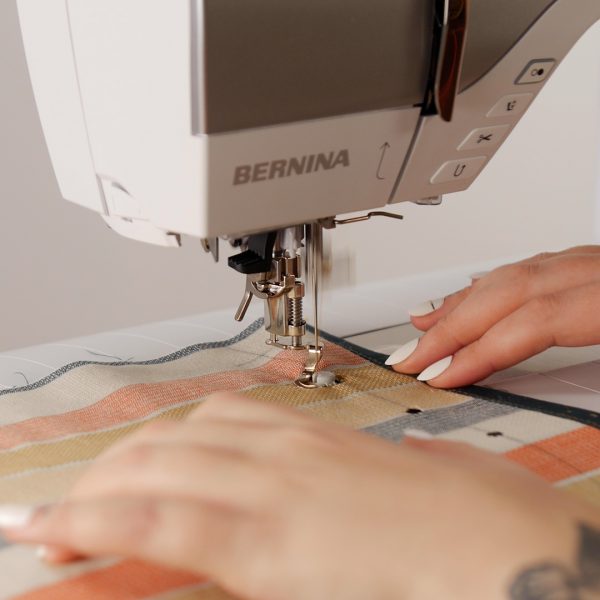
Sew down the short edge with a 1/4″ seam allowance. The fabric should now be sewn into a tube.
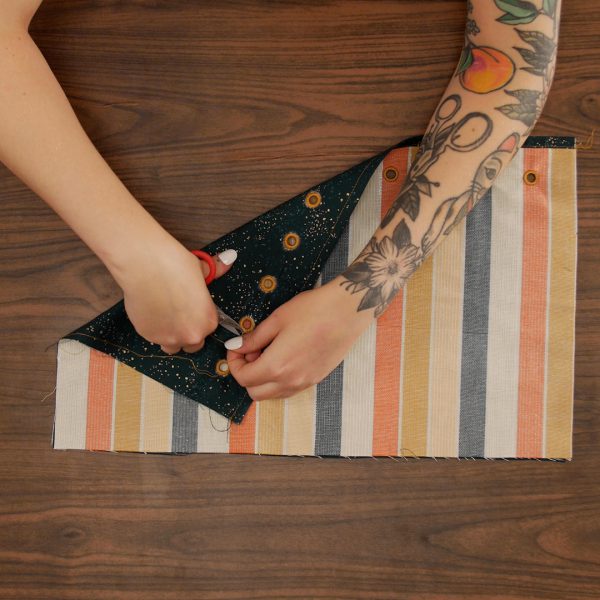
Grade the seam allowance down to a scant 1/8”. Turn the tube inside out. Pin down the seamed edge and press.
Sew this seam with a 1/4” seam allowance, backstitching at the beginning and end.
Turn the bag right side out. Lay it flat, with the seam on the side, to find the “center” opposite the seam and mark with a fabric marker or pin. Align the seam with the center mark. Pin along the bottom raw edge. The first French seam will be at the center back.
Repeat the process to create a French seam to close the bottom of the bag by sewing with a narrow seam allowance with wrong sides together, grading, then flipping to sew with a wider seam allowance with right sides together.
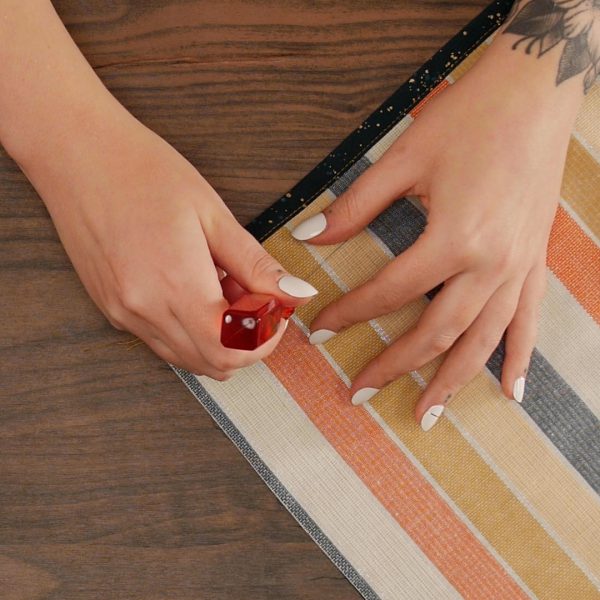
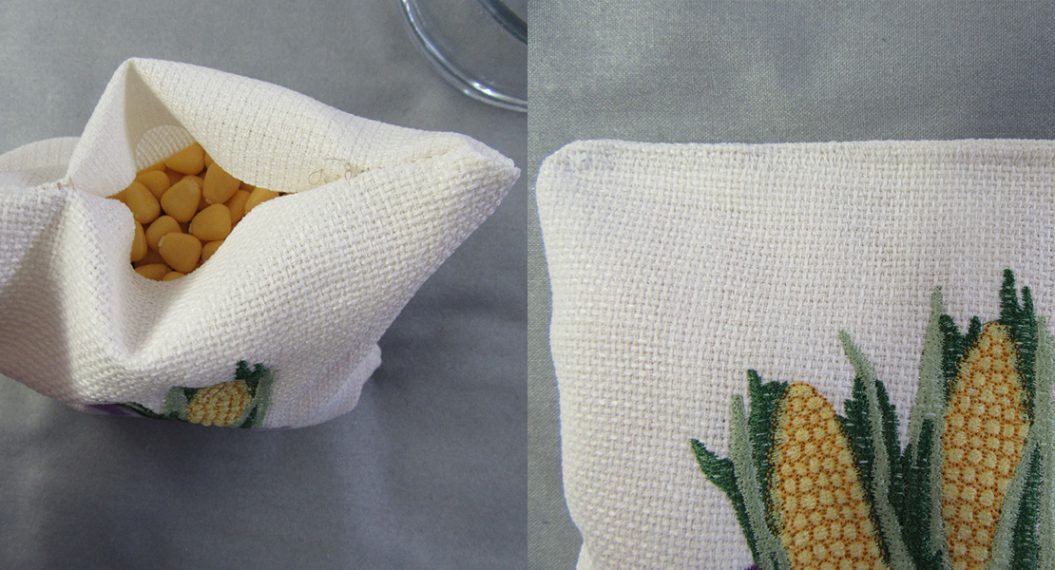
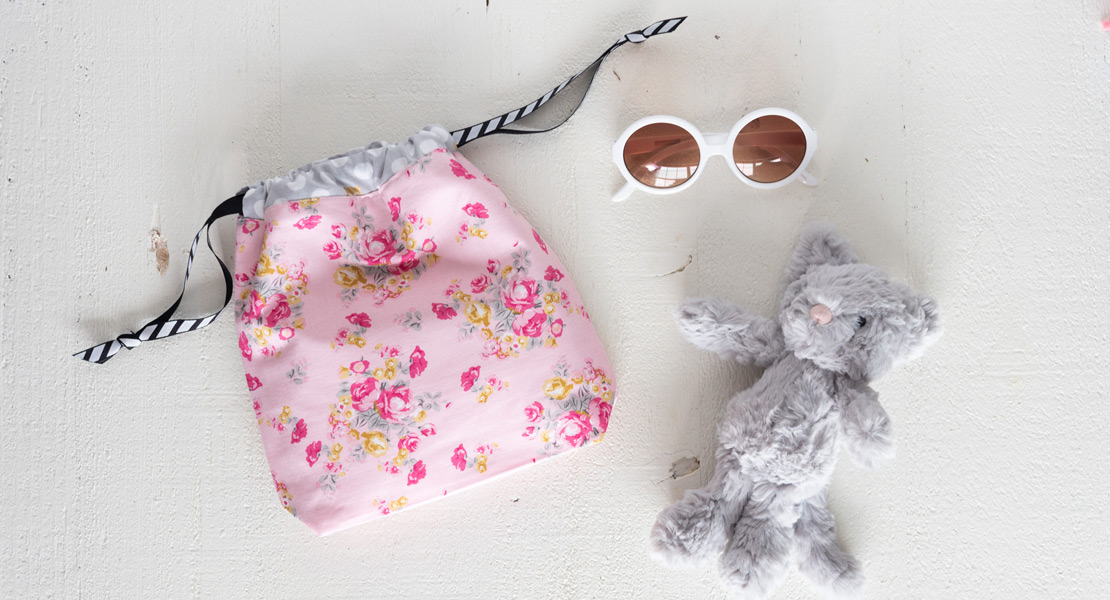
Step 8. Add Your Drawstring
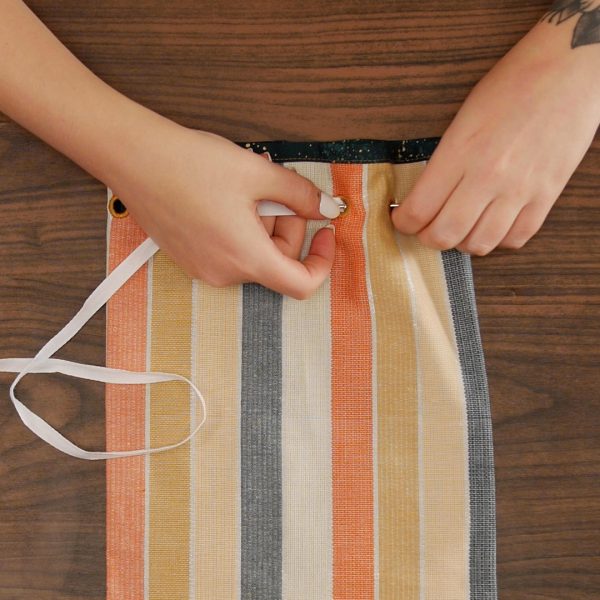
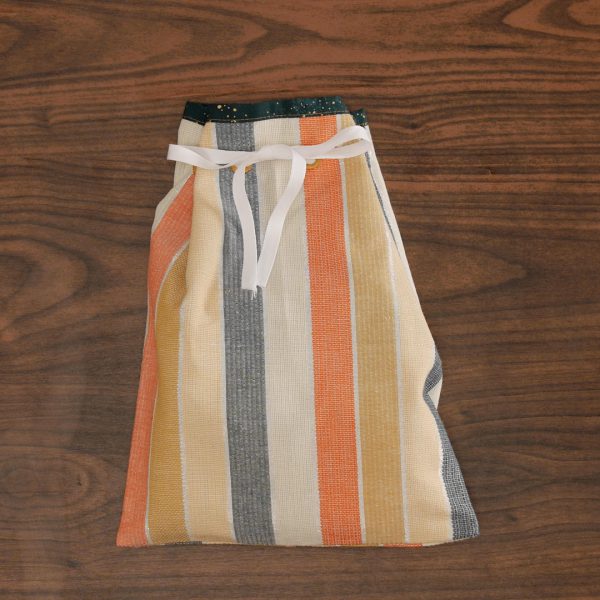
Finally, weave your drawstring through the eyelets! Starting at the center front, weave a 24” length of twill tape, ribbon, or decorative cording in and out of the eyelets to create an easy-cinched closure for your gift bag.
Used Products

What you might also like


2 comments on “How to Make a Drawstring Gift Bag”
-
-
Absolutely! While we refer to this accessory/style of stitching as “embroidery”, it does not require the use of an embroidery module and can be sewn on any BERNINA sewing machine 🙂
-
Leave a Reply
You must be logged in to post a comment.

Can #82 foot be used on a non embroidery machine?