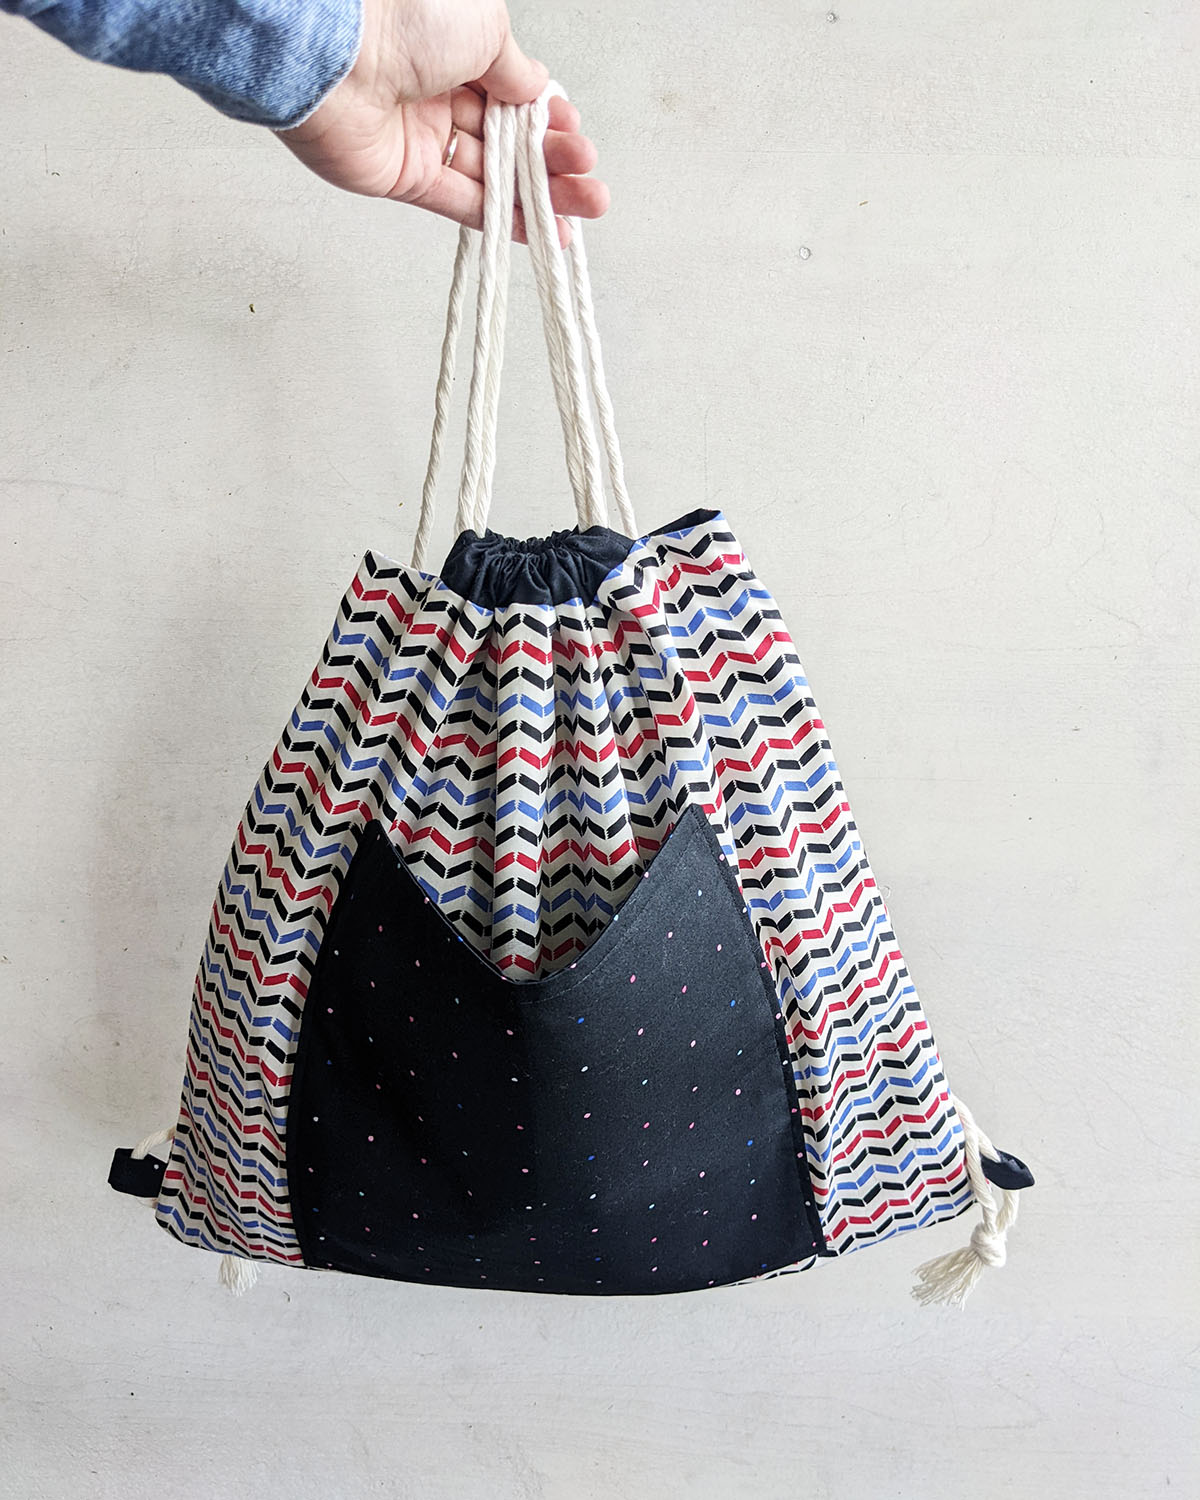
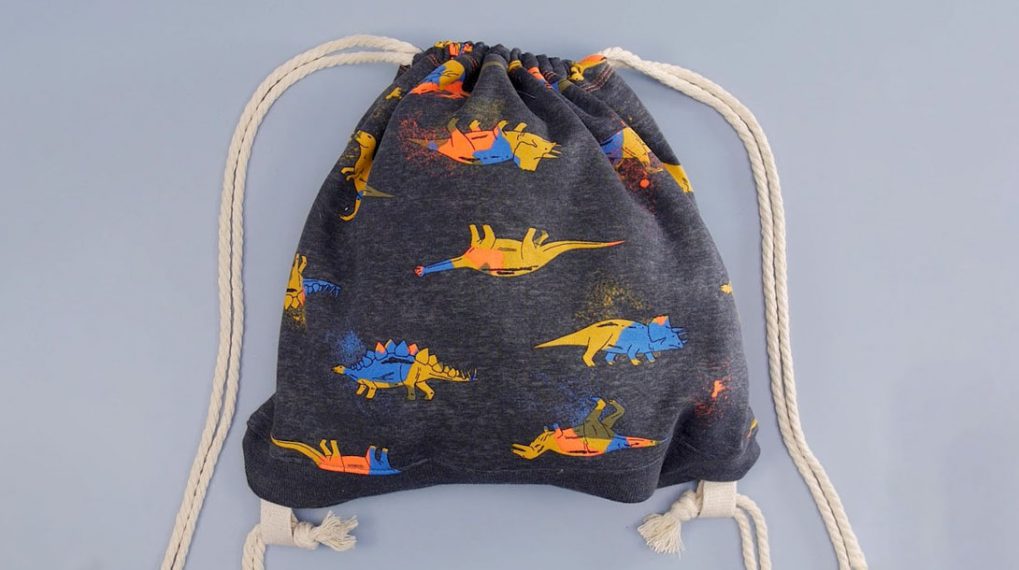
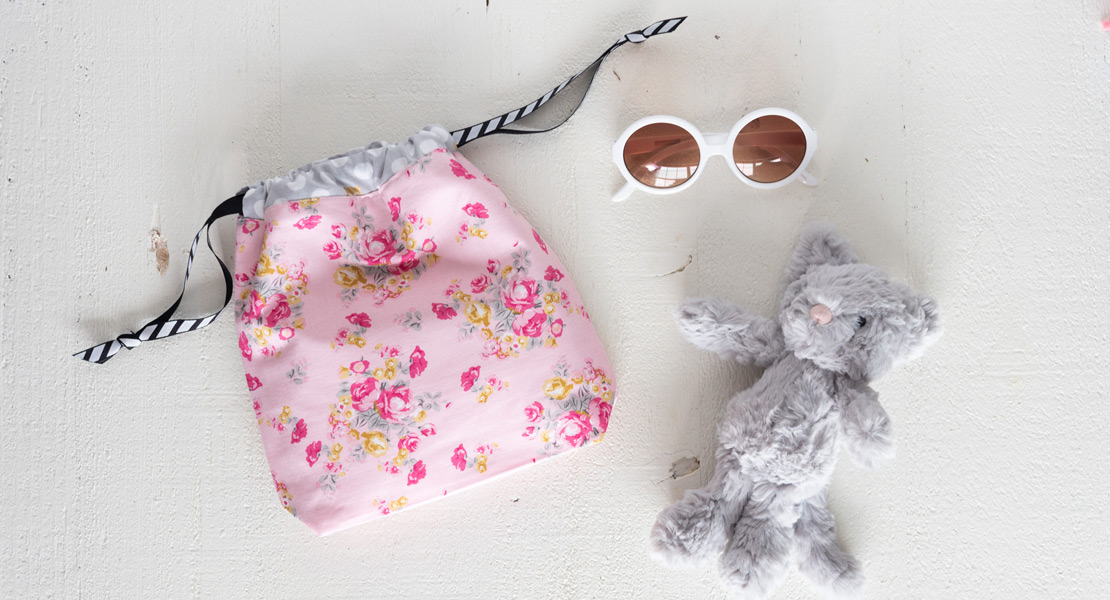
Back-to-school Drawstring Bag
Hello fellow makers,
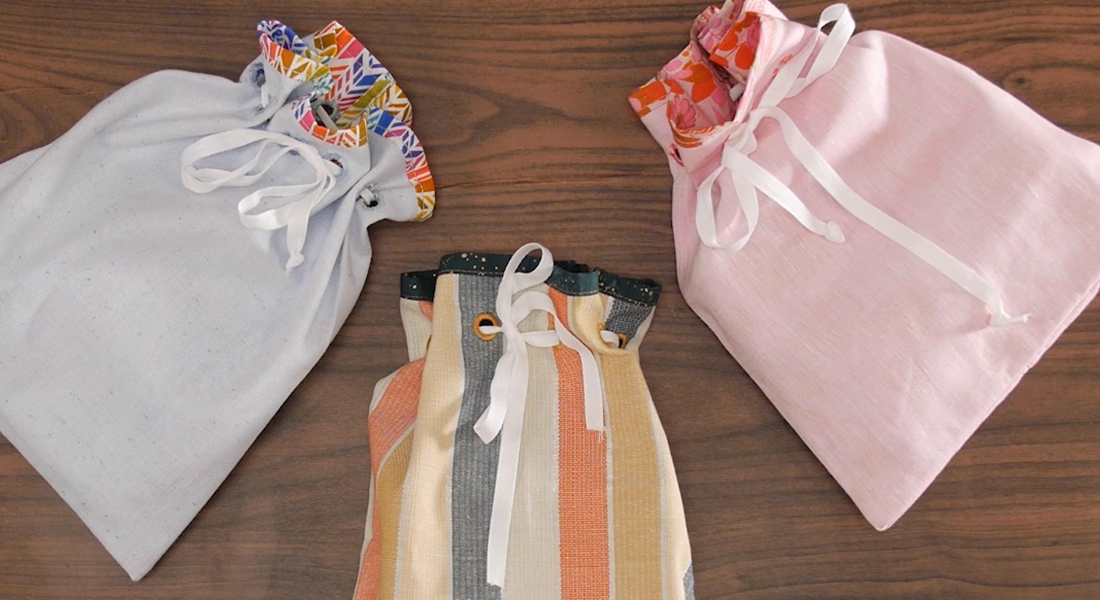
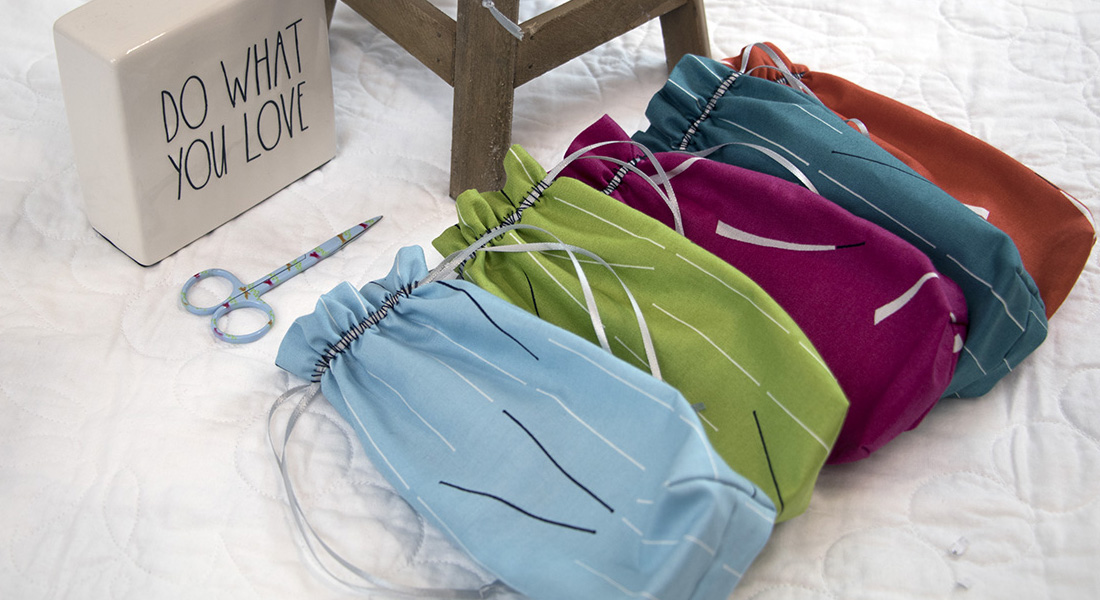
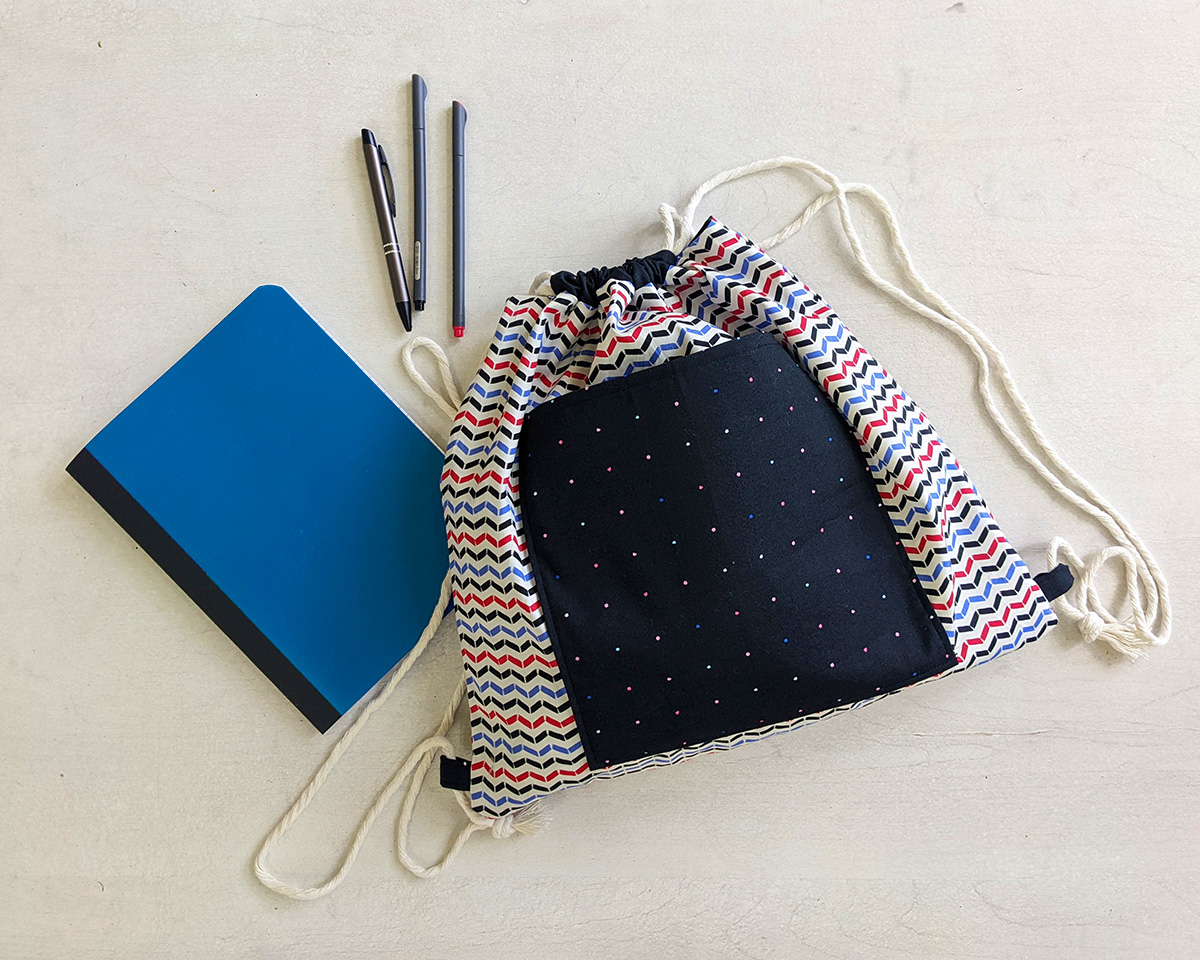
A new school year is just around the corner and what better way to start than with brand new drawstring bags! This project will help your little ones to fit their notebooks, pen, pencils and other utensils and with just a pull from the strings they will be ready for their first day of school.
This is a very easy project that you will want to make more than one and rest assured your kids will love them so much they will be very excited to wear them to school.
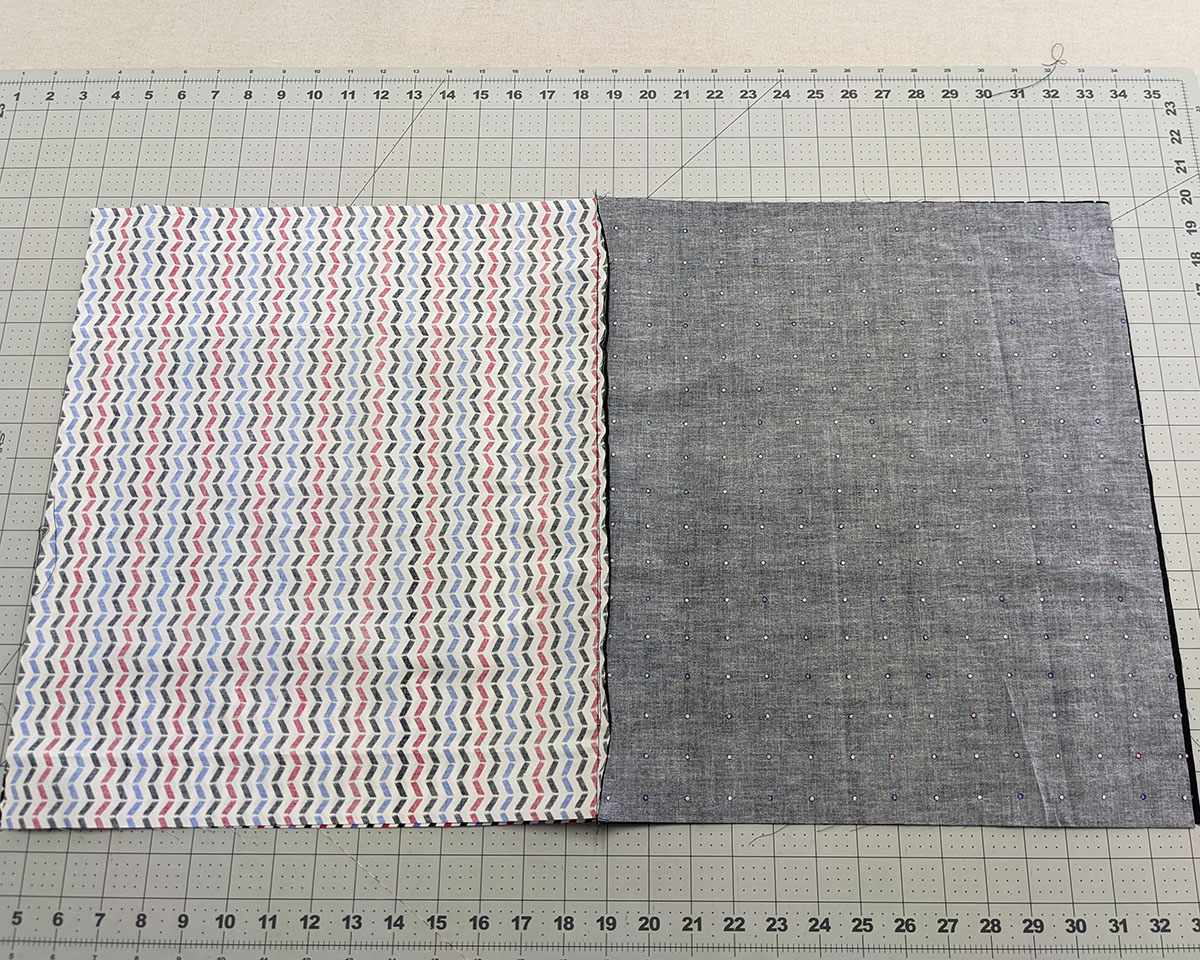
The drawstring bag features our Art Gallery Fabrics Periwinkle’s studio collection, Linear Fragments and Planted Seeds Lustrous.
Let’s get started and let me show you how to make this quick and fun back to school backpack.
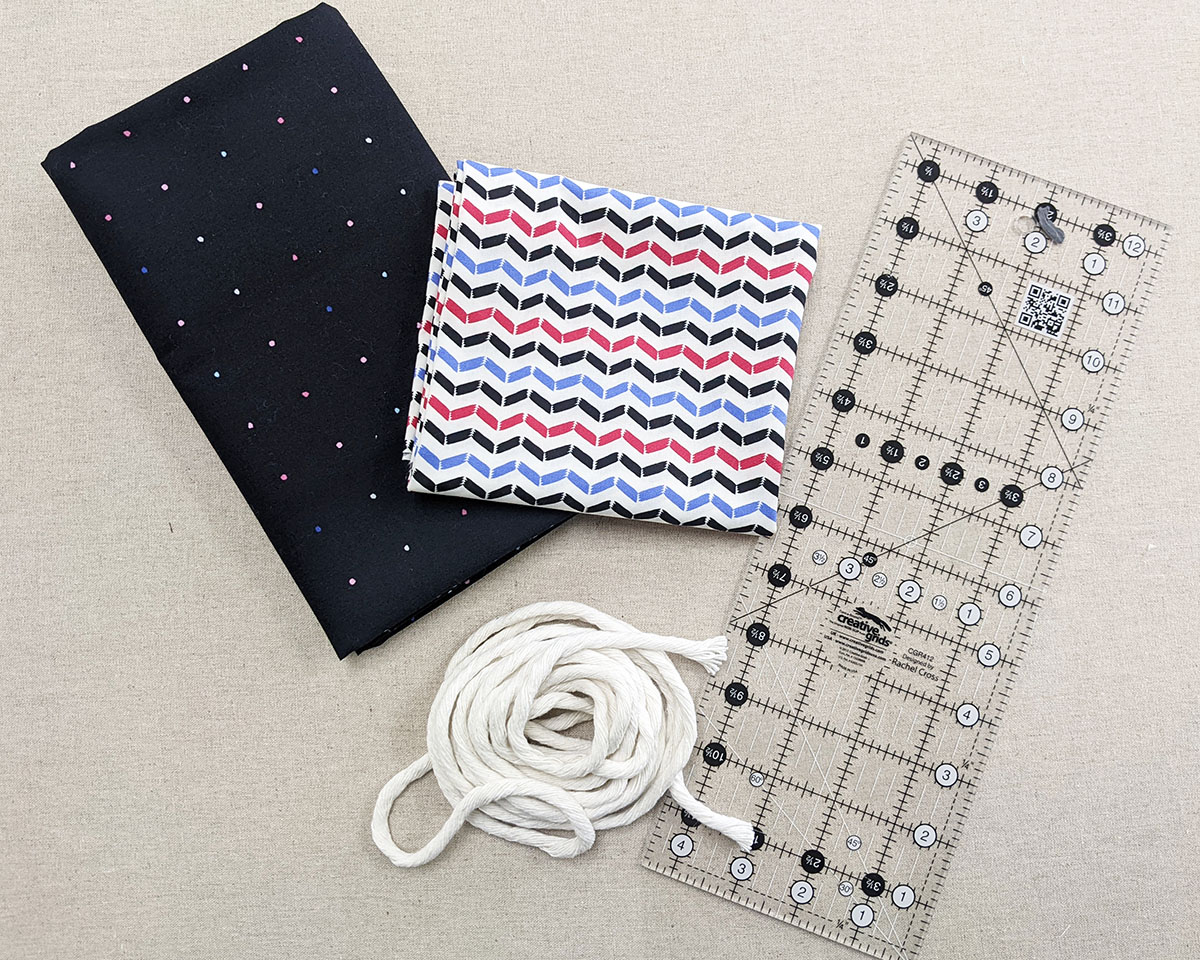
Materials to Make a Back-to-school Drawstring Bag
- PWK68815 ½ yd
- PWK68802 ¾ yd

- Two (2) cotton rope 66’’-70’’ long.
- Sewing thread
- Reverse Pattern foot #1D
- Fusible interfacing
Cutting Directions
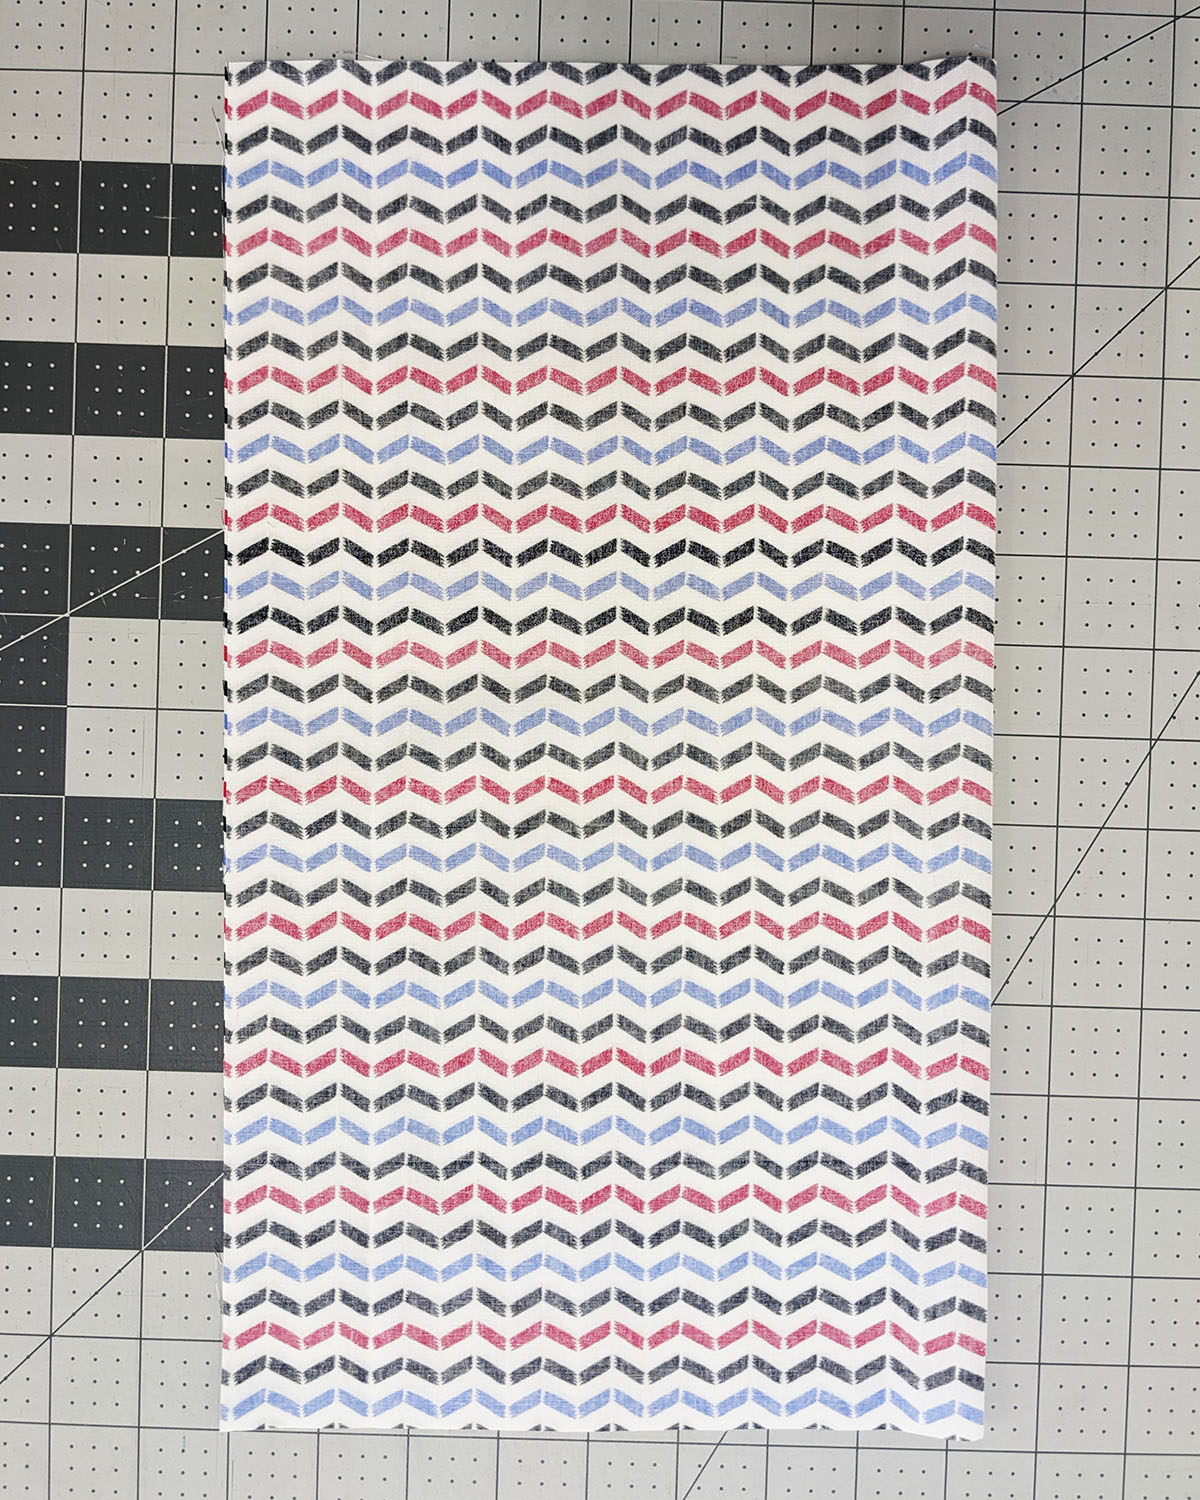
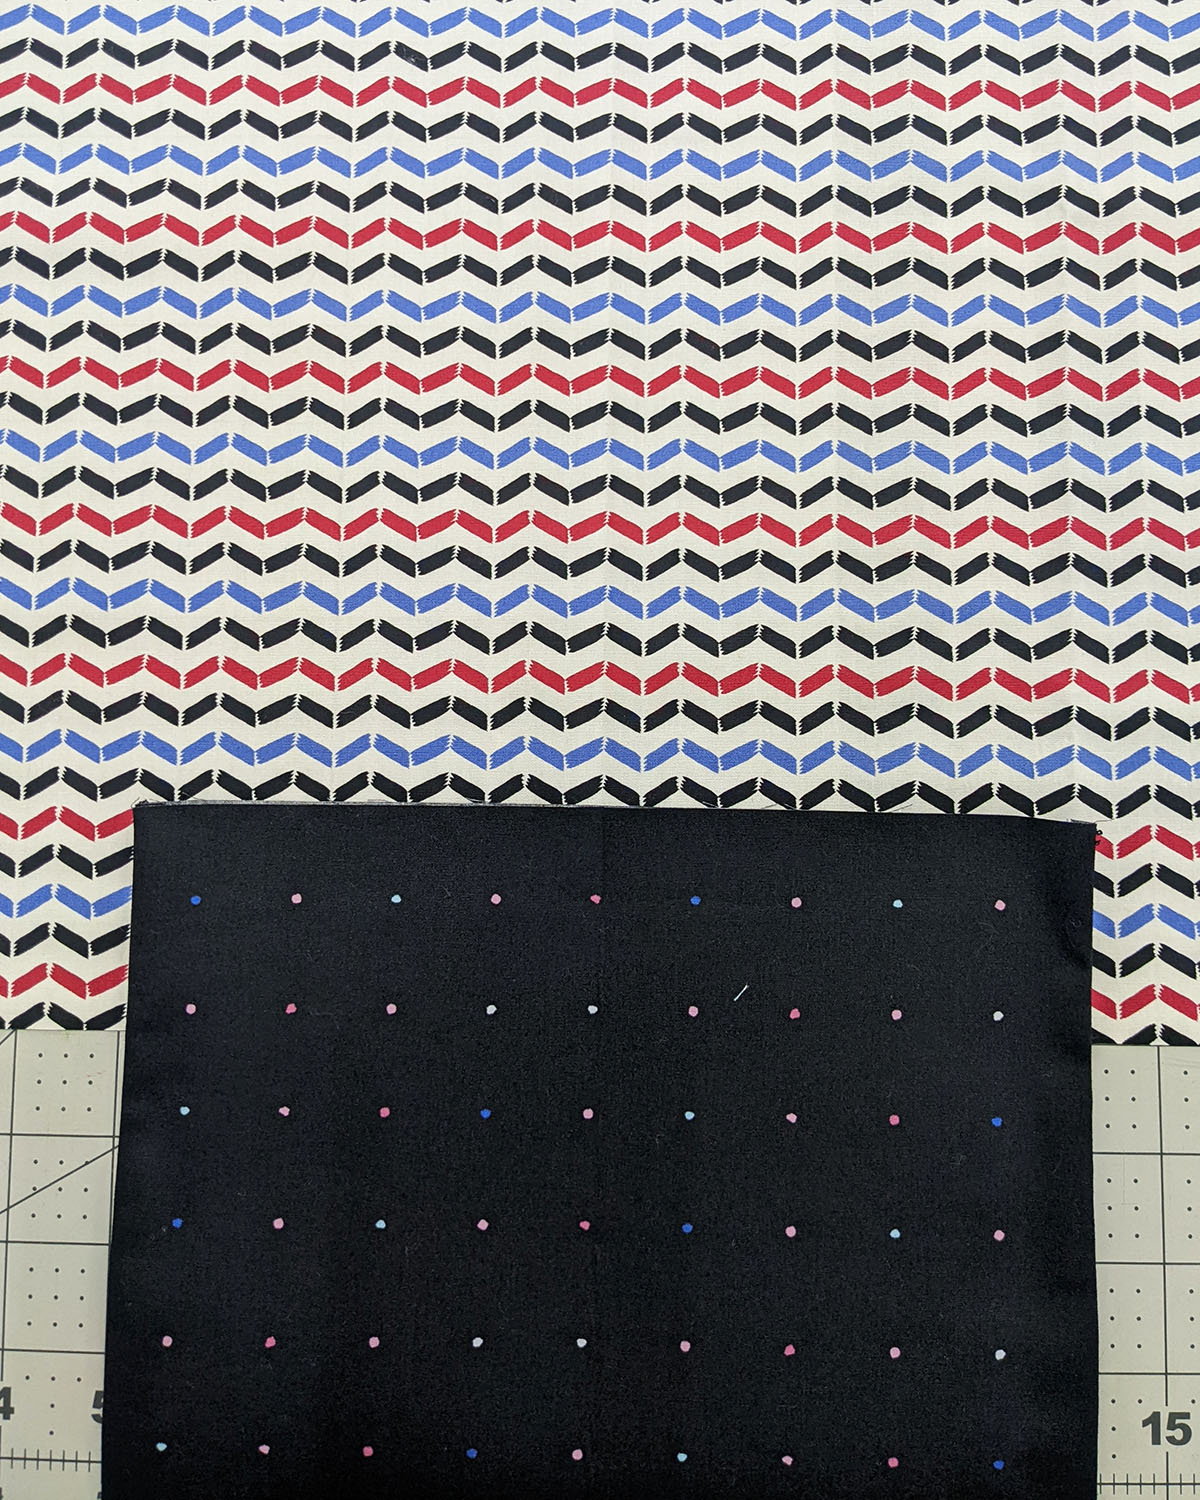
- Two (2) 17’’ x 15’’ rectangles from fabric A (main pieces).
- Two (2) 17’’ x 15’’ rectangles from fabric B (lining).
- Two (2) 14’’ x 3’’ rectangles from fabric B (casings).
- Two (2) 10’’ squares from fabric B(pocket).
- Two (2) 3’’ squares from fabric B (loops).
How to Make a Back-to-school Drawstring Bag
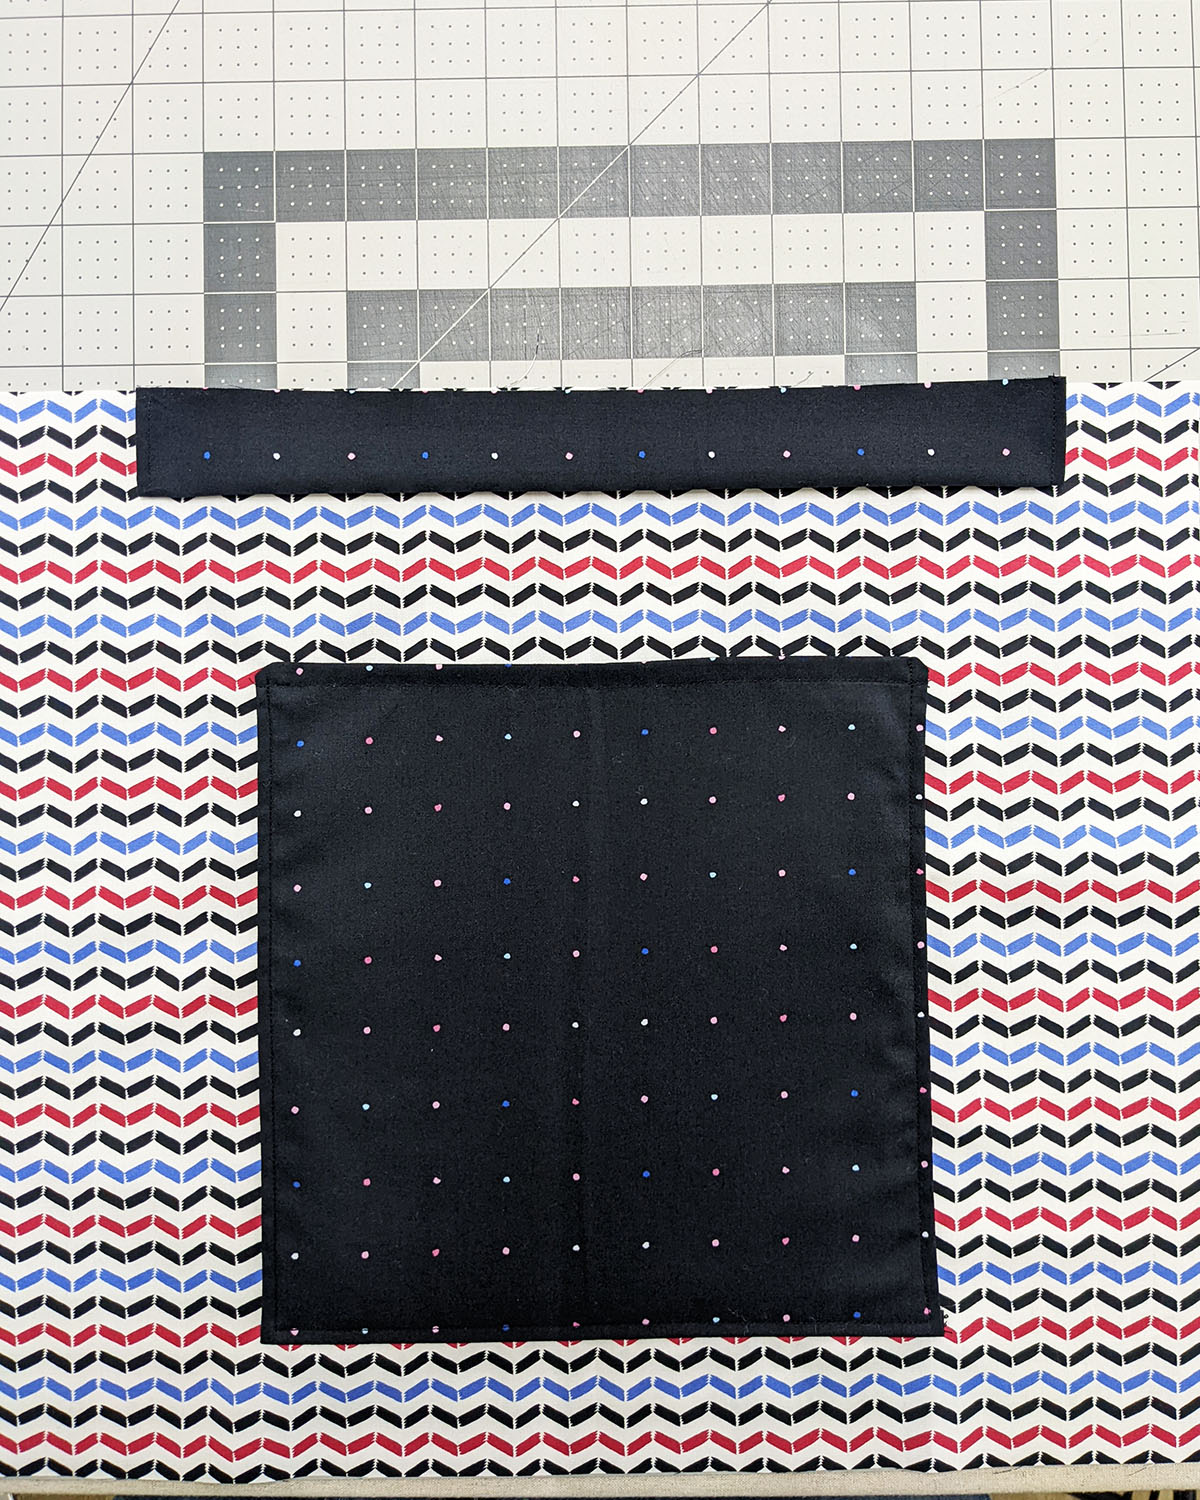
Step 1: Take two (2) 10’’ squares from fabric B. Take one of the squares and place a 9’’ square of lightweight interfacing on the wrong side of one of the 10’’ fabric B squares.

Step 2: Place both 10’’ squares right sides together and sew the sides and top at ¼’’ seam allowance, leaving the bottom unsewn. Flip the piece inside out and press.
Stitch a decorative line ¼’’ from the folded edge.


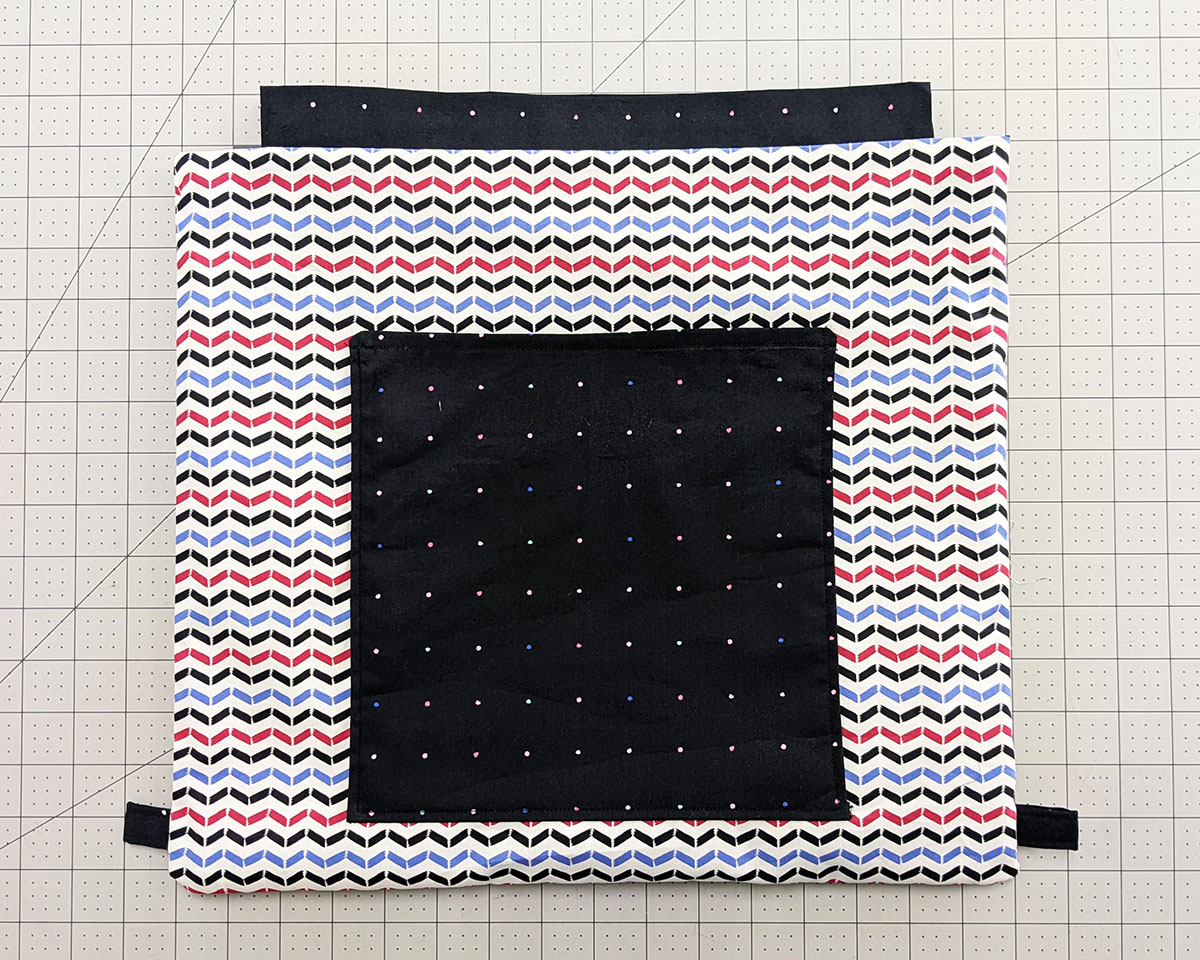
Step 3: Take one (1) fabric A rectangle and fold in half and press, creating a crease in order to mark your center. Open the piece and then mark about 2’’ from the bottom up.
Line the bottom edge of the front pocket with the marked line on the right side of the bag.
Step 4: Sew one straight line along the bottom edge of the pocket.
Press.

Flip the front pocket and edge stitch the right and left sides of the front pocket backstitching to lock the seams at the beginning and end.
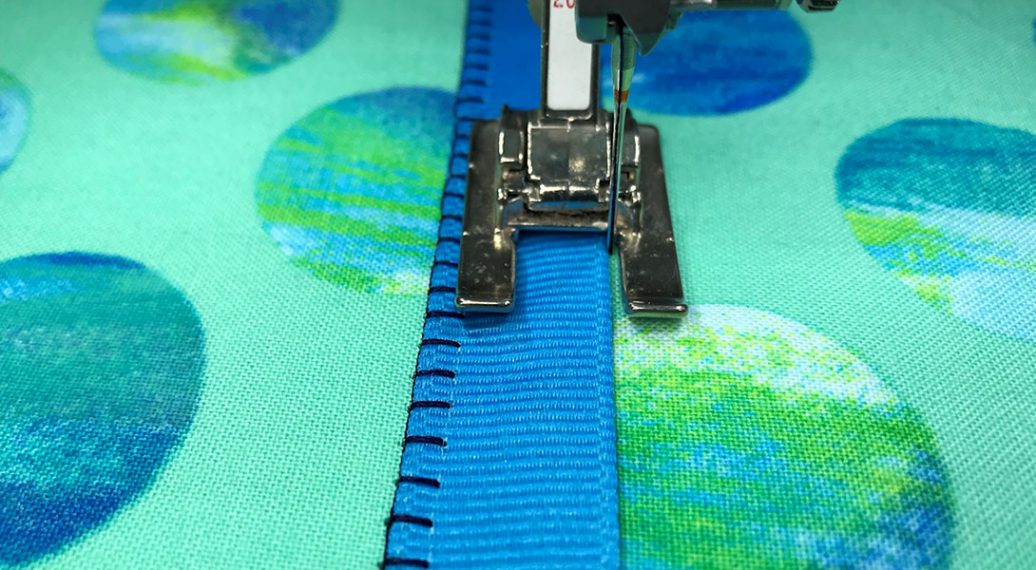
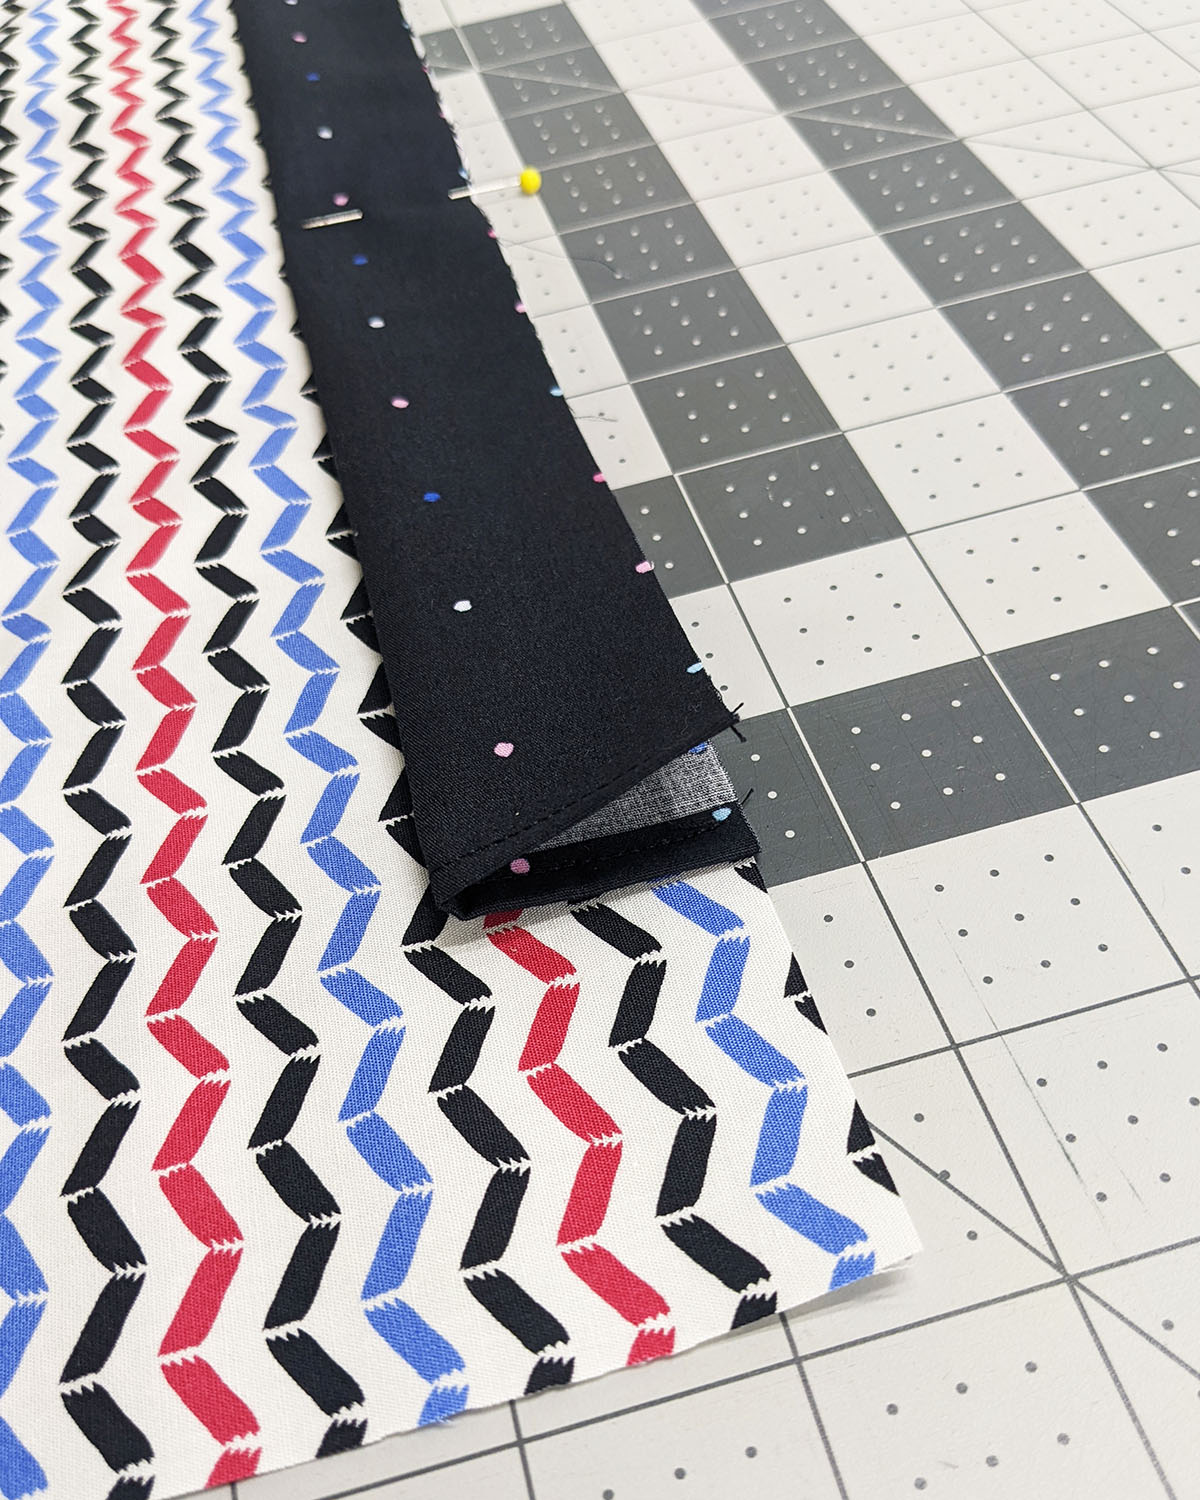
Step 4: Take the casings and press a ¼’’ hem on both ends and stitch.
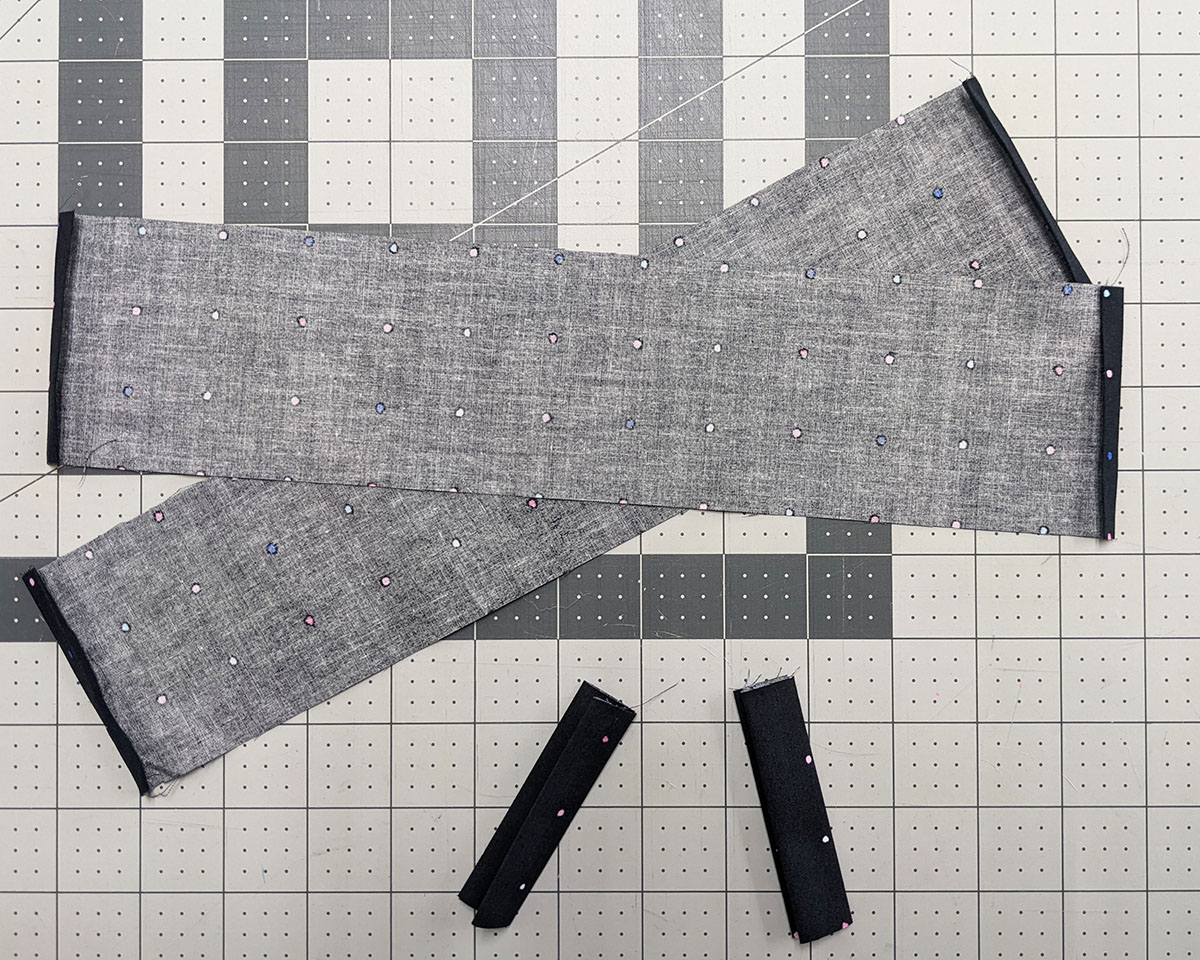
Step 5: Fold one of the casing rectangles in half wrong sides together on the long side and then, fold again and press to create a crease. Center the casing on the top edge of the front of the fabric A piece (using the crease as your guide).
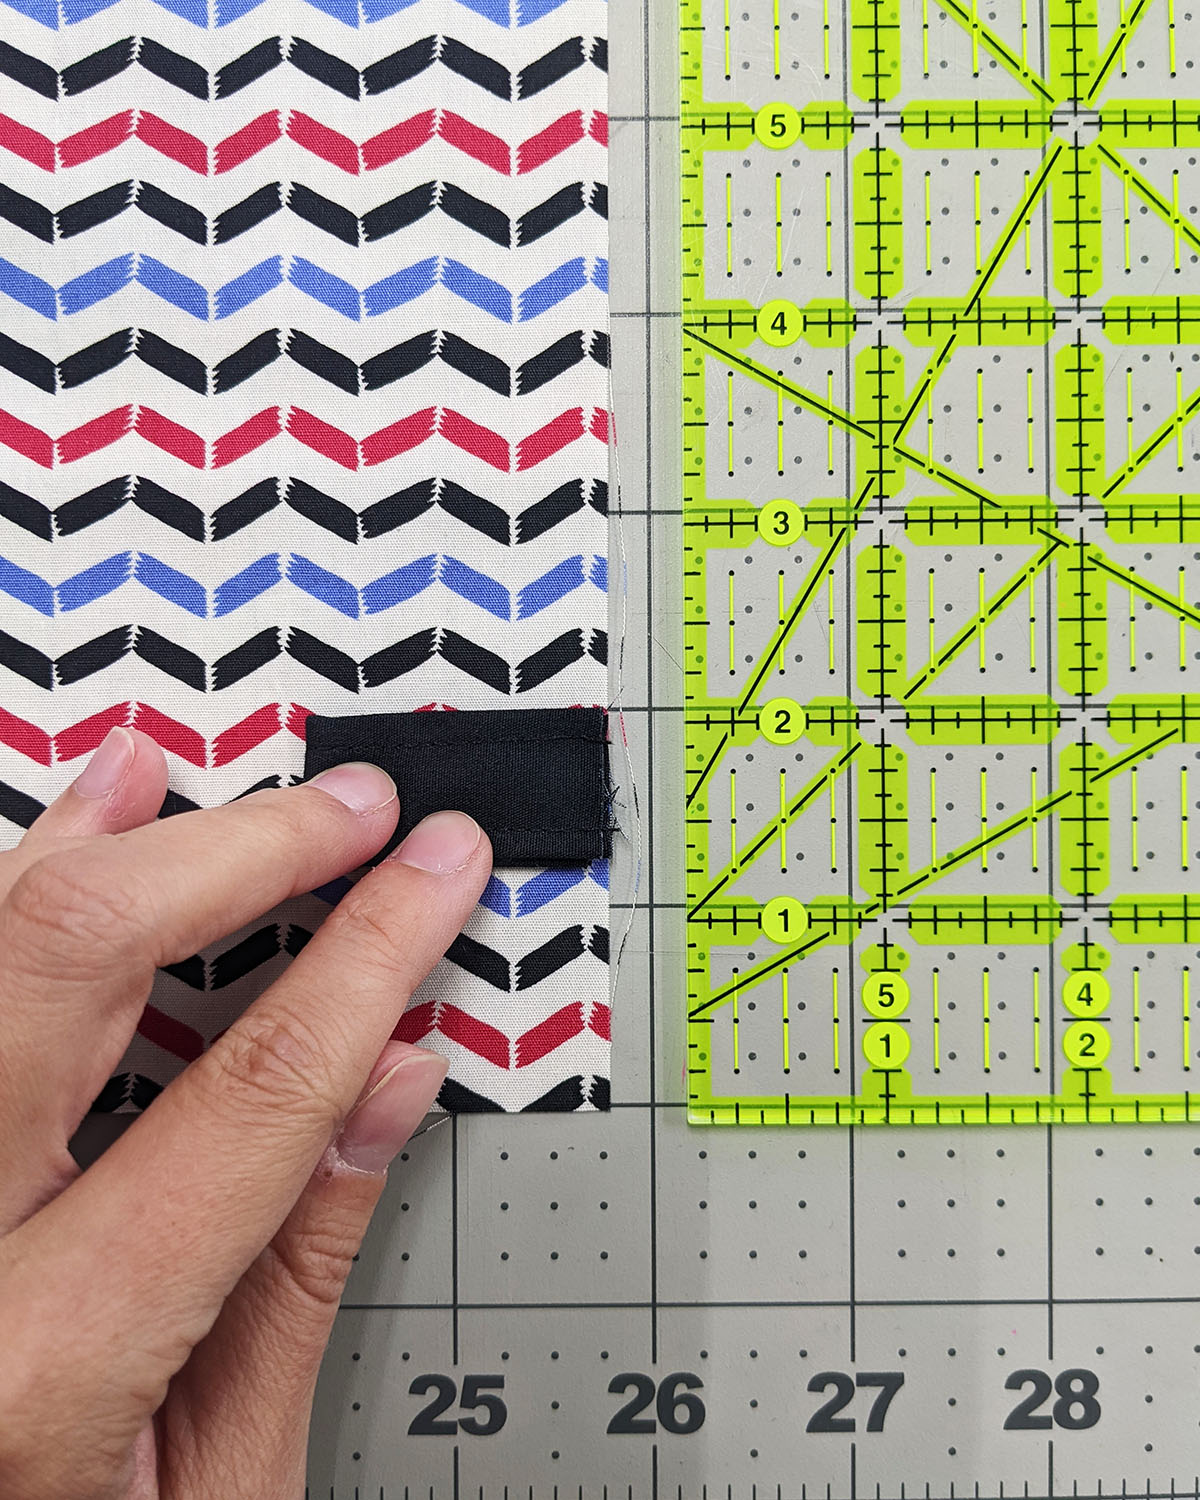
Step 6: Fold and press the 3’’ squares in half. Fold and press the edges of the center and then press in half again to make strips that are 3’’ long and ¾’’ wide. Topstitch close to both long edges.


Step 7: Pin each tab strips 2’’ from the bottom edge of each side of the front of fabric A rectangle. Baste to secure within the ½’’ seam allowance.

Step 8: Place one lining piece from fabric B on top of fabric A rectangle right side facing, with the casing sandwiched in between.
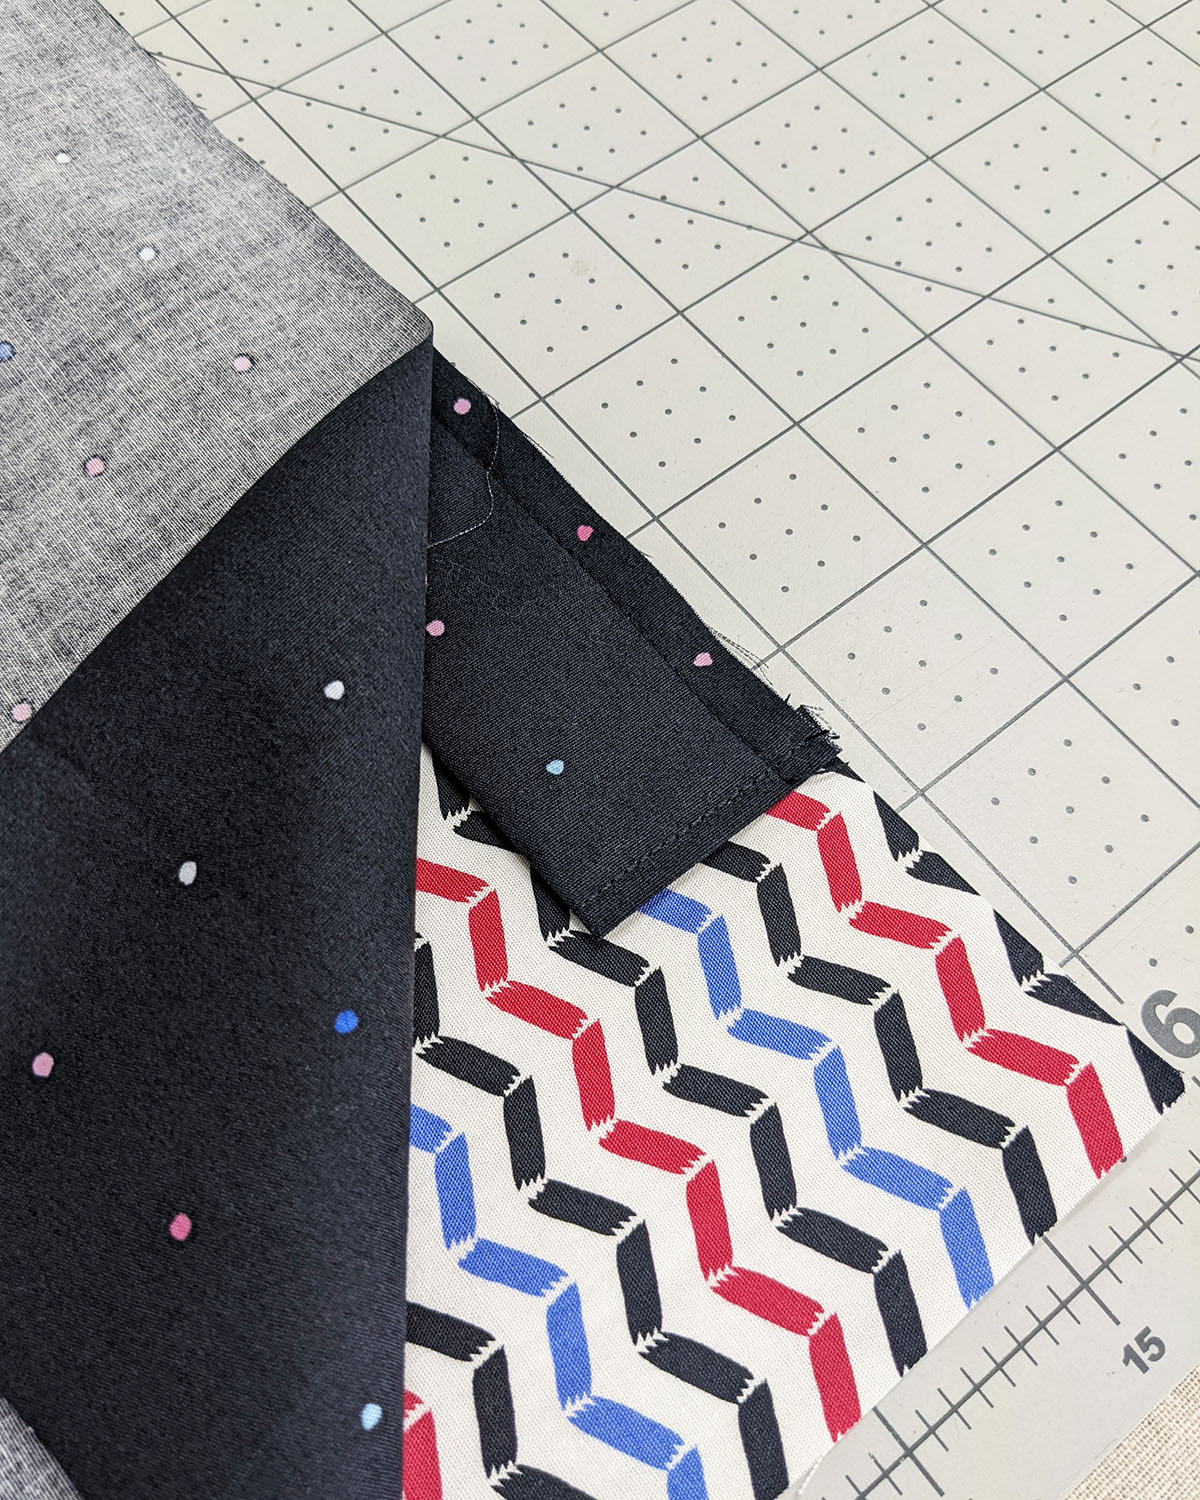
Stitch along the top edge at about ½’’ seam allowance. Repeat with the other exterior, lining and casing pieces.
Step 9: Open the pieces and lay them flat, making sure you match the lining and fabric A.
Make sure your seams are aligned.

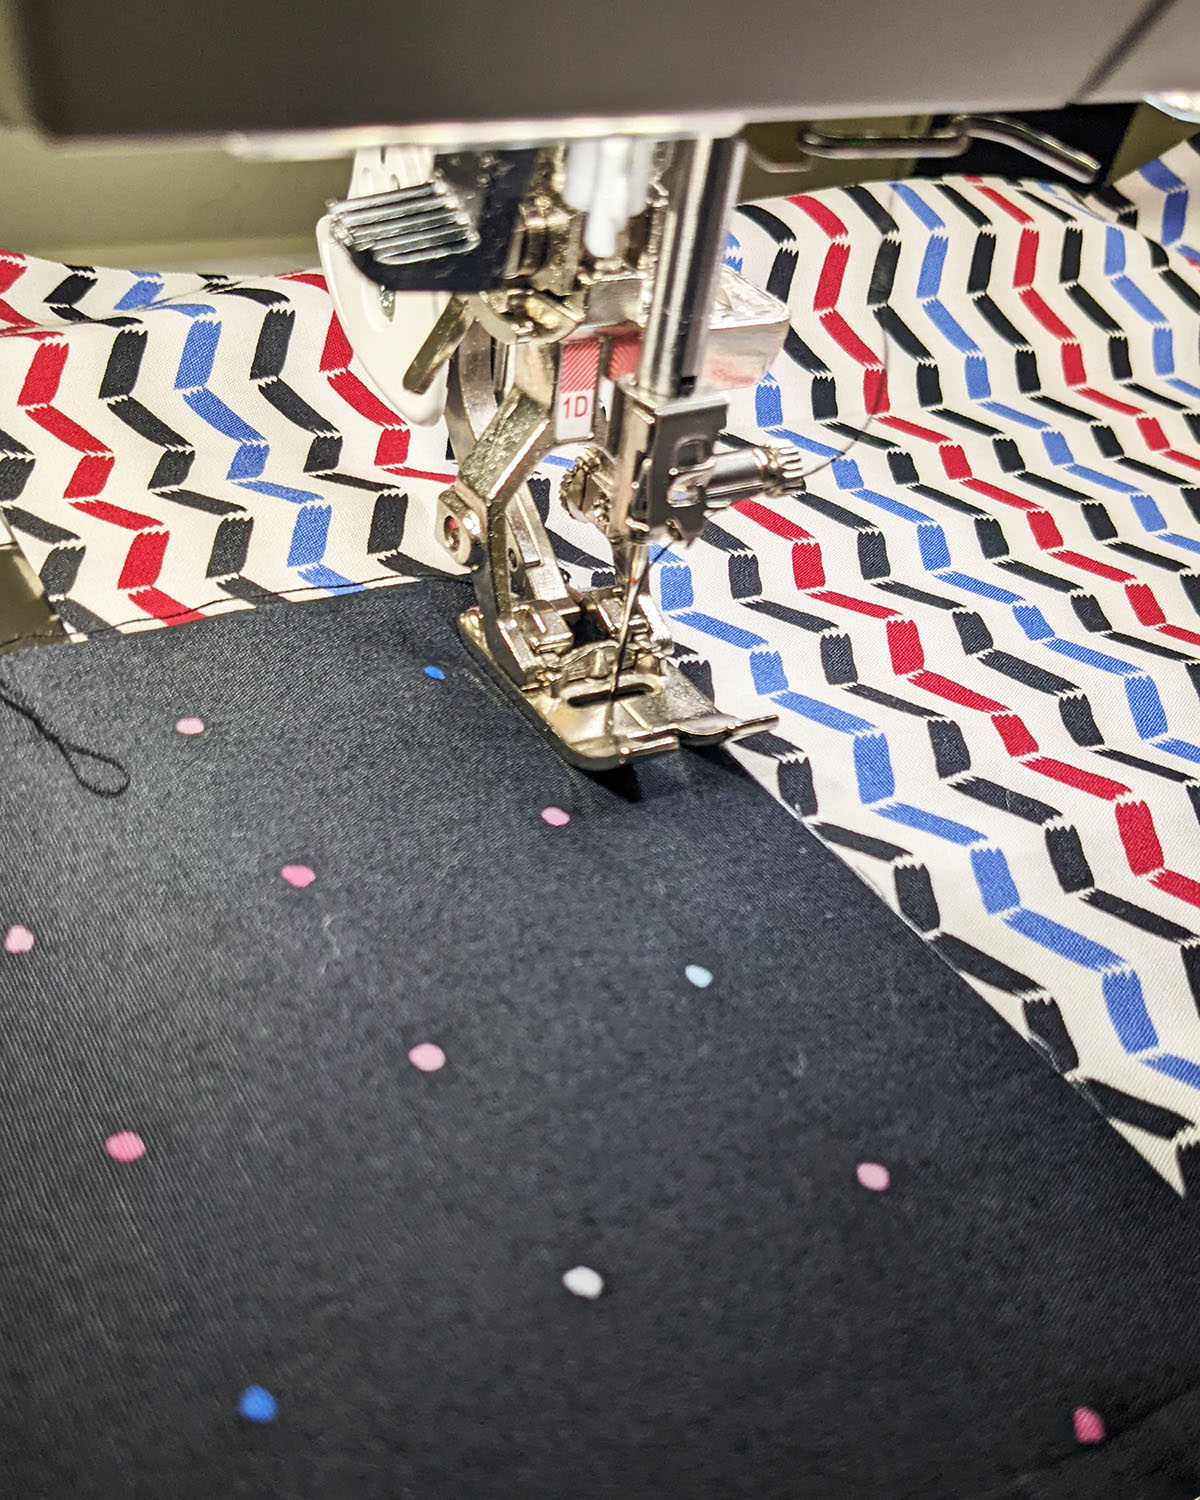
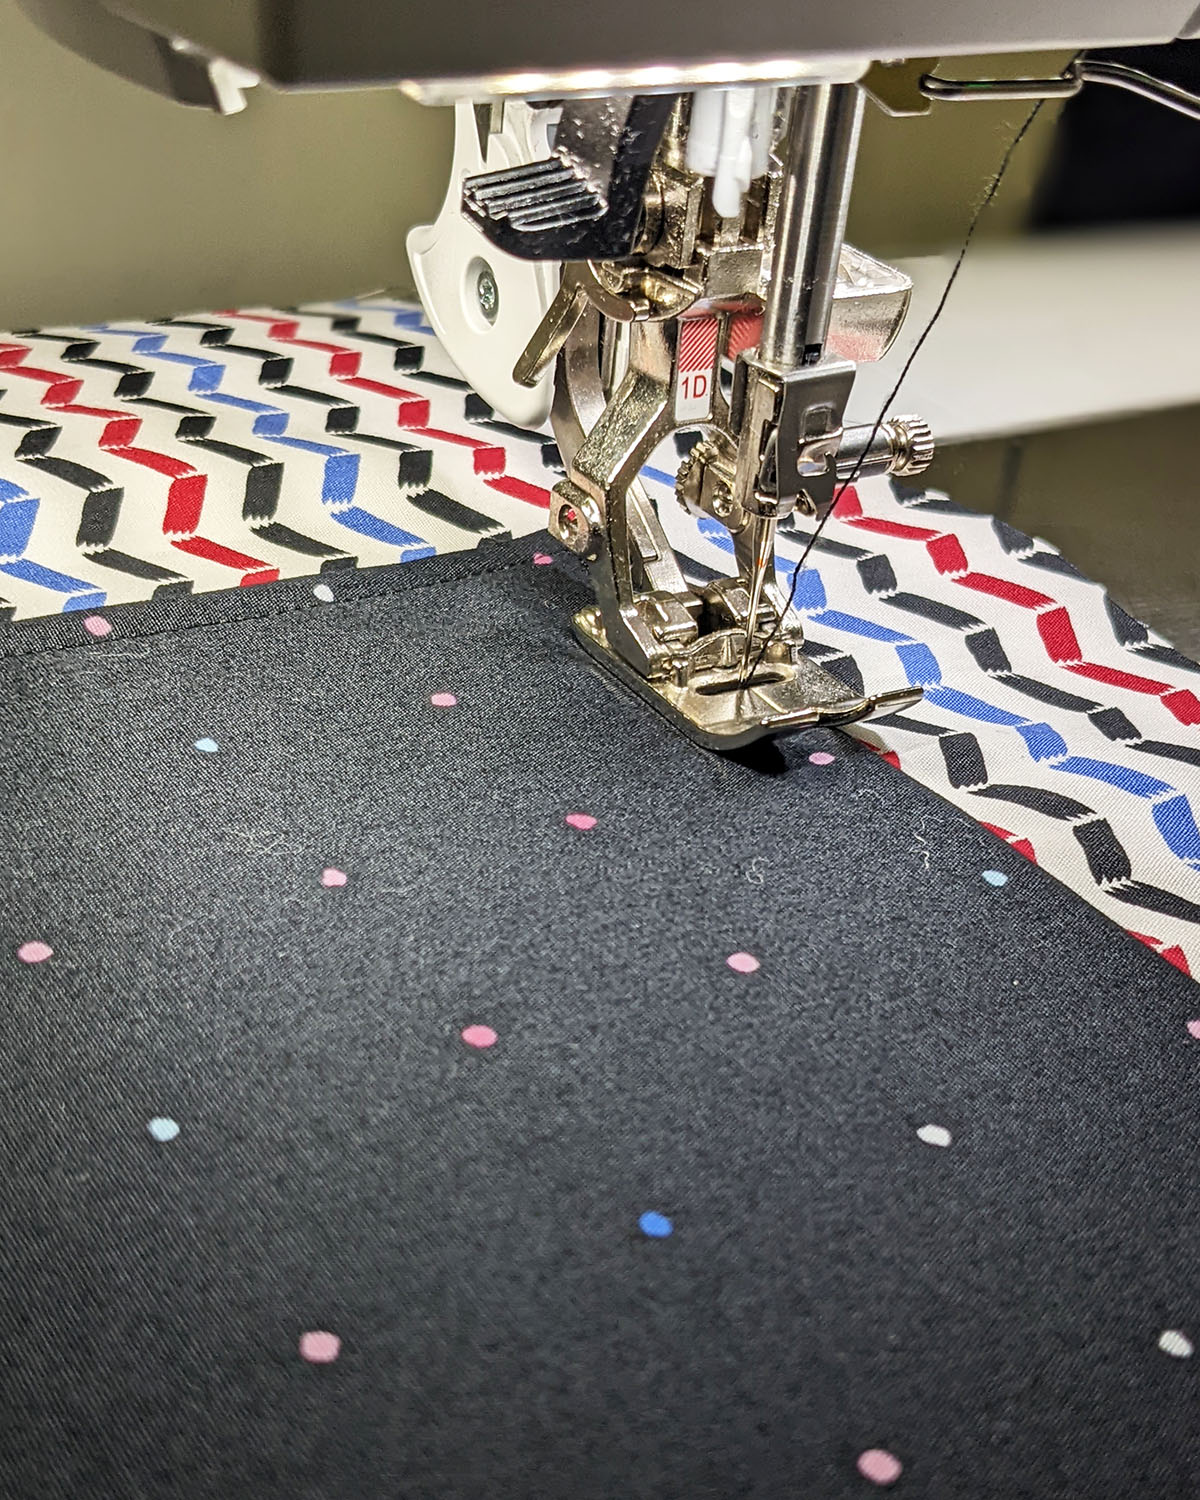
Stitch all around leaving about 3’’ to 4’’ of opening in the lining in order to turn your piece inside out later. Using the Reverse pattern foot #1D I was able to make perfect stitch lines.

Step 10: Clip your corners. Now turn your piece inside out.
Sew by hand the lining opening.
Step 11: Tuck the lining inside the backpack and press your piece. Stitch around the top of the backpack and under the casing if desired.
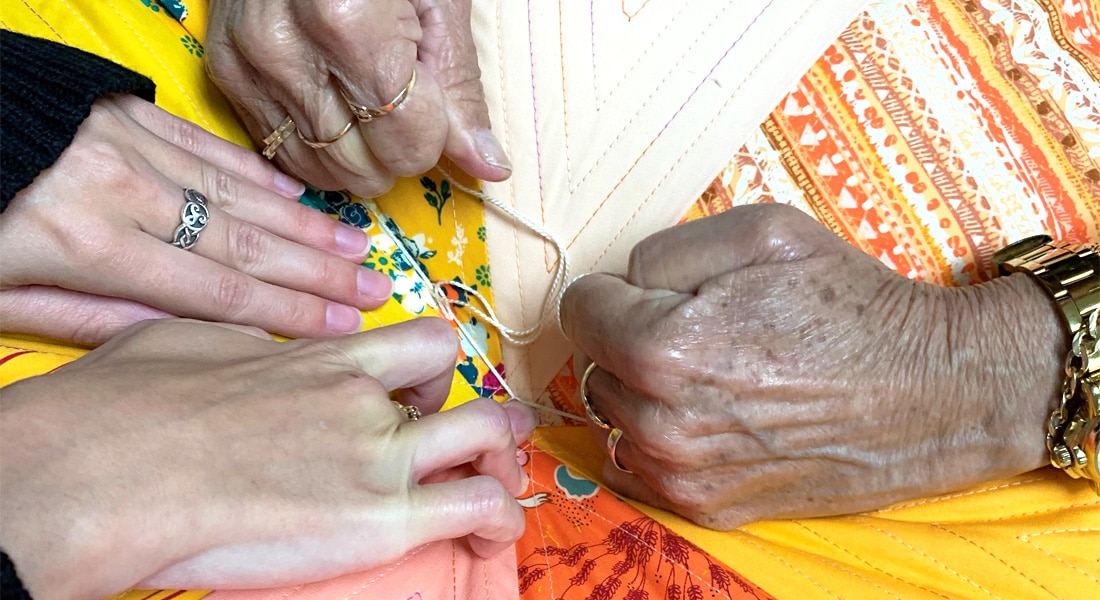
Step 12: Take your cotton cord and use a safety pin to guide the first cord to the entire drawstring casing.
Both ends will come out of the same opening.
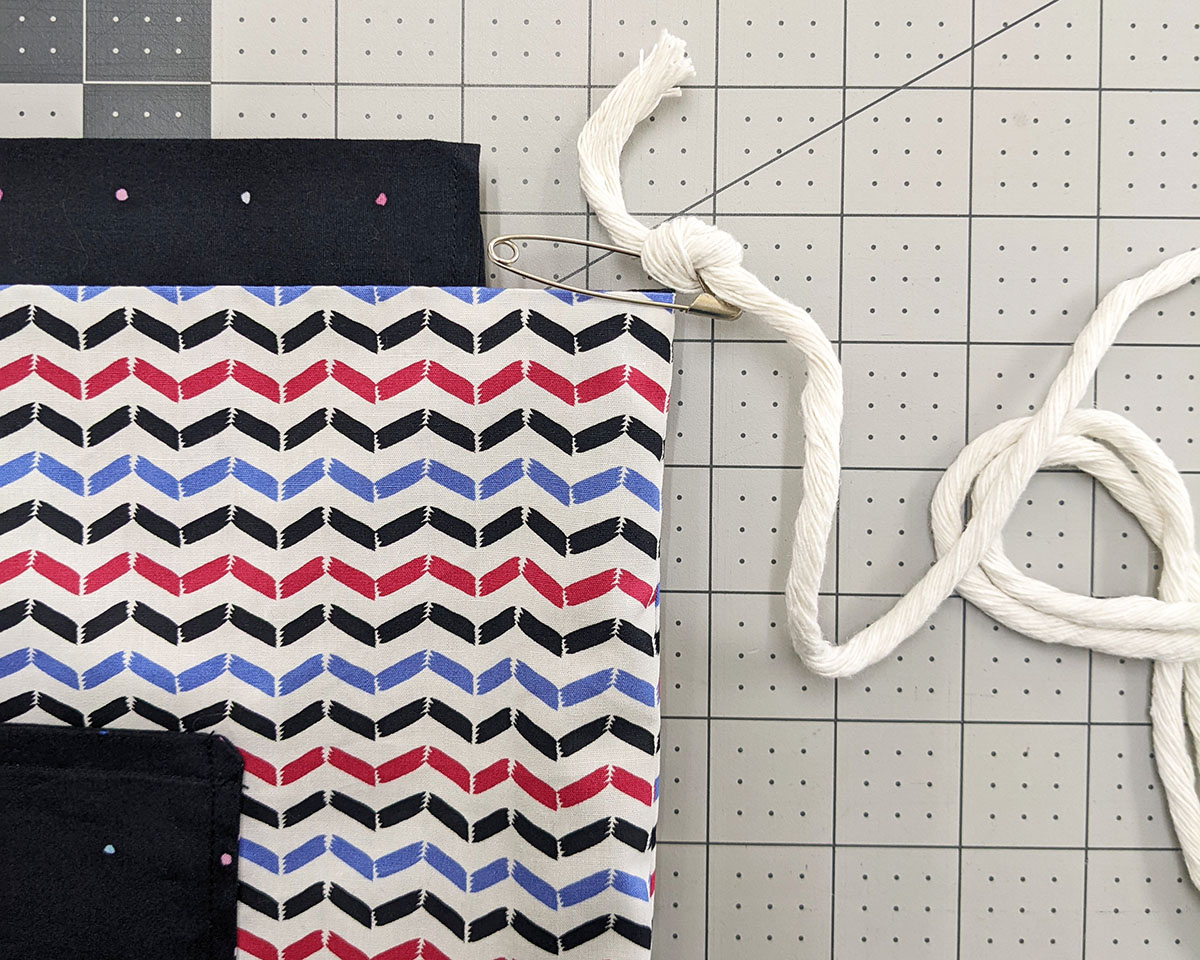
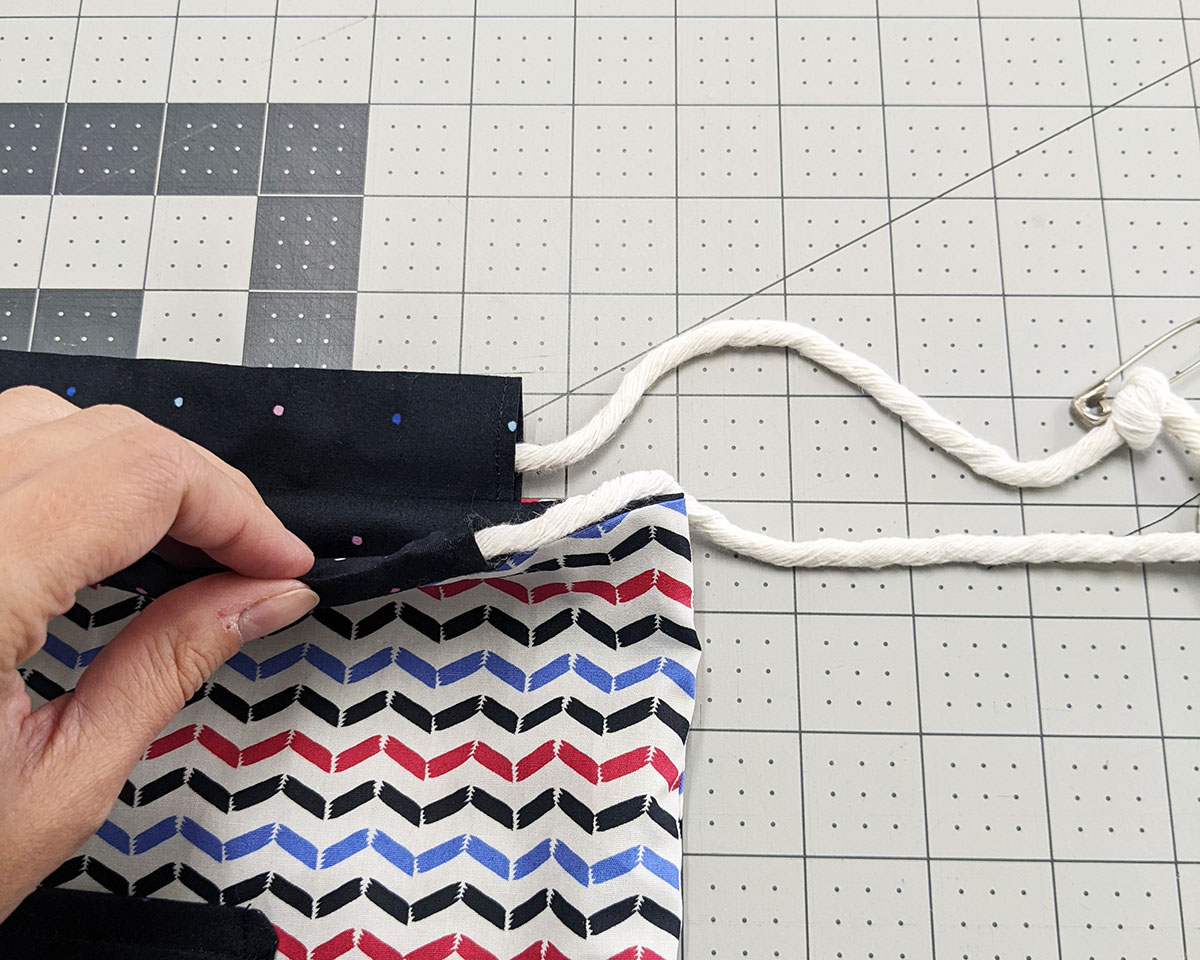
Repeat with the other cord, starting and ending on the opposite side of the casing.
And voila!