How to Sew a Lunch Bag
Hi! I am Katie Kortman and I live in Japan. We are stationed here with the US Navy, and we live outside Tokyo. Before moving here, it had always been our dream to live here, and even despite a worldwide pandemic that tried to ruin all the fun, we’ve loved this first year. The best thing about living in countries other than the one you were raised in is experiencing all the intimate details of daily life in those new places. Things that aren’t interesting or different to the people that live there, are exciting and new to you! So, even though we haven’t been able to travel all around Asia as we’d hoped, just exploring the beautiful country, and living in a totally new culture (for us), has been the best adventure.

One of my favorite things has been sending my youngest son to Yochien. Yochien is the preschool/kindergarten for ages 3-5/6 that prepares children for the much more rigorous school years. My son attends the most wonderful Yochien that focuses more on learning life skills than it does learning academics. Children learn to button their jackets, change their shoes to indoor and outdoor shoes, clean their dirty clothes after making mud pies in the big play area outside, and myriad other things of that sort. My son even learned how to use chopsticks as one of his “skills” last year in the 3-year-old class. We love it.
When we first started at the Yochien, I was sending my son with a lunch, as I’d been told to do. Then one day I actually saw what the other moms were sending their kids to school with—I loved it and wanted to do the same for my son! In this tutorial, I am showing you just one style of bento lunch sacks, because obviously there are many ways to do bento. This is how my son carries his lunch to Yochien, and maybe you’ll love it and want to try it out too!
Materials to Sew a Lunch Bag:
Fabric:
- For the Bag: 35” x 11-12” wide
- Small square of interfacing for the bag
- For the napkin/wrap: 19”x19”
Additional Materials:
- Ruler/seam gauge
- Marking tool
- Drawstring cord (or make your own with a 1”x 36” rectangle folded and stitched to form a strap)
Optional Materials:
- Edgestitch foot 10D
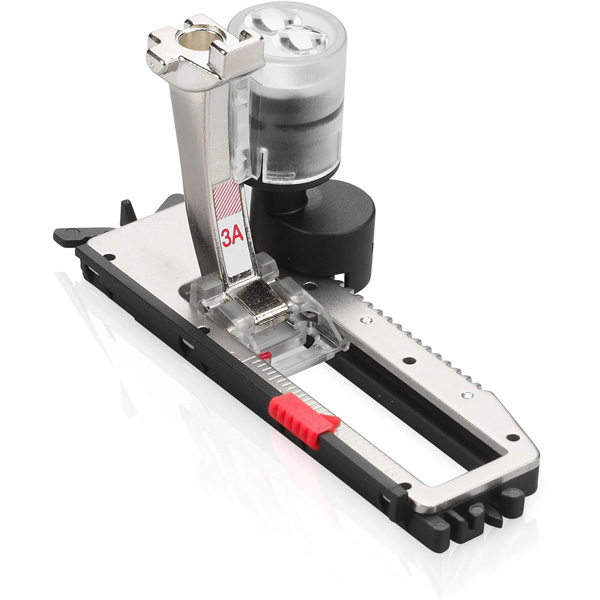
- Buttonhole foot 3A
- Fray check and Buttonhole cutter
- Grosgrain ribbon and snaps or Velcro
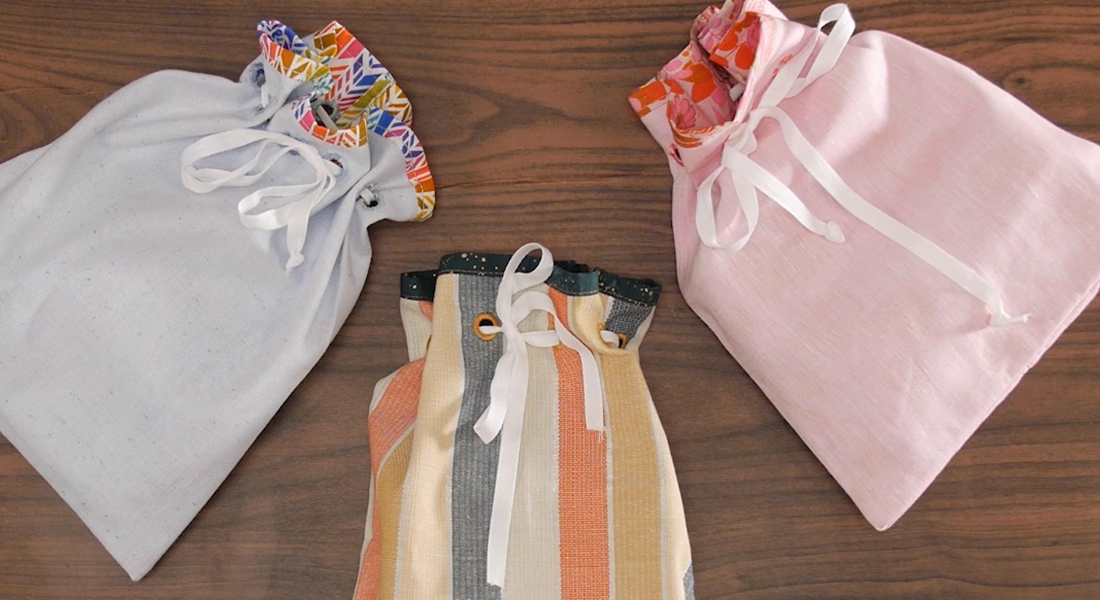
First, we are going to make the drawstring bag, then the special napkin that ties up the lunch, and then I will show you how to assemble the whole thing!
Steps to Sew the Drawstring Bag
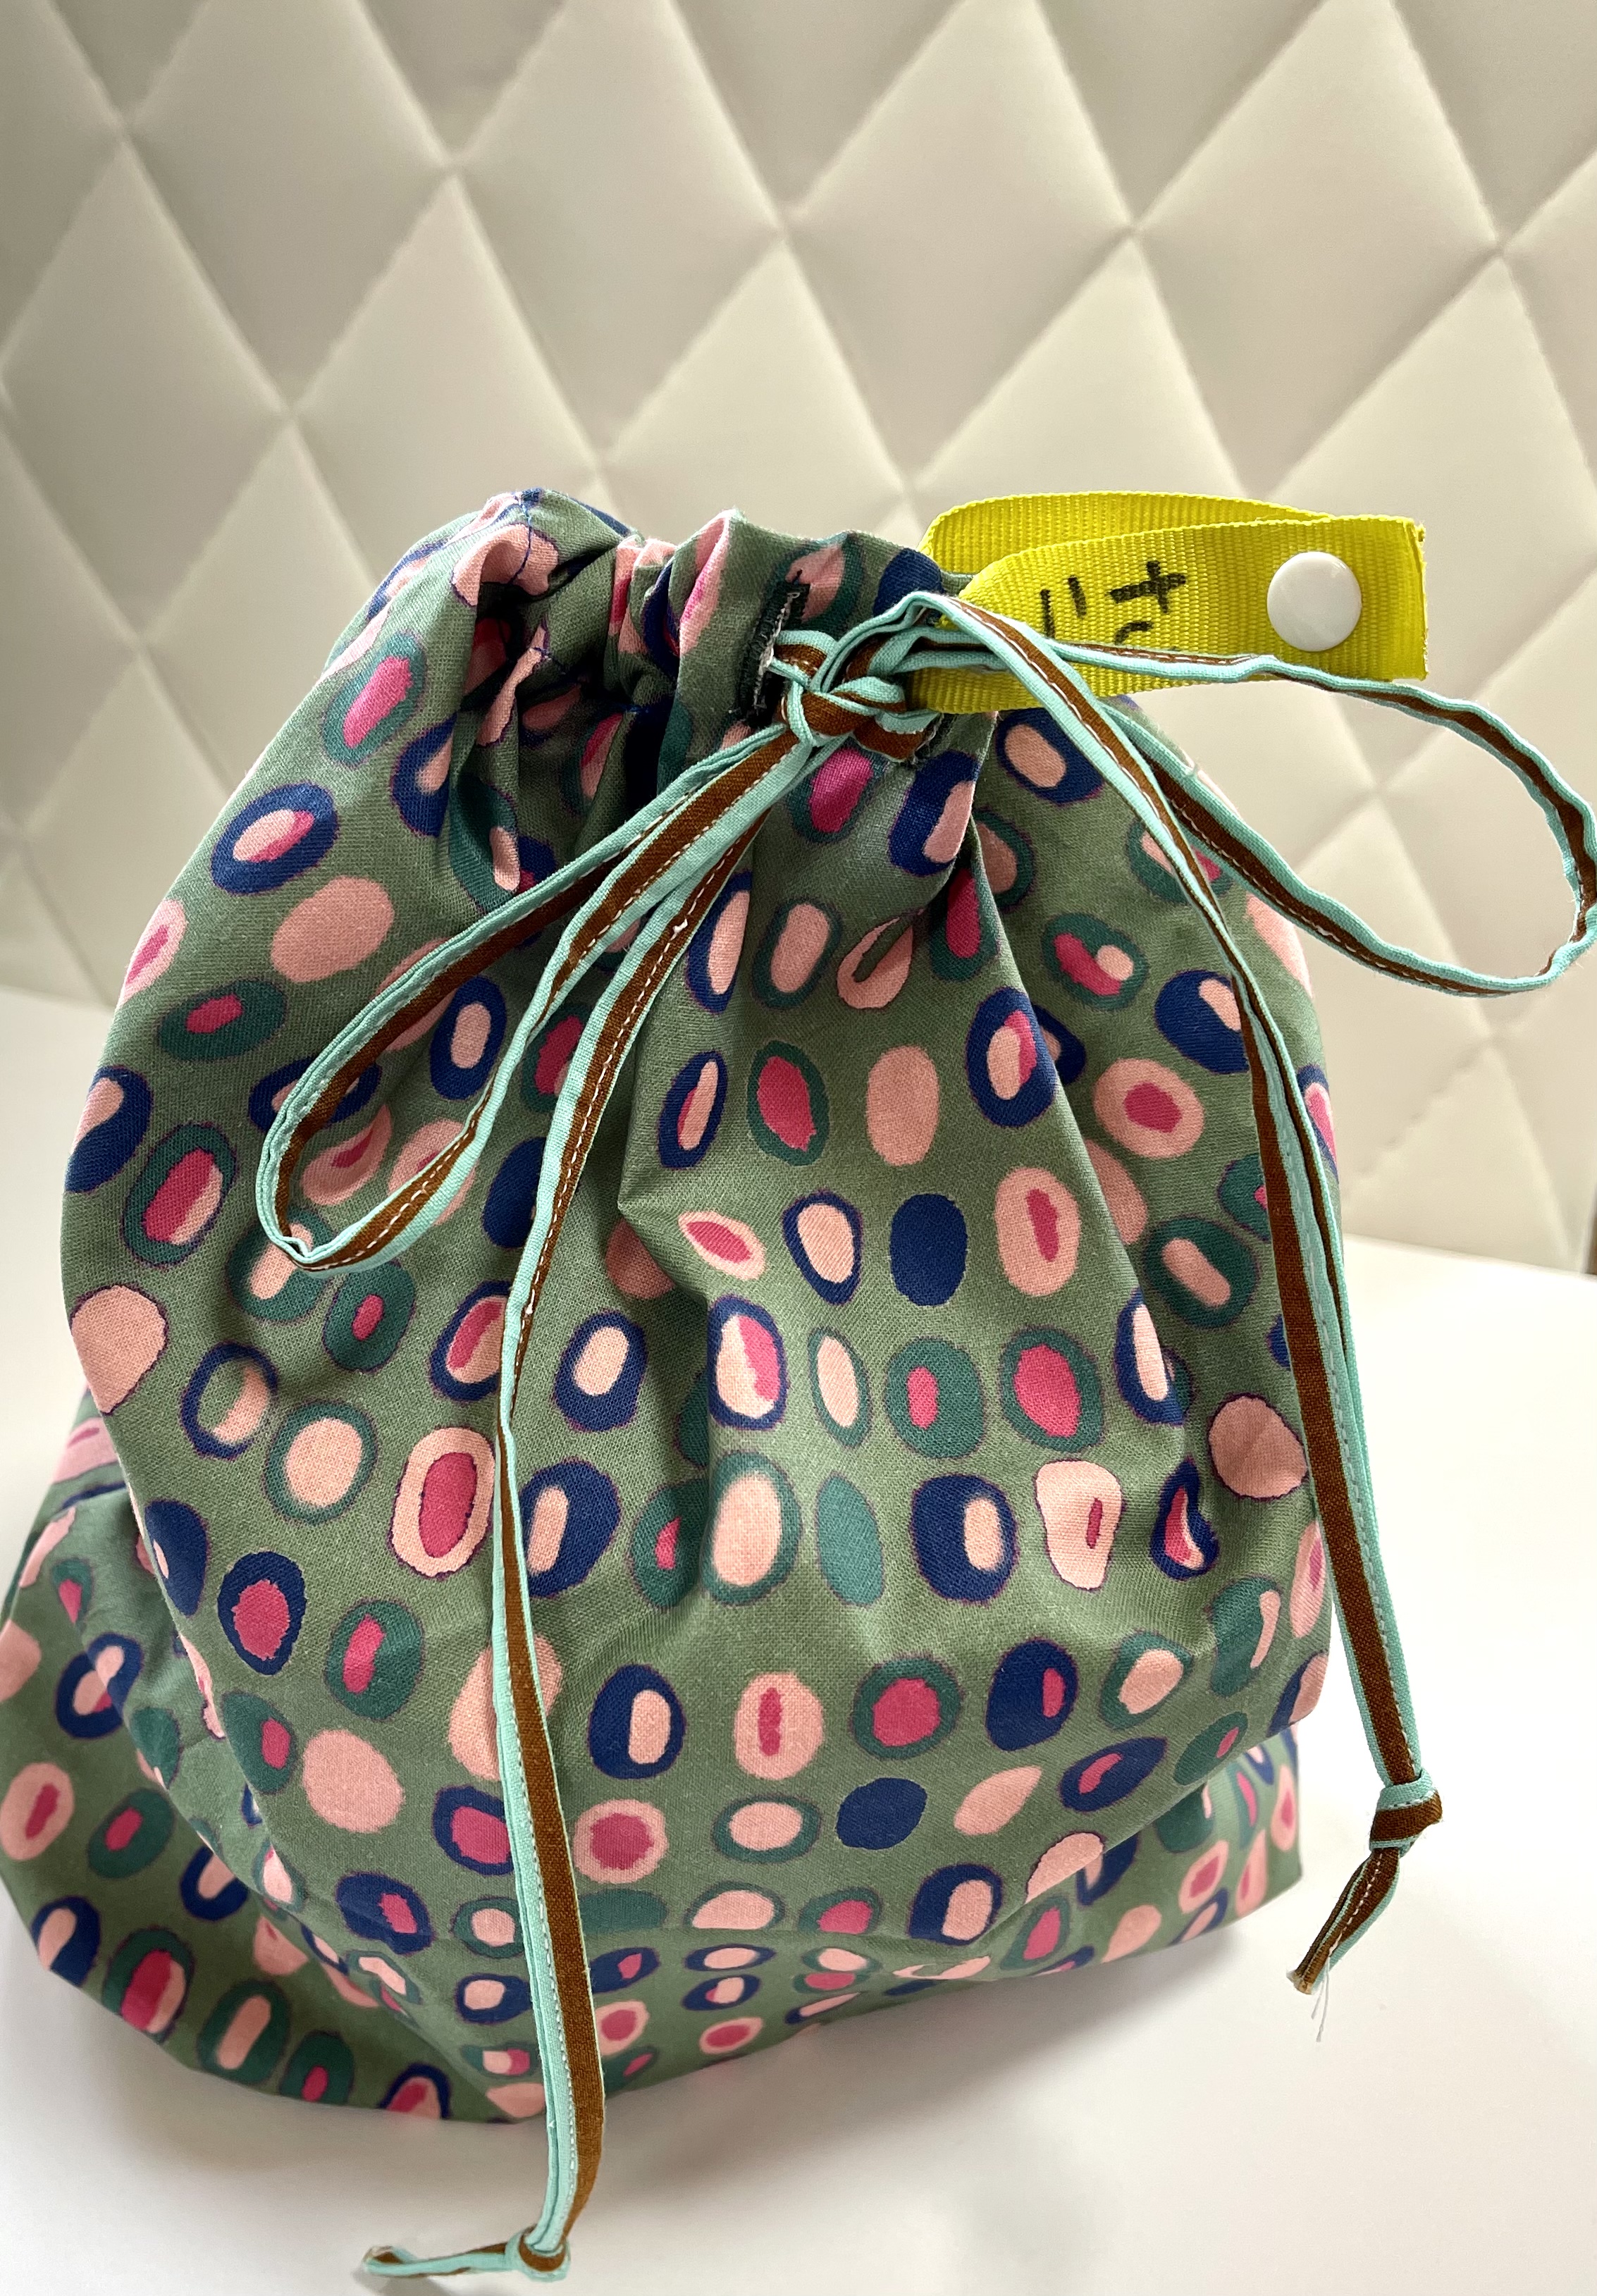
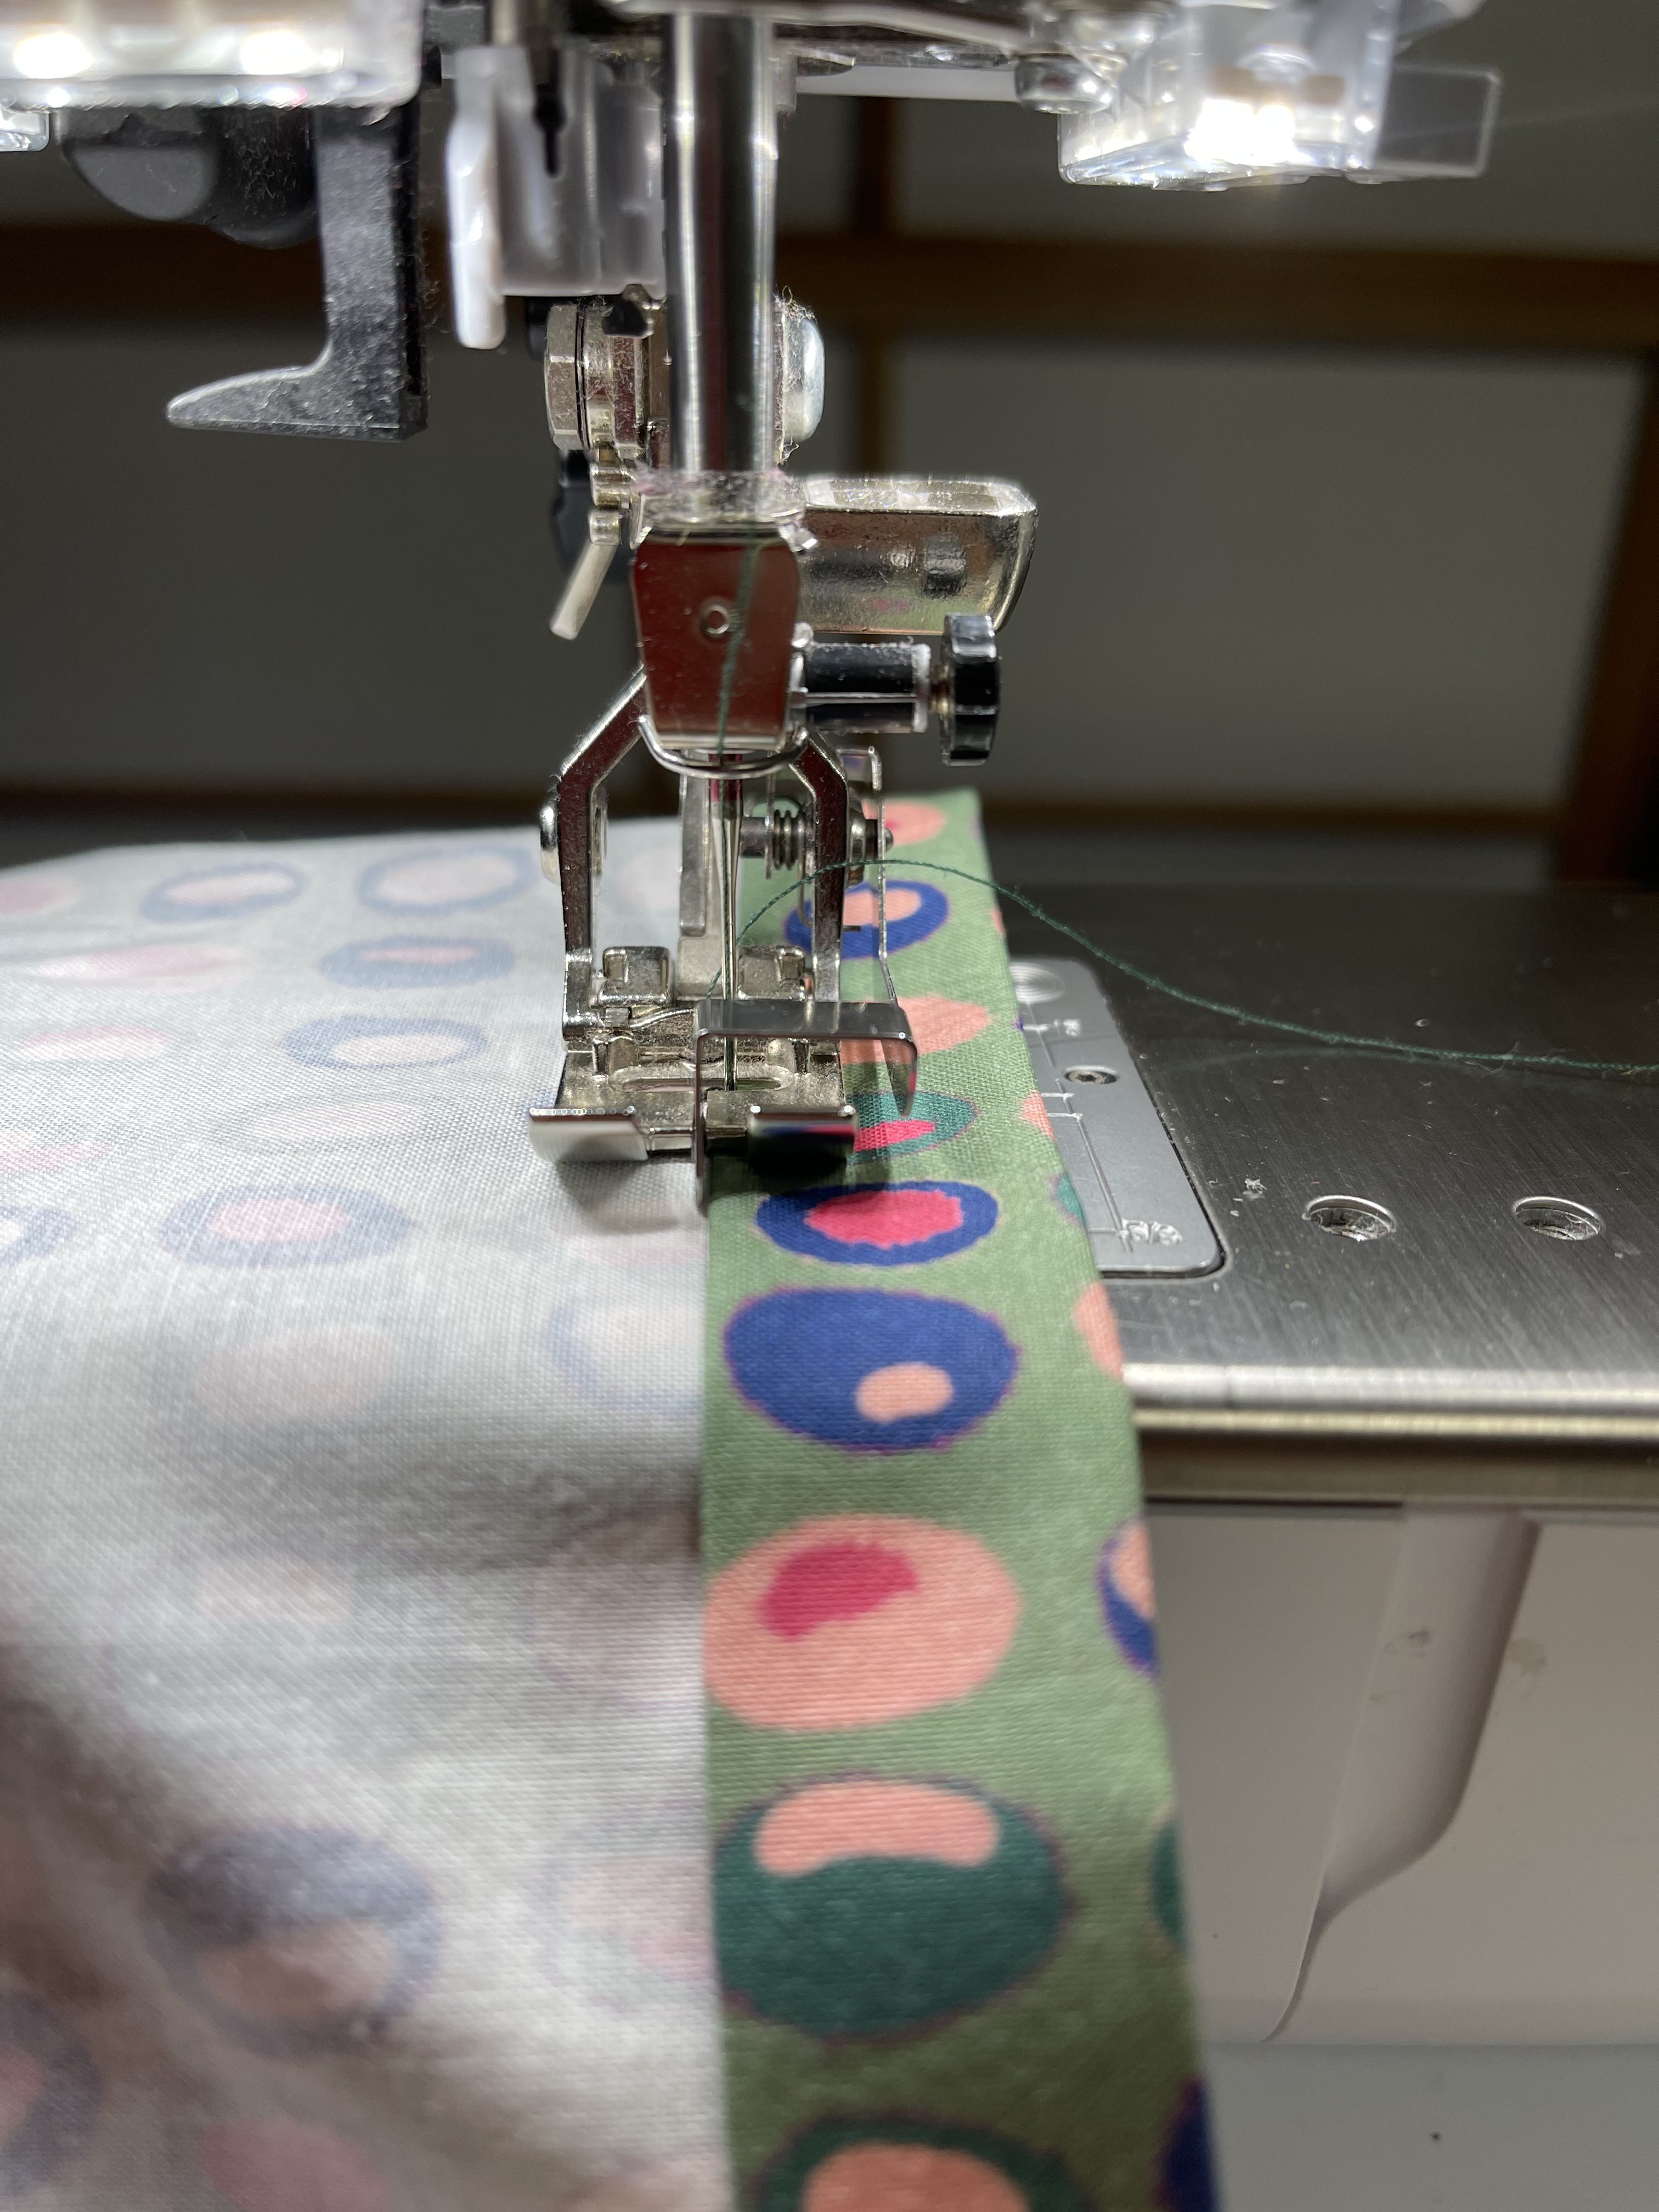
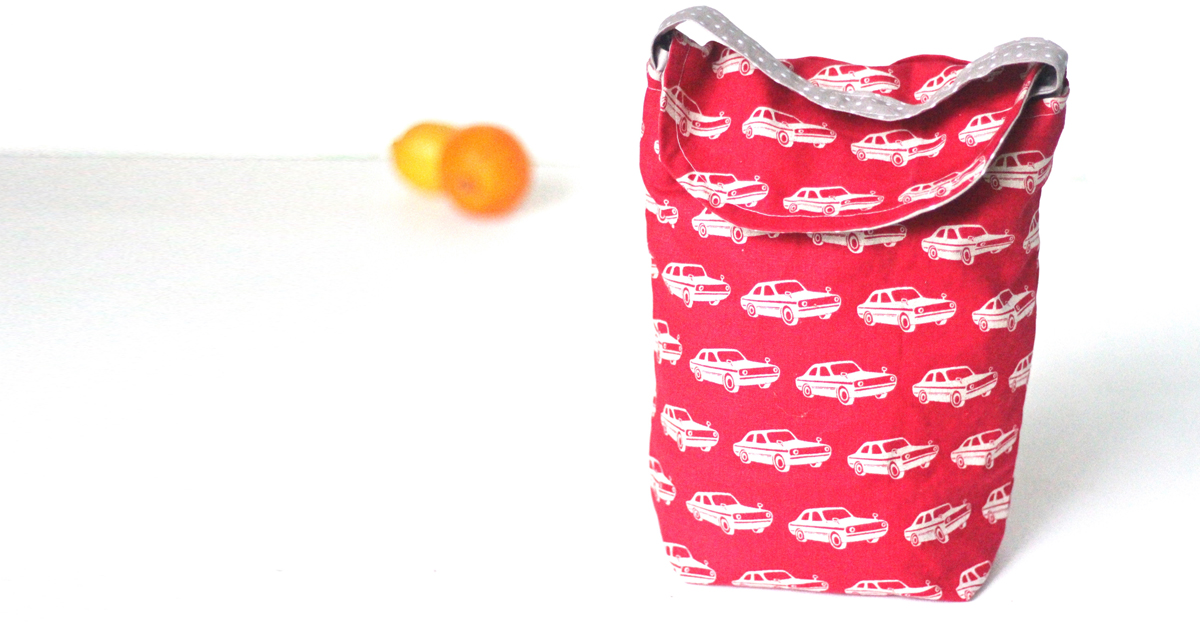
1. Fold the long edge of the 11×35 rectangle in half, lengthwise (RST). Stitch down the sides with 1/2” SA. Finish the edges (serge or zig-zag).
2. Keeping it inside-out, fold down the top edge opening of the bag 1/4” and press. Then fold it over again 3/4” and press again.
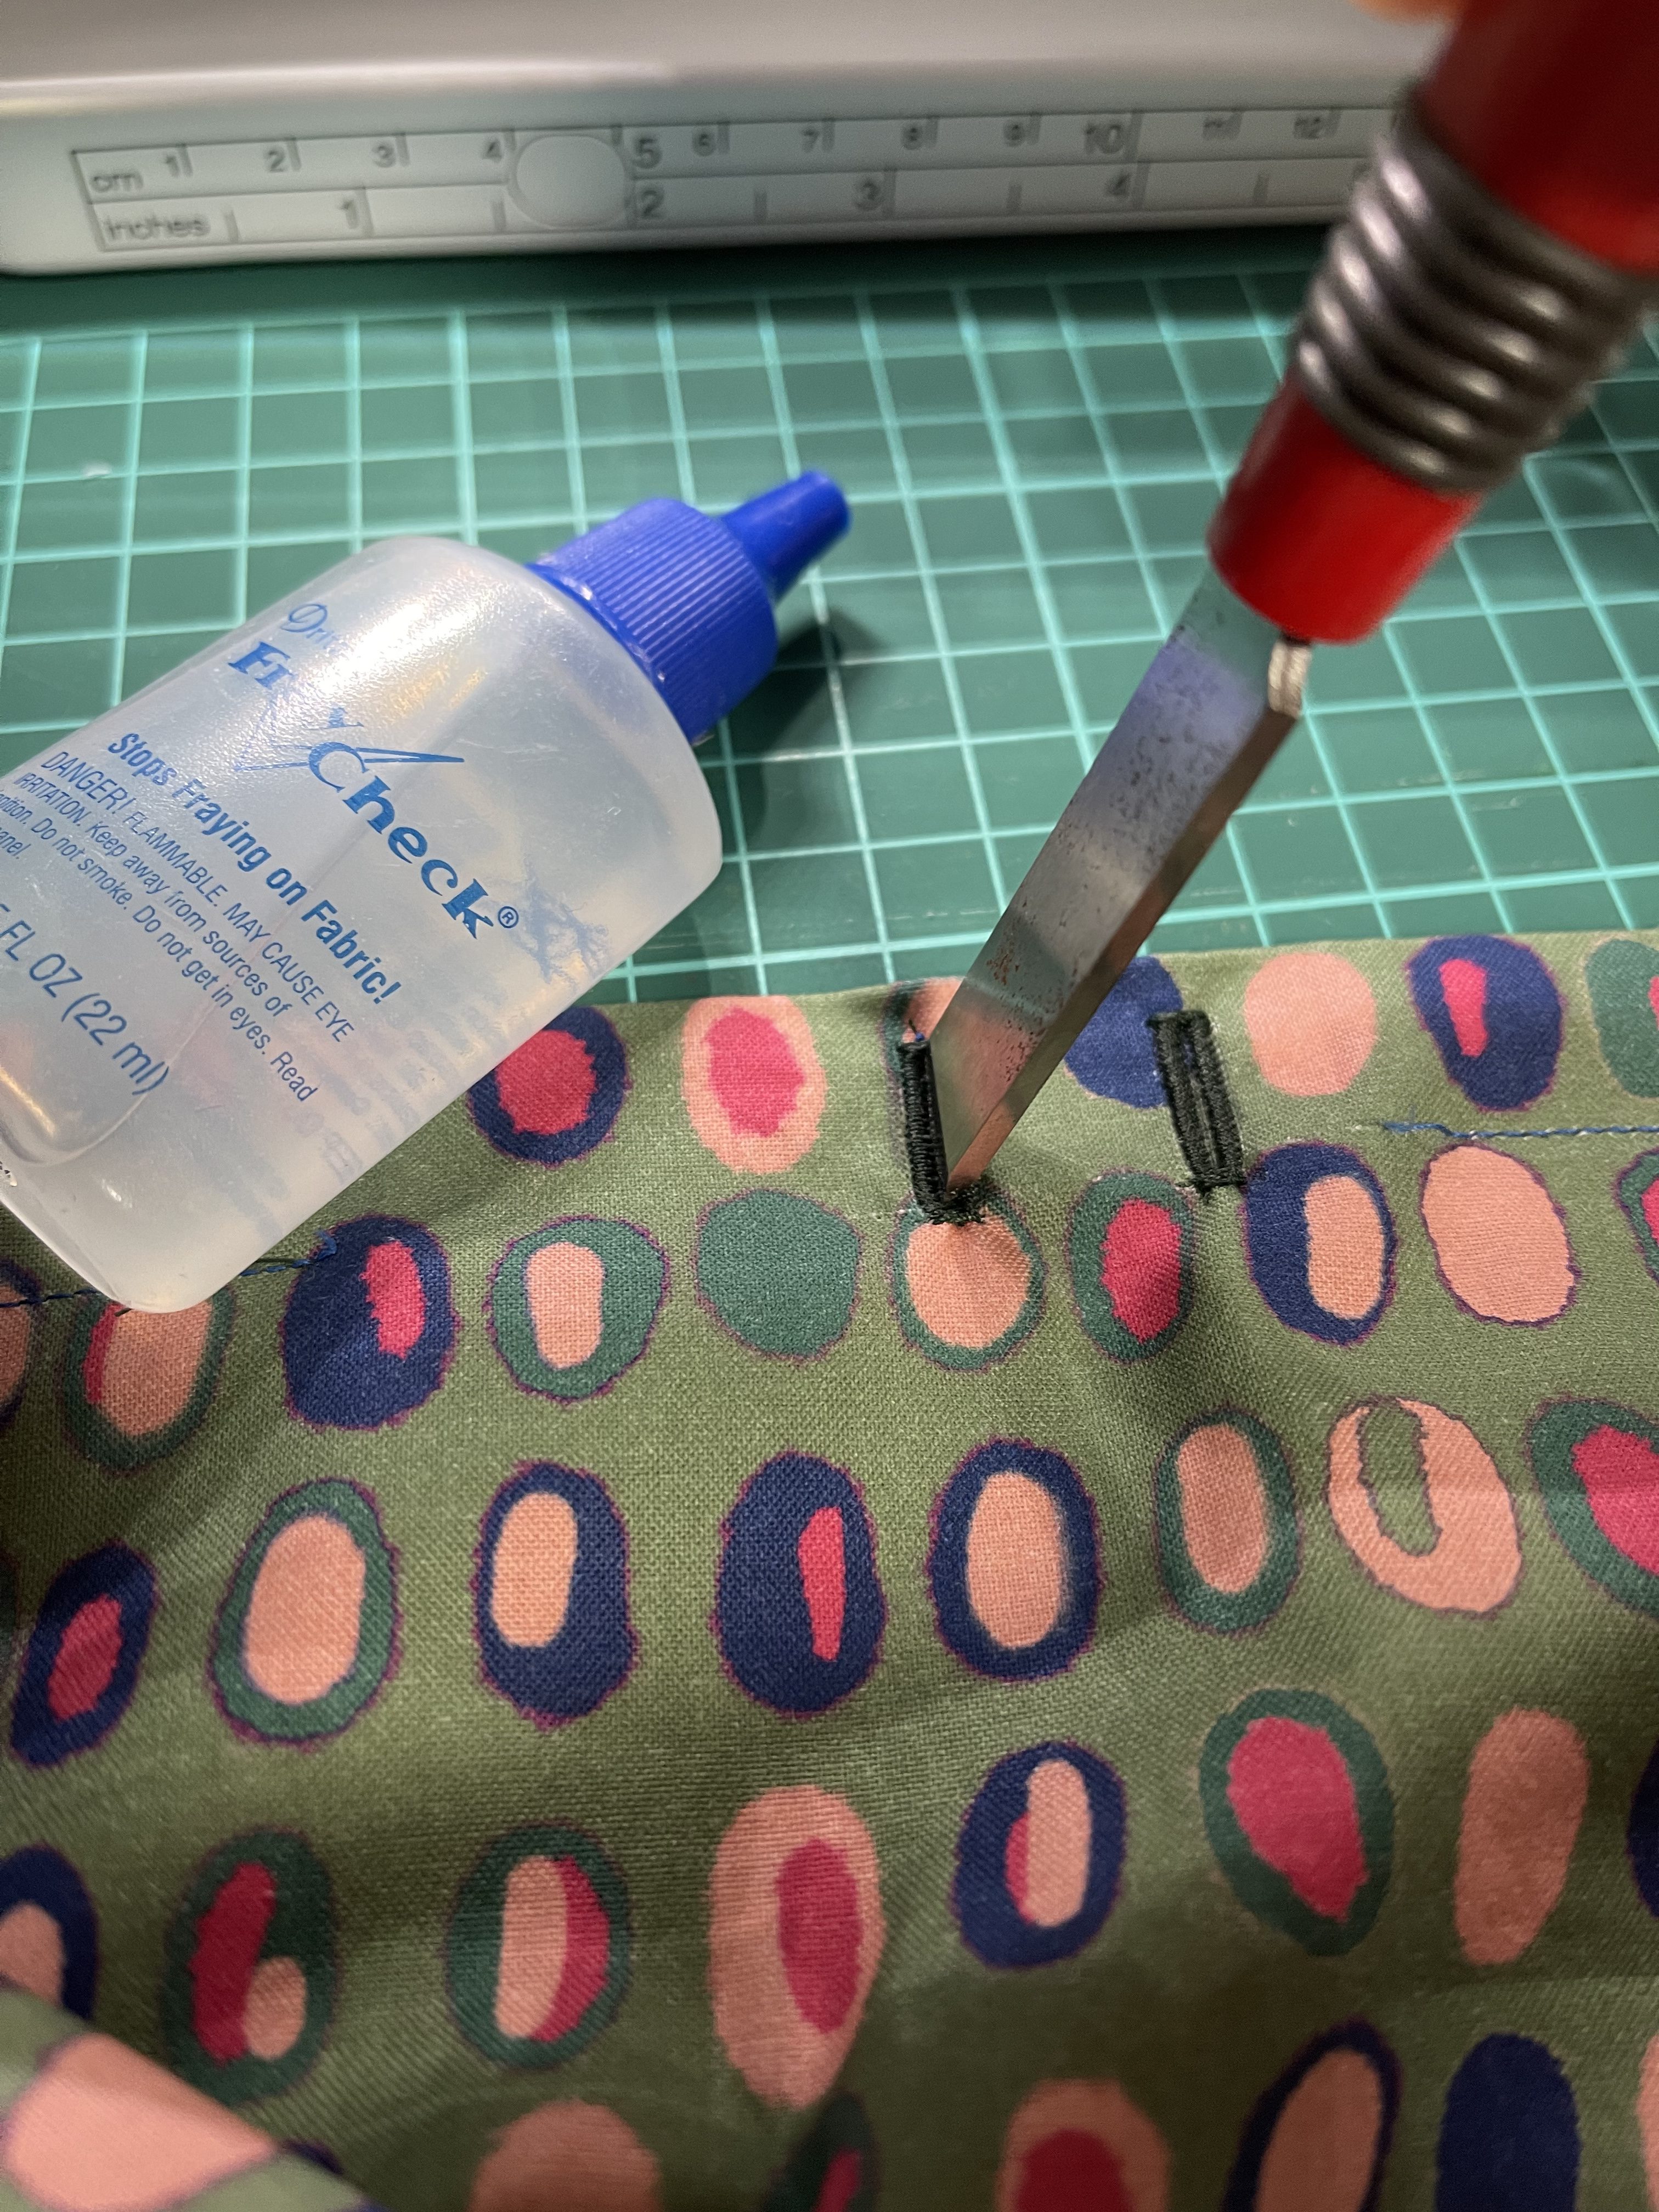
3. Open it back up and on the Right side of the bag, in the center of one side, you are going to create two buttonholes about 1” apart. It is best to put another piece of fabric or interfacing to reinforce this area before doing the buttonhole. Mark the spots and create the buttonholes.
4. Now that you have made the buttonholes on the OUTSIDE/ RIGHT SIDE of the bag, you are going to close up the casing. Put your edgestitch foot on the edge and move your needle a few points to the right. Stitch it all the way closed.
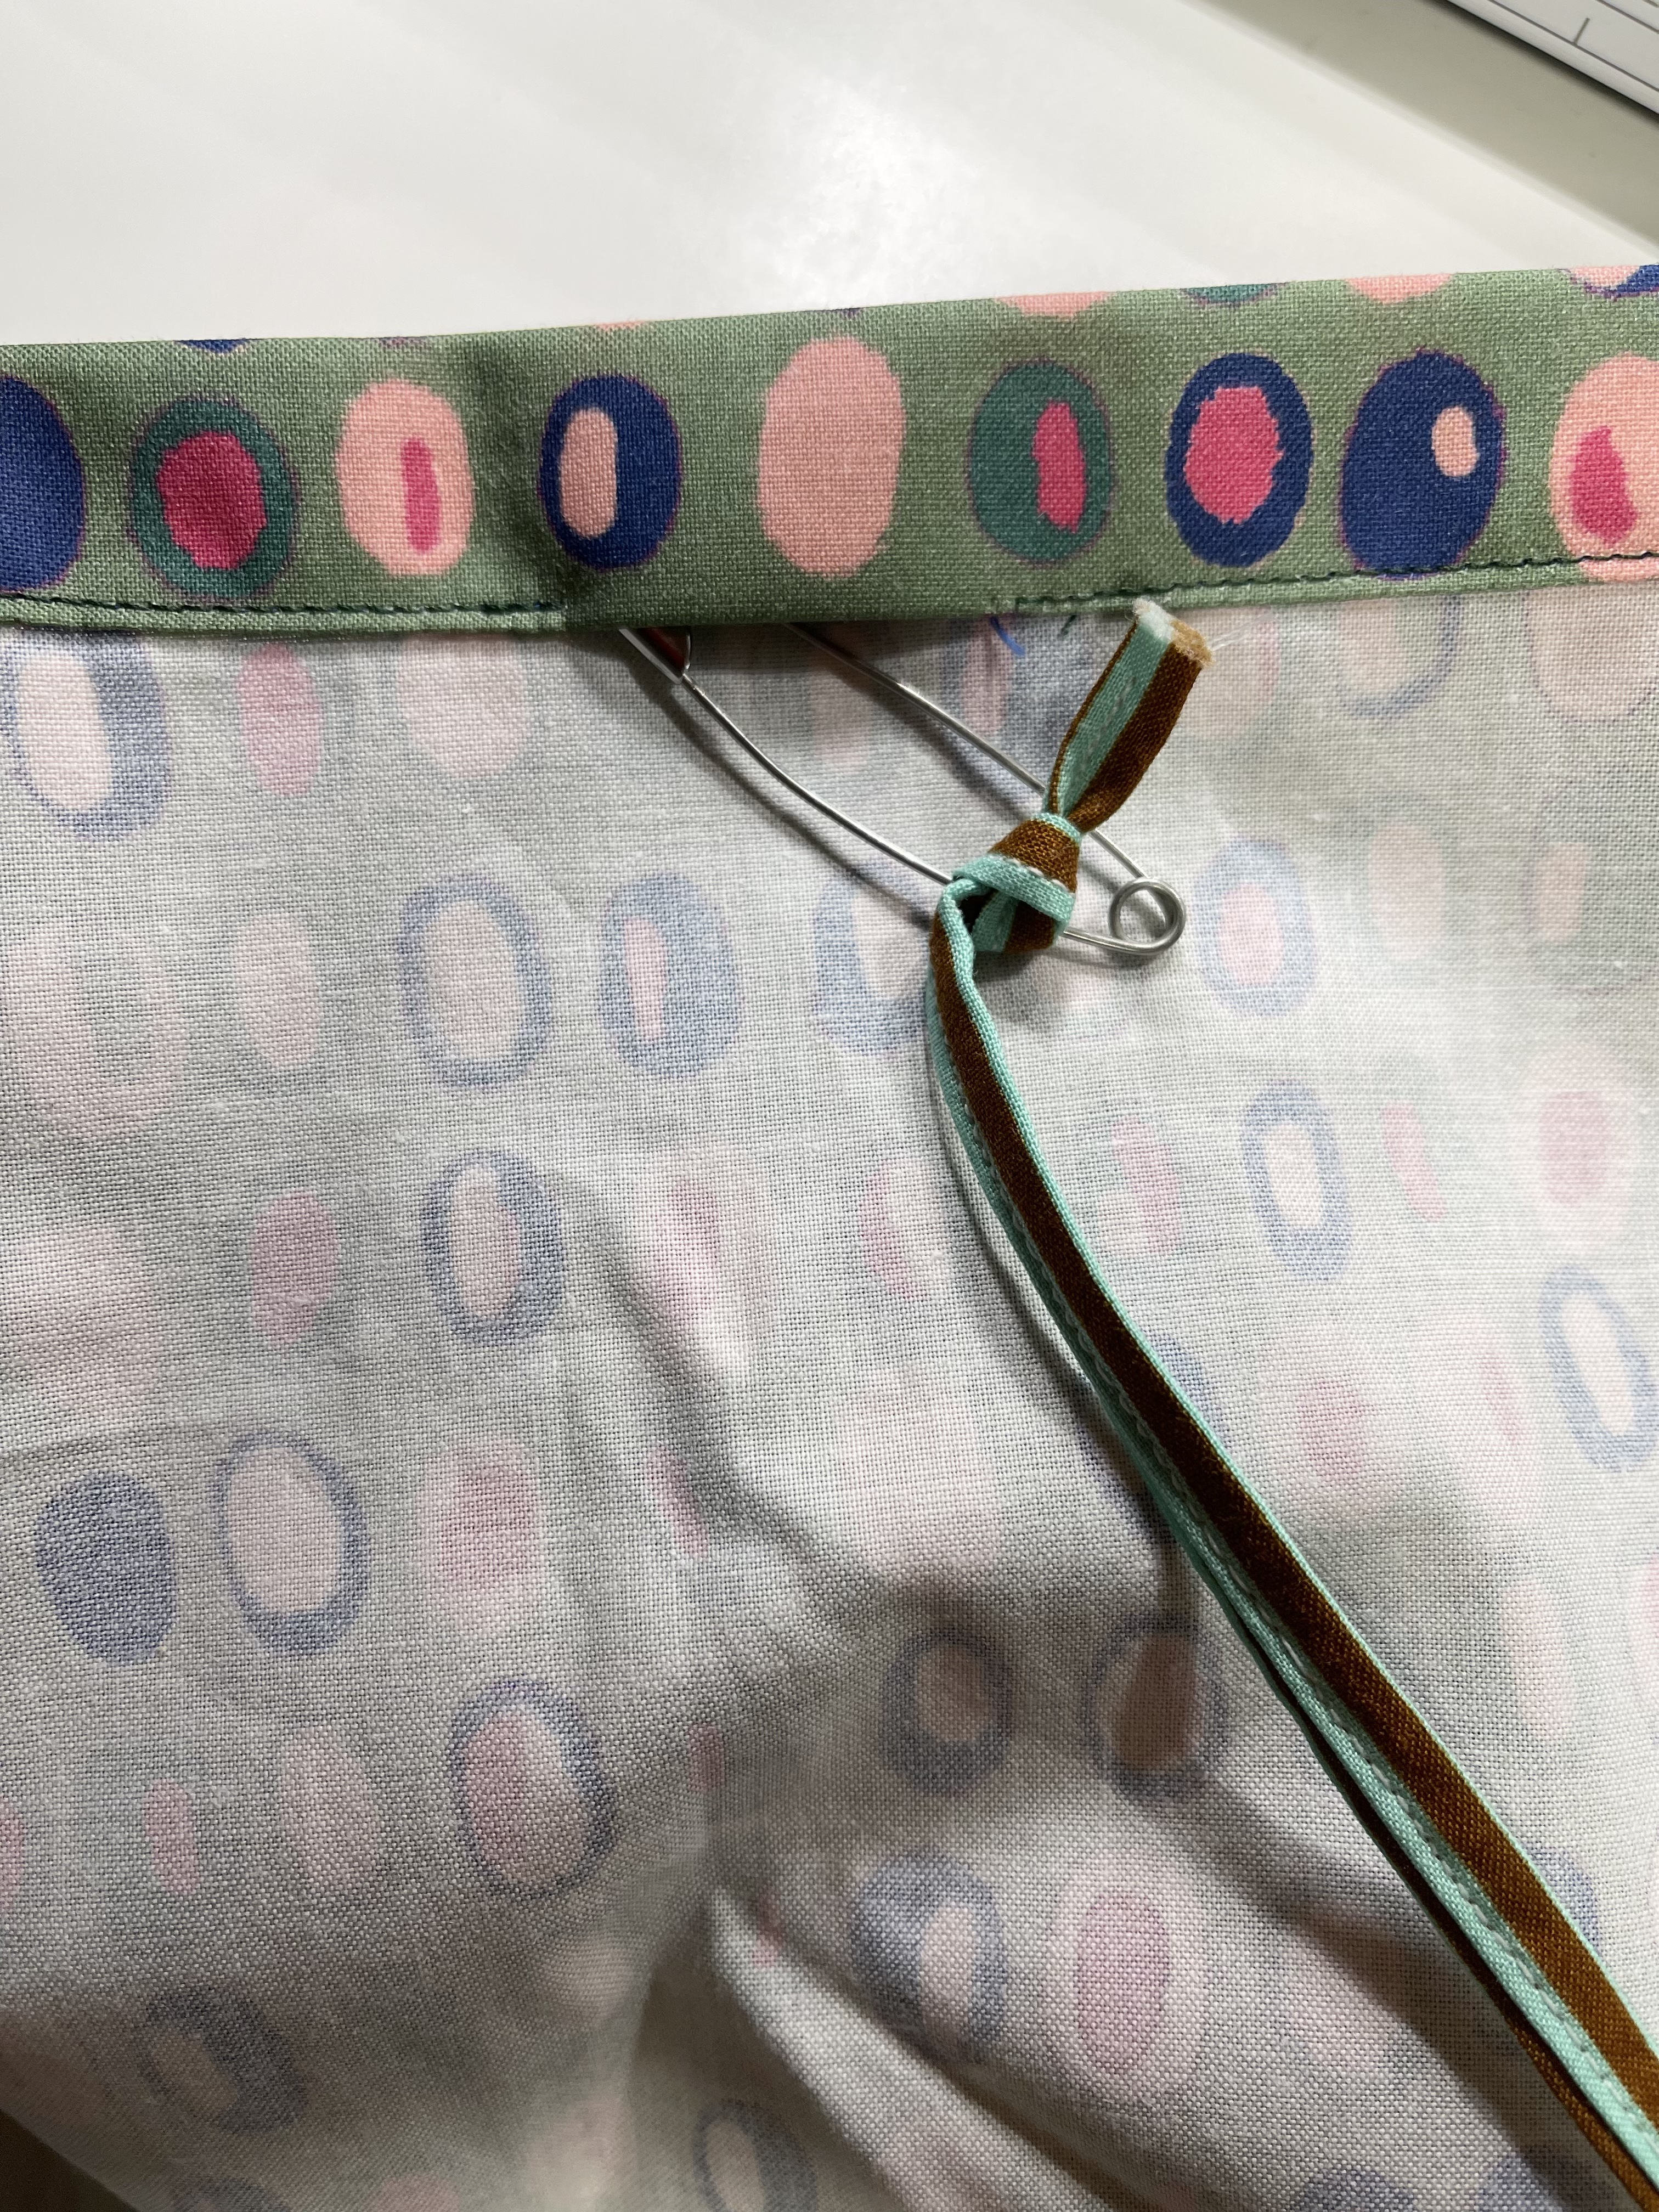
5. Put a safety pin through your cord and insert it through the buttonholes on the front (I did mine wrong the first time and so my photo shows something different!!!). Feed it through.

6. Box the corners of the drawstring bag to give more room for the containers you’ll put inside. Open the bag and press the corner down flat like the photo. using a seam gauge/ruler, measure 1” and draw a straight line (and pin it down). Sew this along the line you drew.
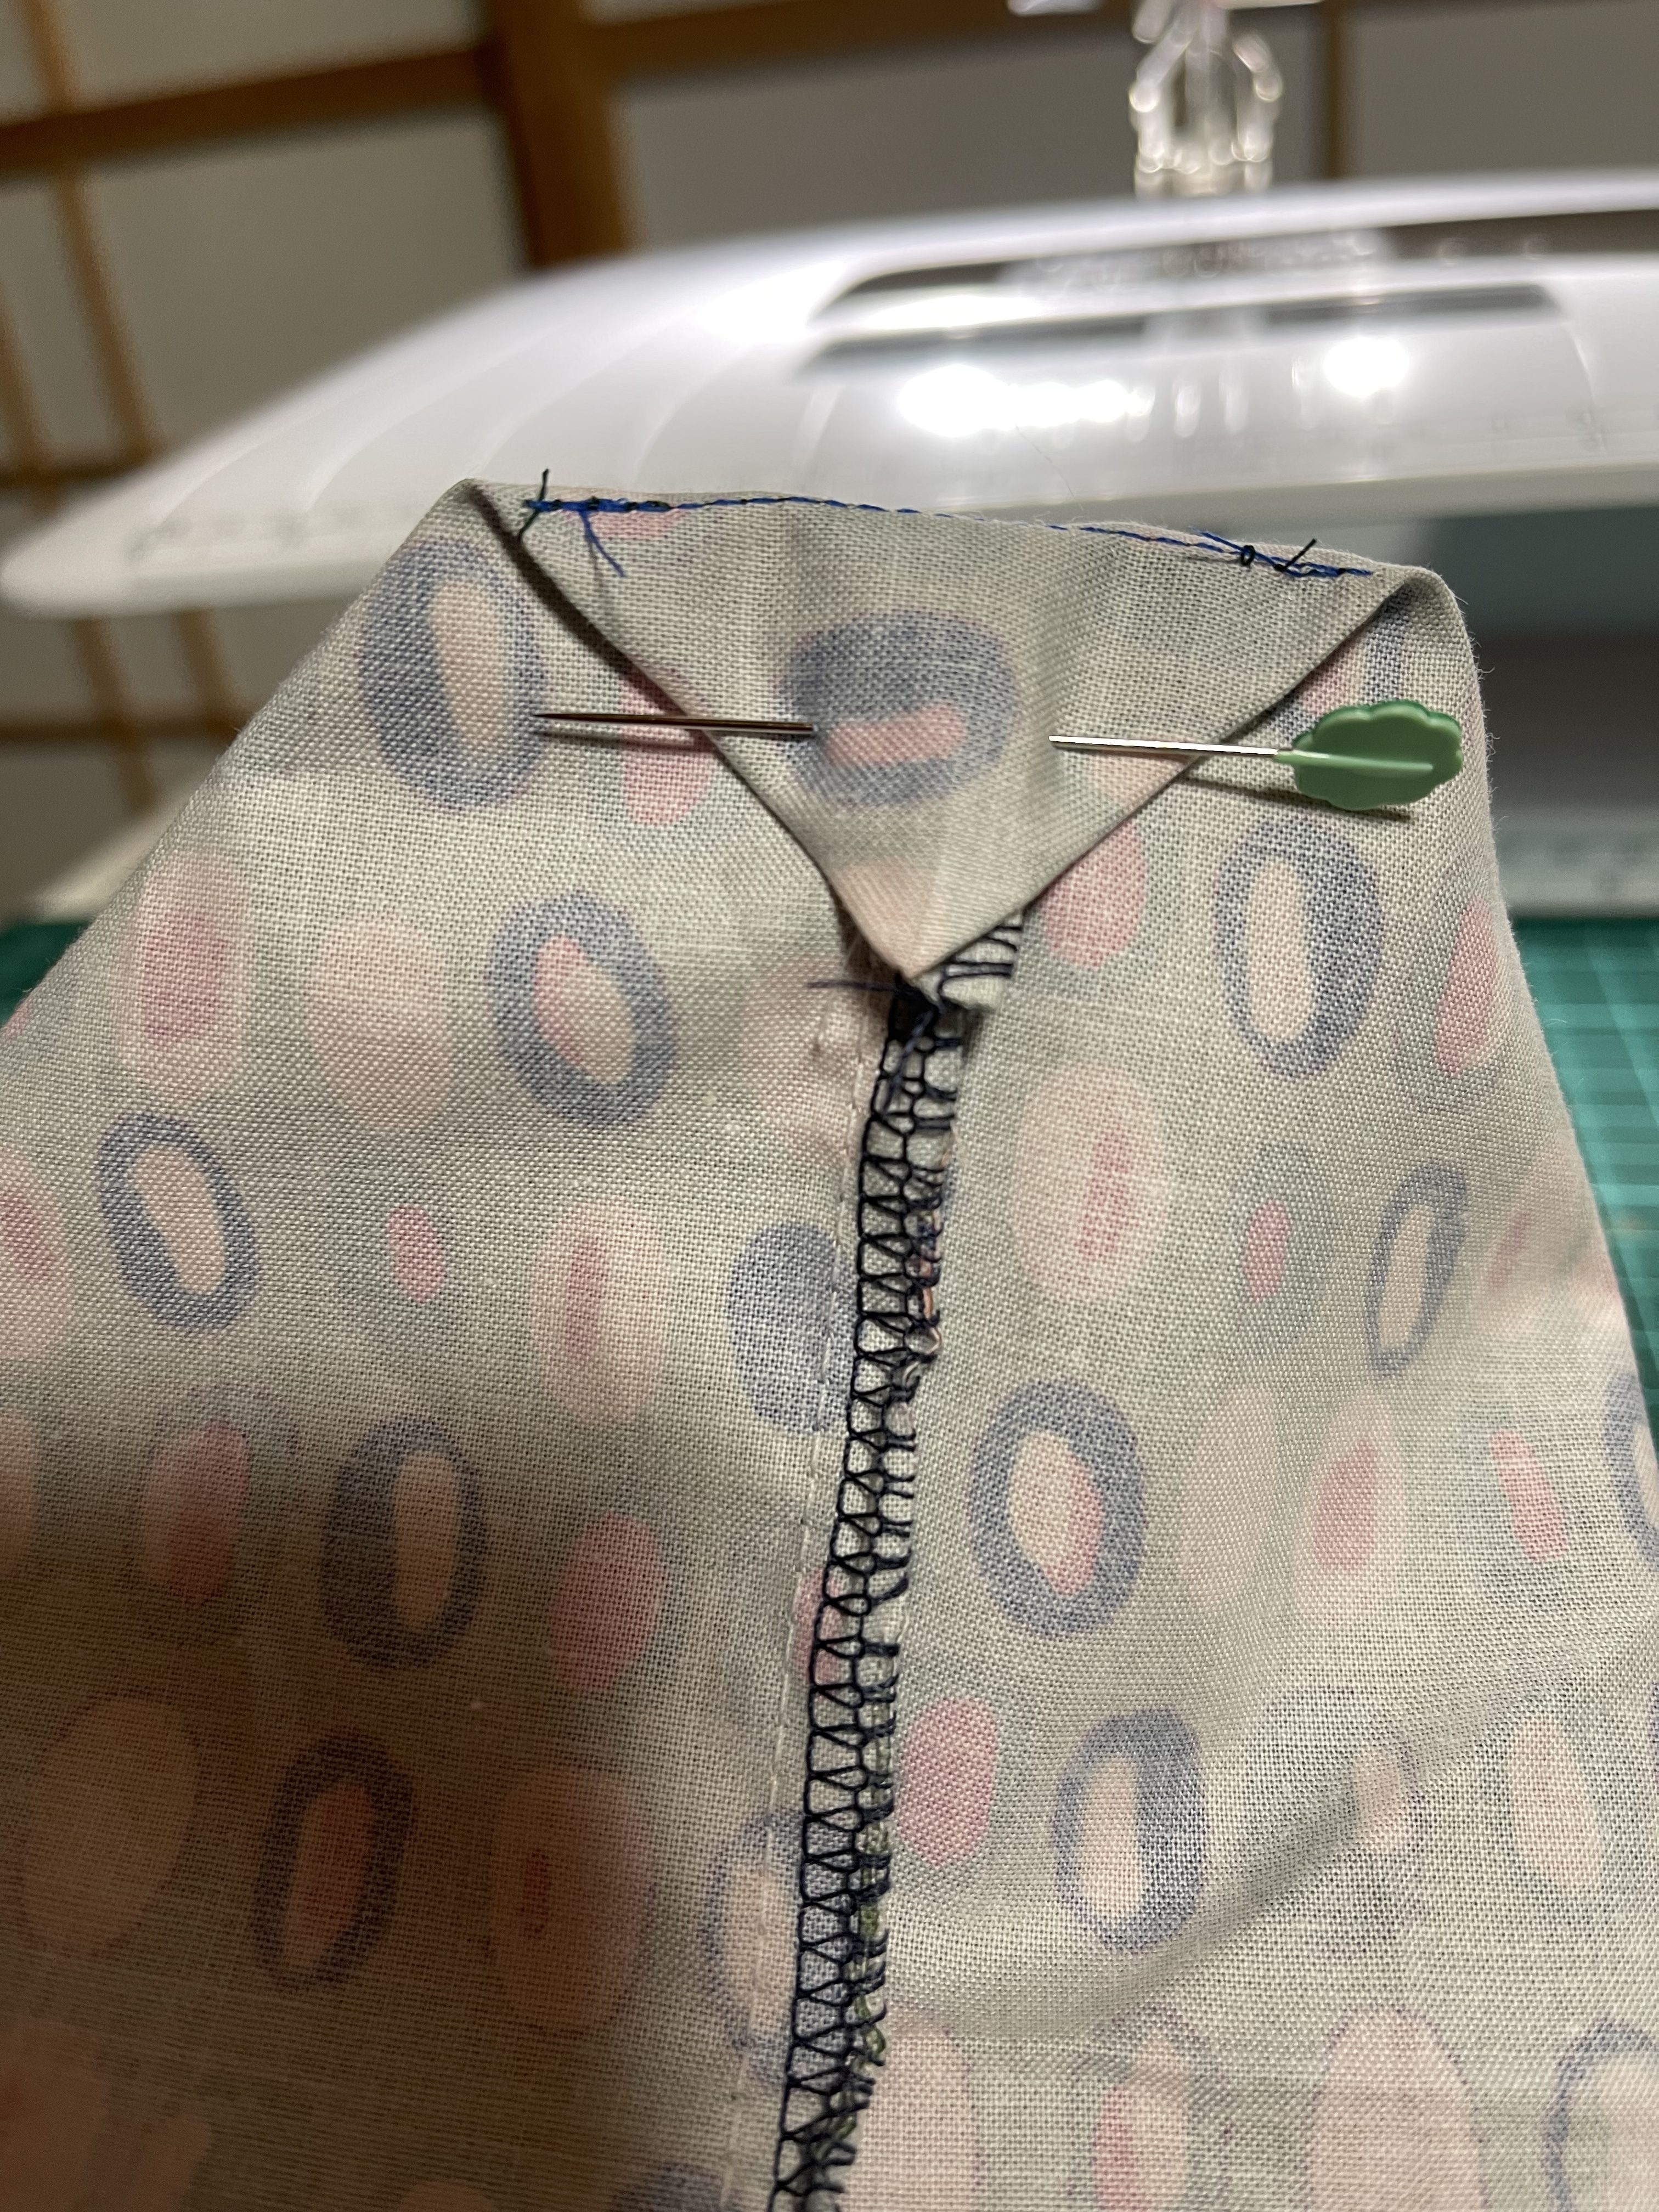
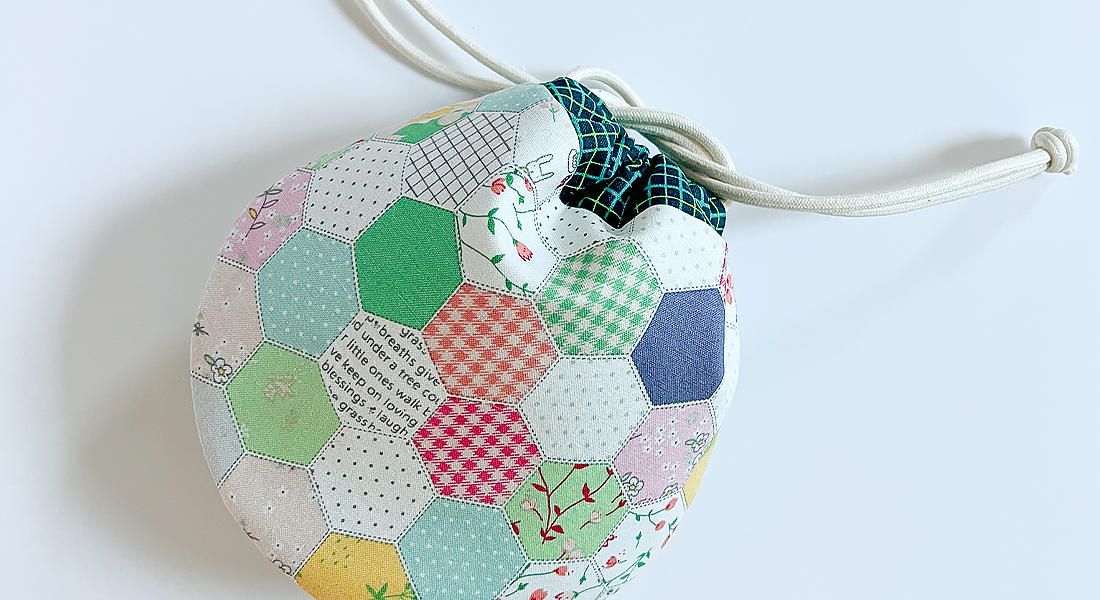
7. Fold it over, pin down and stitch in the ditch from the other side (the right side). This keeps the triangle down. And the drawstring bag is finished!!!
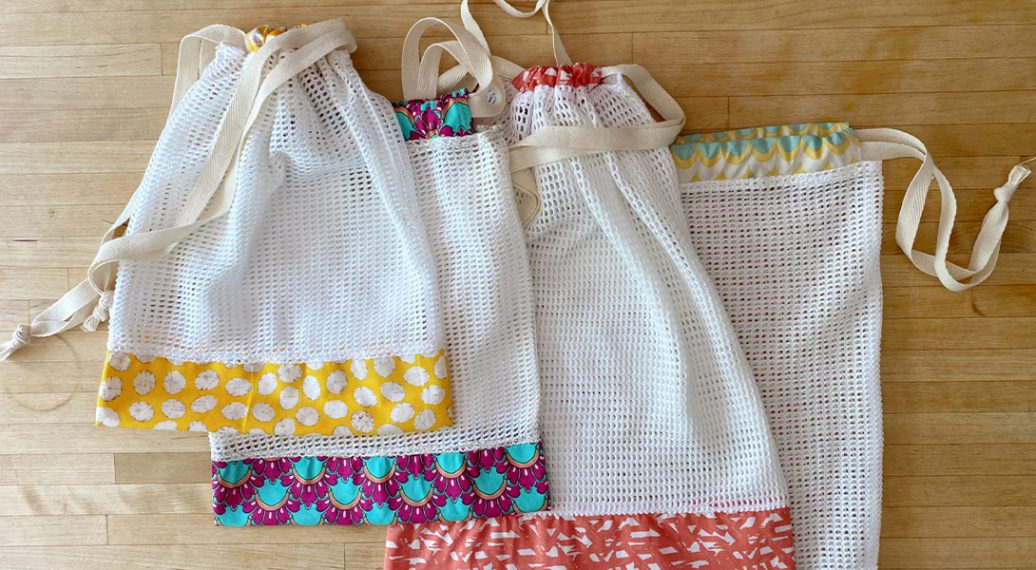
The Large Napkin Wrap
1. Take your 19×19 fabric and fold over the edges by 1/8-1/4” twice. Stitch down (press if you need help) with your edgestitch foot.
2. Add a buttonhole on one edge if you want to add the grosgrain name tag.
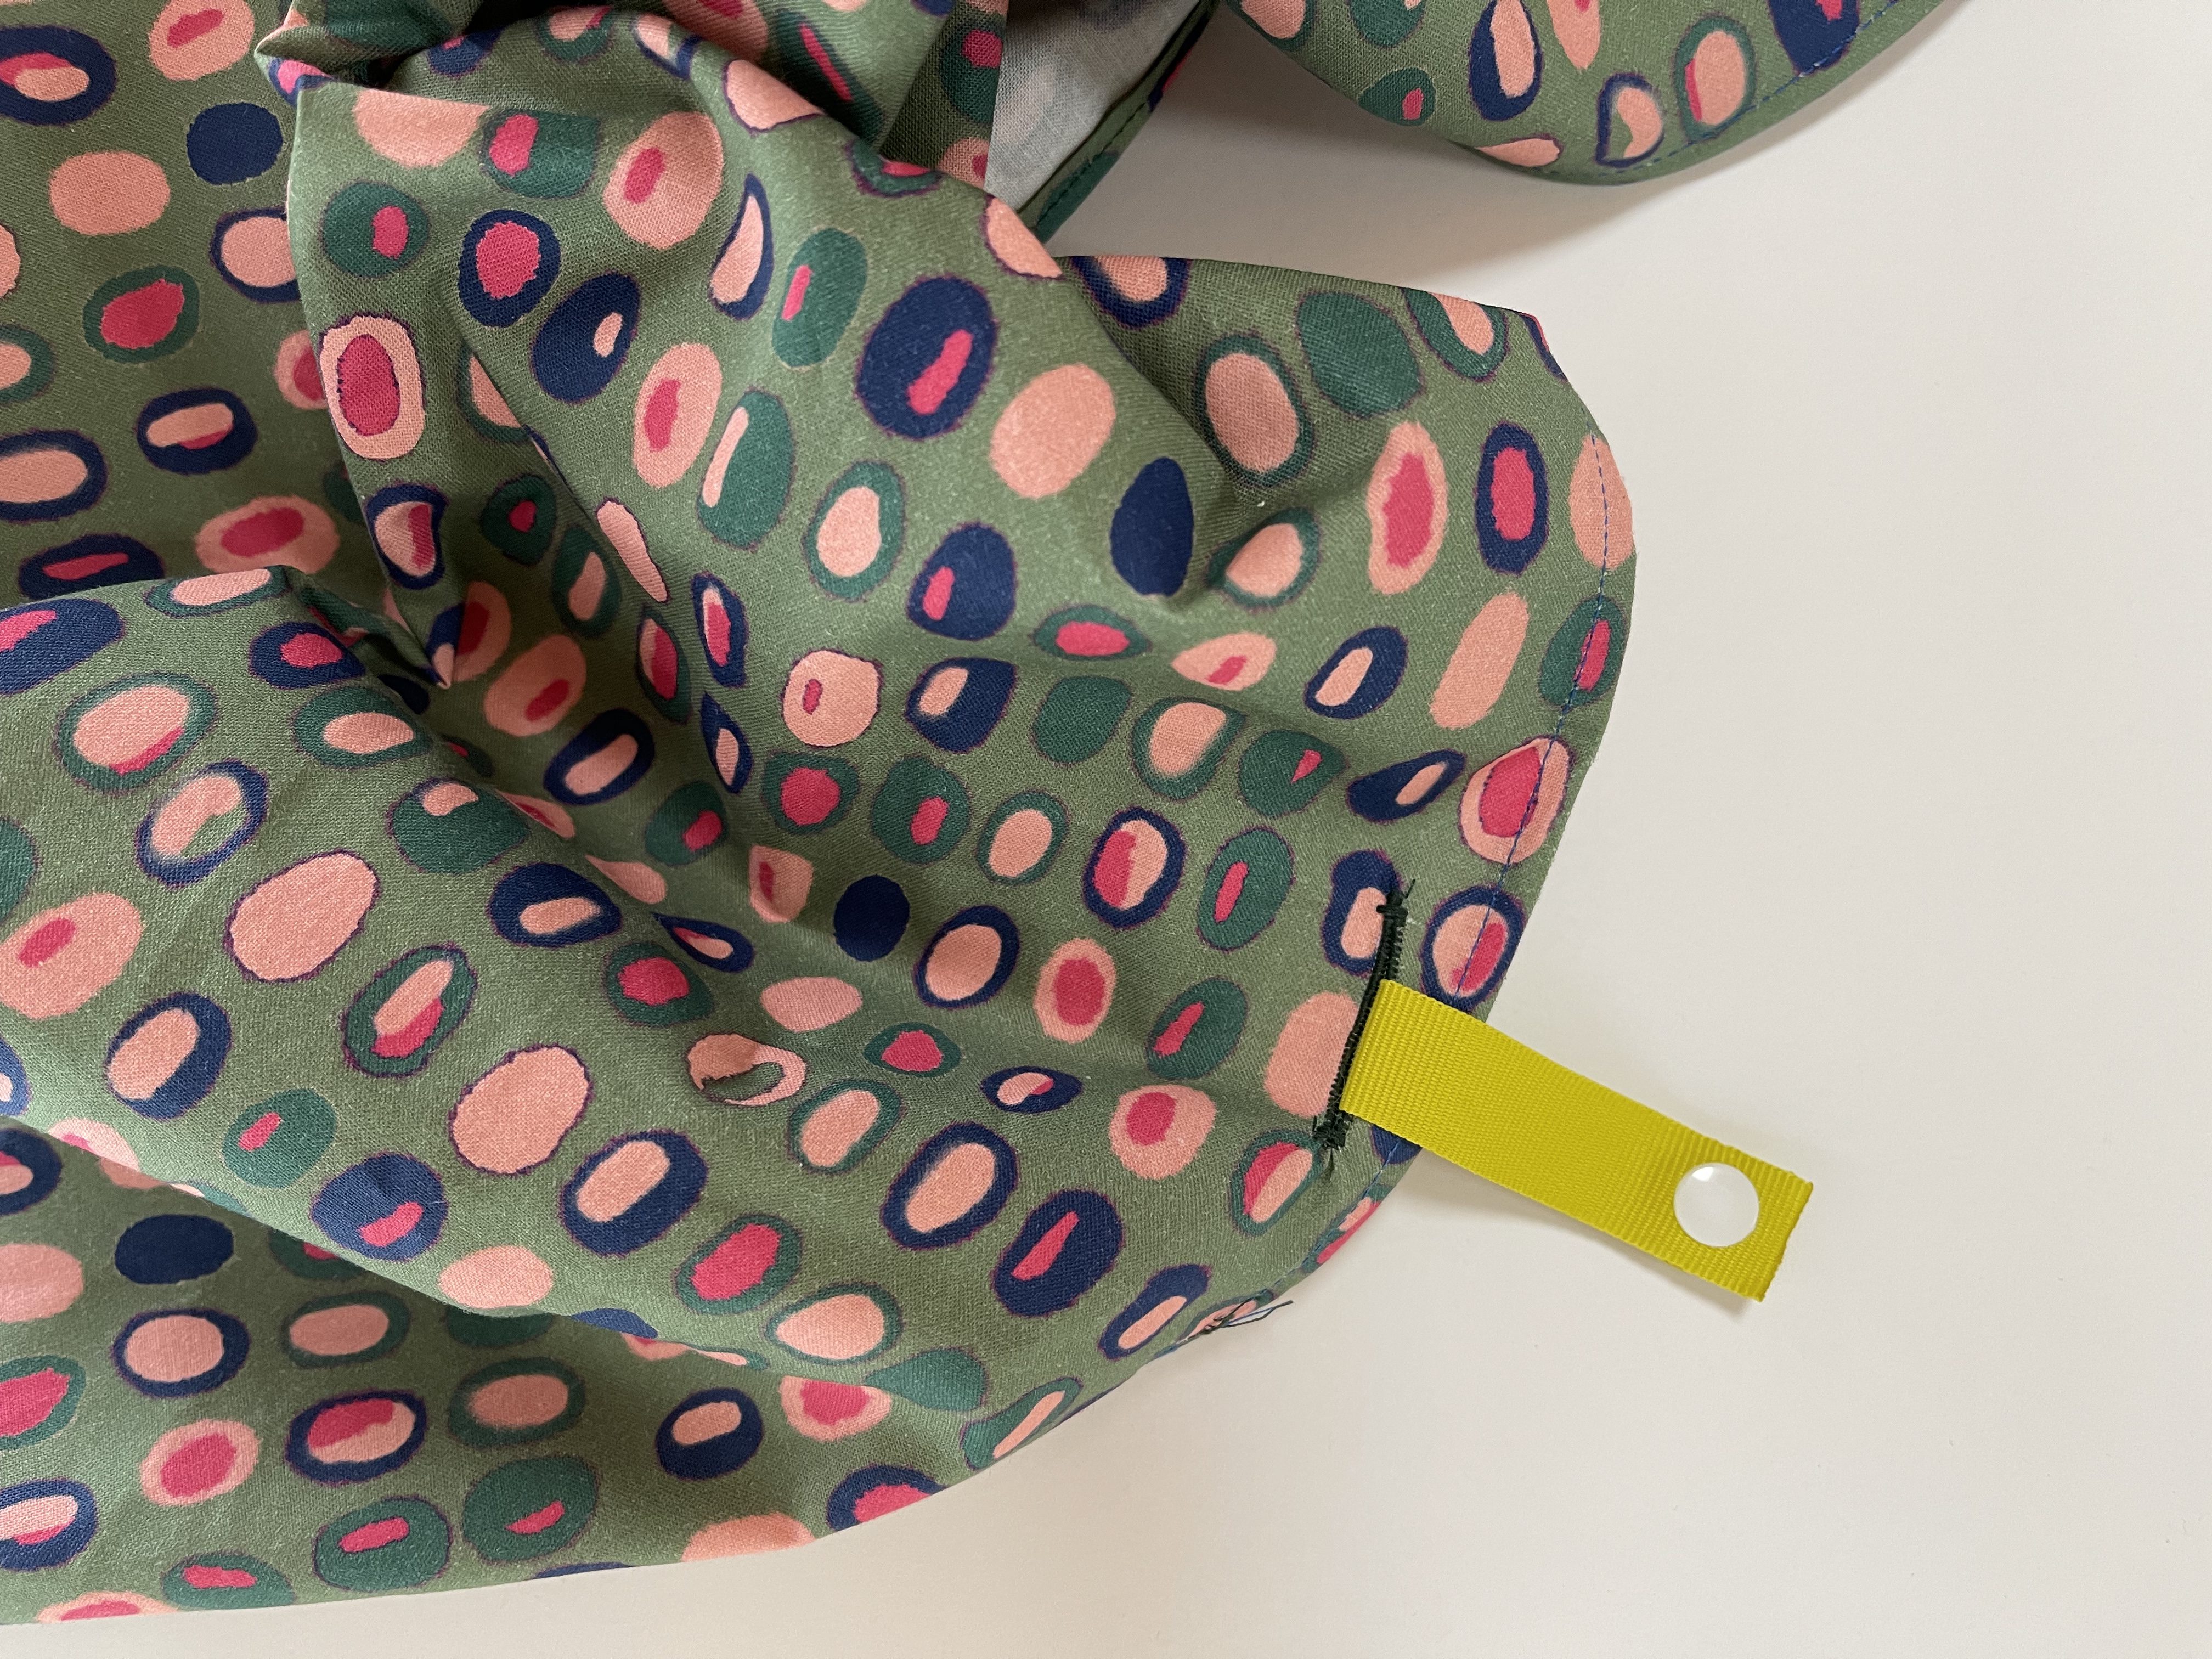
Optional Name Tag
To create the name tag, just take the grosgrain ribbon and cut a length long enough to fold over (about 4”). Melt or glue the edges so they don’t fray. Add a snap (metal or plastic depending on what you have), or even Velcro would work! Write the child’s name on the ribbon (or embroider it if you’re really fancy!).
How to Put the Lunch Bag Together

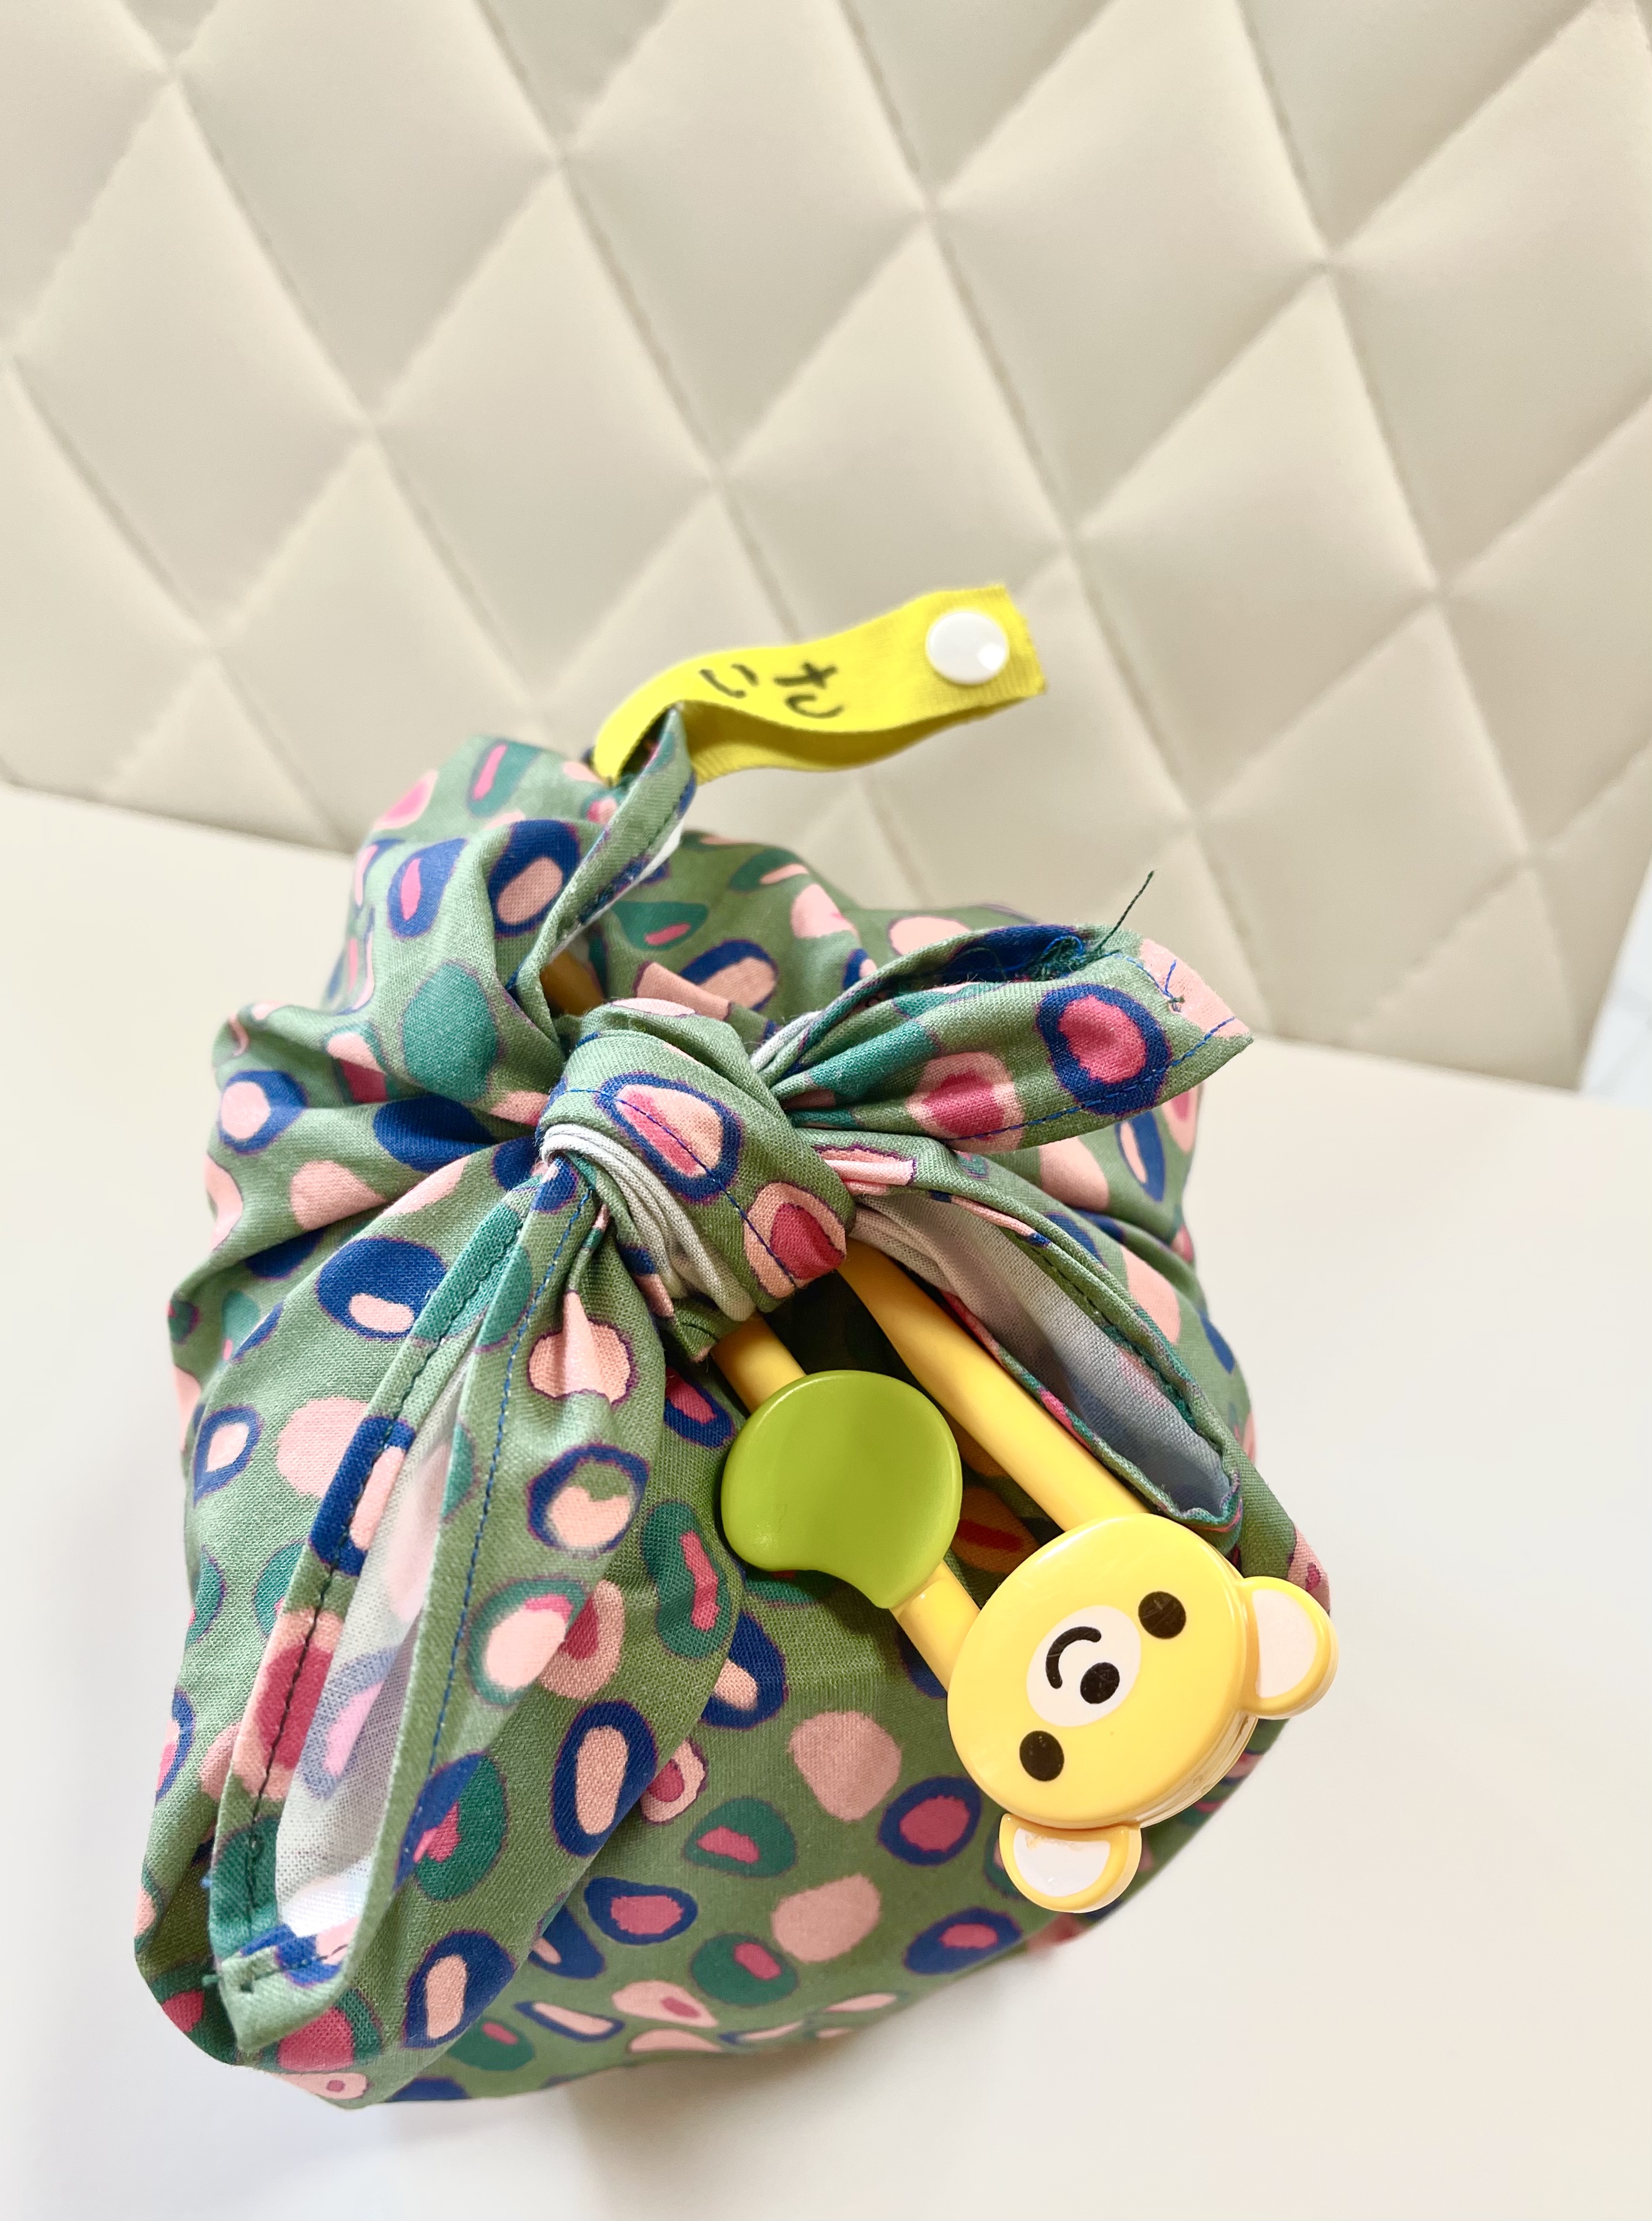
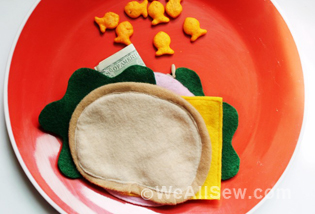
Put your food into your containers (round or square). For my son’s school, I do one container for lunch and one for the fruit which is eaten AFTER they eat the main dish. Pictured: Onigiri, a Japanese stuffed rice triangle wrapped in seaweed (this was stuffed with salmon!).
Place the (lidded) containers centered on top of the napkin.
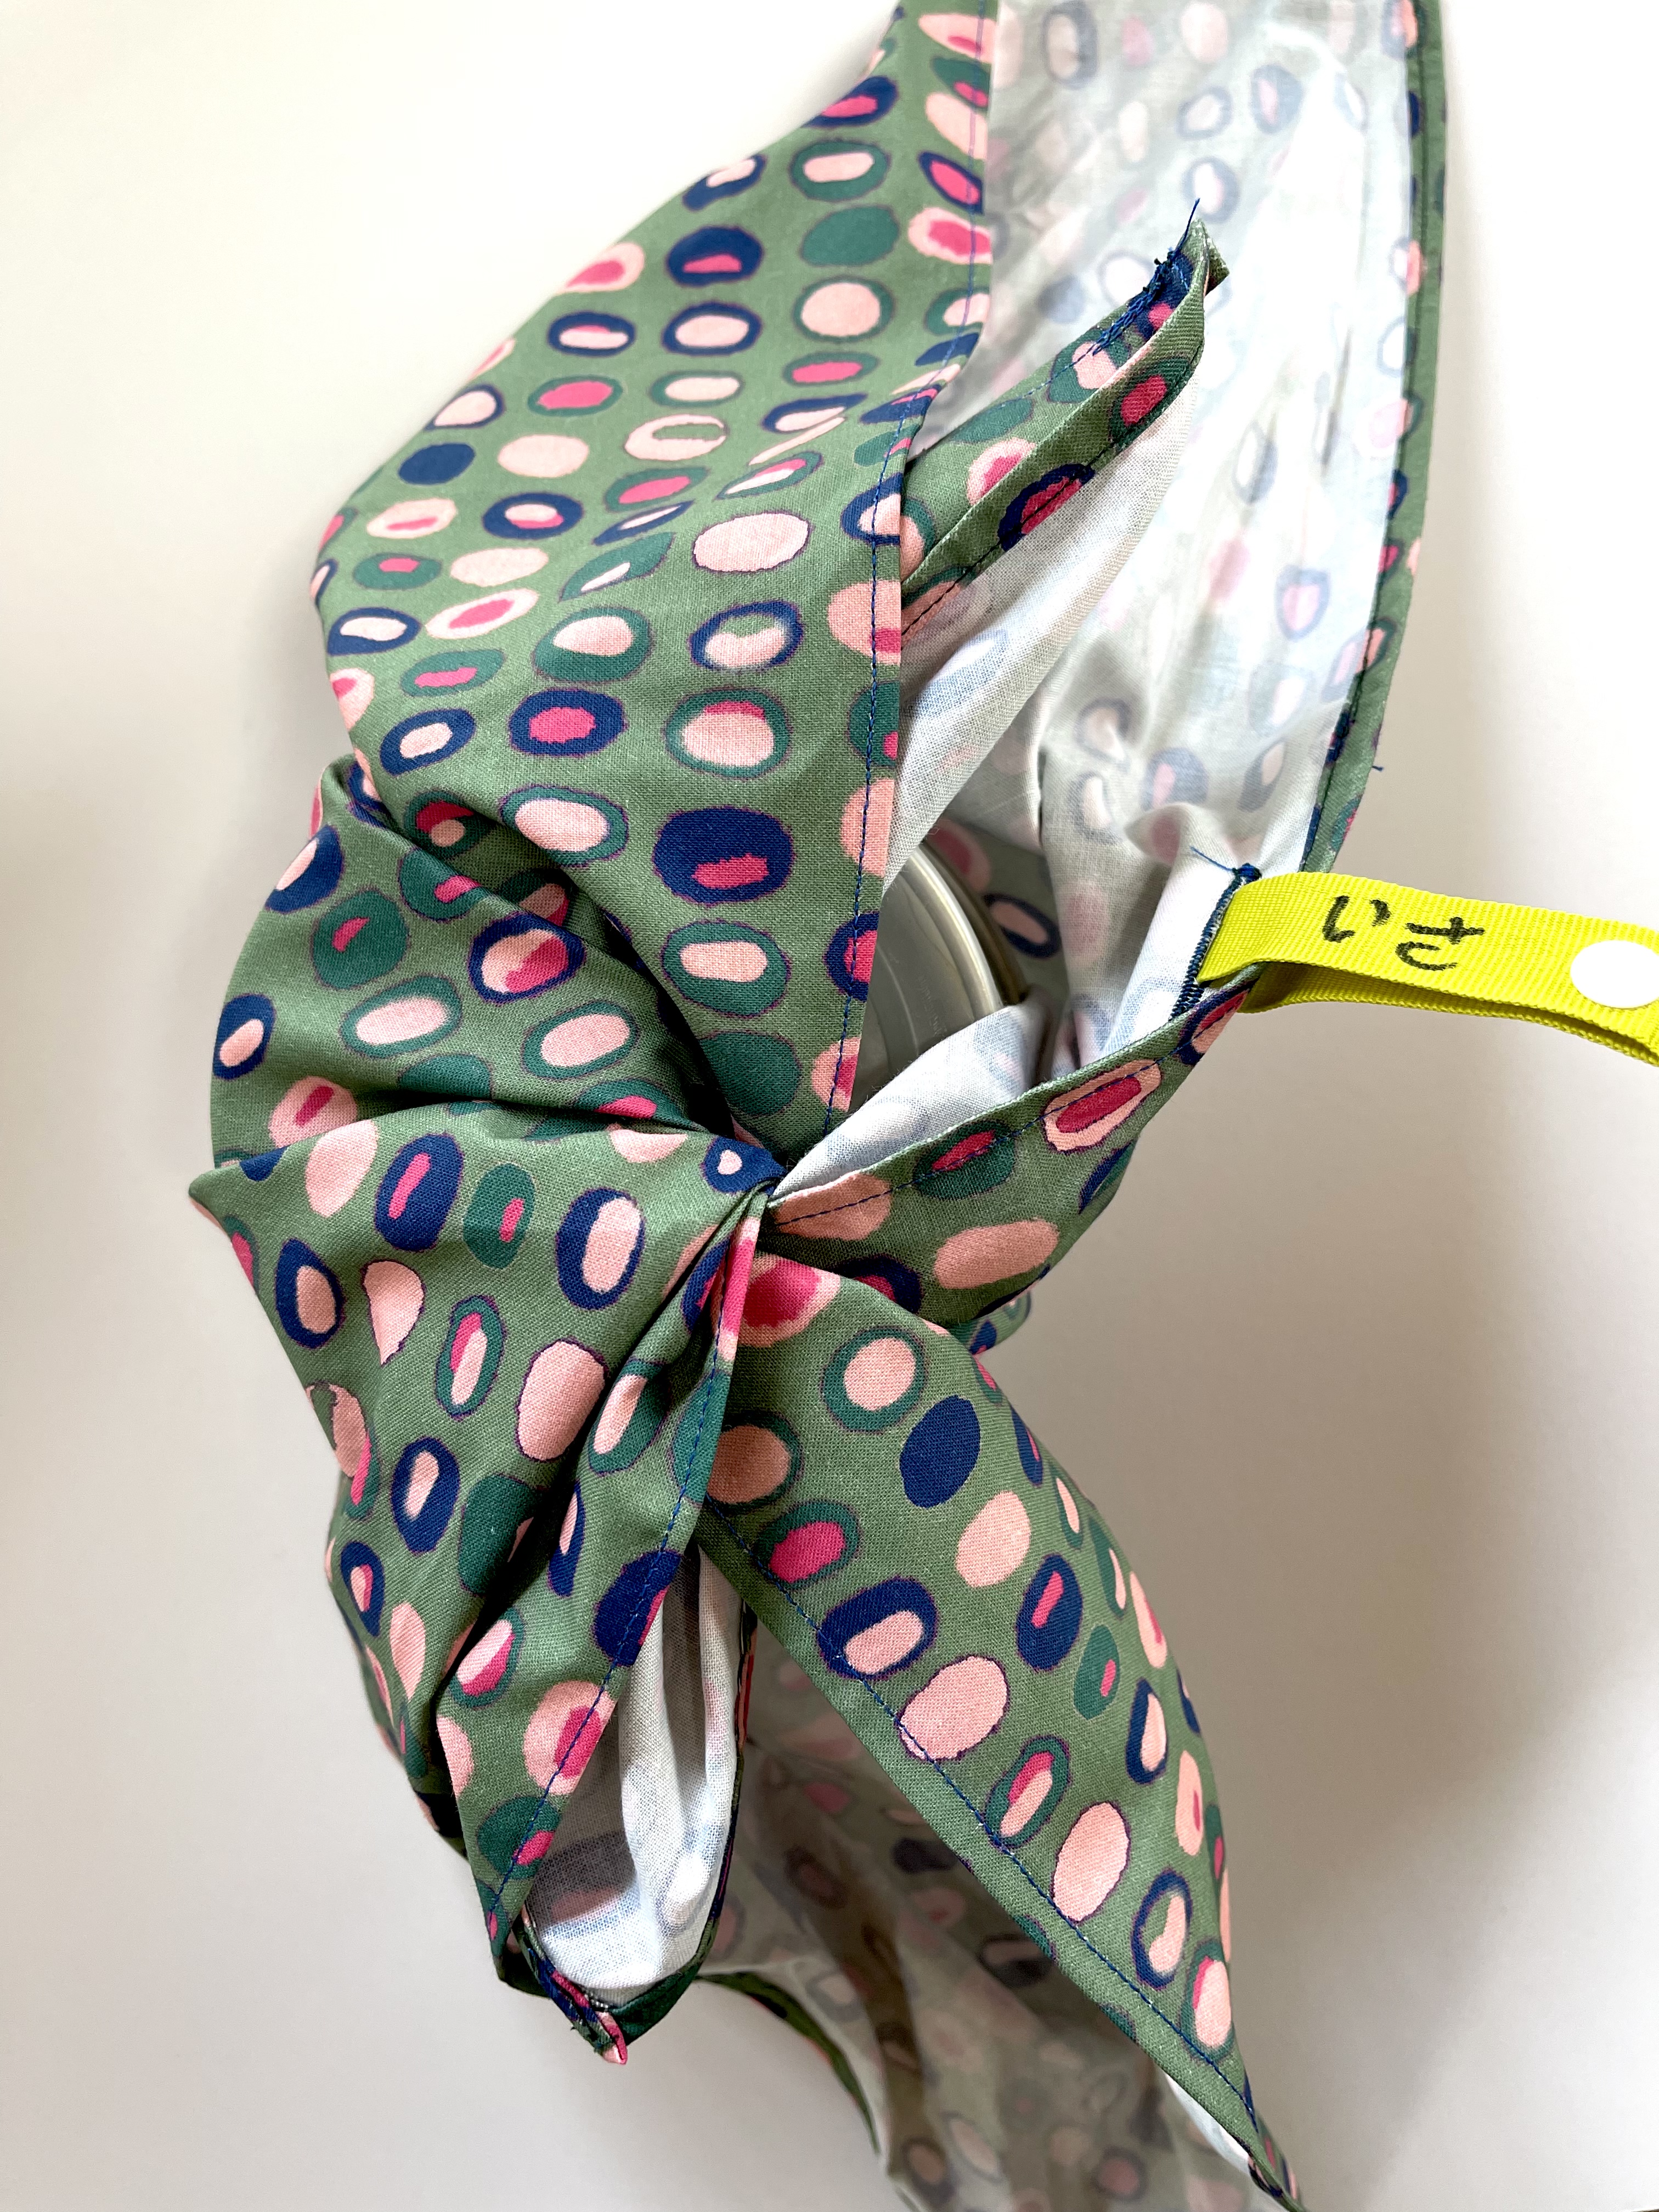
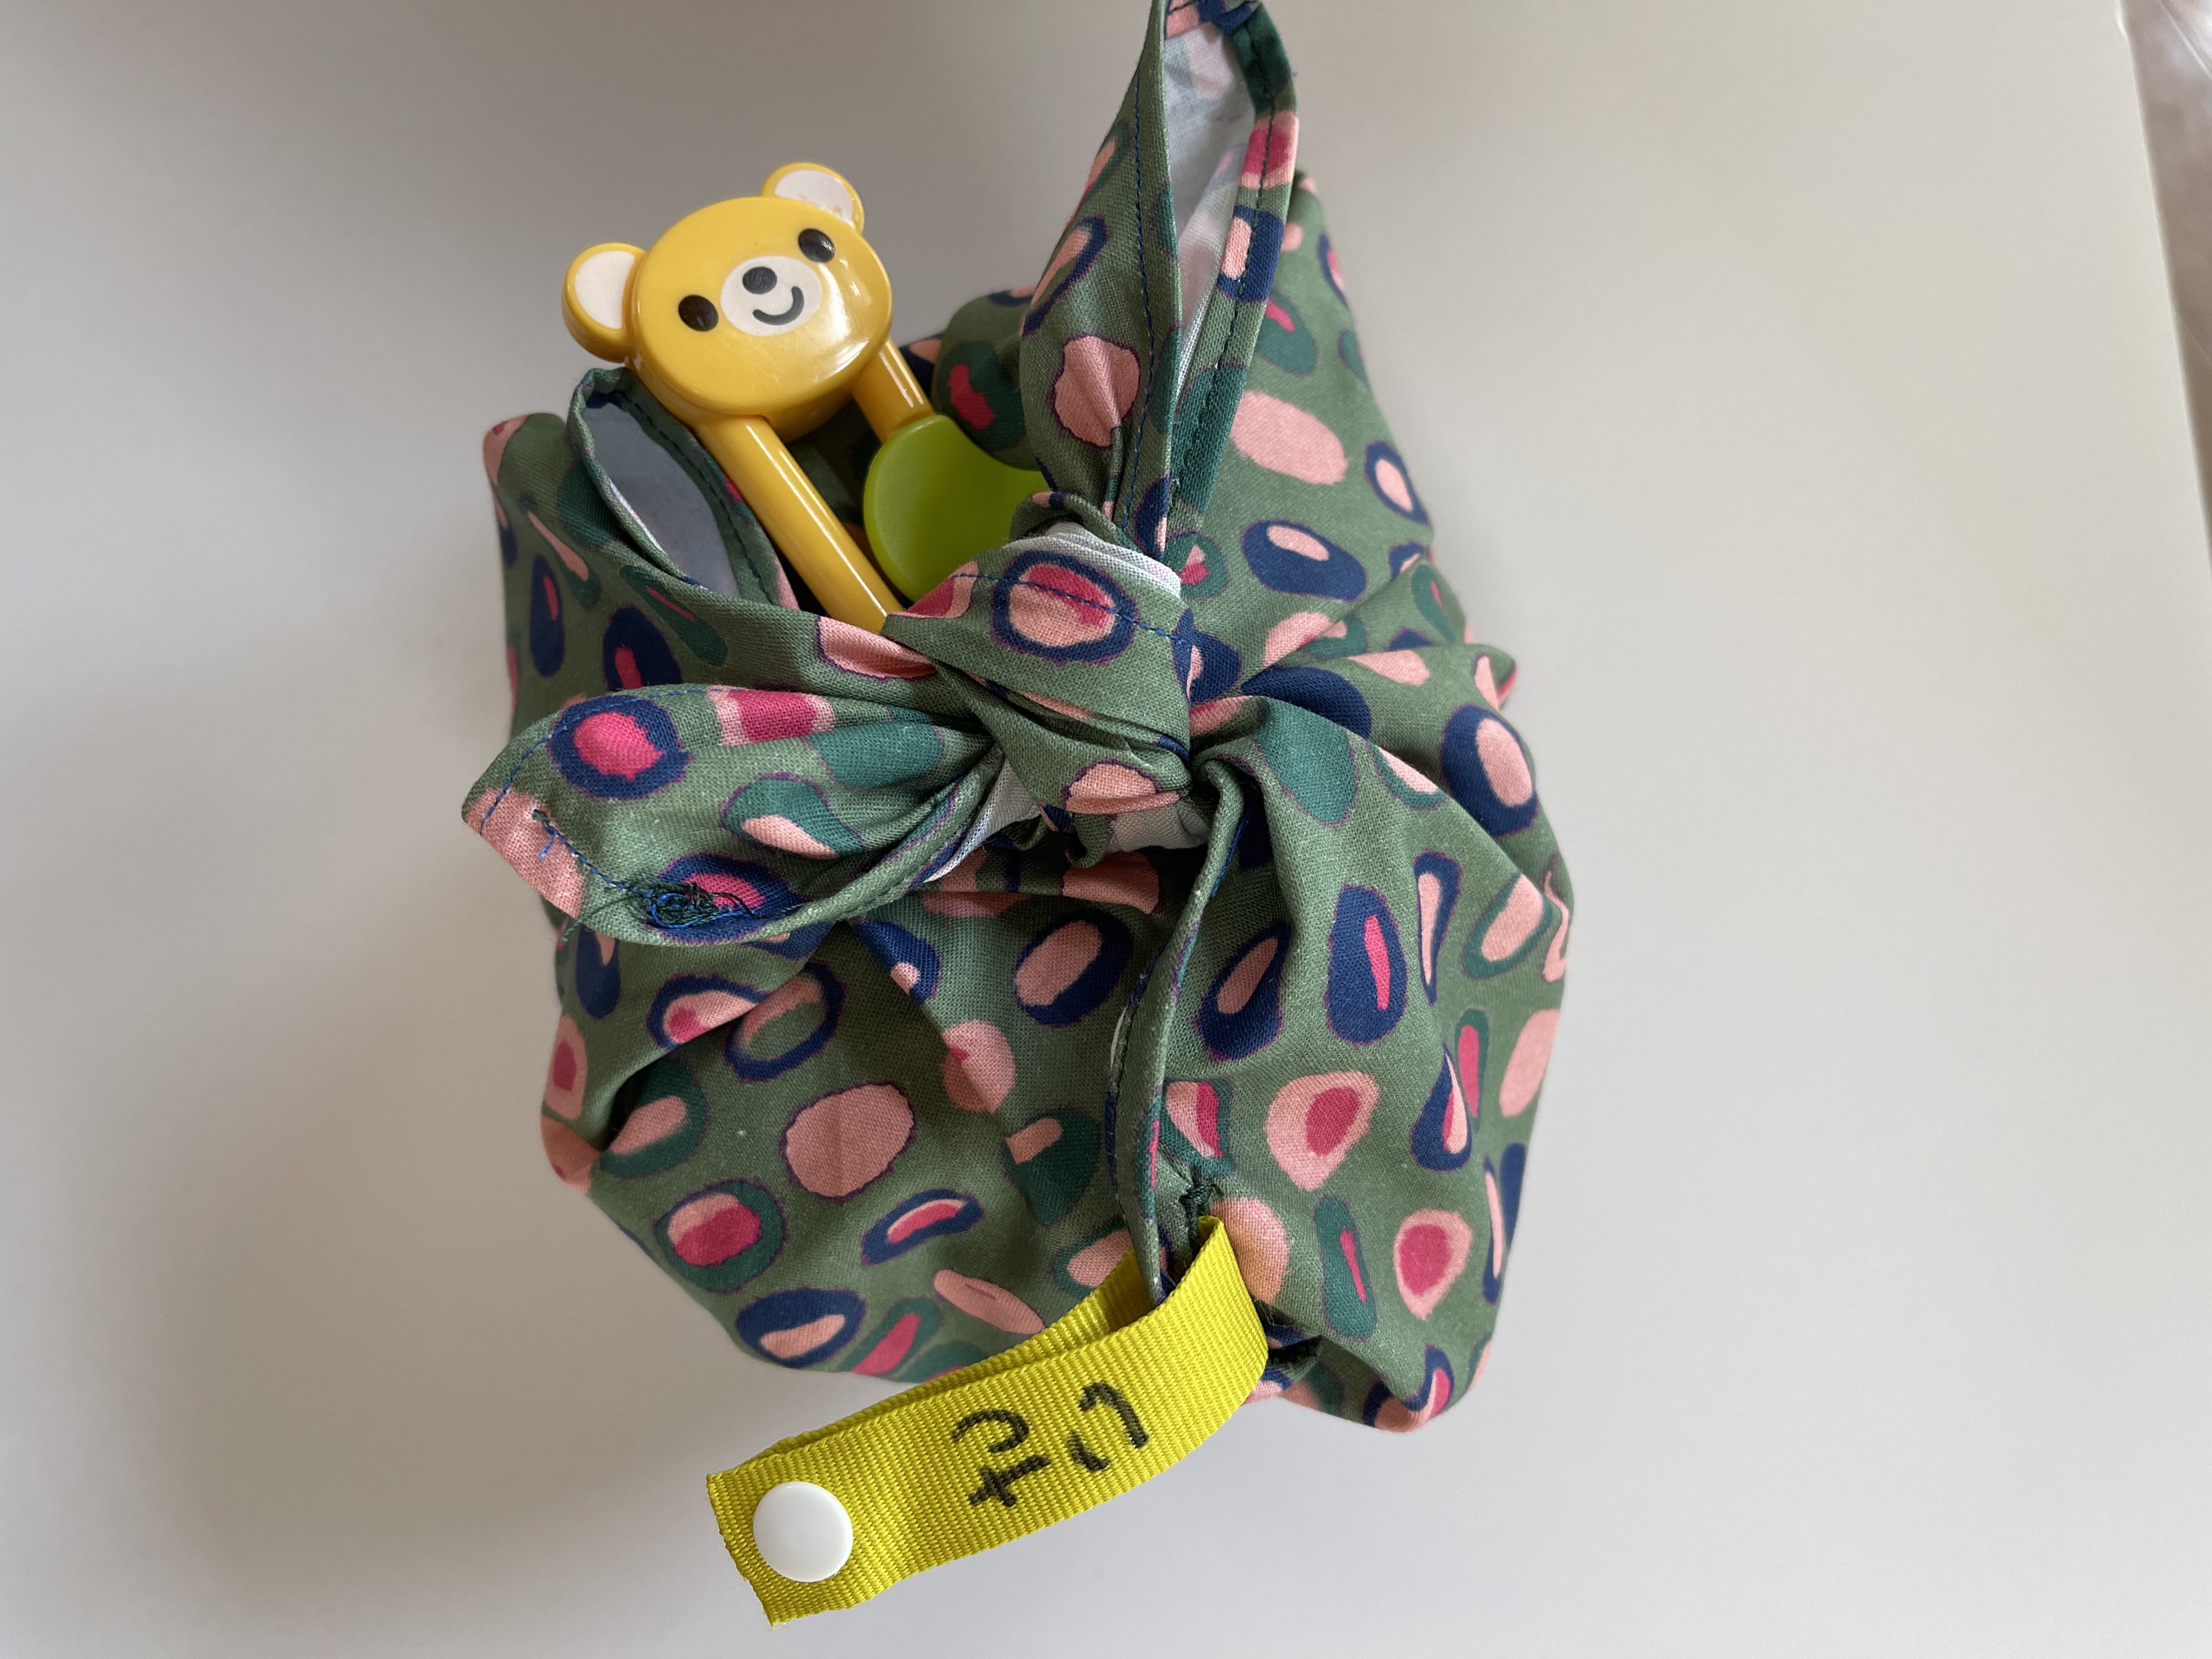
Tie two of the diagonally opposite corners together (you don’t need to tie twice). Then tie the other two but loop it twice to form a knot.
Insert the utensils inside.
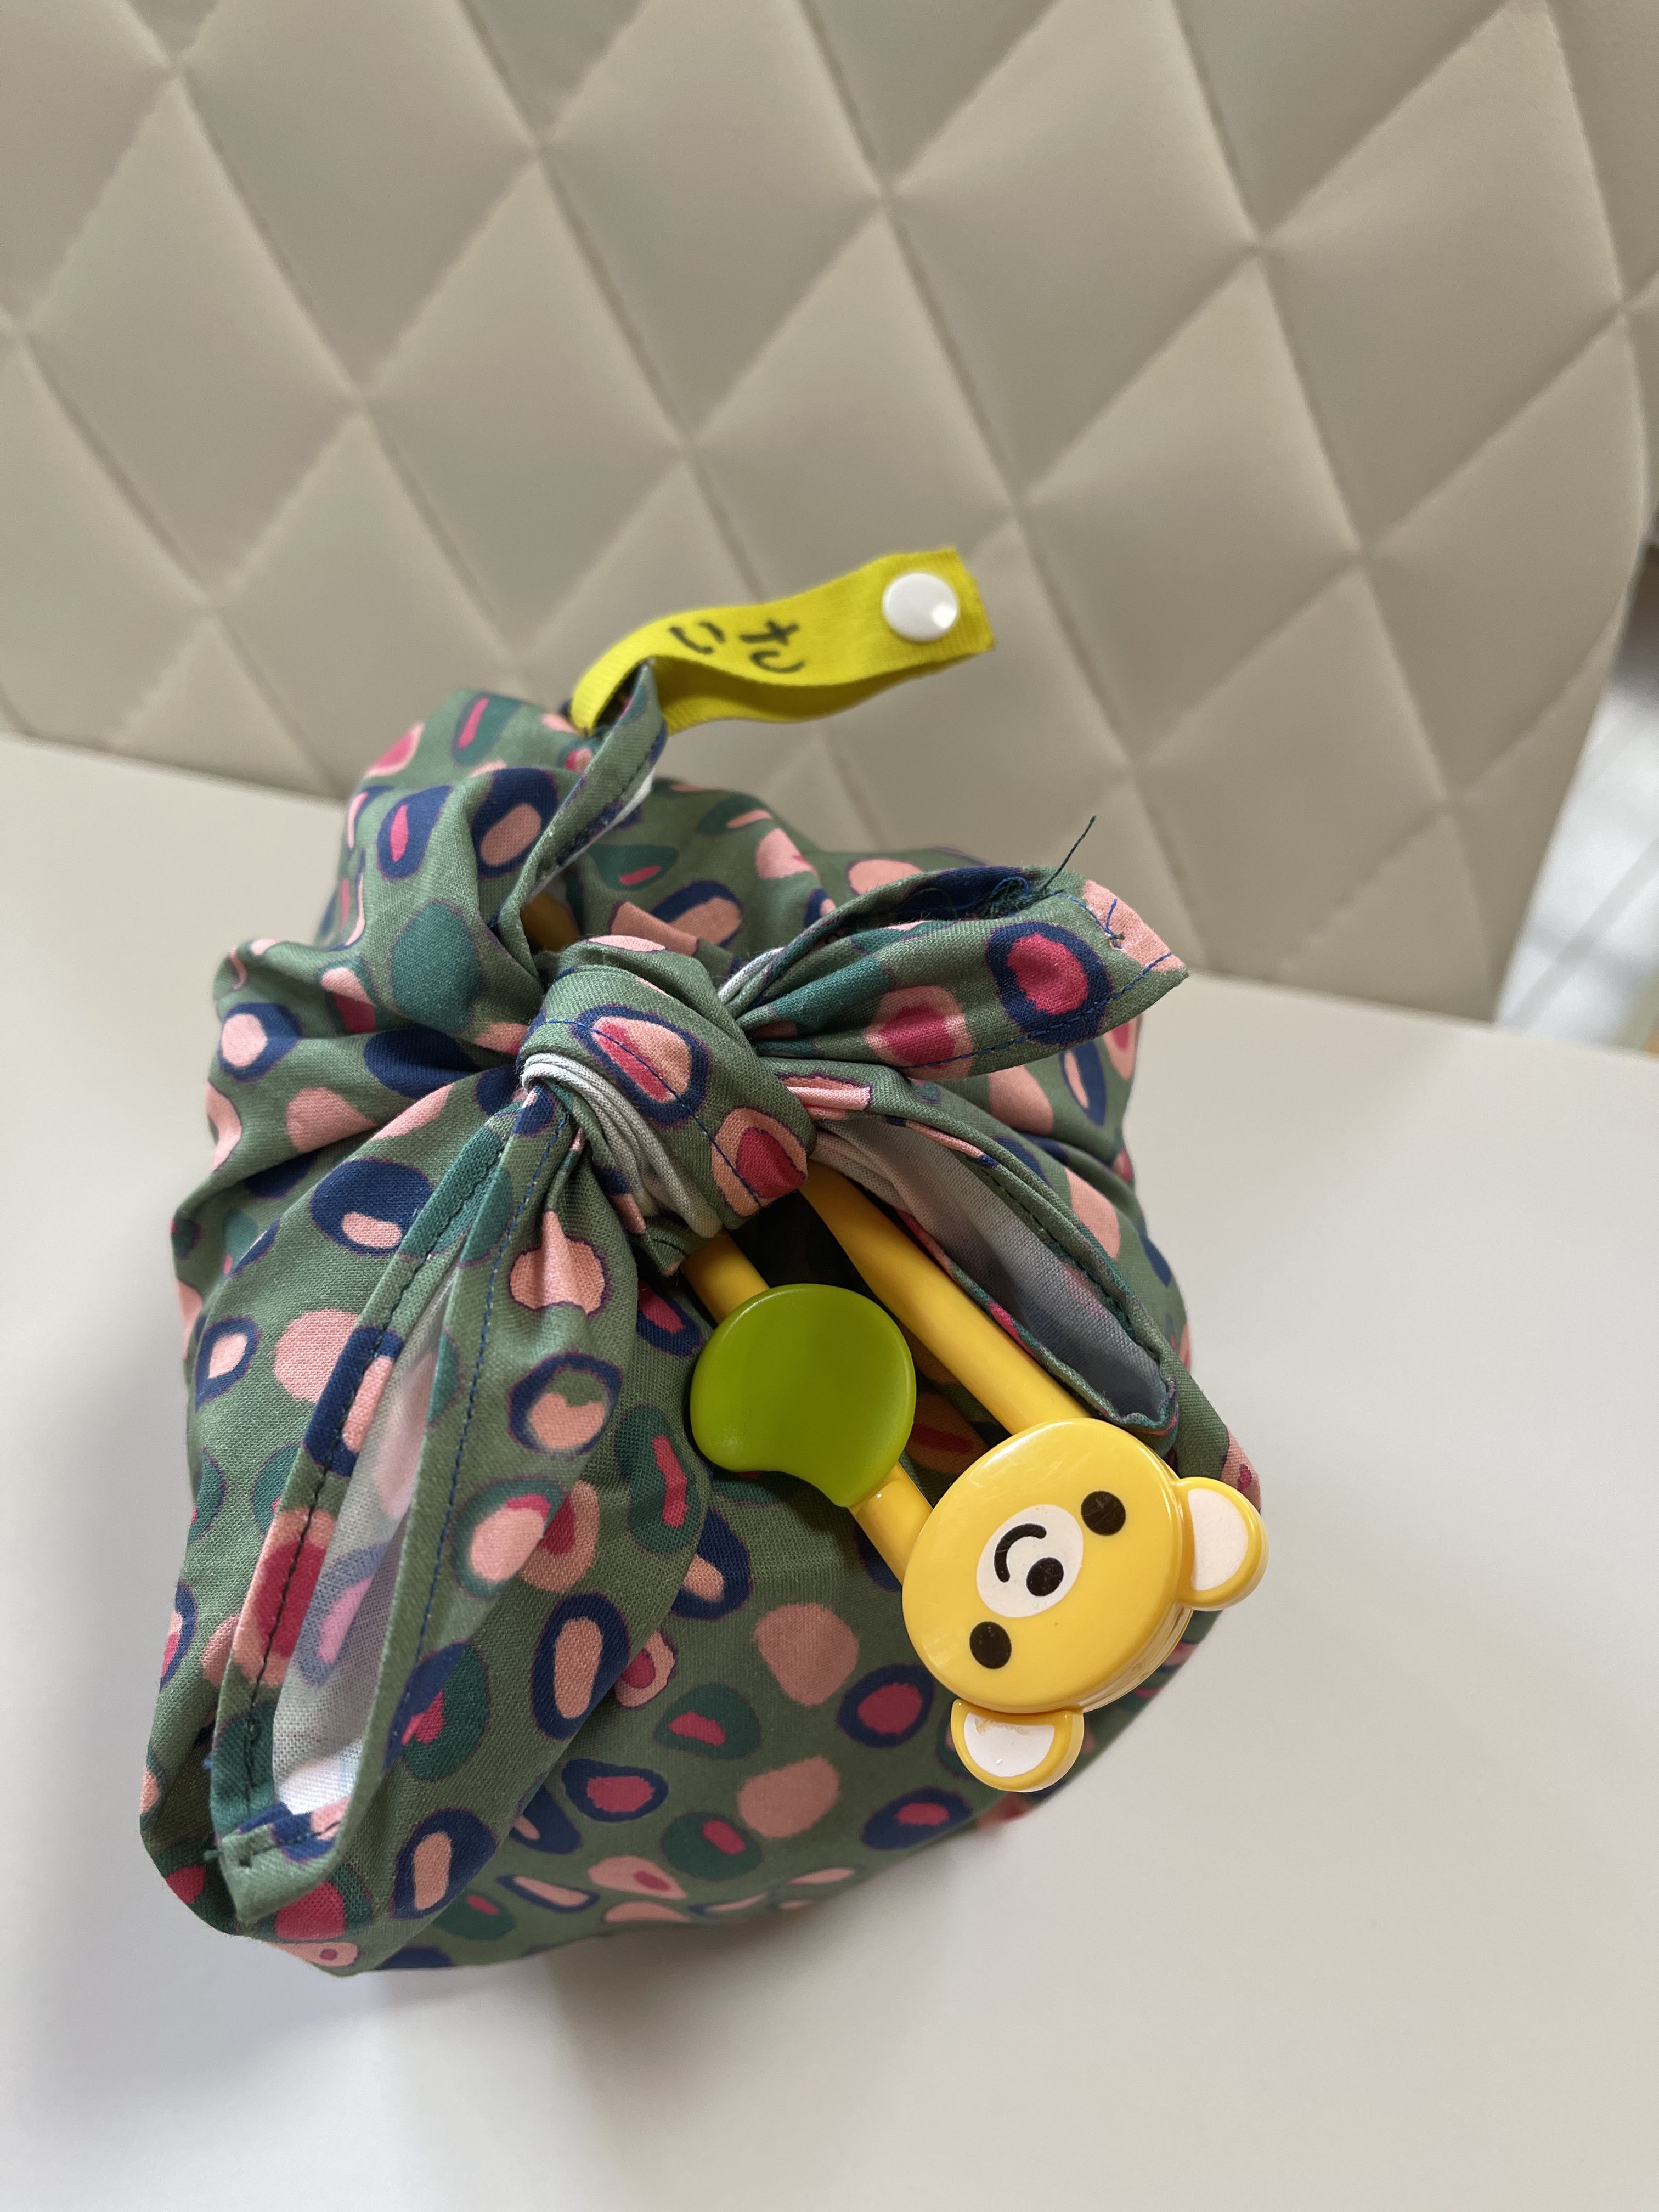
Place it all inside the bag and tie it up!
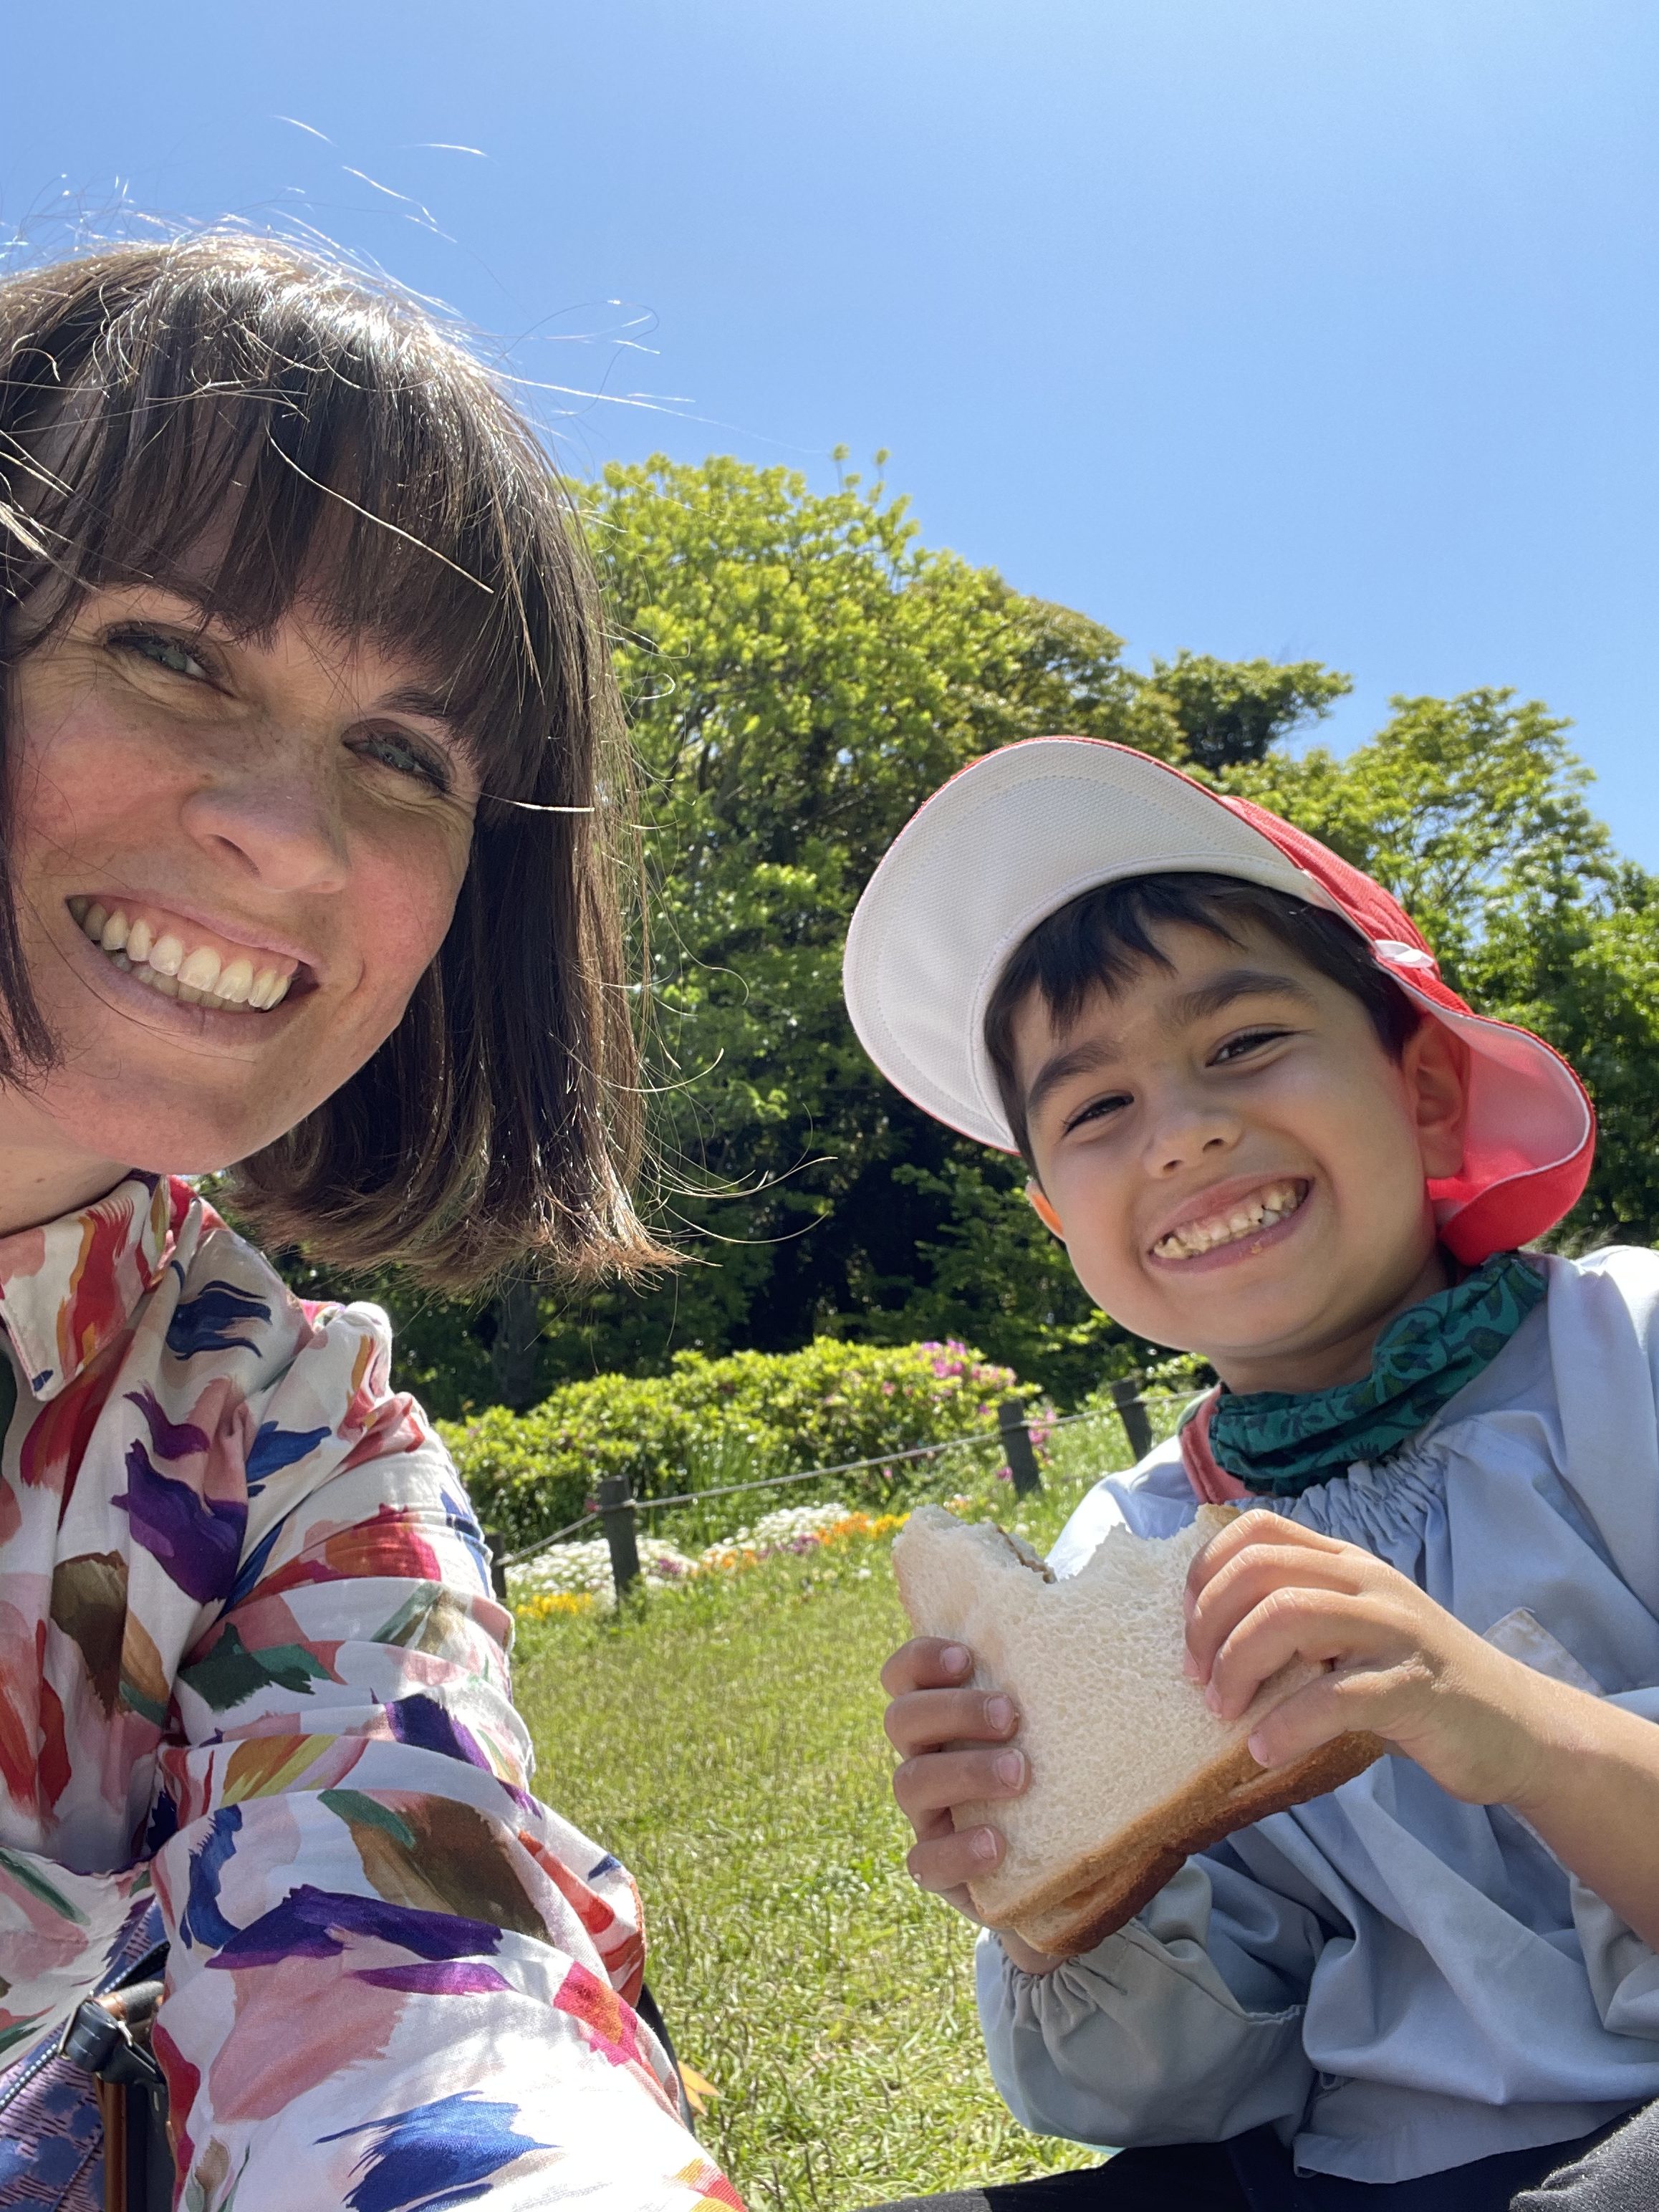
And here is just a cute photo of us at one of the Yochien field trips, eating lunch! (I gave him a very American PB&J but it WAS on delicious scrumptious, soft, thick Japanese sandwich bread—OISHII!!!!!)
I hope you enjoy this simple tutorial and make a fun lunch bag set! Meshiagare!
Used Products

What you might also like


2 comments on “How to Sew a Lunch Bag”
-
-
I have long admired the Japanese way of wrapping bento and gifts and have wanted to start using this perfect reusable method for some time. Thank you so much for sharing the instructions. I think I’ll stitch one (or two) up today!
Leave a Reply
You must be logged in to post a comment.

What is the yellow teddy bear thing in your picture? Also do you throw this into the wash daily or weekly?