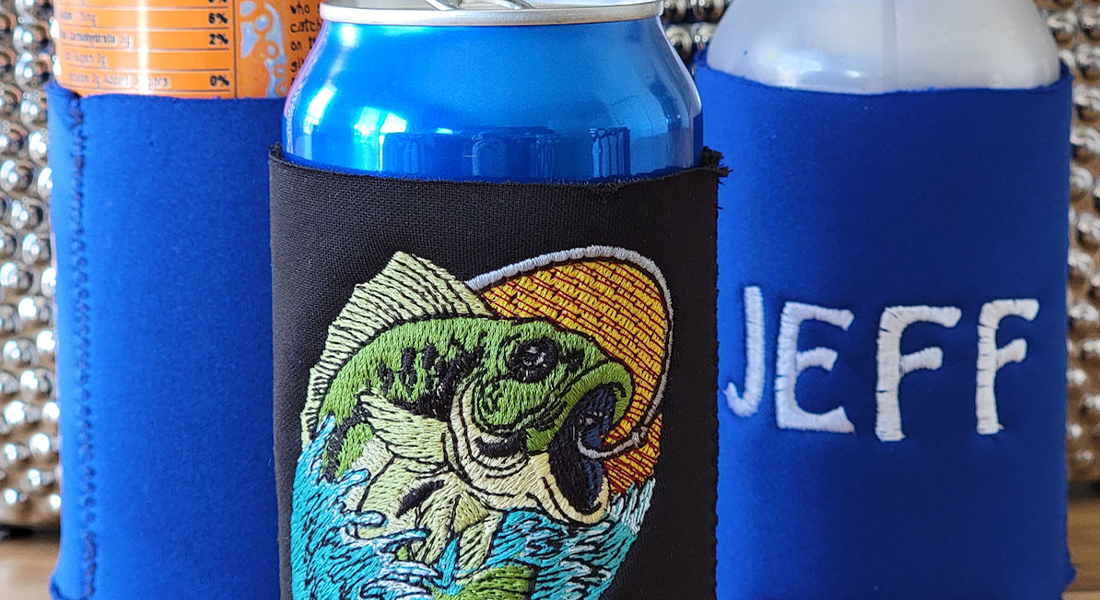
Neoprene Lunch Tote with Embroidery
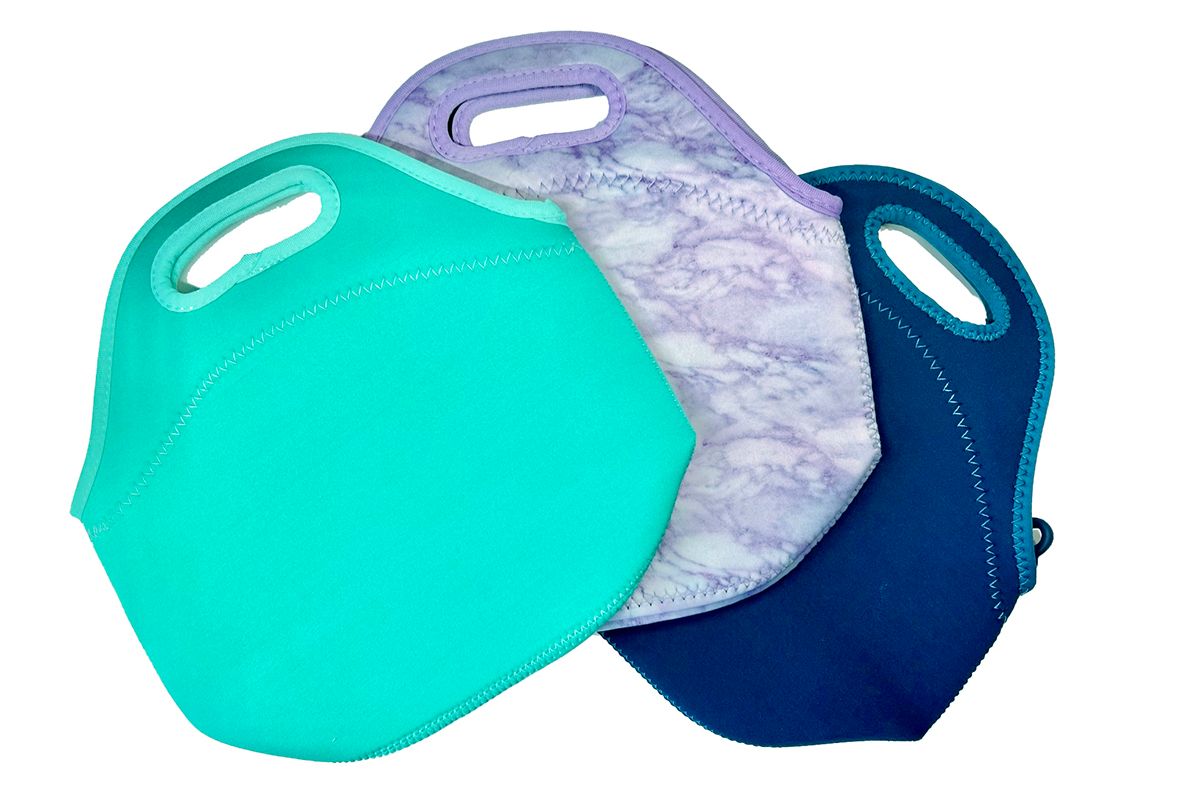
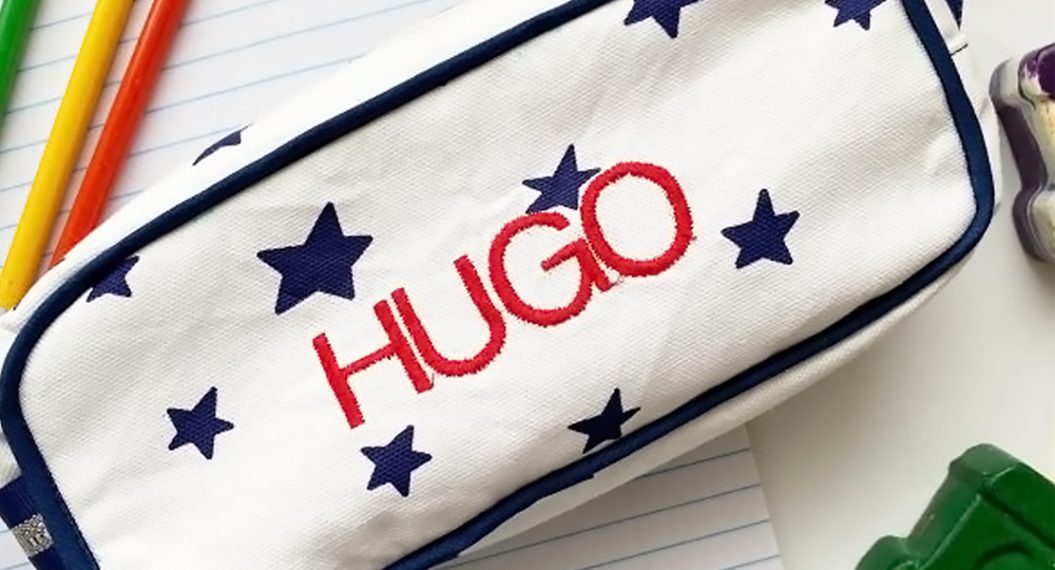
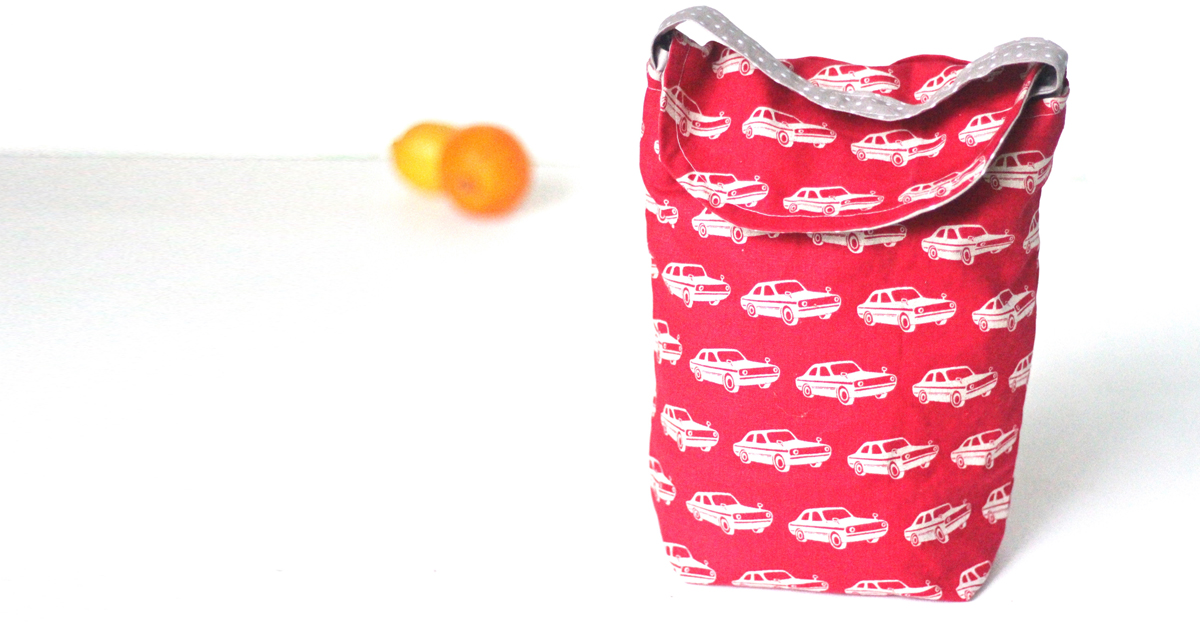
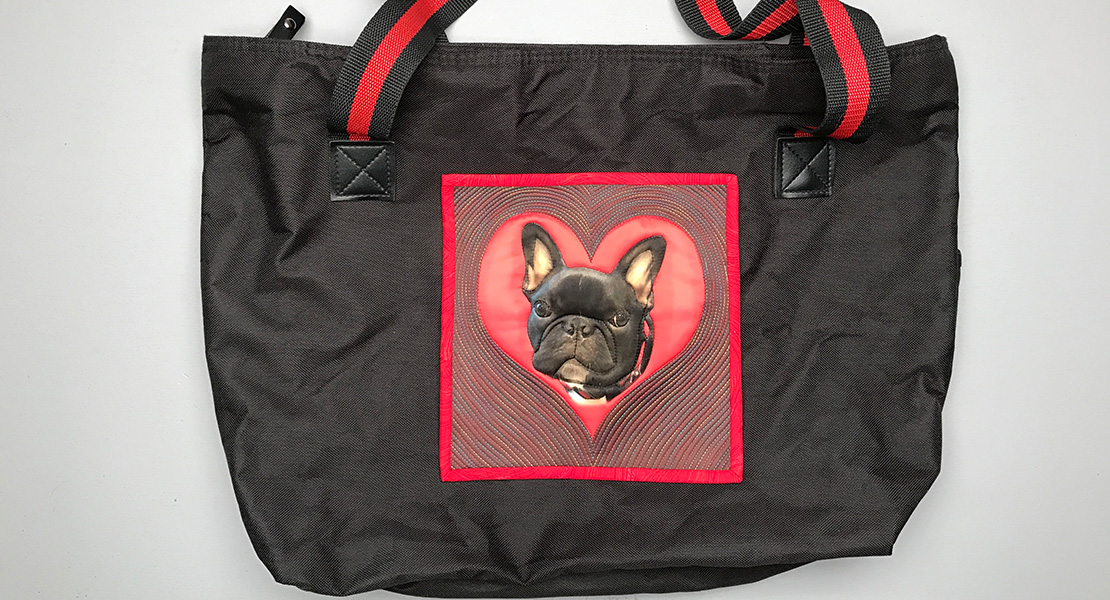
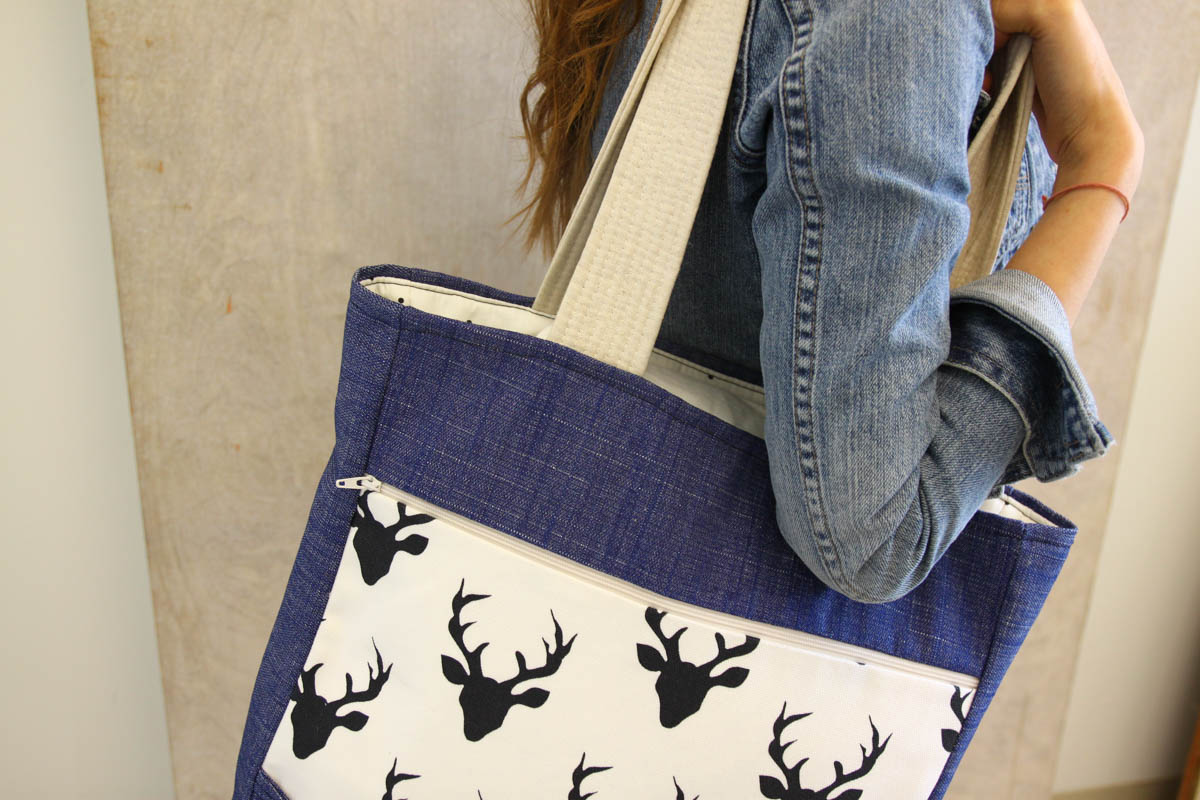
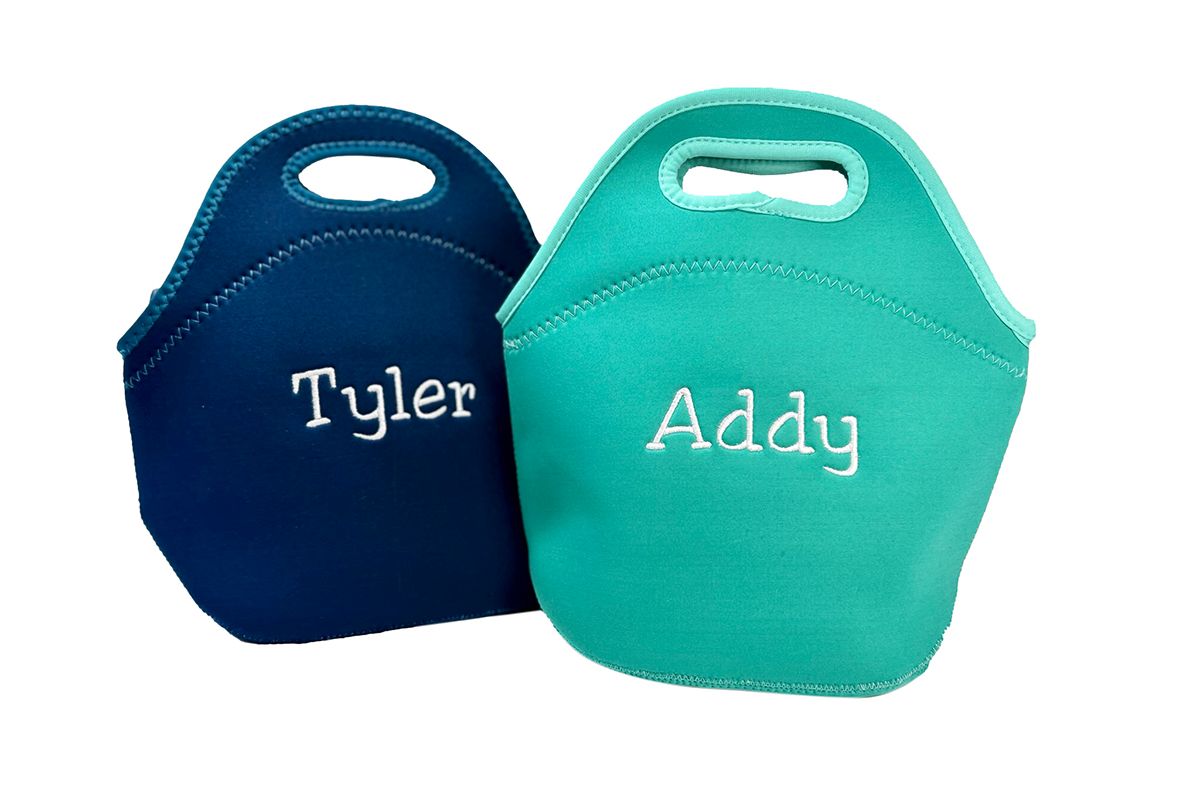 Neoprene totes come in many different colors and patterns at affordable prices. The durable and washable neoprene material makes these totes a great lunch tote choice for all ages. But don’t they seem to be missing something? They need a little personality and style. Let’s get out our embroidery modules and add some flair. It’s so easy to add a name, a saying or a design. If you have never sewn or embroidered on neoprene, you will be surprised how easy and forgiving it is! These tote bags make great custom gifts and what’s more, you can put more gifts inside! Have I convinced you yet? Today we’re adding names so get out your neoprene bags and let’s get started!
Machine Set Up
- BERNINA 790 PLUS
- Medium Embroidery Hoop
- Embroidery Foot #26
- Straight Stitch Plate
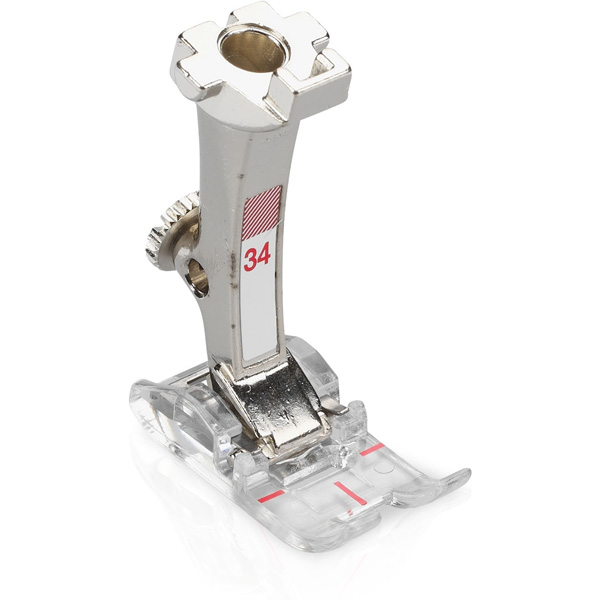
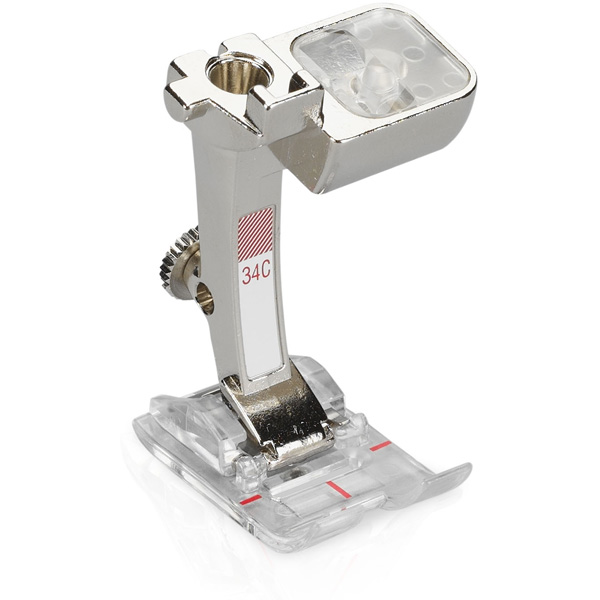
- Reverse Pattern Foot with Clear Sole #34/34C/34D
- 9 mm Stitch Plate
Supplies
- BERNINA Medium Ballpoint Needle 80
- Isacord Thread
- OESD StabilStick CutAway Stabilizer
- OESD StitcH2O WashAway
- Temporary Marker
- Tweezers
- Snips
Create Embroidery Design
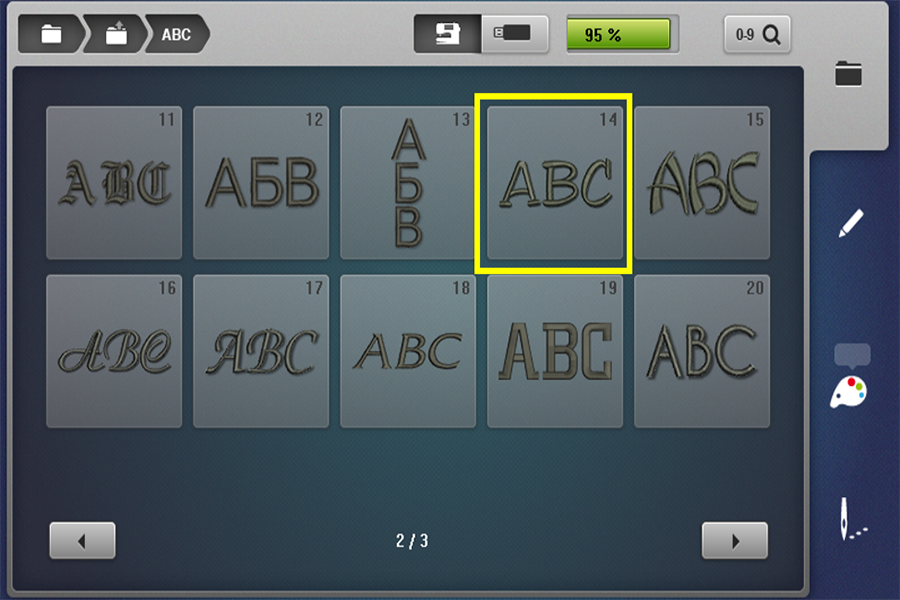
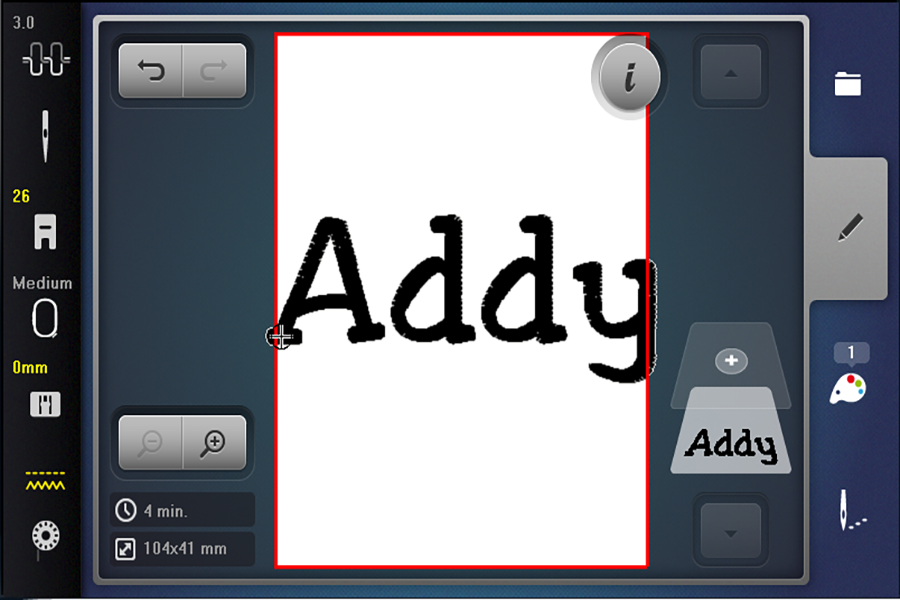
Go to Embroidery Mode. Go to Alphabets Folder and Select Font 14.
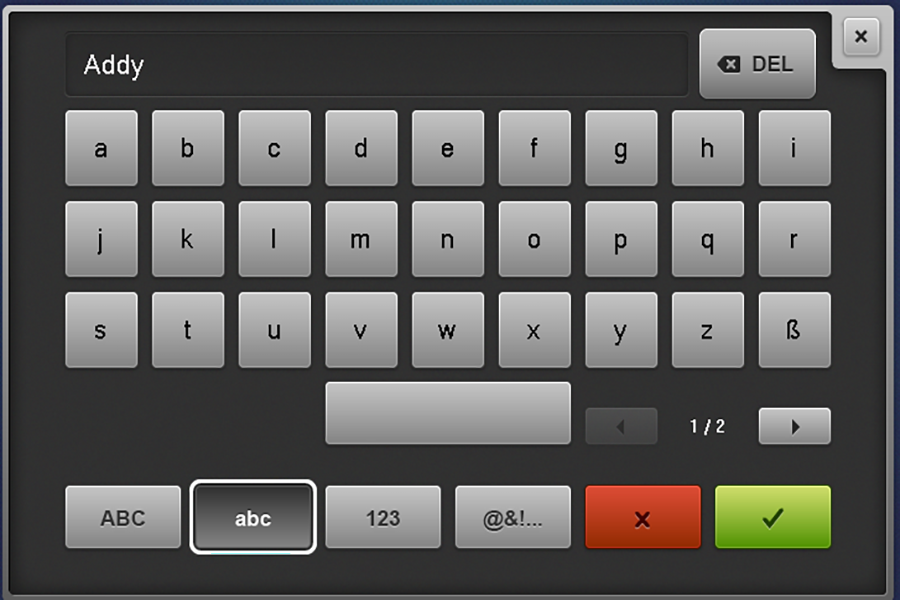
Type in the name and touch the Green checkmark.
On the machine screen, select Embroidery Foot #26, Straight Stitch Plate and Medium Hoop. Go ahead and prep machine with the foot and stitch plate. Remember to lower the feed dog!
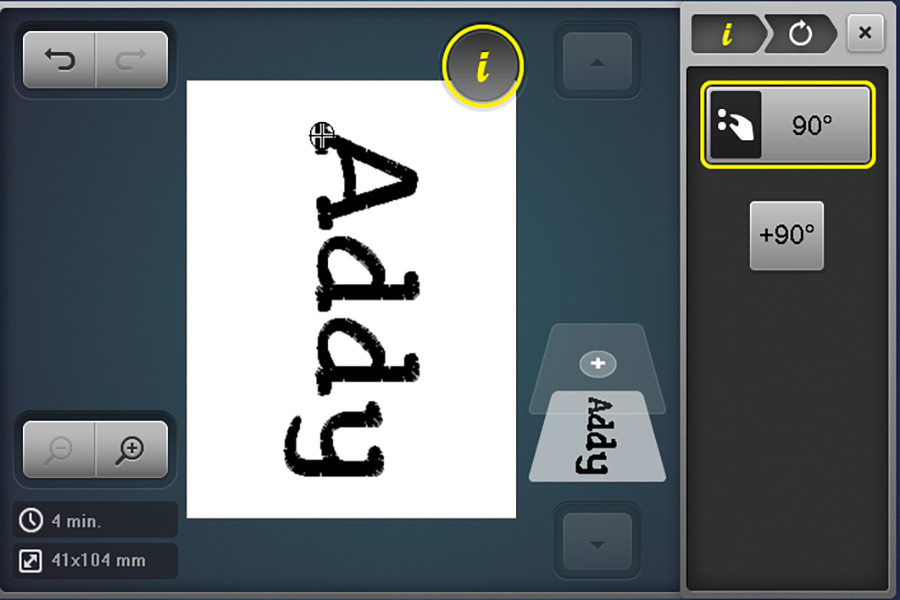
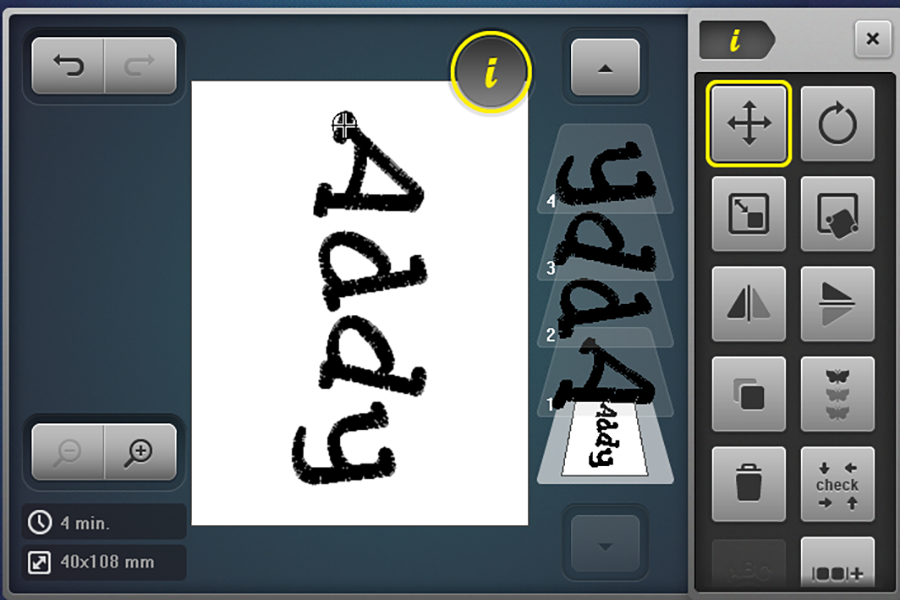
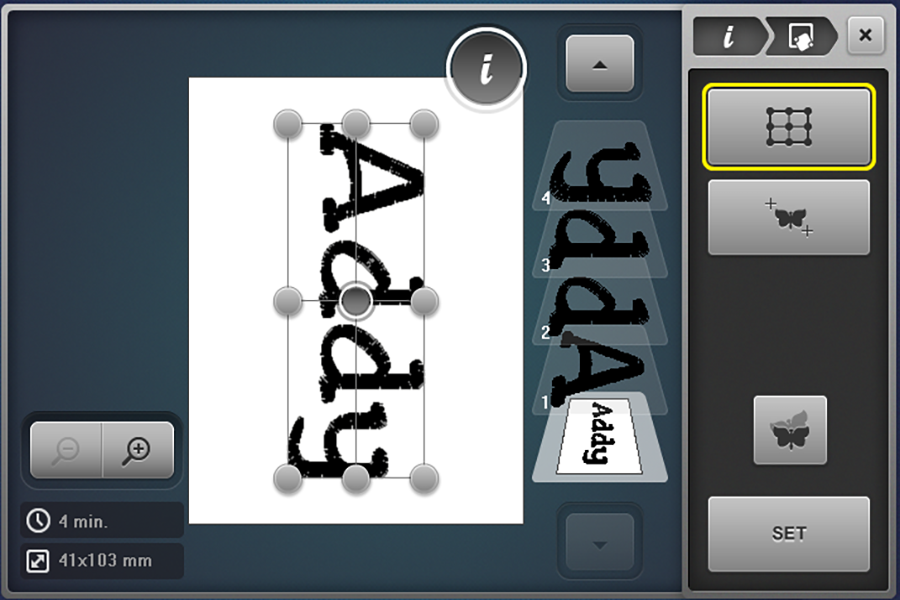
Select the Rotate icon. Rotate name 90°.
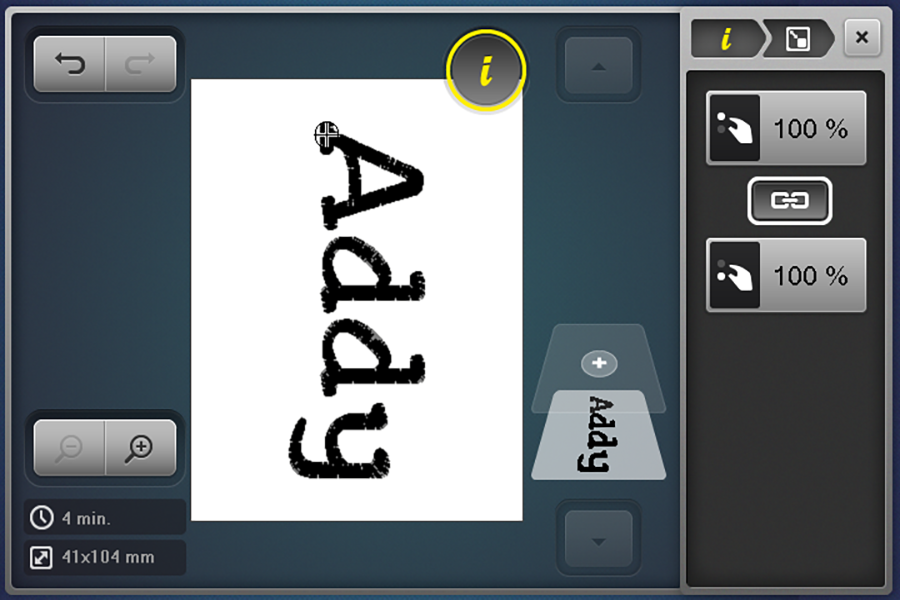
If needed, you can change the size too. Select Change Size icon. Adjust using Multi-function knobs.
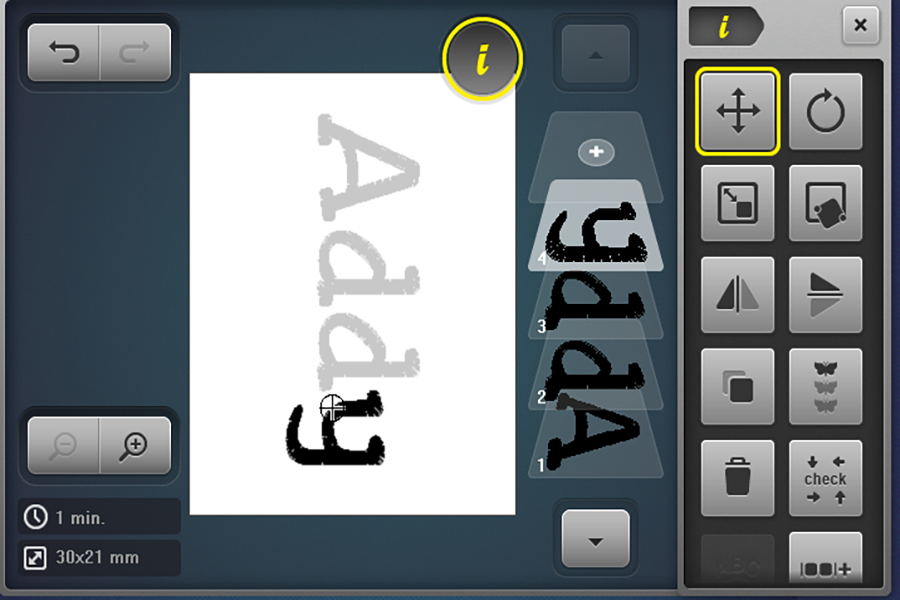
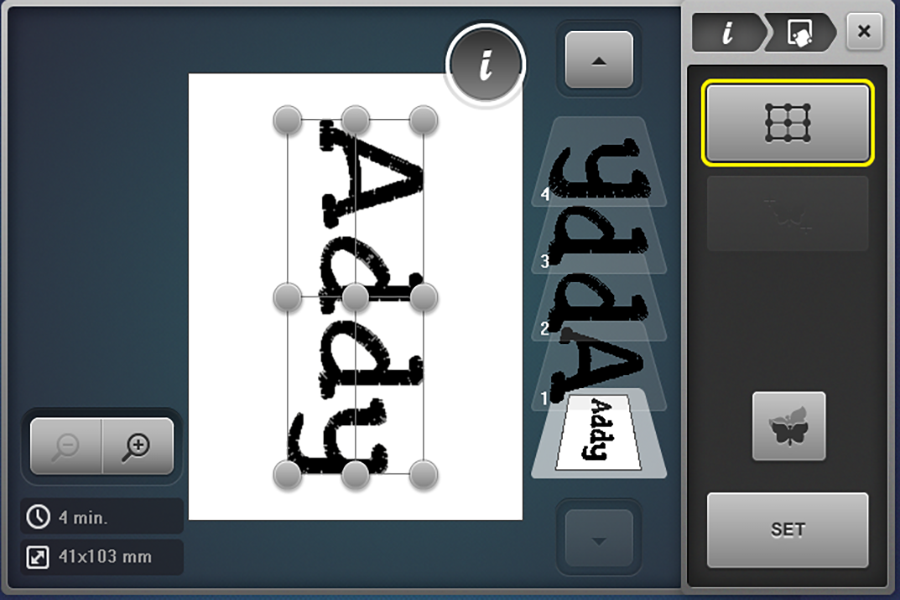
Did you know you can ungroup the letters with the BERNINA 790 PLUS? Say there is a letter that looks too close or far from the other letters. You can ungroup and move that letter. Select Group/Ungroup icon. Touch the (-) icon.
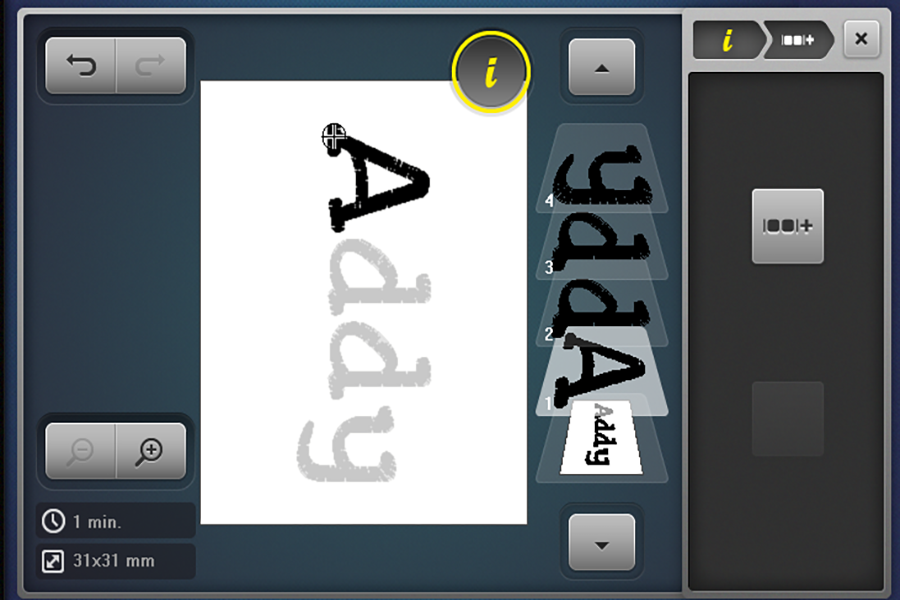
Now you can scroll to any letter and make changes. Maybe you want one letter larger or slightly rotate or removed. There are so many ways to edit embroidery with this machine! Here I angled the individual letters.
I decided I liked the letters straight for this project, but I noticed the letter y is a bit too far from the other letters. The spacing is not the same. I’m going to move the y a little closer to the letter d by scrolling to Layer 4 and using the Lower Multi-function Knob. Use the Multi-function knobs when you want to make small movements.
Scroll to Base Layer. Go to Move icon. Touch Center Embroider Motif icon. Your design will move to center, if not already.

Great! Save in your Motif Folder for future use!

Prep Bag
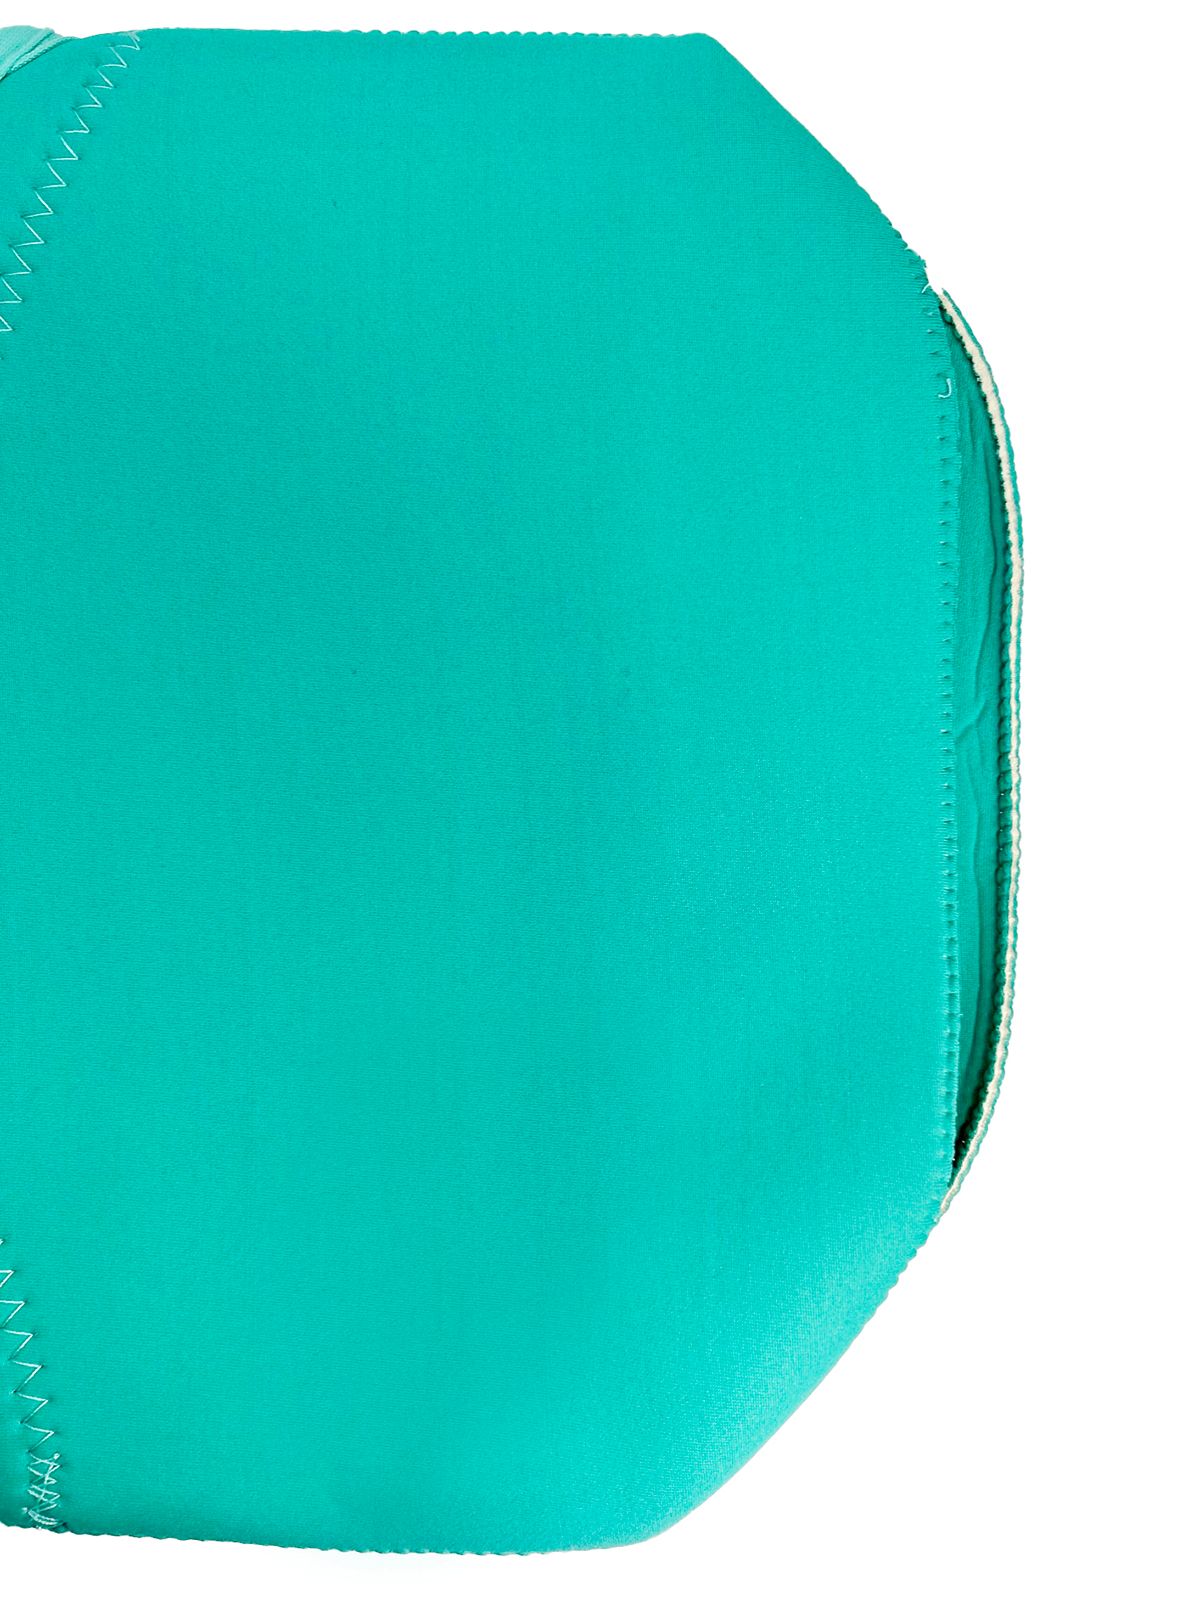
Neoprene is a foamed synthetic rubber that is sliced like bread into 3 – 5 mm widths. Nylon or polyester fabric is laminated to neoprene adding strength. We will start by unstitching the bottom of the bag. These bags are sewn together with large zig zag stitches so it’s simple to unstitch. Go ahead and unstitch about 8”.
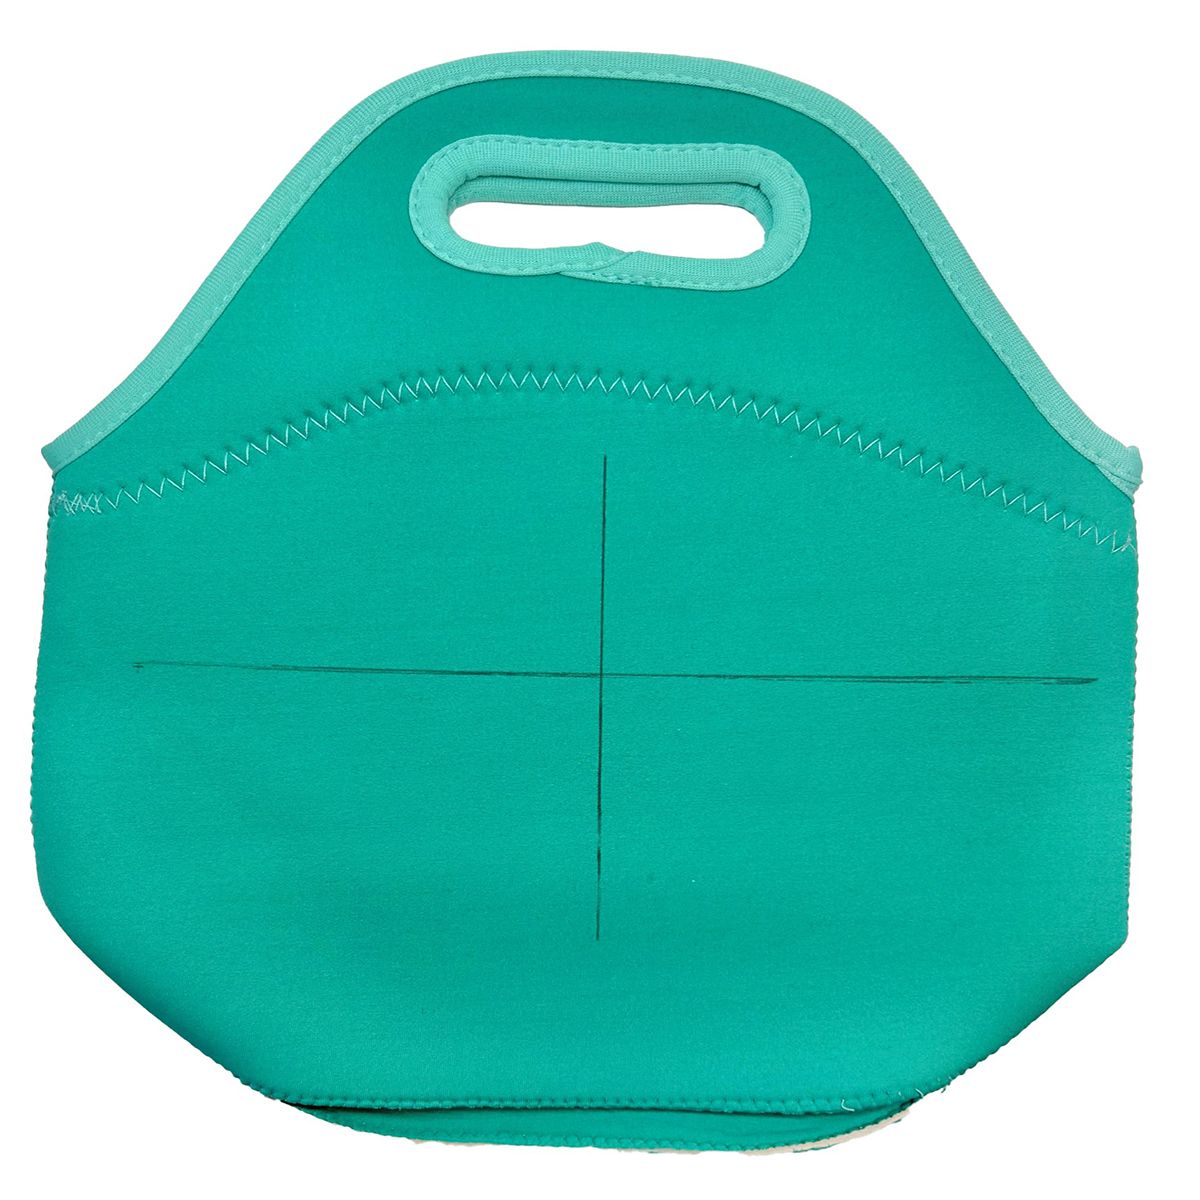
With a temporary marker, draw center lines. I made my horizontal line 1” above the center so the name would be higher on the tote. Note on Frixion pens: these pens tend to have a “ghost” effect – a very faint line will show when exposed to cold temperatures. If this is a lunch tote, it will go in the cold fridge. Decide if this will bother you or not.
Prep Hoop
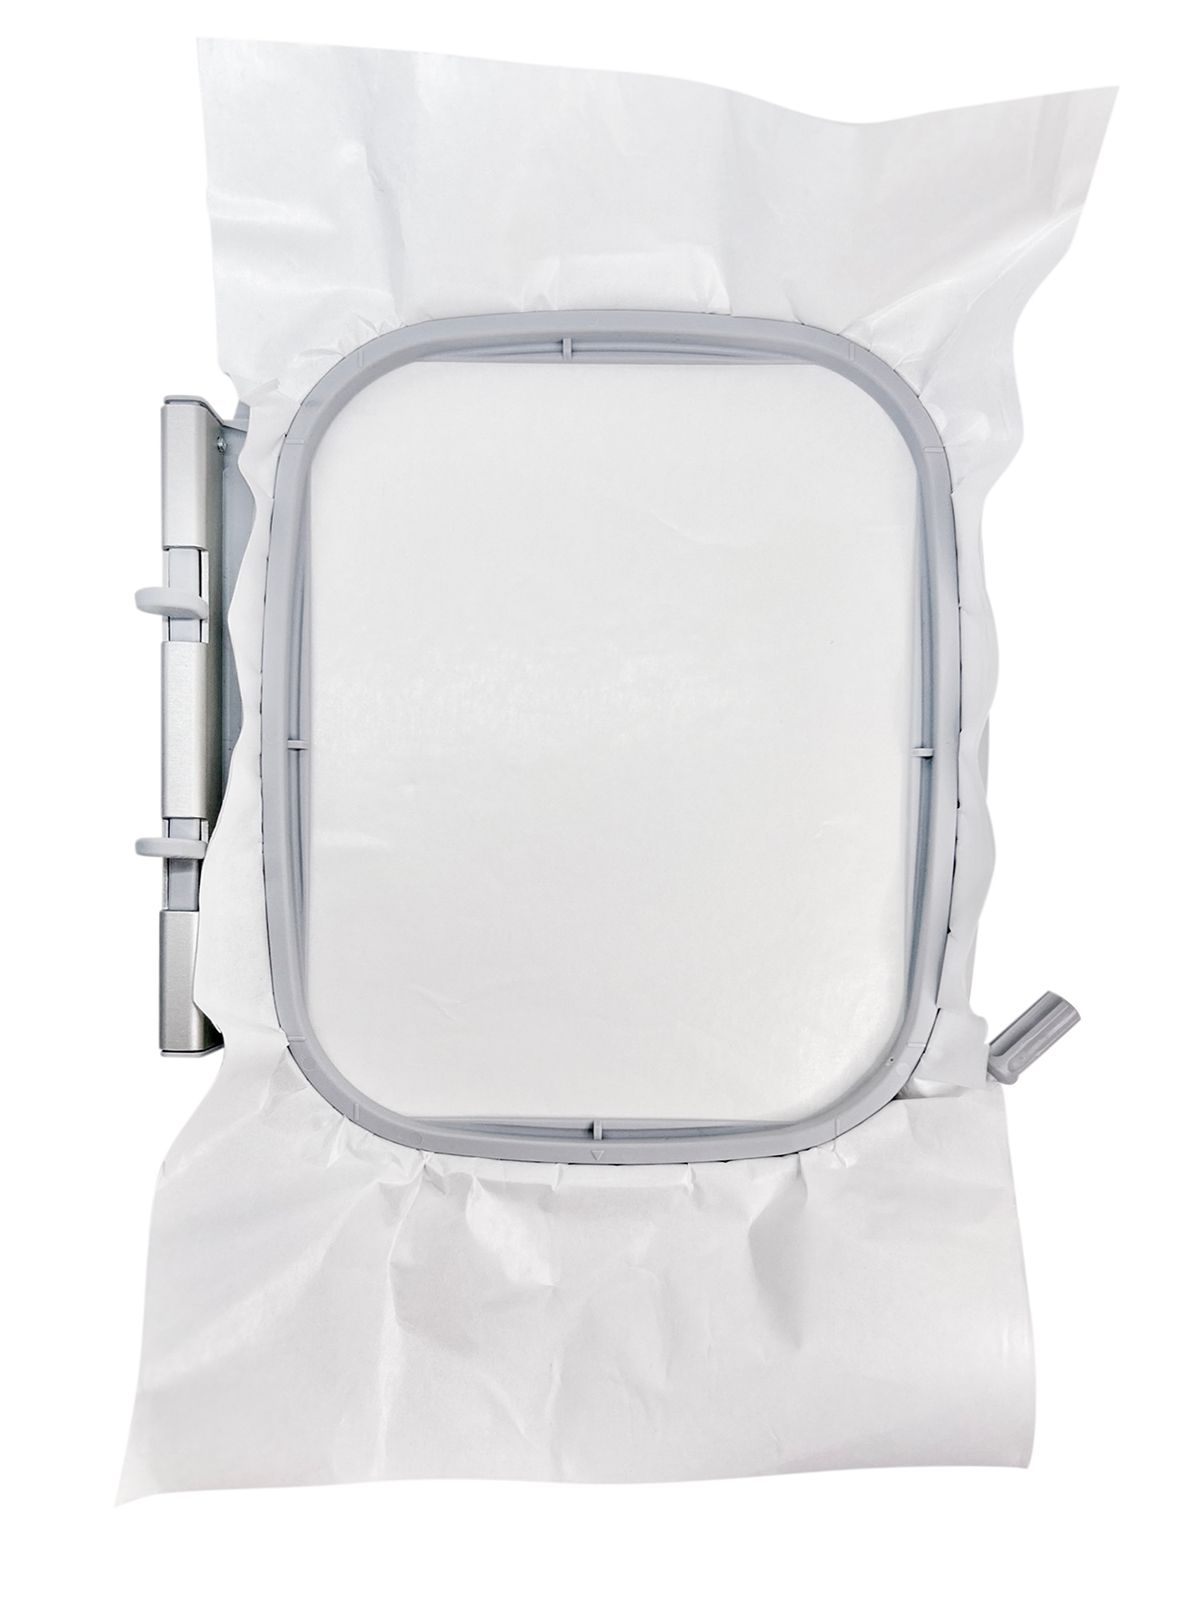
We are going to use OESD StabilStick which is a great stabilizer when you need to “float” an embroidery project on top of the hoop. Cut StabilStick large enough to hoop in the Medium Hoop. Secure the StabilStick piece in the hoop.
On a cutting mat, score the top paper with a large X.
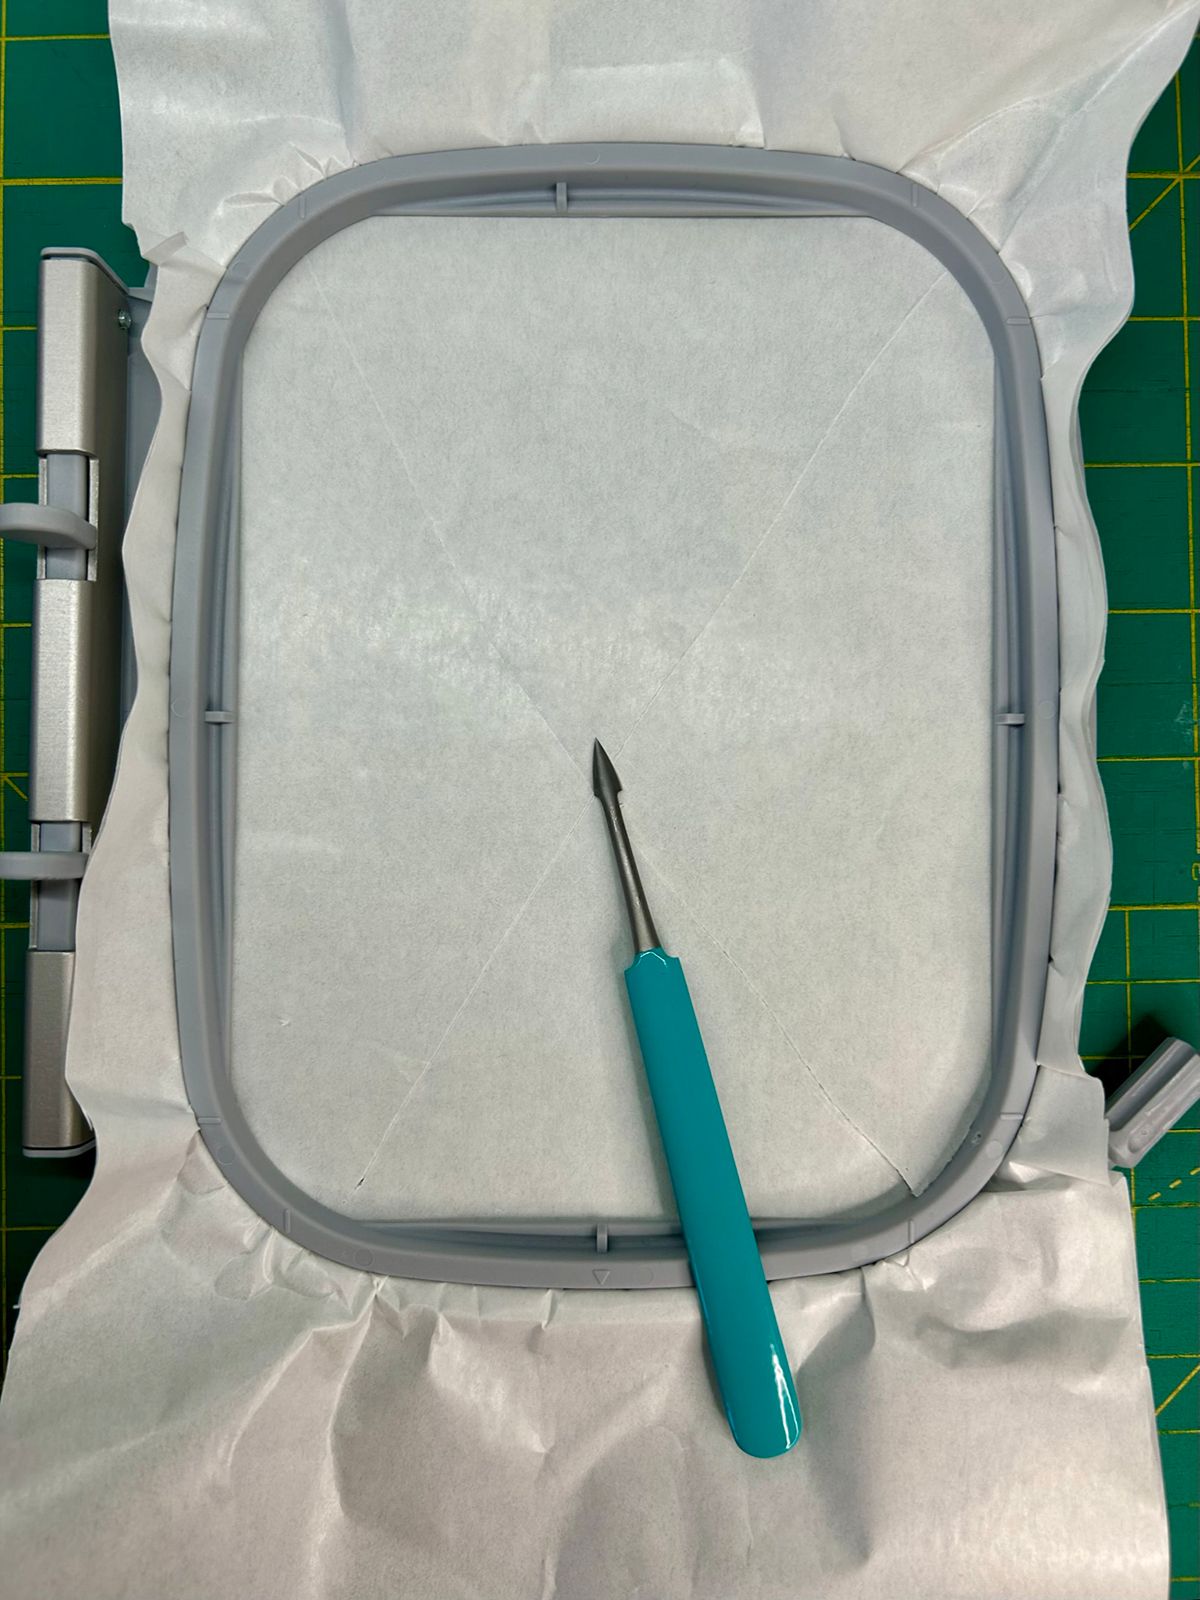
The scoring tool I used is from the OESD Embroidery Essentials Tool Kit. Love it!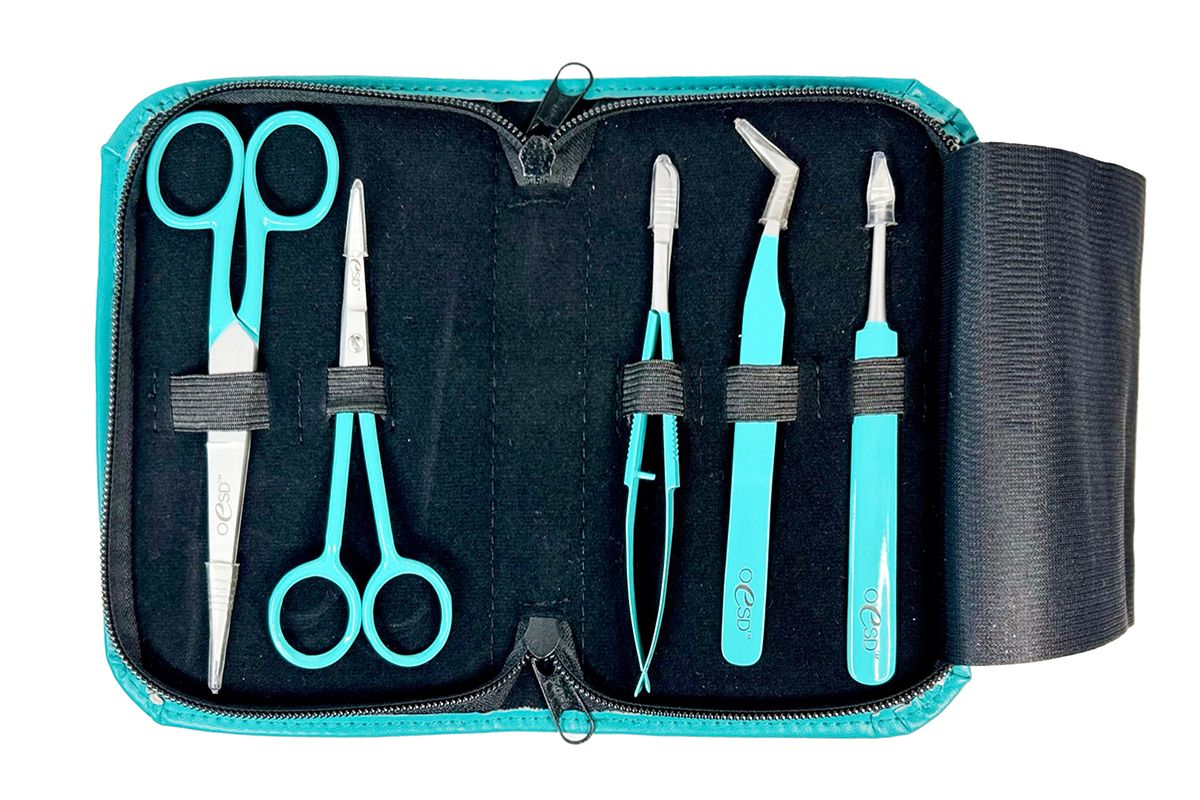
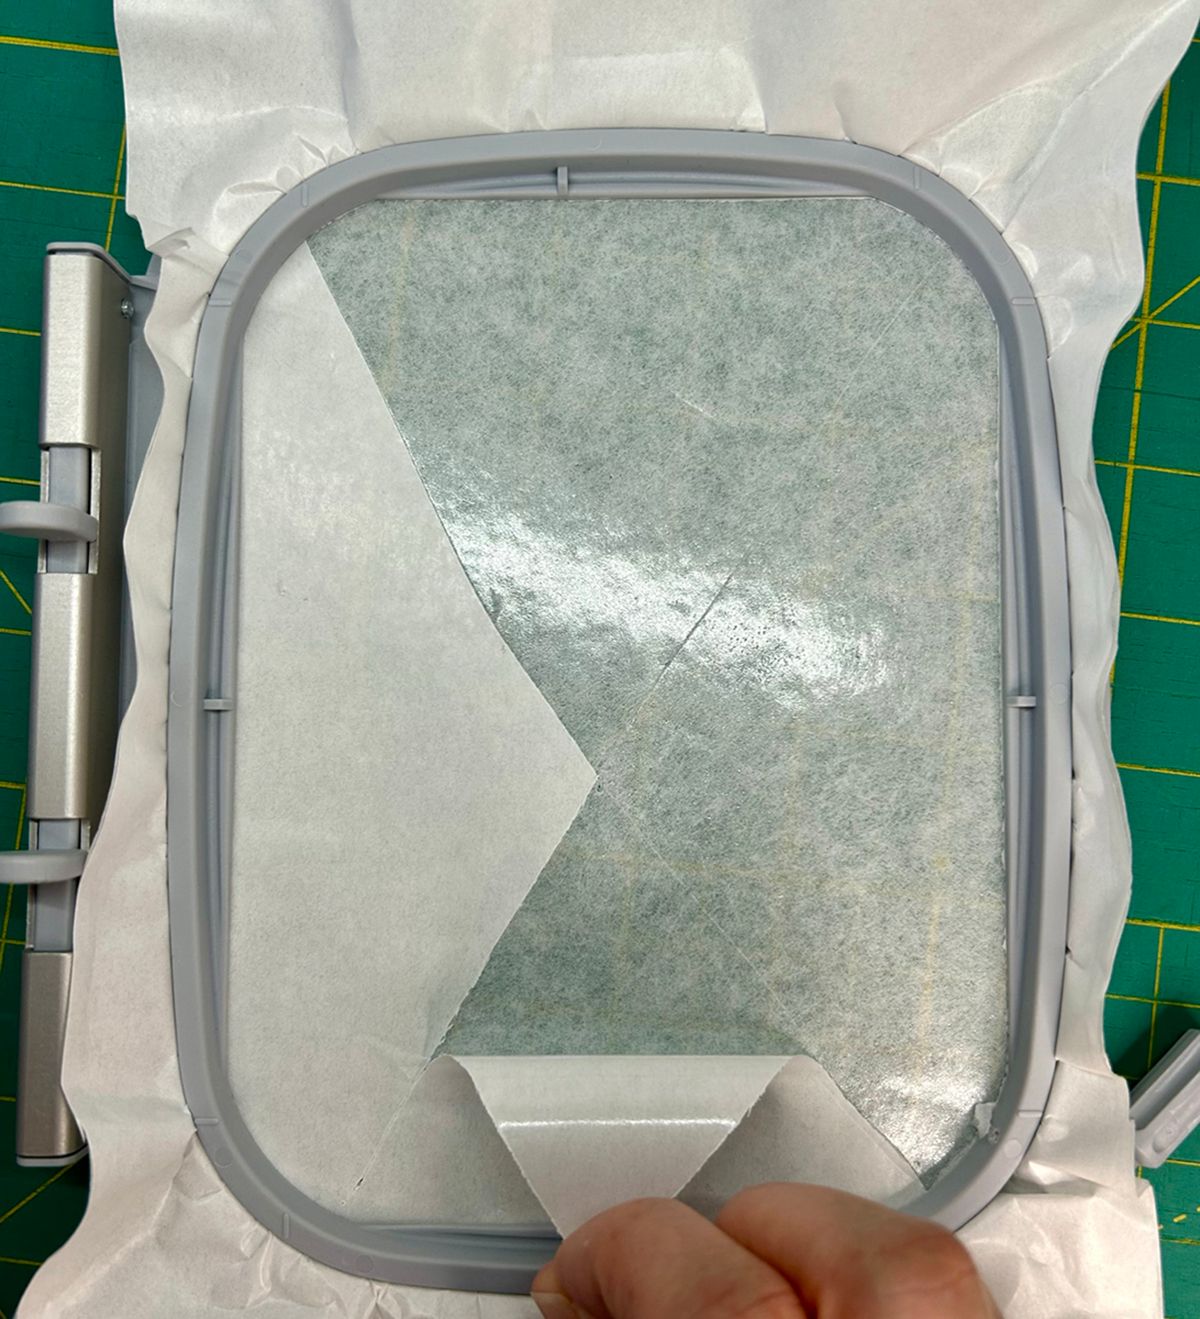
Remove paper so the adhesive is exposed. This gives us a great, secure way to “float” the neoprene in the hoop.
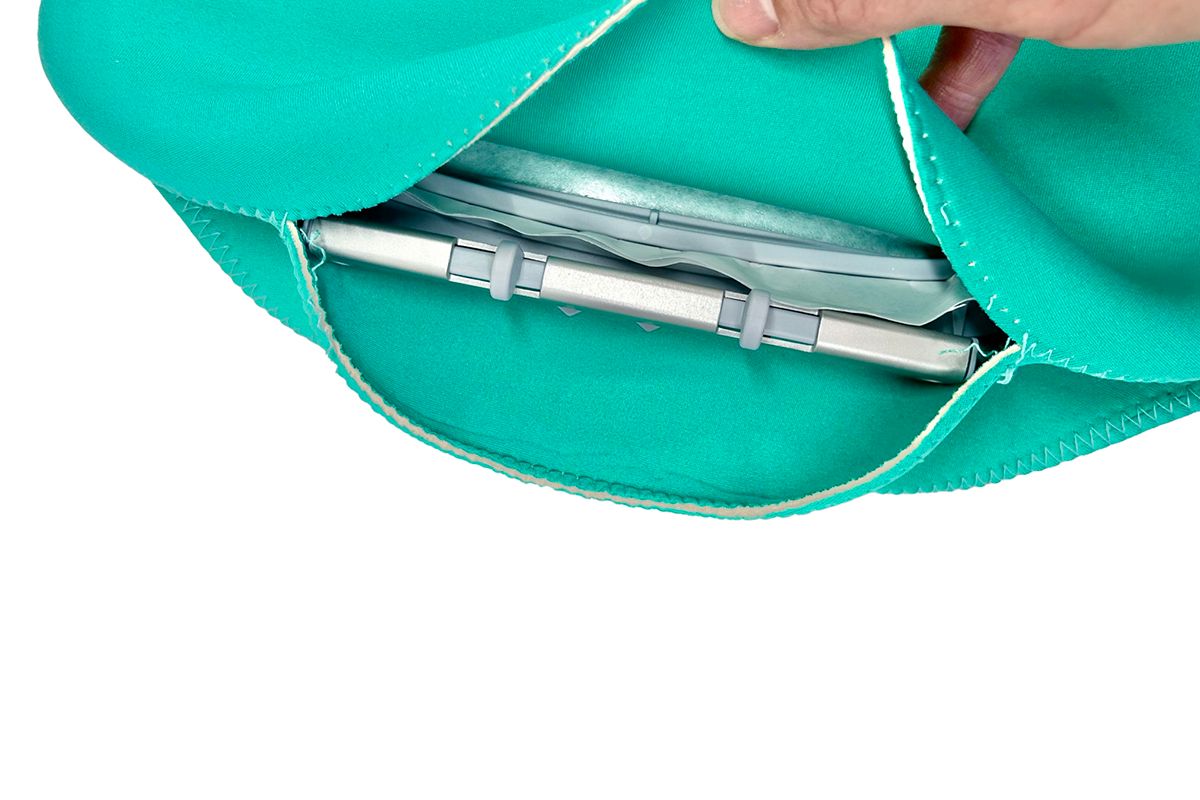
Cut excess stabilizer on the outside of the hoop. Place hoop inside bag so the clamp part ends up at the unstitched bottom.

If you need to unstitch a bit more, go ahead. You should be able to easily bring clamp thru the bottom.
 Pinpoint Placement
Select the Pinpoint Placement icon and follow prompts to attach hoop. Place the StitcH2O topper on top of tote. The topper is a great way to prevent stitches from sinking into the material.
Select the Grid icon. Select the center dot. Move hoop using Multi-function knobs so needle is directly over crosshair center. Touch Set icon.
Select a second dot. My preference is to select the center dot in bottom row. Move hoop, if needed, so the needle is directly over the drawn line. Touch Set icon. Both dots will no longer be highlighted yellow. No worries – that’s what it’s supposed to do! Close the screen by using the X icon.
Select the Needle icon. Here you have the option to do a basting stitch. I have not had any issues with holes in the neoprene from basting stitches. I use my fingernail to move the fibers back into place.
Stitch out!
Remove the basting stitches, if any. Remove tote from hoop. Remove StitcH2O. Use tweezers to remove any remaining bits of topper.
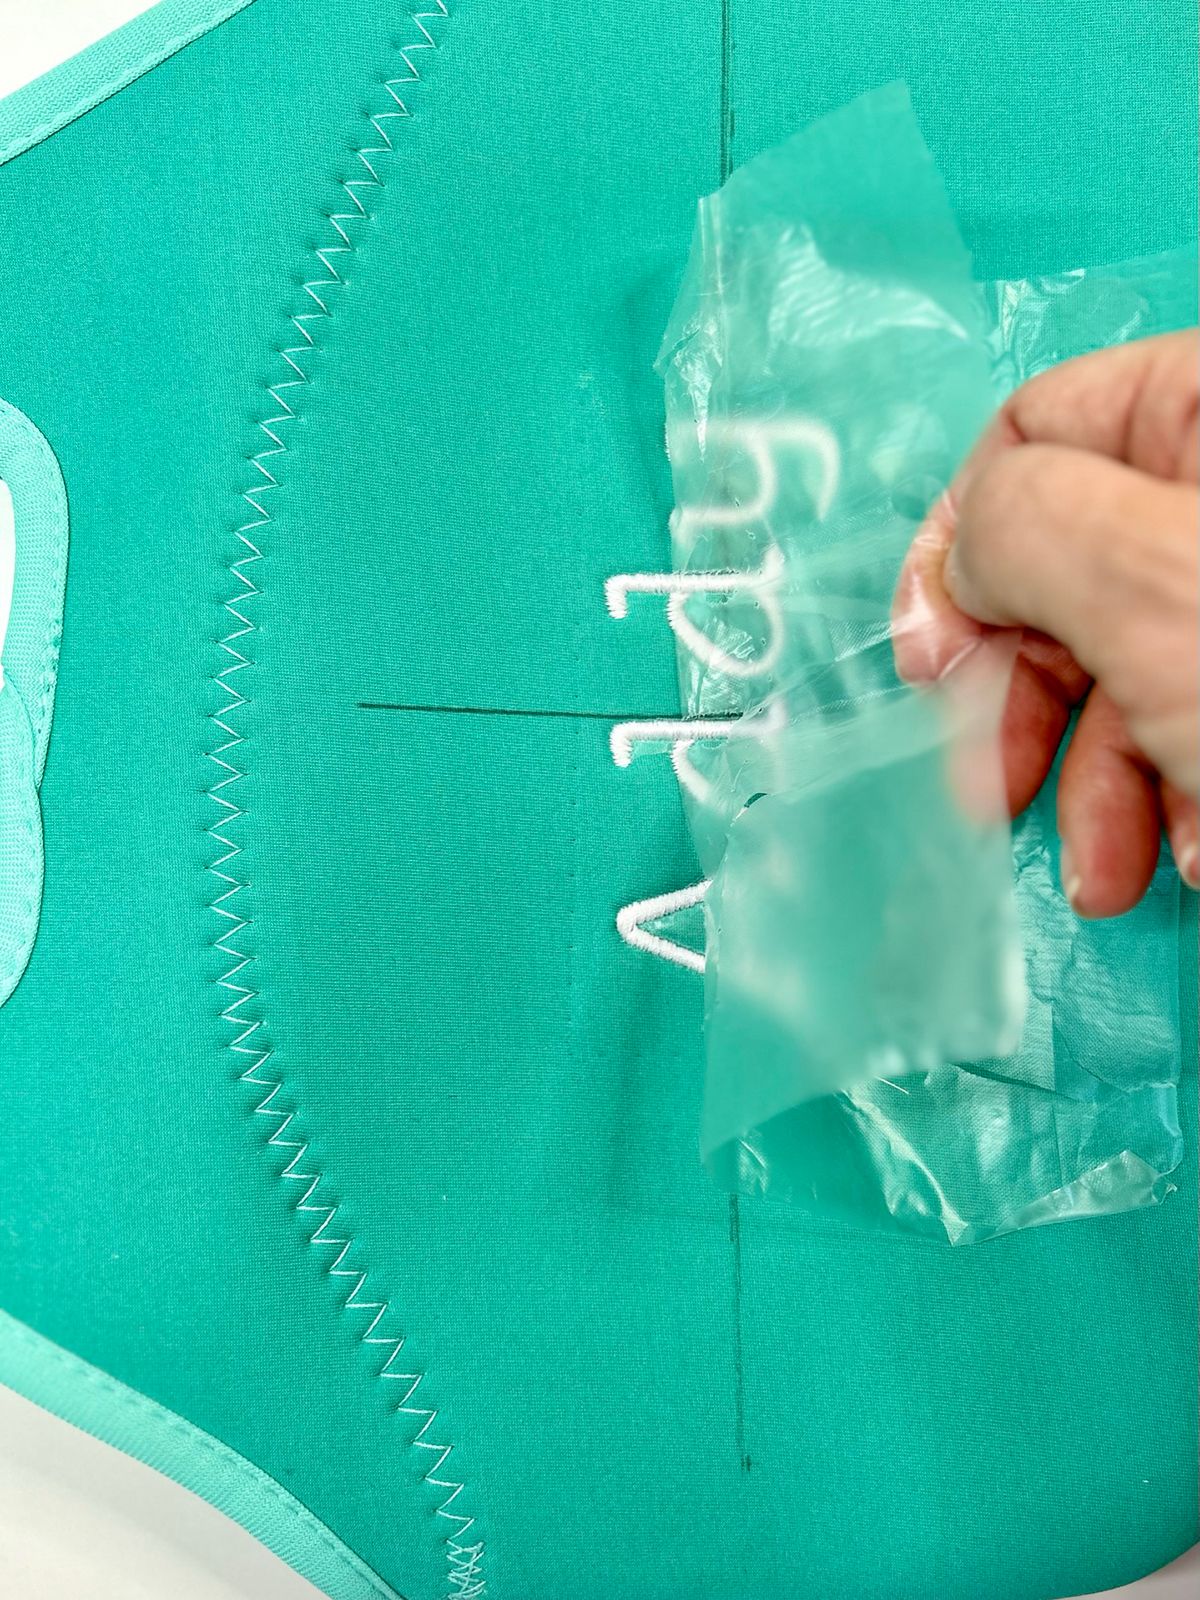
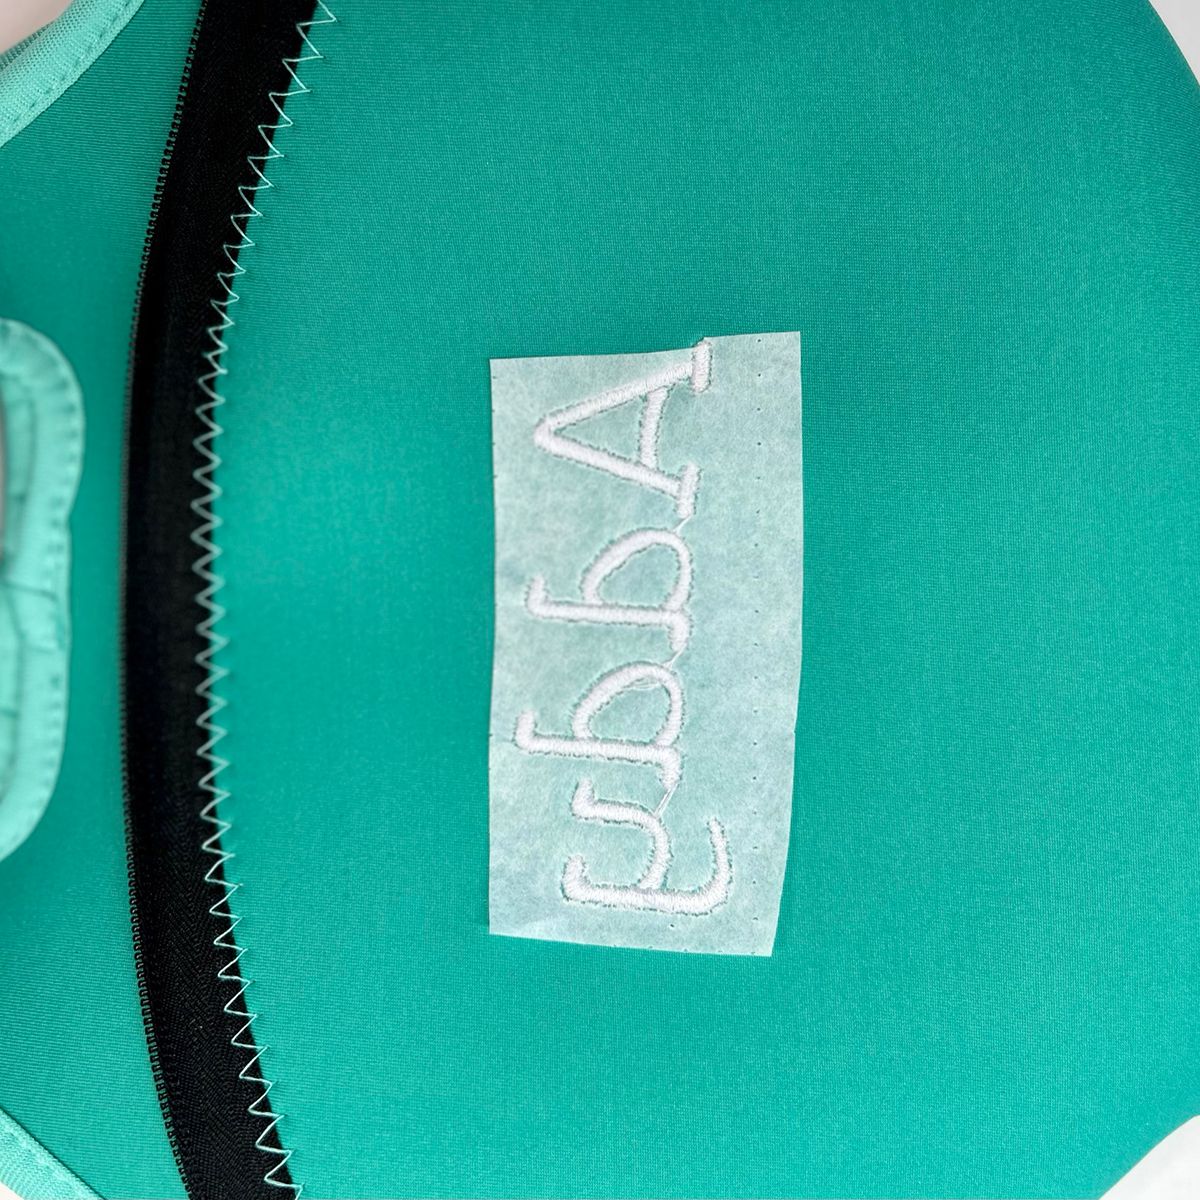
Turn tote inside out. Carefully cut stabilizer around the name.
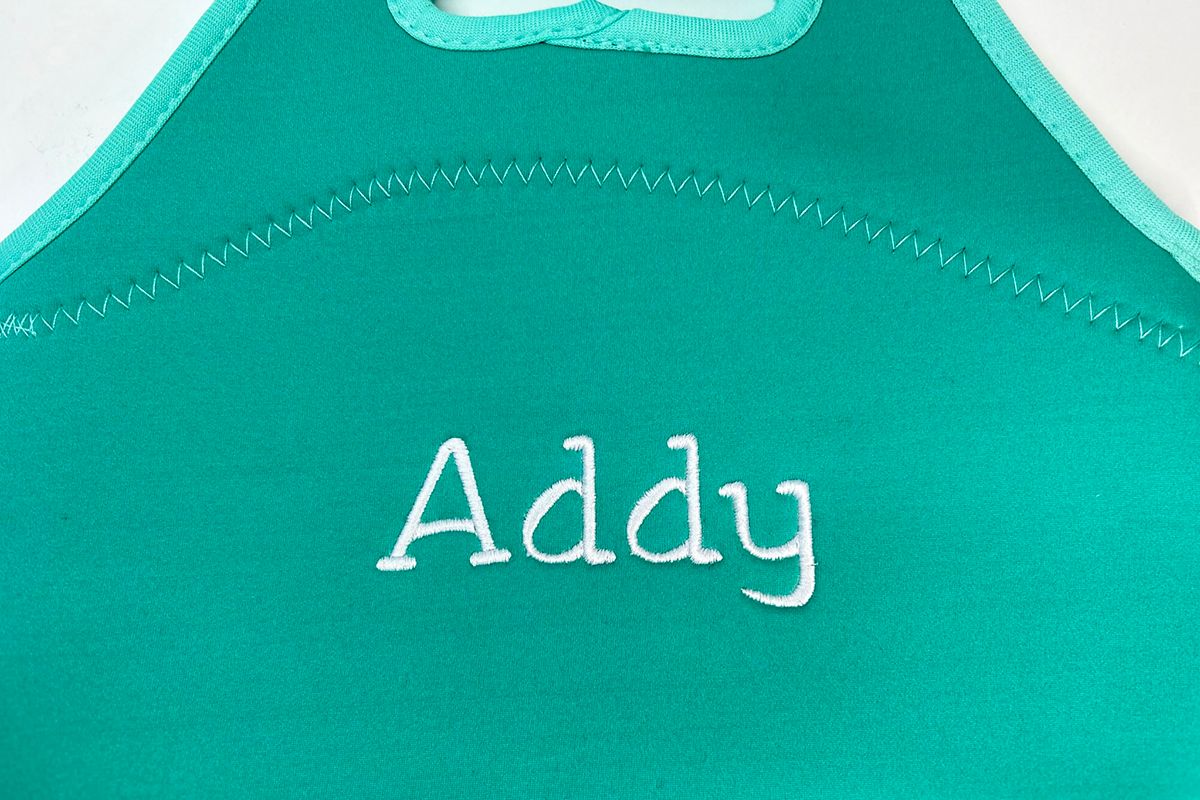
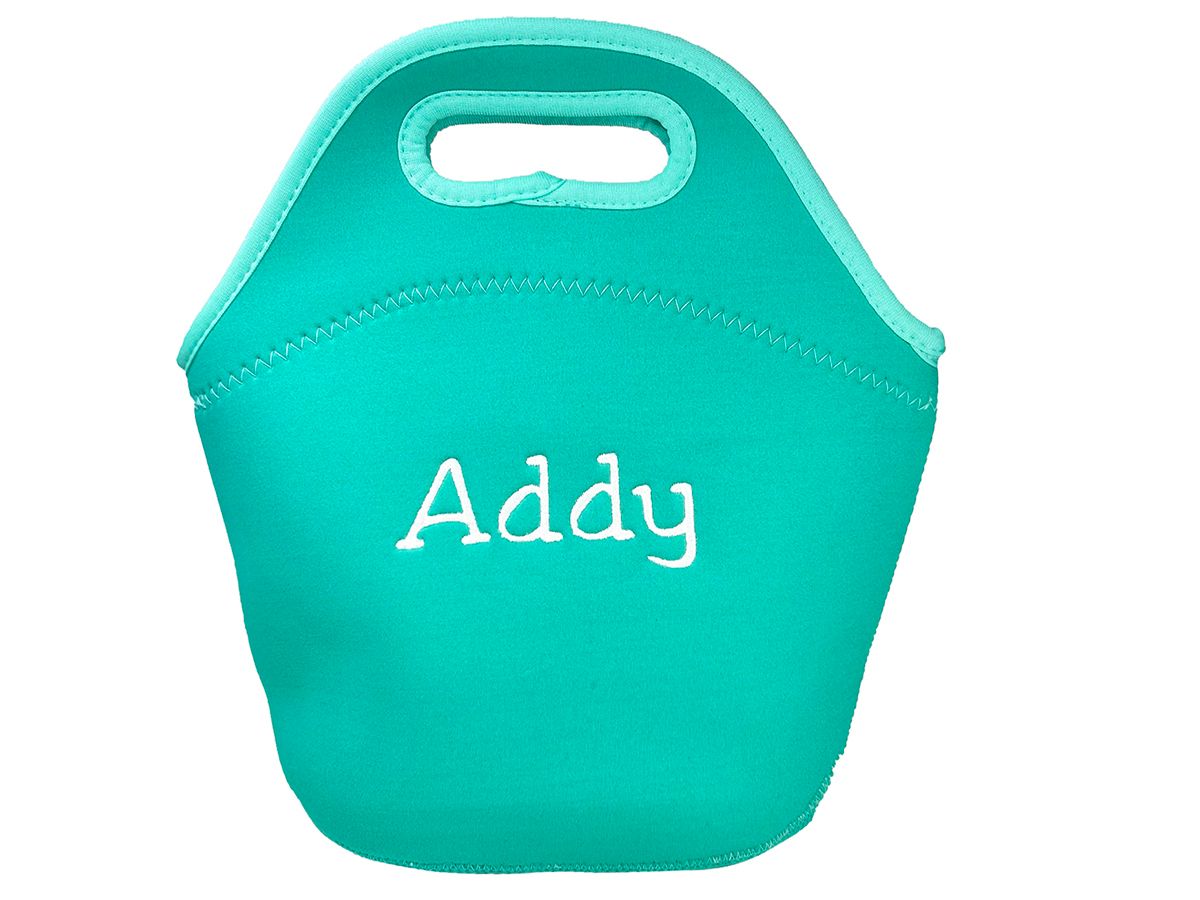
Beautiful!
Sewing Mode
Now we need to re-stitch the bottom.
Select Sewing Mode on the machine. Add Reverse Pattern Foot with Clear Sole #34/34C/34D, change to a 9 mm Stitch Plate and raise the feed dog.
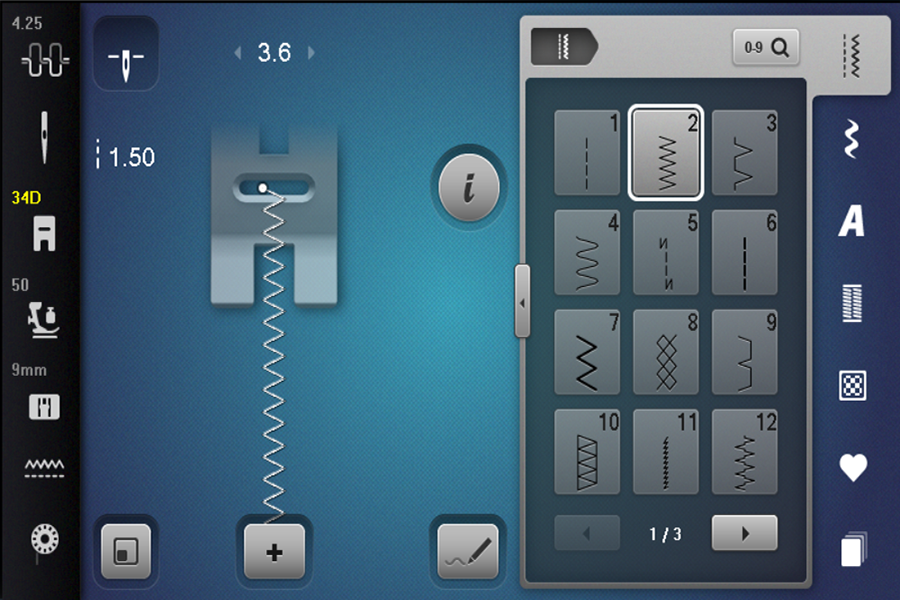
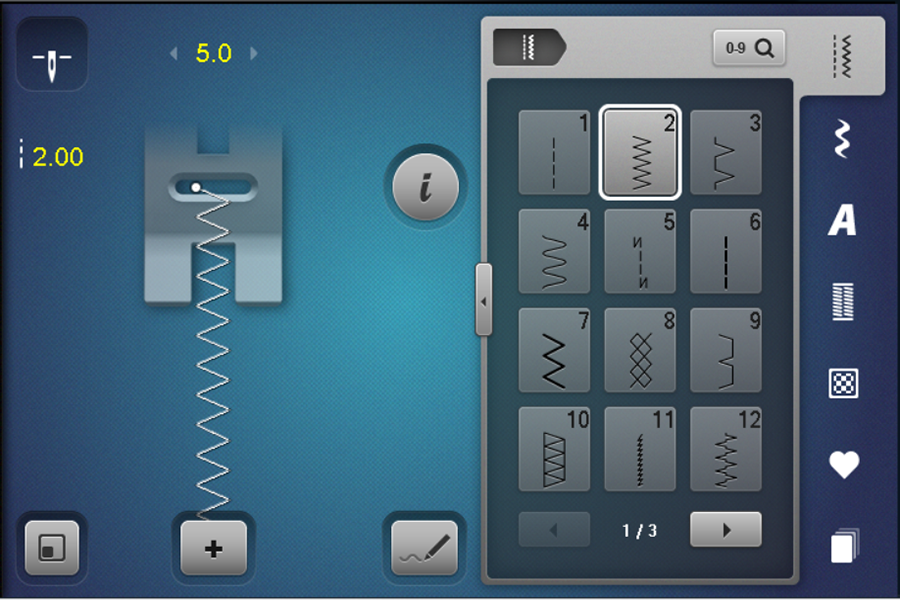
Select Zig Zag Stitch #2. Remember BERNINA has Total Stitch Control. You can adjust your stitches for your project. I changed my Stitch Width to 5 mm and Stitch Length to 2 mm. This was the approximate size of the existing zig zag stitches on my tote. Do the same for your tote and make adjustments to match the size of the stitches.
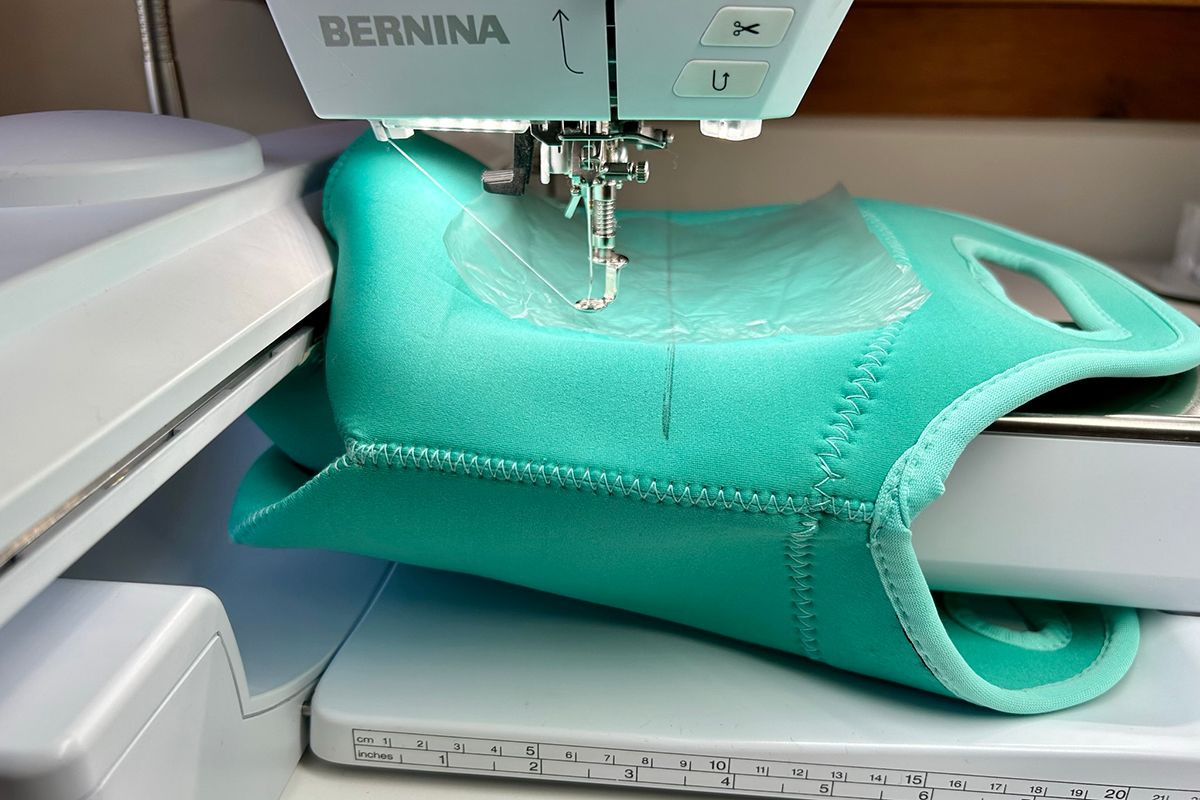
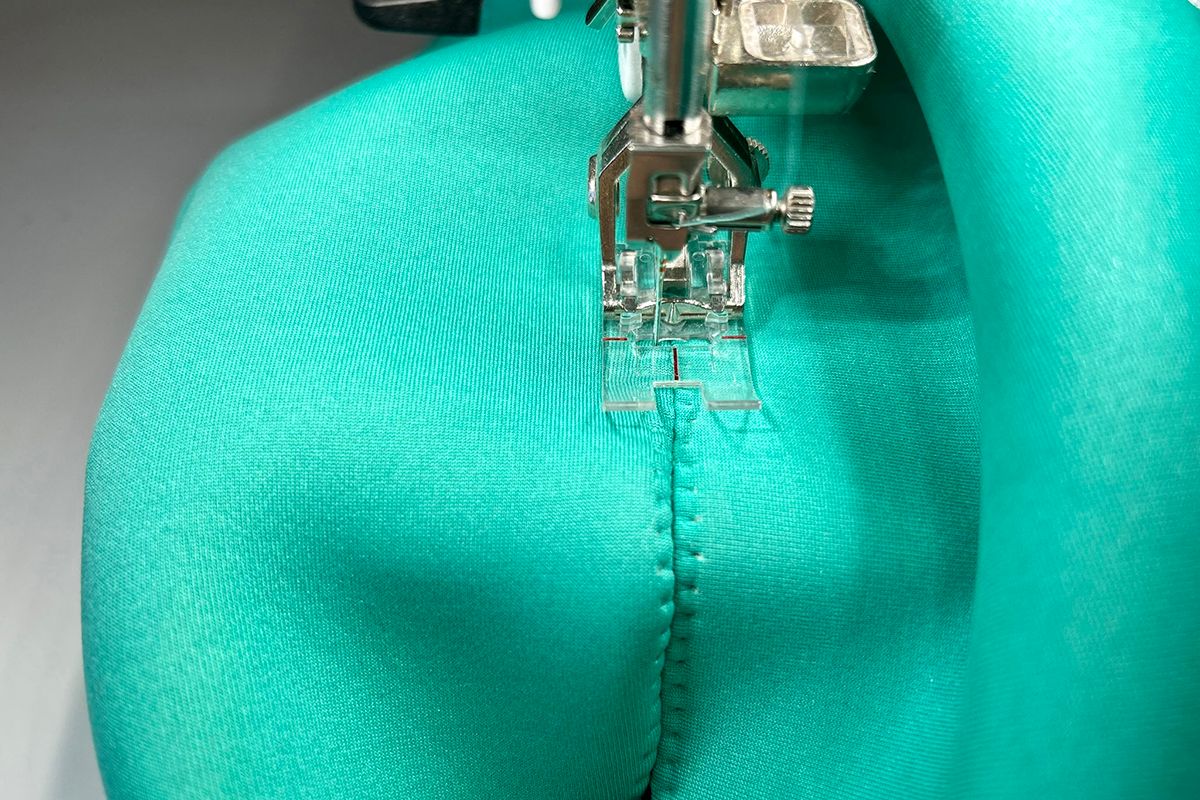
Place the tote around the freearm of machine with the seam that needs to be stitched under the foot. Align the red center mark on the foot with the seam. Neoprene can be placed side by side and stitched. The edges of neoprene will not unravel.
Stitch the opening closed. You might be able to match the existing holes but if not, no worries. After some use, it will not be noticeable! And it’s at the bottom!
So fun and easy! I will definitely make more of these for family and friends for various occasions! Addy loves mermaids – I might add a mermaid on the other side of the next tote! Enjoy!
Used Products


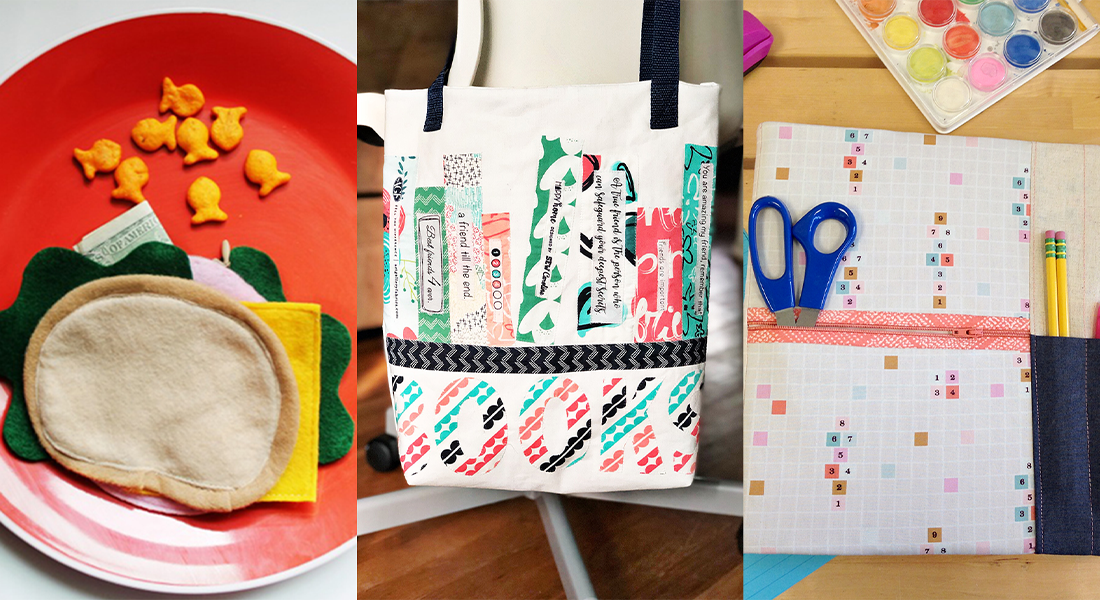
What you might also like


4 comments on “Neoprene Lunch Tote with Embroidery”
-
-
Thank you! Try changing your needle. Use a ball point needle, such as a jersey needle. A sharp needle will cause skipped stitches in this stretchy material.
-
Enjoyed the project for the lunch tote . But I would appreciated a source for the lunch tote.
-
Looks great! I wonder if there is a way to do this freearm although my “large freearm hoop” is too big to fit. Is there another accessory is available for my 770?
Leave a Reply
You must be logged in to post a comment.

This looks like a great project. I would just be curious as to how the machine did sewing on the neoprene? I have tried numerous times to sew on neoprene and found I could just not get it to stitch without stitches skipping. Any advice on this would be most appreciated!