How to Make a Neoprene Can Cooler
Summer is here and we are ready! Chances are you’ll be spending the season outside by the pool, hosting some BBQs, or just enjoying the outdoors. So, why ruin it with a warm beverage? Skip the commercial coolers and learn how to make your own with this EASY tutorial. You’ll have new can wraps in a matter of minutes (or spend a bit more time personalizing them with your favorite embroidery image or iron-on transfer). These also make the perfect gift for Father’s Day!
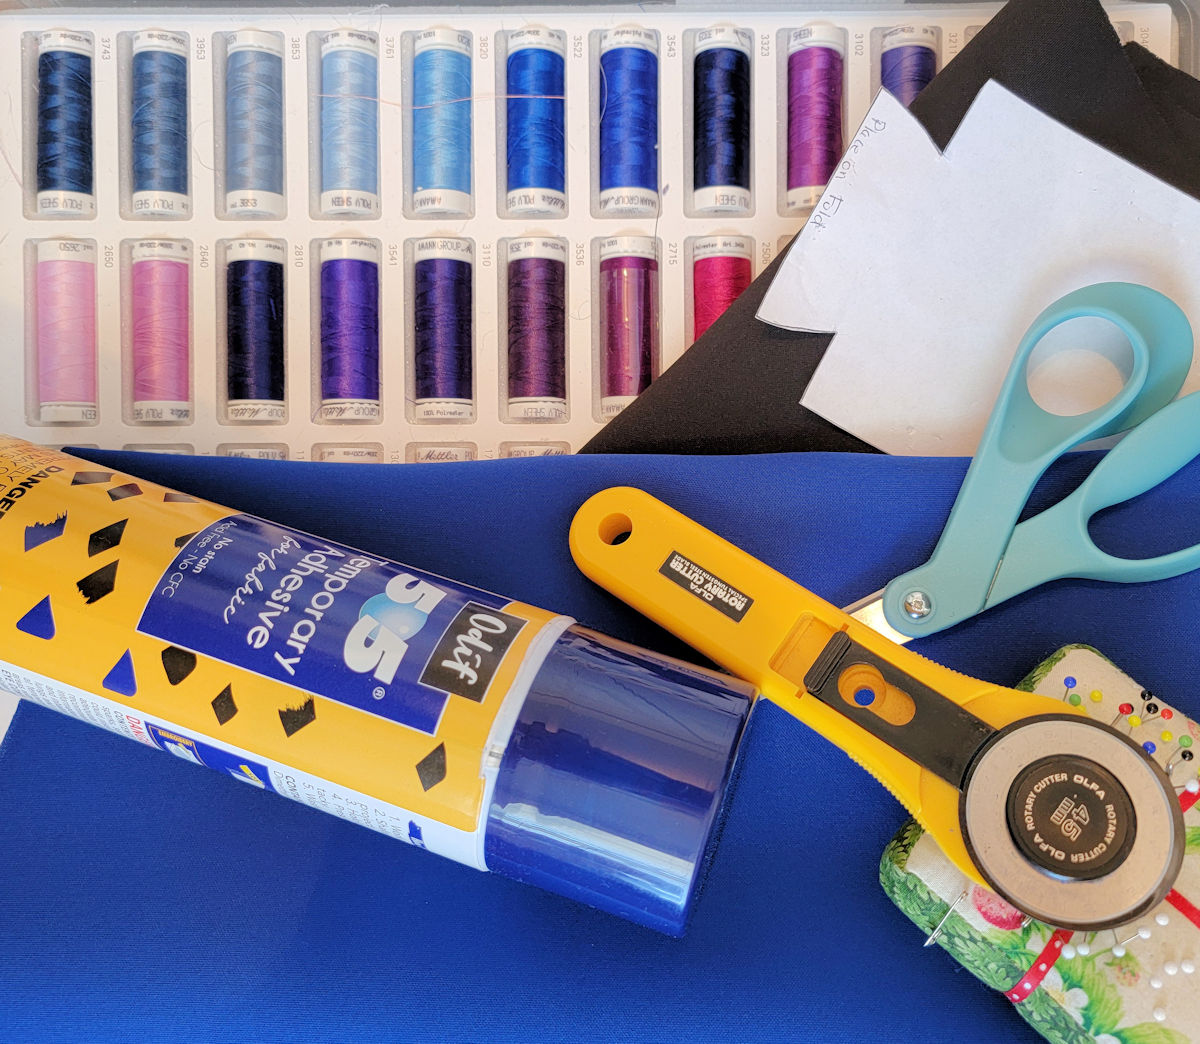
Materials to Make a Can Cooler:
- 3/8 yard of neoprene fabric
- Can cooler template
- Rotary cutter (this makes smooth edges on you can cooler)
- Scissor
- Thread to match

Optional materials:
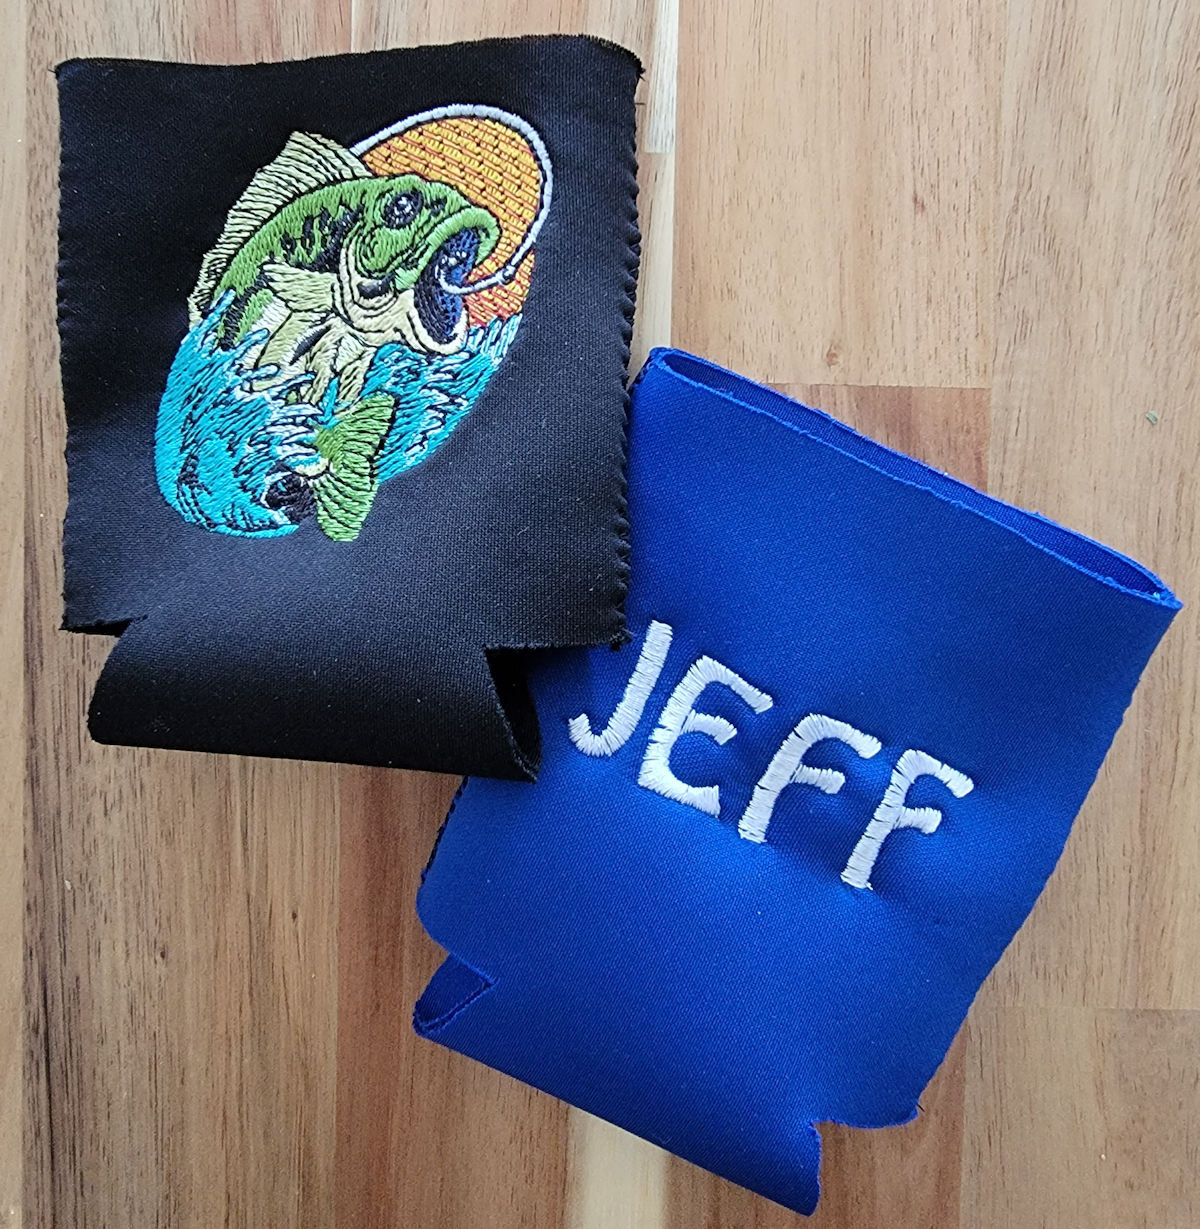
- Embroidery Design (show here is Cactus Embroidery’s Fish Set)
- Stabilizer
- Water-soluble stabilizer
- Spray adhesive
- Embroidery thread
- Heat transfer or vinyl design
How to Make the Can Cooler:
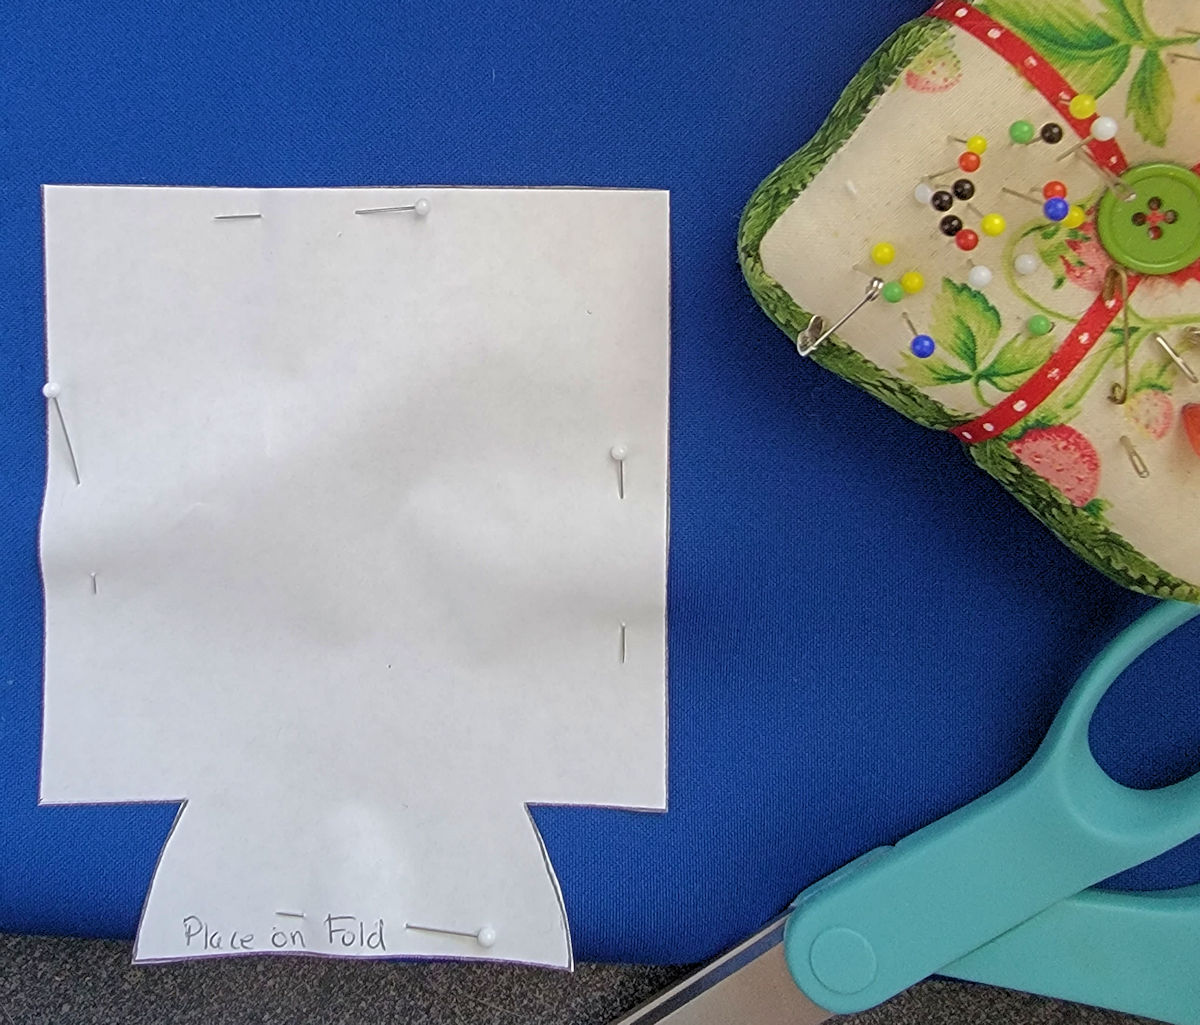
Fold the neoprene fabric so that the greatest amount of stretch is going across the width of the can. Place the pattern on the fold (as marked on the pattern piece) and cut.
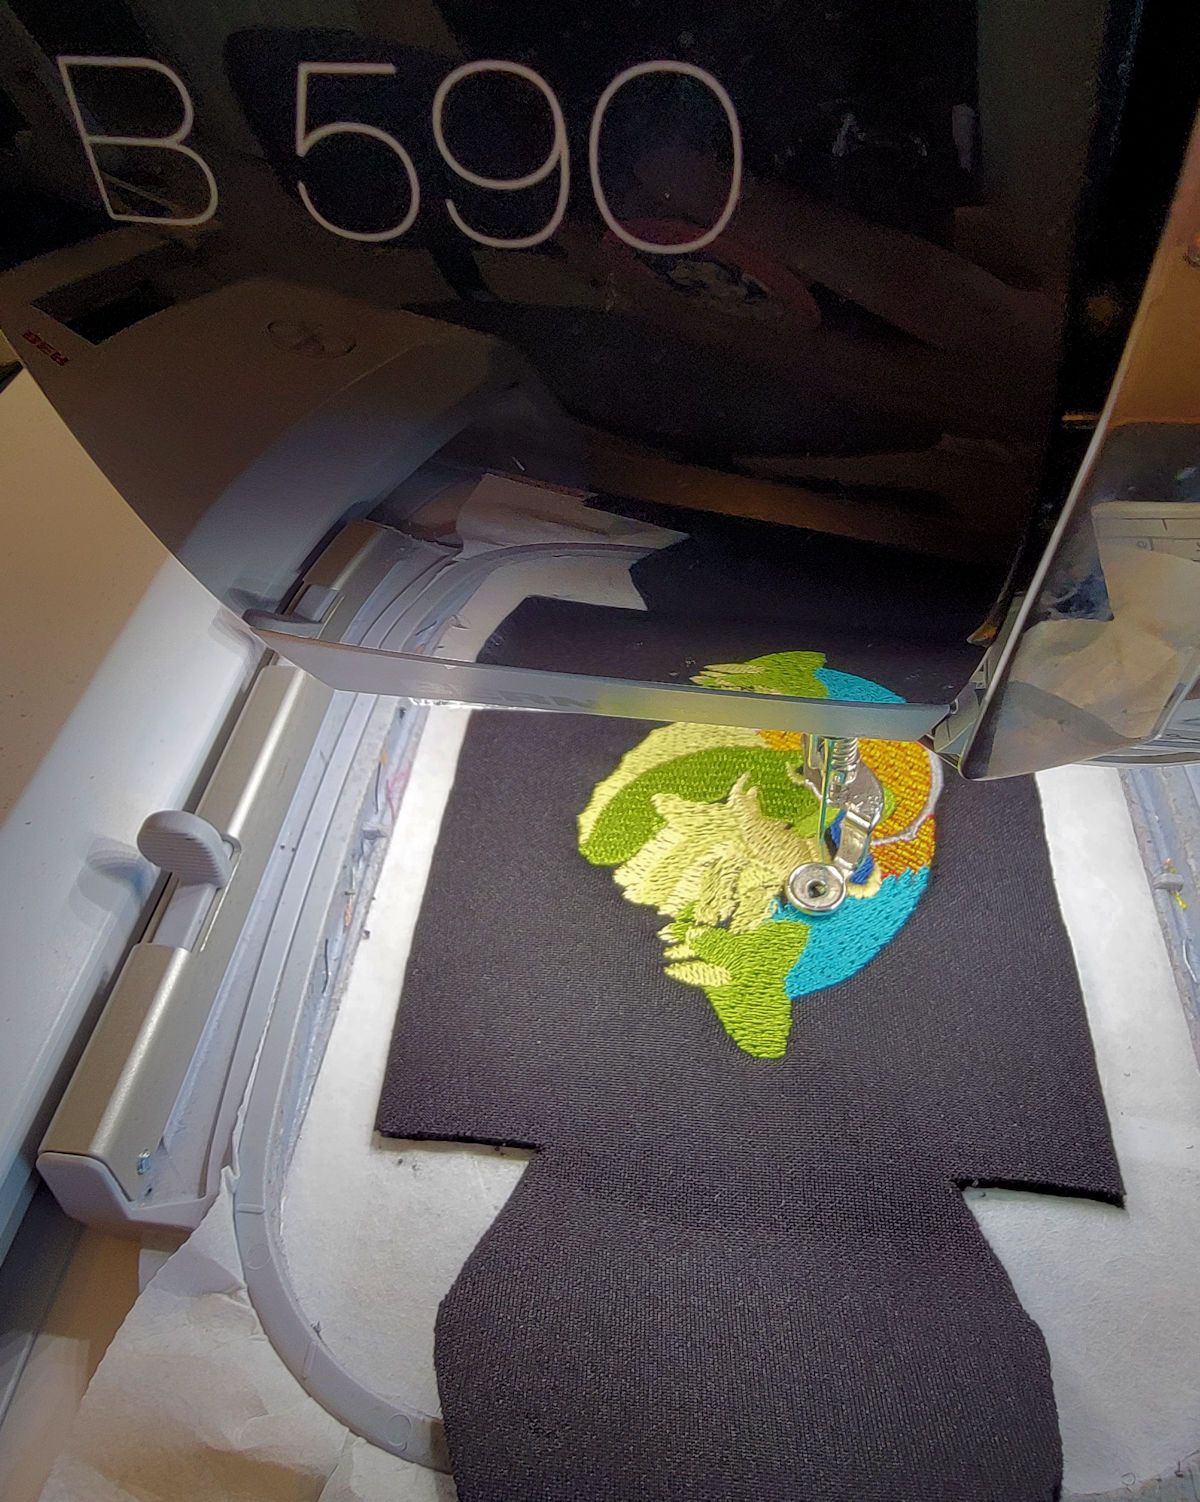
If you are adding embellishments, this is the time to add them! If adding embroidery to your can cooler, we’ll be floating the neoprene on top of the stabilizer. To do this, hoop only the stabilizer. Spray a bit of adhesive to the wrong side of the neoprene, then place on top of the hooped stabilizer. If you are using a densely stitched design or find that your stitches begin “sinking” into the neoprene, apply a bit of water soluble stabilizer to the top of the neoprene. Doing this will keep your stitches on top of the fabric and keep them from burring into the material. Stitch out the design, remove from the hoop, and remove any excess stabilizers.
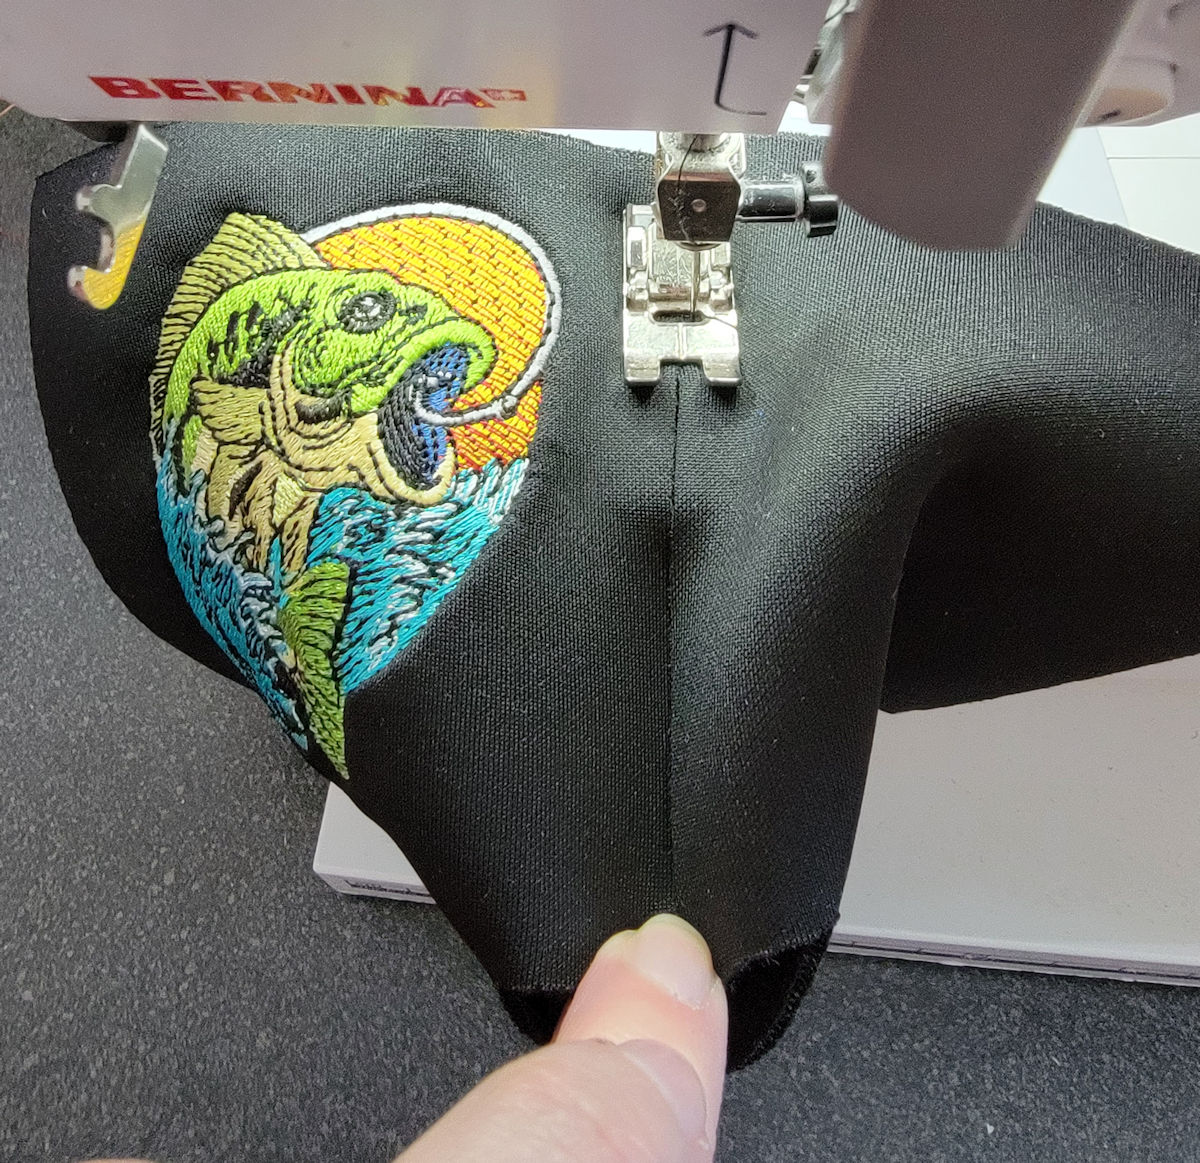
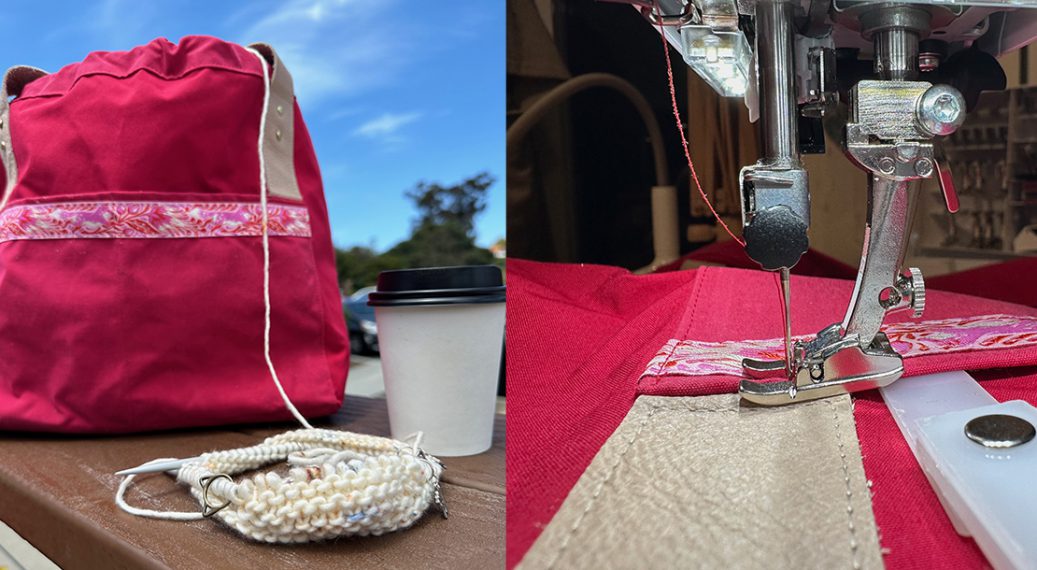
Put one side of the front and back together, and stitch using a zigzag stitch (be sure that backstitch at the top and bottom edges so that your cooler doesn’t pop open while using). Be sure to only sew the sides and keep the bottom (the circular portion of the cooler) free from stitching.
Repeat the same process for the second side of the cooler…. and that’s it! You’re done! See how fast and easy that was – Plenty of time to make some for all your friends and family!
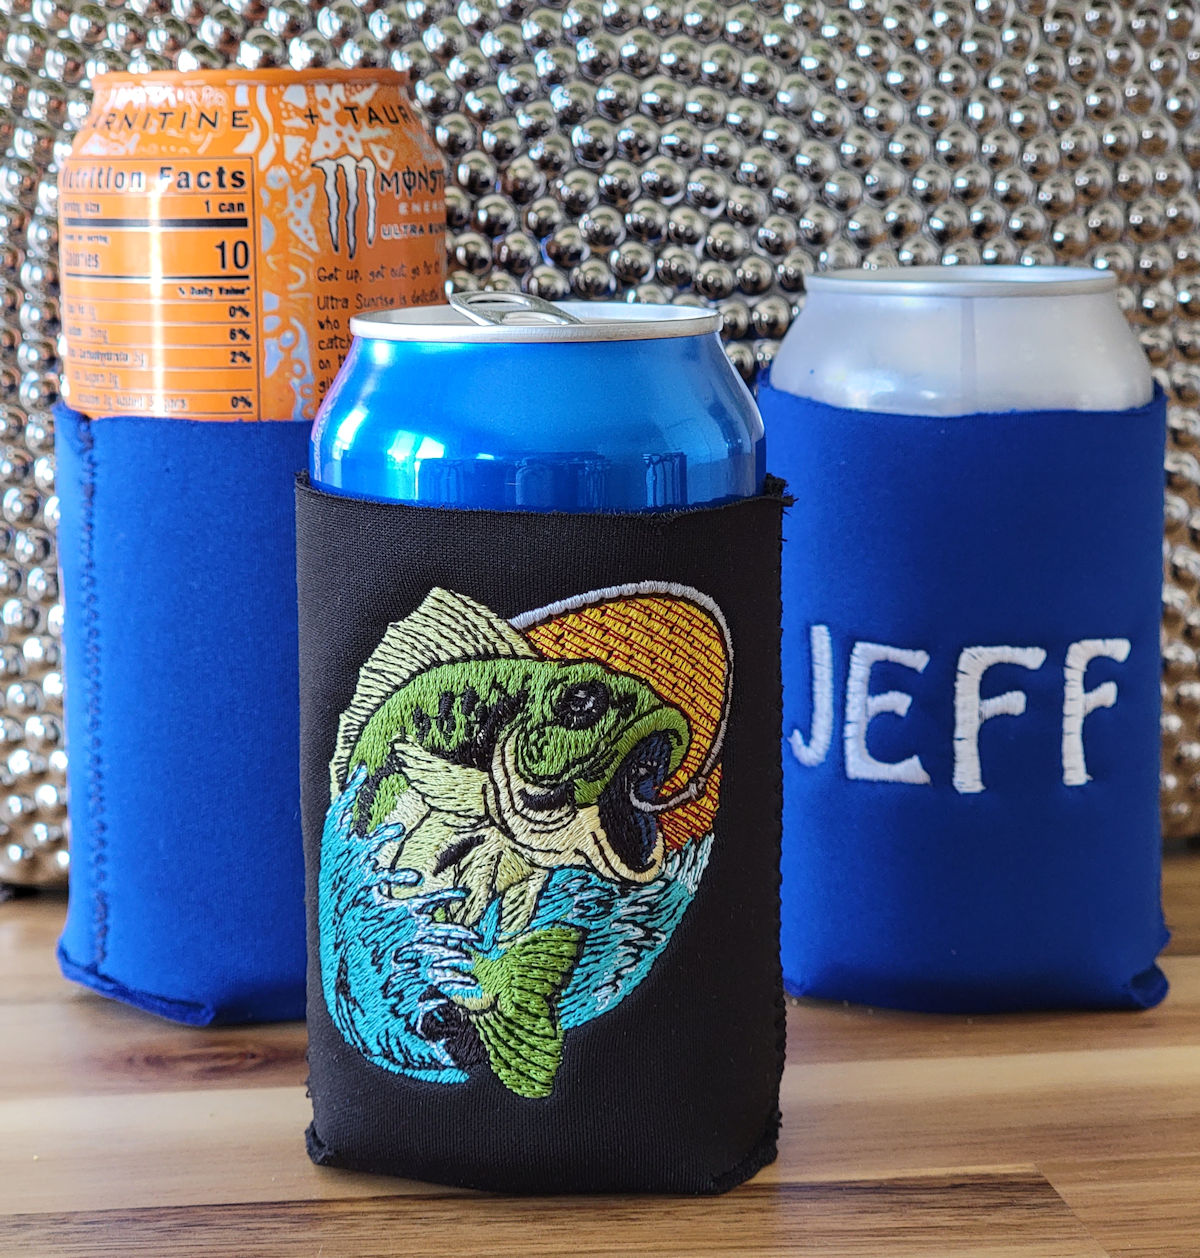
Now fill with your favorite beverages and enjoy your summer!
Used Products

What you might also like


11 comments on “How to Make a Neoprene Can Cooler”
-
-
For almost everything, I tend to use a cut away stabilizer – it just gives more support, especially in dense designs (like the fish). You could probably get away with a tear away with designs with lighter stitches or if you were just embroidering a name.
-
-
What kind of needle do you use?
-
I would use a heavy duty needle – like a jeans for this project.
-
-
Where do I find the pattern for the can cooler?
-
Click on the red can cooler template words in the materials needed section of the instructions. Happy sewing!
-
-
Where can I buy the neoprene?
-
It is MUCH easier to cut the neoprene 1/4” wider and to sew the cooler inside out with 1/4”seams, trim to 1/8” and turn right side out!
-
What about using a flatlock stitch on a serger/overlock machine? I think the ladder on the reverse side of the stitch would look kind of cool on the outside.
Leave a Reply
You must be logged in to post a comment.

What type of stabilizer do you use?