You Can Make a Bra! Part 1: Materials
I bet there are other people out there just like me, who look at the world of bra-making and think “that looks way too hard for me!” Or maybe you think “Why would I make a bra if I can just buy one? I am here to tell you today that making a bra (or at least a bralette, which is what I will be talking about on here!) IS NOT HARD!!! If you can cut fabric, sew straight and zig-zag stitches, and know how to pin things together… you can sew a bralette!
Patterns
For this series I made the Maris Bralette by Madelynne Intimates and the Jordy Bralette by Emerald Erin. Both are very beautiful and not hard to make! I ordered kits from their sites, but I want to talk to you today about the kinds of materials you can use for most bralette patterns (such as the Cloth Habit Watson bra, or the Banksia bralette from Muna and Broad).
Fabrics
One of the things I really loved about making these bras was the beautiful materials I was using. When you’re making undergarments you only have to use a small amount of material, so it doesn’t seem so precious. I had to cut out some of my bra pieces multiple times because I did something wrong, but it used so little fabric that It didn’t matter! So don’t fear! Now lets talk about what to look for when getting your fabrics.
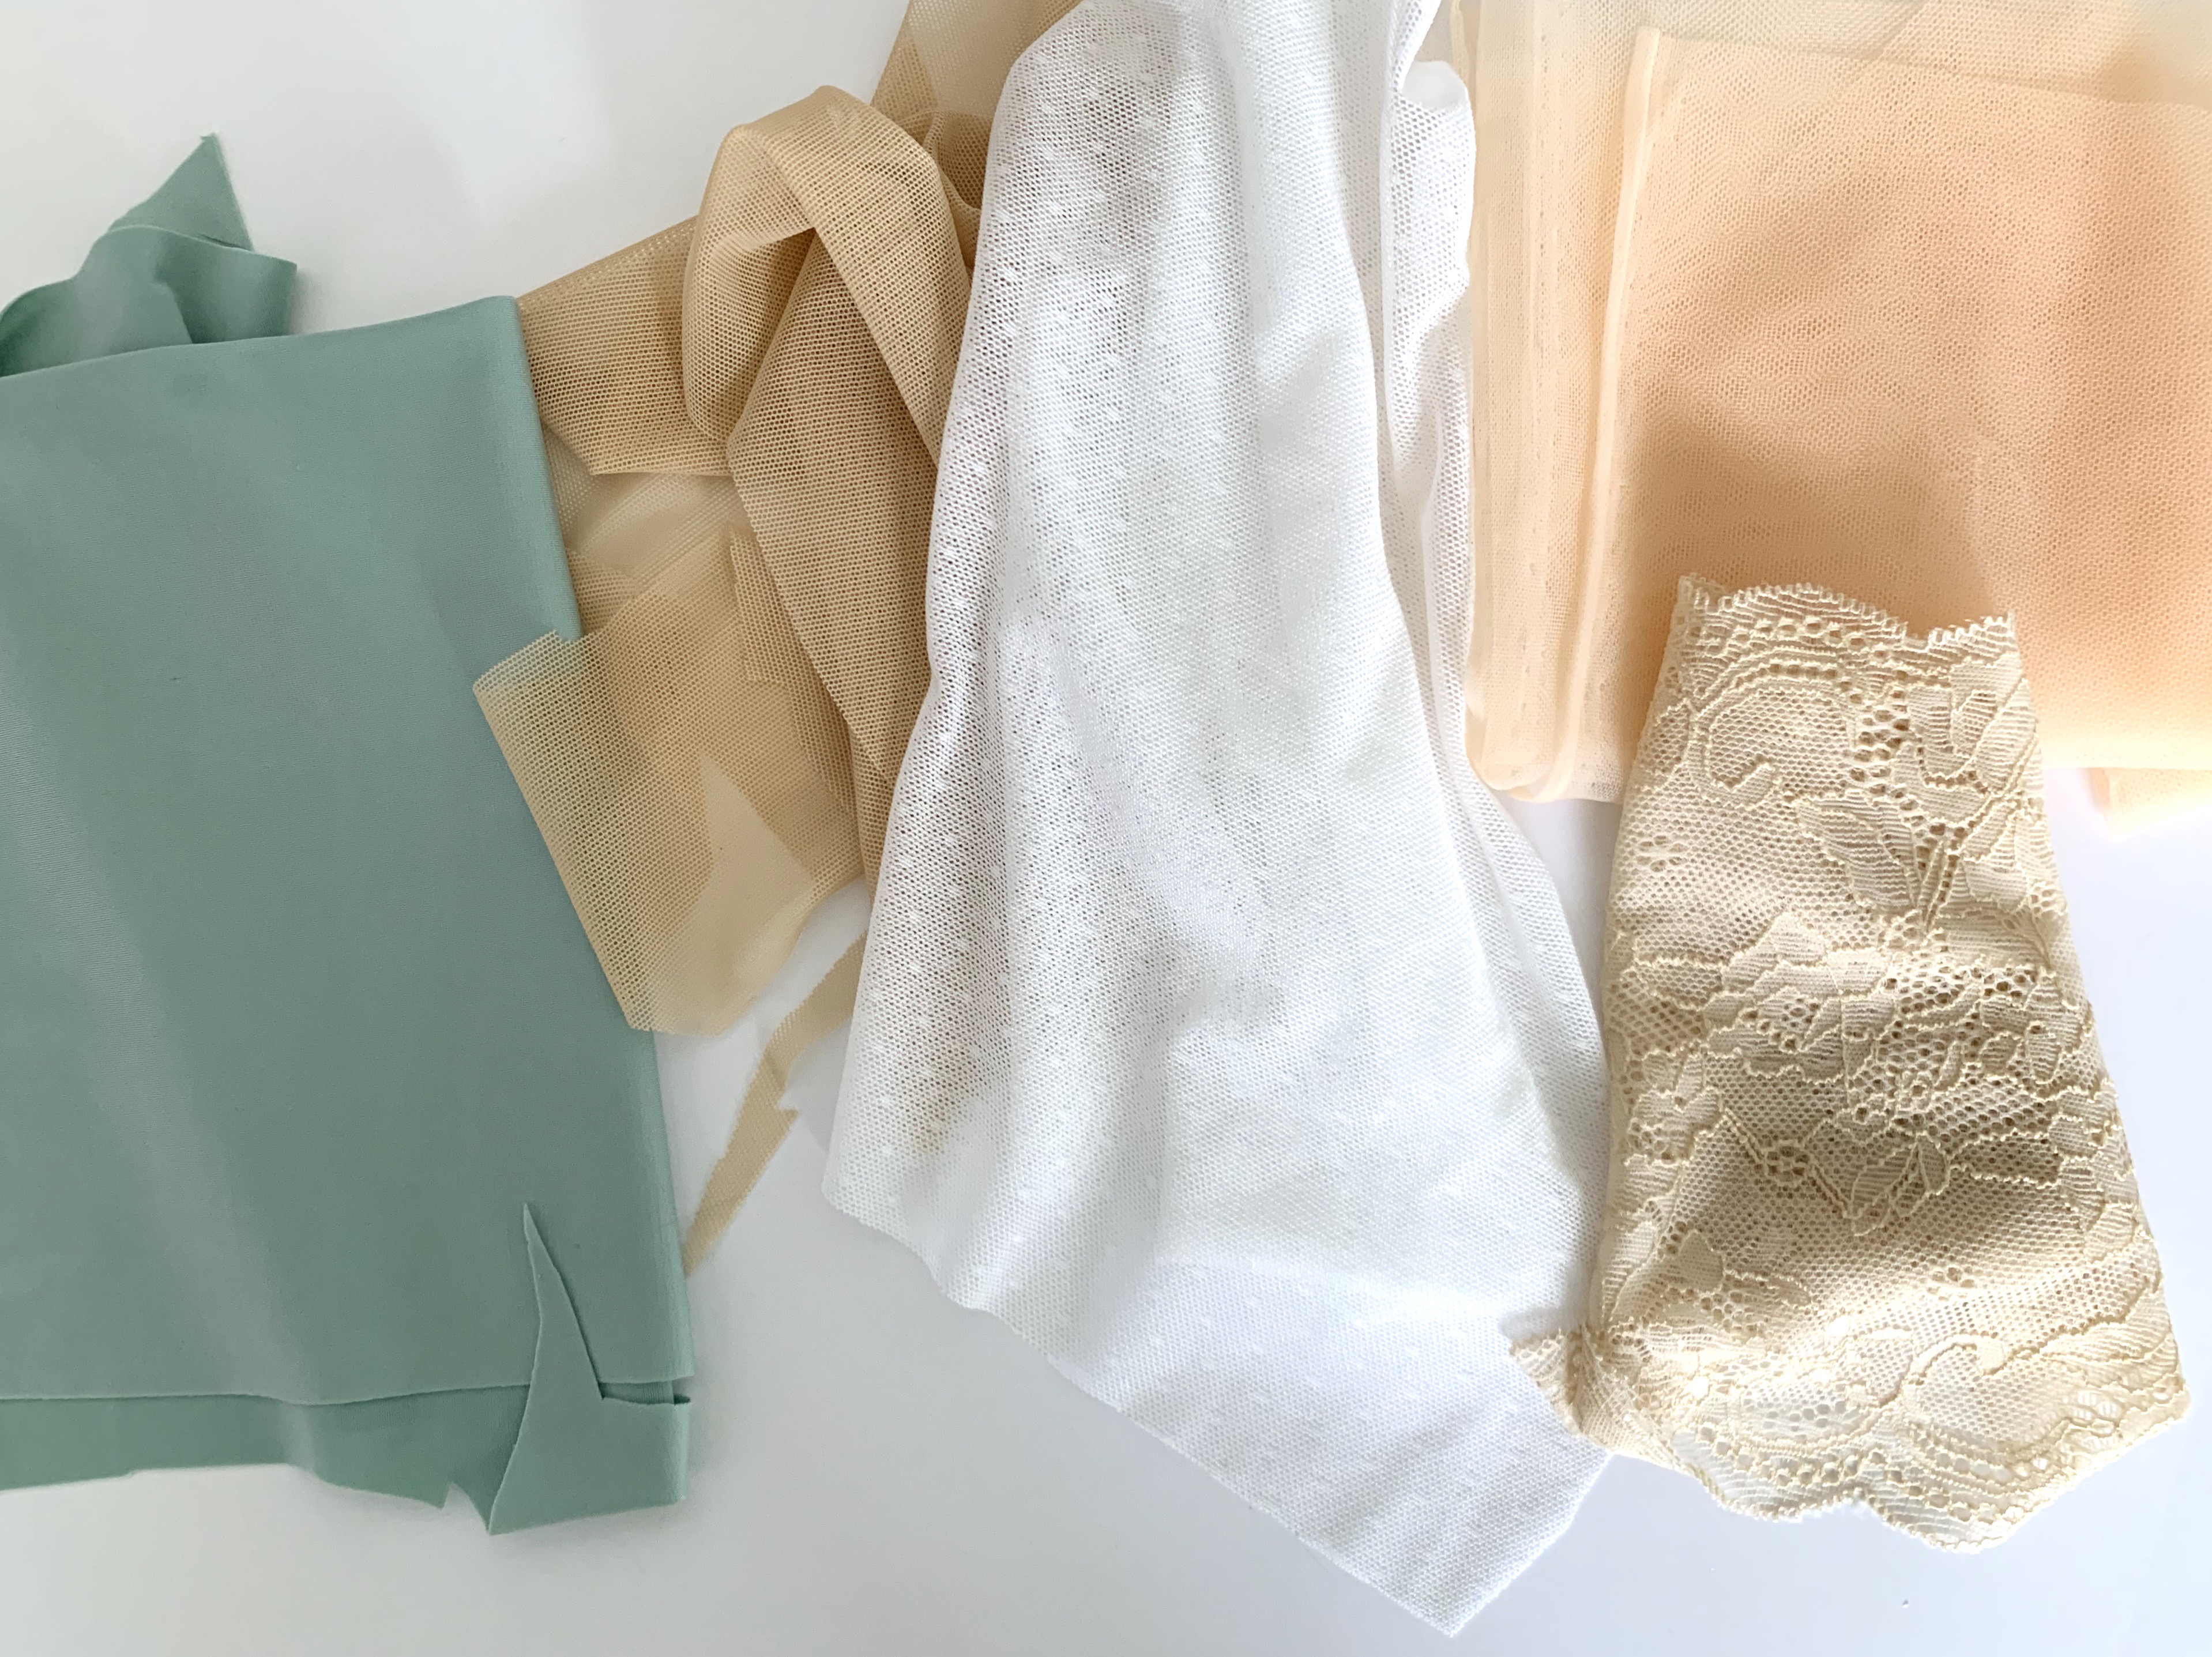
From left to right I have shown here: Spandex Lycra, stretch mesh, Swiss dot mesh, (all found at Madalynne.com) and then some stretch lace and tulle found at EmeraldErin.com.
You can use all sorts of stretch knits, laces and tulles to make bralettes, but refer to your pattern to see what works best. The patterns will usually indicate how much stretch the material needs.
The Maris Bralette needs stretchy fabrics for the entire thing, while the Jordy Bralette did not. Whatever you do, choose ones with good recovery as you want them to be able to stretch and compress, not stretch out after being worn all day! I think a high-quality cotton spandex, or other similar materials could work as well.
Notions
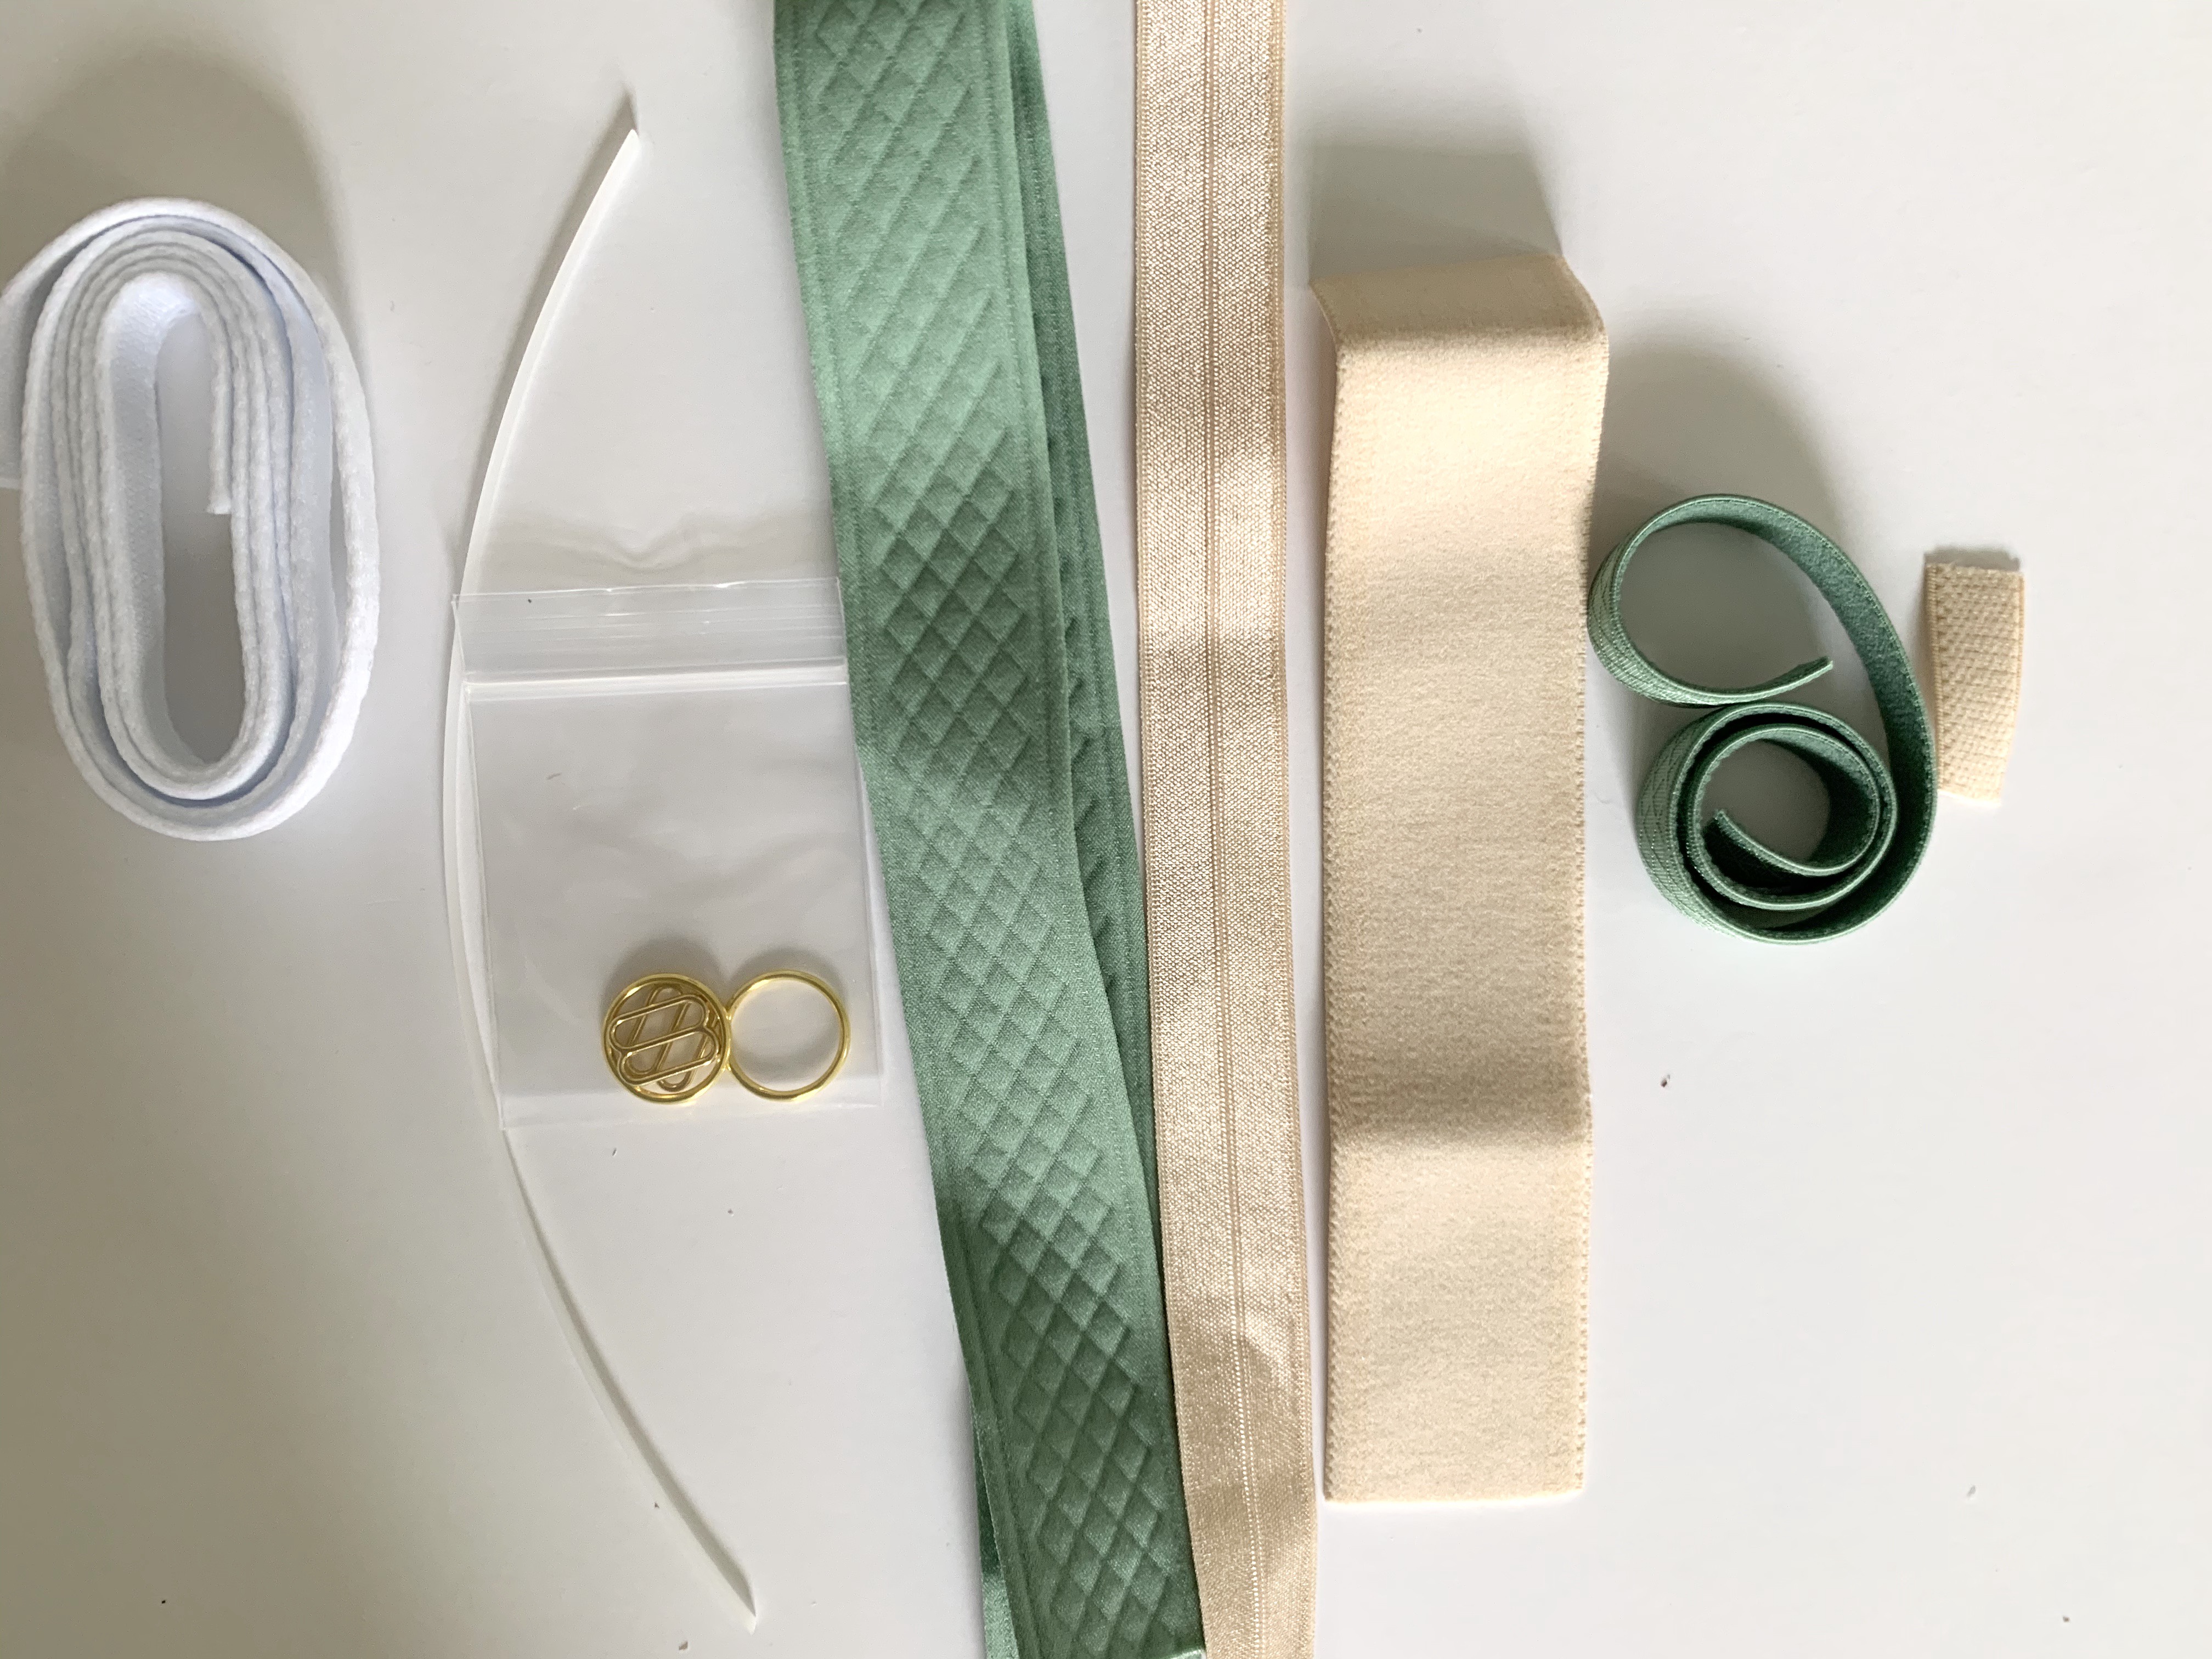
Next up is the notions. Elastic is elastic you say? No . . . I promise the finer the quality the nicer your bra looks and feels. Plain ol’ elastic won’t feel soft on your skin. These special ones will be softer and often have one side that is plush. The findings you use can be plastic or metal, and use what you like best!
From left to right we have:
Channeling
This is the casing that enclosed underwire or boning and provides structure and support.
Boning
This isn’t actually bone. It feels similar to zip ties?
Rings and slides
These are for your bra straps!
Wide Elastic for the bottom band
This one is from Madalynne Intimates and its just so pretty with that waffled embossed texture! It can be satin elastic, Picot plush elastic (like the other wide elastic shown), etc. This is where you really don’t want to use standard woven elastic because it just doesn’t look as nice (see photo comparison below!)
Fold Over Elastic (FOE)
This satin-y elastic has a crease down the center so that it can easily fold over the edges of your fabric!
Bra- strap elastic
This elastic is made for bra straps and is thick and doesn’t stretch as much as the others, but has great recovery.
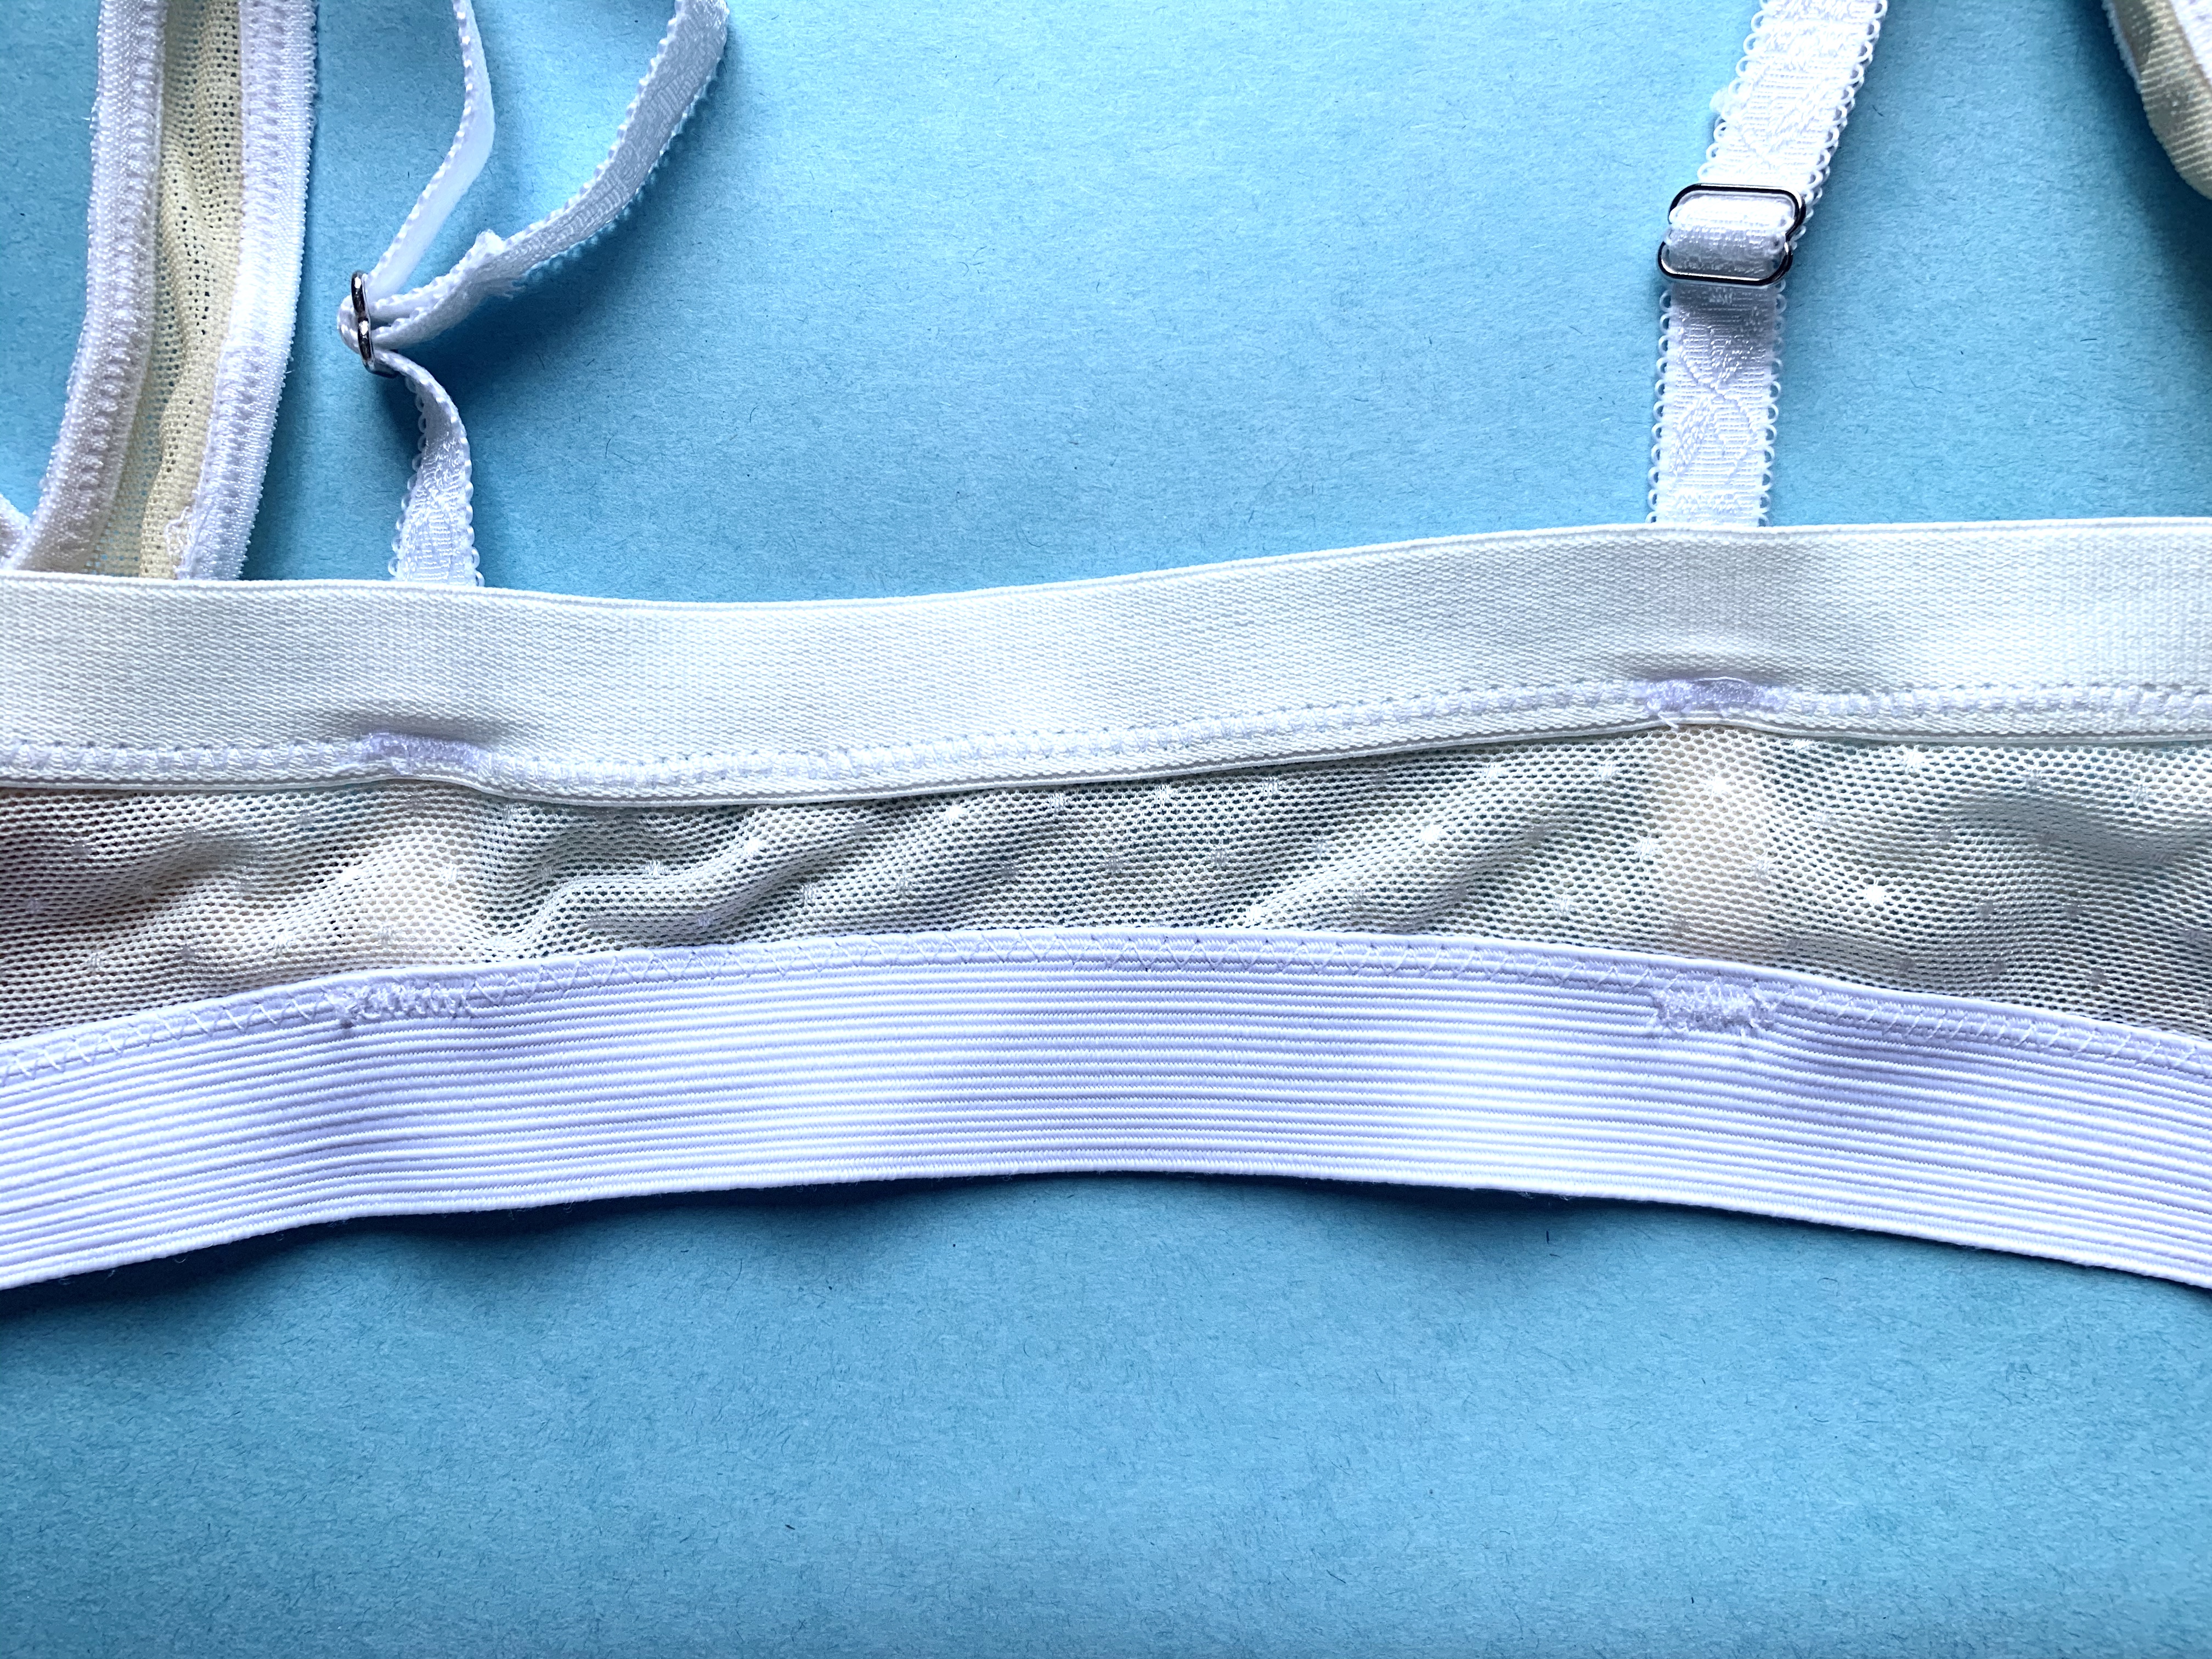
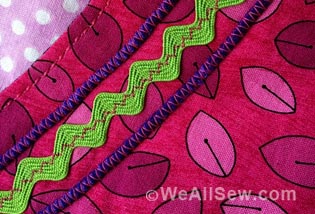
Here is a case for using nicer elastic. Compare the bottom to the top. Which would you rather have pressing up against your skin? And which looks nicer? I didn’t have a choice under the time crunch when I made this bra (I was using what I had on hand), but I will show you below the difference in what the bra looks like using the nicer satin elastic.
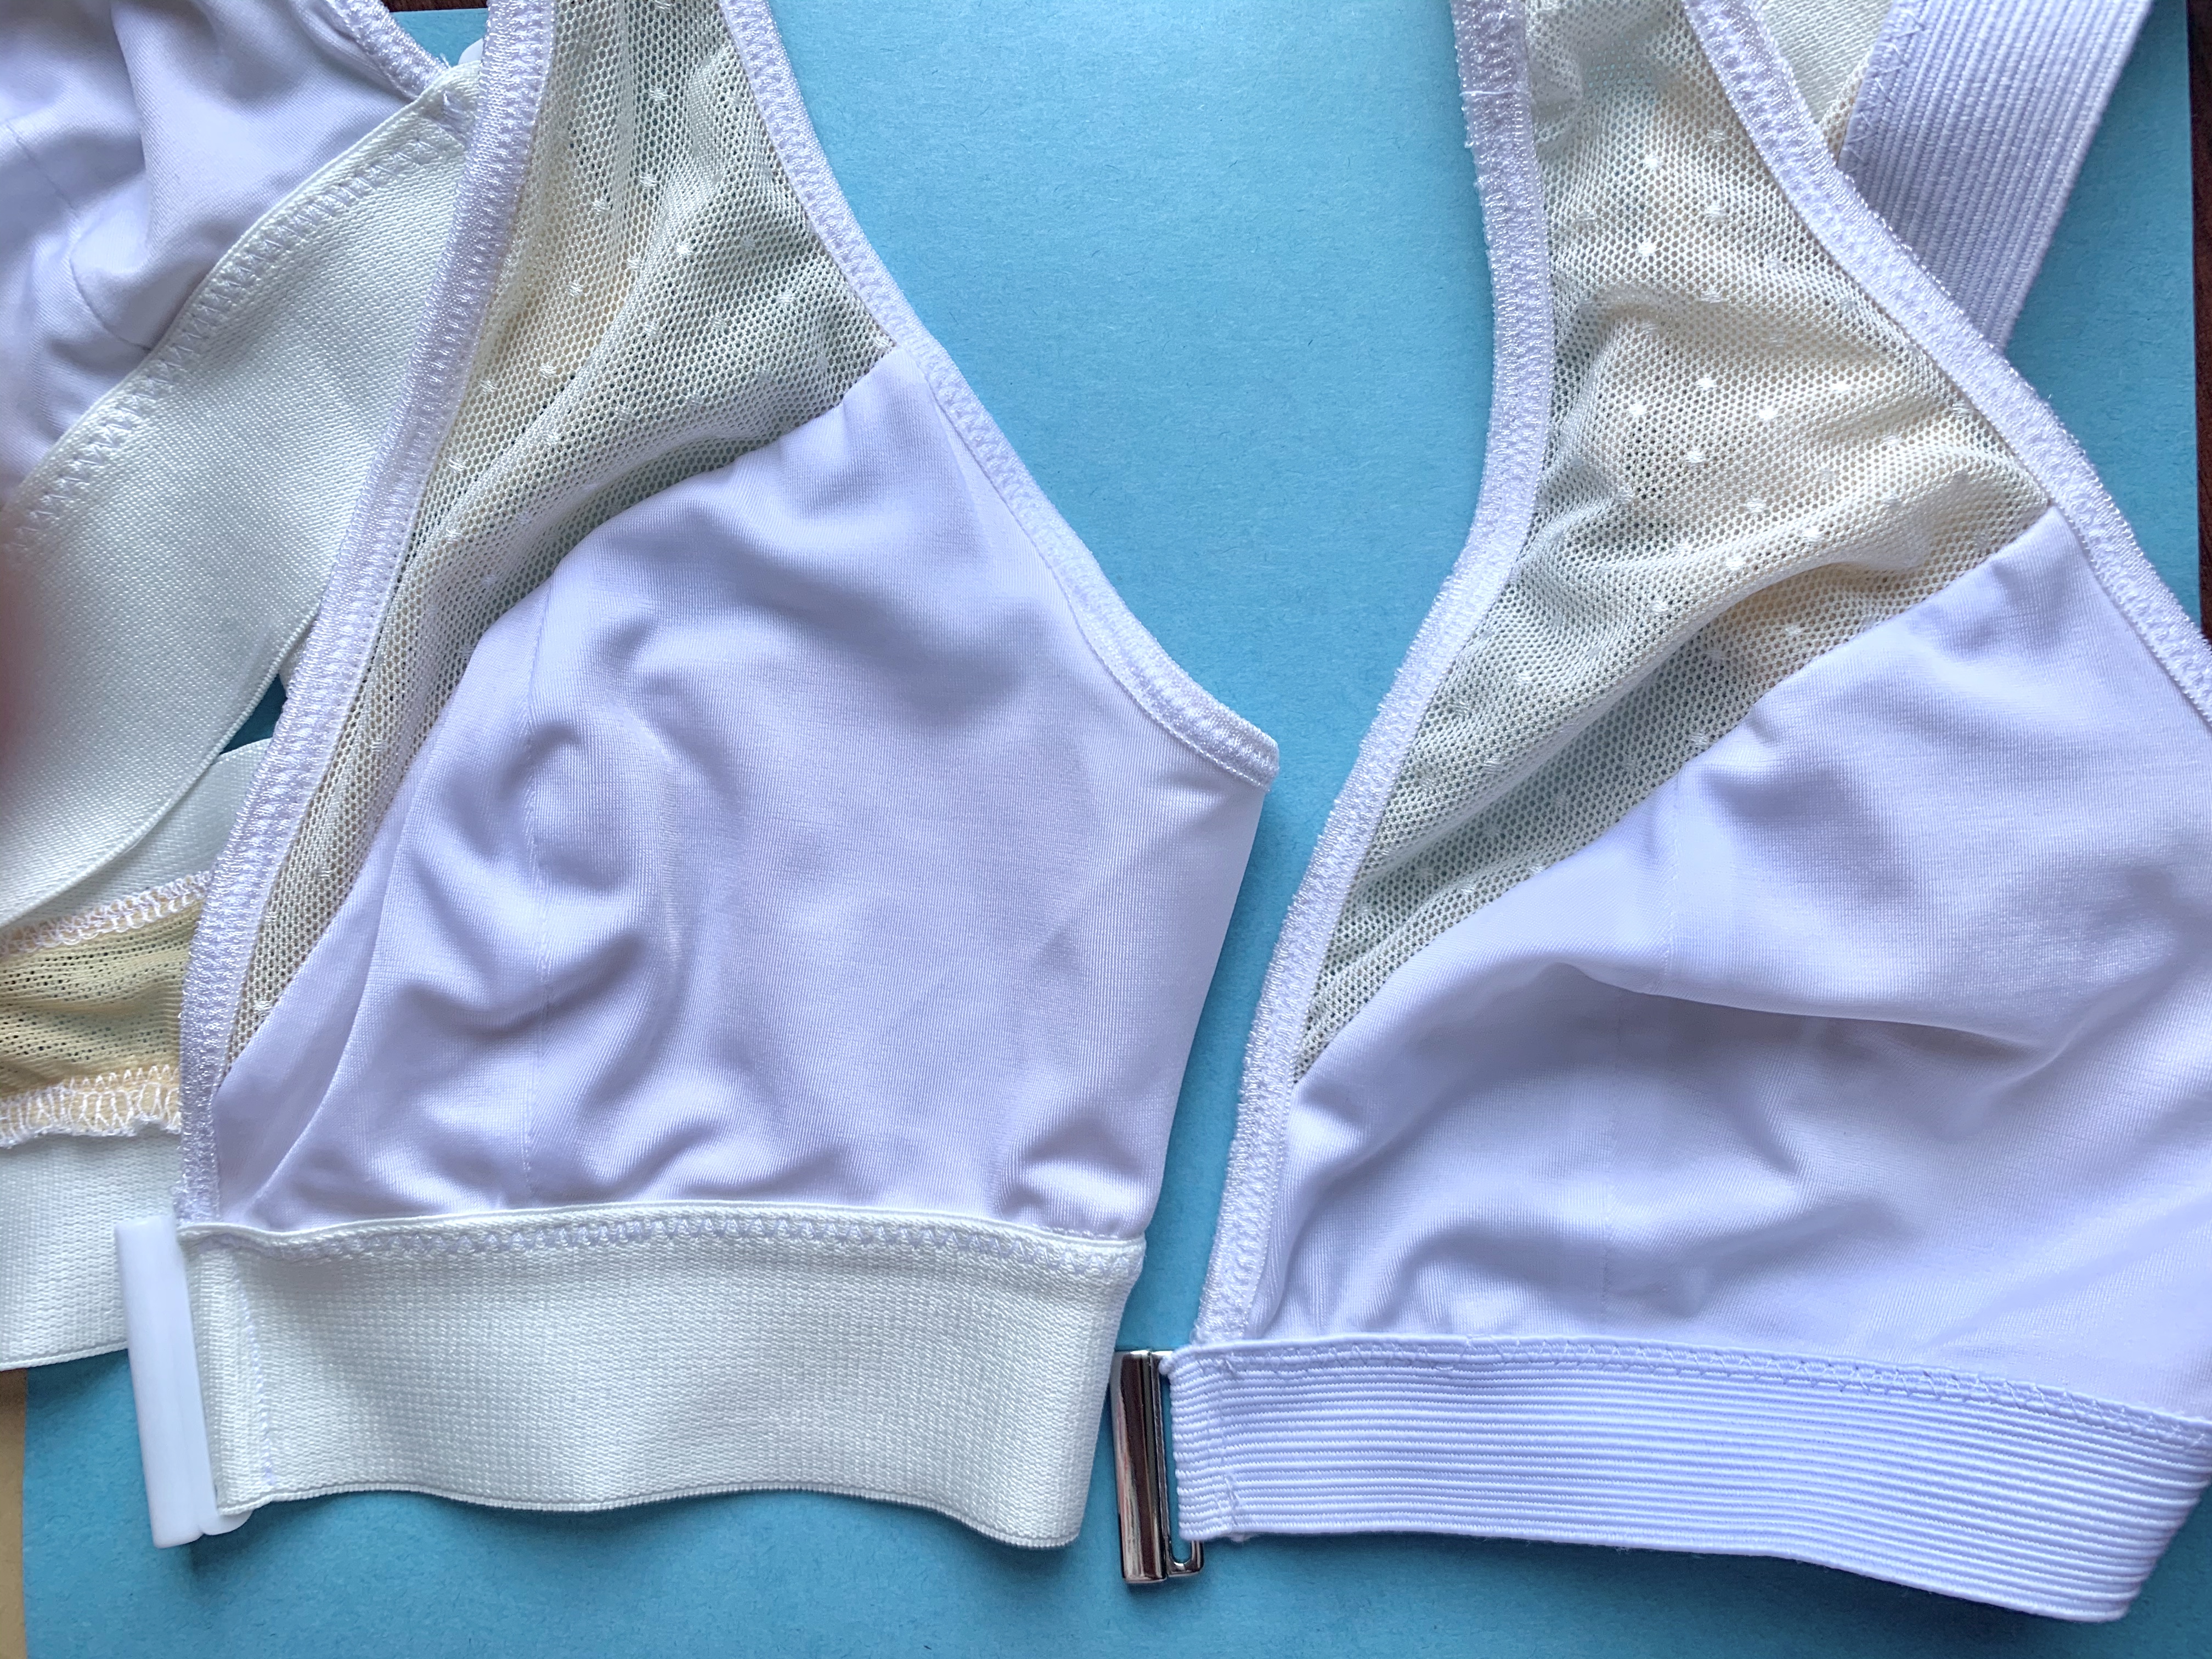
I really like the way the bra on the left fits and feels more because of the quality of the elastic!
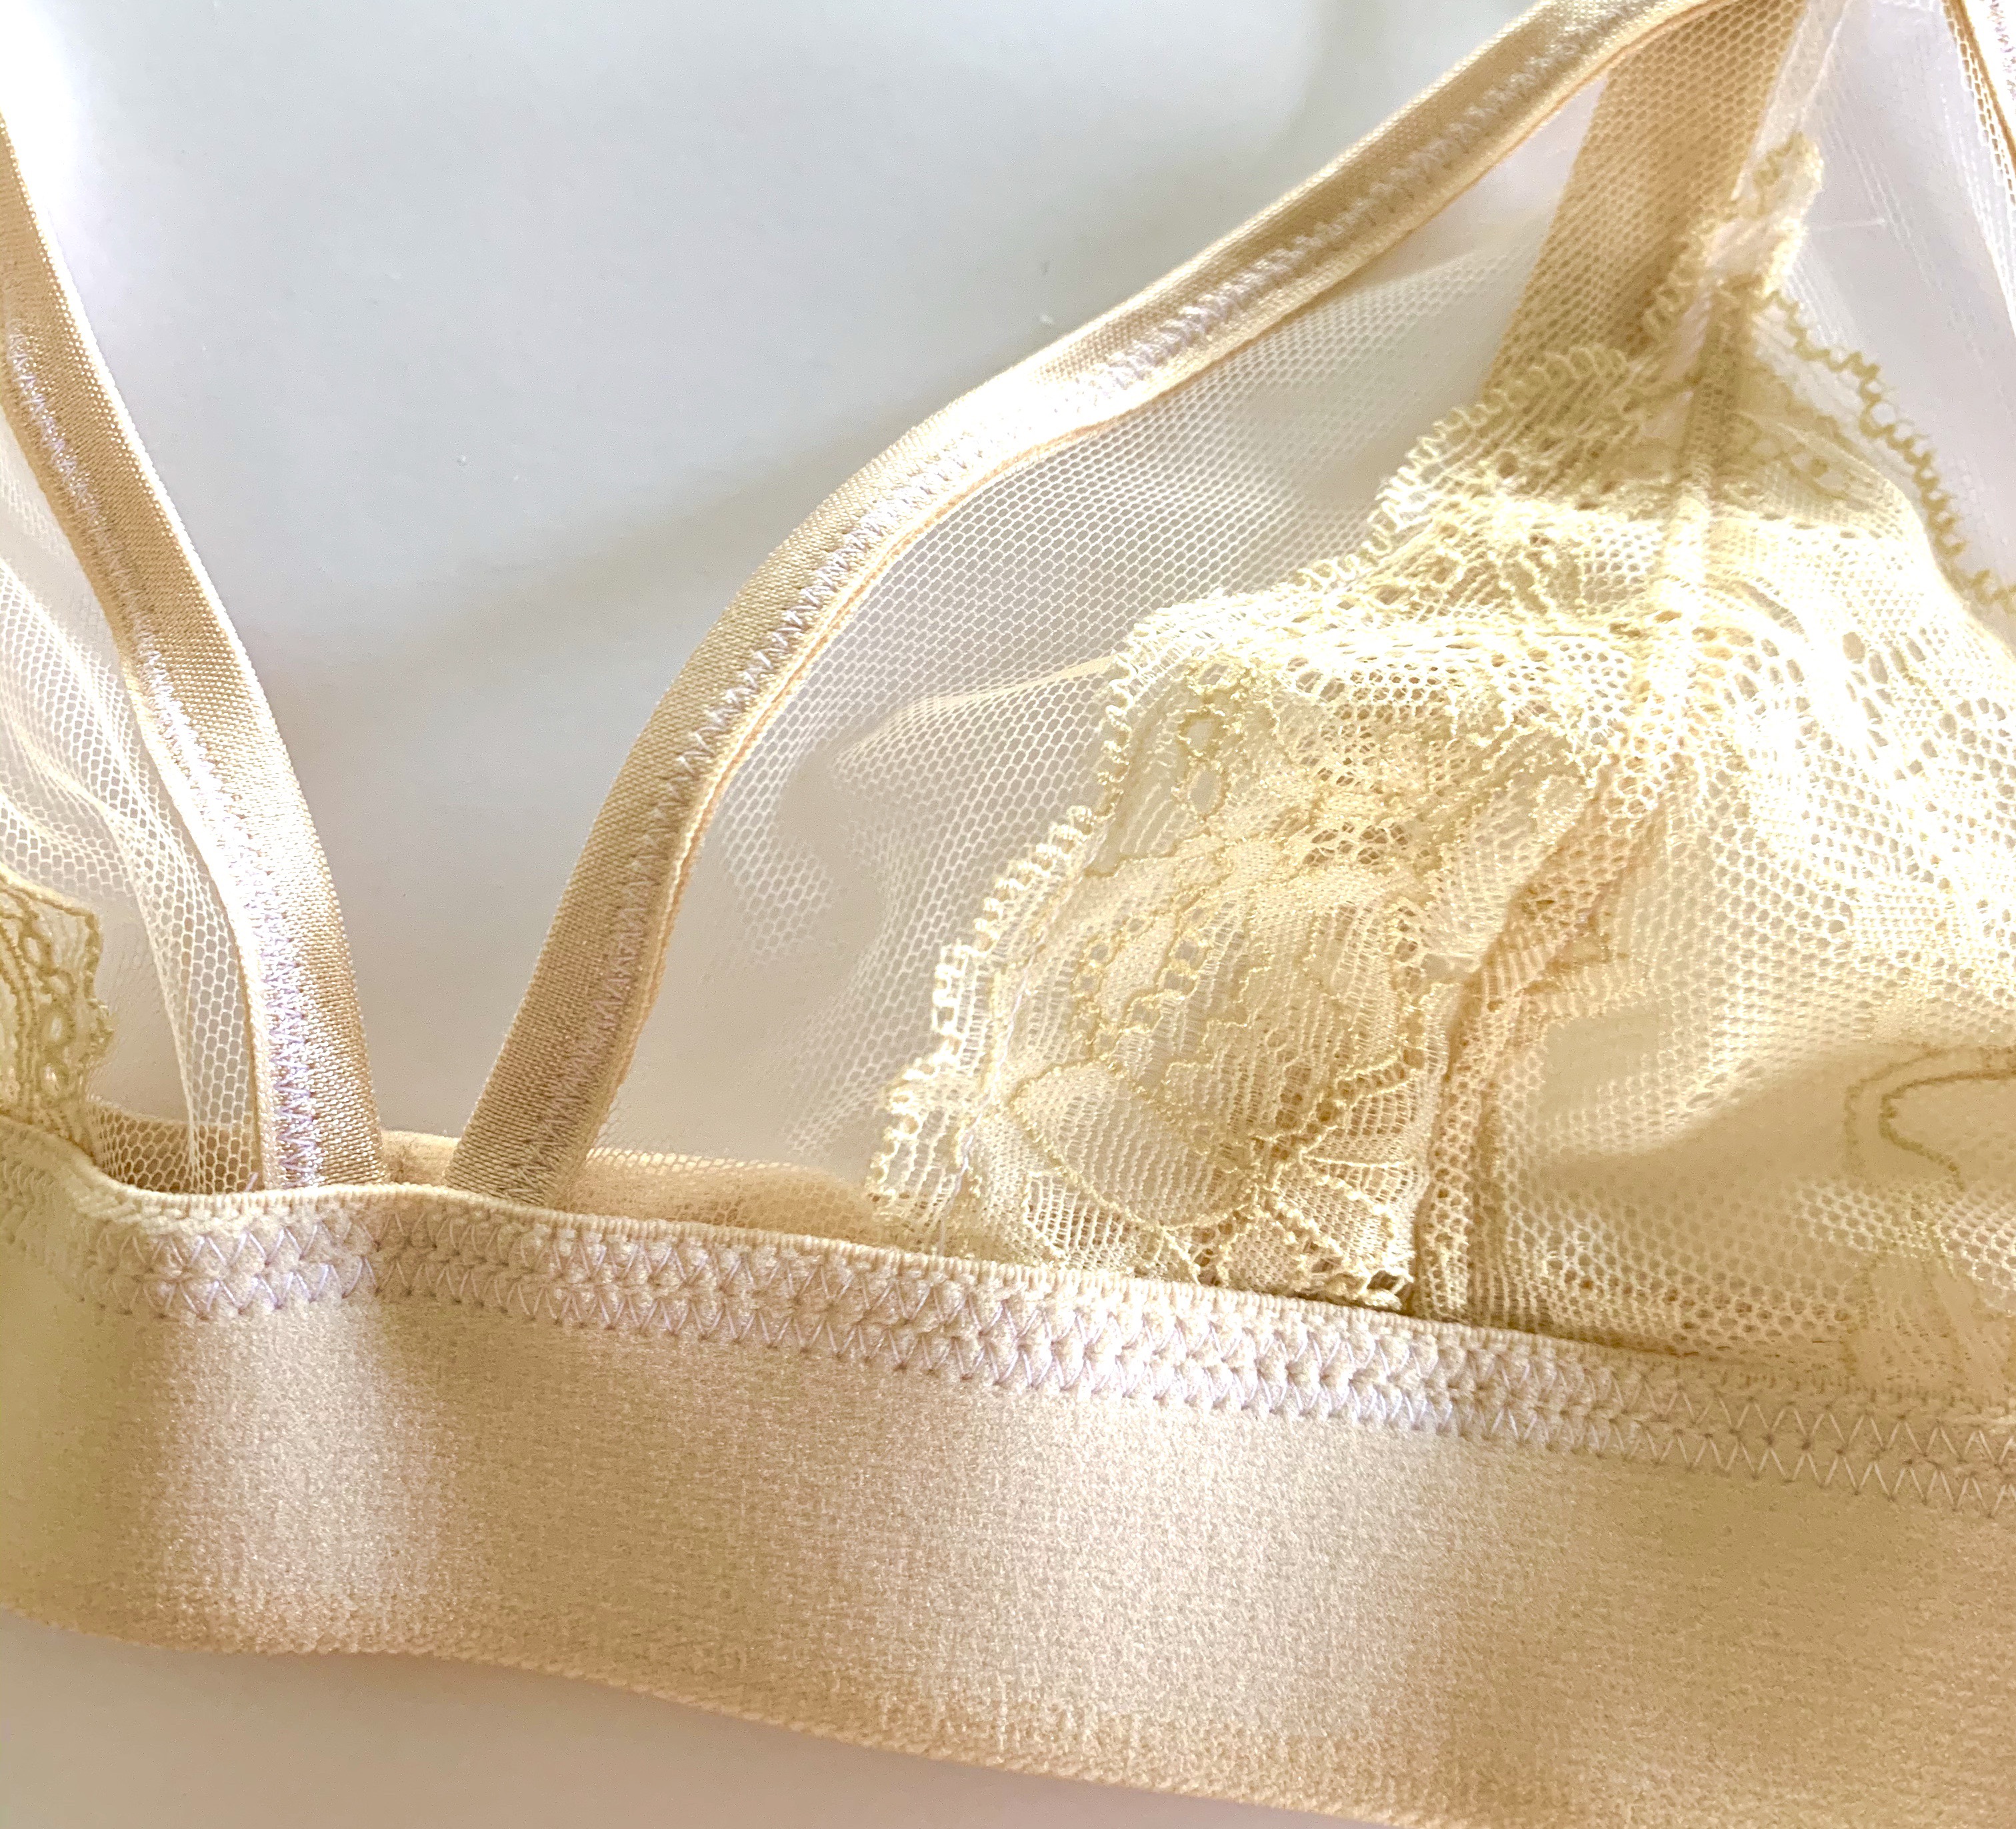
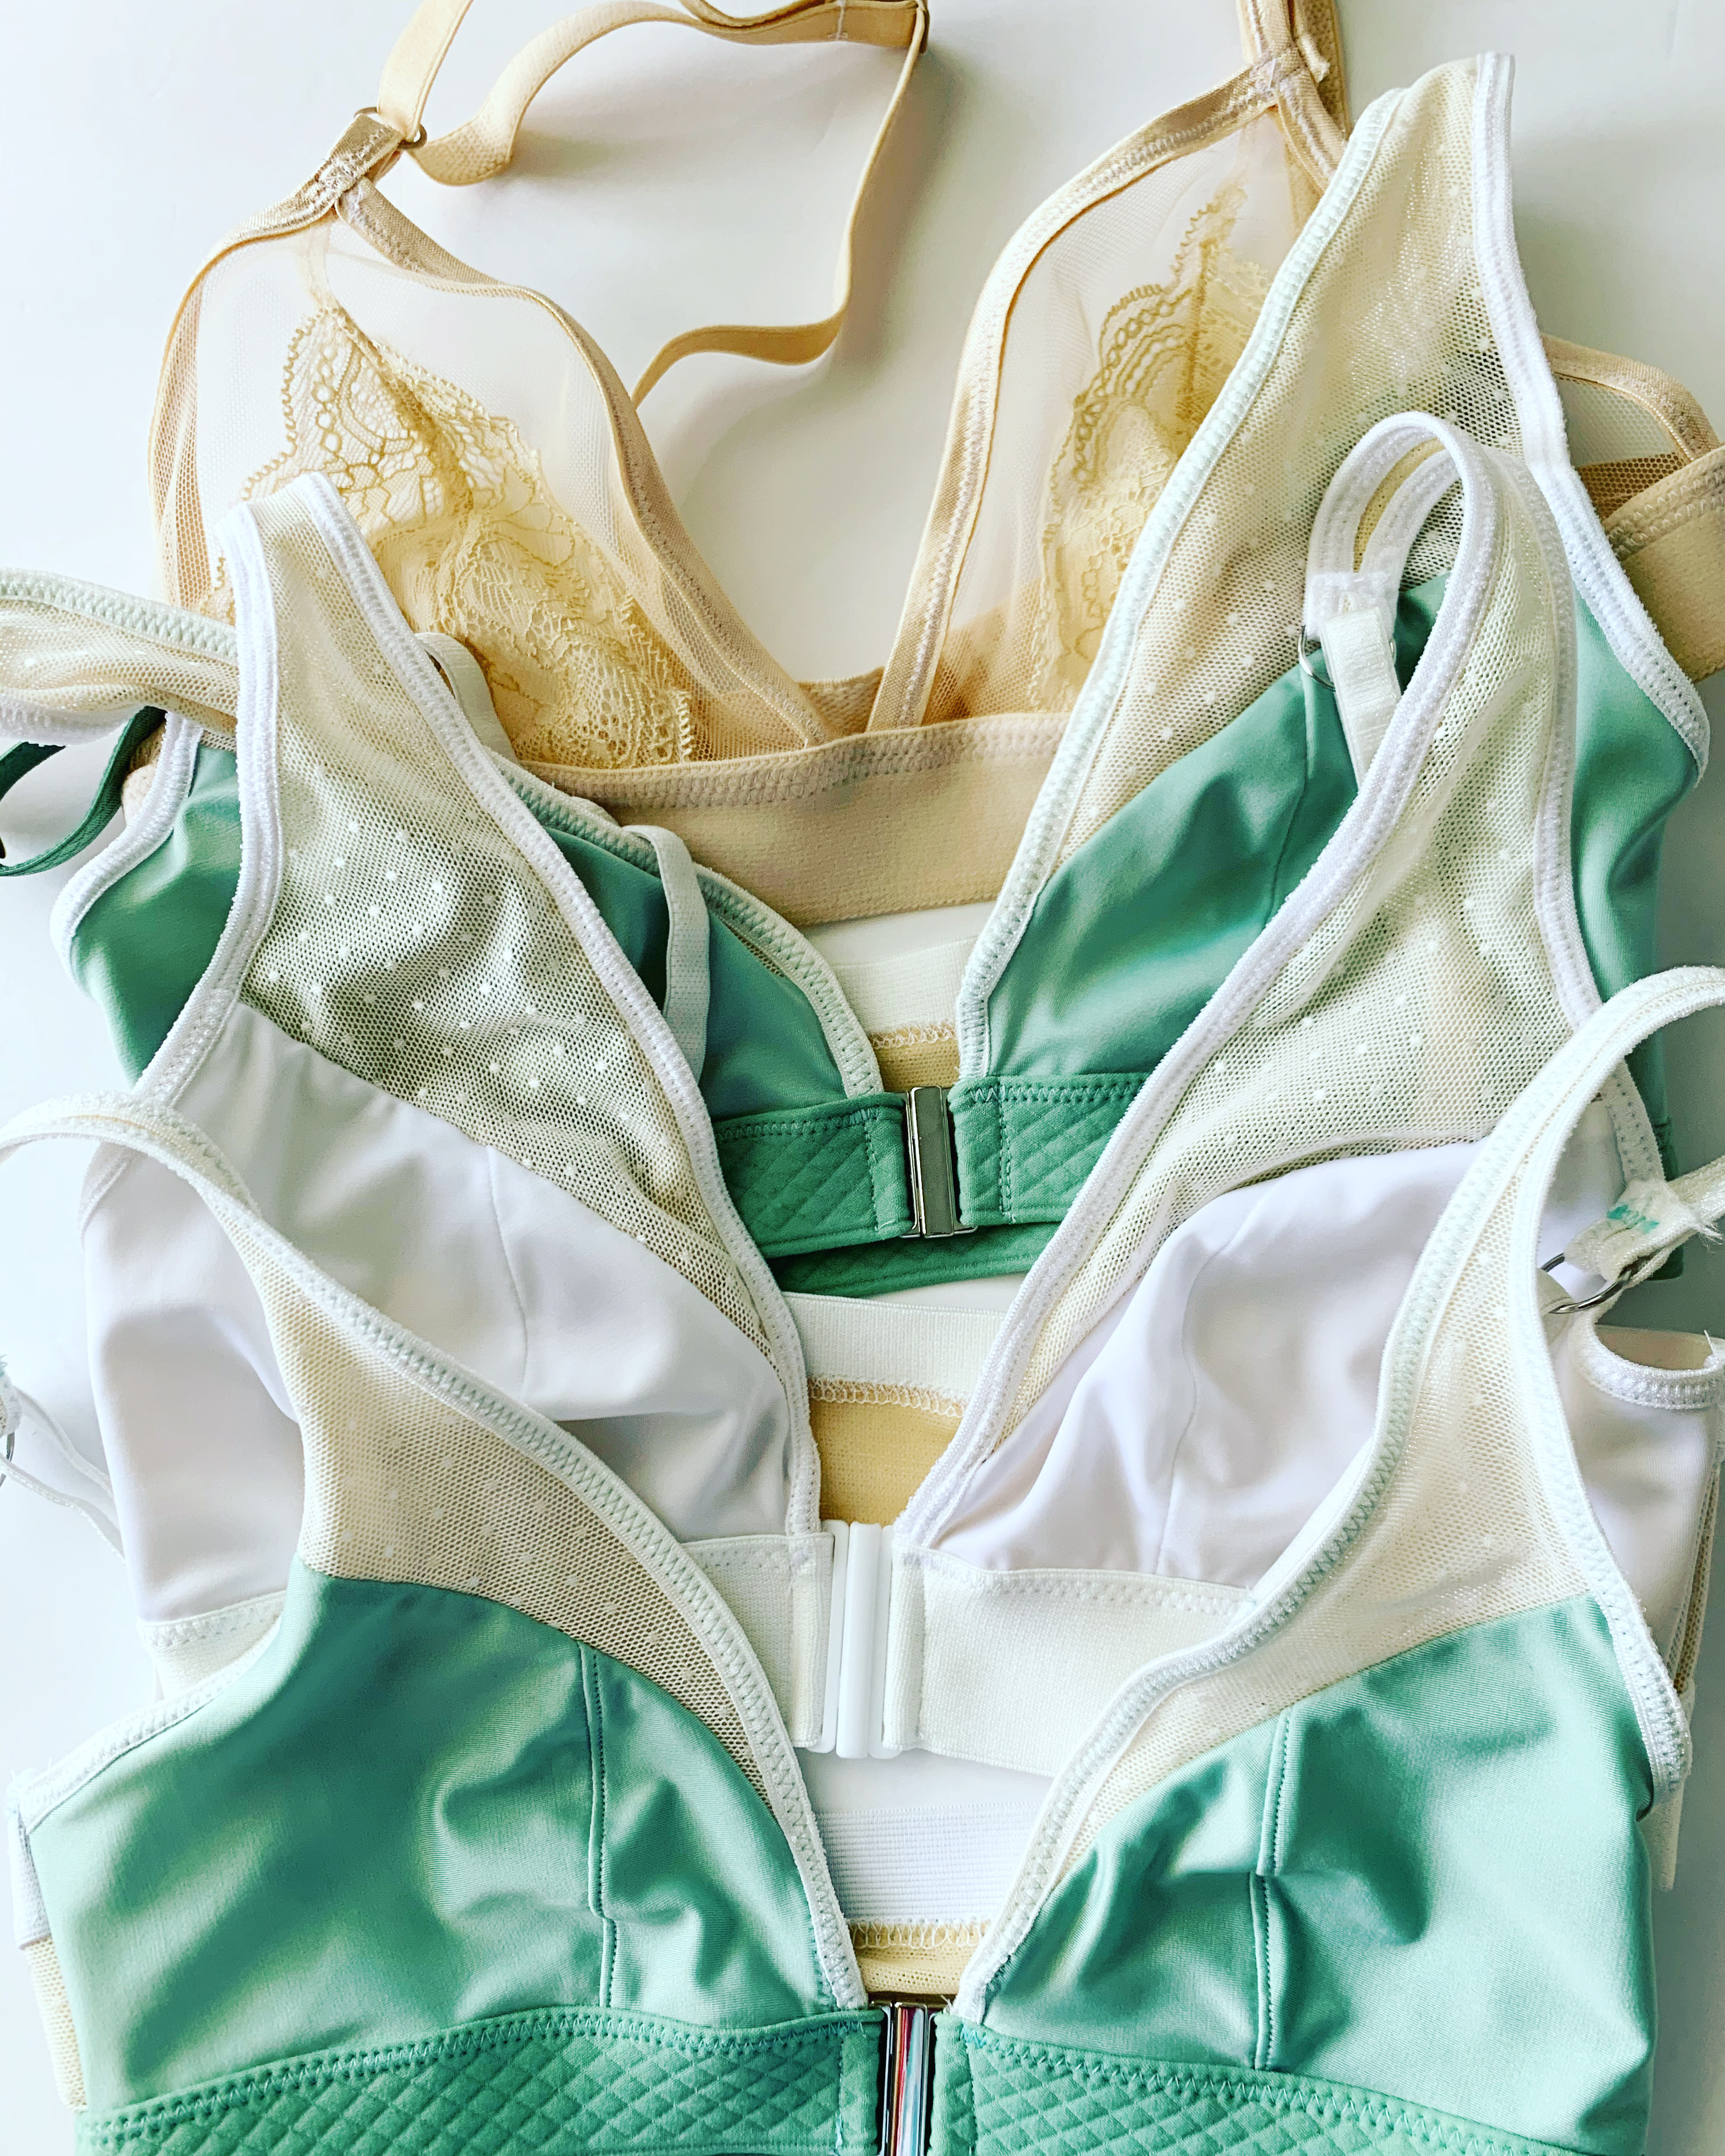
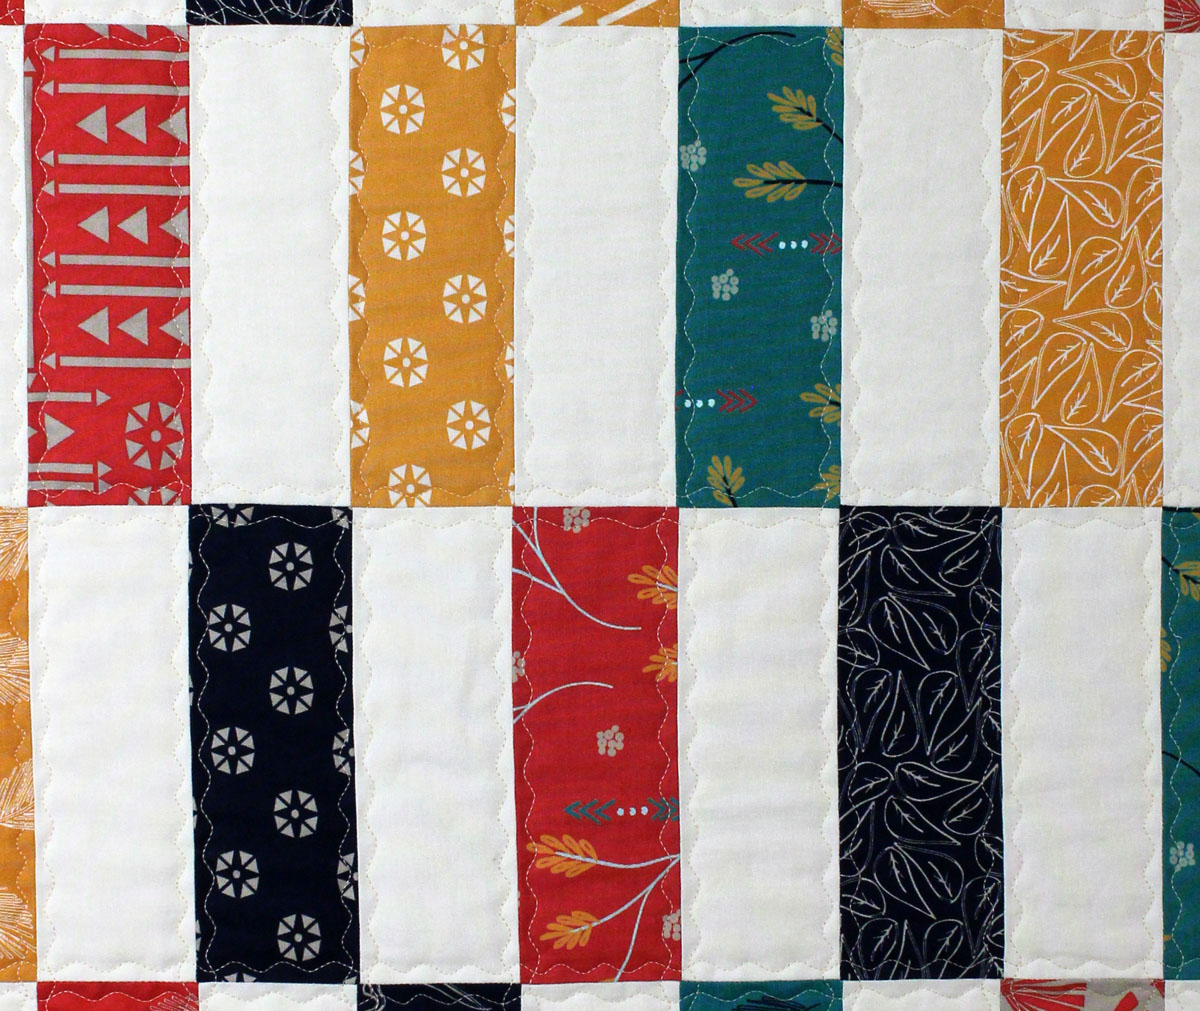
Here is a close-up of the materials used in the Jordy Bralette. The cups on this bra don’t stretch as much but the elastic does and its nice and soft!
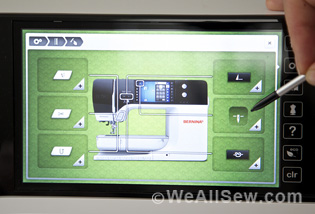
Sewing Machine Parts
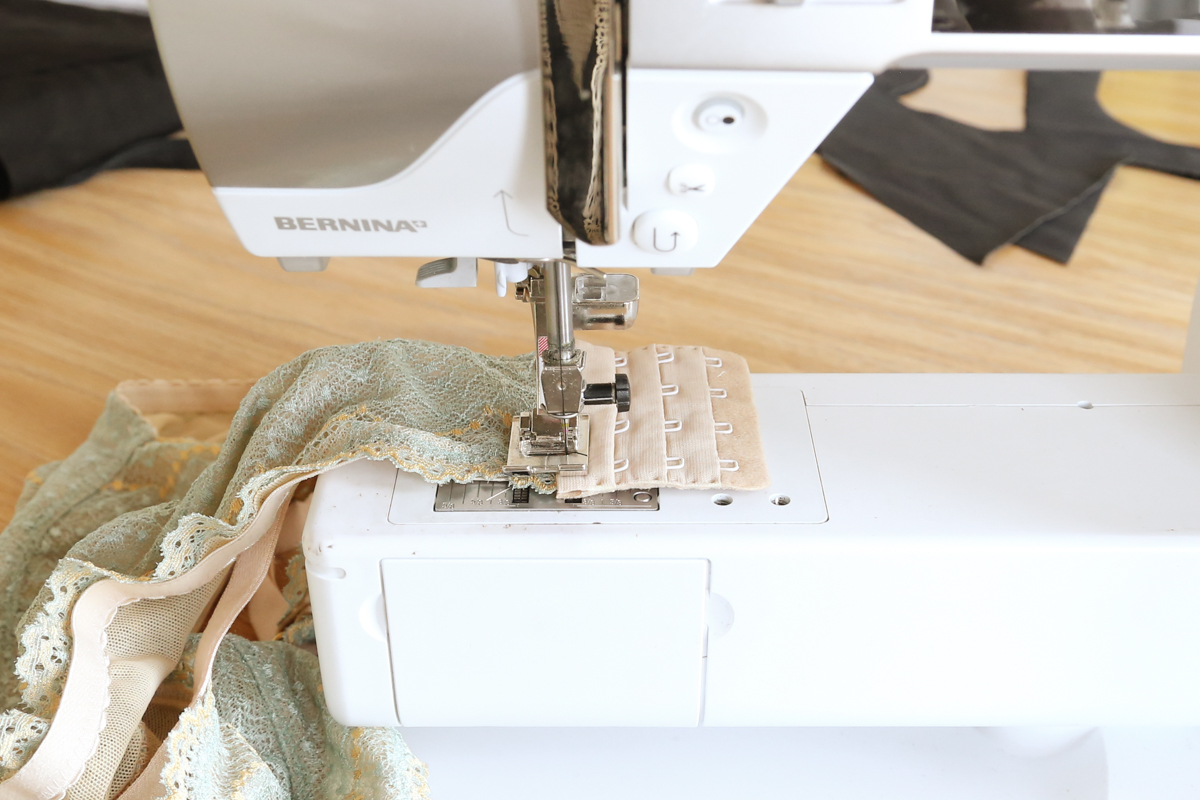
I love the BERNINA Dual-feed feet for knit projects! It helps feed the top and bottom knits at an even rate so you have less rippled and stretched out seams. For these bras I used:
Foot
1D Reverse Pattern Foot (Dual Feed)
Plate
I used the 0 mm “Straight Stitch” plate for all straight stitches (so the fabric didn’t get pushed down into the hole) and the 5 mm stitch plate for all the zigzag stitches. It might seem finnicky to switch plates, but when you are working with this fine of materials, and stretch materials you really don’t want them being eaten at those first few stitches! The 0 mm plate really makes it smooth-sailing!
Here is another great article on why to use different stitch plates!
I look forward to showing you the next segment of this series: TIPS AND TRICKS FOR SEWING BRALETTES! Gather your materials, get your pattern, and then join me next time to get that pattern cut out and sewn!


What you might also like


4 comments on “You Can Make a Bra! Part 1: Materials”
-
-
Thanks Lynn! IT was supposed to have a video I made embedded in it, and I’m just seeing its not there. WHOOPS!! Haha.
-
-
This is wonderful as I have had a mastectomy and bras that fit are had to find.. Can it be made without the boning. I can’t wear underwire anymore.
Also, the link to the Jordy Bralette takes you to free form Dinosaurs…..
-
SO the Boning in this bra isn’t used like underwire. It is just a small piece on the side of bust to keep stability in the bra. It doesn’t go under the bust!!
-
Leave a Reply
You must be logged in to post a comment.

Really nice work Katie, thank you for sharing?