Simple Strips Quilt-along Part 1 – Materials List and Fabric Cutting
Hi all! It’s Christa Watson here, I’m excited to team up with BERNINA to share a brand-new quilt-along that you are sure to love! Over the next five weeks, I will be showing you how to make my Simple Strips Quilt, completely by machine—including the binding. Whether this is your first quilt, or your fiftieth, you’ll enjoy making this quilt from start to finish.
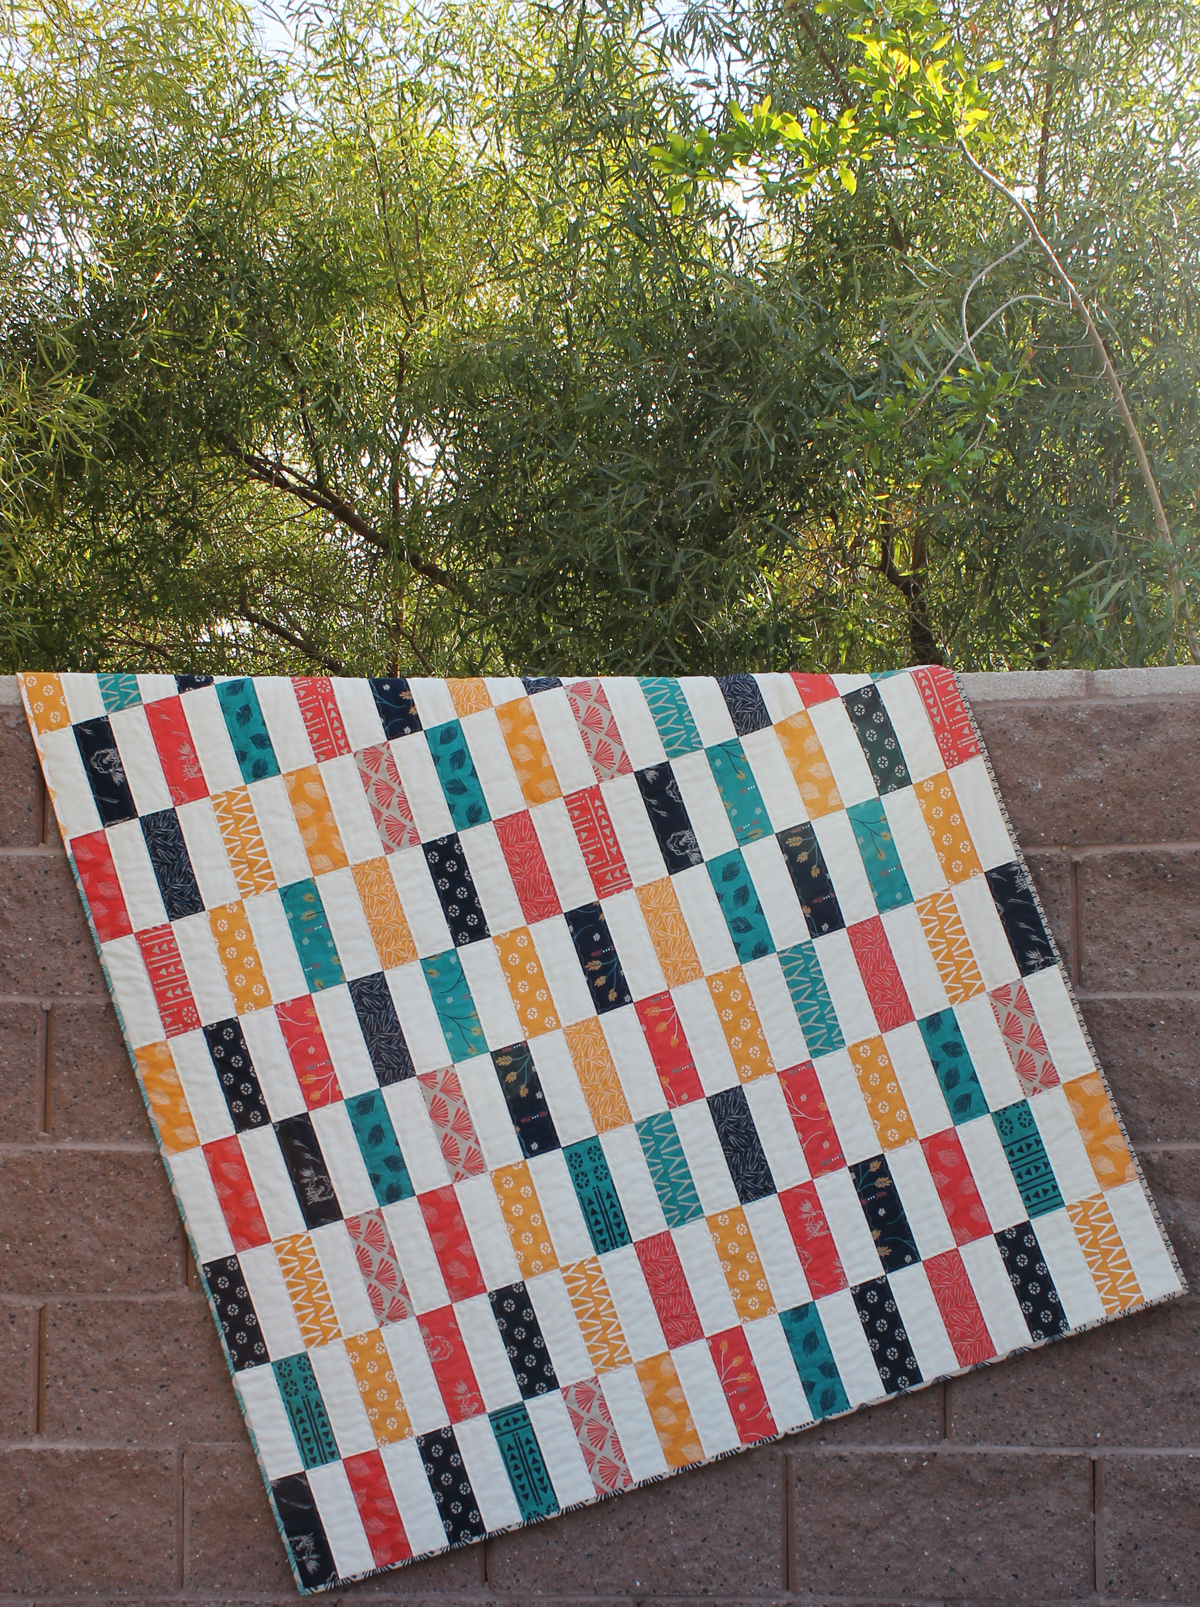
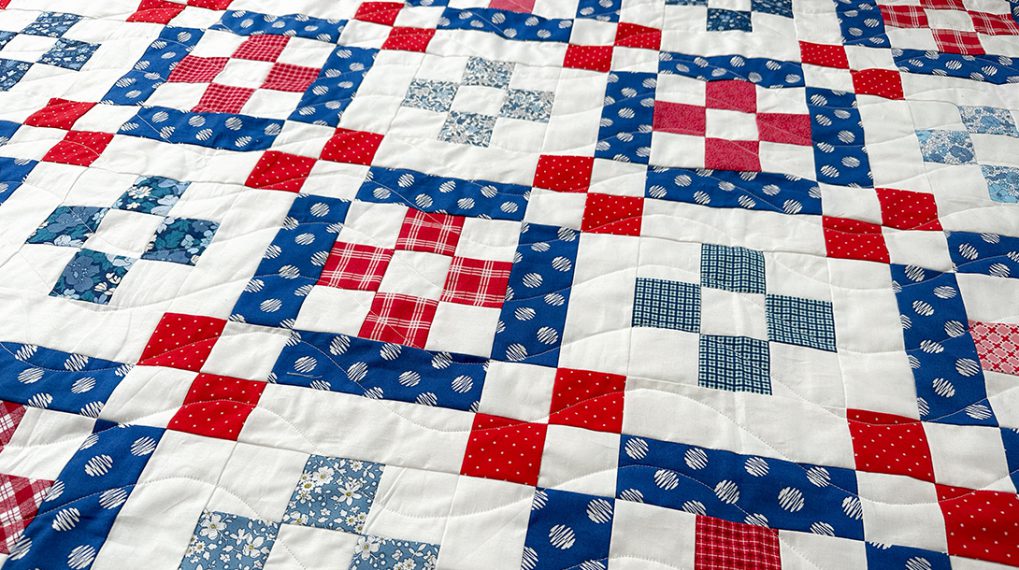
About This Quilt
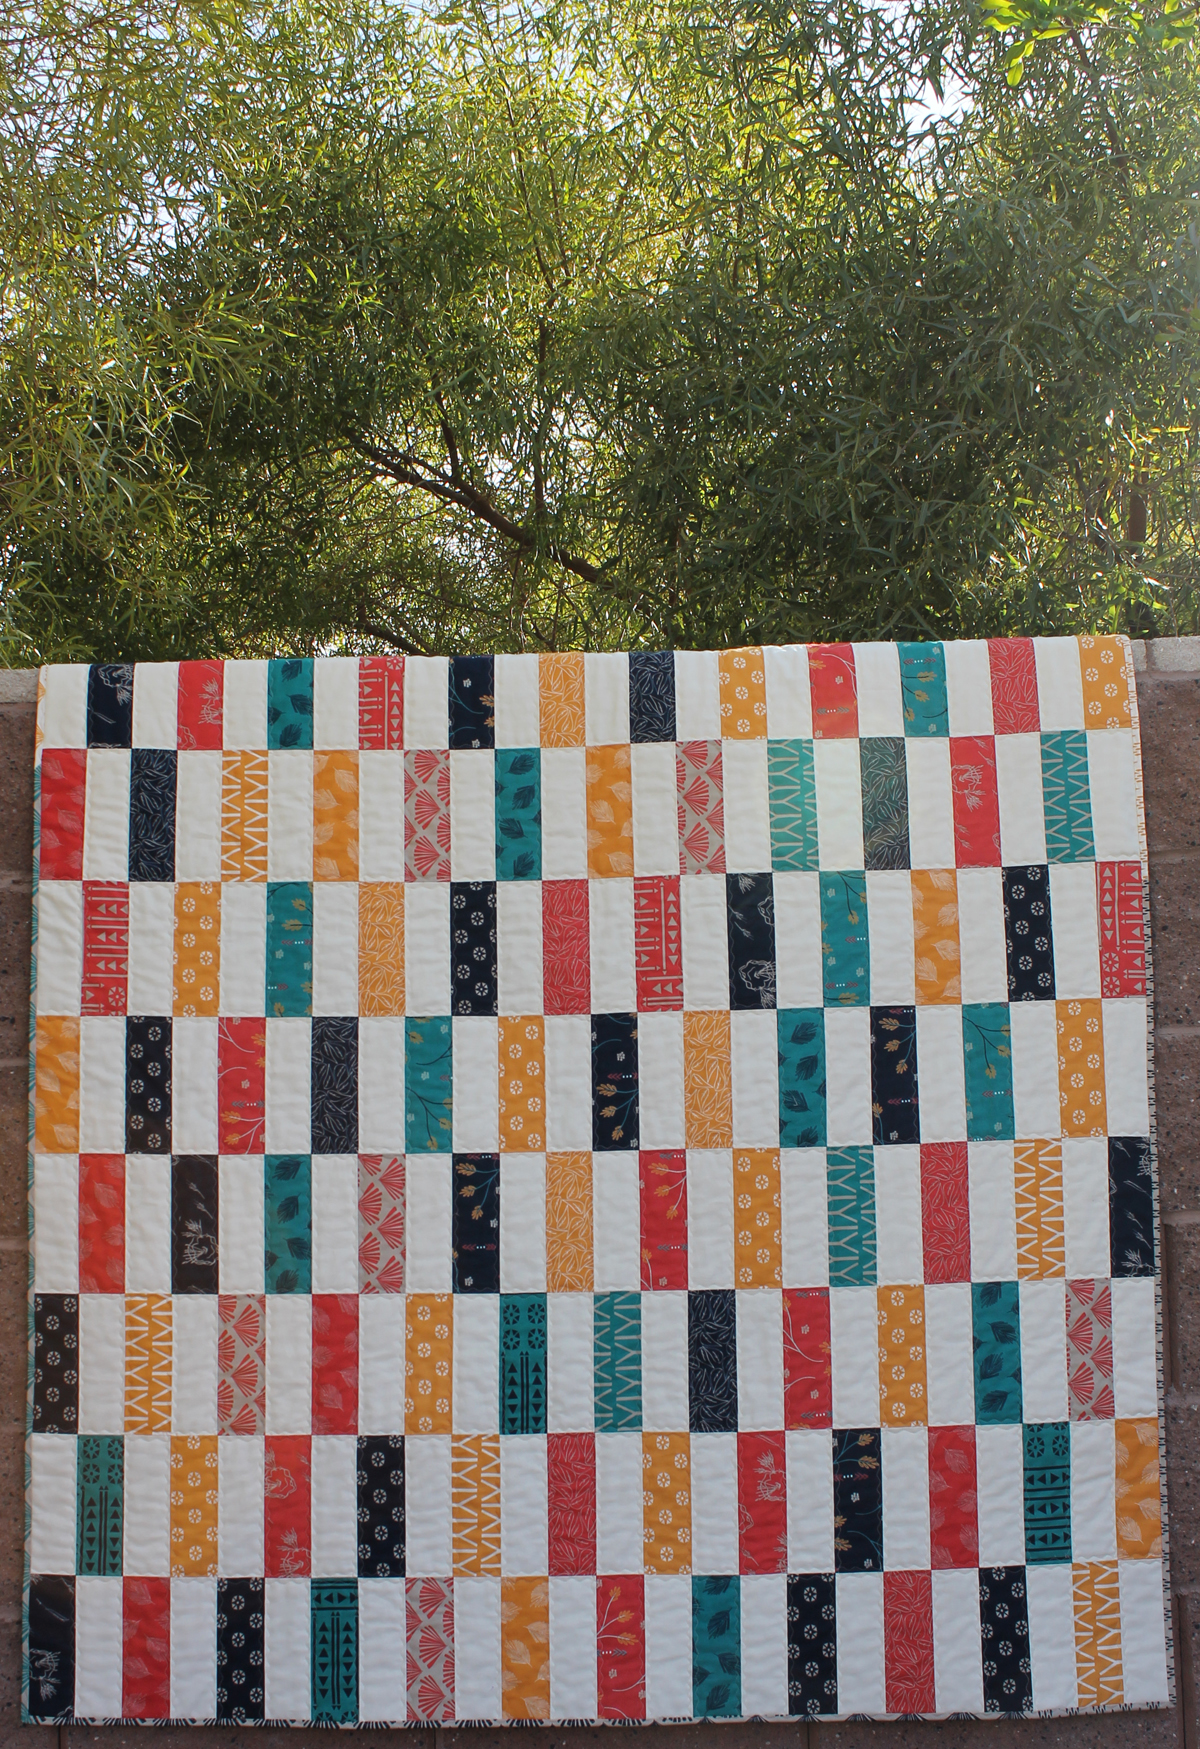
Finished Quilt Size: 48″ x 60″
Finished Block Size: 12″ x 12″
Number of Blocks: 20, set 4 x 5
Quilt Along Schedule
- Part 1 – selecting fabrics and cutting the fabric pieces
- Part 2 – sewing the blocks and quilt top
- Part 3 – piecing the backing, basting the quilt
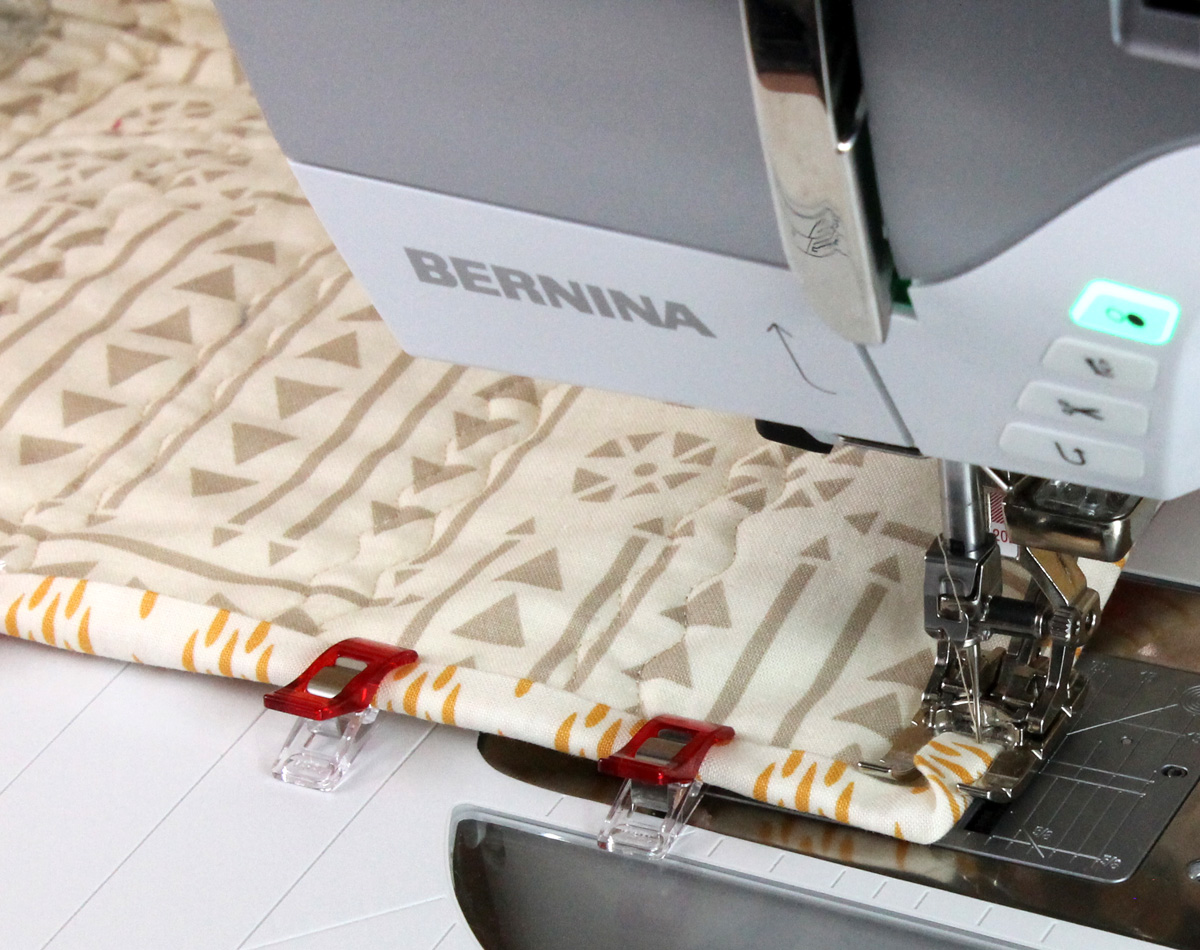
- Part 4 – machine quilting using the integrated Dual Feed
- Part 5 – binding by machine
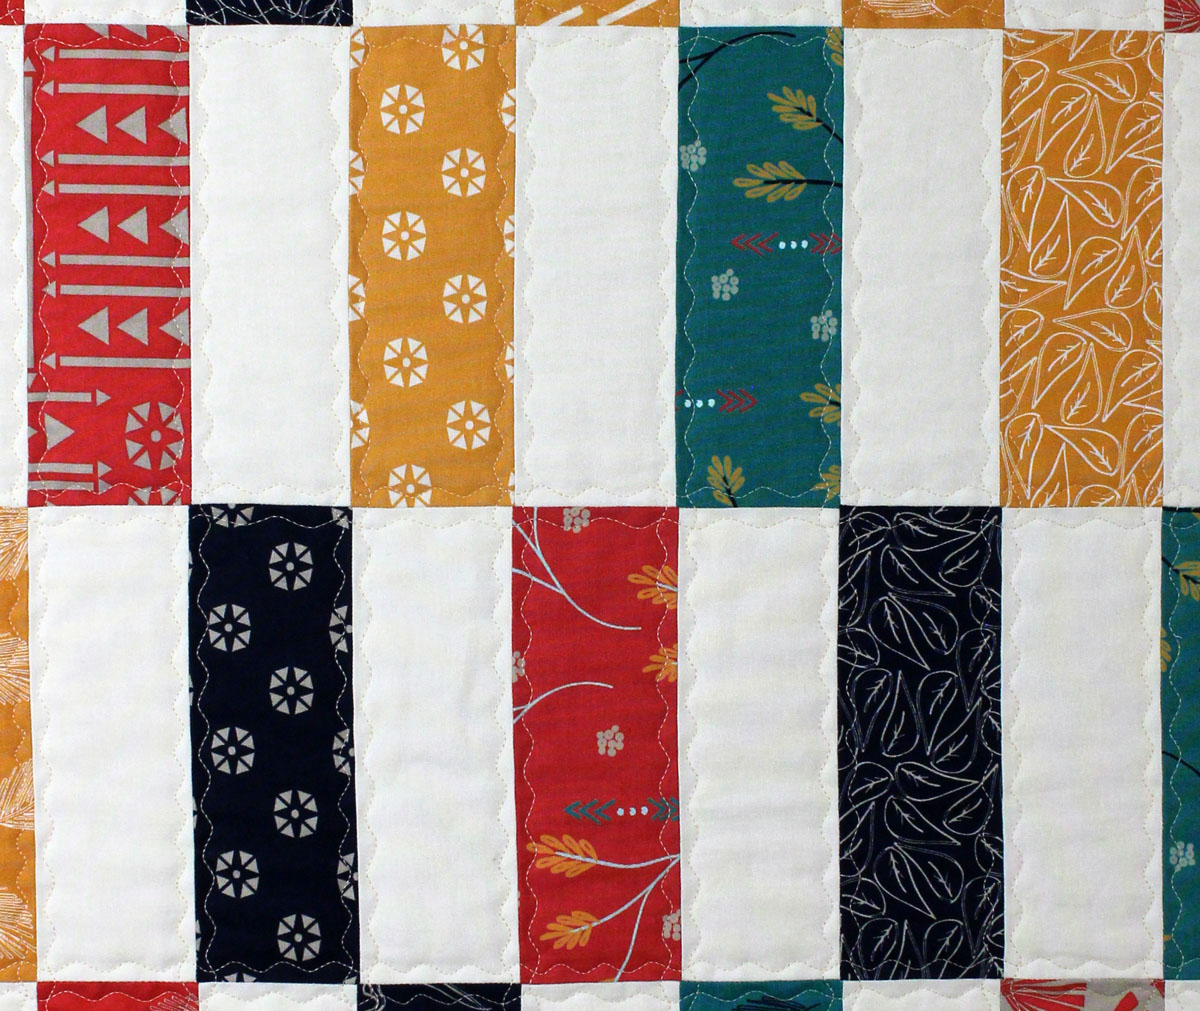
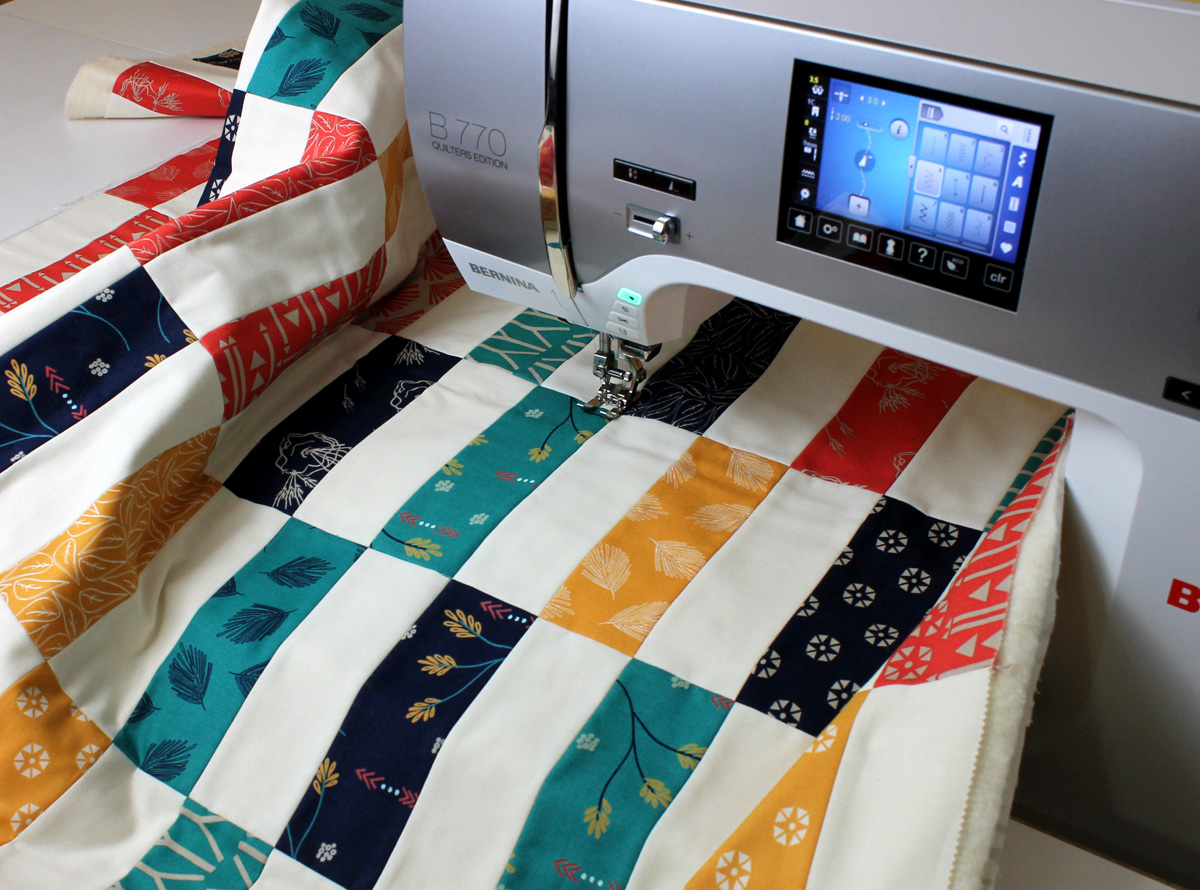
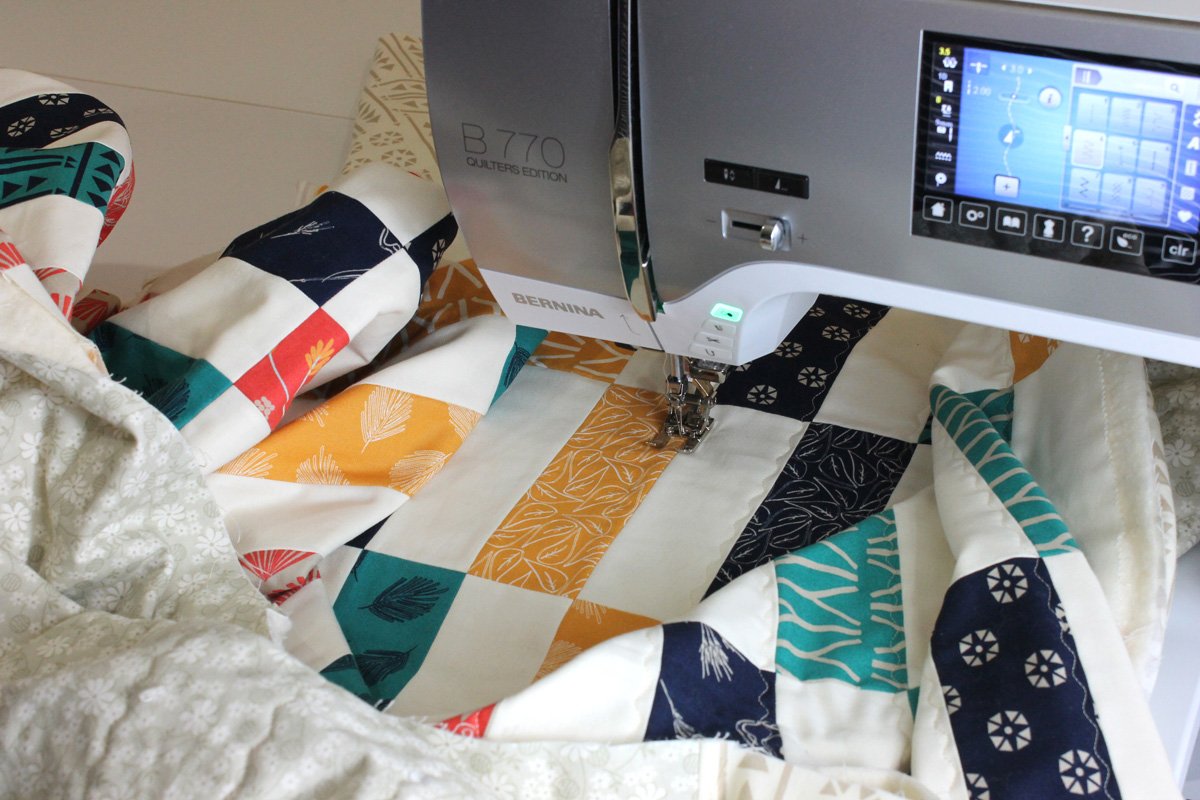
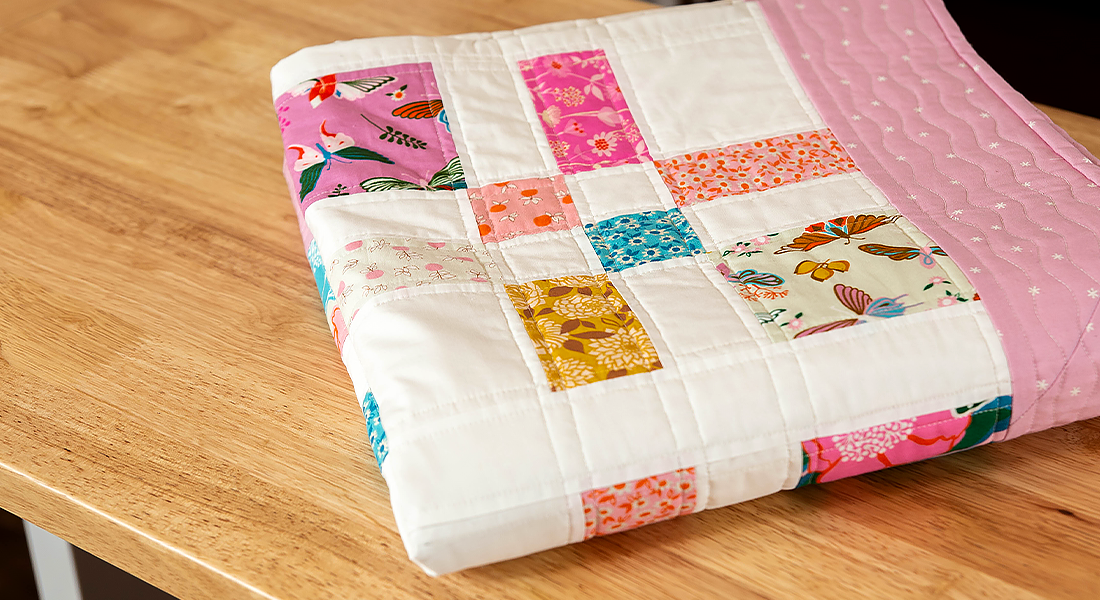
Above is a closeup of the machine quilting we will accomplish in week 4. It is fun, quick and easy to do!
Let’s Get Started
I love using precuts whenever possible. Because much of the cutting work has already been done, it means I can start machine quilting much more quickly!
Materials to Make a Complete Quilt
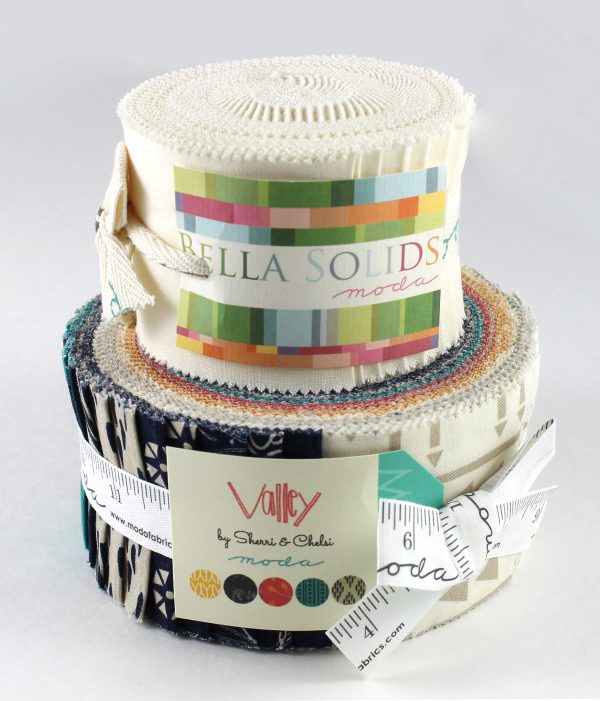
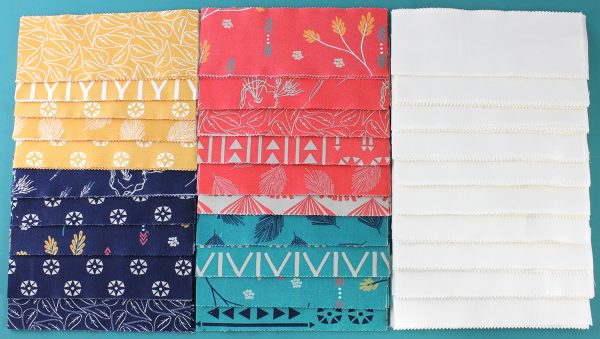
- 40 precut strips, 2 1/2″ x 42″ (half light, half dark) for the quilt top
- 1/2 yard of coordinating fabric for the binding (or leftover precut strips)
- 3 yards of fabric for the backing
- 52″ x 65″ piece of batting
- Thread for machine quilting (I will be using Aurifil, 50 weight cotton)
- Rotary cutter, self-healing mat and acrylic ruler
- Sewing machine that has decorative stitch capabilities
- Walking foot or integrated Dual Feed function, preferably with an open toe for visibility
For my version I used ½ Jelly Roll of the Valley collection by Sherri & Chelsi, plus one Junior Jelly Roll of Moda Bella Solids in Ivory. When choosing fabrics, be sure that your dark or print strips contrast well with your light, or background strips.
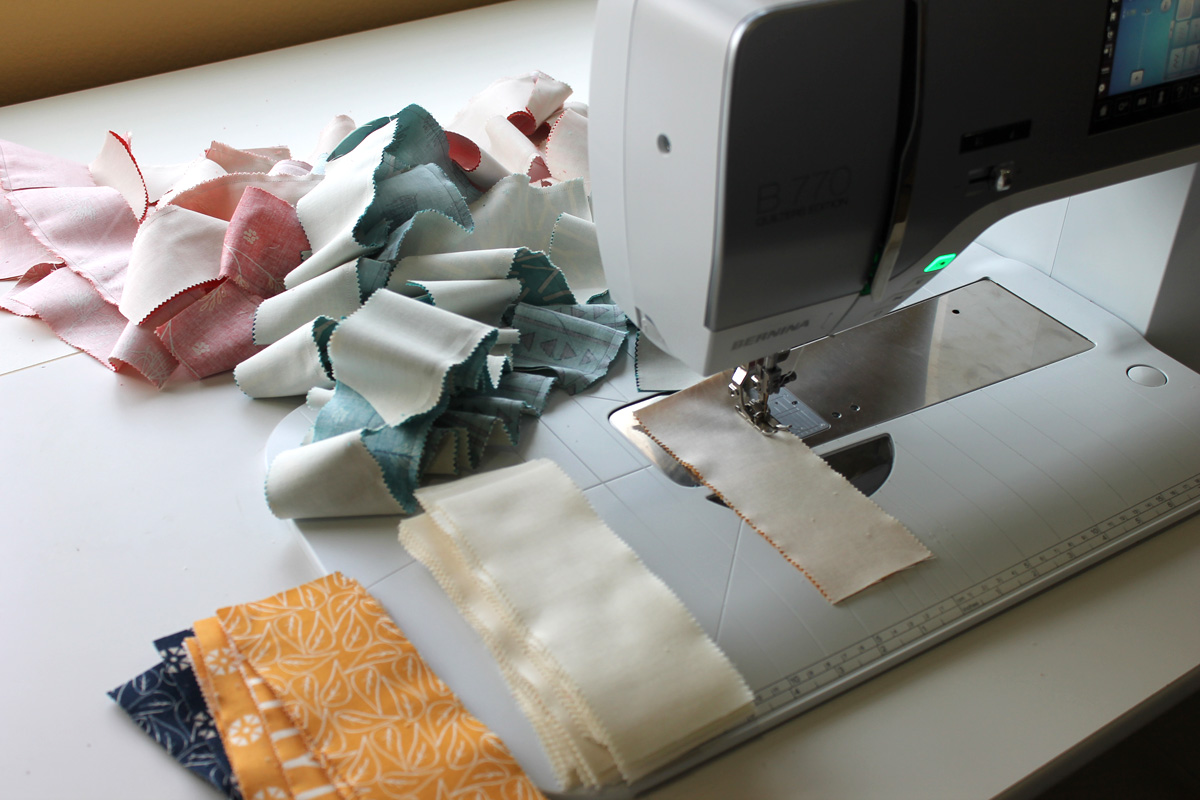
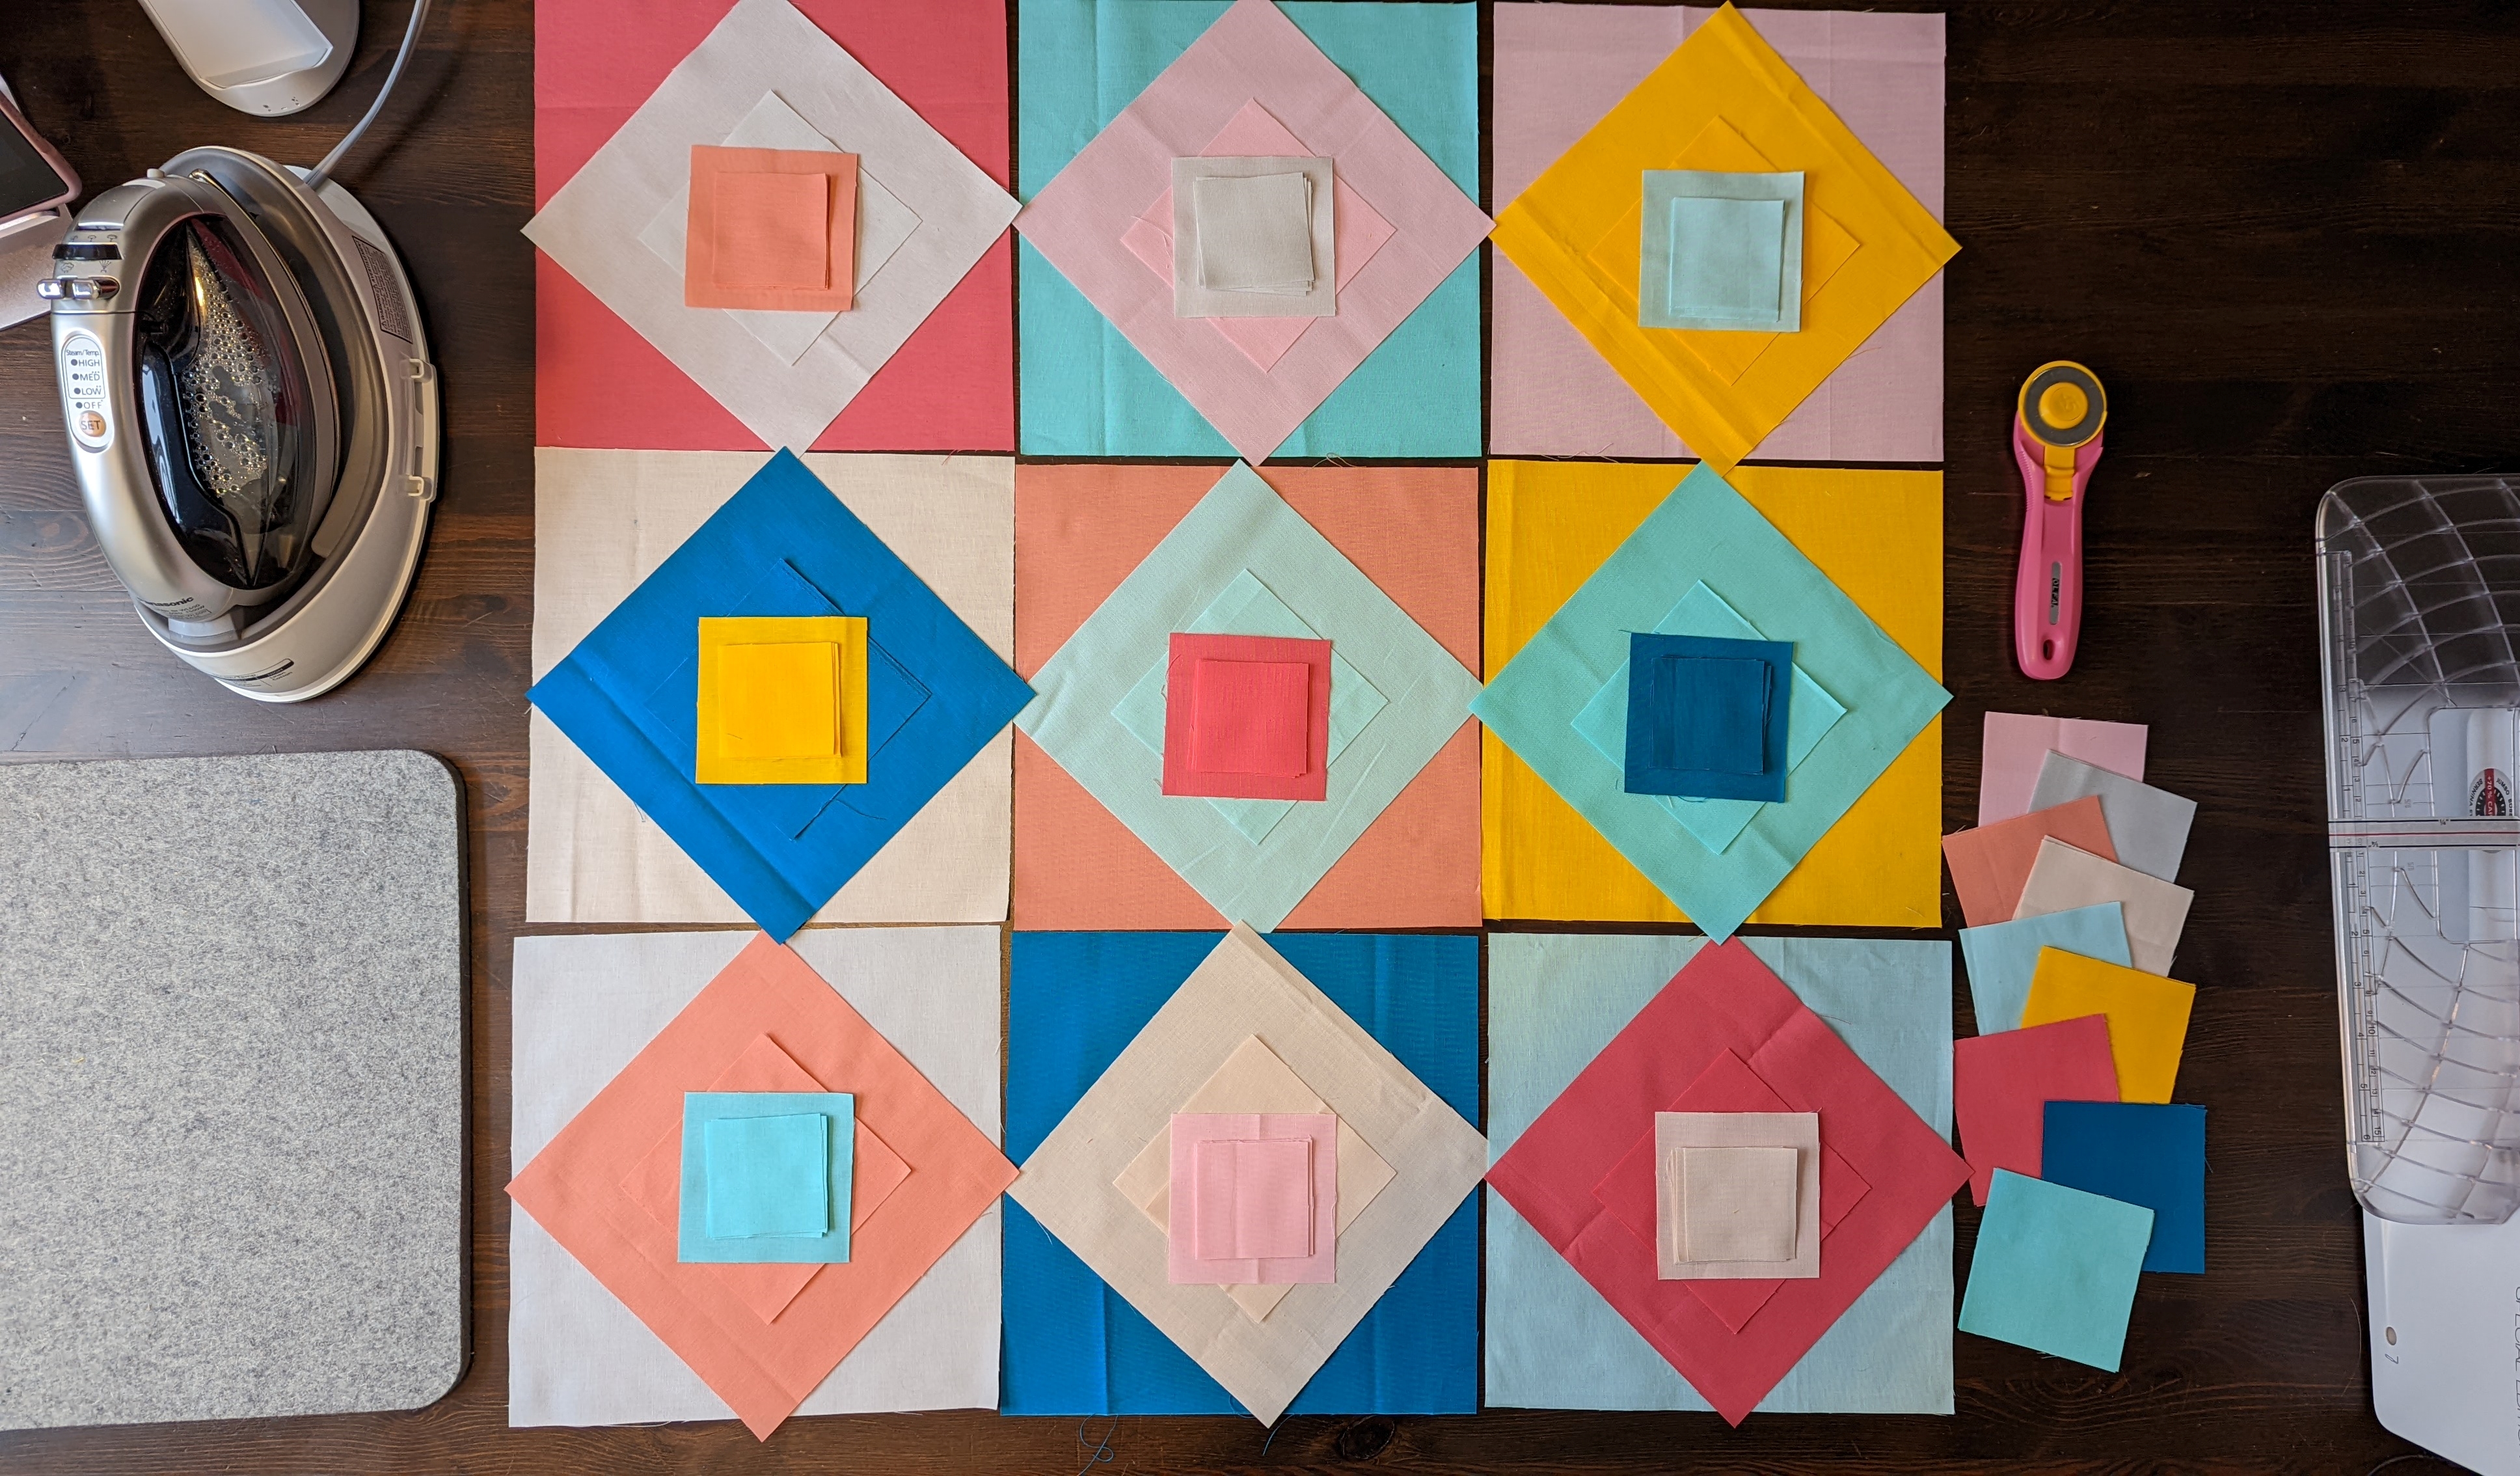
Cutting the Fabric Strips
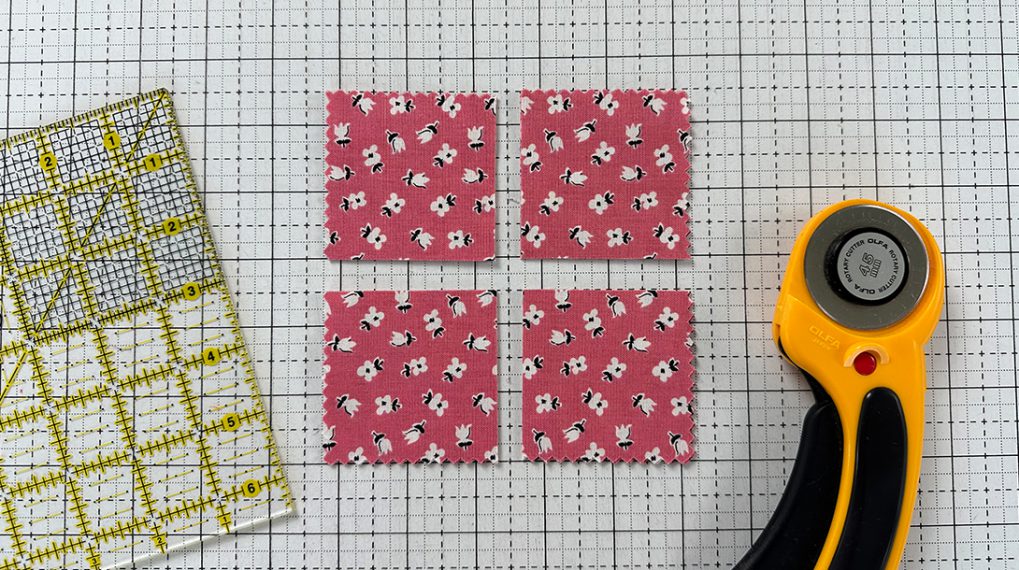
Tip: Lay out the precut strips on a self healing rotary cutting mat. Use the lines on the mat lined up with the lines on the ruler to make a precise cut. I like to use a small square ruler that is at least 6 1/2″ wide for cutting the strips into rectangles.
From each of 20 precut print strips, cut:
6 rectangles, 2 ½” x 6 ½”, for a total of 120 rectangles for blocks.
From each of 20 precut background strips, cut:
6 rectangles, 2 ½” x 6 ½”, for a total of 120 rectangles for backgrounds.
Tip: for faster cutting, keep strips folded and layer two strips at a time, for a total of 4 layers of cutting.
Wasn’t that fun? Be sure and join me here again next week and be ready to sew! I’ll be piecing this quilt on my BERNINA 770 QE. It comes with the Patchwork foot # 97D for perfect ¼” seams, every time!
Your Quilt “Homework”
Clean and oil your machine, and install a brand new needle. I recommend a size 80/12 Universal needle or Topstitch needle. See ya next week!
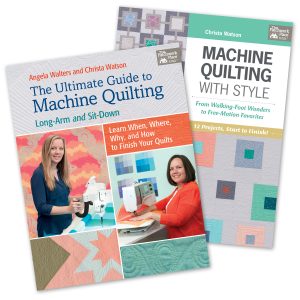
I am the author of two machine quilting books that show you how to make a complete quilt from start to finish, check them out to learn more about quilting.


What you might also like


15 comments on “Simple Strips Quilt-along Part 1 – Materials List and Fabric Cutting”
-
-
Thank you – I had fun making it!
-
-
Great design!!! So Simple and pleasing to the eye.
-
Thank you – it’s such a fun quilt!
-
-
How fun & easy! Modern yet traditional. Love it!
-
Thank you – the best of both worlds!
-
-
I love the pattern for the simple strips quilt. I am going to cut the the 1/2 light, 1/2 dark 2/12″ x 6 1/2″ strips from cotton shirt backs to make memory quilts to help my grandchildren remember their grandpa. I am a new quilter and would like to know how many yards of fabric I would need to purchase for the 120 background strips?
-
What a great memory project that will be! You will need about 1 1/2 yards for the background, but to be in the safe side, I’d get 1 3/4 yards. I can’t wait to see it!
-
Thank you so much!
-
-
-
Cut strips from fat quarters that I already had on hand and cut rectangles from the strips. New needle and machine is ready for me to sew!
-
I’m late to this quilt party but will start tomorrow! I have all the supplies. Thanks
-
Needed a shot in the arm! I have been stripping my stash with all fabric leftover from quilting projects made from fabric I “shopped for” in my stash! This will be a great way to use some of the 2.5″ strips I’ve cut!!
-
Darn nice can hardly wait to start
-
Is there a PRINT command for this class?
Leave a Reply
You must be logged in to post a comment.

I really like the simplicity of the quilt. It’s darn cute too!