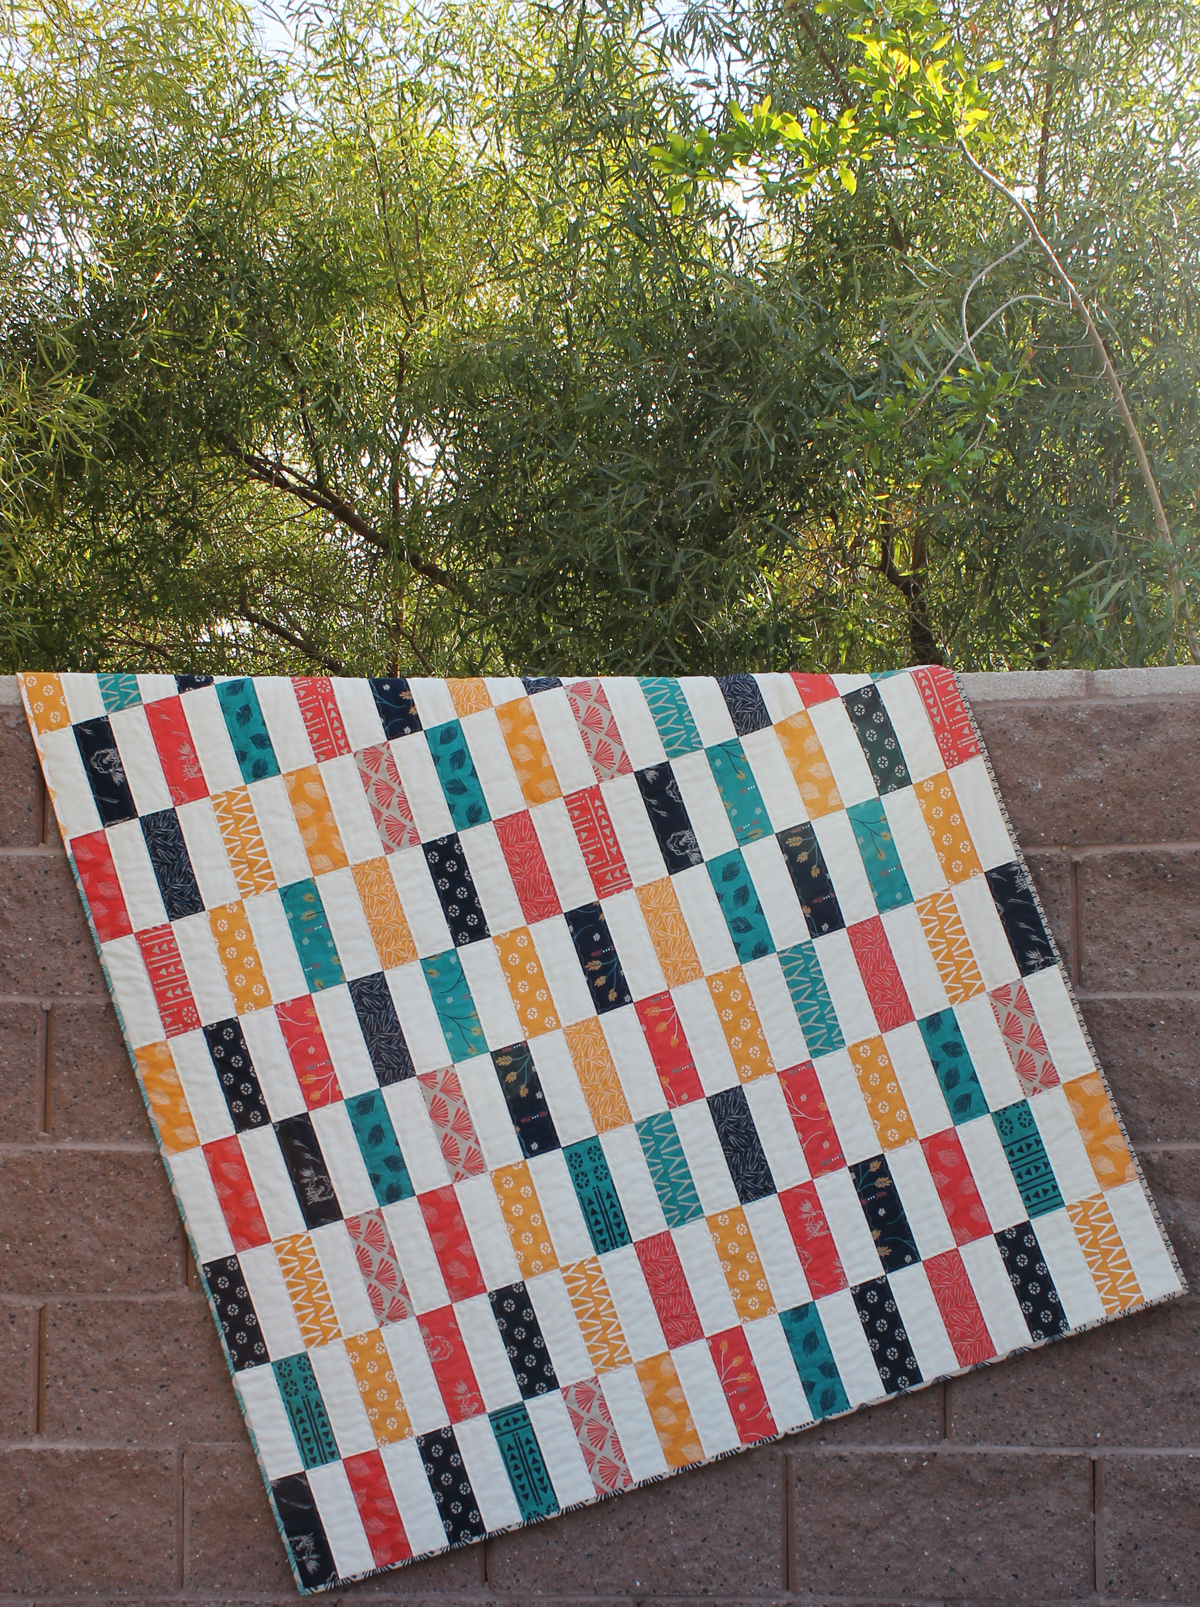
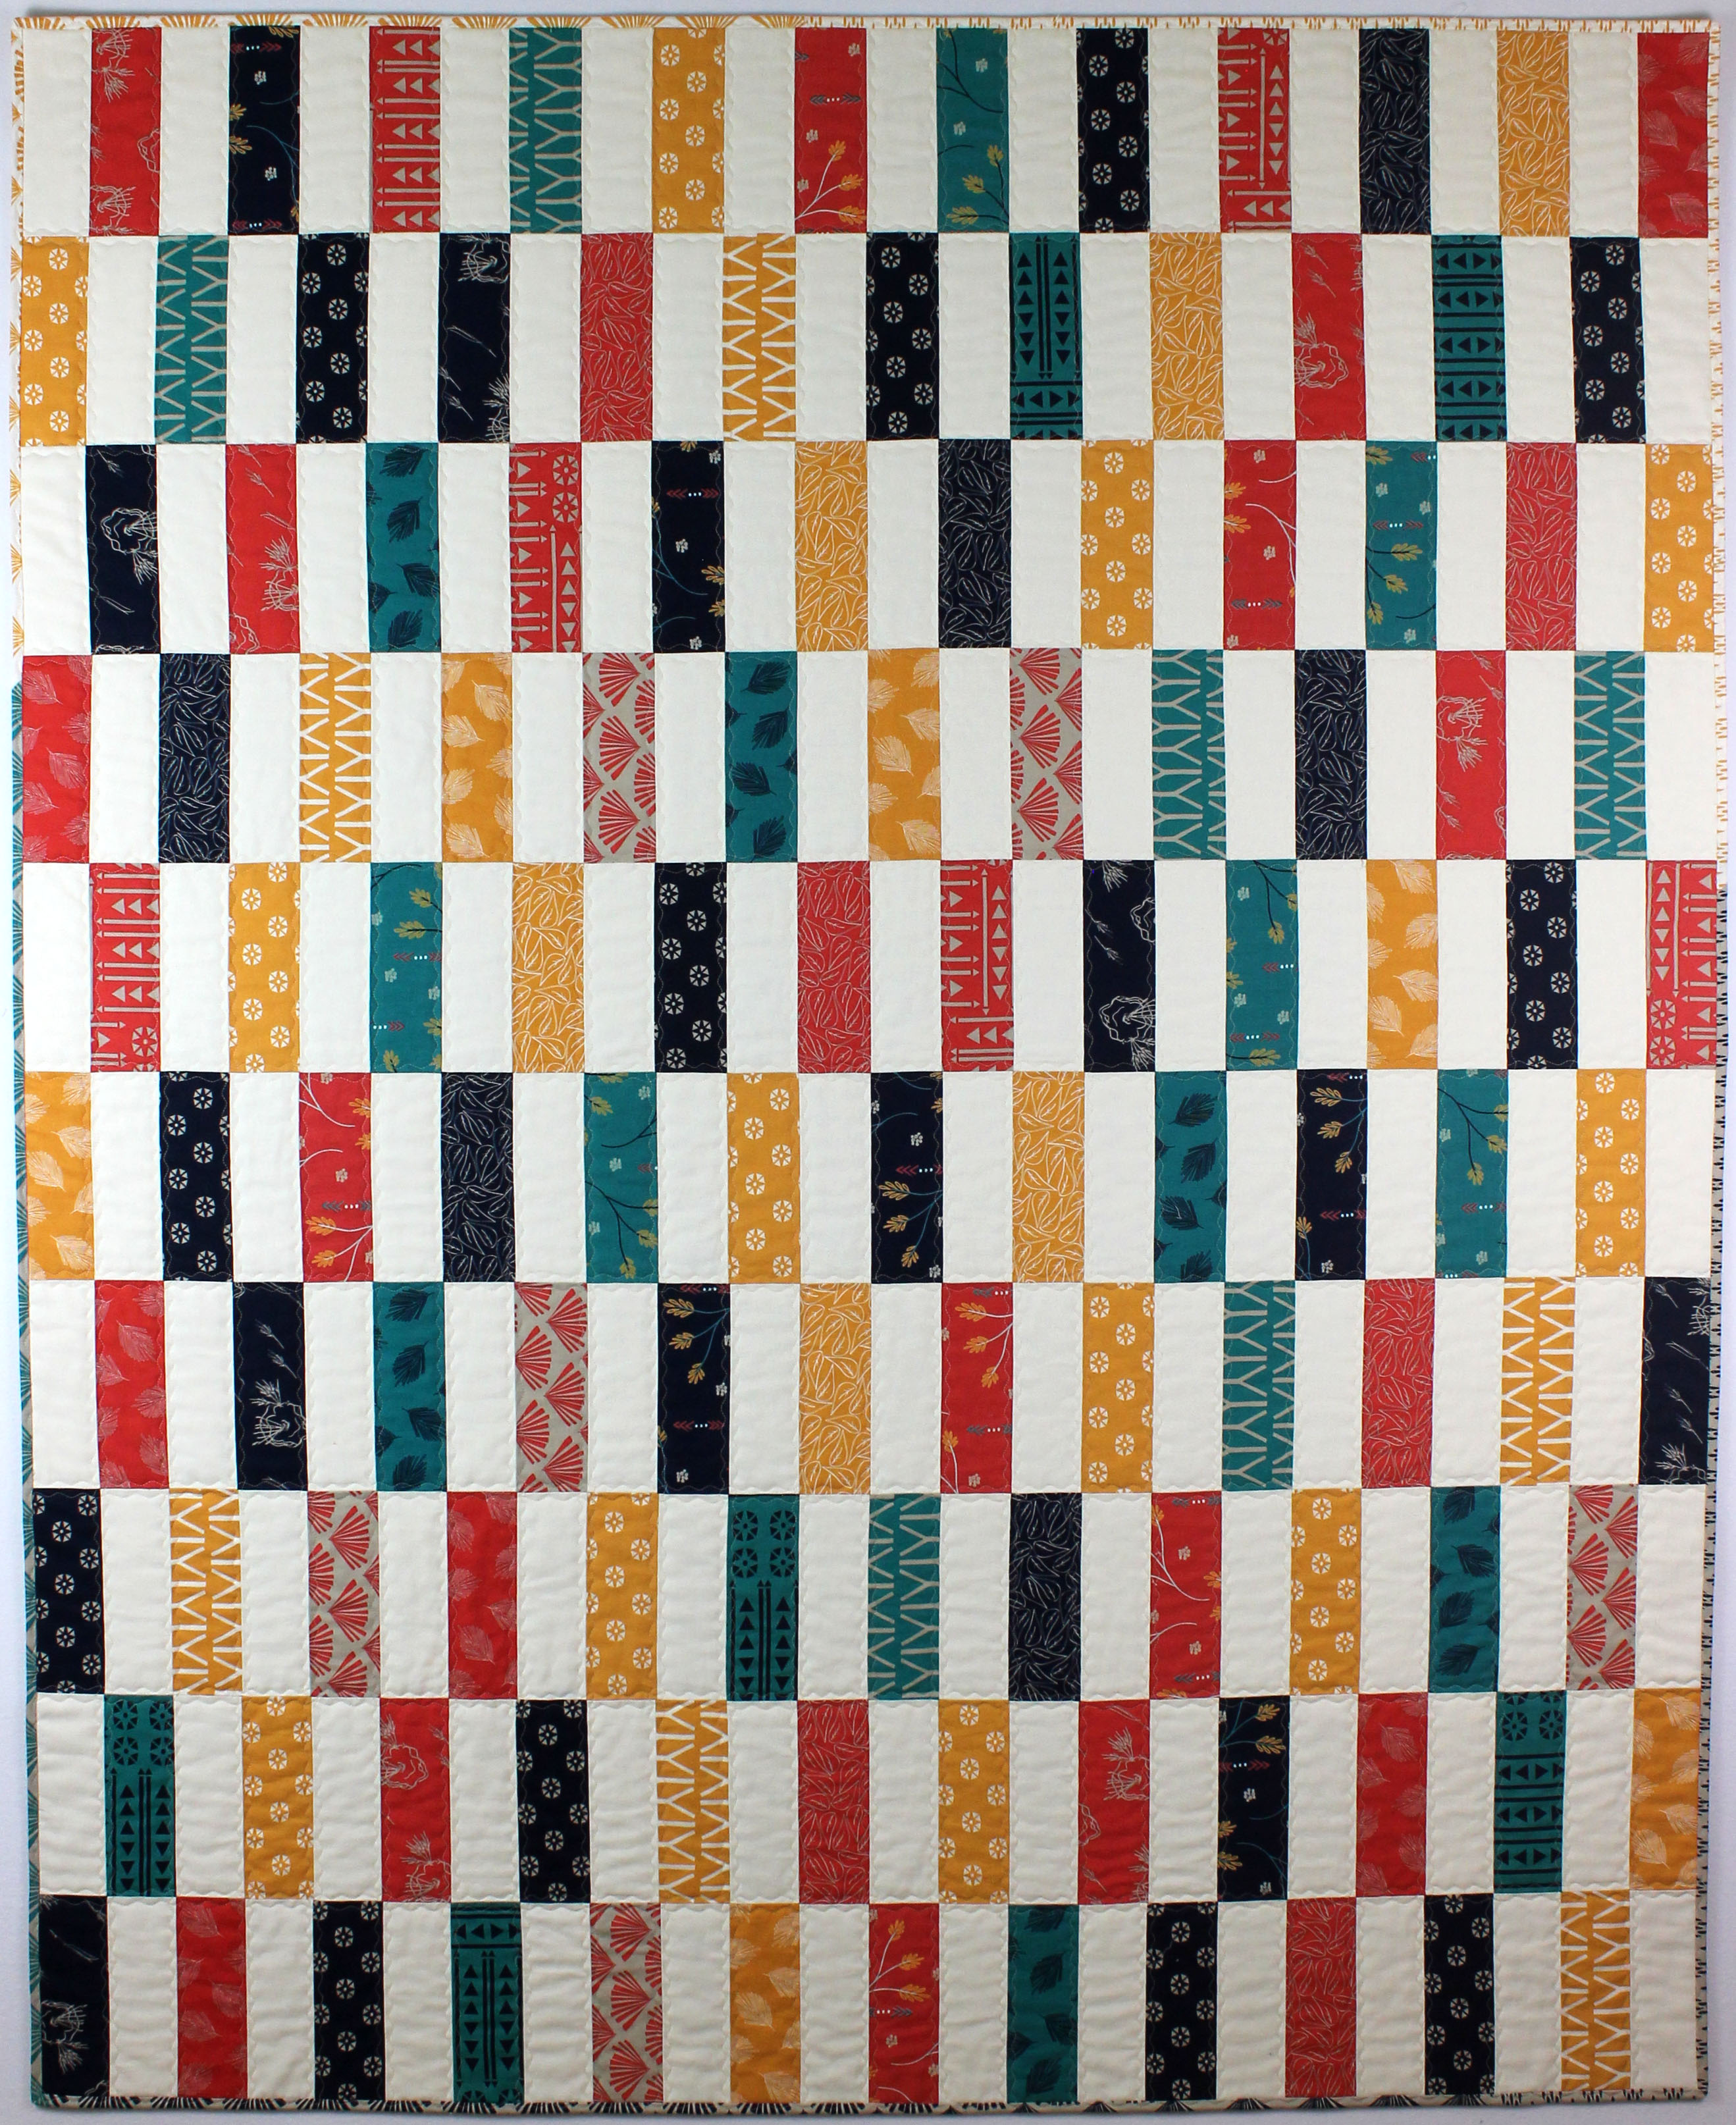
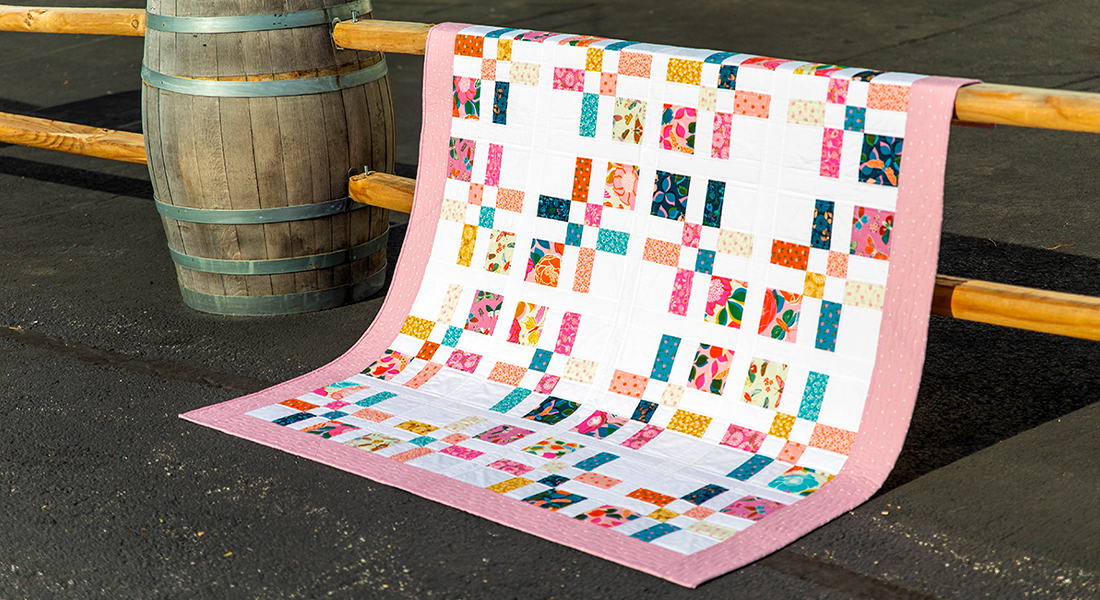
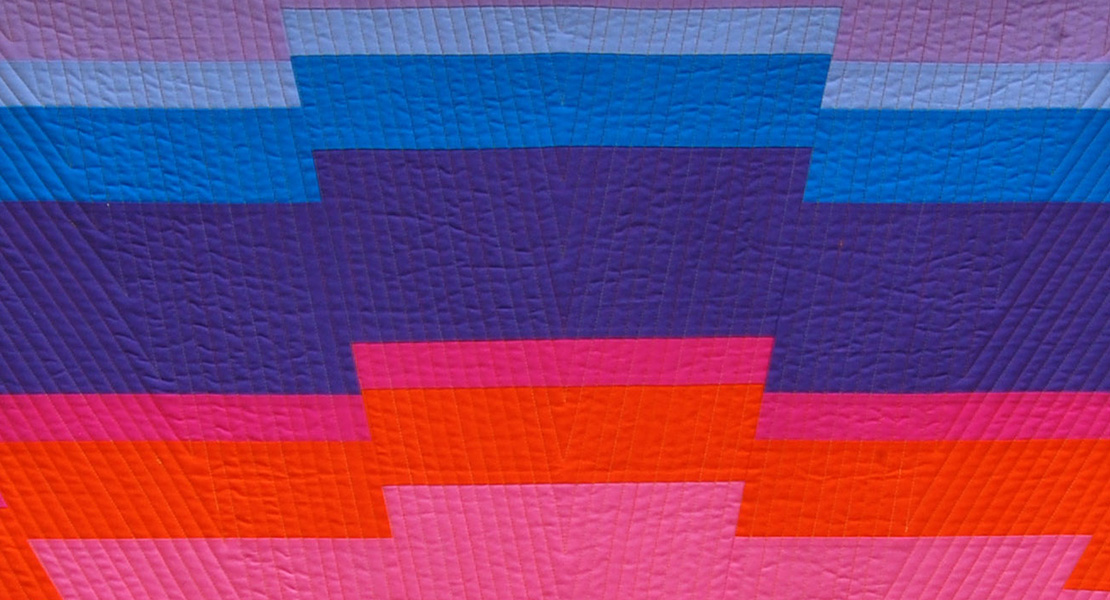
Simple Strips Quilt-along Part 5 – Machine Binding Tutorial
Thanks for joining me on this fun journey as we make a Simple Strips quilt! Today we will finish our quilts by squaring them up and binding them by machine.
If you are just finding this tutorial, be sure to check out Simple Strips Quilt Along Part 1 for the materials list and quilt along schedule, part 2 for the pieced quilt top tutorial, part 3 for spray basting and part 4 where we cover how to quilt the top with decorative stitching.
About This Quilt
Finished Quilt Size: 48″ x 60″
Finished Block Size: 12″ x 12″
Number of Blocks: 20, set 4 x 5
Fabric used: Valley collection by Sherri and Chelsi with Bella Solids, both from Moda Fabrics
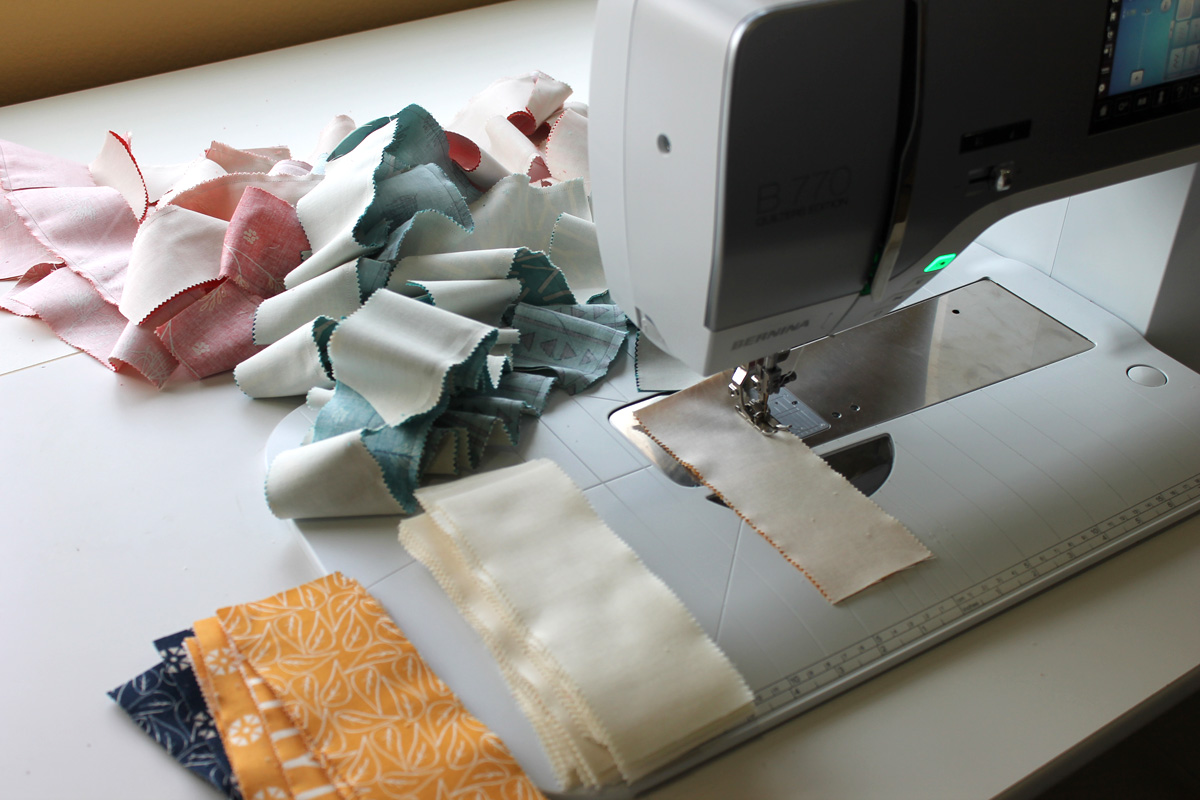
Binding thread: Aurifil 50 weight cotton, #2315
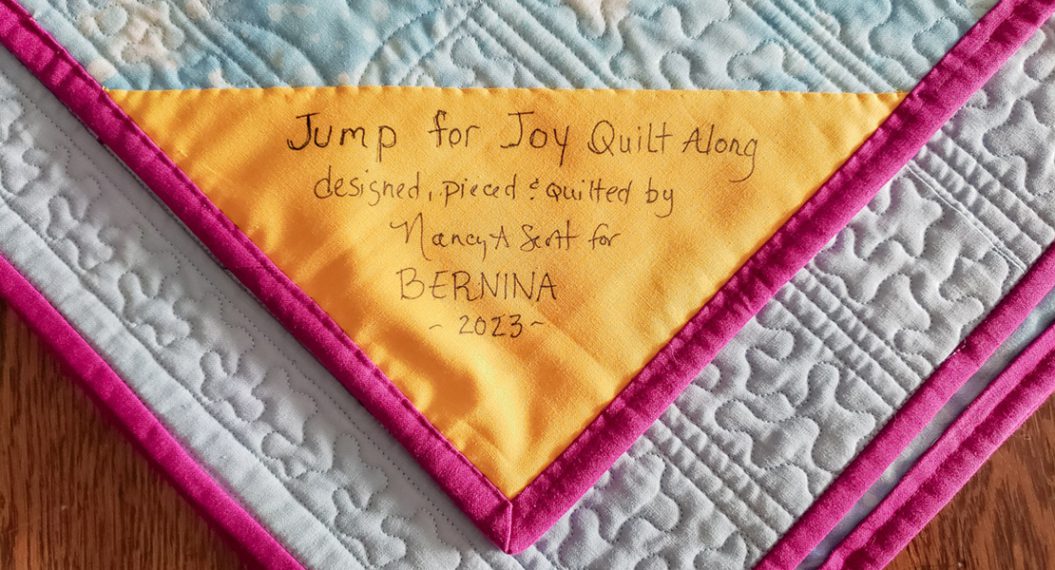
Pieced and quilted on my BERNINA 770 QE
Squaring up The Quilt
Before we add the binding, we need to make sure the quilt is trimmed with nice square corners.
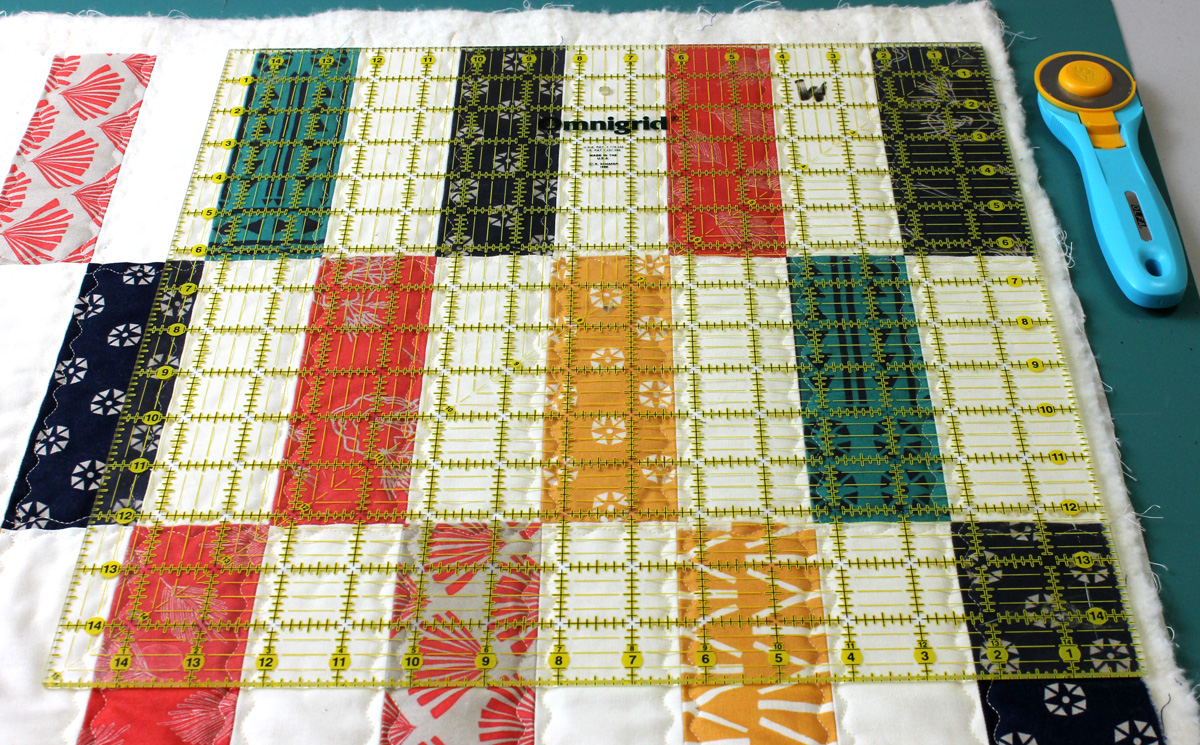
Use a large square acrylic ruler and a sharp rotary cutter on a self healing mat. Place the square in the corner of the quilt and trim off the excess batting and fabric. Repeat for all four corners of the quilt.
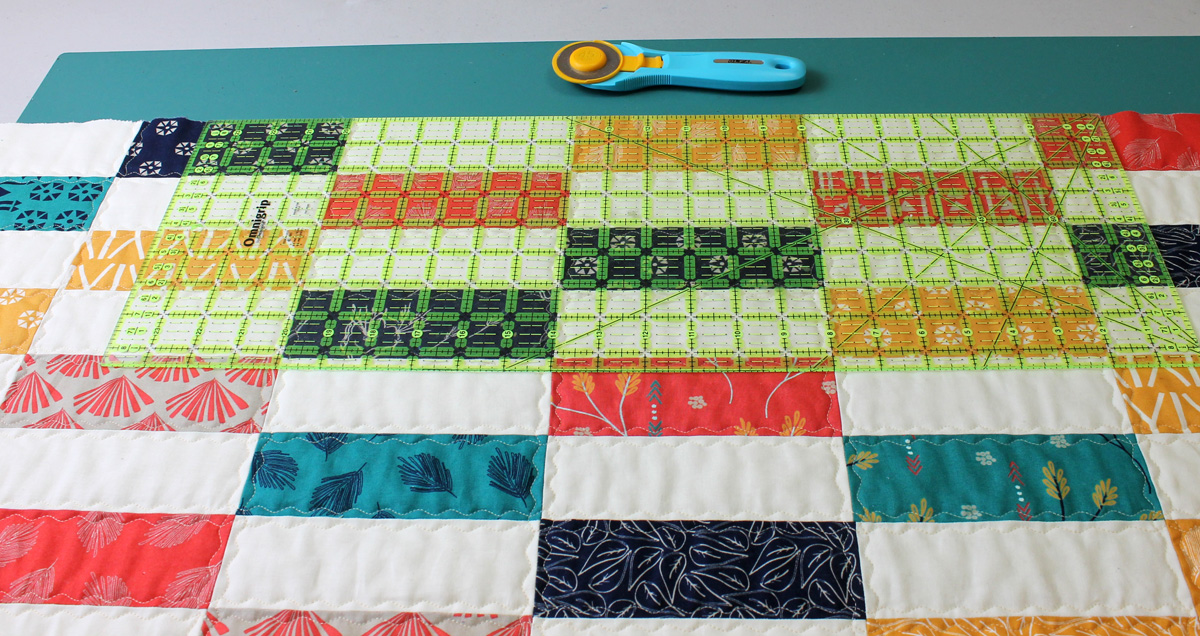
Next, square up the sides of the quilt. Use a long acrylic ruler as a guide to trim off all four edges of the quilt so that all three layers are flush with each other.
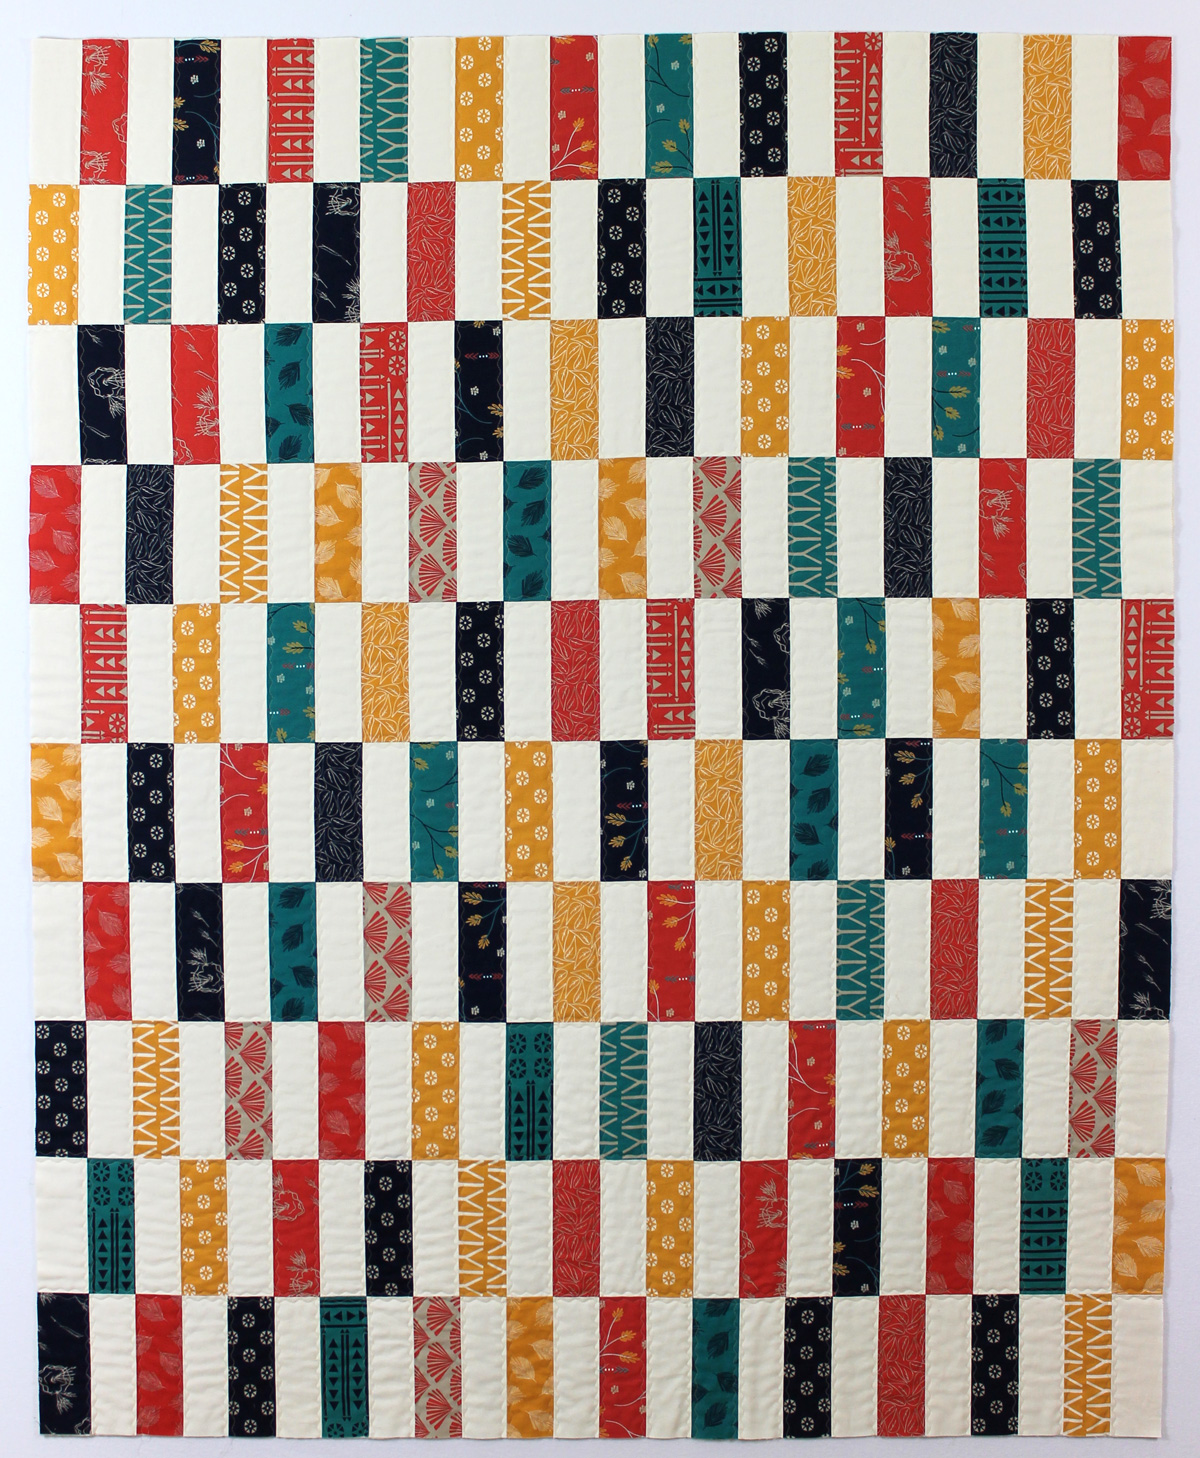
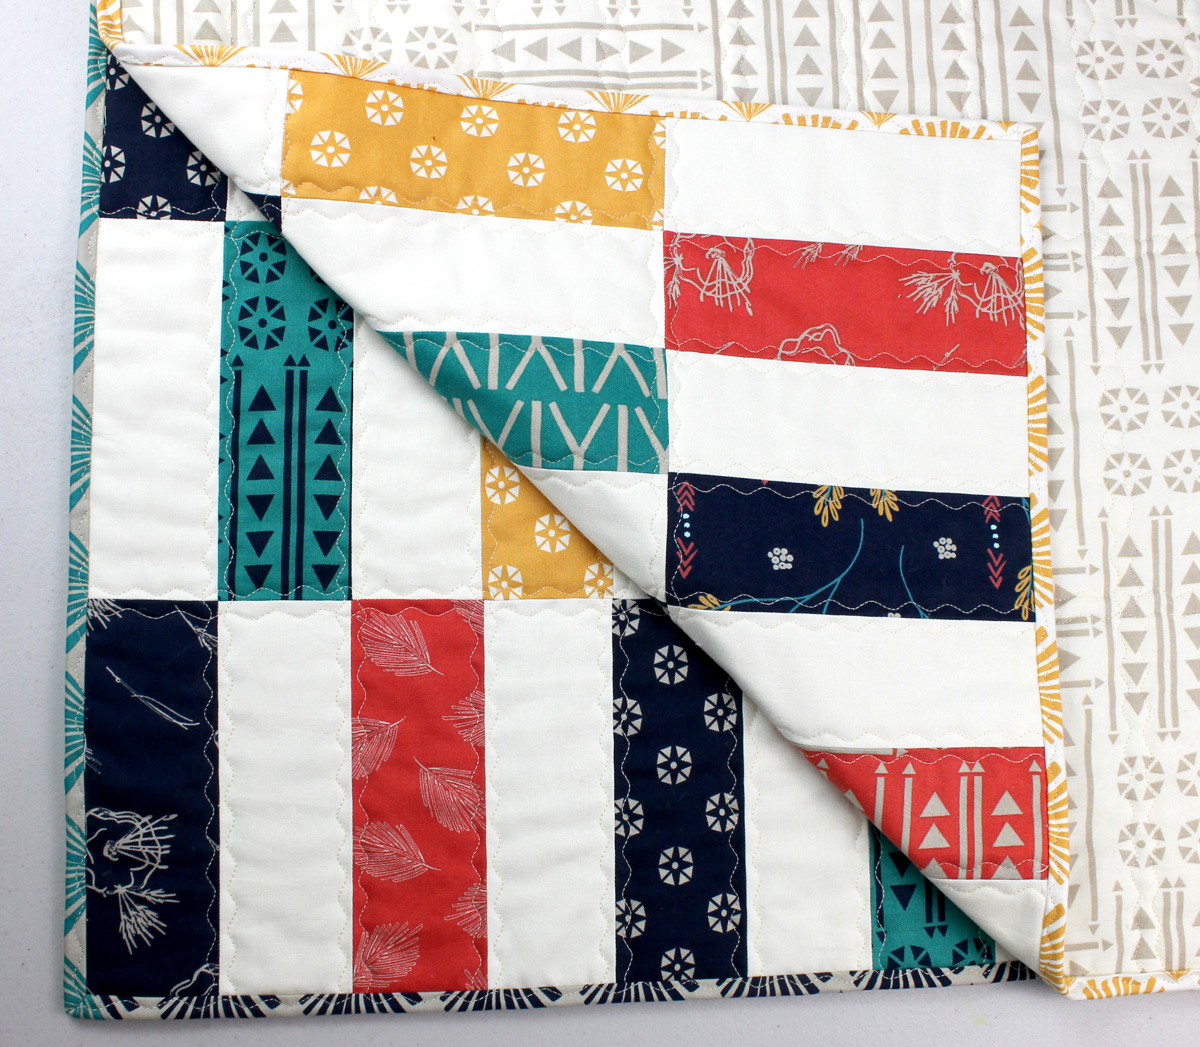
This is what the quilt should look like when all sides have been trimmed:
Binding by Machine
This is my favorite method for binding my quilts by machine. It’s very similar to how I bind my quilts by hand, except that I finish with decorative machine stitches rather than hand stitches.
Step 1 – Calculate and cut your binding strips
Measure the perimeter of your quilt by adding the length and width of your quilt and multiplying that by 2. Then add an extra 10 inches to deal with seams and corners. For example, my quilt measures 48″ x 60″. Here’s how I calculate my binding:
48+48+60+60+10 = 226 inches needed
Next, take this measurement and divide it by 40 inches. This will tell you the number of strips you will need to cut, with 40″ of useable fabric. 226/40 = 5.65 which I will round up to 6 strips of fabric.
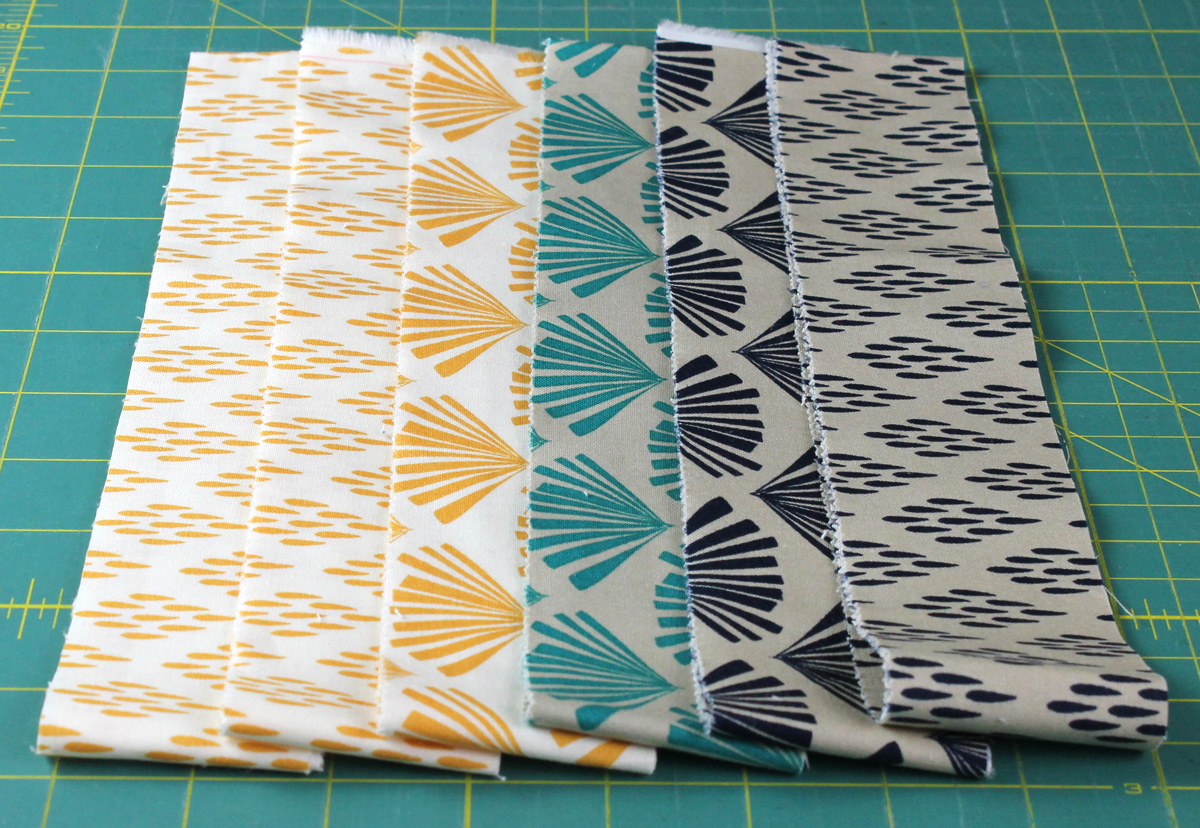
I used six leftover jelly roll strips that measured 2 1/2″ wide. I chose to cut them down to 2″ for a tight, skinny binding. If you prefer, cut 6 strips that measure 2″ x 42″ from the same fabric. If you’d like a little more “wiggle room,” you can cut your strips 2 1/4″ wide.
Step 2 – Sew the binding into a continuous length
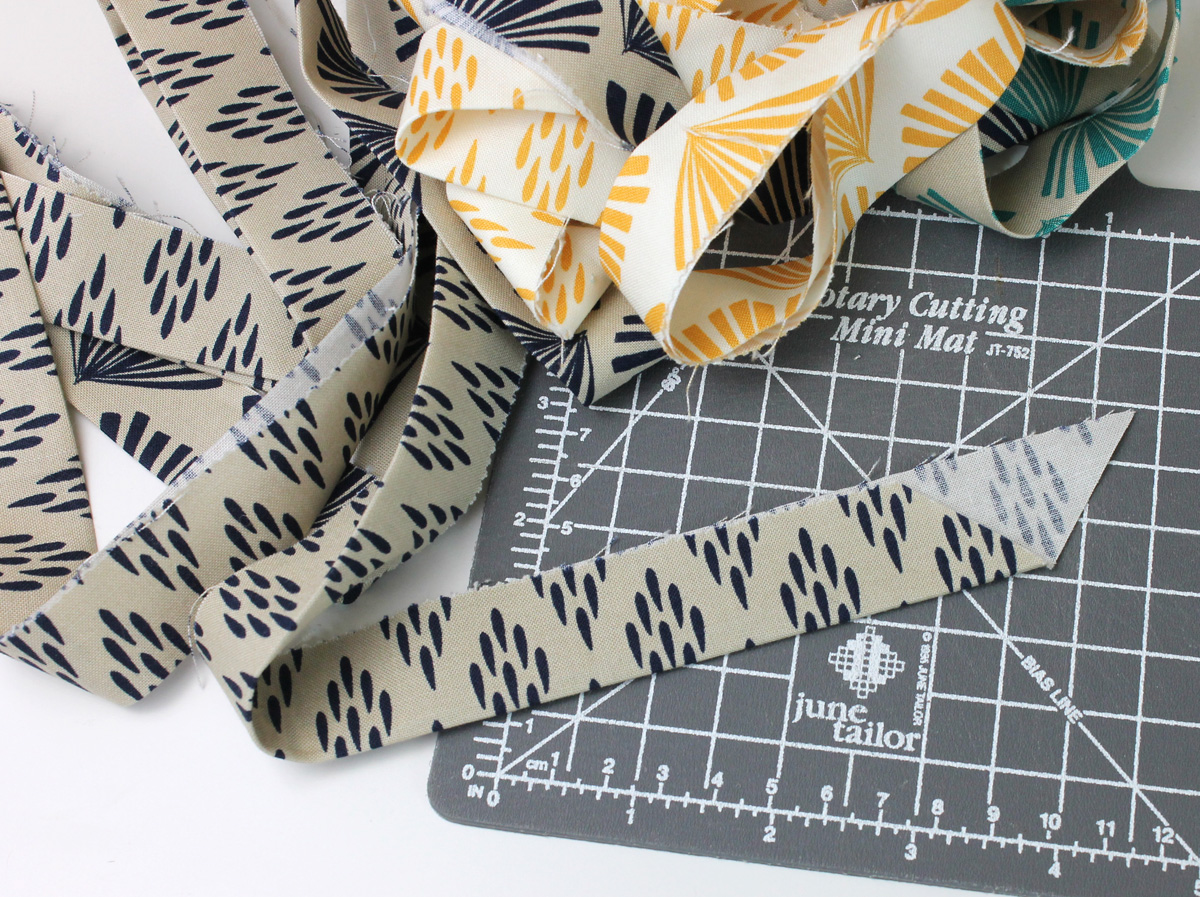
Place two strips right sides together at a 90 degree angle. Sew them together at a 45 degree angle across the diagonal. Sewing mitered seams like this helps distribute the bulk. If needed, you can draw a straight line across the diagonal, or press one of the ends along the diagonal to form a sewing line.
Sew all strips together using the same method. Then trim the excess bulk down to 1/4″ seam. Trim one edge of the binding strip at a 45 degree angle to match the other seams.
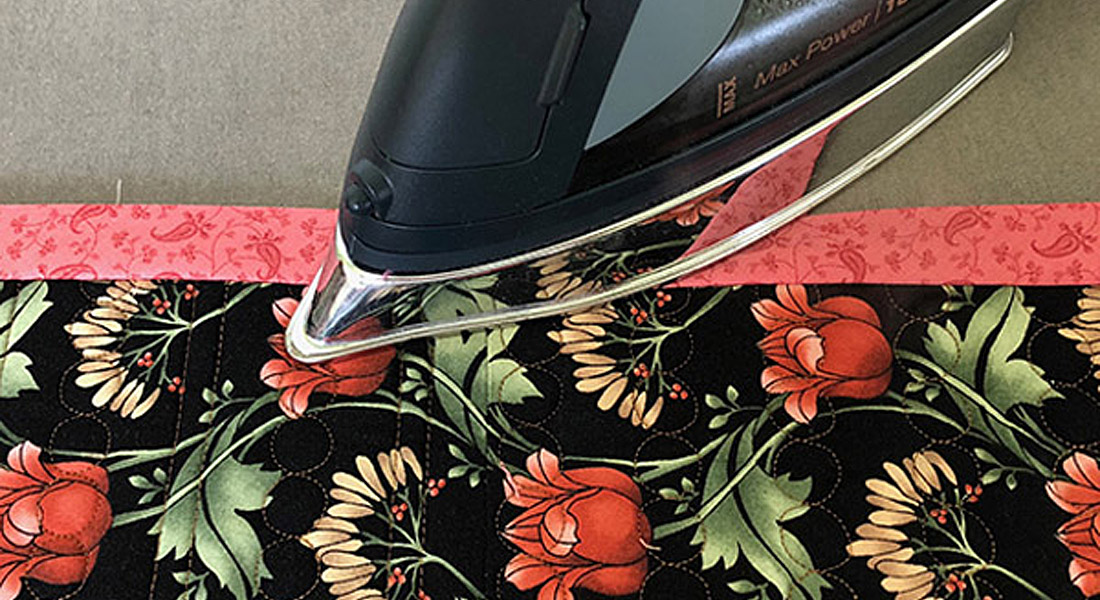
Step 3 – Make the double fold binding
Fold the binding wrong sides together. With a dry iron, press the binding in half, a few inches at a time along the entire length.

Step 4 – Attach the binding to the front of the quilt
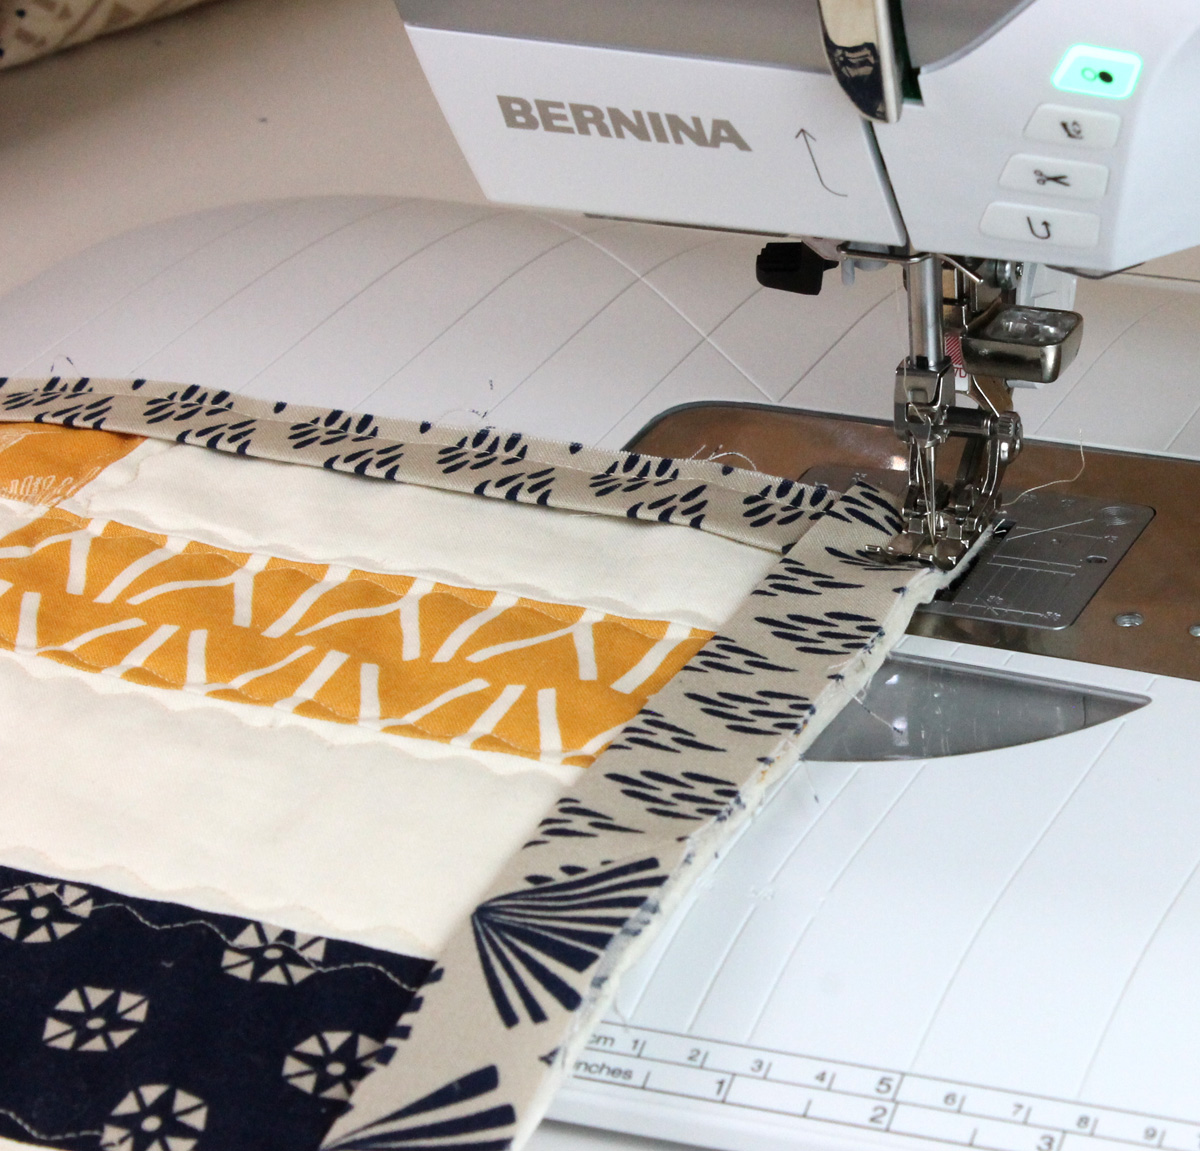
Starting at least 6″ – 8″ away from one corner, place your binding on the front side of the quilt and leave an unsewn “tail” of binding about 6″ – 8″ long. Line up the open binding ends with the edge of your quilt. The folded edge should be facing towards the quilt.
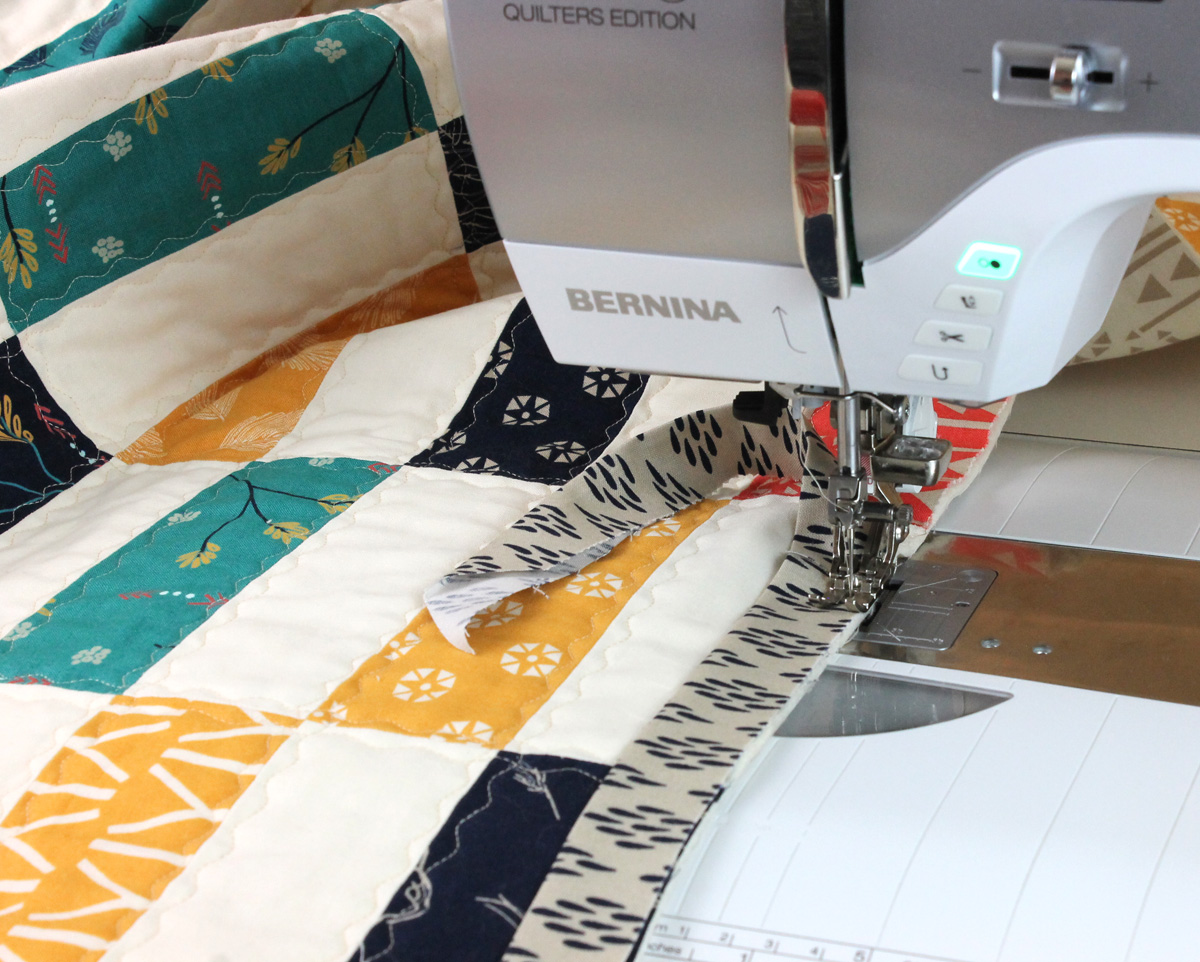
Tip: I’m using the Patchwork foot #97D with my dual feed engaged to get an accurate, 1/4″ binding seam.
When you get to a corner, stop stitching 1/4″ away from the corner and sew off the edge at a 45 degree angle. Use the 1/4″ markings on your presser foot as a guide if you have them.
Take the quilt off the machine and fold the binding up and away from the quilt as shown. Keep the edge of the binding in line with the edge of the quilt as shown. Notice that the diagonal fold of the binding should match up to the corner of the quilt.
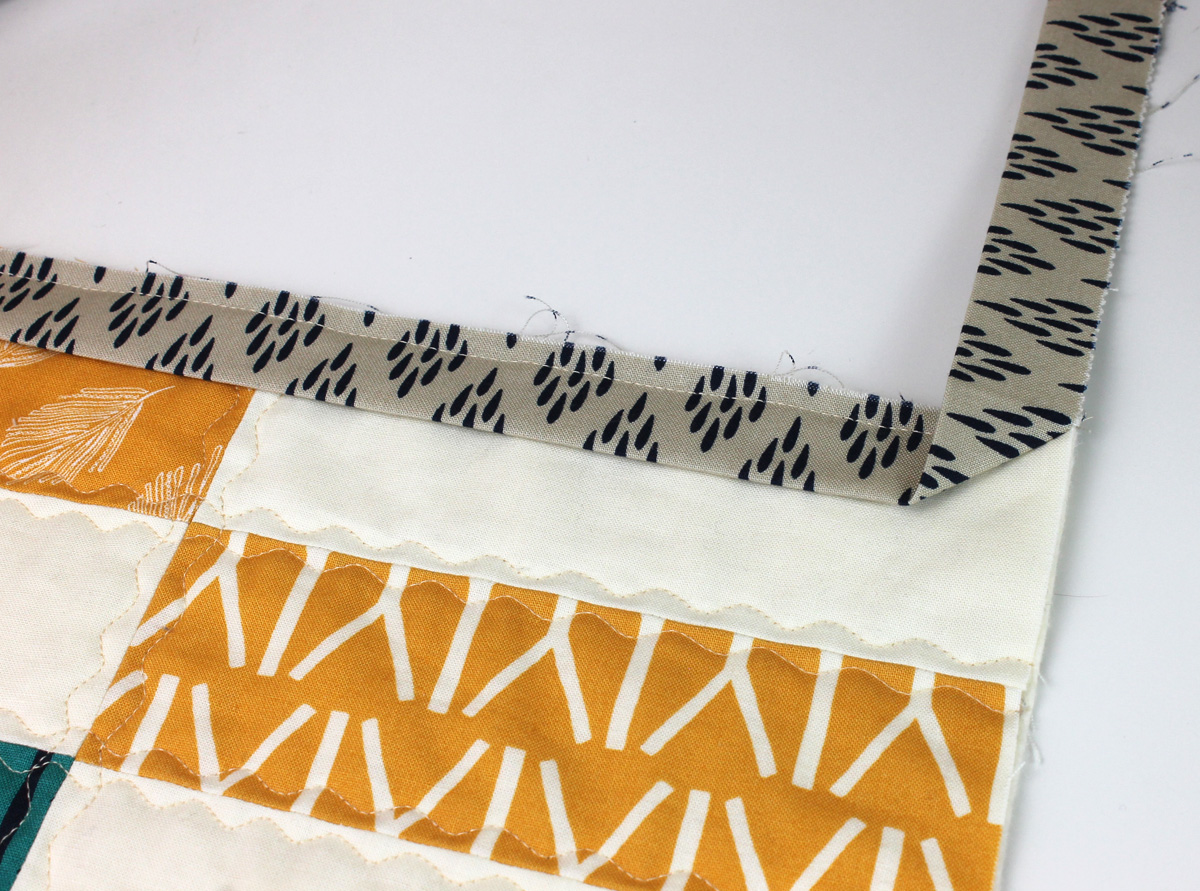
Bring the binding back down, creating a tuck of fabric underneath. This will form the miter on the front of the quilt. Be sure the edge of the fold lines up exactly with the edge of the quilt in the corner.
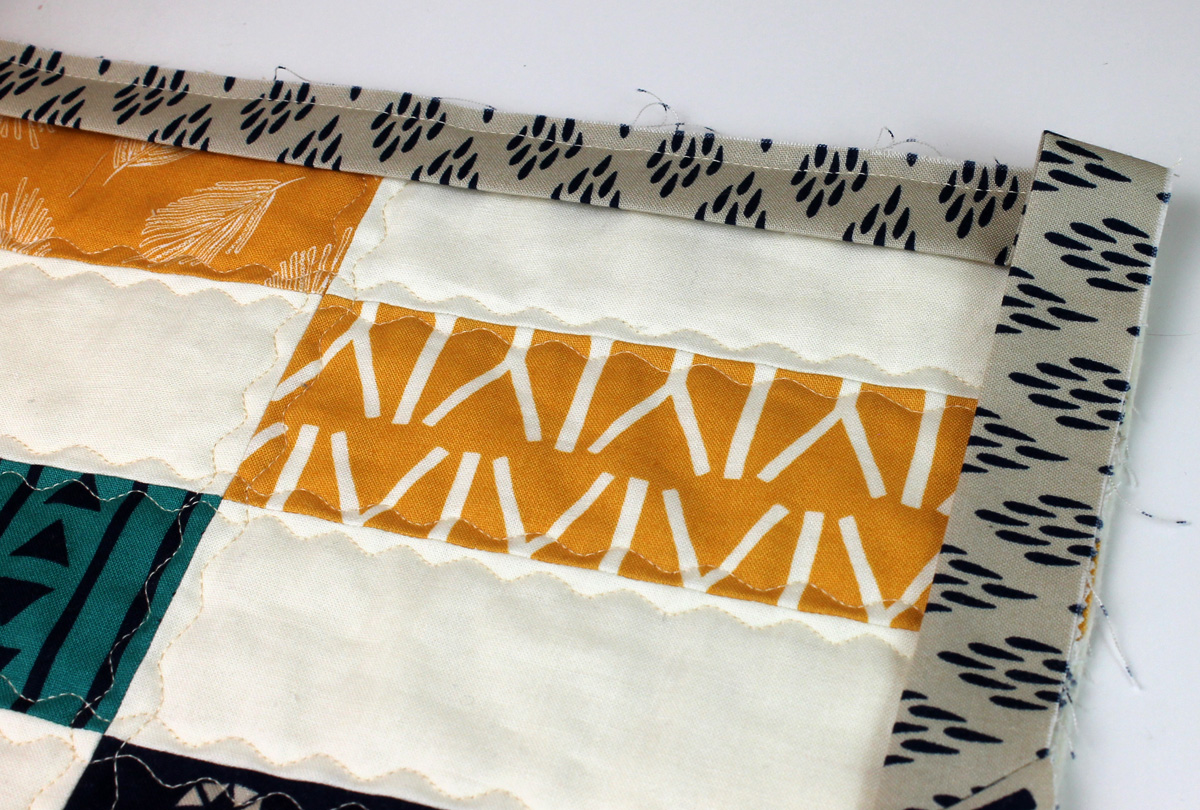
Starting from the edge of the quilt, stitch the next side of binding down until you reach the next corner. Repeat this process for all four corners.
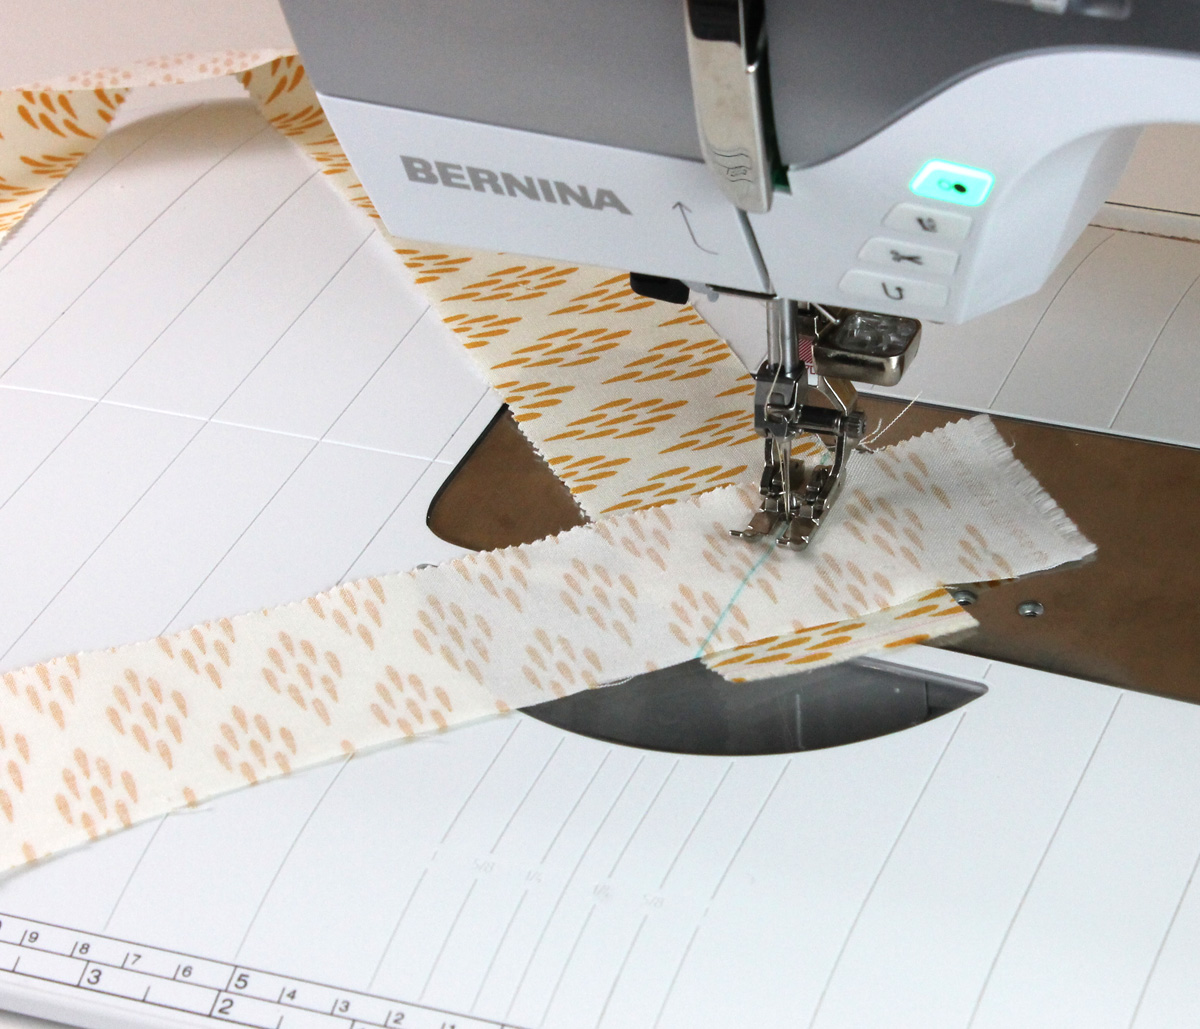
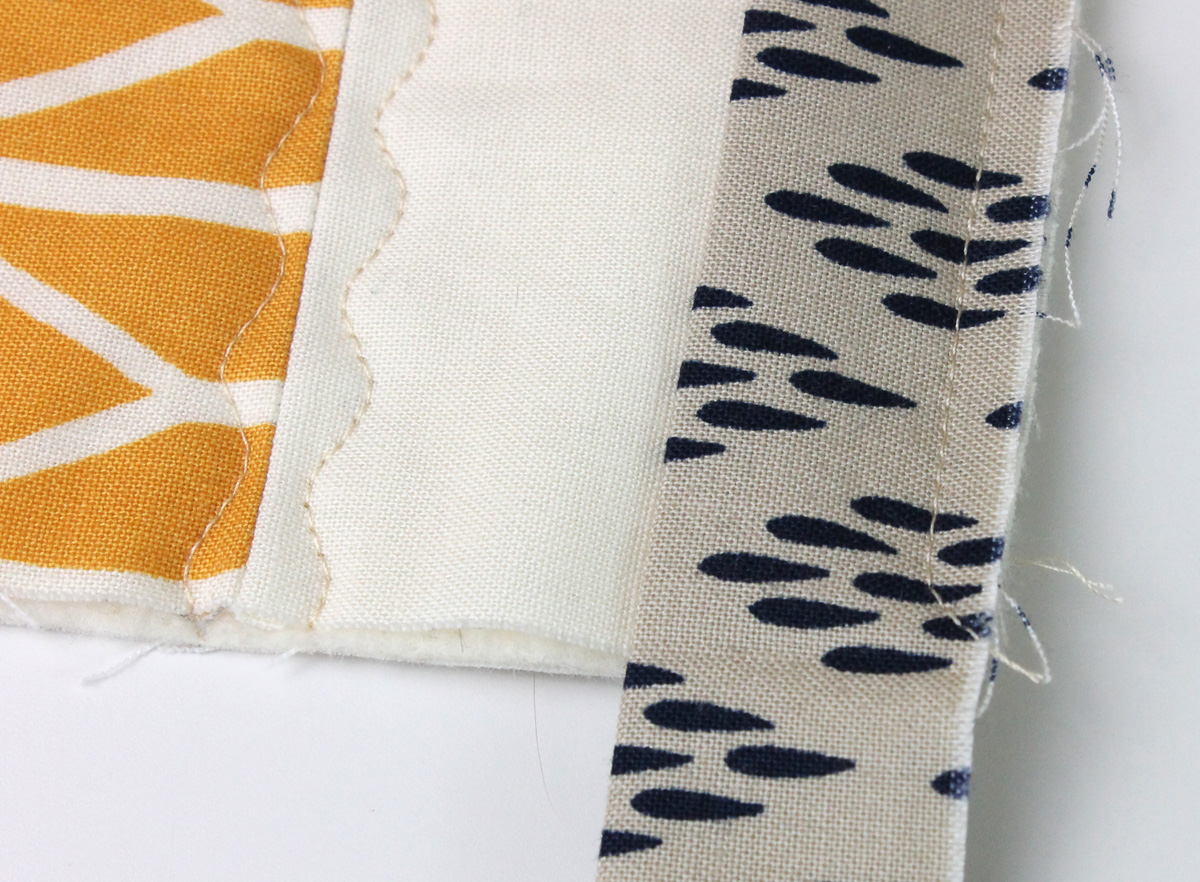
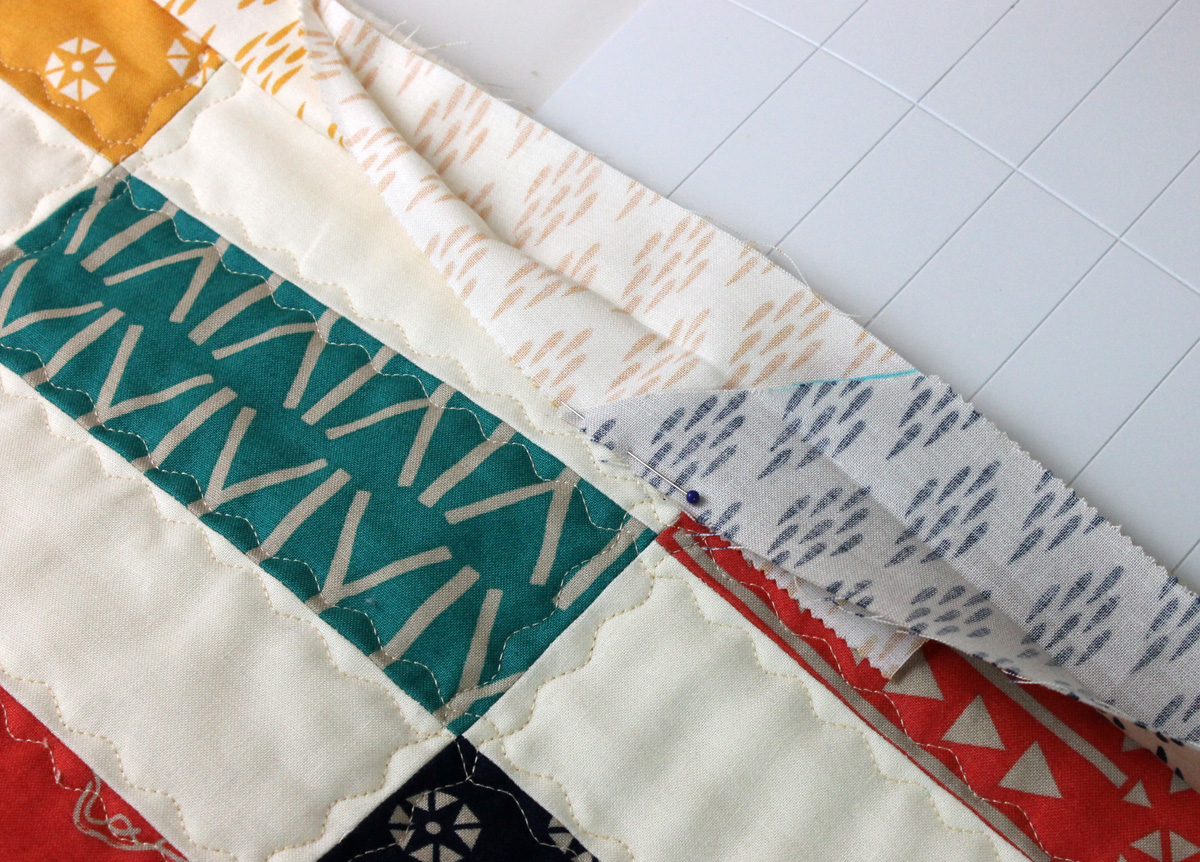
When you are nearly around the quilt, leave an ending tail of 6″ – 8″ of binding unsewn (the yellow print fabric below). Trim off the excess leaving a few inches of overlap to work with. Open up the end of the binding strip and place the beginning tail inside it (the tan print fabric below).
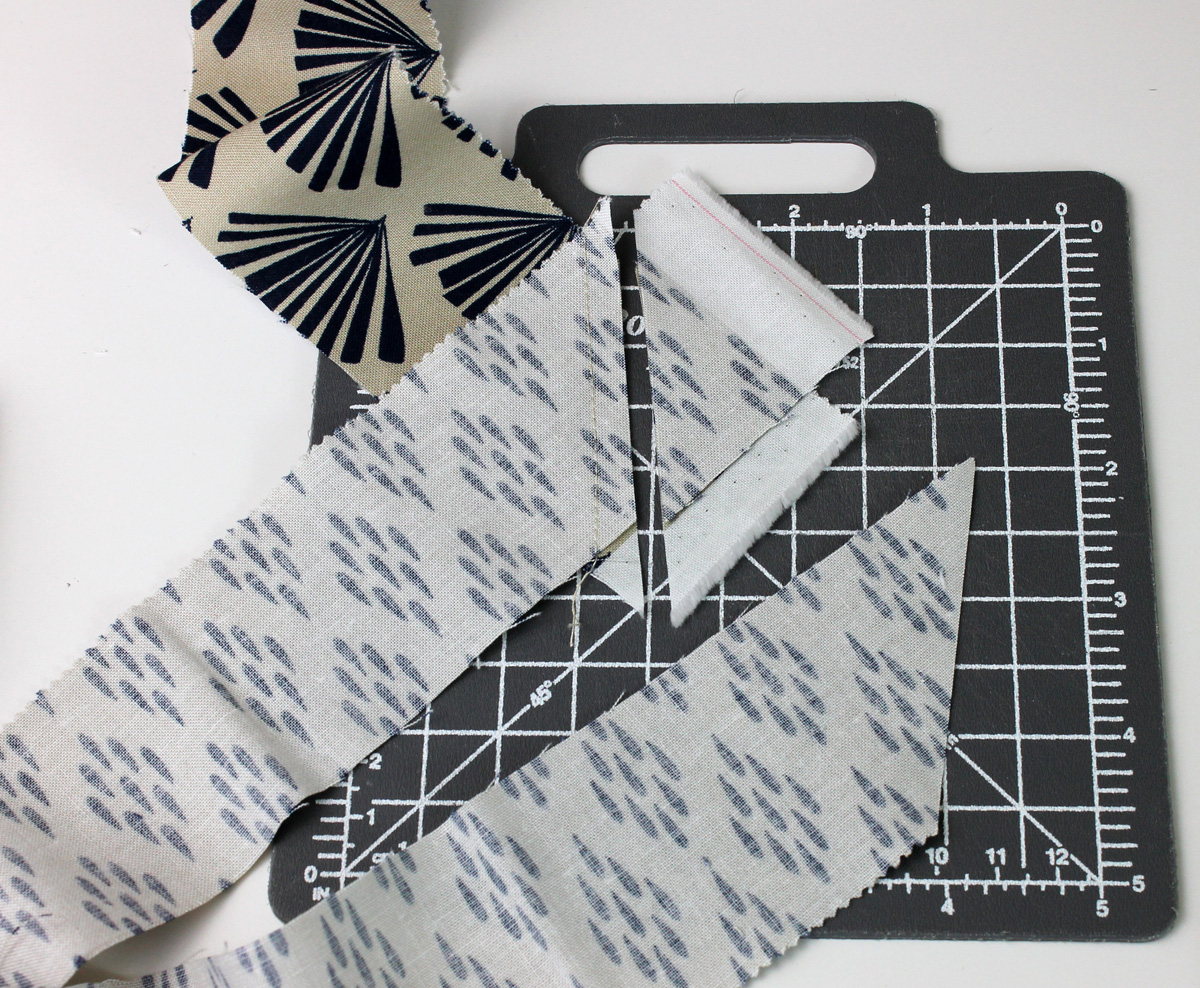
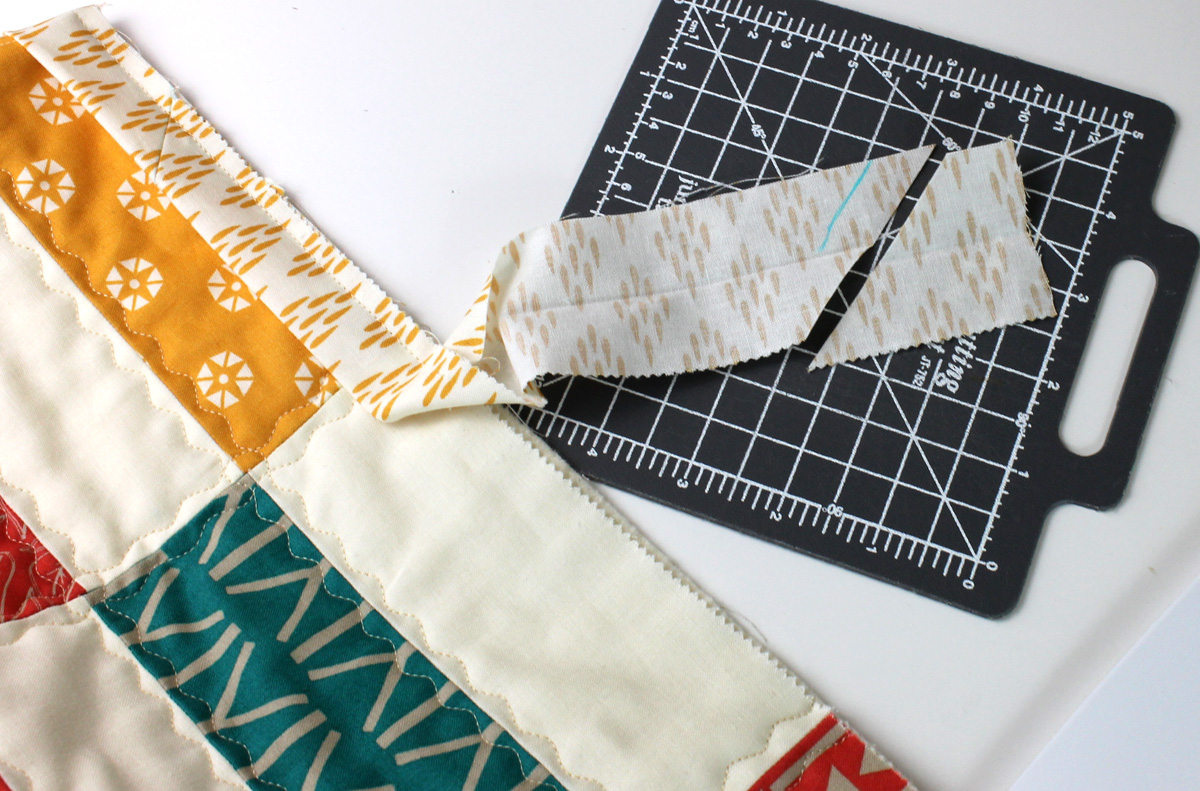
Using the cut angled end as a guide, lightly mark a line right next to it. In my example below, I marked a 45 degree angle with a water soluble pen on the yellow print fabric, matching the angle of the tan print fabric.
Cut 1/2″ away from the marked line to account for seam allowances on both ends.
Put the two tail ends rights sides together, pinning to to hold them in place. Be sure to overlap the sharp corners ends by 1/4″ so the angled seam will line up correctly.

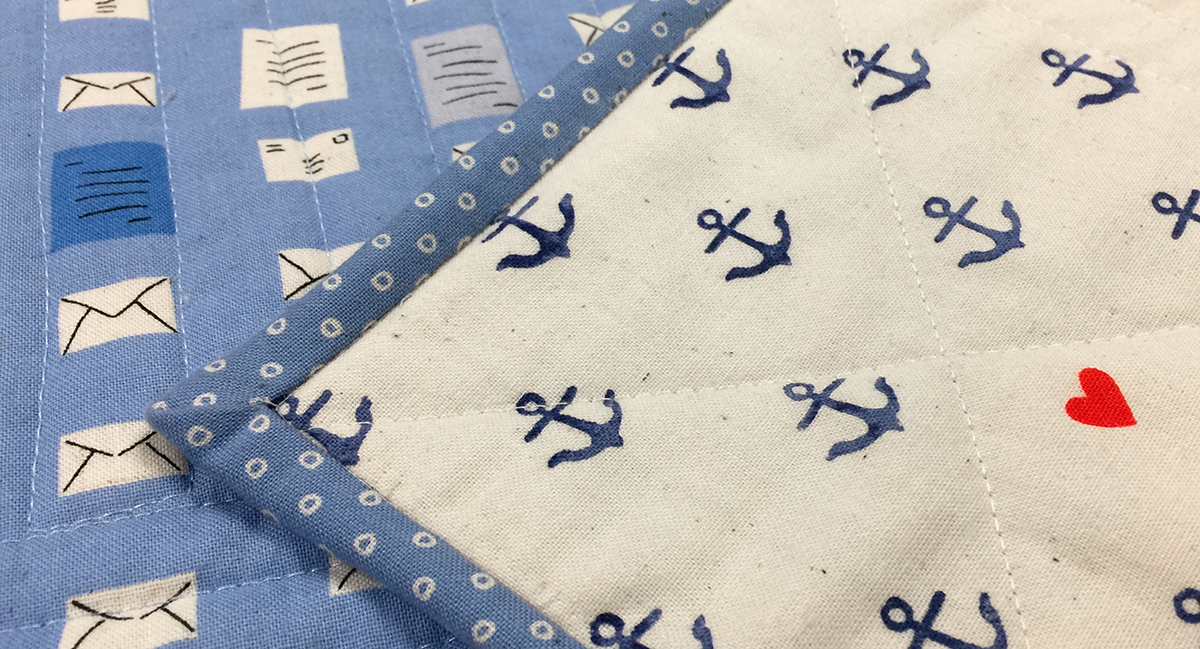
Sew ends together with with 1/4″ seam to complete the continuous loop of binding. When you lay your binding against the quilt it should fit nice and tight with no gaps or excess bulging.

Fold the binding wrong sides together again and stitch the rest of it to the front of the quilt. You are now ready to finish stitching the binding down on the back of the quilt.
Step 5 – Stitch the binding to the back of the quilt by machine
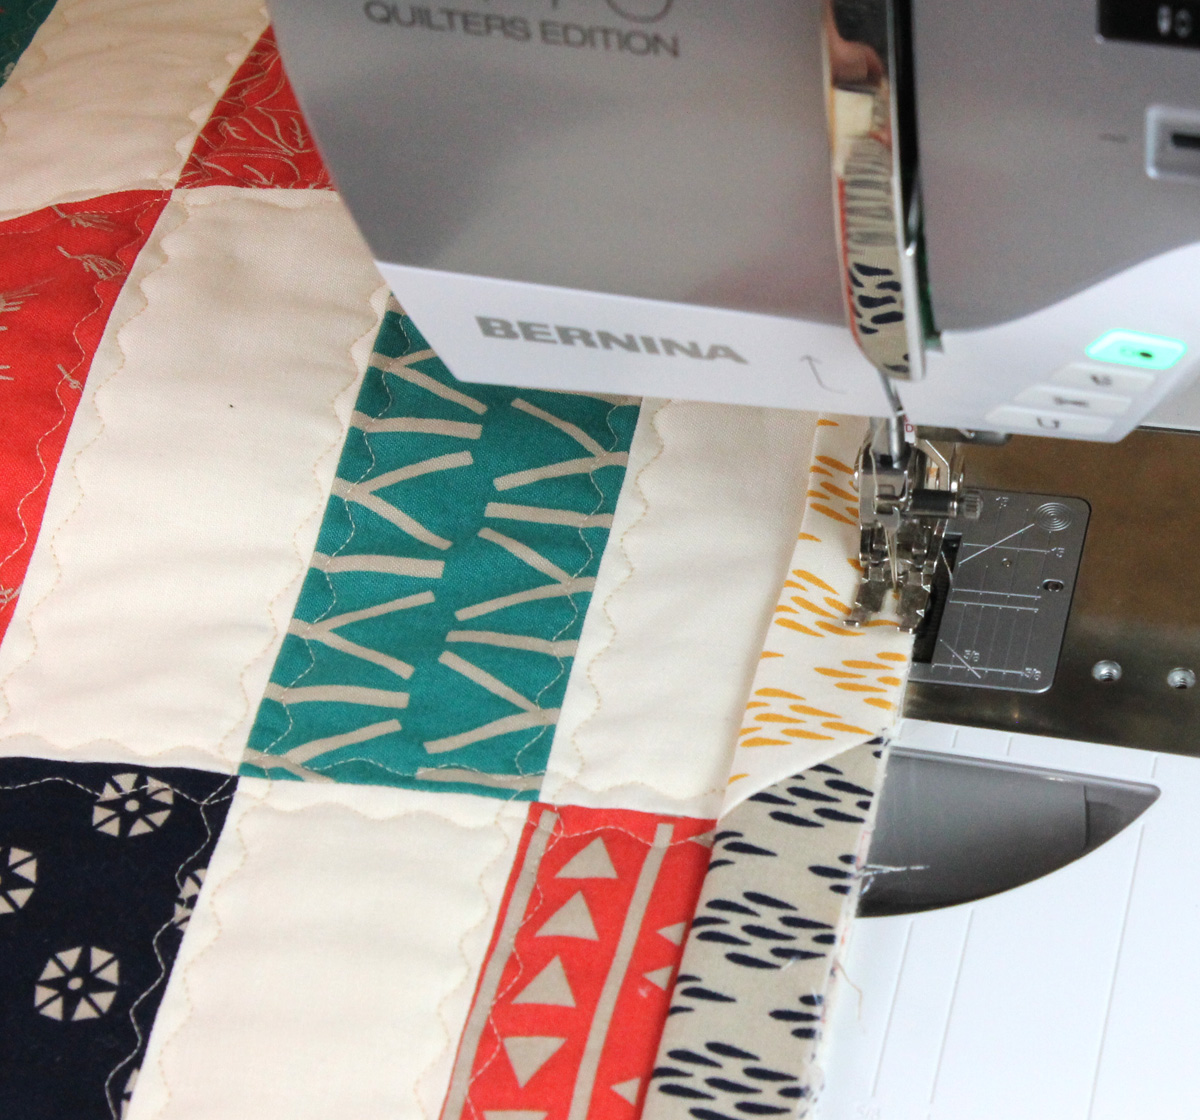
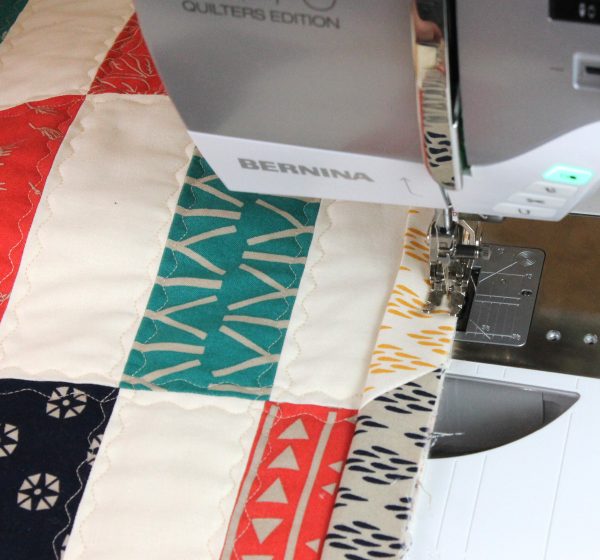
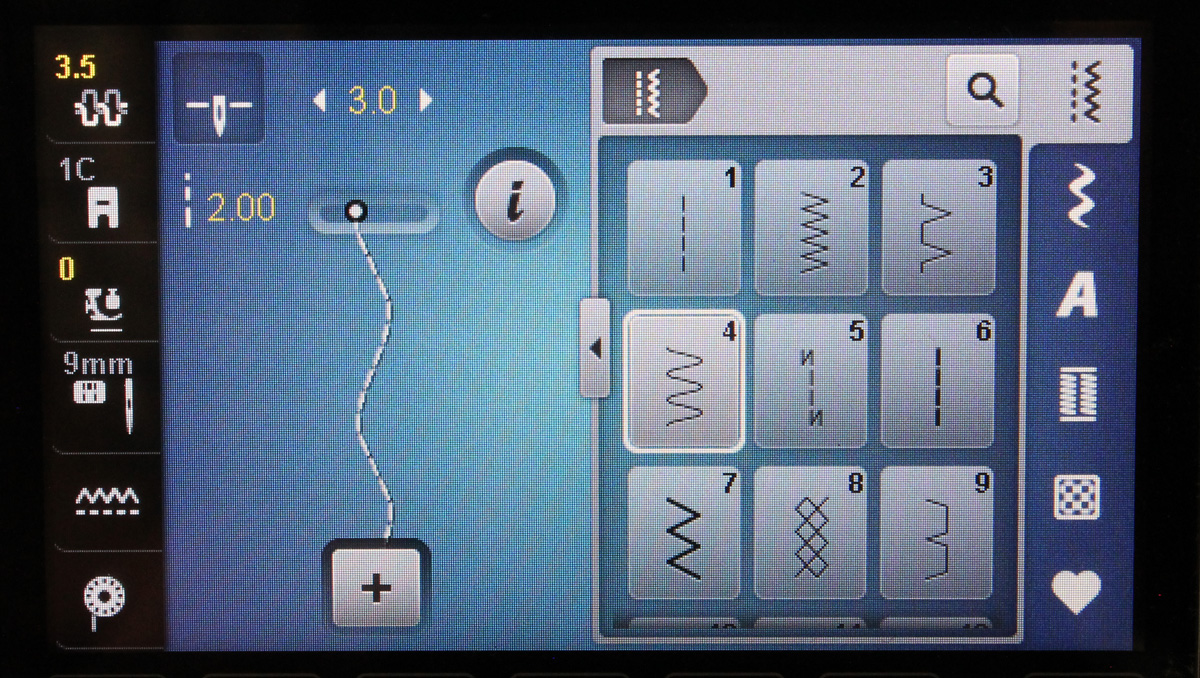
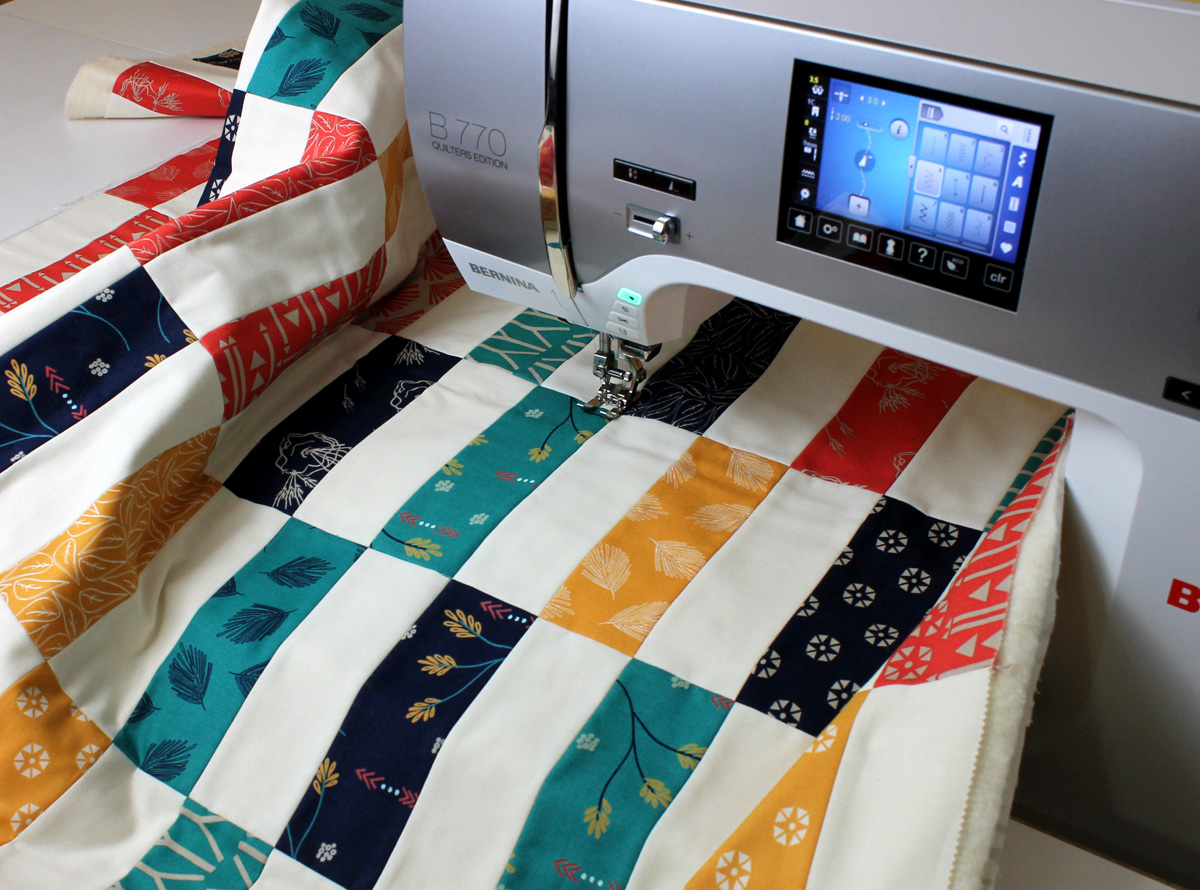
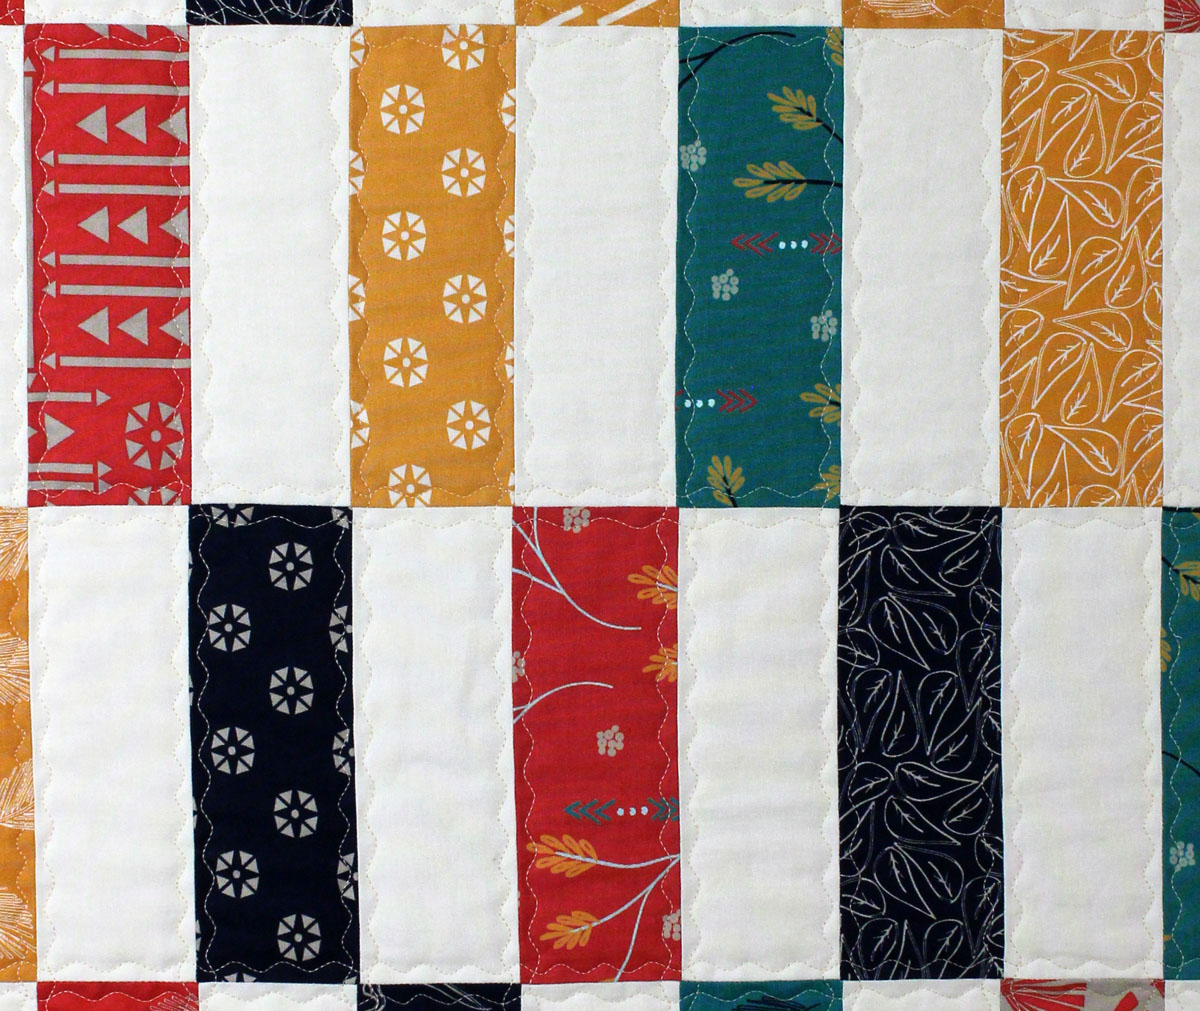
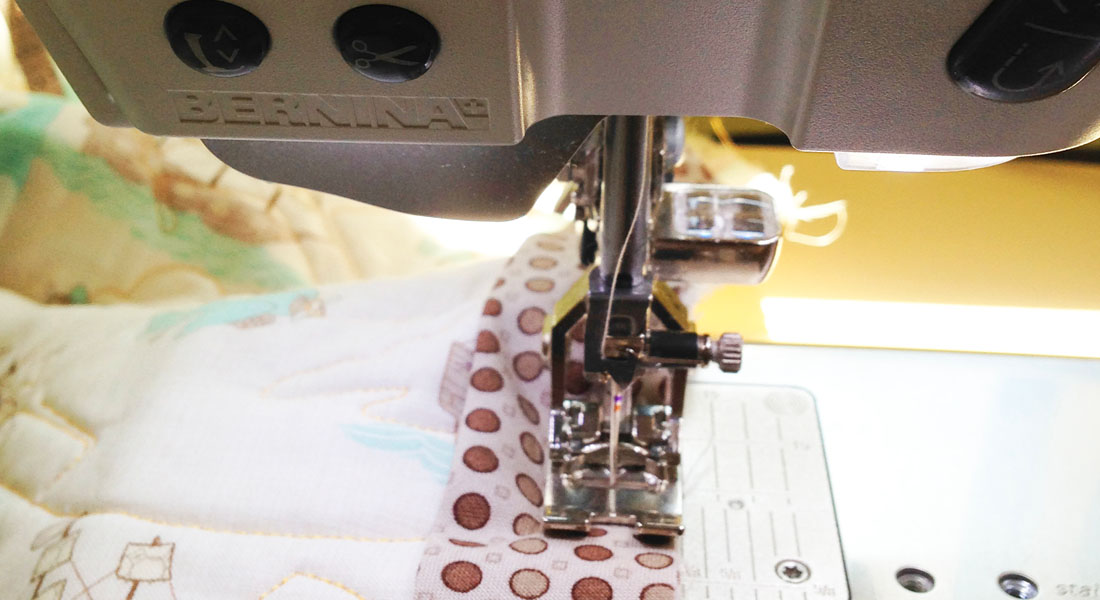
Remember our decorative stitch from part 4? Let’s use the same exact stitch for the binding so it blends in with the overall quilting design. On my BERNINA 770 QE I used the #4 stitch with a length of 2.0 and a width of 3.0. Don’t forget to switch to a presser foot and needle plate that will accommodate your chosen stitch.
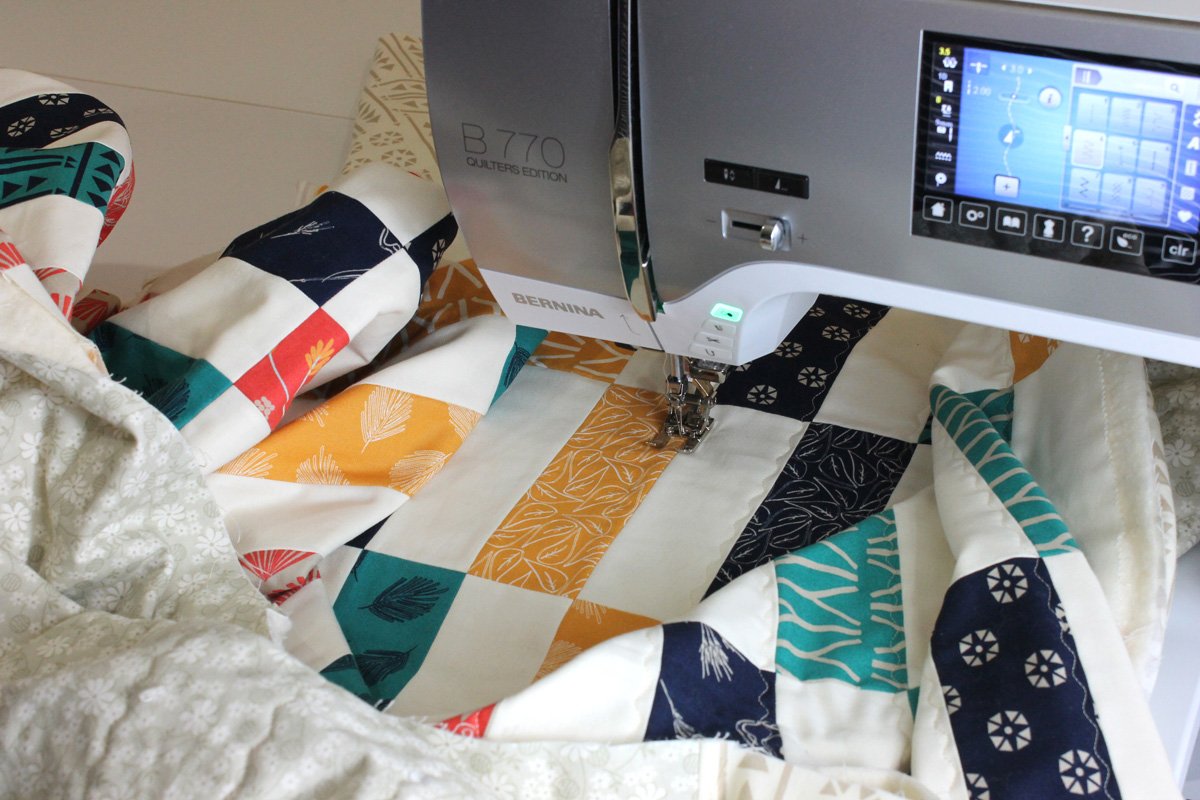
Fold over your binding to the back of the quilt. Pin in place, or secure with plastic clips. Use your decorative stitch to secure the binding to the quilt.
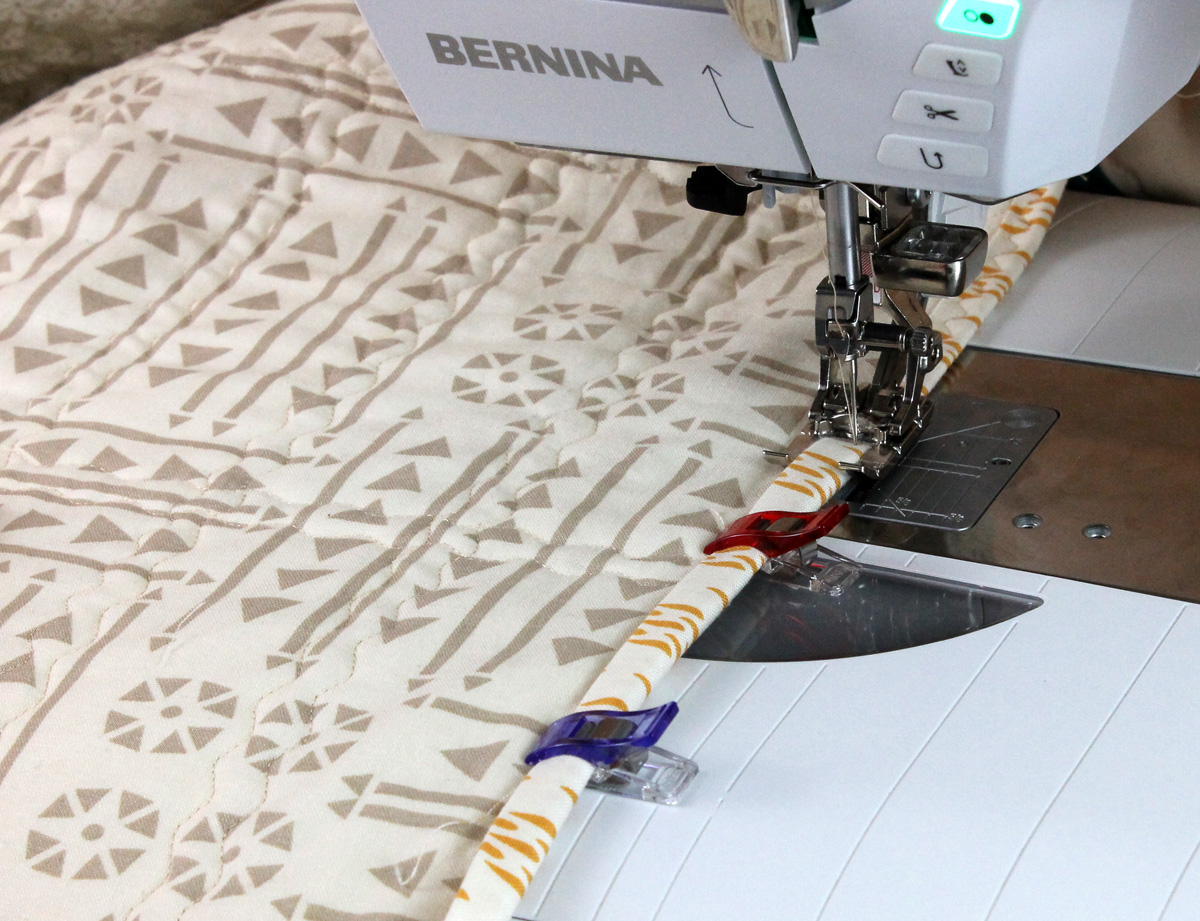
Tip: I used my Open embroidery foot #20D for better visibility. I was able to stitch with the binding right in between the sides of the feet. I kept the stitching completely on the binding fabric.
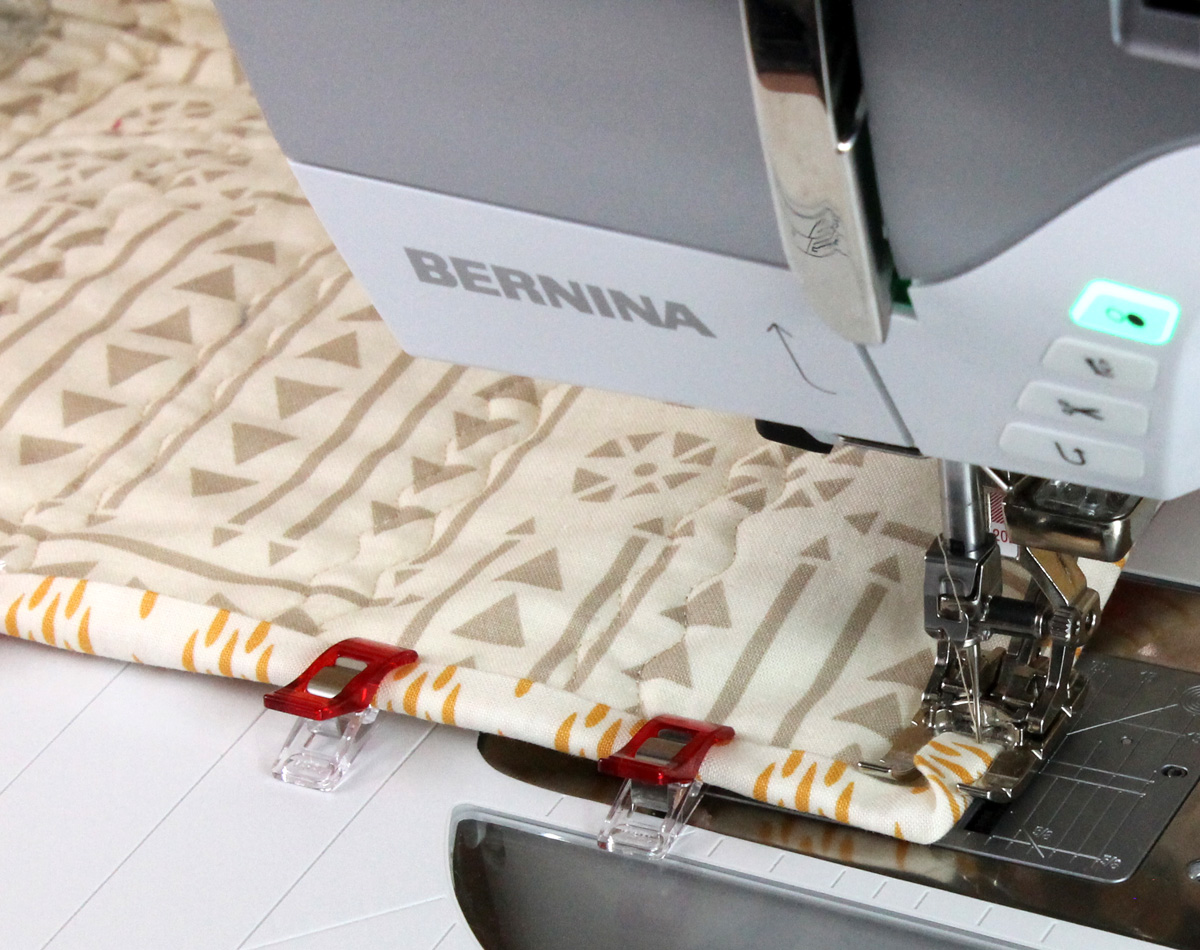
When you get to a corner, stop with your needle in the down position. Pivot the quilt and continue stitching all the way around the quilt to finish.
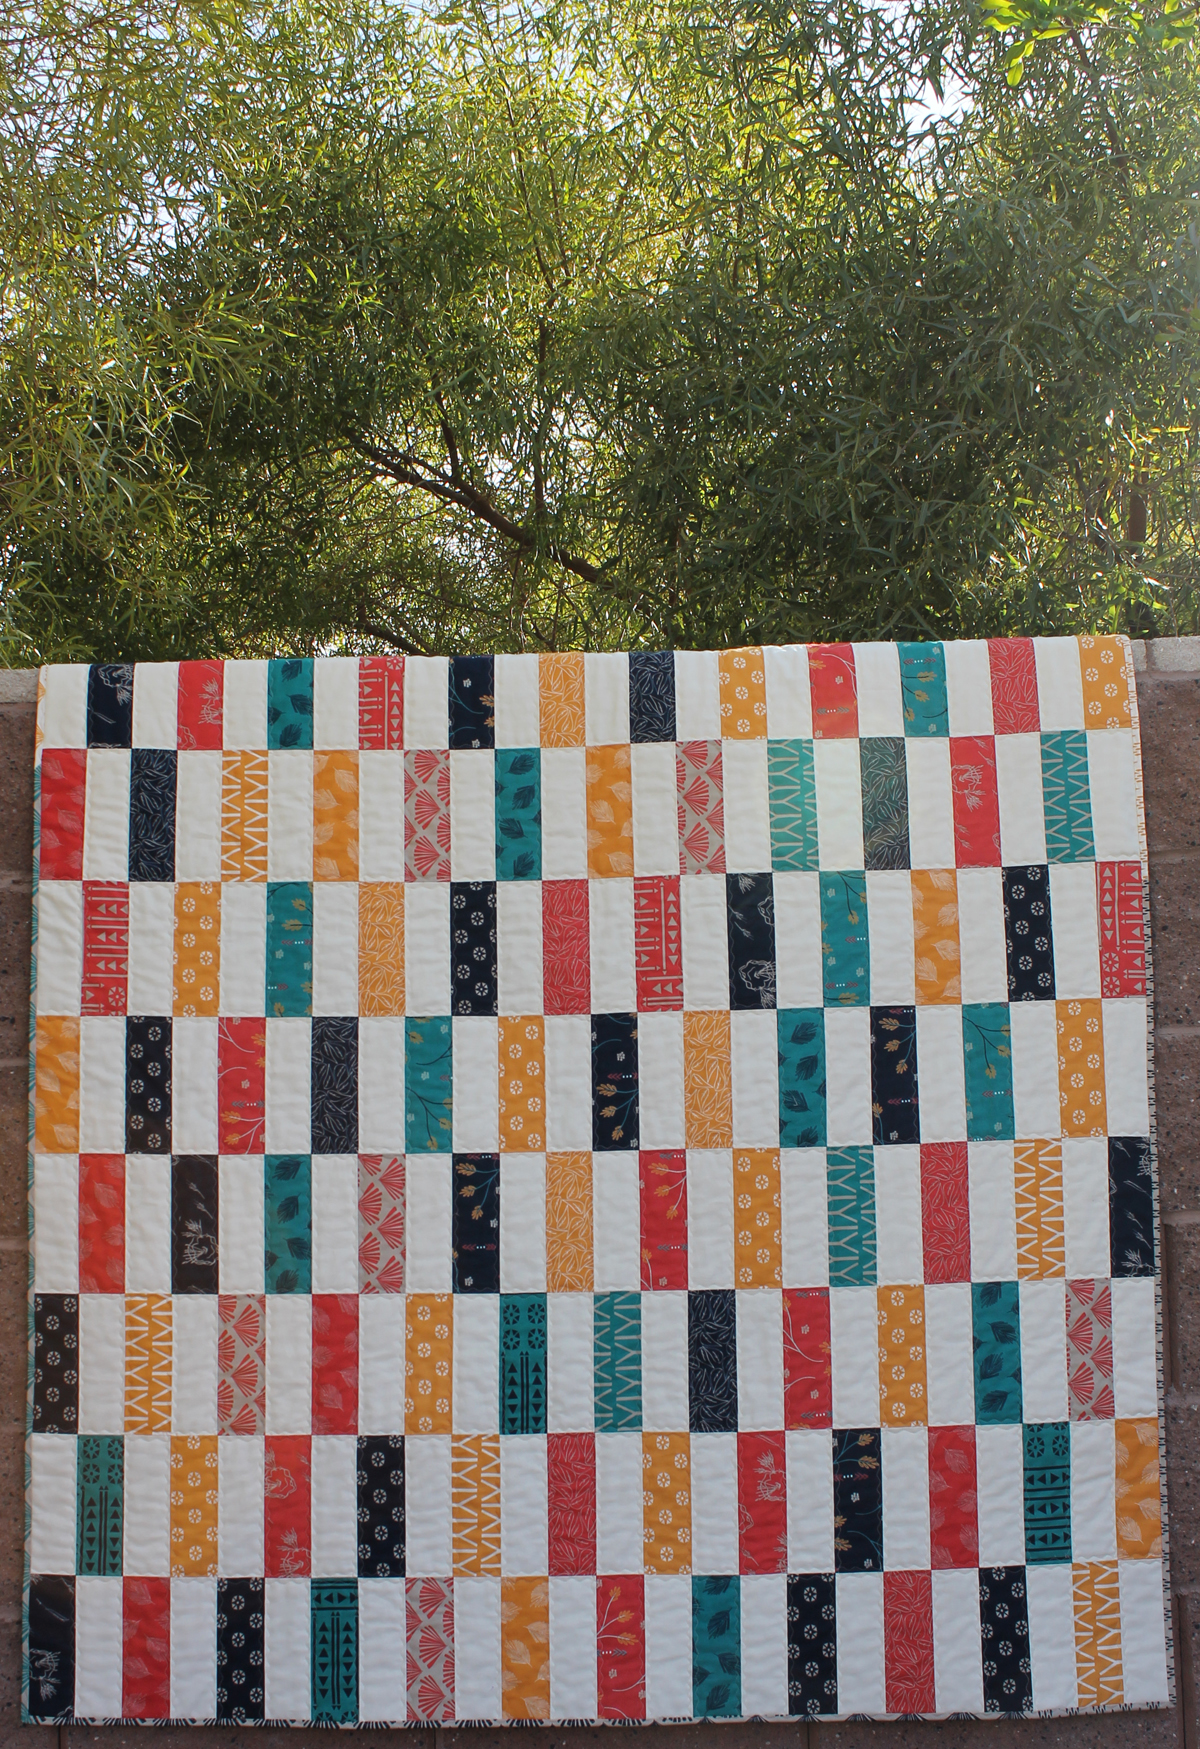
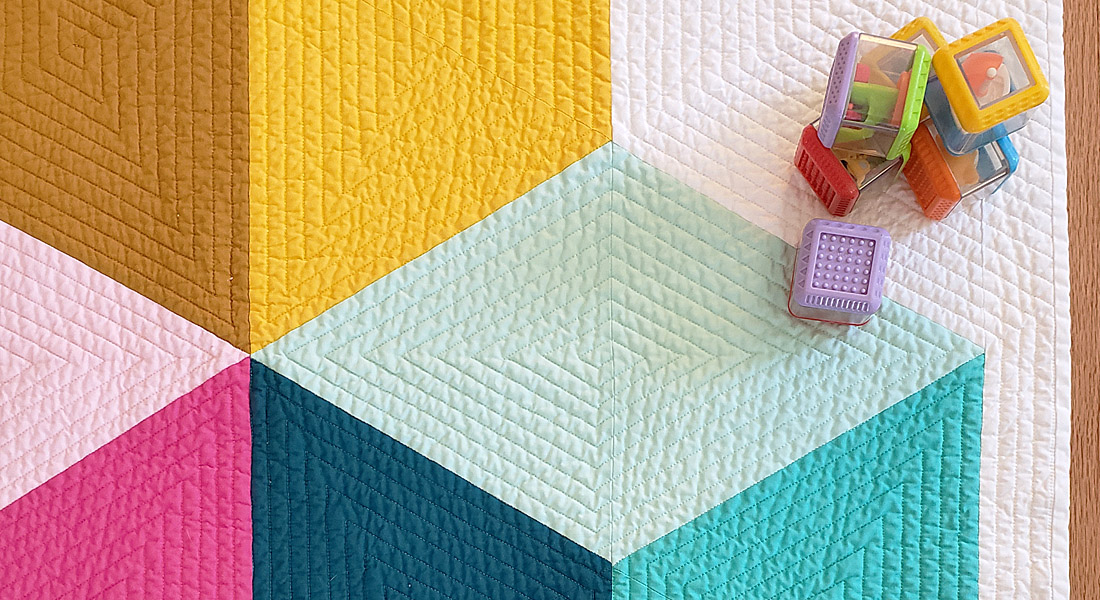
Enjoy your pretty quilt, finished completely by machine!
I hope you enjoyed making this quilt as much as I did! If you’d like to share your finish, please upload it to the We All Sew community site here.
Click on this link to check out other beautiful finishes made by WeAllSew readers!


What you might also like


One comment on “Simple Strips Quilt-along Part 5 – Machine Binding Tutorial”
Leave a Reply
You must be logged in to post a comment.

It’s very amazing ✌