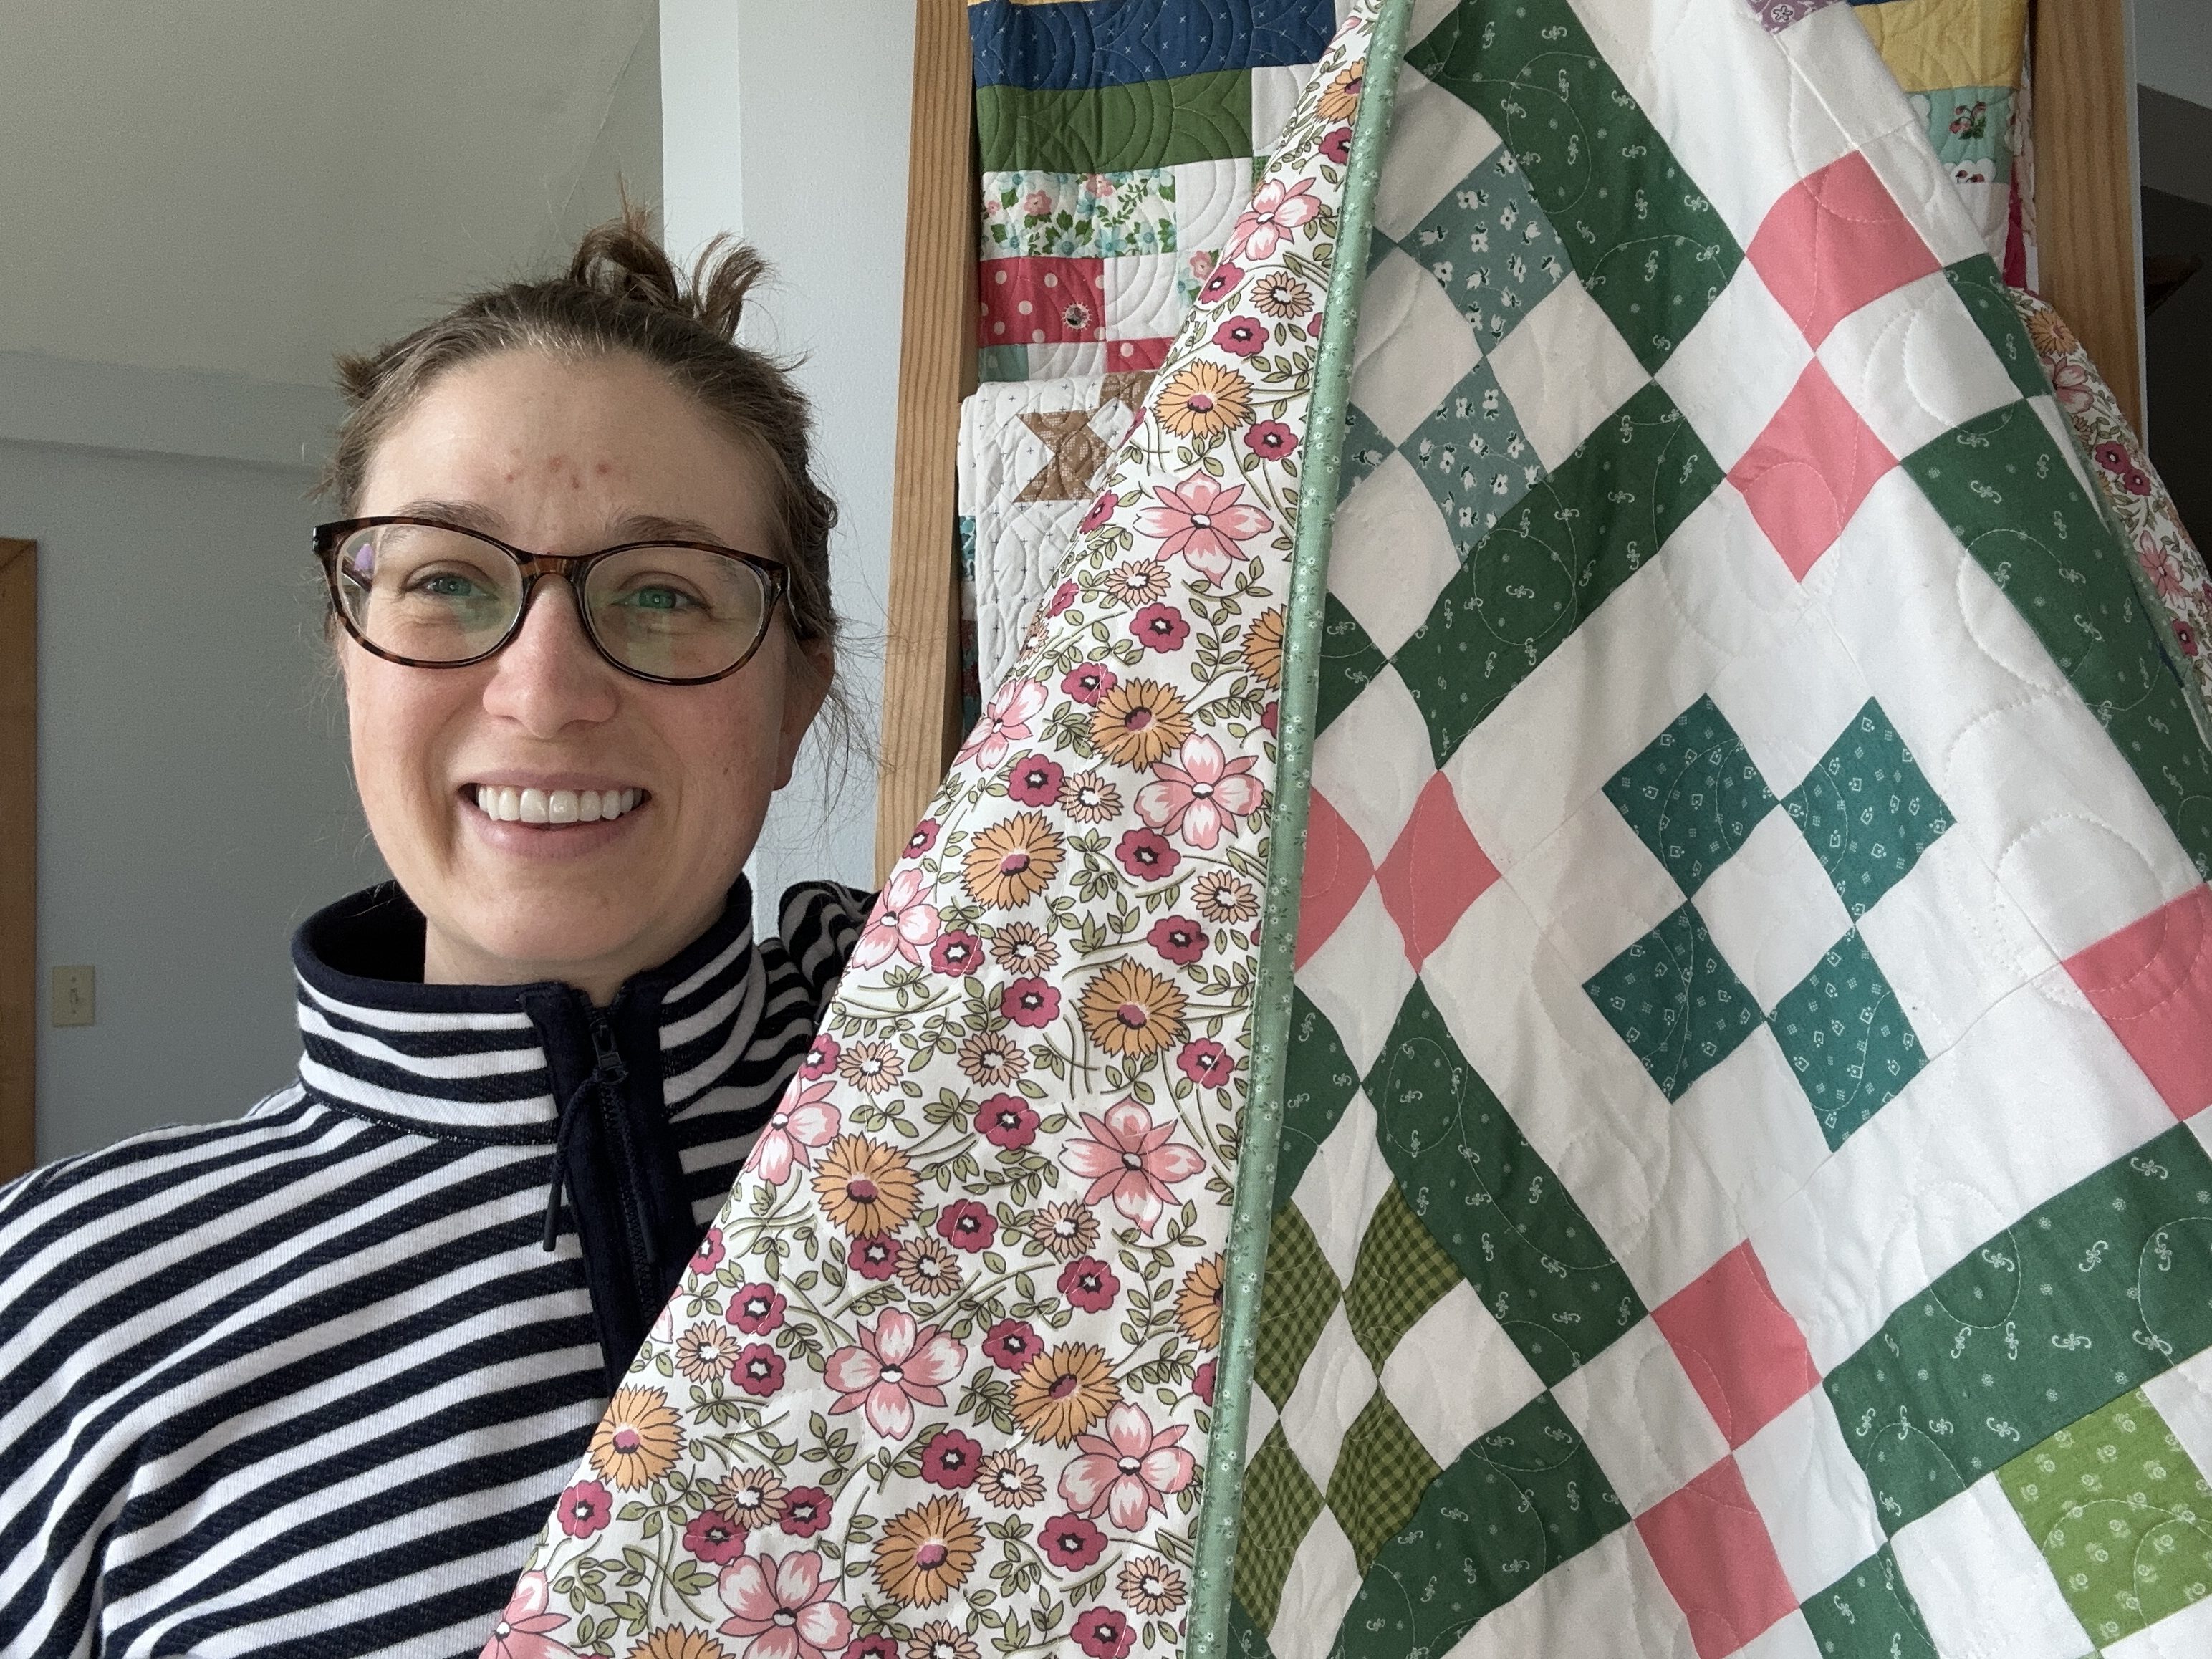
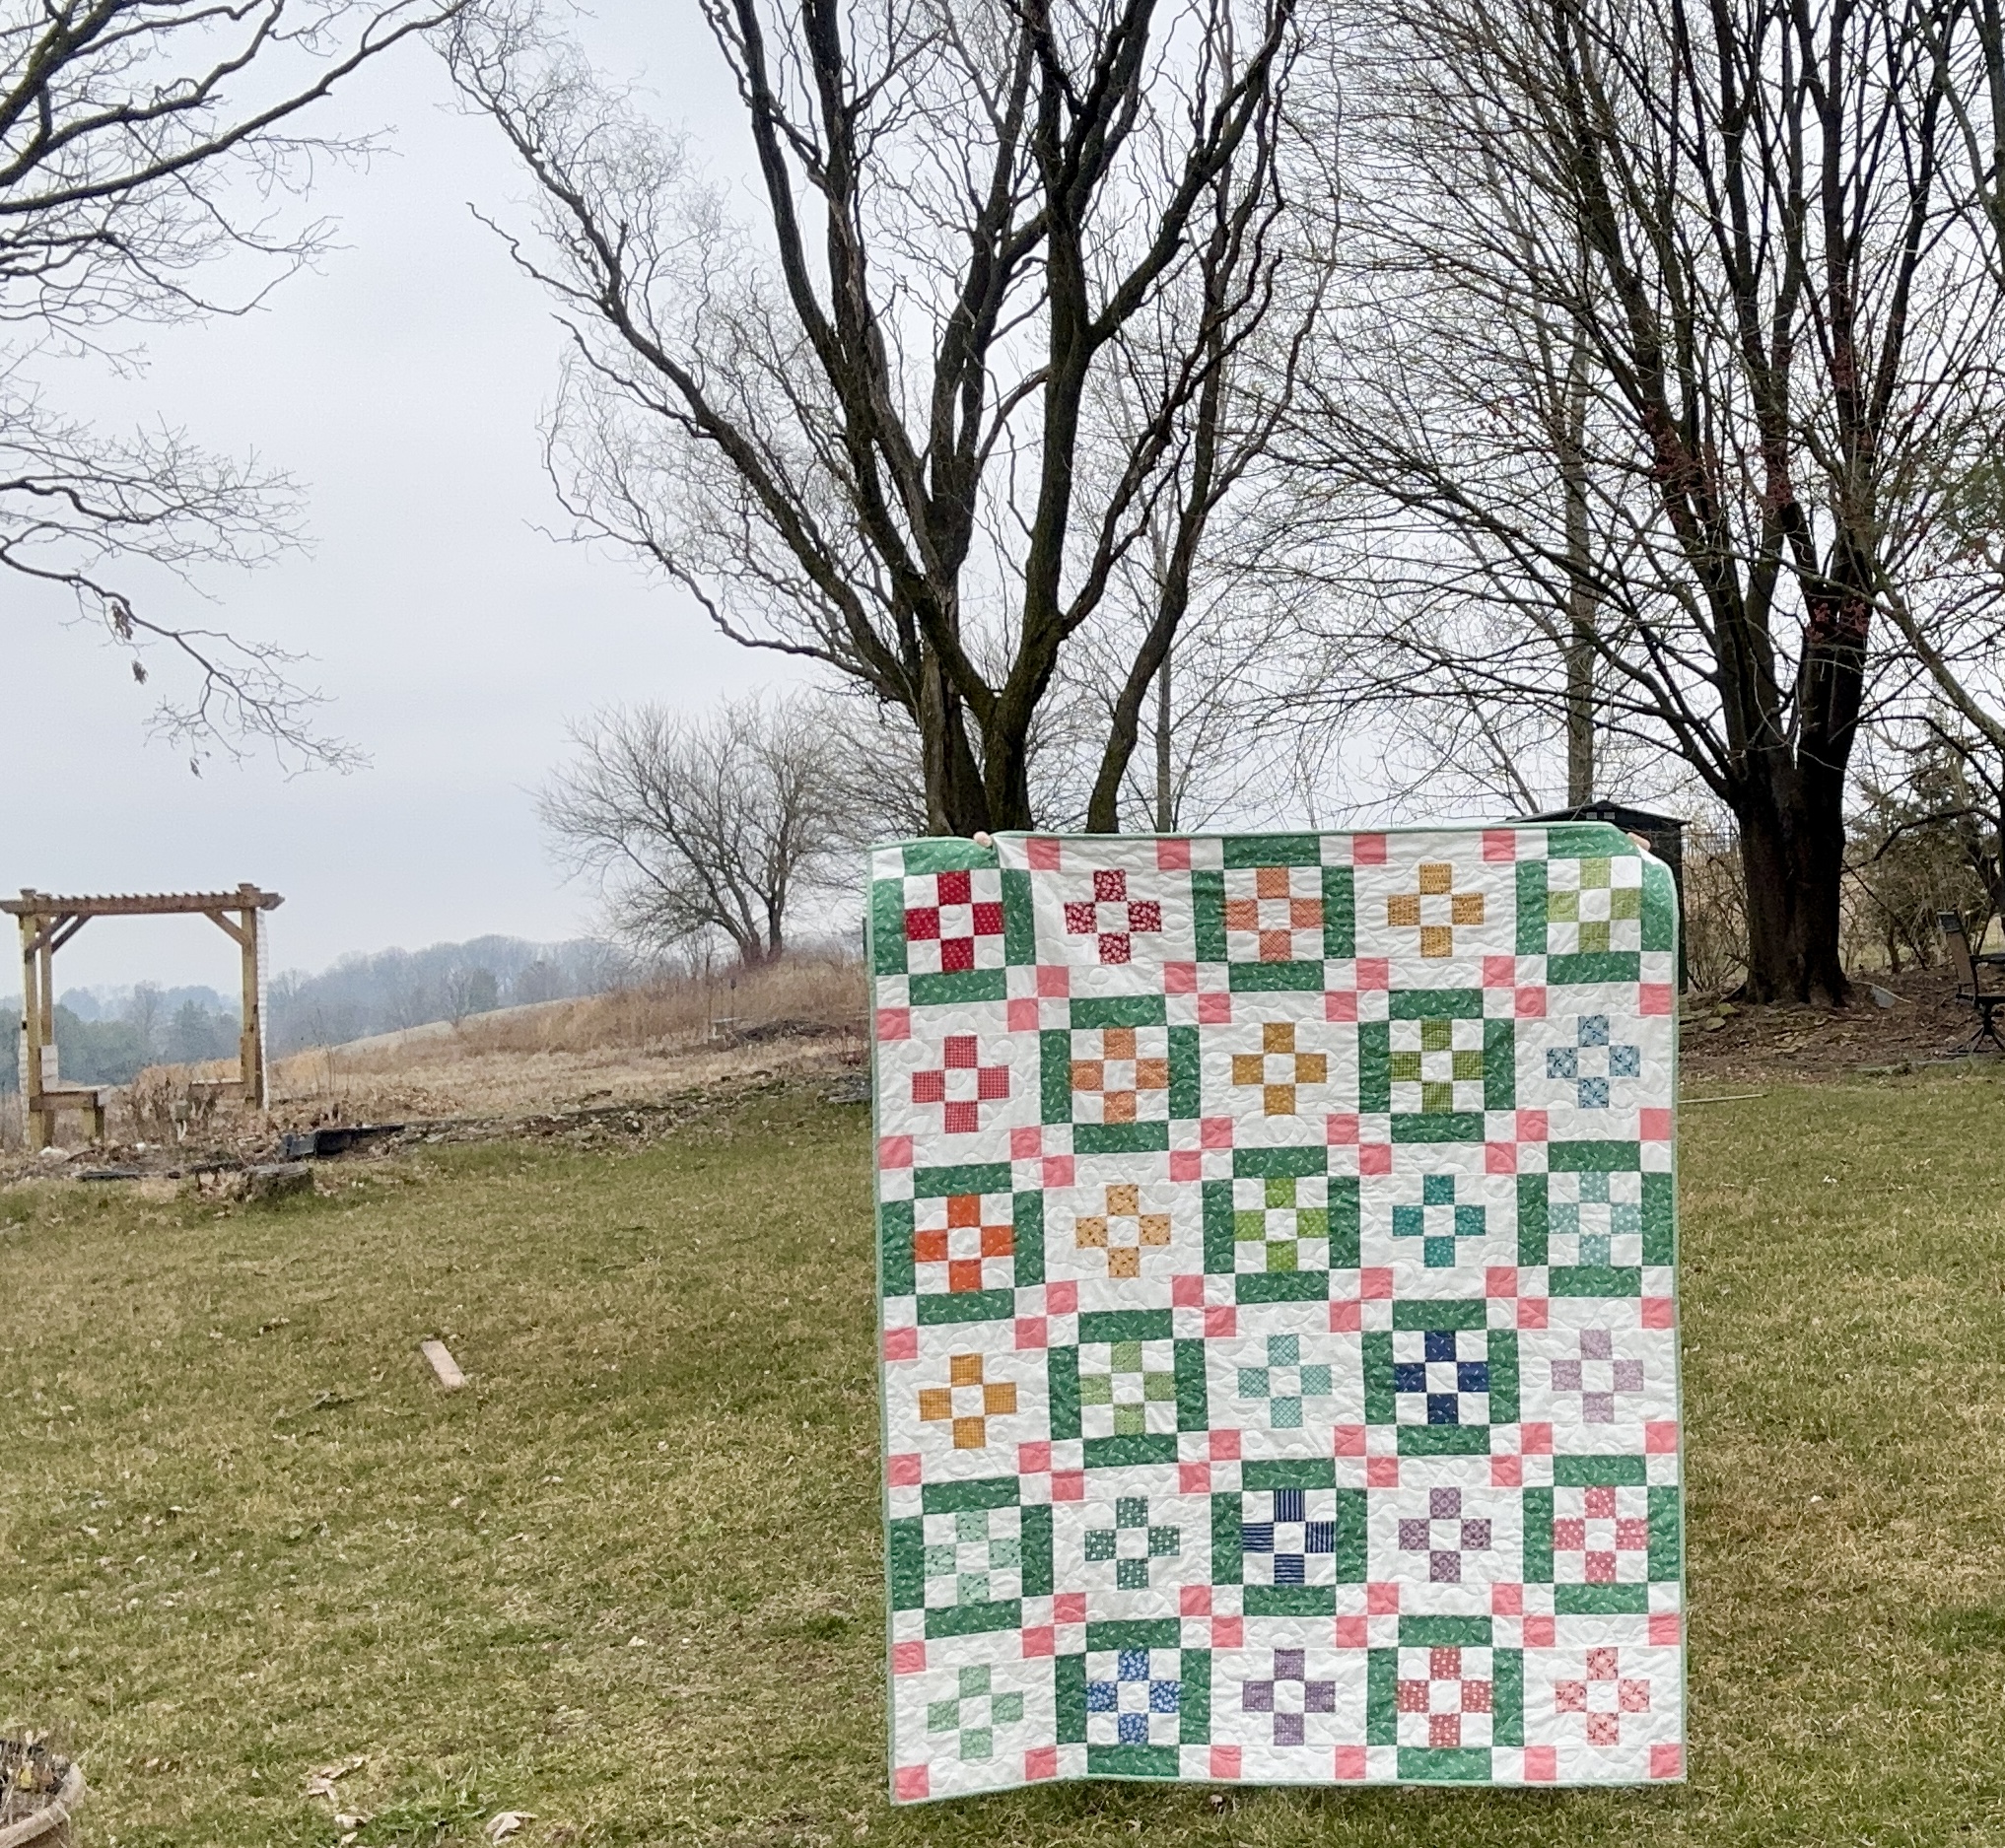
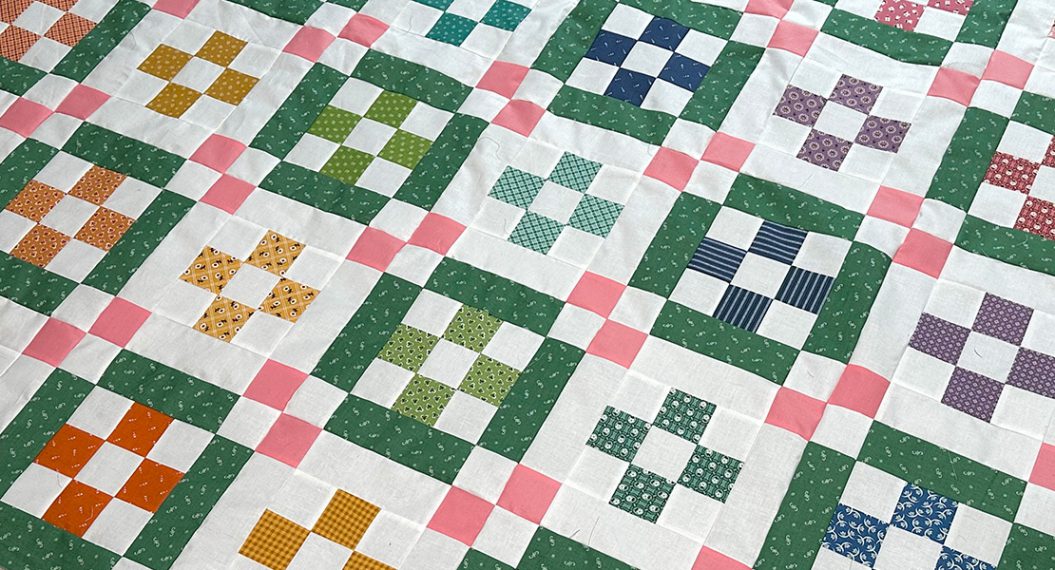
The Nona Quilt Along, Week Nine: Binding
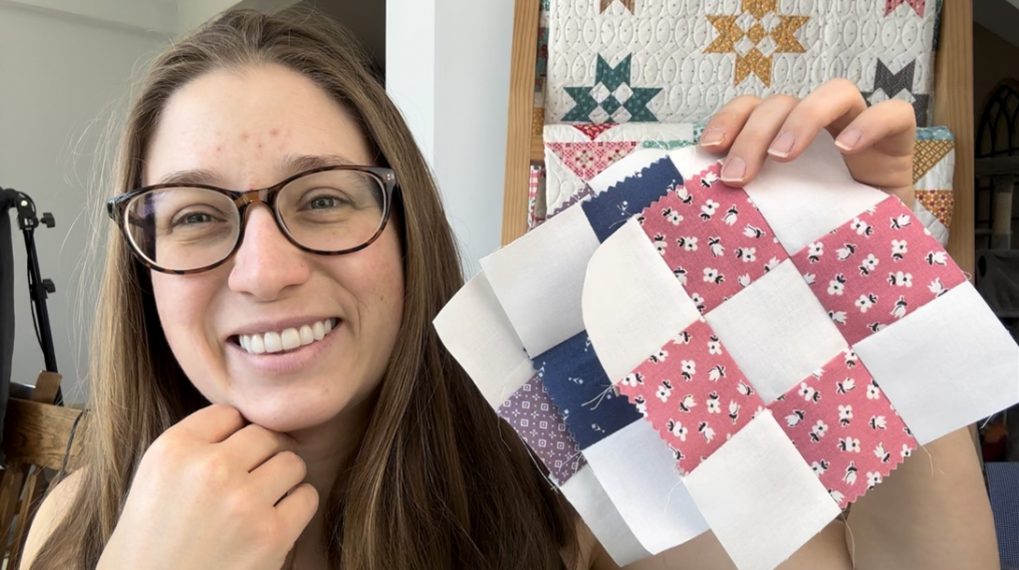
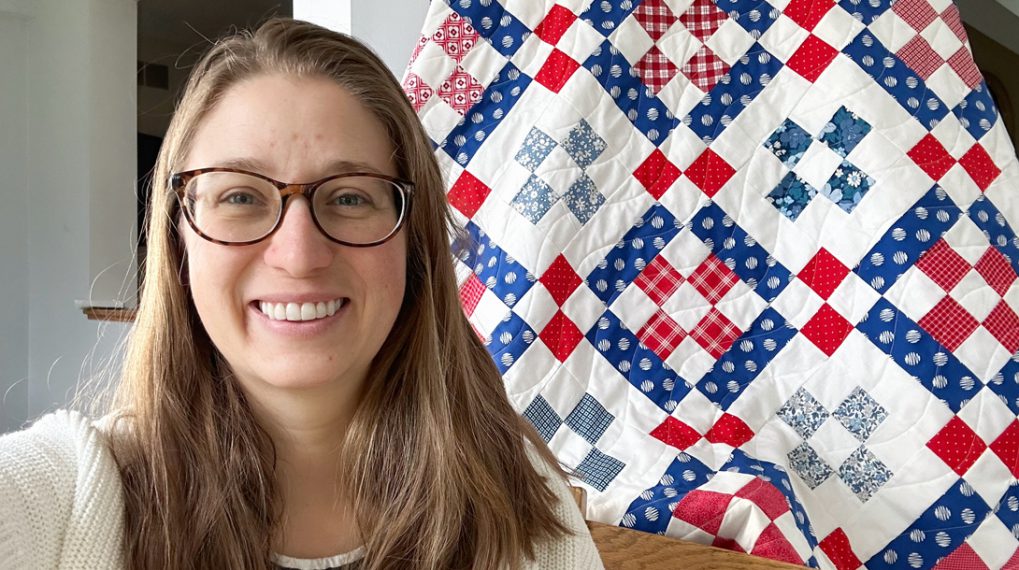
Hi, Friends! Welcome back! Jessica Dayon here and today we are starting week nine of The Nona Quilt Along.
If you missed the first seven parts of The Nona Quilt Along, you can read all about it here:
- The Nona Quilt Along, Week One: Introduction
- The Nona Quilt Along, Week Two: Supplies & Materials
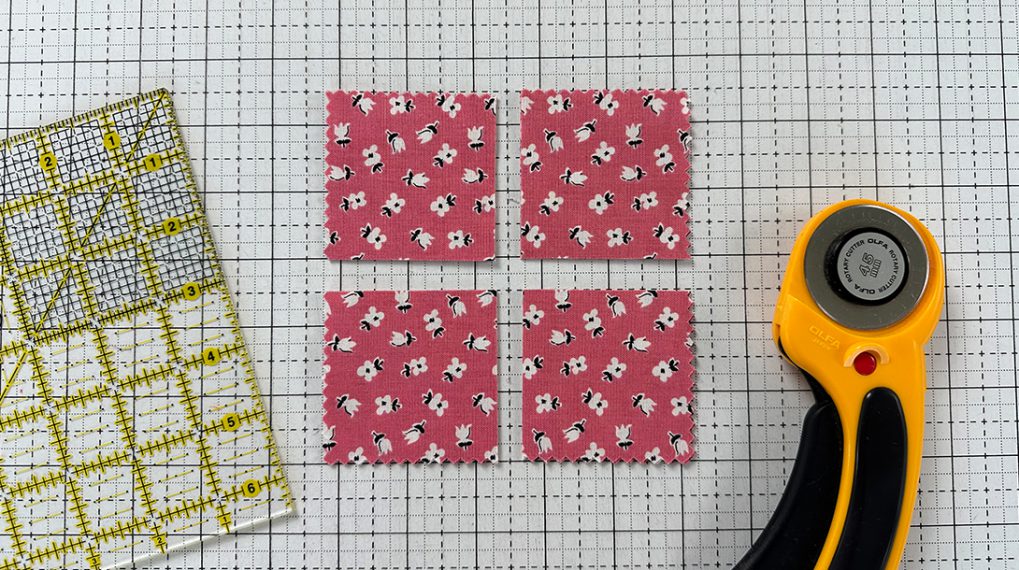
- The Nona Quilt Along, Week Three: Cutting the Fabric
- The Nona Quilt Along, Week Four: Nine Patches
- The Nona Quilt Along, Week Five: Block A
- The Nona Quilt Along, Week Six: Block B
- The Nona Quilt Along, Week Seven: Assembly
- The Nona Quilt Along, Week Eight: Basting & Quilting
This week, we will be binding the Nona Quilt. It’s the final week of the quilt along!
Finishing the Quilt
First, make sure you have your Nona pattern in front of you. We are working on the section titled ‘Finishing the Quilt’ step 3.

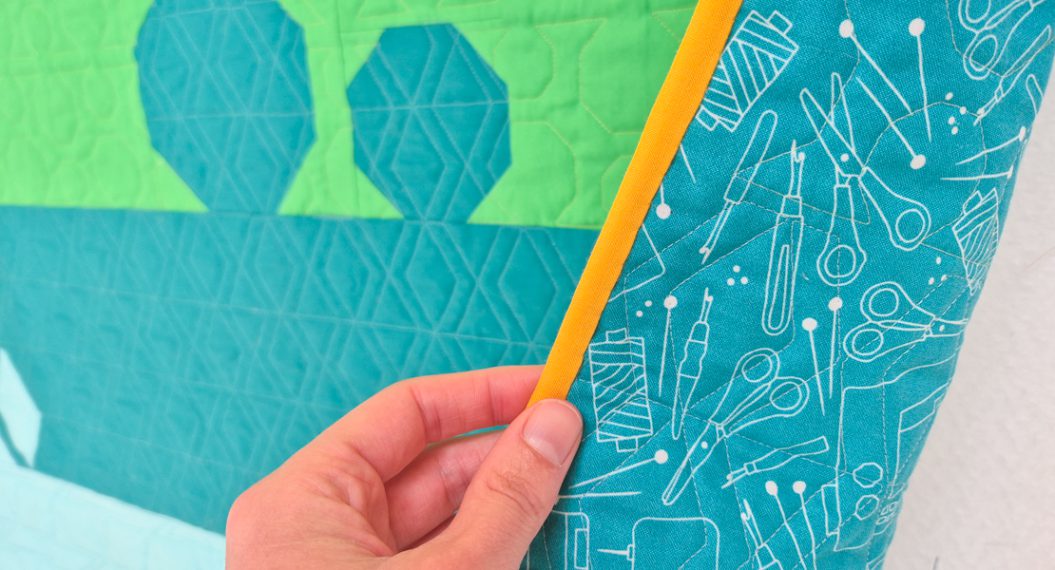
Binding the Quilt
Machine or Hand Binding
There are two ways to bind a quilt- machine bind or hand bind.
In machine binding, there are also two different ways to attach the binding- on the top or on the back. Traditionally, the binding is first sewn to the back and then to the top. I, however, do it the opposite way. That is the way I will be showing here.
If you are interested in hand binding, make sure you watch this week’s YouTube video on my channel because I will be showing hand binding there in detail too.
Preparing the Binding
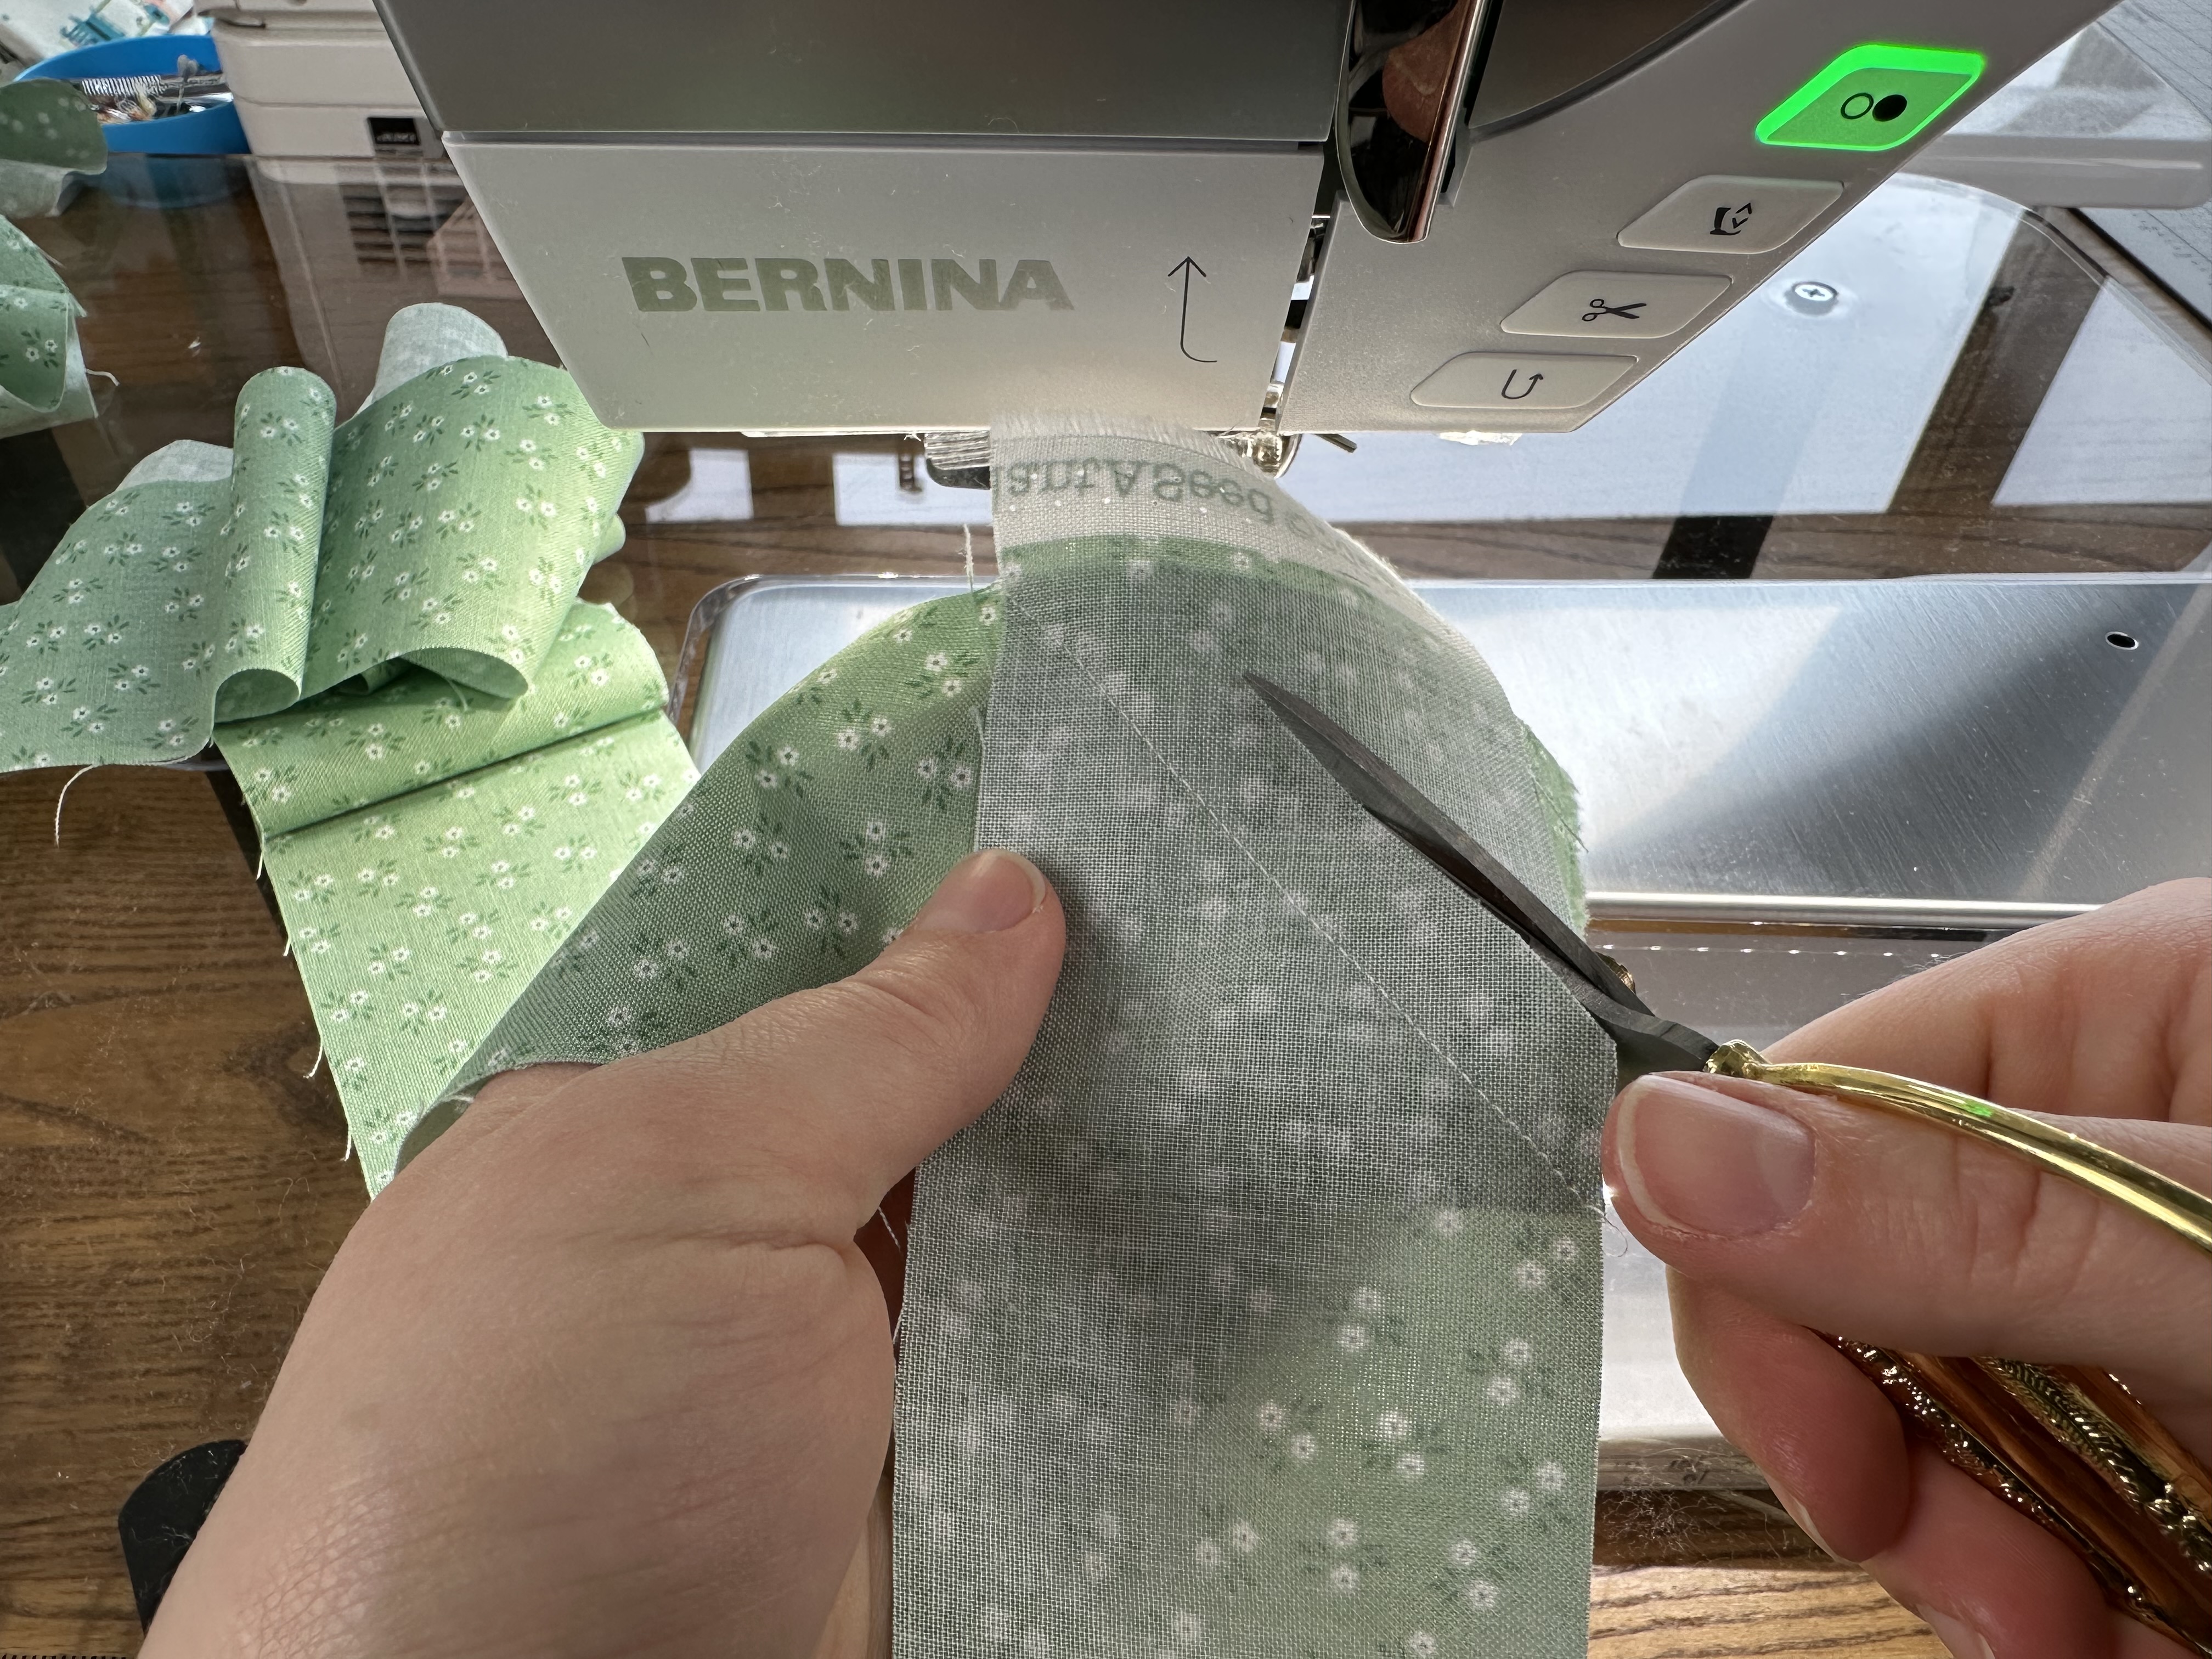
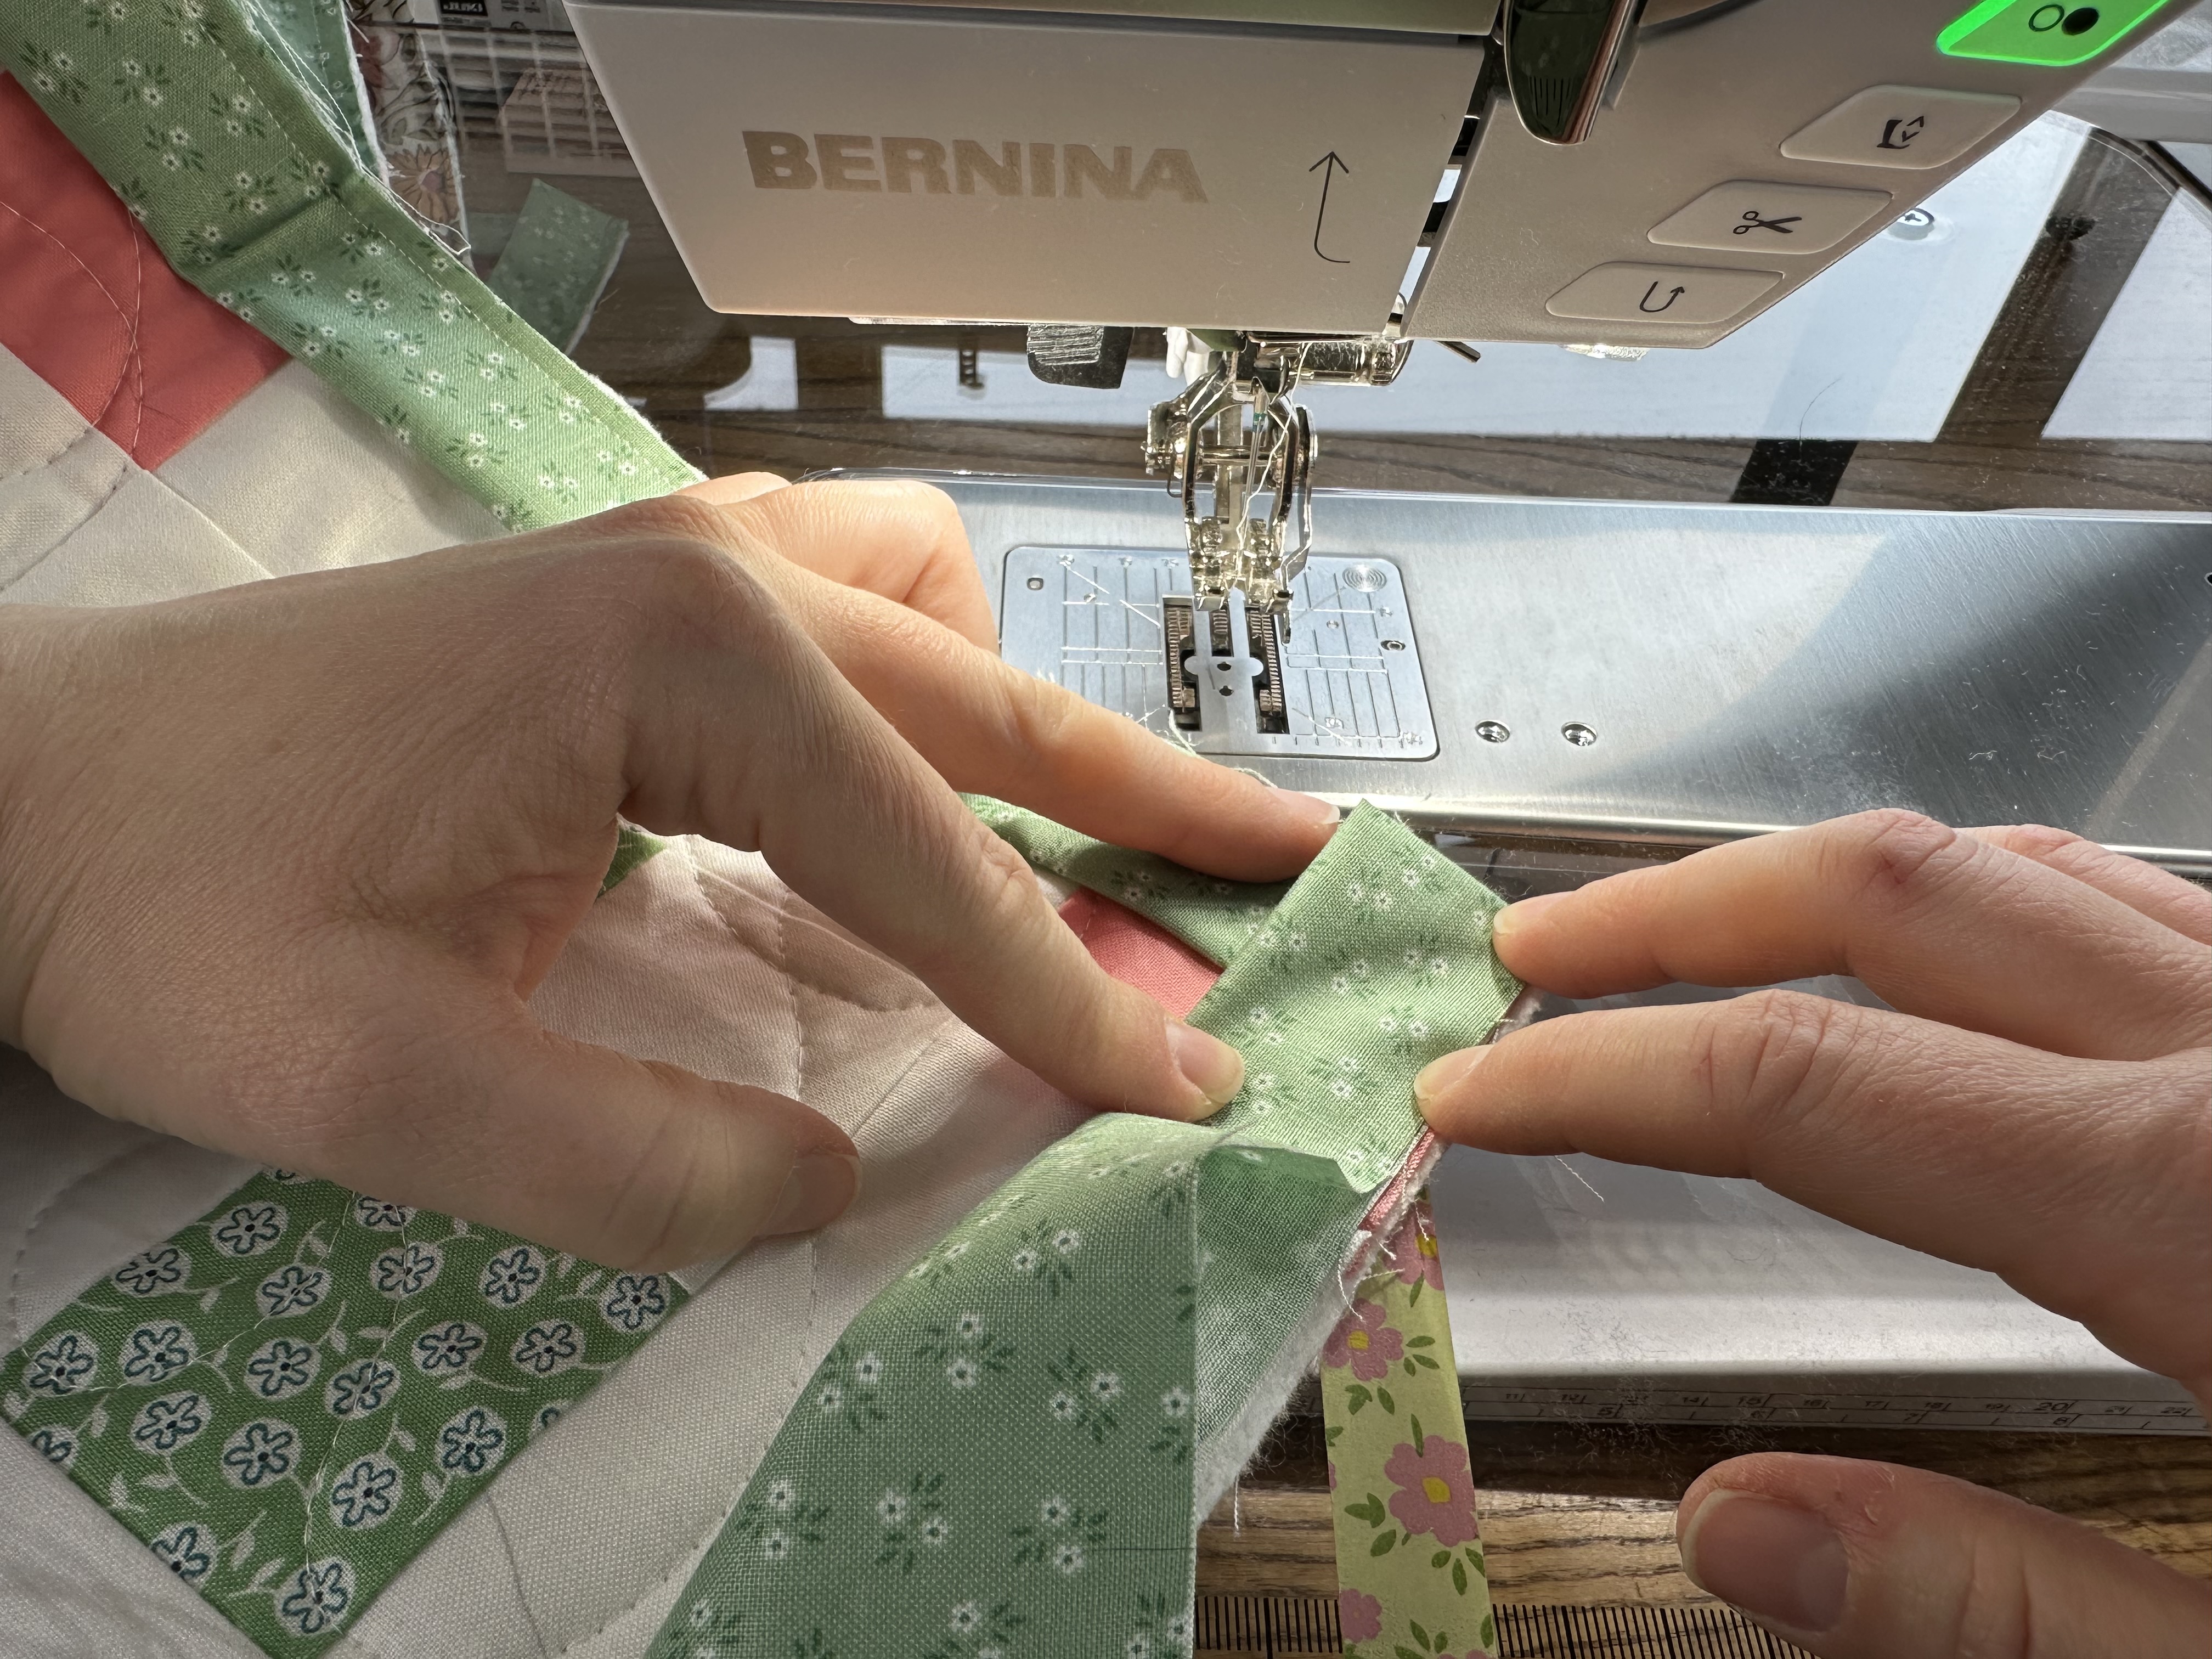
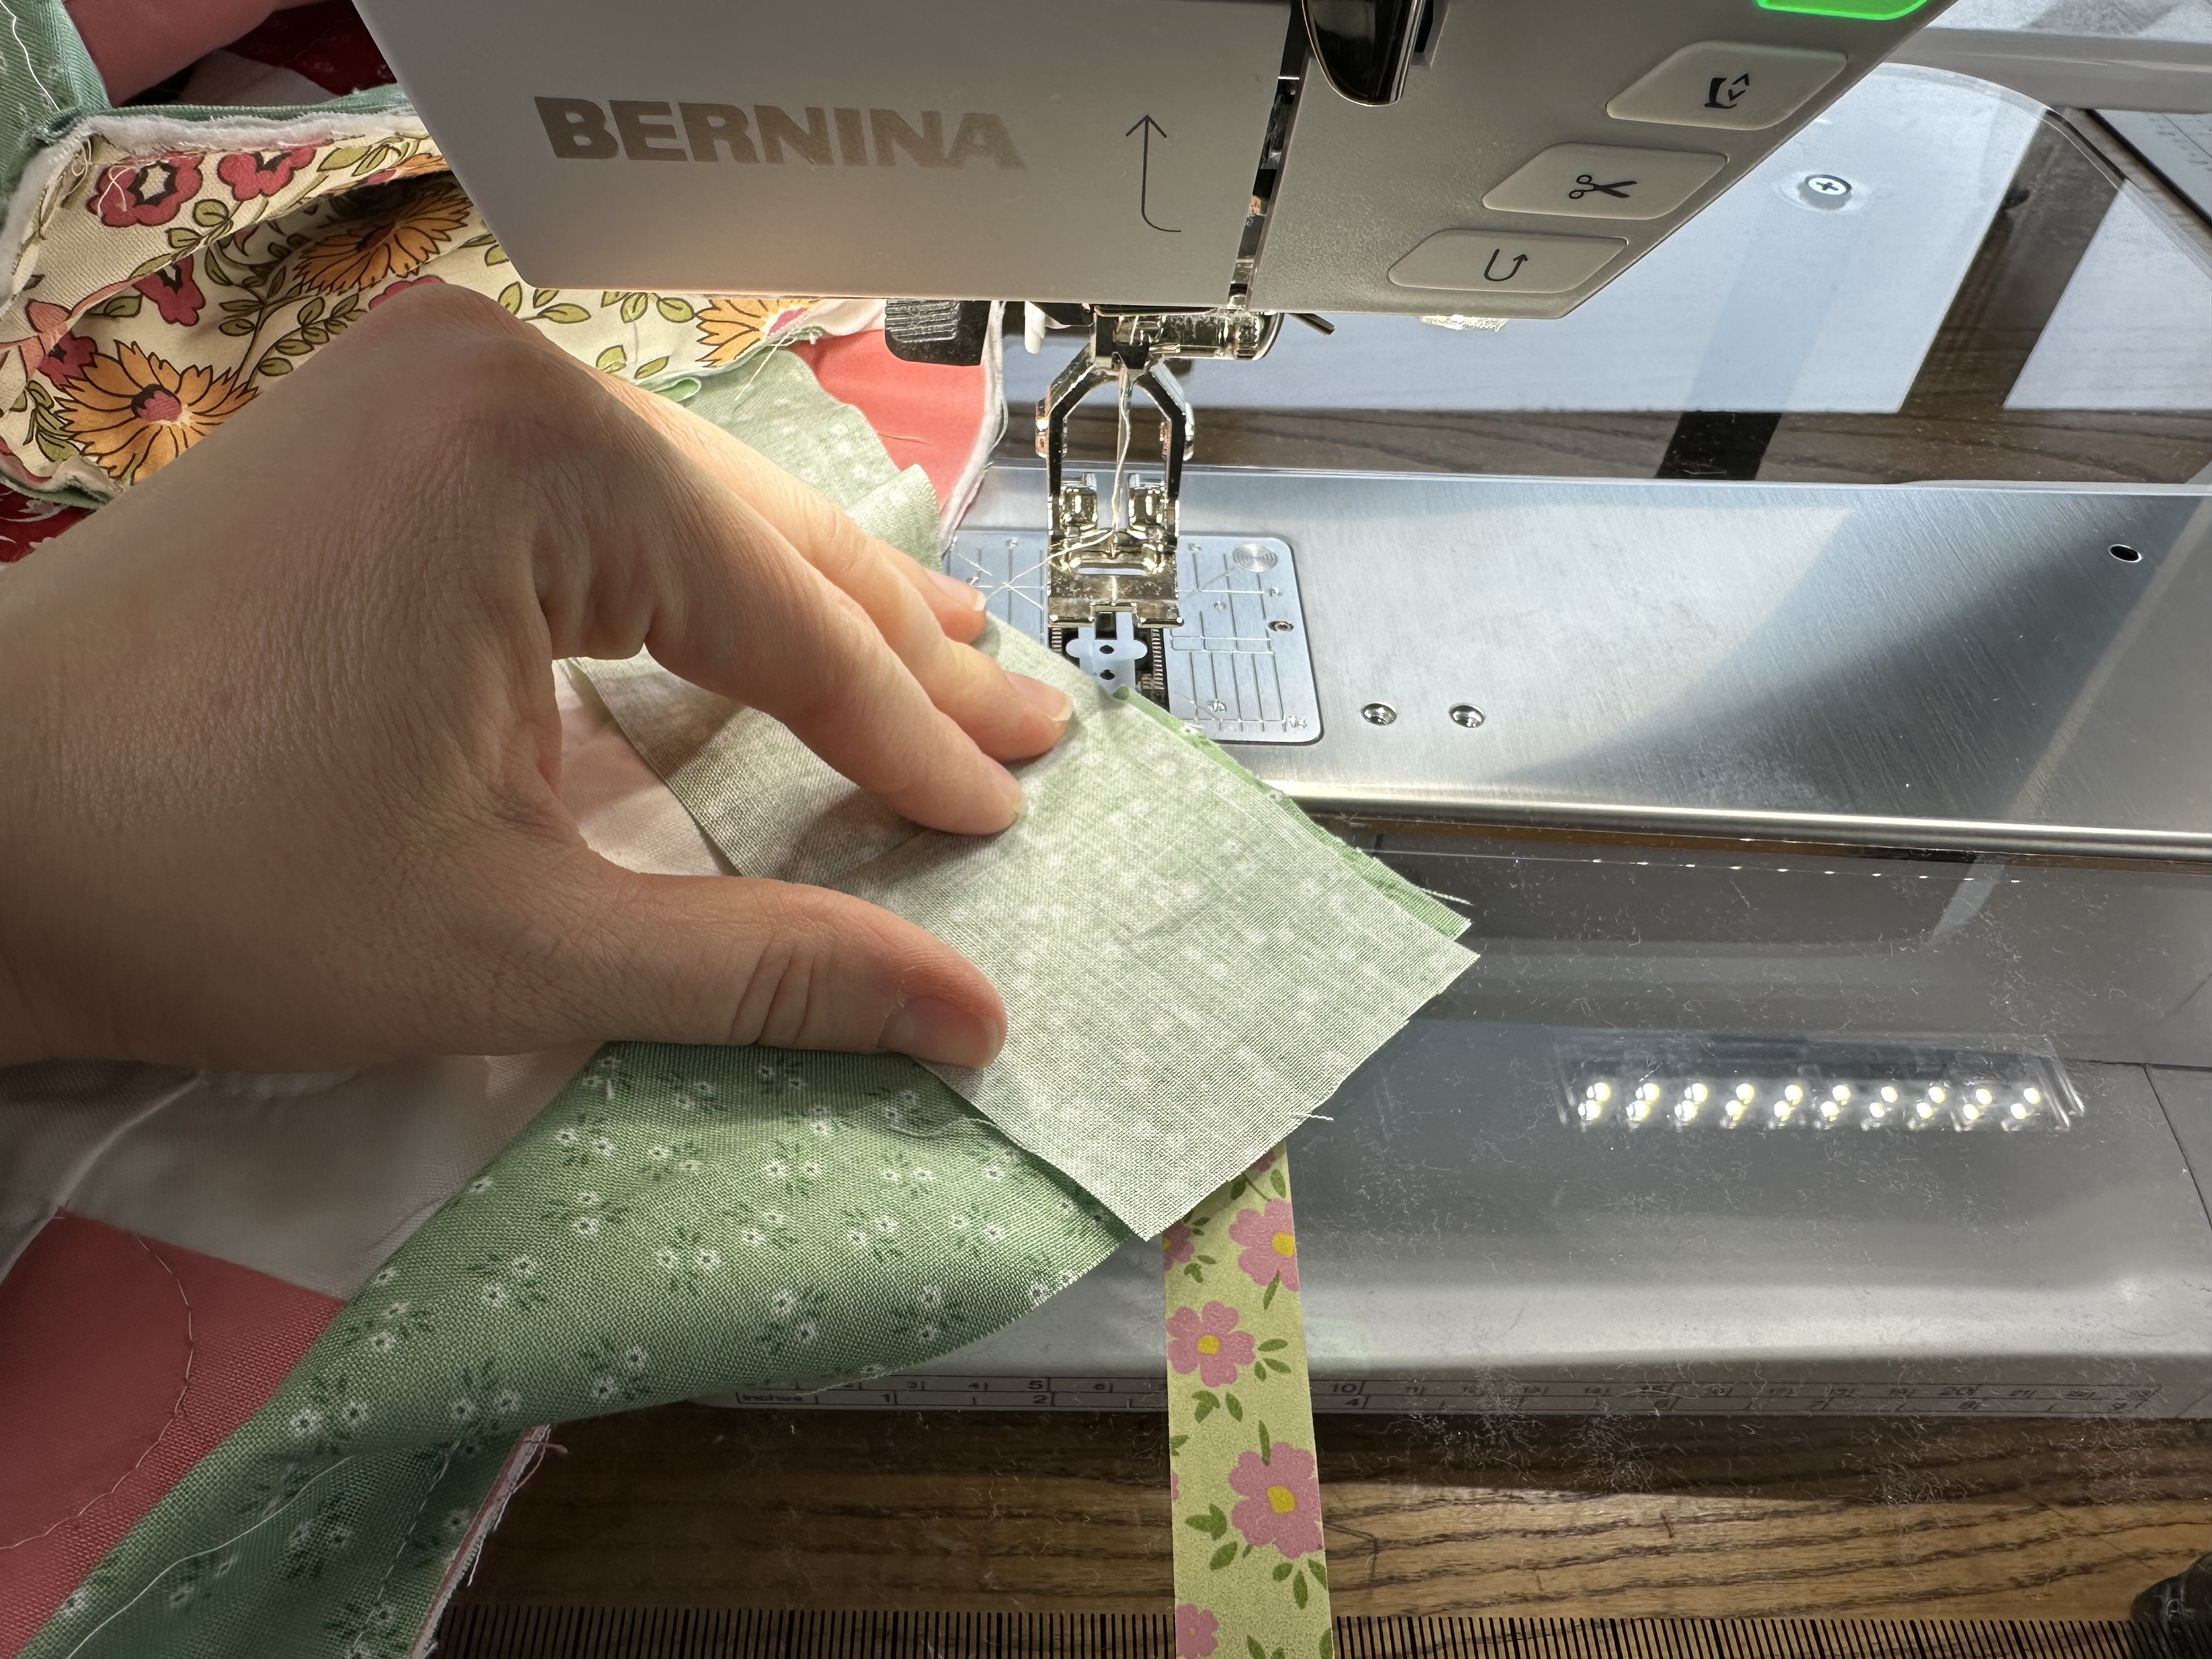
The first step is to prepare the binding. Currently, we have 6 individual strips that are 2 1/2″ x 43/44″. We need to join them into one binding strip. The way that I like to do it is join the binding on a diagonal.
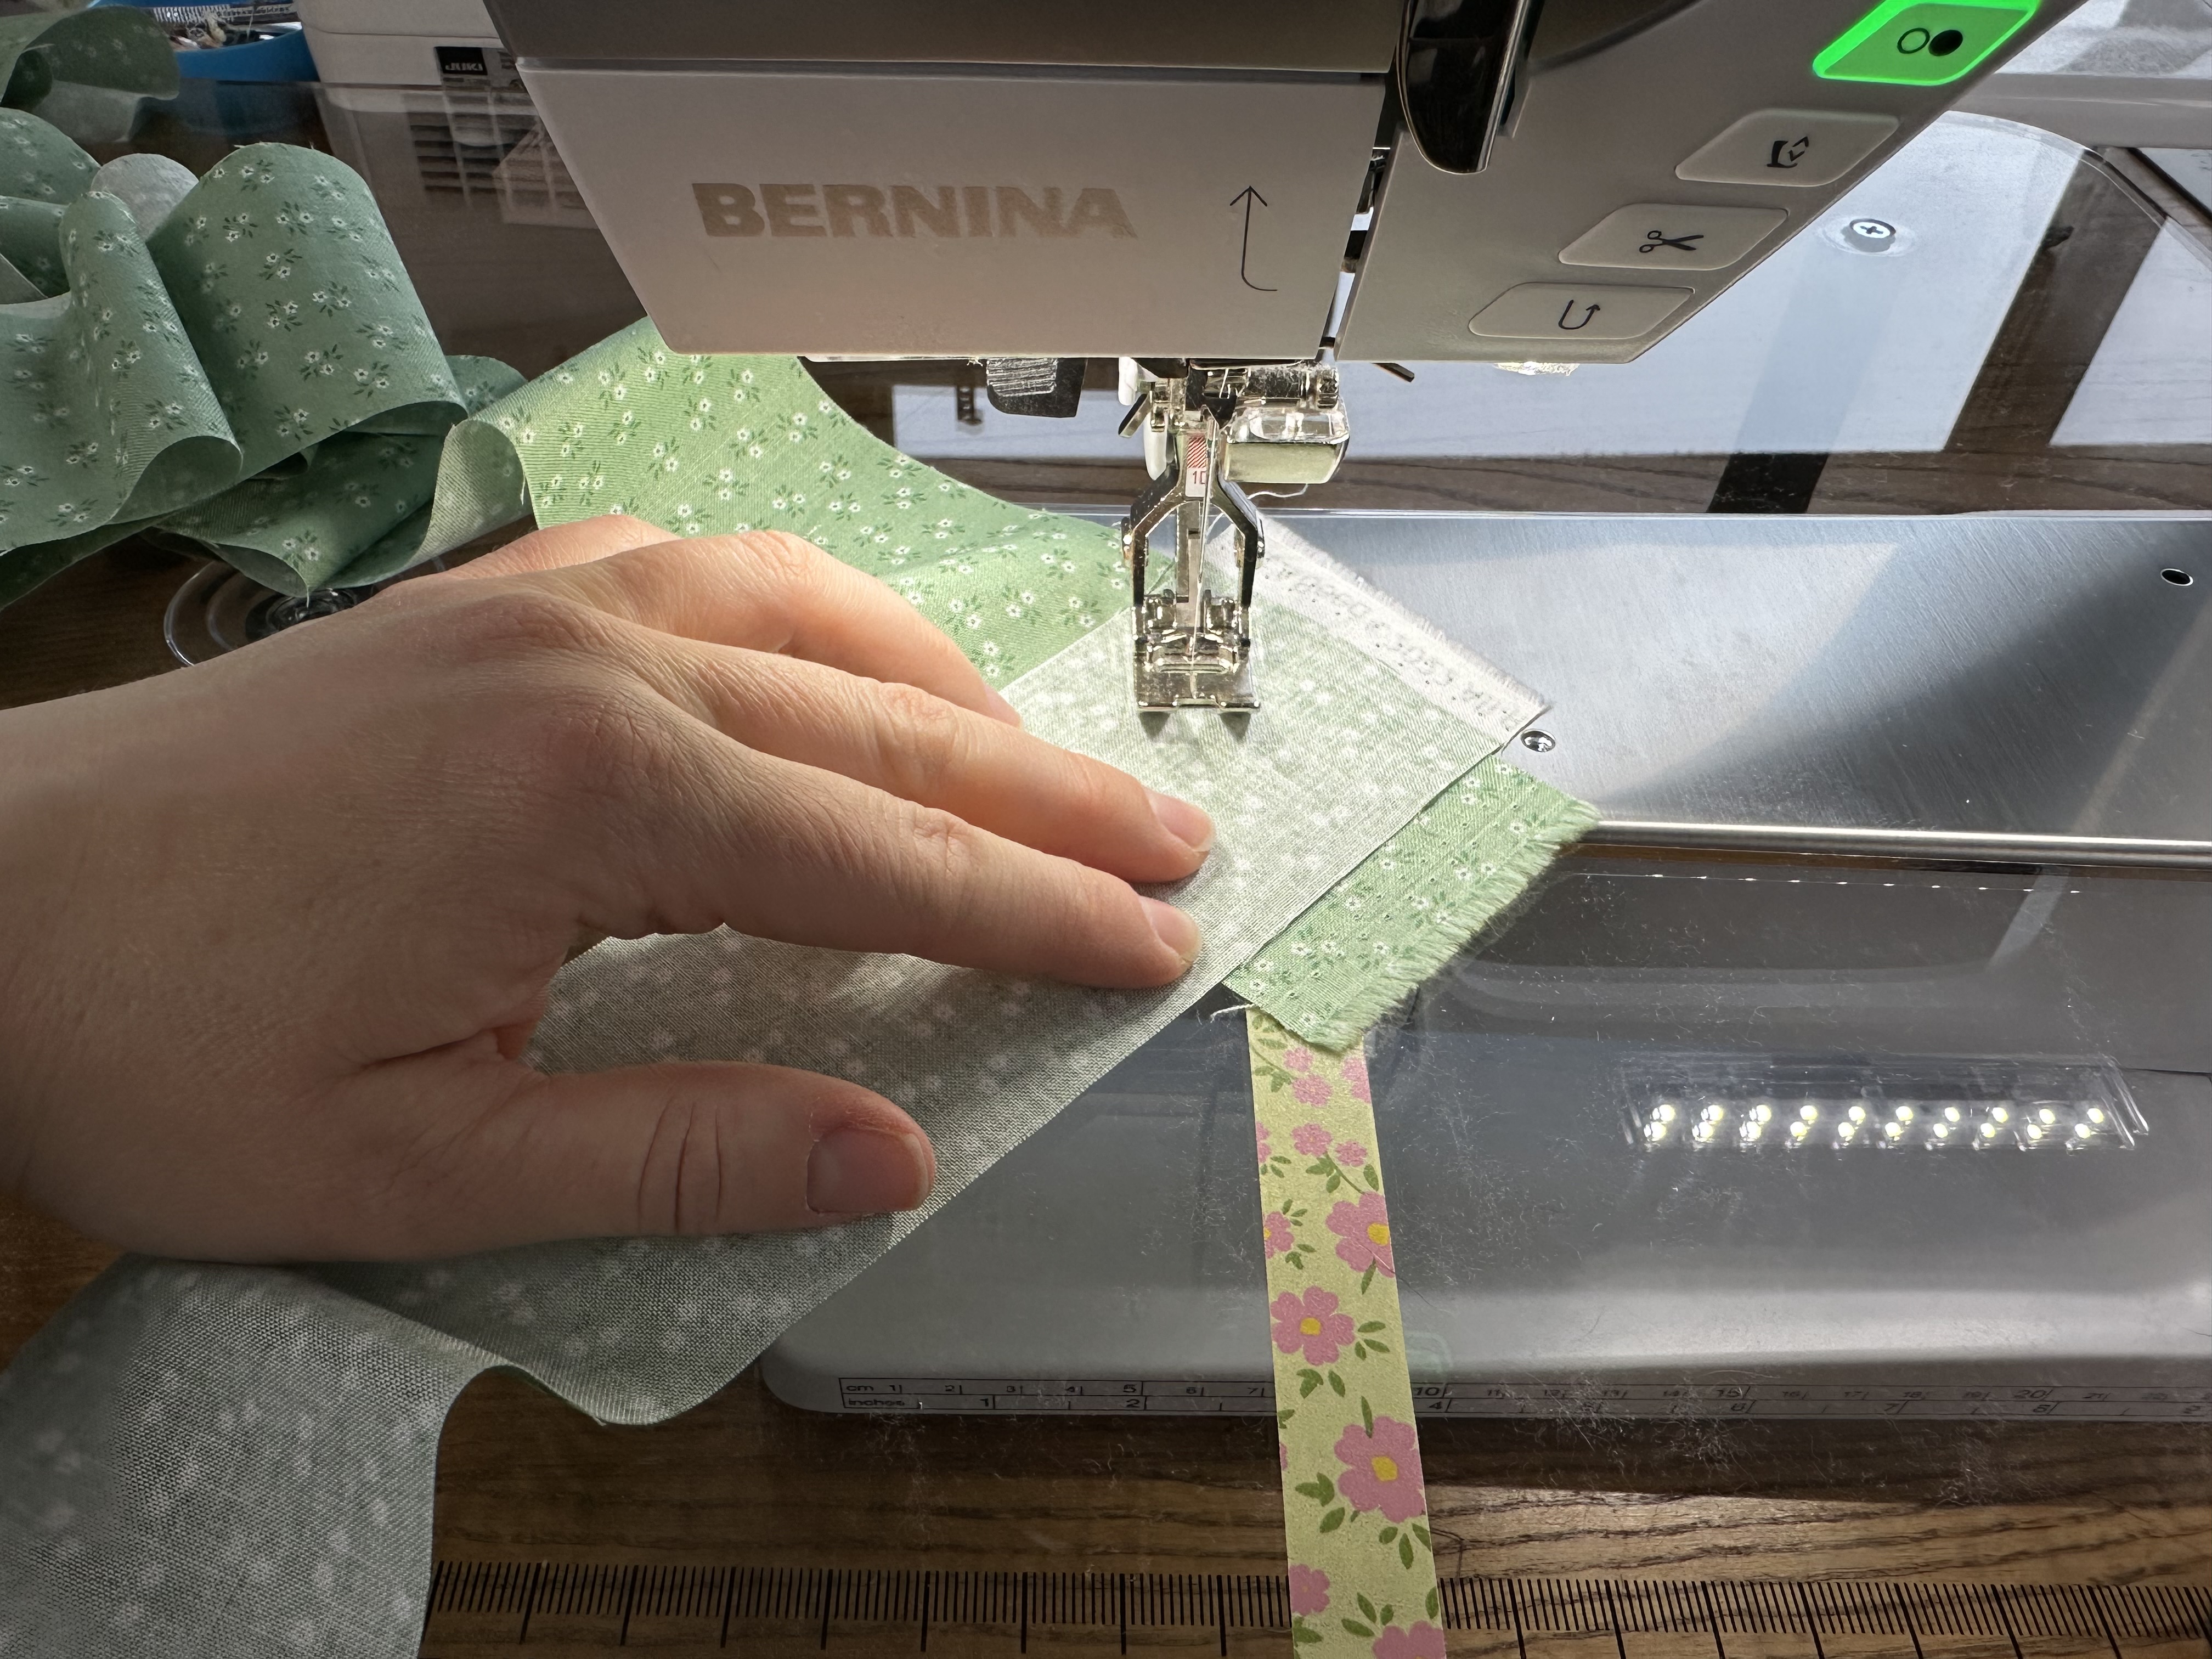
First, lay out two strips of binding. One will be right side up and the other will be right side down. Cross them at one end as shown in the photo below. The one that is wrong side up should be overhanging at the top the same amount as the bottom one overhanging on the right.
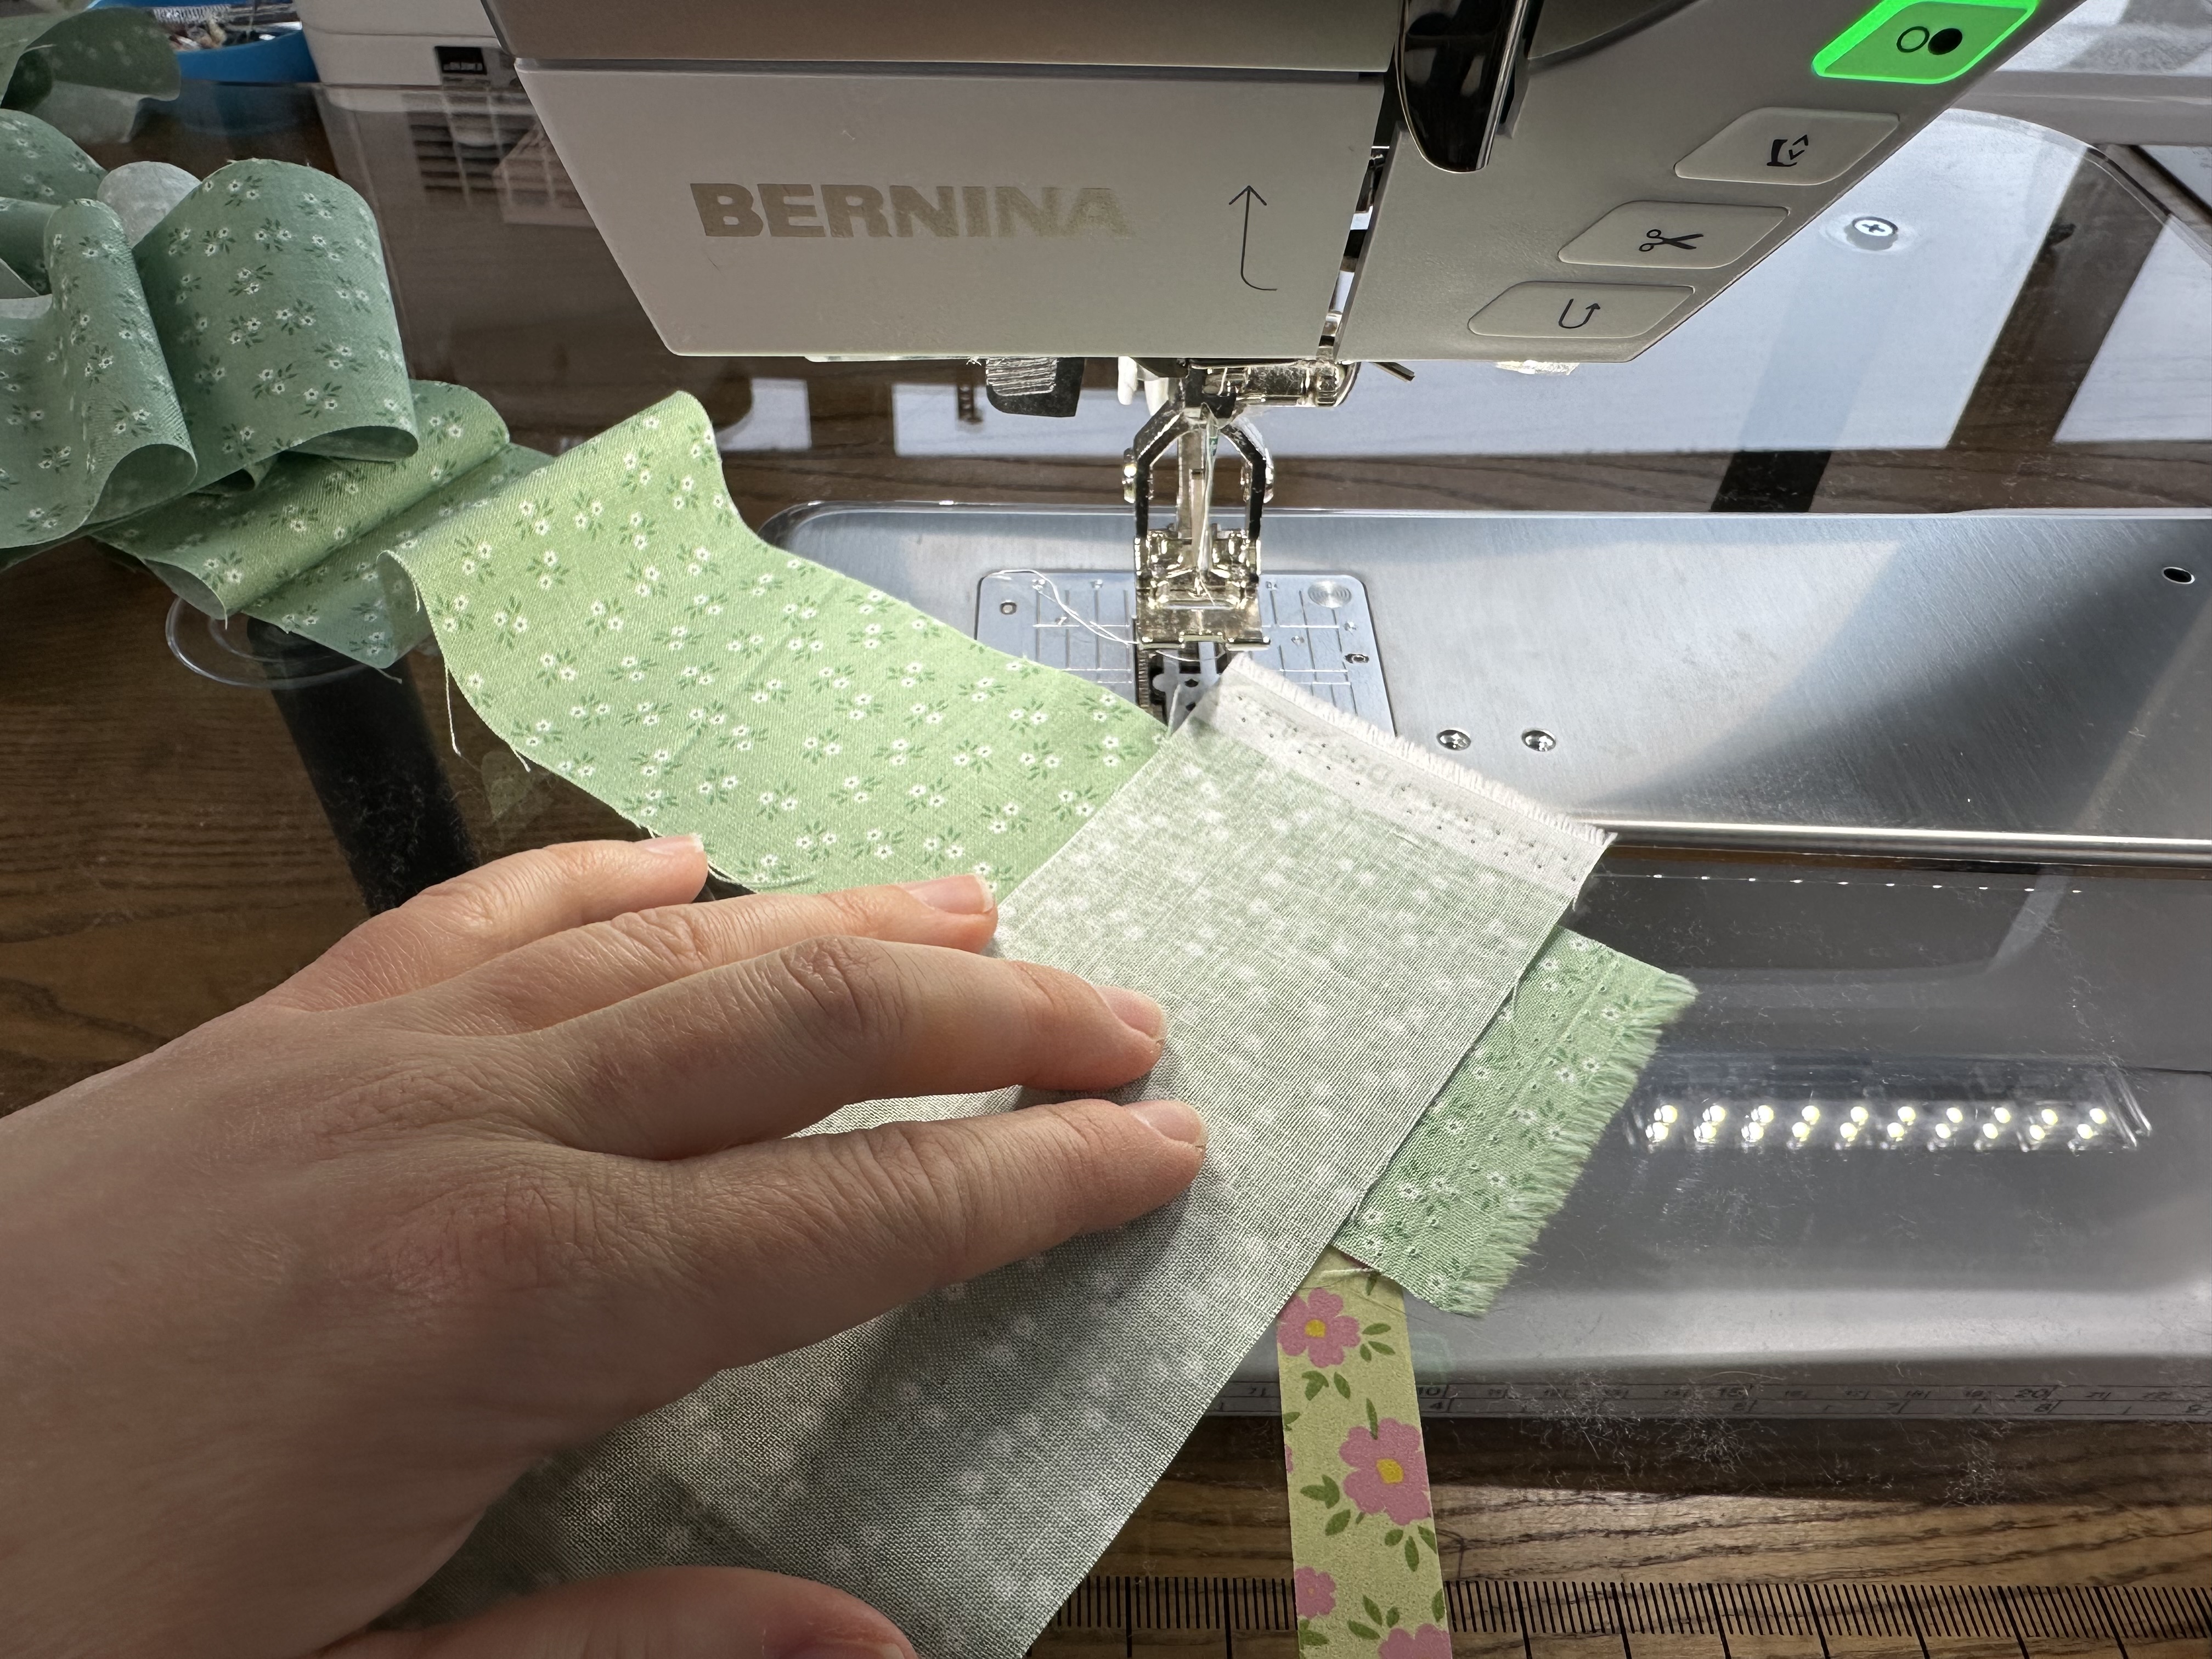
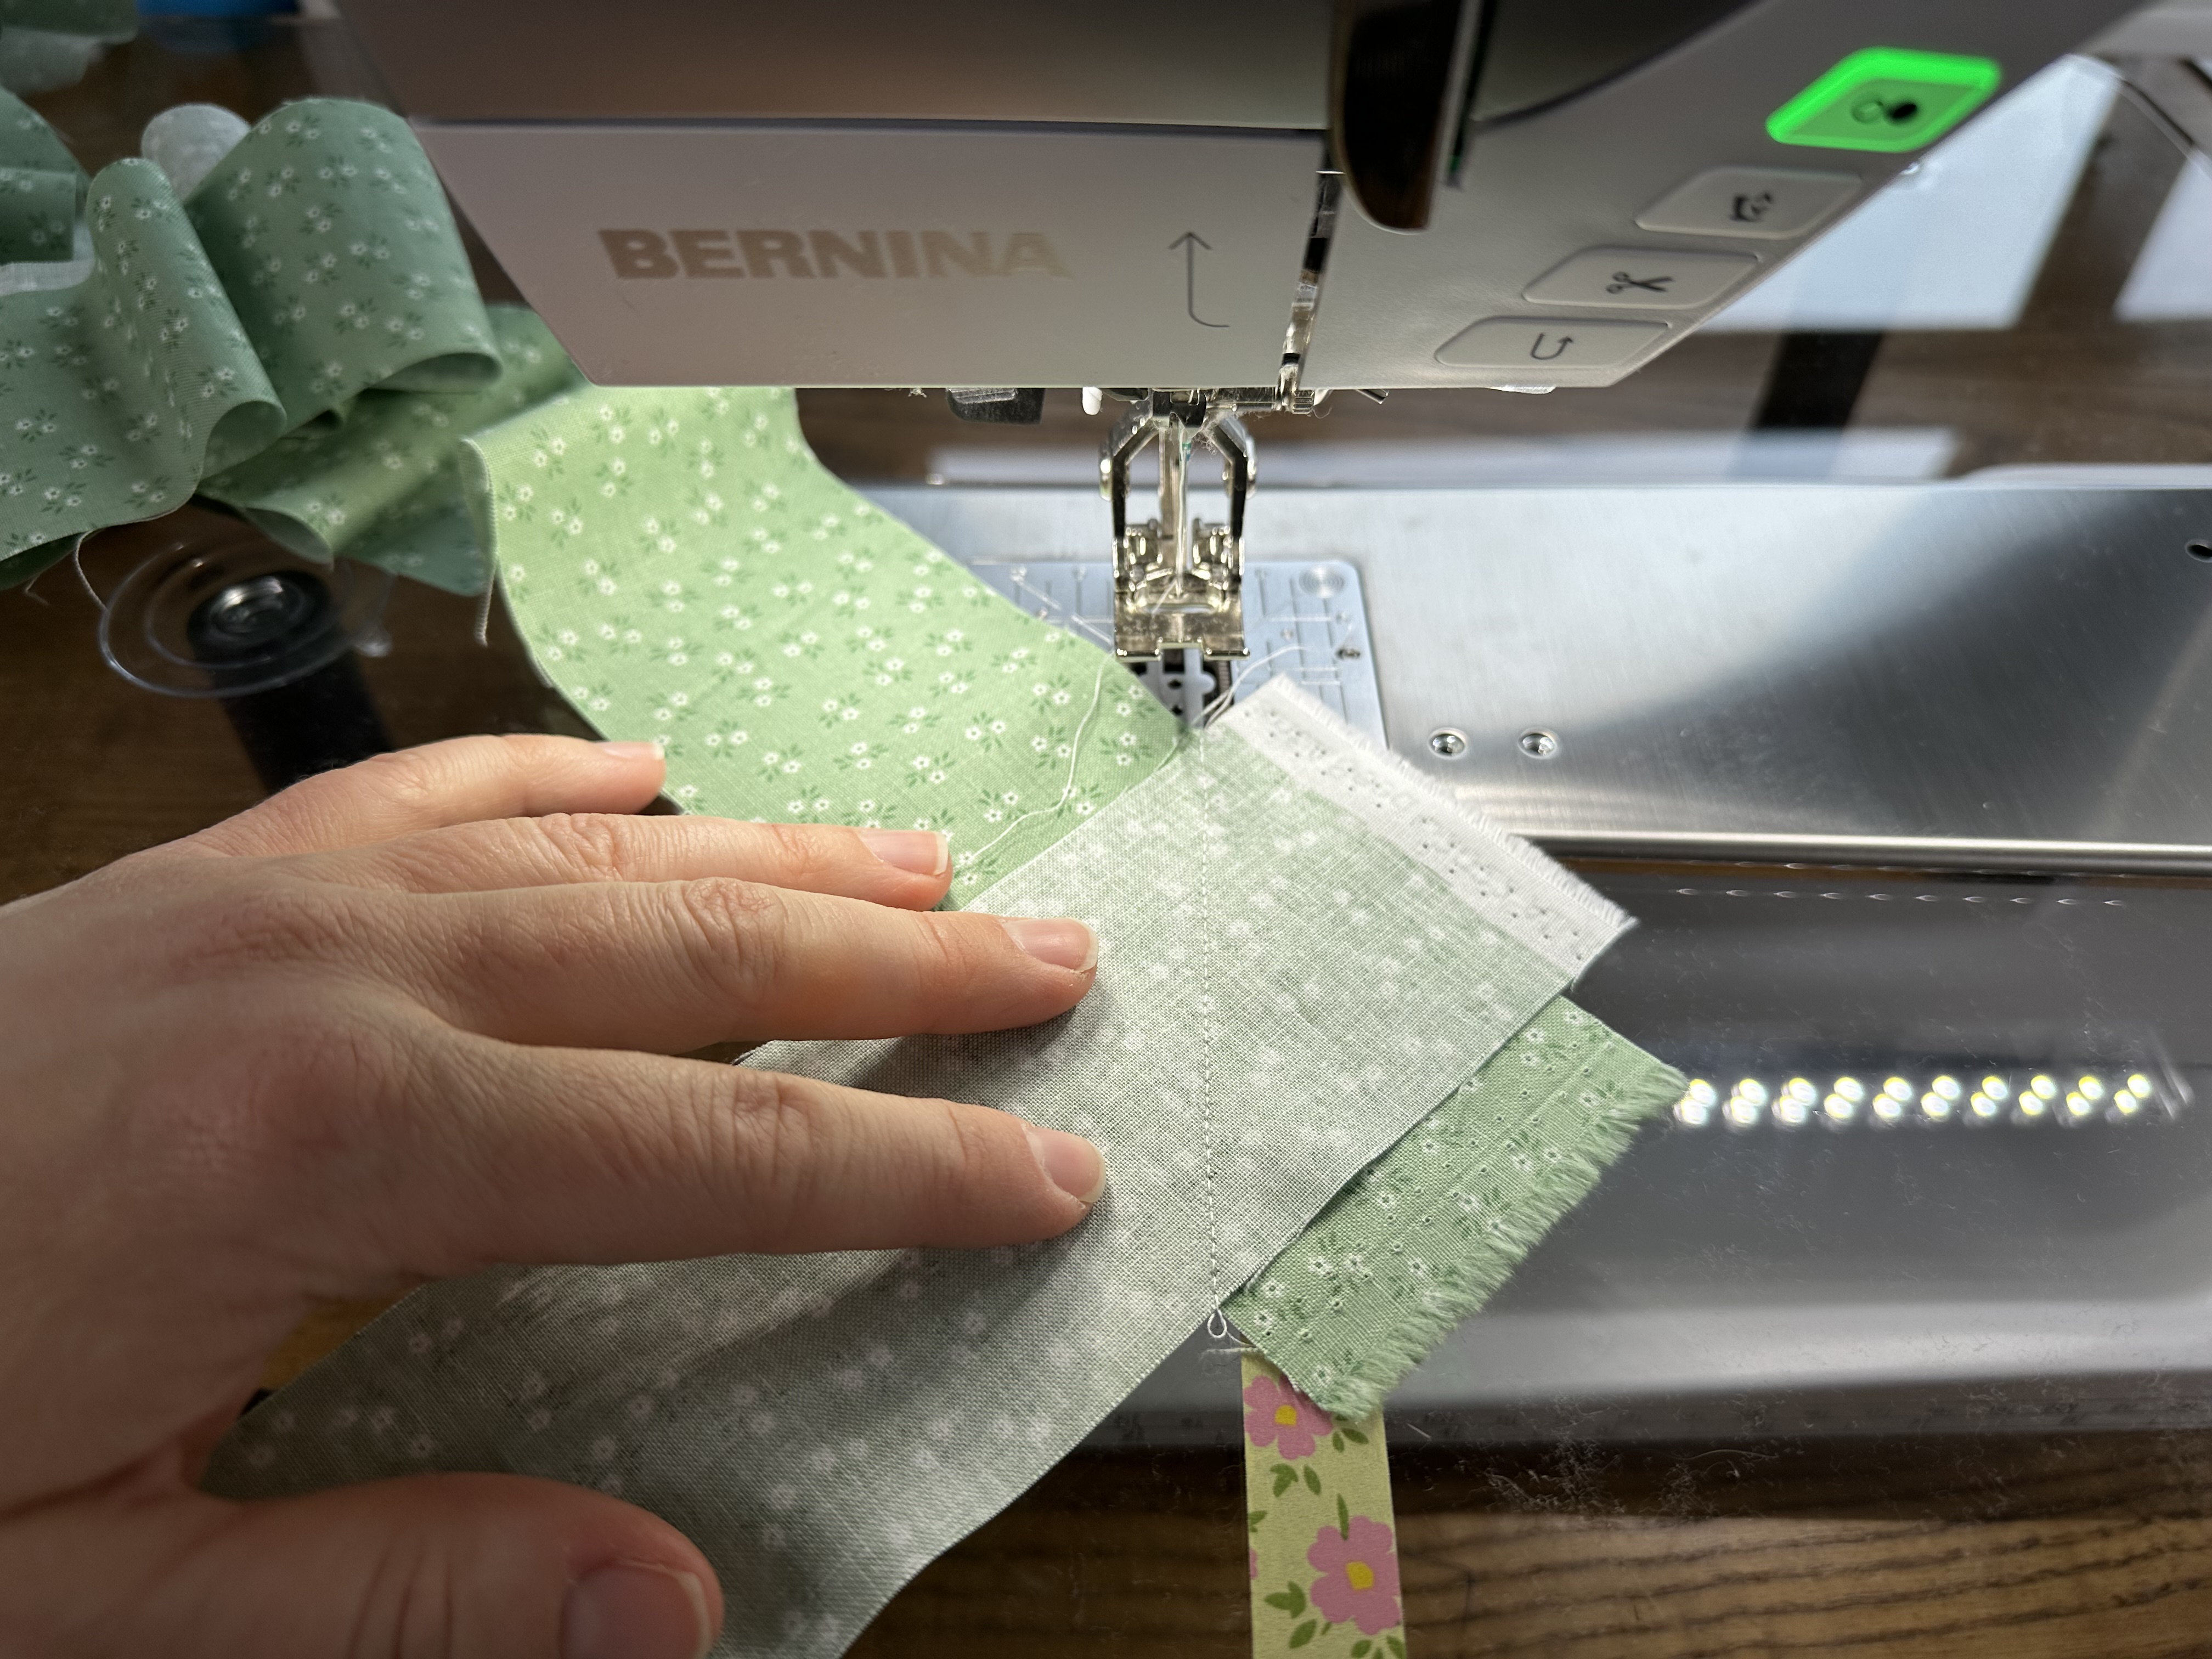
Sew along the diagonal.
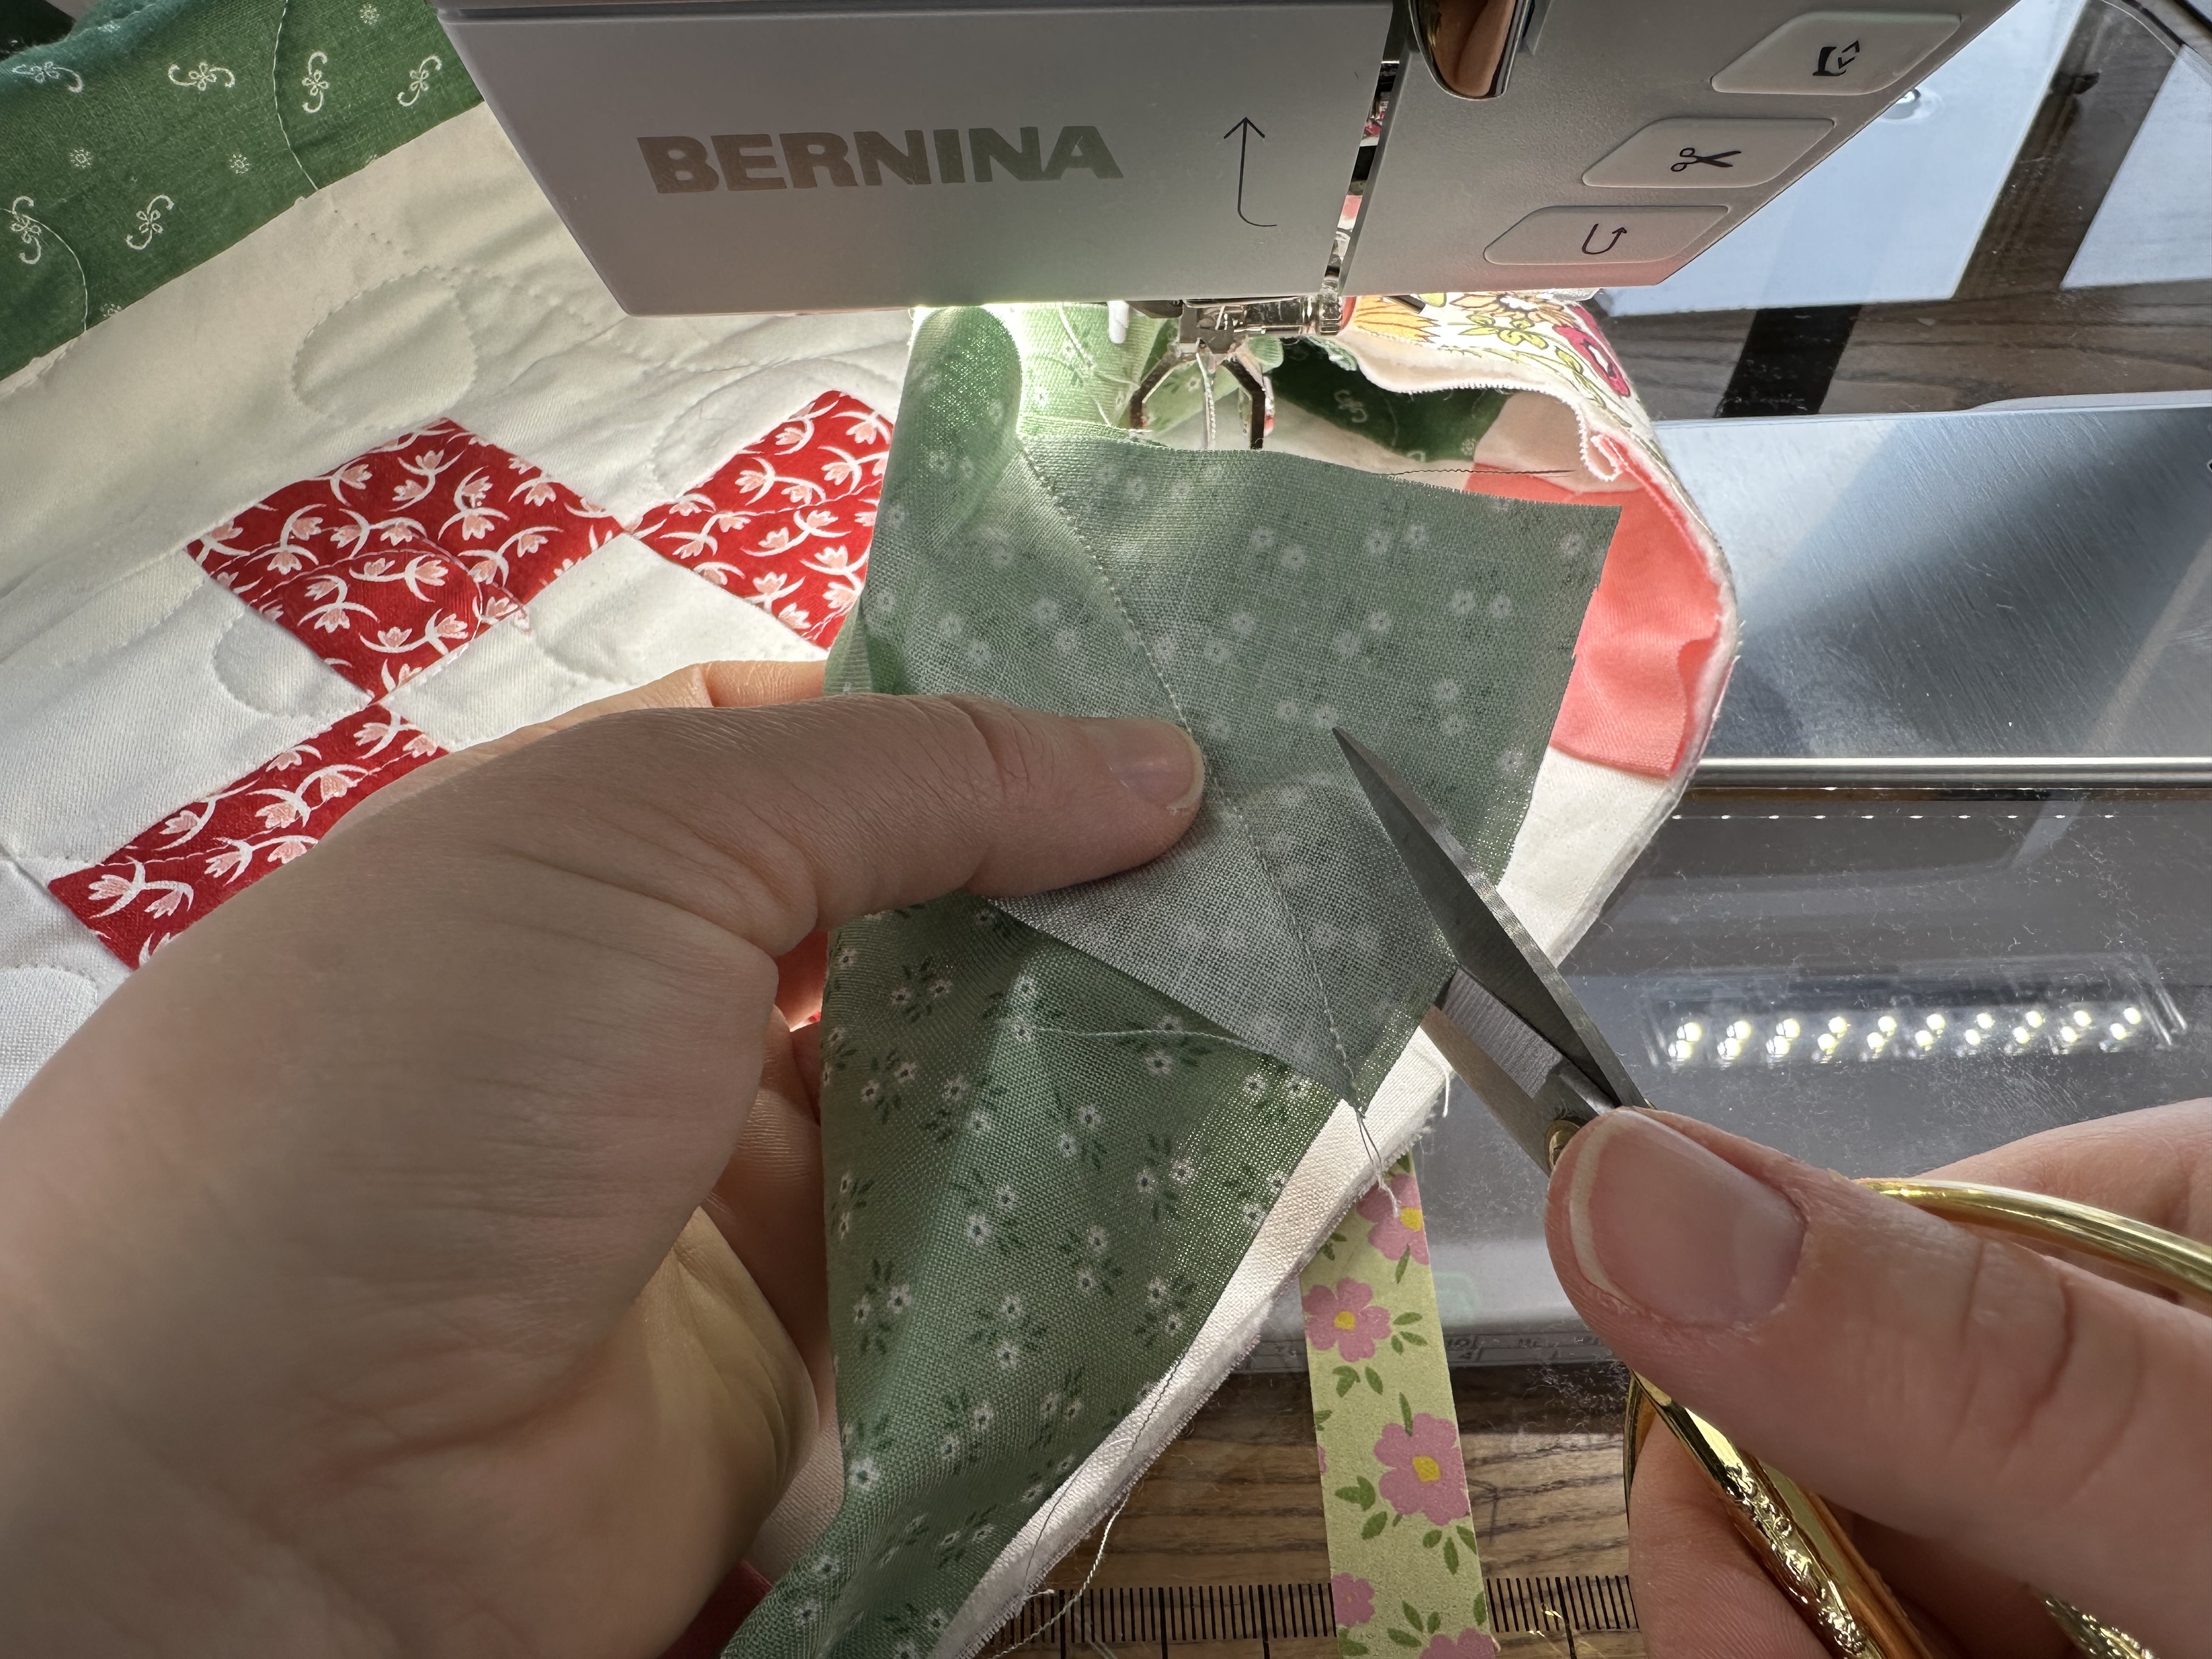
It will now look like this.
Then trim away the excess fabric leaving 1/4″ seam allowance.
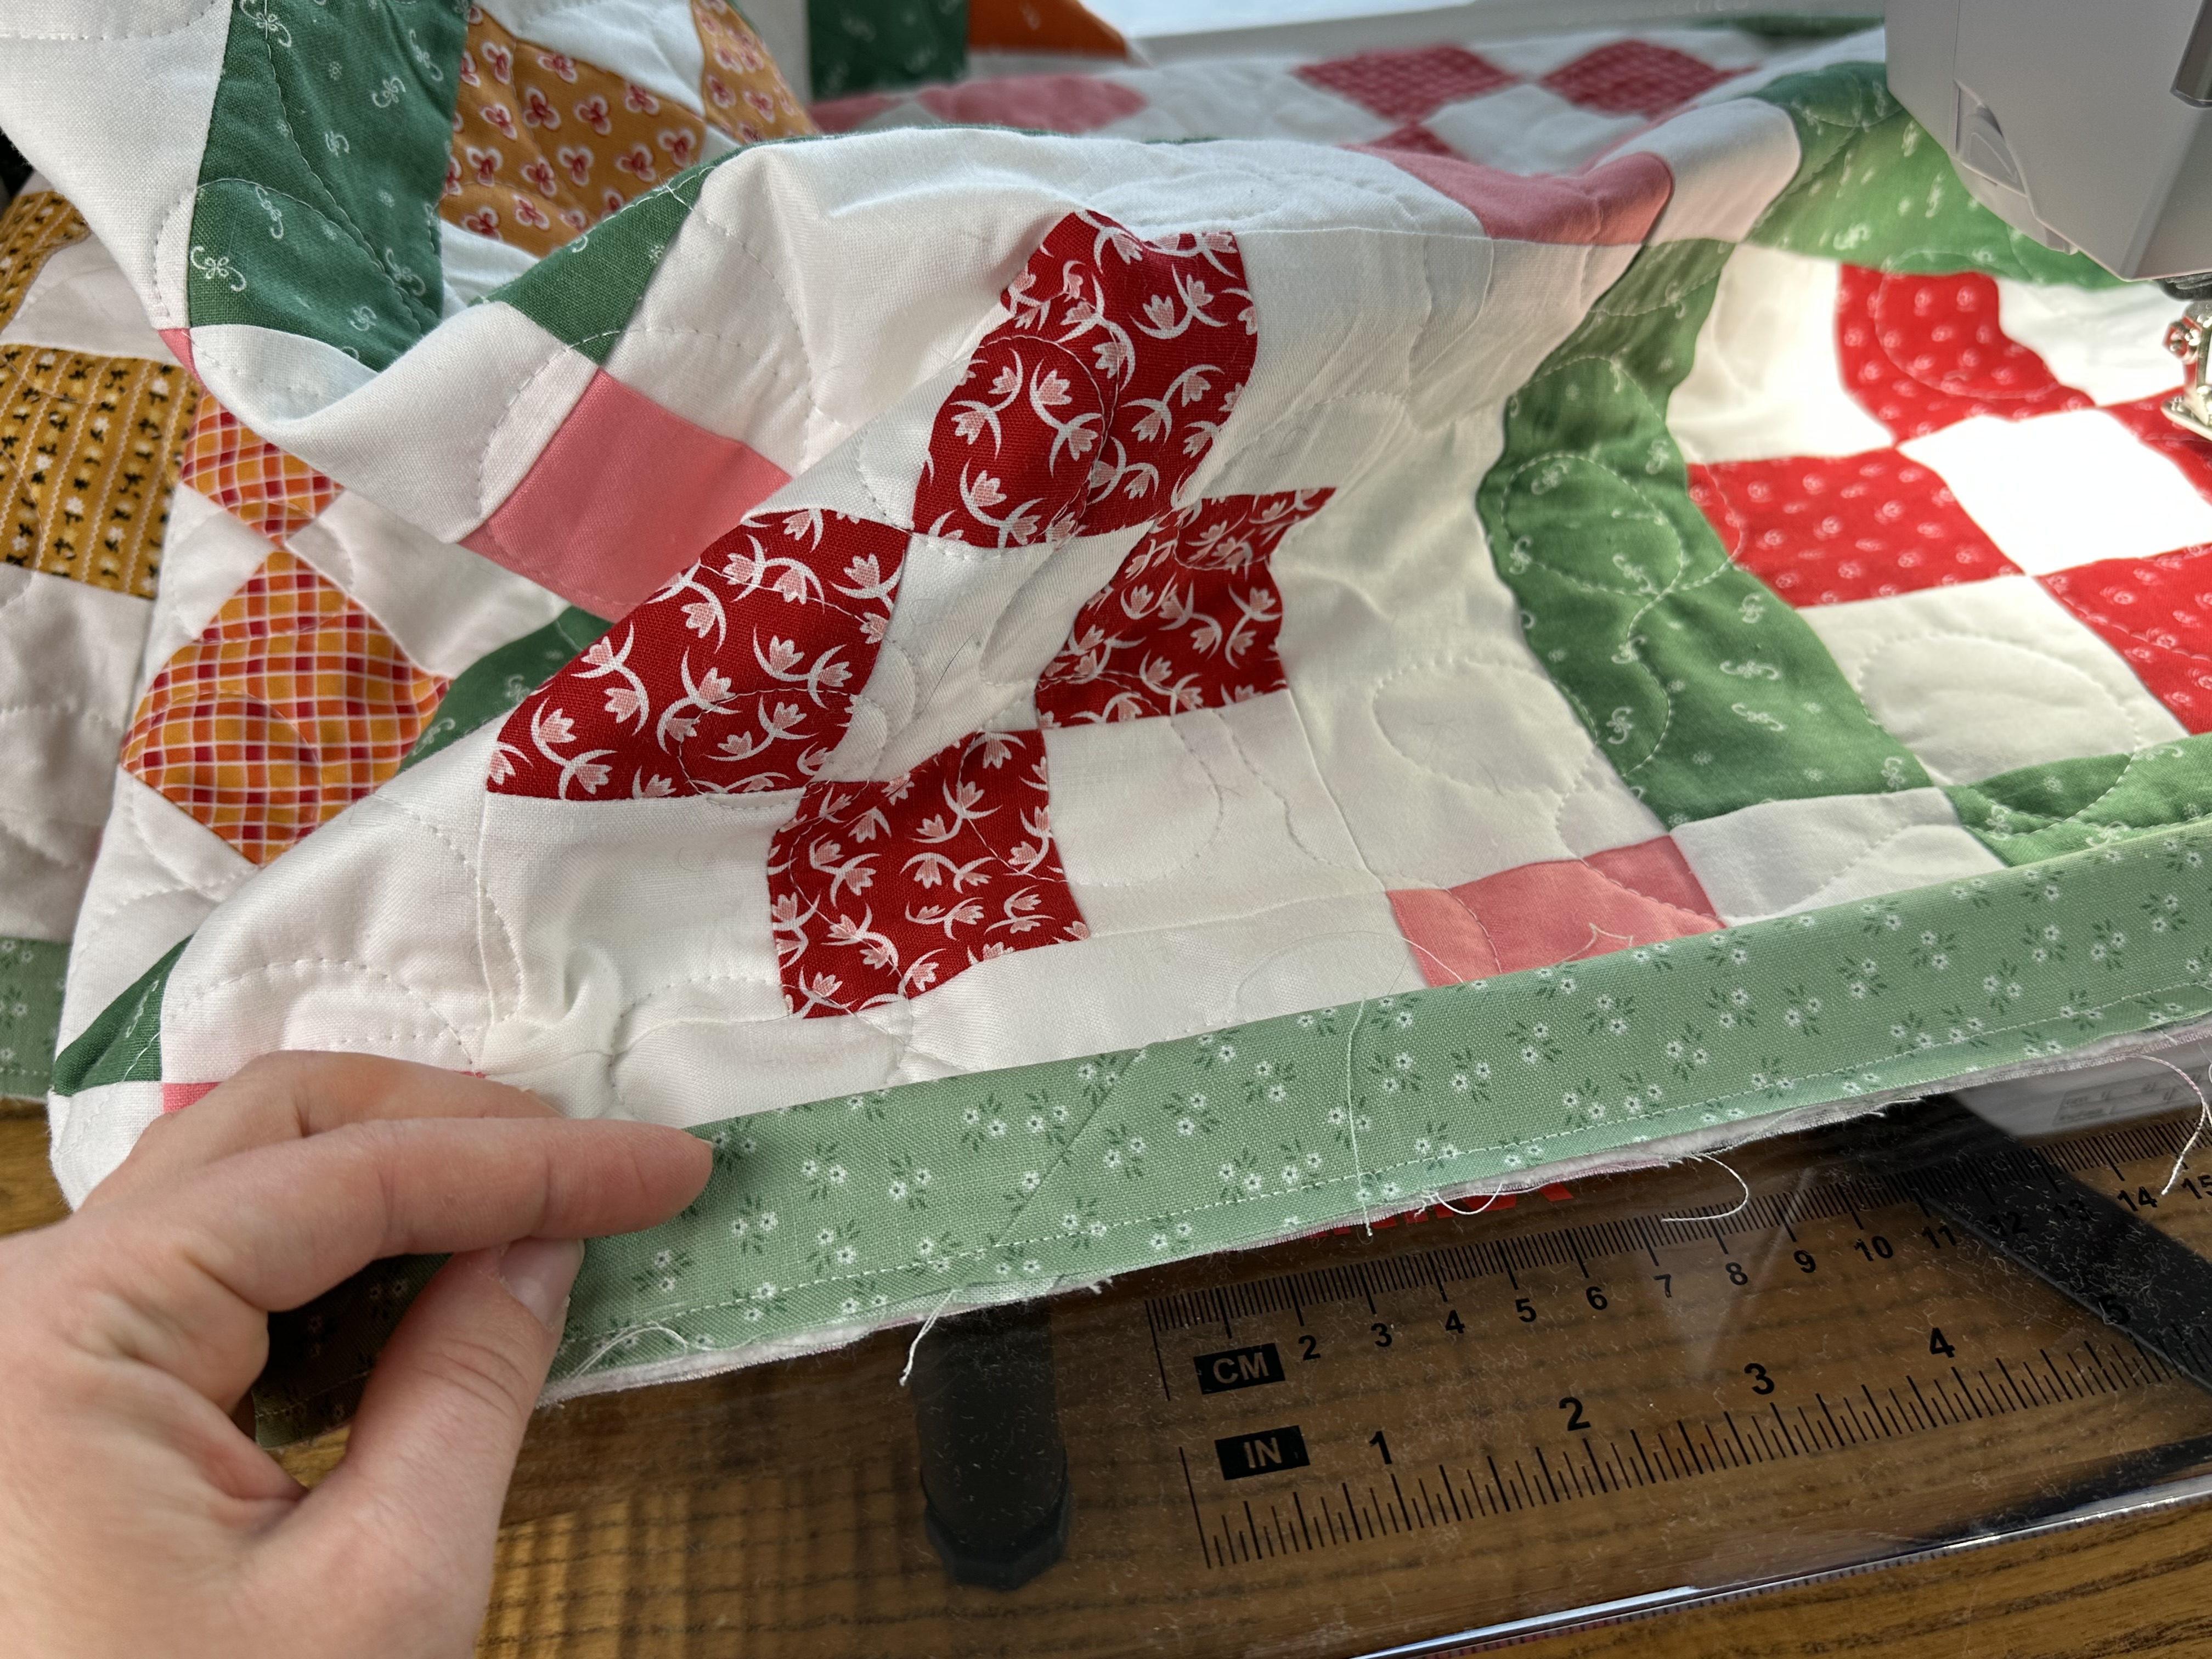
When you open to view the front, the binding seam will look like this.
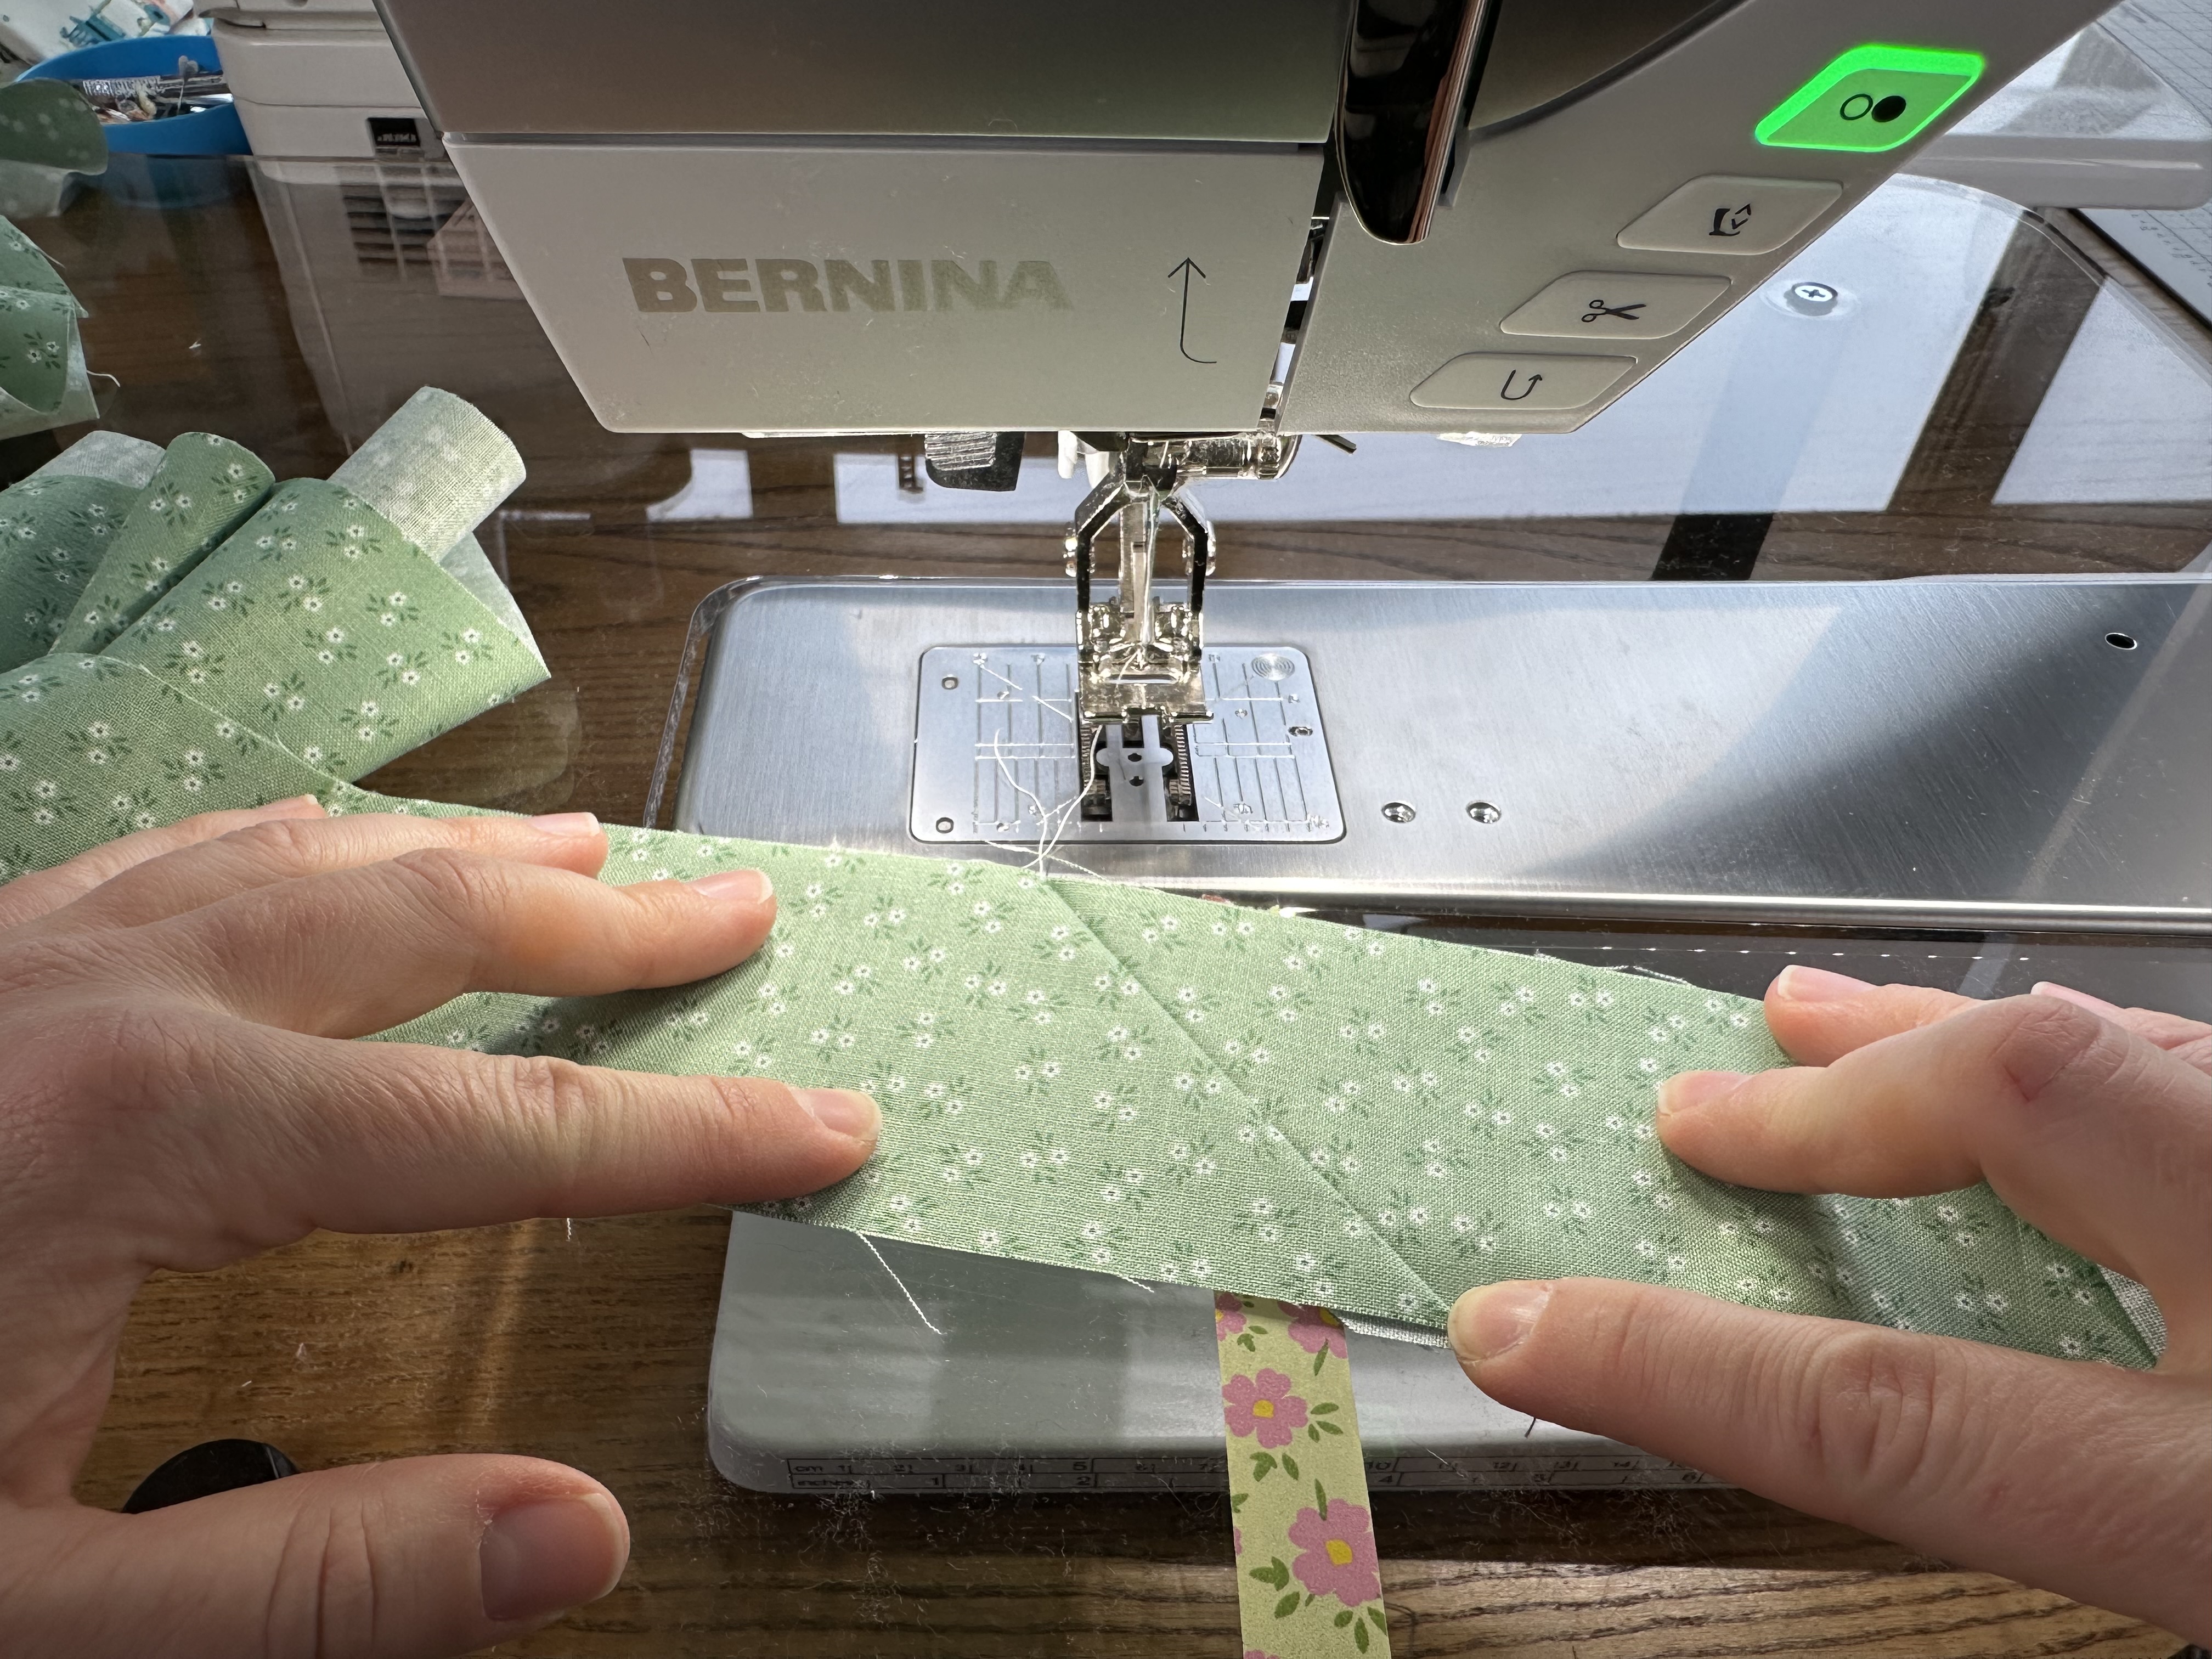
Continue joining all of the binding strips in this same way until you have all 6 joined together.
Attaching the Binding to the Quilt
Many people press their binding before attaching it to the quilt. To press, you would fold the binding in half, matching up the raw edges together. Press. Then repeat these steps for the whole length of binding.
I don’t press my binding before attaching so that is the way I will show it done.
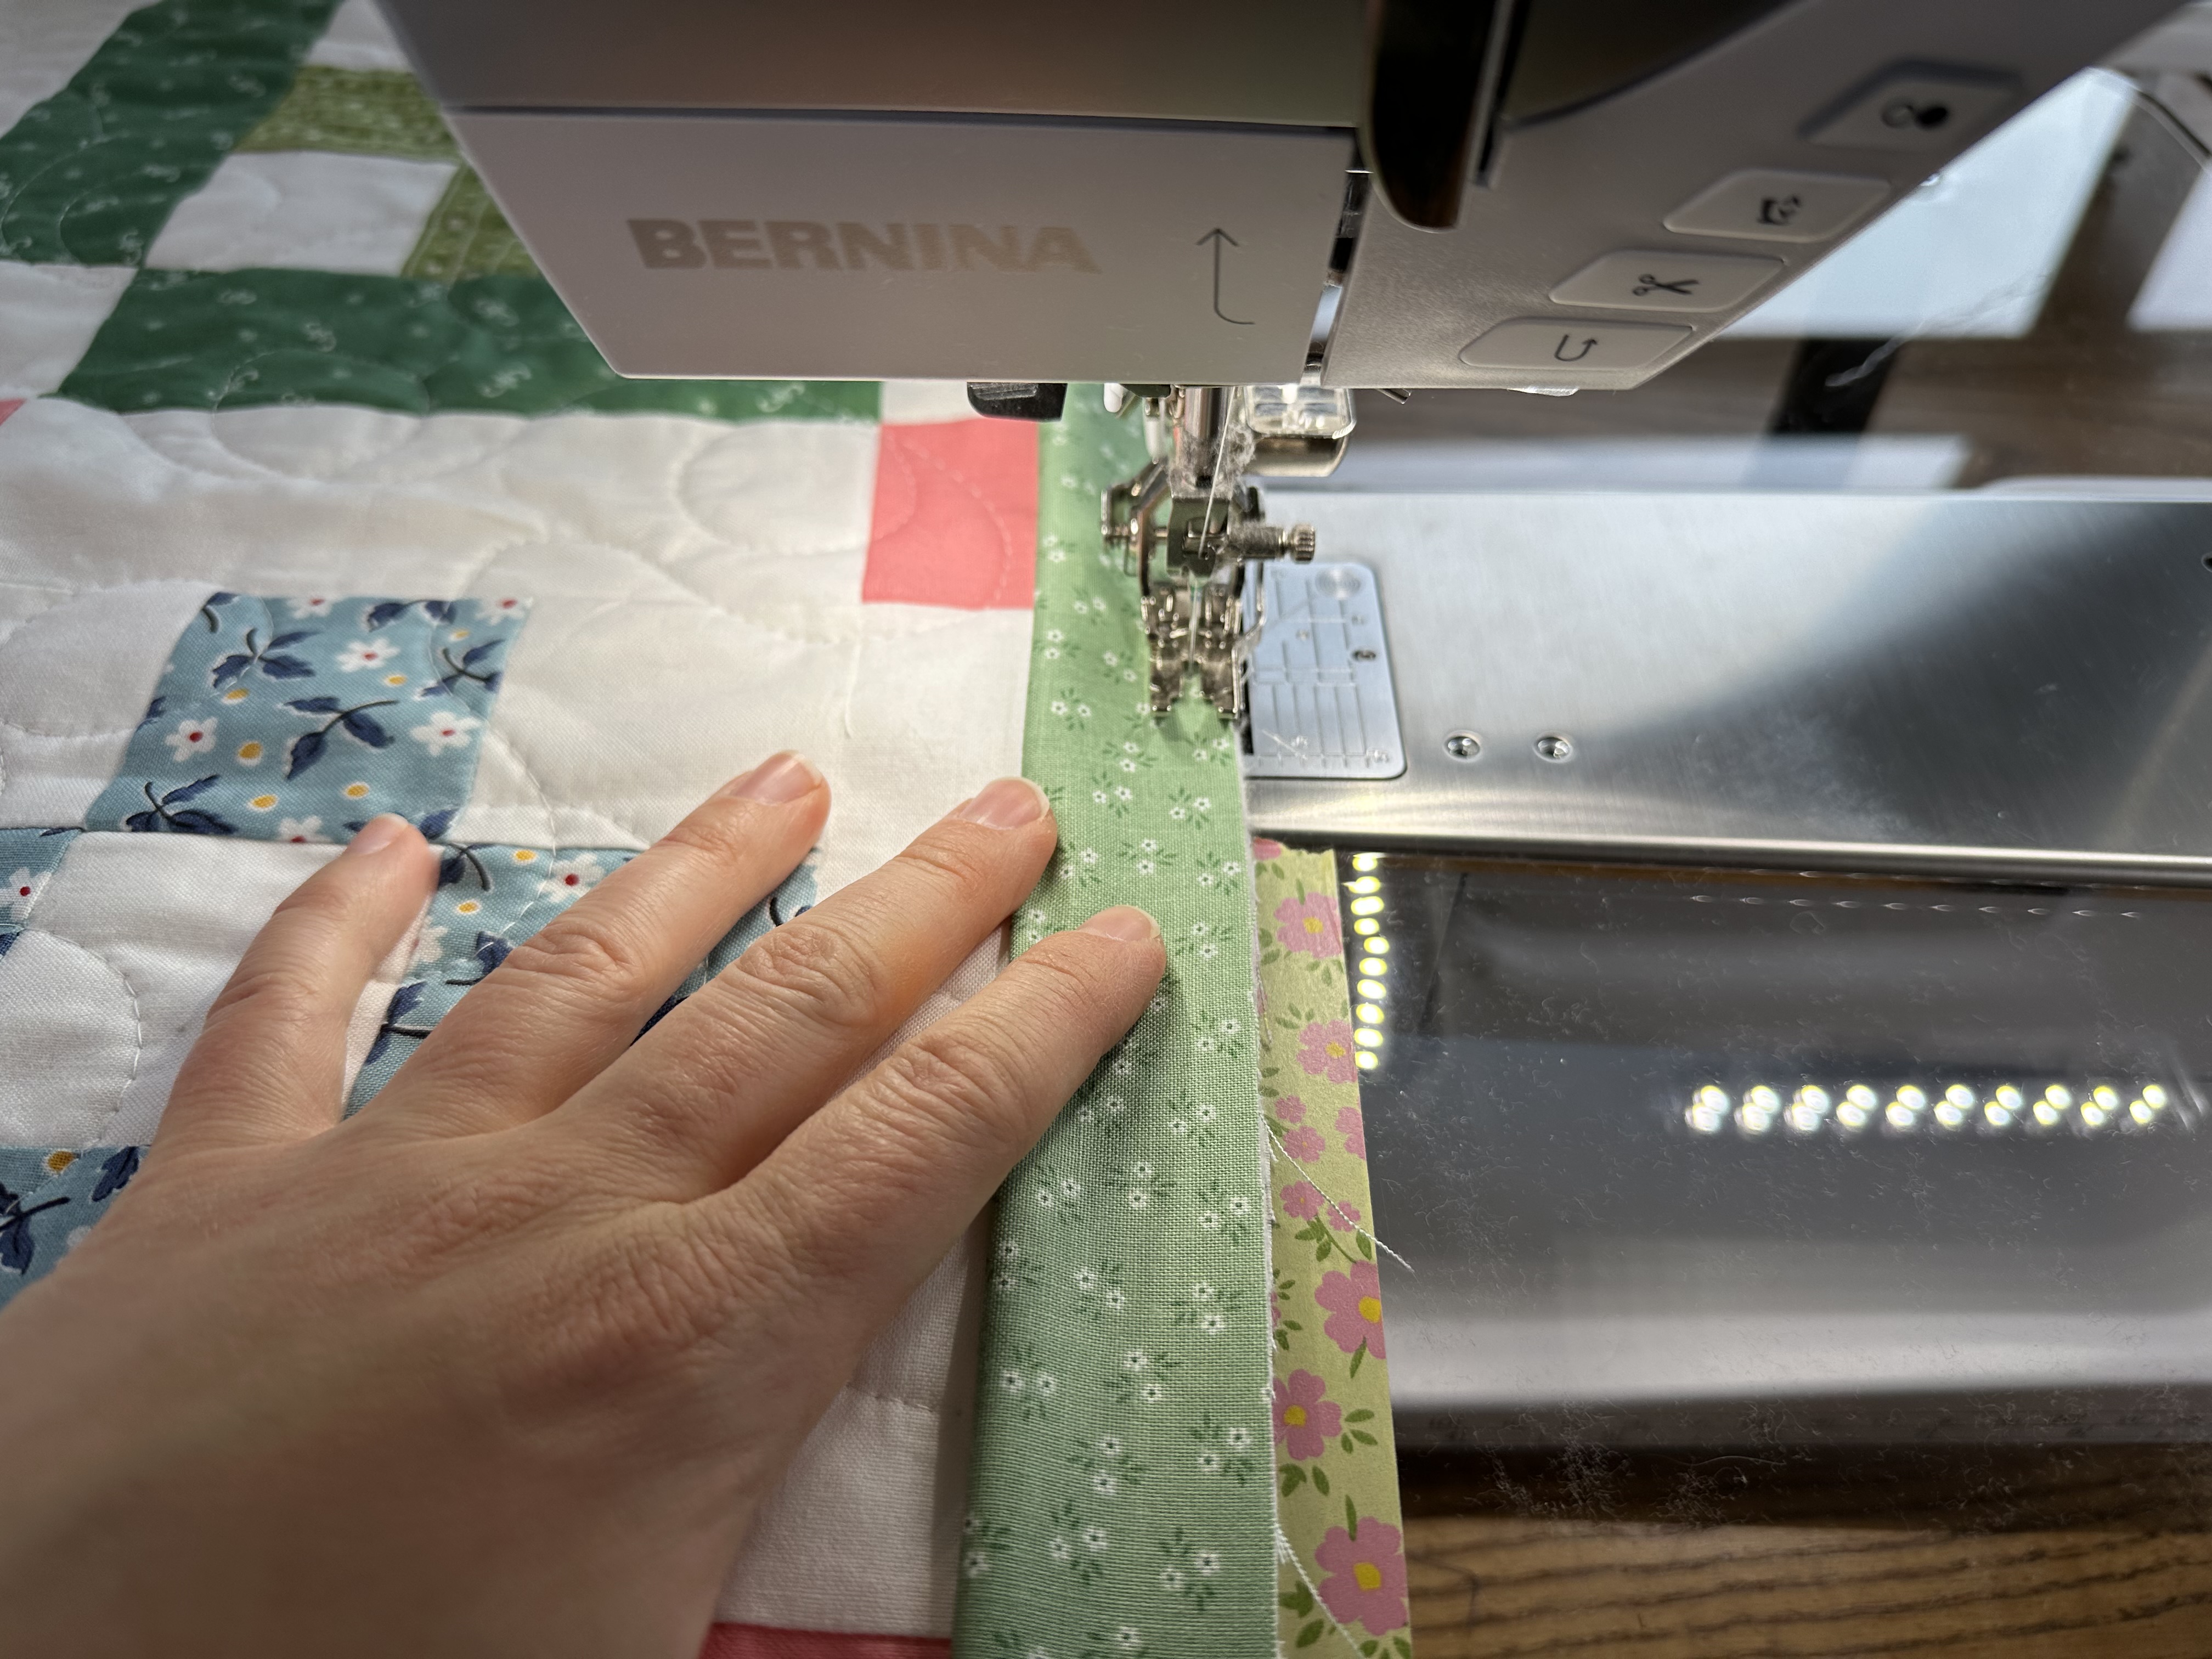
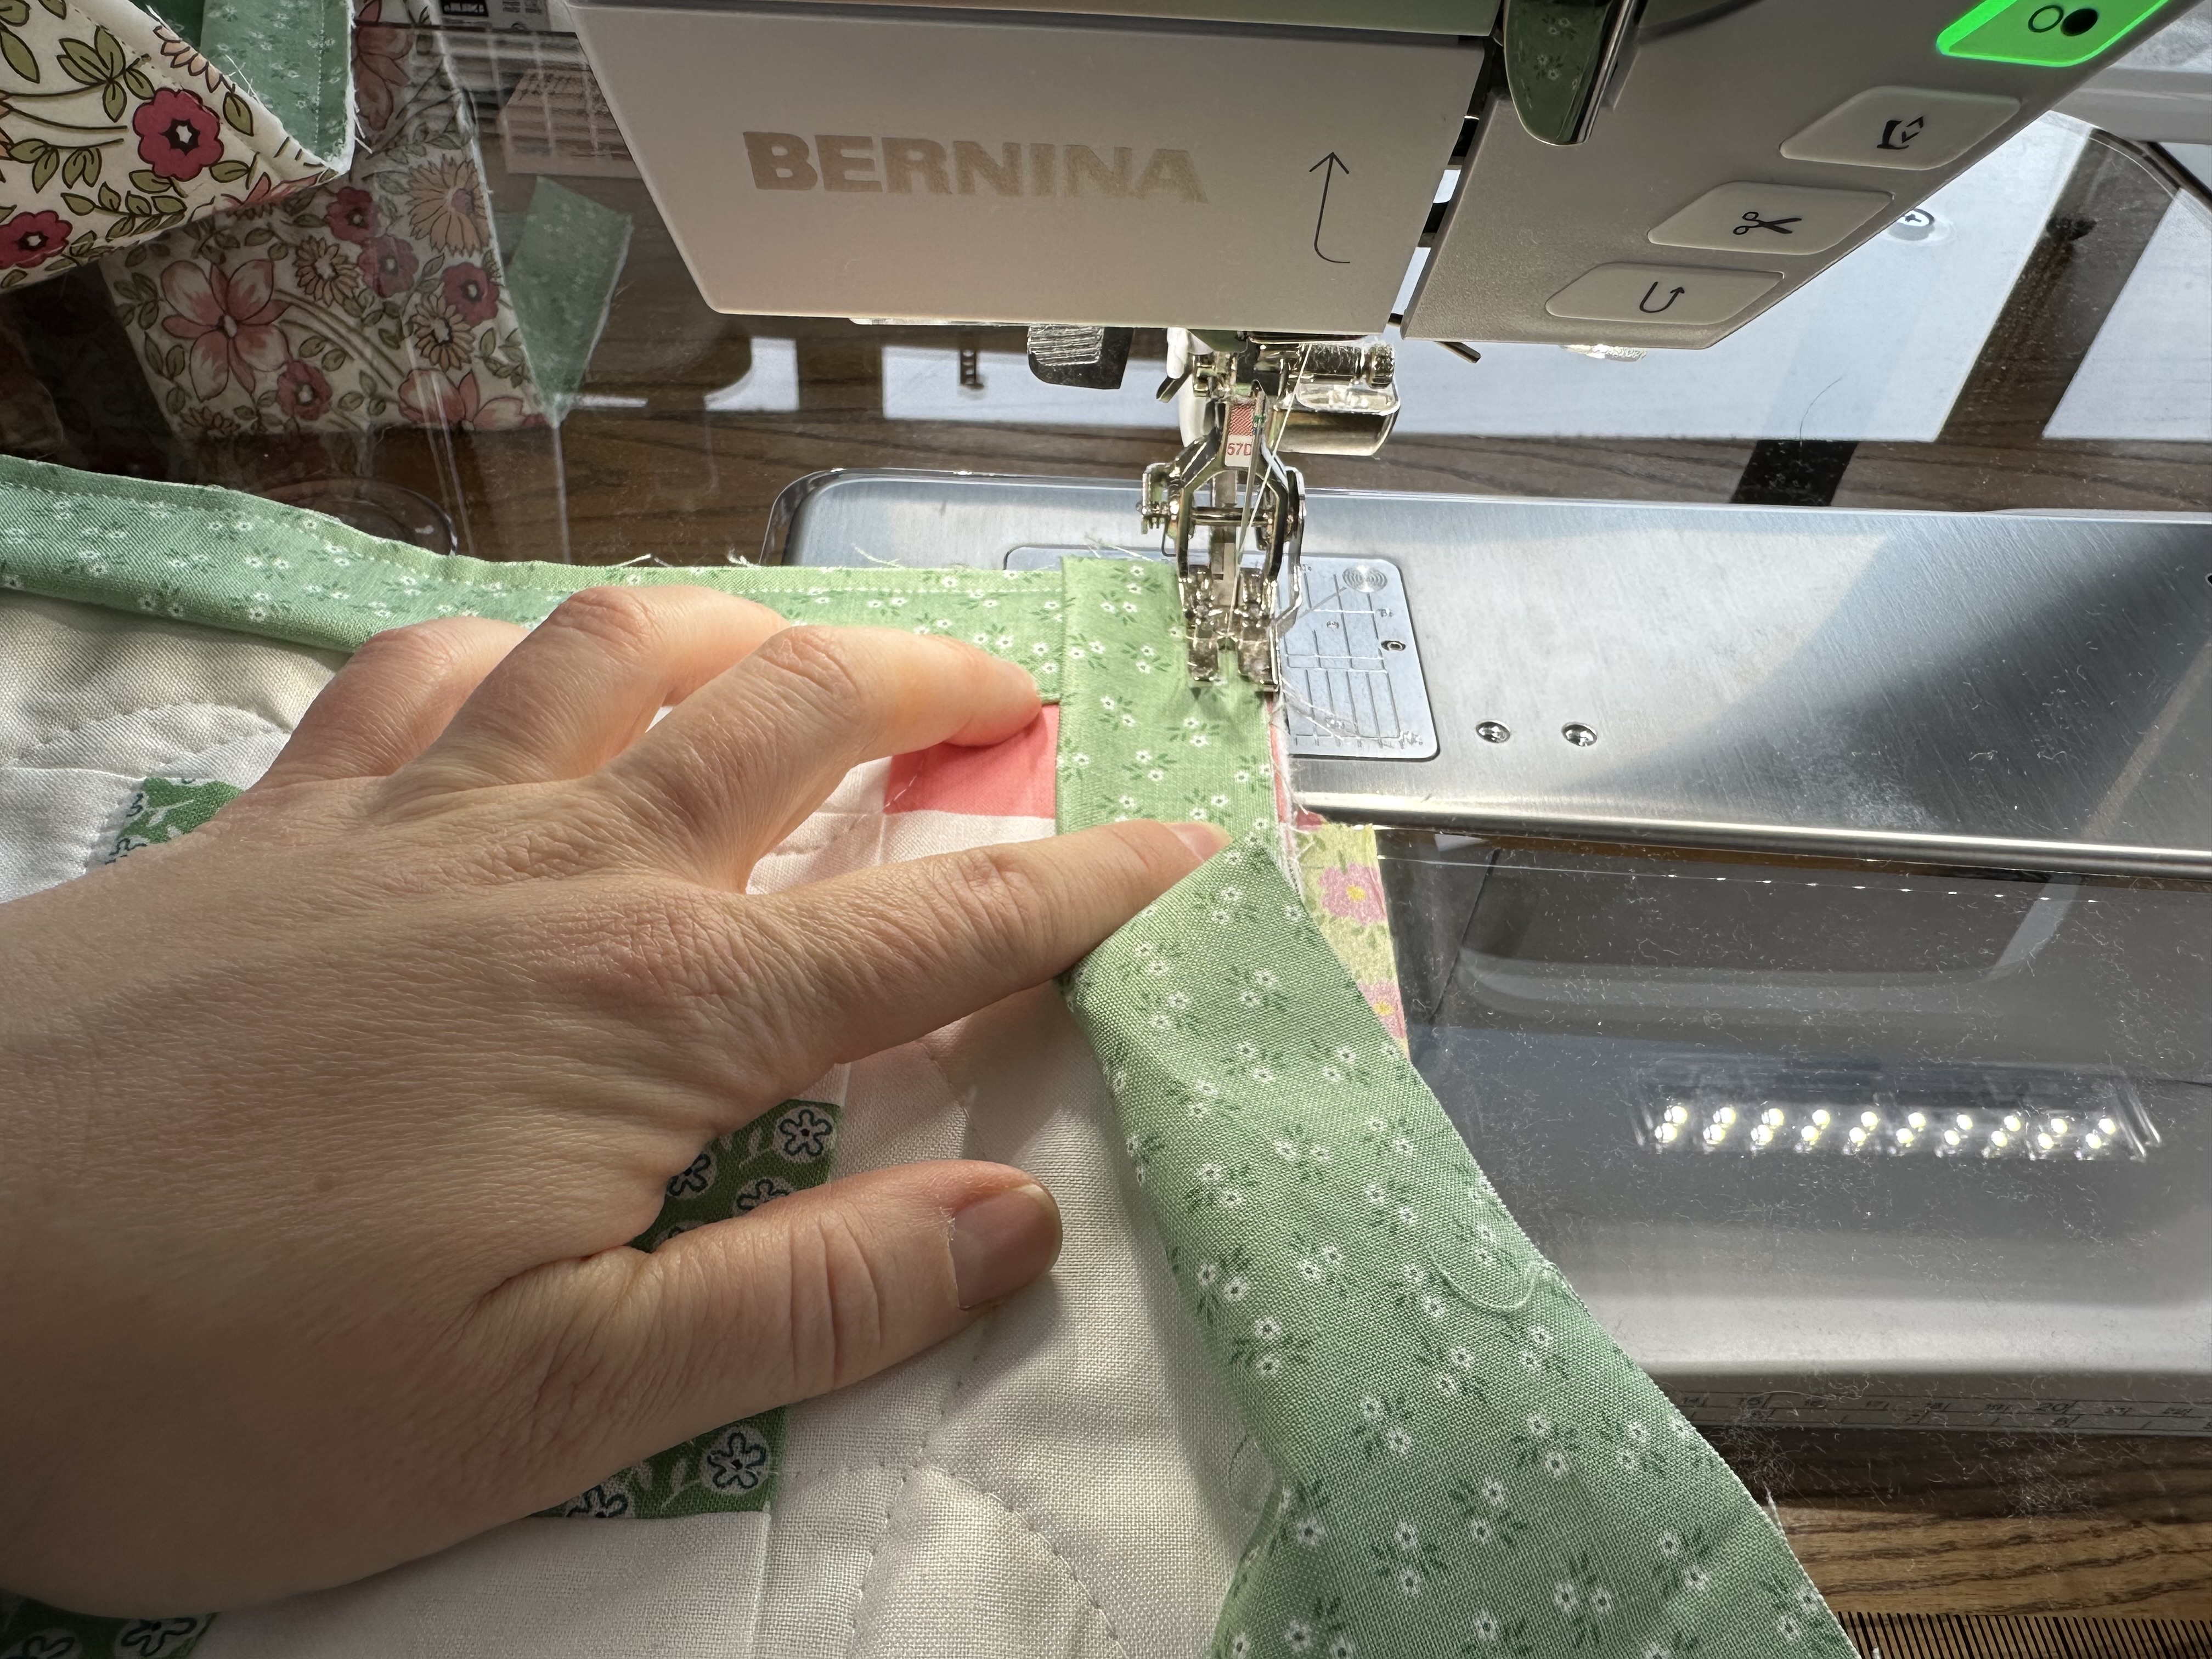
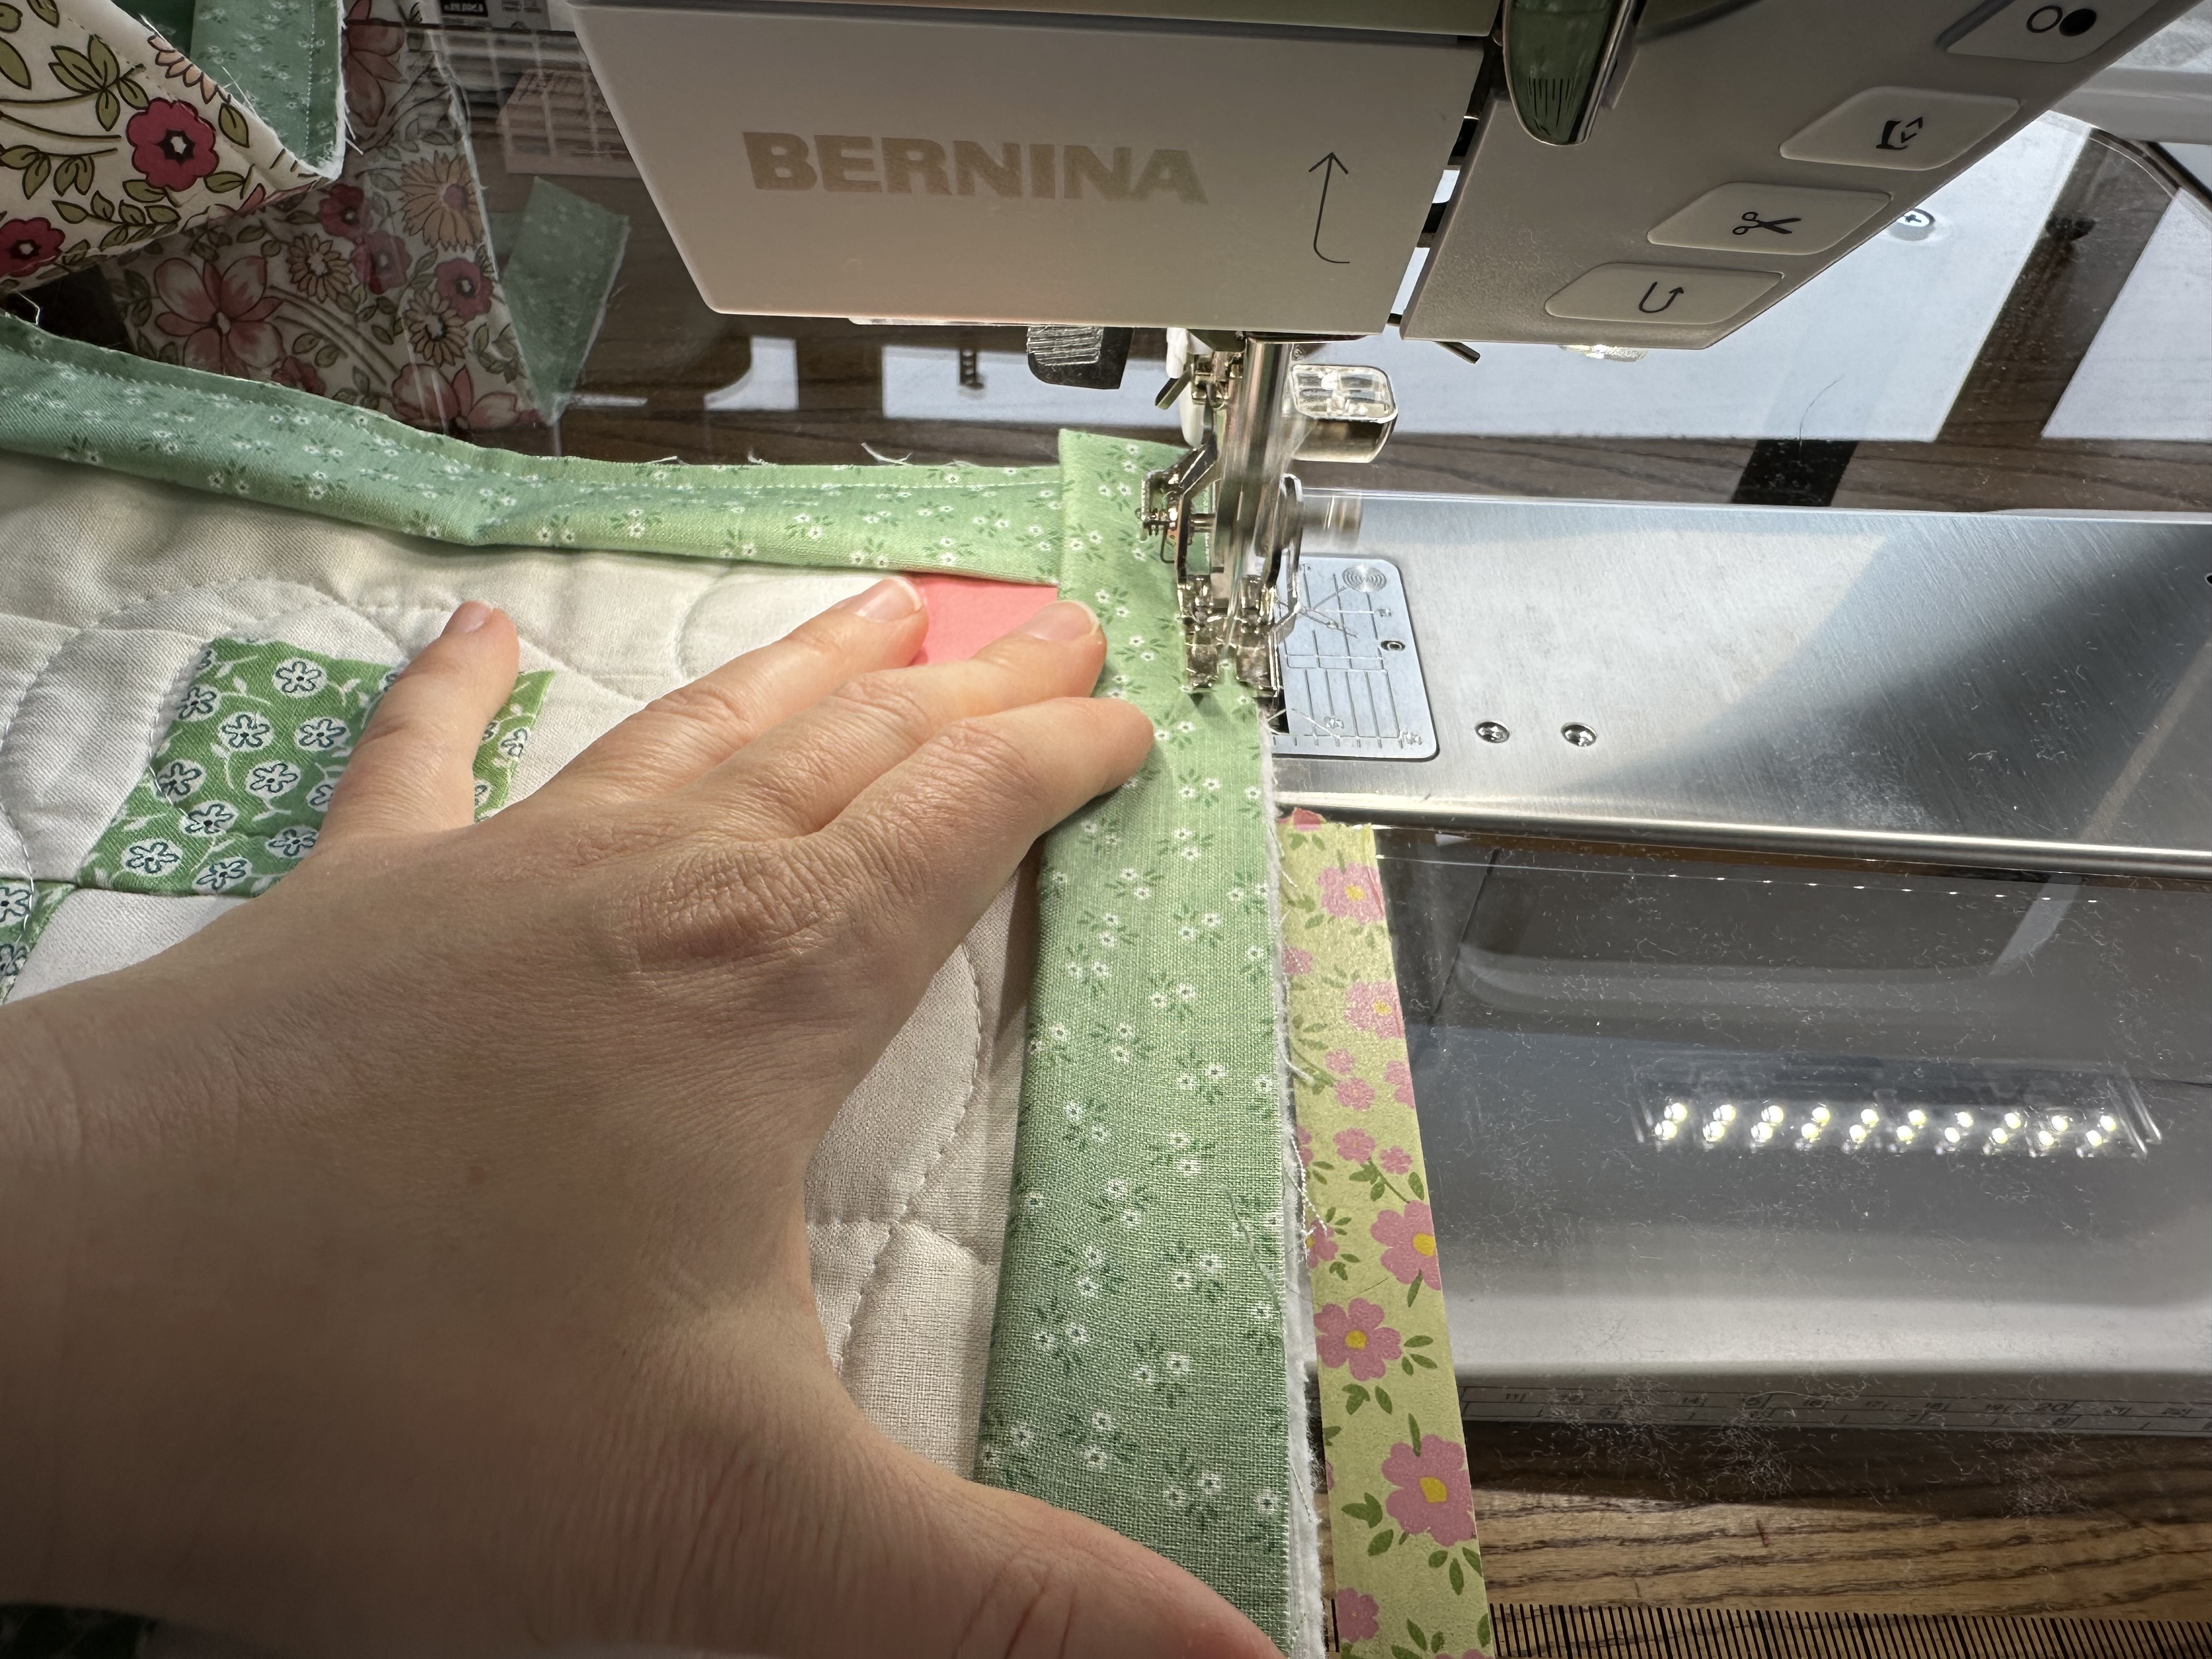
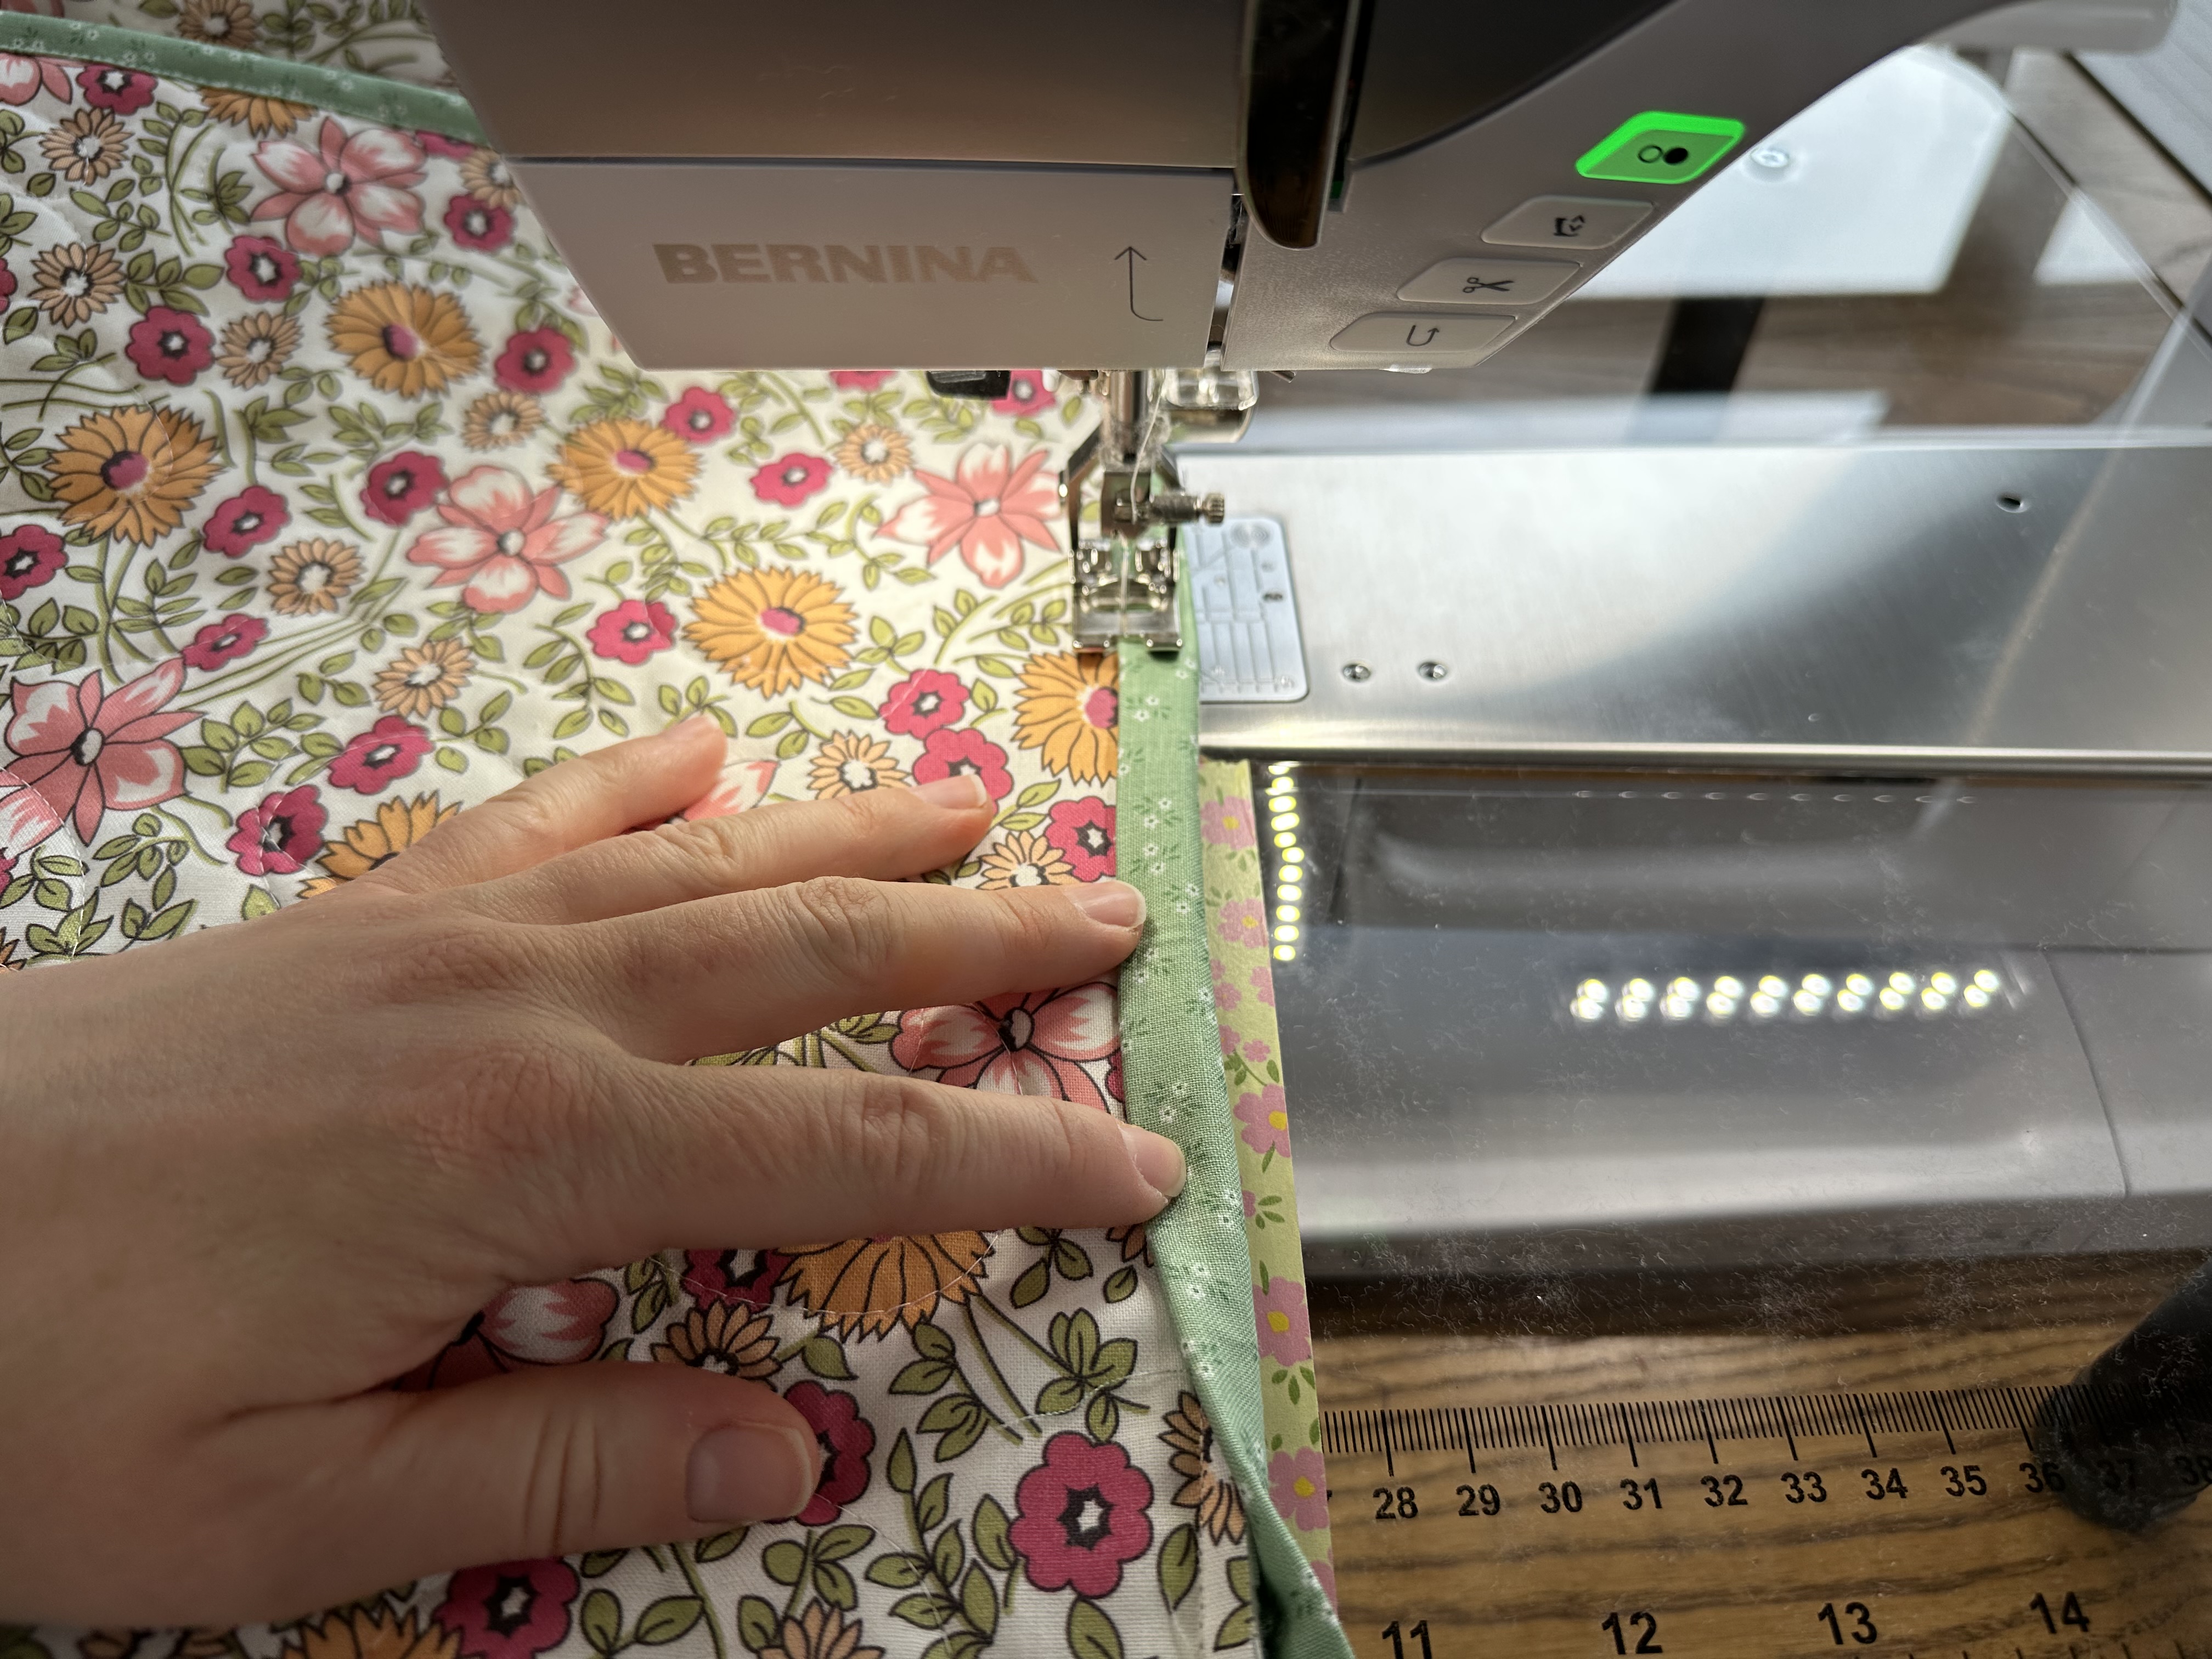
The next step is to attach the binding to the quilt. When I am machine binding, I like to attach the binding to the front (which is the opposite of what many do for machine binding).
Start about 24″ from a corner. Leave about 12″ of binding loose and then match the raw edges of the binding up with the raw edges of the quilt and start sewing, using a 1/4″ seam allowance. I work one section at a time, folding the binding in hand and holding it in place with my hands, then sewing it down.
Attaching the Binding at the Corner
When approaching a corner, stop about 3/8″ away from the edge, backstitching to secure.

Then, take the binding and fold it back to form a diagonal with the corner.
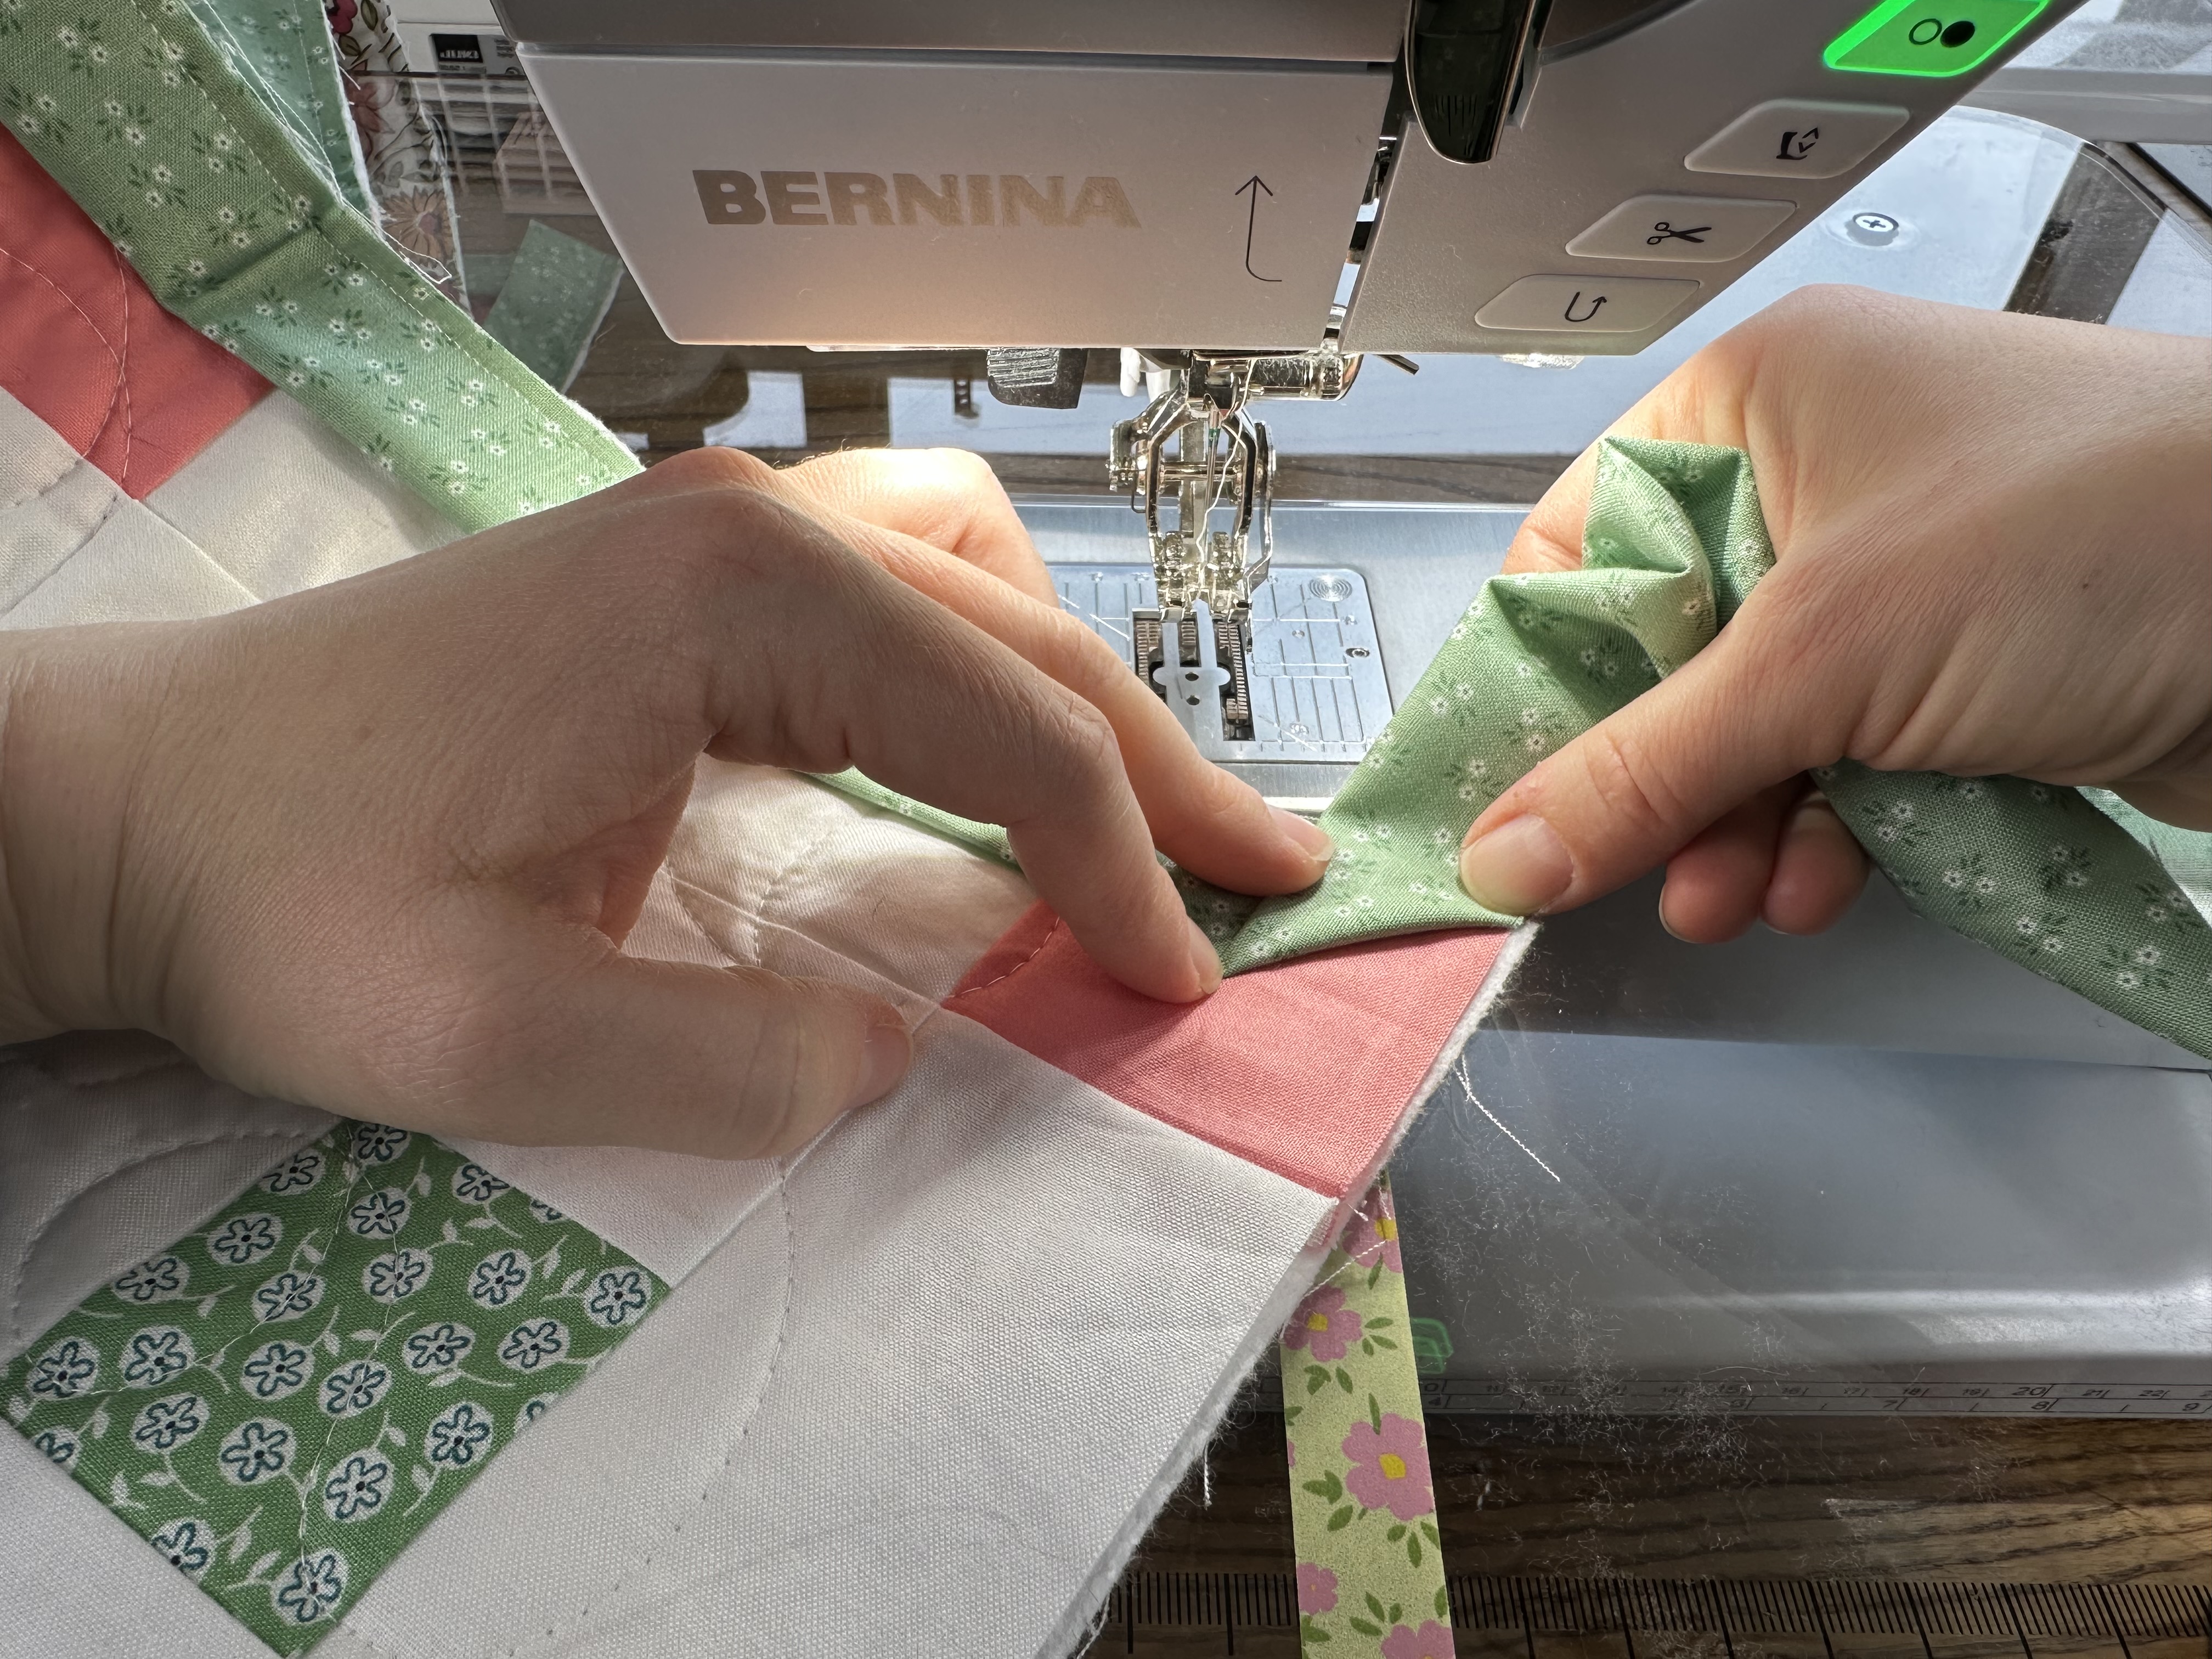
Fold the binding back down, making the top even with the top edge of the quilt.
Start sewing right at the top, 1/4″ from the right edge.
Continue to sew with 1/4″ seam allowance down this length of the quilt.
Attach the binding to the quilt front all the way around the quilt. When you come around the last corner, stop sewing about 12″ away from where you started. Backstitch and cut the thread.
Joining the Binding at the End
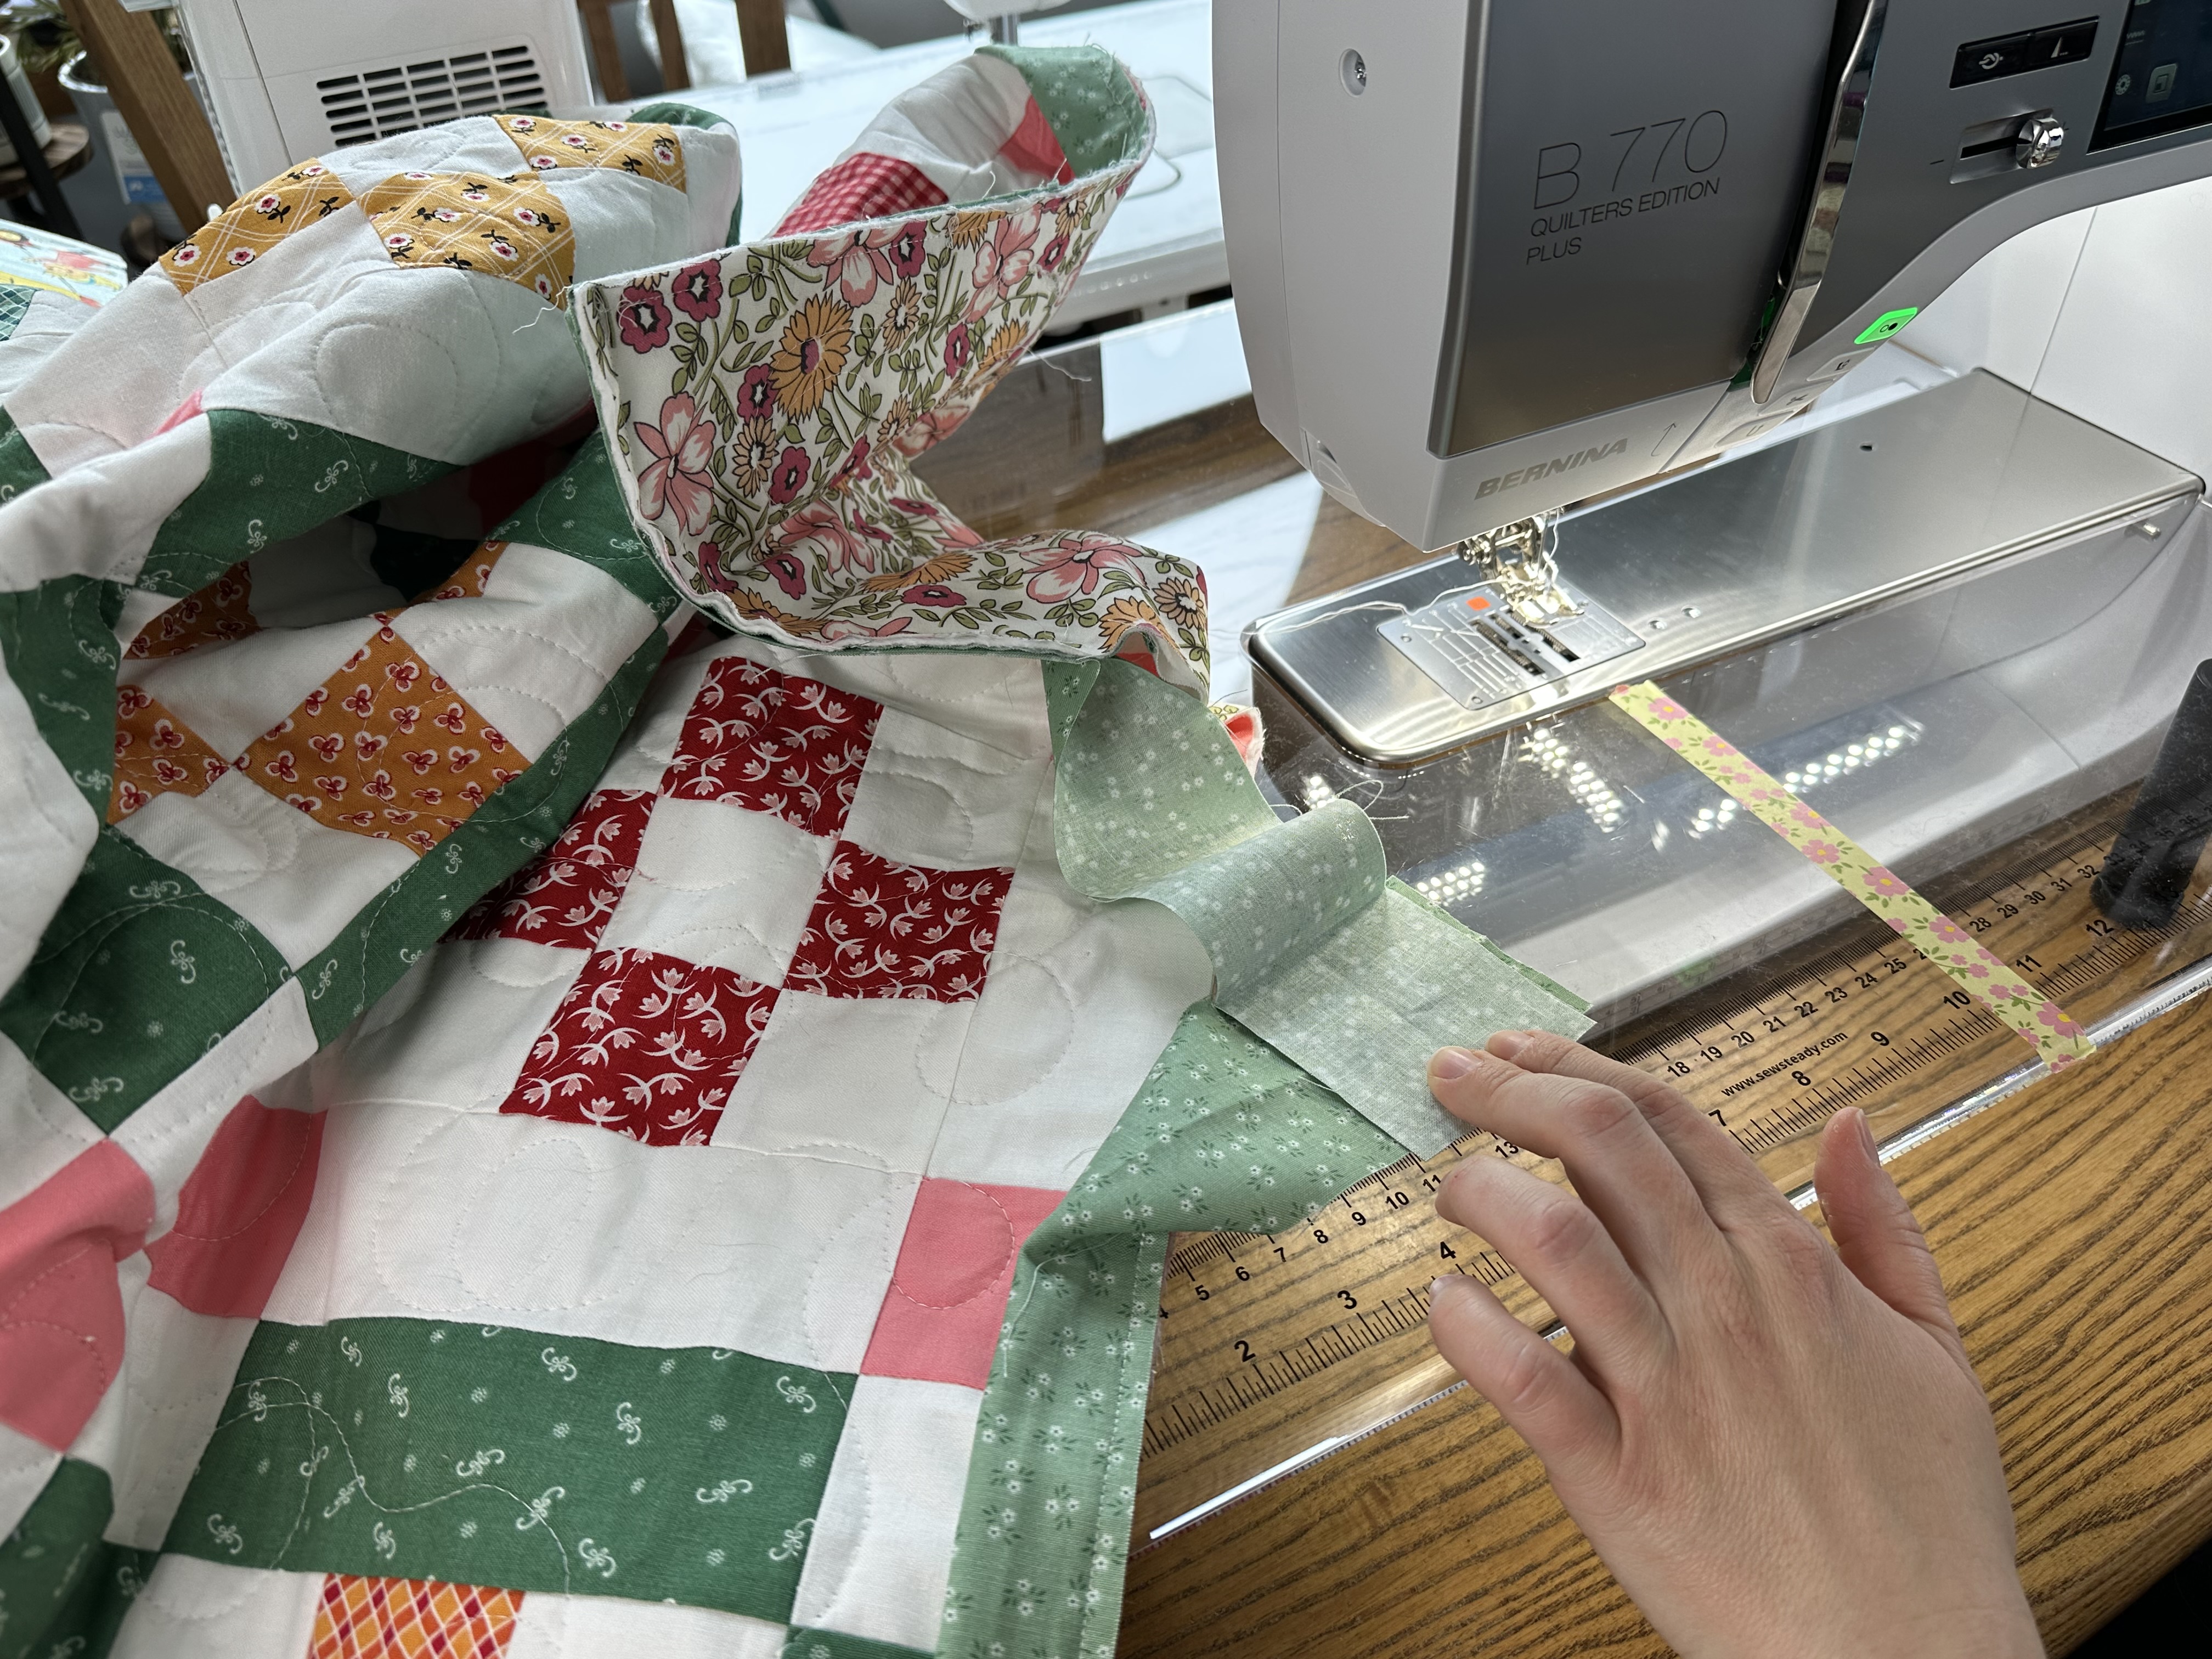
The next step is to diagonally join the binding so that it is the size needed to finish binding the quilt.
Lay the quilt flat and overlap the two strips of binding. Cut the strips so that they overlap 2 1/2″. Then lay the left strip flat on the table, right side up and the right strip, wrong side up on top of the left strip (just as we did when we were diagonally joining the binding strips earlier).
Sew diagonally as shown below.
Trim the extra fabric, leaving 1/4″ seam allowance.
Next, lay the quilt and the binding flat to make sure the binding is the correct size. The binding should be laying flat on the quilt- it shouldn’t be wavy or be pulling too tight.
Sewing the Binding to the Quilt
The final step in binding is to sew the binding to the other side of the quilt. This will fully enclose the raw edges of the quilt top.
To do this by machine, flip over the quilt. Next, pull the binding around to the back of the quilt. Hold it in place, then sew right next to the binding fold. This will stitch the binding down to the quilt, completing it.
And that is it! Thank you so much for following along with this series! I hope you loved making the Nona quilt and I hope you learned a lot about the quilting process.
Watch the Week 9 YouTube Video
Please watch the Week 9 YouTube video on my channel. This video coordinates with this post and I show how to do all of the steps mentioned here including joining the binding, attaching it to the quilt, binding a corner, joining the end of the binding, and sewing it down. In addition to showing how I machine bind as I did here, I demonstrate hand binding as well.
Thank you again for following along!! If you enjoyed this series and would like to see another quilt along from me- perhaps with the next step of difficulty, leave me a note in the comments!
– Jessica
Used Products

What you might also like


4 comments on “The Nona Quilt Along, Week Nine: Binding”
-
-
Correct, I don’t use a walking foot for my binding. I’ve heard other love using the walking foot for binding so you can choose to do it either way. Thanks!
-
-
Jessica if i want to make this quilt in a toddler size how would i do it please help.
im looking at either a 38×45 or 40×46. which ever would be easer thanks Janice Tubbs-
Hi! I don’t have it written for those sizes. Each of the blocks measures 10″ finished. You can make as many as you need to get close to the size you are looking for. If you did a 40″ x 50″ quilt, you’d do a 4 block by 5 block layout so you would make 20 blocks. If you wanted it smaller, you could do a 30″ x 40″ quilt and use a 3 block by 4 block layout. For that version, you’d need to make 12 blocks. I would alternate Block A and Block B in your layout so you’ll need to make half of the blocks to be Block A and half of the blocks to be Block B. Thanks!
-
Leave a Reply
You must be logged in to post a comment.

I noticed that you weren’t using a walking foot to sew your binding on.