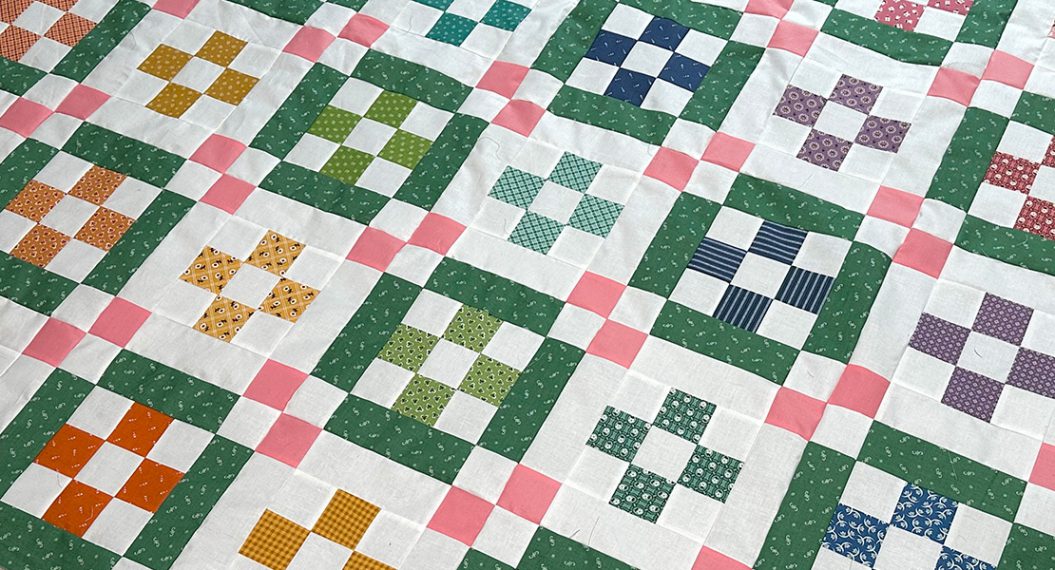
The Nona Quilt Along, Week Eight: Basting & Quilting
Hi, Friends! Welcome back! Jessica Dayon here and today we are starting week eight of The Nona Quilt Along.
If you missed the first seven parts of The Nona Quilt Along, you can read all about it here:
- The Nona Quilt Along, Week One: Introduction
- The Nona Quilt Along, Week Two: Supplies & Materials
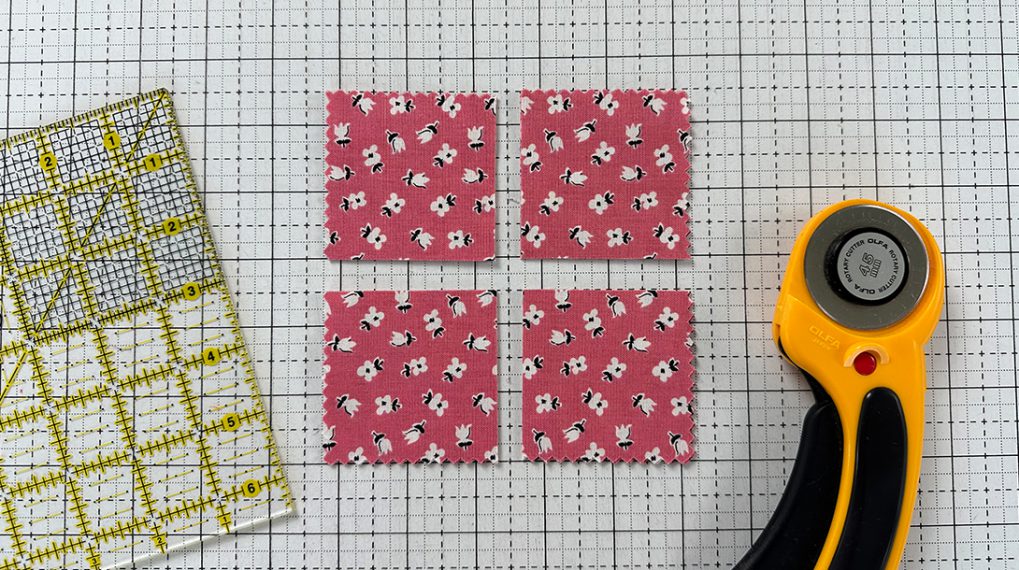
- The Nona Quilt Along, Week Three: Cutting the Fabric
- The Nona Quilt Along, Week Four: Nine Patches
- The Nona Quilt Along, Week Five: Block A
- The Nona Quilt Along, Week Six: Block B
- The Nona Quilt Along, Week Seven: Assembly
This week we will be basting and quilting The Nona Quilt. Let’s get started!
Finishing the Quilt
First, make sure you have your Nona pattern in front of you. We are working on the section titled ‘Finishing the Quilt’ steps 1 and 2.

Basting the Quilt
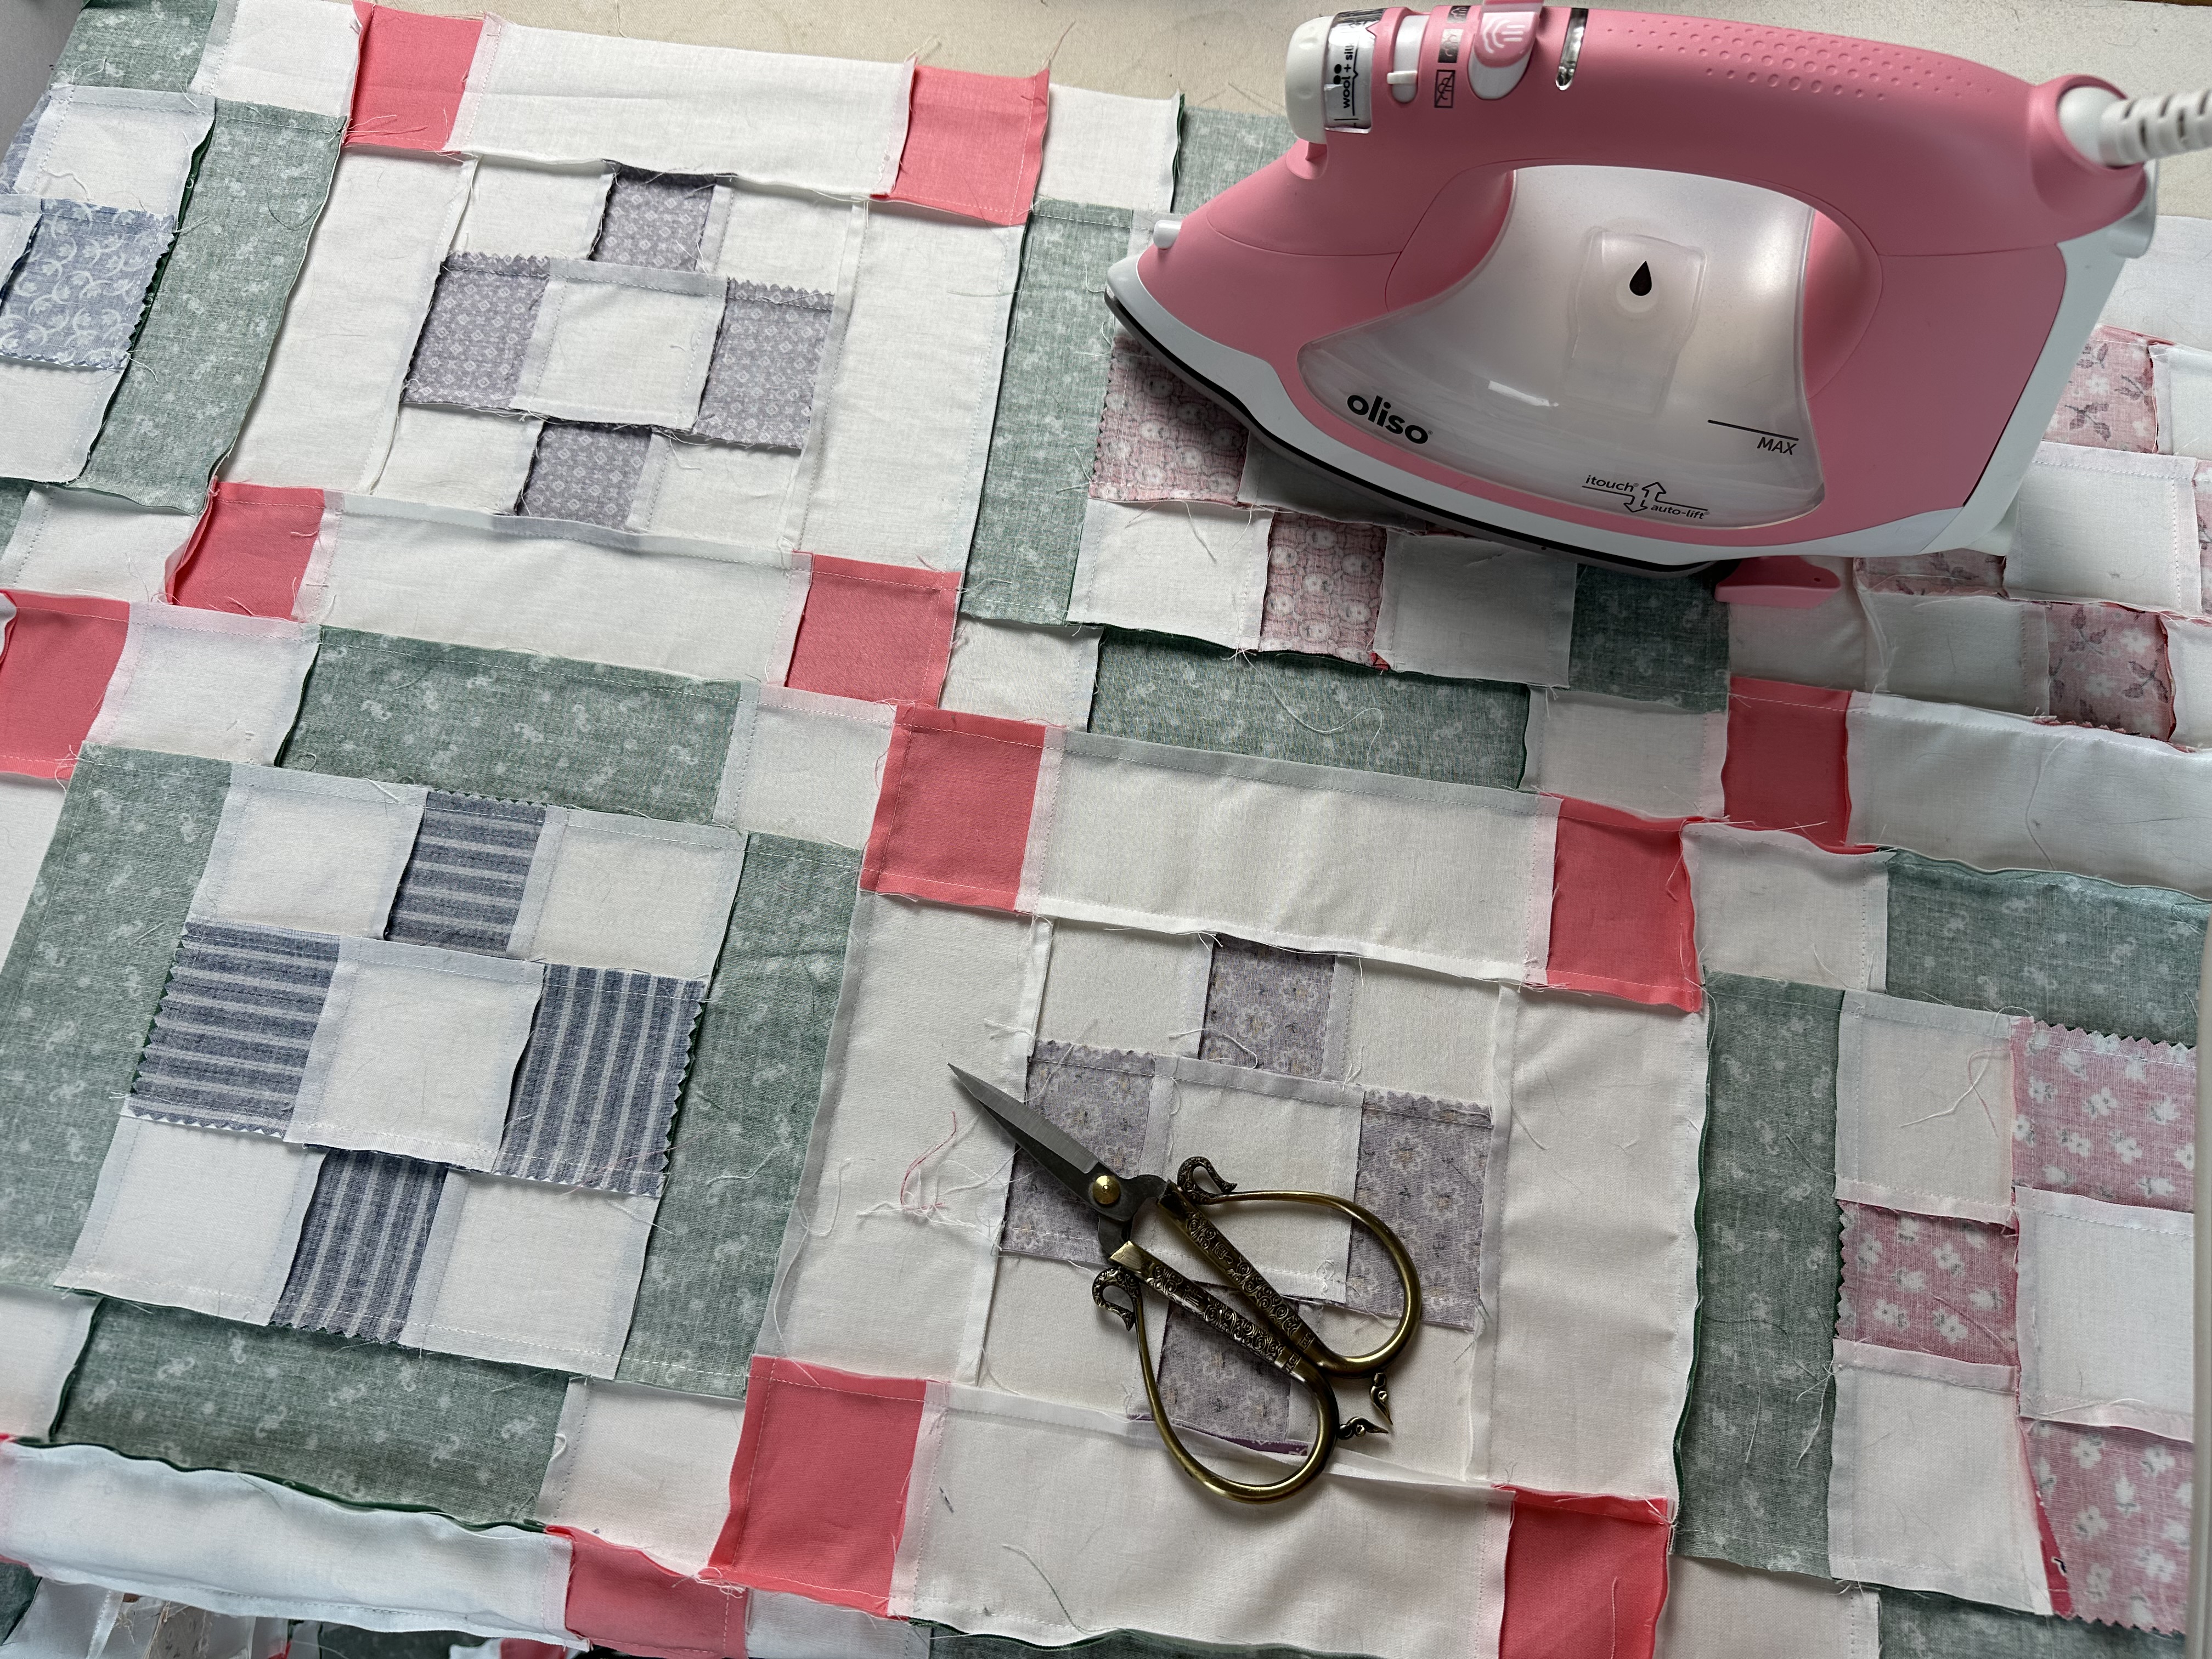
Pressing and Trimming Threads
The first step in basting the quilt is to press it. Typically, we press the quilt from the backside. Here we need to make sure all of the seams are laying exactly as they are supposed to and then press each one with the iron.
After the quilt top is pressed, we look over the whole back of it and trim any loose threads. Loose threads can show through the lighter fabrics of the quilt and can be seen after it is quilted. So, we try to get all of the loose ones trimmed off.
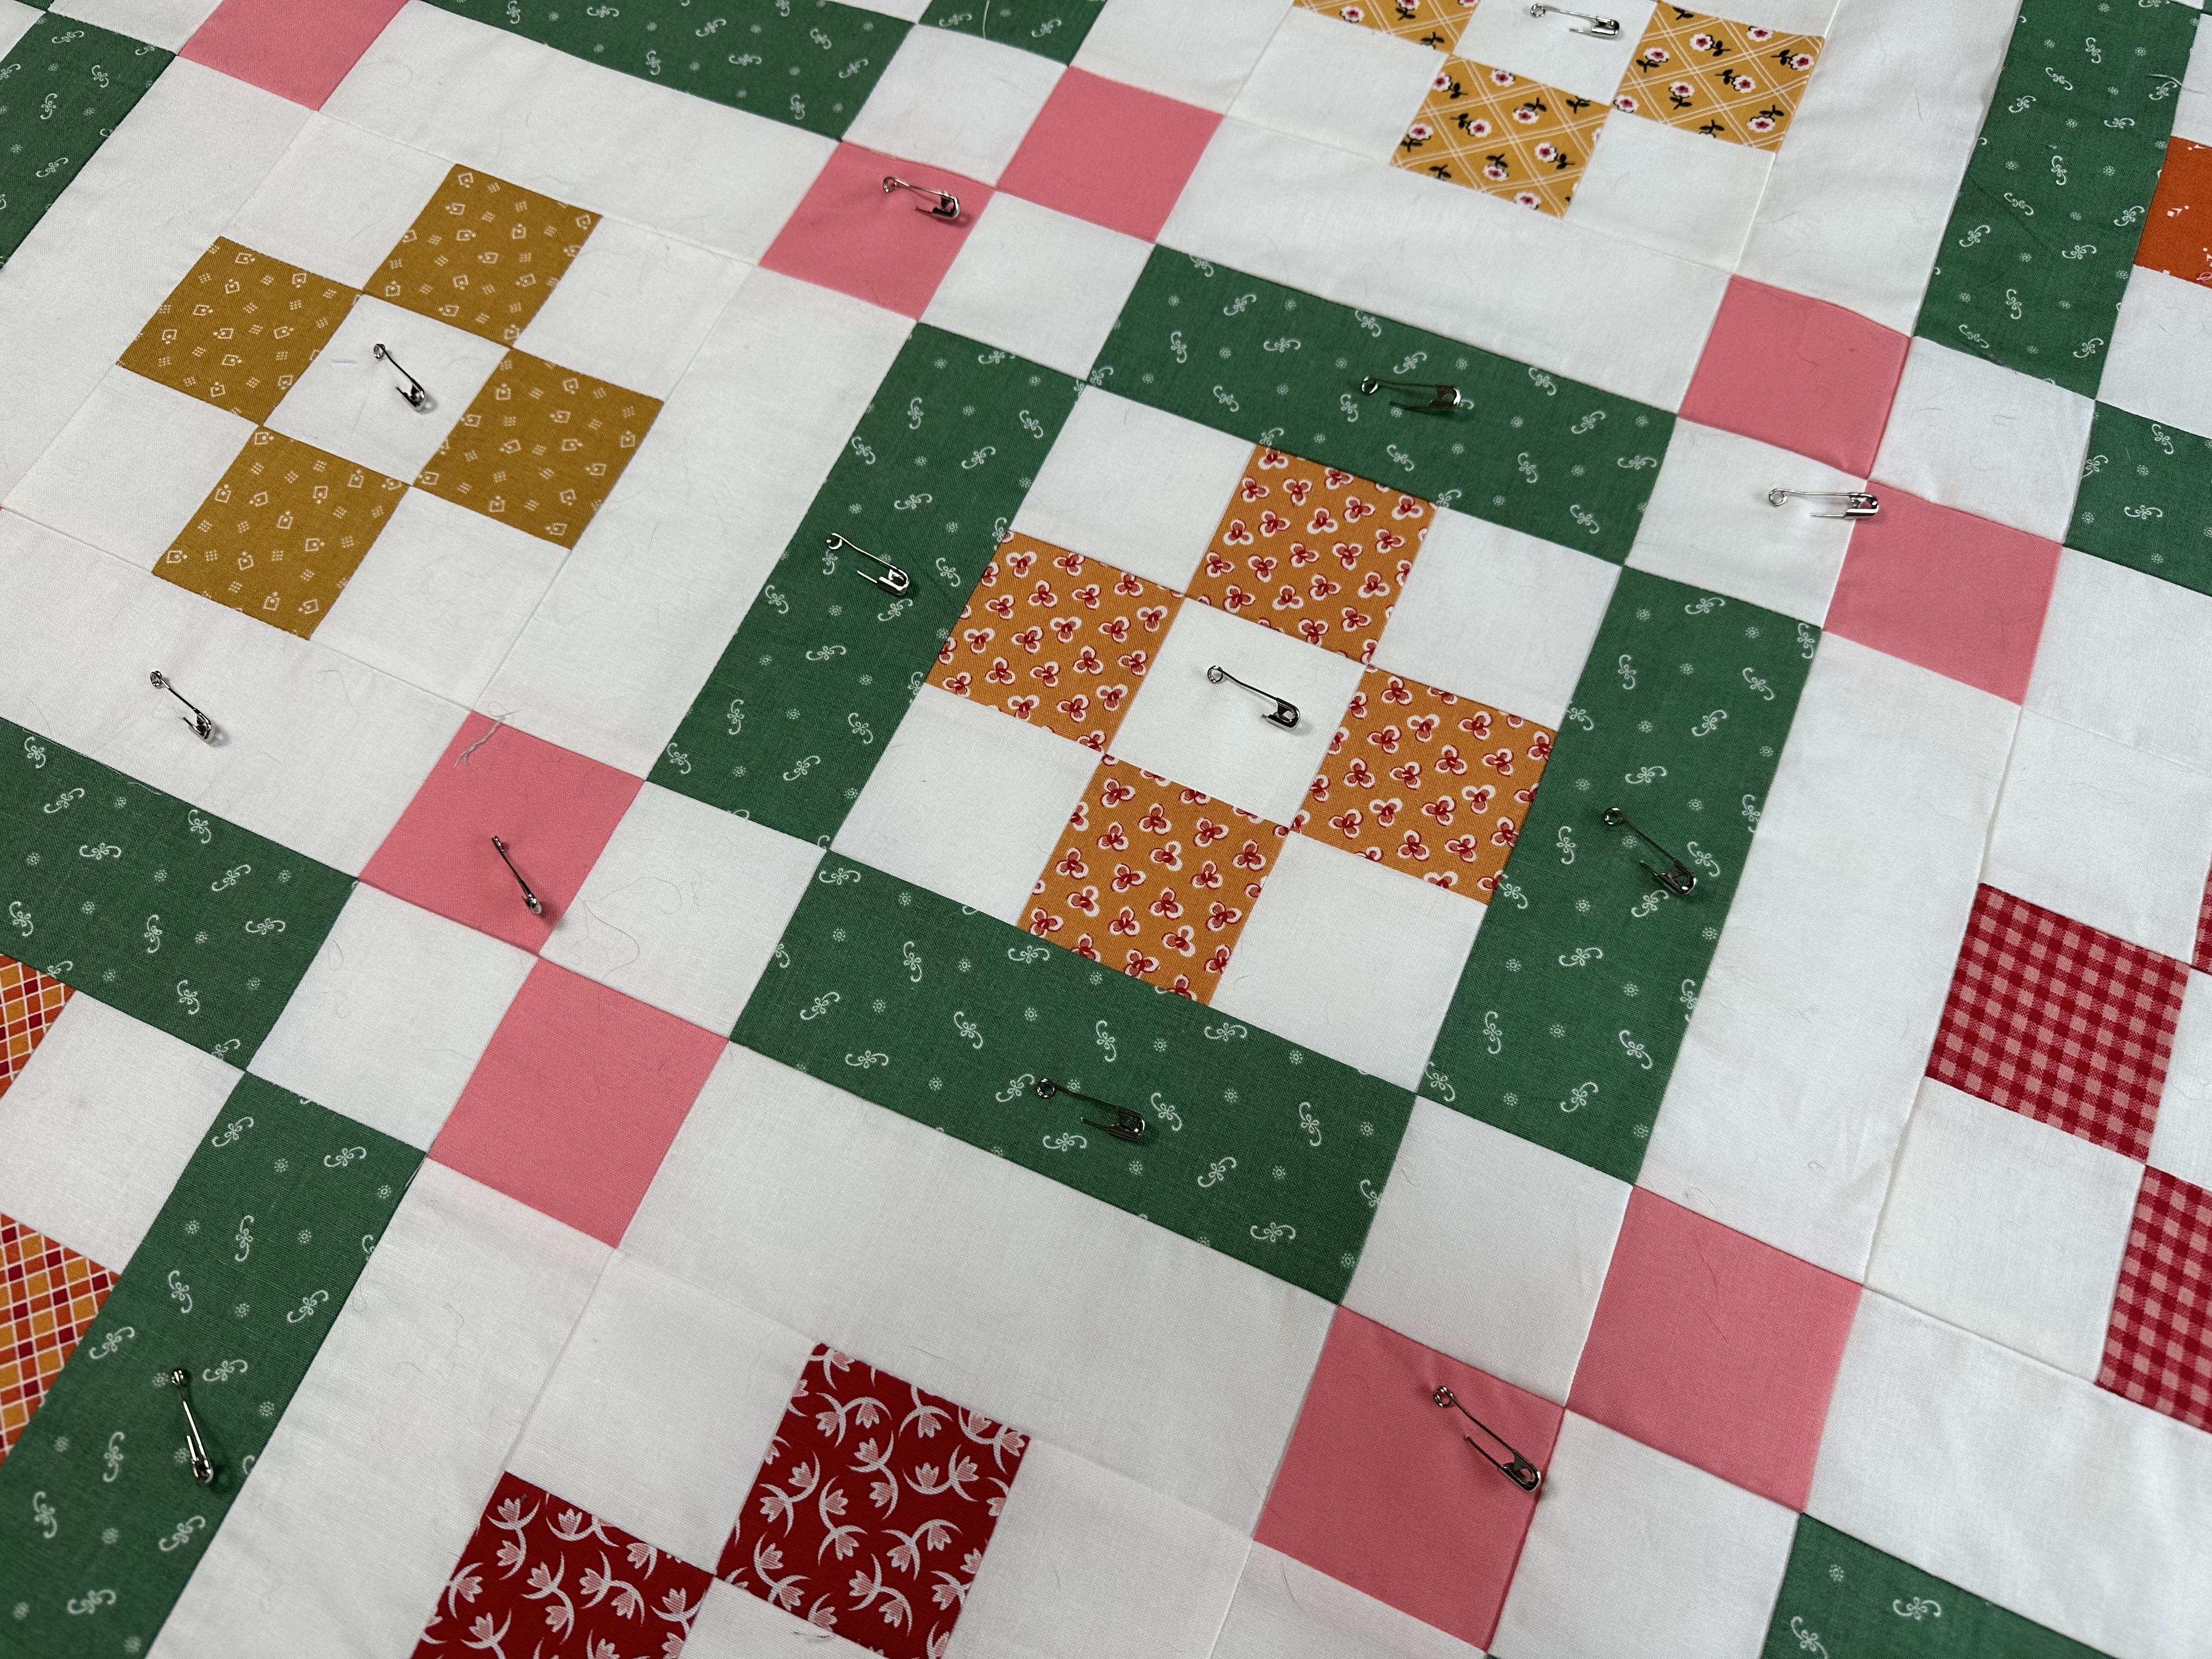
Basting
To begin basting, lay out the quilt backing, right side down. If you are working on a hard floor, you can tape it to the hard floor. If you are working on carpet, try to spread it as flat as possible.
Next, put your batting on top of the backing, right side up. Spread the batting as flat as possible. Try to get the batting and the backing to be perfectly flat with each other and with the floor.
Finally, put your quilt top on top of the batting/backing, right side up. Use your hands to spread the quilt top out until it is laying as flat as possible on top of the batting/backing. Then, pin the three layers together using curved safety pins. When first starting out, the recommendation is to pin every 3-4″ in every direction. I pin further apart than that but I am really comfortable with this process.
Quilting the Quilt
After the quilt is pin basted, you can pick it up and move it to the sewing machine. The pins will keep the 3 layers held together until you stitch them together.
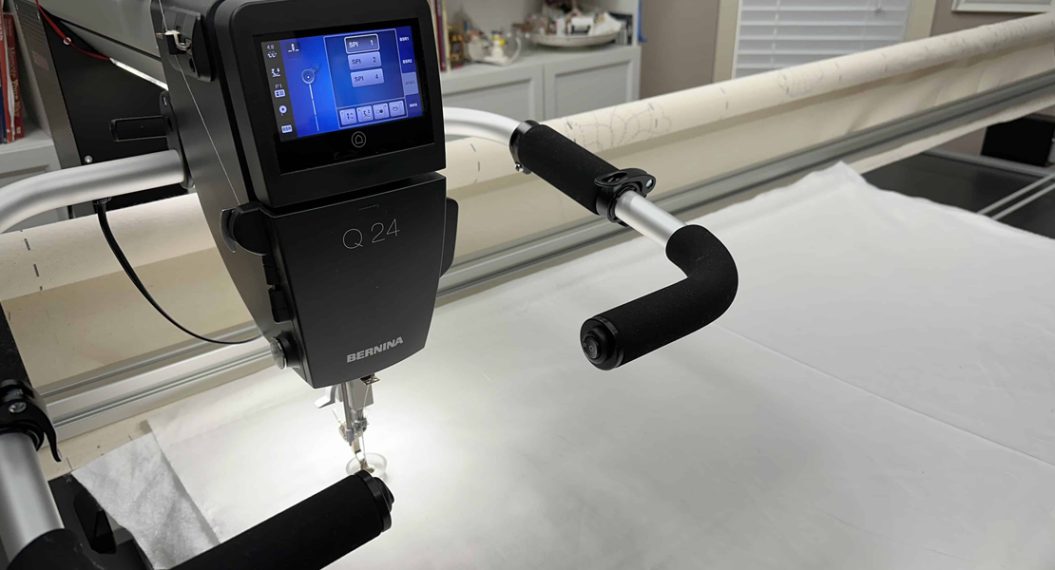
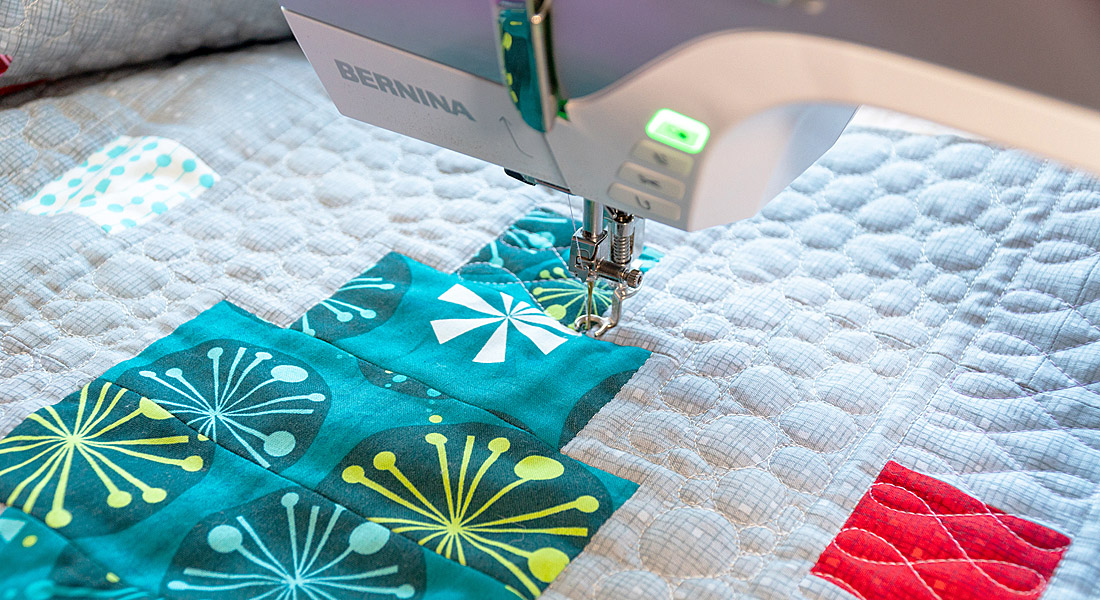
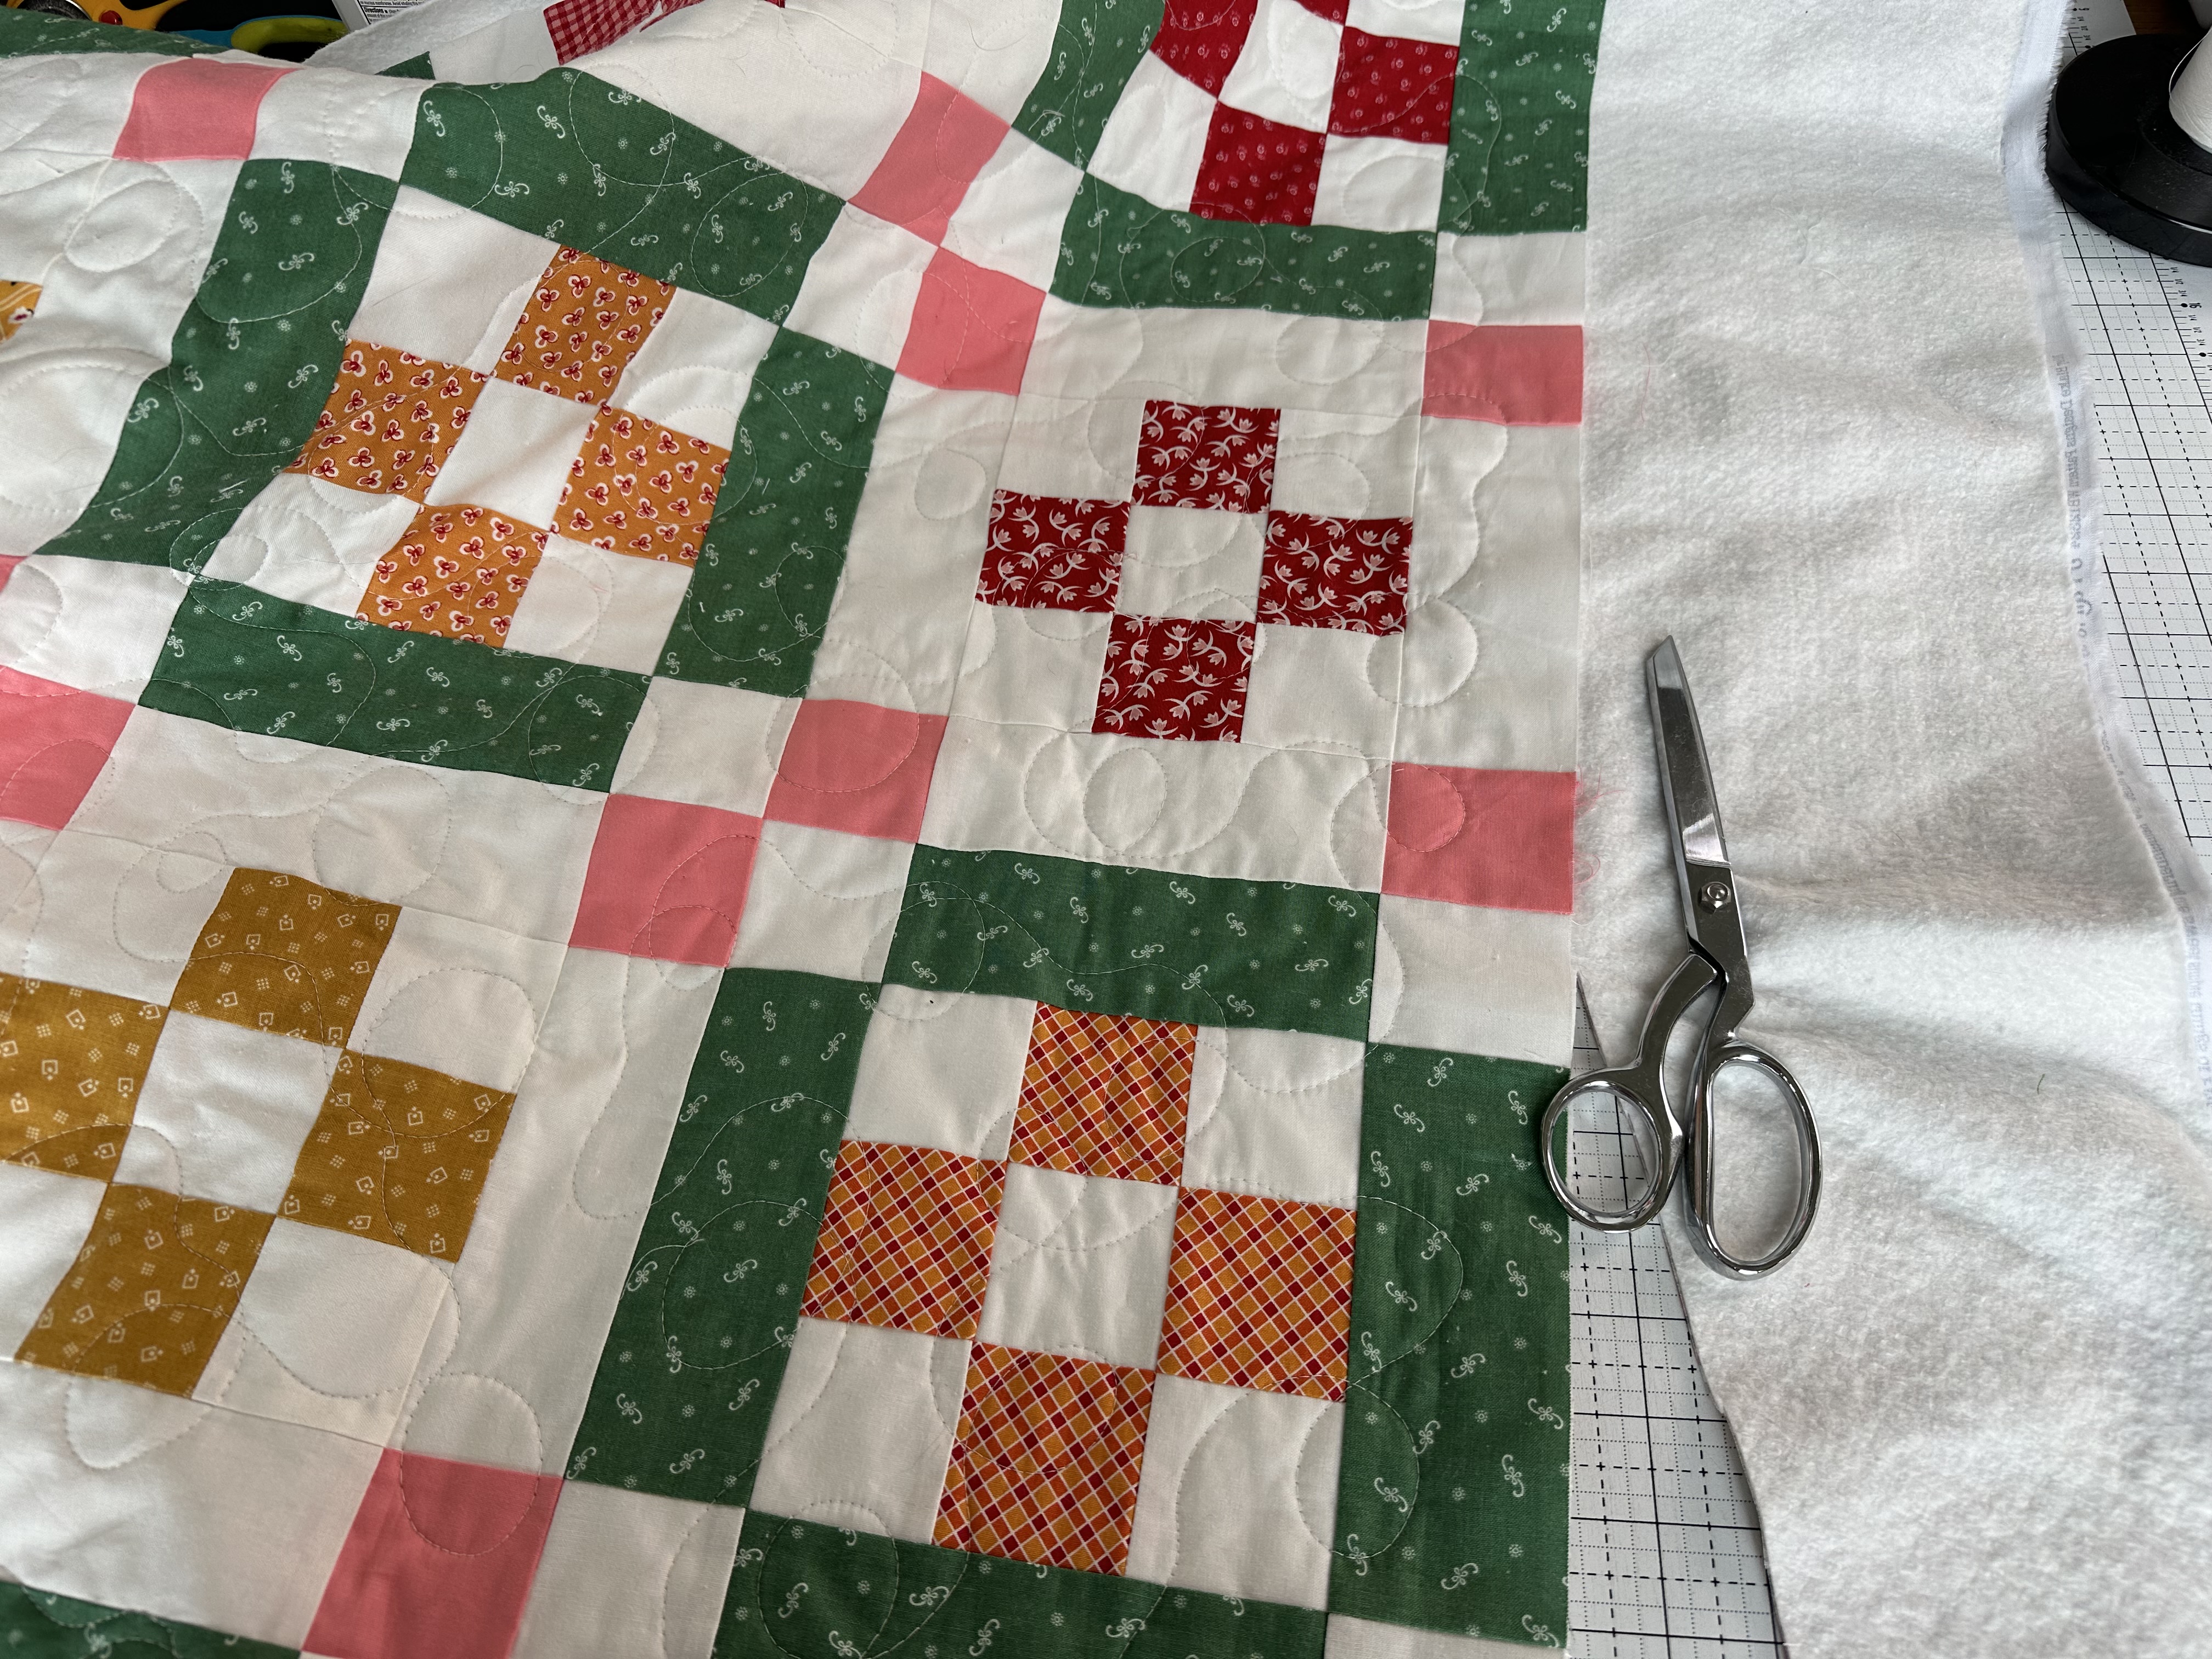
For this quilt, I am quilting using free-motion quilting. I put the BERNINA stitch regulator (BSR) onto my B 700 QE PLUS. The BSR is a really handy tool to have when free-motion quilting. It works to regulate the stitches as you move the quilt to quilt it. The faster you move the quilt, the faster the BSR stitches. The slower you move the quilt, the slower the BSR stitches. It does a fantastic job at giving you nice and even stitches.
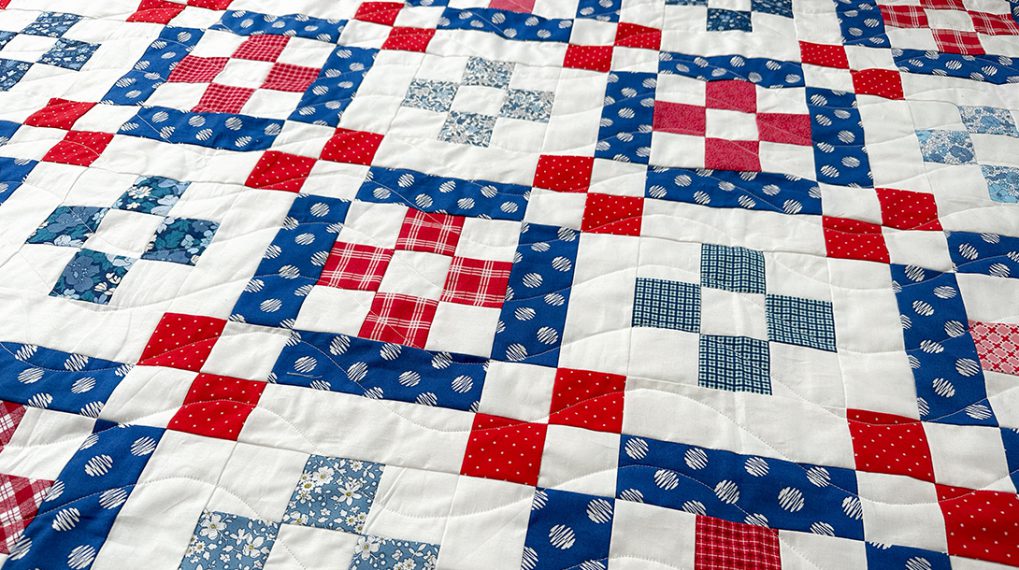
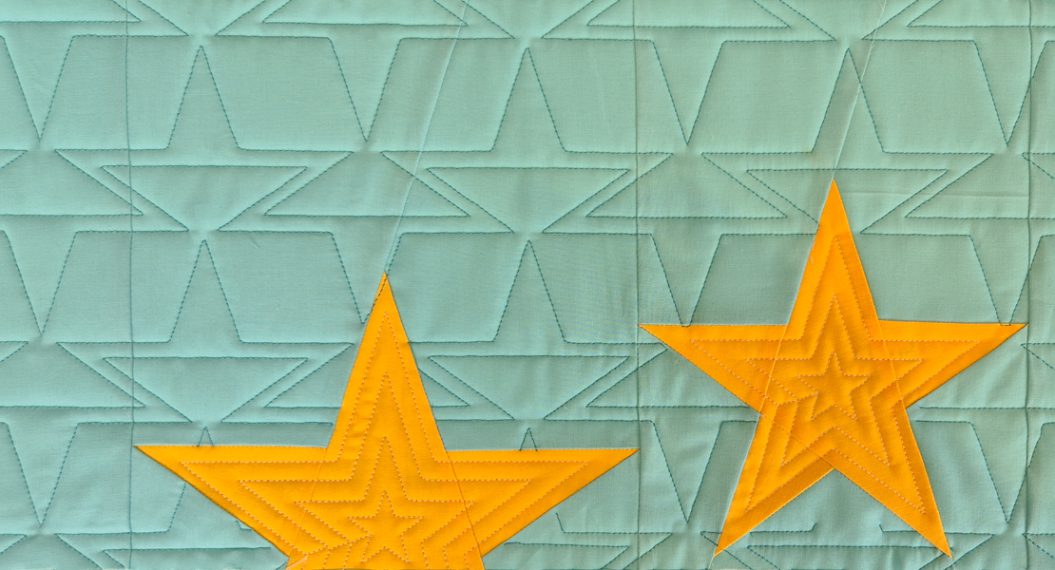
I also like to wear quilting gloves. The free motion design I am using here is called a meandering loop. I free-motion this design over the entire quilt. I remove the pins as I go along and my stitching replaces the pins in holding the 3 layers of the quilt together.

Trimming the Quilt
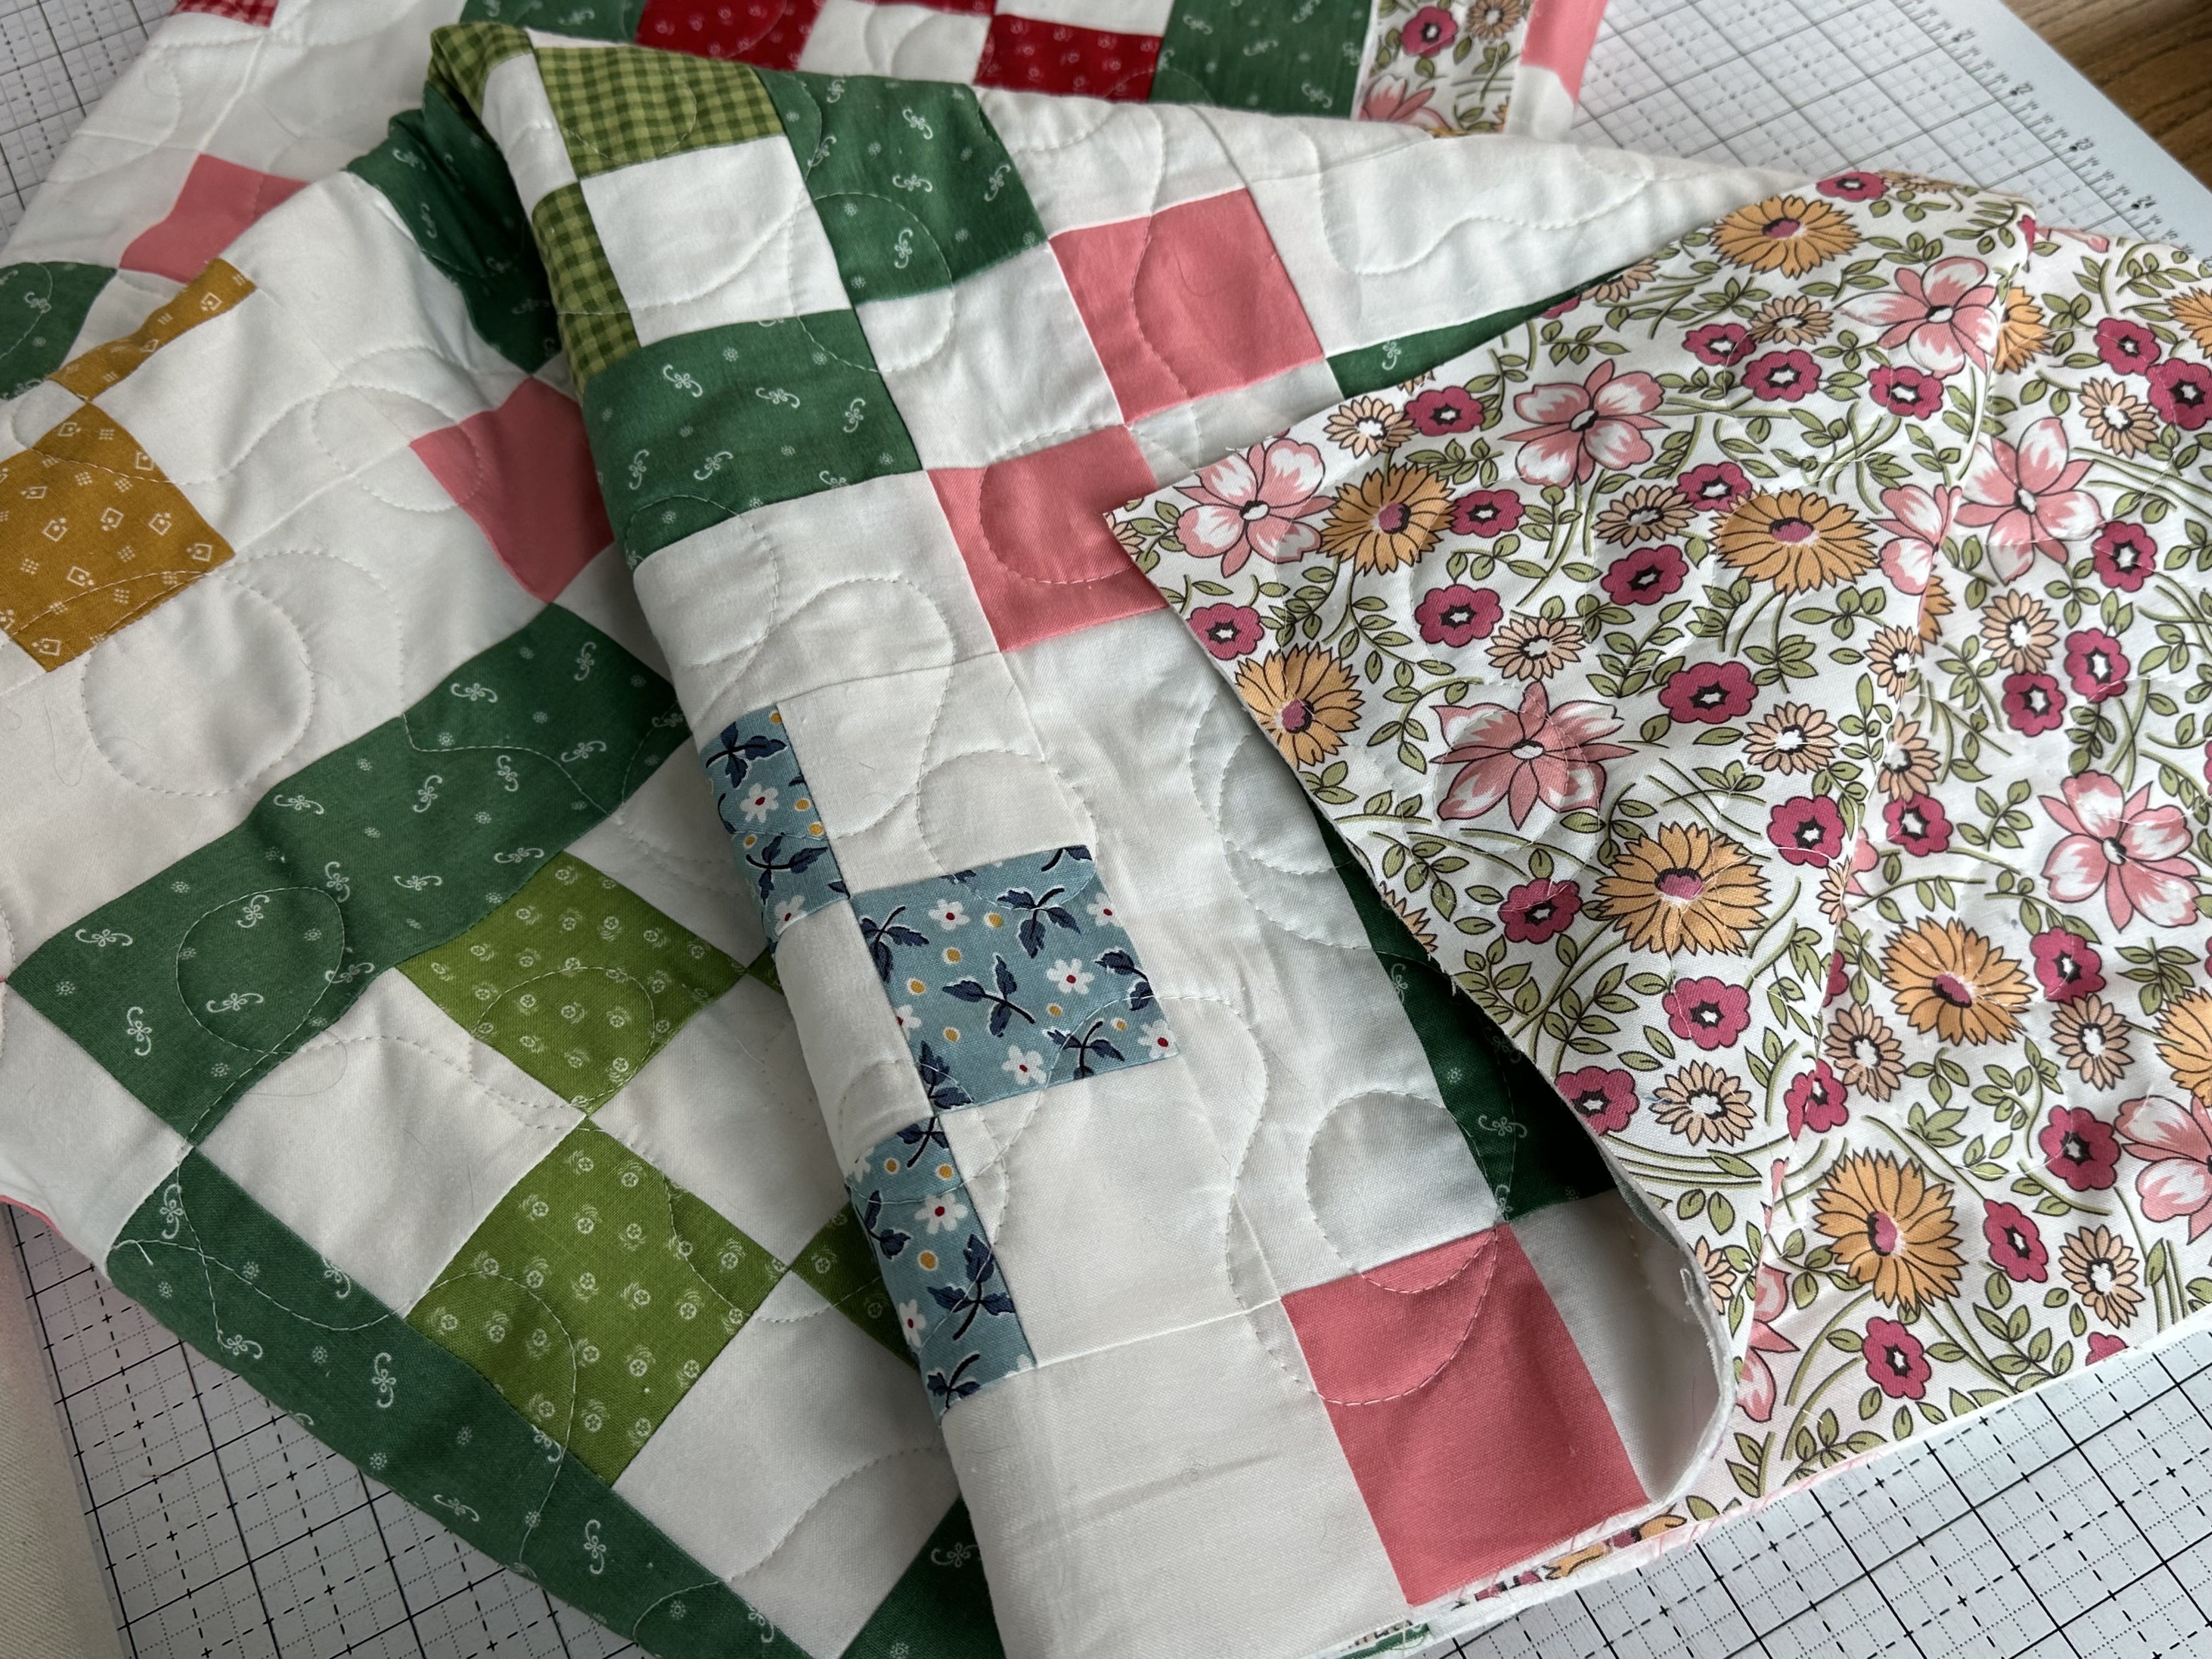
After the entire quilt is quilted, trim away the excess batting and backing. You can do this with a ruler and rotary cutter or with scissors.
Once you have trimmed that away, you are all finished for this week! We are so close to finishing this quilt! I hope you have been having a really great time during this quilt along and that you are learning a lot.
Watch the week 8 YouTube Video
Again, please watch the Week 8 YouTube video on my channel. This video coordinates with this post and I show how to do all of the steps mentioned here including pressing, trimming threads, spreading out the backing, batting, and quilt top, pin basting, quilting, and trimming the finished quilt. In addition to showing how I free-motion quilt, I demonstrate straight-line quilting as well.
Thank you for following along and I’ll see you next week for the final week of the quilt along!
– Jessica