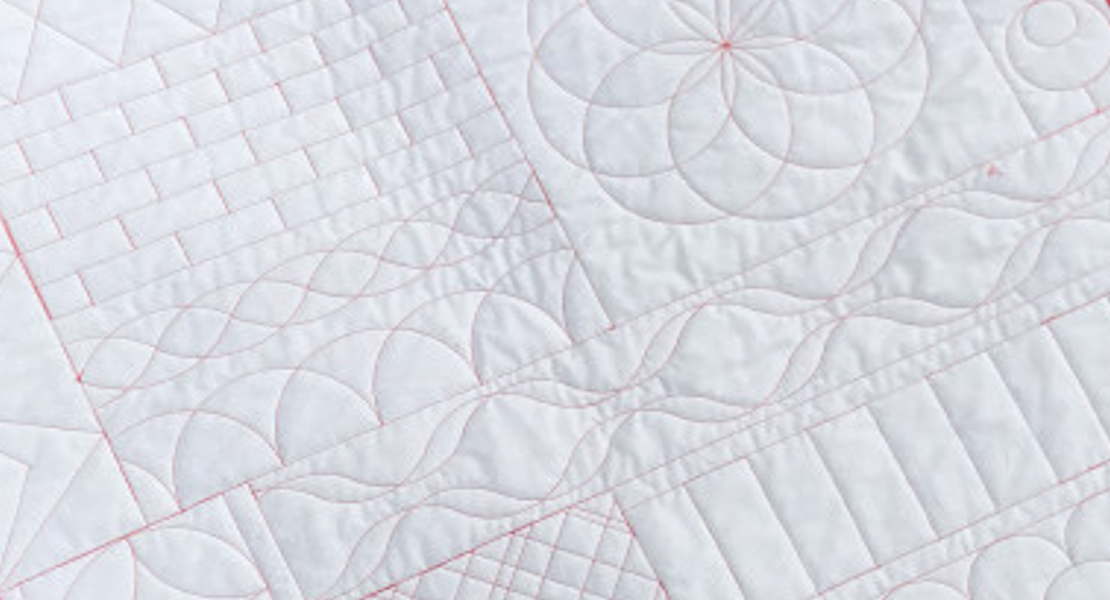
Rulerwork: BERNINA Nested Mini Ovals
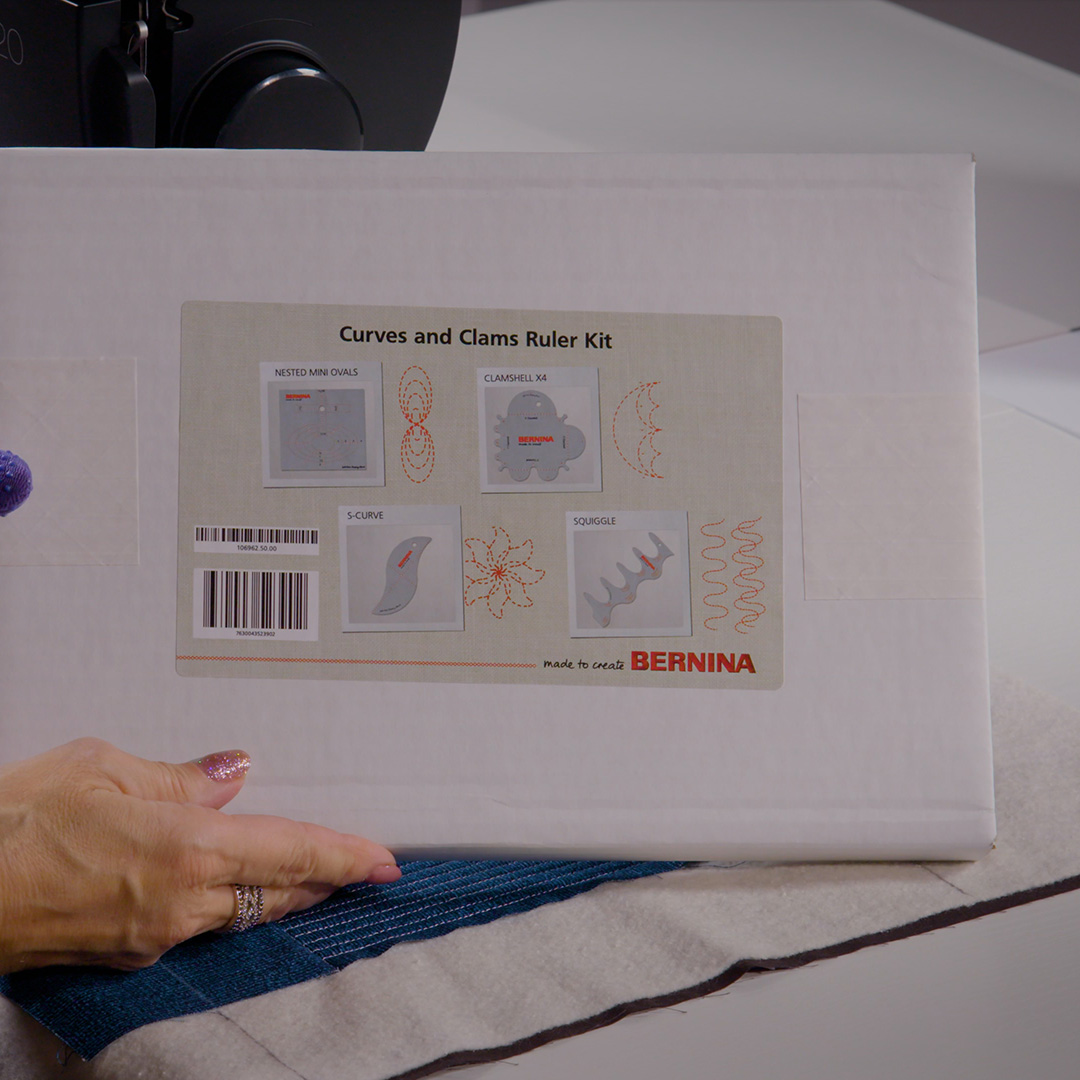
The BERNINA nested mini ovals ruler is a great way to add some pizzazz to plain quilt blocks. It can be used to create many different looks by simply changing your start and stop points. This ruler is part of the new BERNINA Curves and Clams Kit and, like all BERNINA ruler kits, it comes with written instructions and ideas for how to use them.
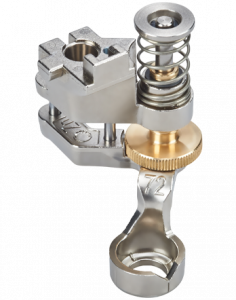
When doing rulerwork of any kind you will need a ruler foot and rulers.
Supplies Needed
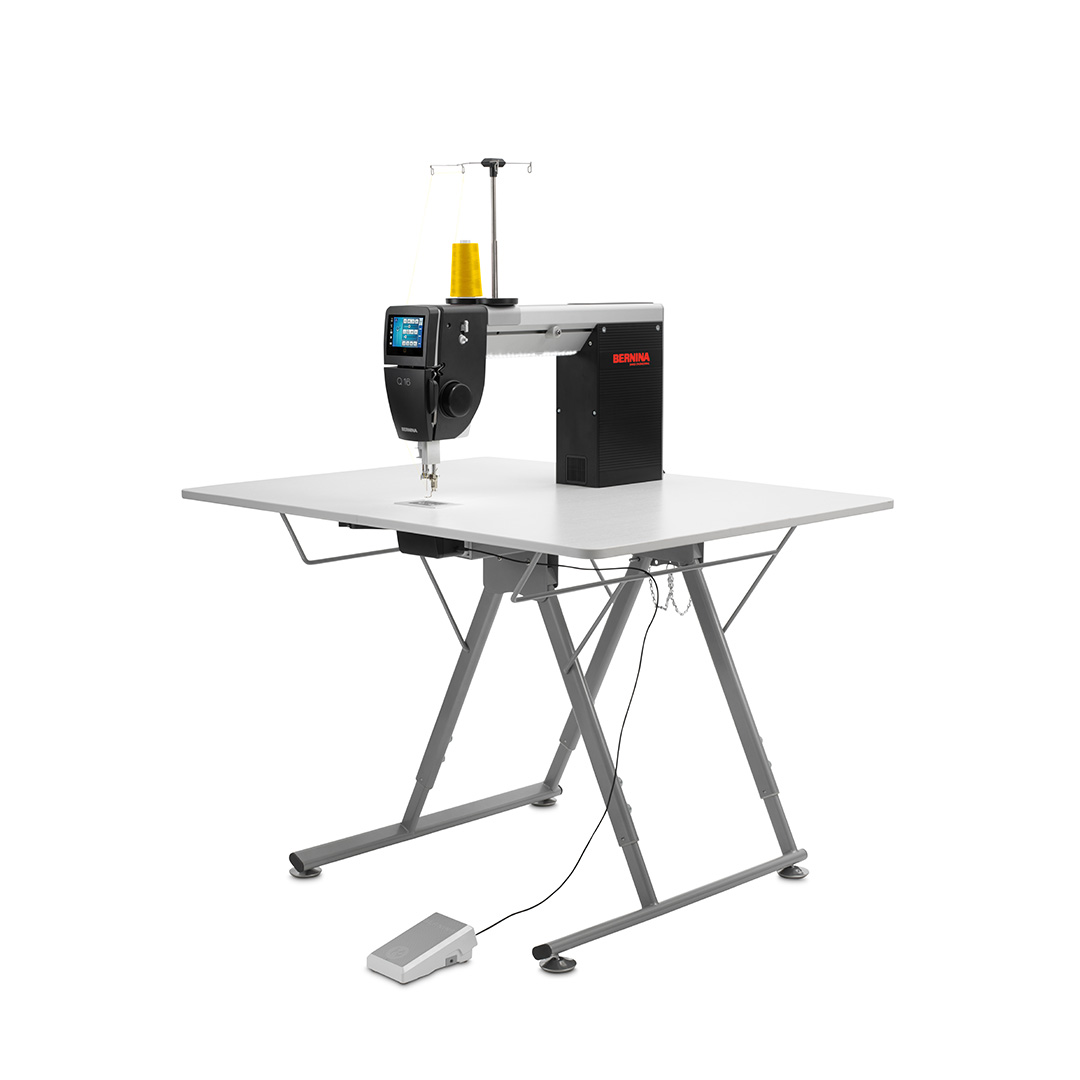
- BERNINA Table Model Q 16, Q 16 Plus, or Q 20
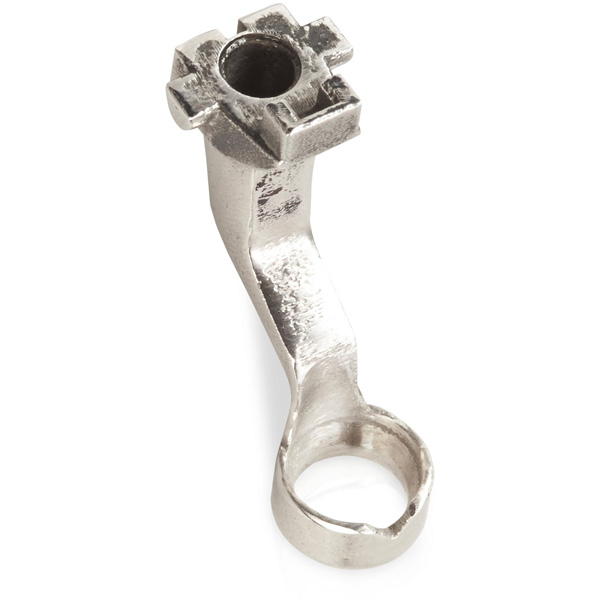
- Ruler Foot – Chose from Ruler Foot #96, Adjustable Ruler Foot #72 or Adjustable Ruler Foot with Slit #72S. Ruler Foot #96 can only be used on the BERNINA Q Series longarms. The #72 and #72S can be used on both the BERNINA longarms and domestic sewing machines.
- BERNINA Nested Mini Ovals Ruler
- Backing, batting and pieced top (see below for my measurements)
- New 90/14 Quilting Needle and thread of choice (40 or 50 wt)
- Quilting gloves – recommended
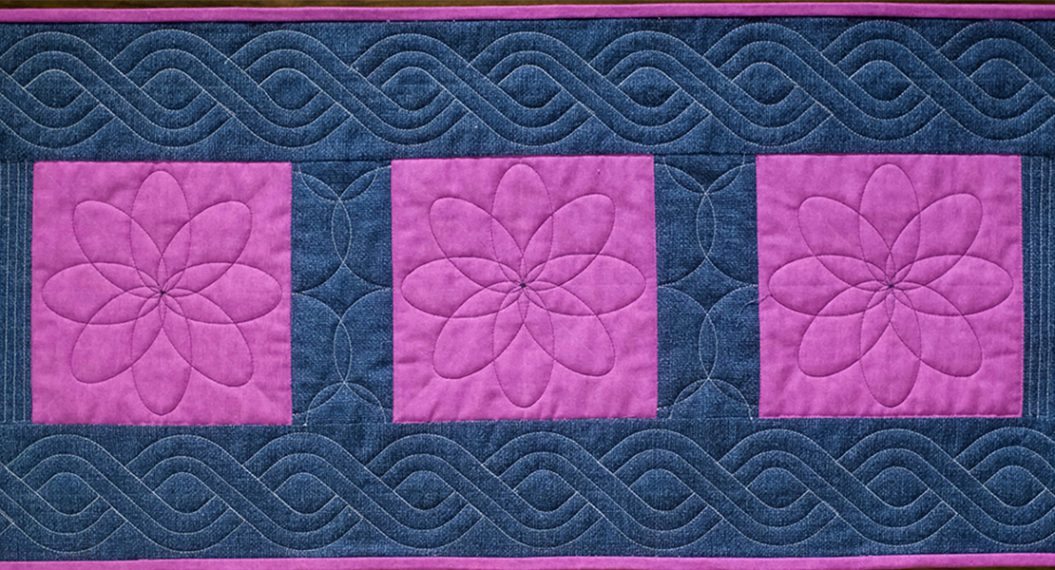
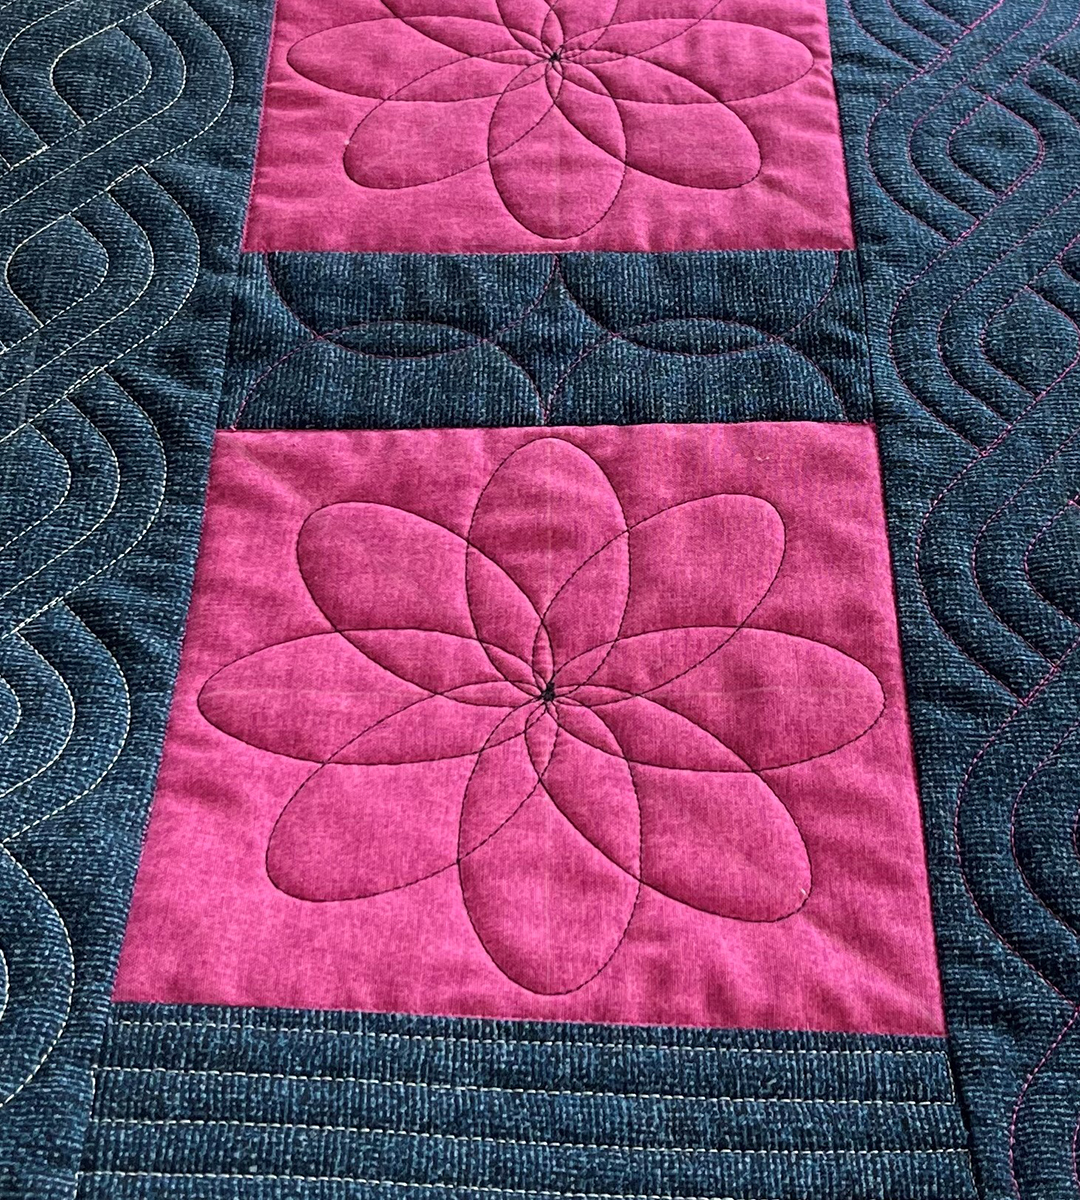
Creating the table runner in this example is super simple. Here are the measurements. I chose fabrics and thread to highlight the quilting but you could use any fabrics you like.
3 – 7″ Squares (pink)
2 – 7″ x 3″ inner sashing
2 – 7″ x 4″ outer border – short side
2 – 31-1/2″ x 4″ – outer border – long side
For smaller projects like this table runner, I simply spray baste my layers together to prevent shifting and puckering while I quilt.
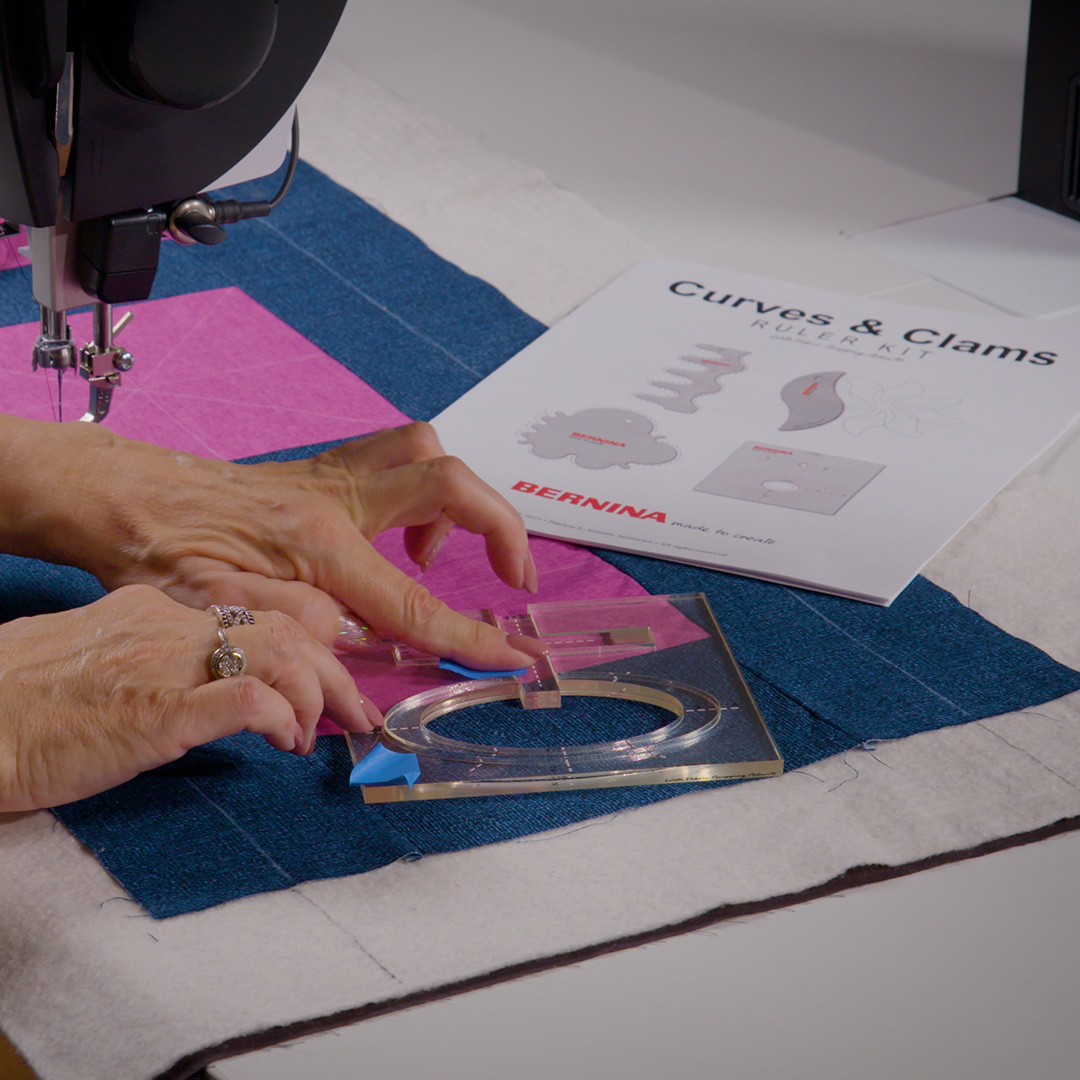
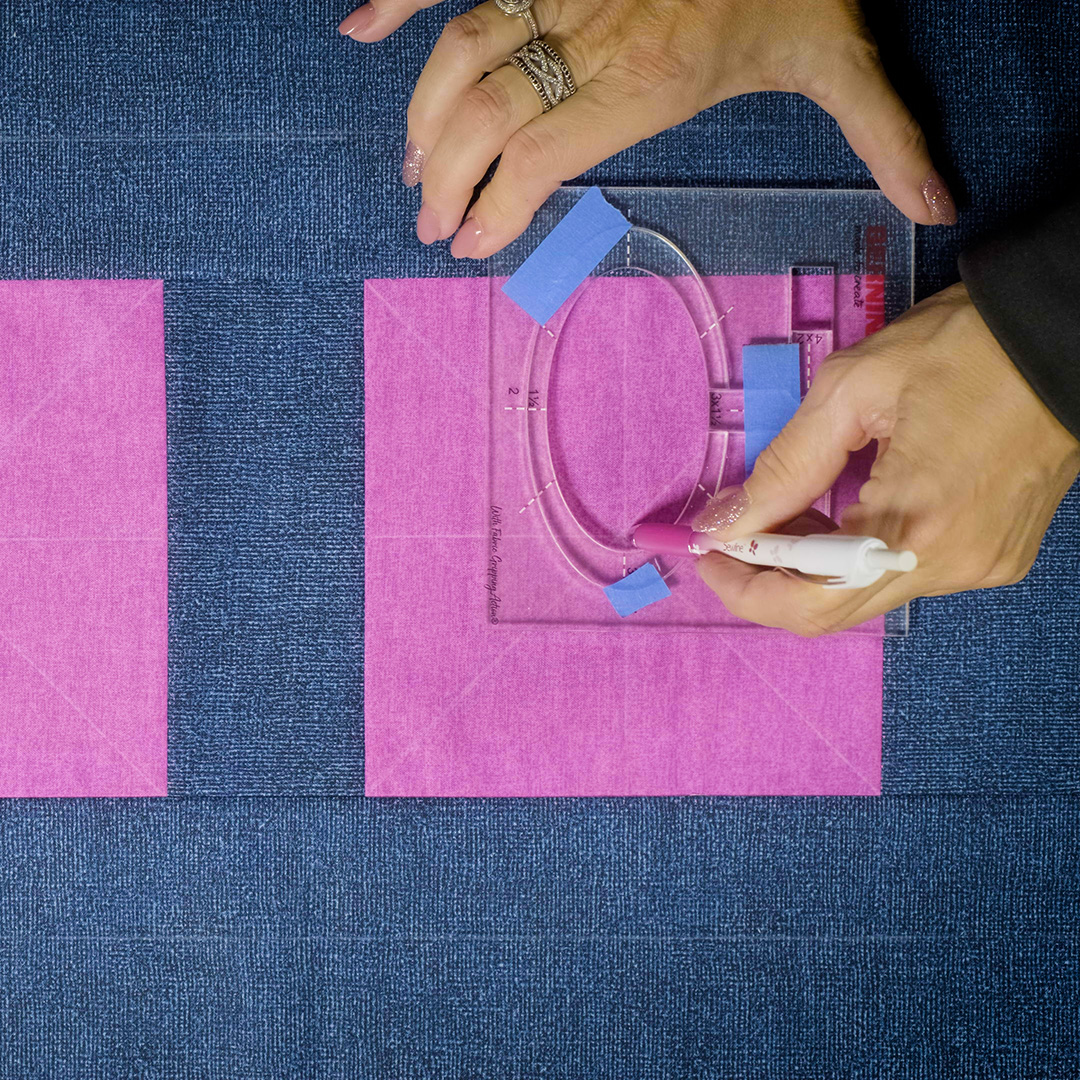
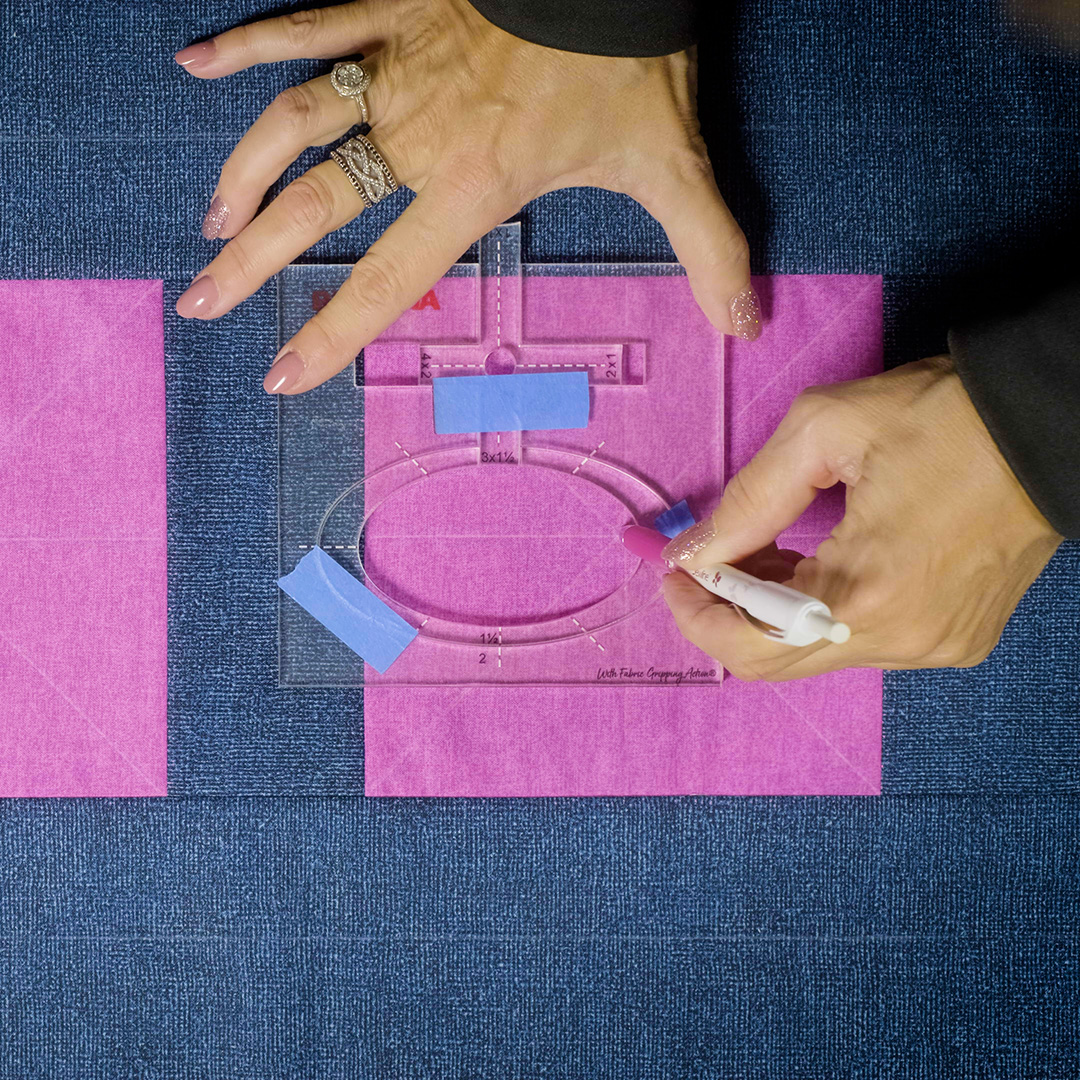
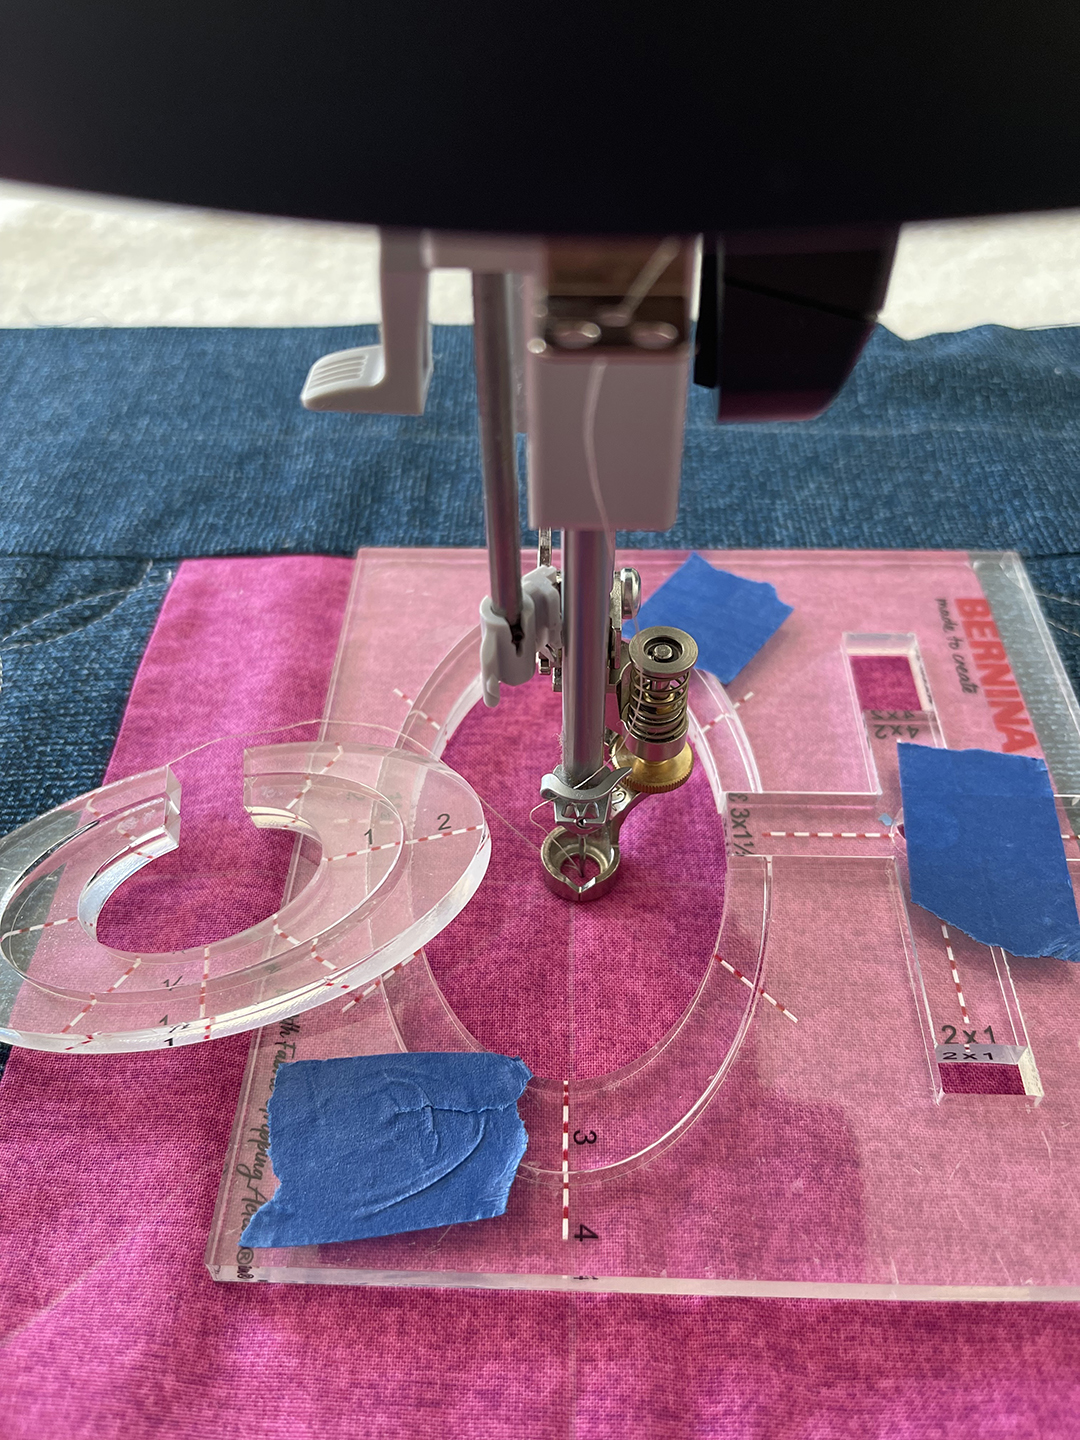
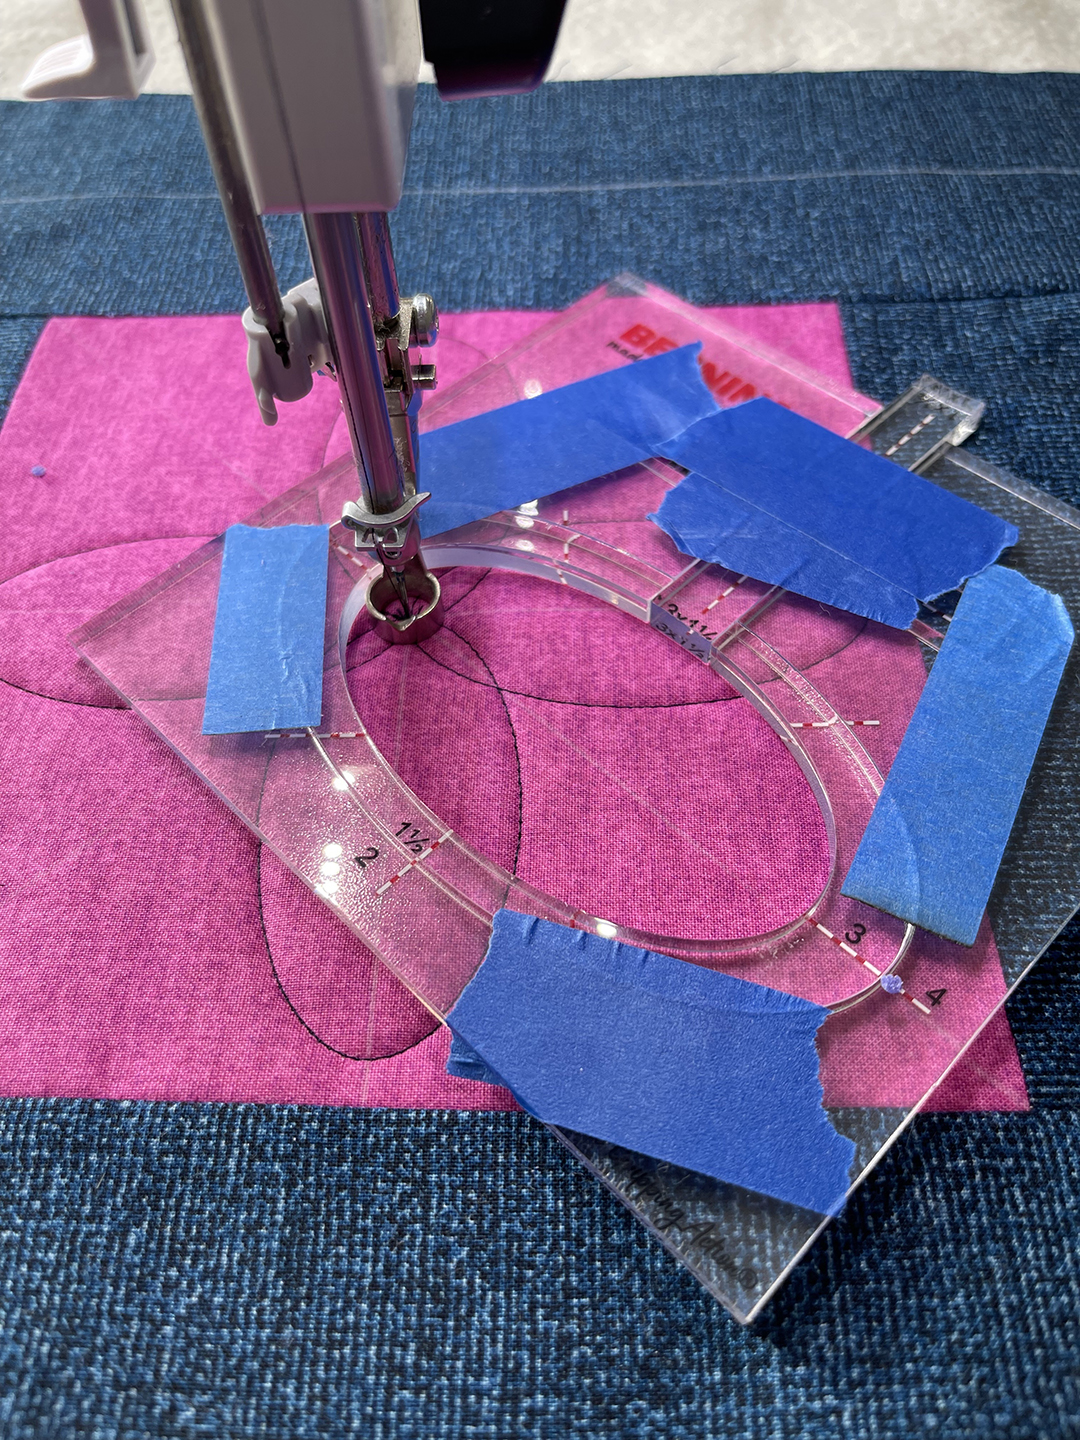
Nested quilting rulers refer to rulers that can be used in different sizes depending on how many sizes are included in the “nest”. BERNINA Nested Mini Ovals can be used in 4 different sizes. For this project, remove the two inner ovals, rotate the key to create a closed oval, and use painters tape to secure the ruler pieces so they do not shift while stitching. Use enough tape to hold the pieces together while still being able to see the ruler markings. The tape should be on the top side of the ruler.
Here I’m pointing at the “key”. Rotate it to fit the ruler as you remove the inner ovals. The “key” is numbered to help you.
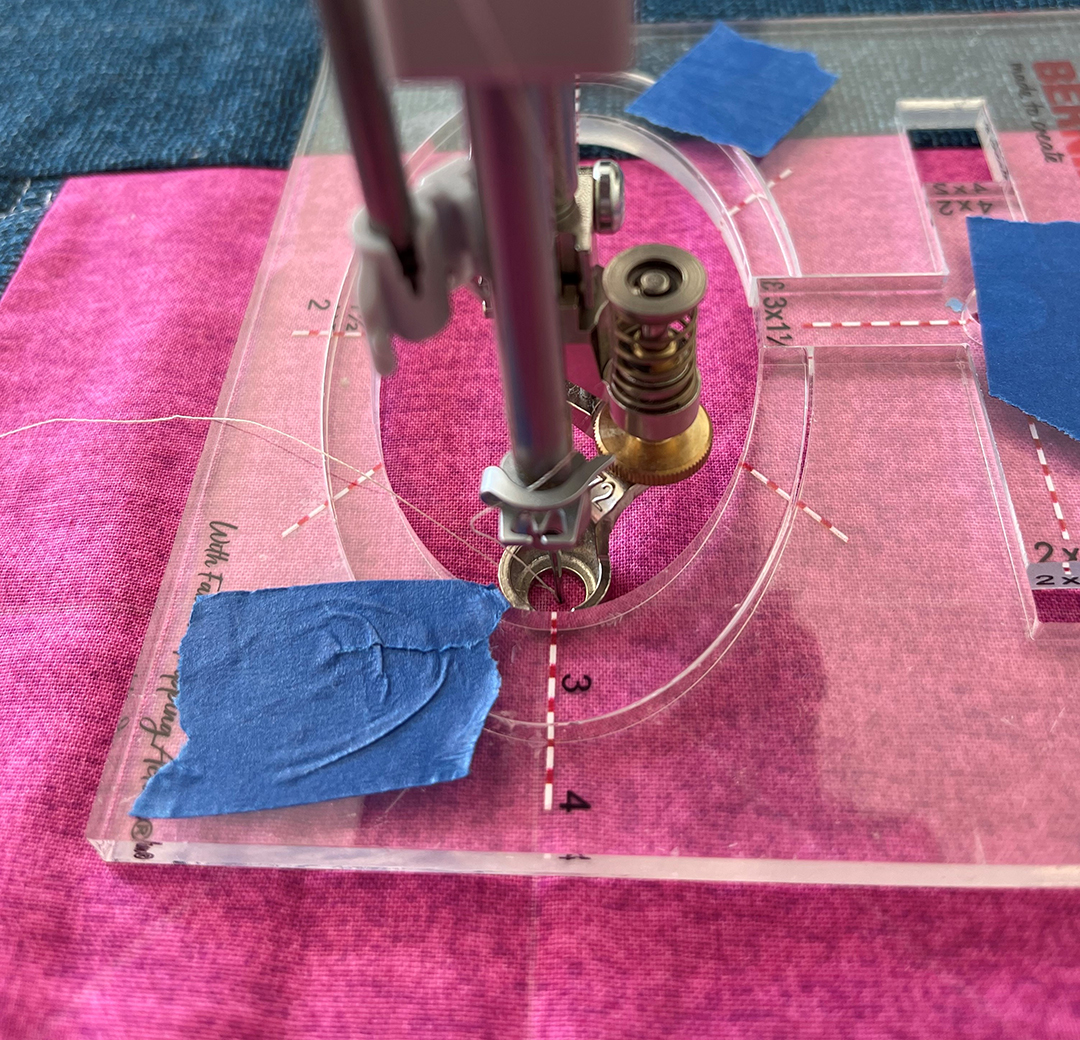
Some quilting rulers, like the nested mini ovals, are meant to be used on the inside edge and having extra outer space to hold onto the ruler makes it very easy to control. I’ll show you what I mean below.
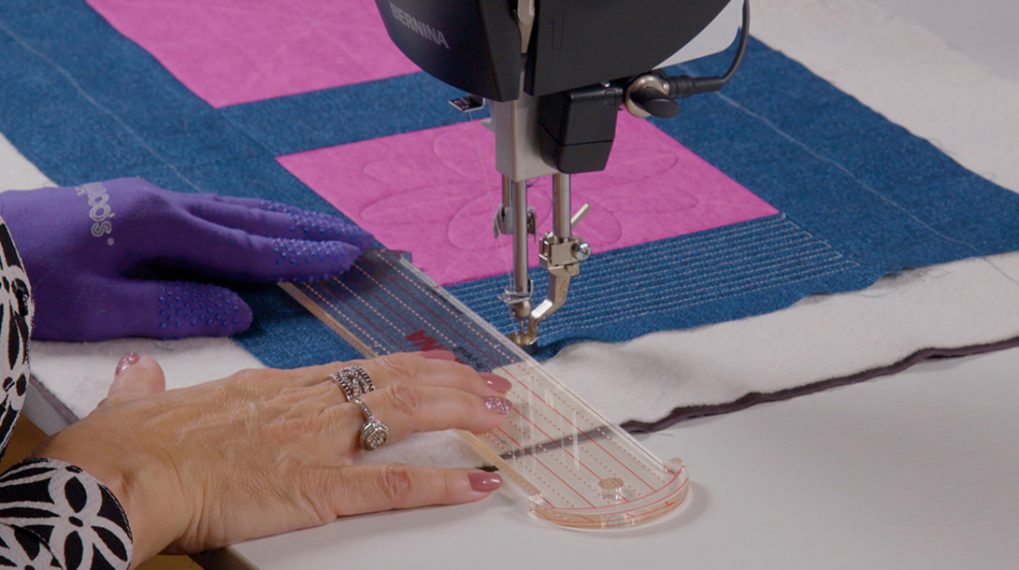
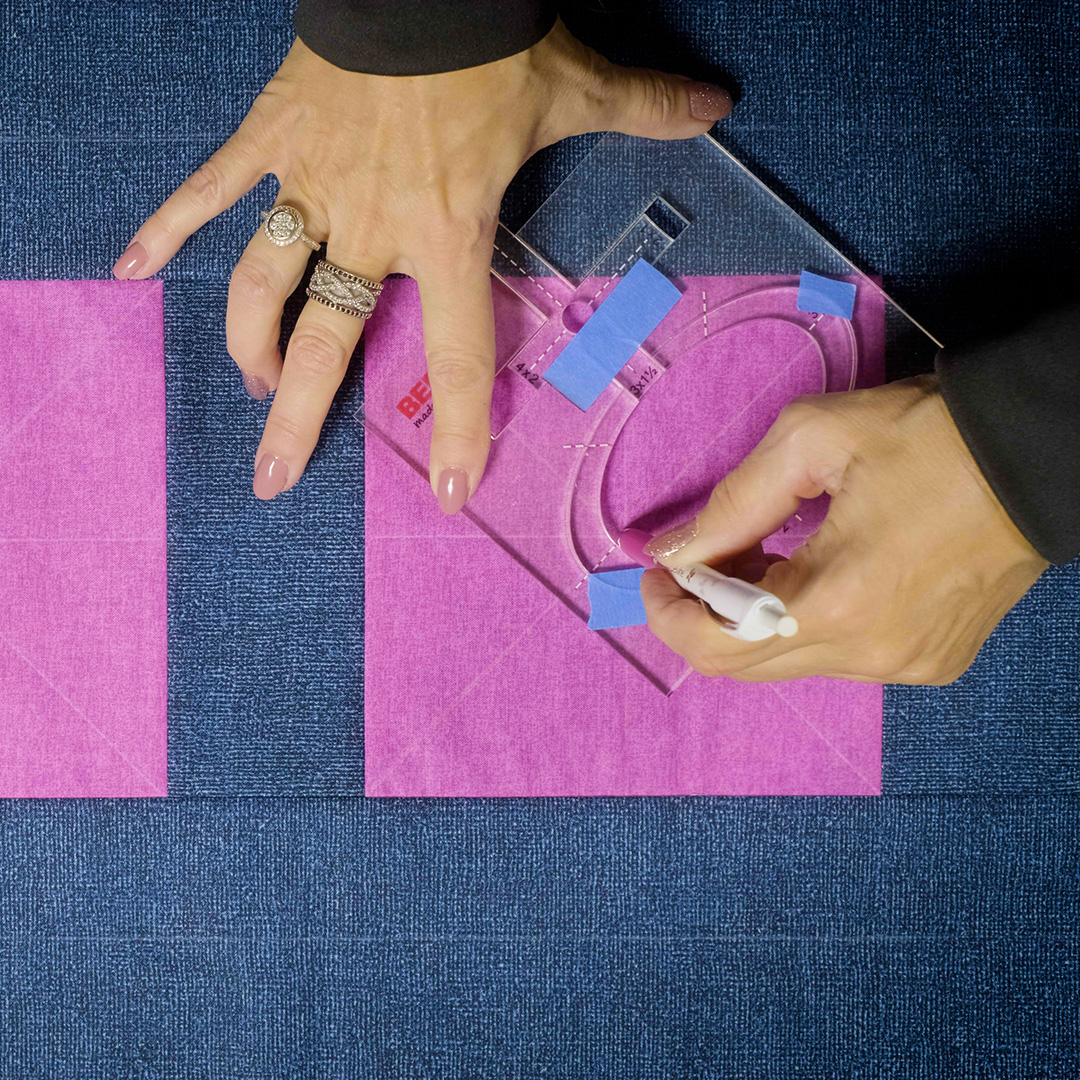
First, it’s always a good idea to mark your blocks when showcasing a design like this. Here is how my blocks looked after using a ruler and chalk pencil to mark the centers and corner-to-corner.
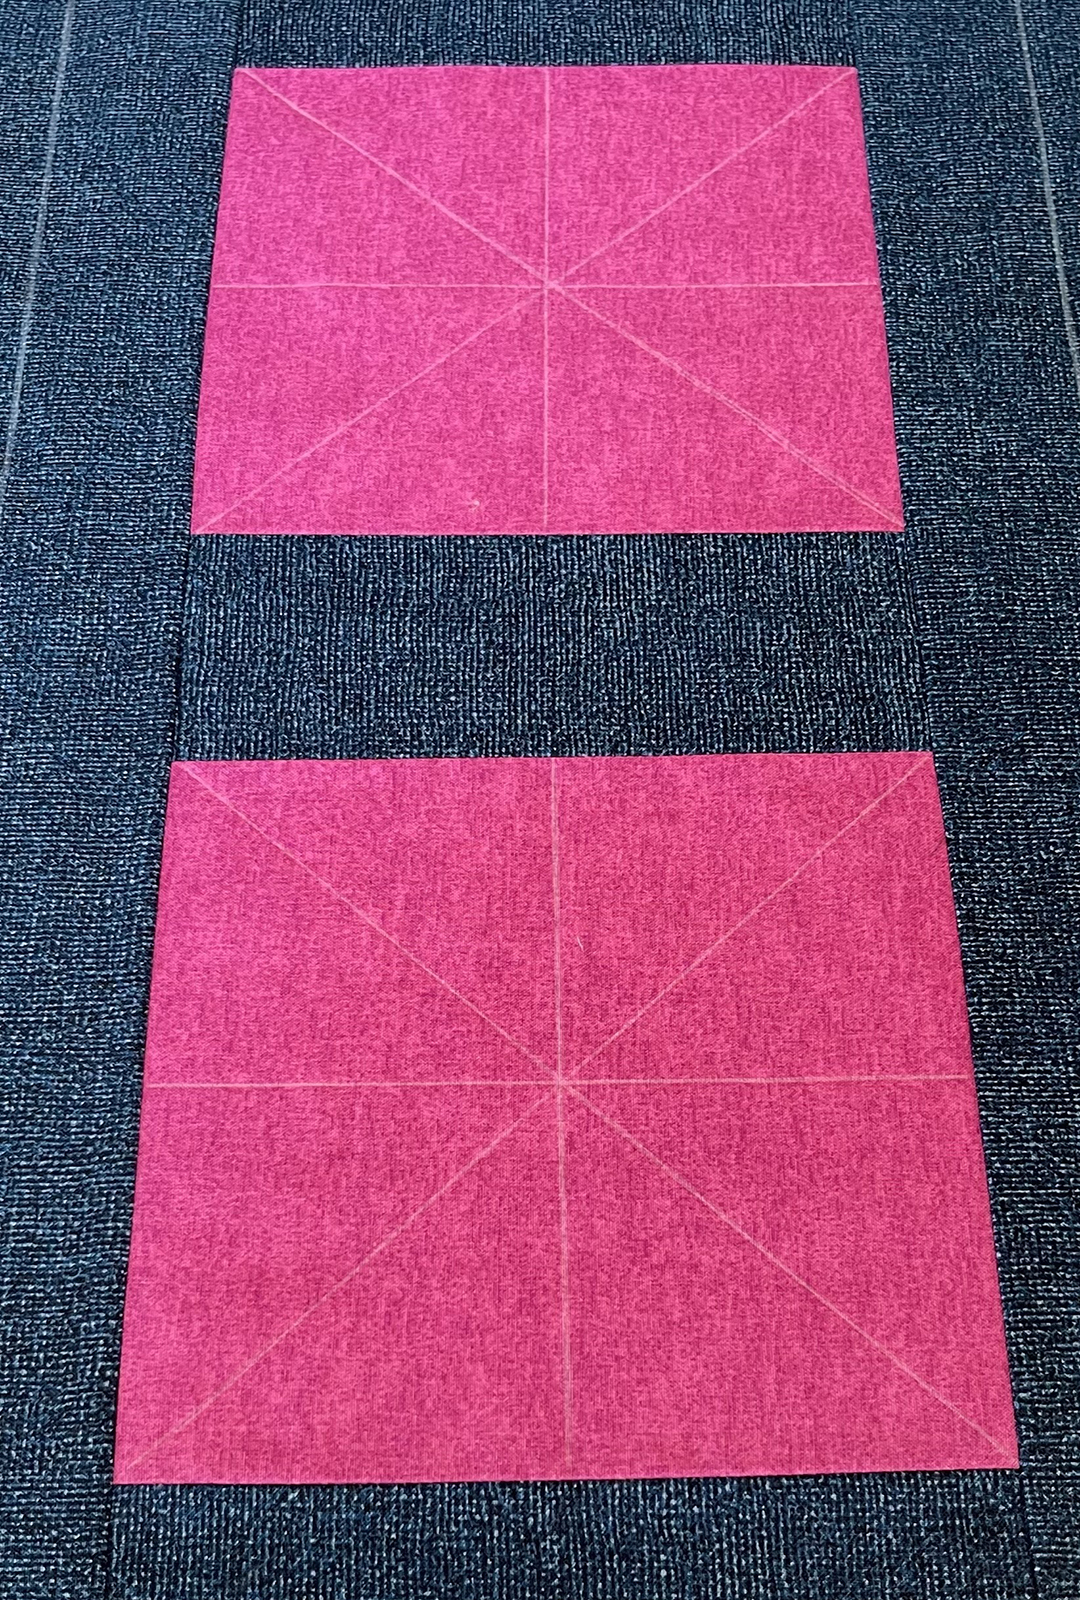
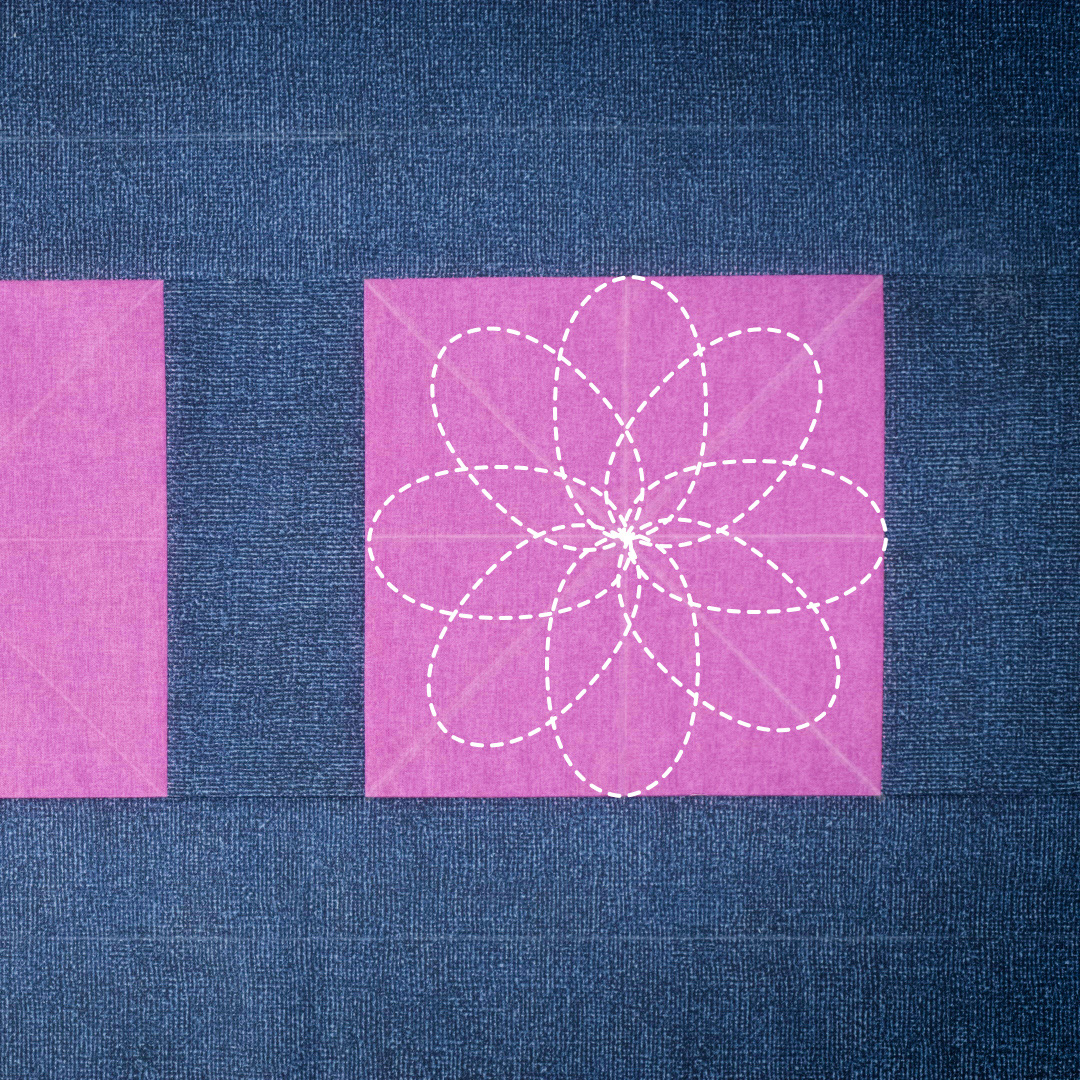
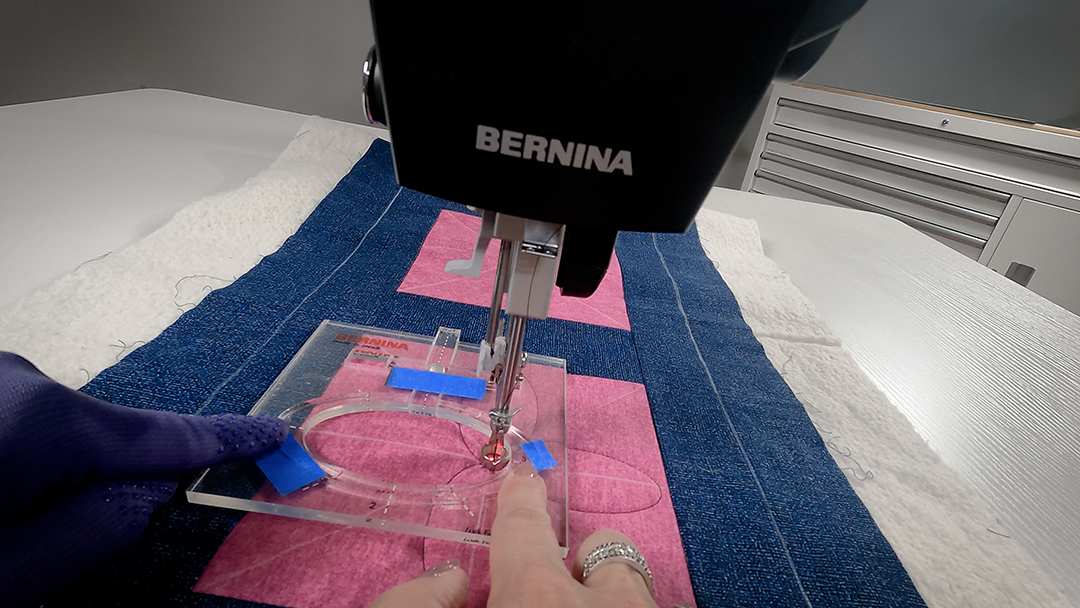
Using the center of the block as your starting point and ending point is the trick for this design. Find the dashed marks on the ruler and line up the with the chalk lines to stay on point. I practiced drawing around the inside of my ruler a few times to help me understand the design before I stitched.
When using a closed ruler, it’s important to place the foot on the inside of the ruler before you pull up the bobbin thread or begin stitching.
Let’s get started. With your ruler foot in the up position, place the quilt under the foot near the center of your block. Then, slide the ruler under the foot so the foot can be lowered on the inside of the ruler.
Next, bring your bobbin thread to the top of your quilt in the center of your block and take a few securing stitches before snugging the ruler to the foot.
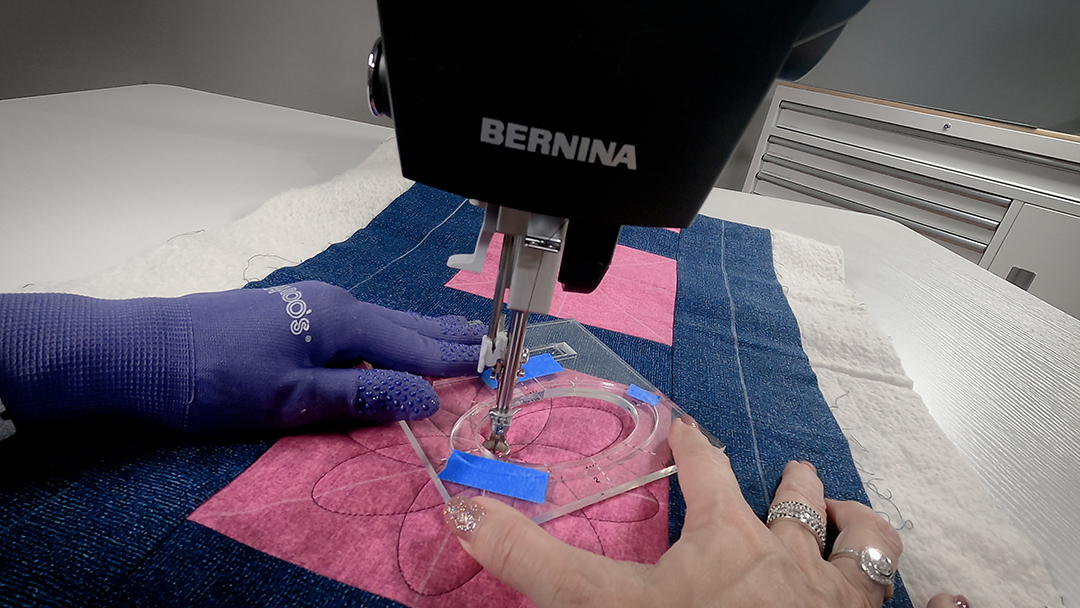
With the foot in the down position and your machine set for BSR Mode 2, begin stitching whichever direction is most comfortable for you. I am stitching in a clockwise direction, beginning and ending in the same place for every oval.
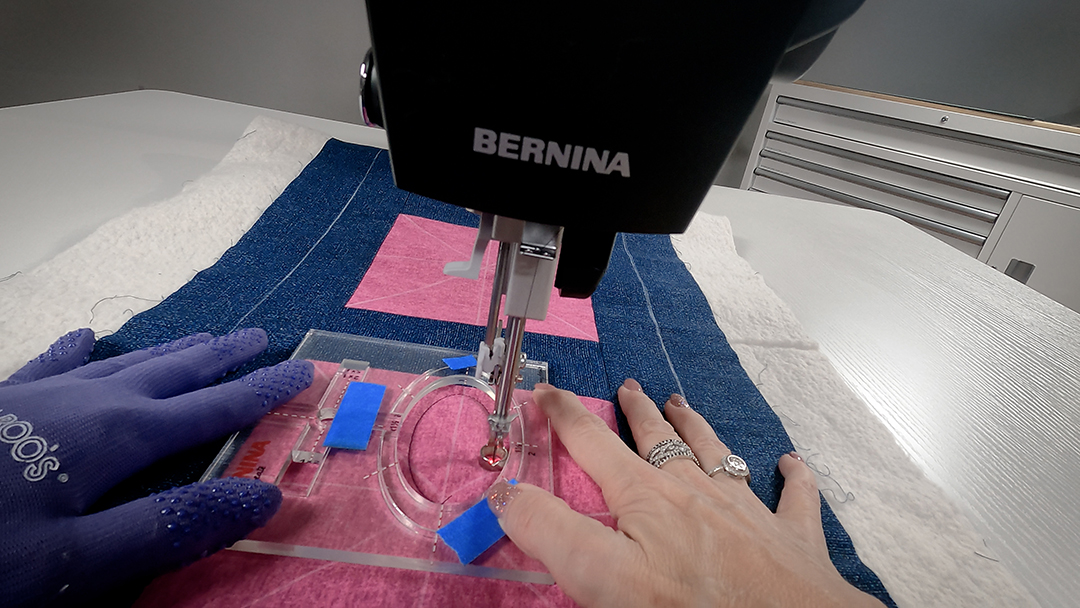
See how much room I have to place my hands on the ruler! So easy to keep flat!
After I finish my first oval, I reposition my ruler to the next chalk line. My foot and needle remain down as I realign the ruler. It is best to do the top and bottom and left and right ovals first and then fill in with the corner-to-corner ovals.
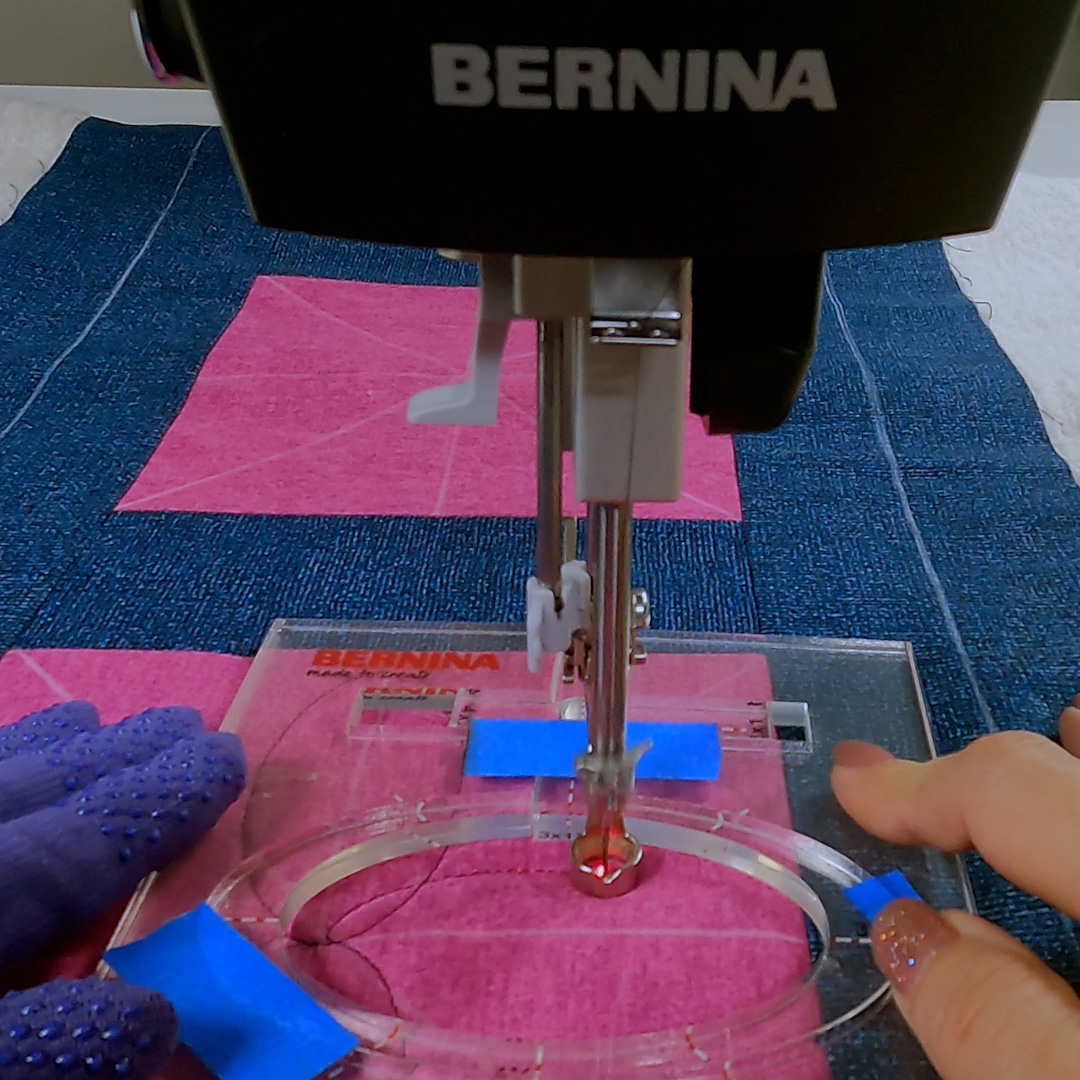
Remember to align the dashed marks of the ruler with the chalk line to maintain proper spacing. The ruler goes around the foot in all directions so you can stitch in the direction that is easiest for you.
The red light you see at my needle is my needle point laser light. It’s a fabulous accessory for helping me see my center point.
When finished with each oval, take your foot off of the foot control BEFORE you move your hands or ruler to prevent accidentally striking the ruler with the needle or injuring yourself. After you finish your last oval, pull bobbin thread to the top and snip. Raise the presser foot and remove the ruler.
Tip: Use the least amount of pressure necessary to move the quilt and ruler while still maintaining contact with the foot. You are trying to prevent “drifting” off the foot by using too little pressure to stay snugged up. However, if you use too much pressure it will be difficult to move the ruler and quilt and you will quickly get sore arms. Stay as relaxed as you can. It gets easier with practice.
One final mention….all BERNINA rulers are 1/4″ thick. There are low shank rulers available for machines that require a low shank ruler foot. It should be noted that BERNINA ruler feet require the thicker “high shank” style of rulers. AND, rotary cutting rulers are not usable for any type of rulerwork as they are too thin and will slide under the foot.
Happy quilting.