Simple Strips Quilt-along Part 2 – Pieced Quilt Top Tutorial
Welcome to part 2 of the Simple Strips Quilt-along! If you are just finding this tutorial, be sure to check out Simple Strips Quilt Along Part 1 for the materials list and quilt along schedule.
Last week we cut up our strips and today we are going to sew them into blocks and complete the quilt top. It goes together so quickly, you will be done in no time!
About This Quilt
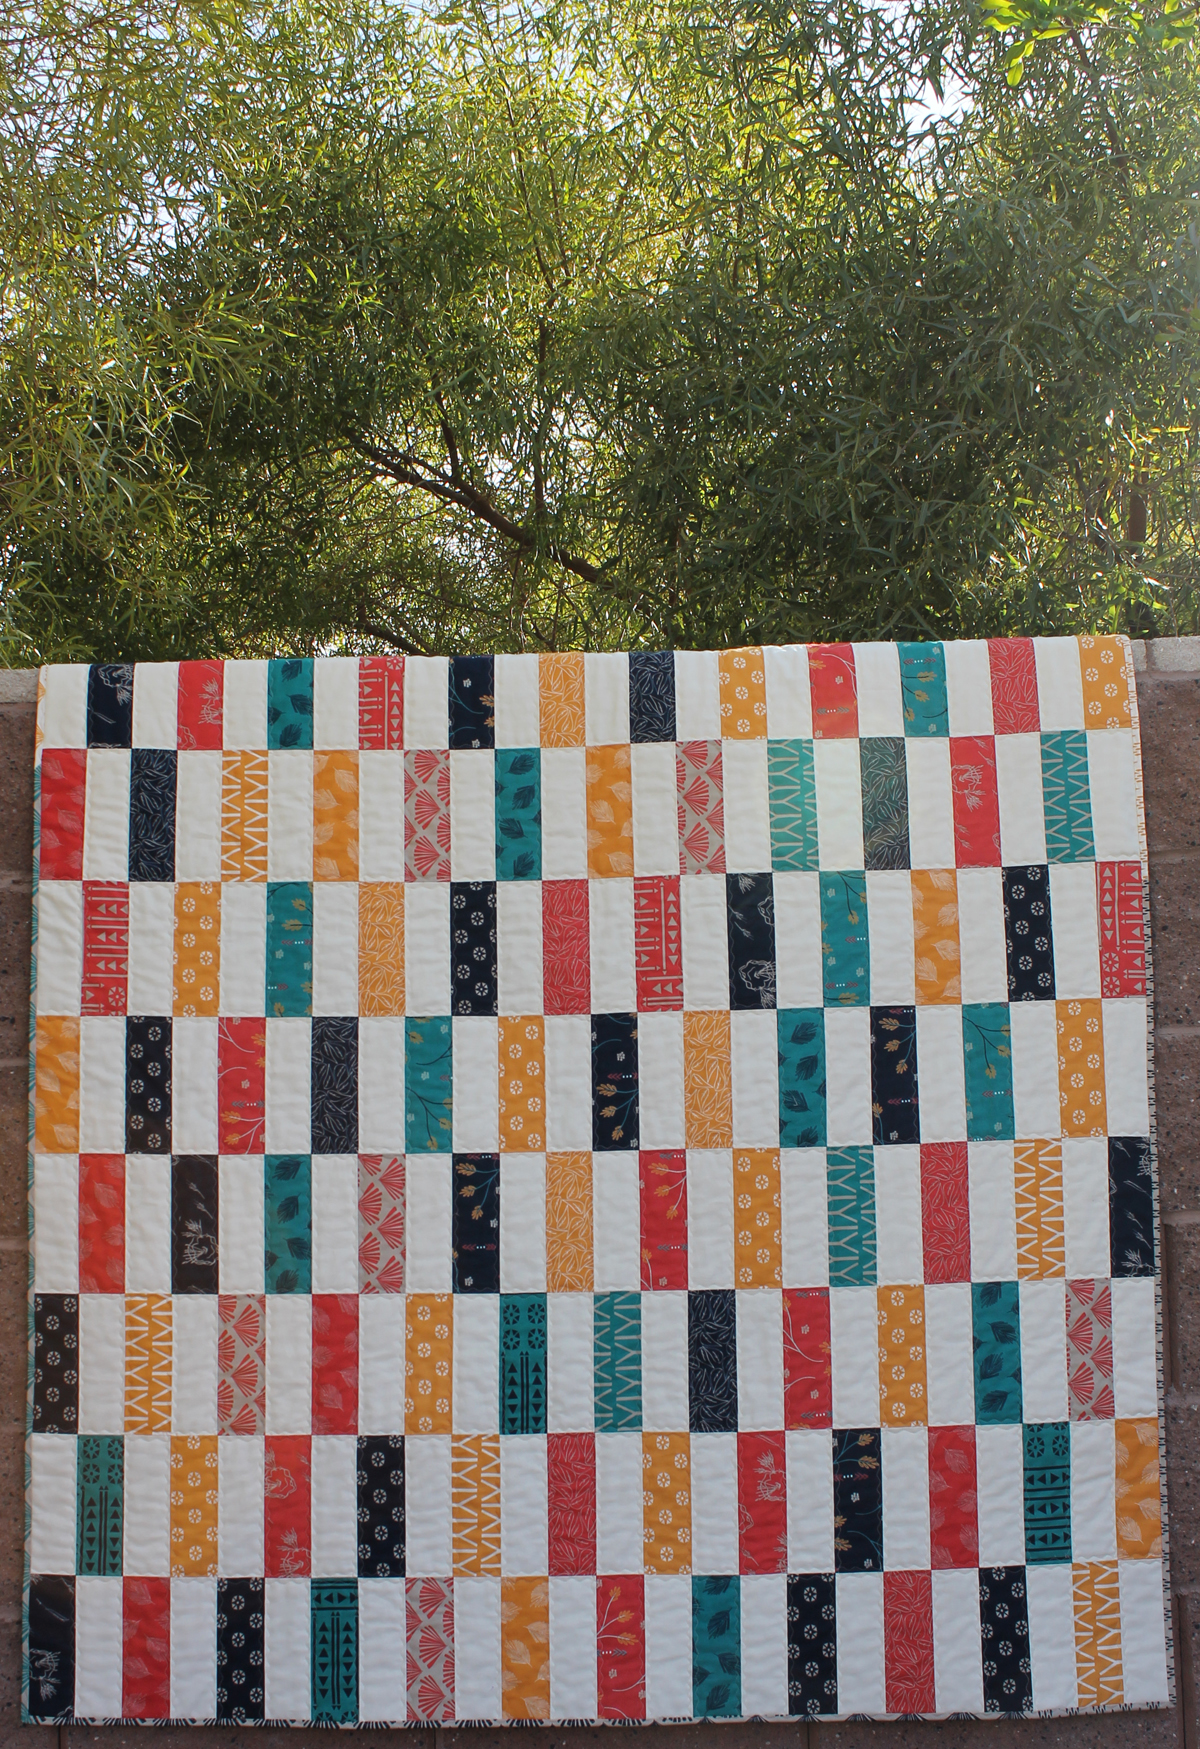
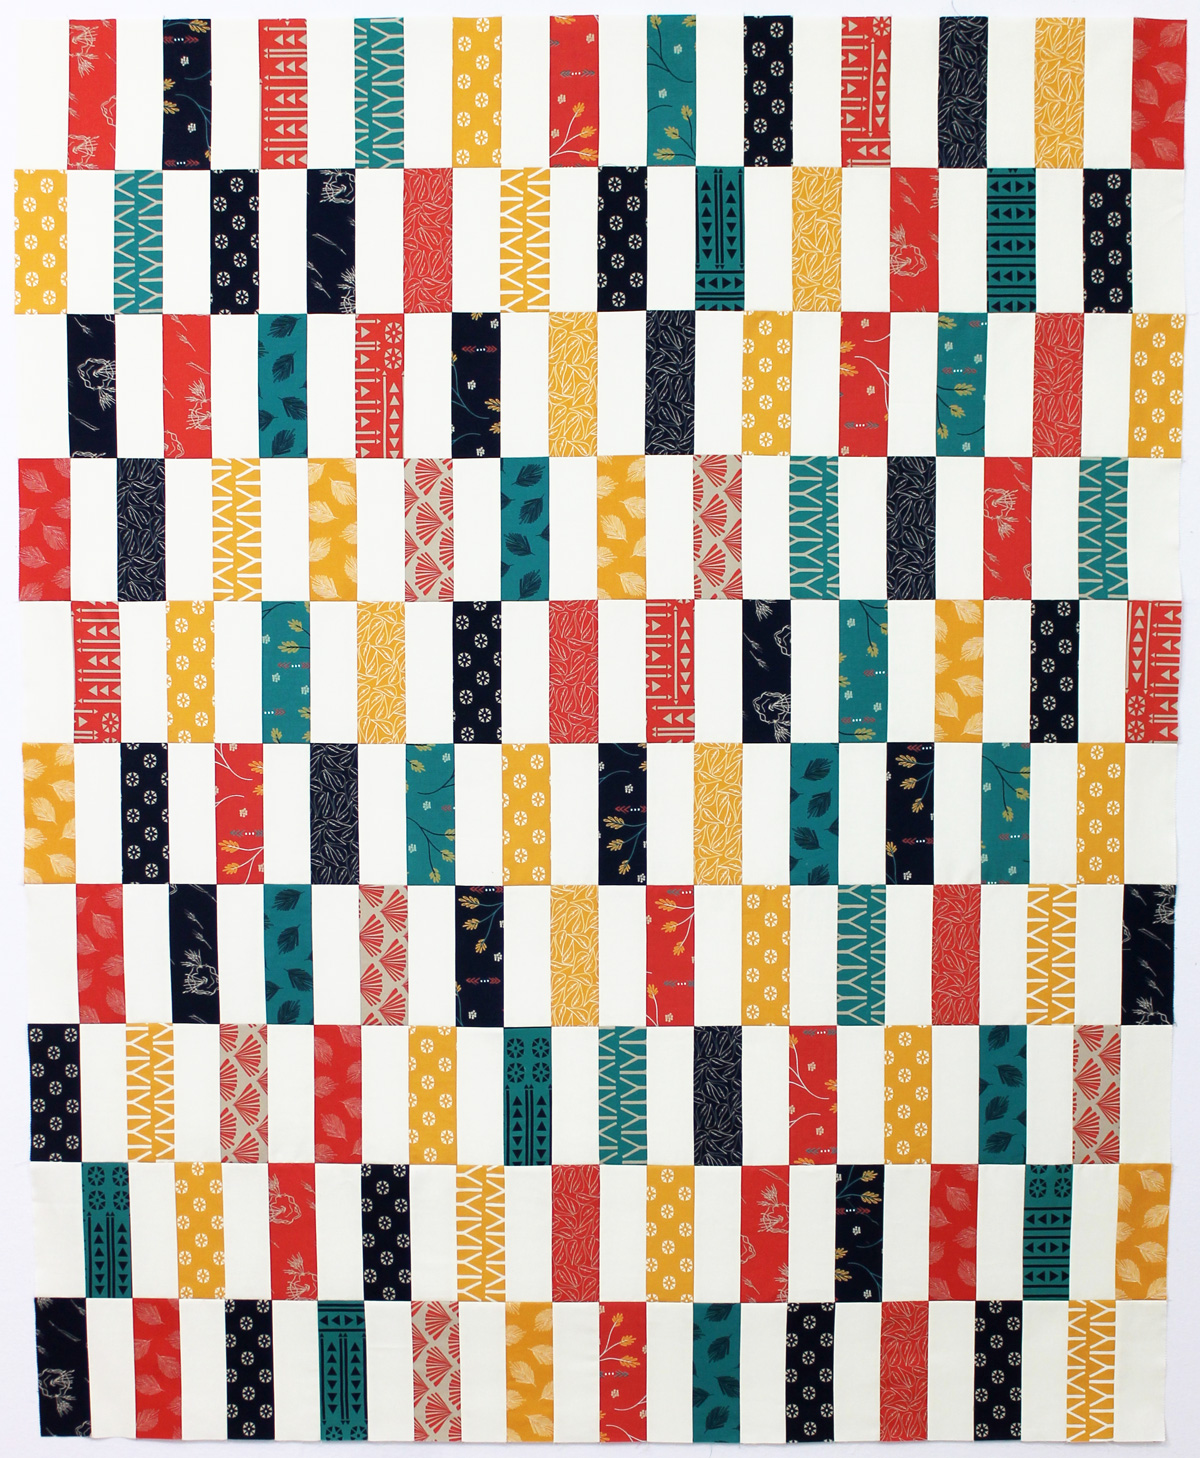
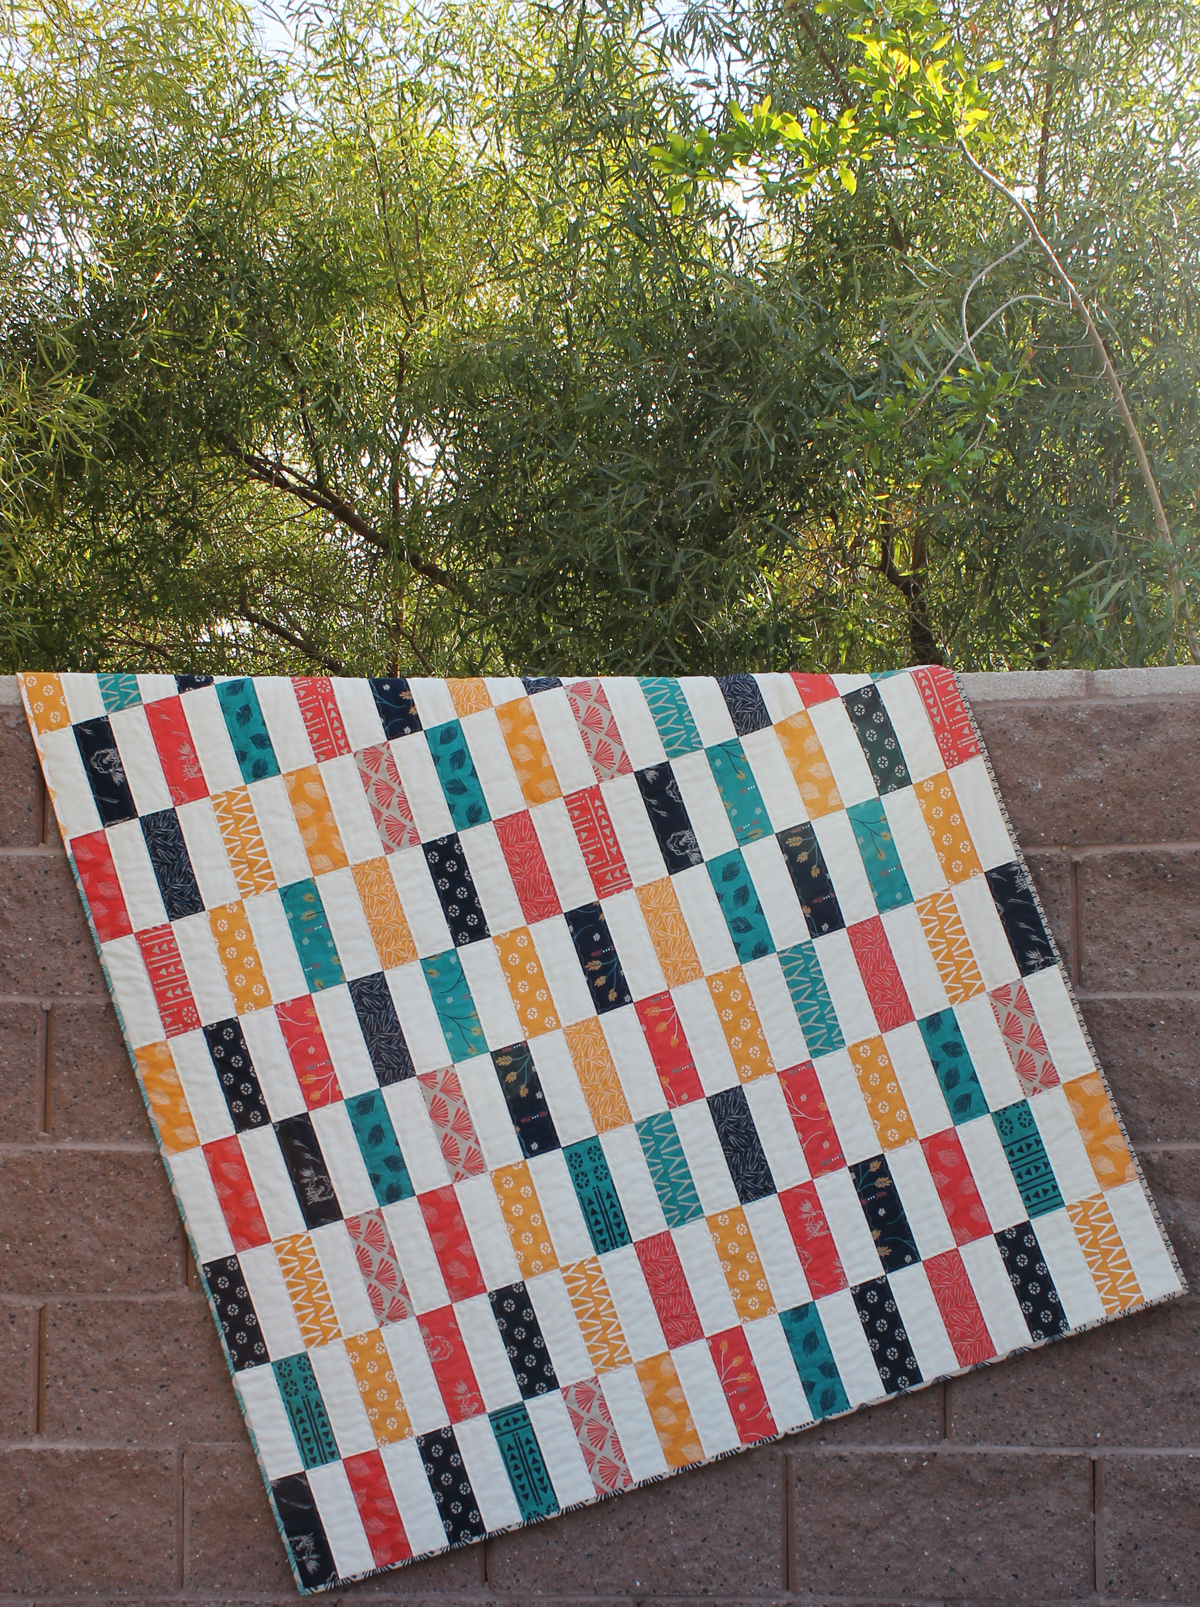
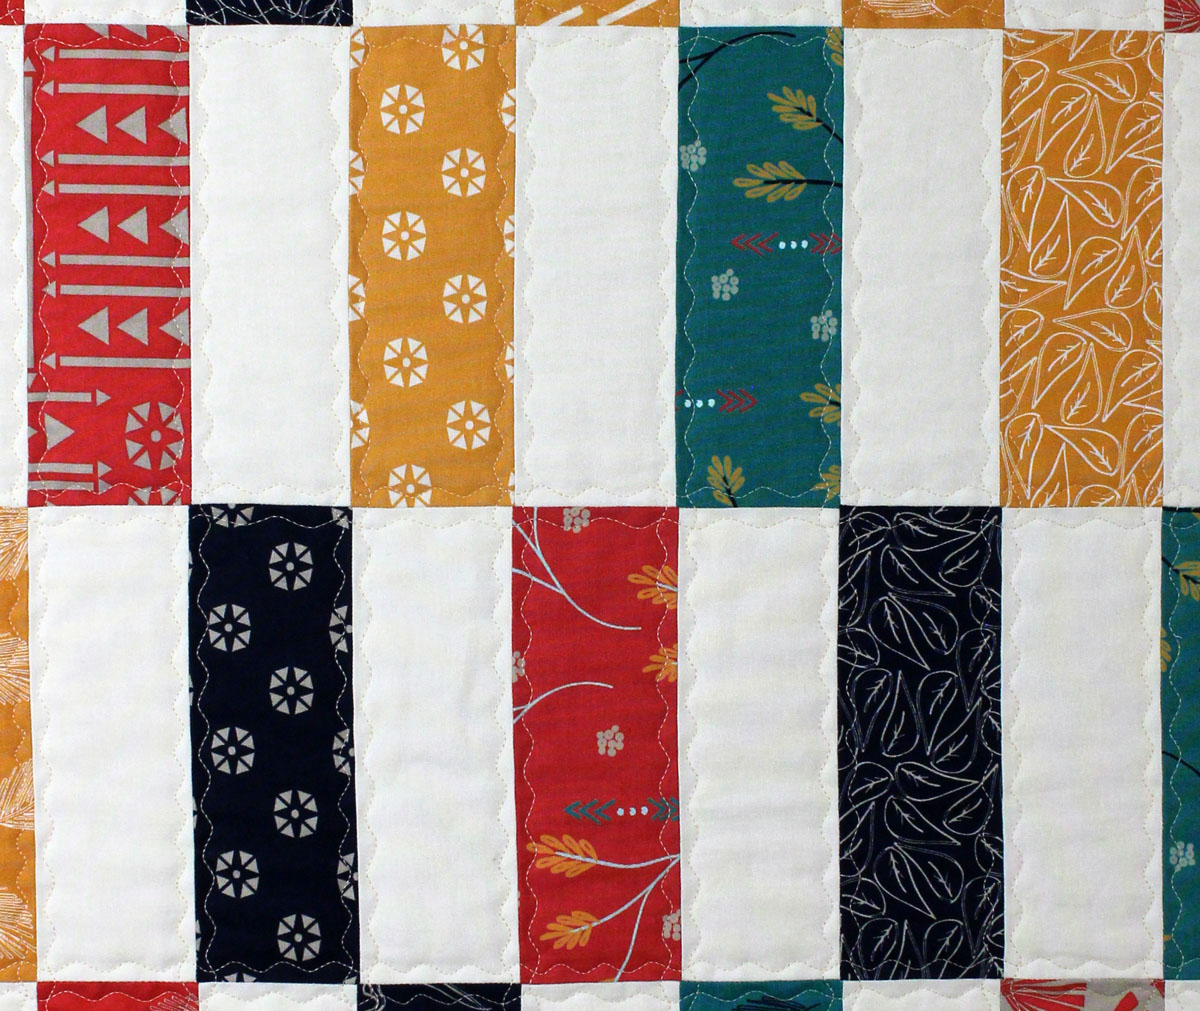
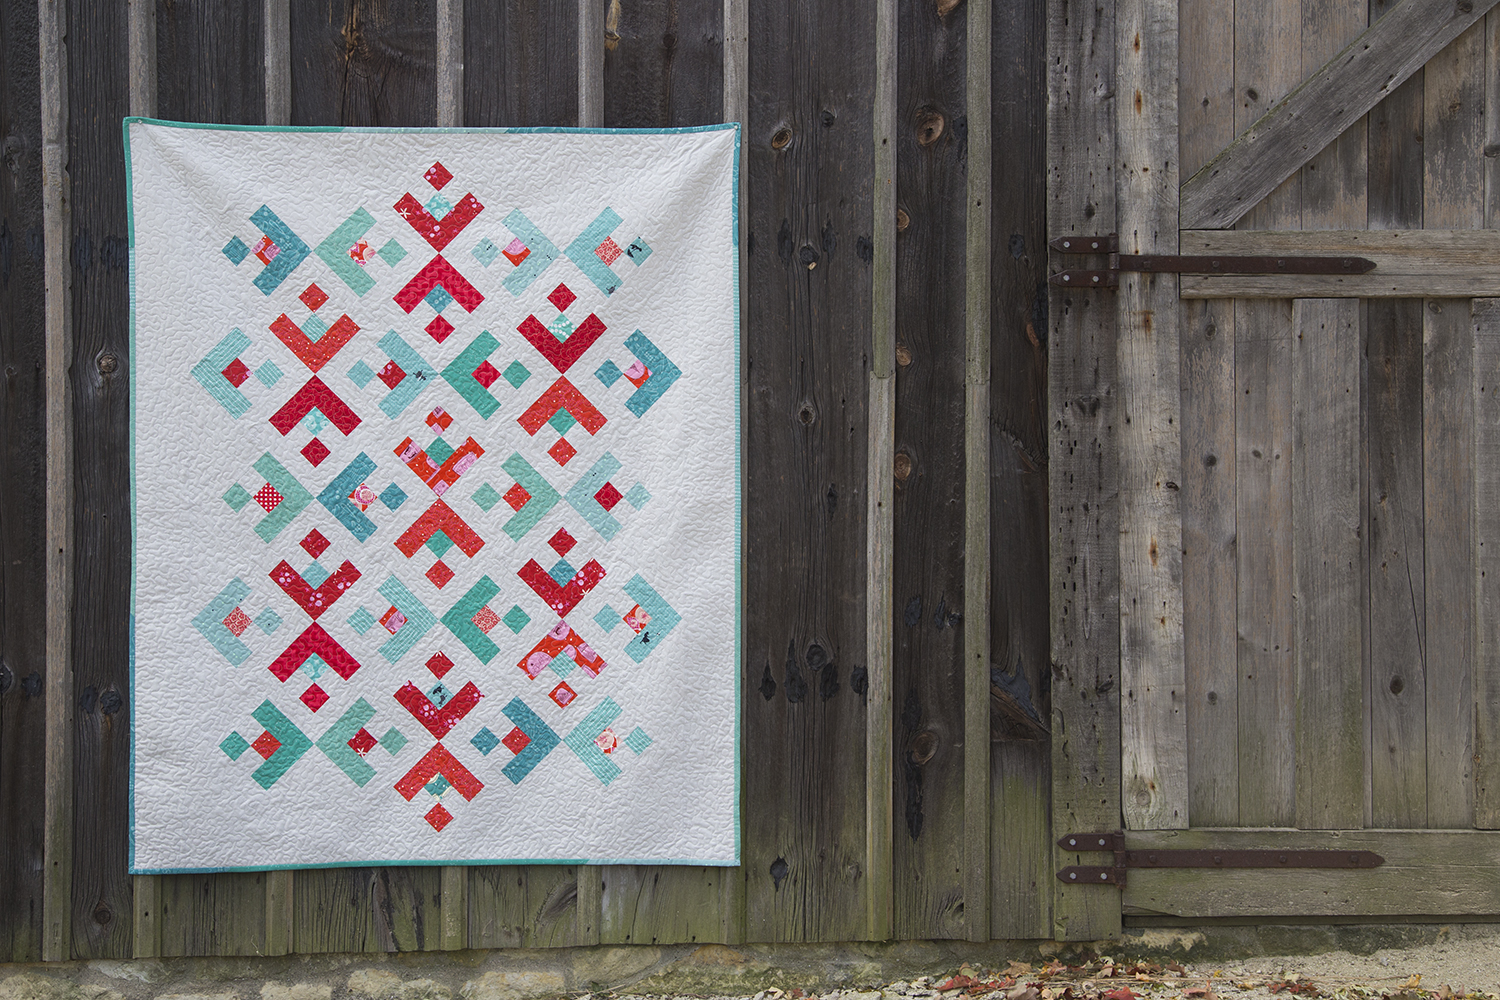
Finished Quilt Size: 48″ x 60″
Finished Block Size: 12″ x 12″
Number of Blocks: 20, set 4 x 5
Fabric used: Valley collection by Sherri and Chelsi with Bella Solids, both from Moda Fabrics
Pieced with Aurifil 50 weight cotton #2311
Sewing the Quilt Blocks
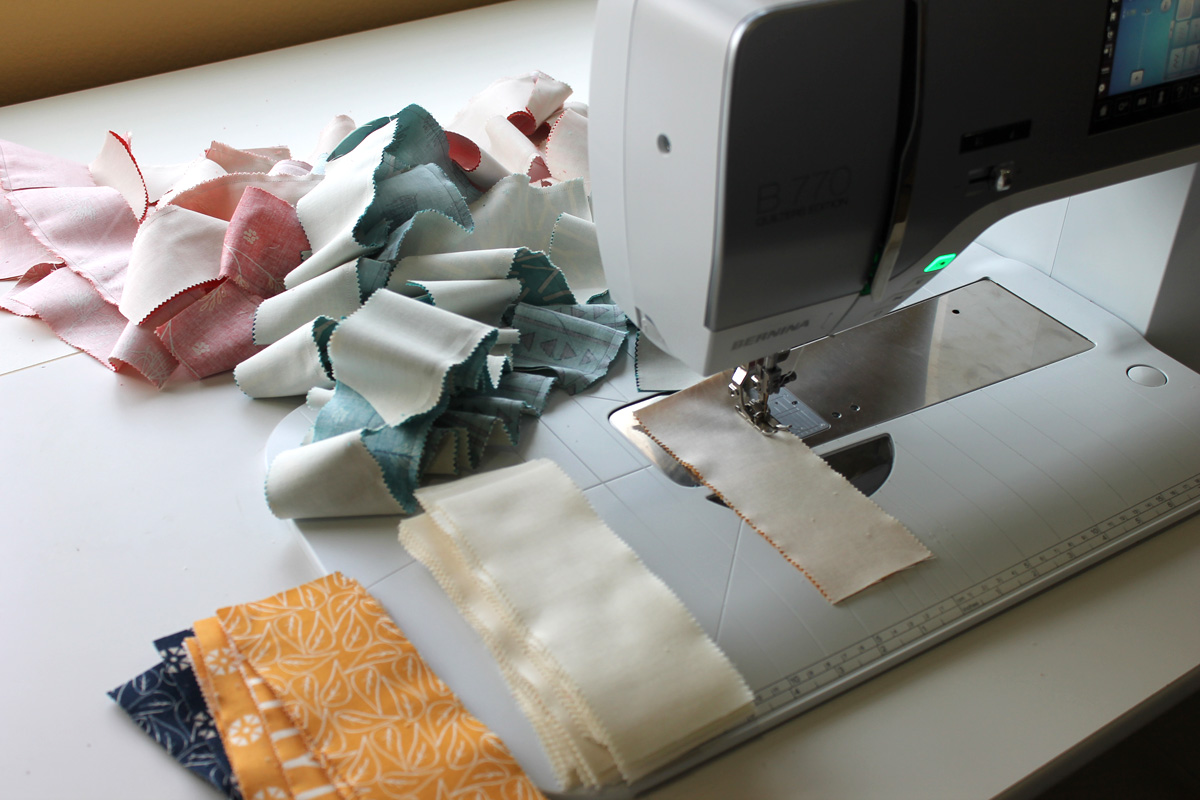
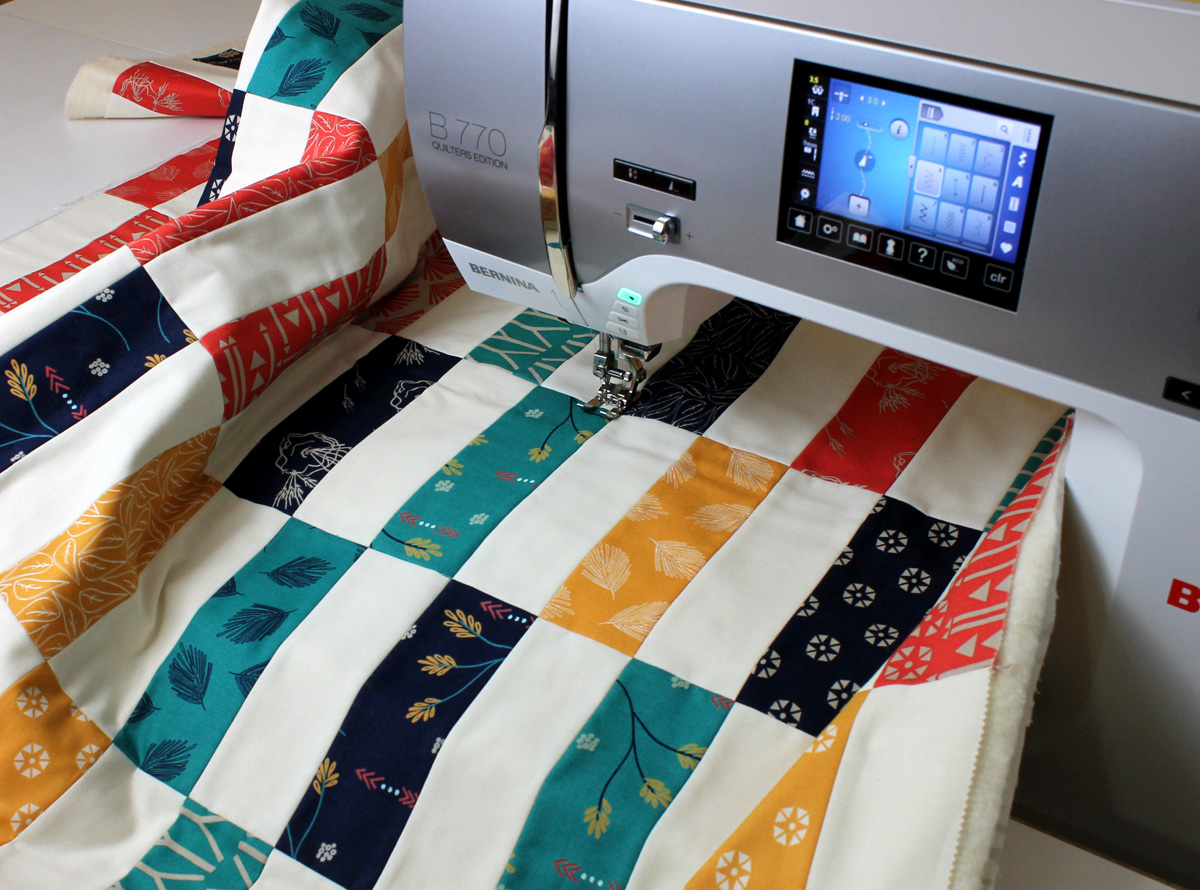
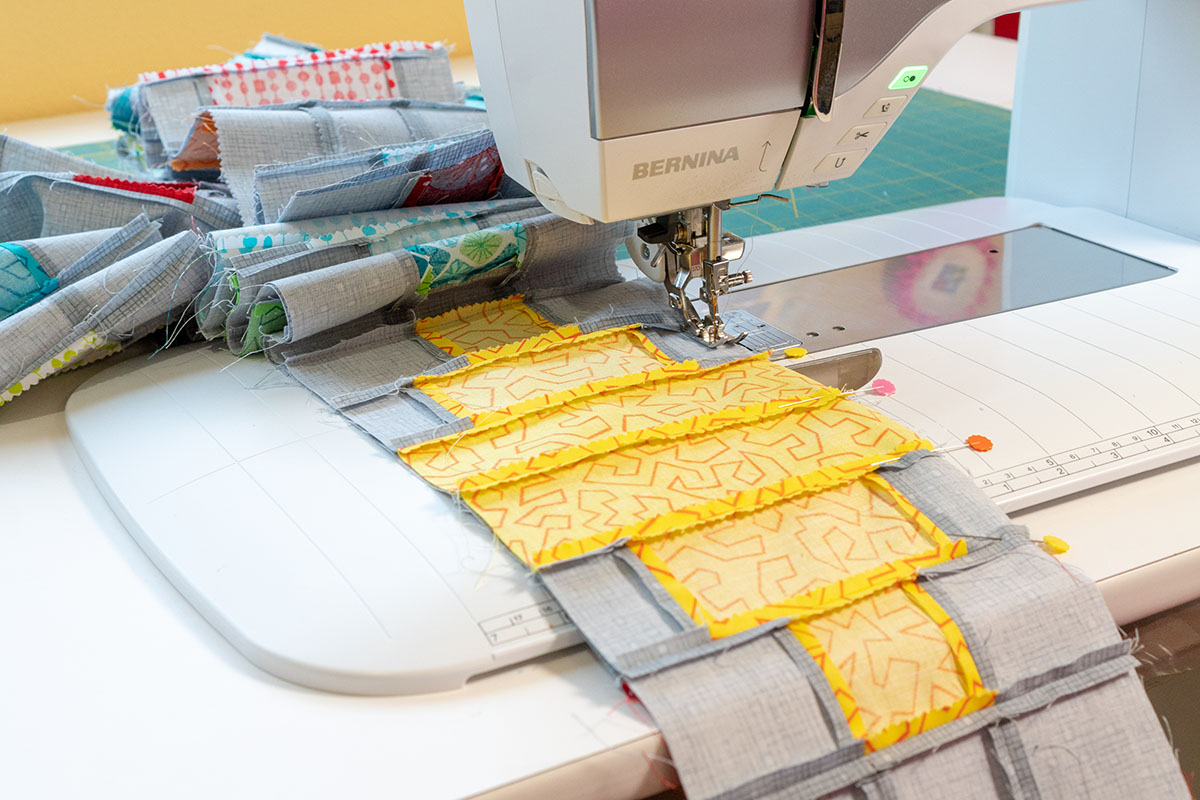
Tip: I prefer to sew on my BERNINA 770 QE using a shorter stitch length (1.75 instead of 2.5). I use the BERNINA Patchwork foot #97 D for accurate 1/4″ seams. I press my seams open so the blocks will lie flat for easier machine quilting. Feel free to press toward the darker fabric if desired.
Step 1
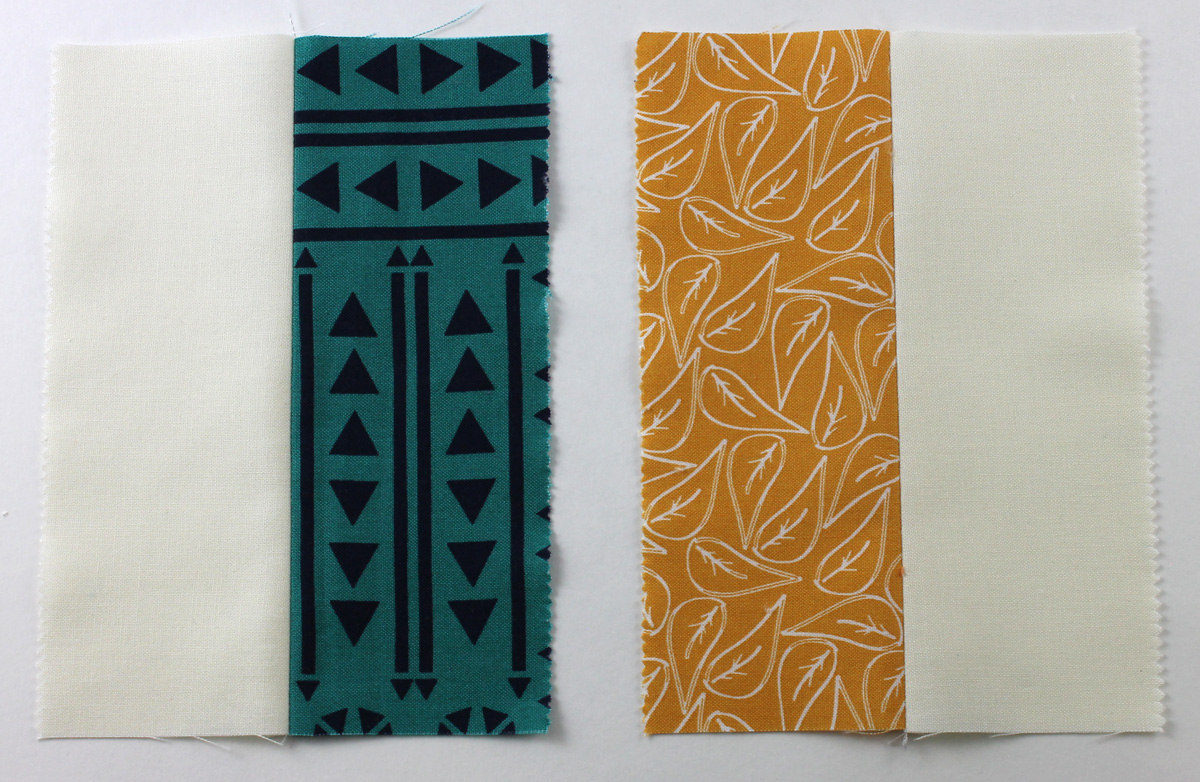
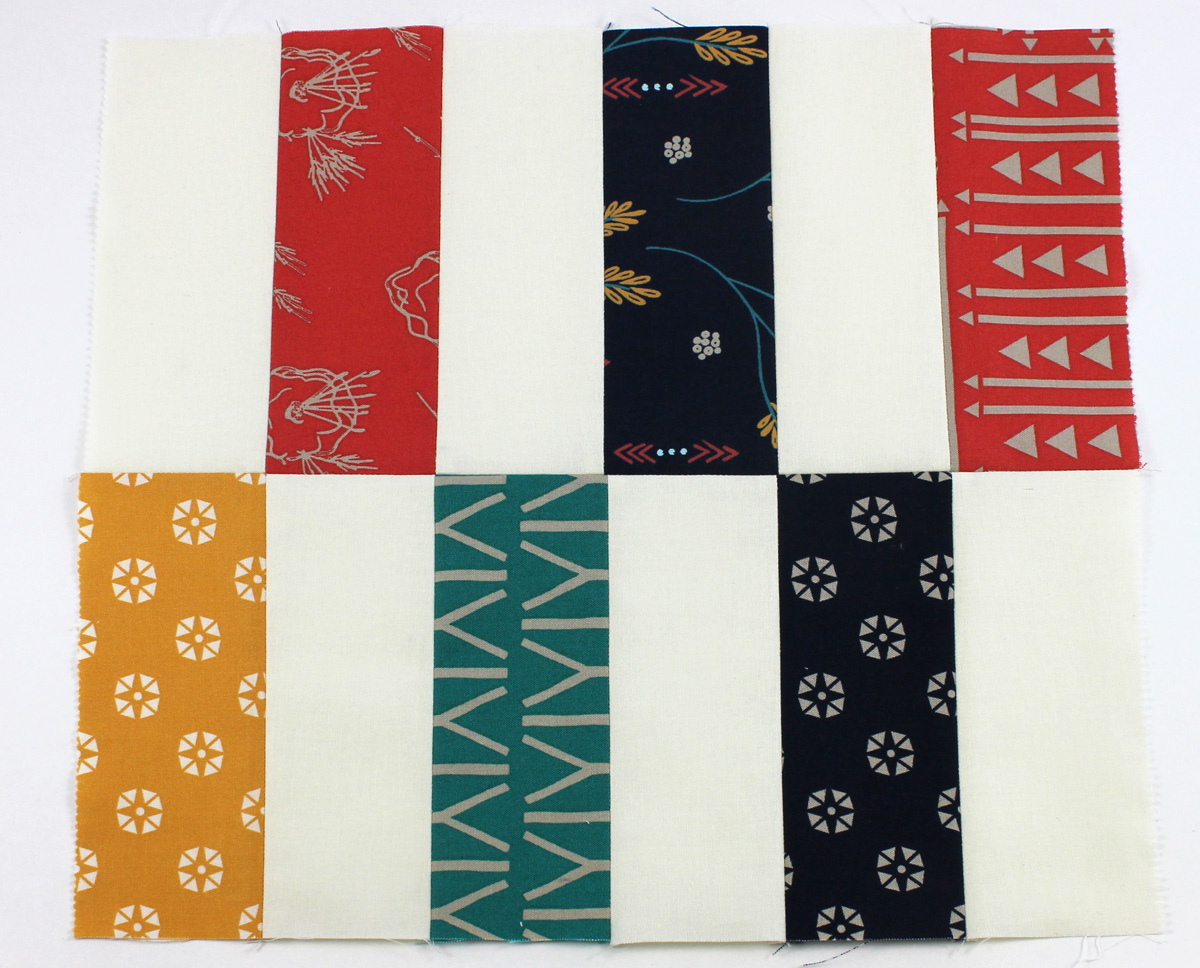
Sew a total of 120 rectangle pairs together with the print fabric on the bottom and the background fabric on top. This will allow the seams to be sewn in opposite directions, preventing your strips from warping. For faster sewing, do not clip threads in between each sewn unit. Instead allow a couple of stitches in between units before adding the next pair. This is called “chain piecing.”
Step 2
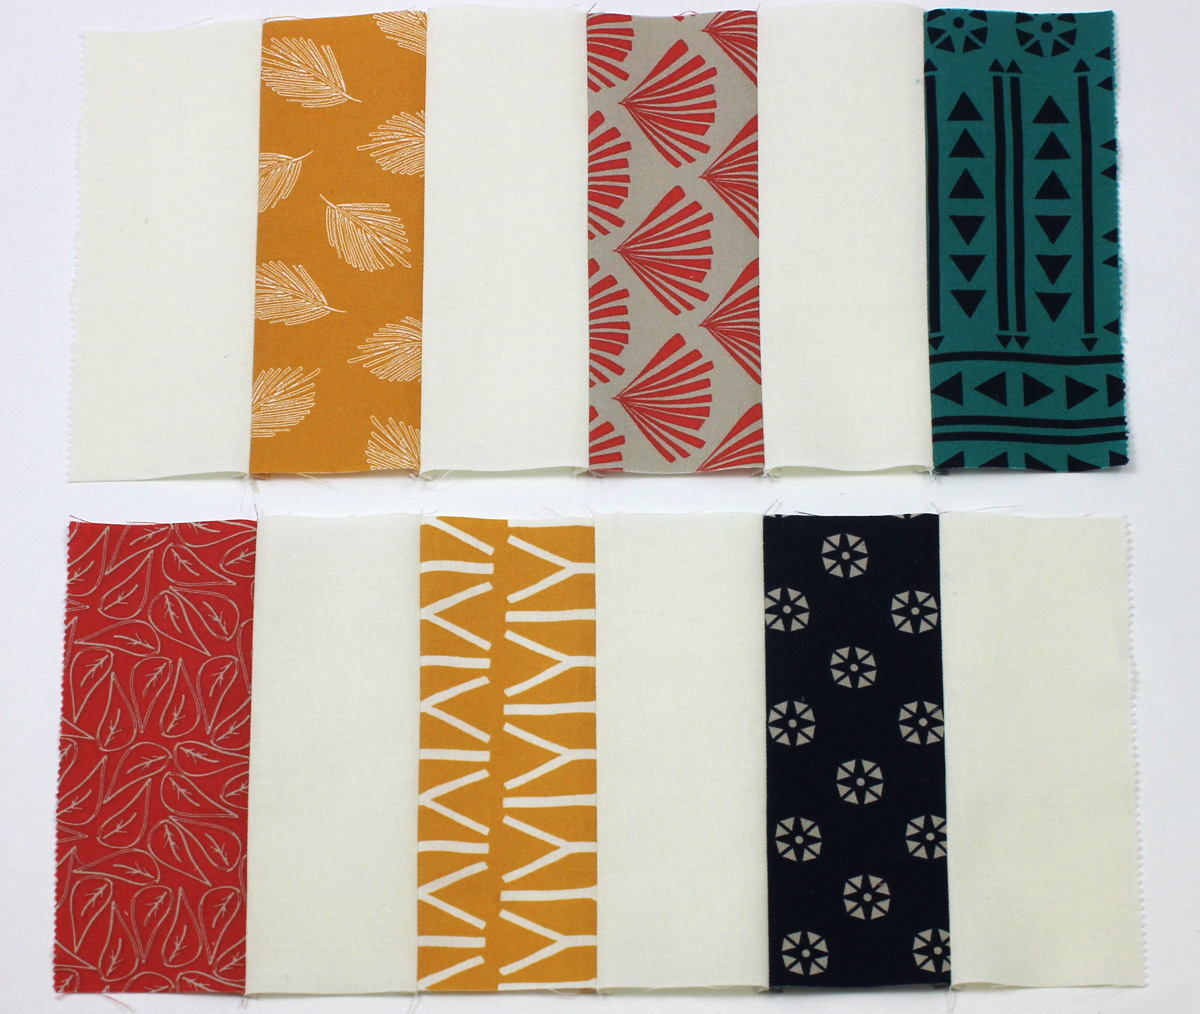
Lay out 60 sewn units with the background fabric on the left and the print fabric on the right. These will be used for the top halves of the blocks in step 3. Lay out 60 sewn units with the print fabric on the left and the background fabric on the right. These will be used for the bottom halves of the blocks in step 3.
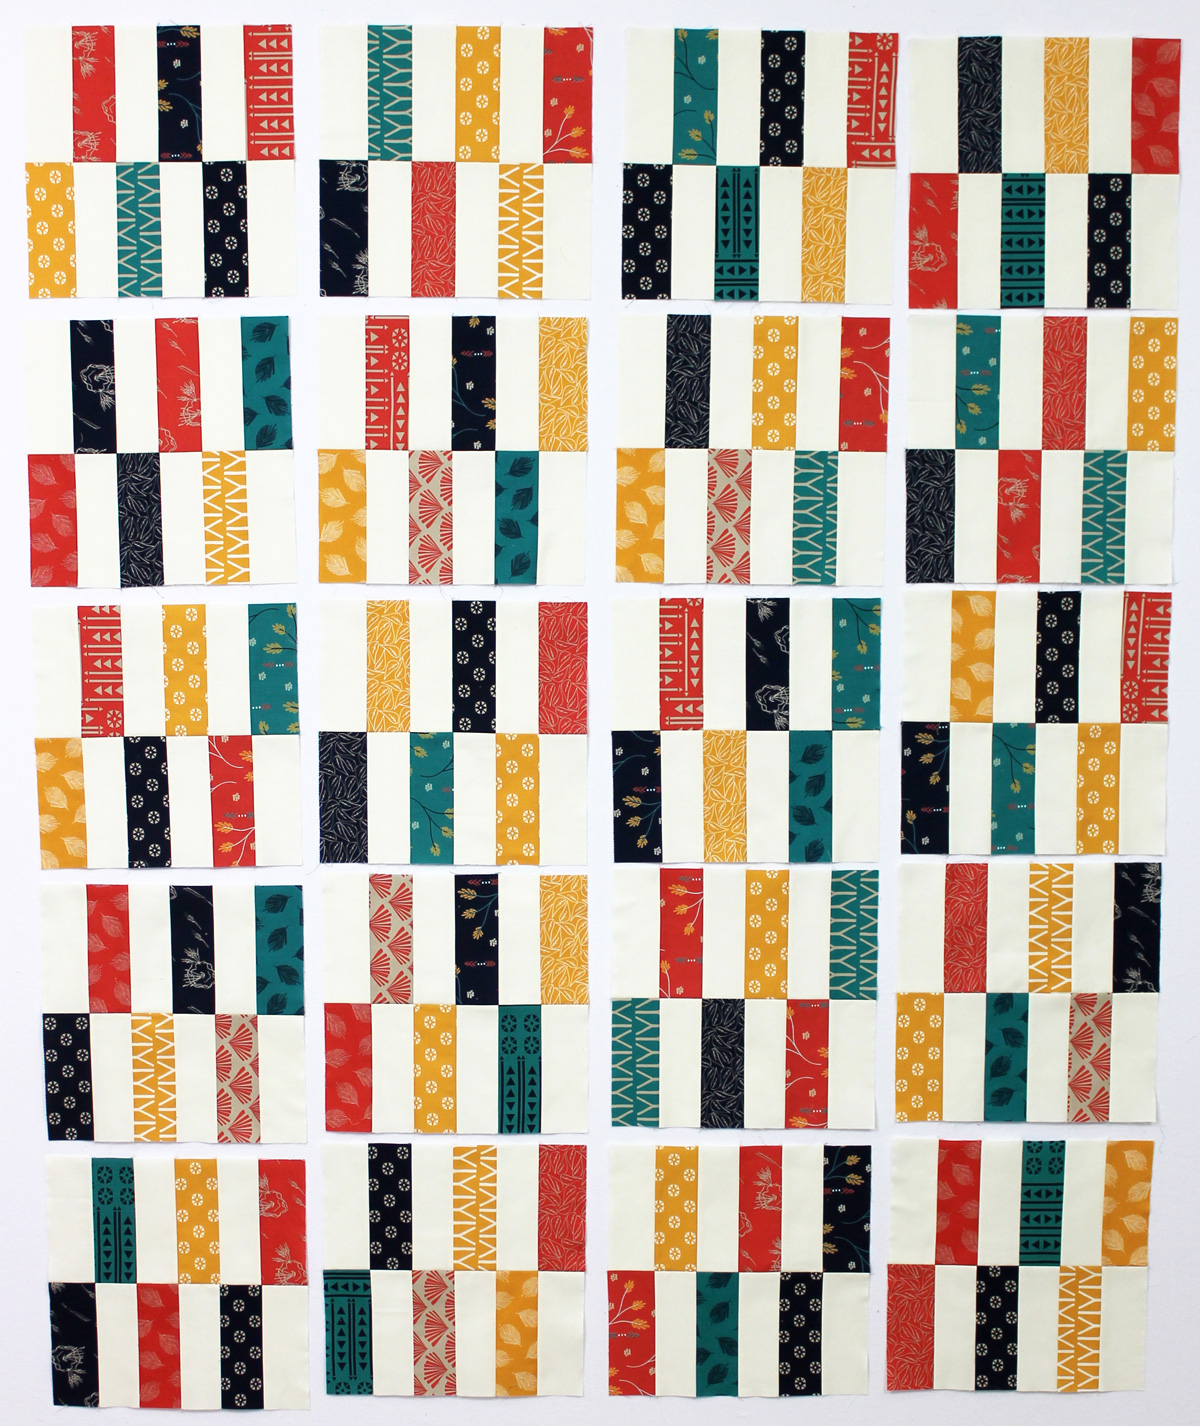
Step 3
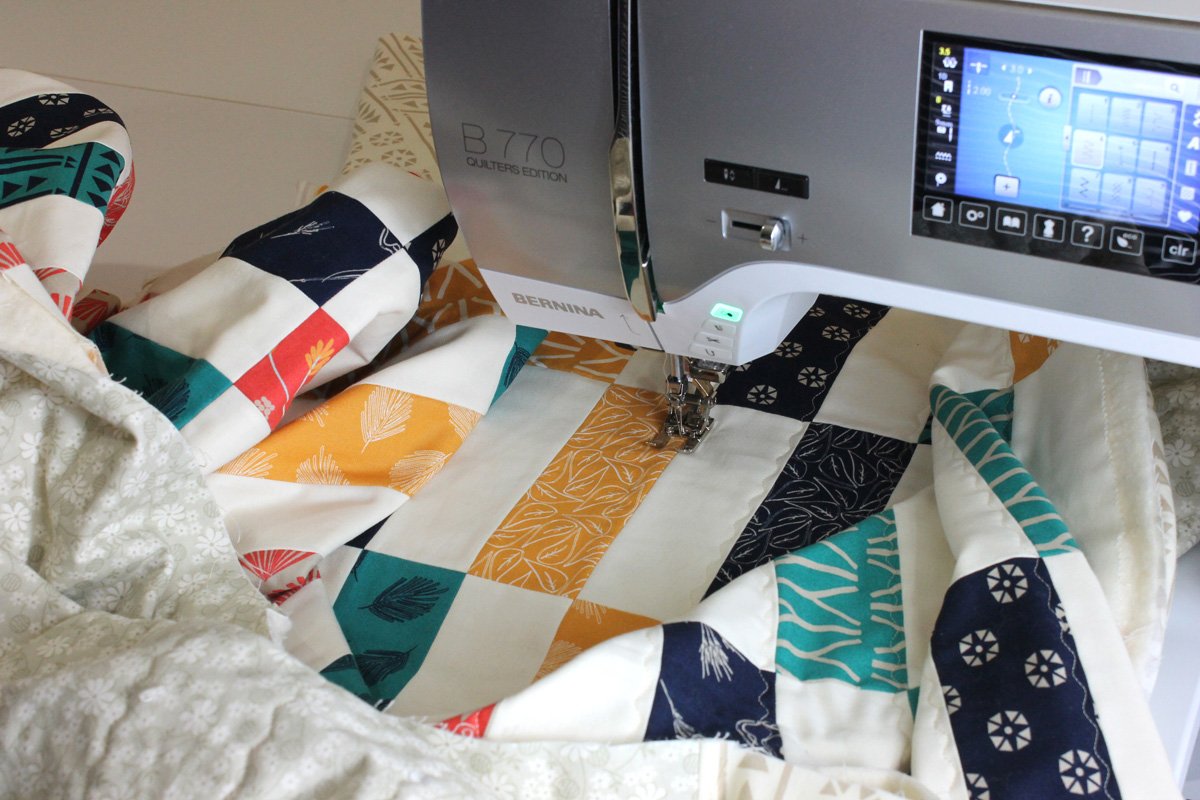
Sew three pairs of background/print units together to create the top half of the block. Make 20 top halves. Sew three pairs of print/background units together to create the bottom half of the block. Make 20 bottom halves.
Step 4
Sew both block halves together to create a Simple Strips block. Make 20 blocks.
Completing the Simple Strips Quilt Top
Step 1
Lay out all the blocks on a design wall in a pleasing arrangement.
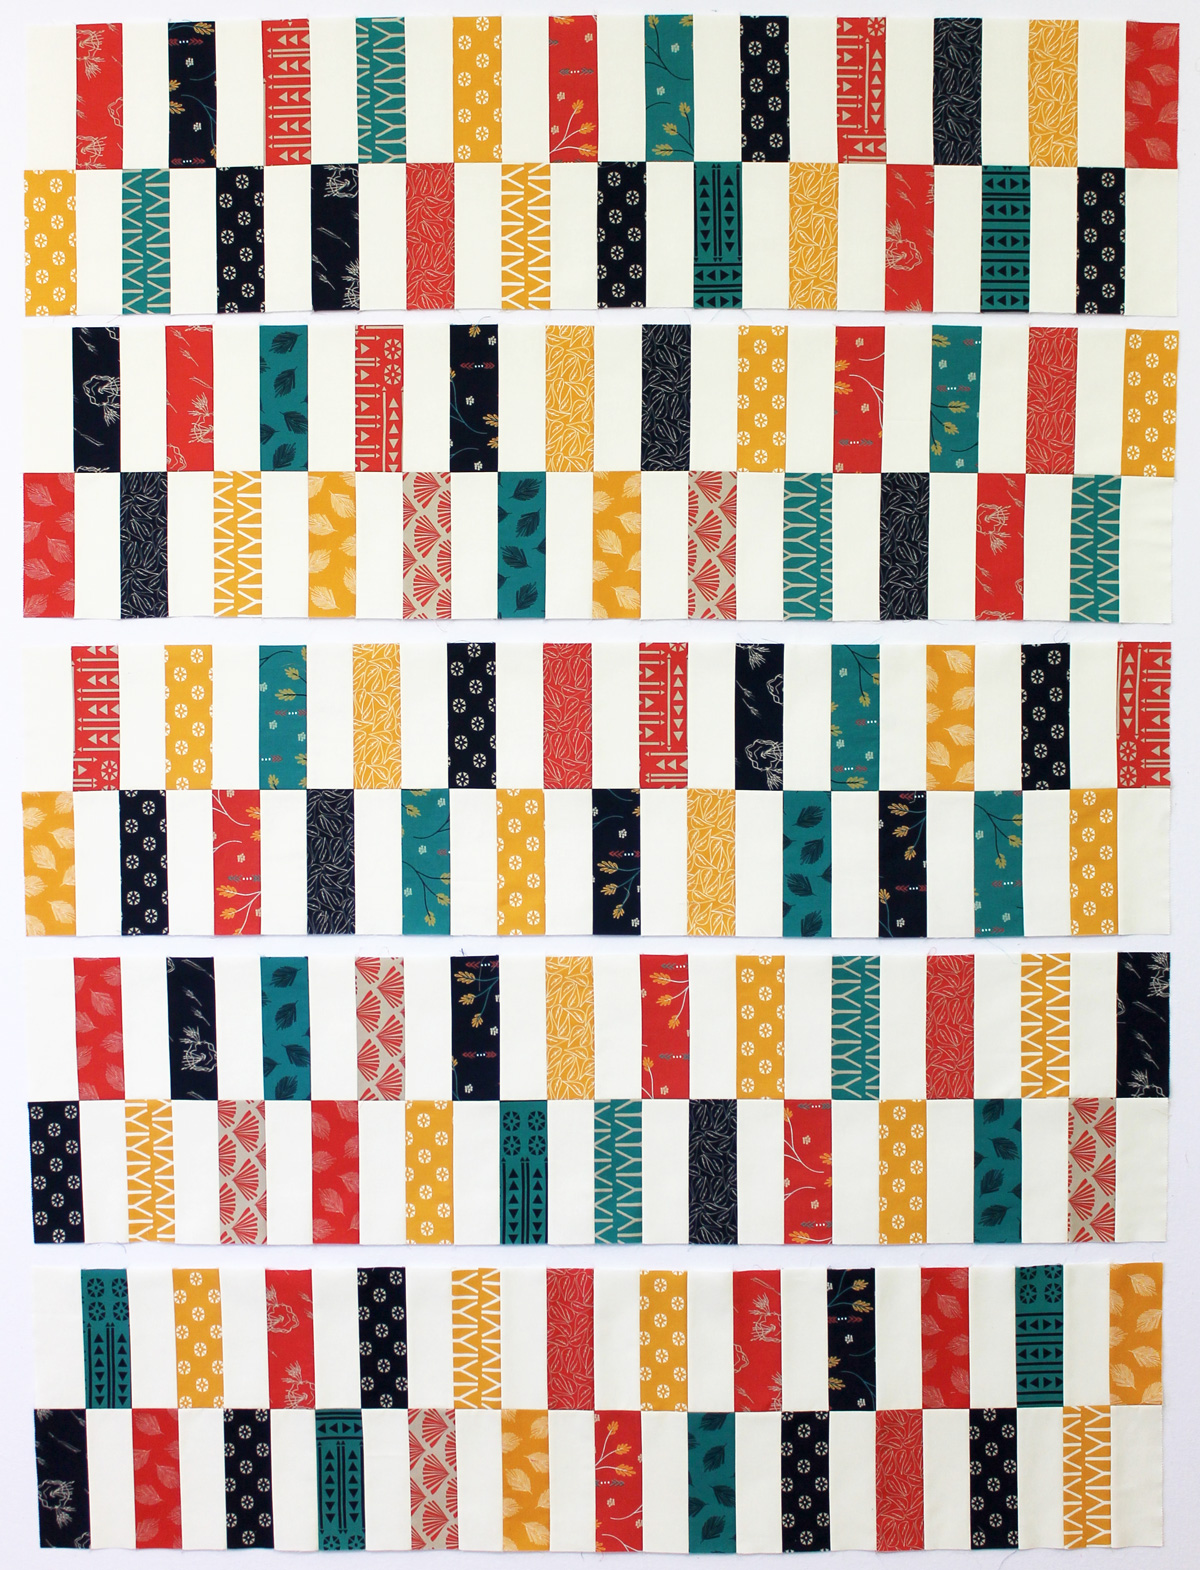
Step 2
Sew blocks together into 5 rows of 4 blocks each. Continue to press the seams open, or press rows in alternate directions.
Step 3
Sew all of the rows together to complete the quilt top.
Alternate Layout
Change the rotation of your blocks if you prefer a horizontal layout.

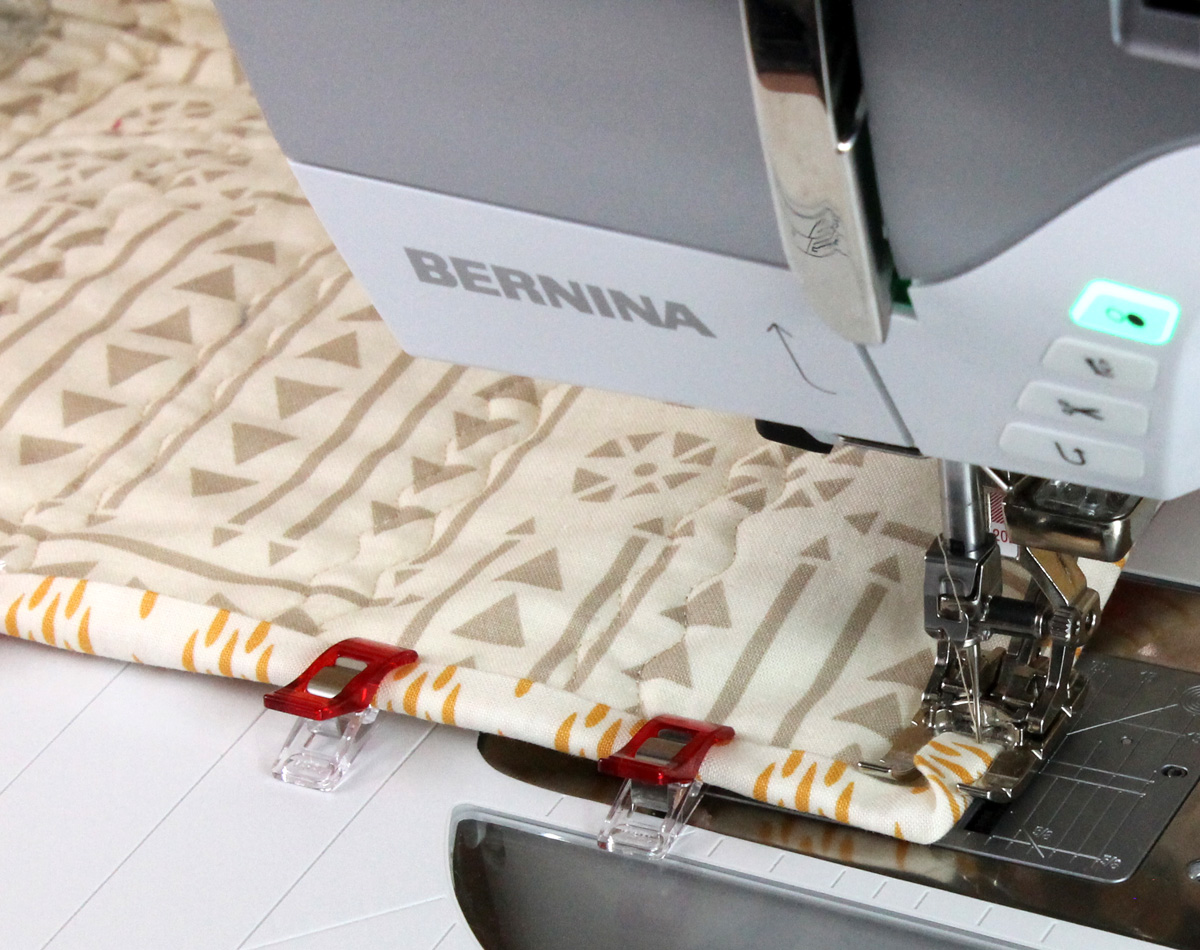
Tip—to keep the edge seams from splitting open, sew around the perimeter of the quilt top, approximately 1/8″ in from the edges on all four sides. I call this the victory lap!
That was a lot of sewing, but it sure was fun! Be sure to come back next week as we learn how to piece the quilt backing and baste the quilt.


What you might also like


5 comments on “Simple Strips Quilt-along Part 2 – Pieced Quilt Top Tutorial”
-
-
You’re welcome! I hope you are enjoying the quilt along.
-
-
I would like to know at what point did you square up the blocks? Did you square each three piece strip before sewing top and bottom together or after? Did you check again once you had each row?
-
I didn’t square up the blocks. I cut the pieces to the correct size and used an accurate 1/4″ seam allowance with pins to ensure the blocks were all the same size.
-
-
I would sew each strip with a background then cut into the 6 inch strip. Saves time.
Leave a Reply
You must be logged in to post a comment.

I piece with my 97d foot all the time! I had to buy it as I have 780. Thanks for part 2!!