Embroider-along Part 2: Stabilizers and Materials
Welcome to Part 2 of my Embroider-along. In Part 1 we discussed the four basics of machine embroidery. Hi, my name is Sue O’Very, BERNINA Ambassador and machine embroidery expert. Today, I will teach you about the relationship between stabilizers and materials.
Stabilizers and Materials
Did someone say material? If you are like me you love to feel fabric, touch something soft and watch the project come to life while stitching it. Machine embroidering on various types of materials and watching the design come to life and stitching perfectly is exactly the same. When you’ve done it right, it’s magical!
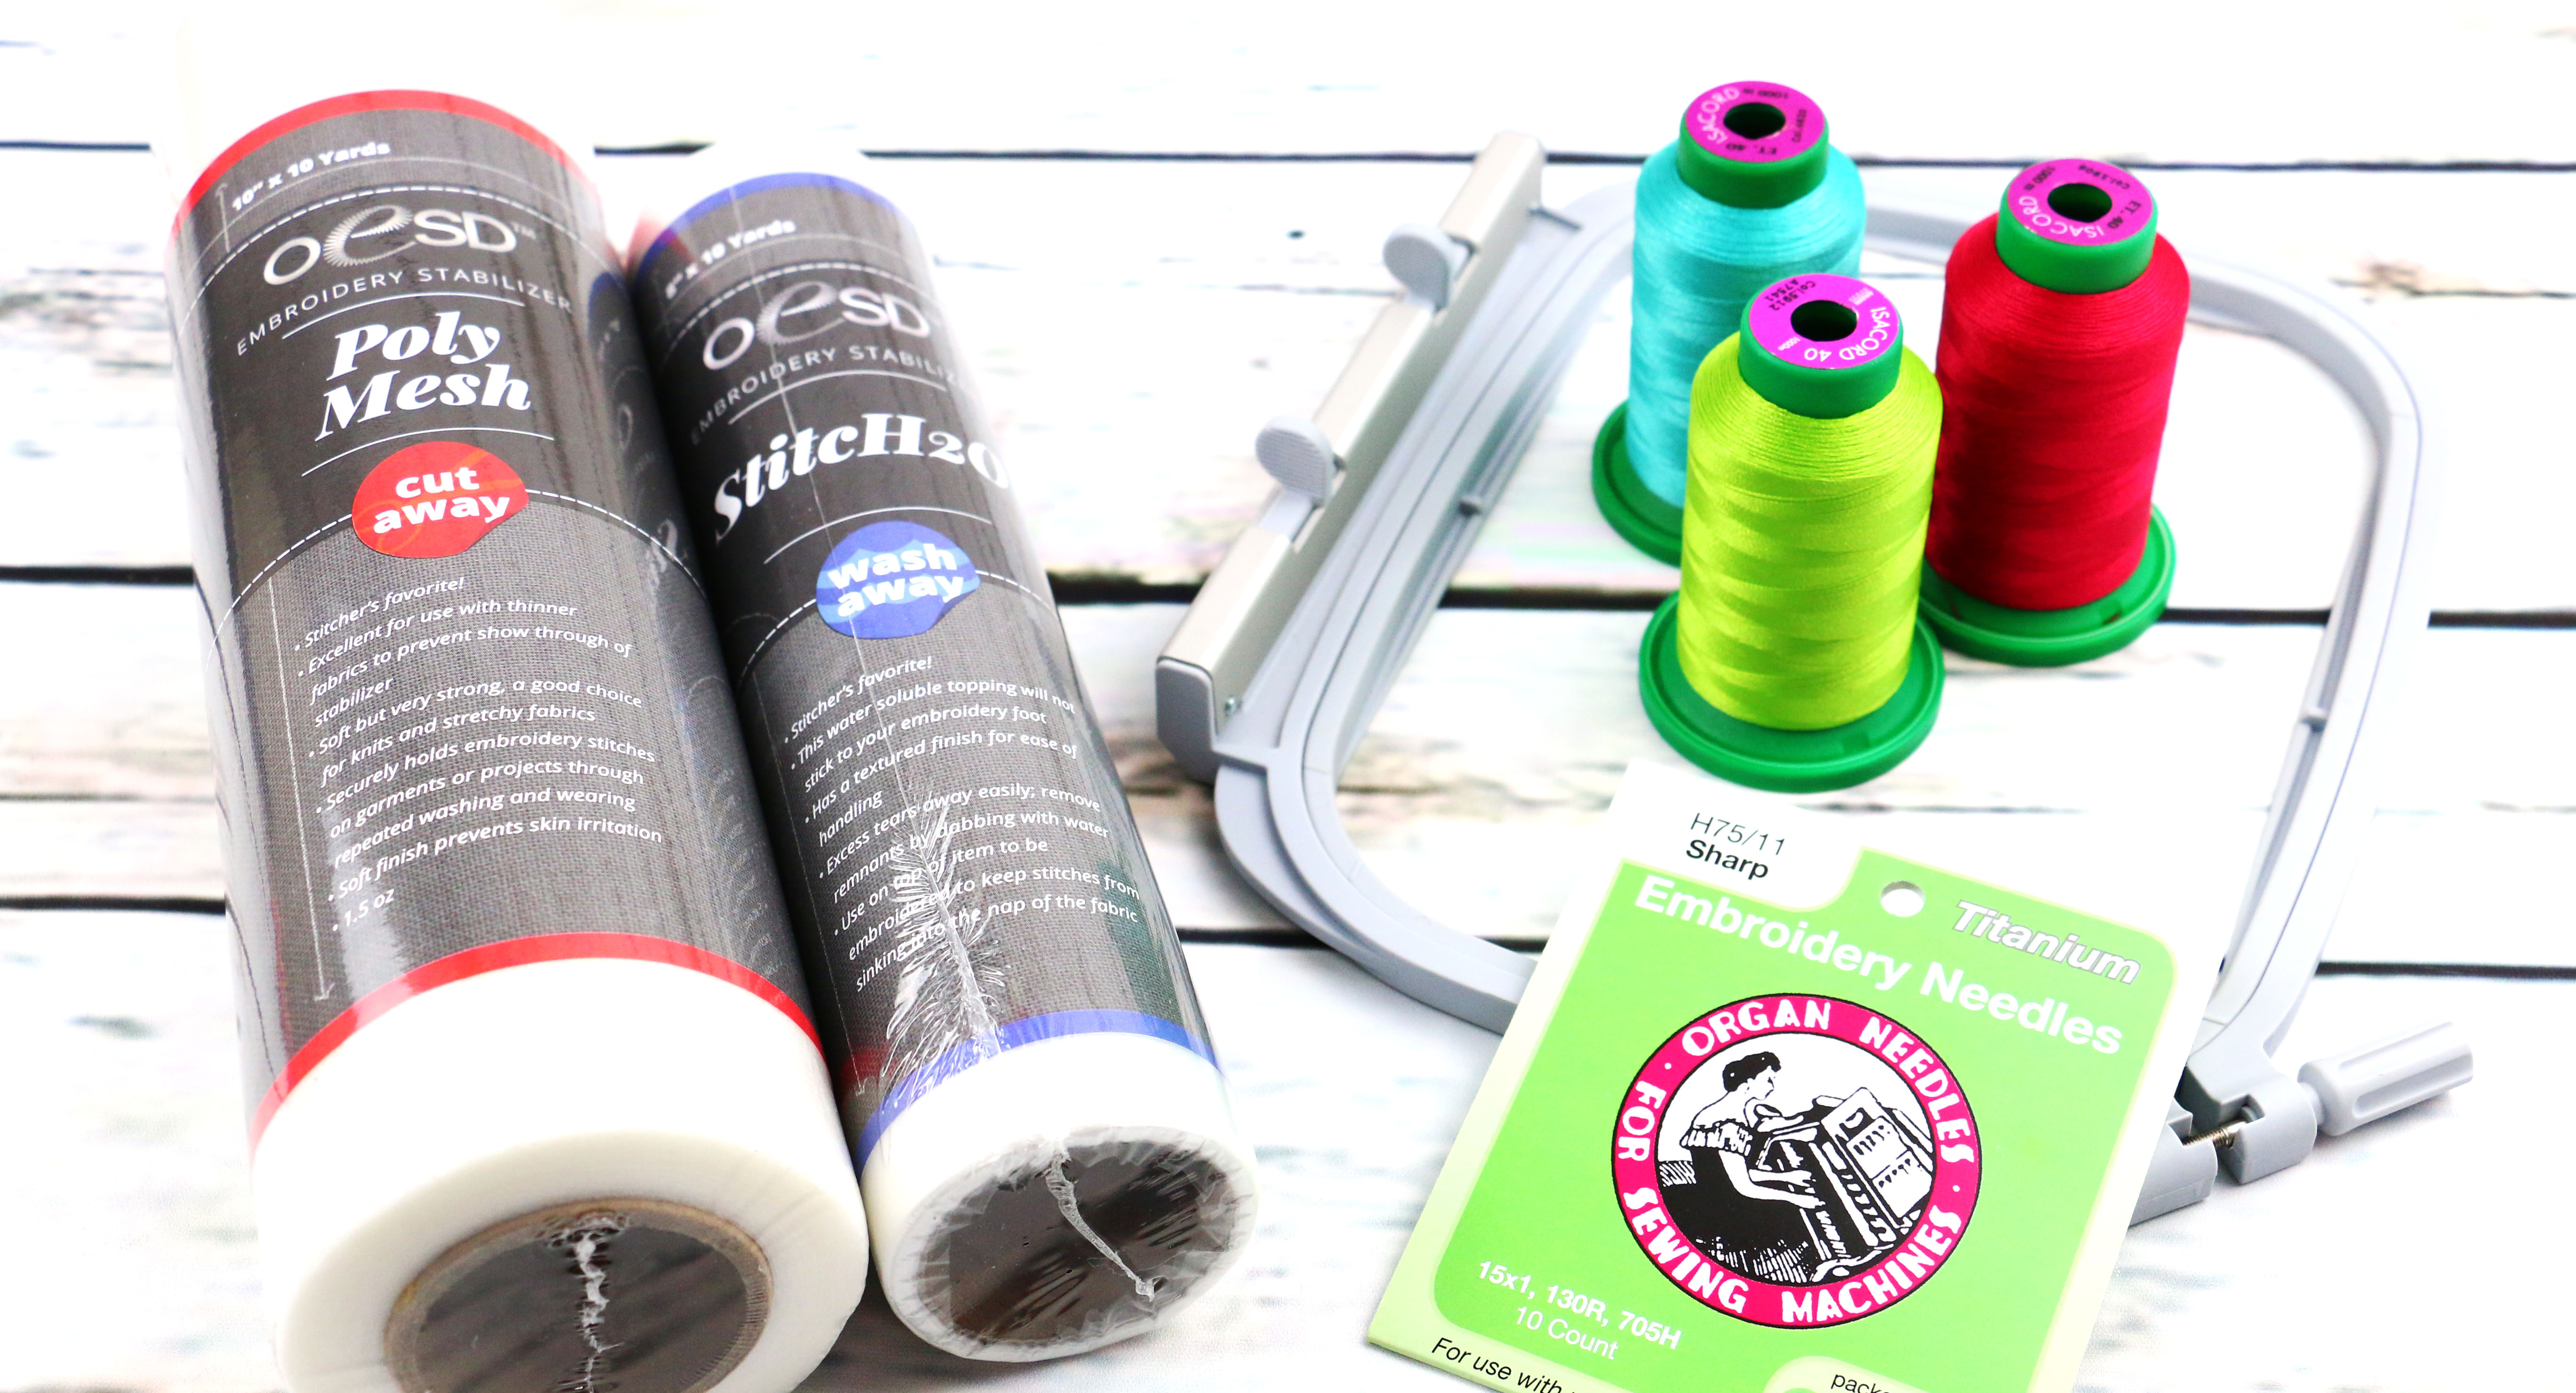
Today we will discuss the four types of materials and some basic stabilizers to use on them:
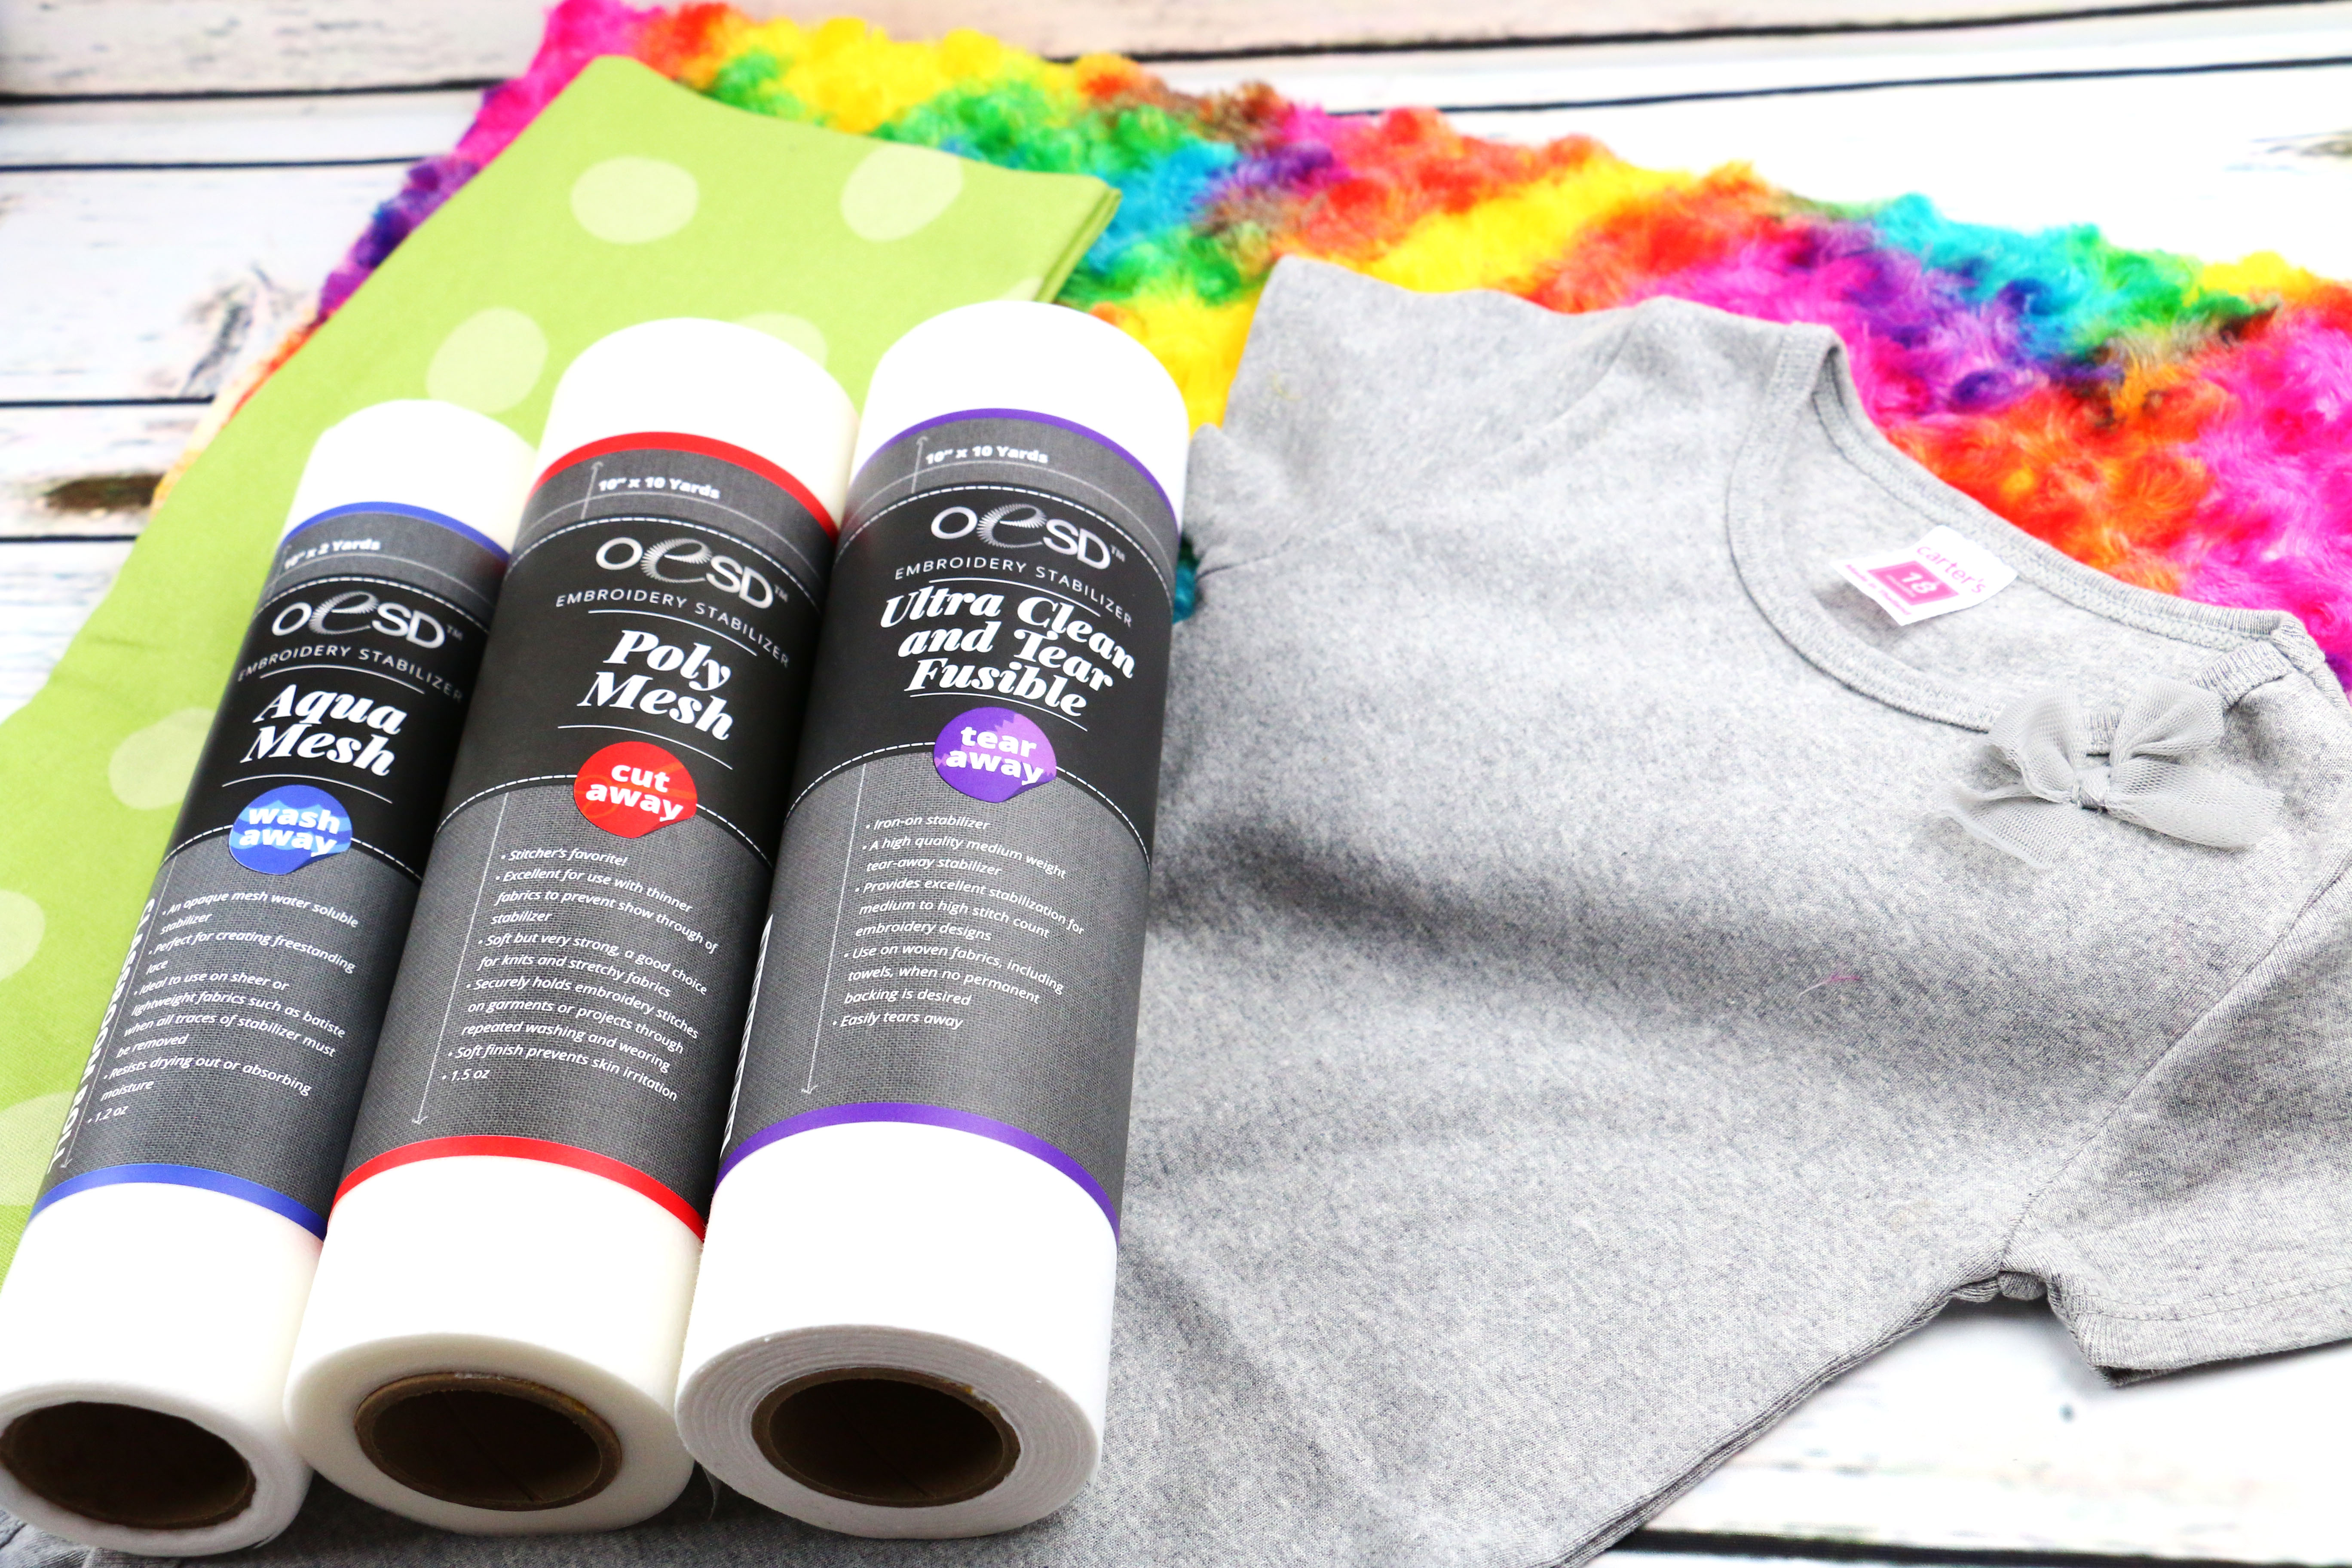
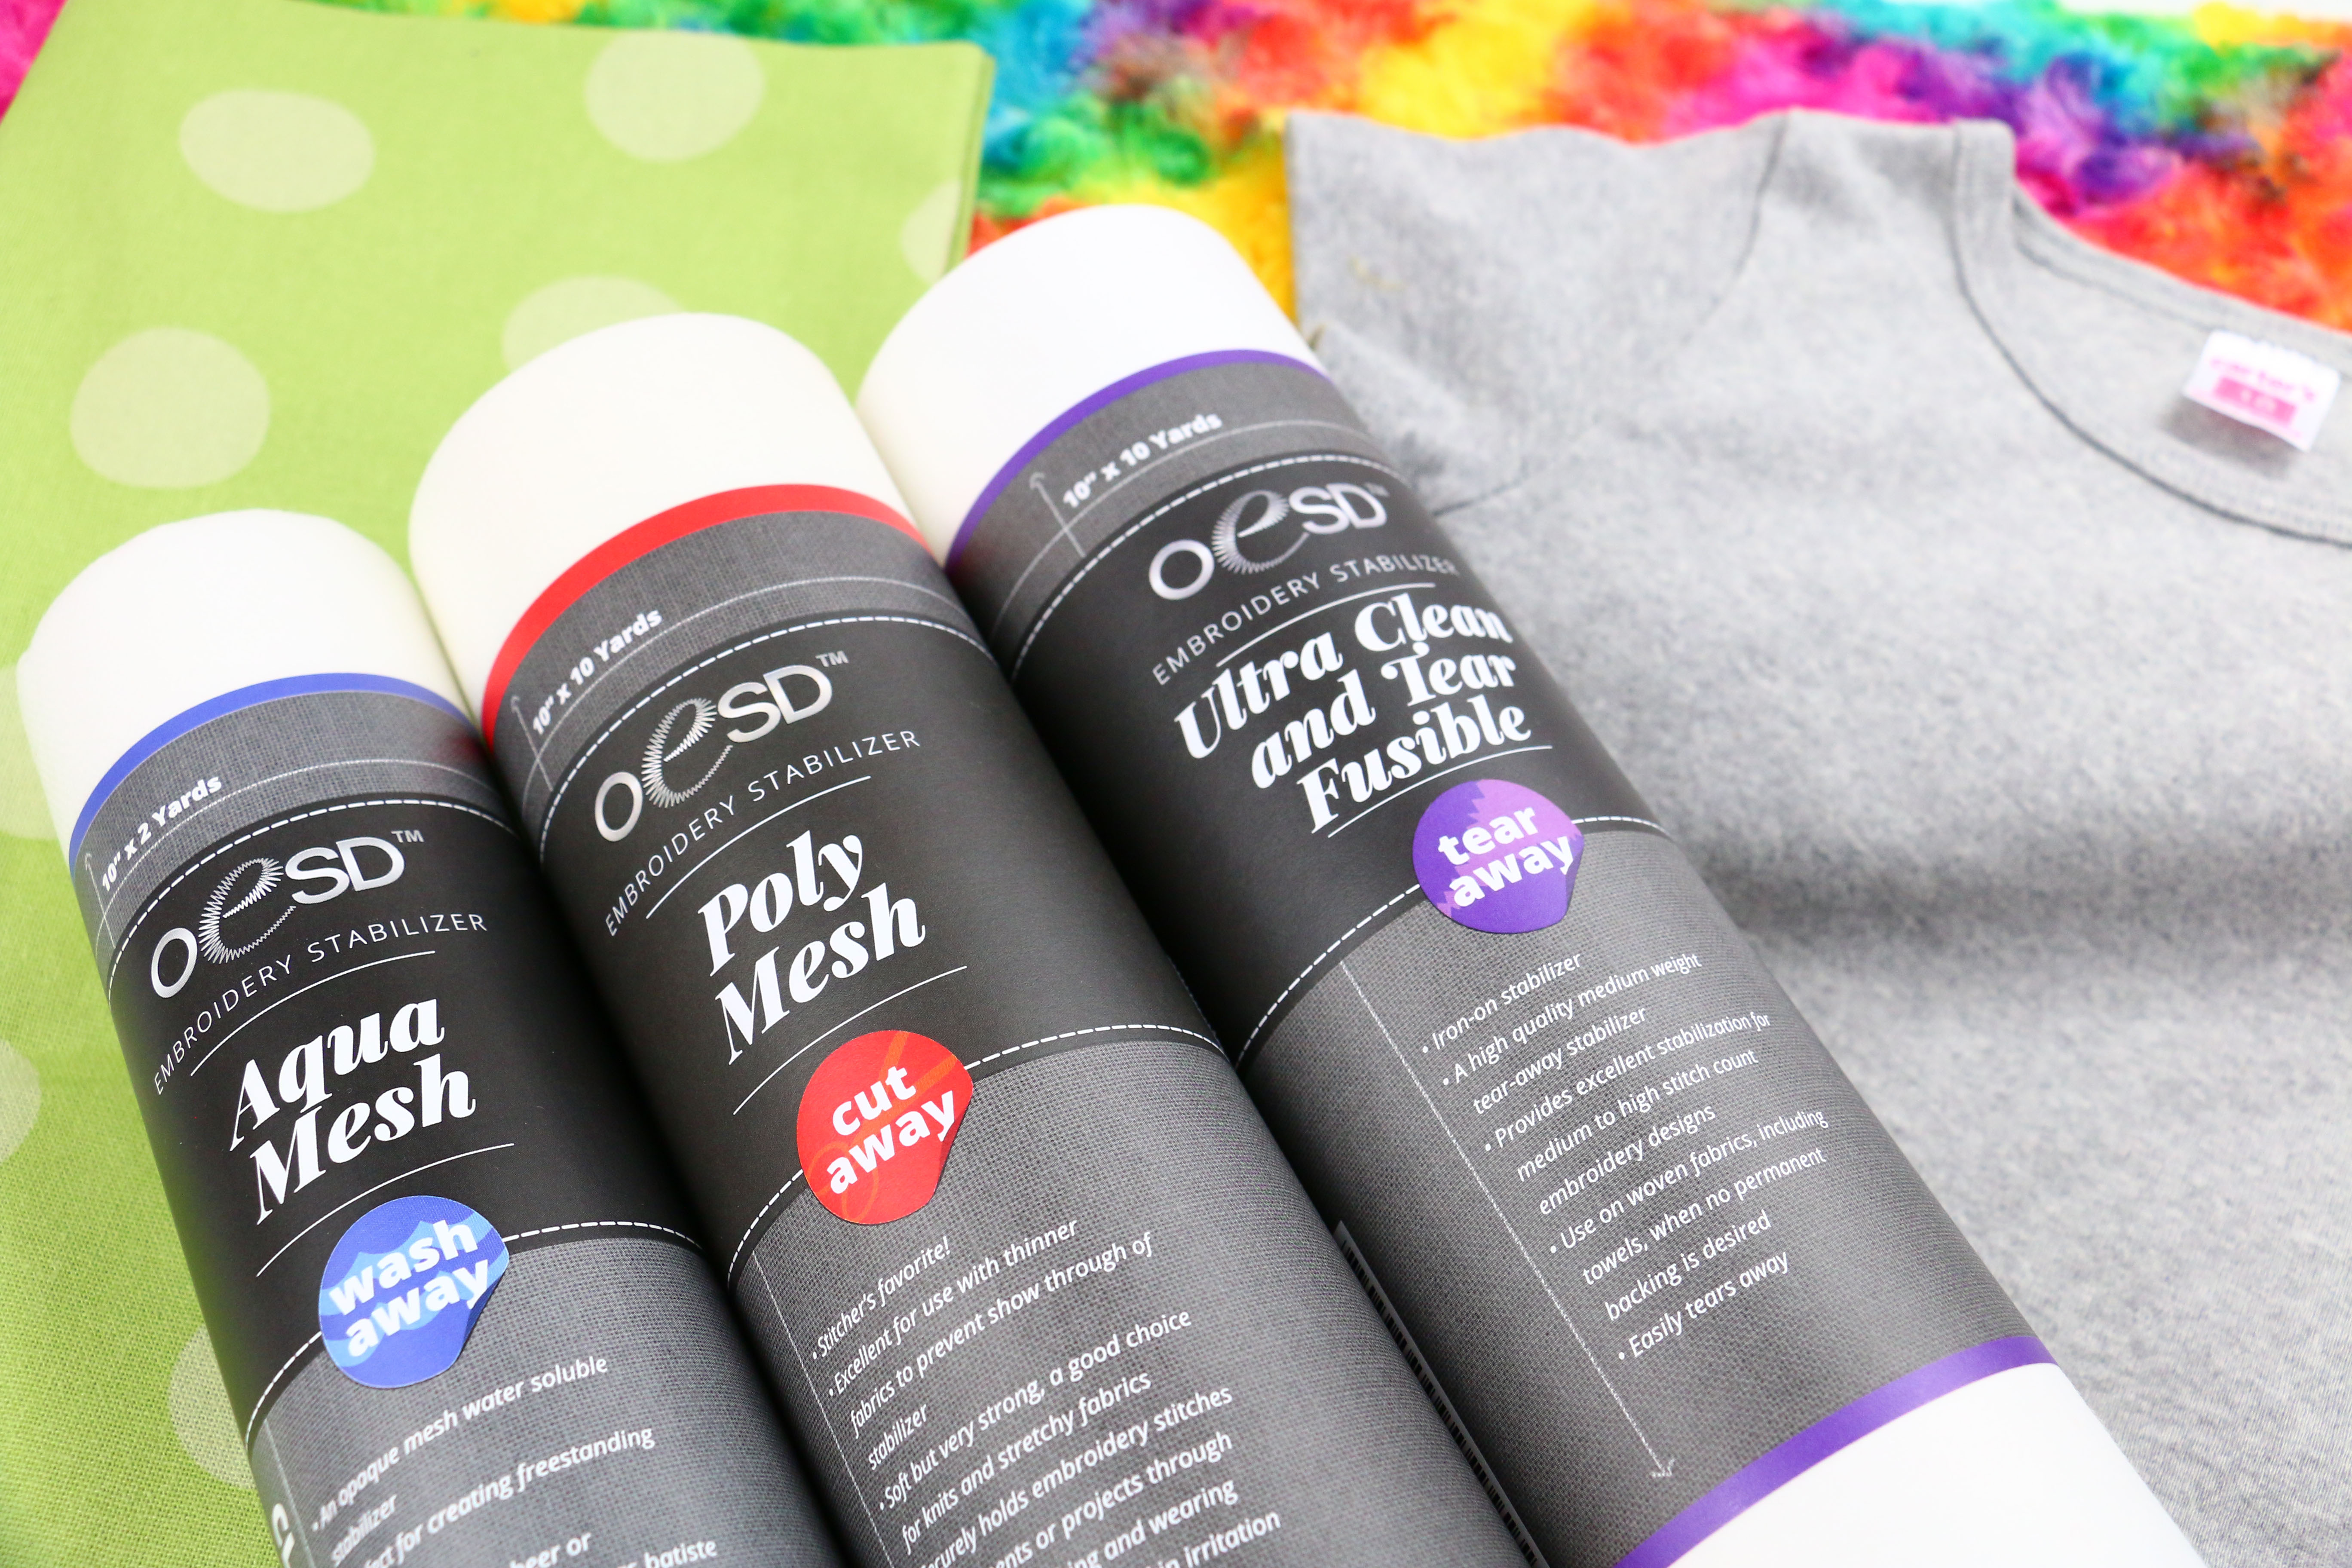
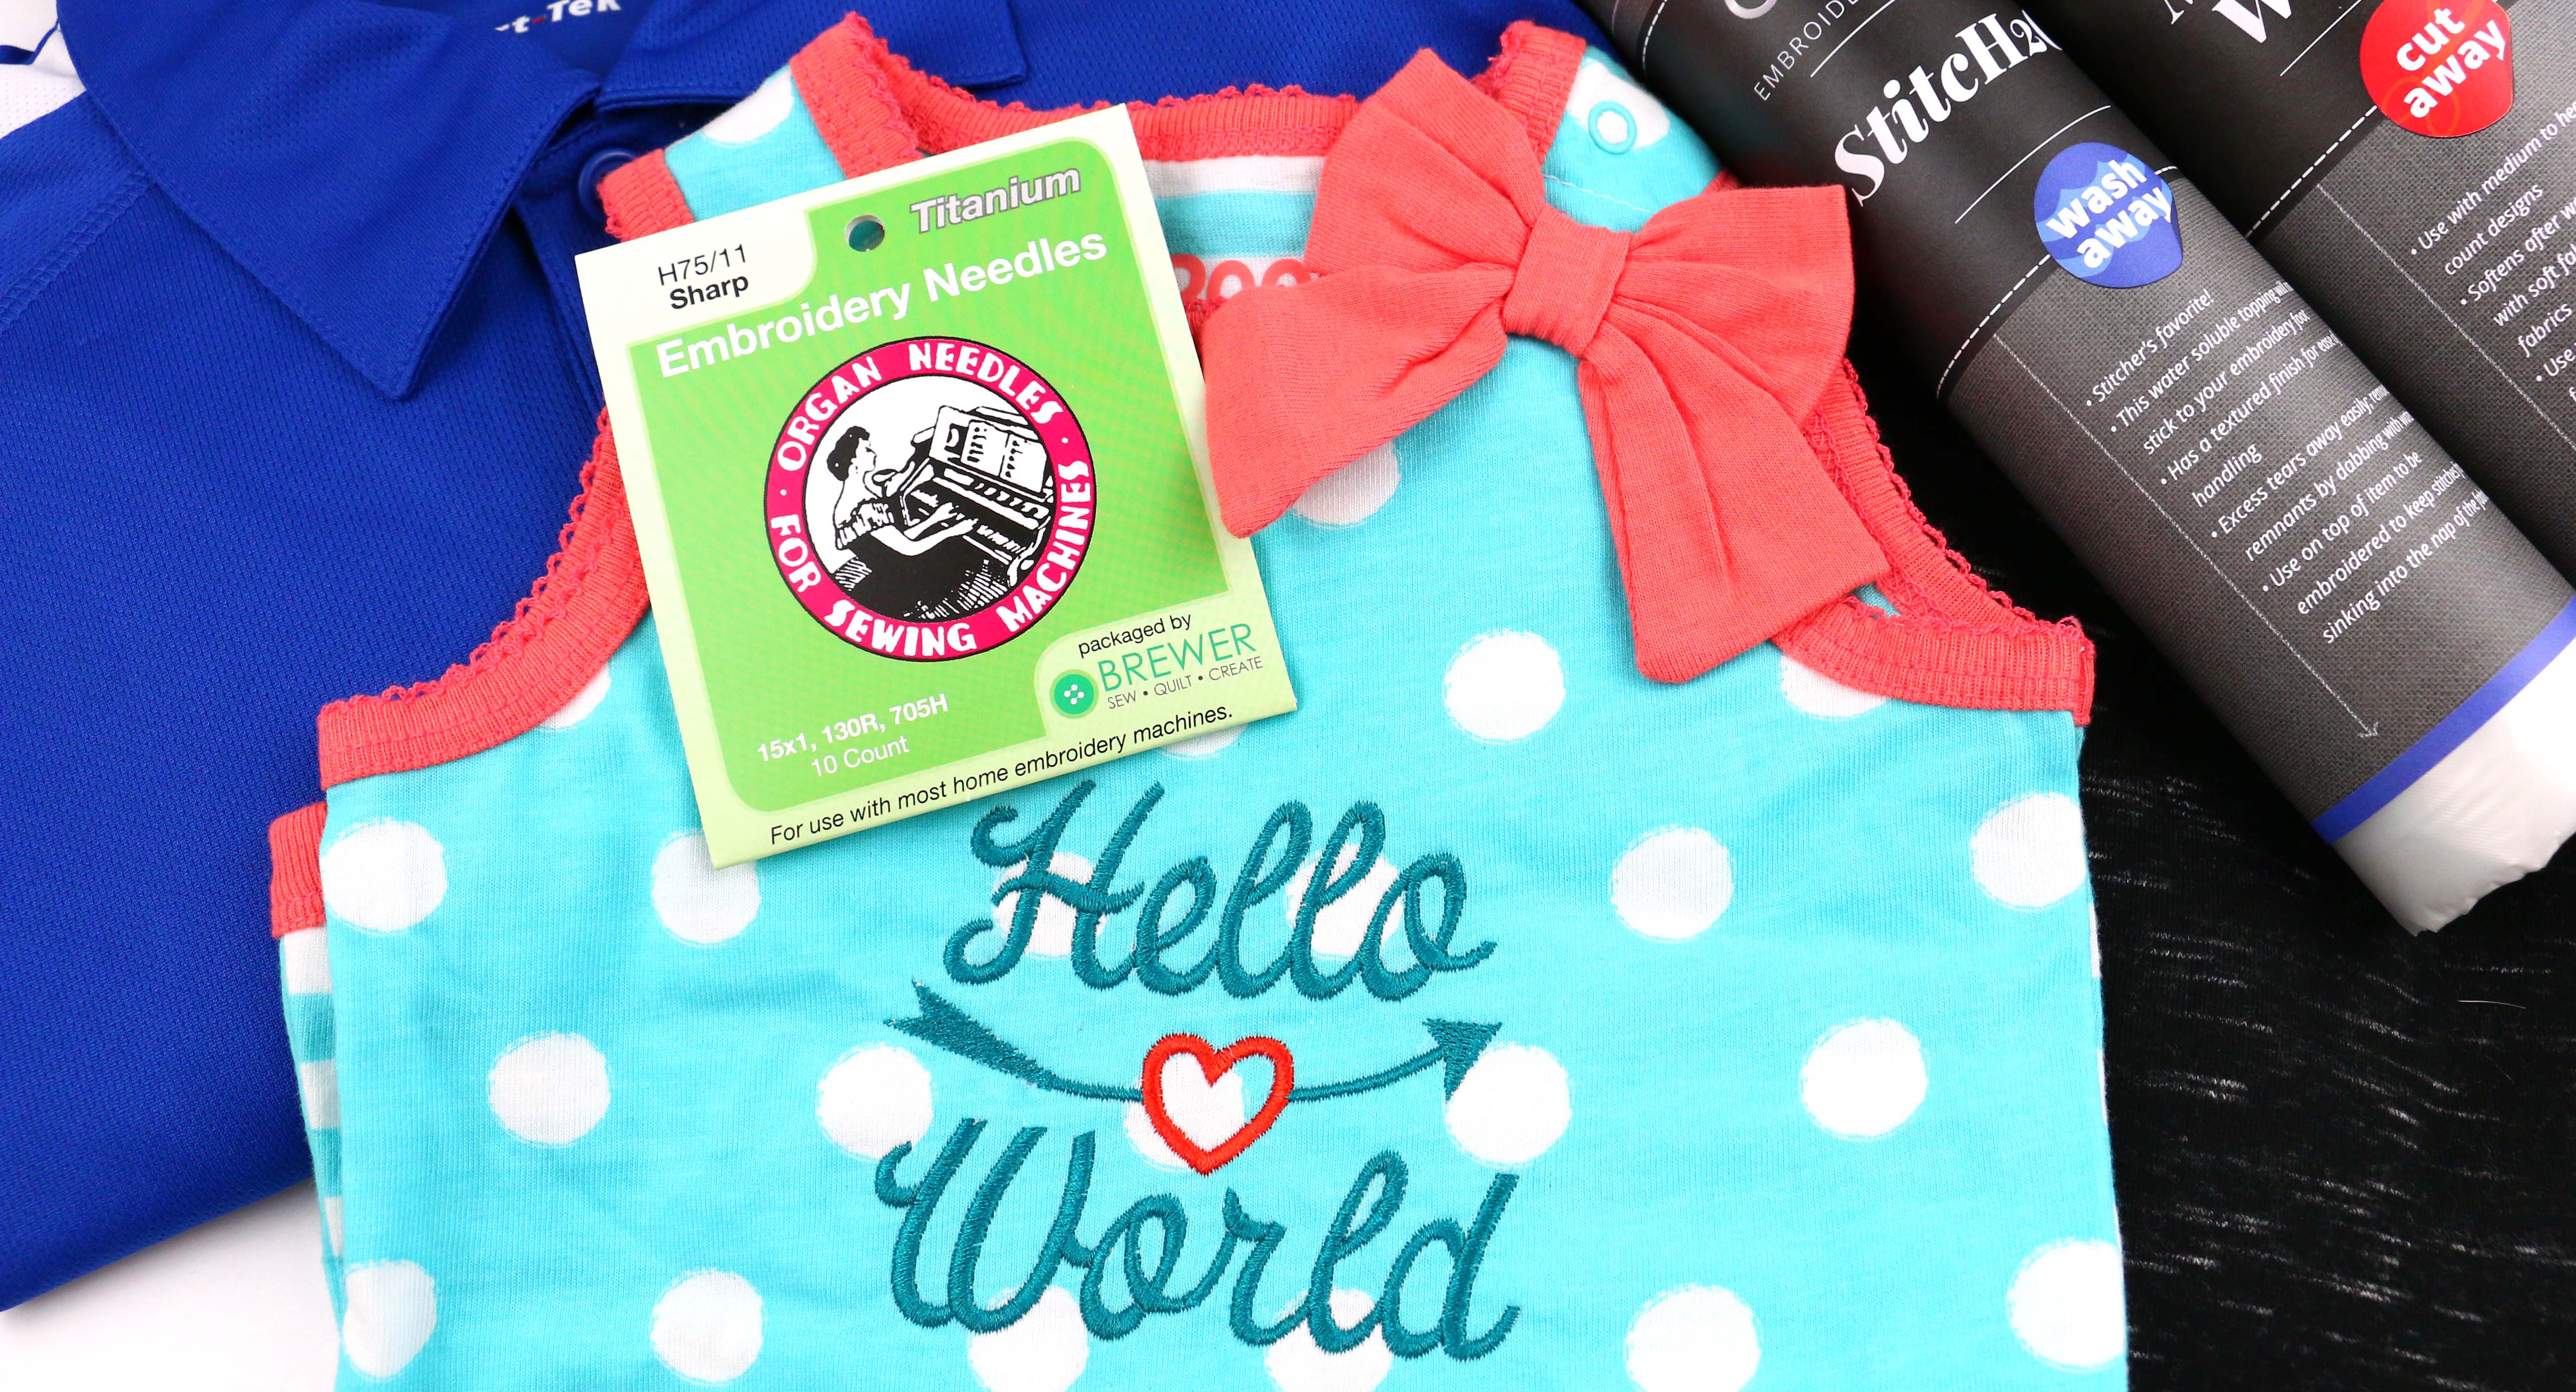
- Knit—Cut Away with Wash Away on top
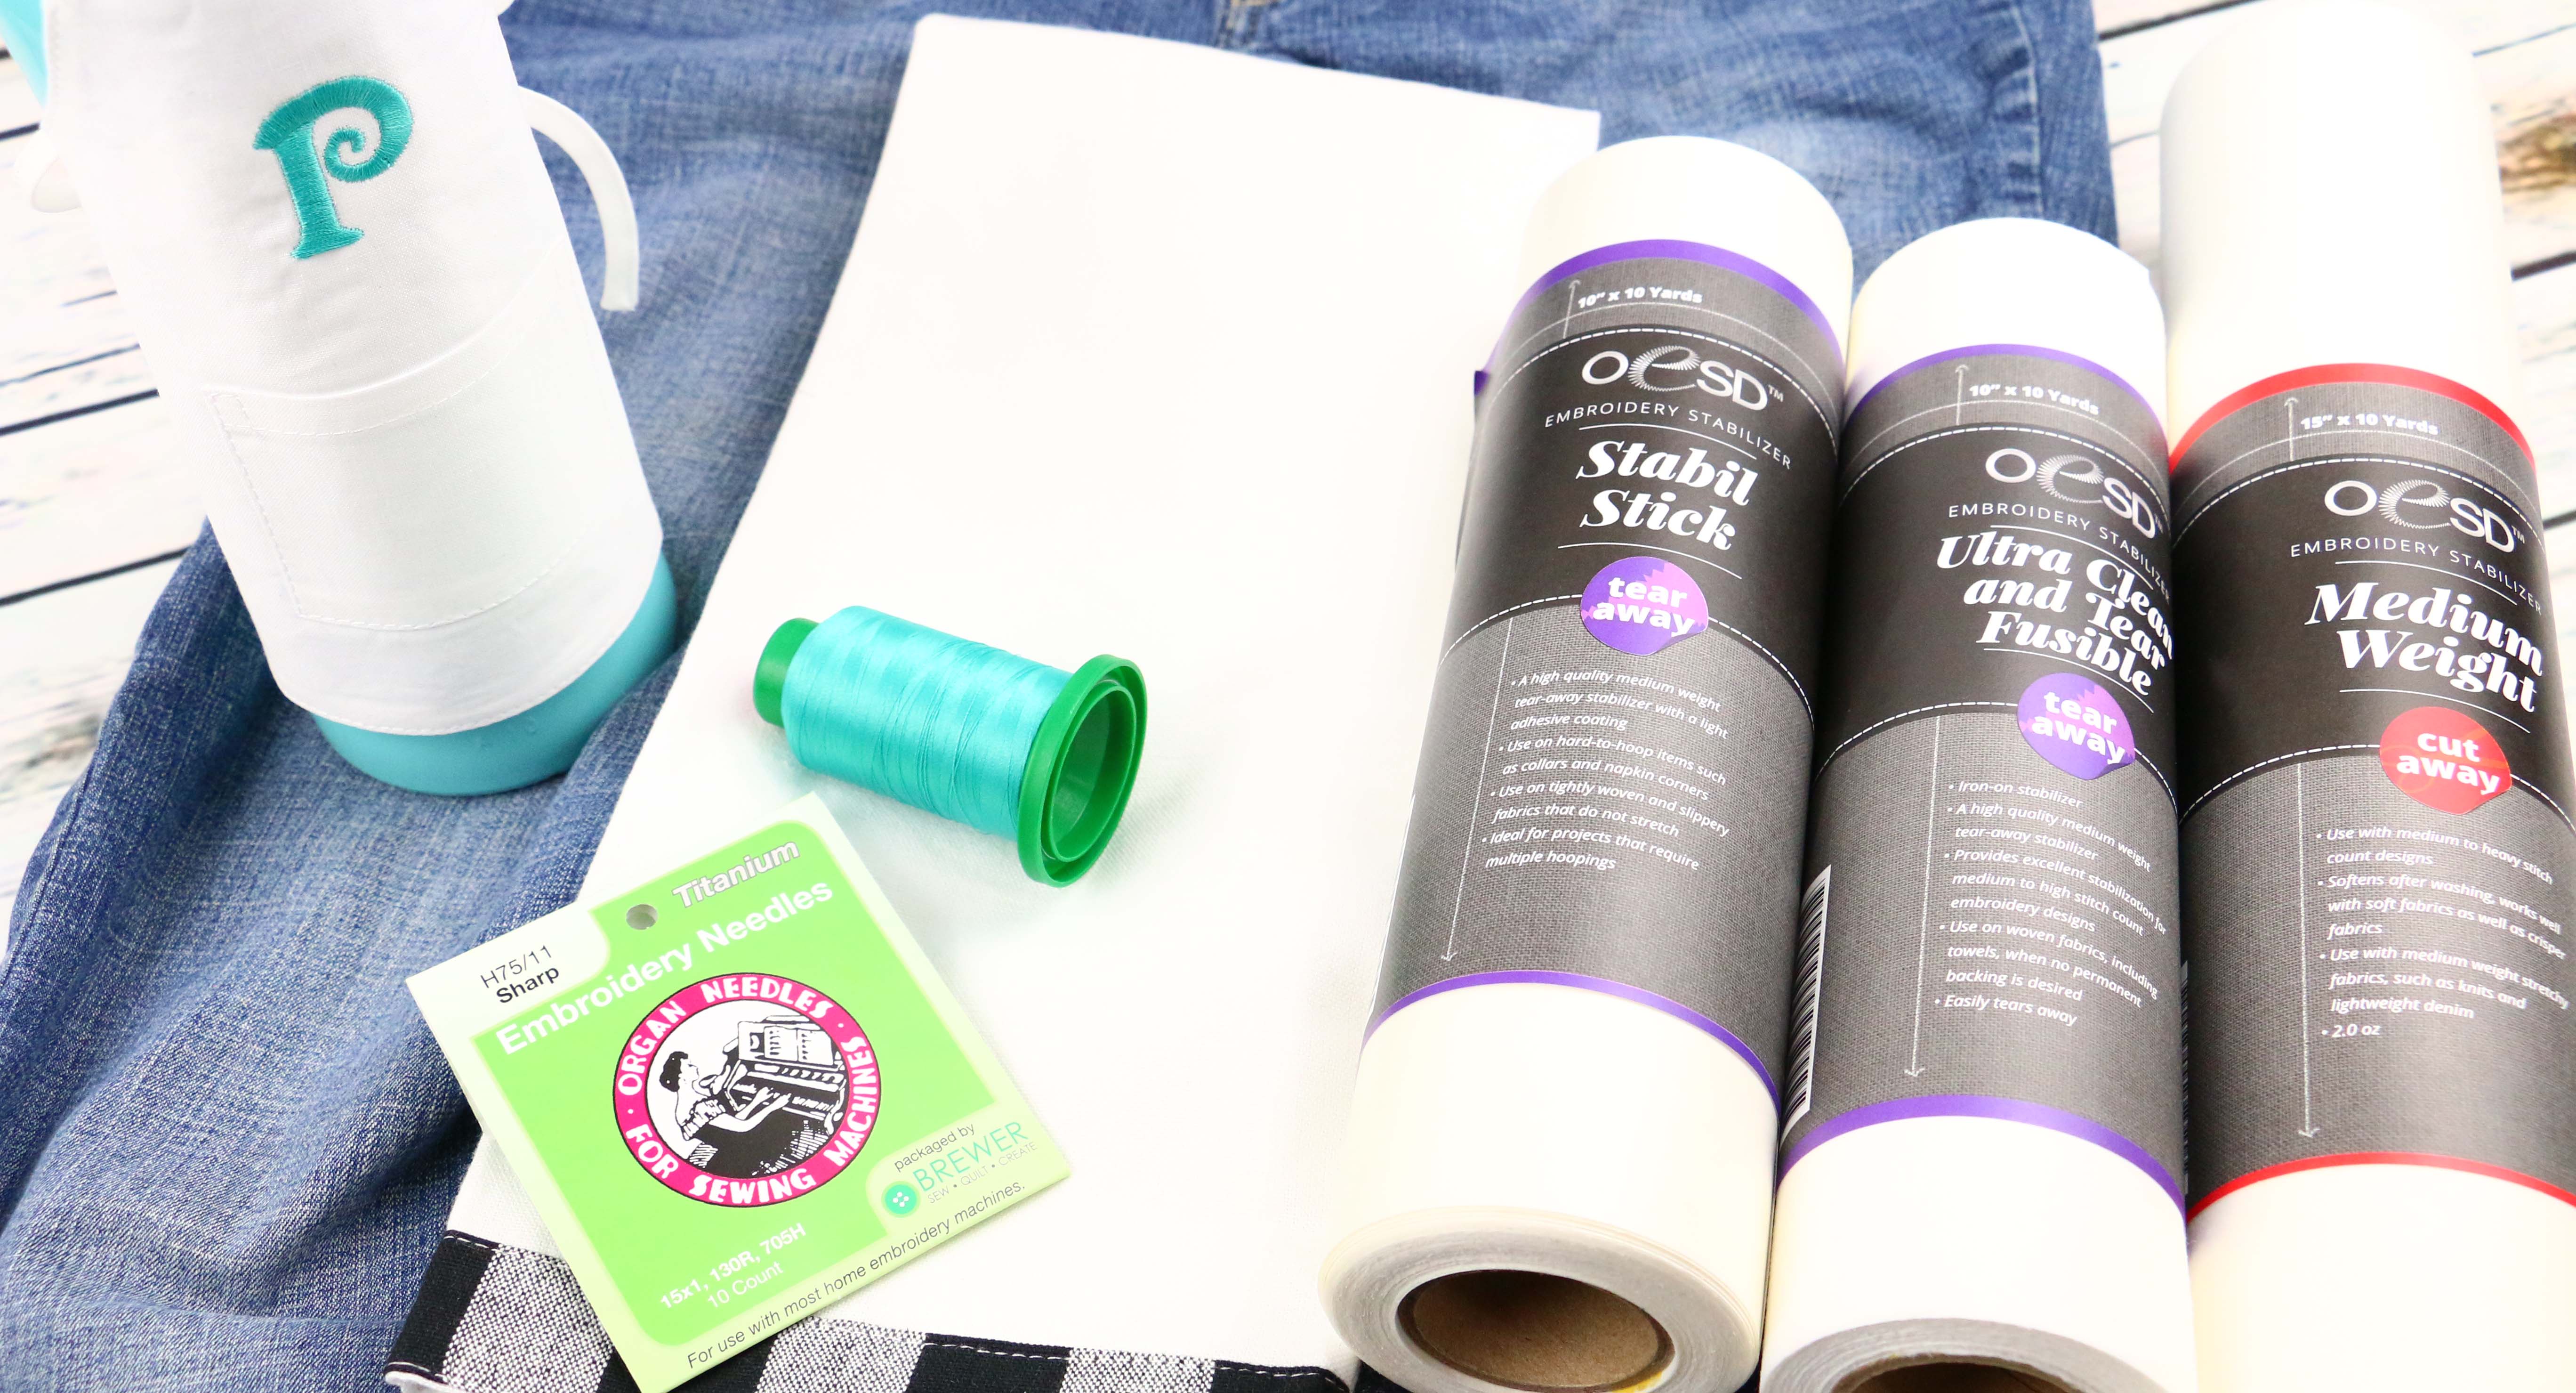
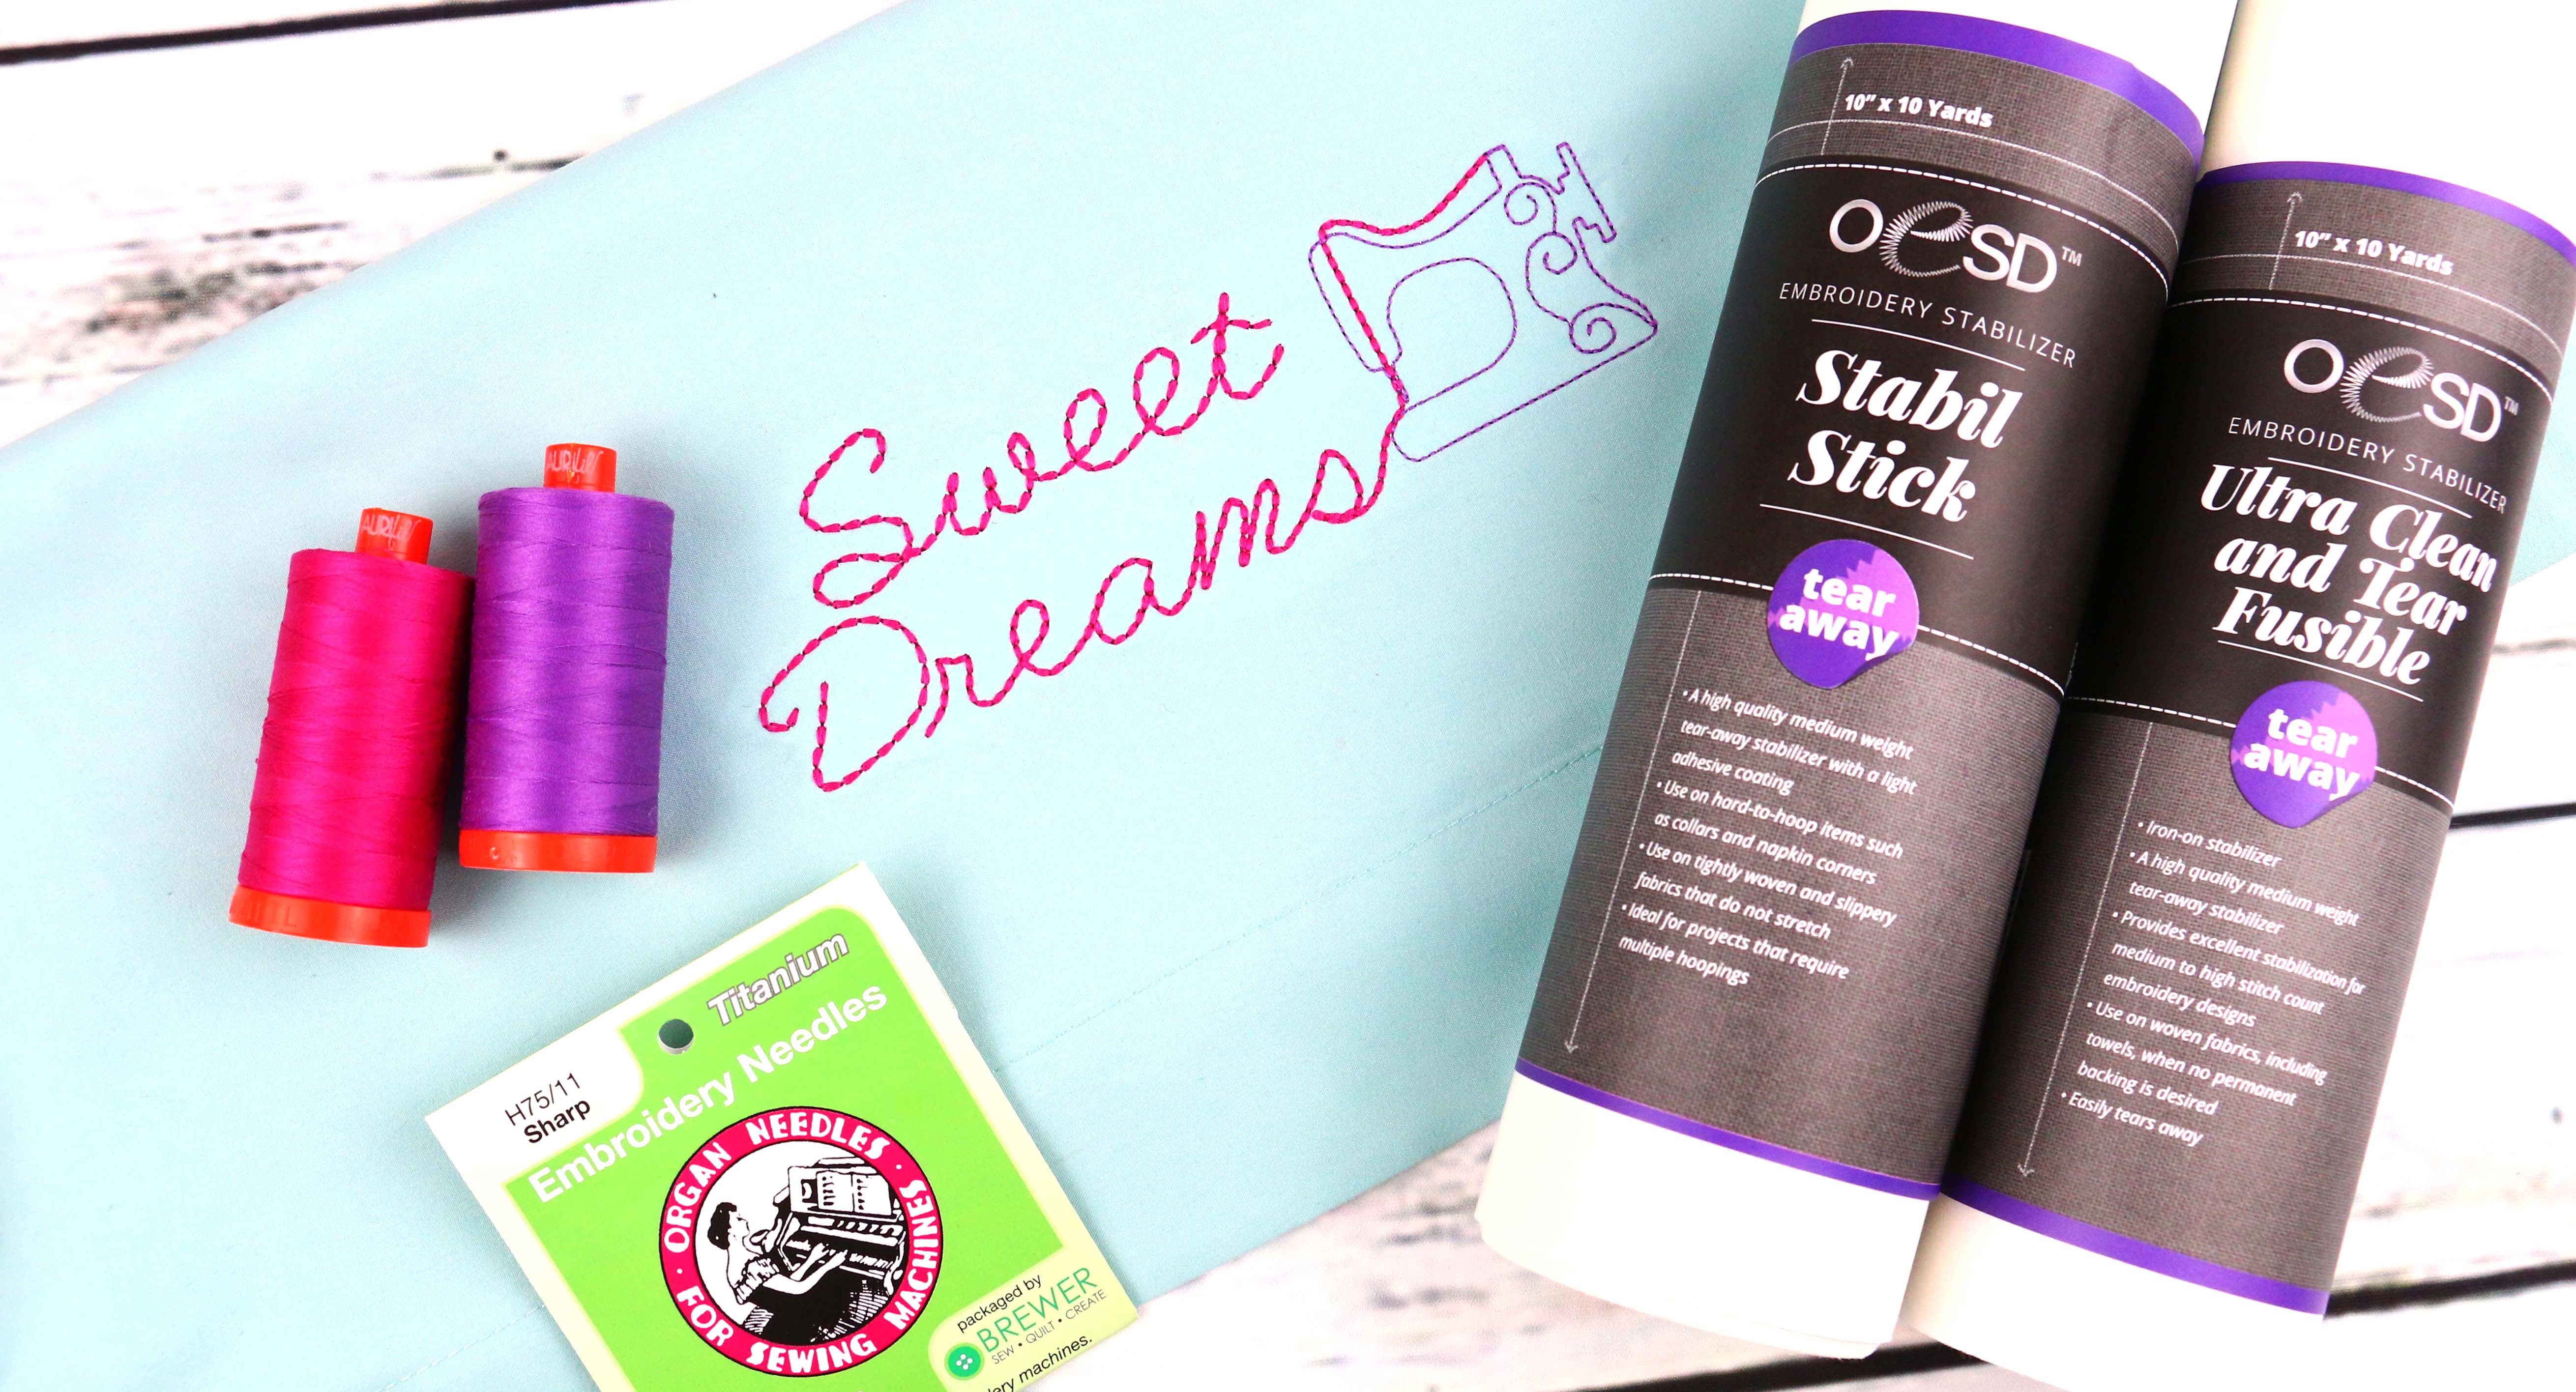
- Woven—Tear Away
- Napped fabrics:
-
- Woven —Tear Away with Wash Away on top
- Stretch—Lightweight Cut Away with Wash Away on top
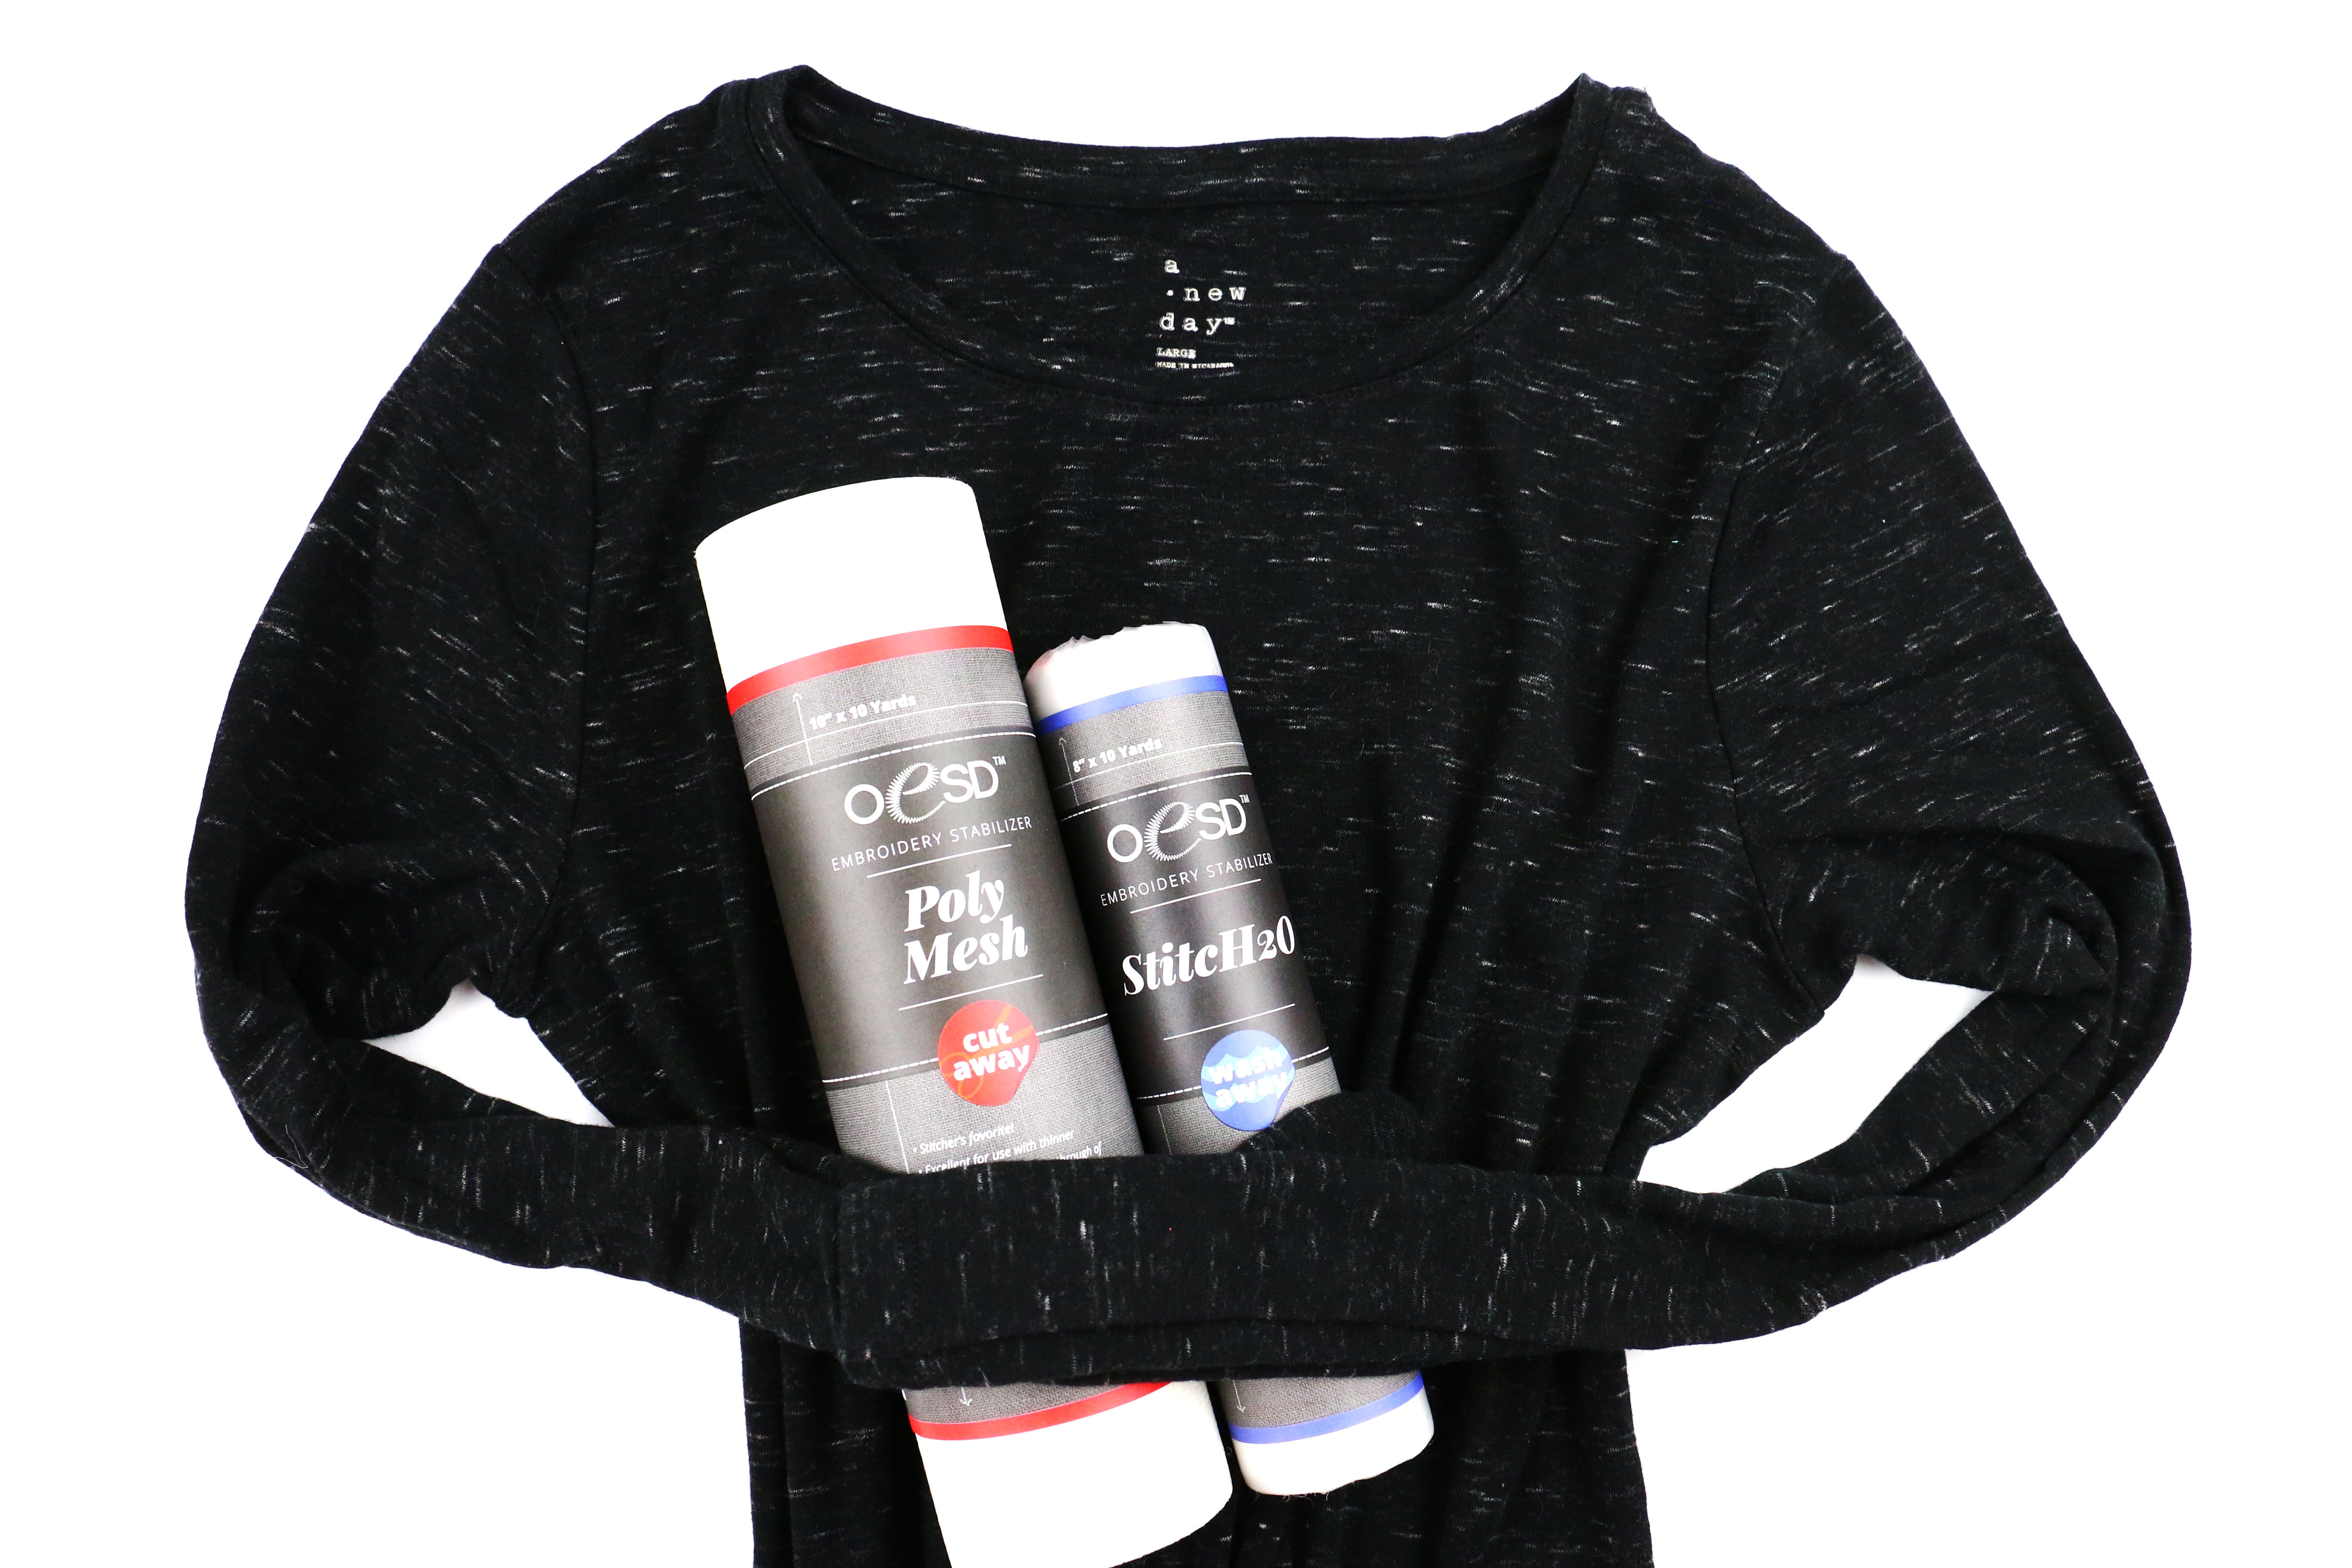
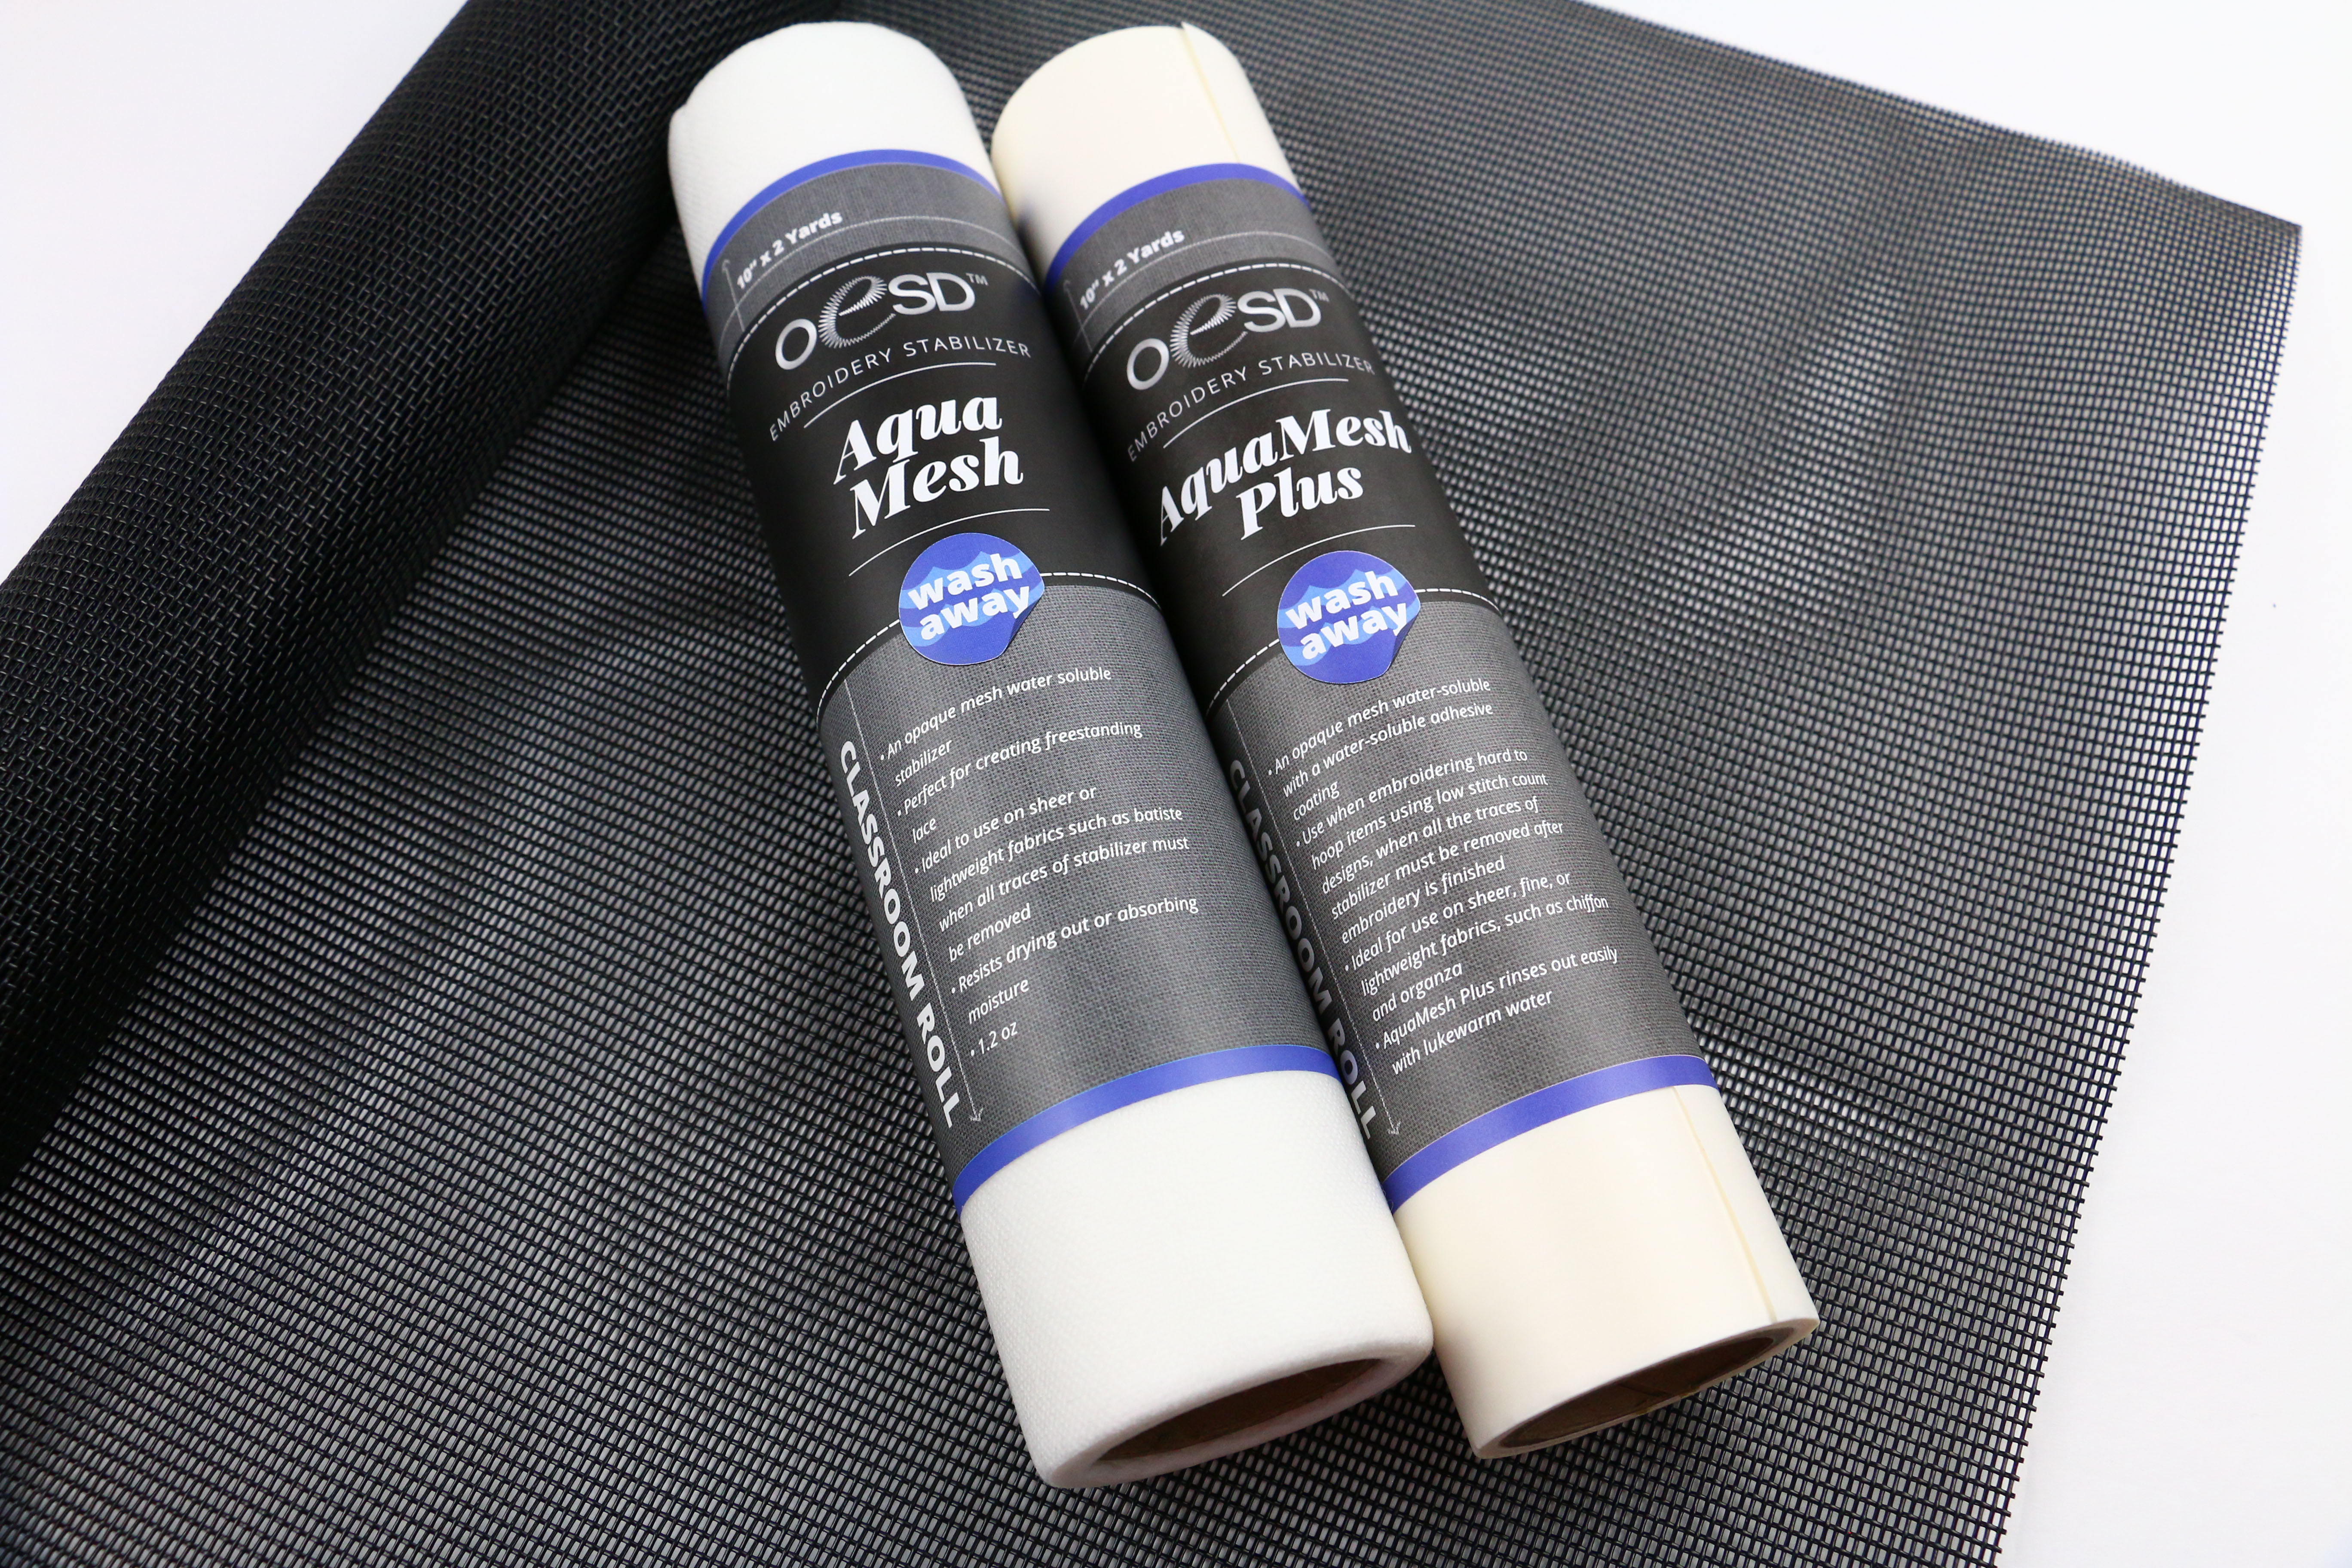
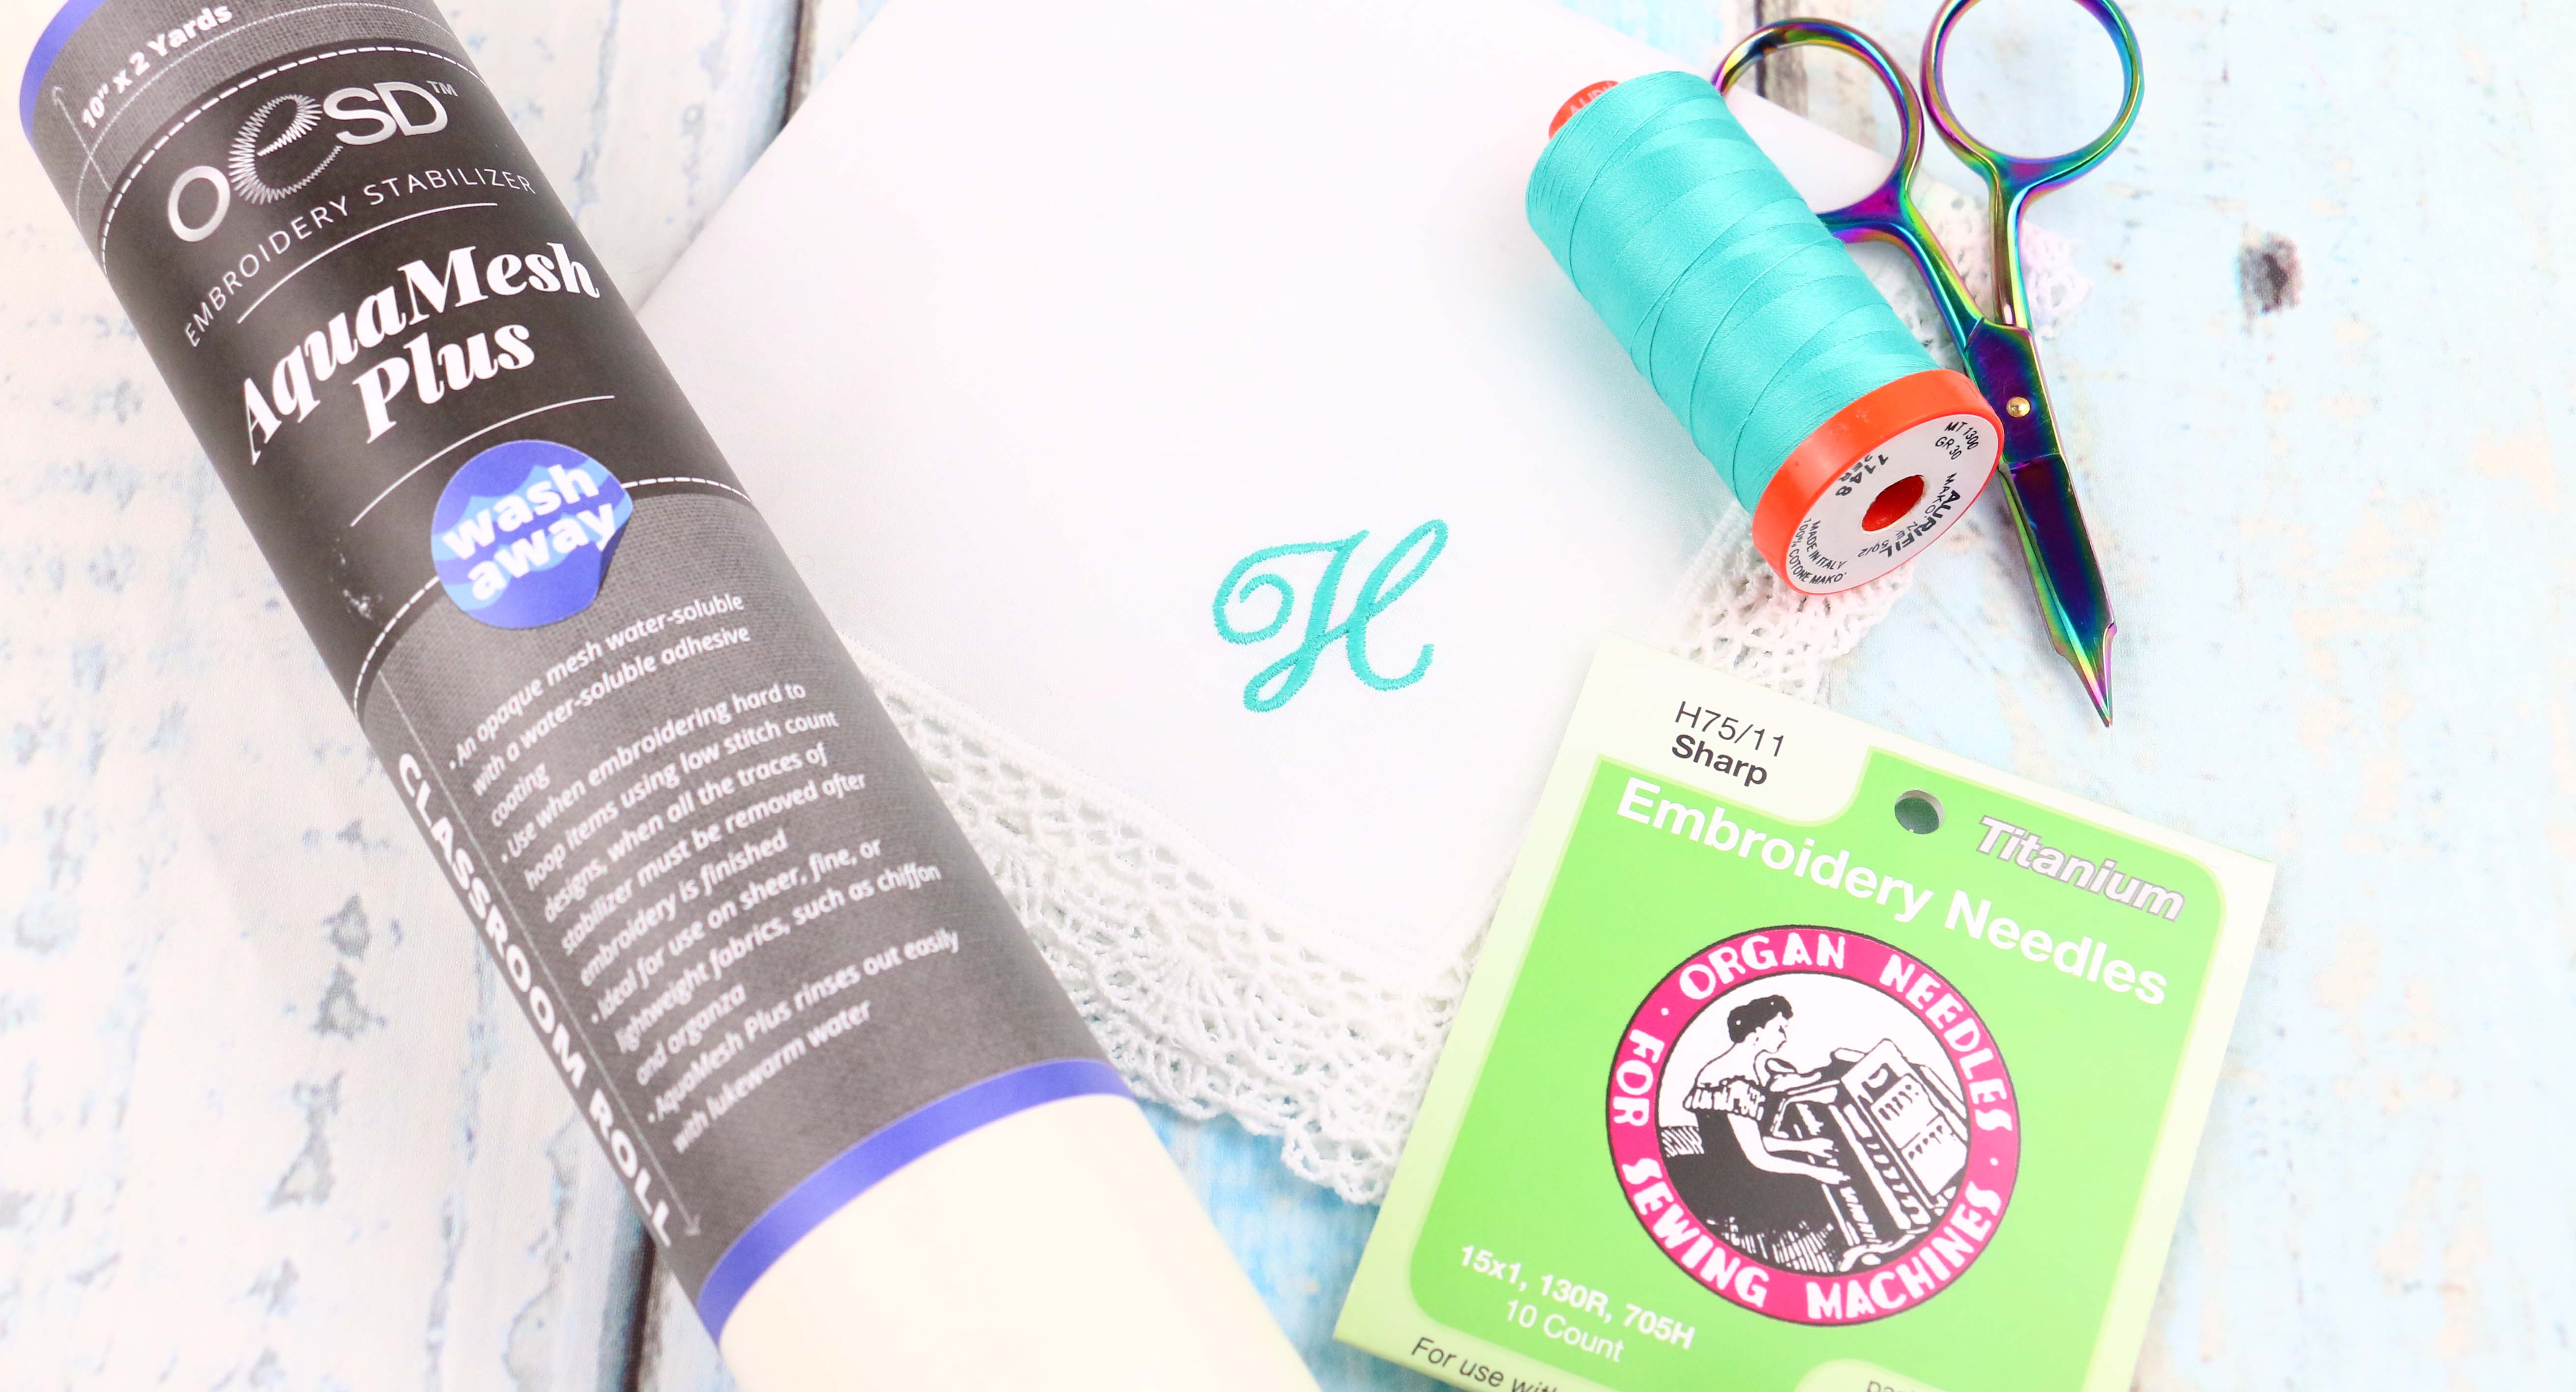
- Sheer—Wash Away
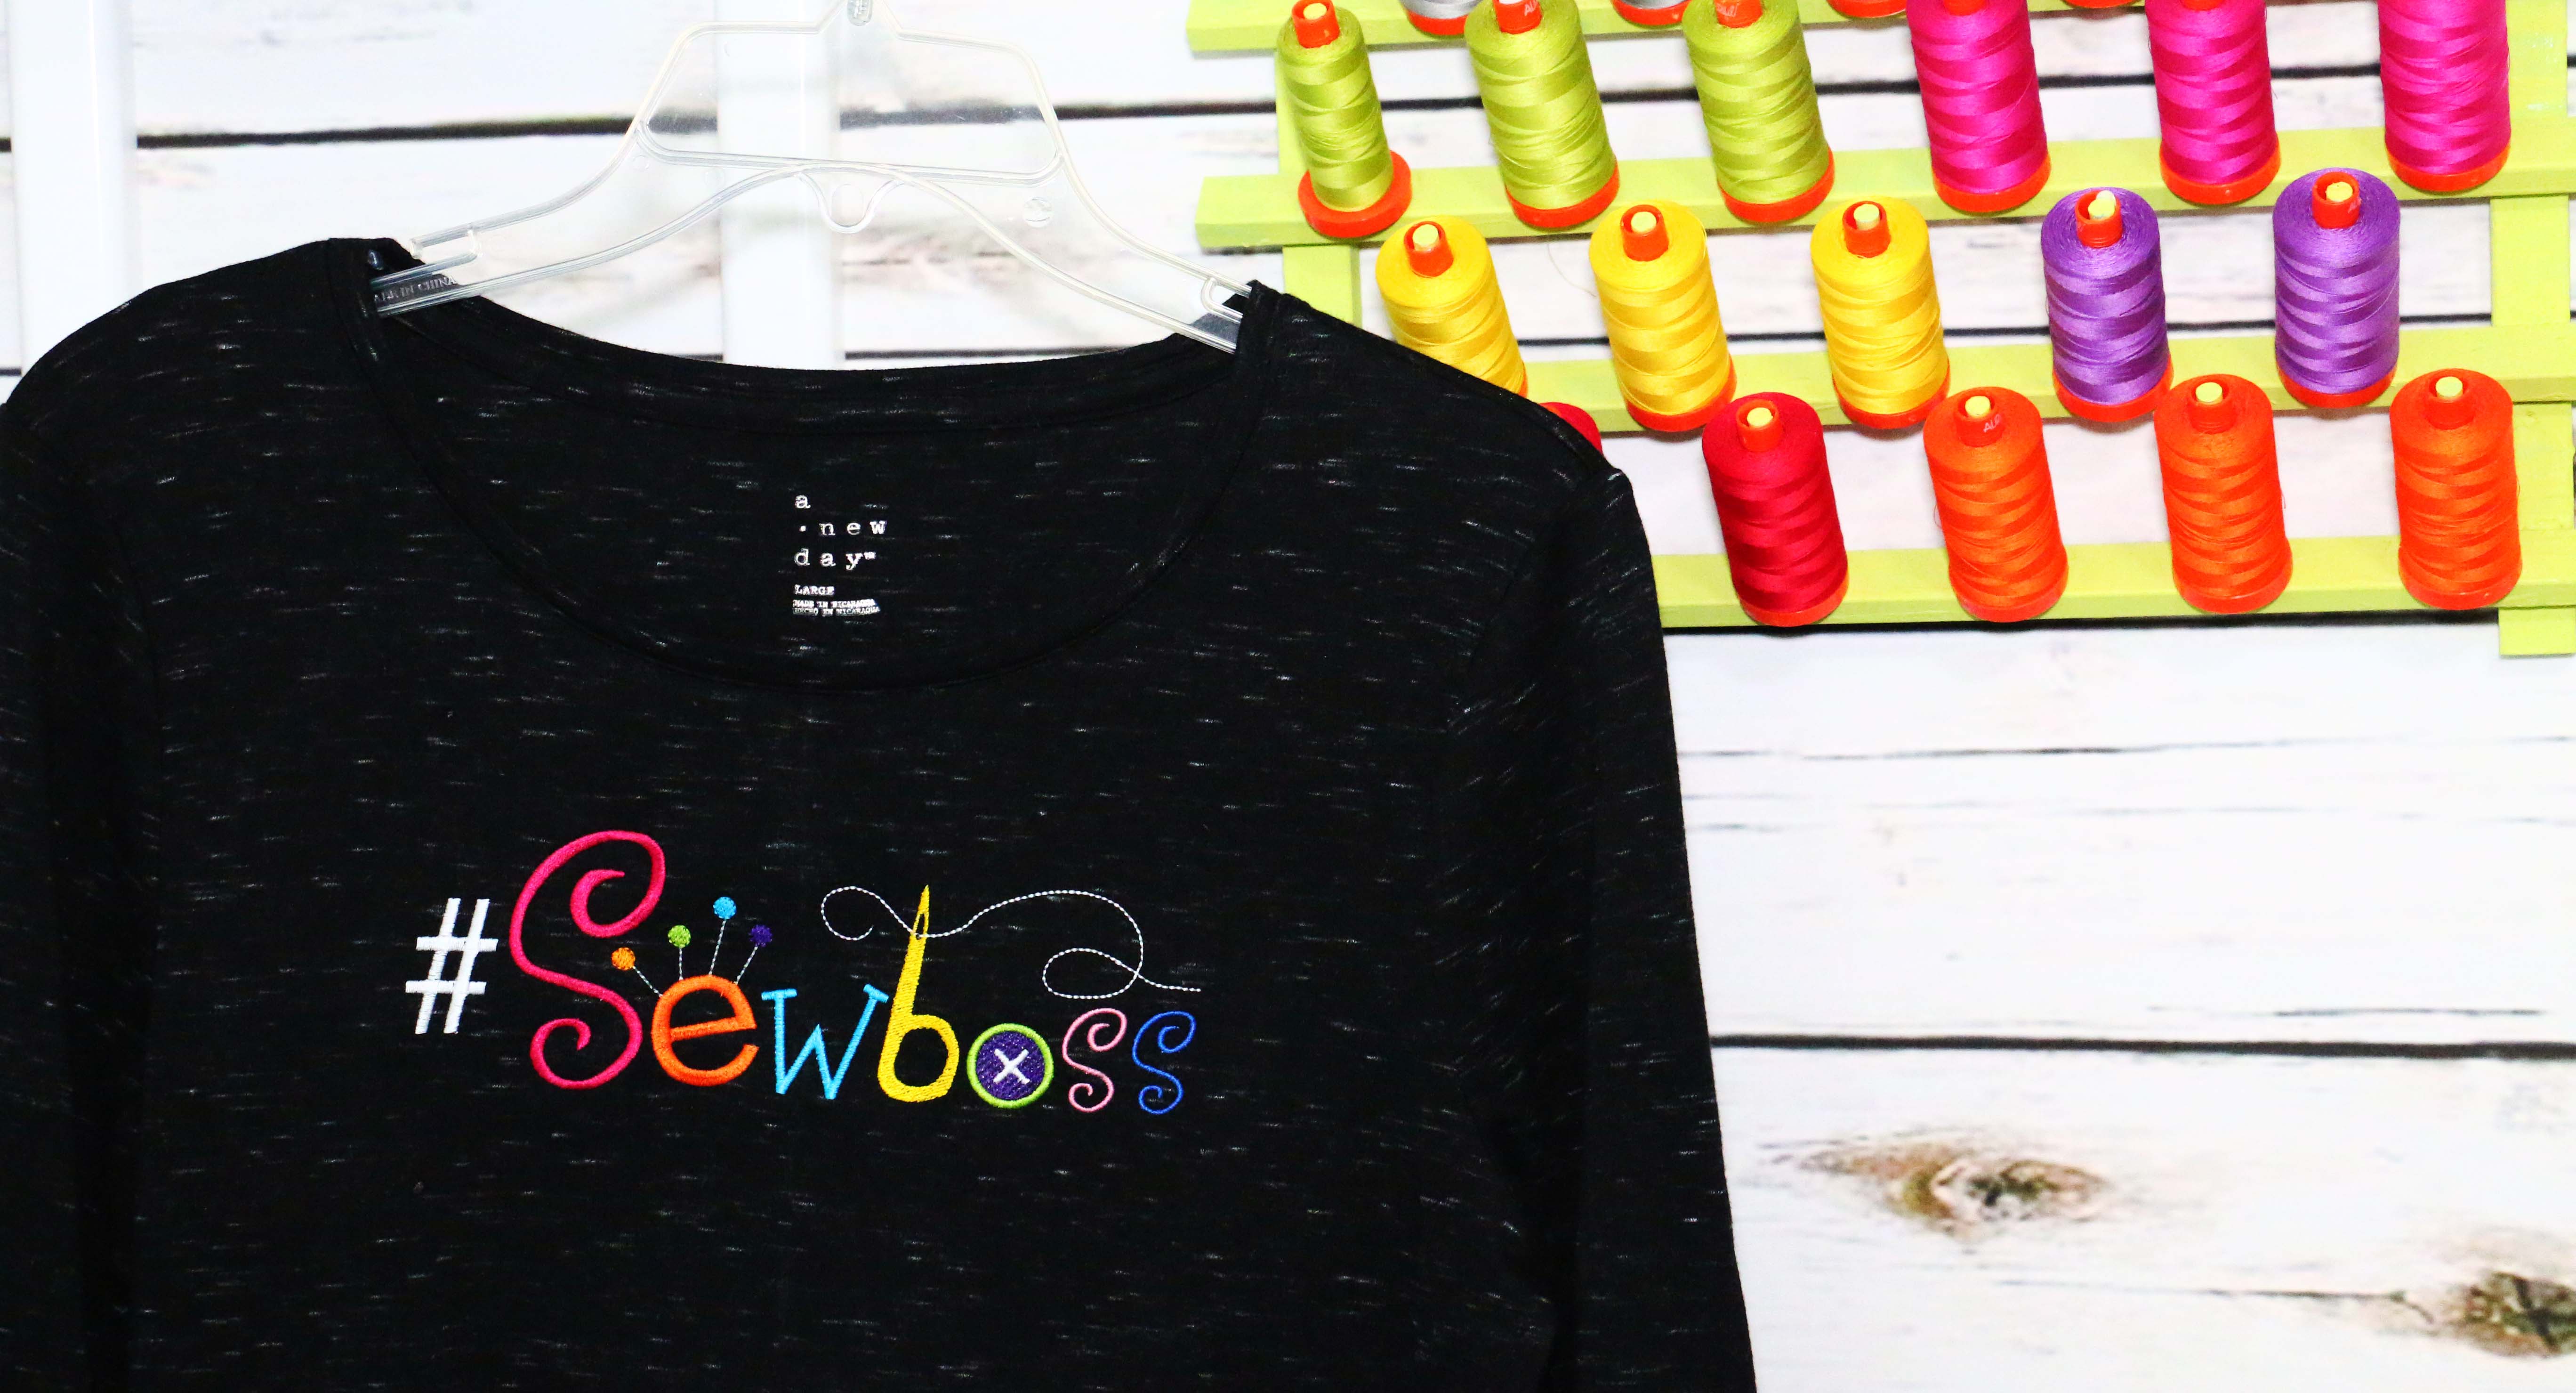
Knit
What is a knit? During my Embroider-along I will refer to anything that has stretch to it as a knit. I would say the most popular knit material in the world today is a T-Shirt. This is probably the most popular when it comes to stabilizers and materials. They are a lot of fun to embroider on and make for fantastic personalized gifts. We will discuss different weights of knits such as baby Onesies, ladies T-Shirts and polo shirts.
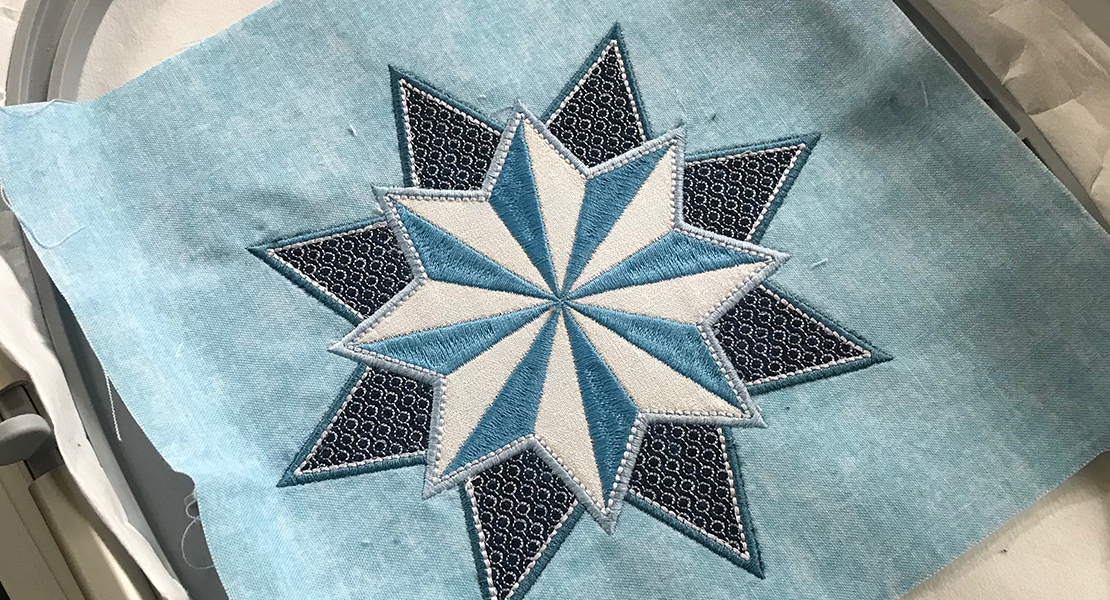
Woven
If a knit is a material which stretches, a woven would be a material which doesn’t stretch. Woven materials are considered to be more structured. Consider a kitchen towel, pillow case and denim. Even though each of these materials is a woven, I will show you how it’s important to use the correct type of stabilizer to get the best results.

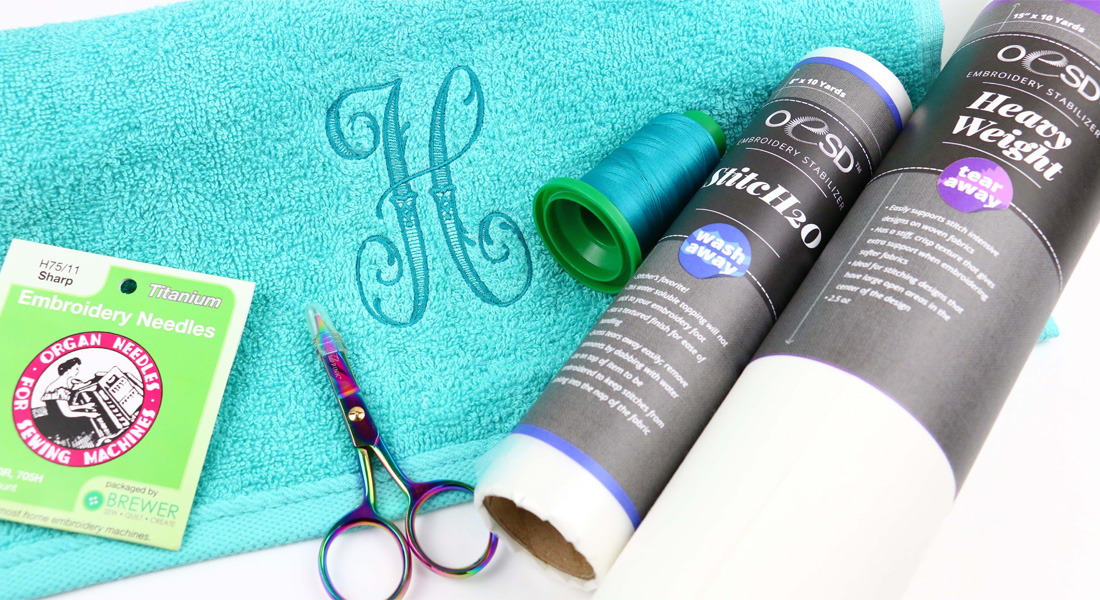
Napped fabrics
This might be my favorite type of material to stitch on. Napped fabrics are anything with a pile or loft. My go-to example is a bathroom towel. Thick and fluffy! Another popular material for machine embroidery would be Luxe Cuddle® Rose by Shannon Fabrics. This fabric is super soft and makes beautiful things like blankets, pillows and even stuffed animals. Depending on the type of material I will guide you to use the perfect stabilizer.

Sheer
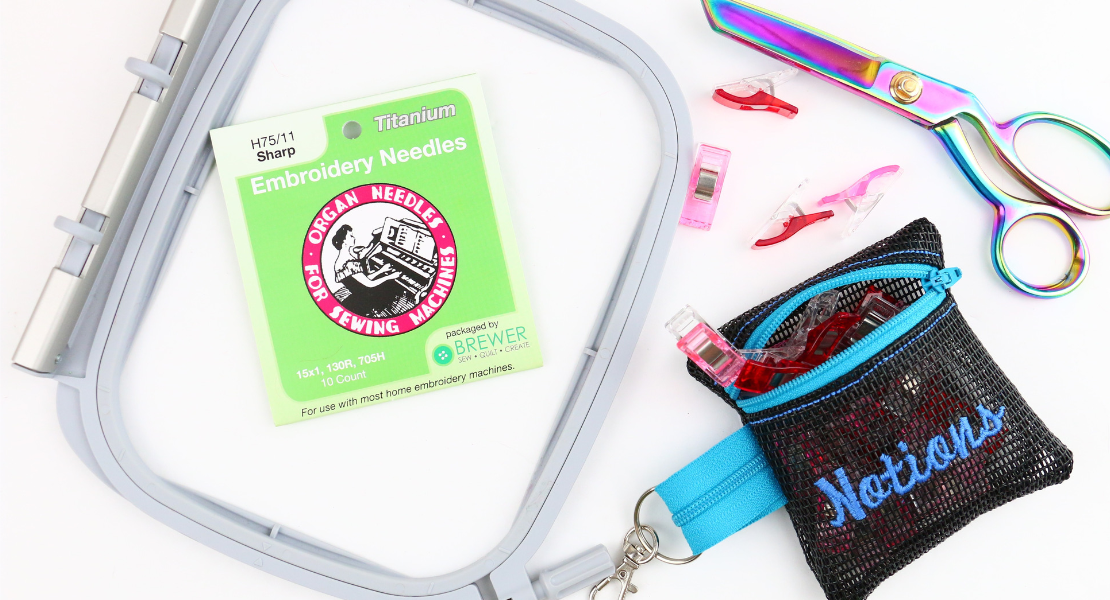
Sheer material is a nice general term for anything you can see through. When it comes to stabilizers and materials for sheer, the materials are very different. The type of stabilizer though is very much the same. Sheer materials can be tricky. If you use too much stabilizer the material will become stiff and if you use too little the material will pucker. I will cover these different materials and I will show you some fun projects which can be made with them, such as a Organza, Pet Screen and even the classic Handkerchief.
What is next?
Over the next four Embroider-along blog posts I will show you how to properly select stabilizers and materials for perfect stitching results. This next portion will begin with knit materials, move to woven materials, then onto napped materials and complete these stabilizers and materials lesson with sheer materials.
Here is the Embroider-along schedule:
- Embroider-Along Part 1: Intro four most popular materials for machine embroidery
- Embroider-Along Part 2: Stabilizer and Materials
- Embroider-Along Part 3: Needles and Thread
- Embroider-Along Part 4: Placement and Hooping for Machine Embroidery
- Embroider-Along Part 5: How to Embroider on Knits
- Embroider-Along Part 6: How to Embroider on Woven Materials
- Embroider-Along Part 7: How to Embroider on Napped Fabrics
- Embroider-Along Part 8: How to Embroider on Sheer Materials
- Embroider-Along Part 9: How to Embroider on a Ladies T-shirt
- Embroider-Along Part 10: How to Embroider on a Pillow Case
- Embroider-Along Part 11: How to Embroider on Luxe Cuddle® Rose
- Embroider-Along Part 12: How to Embroider on a Pet Screen
Which material are you most curious about? Let me know in the comments below and please ask any questions you might have about stabilizers and materials.
Until next time I hope you have a creative day, bye-bye!
Sue


What you might also like
39 comments on “Embroider-along Part 2: Stabilizers and Materials”
-
-
Video is great for delivering a project, step by step, so to speak. The Embroider-Along is going to help with the basics. As we move forward a video might be provided when we make a project. Thank you for joining in, 10 more weeks of education coming your way. Enjoy the Embroider-along ~ Sue
-
-
I really appreciate the clarity about the different types of fabrics. That in itself is helpful for me. I’ve never had any formal sewing training/education, but I love sewing. Now connecting that with the type of stabilizer makes much more sense. Thank you!
-
This is such great news!! Thank you for the positive feedback 🙂 Enjoy the Embroider-along 10 more to go!! ~ Sue
-
-
I am truly looking forward to this education. Thank You for taking the time to do this blog write up. I am a die hard Bernina user and just switched from the 580 to the 790+. Looking forward to trying out the new machine and its embroidery features.
-
Wonderful and thank you for your continued positive comments! Congrats on your sweet sweet upgrading to the 790+, that is my machine too. So many amazing things you can do with your machine, be sure to check out some of my other embroidery projects I’ve posted her on the WeAllSew blog. Enjoy the Embroider-along 10 more to go!! ~ Sue
-
-
I enjoyed this review. Although I have been embroidering for 15+ years, it is when I go to the store to purchase the stabilizer for a project that I need printed notes to review. Is it possible to have this in a one page print out for those of us that like to have reference pages?
-
Our WeAllSew blog content is posted in an open format. If you wish to print the post, you can easily print your tutorials from the WeAllSew blog. If you attempt to print directly from the screen a pdf will be generated for your convenience. Please give it a try.
-
when you print straight off the page you get all of the comments too. which isn’t needed.
-
Hello widge. When your print dialog window comes up you will see a preview of the document. Scroll through to see which page you want to end with; i.e., page 4. Now where it says Pages and All, there should be a drop down triangle. Click on that triangle and select Custom. Now enter the pages you want to print; i.e., 1-4, and then click the print button. Hope this helps you. I find this is a wonderful tool.
I am loving this Embroider-Along blog. Very well organized!
-
-
-
-
I am most interested in fleece/flannel/napped fabrics. They are both stretchy and fluffy, like a napped knit! I am also interested in free standing lace, where I make the fabric with embroidery.
-
I love embroidering with my 830 even though she can be temperamental at times. I made potholders for gifts and had a real issue with puckering. I used broadcloth and embroidered a very dense large design. I used two layers of tear-away, spray starchedthe boadcloth, and lowered the tension. Still puckering! I am interested in learning how to solve this problem.
-
Thank you for your thoughts and comments. Kudos to you for trying and continuing to try. It’s important that we keep pushing forward. Sometimes I think our machines think they are smarter than us, but really we are the boss! I might add “Broadcloth” into the mix of materials I discuss here to help you out. Remember we still have a ways to go so stay tuned and keep following along. Enjoy the Embroider-along 10 more to go!! ~ Sue
-
-
I’m curious as to what stabilizer you would use to embroider on chalkcloth.
-
OOOhhhh good question. When you say Chalkcloth, do you mean the material that is sort of like a “vinyl”? Chalkboard fabric? Follow this link and let me know.
https://www.brewersewing.com/p-255613-chalkboard-fabric-1yd-cut.aspx
If so, I would treat it like “Vinyl” in that case, I would most likely NOT hoop it (we will discuss that on week 4) and use either a sticky type stabilizer OR a tear away (medium weight) and use clear tape, like “Scotch tape” to secure it to the stabilizer. Hooping it would be so difficult and ultimately leave a hoop mark. Thanks for the thought, I will be sure to add to the blog at one point. Keep following along and thanks agian!! Enjoy the Embroider-along 10 more to go!! ~ Sue
-
Here are the Enchanted Embroidery designs. Ask your local shop if they can get your favorite one in!
https://www.brewersewing.com/search.aspx?ctl00$Search$SearchBox=enchanted%20embroidery%20sue
-
-
-
I am now interested in embroidery on Turkish hand towels.
-
Turkish hand towels sure are pretty and they come in so many different colors. You’re doing great following with my embroider-along and coming up in part 6 I will be talking about woven materials (which Turkish towels fit into). Since you mentioned it here – is what I would use, Ultra clean and tear fusible (maybe two layers) depending on the design. I’d also avoid very thick or dense designs. Light an open are always a good bet. I’ve got a series of Enchanted embroidery designs, they are all open and light weight. In part 3 I will be giving away a free design to try out! So stay tuned. Enjoy the Embroider-along 10 more to go!! ~ Sue
Here is the link for the stabilizer. Ask your local shop if they can get it for you 🙂
https://www.brewersewing.com/search.aspx?ctl00$Search$SearchBox=ultra%20clean%20and%20tear%20fusible
-
-
I wonder about embroidering best practices with fleece. It is a fairly stable but chunky knit.
Also wonder about athletic knitwear- slippery very stretchy fabrics.-
Ohh very good questions. Fleece is a fun item to embroider on. I will add these to my list. Probably pay attention on part 7, that will be all about napped fabrics. As for the slippery very stretchy fabrics, that would be discussed in part 5, although that is a tricky one, not really a “Basic” but if I don’t get to it, I promise to keep in for a future post. Enjoy the Embroider-along 10 more to go!! ~ Sue
-
-
Also am sorta curious about lightweight embroidery on wood.
-
Very good question. There is an excellent blog post here on We All Sew relating to that exact topic!! Check it out
https://weallsew.com/monogrammed-necklaces-on-wood-by-handmade-charlotte/
Enjoy the Embroider-along! ~ Sue
-
-
Looking to learn, the difference between all of them, seems to a lot of different, for me to work on T-shirt’s, and lighter, material, from Florida, … Right now doing the Santa workshop tiles, and were putting 3 to 4 layers of different stabilizers, and why they go on in specific ways
-
Yay!! Thanks for the positive comments and please keep following along. This series should provide excellent “basics” for anyone but we are always here to help for specific questions.
Enjoy the Embroider-along! ~ Sue
-
-
What’s the difference between .art and .exp for embroidering on my BERNINA?
-
Very good question. I found you the perfect answer on BERNINA.com website.
https://www.bernina.com/en-US/Support-US/FAQ/Machines/8-Series/What-is-the-difference-between-art-and-exp-embroidery-file-formats-and-what-are-the-effects-on-thSo if I want to “edit” the design on my Toolbox software I would bring in the .art. This will be the best format for that. However when I save the file to be sent to my machine, I save the .exp file.
Hope this helps Enjoy the Embroider-along 10 more to go!! ~ Sue
-
-
Very good question. There is an excellent blog post here on We All Sew relating to that exact topic!! Check it out
https://weallsew.com/monogrammed-necklaces-on-wood-by-handmade-charlotte/
Enjoy the Embroider-along! ~ Sue
-
I went back to part 2 and copies the stabilizer list for different fabrics to put on my cork board, therefore,it is handy and at a glance.
-
Brilliant. Bookmark this page too for easy access to all the post. Enjoy the Embroider-Along ~ Sue
-
-
I struggle with using the correct stabilizer for quilt blocks and onesies. They both look good until laundered and then they draw up.
-
Keep reading and bookmark the entire series. https://weallsew.com/category/projects/embroider-along/
As for quilt blocks, it sounds like there might not be enough stabilizer. For quilt cotton I almost always iron on a fusible woven interfacing on the wrong side (to give the fabric more body). Maybe you could try that. And for onesies, head to part 5 of the blog series (link above) and follow the step by step tutorial.
Enjoy the Embroider-Along ~ Sue
-
-
Is there ever a time when two or more layers of stabilizer are necessary? Both layers would be under the project?
-
Absolutely. As you follow the series I will go into details about when it is needed. For example if you are hooping with a piece of stabilizer but your gut tells you it isn’t enough, you can always slide a piece of stabilizer under neath the hoop.
-
-
Just starting this series and looking forward to learning some basics to follow. I have a new 770 QE and have been learning lots through trial and error! Glad for the “best practice” tips here.
-
Thanks for joining in the fun. Please let me know if you have any questions along the way.
~sue
-
-
I want to do an embroidery stitch (an existing stitch that is on my B350) on a tablecloth on the Aida fabric within the linen. Do you think the tear away is sufficient? Or should I also use the washable on top as well? Any suggestions on the best stitch and thread? Was thinking of using a variable color thread???
-
My instincts are saying use a fusible tear-away – hoop that – float a piece of medium weight tear-away underneath. I’m not sure about the topper since Aida cloth doesn’t really have much “texture”. Good luck
-
-
I see this originally was posted in 2018, so not sure if I can still get a response. I would love to put something on gauze not sure how to deal with the shear fabric that’s bump and stretchy.
Ann S.
-
Hi Ann
When it comes to gauze, you want to make sure it stays in place while stitching. So personally I would iron a piece of fusible tear-away to the wrong side (then it will stay put). Use a lightweight low density design, probably a 75/11 embroidery needle, and 40 or 50 wt thread. I don’t think the topper is necessary unless your gauze is really bumpy. The other option could be to hoop a shear cut-away, float the gauze on top and then baste to hold it in place. Good luck.
Leave a Reply
You must be logged in to post a comment.

I thought this sew a long was going to be a video. Am I wrong in thinking this.