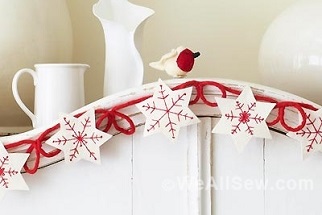
Scandinavian Inspired Christmas Ornaments

Hello WeAllSew readers! My name is Melissa Mortenson and I’m excited to be sharing a simple Christmas ornament tutorial with you today. Most days you can find me working in my office creating content for my blog the Polka Dot Chair, or designing fabric for Riley Blake Designs.
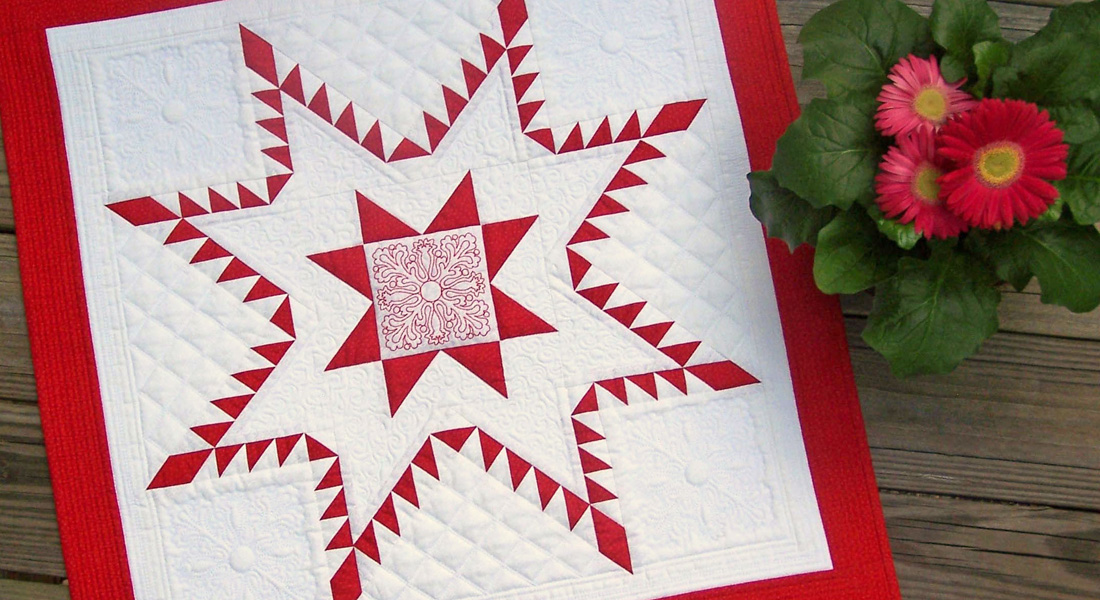
My family is Scandinavian (my dad is 1/2 Norwegian and 1/2 Icelandic) and I’ve always admired Scandinavian style, especially at Christmastime. A few years ago we were able to take a trip to Norway as a family and I stumbled on the most adorable Christmas shop. I was so inspired by all of the red and white decorations. I’ve created a few tutorials since I’ve been back that were inspired by that trip (this pillow from the WeAllSew archives is one of them). Today I’m adding to that list with some simple Christmas ornaments.

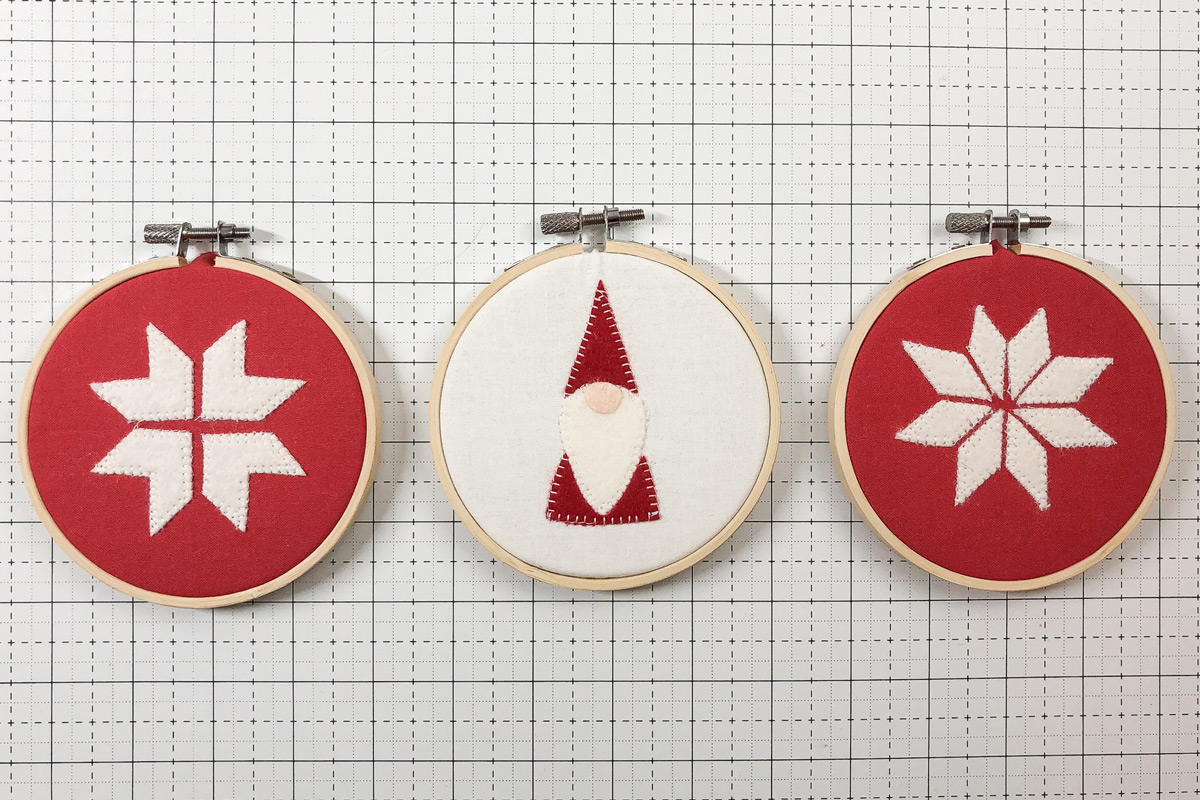
These ornaments are quick to stitch up and would make great gifts. I’ve included 3 designs for you to pick from when you’re creating your ornaments.
Materials to Make a Scandinavian Inspired Ornament
For one ornament:
- 6″ x 6″ piece of cotton fabric
- 6″ x 6″ piece of white wool felt -for the Gnome ornament you will also need small pieces of red felt, and flesh colored felt
- 2, 6″ x 6″ pieces of lightweight interfacing
- 4″ Embroidery Hoop
- 1 package paper-backed fusible web
- Small Sharp Scissors
- Basic Sewing Supplies
- Open Toe Applique Foot like the Open embroidery foot #20C
- Download the Scandinavian Inspired Christmas Ornament Template


To create either snowflake ornament:
Apply the lightweight fusible interfacing to the wrong side of the 6″ x 6″ piece of cotton fabric and the 6″ x 6″ piece of white wool felt. (Note: if you are using another color of felt besides white, you can skip adding the interfacing to the felt. The interfacing is to help prevent the darker color from showing through the felt).

Trace the ornament pattern onto the paper side of the paper-backed fusible web. I just use a pencil. Be careful using ink as it may transfer to other parts of your project.
Cut out loosely.
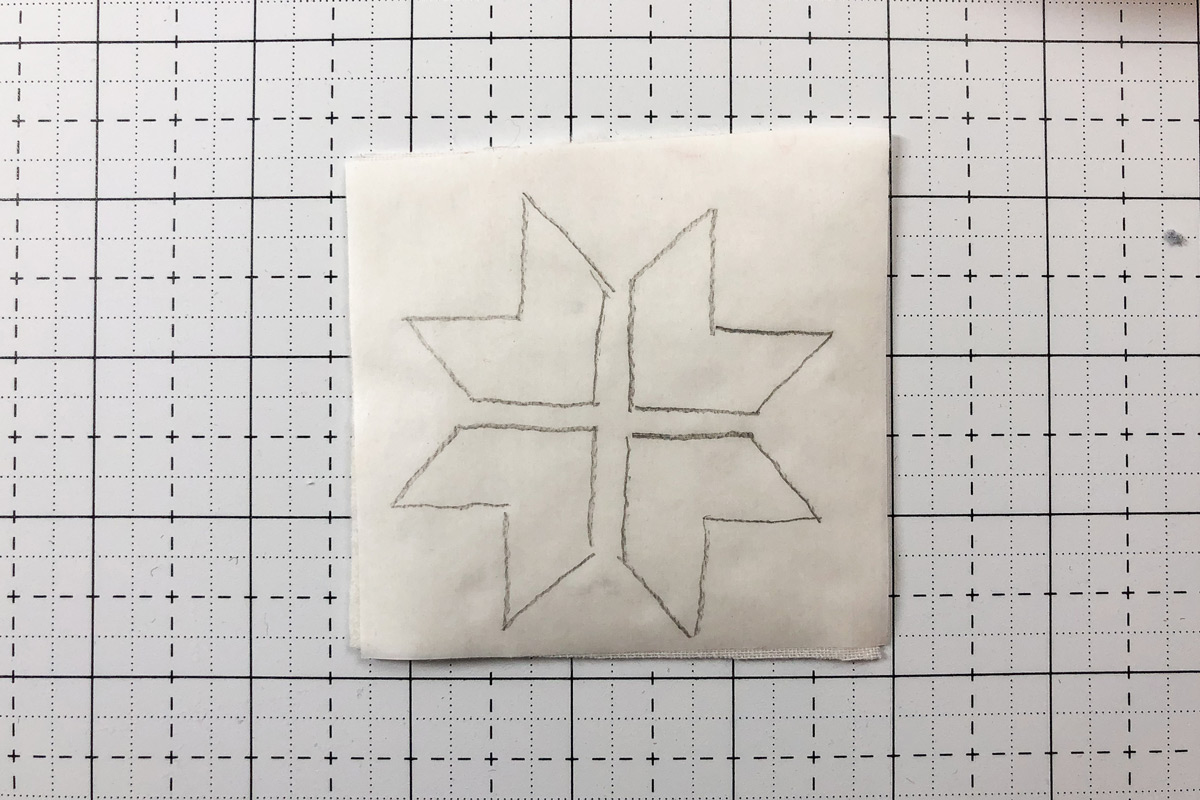
Following the manufacturer’s directions, iron the traced image onto the piece of felt. You will adhere it to the side with the interfacing.
Cut out the pieces along the lines you traced.

Fold your 6″ x 6″ piece of fabric in half and finger press. Fold it in half again. This will give you a guide to use as you apply your felt pieces.
Peel the backing off of the cut pieces and arrange on the fabric.
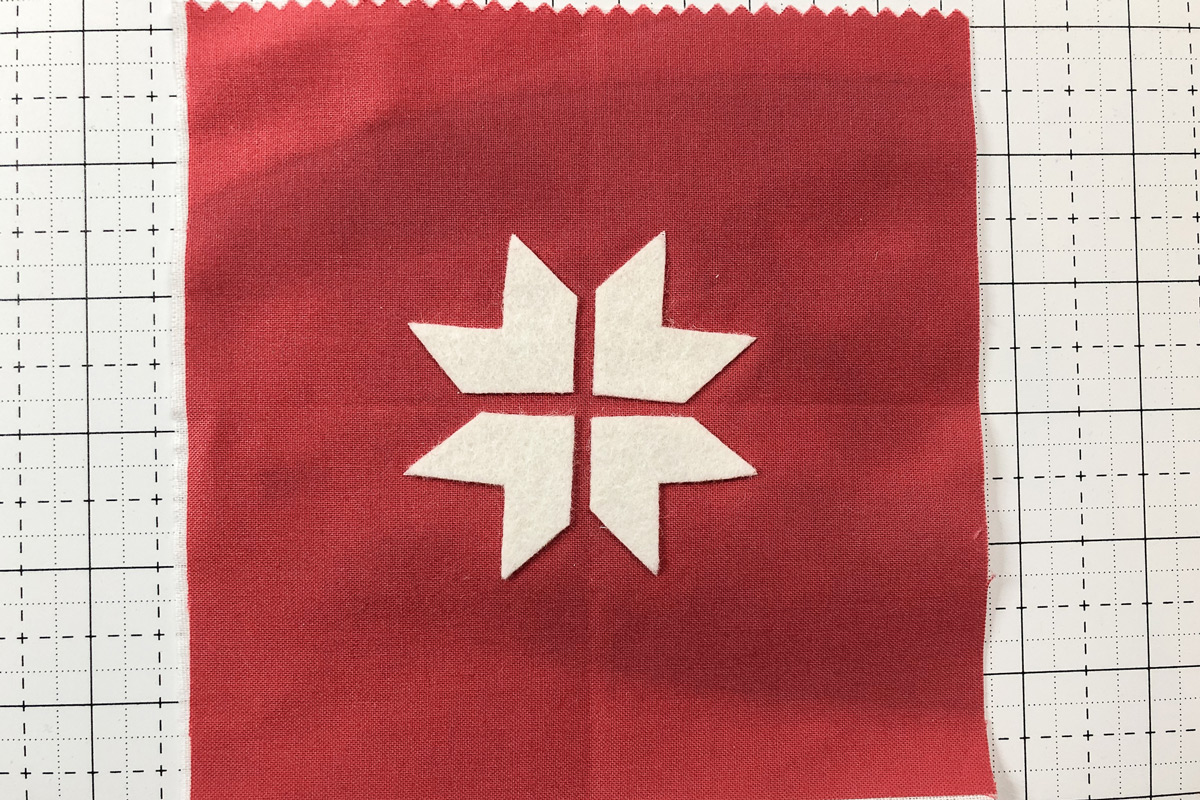
Press in place.
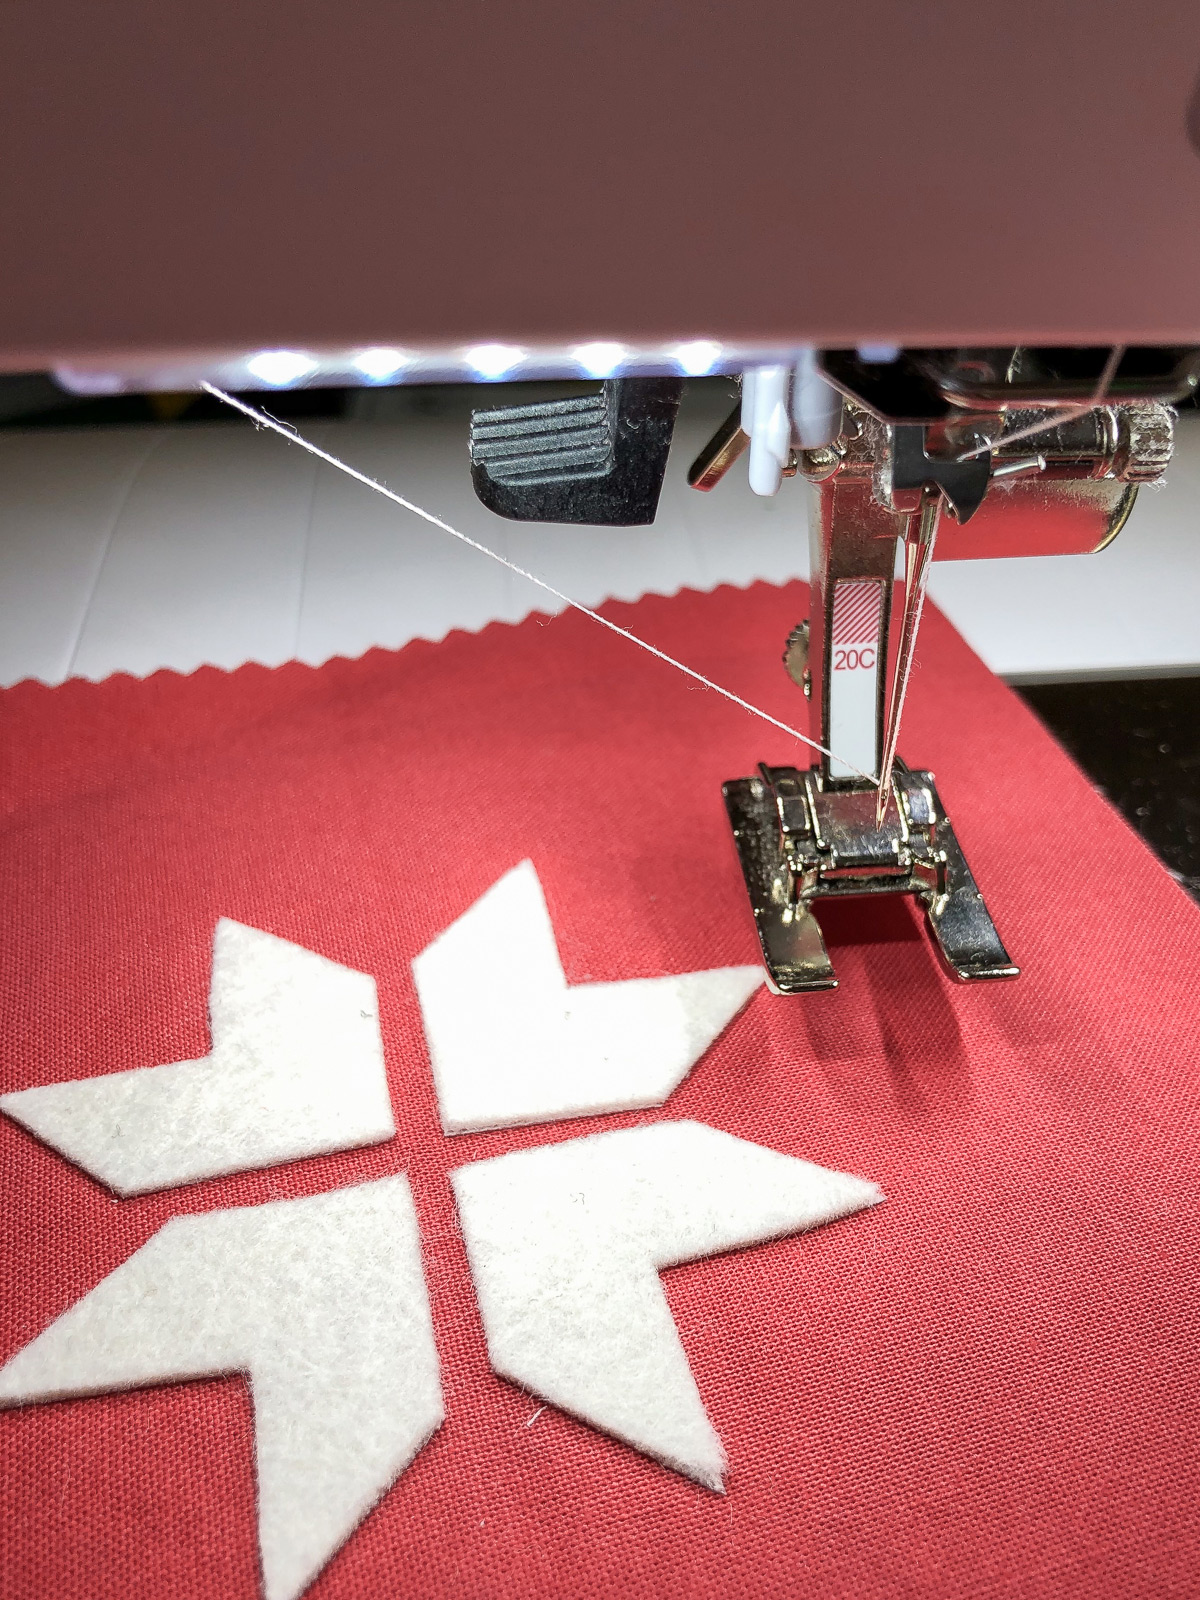
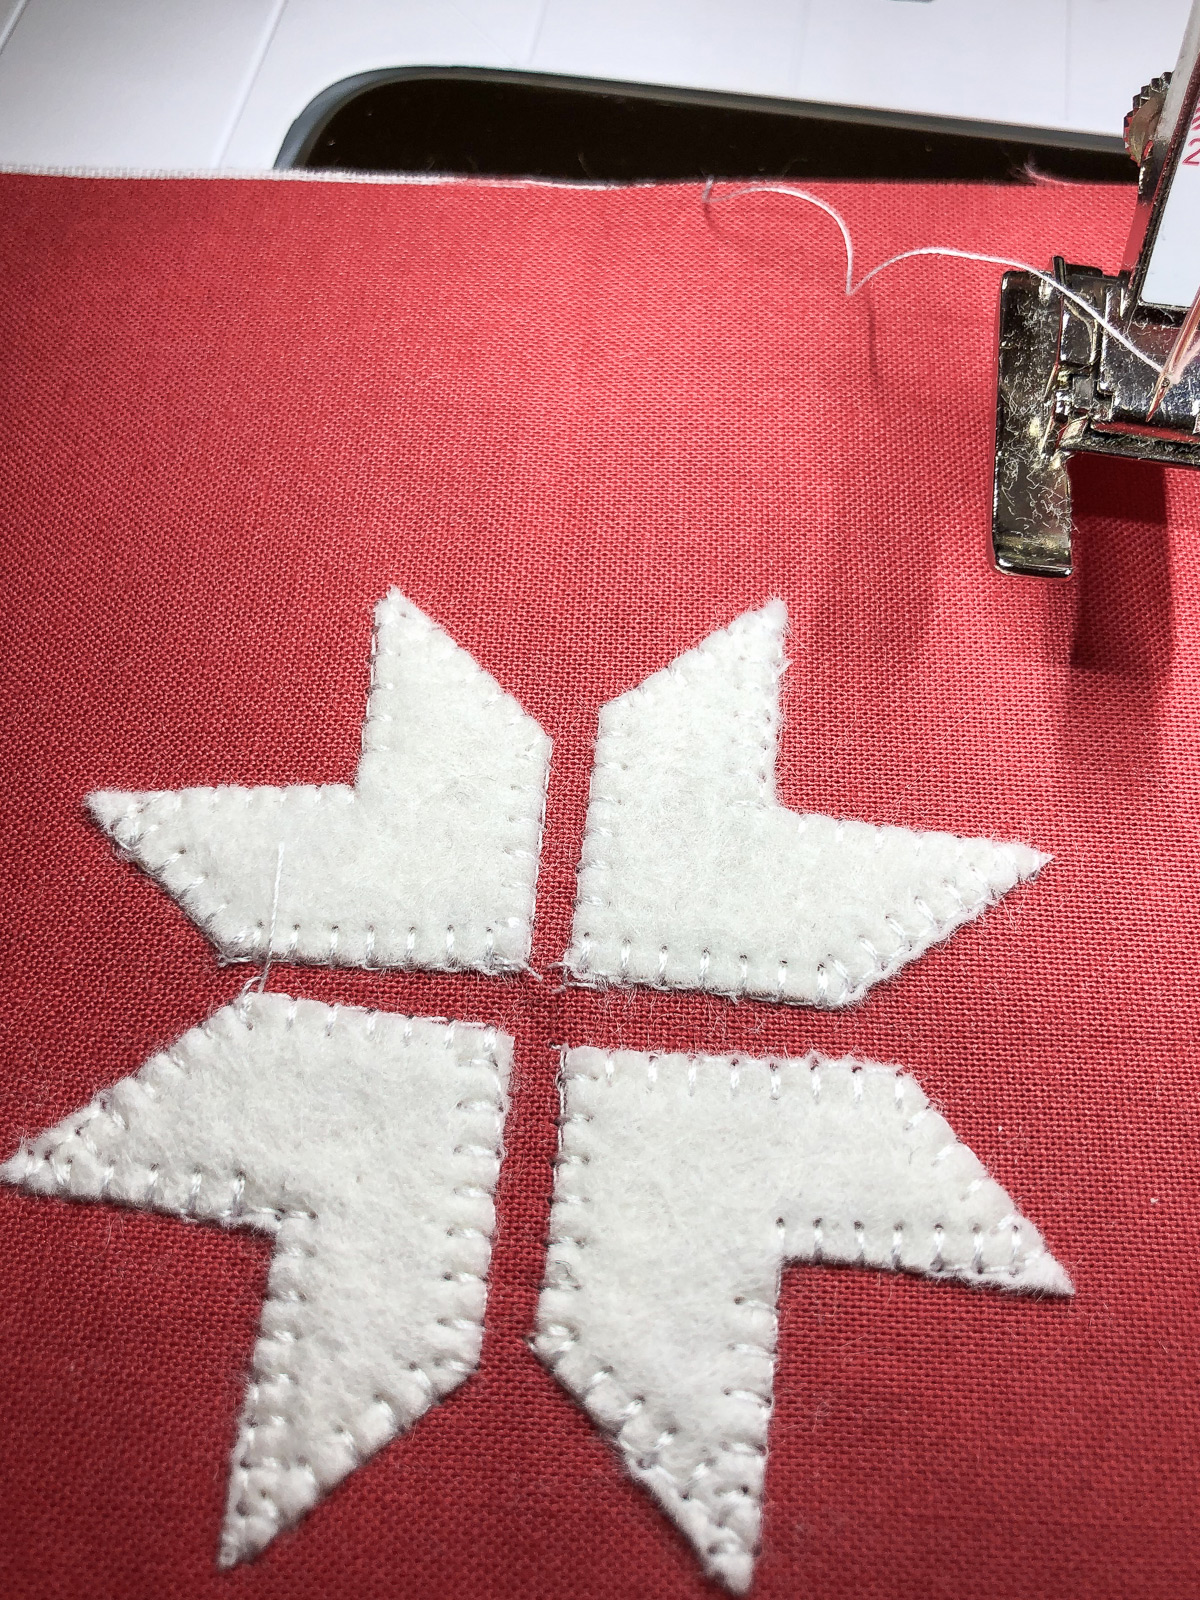
On your machine attach an open foot, I use 20C. The open toe of the foot will allow you to see the applique stitches as you sew them.
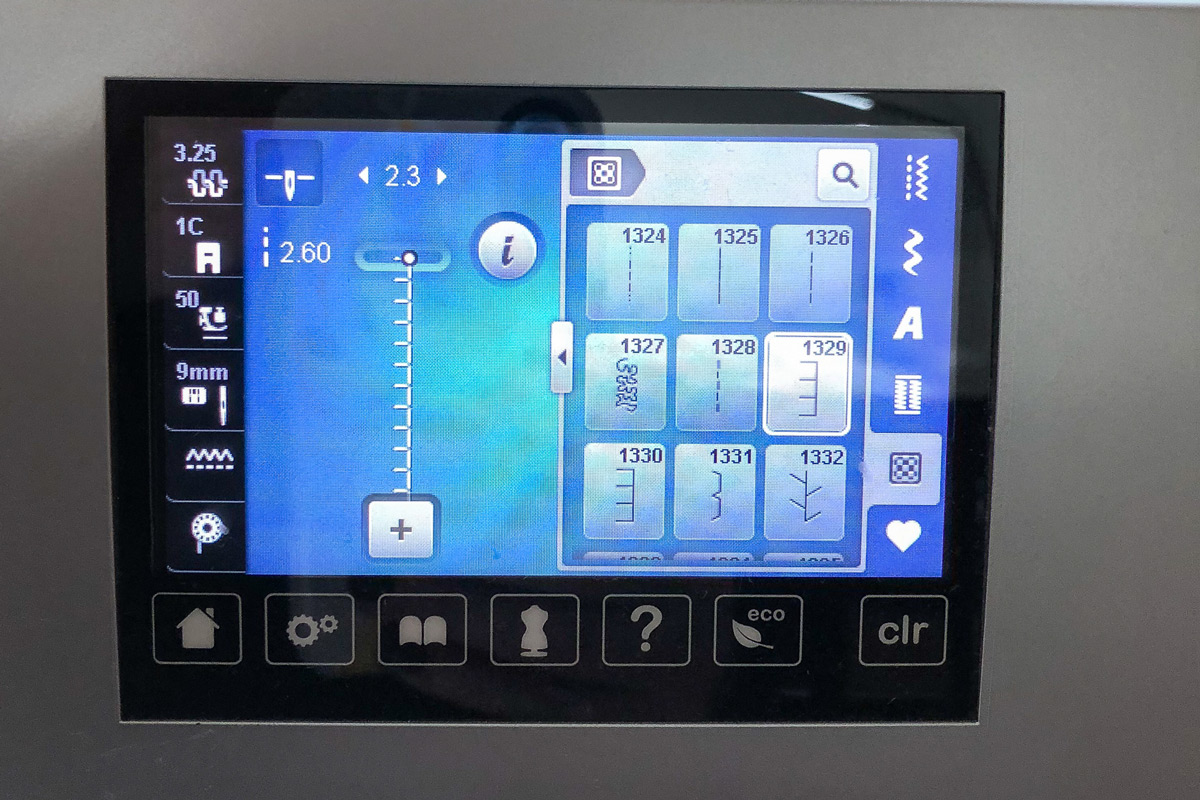
Choose an applique stitch on your machine. I used stitch 1329.

Begin stitching around your wool pieces. You want to make sure as you stitch that the forward motion of the stitch runs along the outside edge of your felt, and the sideways motion of the sitch goes onto your felt piece.
Keep stitching until you get back to where you started. Repeat for all pieces.
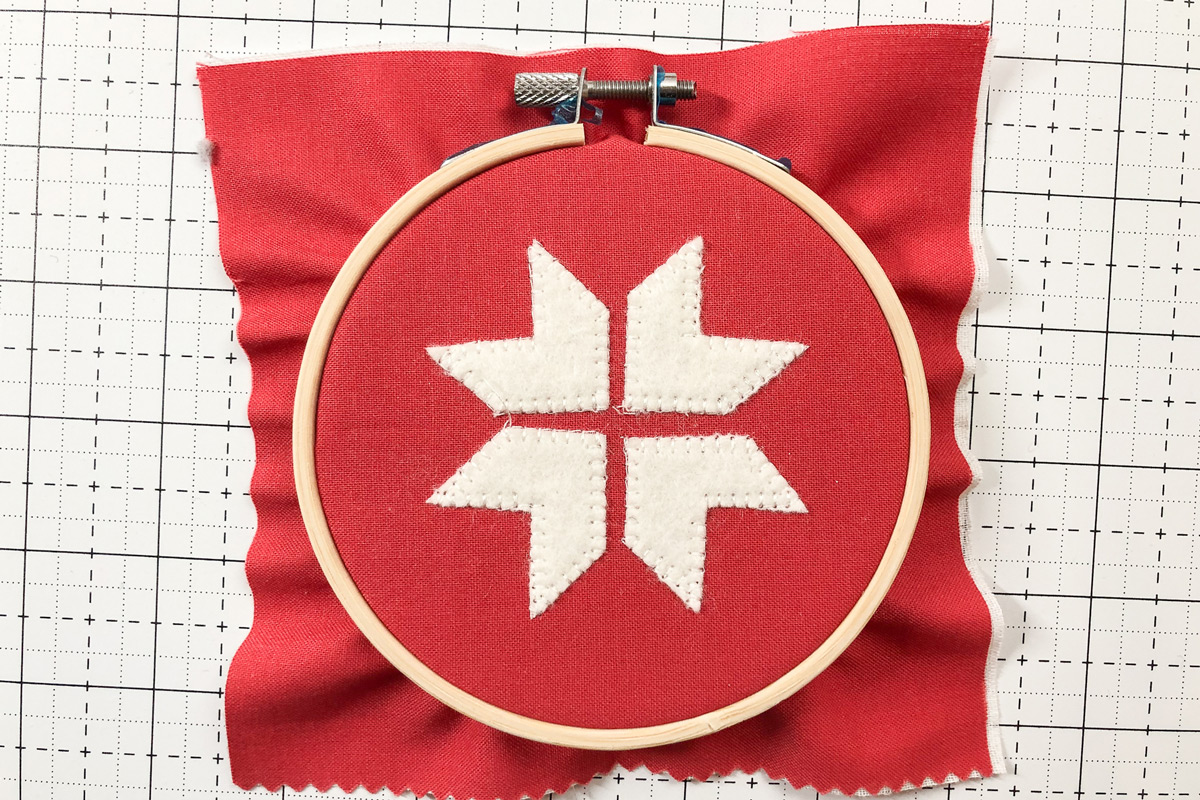
Center the sewn piece in your embroidery hoop. Attach the hoop and tighten.
Using sharp scissors trim the excess fabric off the back of the hoop. I chose not to add anything to the back of my hoop. If you want to add, I recommend gluing a piece of felt to the back.
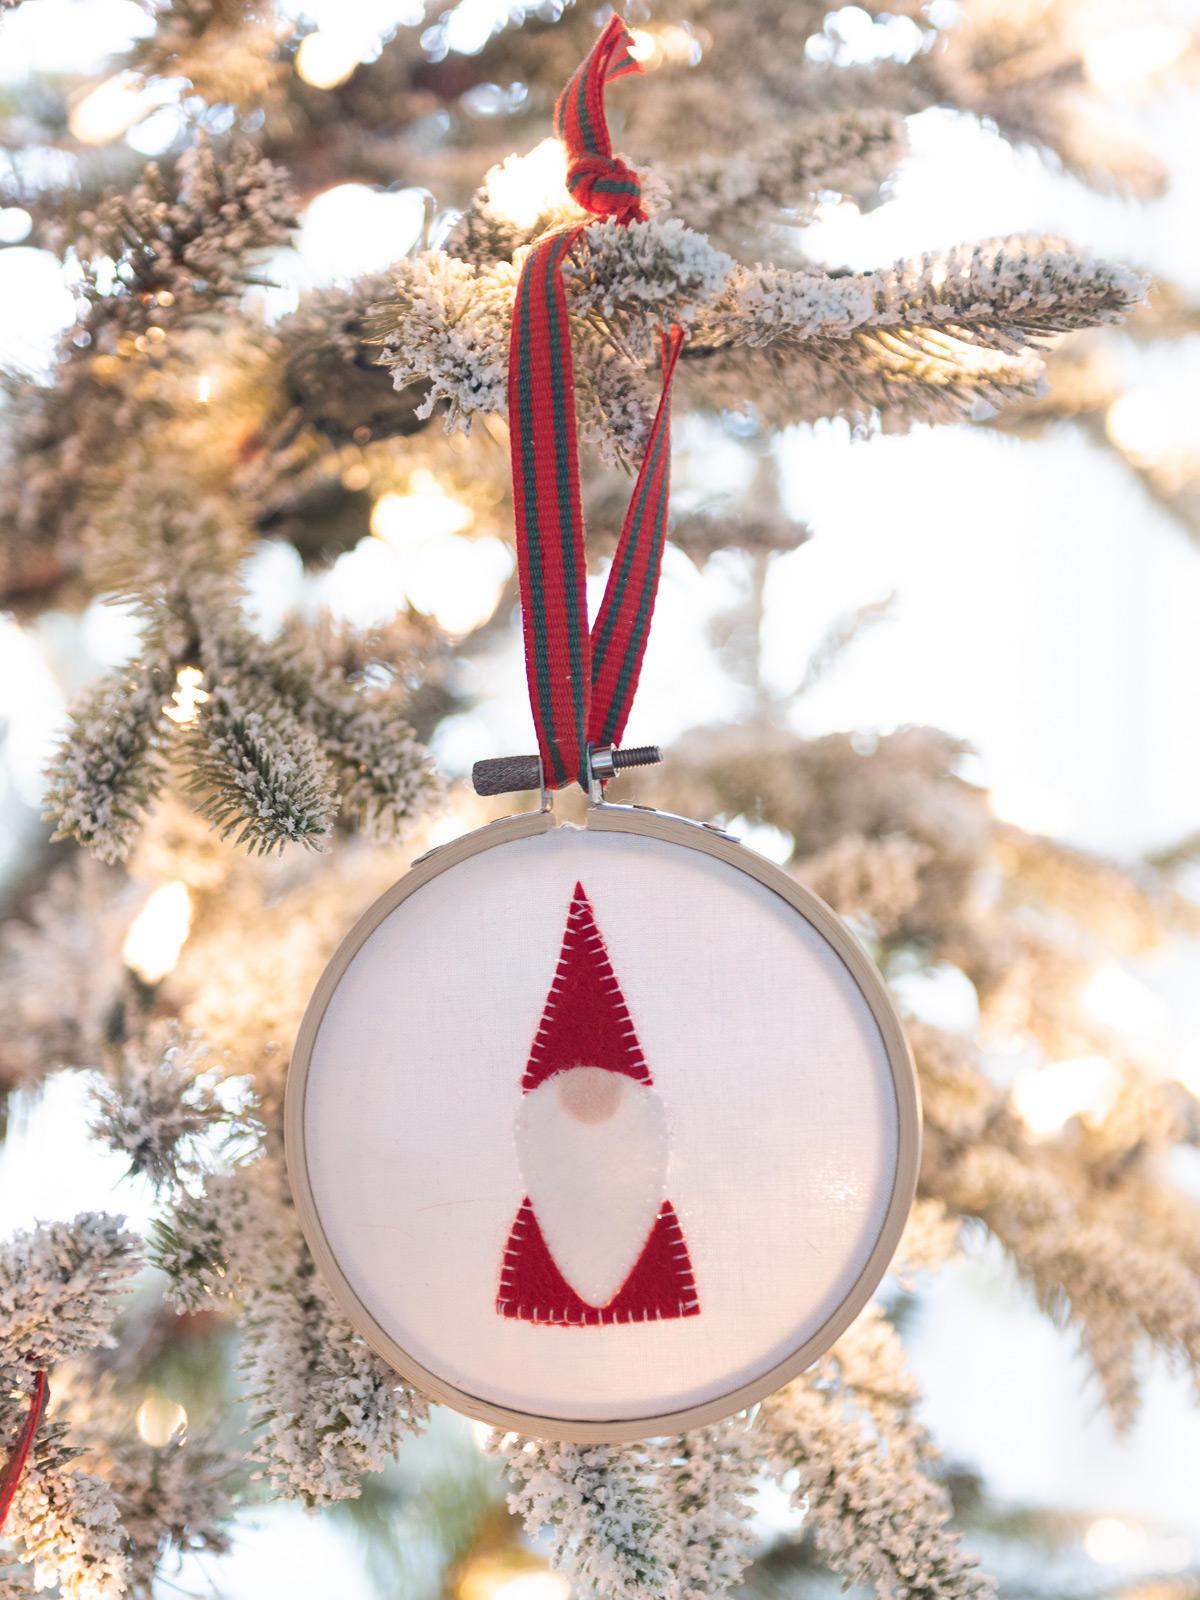
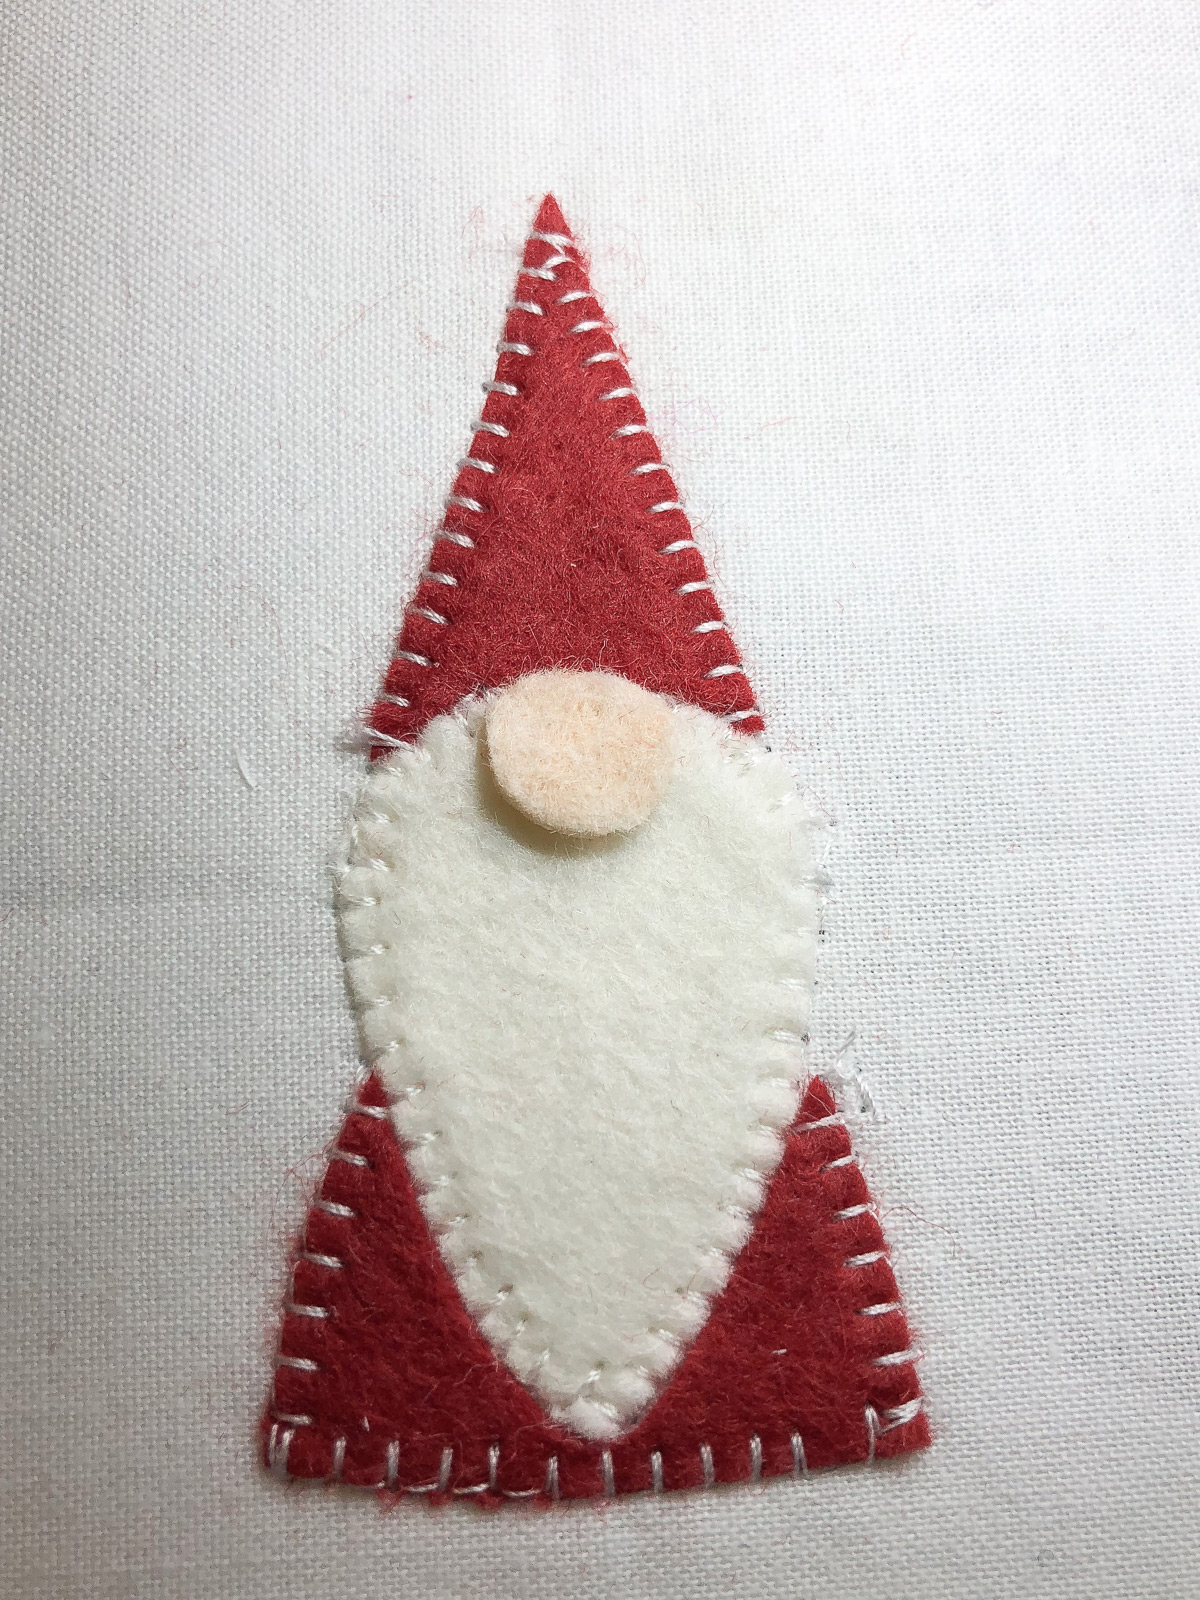
The gnome ornament is constructed in exactly the same way, there is only one change.
Do not attach the nose until after you have stitched down the beard and clothing pieces. I used white thread for all of the pieces on the gnome ornament.
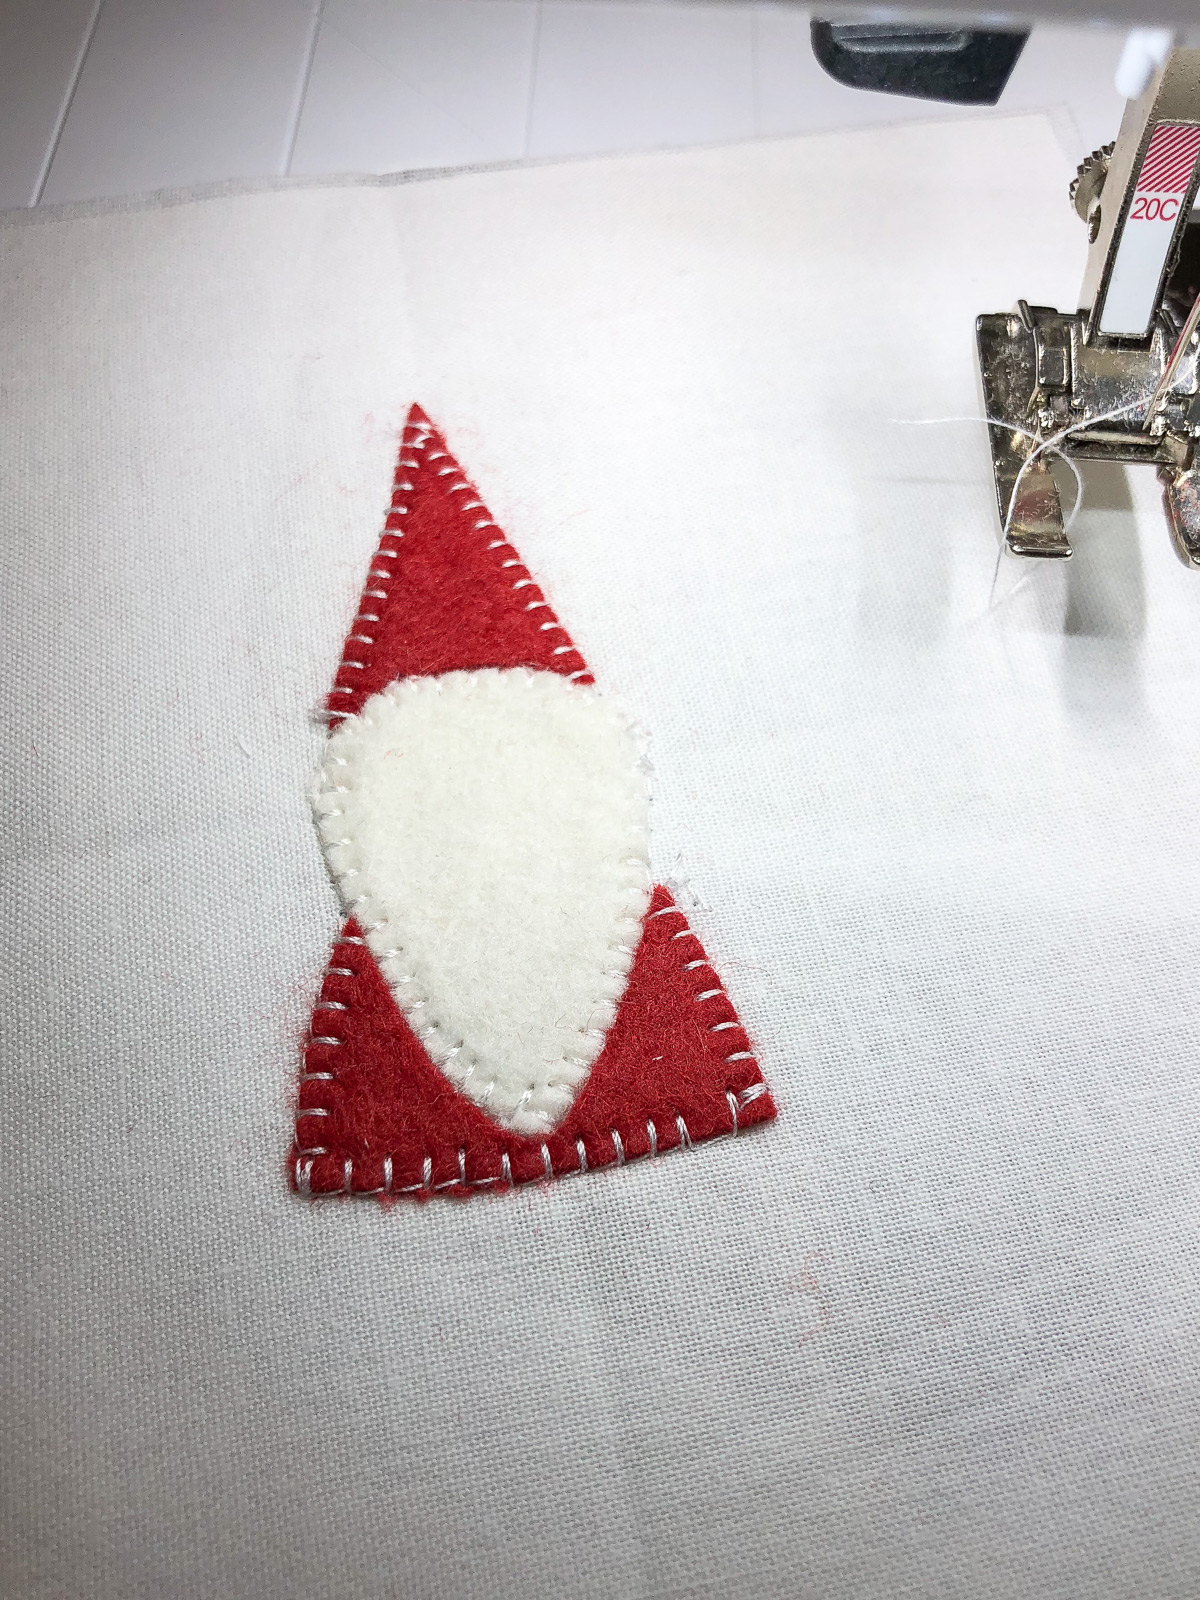
Add the nose last. I chose not to add applique stitches around the nose since it was so small.
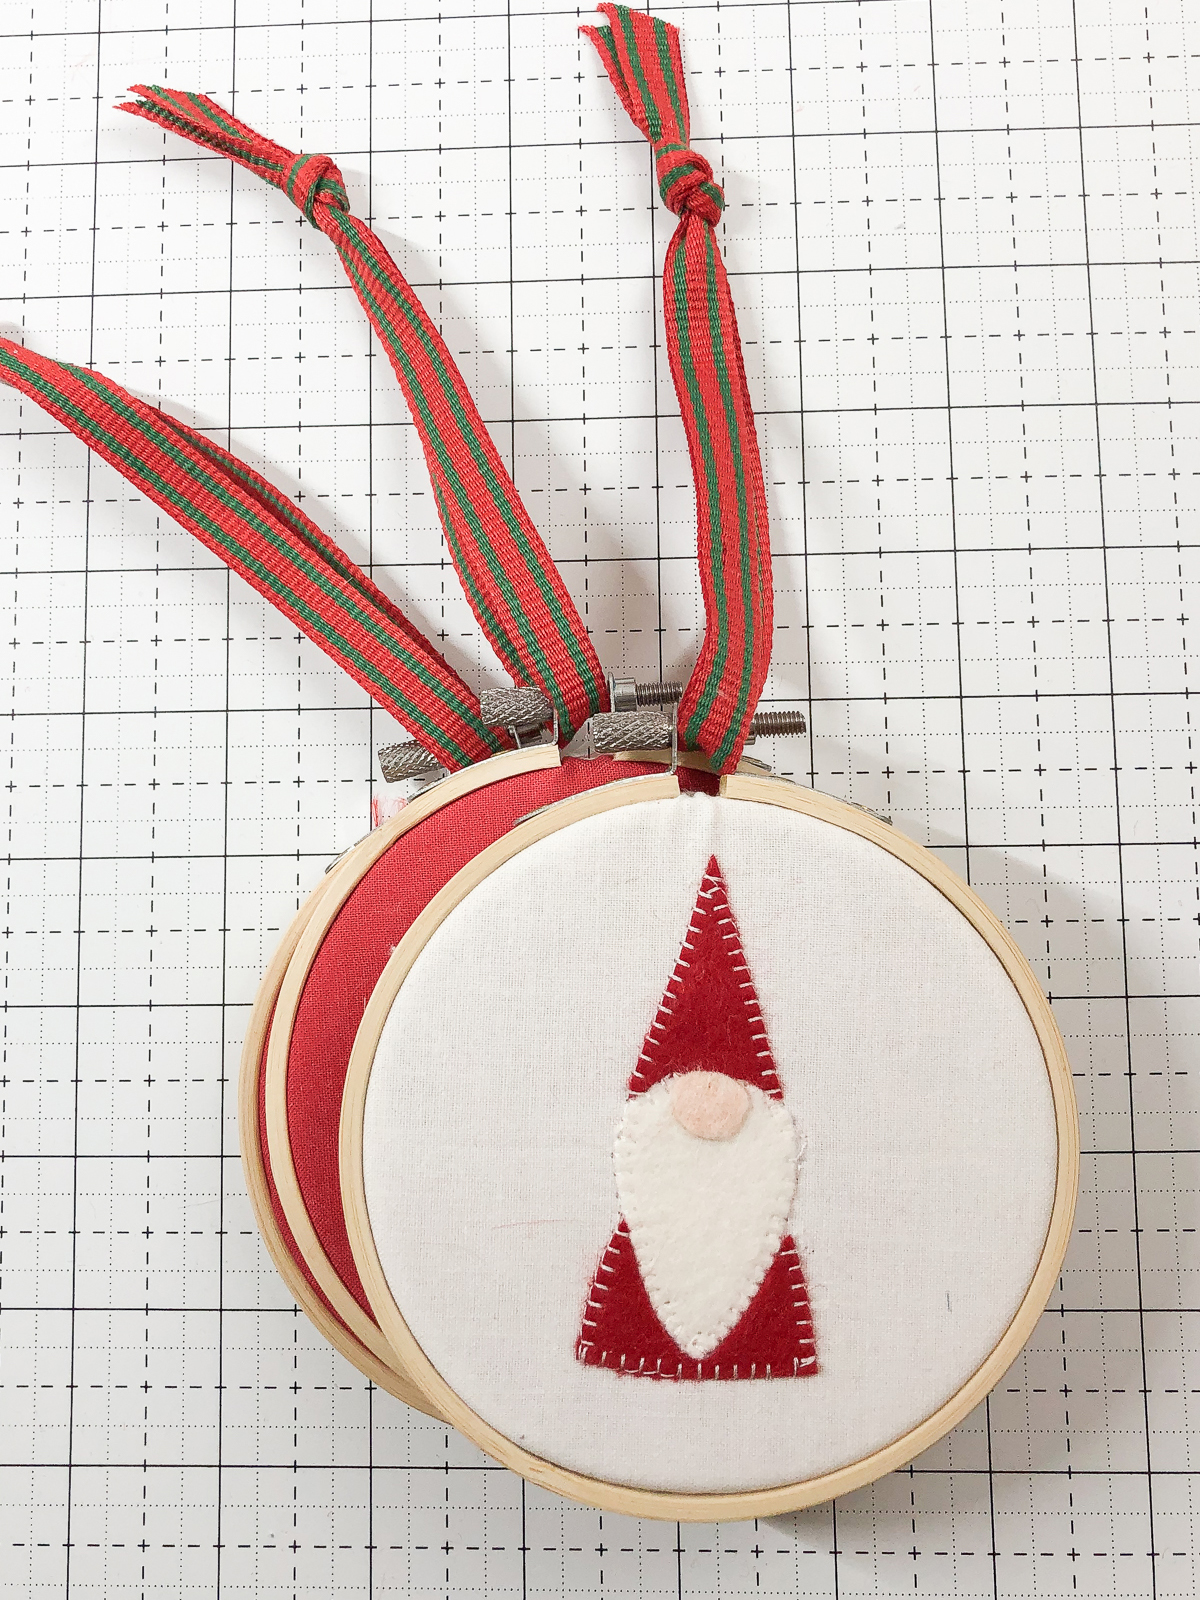
When you’re done, just attach some ribbon and hang on your tree.
Used Products

What you might also like


3 comments on “Scandinavian Inspired Christmas Ornaments”
-
-
Our WeAllSew blog content is posted in an open format. If you wish to print the post, you can easily print your tutorials from the WeAllSew blog. If you attempt to print directly from the screen a pdf will be generated for your convenience. Please give it a try.
-
-
Christmas fun!
Leave a Reply
You must be logged in to post a comment.

So excited to see you on this site. I have been following you for several years. Your ideas always bring a smile to my heart. Is it possible to have this as a page or two print out to save the idea for my fall 2019 projects?