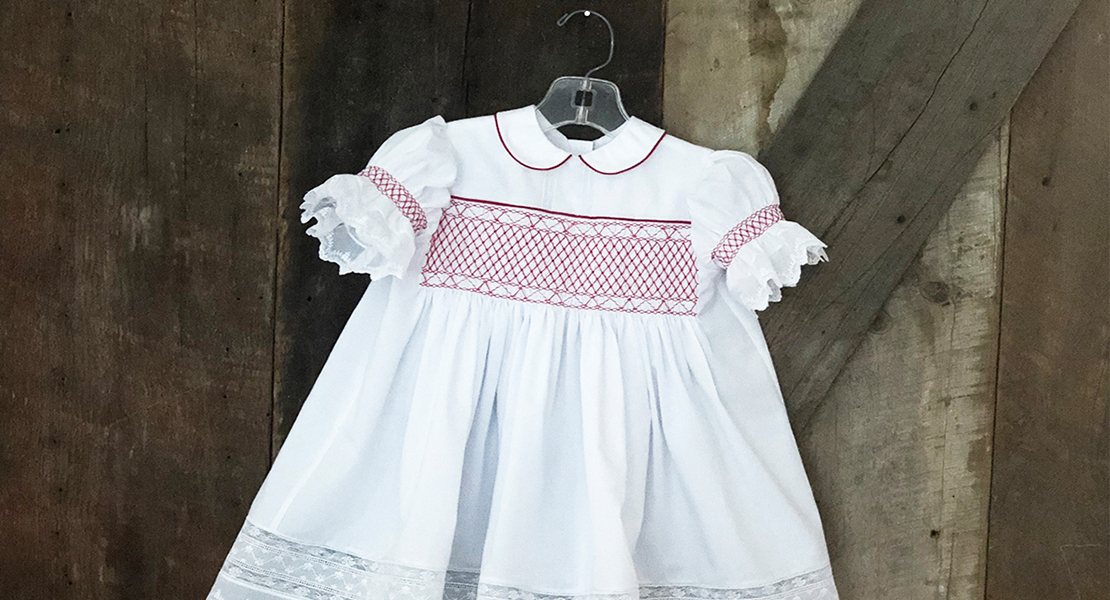
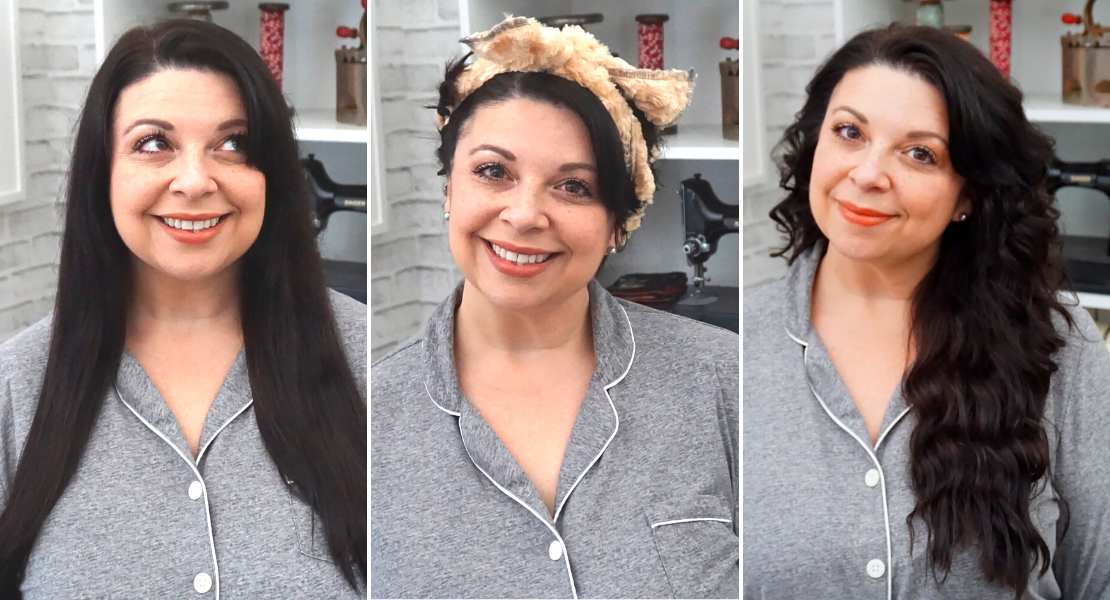
Heirloom-inspired Hair Bow
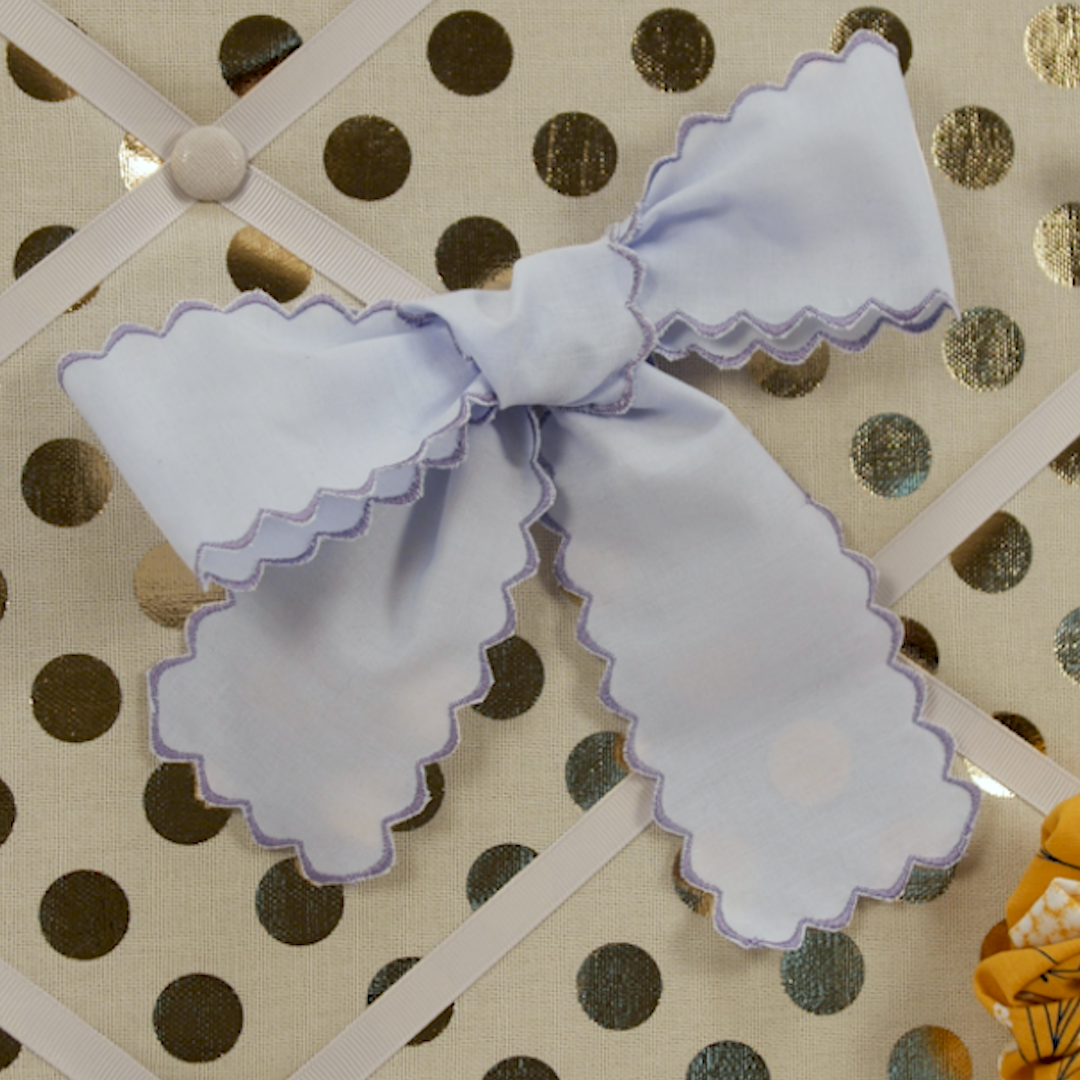
I was out shopping for a Christmas gift for my best friend’s daughter and came across this store with an exciting selection of hair accessories and every color, size and genre. From sparkling cheerleading hair bows to petite everyday bows and a lovely selection of classic heirloom style bows. Upon seeing the heirloom bows, I just knew that my B 770 QE PLUS could recreate this stitching technique.
Materials to Sew an Heirloom-inspired Hair Bow
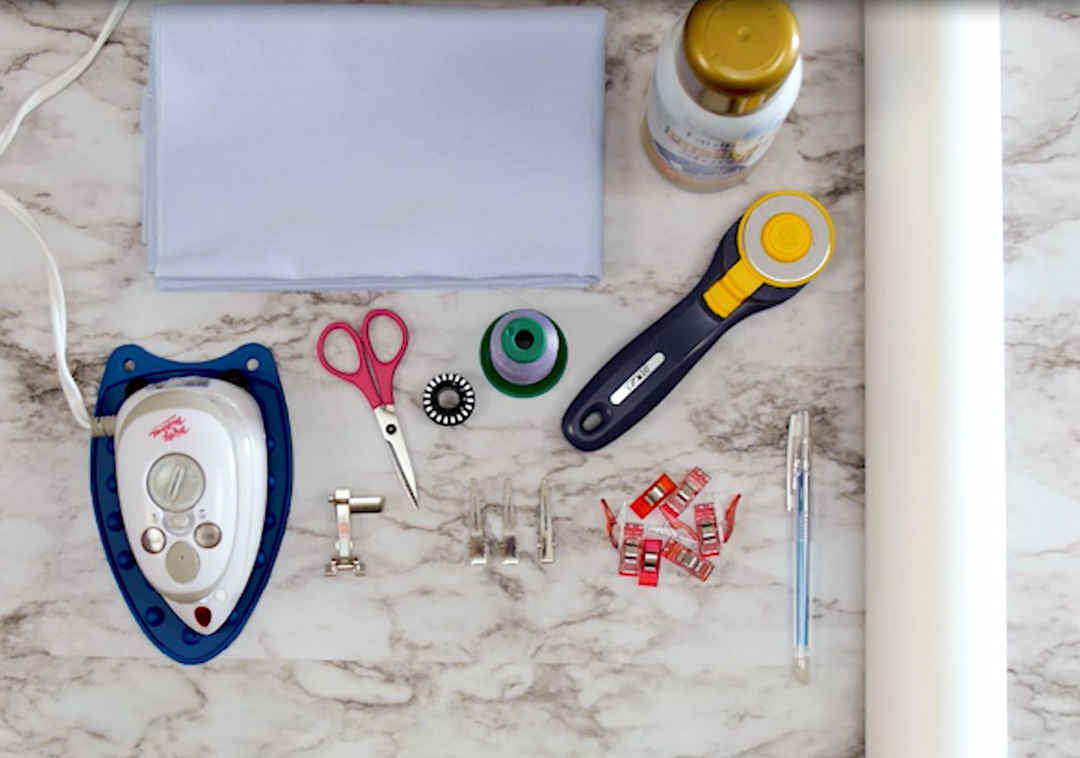
- Batiste Fabric
- Open Embroidery Foot #20C
- Isacord Thread
- Microtex Needles sz 80-12
- Heavy Weight TearAway Stabilizer
- Snips
- 6 x 24 in ruler
- Rotary Cutter
- Wonder Clips
- Marking Heat Away Pen
- Iron
- Spray Starch
- Hot Glue Gun
- Metal Hair Clips
Steps to Sew an Heirloom Inspired Hair Bow
Step 1: Cut out Materials
- Cut (1) 3” x 32” strip of Batiste Fabric
- Cut (1) 3” x 32” strip of Heavy Weight TearAway Stabilizer
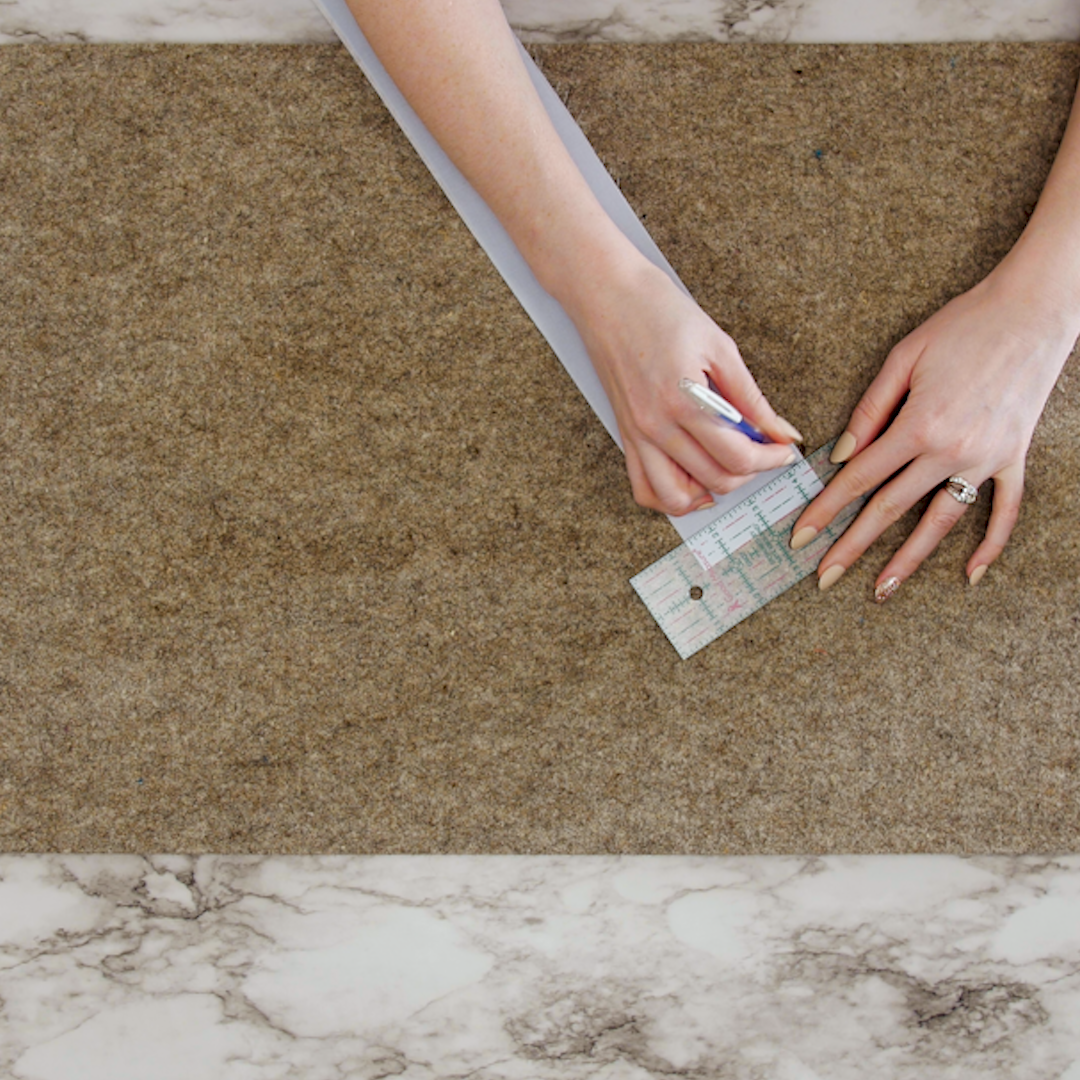
Take your batiste fabric and starch it heavily. I used Faultless Spray Starch. Follow the instructions on the bottle.
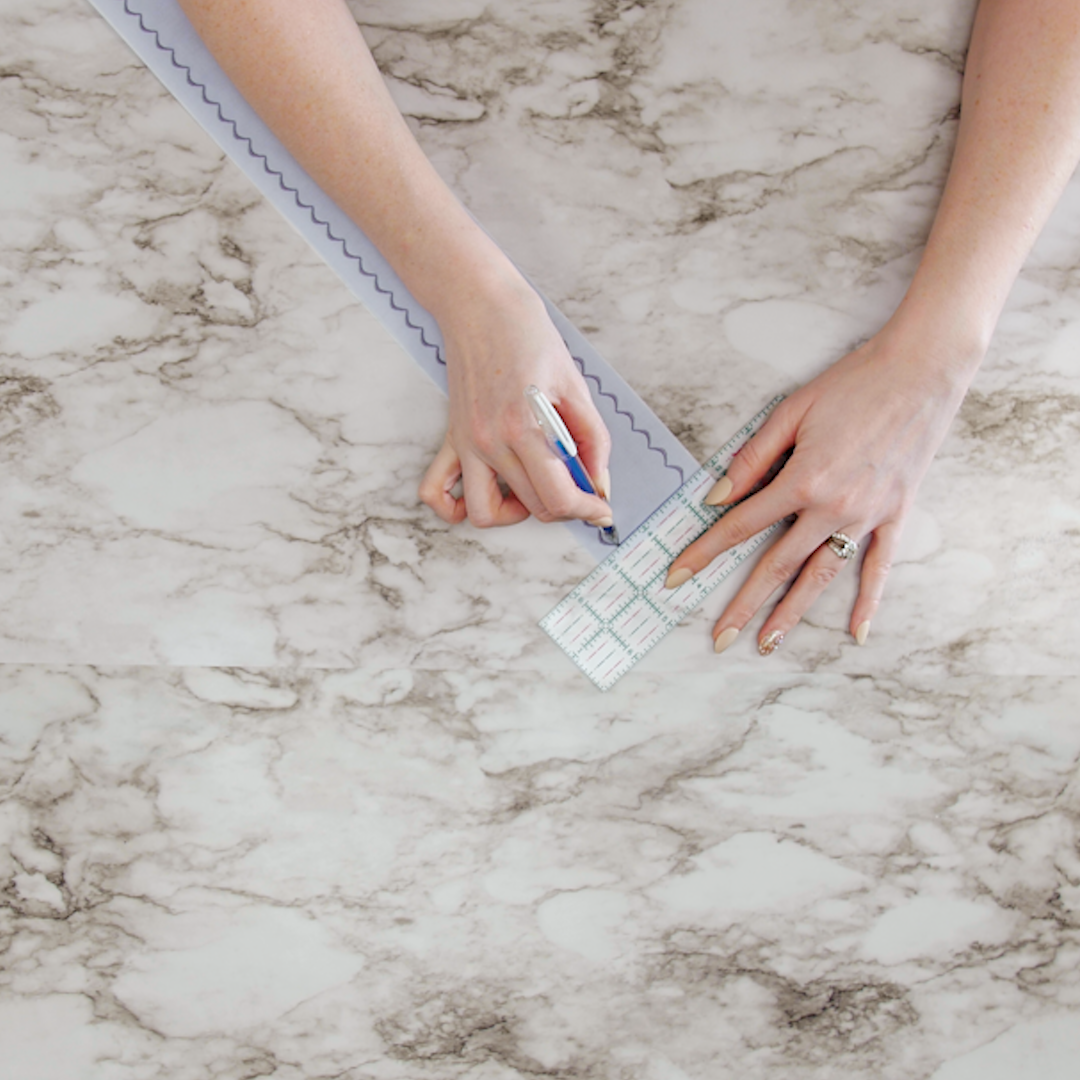
Now place your batiste fabric on top of your Heavy Weight TearAway Stabilizer. Use a ruler to mark your starting line for the first four scallops 3/4” from the top and mark your start/end point 1/2” in on both sides. Use Wonder Clips and clip down the side to hold everything in place.
Step 2: Setup Sewing Machine
Attach the Open Embroidery Foot #20C to your machine and insert a new microtex needle size 80-12.
For your machine settings, we need to select the following functions:
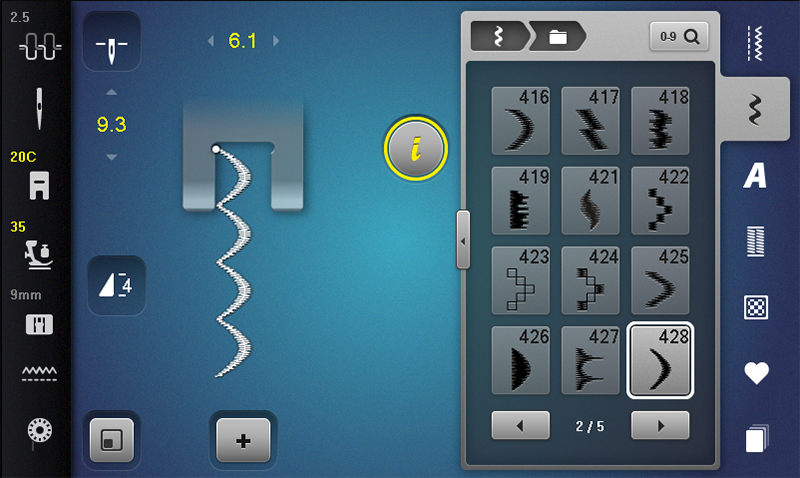
- Select Stitch #438
- Select Open Embroidery Foot #20C
- Adjust the Stitch Length to 9.8
- Adjust the Stitch Width to 6.1
- Set the Needle Stop Up/Down in the down position
- Decrease your Pressure Foot Pressure to 35
- Open the Information Menu, and set Pattern Repeat to four
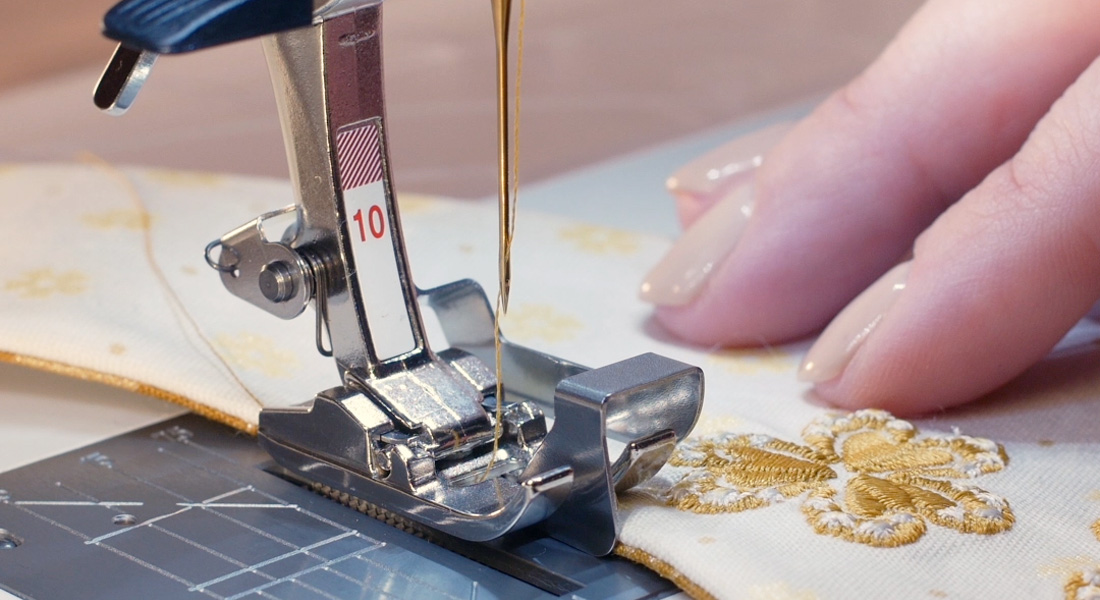
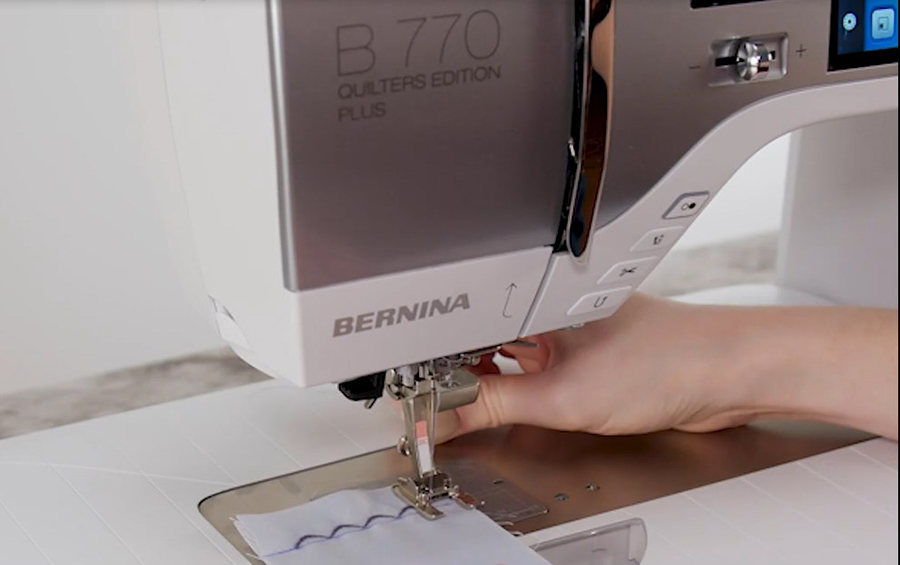
Place the fabric and stabilizer under your presser foot and line up your marked stitch line and start point with the inside of the left toe. You can drop your needle down to make sure the first stitch will start on the line.
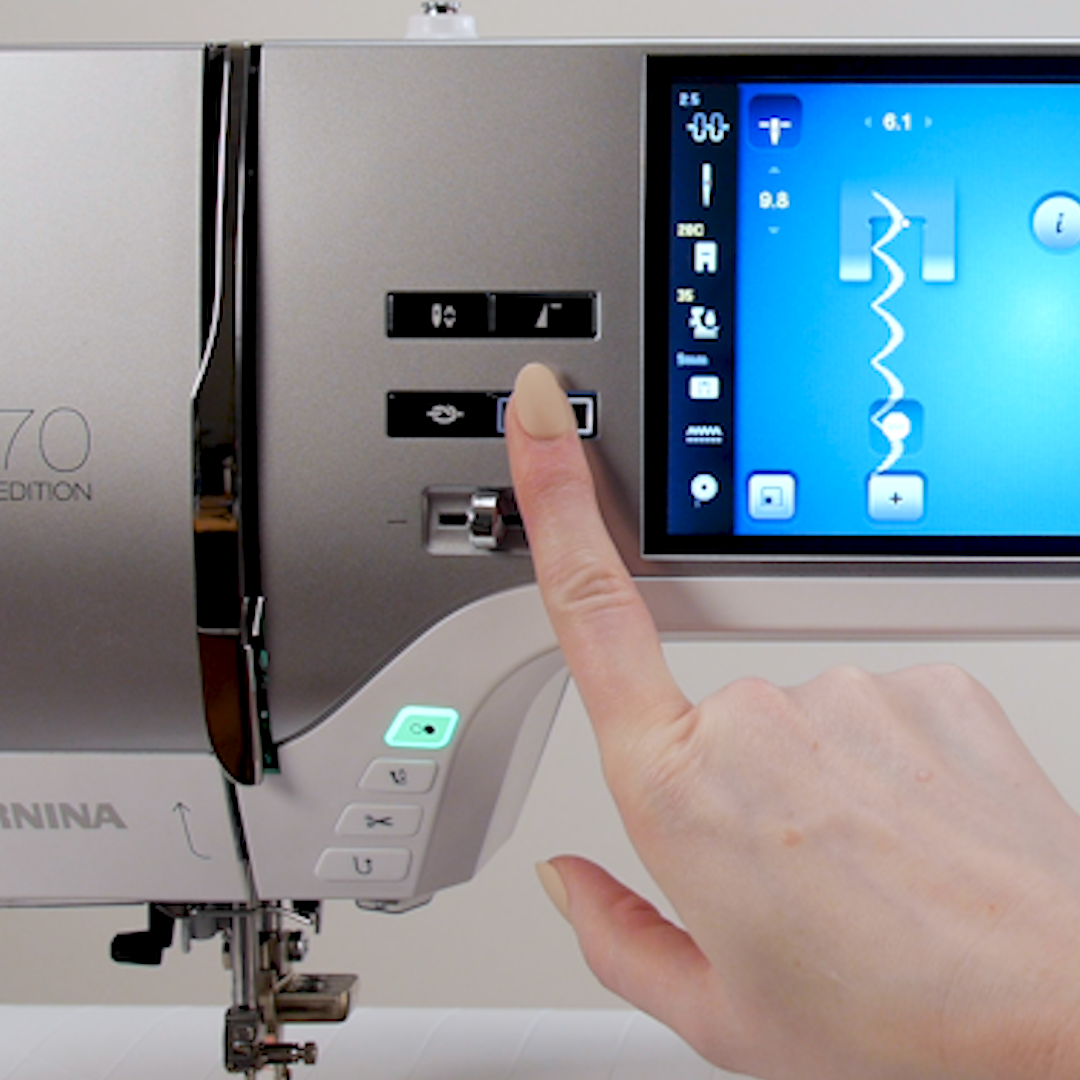
When you are confident in the placement, you can press the green Start button to begin. Your machine will stitch the four scallops and then stop. Gently guide your fabric to stay on the line.
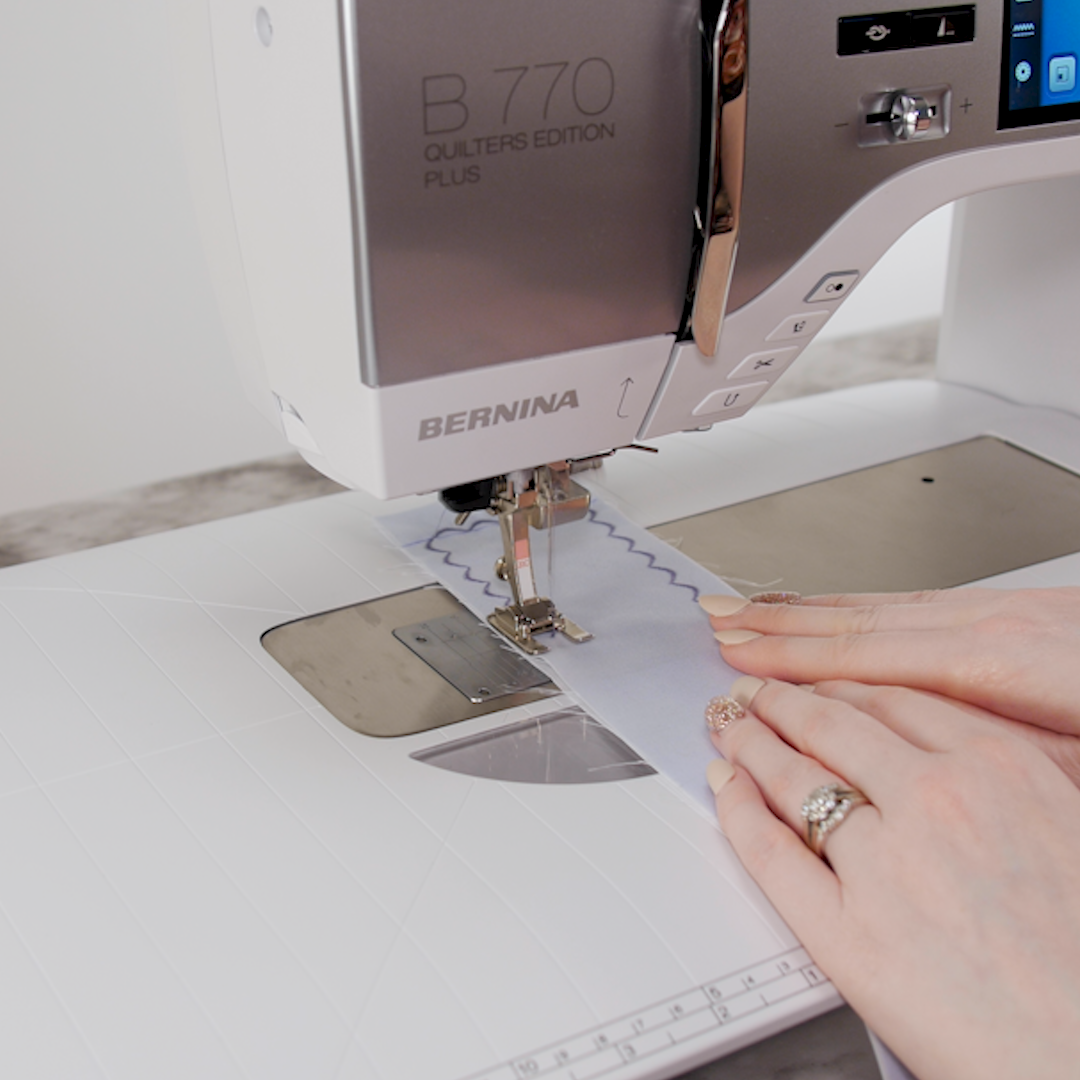
Once done, lift your presser foot and rotate to stitch down the right side. When sewing down the right side the key is to go slow. I turned down my slide speed control to 1/4. This will take a while to sew, but I promise it will be beautiful. Sew along the right edge of the fabric, keeping the presser foot aligned with the batiste edge. When approaching the end of fabric, about 1” from the end, press Pattern End.
Remove your project from the bed of the sewing machine. We will now stitch the left side of our bow.
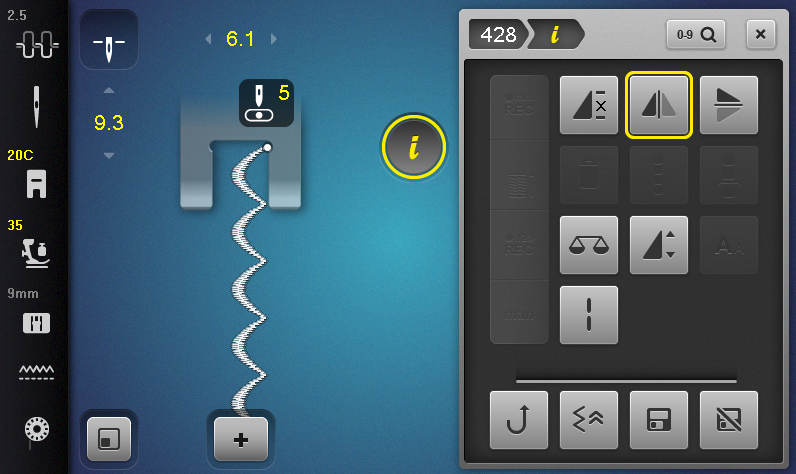
Touch the Information menu and select the Mirror Image icon. Your stitch will now flip to the other side.
Place your fabric under the presser foot and sink your needle down in the first stitch of the top row that you sewed earlier. Your presser foot should now line up with the left edge of the batiste fabric. 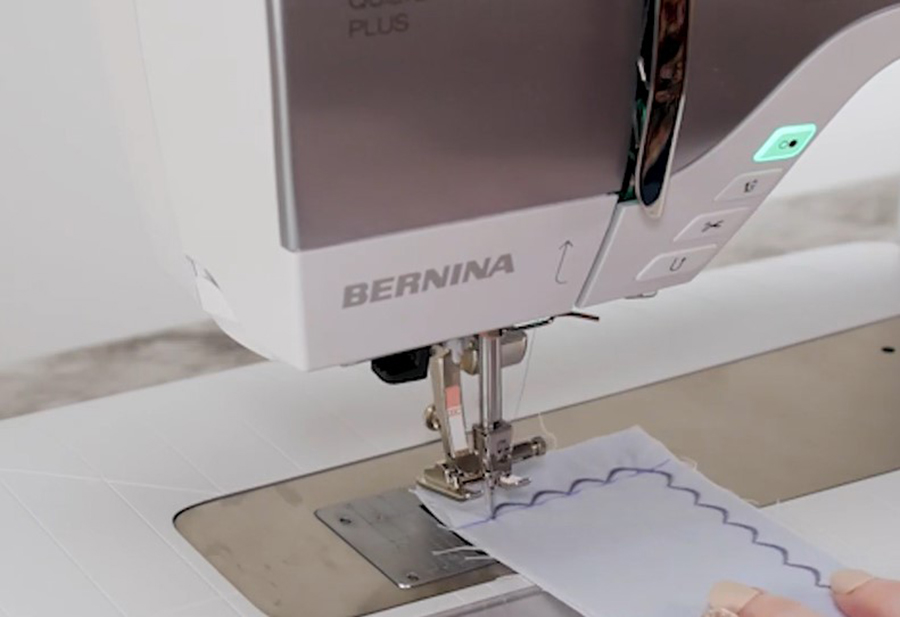
Sew slowly down the left side.
When approaching the end, stop to see how close you will match up, and you should. Press the Pattern End button again to finish up the left side.
Take your hair bow and draw a connecting line from the left side to the right side for your bottom row of scallops. Open the information menu again and mirror image.
Place your fabric under the presser foot and sink your needle down in the last stitch of the right side, open the Information Menu and select four repeats once again. Sew the last four scallops to complete your bow.
Now you will need to gently tear away the stabilizer.
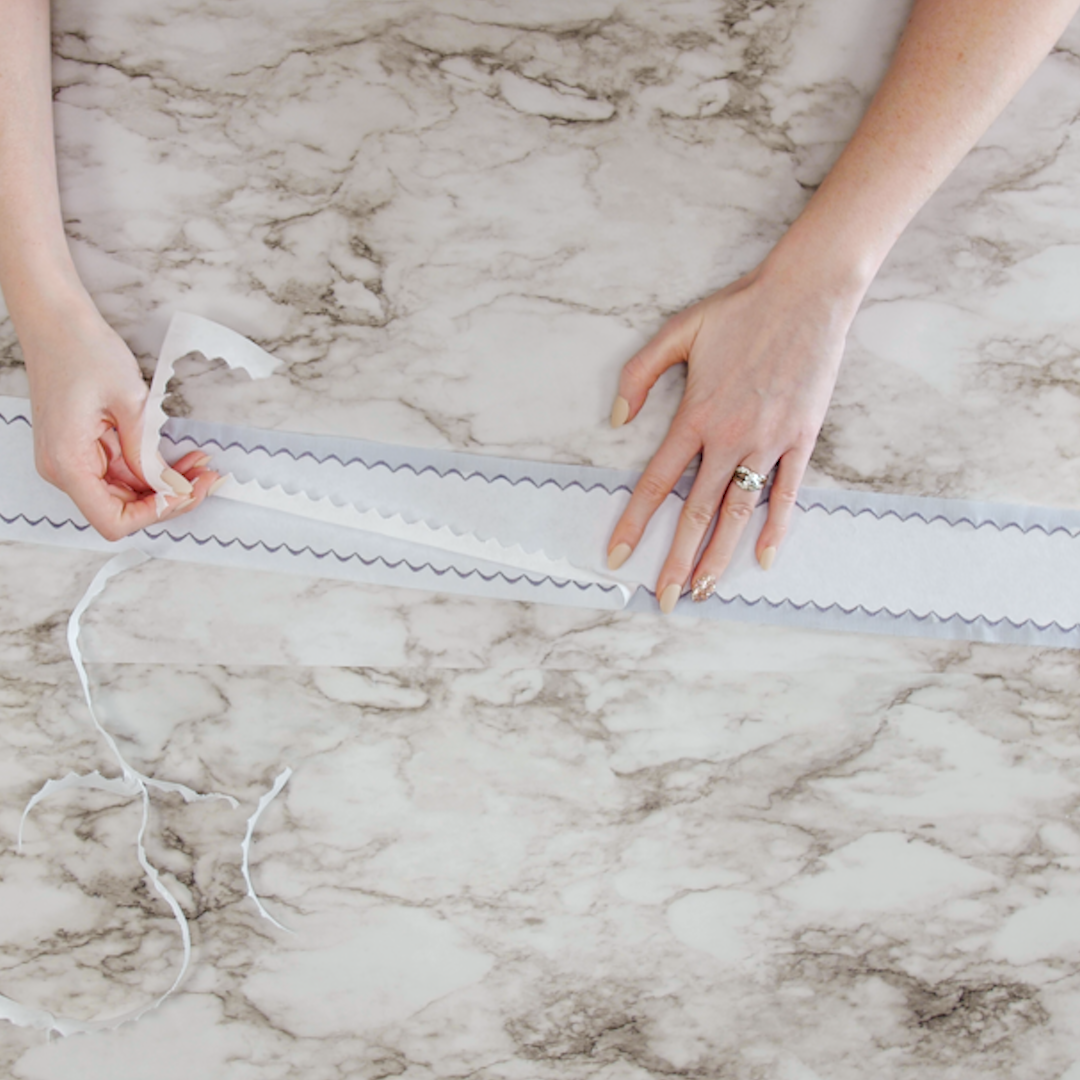
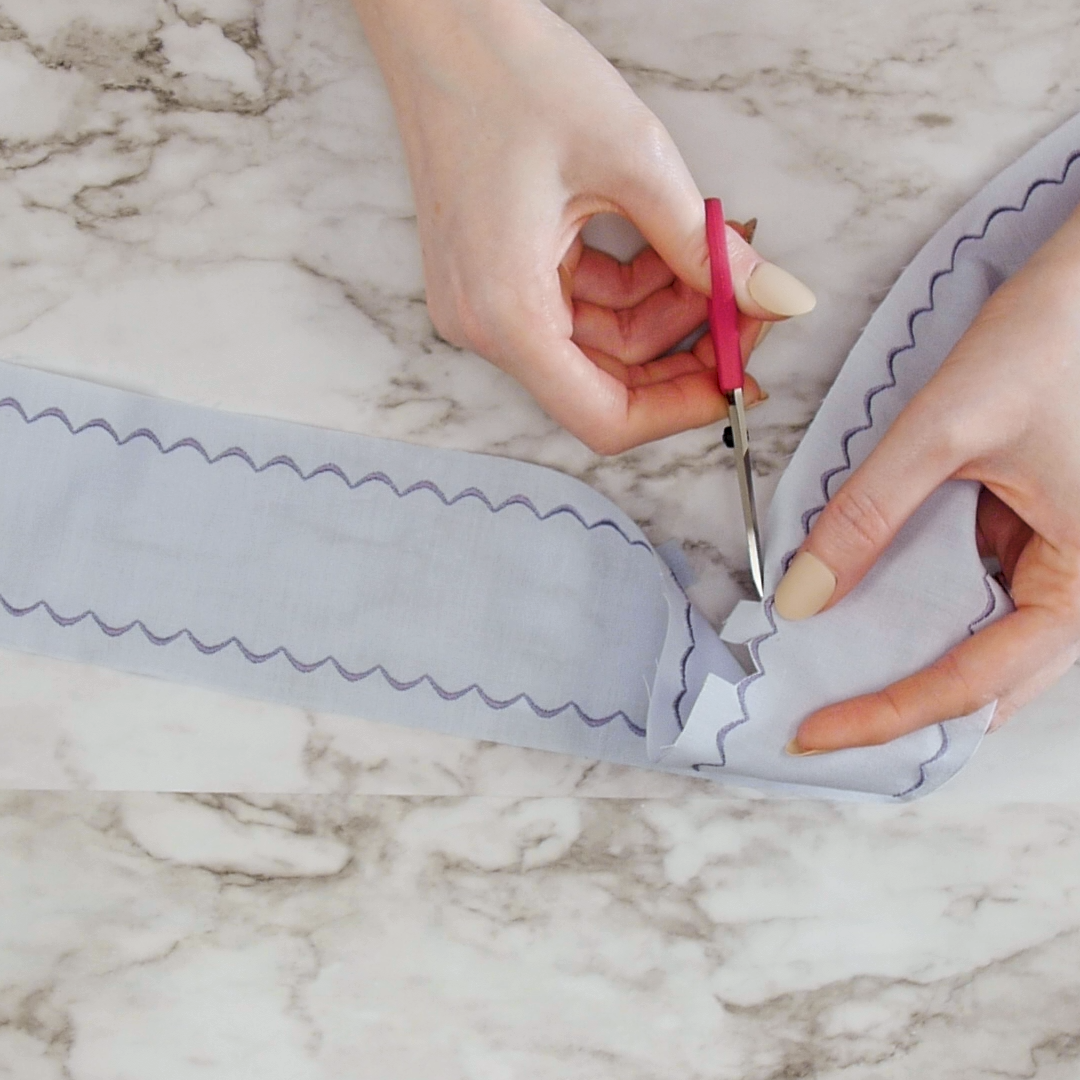
Use small sharp snips to trim away the extra fabric around the scallops of your bow.
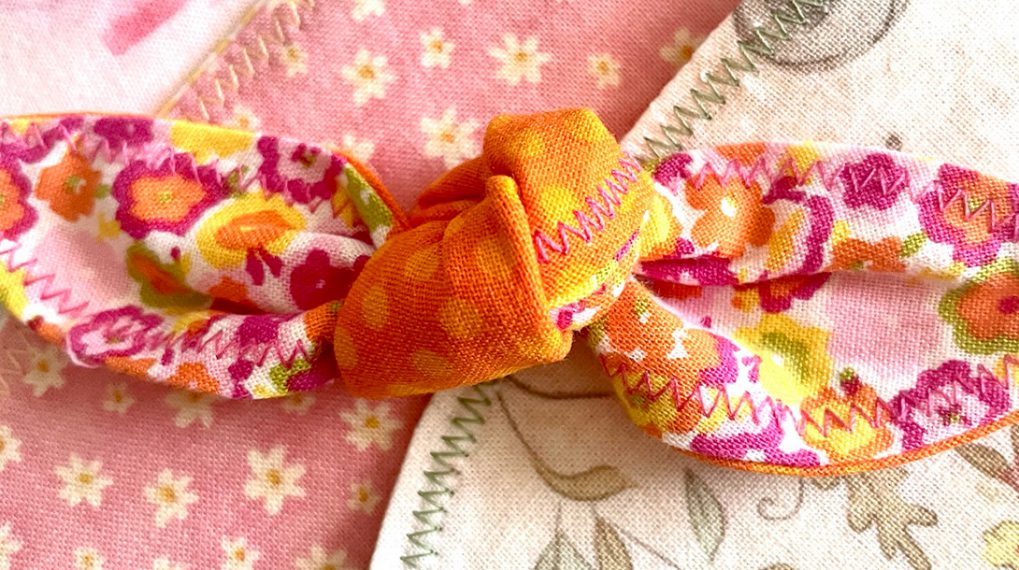
Step 3: Make the Bow
Now that we have the bow fabric created, here comes the fun part—tying the fabric into a bow. There are many ways to tie a bow. I found several online and practiced until I got the bow to look just the way I wanted. I plugged in the hot glue gun and then found some metal hair clips at my local craft store. Place a dab of hot glue on the metal clip and slip it under one of the folds of the knot in the bow. Let the glue dry and enjoy!
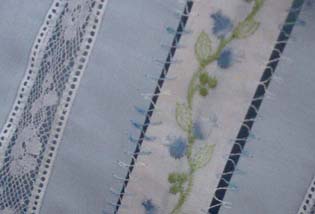
Bonus Idea: Want to make this hair bow with stitching off-edge scallops with the Clear Embroidery Foot #39? Check out this great post from BERNINA Educator Hayley Grzych, LACEY EDGE HANDKERCHIEF.