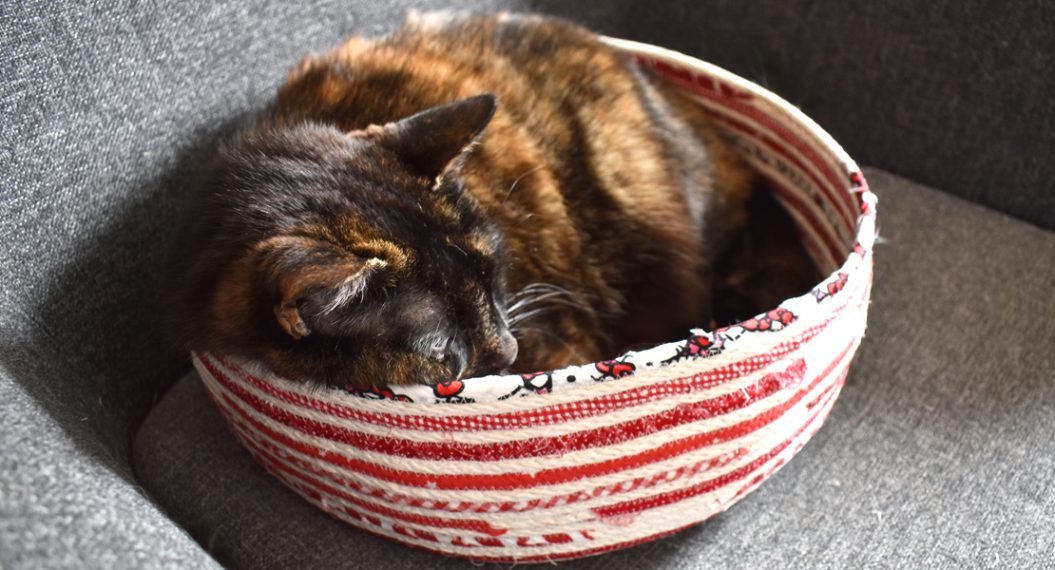
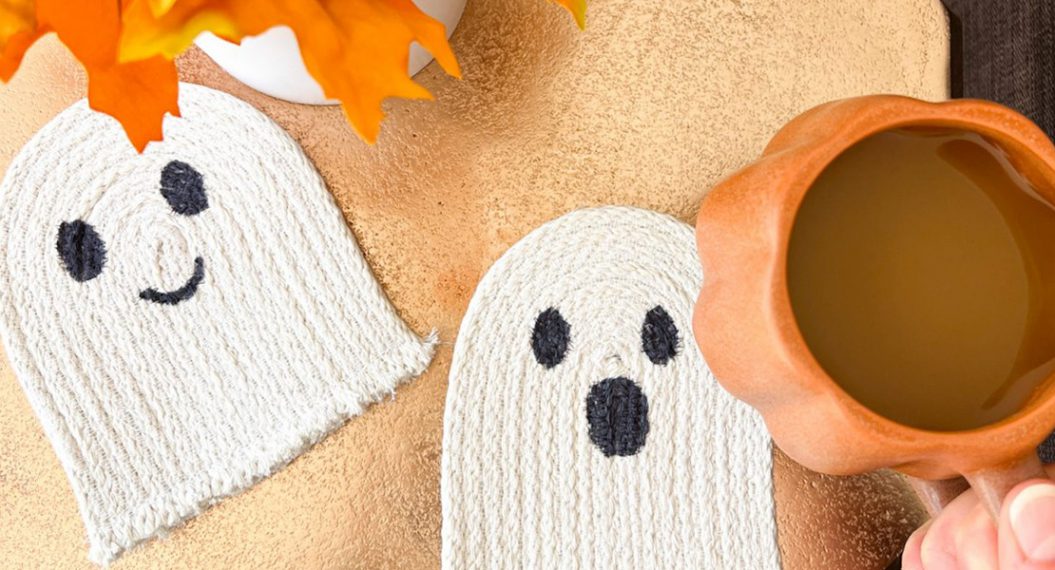
Machine Embroider a Rope Bowl
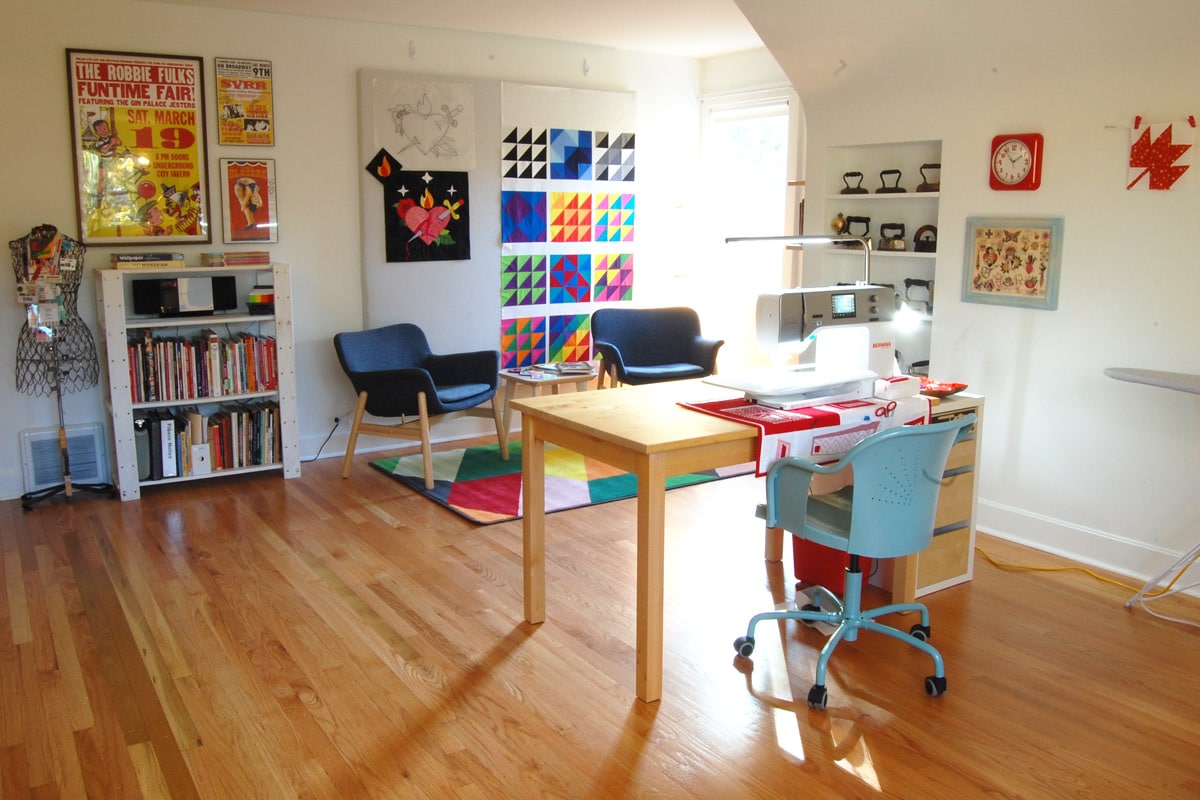
Hi! I’m Kate of Tough Kitten Crafts and I empower sewists to become fearless with machine embroidery through online education, a supportive community, and super cute machine embroidery projects just like this fun tutorial all about how to embroider a rope bowl.
This project is so dangerous.
Do not go into this project thinking it will be easy to sew just one rope bowl because it’s not. This project is so dangerous because you’re gonna end to up with a million cute, custom, totally unique embroidered rope bowls! Once you start sewing them up and adding awesome designer details like wrapped yarn, painted rope and more, you’re gonna be so eager to keep making more and more bowls.
Before we jump into the tutorial I have some thoughts and suggestions for you:
Getting the Rope
You will want braided cotton clothesline in 7/32″ or 1/4″ or 3/8″. I had a bit of difficulty finding the rope locally but you can always buy online. Some cotton sashing has a polyester core, this works for rope bowls but it may be too dense for embroidery.
If you use cording that is different from cotton clothesline then you’ll have to experiment to see what works best with it.
Practice Makes Perfect
By my third bowl, I really started to hit my stride. I still love the first two but wow I learned a lot as I went and by the third it was easy to get a really good while stitching at a high speed. The cord is relatively inexpensive, so I definitely recommend getting some extra cording and trying some coasters or jewelry dishes first.
And as always, trust the process and have fun!
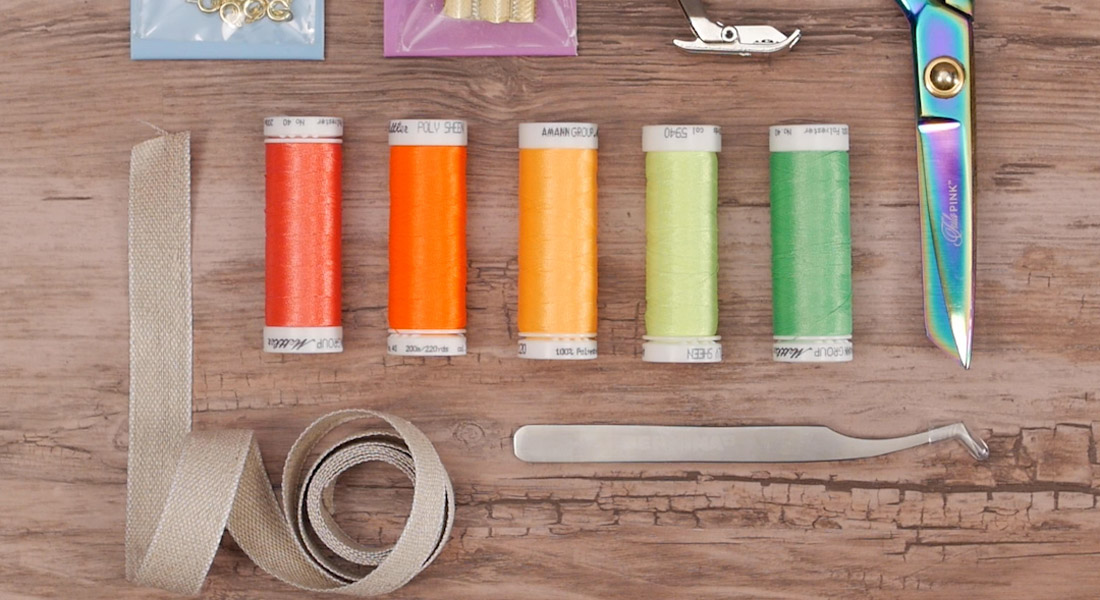
Threads
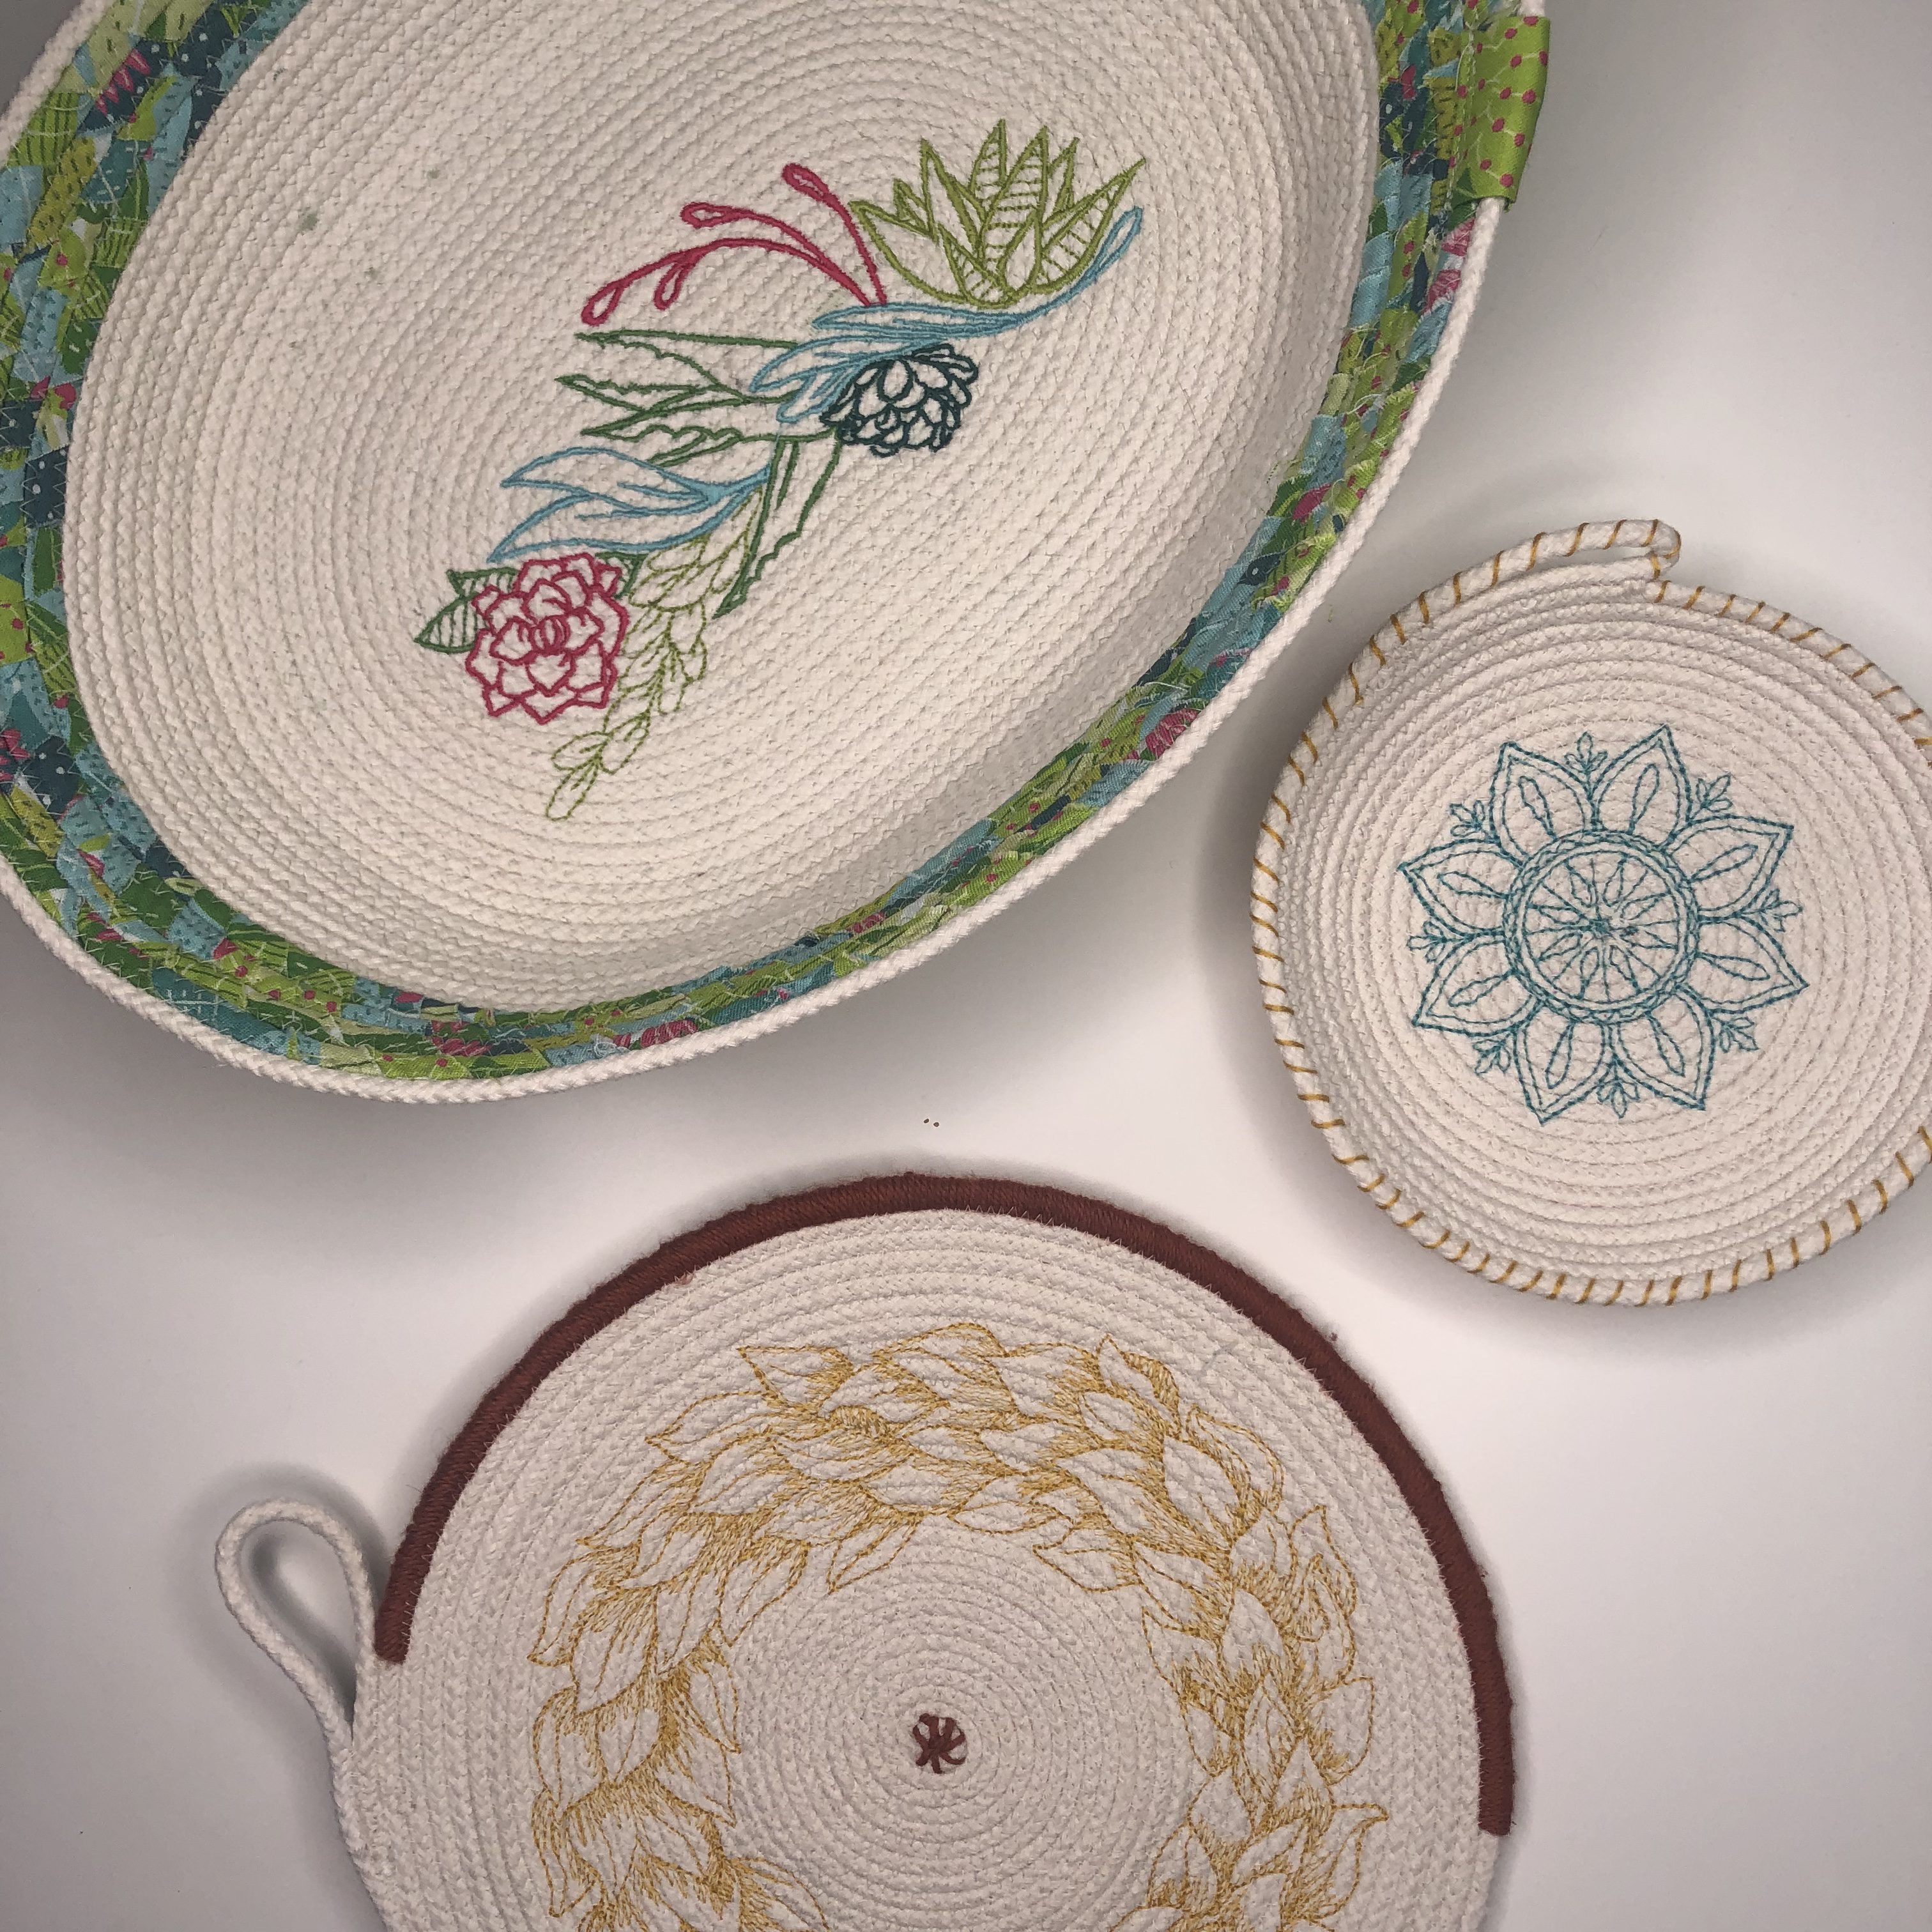
You can use polyester or cotton thread for this project but remember if your bowl with come into contact with heat (I ended up making a trivet as one of the samples) then you will have to use cotton. I used Aurifil 50 weight thread for the bobbin and in the needle for both sewing together and embroidering the bowl. You can choose to use a contrasting thread in the bobbin (like I did for the jewelry dish) or all matching thread (Like I did for the trivet from this tutorial). With my oval cactus bowl I chose a barely perceptible green color to add a little bit of fun and color but light enough to not clash with my embroidery design. Have fun playing around with different thread colors!
And yes…I do use OESD polyester bobbin thread with my Aurifil thread in the needle for embroidery. It’s technically a no-no to mix thread types but I have never had an issue with this combo. If you have an issue with tension or thread breakage when trying this out then you can use Aurifil in your bobbin, too.
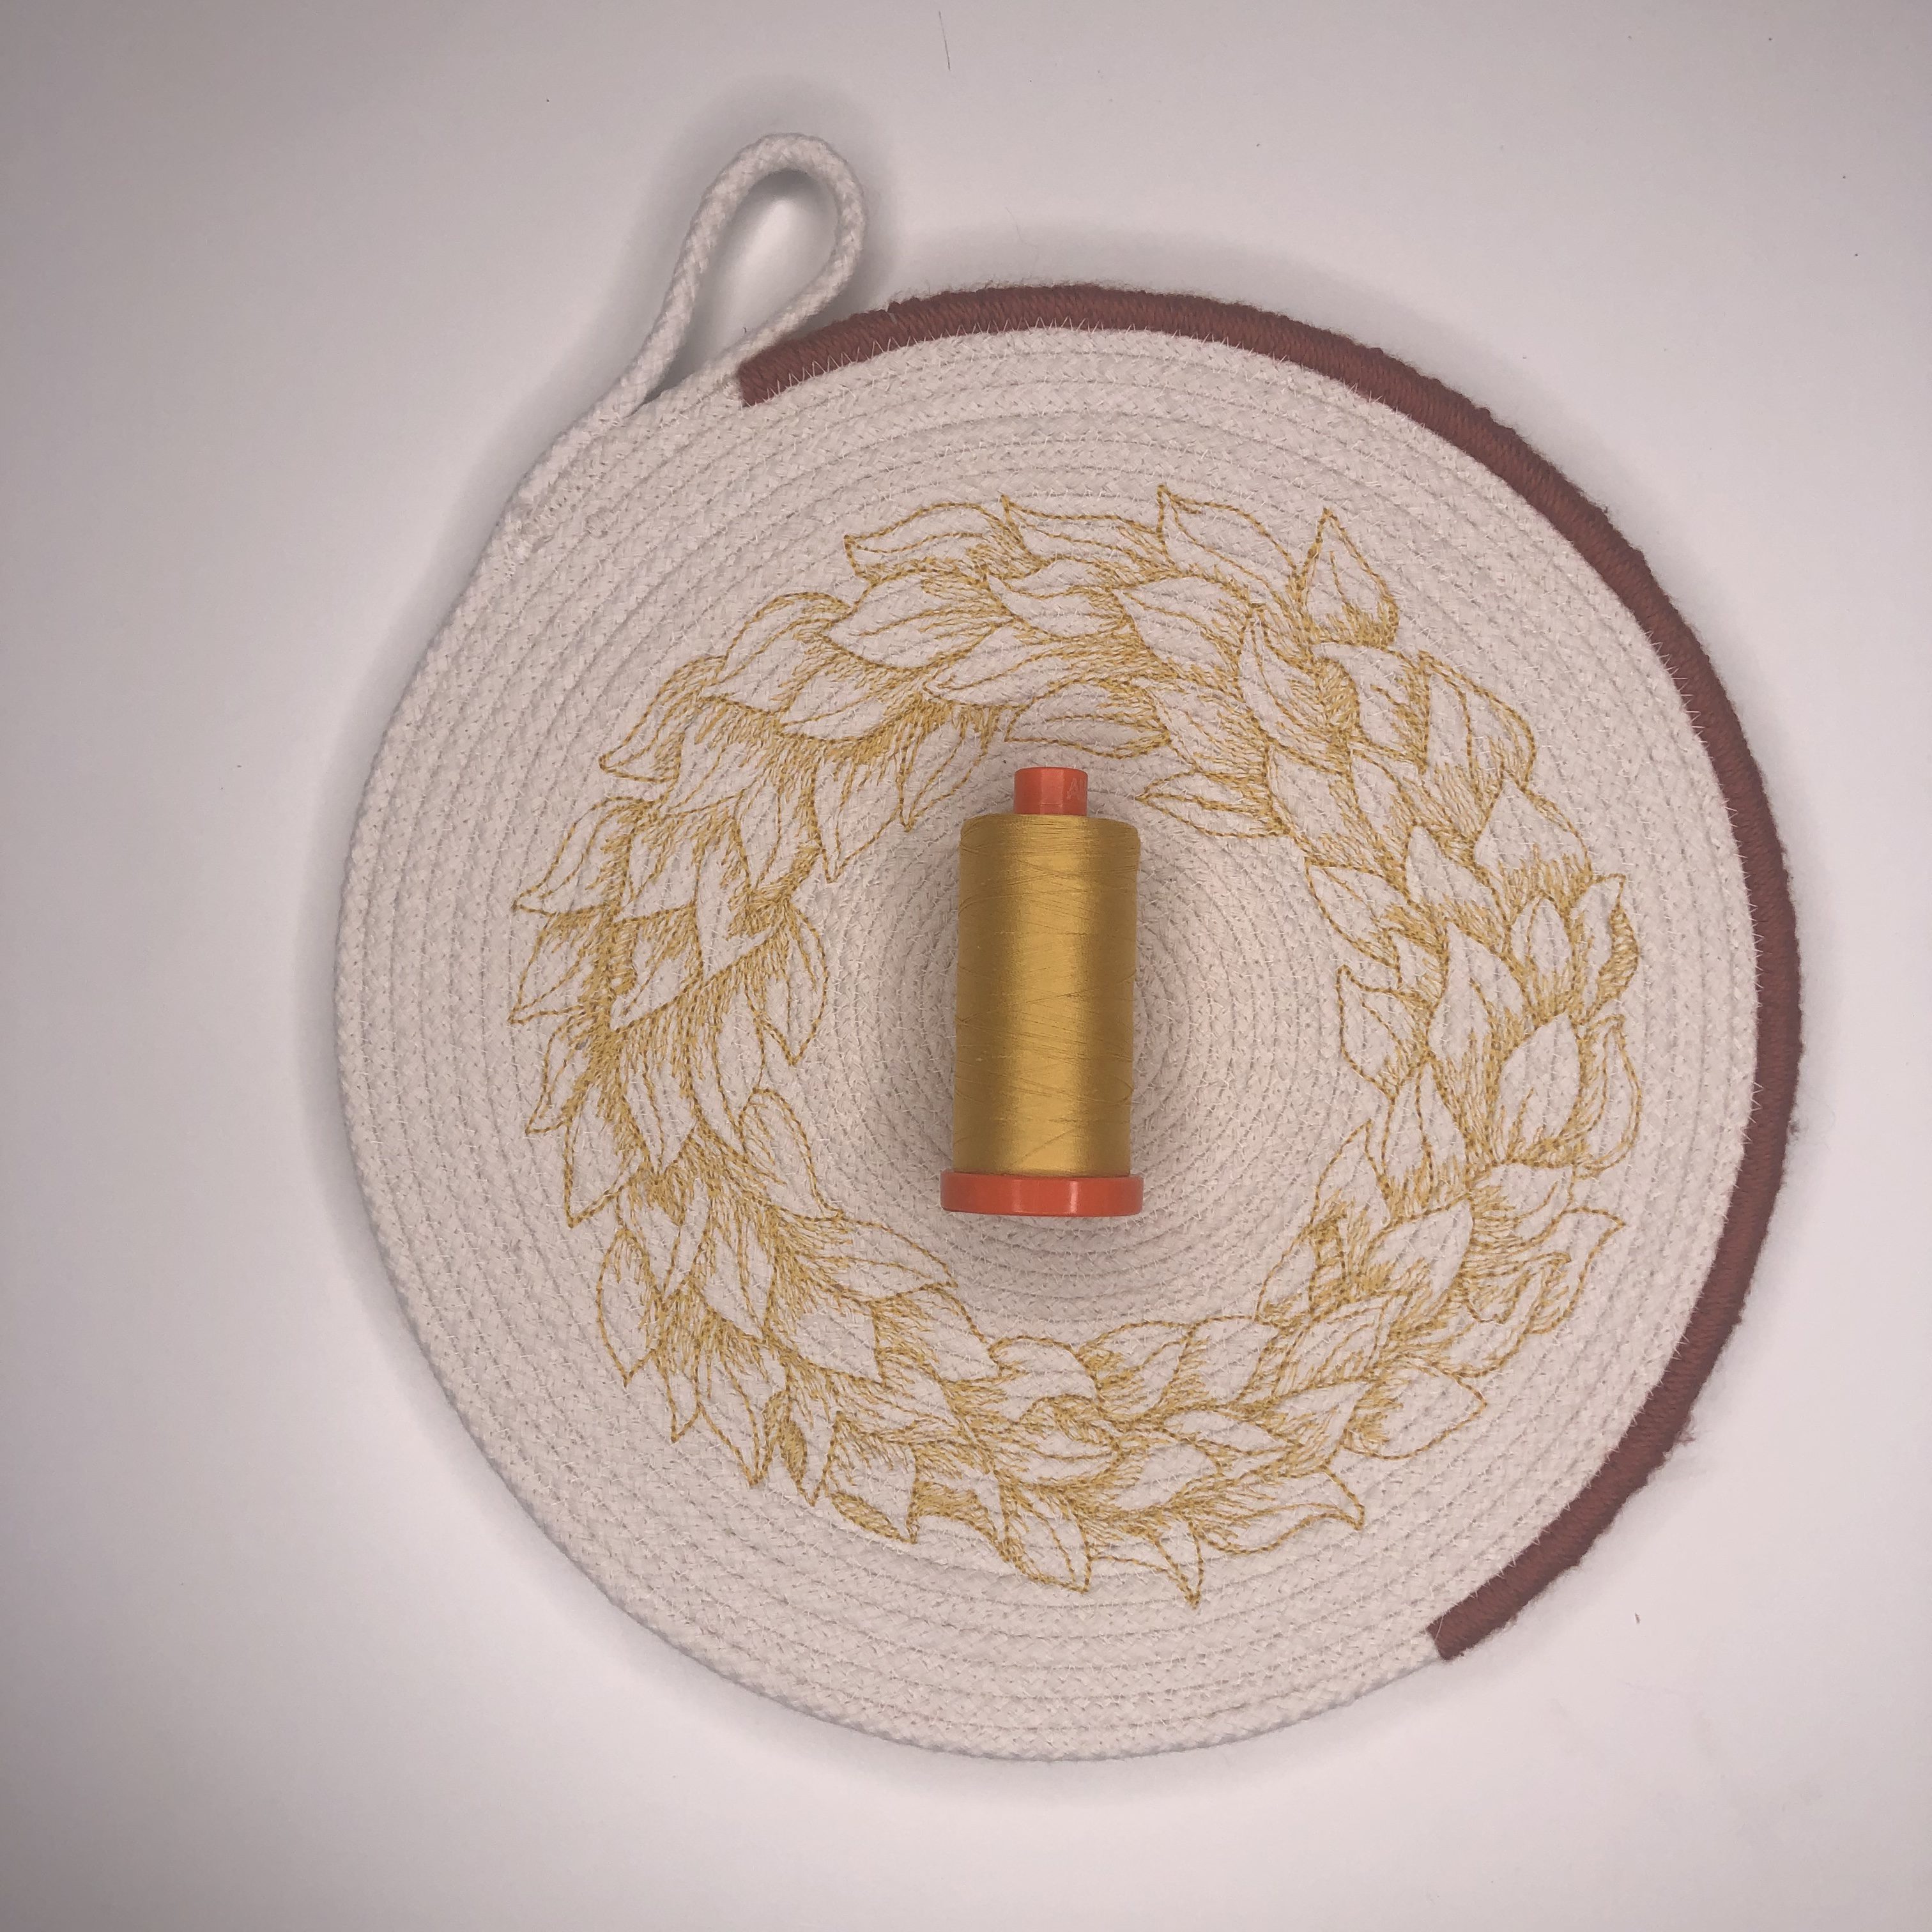
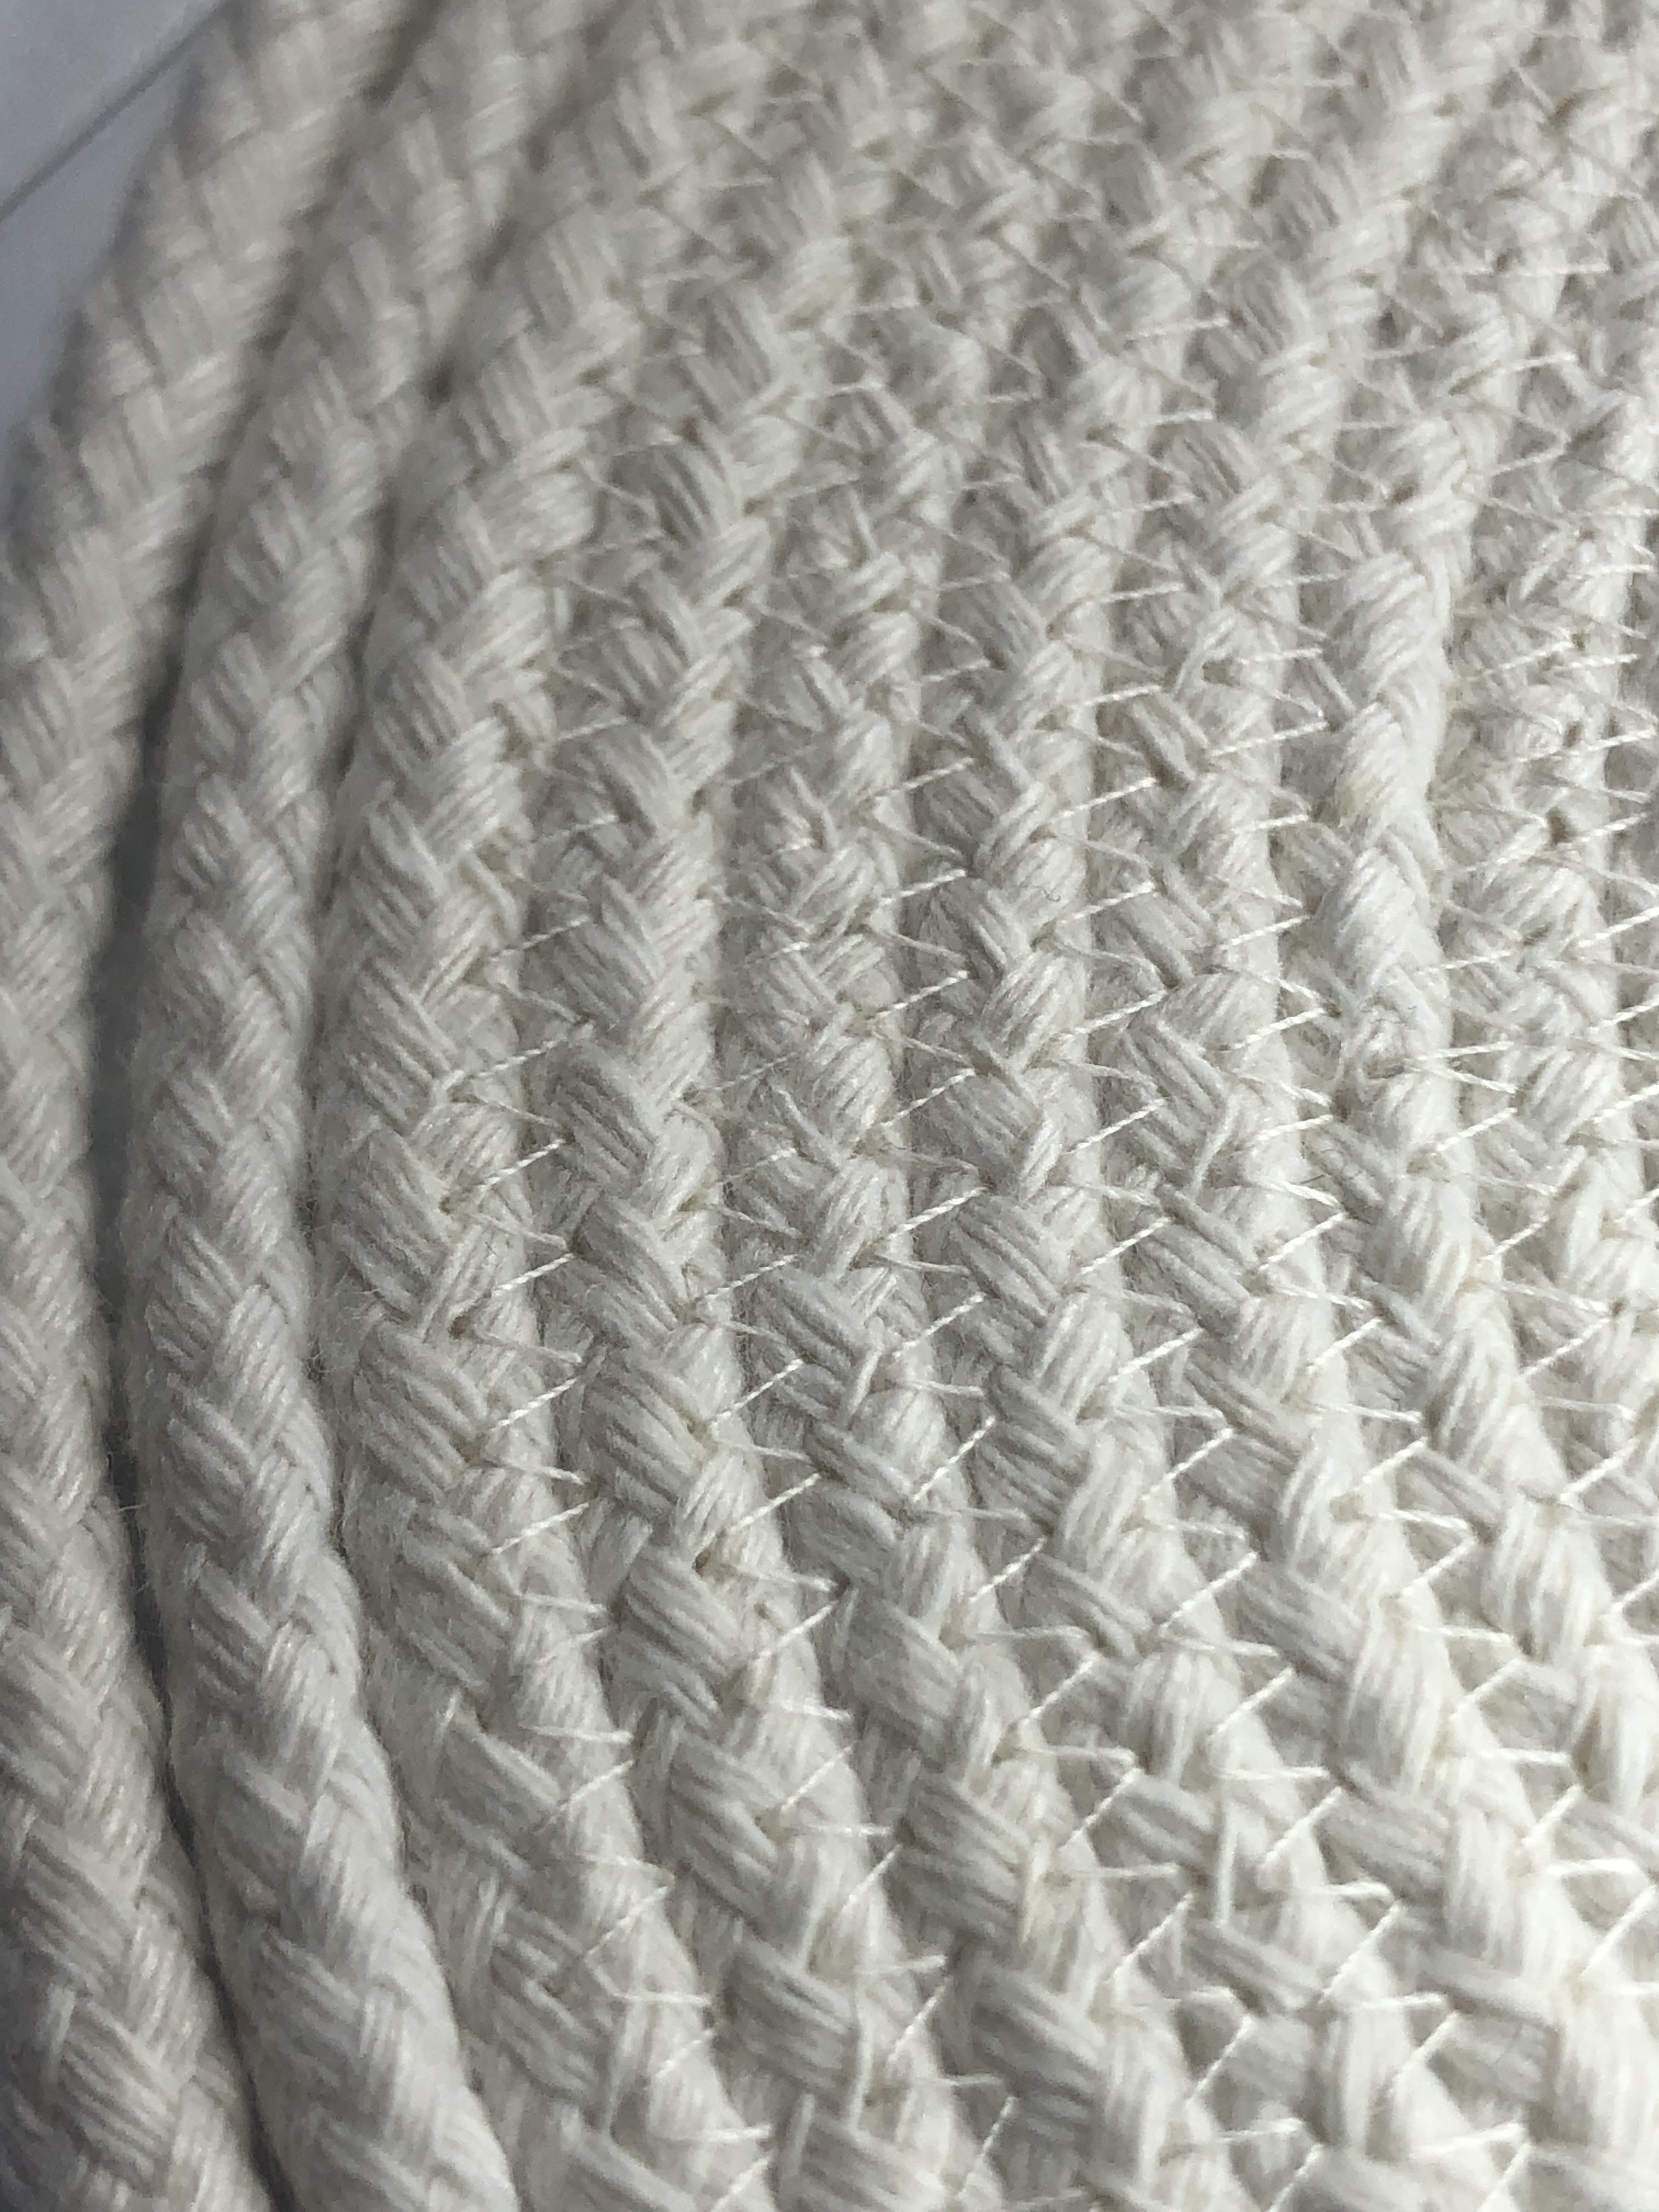 This is Aurifil 2311 in 50 wt and it matches my cording perfectly. I highly recommend it for your rope bowls as well.
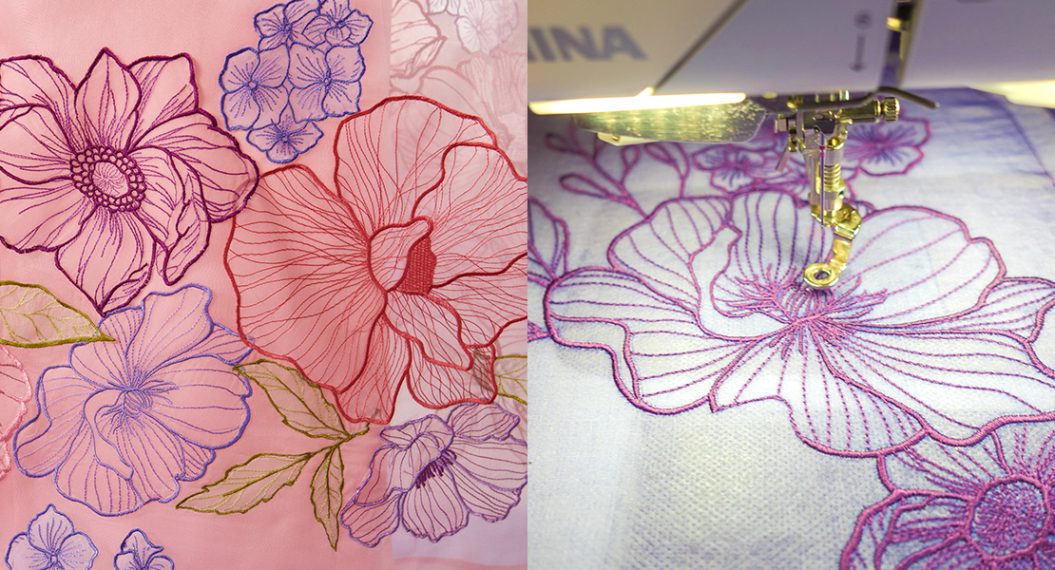
Design Choice
When choosing a design for your rope basket you want a design that doesn’t have dense stitching. I like to look through the OESD “Light Stitching” or “Linework/Redwork” designs to find appropriate designs for the embroidered bowls. You also want a design that will fall well within your sewn base. So if your design goes all the way to the edges of your hoop you will need to decrease the size or choose a different design.
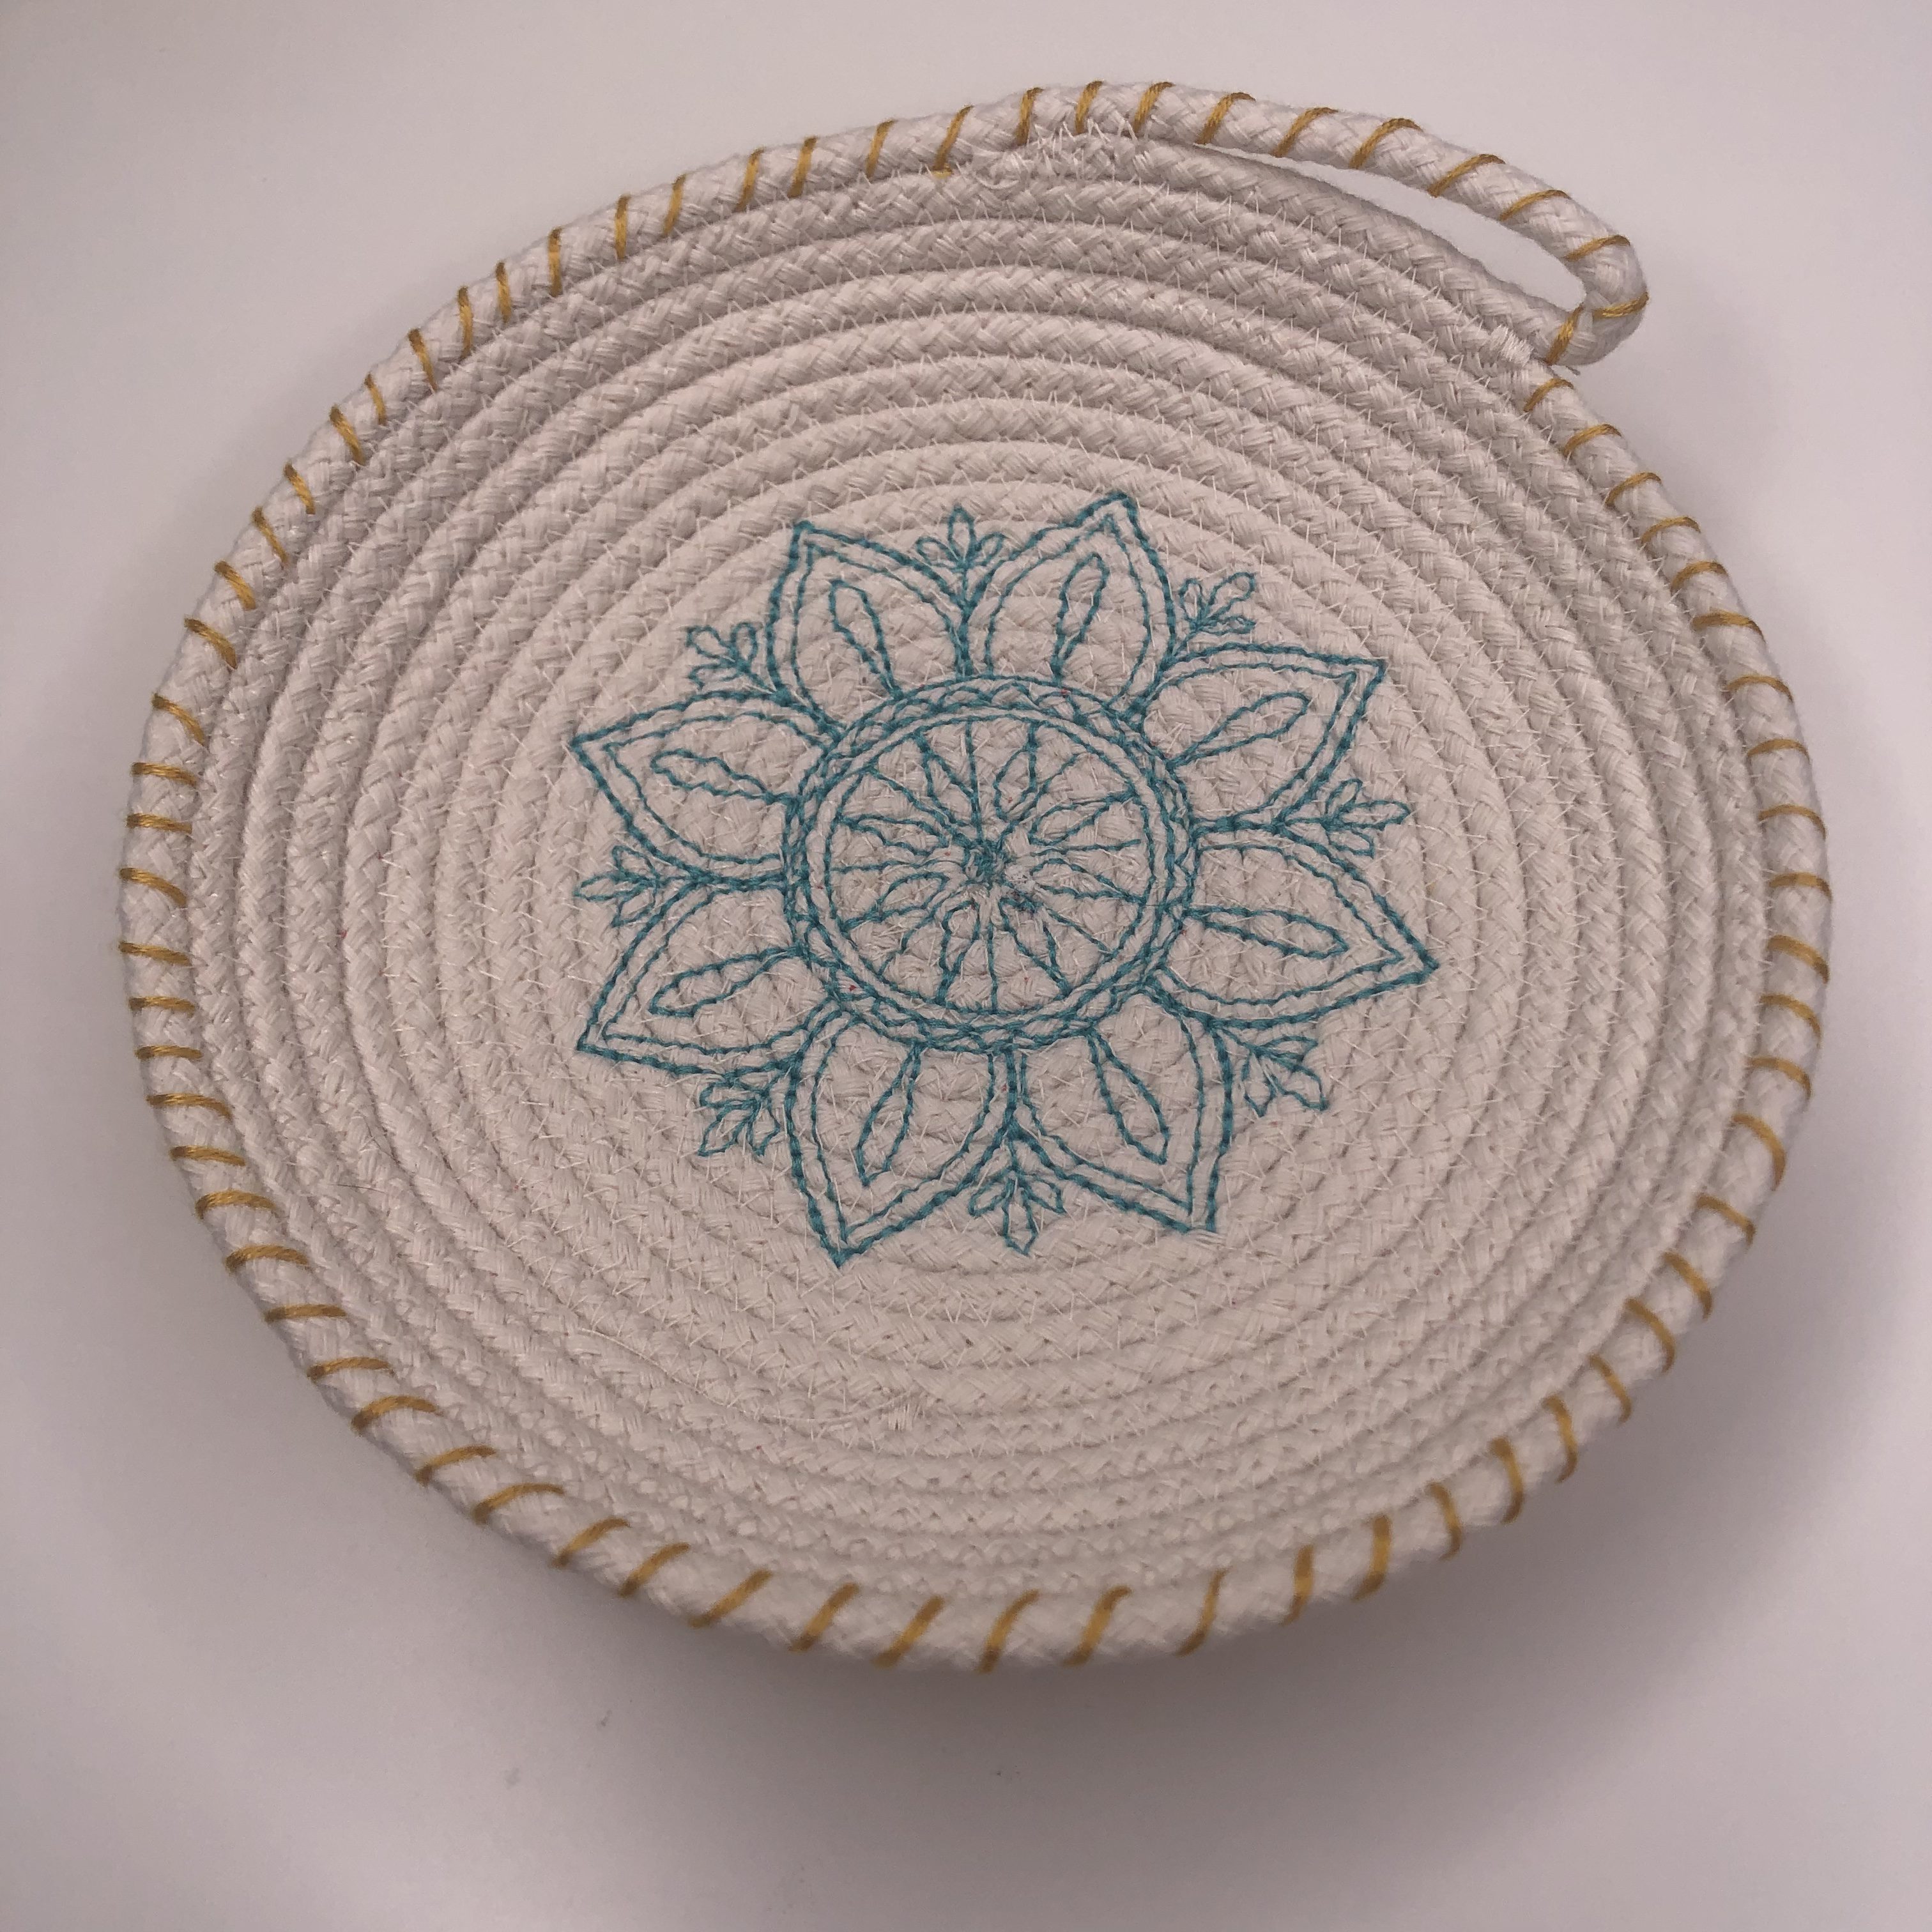
You’ll want to be careful using designs that are too circular as they can easily look lopsided, get caught in the grooves of the bowl and get lost. The ring dish I made had circles around the mandala design, I removed them in the finished project. You can see the inner rings of the design are a little misshapen, once I realized that was happening it informed my design choices in a big way.
If you’re looking for more advice about what designs to choose and how I added such cute design elements to my bowls, check out my Embroidered Bowl Variations blog post, where I explore more ways you can customize and really have fun with your bowls.
Before you get started, read through Hayley’s blog post “Rock A Rope Bowl” as this will be the basis for how we make the bowls. BERNINA also has a fun one minute video at the end of that blog post which may help you visualize the process.
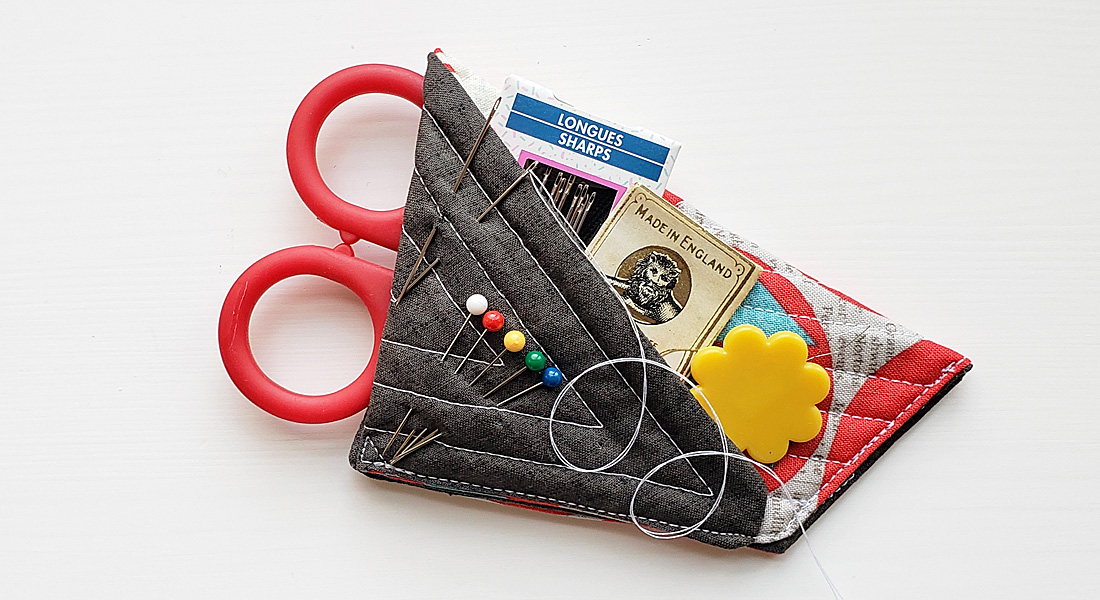
Supply List to Machine Embroider a Rope Bowl
- 7/32″ or 1/4″ Cotton Clothesline
- 90/14 Topstitch needle
- #20D Open Toe Embroidery Foot
- #26 Drop Shape Embroidery Foot
- Maxi Hoop
- 50 Weight Aurifil Thread
- 2311 for bowl assembly
- 2130 for embroidery design
- Marking Tool
- Straight pins or Wonderclips
- OESD Bobbin Thread
- OESD Ultra Clean and Tear Plus
- OESD “Wreath Linework” embroidery design
- Optional: Yarn to wrap the cord
- Mine is a sport weight cotton, left over from a knitting project.
How to Embroider a Rope Bowl
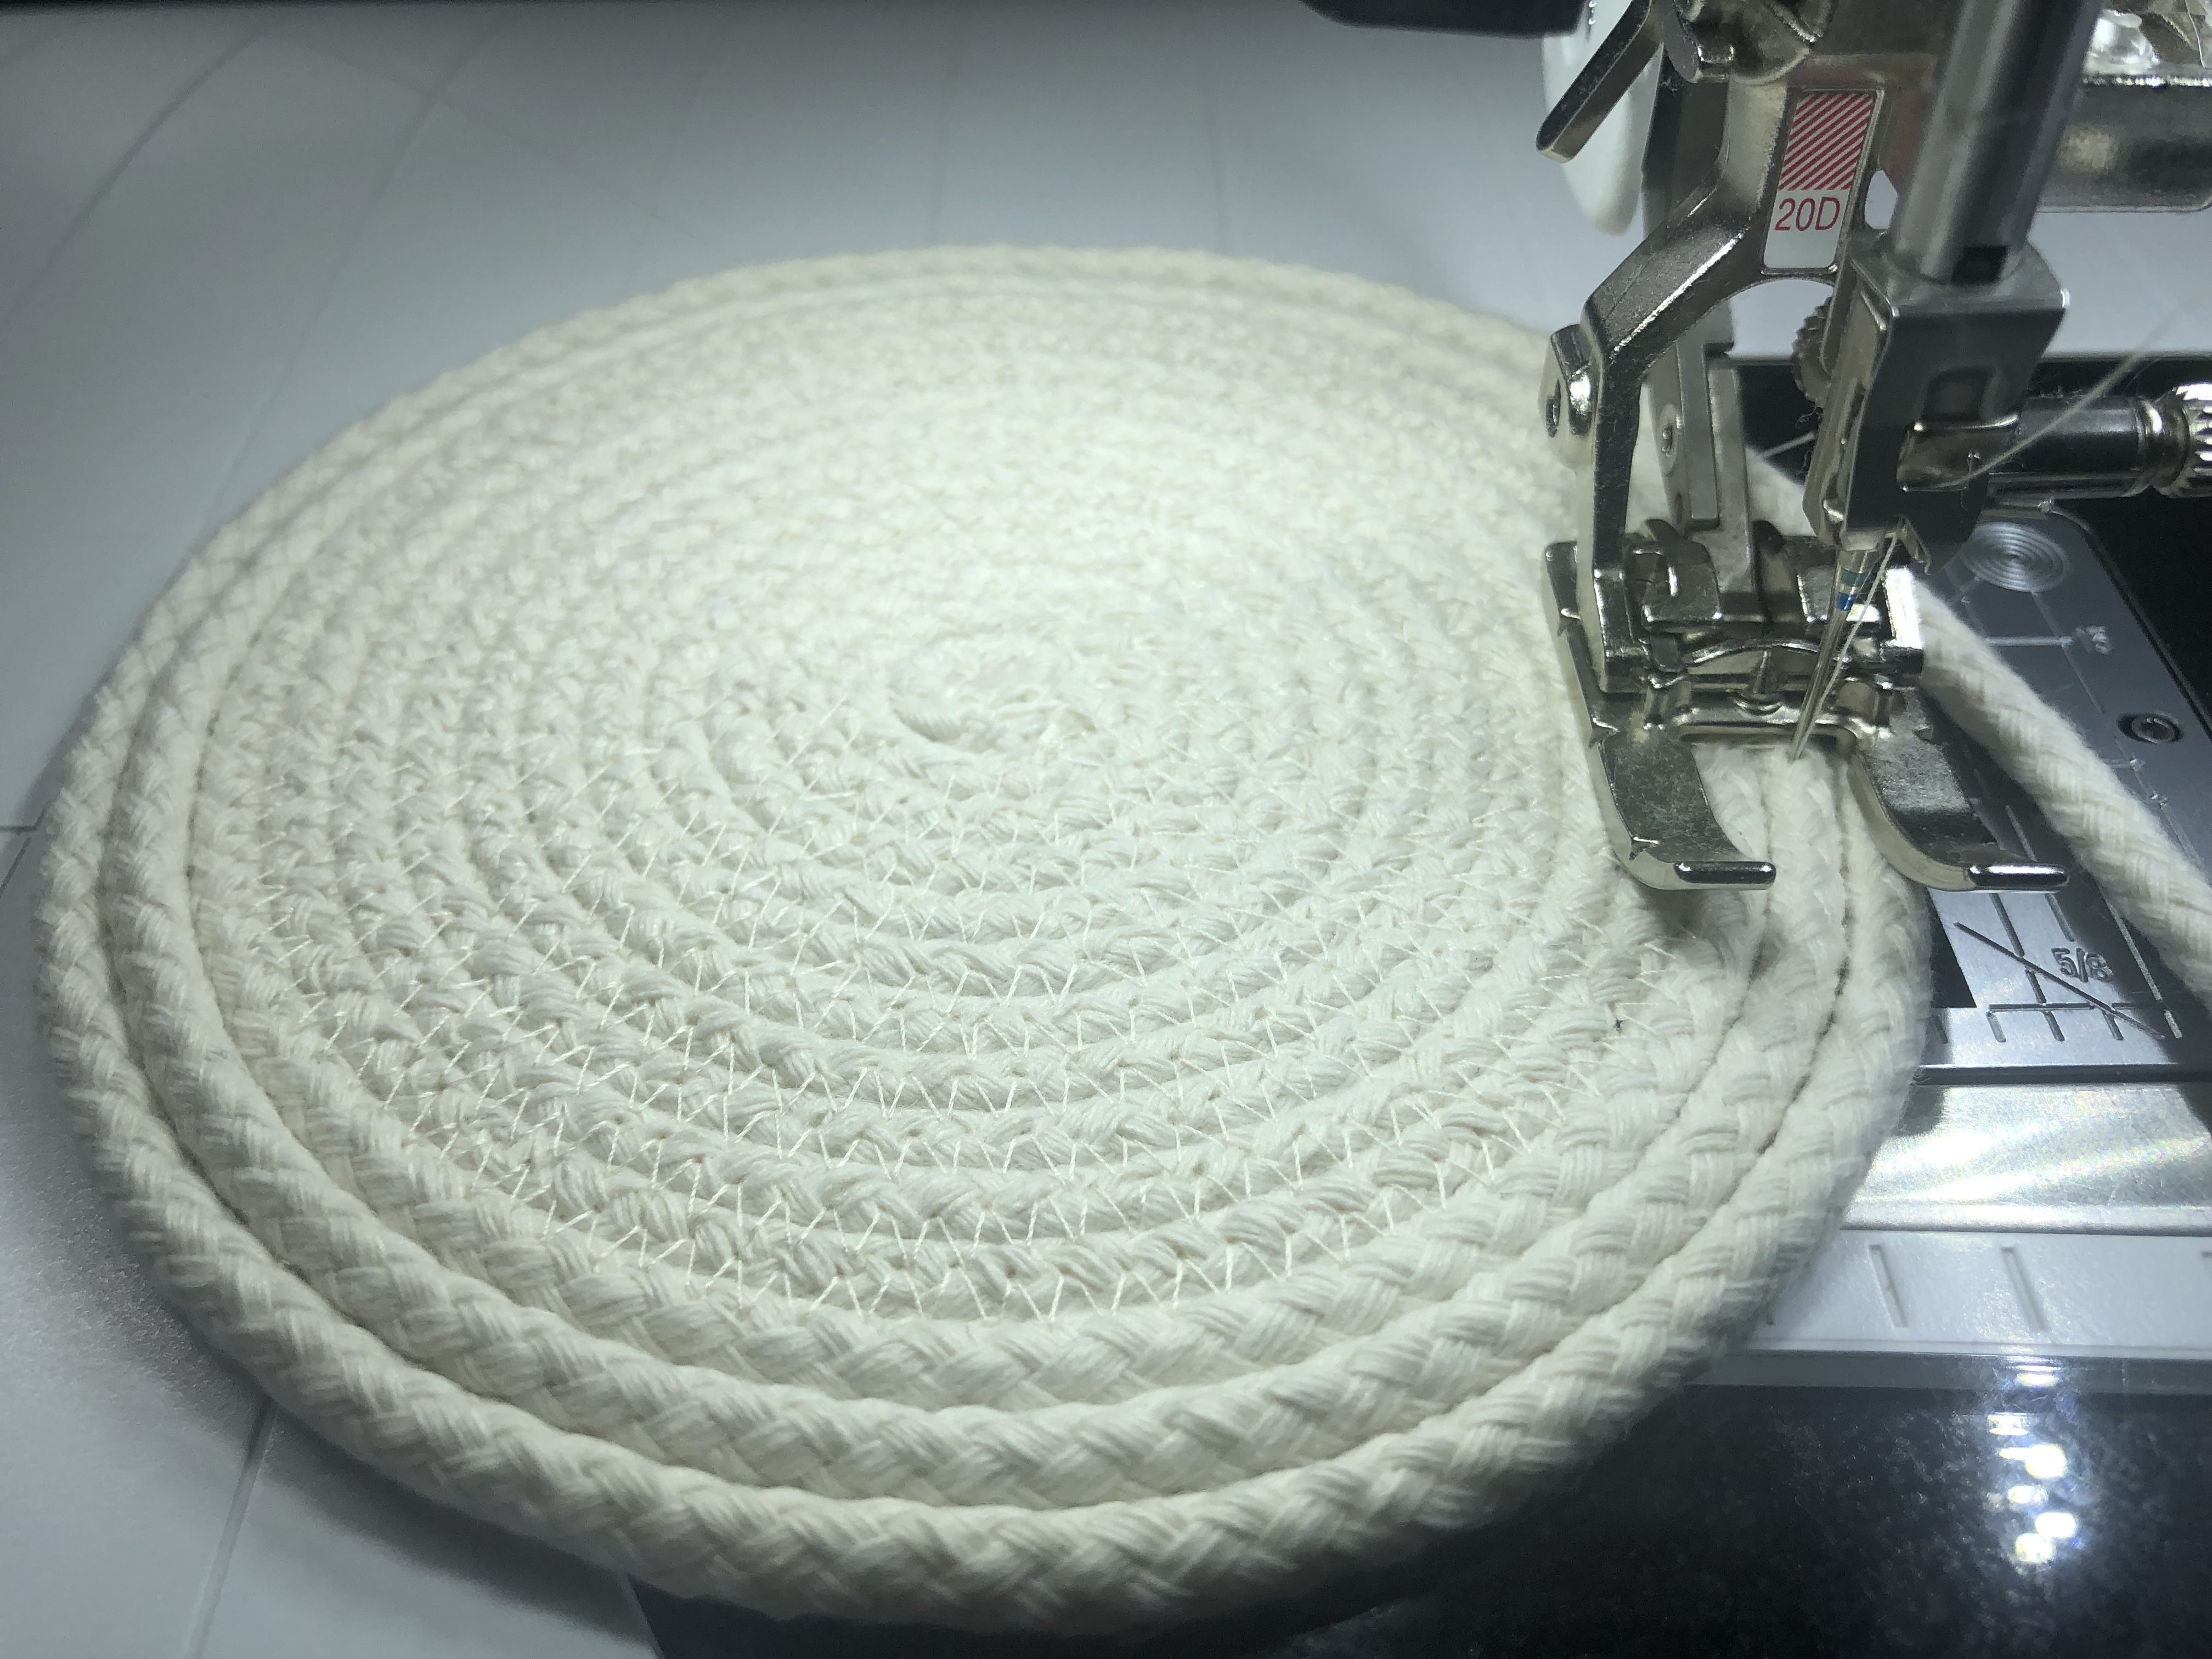
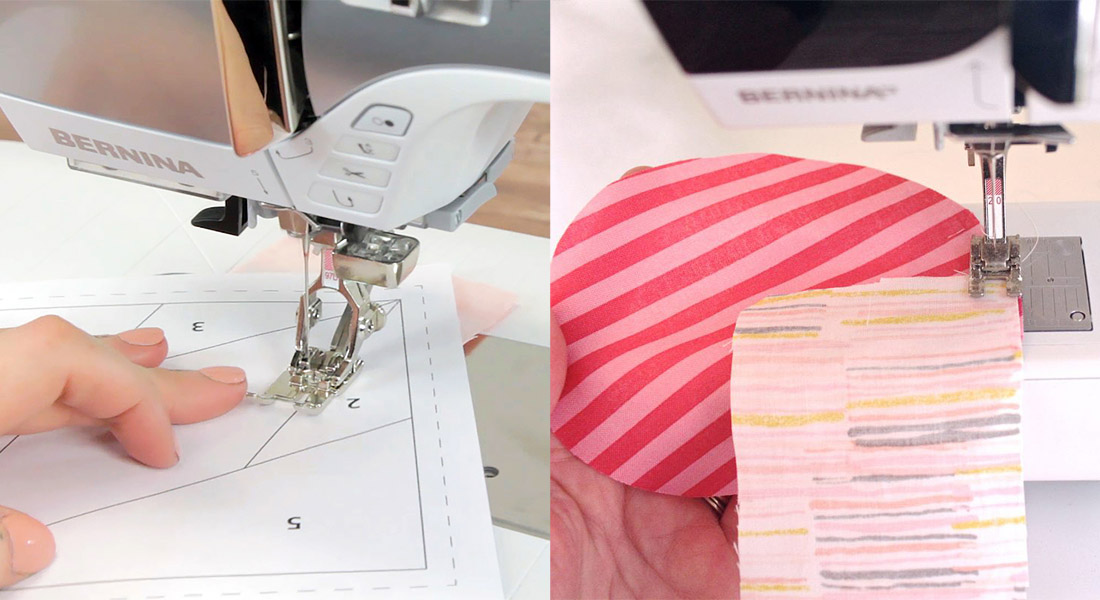
We are going to start off on the sewing side of the machine. Install a 90/14 Topstitch needle and a #20D Open Toe Embroidery Foot.
Start sewing your bowl base following the Rock a Rope Bowl tutorial. Stop sewing when the diameter of the base fits just inside your embroidery hoop by back stitching (as described in step 7) and cutting your thread. Do not cut the rope! You are going to leave it hanging off the main piece.
For today’s project, I am using a maxi hoop so I stopped at roughly nine inches for the base.
Now that the rope bowl is started let’s prep our machine for embroidery. Put the #26 drop shaped embroidery foot on the machine and switch to white bobbin thread, we will keep using the 94/14 Topstitch needle.
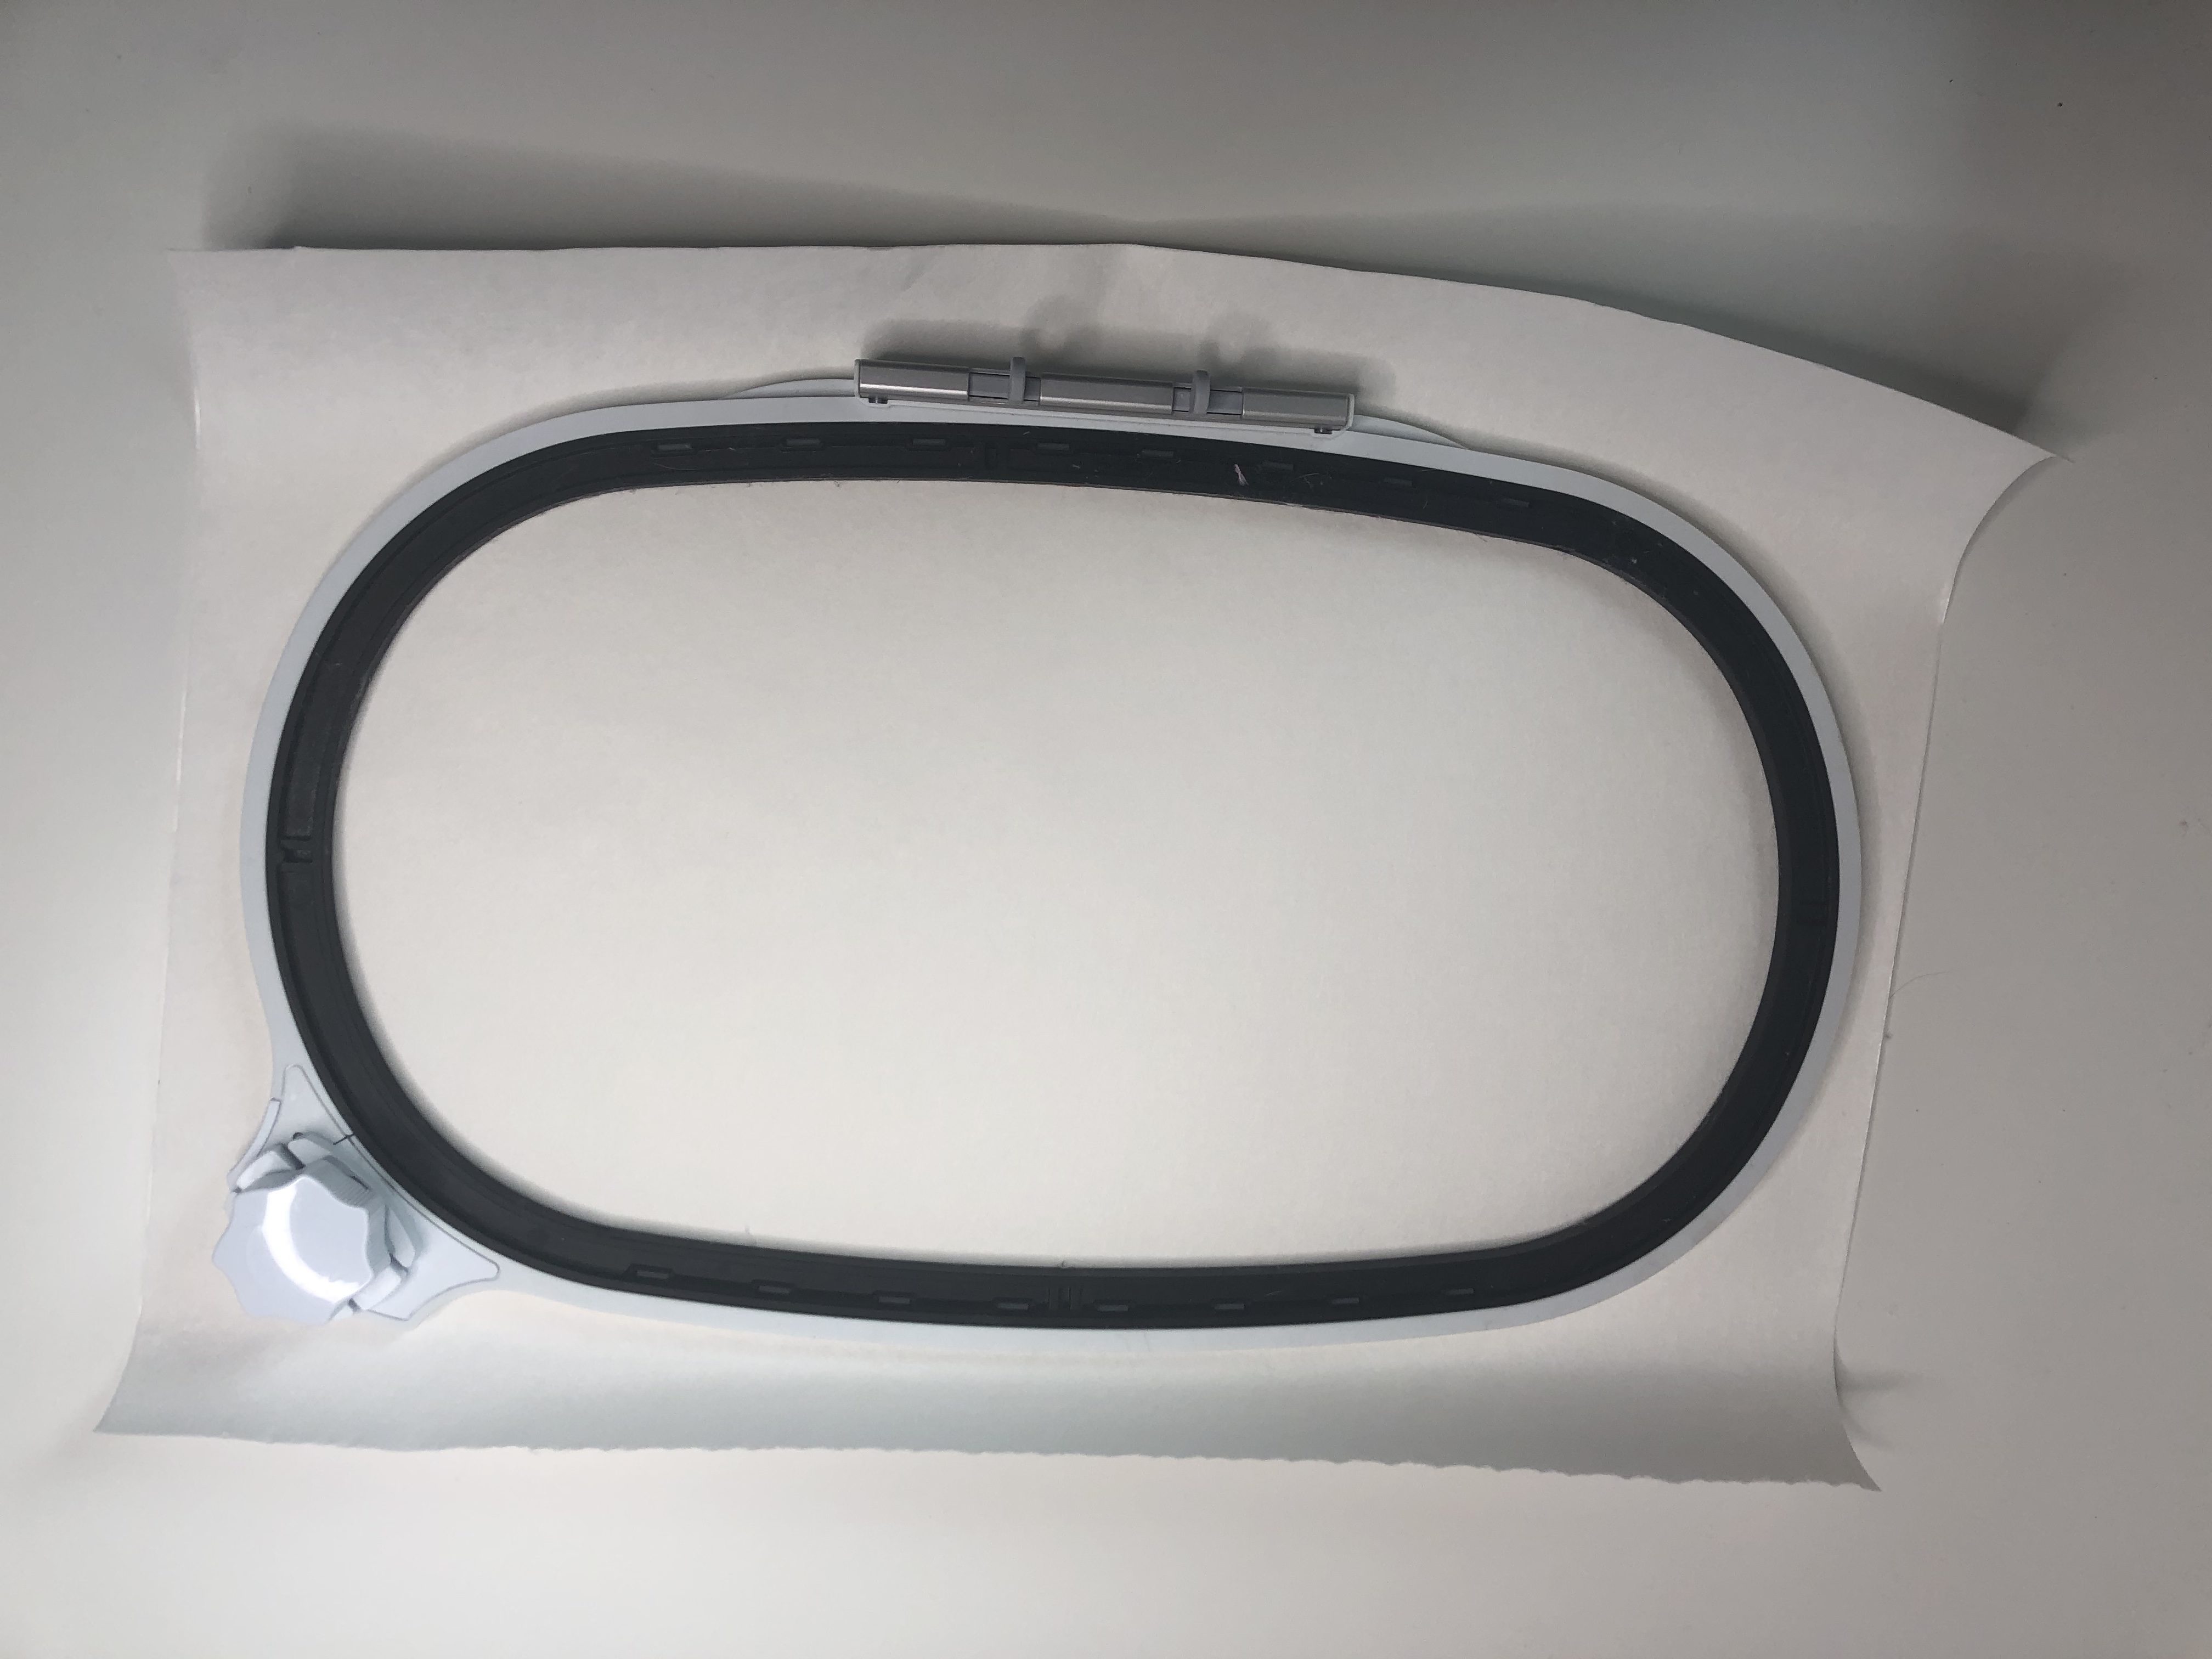
Cut your Ultra Clean and Tear Plus to the size of your hoop (so there is at least 1.5″ bigger then your hoop on all sides). Peel away the backing and set in on your table sticky side up. Place your inner hoop, face-up, in the center of the stabilizer and press it hard.
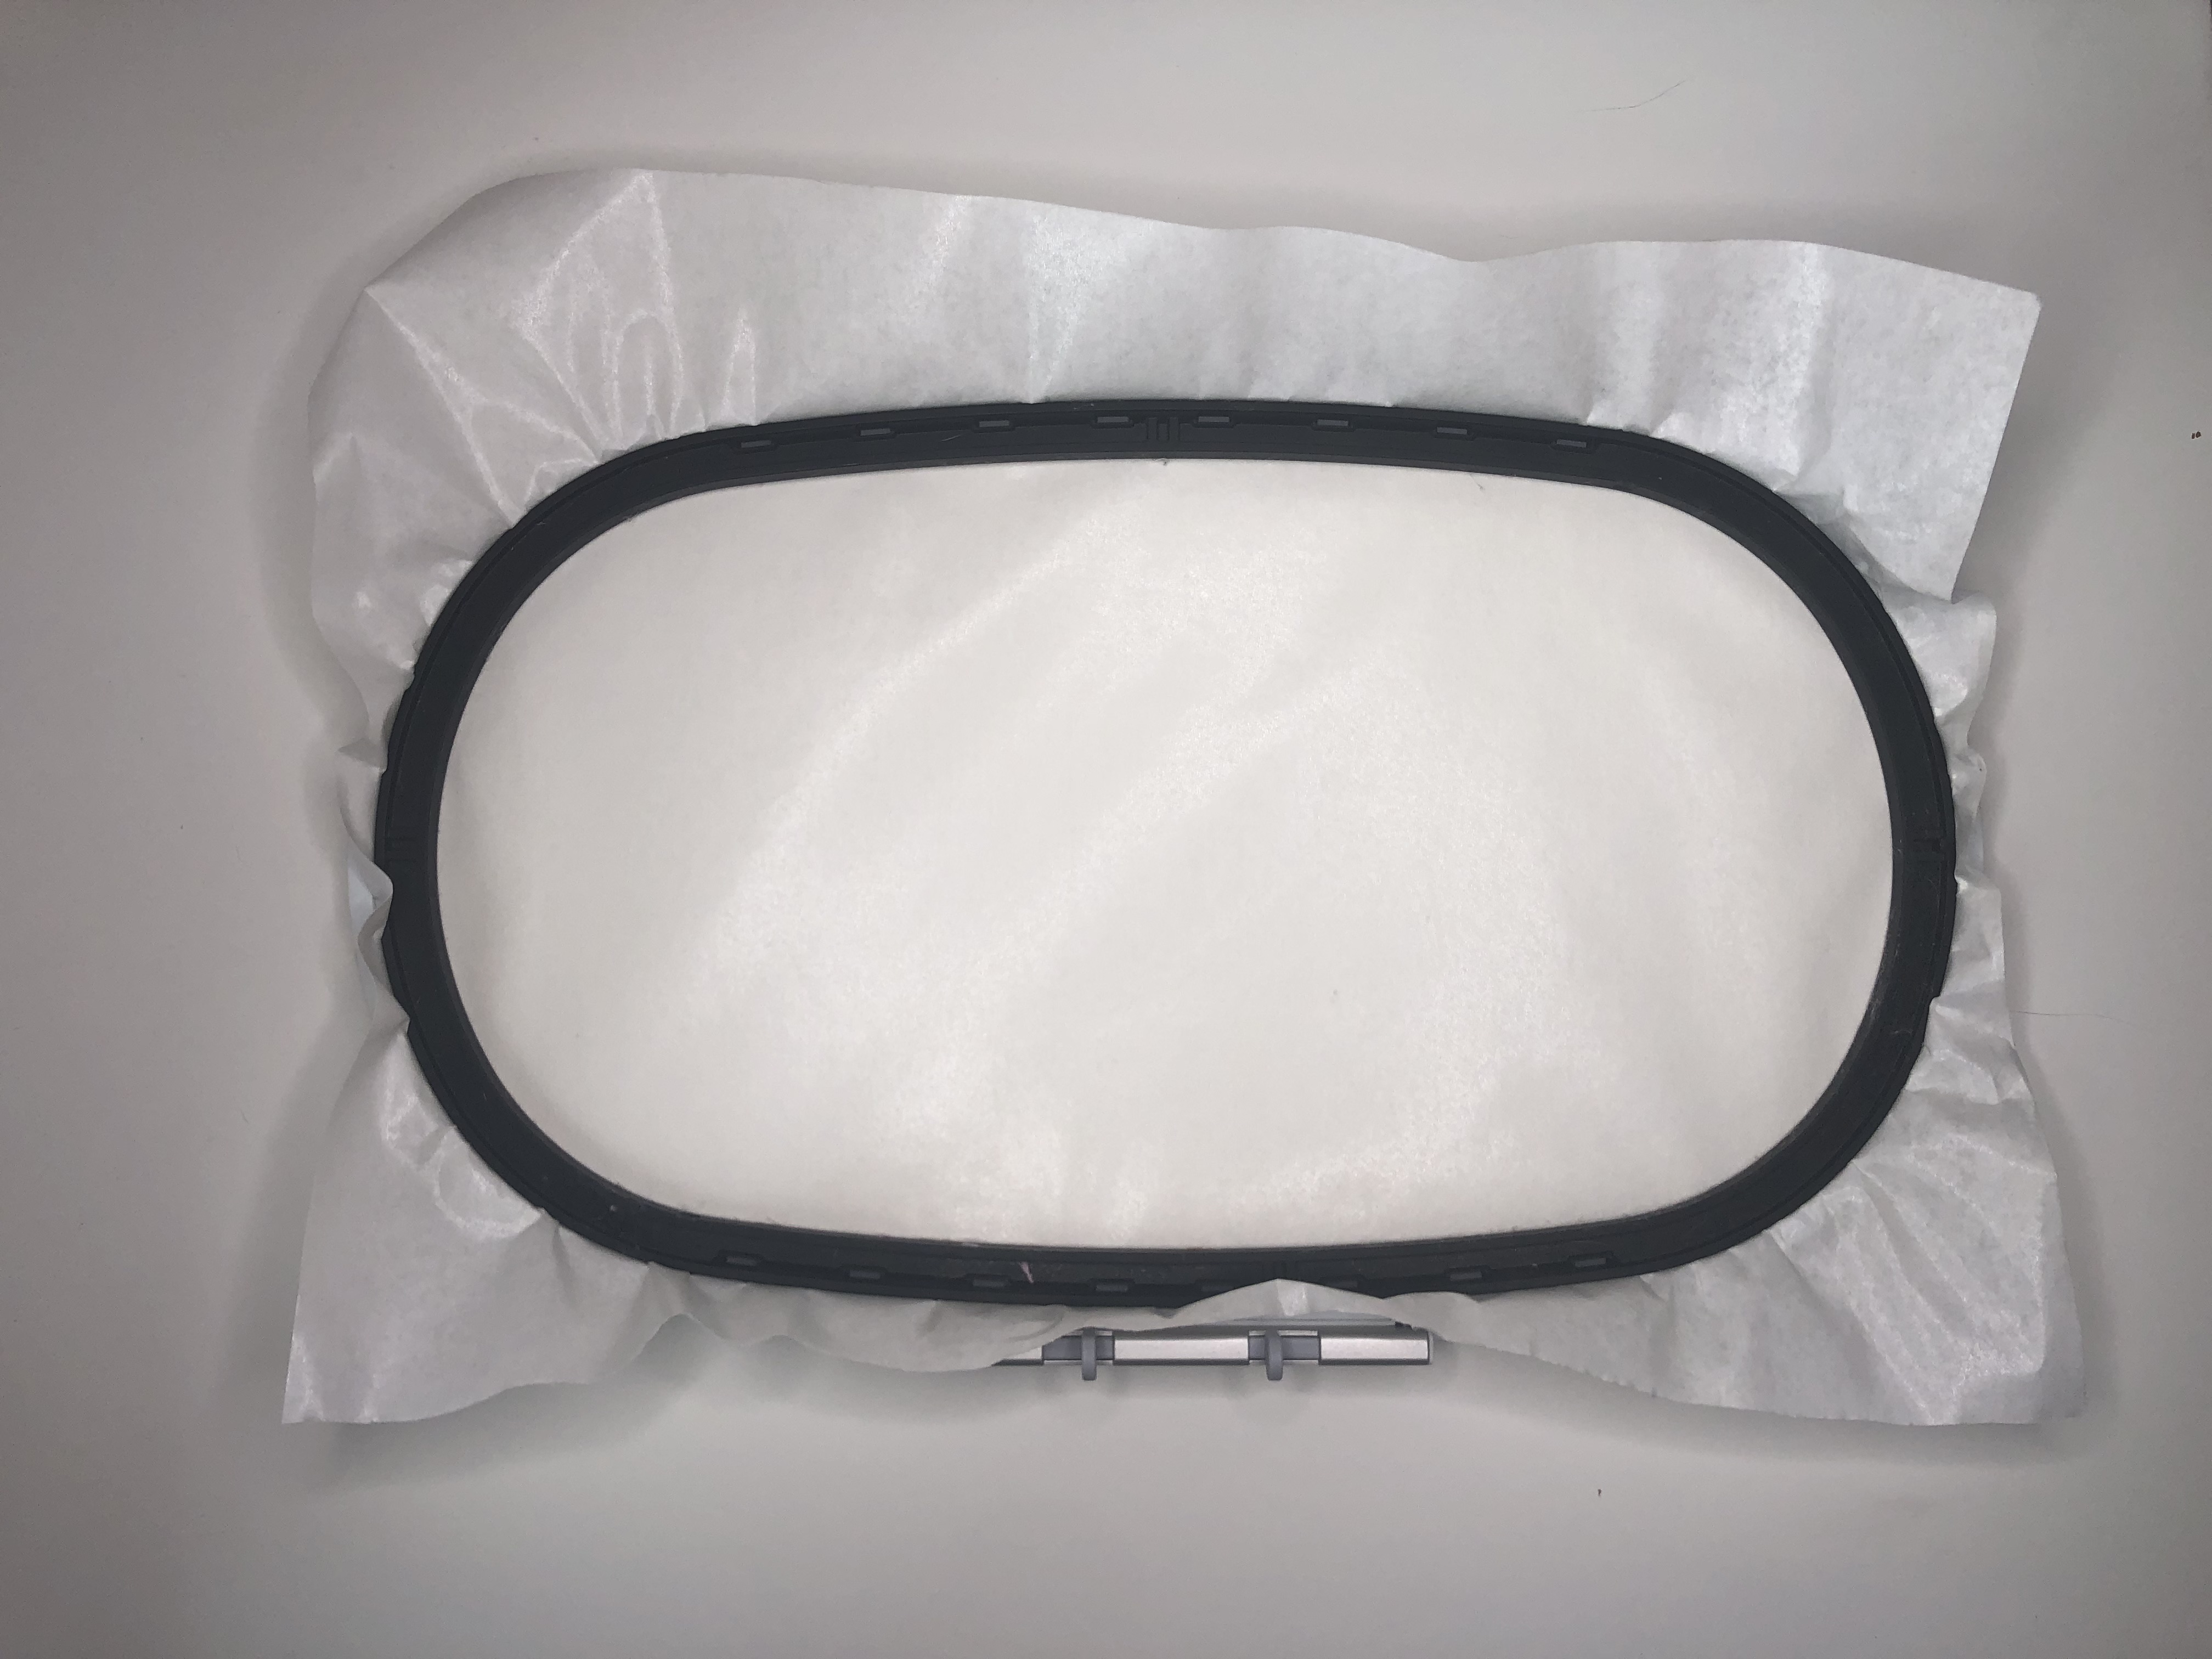
Hoop your stabilizer by itself.
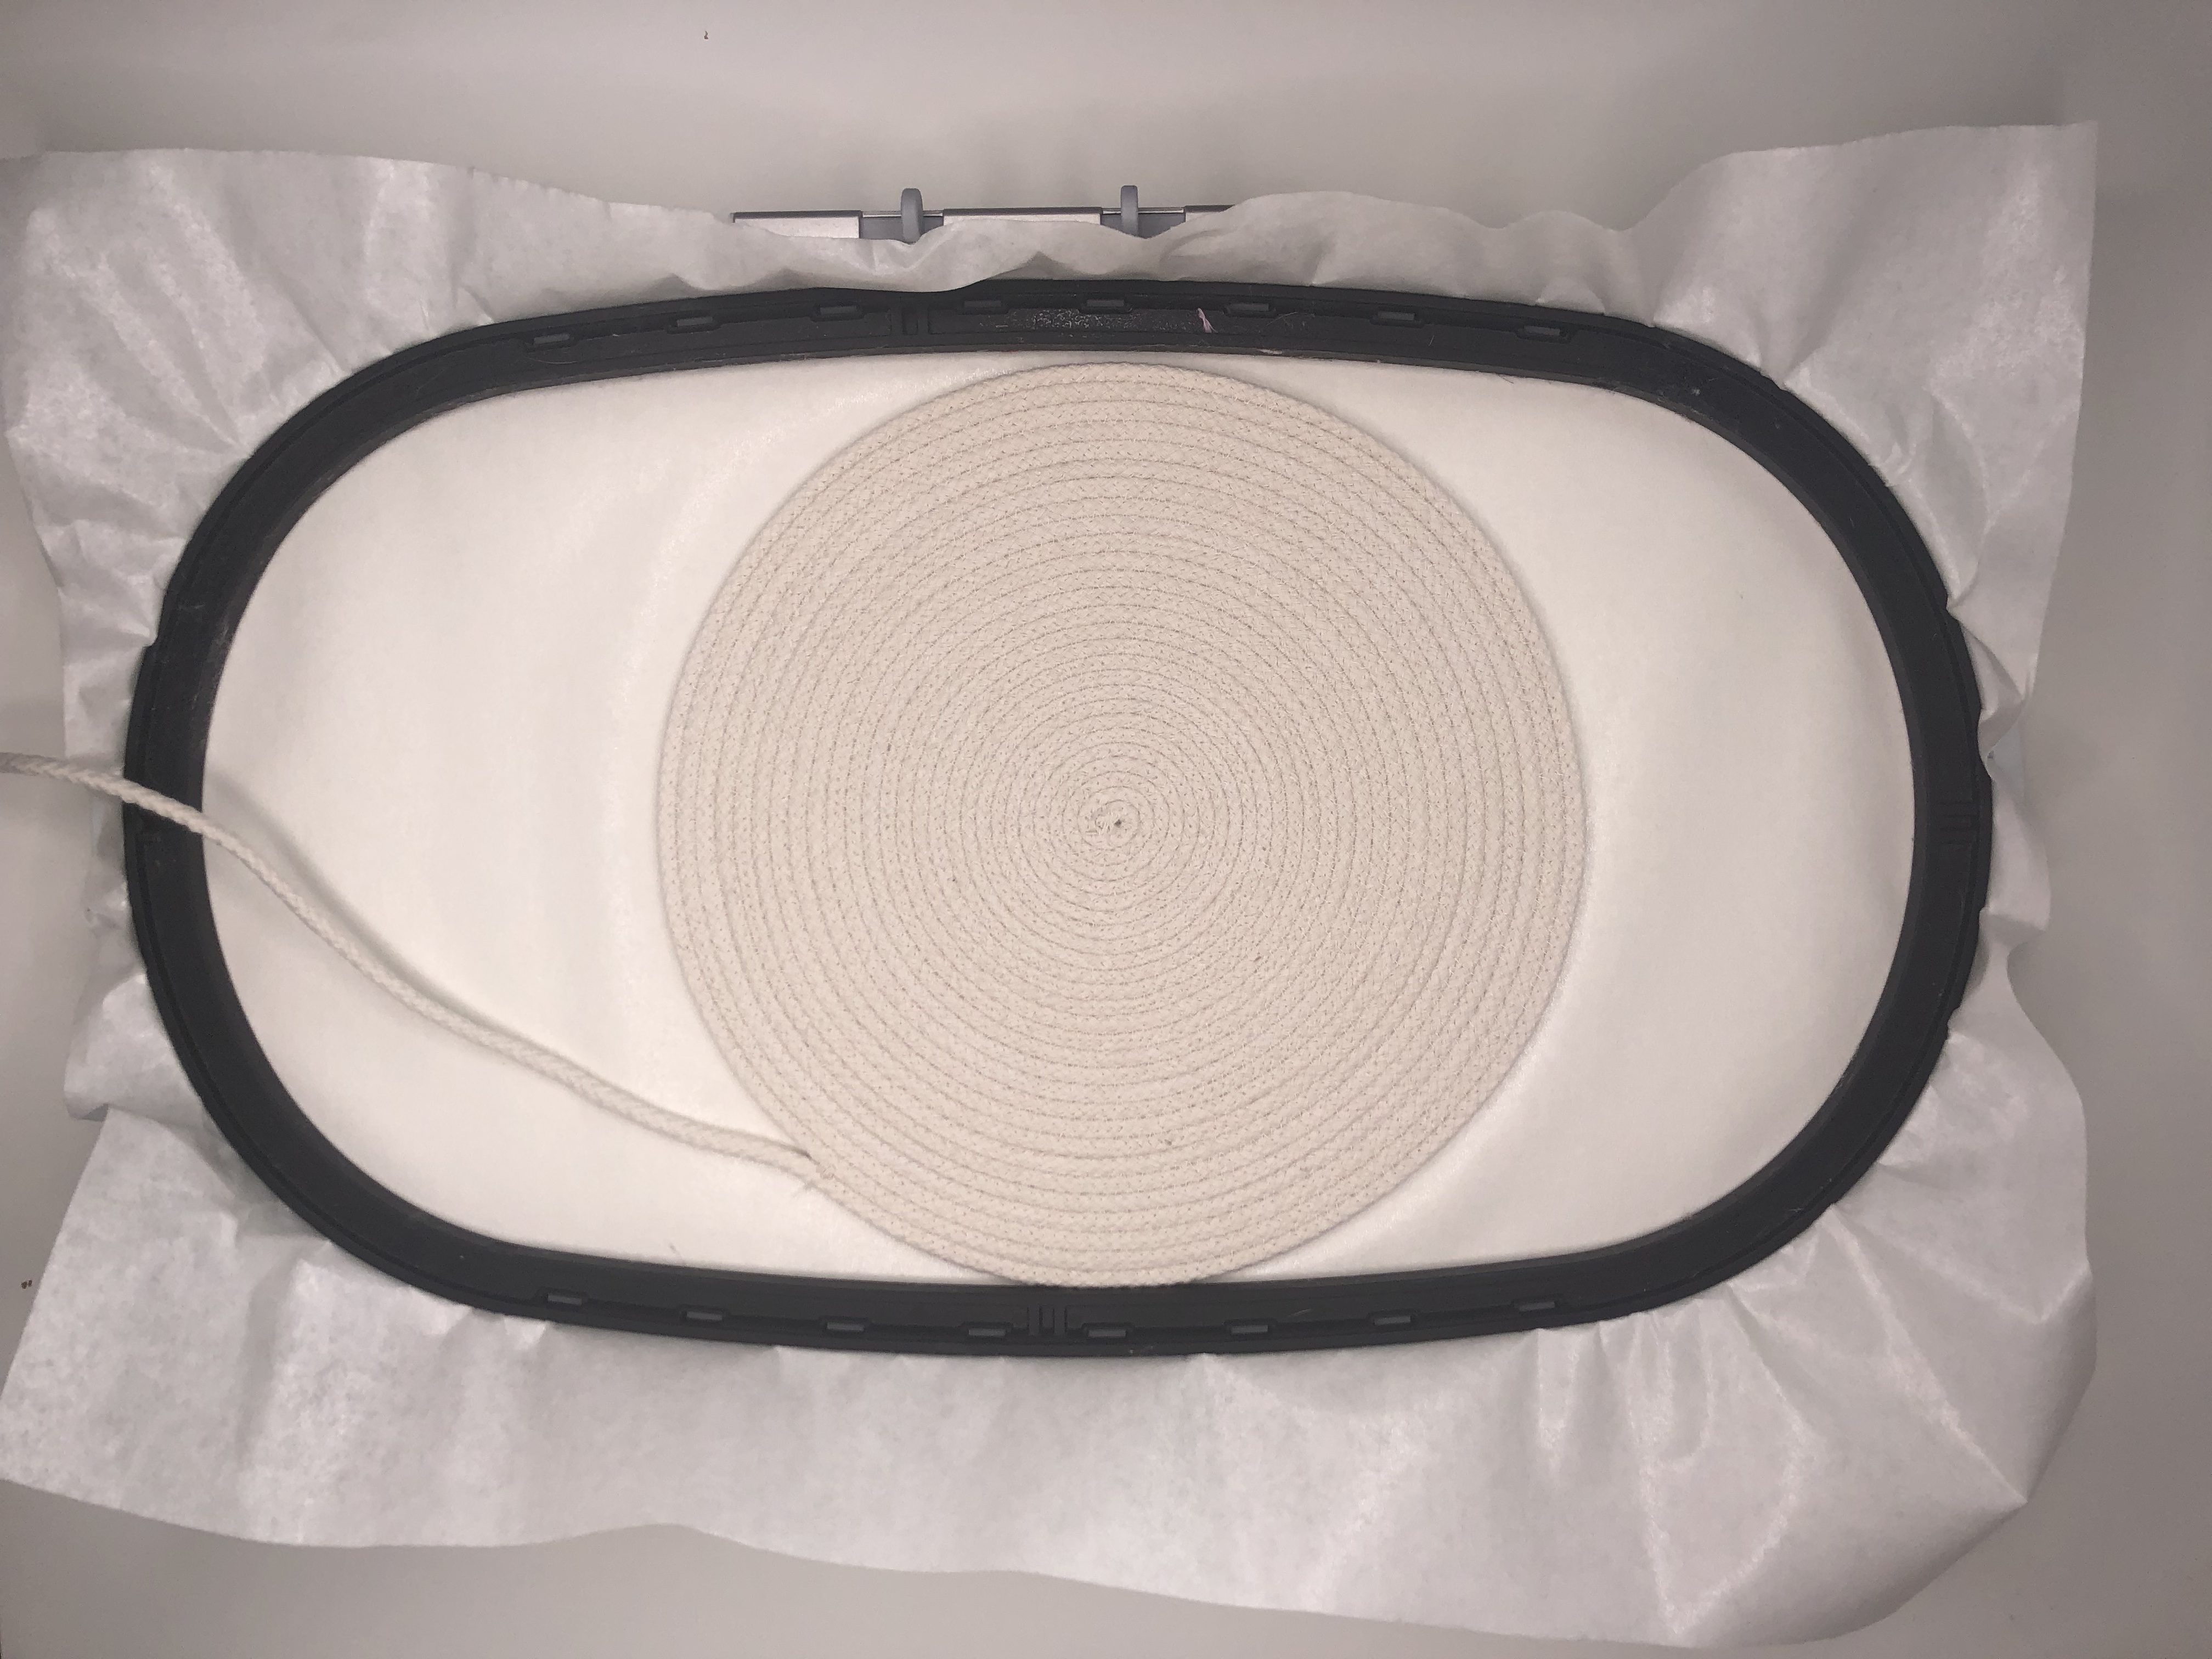
Mark the center of your rope bowl base with your water soluble marker. Place the bowl base in the center of your hoop. Don’t worry about being too perfect, we will use the machine to position it perfectly.
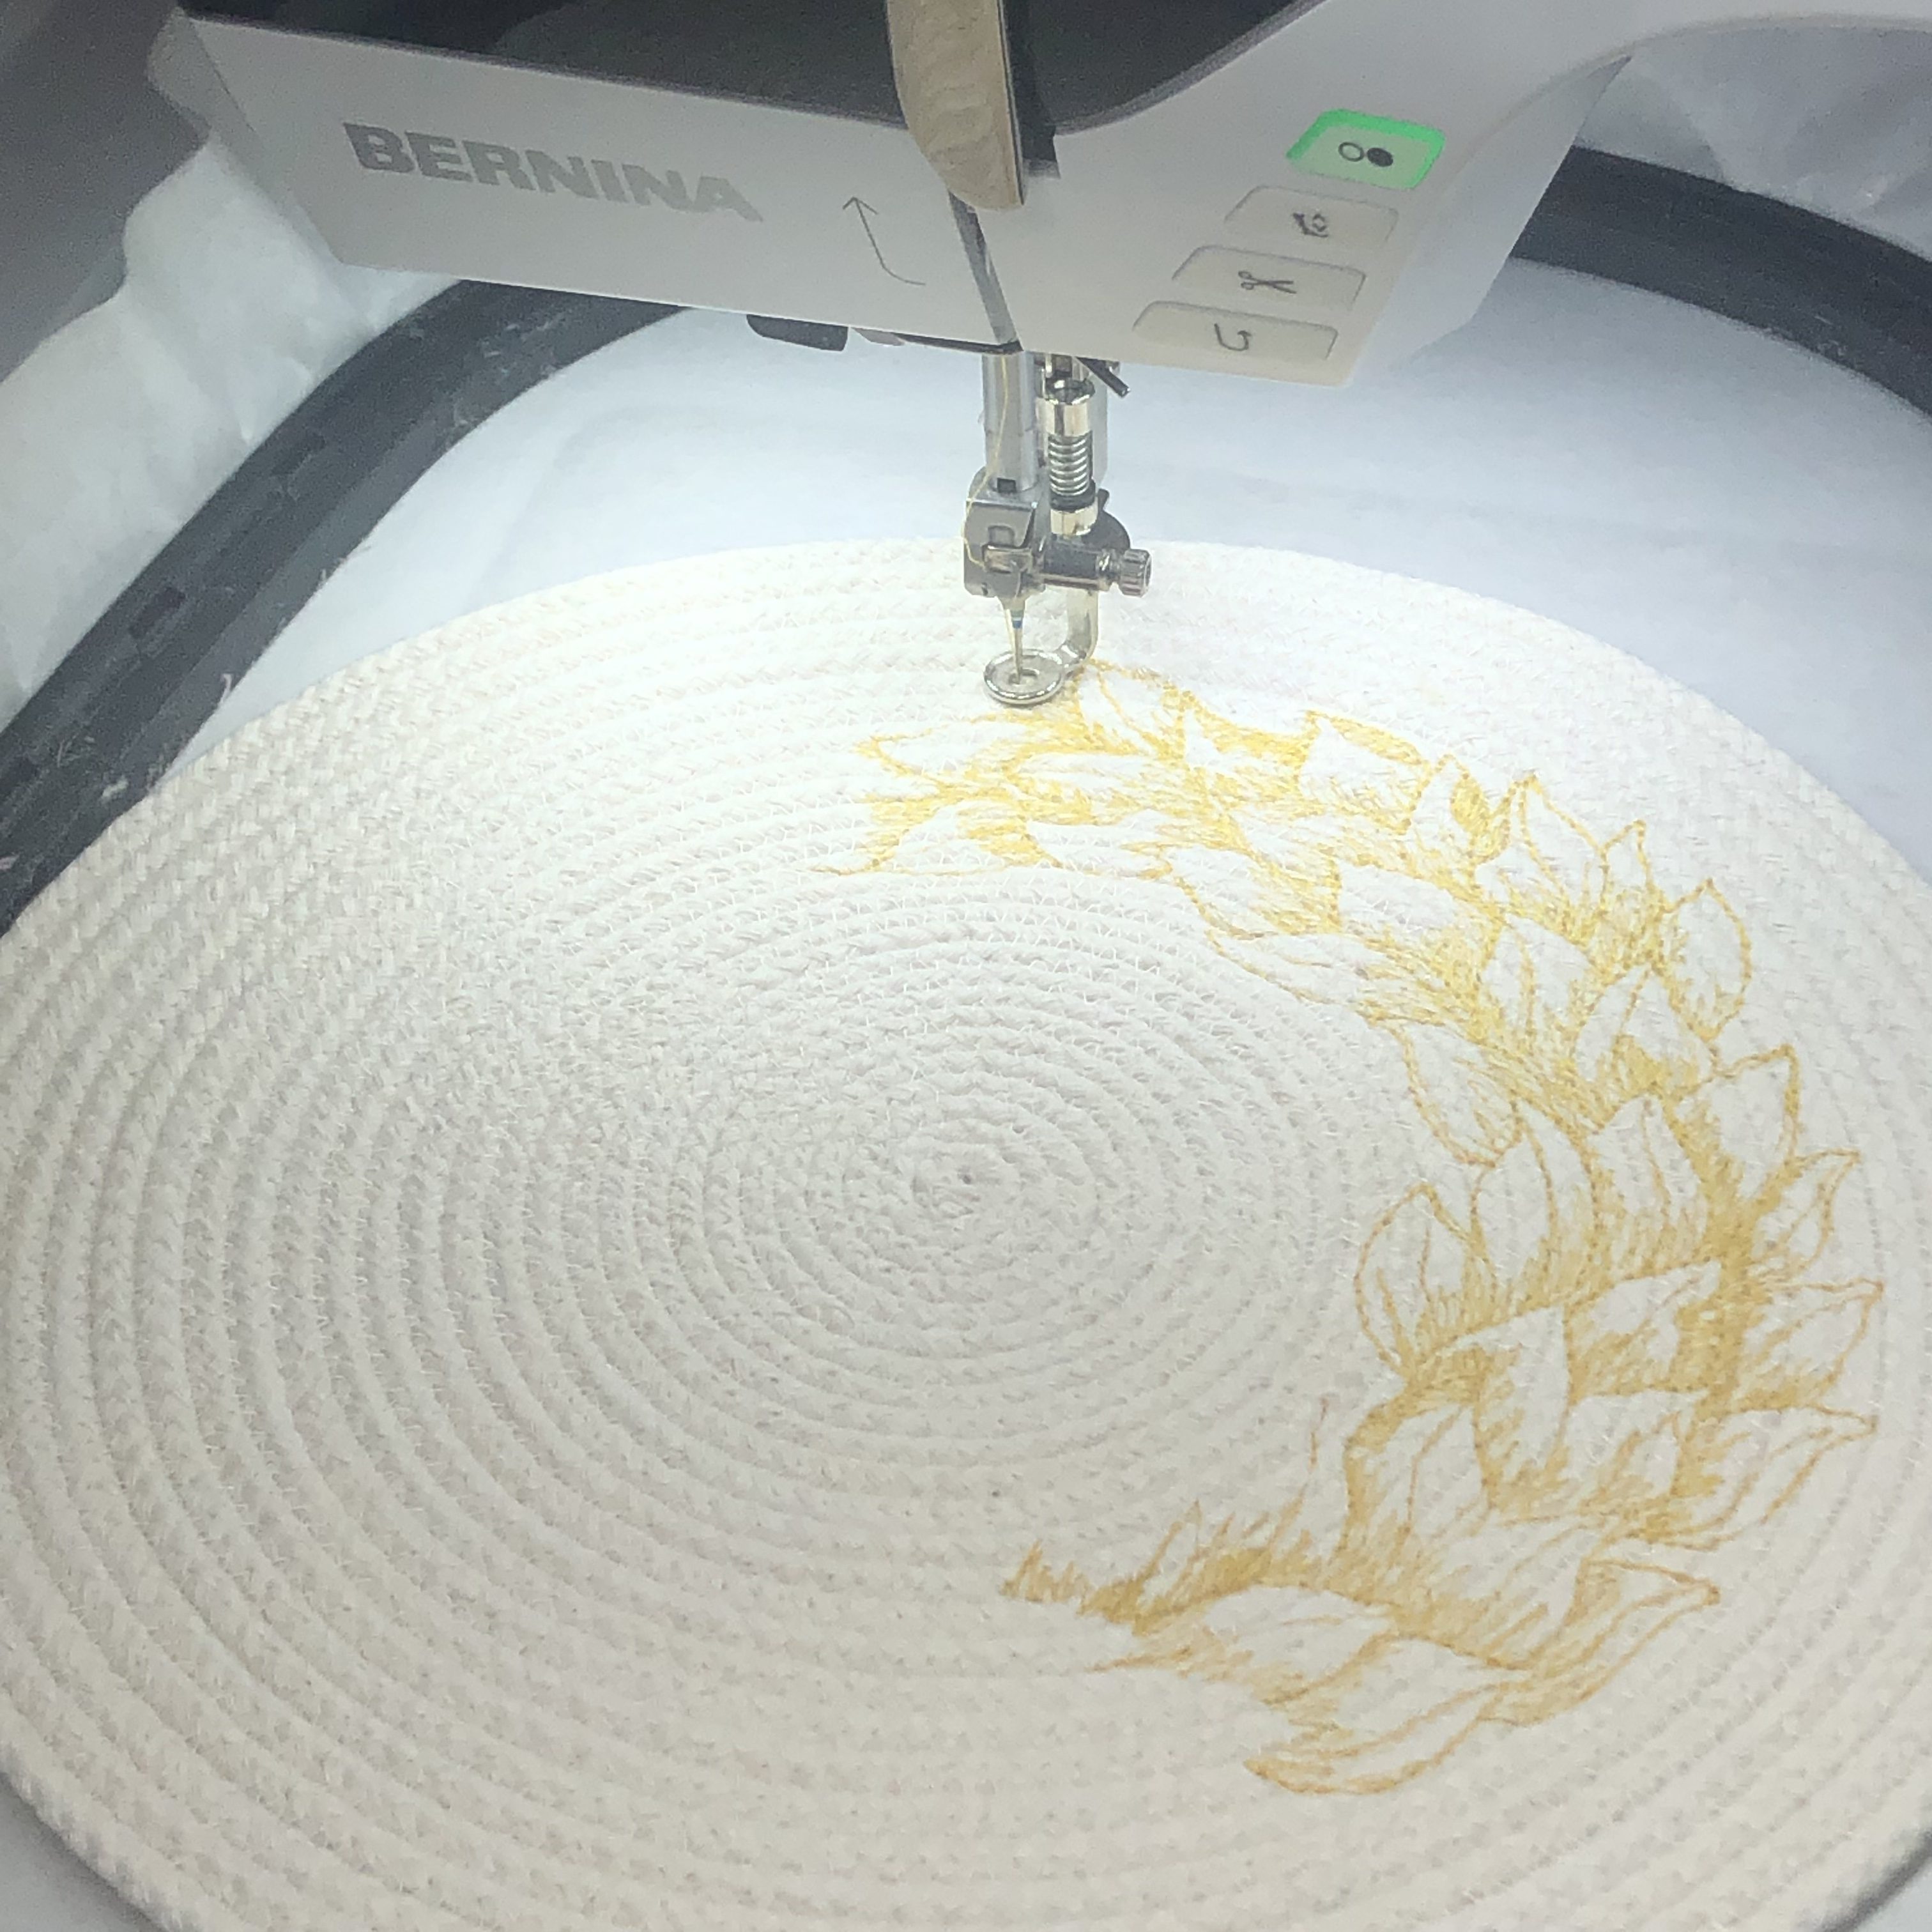
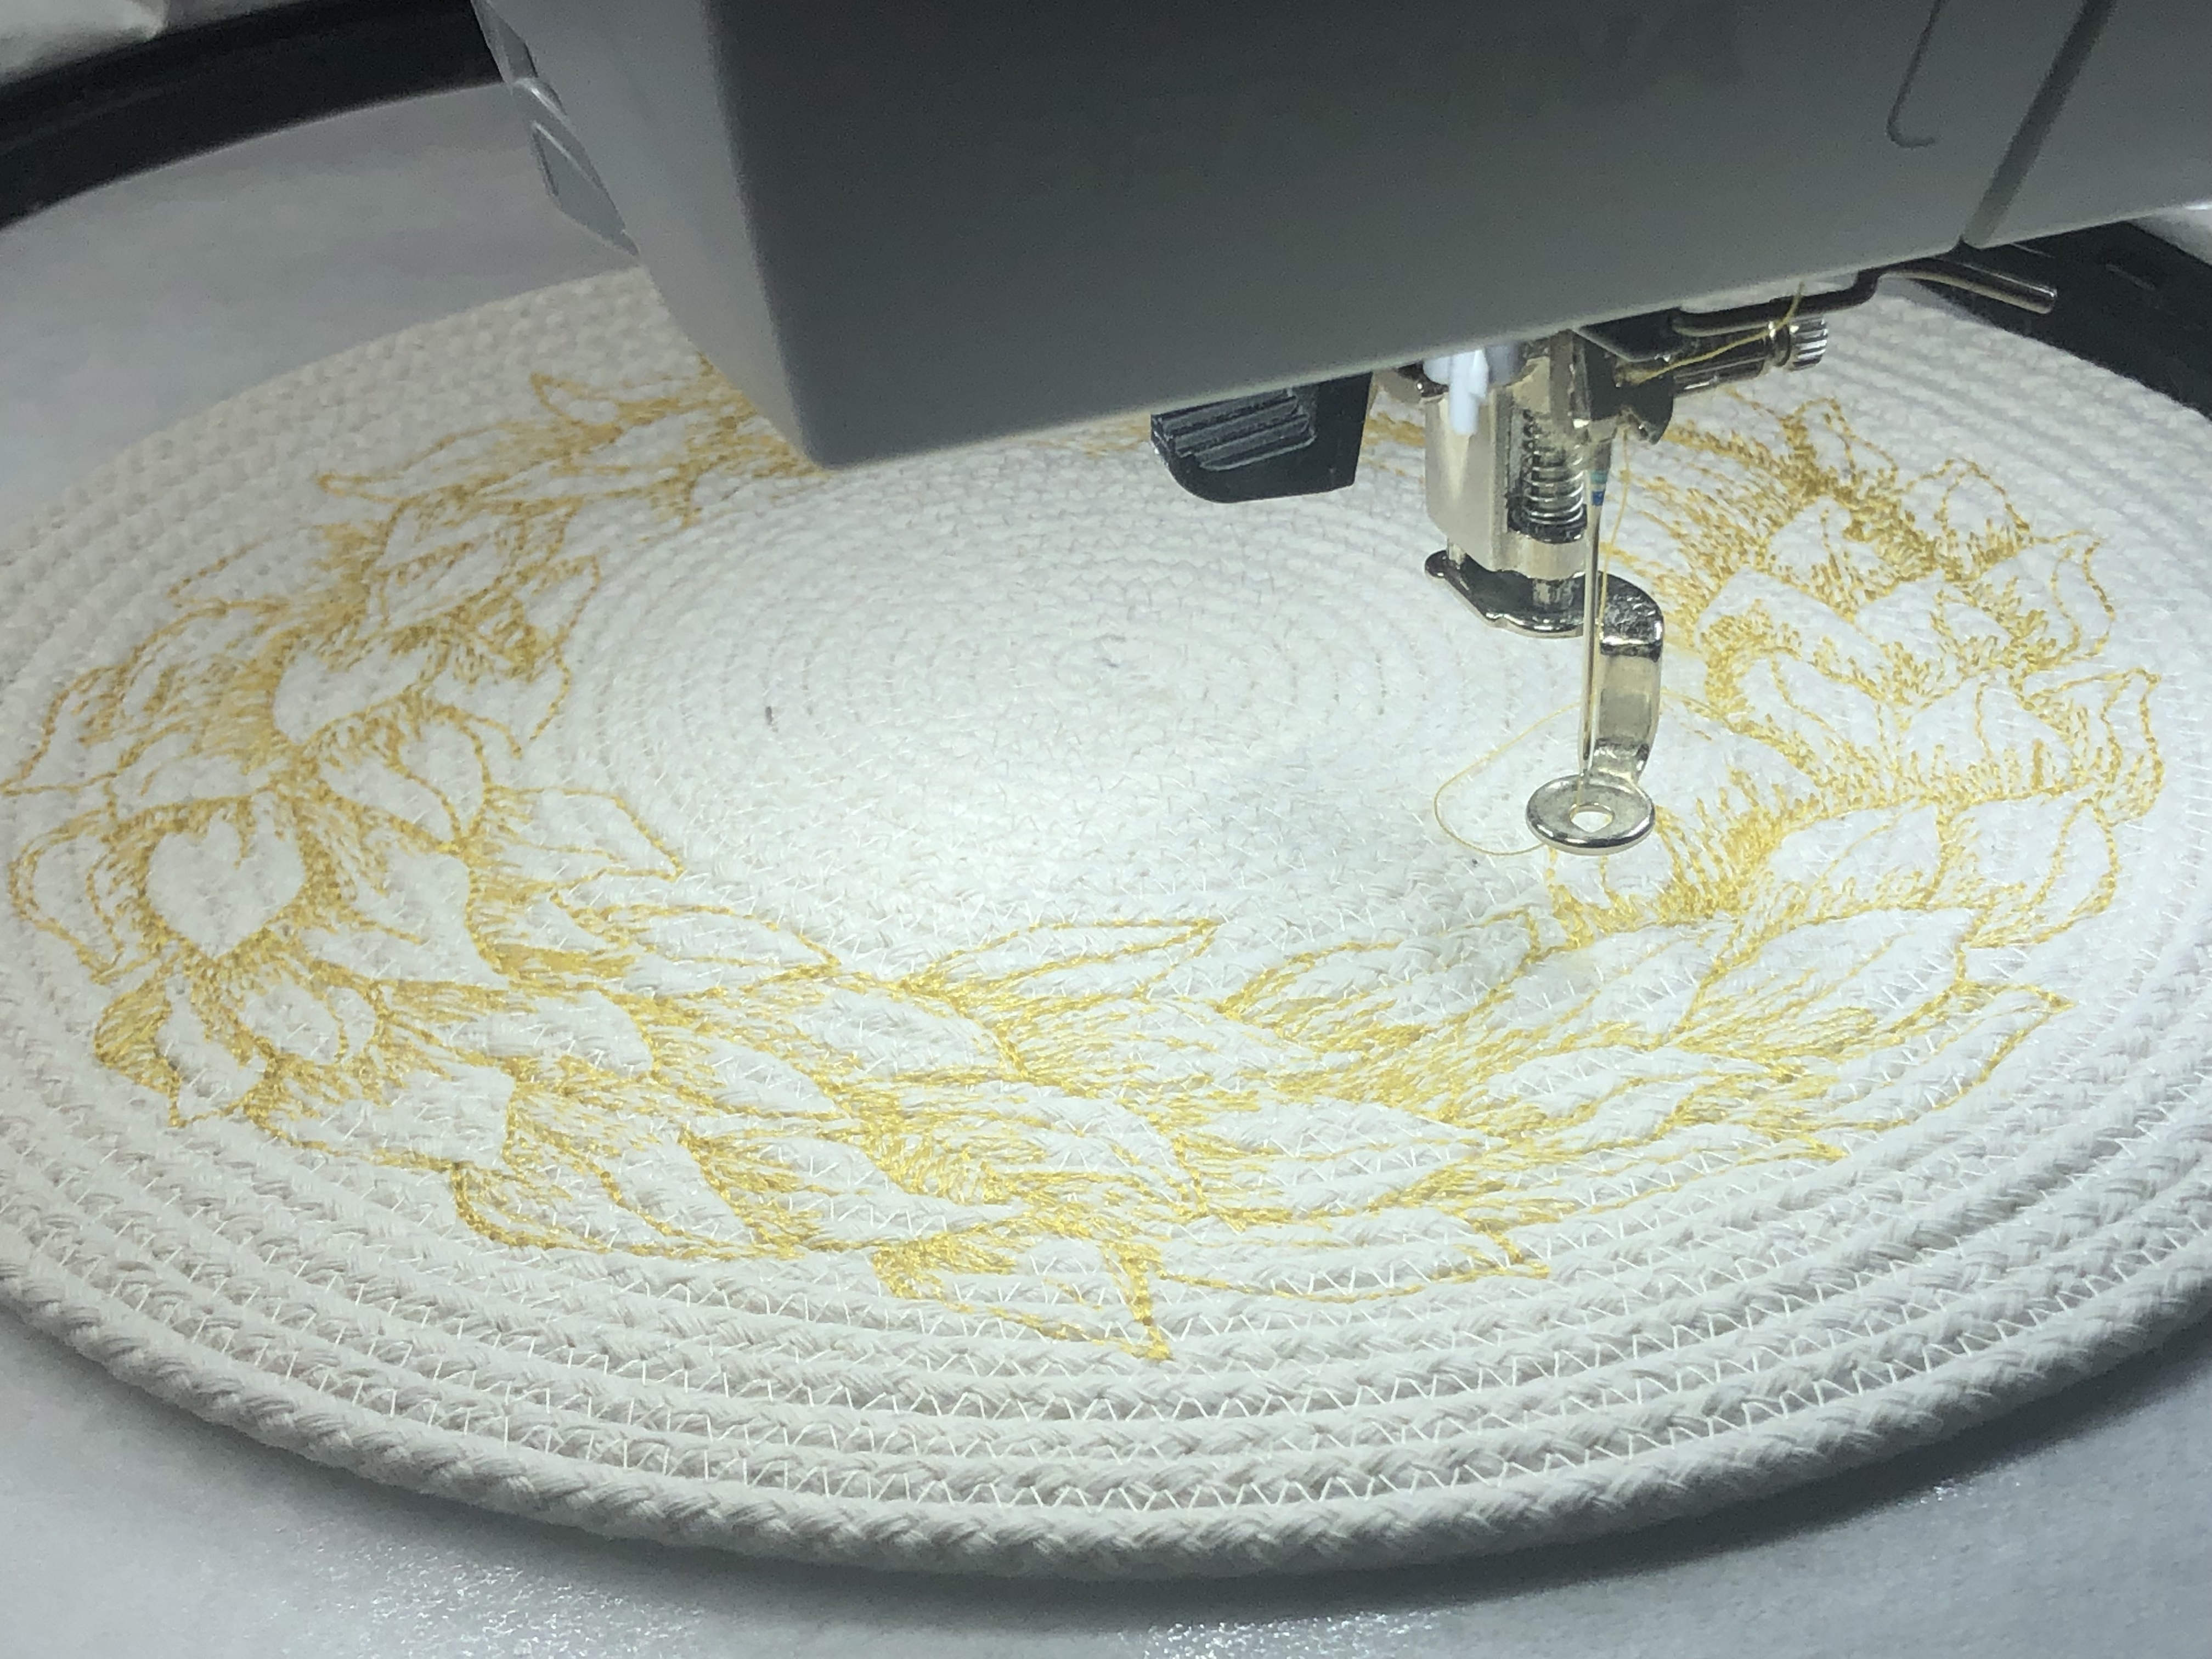
Bring up your design on your screen and use pinpoint placement or absolute check to center your design on your bowl base. Stitch out your design.
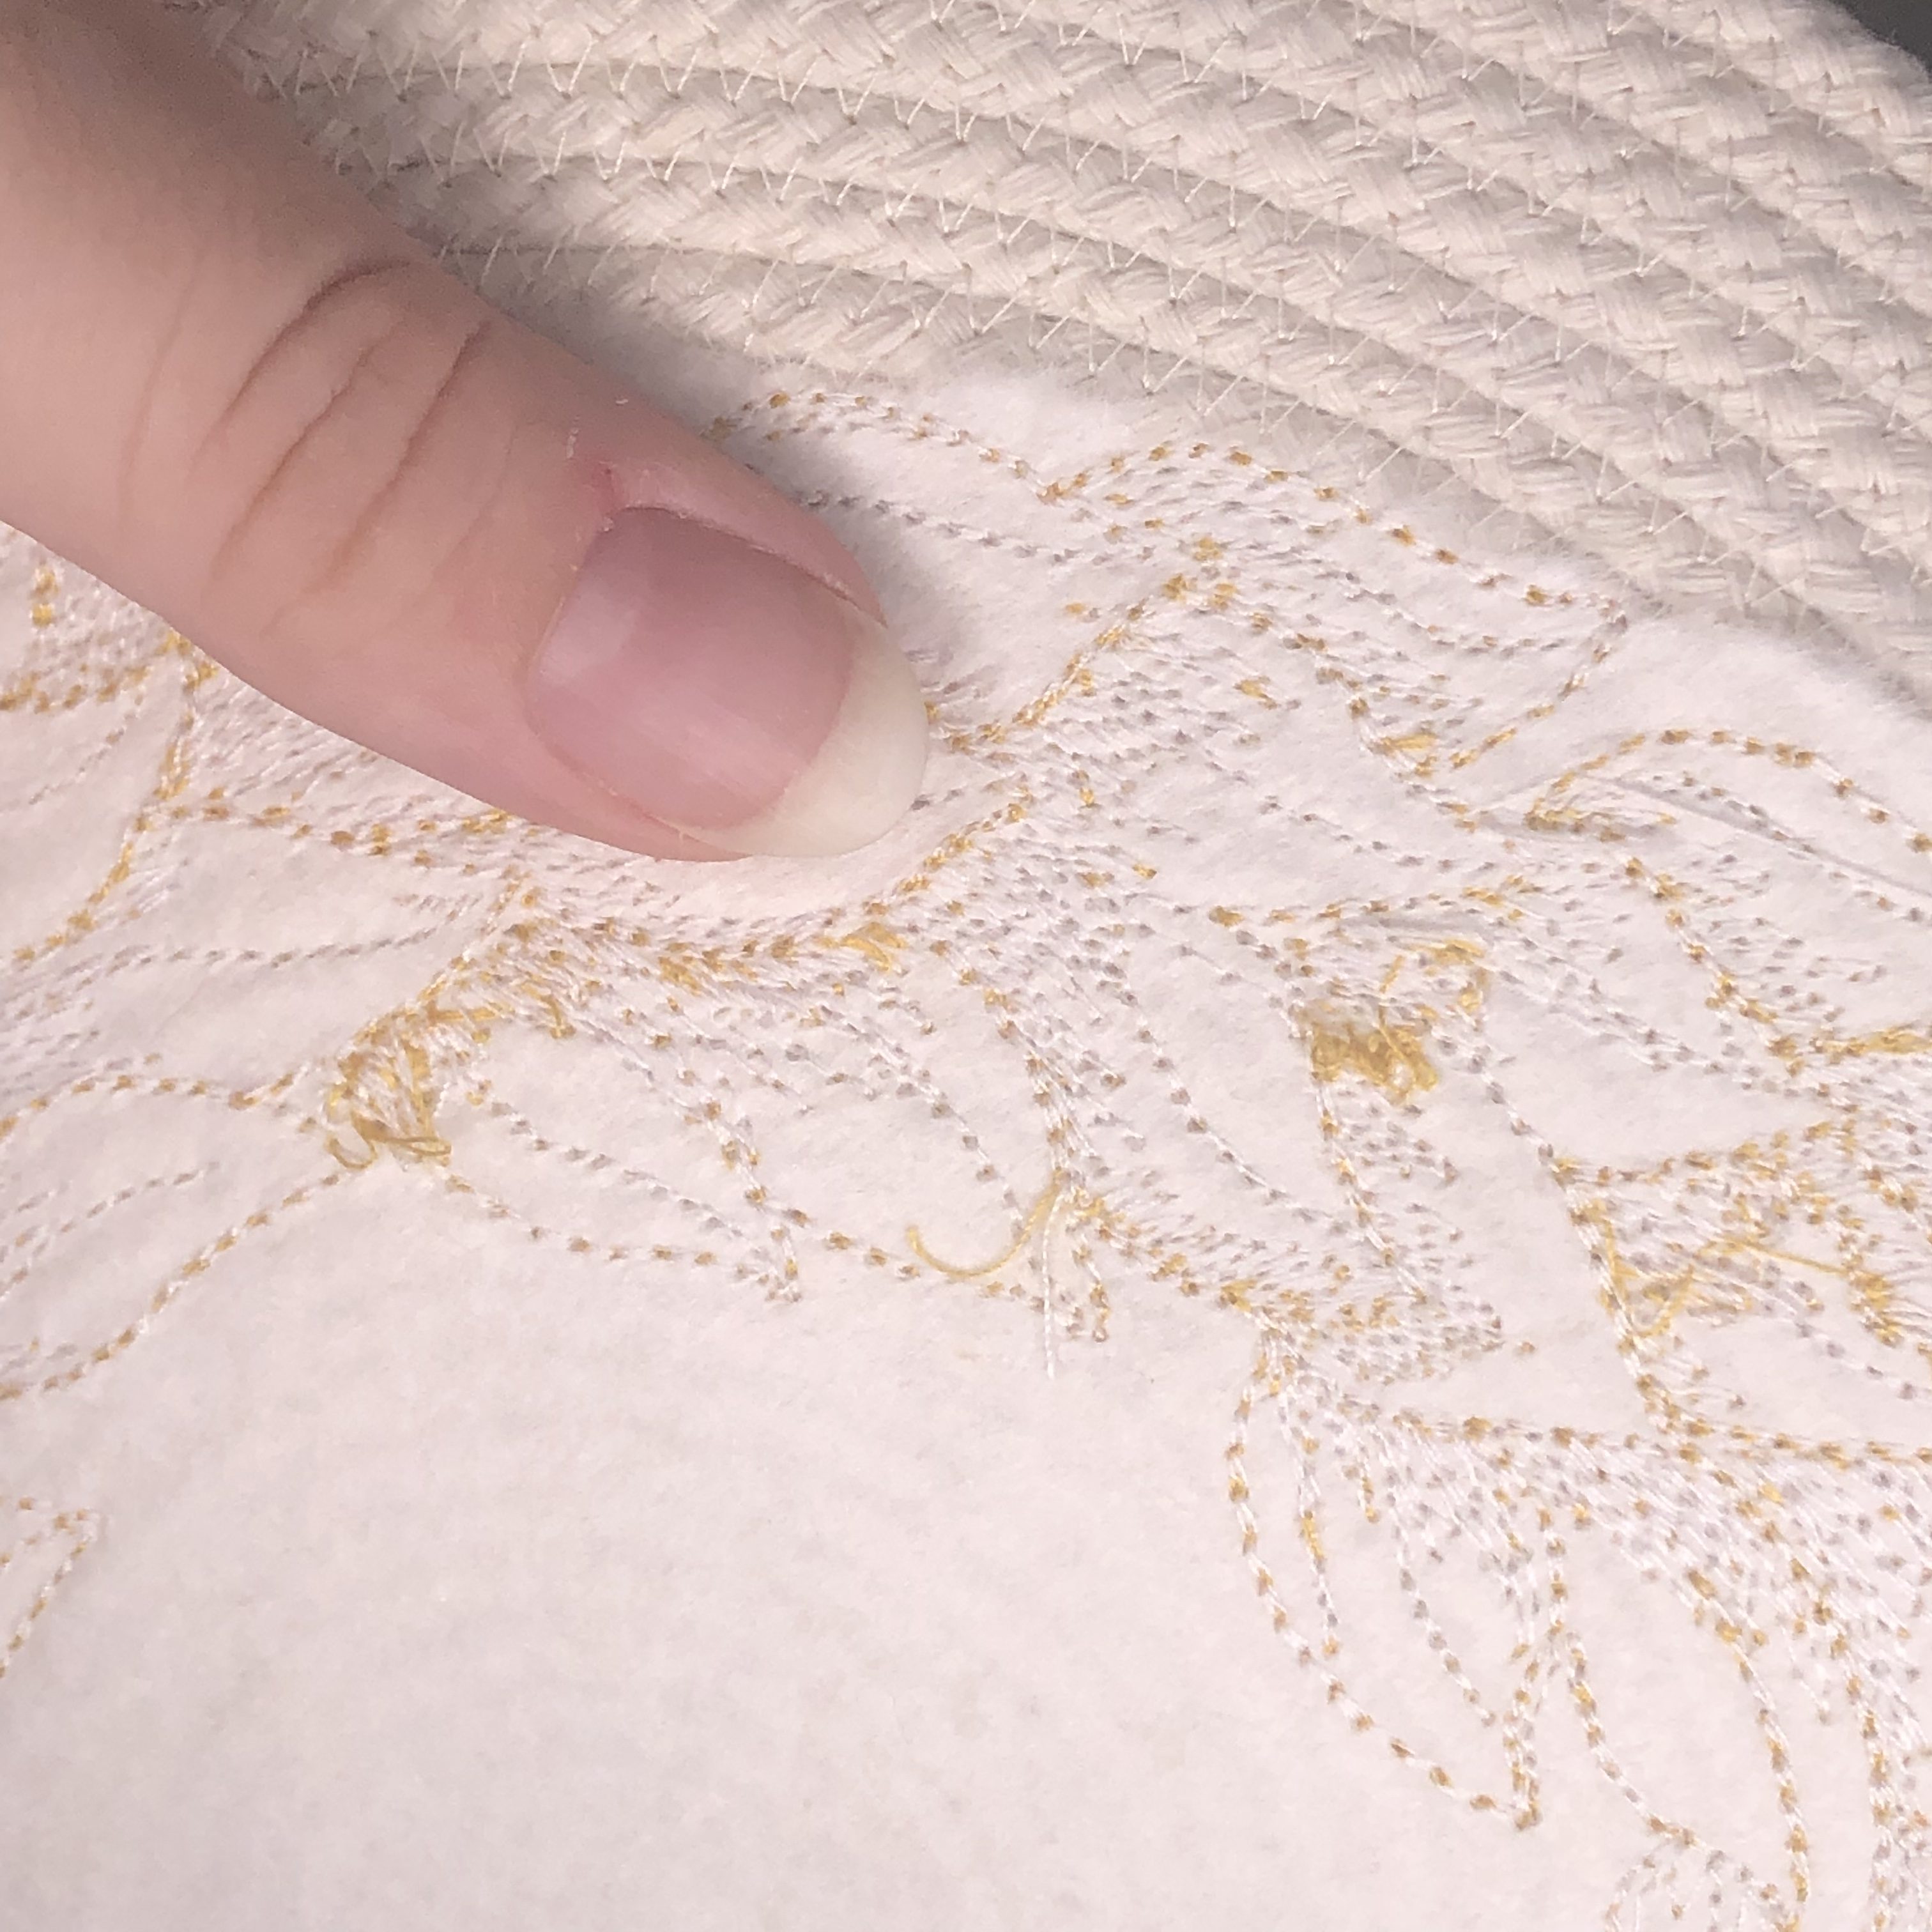
When the design is finished, remove the stabilizer from hoop. Support the stitches with your fingers and gently tear away the stabilizers from your bowl.
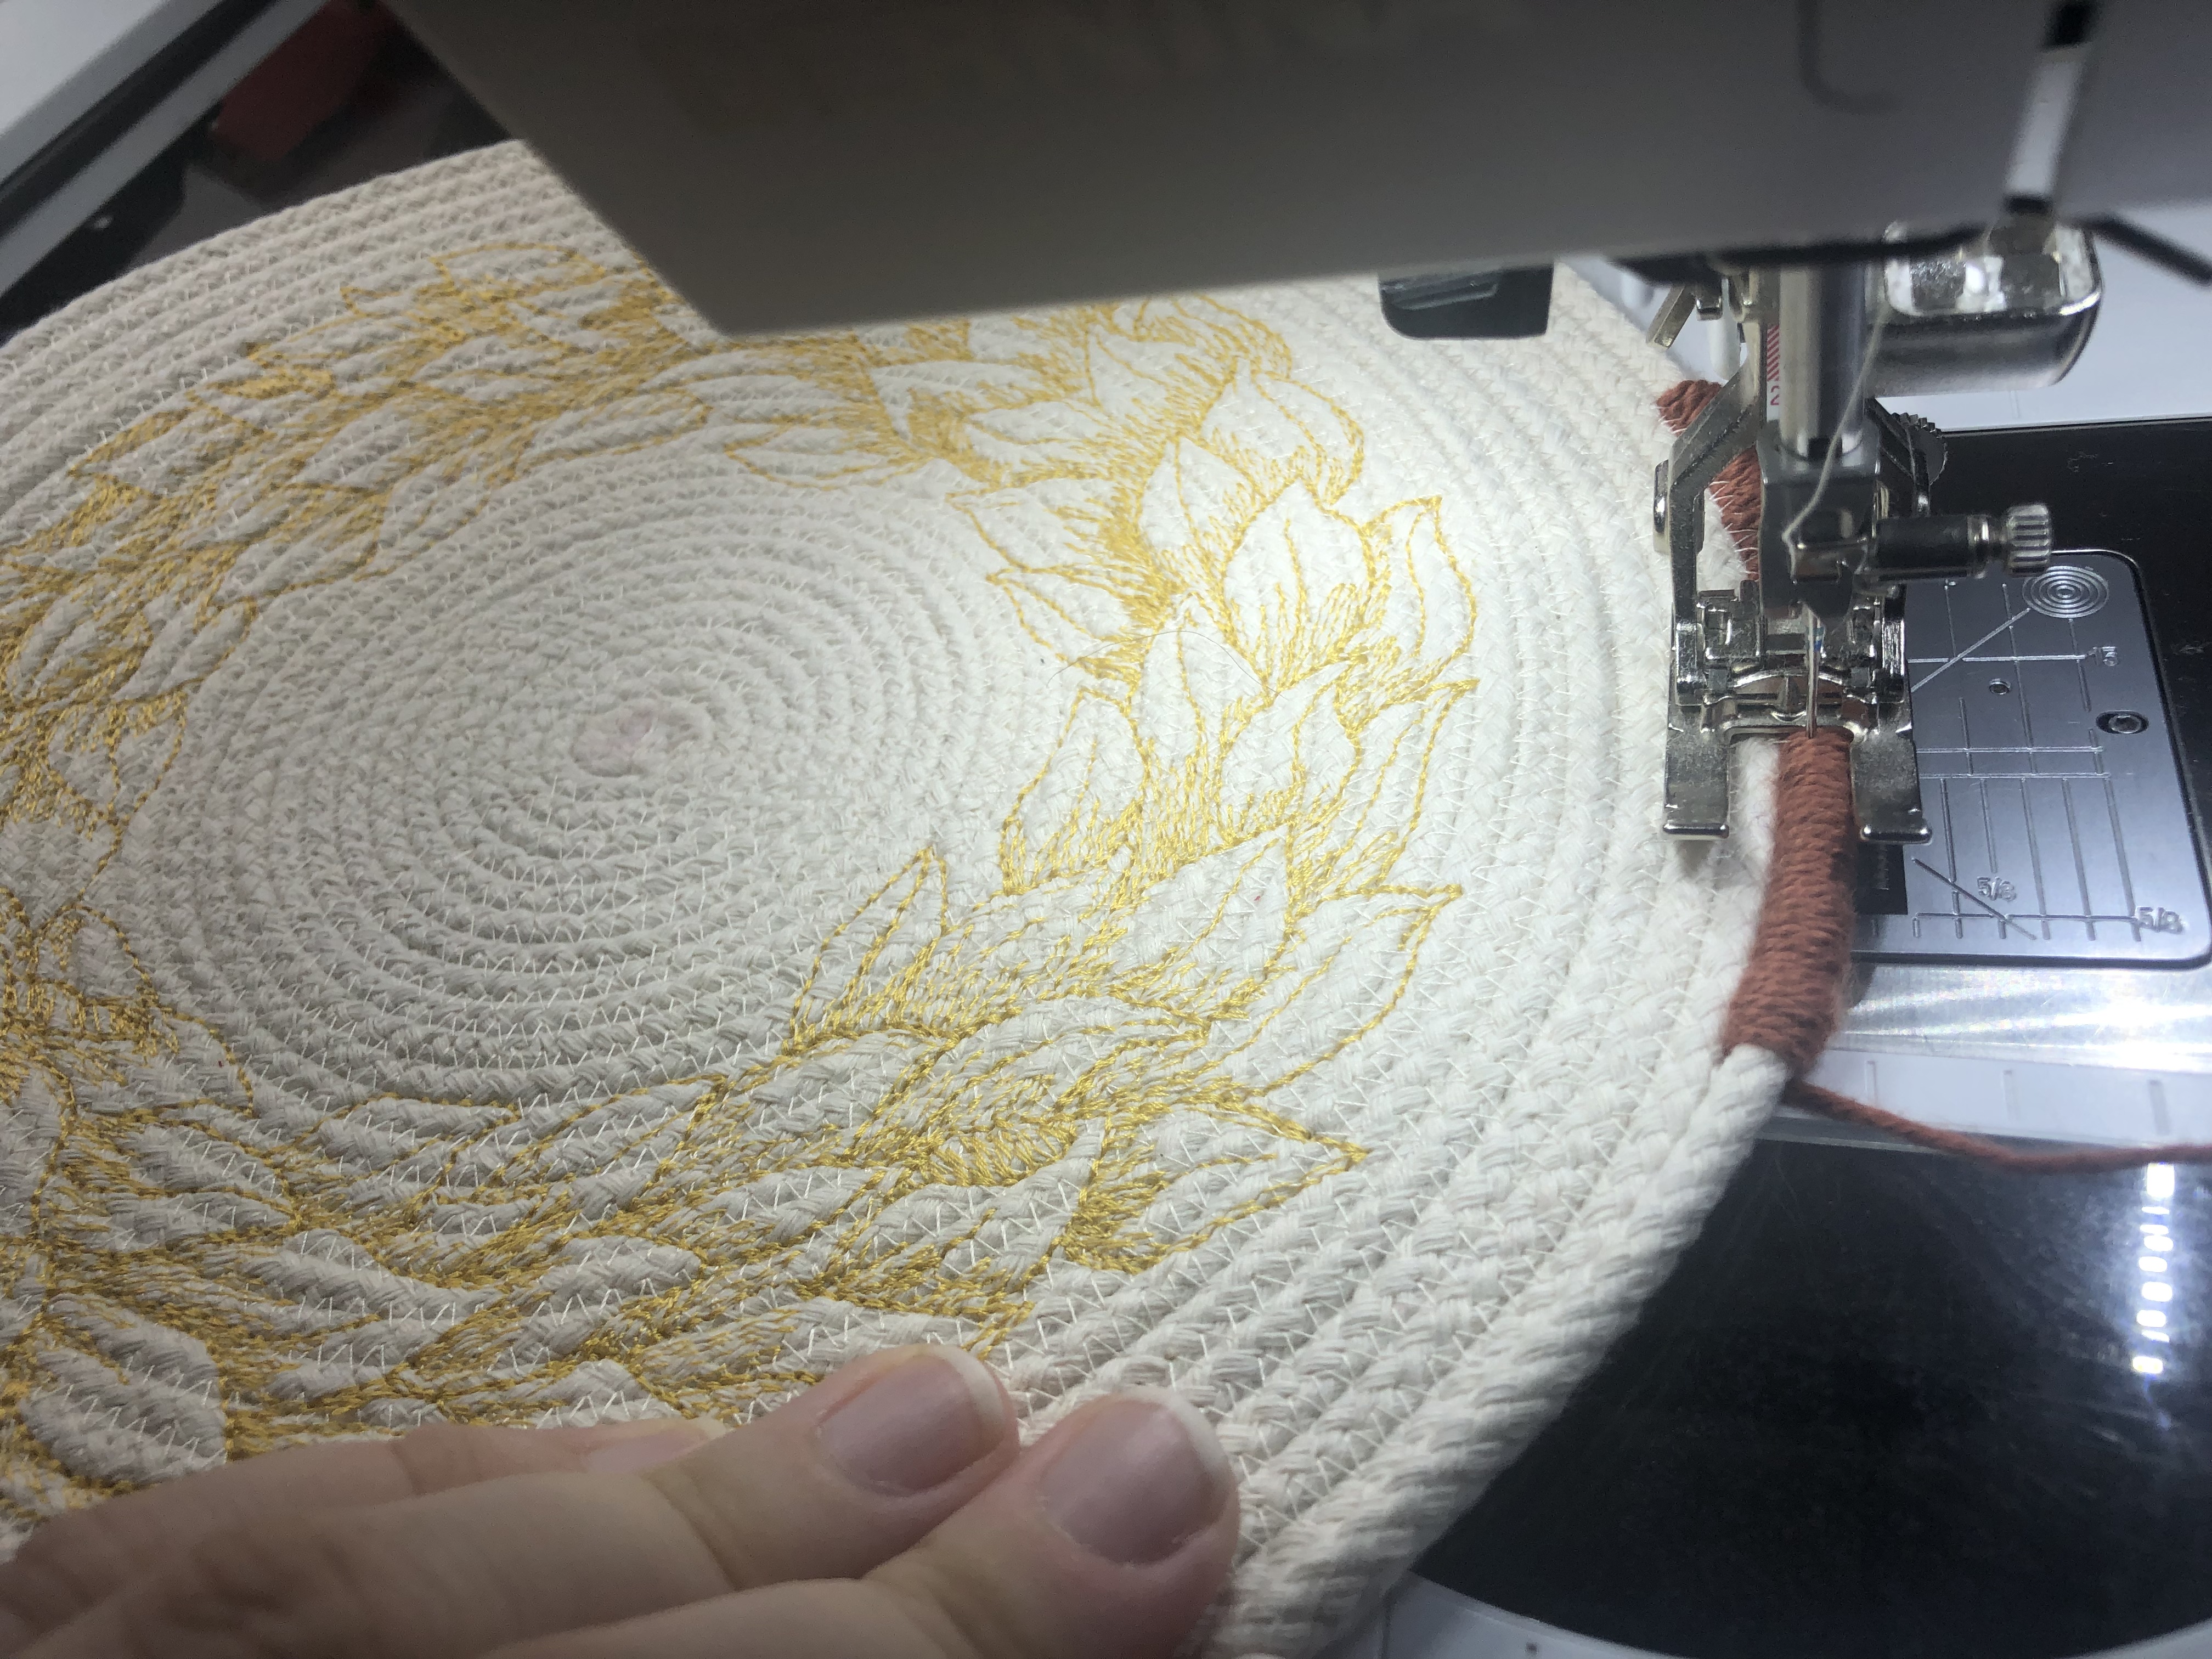
From here you can finish up your bowl by working through steps 5-8 on Hayley’s rope bowl tutorial.
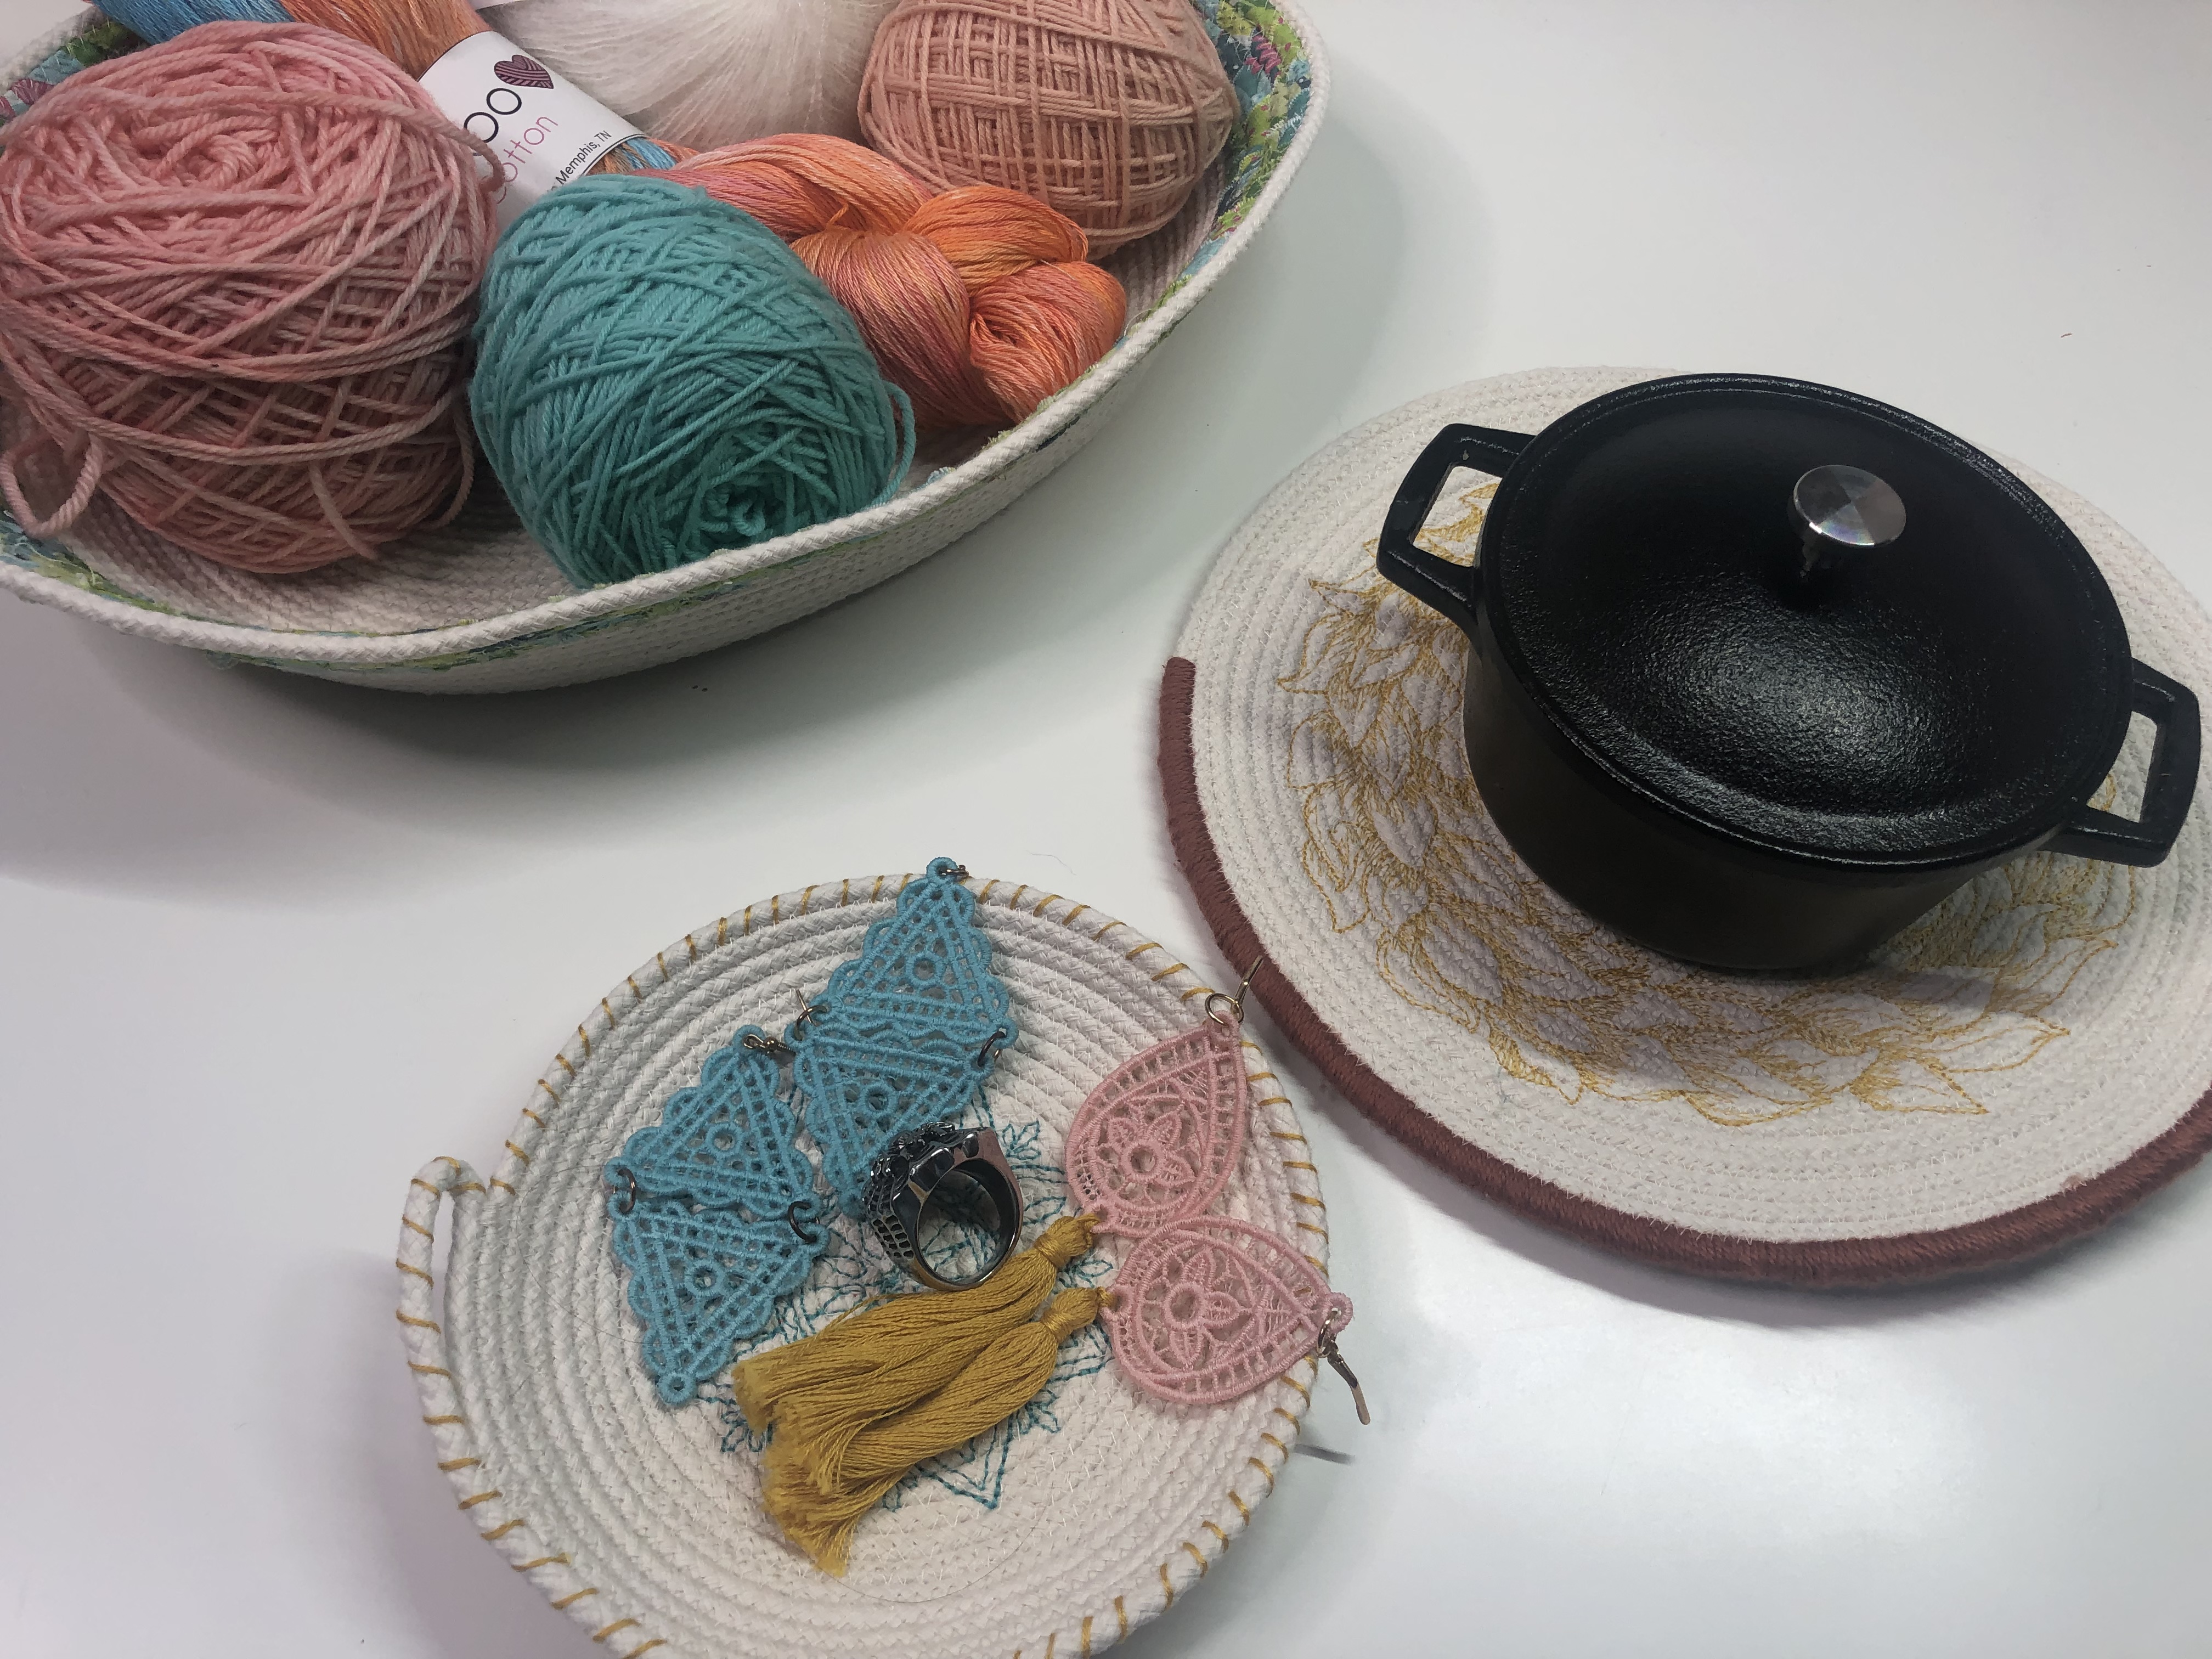
I decided that for this one I would keep it flat to make a trivet, and decided to wrap the cord in cotton yarn I had to add some fun texture and color to the design.
Learn more about interesting ways to customize your bowl with fabric, thread, yarn and more to create a million different embroidered rope bowls on the Tough Kitten Crafts Blog.
I can’t wait to see your embroidered rope bowls and how you personalize them. Now that I have started making them I can’t stop; I could just sit and make a dozen of them, easily! They are so fun and so cute.
How will you customize your bowl? Comment below and let me know! And of course you can ask any questions you may have in the comments as well. Can’t wait to hear about your embroidered rope bowls!
Want to learn more about machine embroidery? Come check out Tough Kitten Crafts! It’s my goal to make you fearless with machine embroidery through classes, an inclusive community and lots of content covering everything from how to hoop properly to embroidery on velvet. Come join me on Instagram, over on the Tough Kitten Crafts Blog or in our wonderful Tough Kitten Crafts Community on Facebook which is made up of an incredible group of international folks. You can even download your free Beginner’s Guide to Machine Embroidery.
Let’s get you fearless with machine embroidery!
Tag BERNINA USA and Tough Kitten Crafts on Instagram if you make some! I can’t wait to see what you create.
Xoxo Kate
Used Products


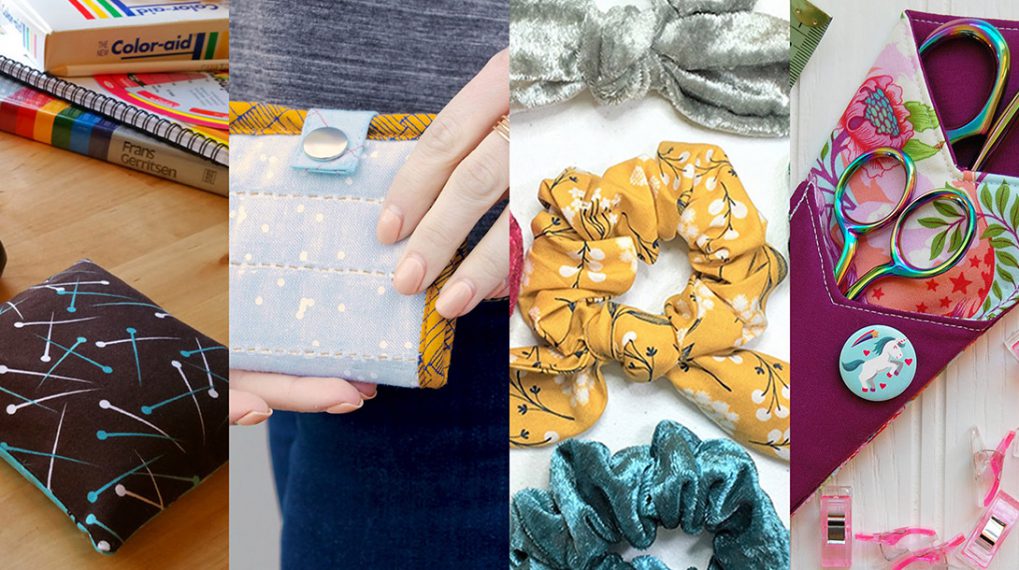
What you might also like


7 comments on “Machine Embroider a Rope Bowl”
-
-
I have made several rope bowls using my B590 and it is such fun! It truly is addictive. I have not tried to embroider on a bowl yet, but I am anxious to give it a try!
For the absolute BEST rope for making bowls, check out Mountain Thread Company in Blowing Rock, North Carolina. https://www.themountainthreadcompany.com. ( Online store and more.)
They have braided cotton rope that’s specially made just for making rope bowls. Read all about it on their website.
(And just for the record, I am not affiliated with Mountain Thread Co. I have nothing to gain by my post or by you shopping there. I just like their stuff and their great customer service, so I want to share them with others!)
Happy sewing! -
❤️ Thank you. Really wanting to try this.
-
Can you use the 59C foot???
-
Yes
-
-
I am trying the rope bowl with a Christmas Wreath, from the tree skirt. I am hope full it will work.
-
Where can I learn how to create the plaited edging around the top edge of the bowl? Seen recently.
Leave a Reply
You must be logged in to post a comment.

Super cool!