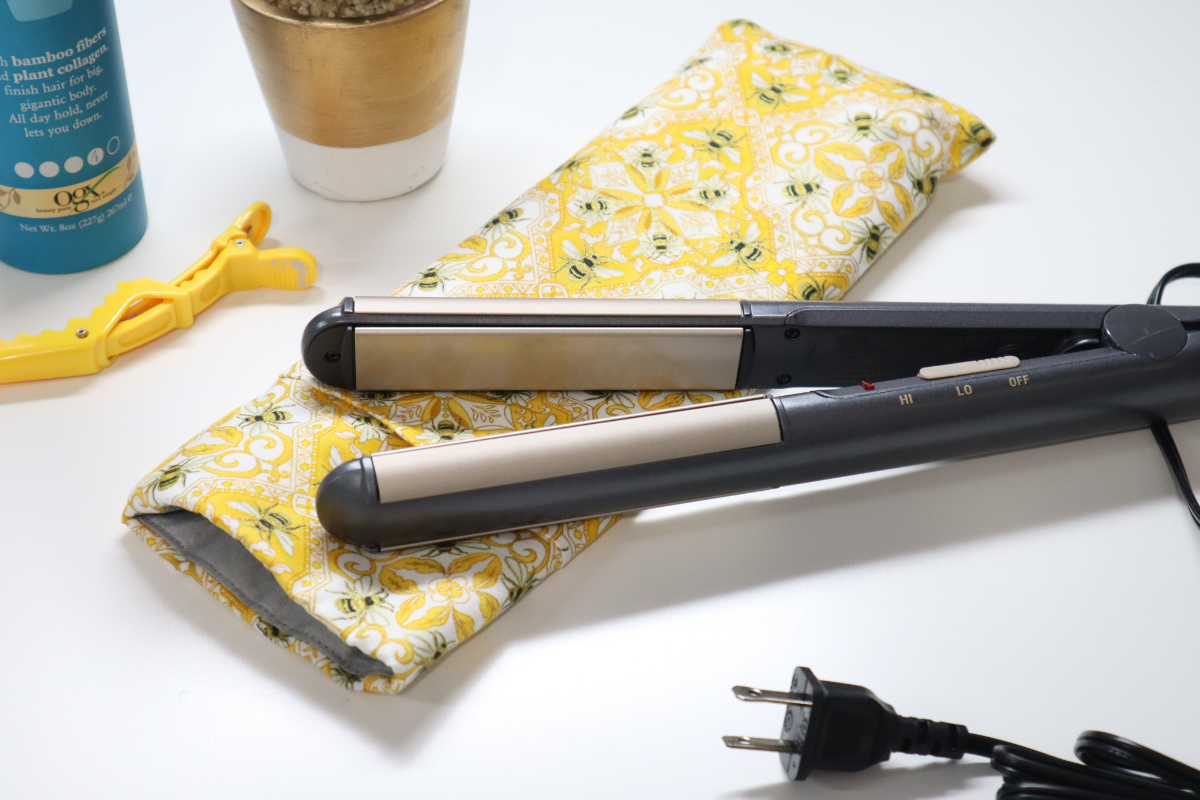
Holiday Hair Gifts, Part 2: Flat Iron Carrying Case
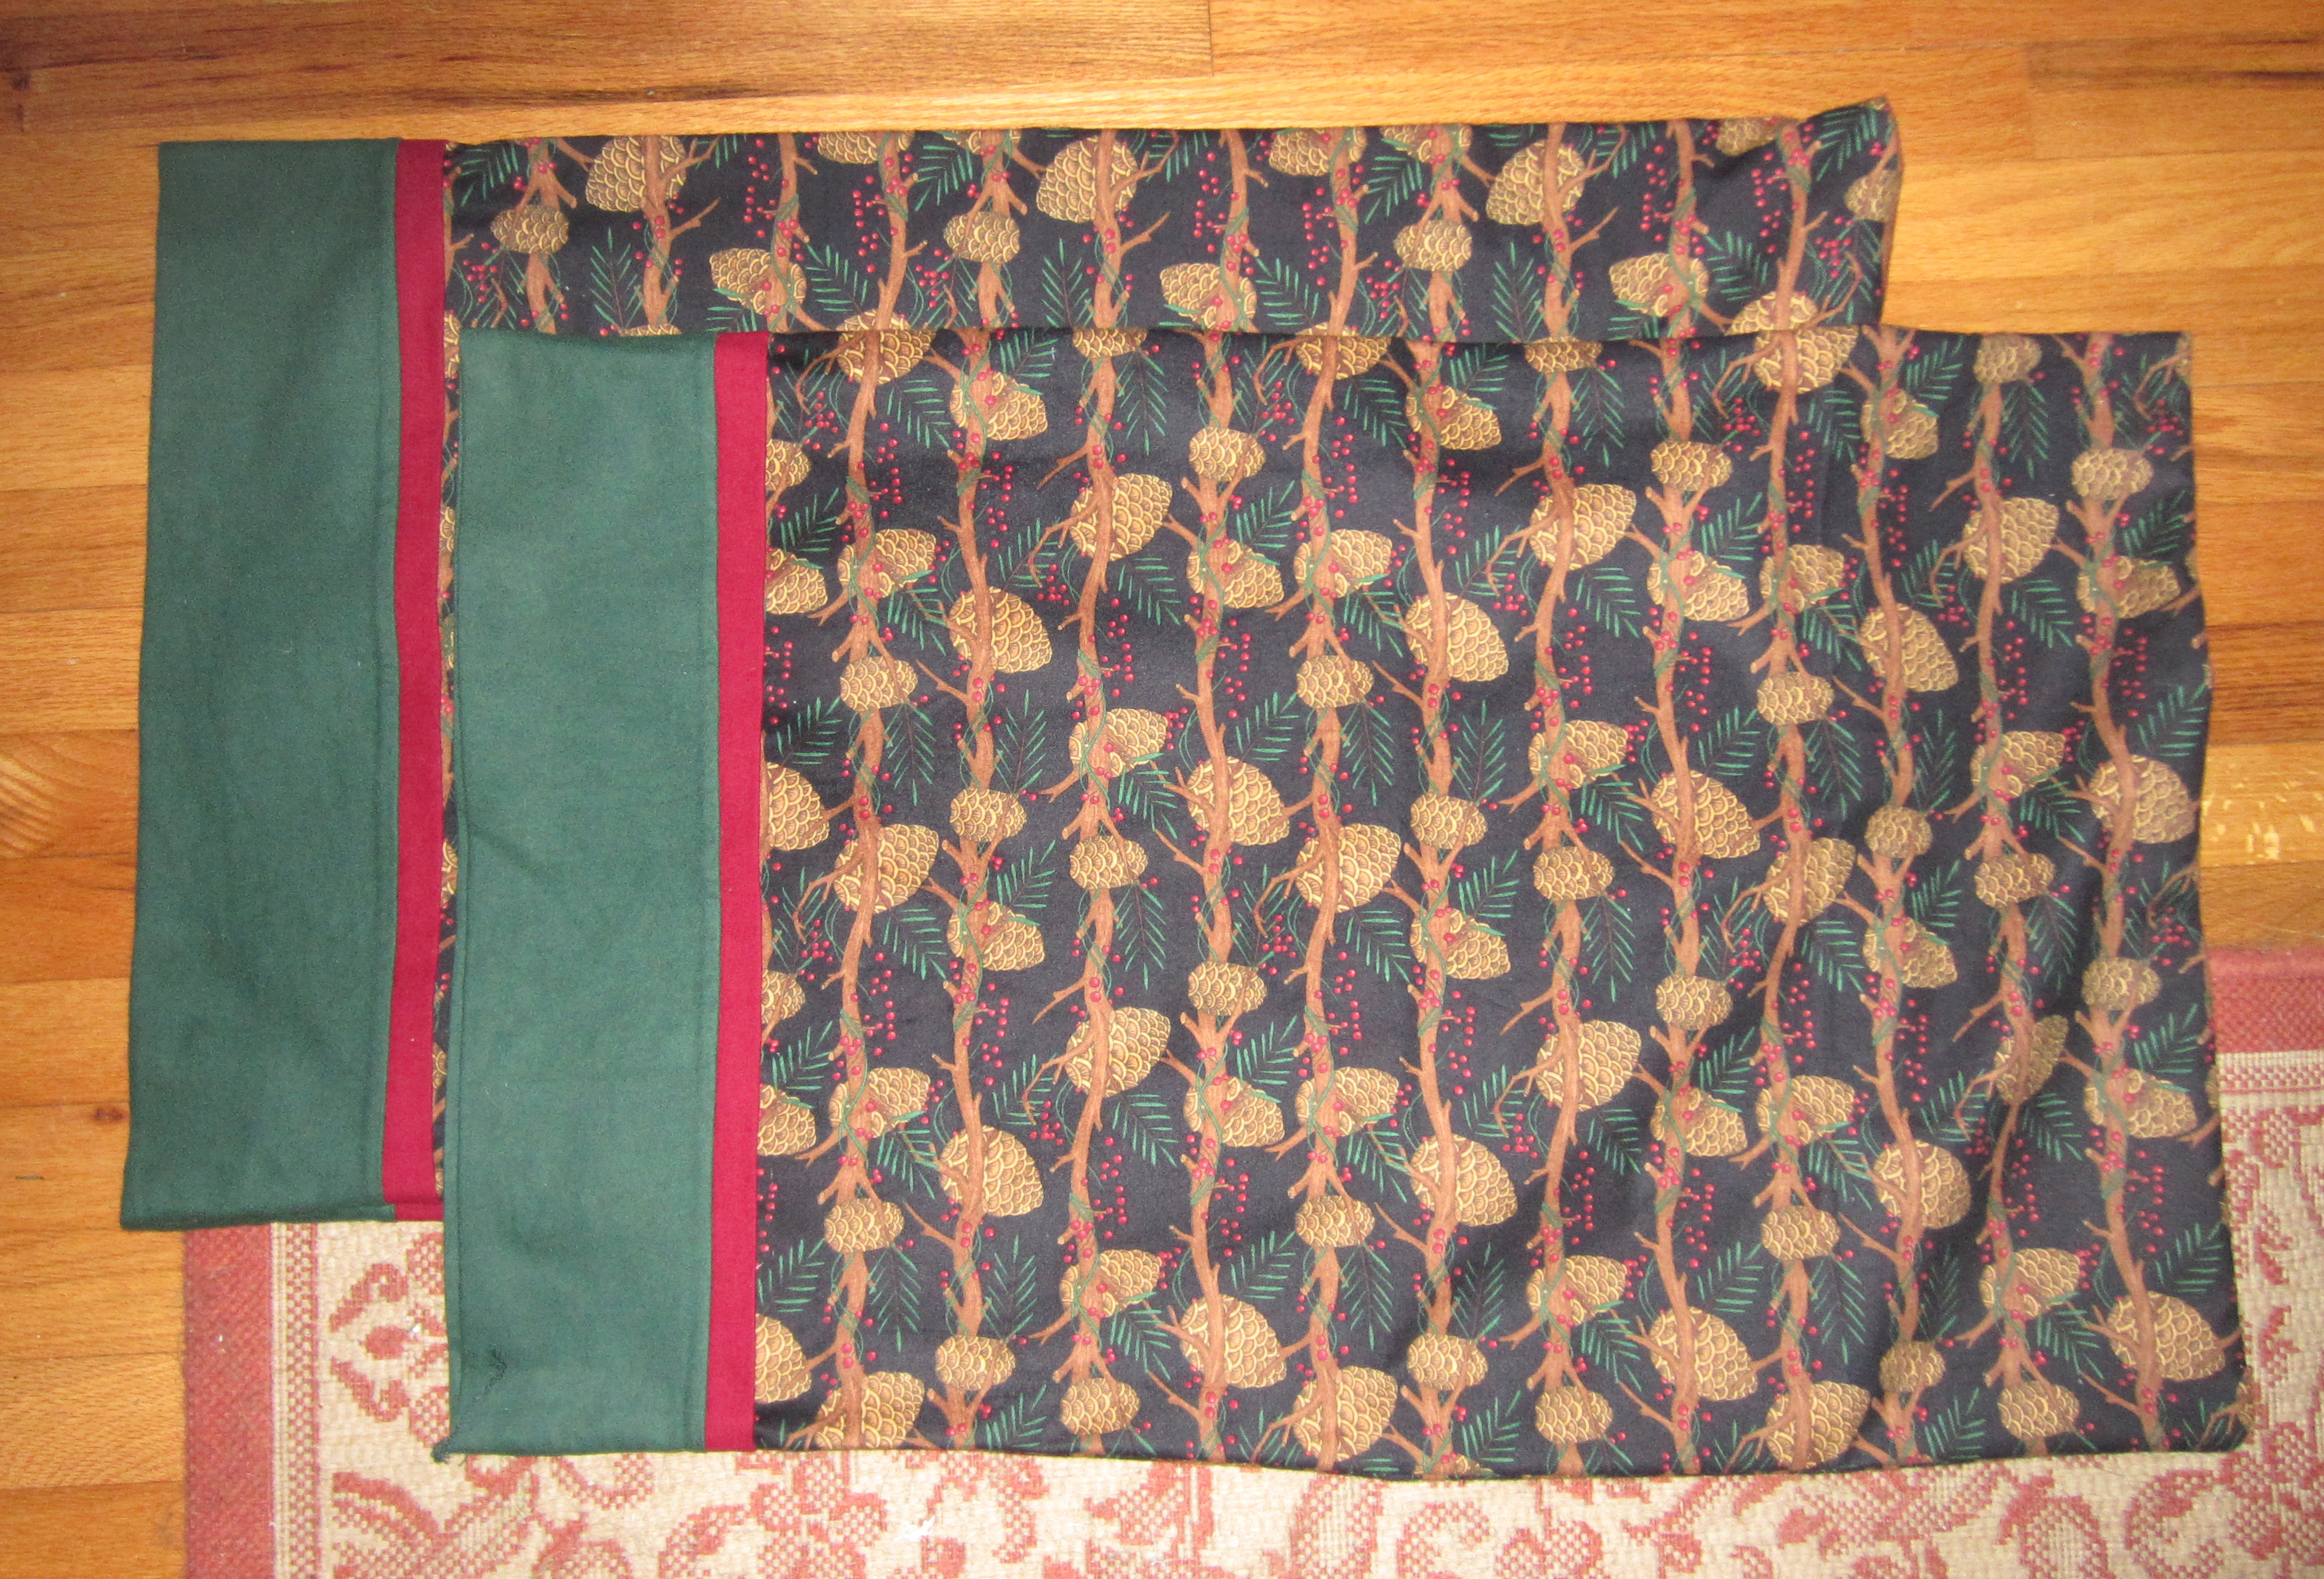
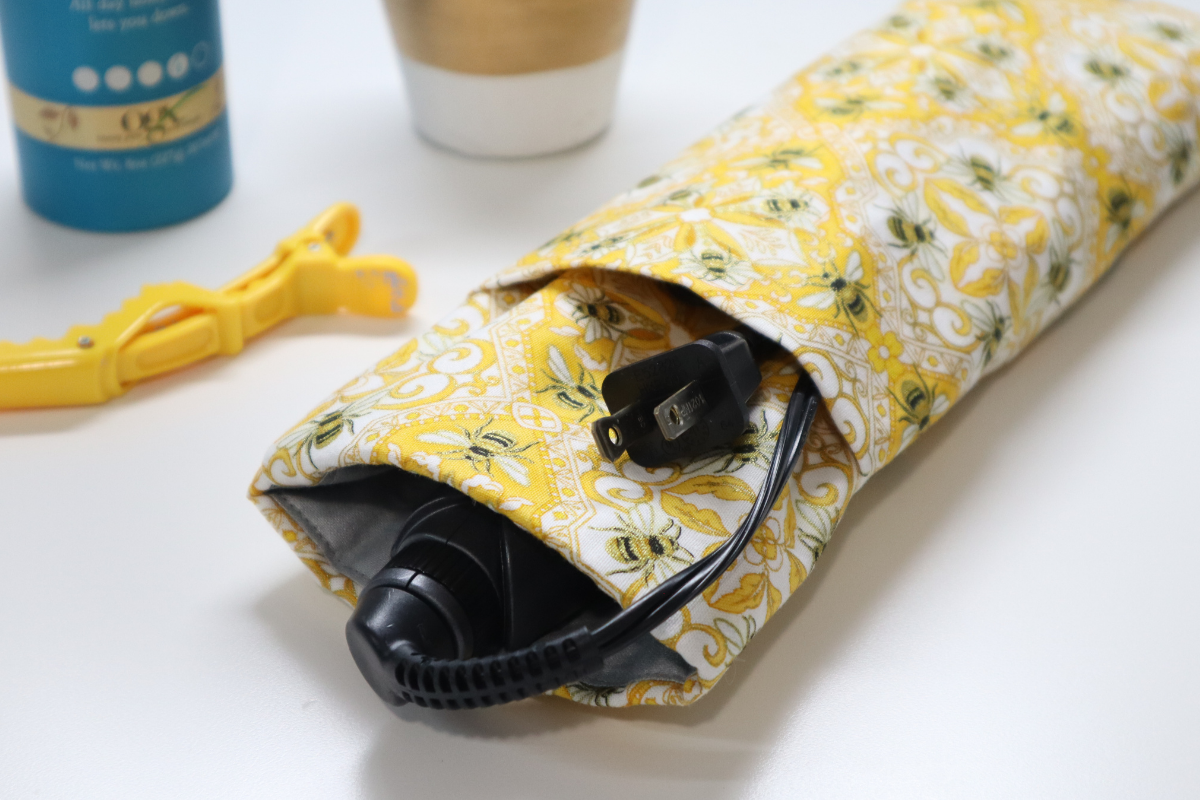
Every morning I use a flat iron to flip up the ends of my daughter’s hair and when we are finished we put it away in a carrying case that I made a long time ago. She asked if we could make some for her friends and so I thought I’d share the steps with you here because this will make a fantastic gift for friends and family, along with selling them at craft fairs. Plus, I need a new case really bad and I’ve been so excited to use this Benartex Buzzing Bee Allover Yellow fabric from the Buzzworthy collection by Kanvas Studio. Fun fact, my nickname is Sookie Bee, so this fabric is perfect for me!
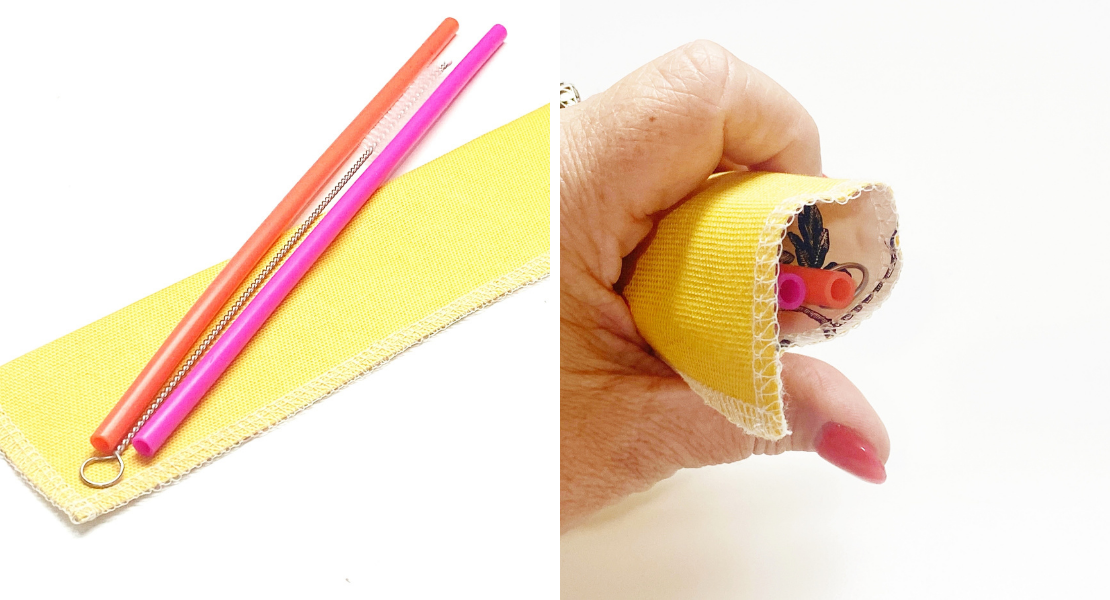
This two-part series is designed for gift giving to your friends with long hair. Part one was a super easy serger project that doesn’t look like much just sitting by itself, but it magically transforms straight hair to wavy overnight. Part two is the flat iron carrying case made with a sewing machine.
Hello my Sewing Bees, my name is Sue O’Very, owner of Sookie Sews and BERNINA Expert. You can find me on Instagram at @SookieSews and my website SookieSews.com where I have hundreds of machine sewing patterns, embroidery designs, and In-the-Hoop projects. Ok, let’s get stitching.
Materials and Supplies to Sew a Flat Iron Carrying Case
Measurements are Width by Height
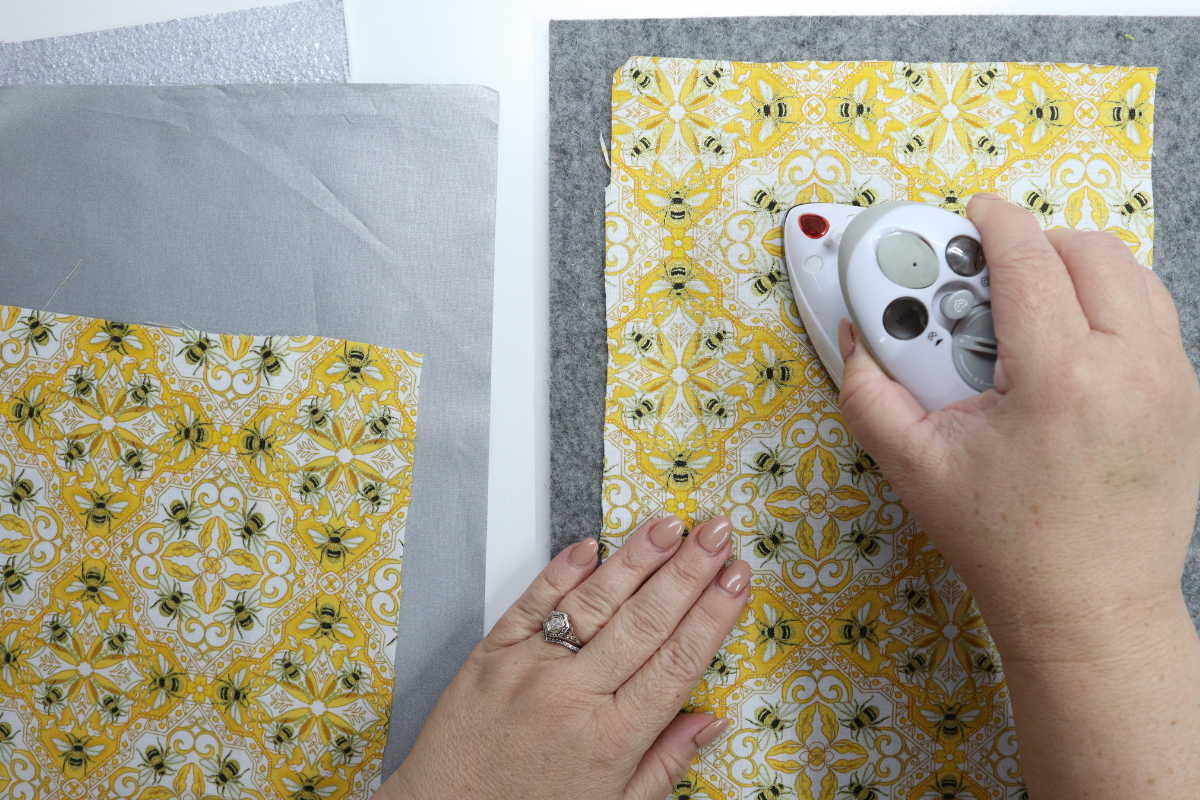
- (1) 10″ x 13″ Outside i.e. Buzzworthy from Benartex
- (1) 10″ x 20″ Pocket i.e. Buzzworthy from Benartex
- (1) 10″ x 13″ Lining i.e. Thermal Fabric
- (1) 10″ x 13″ Batting i.e. Insulated batting
- All-purpose sewing thread with matching bobbin
- Sewing machine (I used my bernette 79)
- Iron i.e. Mini Iron by Nifty Notions
- Pressing surface i.e Wool Mat by Nifty Notions
- Rotary cutter, Ruler and Mat
- EZ Point and Turner i.e. Sookie Sews
- 5.5″ All-Purpose Craft Scissors i.e. Sookie Sews
- Thread snips i.e. Sookie Sews
- Wonder Clips
- Universal Sewing Needle 80/12 i.e. Schmetz Needles
Steps to Sew a Flat Iron Carrying Case
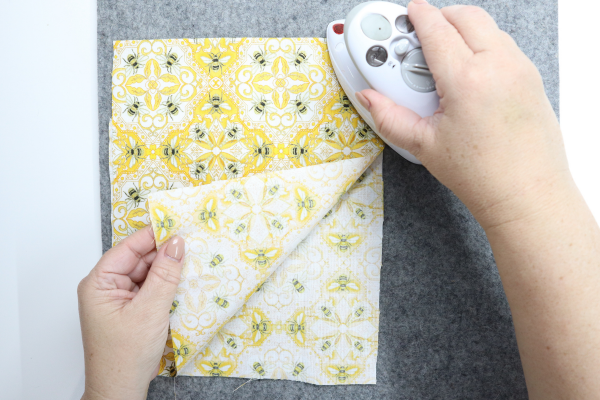
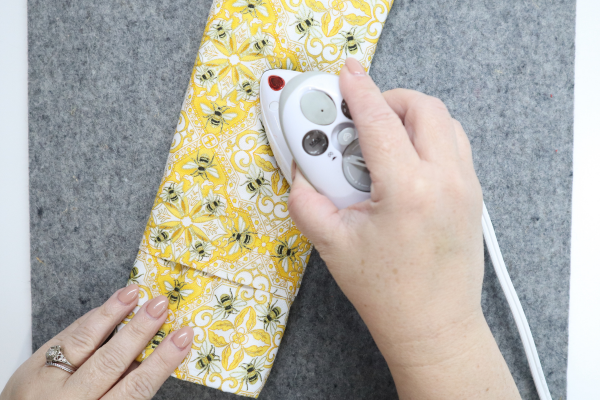
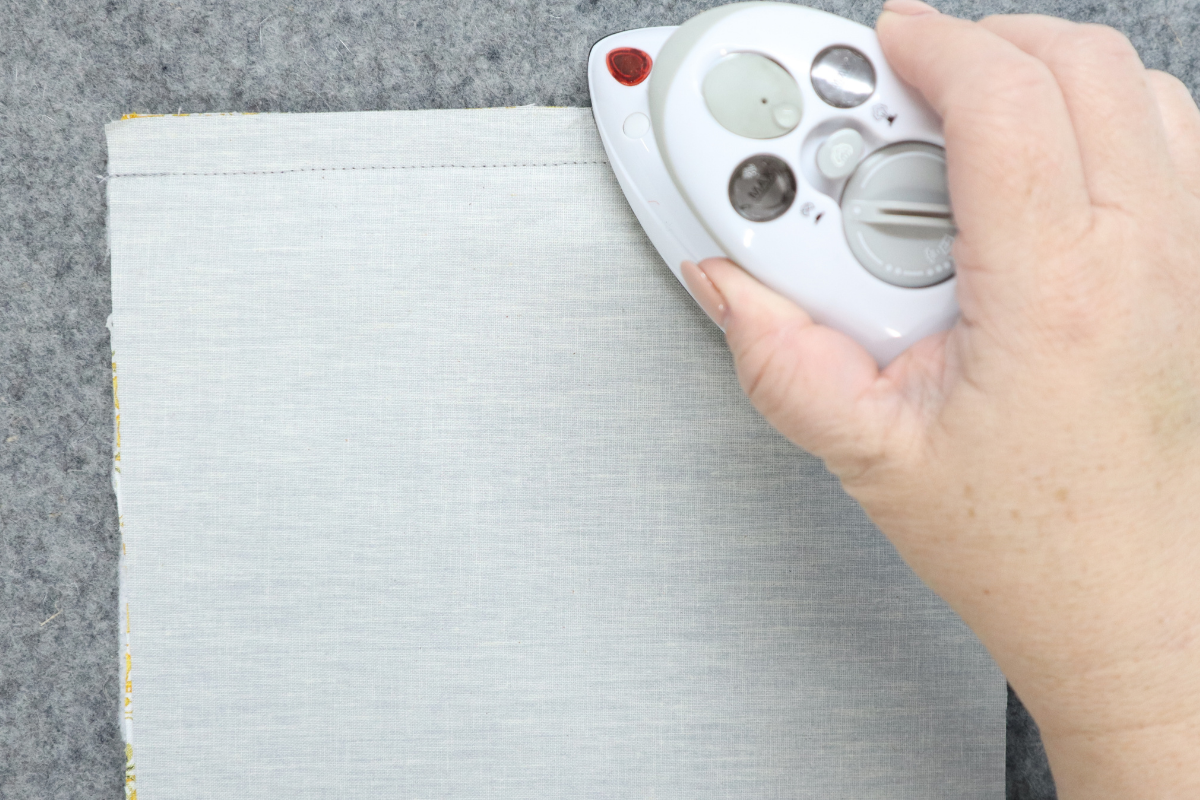
- Cut and press all materials.

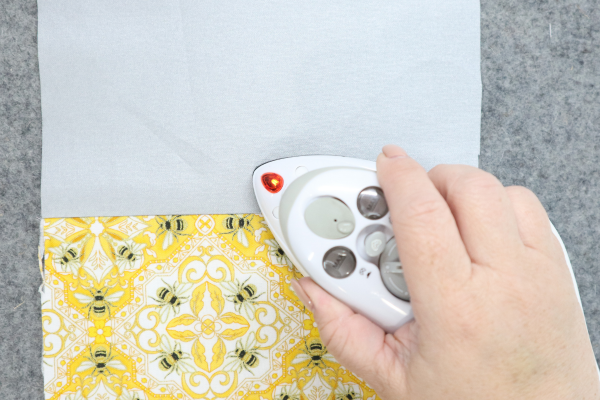
- Fold the pocket in half heightwise wrong sides together and press along the fold.
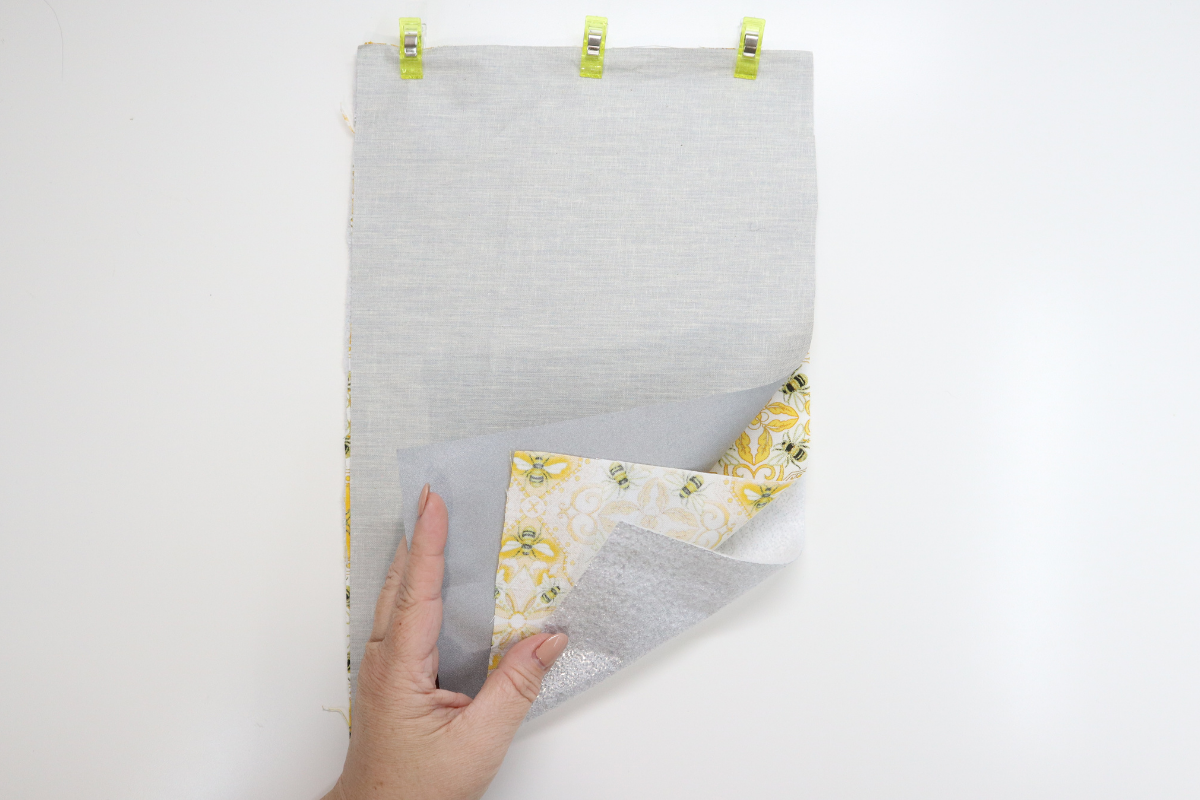
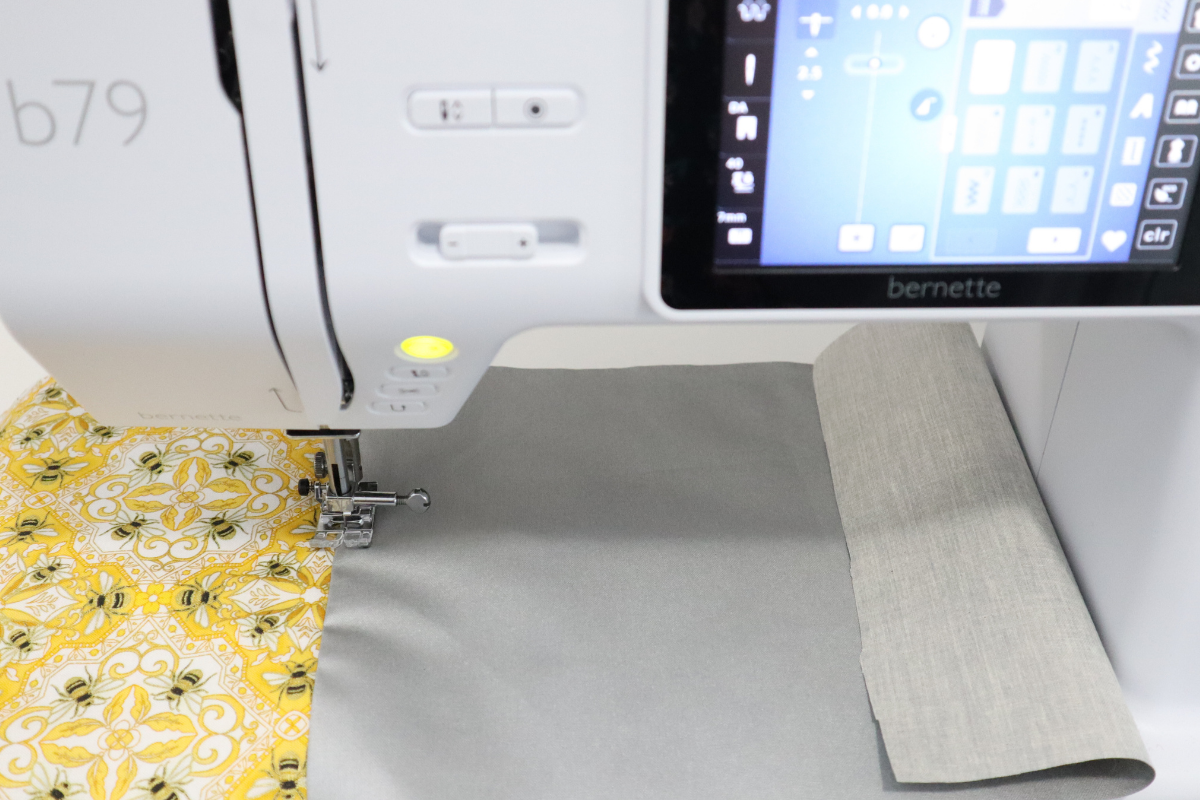
- Place the batting, shining side facing down, outside right side up, and lining right side down. Clip all the layers together along the top edge.

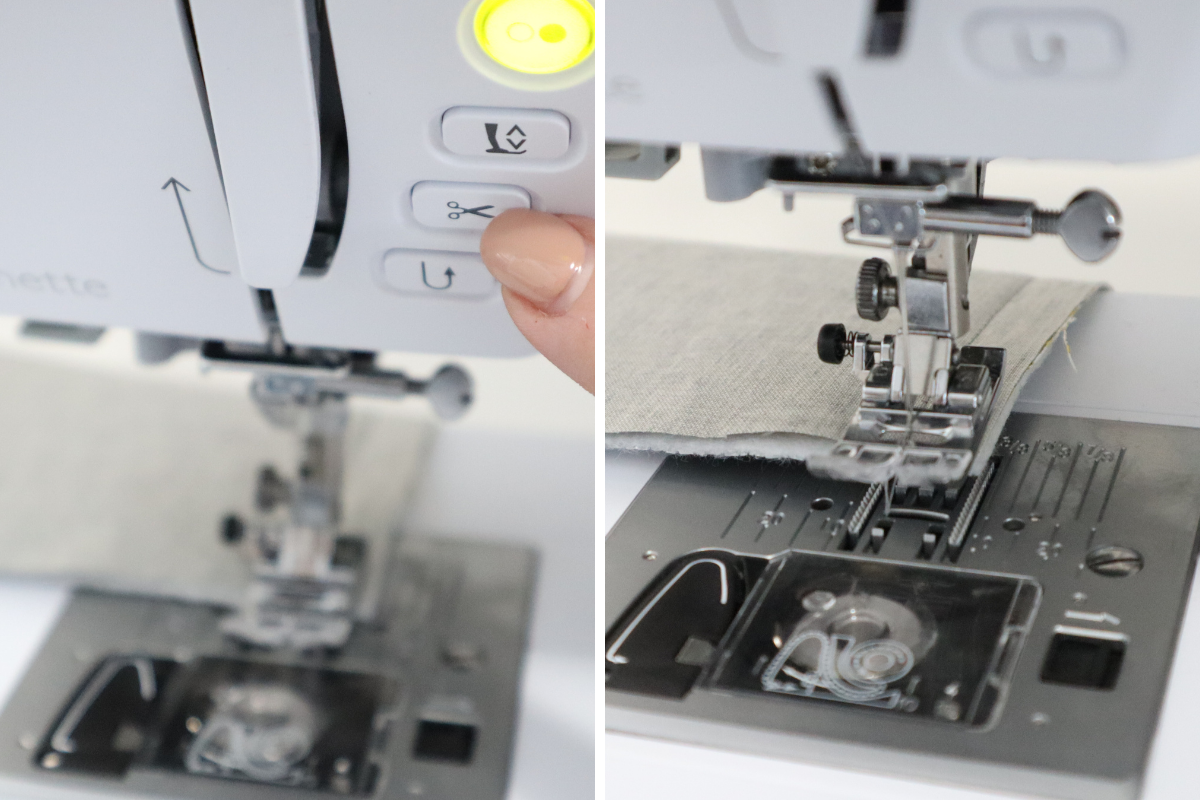
- Set sewing machine up with matching thread in the top and bobbin, standard presser foot, and a brand new needle.

- Sew 1/2″seam allowance along the top edge, use the guides on the throat plate.
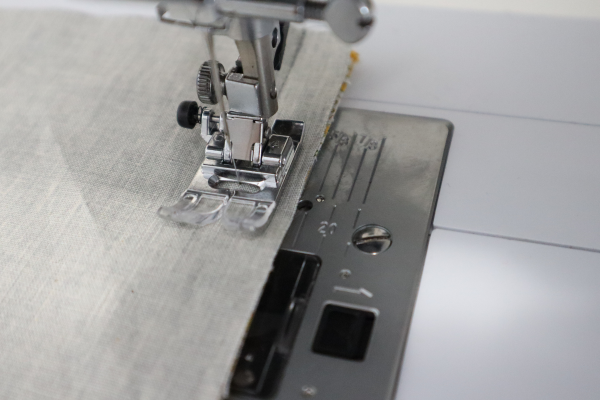
Remove the clips as you sew. Backstitch at the beginning and end of the seam. Take advantage of the thread cutter if your machine has it. My bernette 79 does and I LOVE IT! Once it finishes cutting, it raises the presser foot which makes it easy to pull the material out of the machine!
- Clip thread tails the machine didn’t cut.
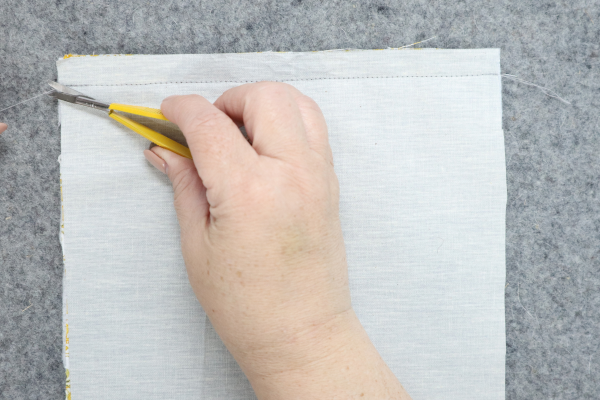
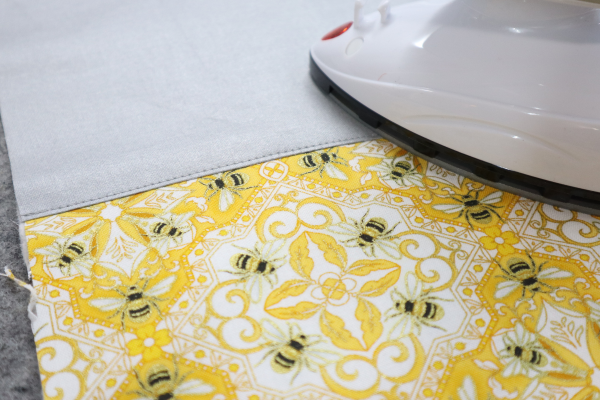
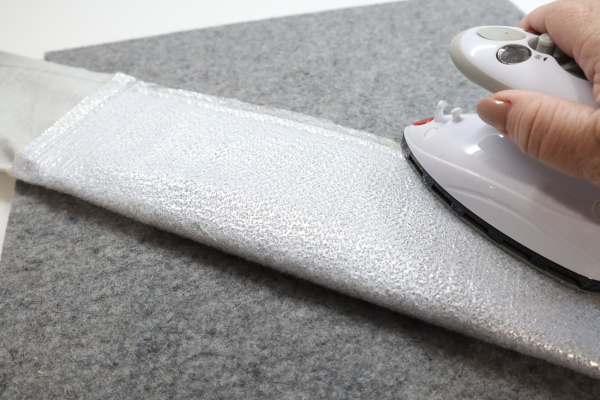
Press the seam flat then open with the seam allowance towards the lining.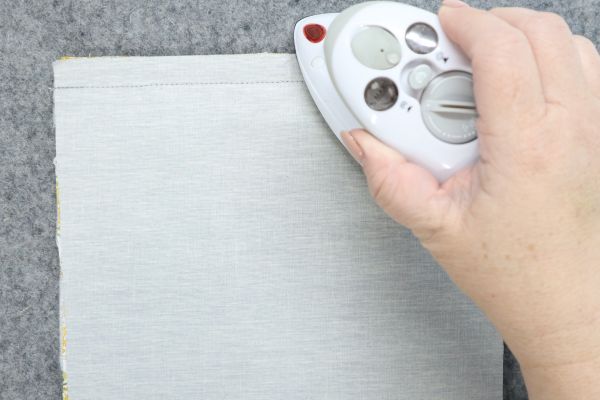
- Stay stitch the lining to the seam allowance at 1/8″ from the seam. Backstitch at the beginning and end, clip threads.

- Press seam flat to relax threads and fabric.
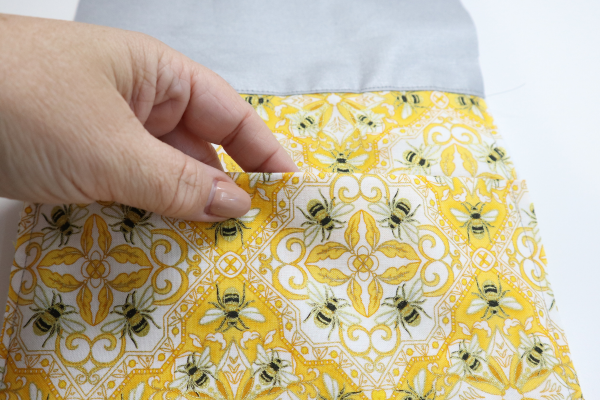
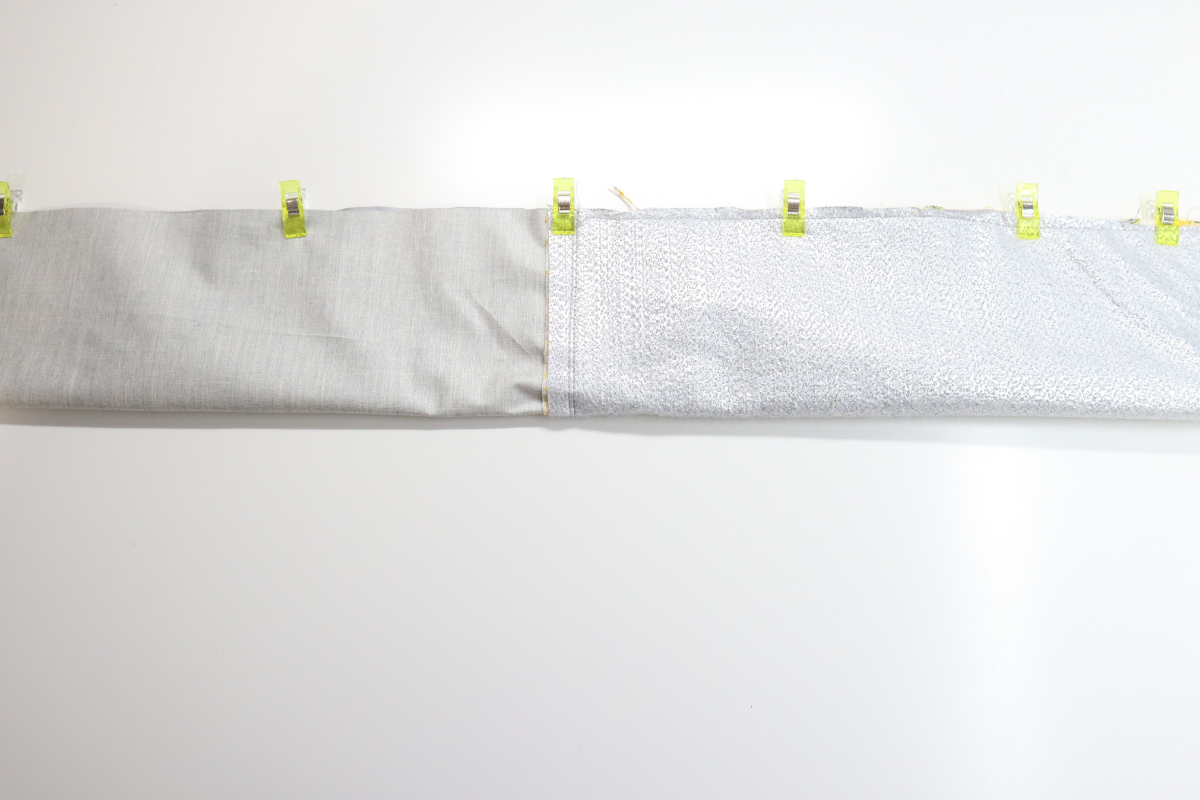
- Lay the pocket right side up with raw edges touching the bottom of the outside. Use clips all around the sides and bottom to secure the pocket to the outside and batting. Sew along the sides and bottom 1/4″ away from the edge.
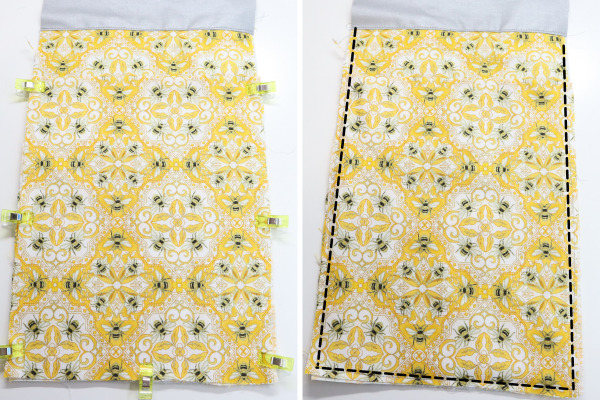
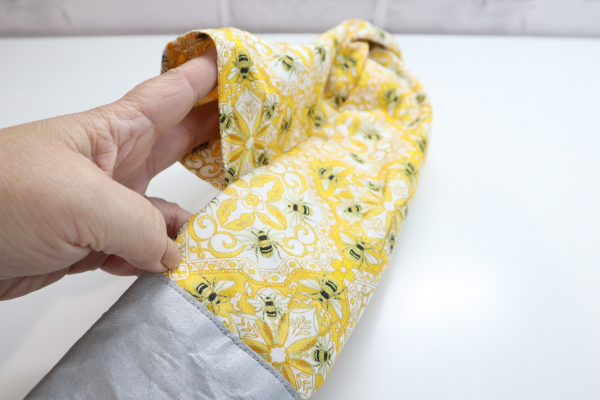
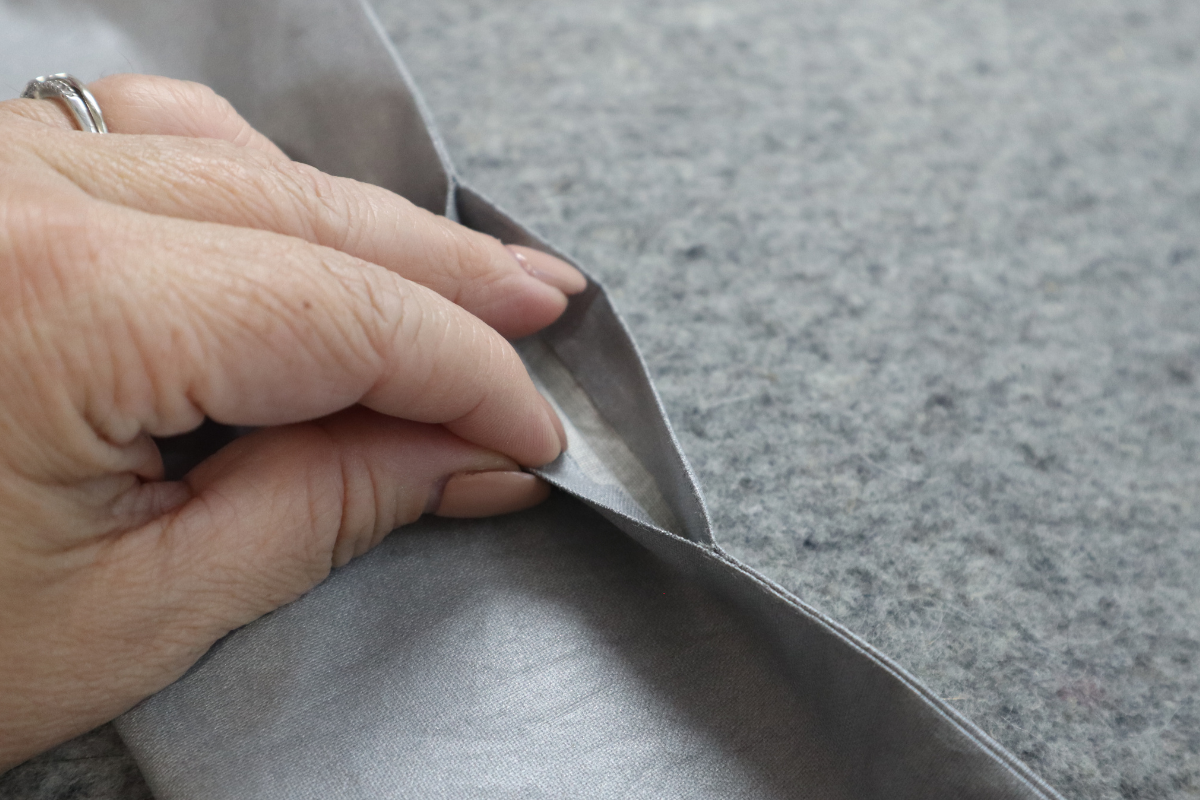
- Fold the lining/outside right side together widthwise and clip along the long side edge and two bottoms.

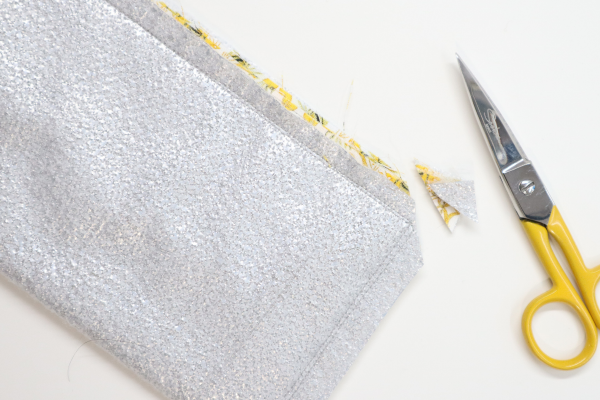
- Sew 1/2″ seam allowance all the way around leaving a 3-4″ opening on the lining. Press seam when finished.

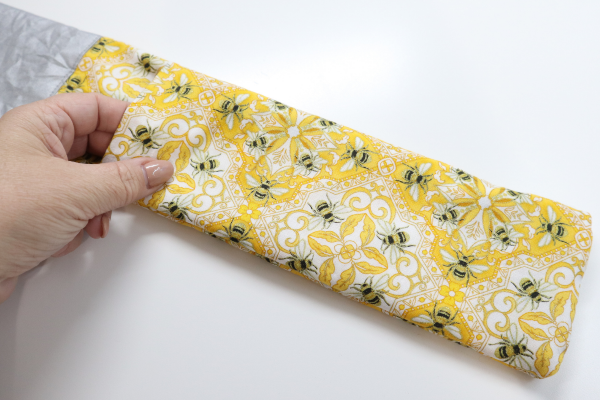
- Cut miter corner off the outside/pocket seam to help reduce bulk with the 5.5″ Craft Scissors.
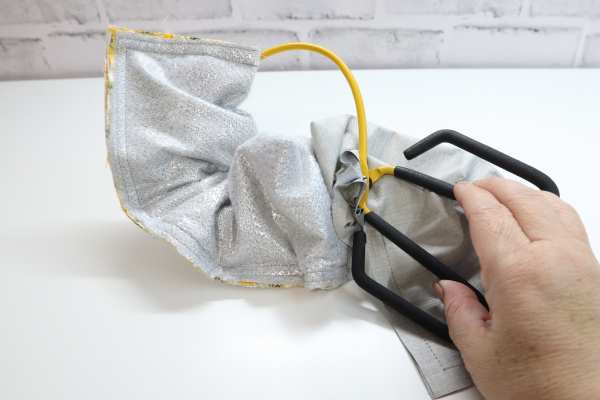
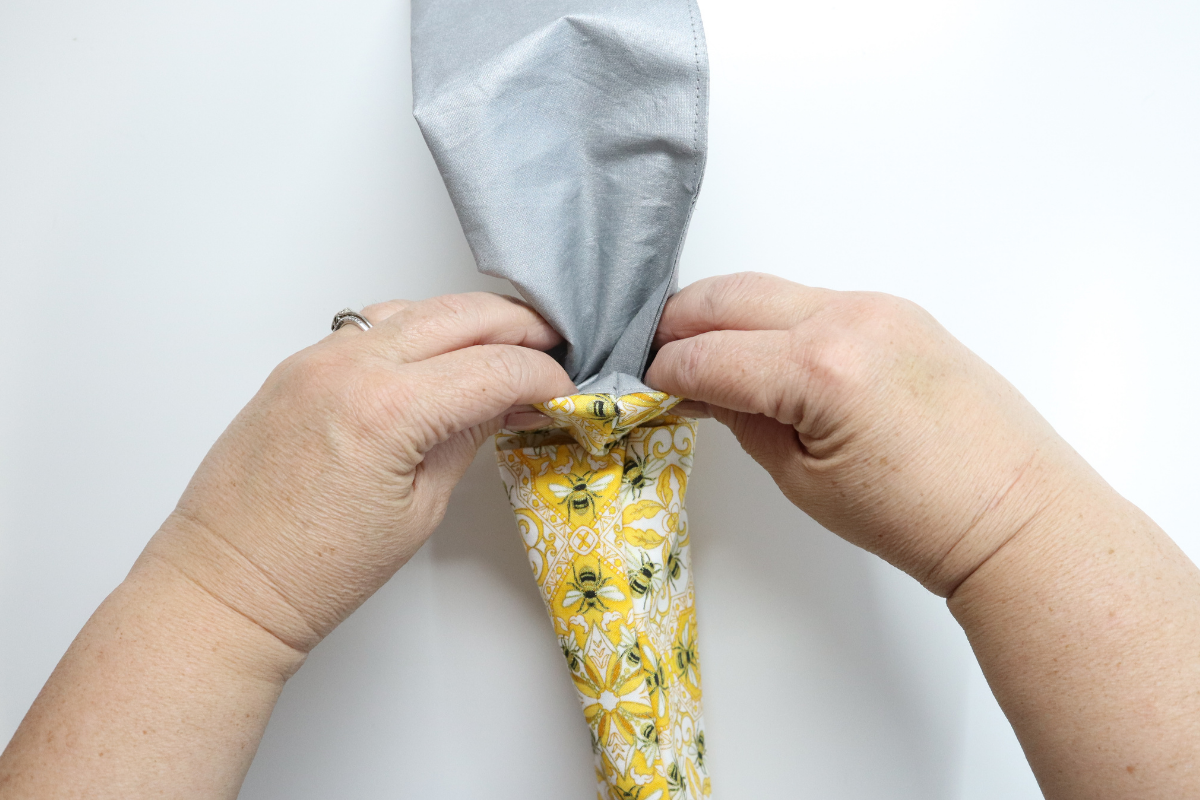
- Use EZ Point & Turner to turn the case right side out. Keep an eye when turning the Pocket right side out, it might appear as if you turned something wrong, just keep turning until the Pocket is covering over the outside.
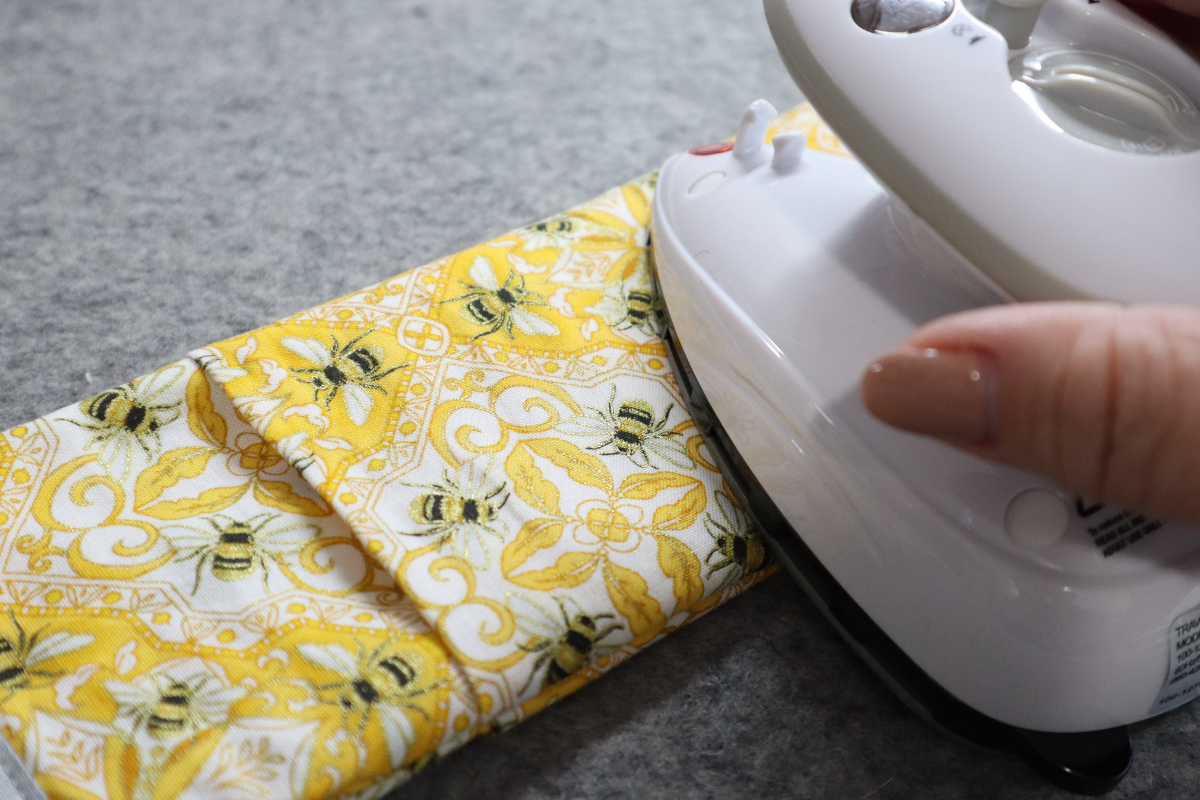
- Press seam flat and topstitch the opening in the lining.


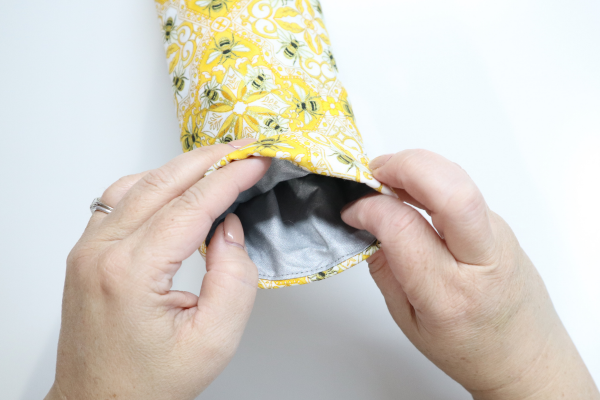
- Tuck the lining into the outside.

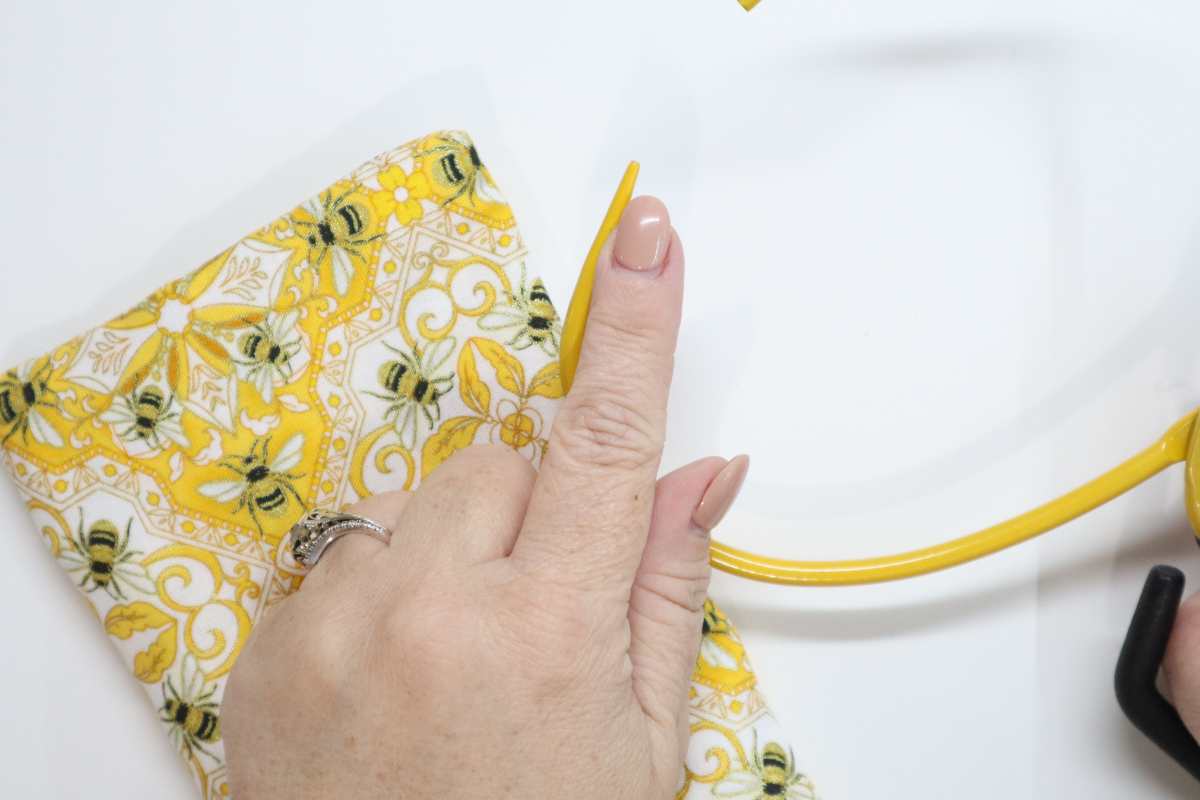
- To help tuck the lining into the outside, use the EZ Point & Turner again and use the pointy end to gently help form the corners.
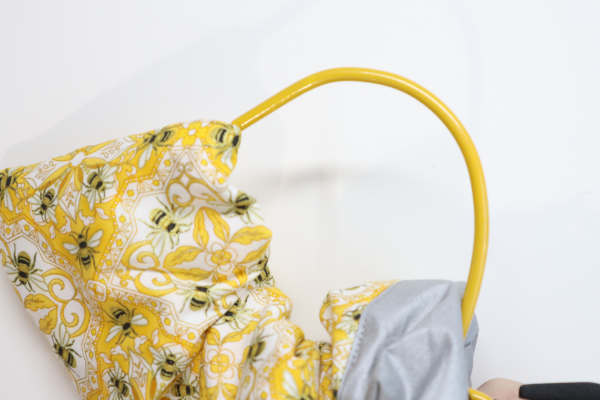

- You’re all finished!! Just give your case a good press on the outside and in the opening.


I hope you enjoyed this easy sewing project and make many of these. When you make yours, please snap a shot and tag me @SookieSews and @BERNINAUSA!!