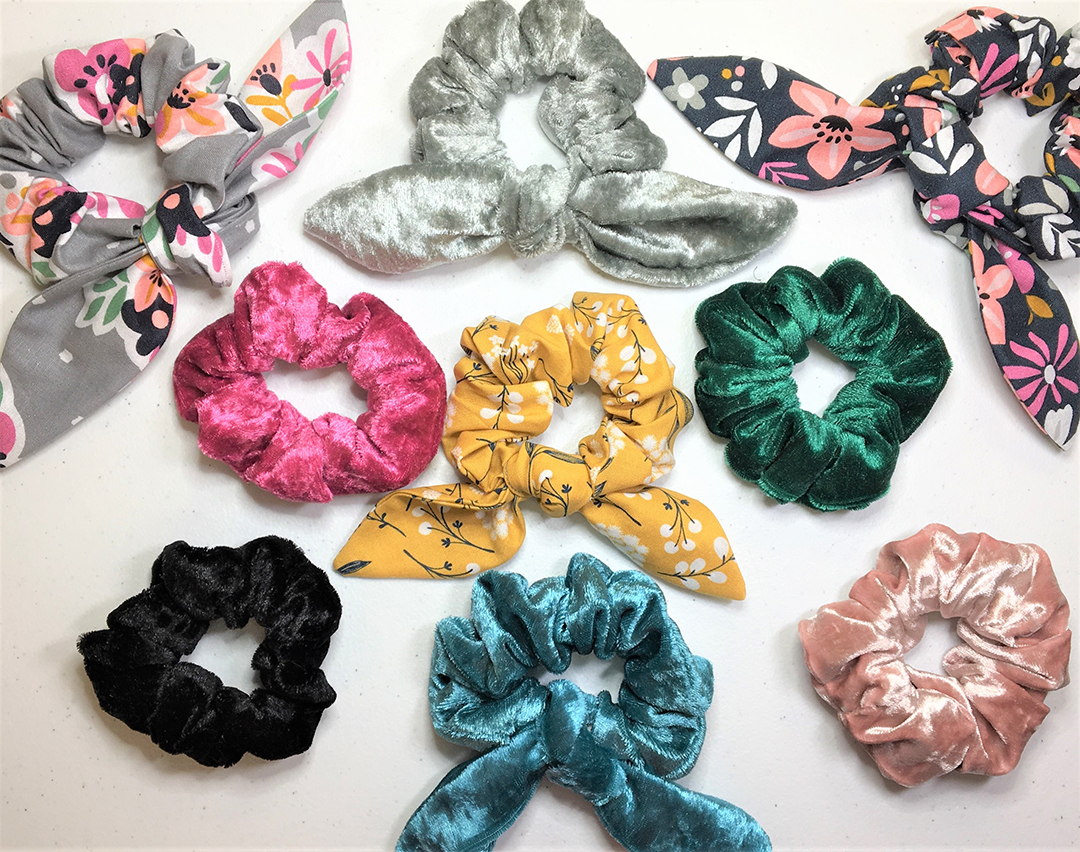
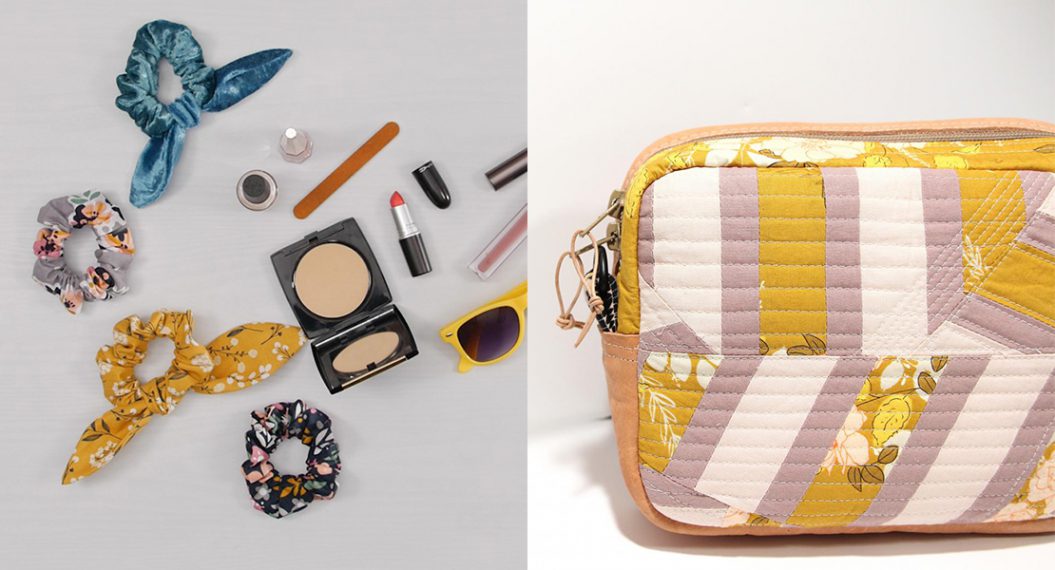
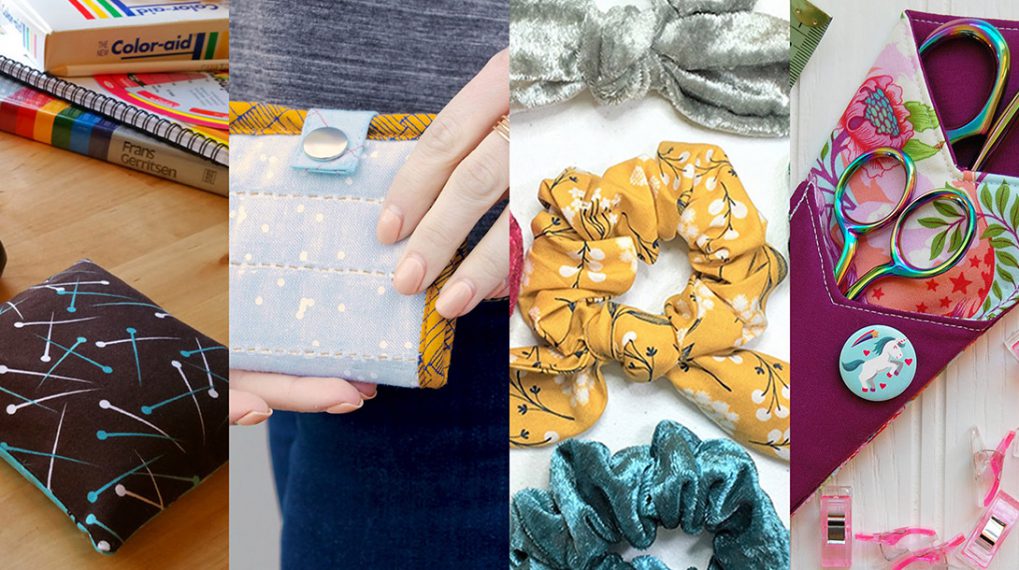
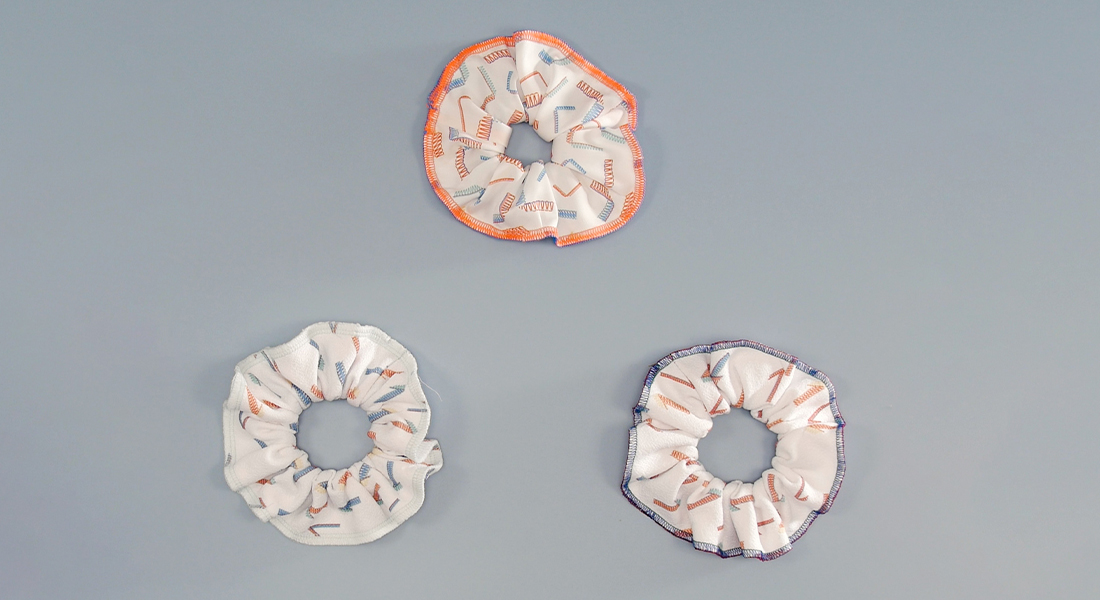
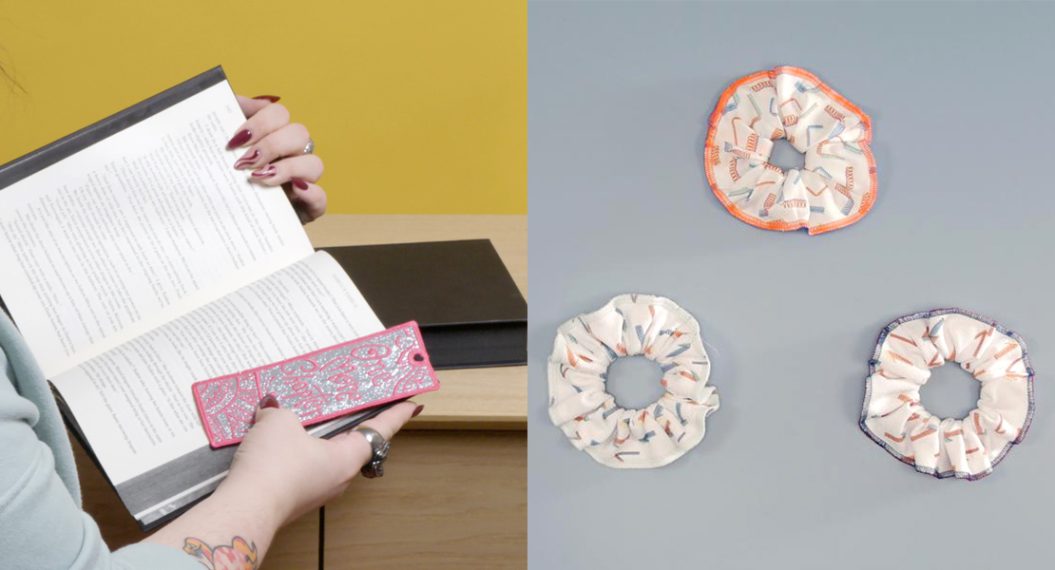
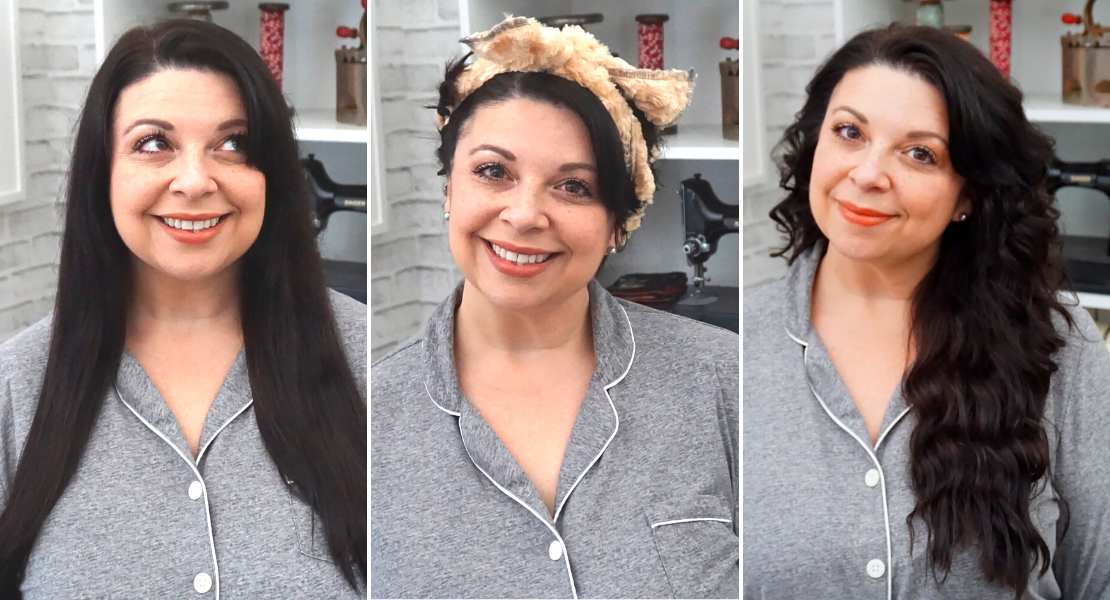
Hair Scrunchie with Tails
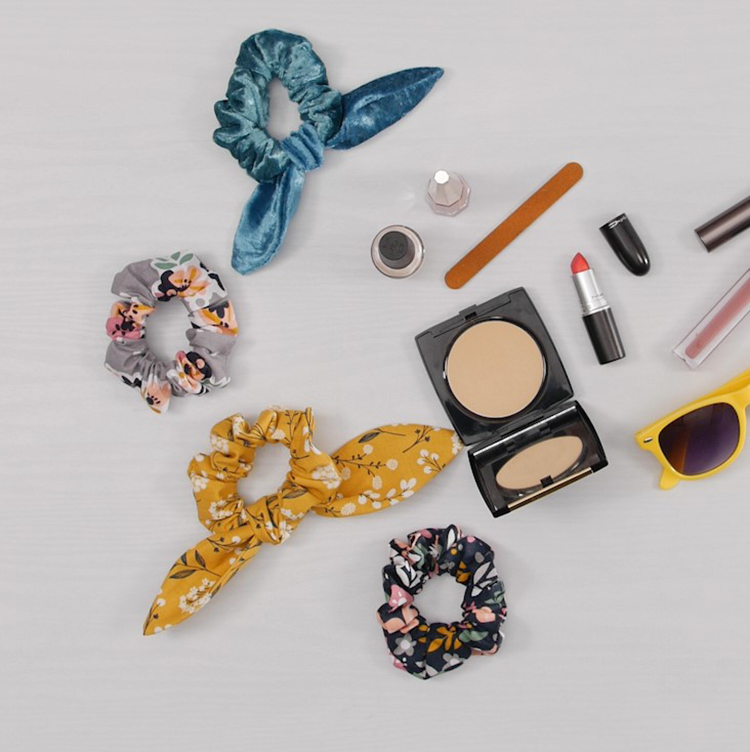
You may have noticed recently that hair scrunchies are back! I began wondering who invented hair scrunchies and when. I remember them from the 80’s but was that their first appearance? A quick search took me to Wikipedia which states that the scrunchie was invented by Philips E. Meyers in 1963 but was not patented until 1987 by Ronny Revson, who named it the Scunci after her toy poodle. The name Scrunchie evolved because of the way the fabric scrunches up. The 80’s and 90’s were exploding with hair scrunchies. Then, they disappeared for over a decade and regained popularity in the mid 2010s. Today, hair scrunchies are back in various sizes, colors, and fabrics. Not only are they worn in ponytails and buns, they’re also worn on wrists. Let’s make a few before they disappear for another 10 years.
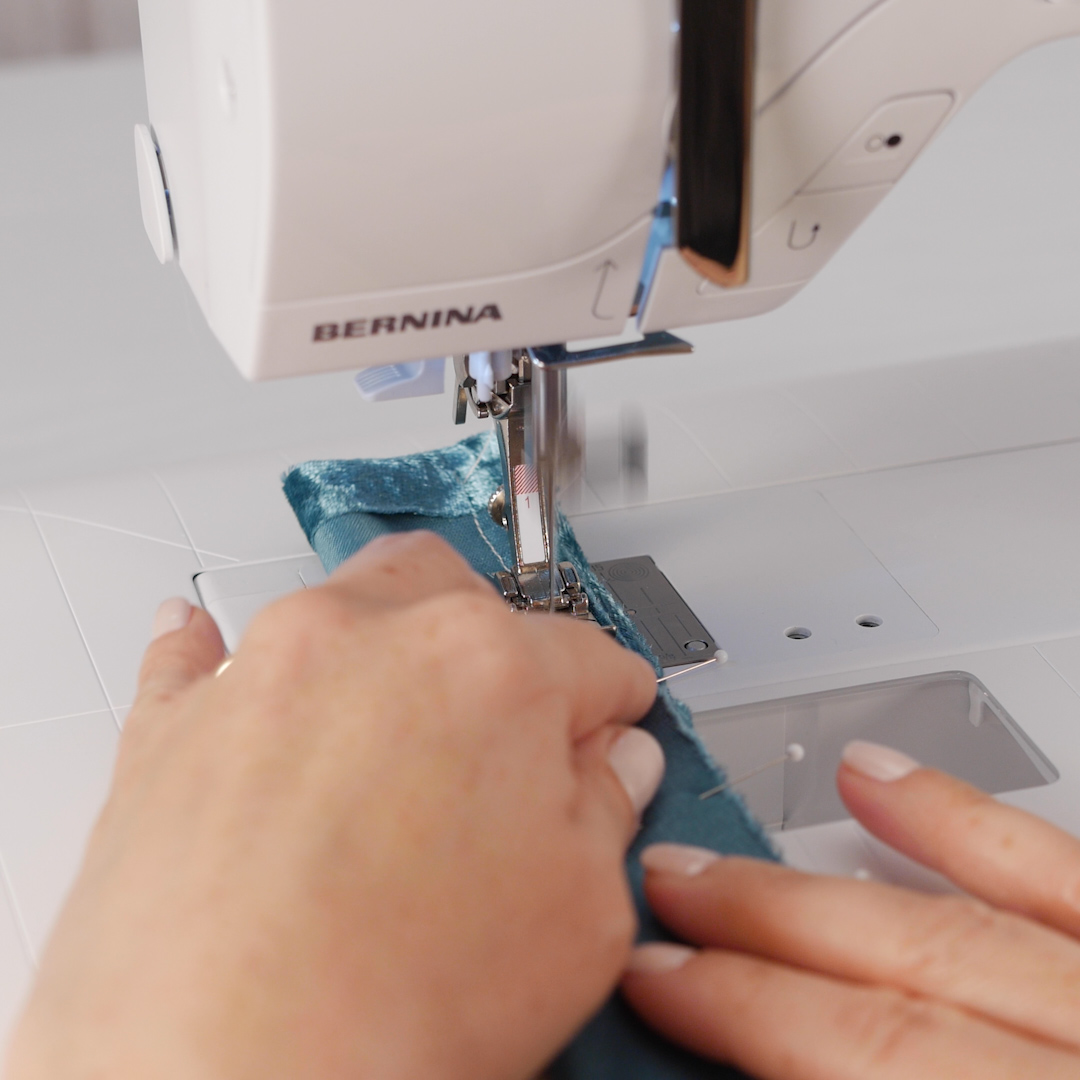
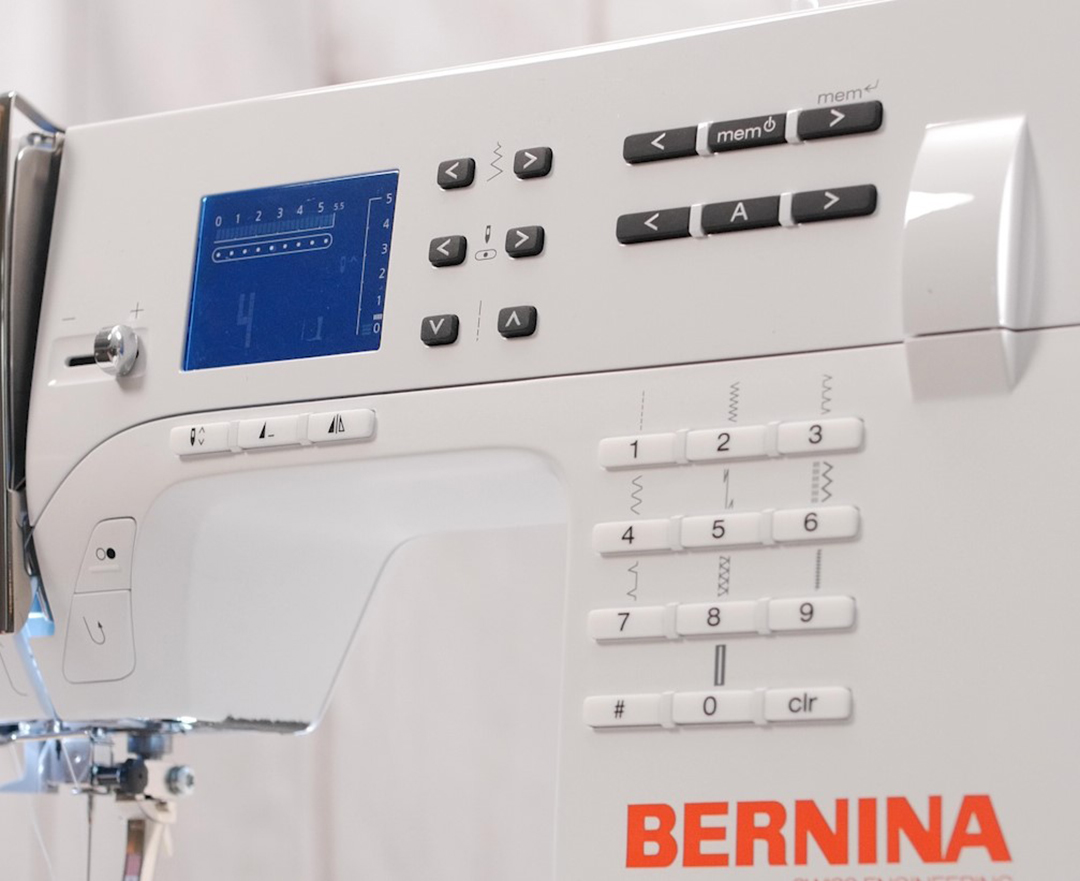
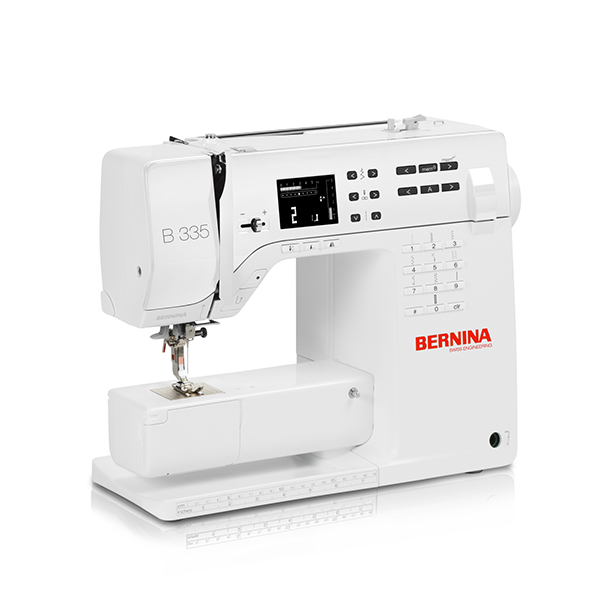
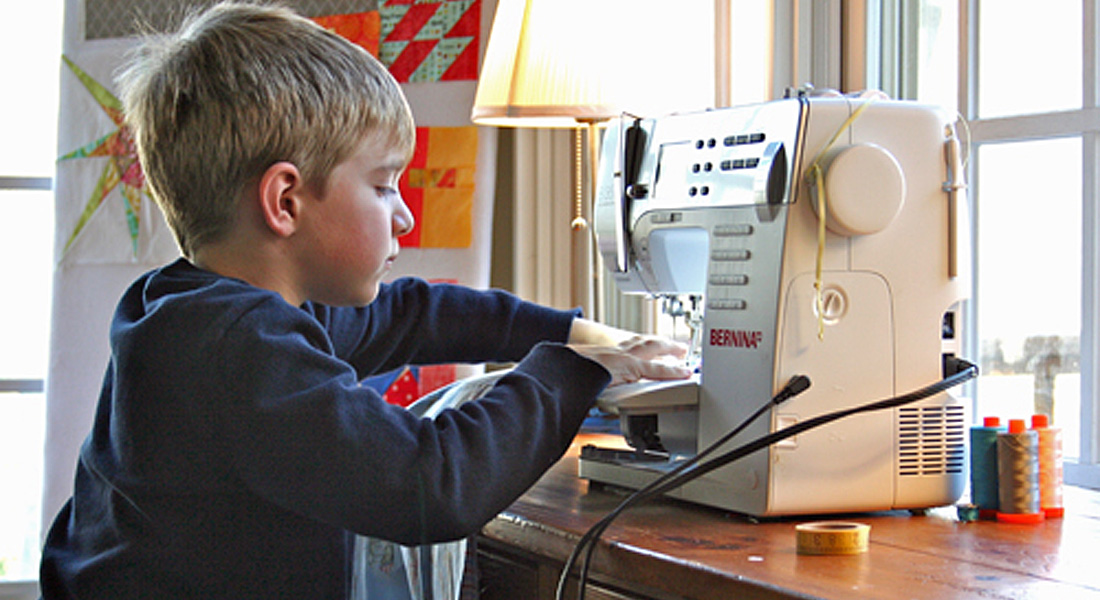
To make hair scrunchies, I use my BERNINA 335 and the Sue O’very Designs EZ Point & Turner. The BERNINA 335 allows creativity and speed at 900 stitches per minute. The EZ Point & Turner makes turning fabric tubes fun. Hard to believe? Let’s get started!
Materials to Make a Hair Scrunchie With Tails
![]()
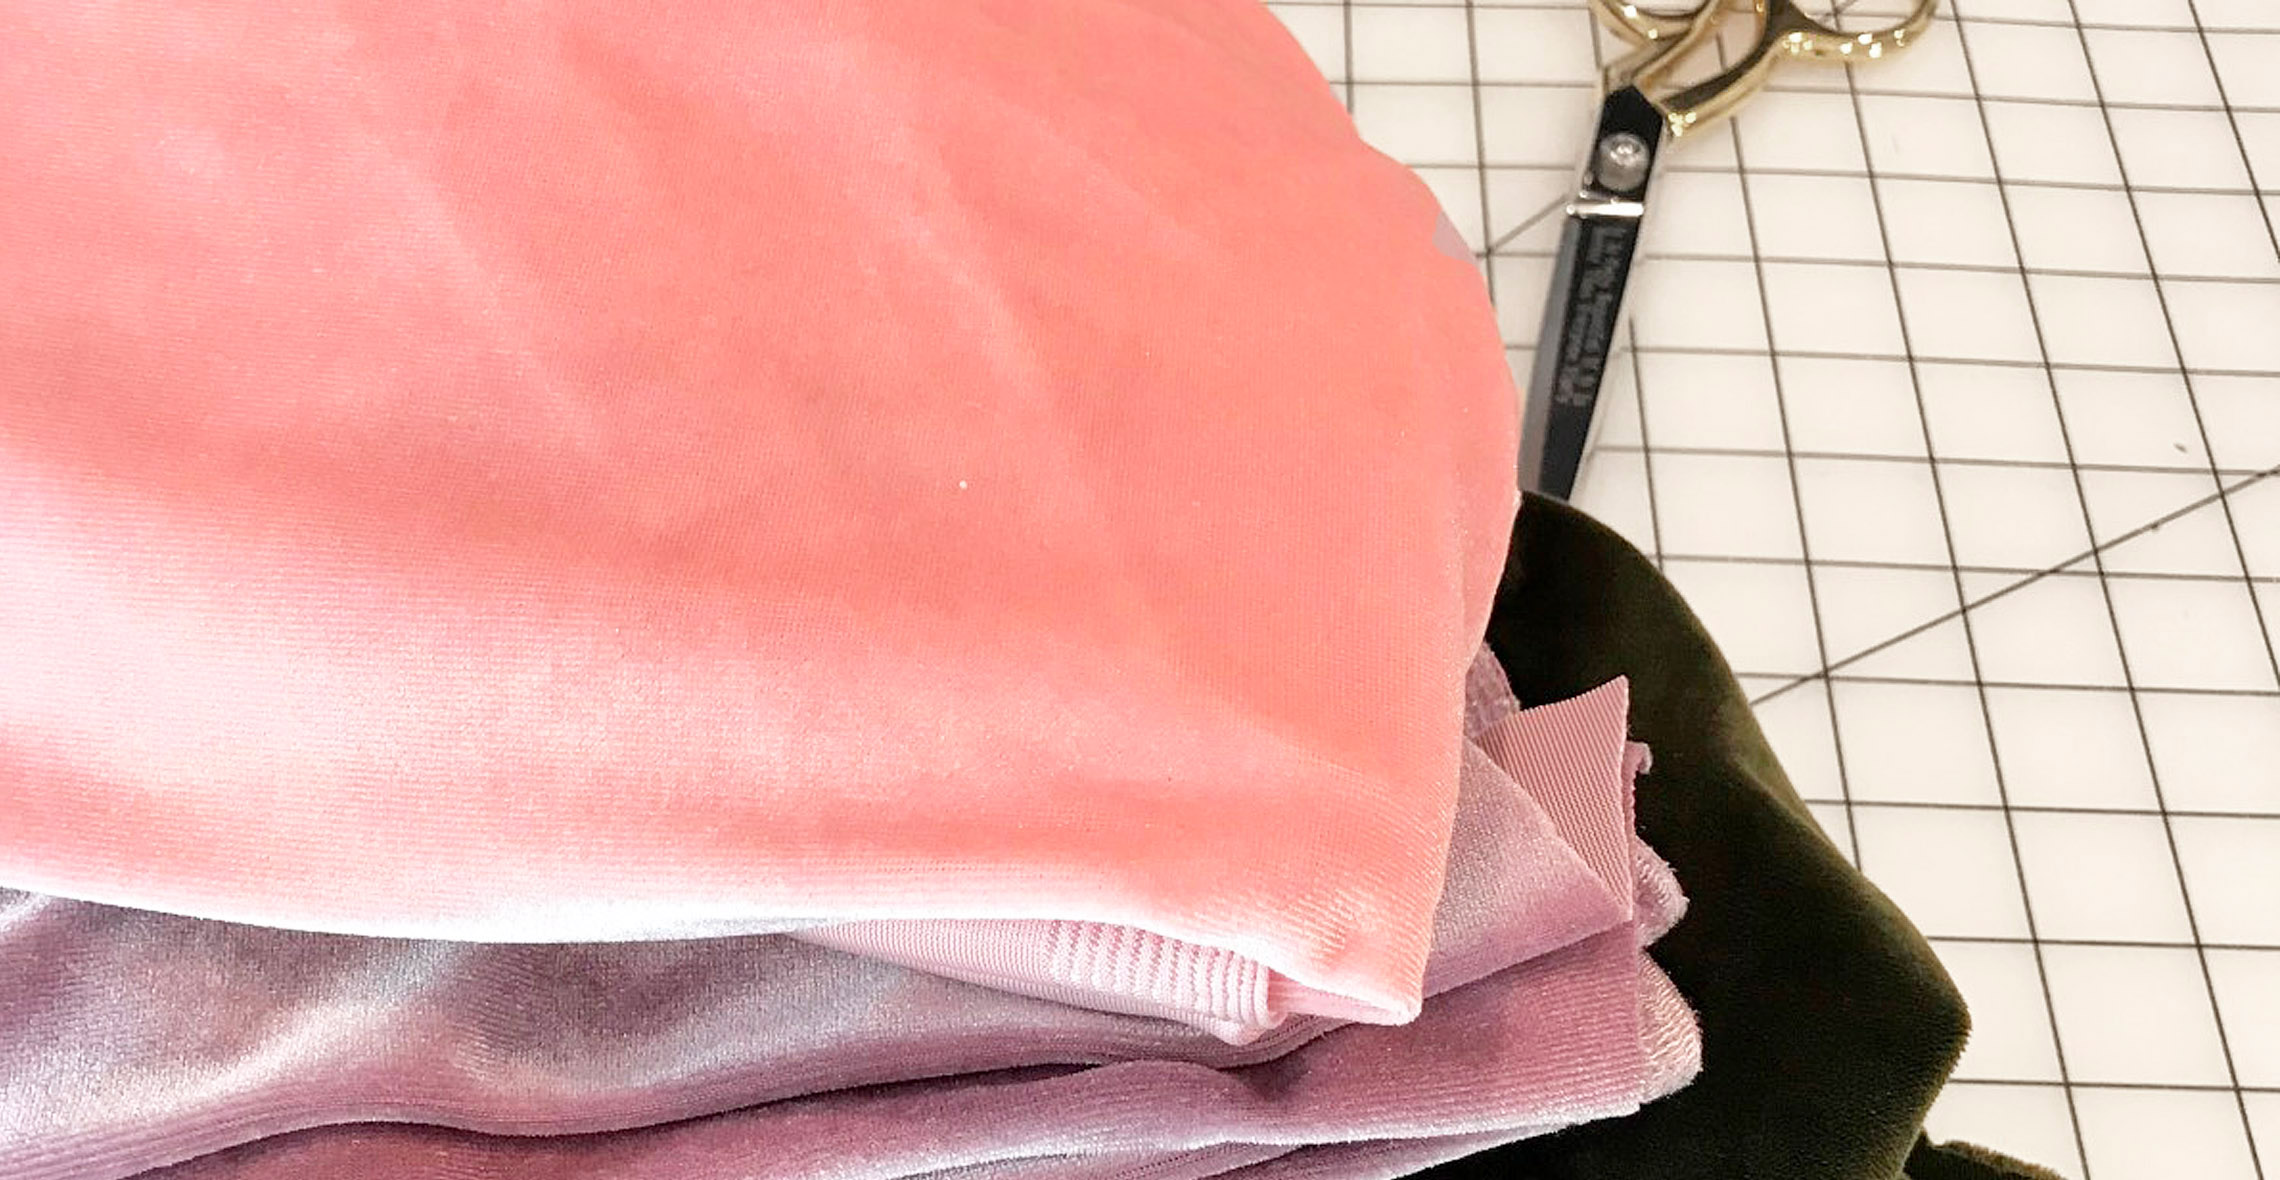
- Velvet fabric or fabric of choice – 1/4 yard
- Sue O’very Designs EZ Point & Turner
- 7” elastic (I use braided elastic for scrunchies)
- Thread to match fabric
- Scissors
- Pins
- Fabric marker
- Template for scrunchie tail
Note: All seam allowances are 1/2”.
Cutting Directions
- Cut one piece fabric 4” x 20” for scrunchie
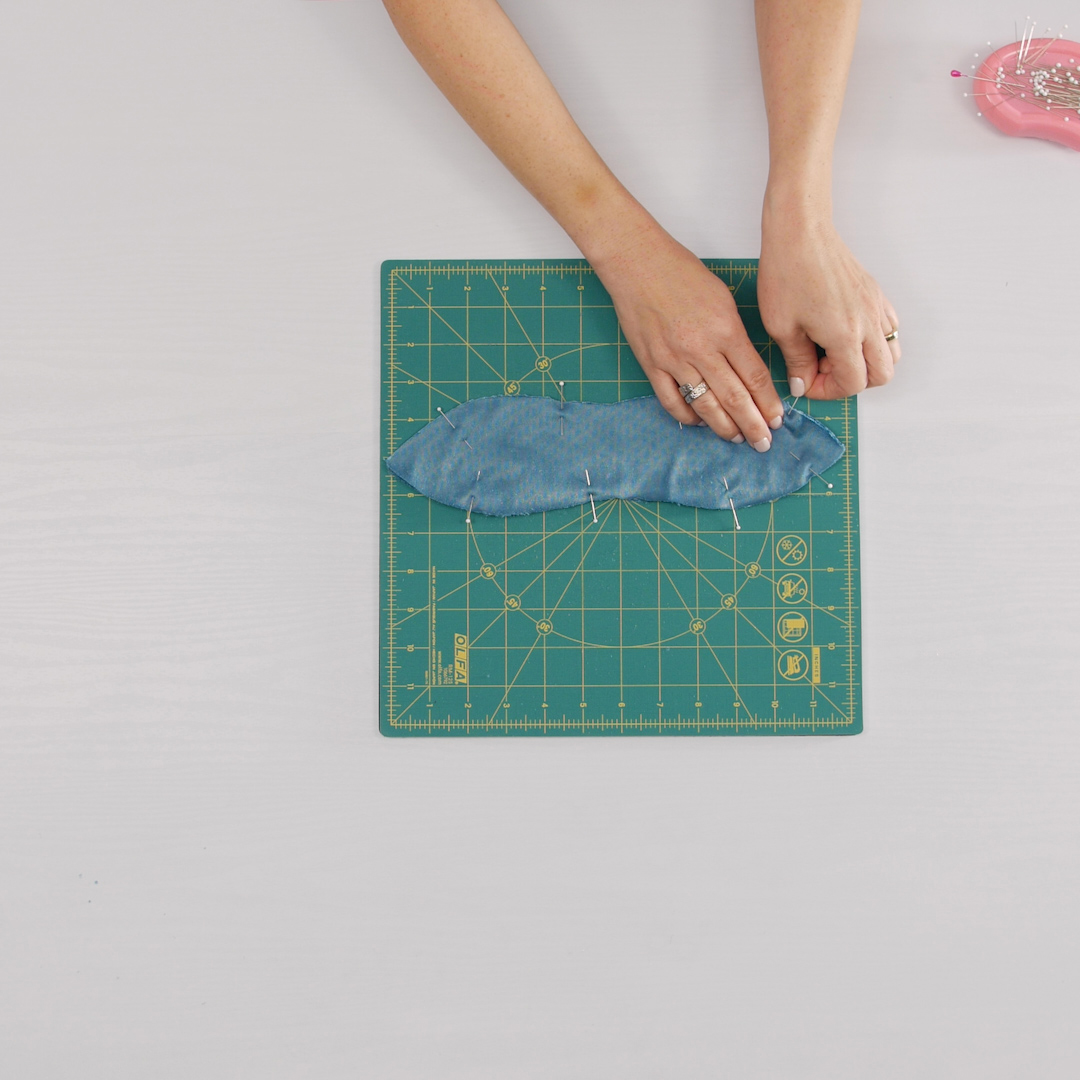
- Two pieces of fabric for tails cut approximately 4” x 16”
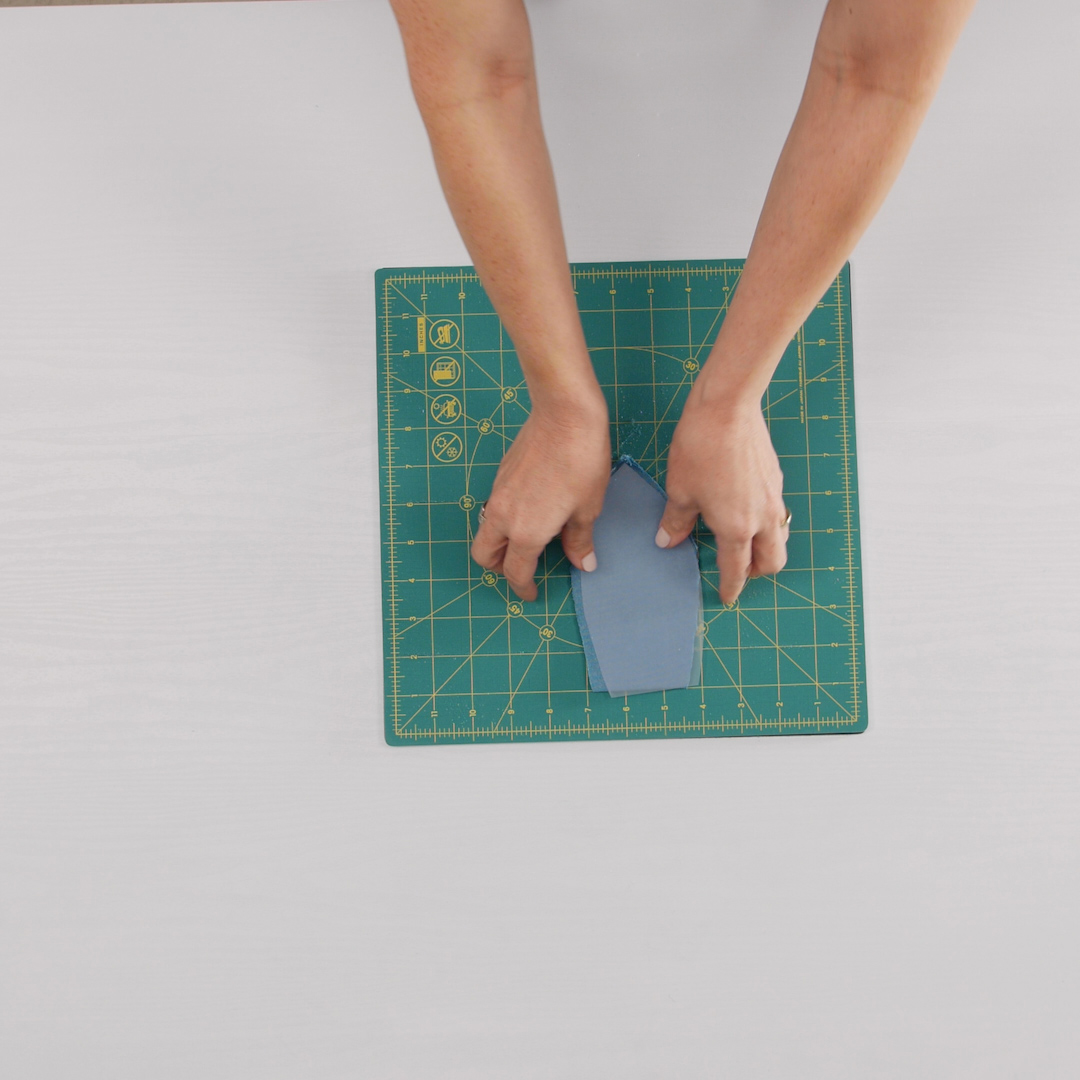
- Fold each fabric in half crosswise with right sides together.
- Align the fold of the fabric with “Place on fold” on the template. Cut out the two pieces.
Pin Fabric
Fold your rectangular fabric piece lengthwise with right sides together. Pin.

Fold two short ends to wrong side about 1/2” and pin in place.
Pin tail pieces right sides together leaving a 3” opening – I put two pins side by side where I want to stop sewing. It’s easy to accidentally sew the opening closed at 900 stitches per minute!
Sew Fabric
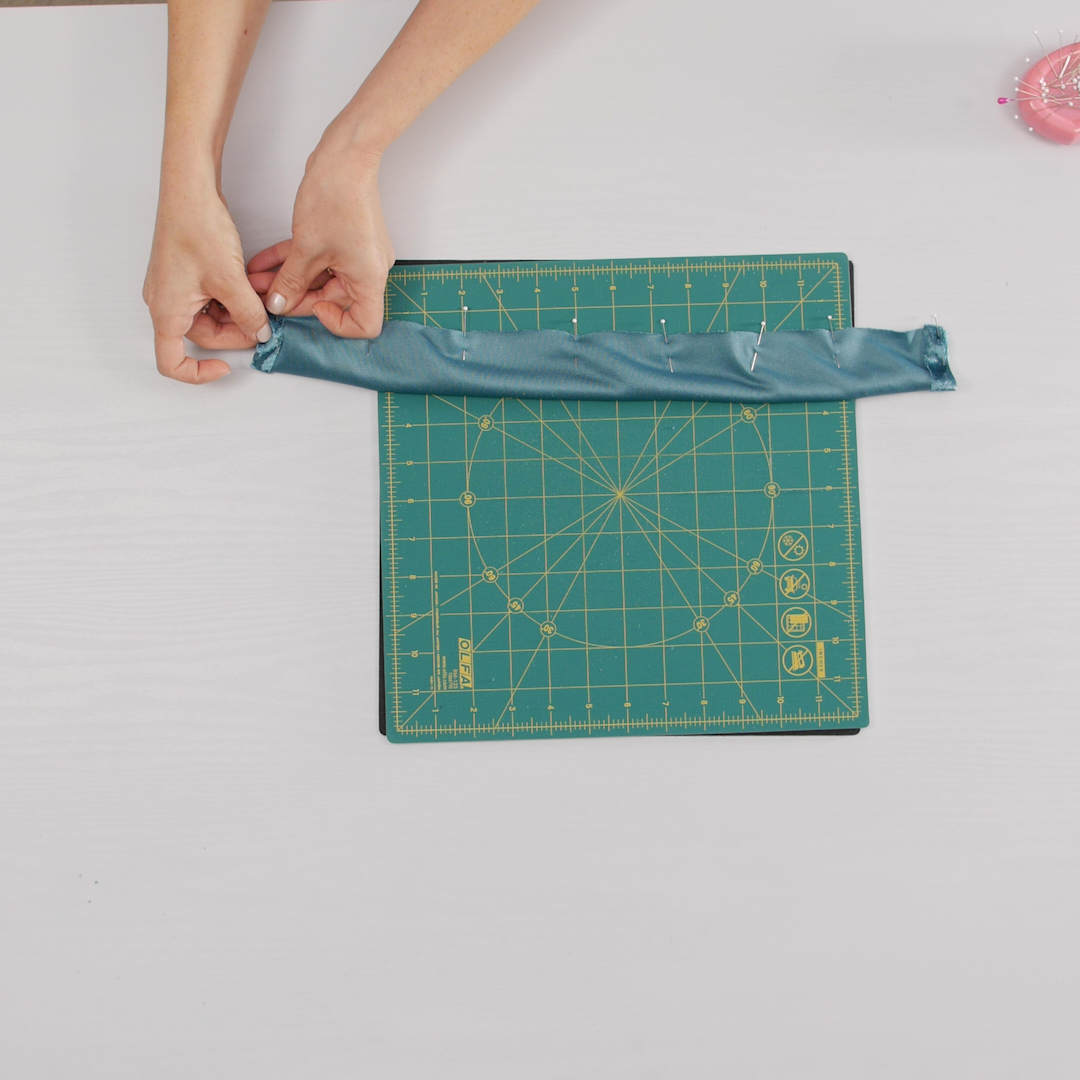
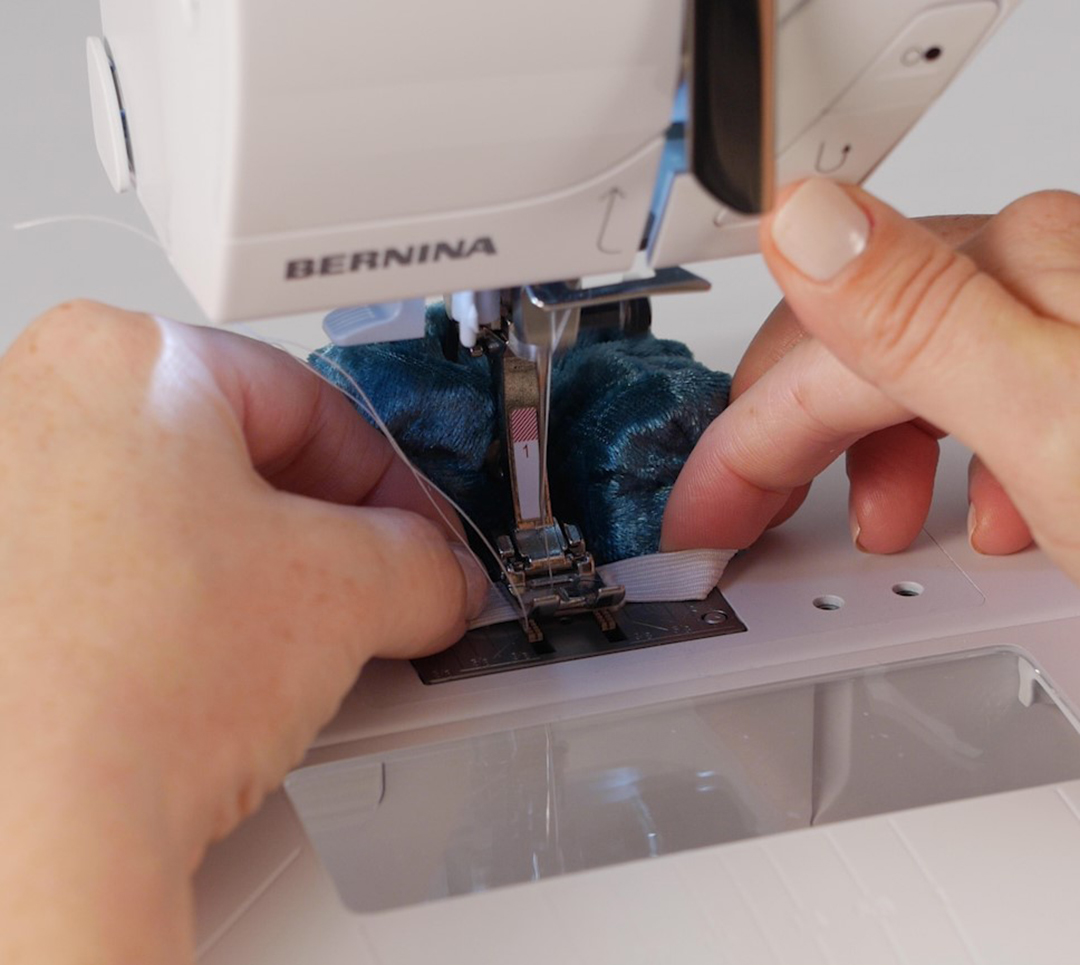
Attach Reverse Pattern Foot #1. Sew long fabric piece with a straight stitch and 1/2” seam allowance. Leave both ends open for turning inside out.
Sew fabric tails with straight stitch and 1/2” seam allowance. Remember to leave a 3” opening for turning inside out.

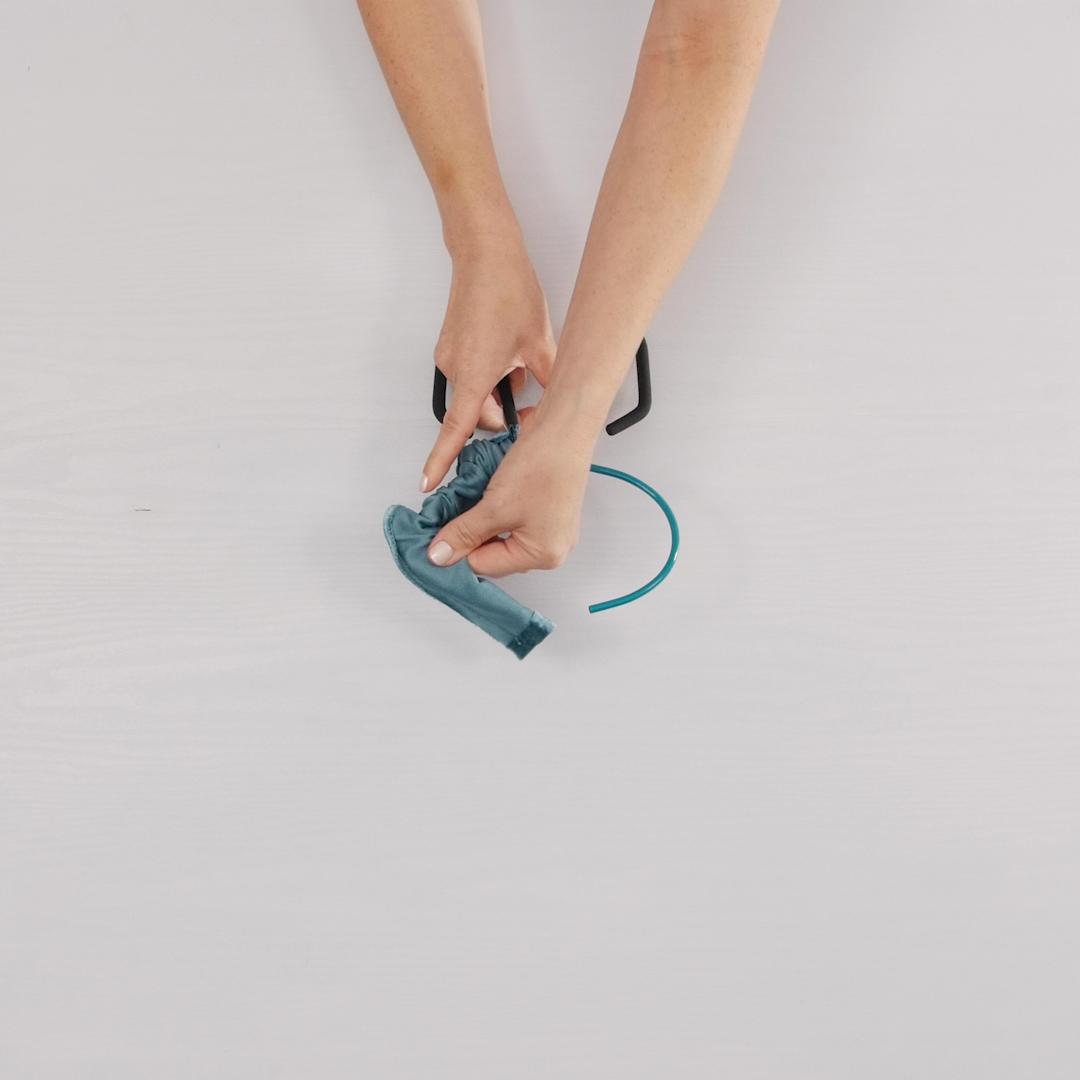
EZ Point & Turner
Scrunchie:
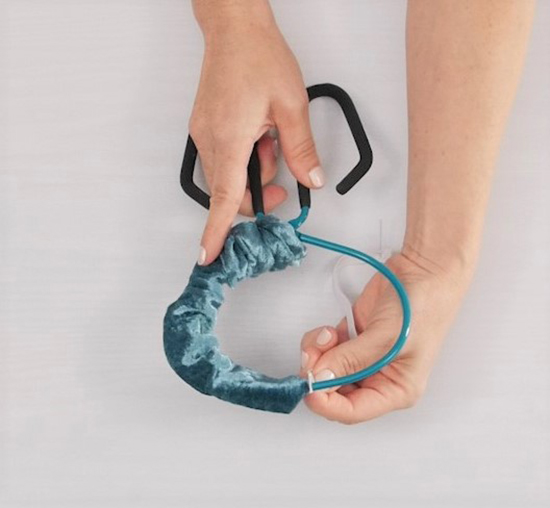
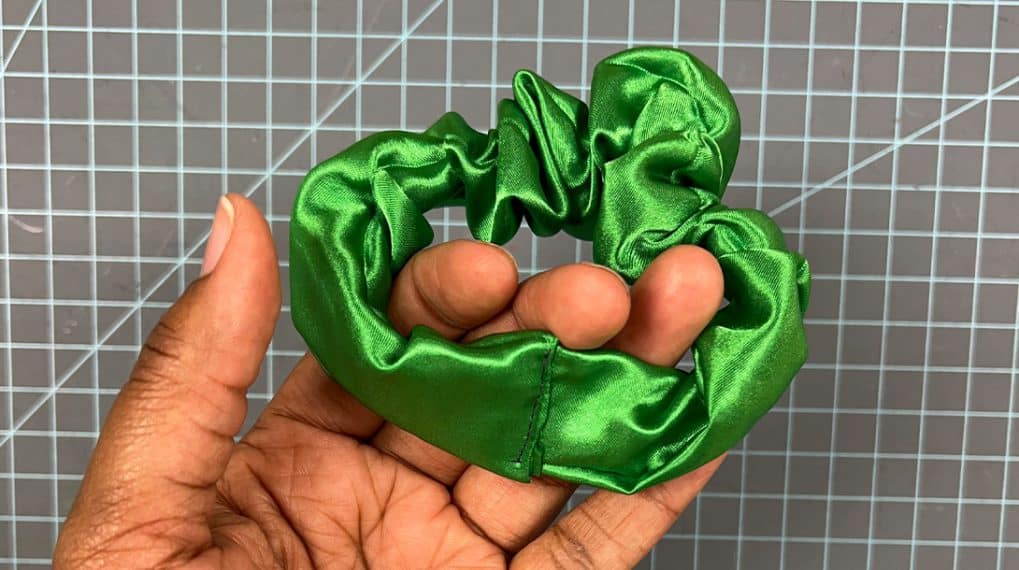
Slide fabric tube onto the side of EZ Point & Turner with the slender-tipped end. Clamp end of fabric tube so that the slender-tipped end is securely in the groove.
Keep a good grip on the tool and start to wiggle fabric over itself. Continue until the fabric tube is completely on the other side of tool.
Take the scrunched fabric tube off the turner and pull rest of fabric right side out. Sue O’Very has a GREAT VIDEO where she was able to successfully turn 66 inches of fabric!
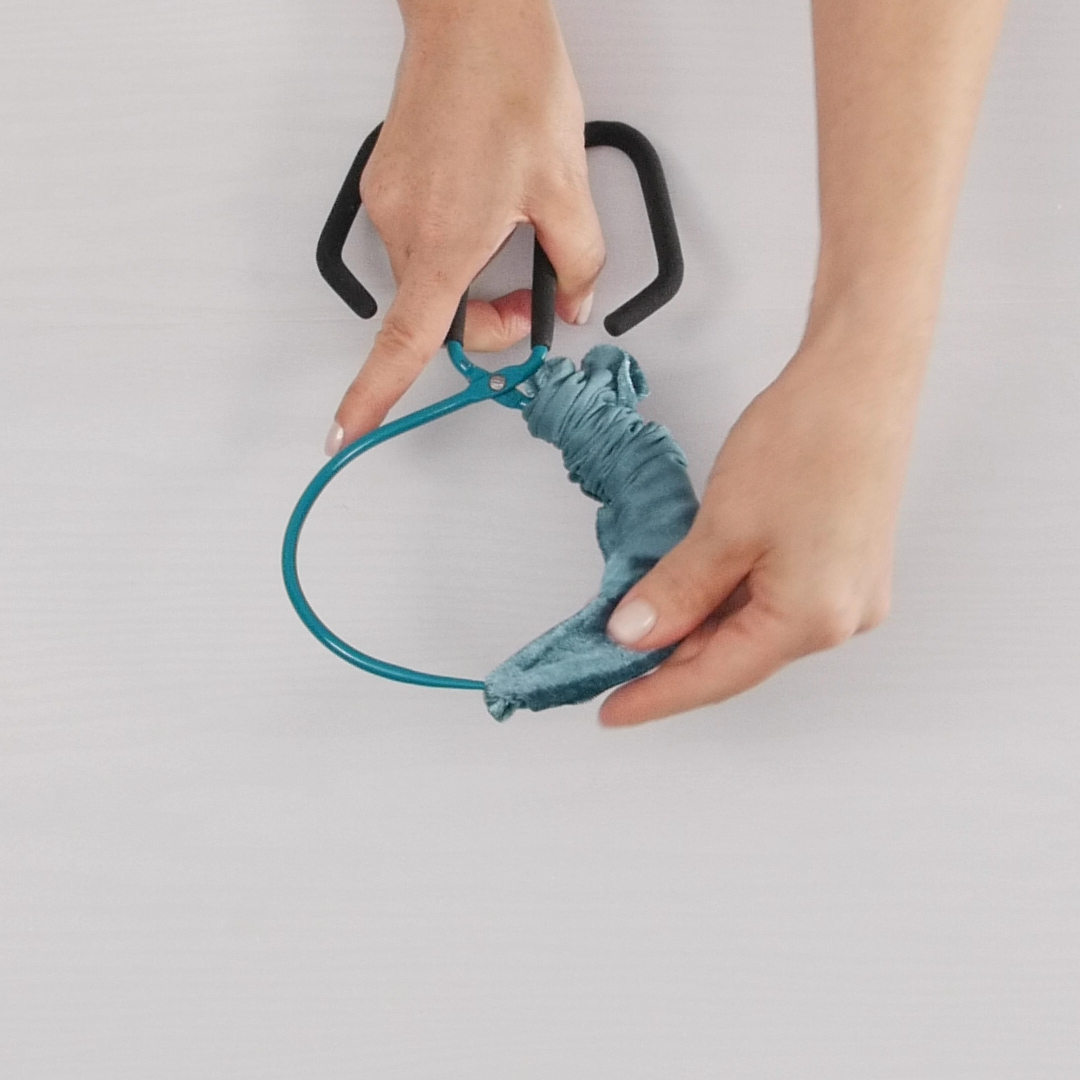
To easily insert the elastic into the scrunchie, slide the scrunchie back onto the EZ Point & Turner. Add large pin to one end of 7” elastic to keep it from getting lost inside scrunchie. Clamp opposite end of elastic to the turner and keep a tight grip.
Feed the scrunchie over the elastic and onto other side of the turner keeping a tight grip on the tool.
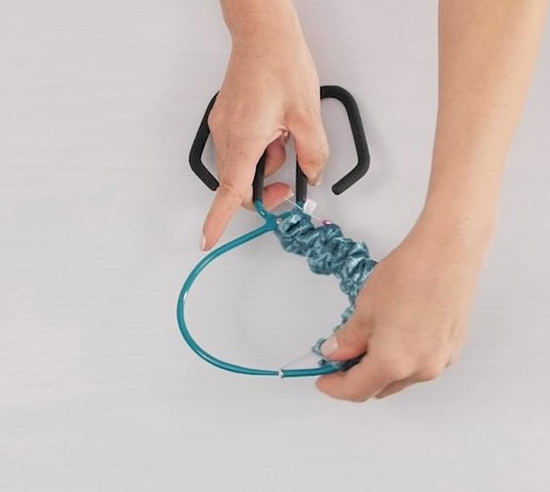
While holding the end of elastic (without the pin), carefully take scrunchie off the turner. At the other end of the tube, the pin should be keeping the elastic from slipping into the fabric. See how the pin keeps the other end of elastic from slipping into the tube? Now, pin the two elastic ends together to hold in place.
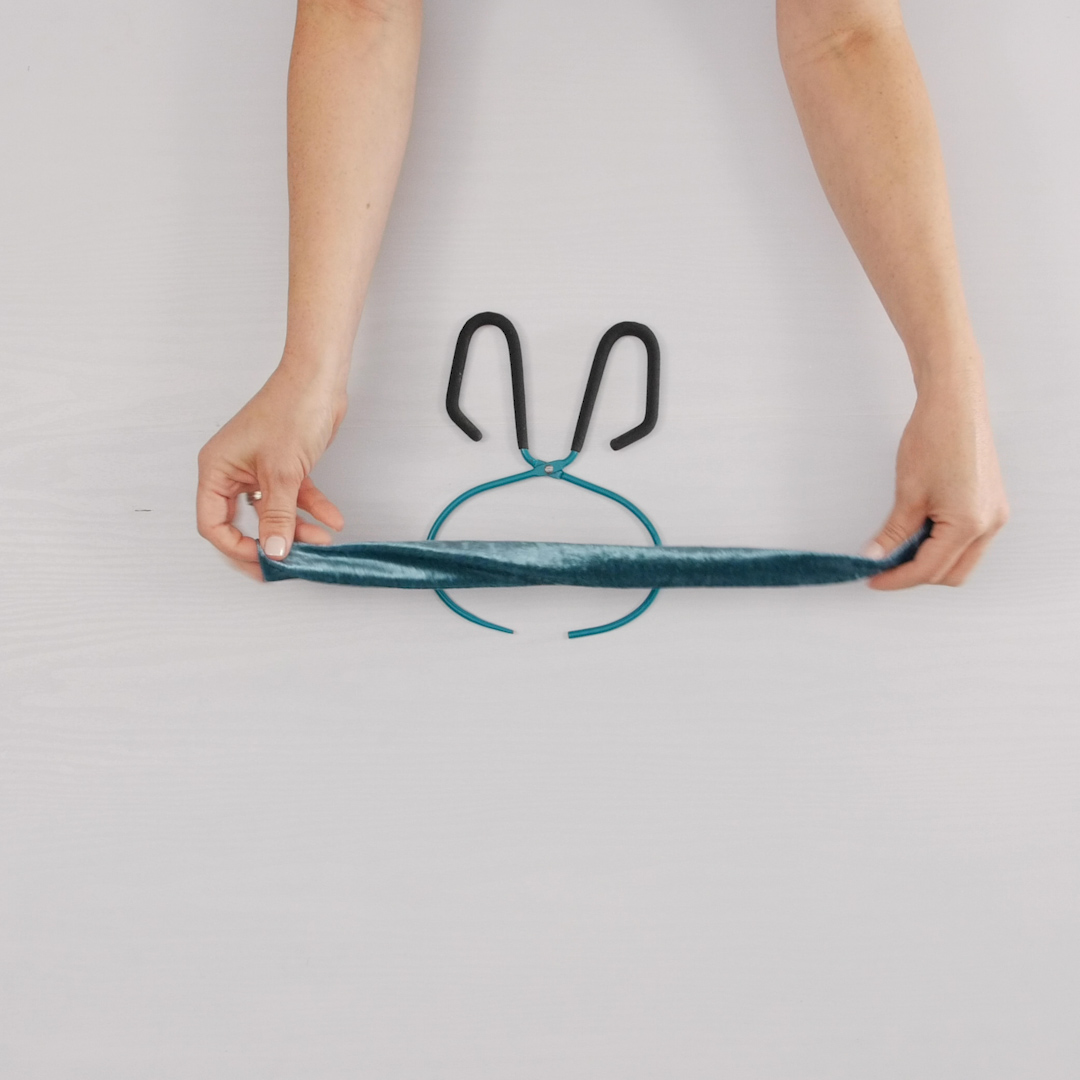
Turn the tail right side out:
Insert one tail end into the EZ Point & Turner.
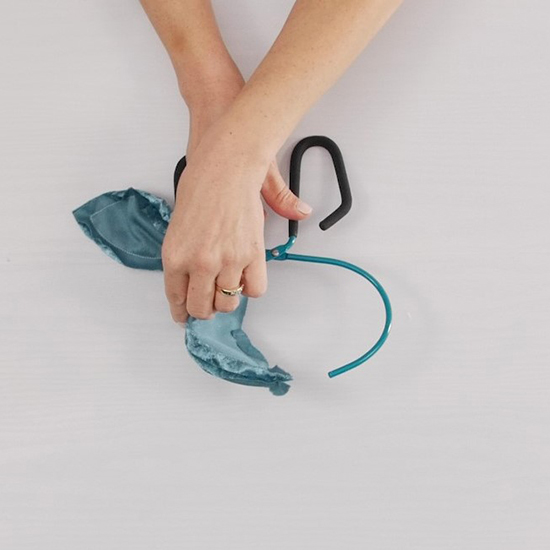
Clamp and turn right side out onto other side of turner.
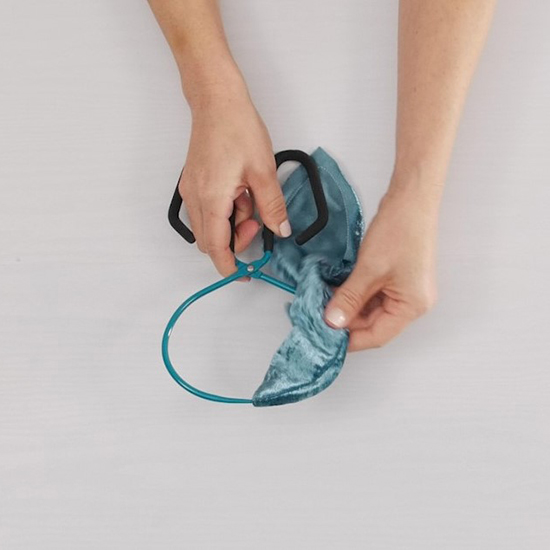
Do the same for other end of the tail. Use the pointed side of tool to smooth out seams and corners.
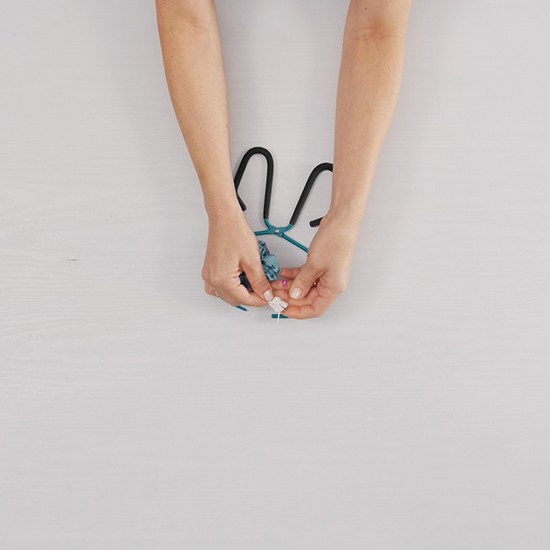
Sew Elastic Ends
On your machine, select a stretch stitch. I used Stretch Stitch #4.
Overlap elastic ends about 1” and pin in place. Push fabric out of the way and sew elastic ends together. I reinforce the stitch by sewing back and forth a couple times, scrunchies get a lot of wear and tear!
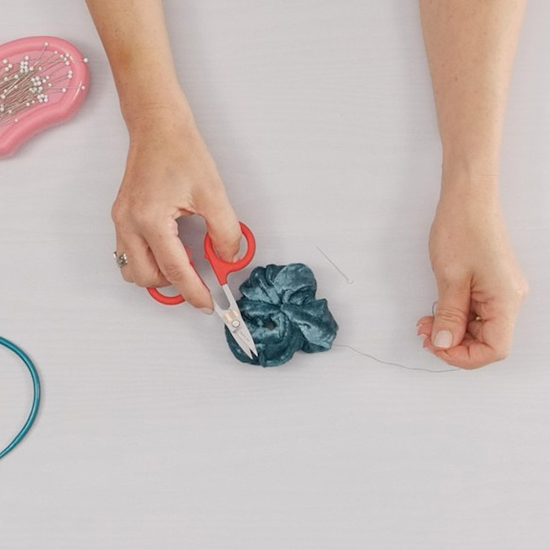
Hand Stitch
I like to hand stitch the openings on the scrunchie and tails closed, especially with slippery fabrics. However, stitching by machine is faster and really no one will ever notice!
Now that you know the basics, have fun! Experiment with different sizes. Add fun trim or beading. Go to the fabric store for hip novelty fabrics. Better yet, dive into your pile of scraps at home!
Enjoy!
Used Products
What you might also like


63 comments on “Hair Scrunchie with Tails”
-
-
I wore hair scrunchies many times over the years. My first hair scrunchie my Mom gave me. Then I figured out how to make my own. A fun accessory to make and wear. Love these scrunchies with the tails added on.
-
Thank you! The tails add a little something special!
-
-
I wear scrunches all the time! Would love to try this point turner! Thanks.
-
Love this info. I wear a scrunchie several times a week an every night. They are the best! Thanks for the tutorial. I will be sewing up some new ones soon.
-
Great! I hope you add the tails to your new ones!
-
-
I’m wearing one right now! LOL 🙂
-
One you made, I hope!
-
-
I’ve worn them in the past!
-
Time to wear them again!
-
-
I think I started wearing them mostly in the 80’s, when they gained popularity. Then I used them for my daughter in the 90’s, and so on. I love the tails. It’s so cute! And I’ve never seen a Turner like this one. I’ve been using a paintbrush handle, so this would be a much better choice! Lol!
-
As a child, I helped my mom sew hundreds of scrunchies and that was how I learned to sew! This turner looks much simpler than the skinny piece of hooked metal we had to use! I have a 7yo daughter now and have been planning to make a few with her soon!
-
As a child of the 80’s, I had a lot of scrunchies. Favorite one was black panne velvet. It’s time to make some new ones.
-
Yes I wear scrunches.
-
I don’t believe that I have ever worn a scrunchie, but I remember my daughters wearing them. Now I can make them for my granddaughters!
-
I’m in my 70s and am glad scrunches look good on gray hair!
-
Did I miss something? When and where do you attach the “tails” and tie them in a knot????
-
Hello! You simply secure the tail onto the scrunchie with a loop so you can remove later. It’s a fun option!
-
Too bad you didn’t show this step….my granddaughters and I would have appreciated that! They wanted to make on just like the examples!! Very cute!
-
How fun making them with your granddaughters! For the tail, simply wrap the tail around the scrunchie and tie a single knot. No sewing involved to secure the tail. Enjoy!
-
-
-
-
Yes, I have worn and still wear scrunchies and have made them.
But turning is always a problem! Would love one of these turning tools!!!!!
LOVE my Bernina! (It’s my fourth one, plus I have the serger as well!)-
Wow! I’m a BERNINA collector too!
-
-
I’ve never worn a scrunchie, because sadly my entire life I’ve had short hair. That said, my 18-yr-old daughter loves to use scrunchies to tie back her luxurious mane.
-
I have never worn a scruchie but my granddaughter’s love them. This will be a great project we can do together.
-
for me they never went away – I have worn them for decades – some purchased, some handmade; also crochet them with fuzzy yarns, ribbon, etc, to match clothing =)
-
I have not worn a scrunching but would love to try one. What better way than to make it!!
-
Worn them. Love them. Kind to hair with a flair!?
-
I have not, but my daughters did in the 80’s! Now my granddaughters are wearing them and we make them together!
-
Yes! It’s a fun, easy sewing project to do with kids. And you can experiment with different kinds of fabric.
-
-
I love scrunchies!!!! I wear them everyday!!! I have no less than two on my person at any given time!! I even hide them in my car for emergencies!!! Can never get enough of the scrunch!
-
I can’t remember how many of these I made for my two girls in the 80’s, but it was a LOT! Glad to hear they’re back.
-
These are really adorable! Adding the tails makes them extra special!
-
Thank you! These are short tails but you can make them long too.
-
-
Yes I wear them all the time!
-
I certainly have worn scrunchies over the years! I also made scrunchies for my daughters to match their outfits.
-
Scrunchies here and scrunchies there, if I win this, I’ll have scrunchies everywhere! Sorry I just couldn’t help myself. I have worn them for years but have never made my own. I keep them all over the place, in my purse, in my jacket pockets, in my sewing shop, etc. I have recently been looking a patterns on how to make them with tails because I have lots, no tons, of fabric that I can make them for all occasions. Please pick me this tool would make it much easier to make them. Thank you for sharing this pattern!
-
Yes, we wear scrunchies all the time. I like this with the bow. Good idea for stocking stuffers. Enter me in the drawing. Thx.
-
I don’t believe I ever wore them but always thought that they were cute. They will look adorable on my granddaughter and I have lots of fabric. Thanks for the posting the instructions.
-
I used to wear scrunchies all the time! As a matter of fact, I still have some of the ones that I used to wear before they went out of style. Now that I know they are ‘back’, I’ll dig them out and start wearing them! I’ll have to make some new ones with tails, as my old ones don’t have any.
-
Yes! And make tails for the old ones!
-
-
Yes!! I just taught 2 of my neices how to make scrunchies over Christmas break.
-
I’ve got homemade and store bought ones- works better than clips when I wear hats outside
-
I still do!
-
Yes. I used to make and wear them back when I was in college.
-
I wear them in my hair and tie them on my luggage handles when traveling!
-
I’ve never worn a hair scunchie, but I like the style.
-
I personally never have, but my girls wore them when they were little. My 12 year old grandson has had a sewing lesson and is still interested. This will be a good project since he has a girlfriend who wears them. She gave him one he wears on his wrist which is apparently the thing now.
-
Yes, the girls wear them on their wrists too!
-
-
Is there any way to print or save on computer these instructions? I don’t have the products to do it yet…??
-
If you have a Pinterest board you can save to your board. Or you can print the blog post but there is not a printer version available. You would need to print the actual post. The scrunchie tutorial will be here indefinitely for future reference so no worries about it going away.
-
-
I never wore scrunches as I had short hair. But I think I will make some for the quilt guild craft sale. Thanks for the tutorial
-
Good idea!
-
-
No. I haven’t worn a scrunchi but might now that my hair has gotten longer.
-
Good idea!
-
No, they were not in style when I was a young girl – we used rubber bands. I do love the look of scrunchies that my granddaughters wear!
-
Scrunchie popularity in the past has coincided with periods when my hair has been short… So no. However now it is linger, so I am planning to make a bunch!
-
Great! Have fun!
-
-
Have never stopped wearing scrunchies and I’m 64 years young!!
-
They are fun to wear and make!
-
-
Never wore them but interested in making some for my 3-year-old granddaughter and to give away.
-
The point and turner tool is really amazing. i have been making myself by watching some videos but never seen this tool. it makes super easy to make them this way. But i usually buy them as it arrives in a day or two and costs dirt cheap nowadays. i always try googling for cheaper rates, coupons and usually i find one. found a deal on http://www.jestilo.com and got a pack of 12 on amazon UK for under GBP 3.
Leave a Reply
You must be logged in to post a comment.

No, I don’t think I ever have.