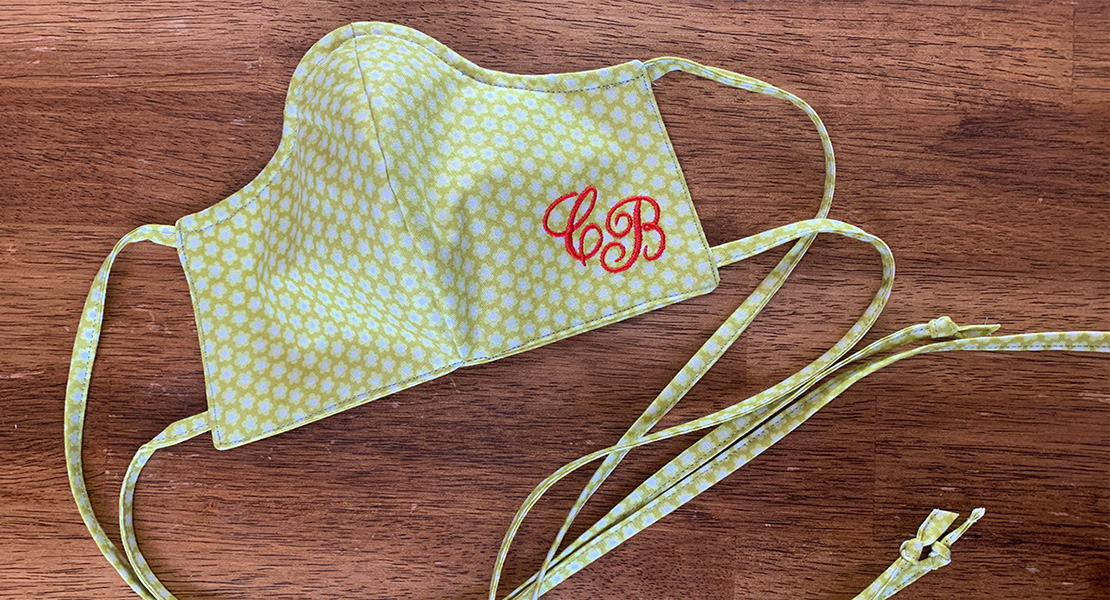
Mask Carrying Pouch
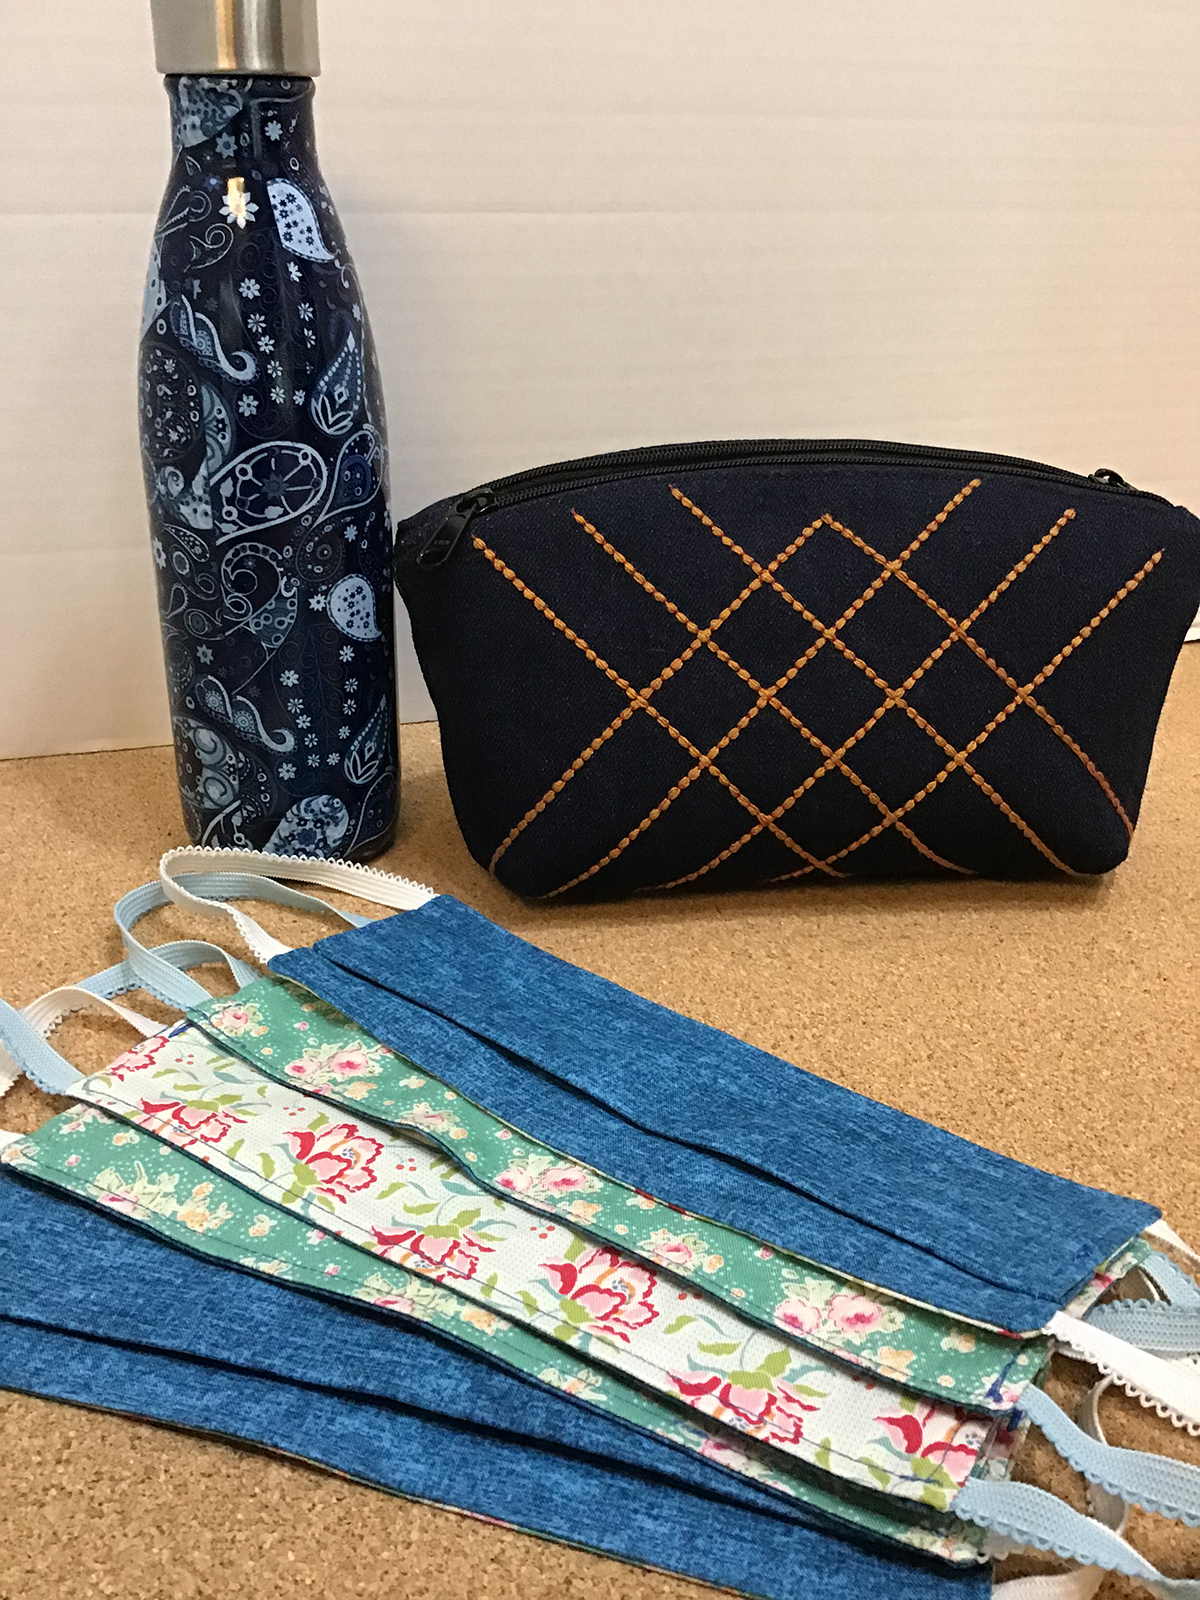
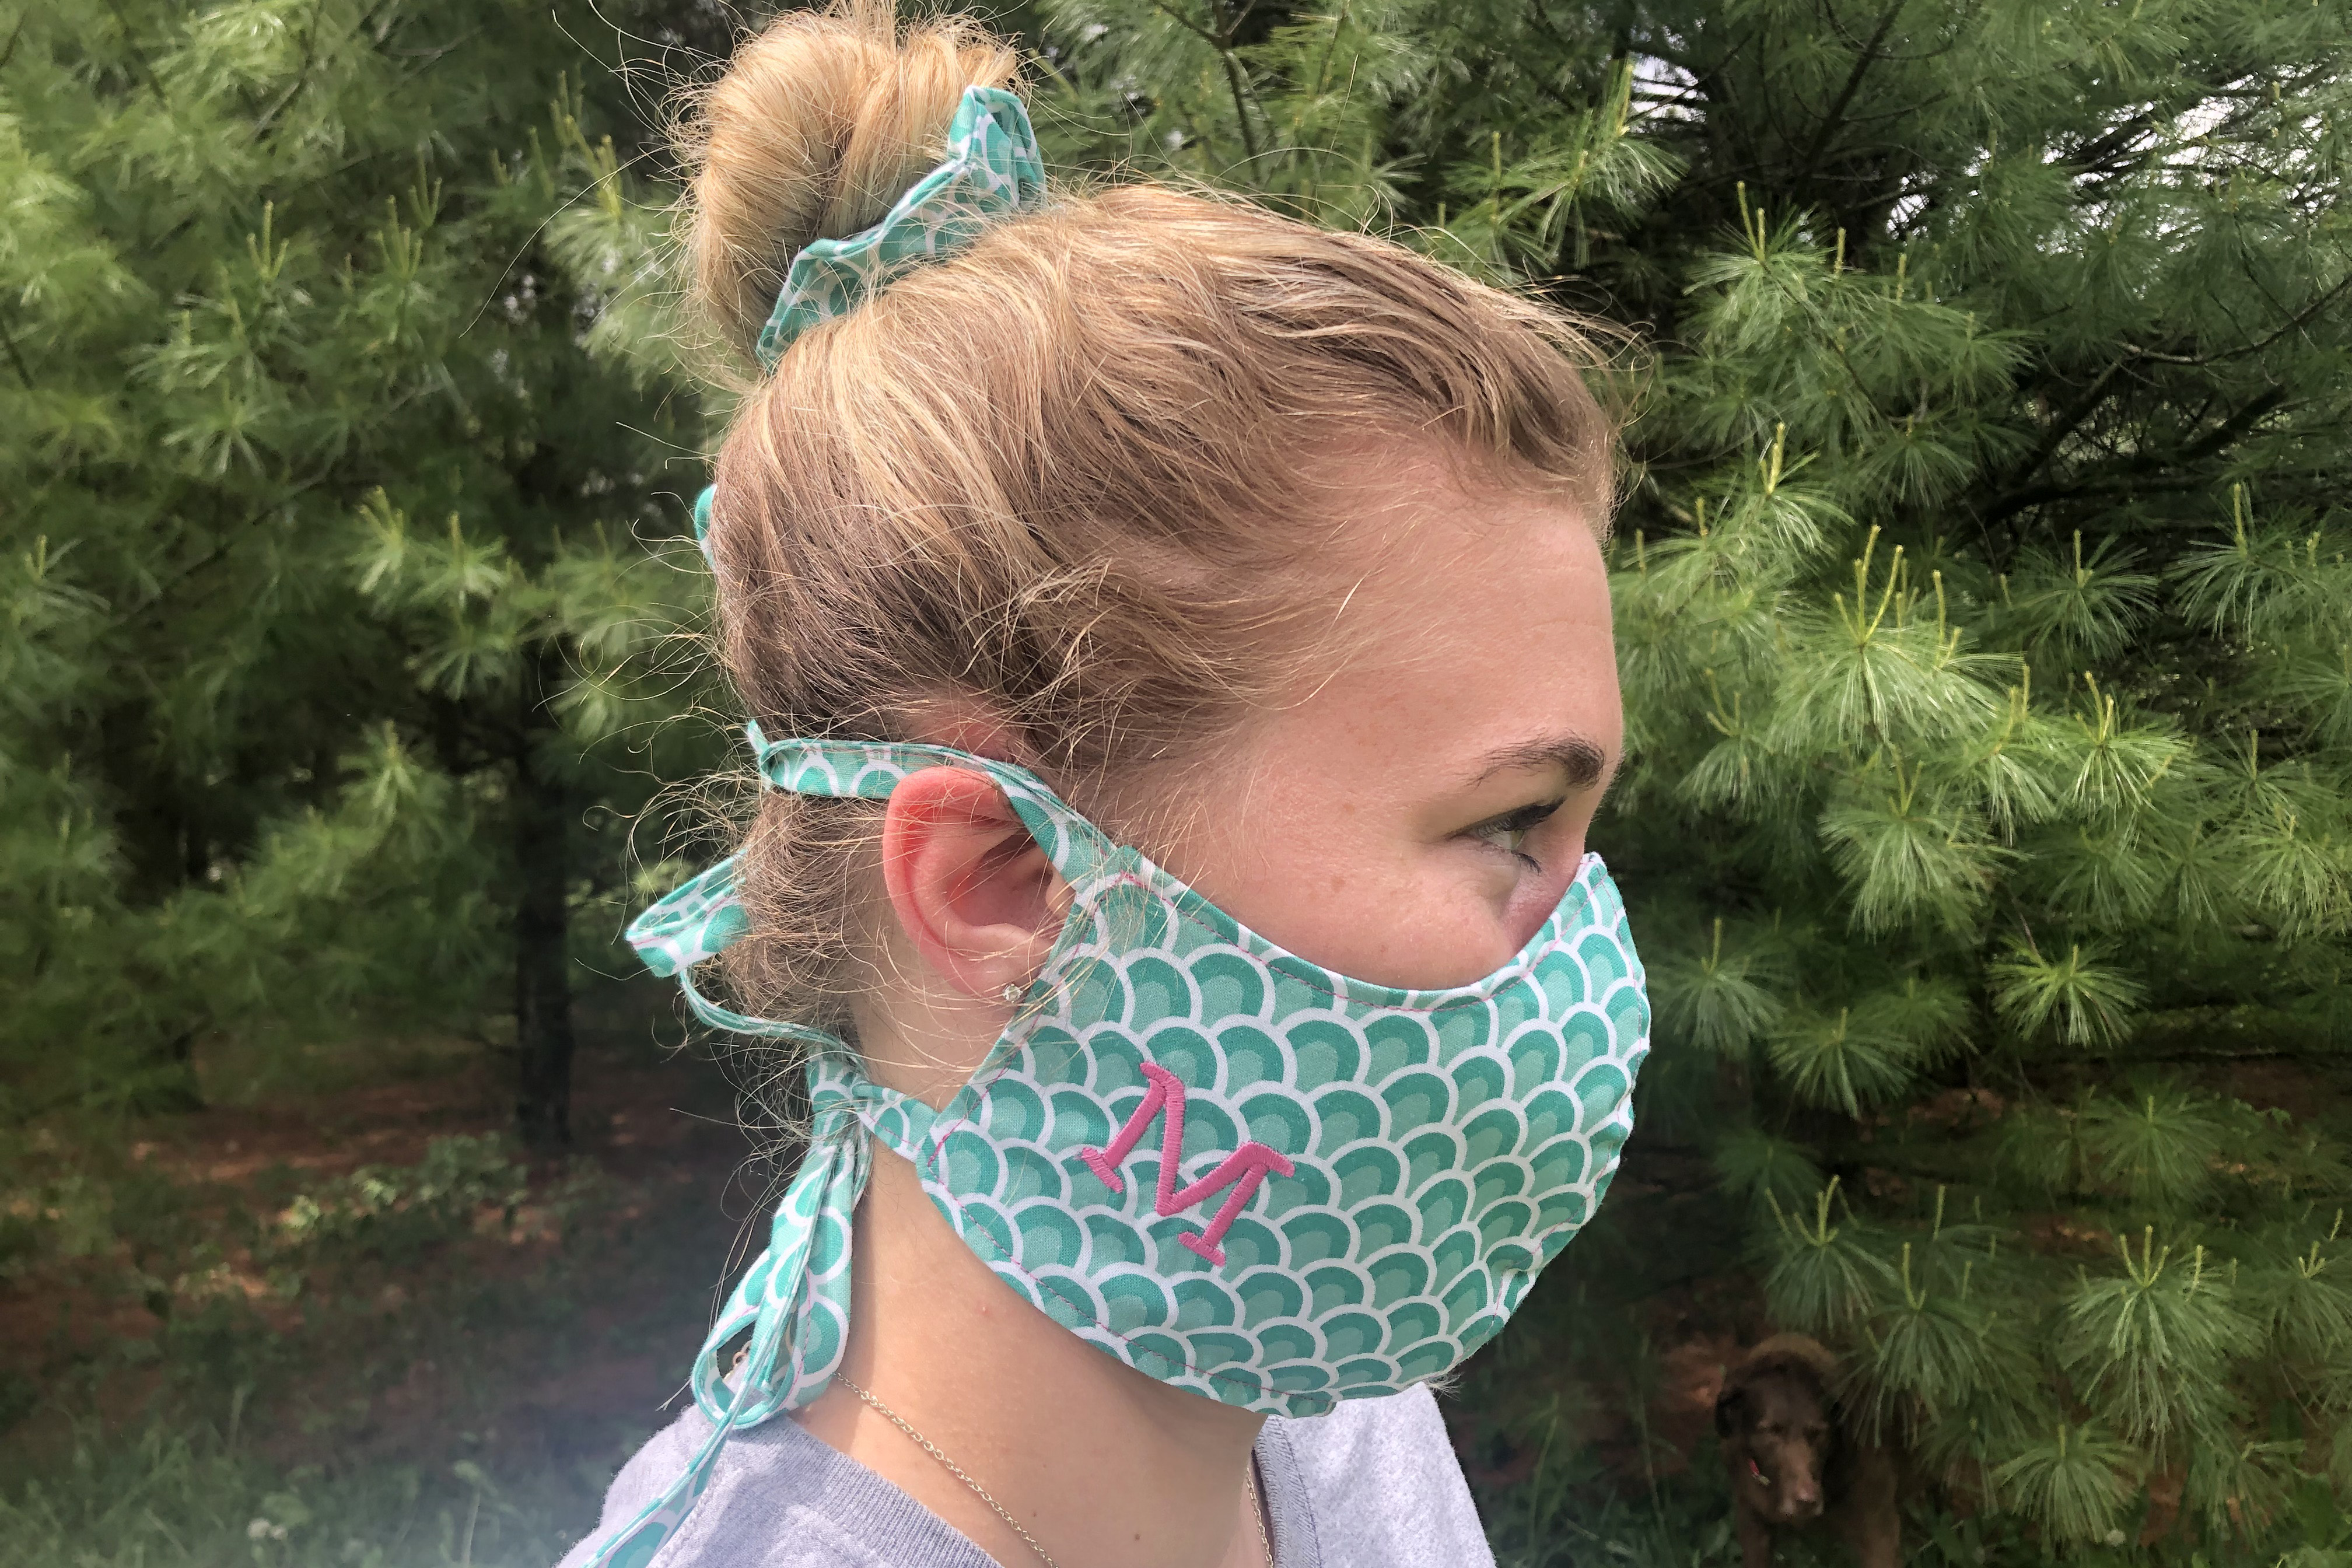
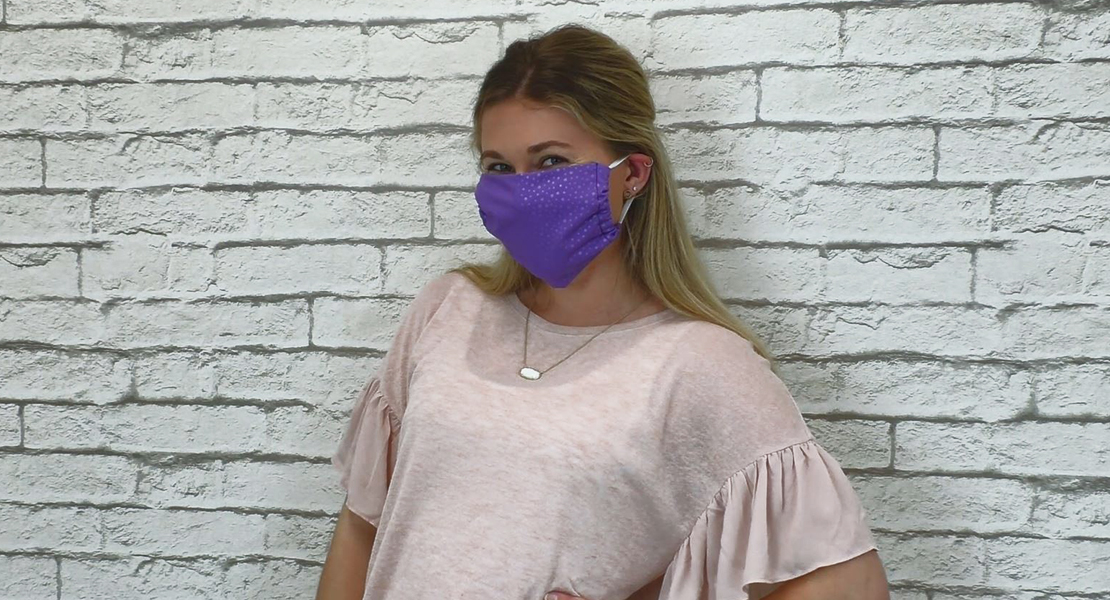
Most of us are making and wearing reusable cloth masks when we go out these days. I am not leaving my home very much, but if I need to go out, I want to make sure I have clean masks for my family and me. We also need to make sure that used masks can be kept safely contained until they can be laundered.
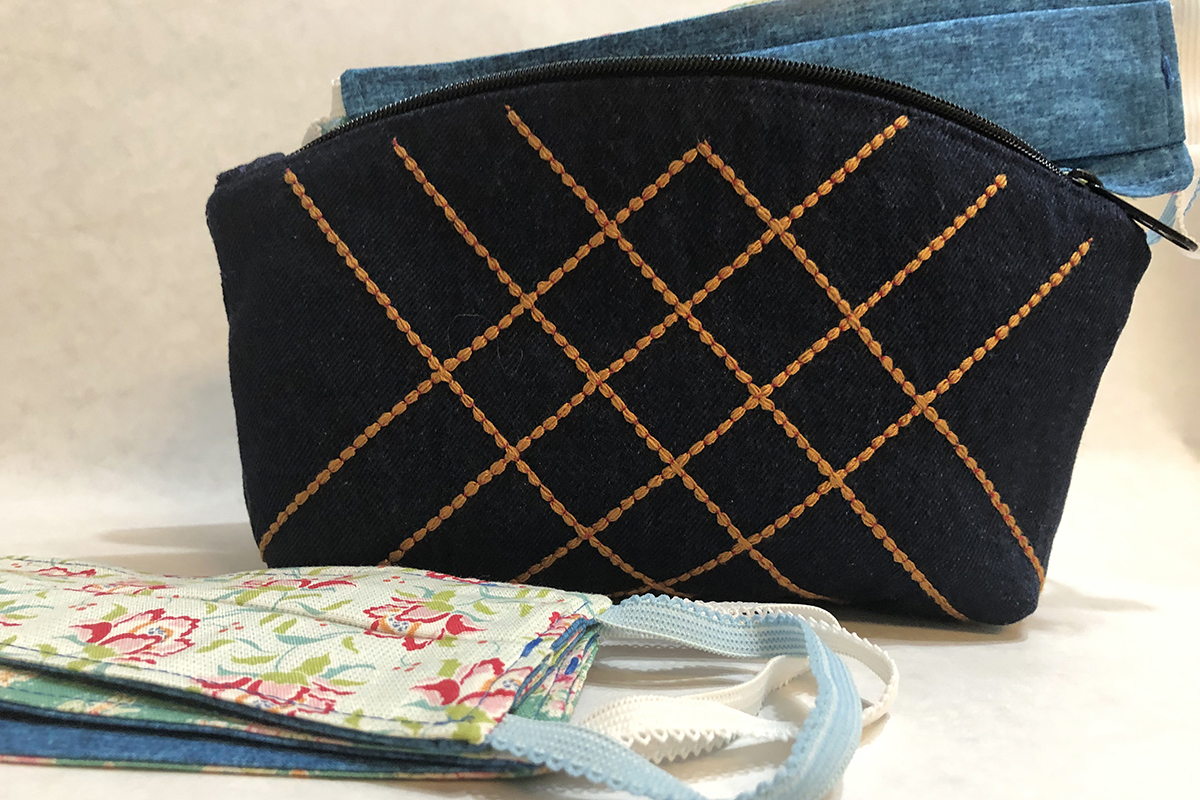
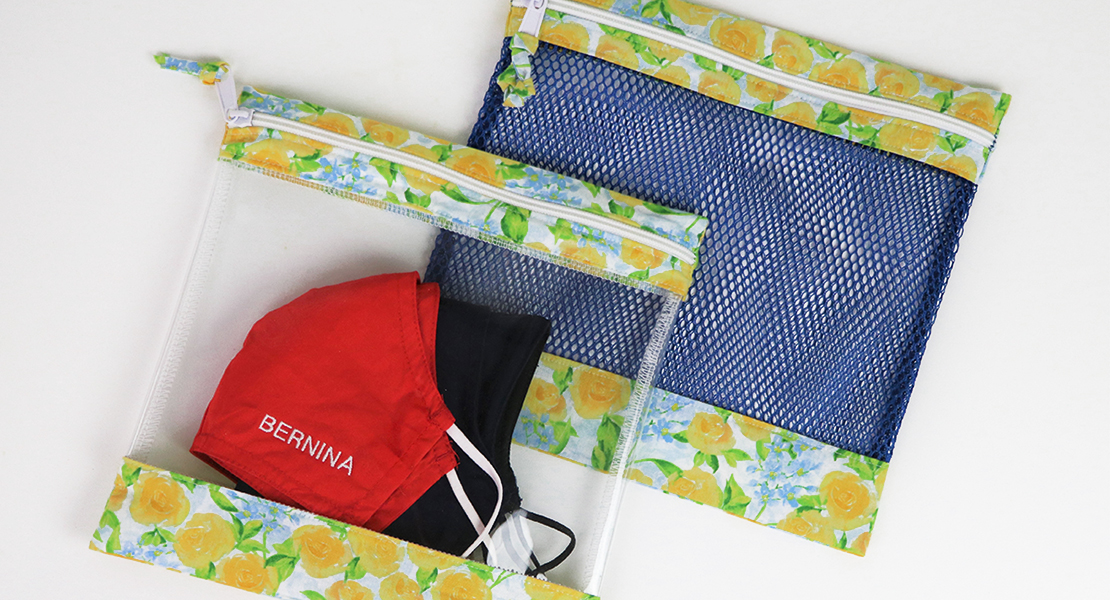
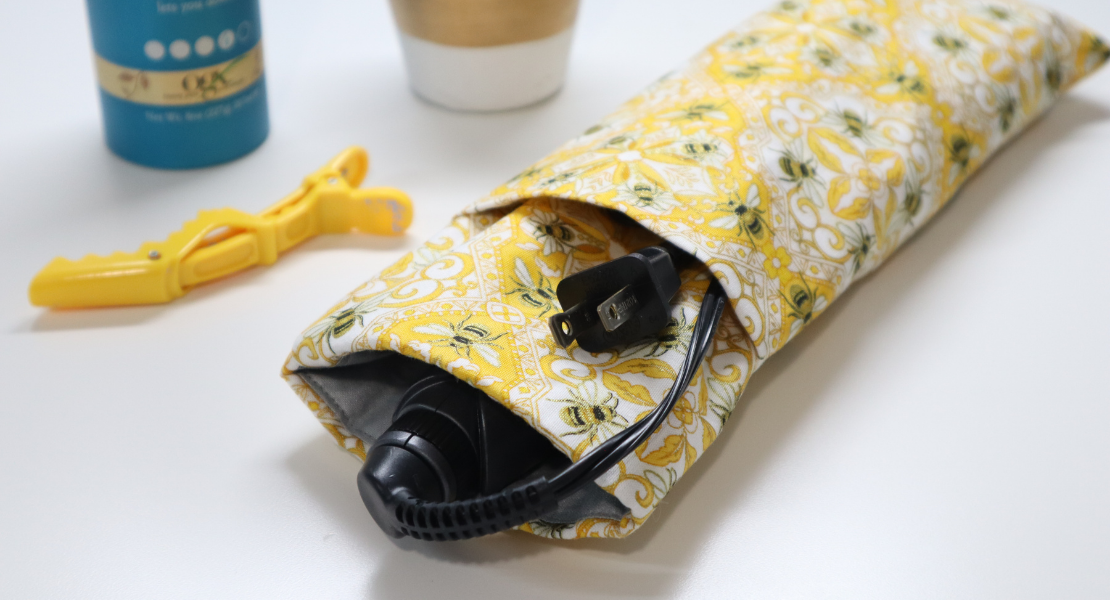
I designed this little clutch sized bag to store fresh masks on one side, and carefully stow the used ones in a different section. Since I have been reducing my use of plastic and plastic bags, this has been a good solution. The side meant for the used ones can be detached and has a waterproof lining that can be easily cleaned and disinfected. Easier yet, just drop it into the wash with other items.
The “clean” and “used” sections are joined with magnetic snaps.
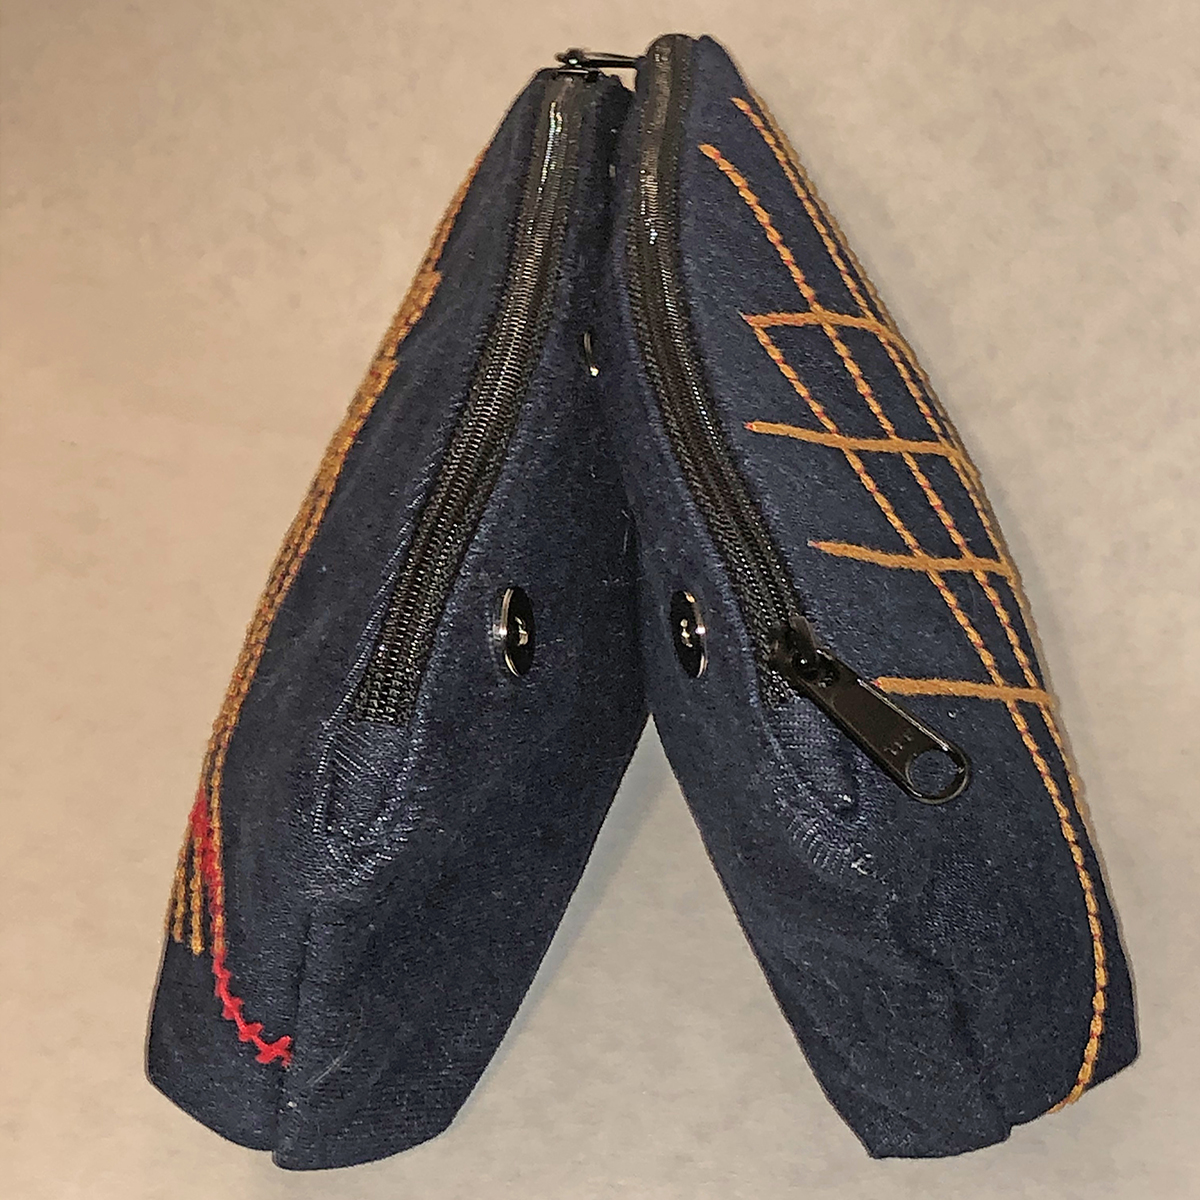
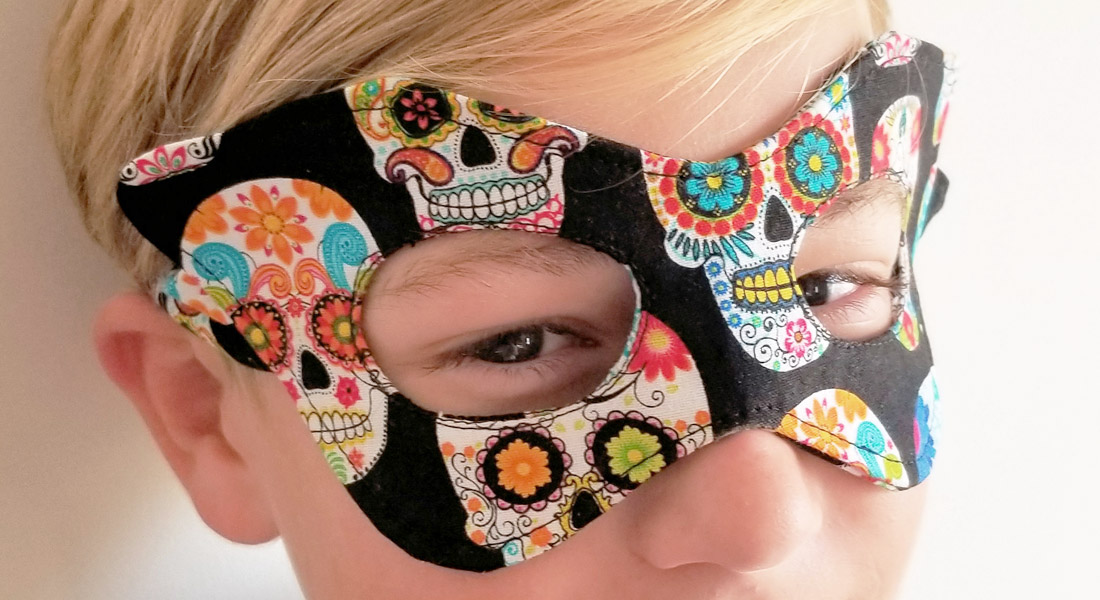
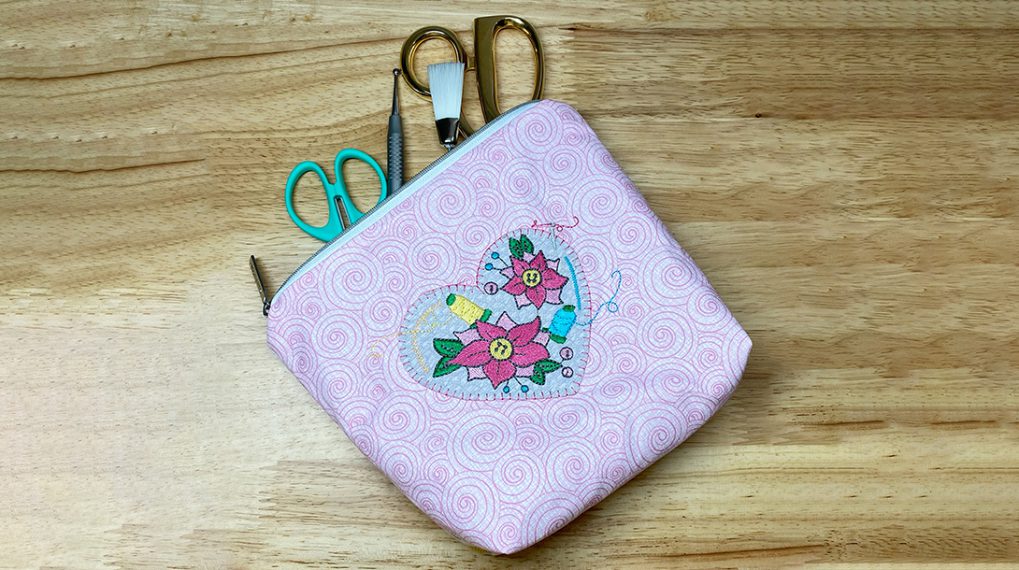
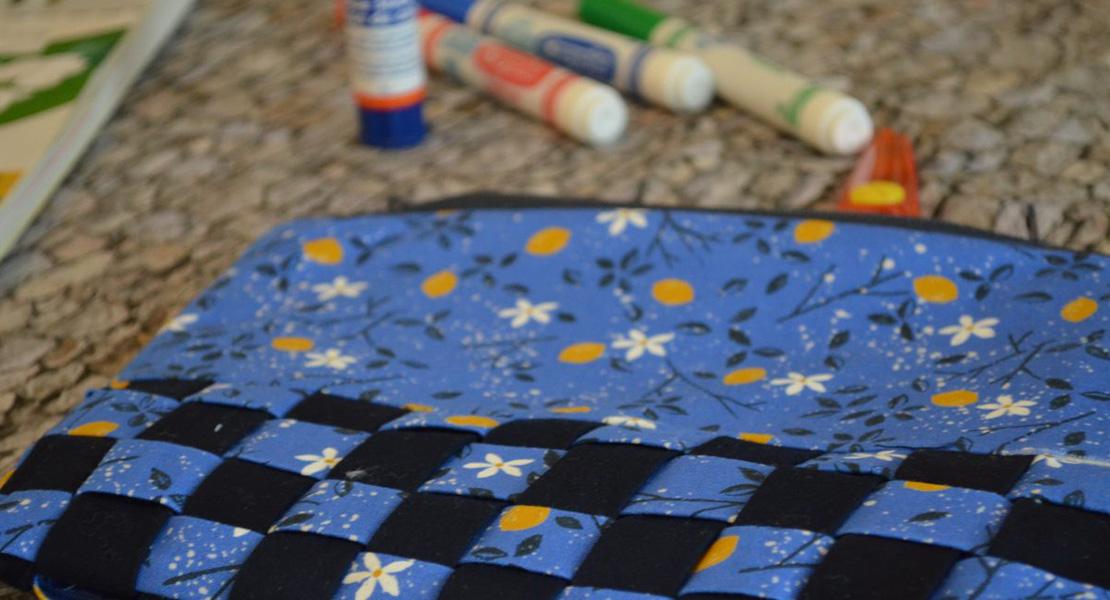
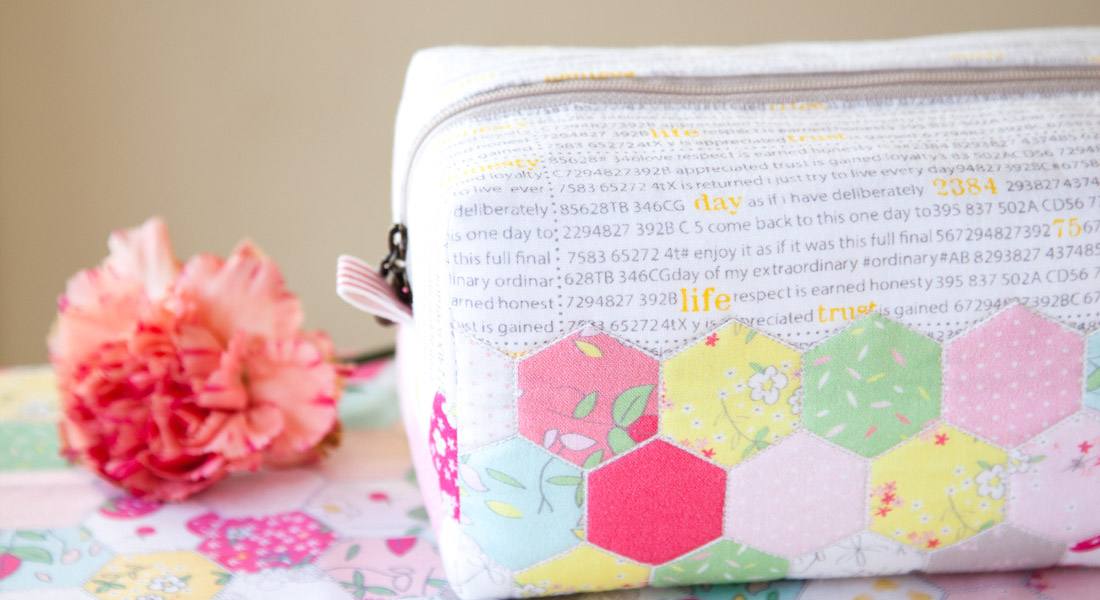
Each side has a different embellishment so I can quickly tell them apart.

Materials to Create a Mask Carrying Pouch
- Durable fabric for the exterior panel (I chose denim for easy laundering)
- Cotton fabric for lining on the “clean” section
- Waterproof fabric for lining on the “used” section (I used ripstop nylon, but PUL would also work well)
- Fusible fleece (I used OESD Fuse and Fleece)
- Two 9” zippers (I used zippers by the yard and cut them to size)
- Magnetic snaps
- Six 1” squares of plastic canvas or heavy stabilizer to anchor the snaps
- 2 – 2” strips of 1” wide grosgrain ribbon or 2 – 2” x 2” squares of lightweight fabric for zipper tabs
- 1/4” double sided basting tape (I used Wash Away Wonder Tape by Collins)
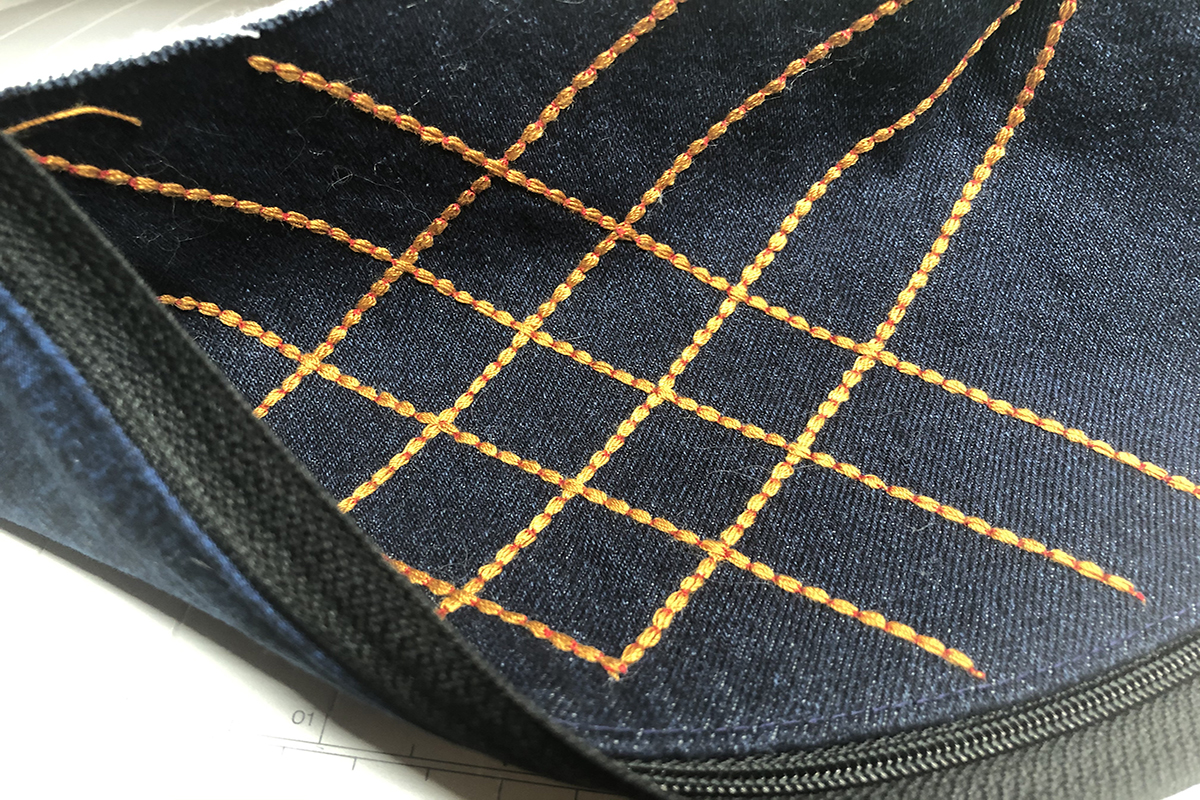
- Thread to match and threads for any embellishments you desire to create (I chose to decorate with some bobbin work using YLI Jeans Stitch)
Download the pouch pattern here
Using the pattern provided, cut:
- 4 of the outer bag fabric
- 2 of the cotton lining
- 2 of the waterproof fabric lining
- 6 of OESD Fuse and Fleece
Next, we will fuse the Fuse and Fleece to the wrong side of each of the four outer fabric pieces and the two cotton lining layers.
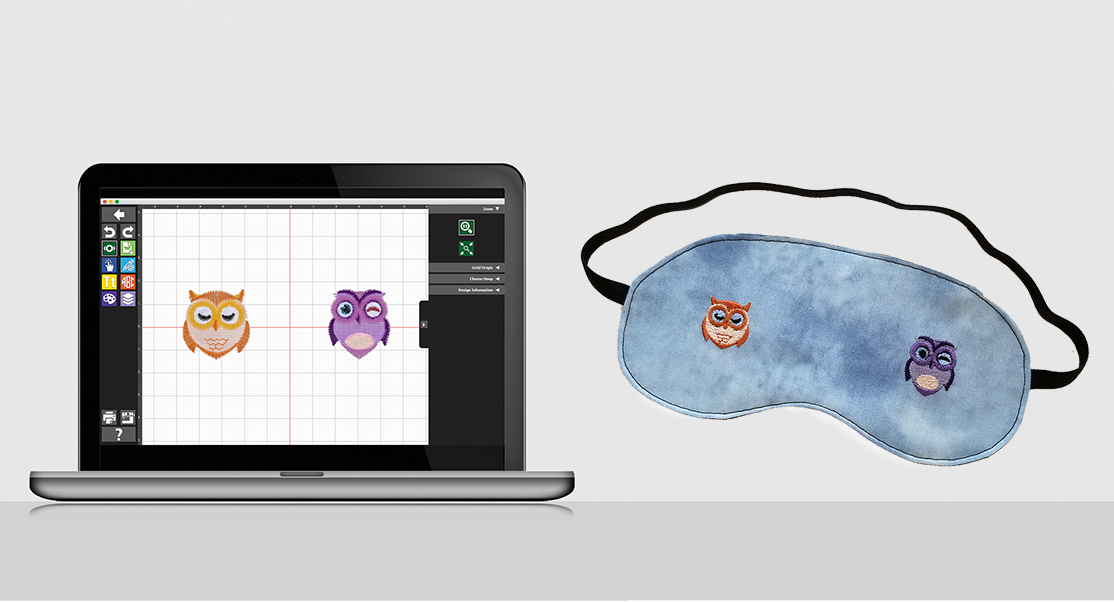
Feel free to embellish two of the outer panels. Some ideas are to add embroidery, applique, bobbinwork or quilting. Two panels will be left plain as they will have the magnetic snaps to connect the two separate bags.
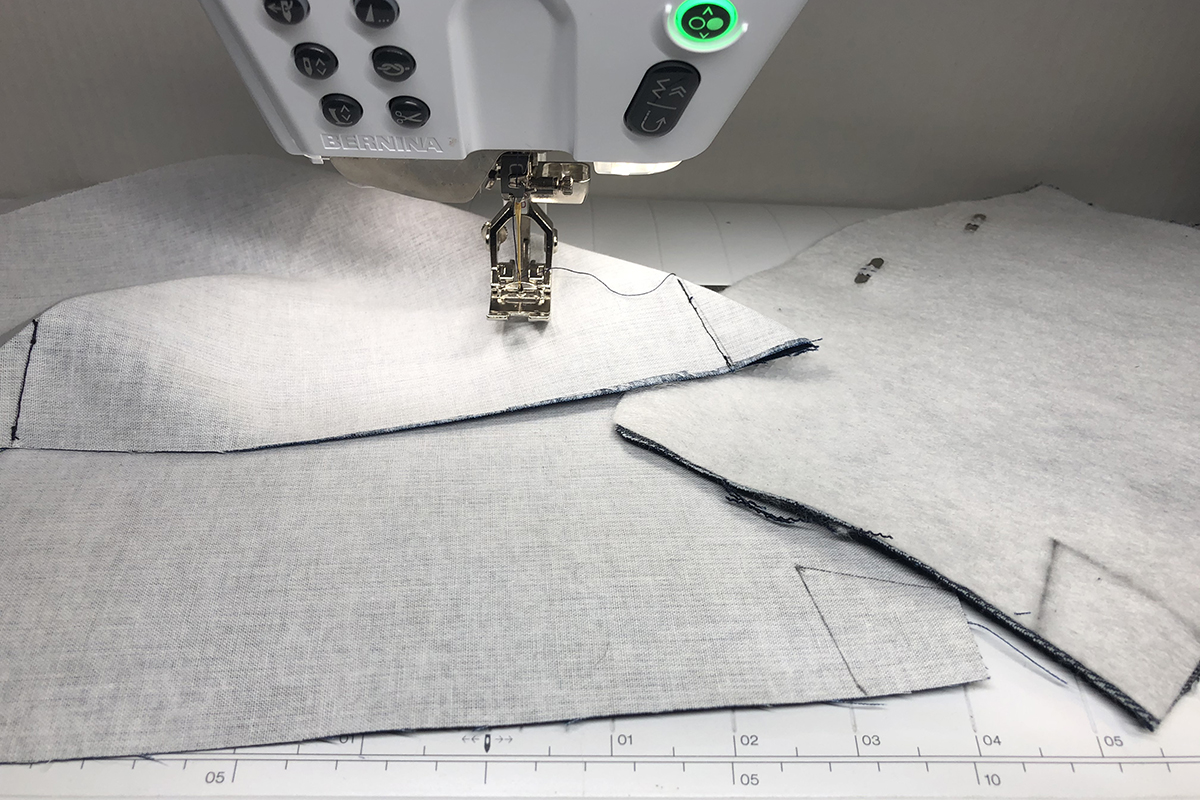
On wrong side of exterior panels and lining pieces, stitch the darts and press or finger press to one side. Finger pressing is best if your fabric will not tolerate the heat of an iron. Waterproof fabrics usually will not like heat.
Prepare zippers
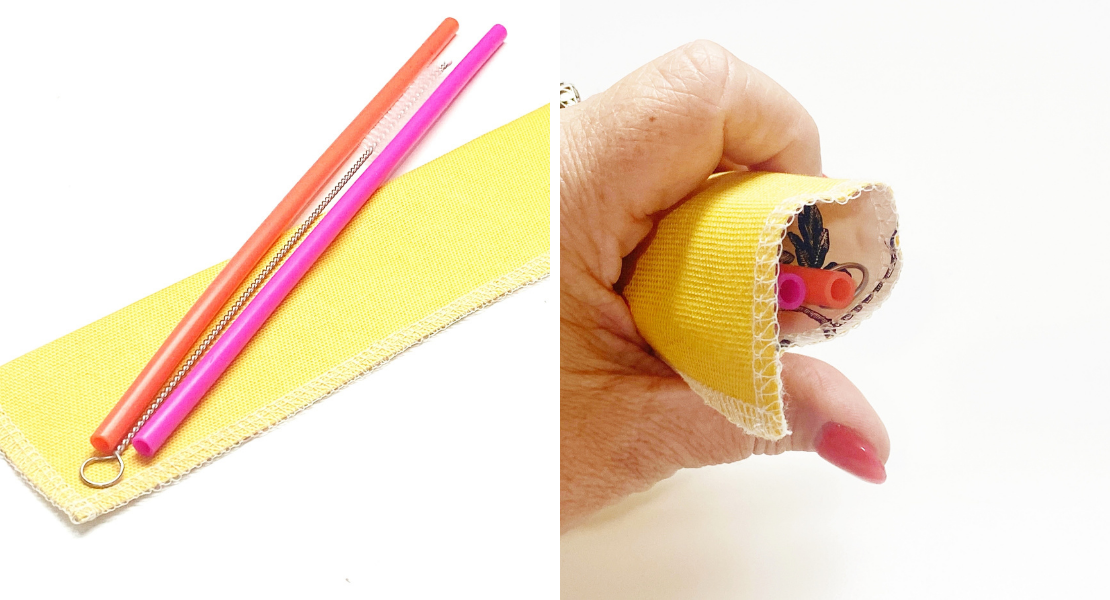
Cut off approximately 3/8” from each end of zipper tape. (If using a continuous zip, cut it to 9 3/4″.) Make sure that the zipper is partially open.
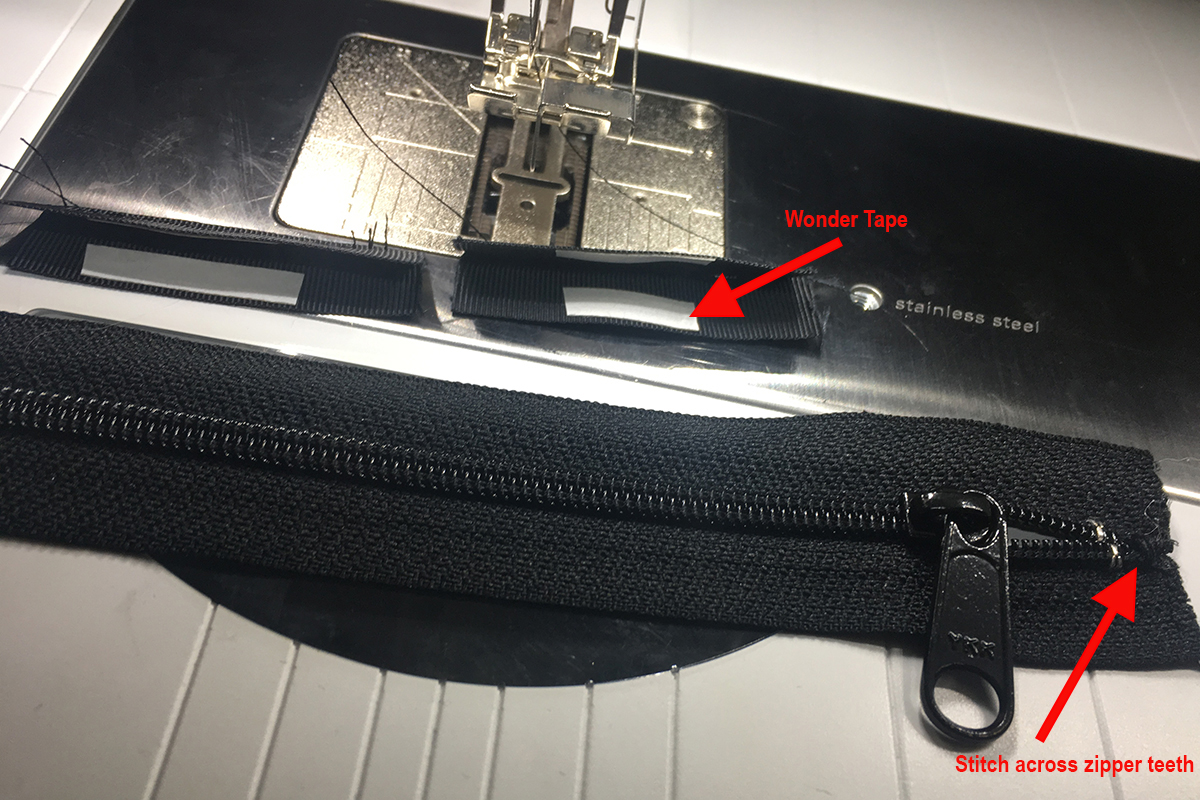
Stitch across the zipper teeth on the open ends with a wide, short zig zag to hold zipper together.
Fold 1” x 2” ribbons in half lengthwise. (You can use lightweight fabric for this—just cut it 2” x 2” and fold opposite edges in toward center and then in half lengthwise.)
Use pieces of Wonder Tape inside each side of the ribbon.
Wrap each end of zipper using the tape to hold in place.
Edgestitch the ribbon to each end. Leave excess ribbon, no need to cut it off.

Add magnetic snaps to the plain (unembellished) exterior fabric panels.
Use 1” squares of plastic canvas or heavy cutaway stabilizer under prongs on the fabric wrong side to prevent snaps from pulling through.

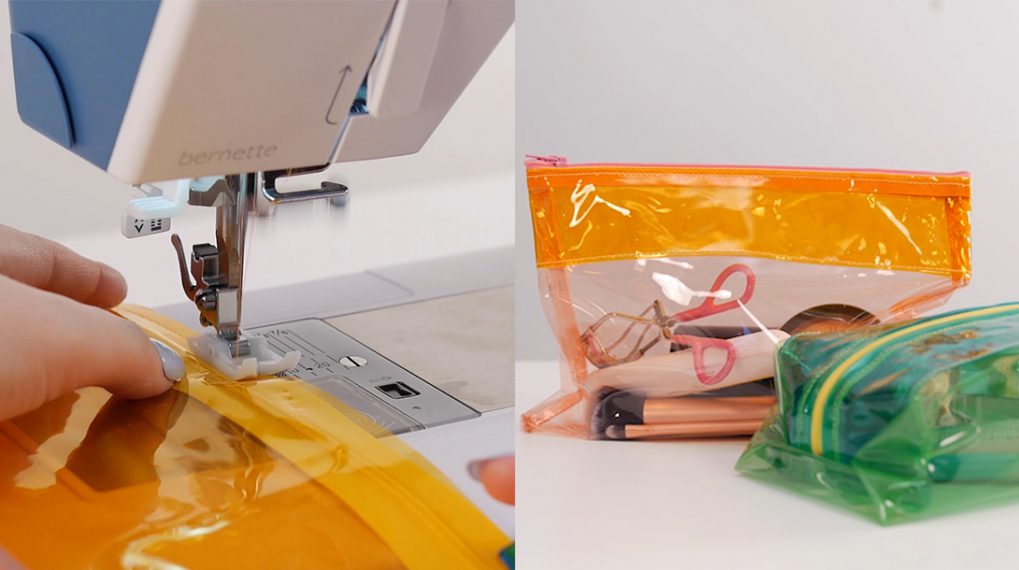
Center zipper to upper edge of one of the exterior pieces that does not have snaps. The zipper is placed wrong side up with the pull to the left.
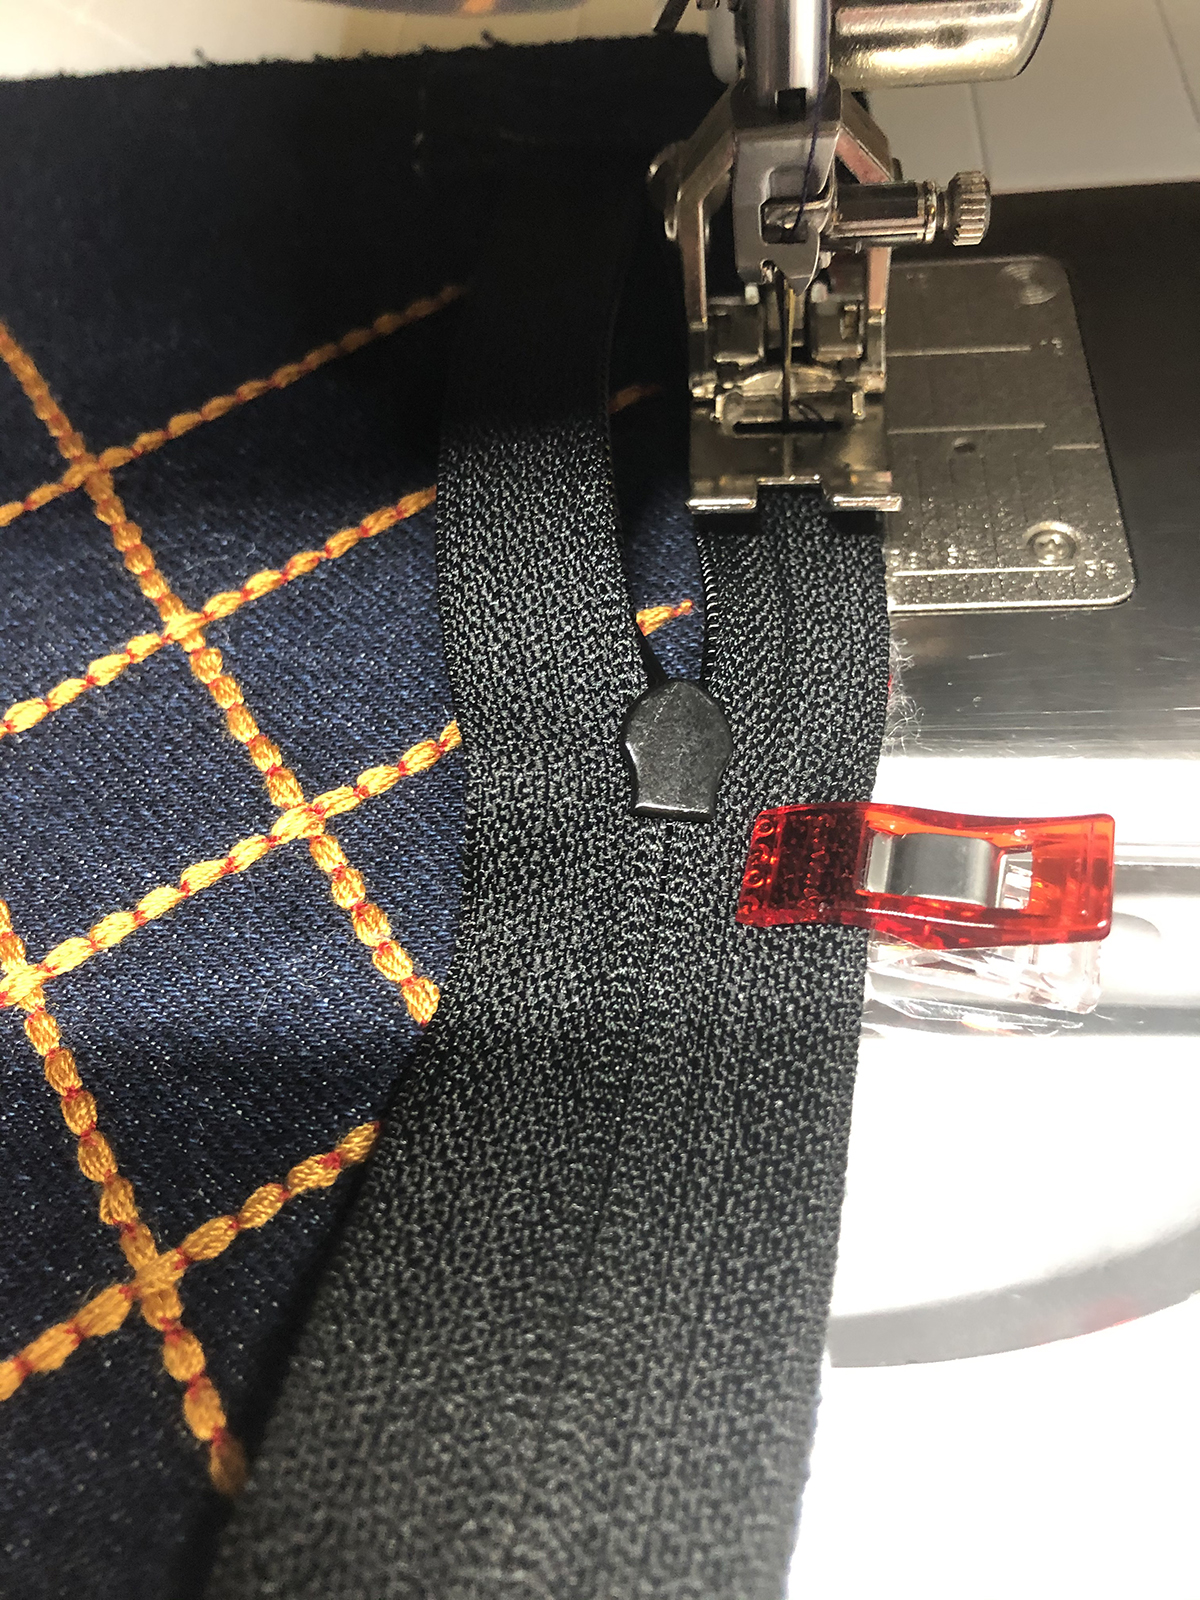
Stitch in place down the center of the zipper tape. This is easiest with the #4 or #4D foot.
Place a lining panel right side down over zipper, matching top edges.

Use Wonder Tape or clips along zipper tape to hold. Stitch through all layers. Move zipper pull where needed.
Finger press outer panel and lining away from zipper. Topstitch at approx. 1/8” using the #10D foot. Stitch length 3.5. Move needle position 3 or 4 spots left or right depending on which side you are stitching. End the topstitching at the outer edge of the zipper tabs. Do not topstitch clear to the outer sides of bag.
Repeat these steps on other side using lining and exterior piece with the magnetic snaps.
Sew bag together
Open your zipper at least halfway and clip or pin both lining panels right side together and both outer panels right side together. You will want to match where any seams, darts and zipper come together. Stitch all of the way around leaving a 4” opening at the bottom of lining for turning. Zipper seam allowance should lay toward lining.
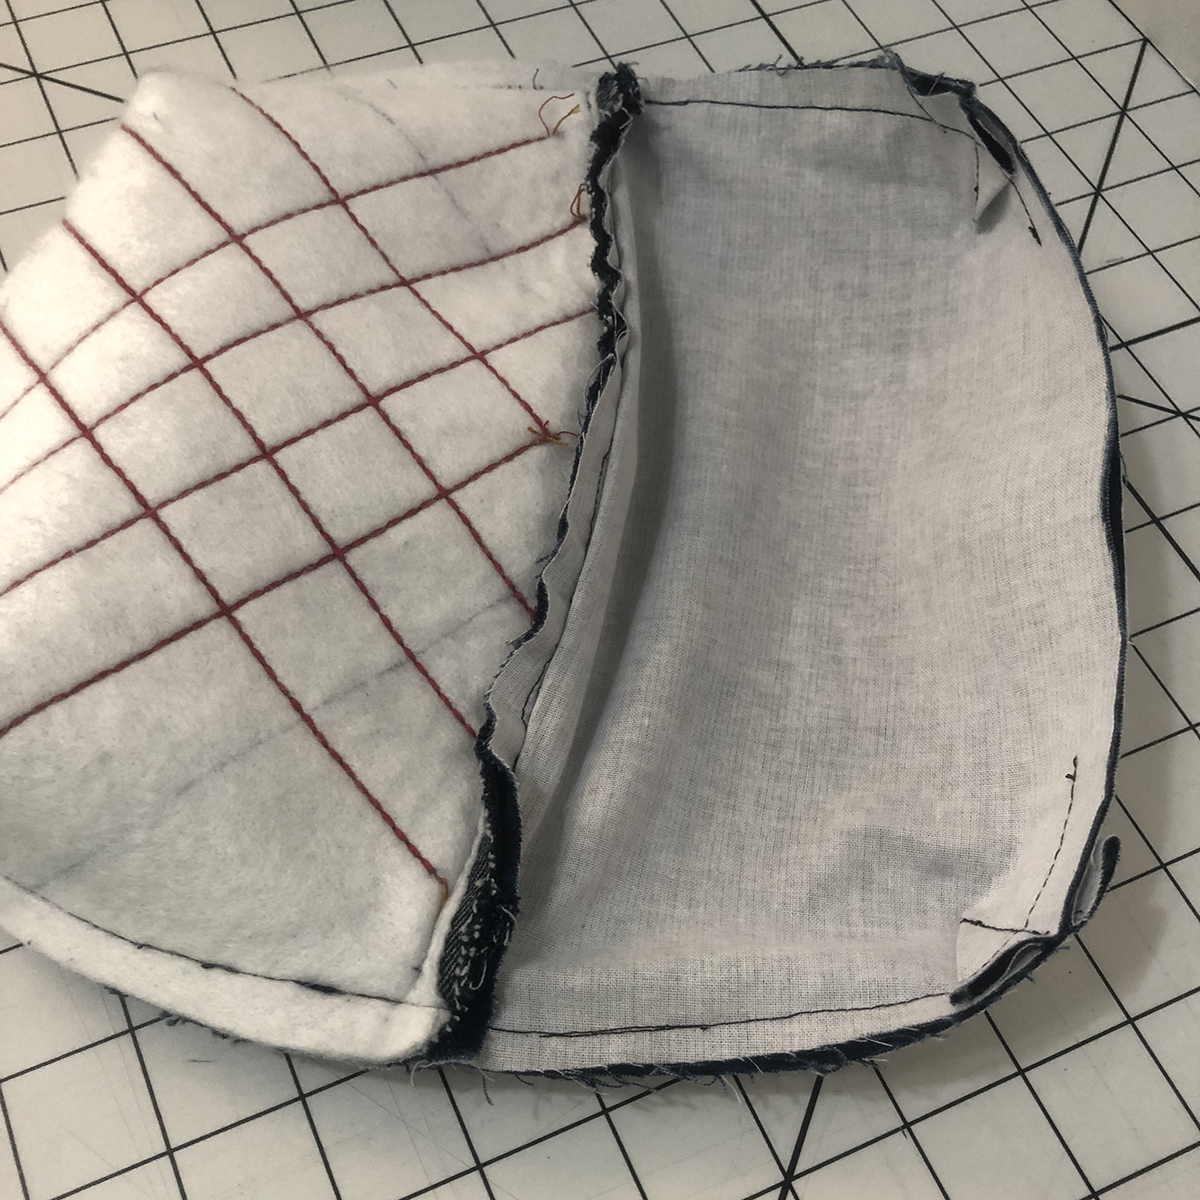
Turn bag and lining right side out through the opening in the lining. Push all curves and corners out smoothly.
There will be a small space between the zipper tabs and the seam line. This prevents a divot and allows the corner to be sharp.
Edge stitch the opening in the lining closed. Edgestitch Feet #10/10C/10D work excellently for this step.
Construct the second pouch using all the same steps.
The two bags are now ready to join together with the snaps.
Enjoy using this practical, useful pouch.
Used Products

What you might also like


6 comments on “Mask Carrying Pouch”
-
-
Thank you. :-))
-
Fun idea MaryColleen! Darling pouch!
-
I love the embellishments on the bag. How do you achieve that kind of stitching? It looks similar to sashiko
-
Classy! Would love more info on how you did the bobbin work – not sure why I’ve been afraid to try it, but yours turned out beautifully!
-
When I appliqué my foot of choice is #20 but sometimes I use the appliqué stitching as quilting, too, then I use my walking foot.
Leave a Reply
You must be logged in to post a comment.

Where is pattern ? Doesn’t show up when chose pattern download. Only instructions.