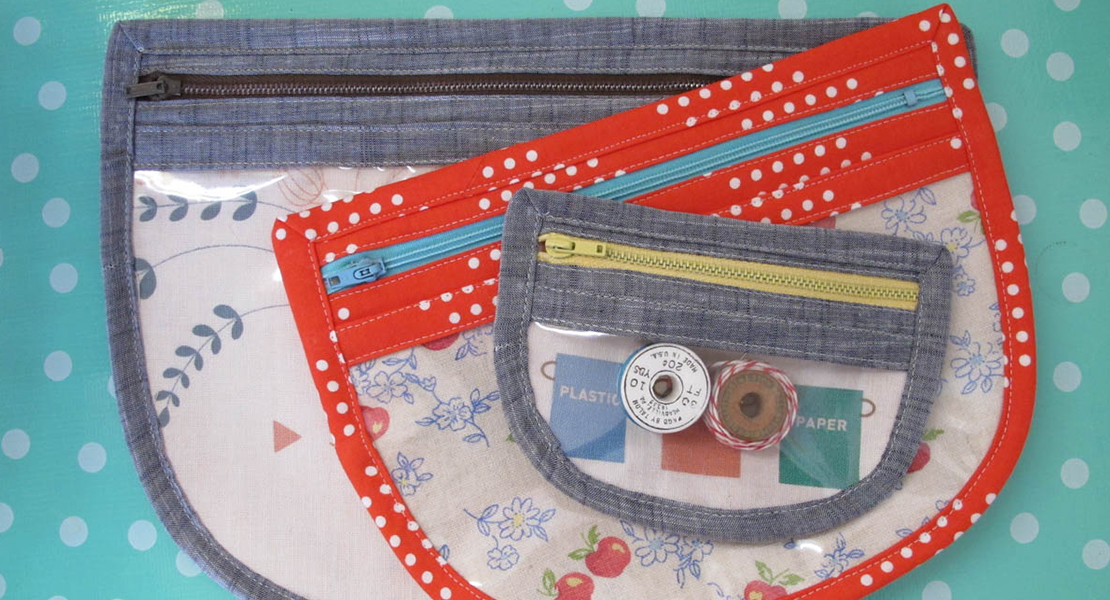
Vinyl Zip Pouch
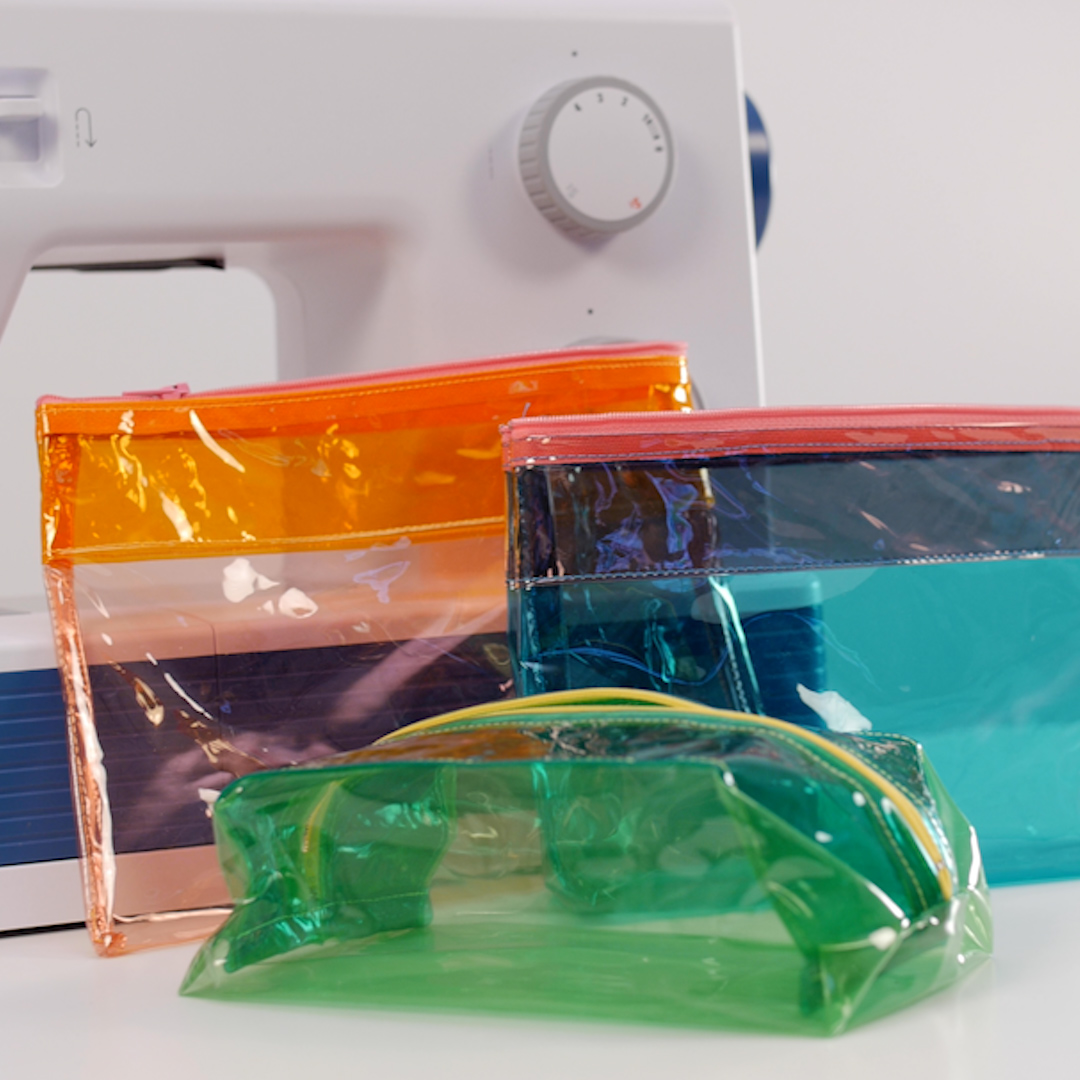
You can never really have too many zip pouches and vinyl ones are among my favorite! It’s easy to see what’s stored in there, they can be cleaned easily, and making them doesn’t really require edge finishing. Today, I’m going to walk you through how I made these fun neon pouches using the bernette 05 ACADEMY.
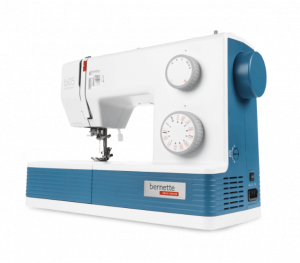
The b05 ACADEMY is a fantastic machine for any sewist who focuses on simple or utility sewing. It has high stitching speed (up to 1100 spm), 30 practical and decorative stitches, and includes 12 different presser feet to tackle all your projects. This includes a non-stick foot which is a game-changer for vinyl projects like this one!
Supplies:
- 1/2 yard clear or translucent vinyl (6 to 10 gauge works best)
- Polyester thread
- 9” nylon zipper
- Wonder Clips
- Smooth point turner
- Glue stick
- Seam roller
- Scissors
- Rotary cutter
- Acrylic ruler
- Cutting mat
- bernette 05 ACADEMY
- Non-stick presser foot/sole (comes standard with the b05 ACADEMY)

-
Cut vinyl
From your vinyl, you will need to cut three pieces:
- One 11” x 12” for the main pouch
- Two 11” x 4” for the zipper covers
I used neon-colored vinyl for my pouches and used contrasting colors for the main piece and zipper covers. Playing with the transparency of these colors is a fun exercise in color theory!
-
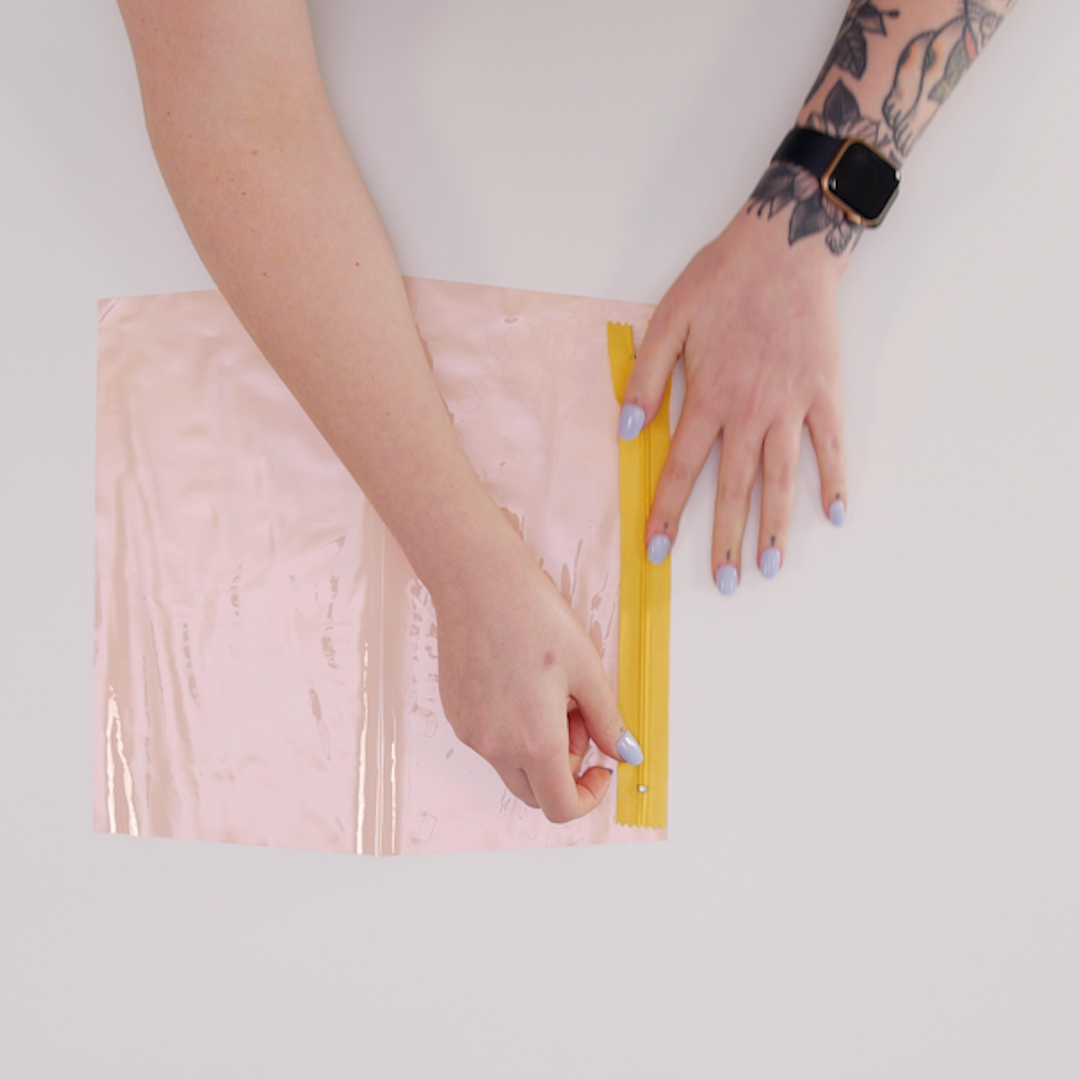
Insert zipper
Align the zipper centered along right short side of the main pouch piece, facing up. Add a few dabs of glue from a glue stick to the zipper tape to hold in place.
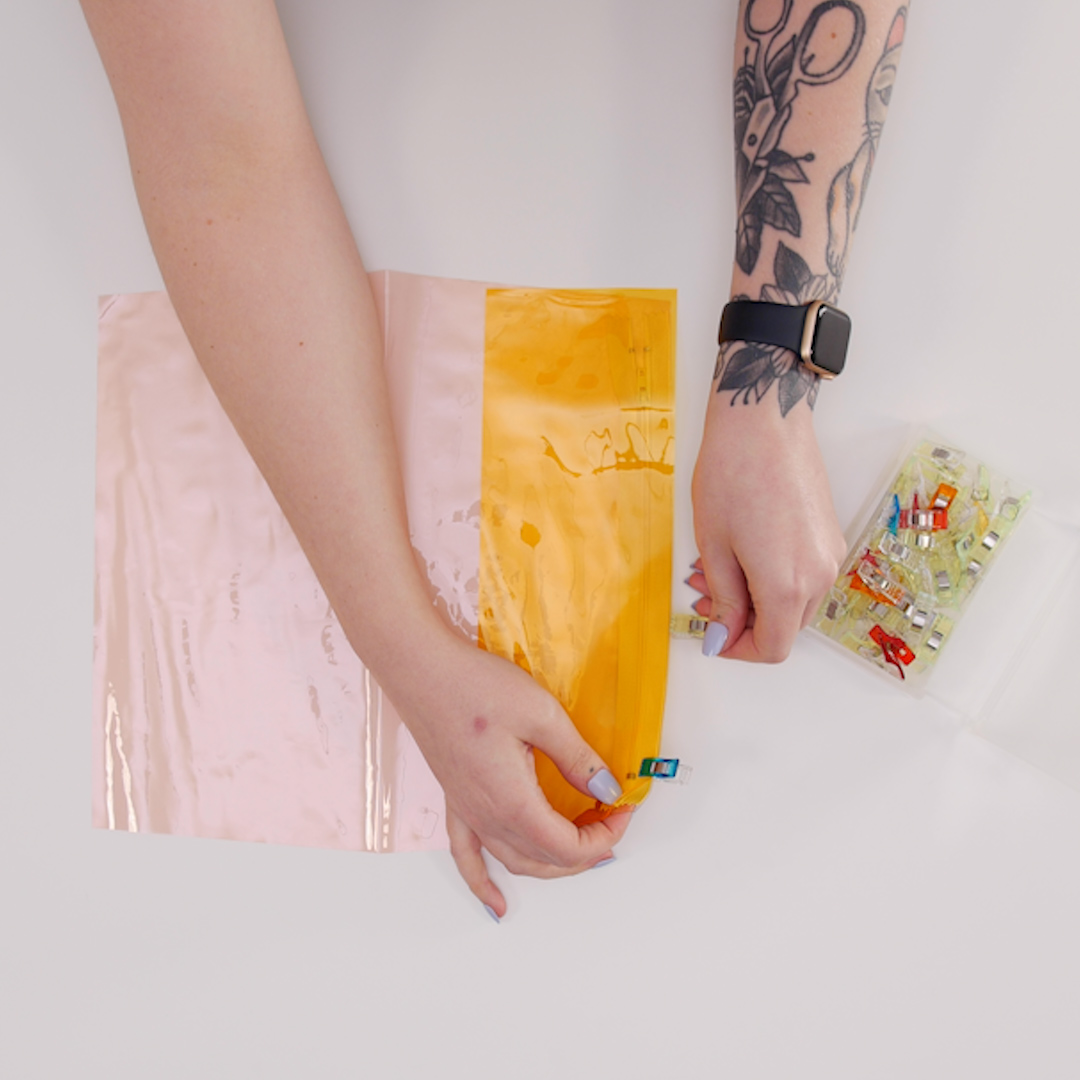
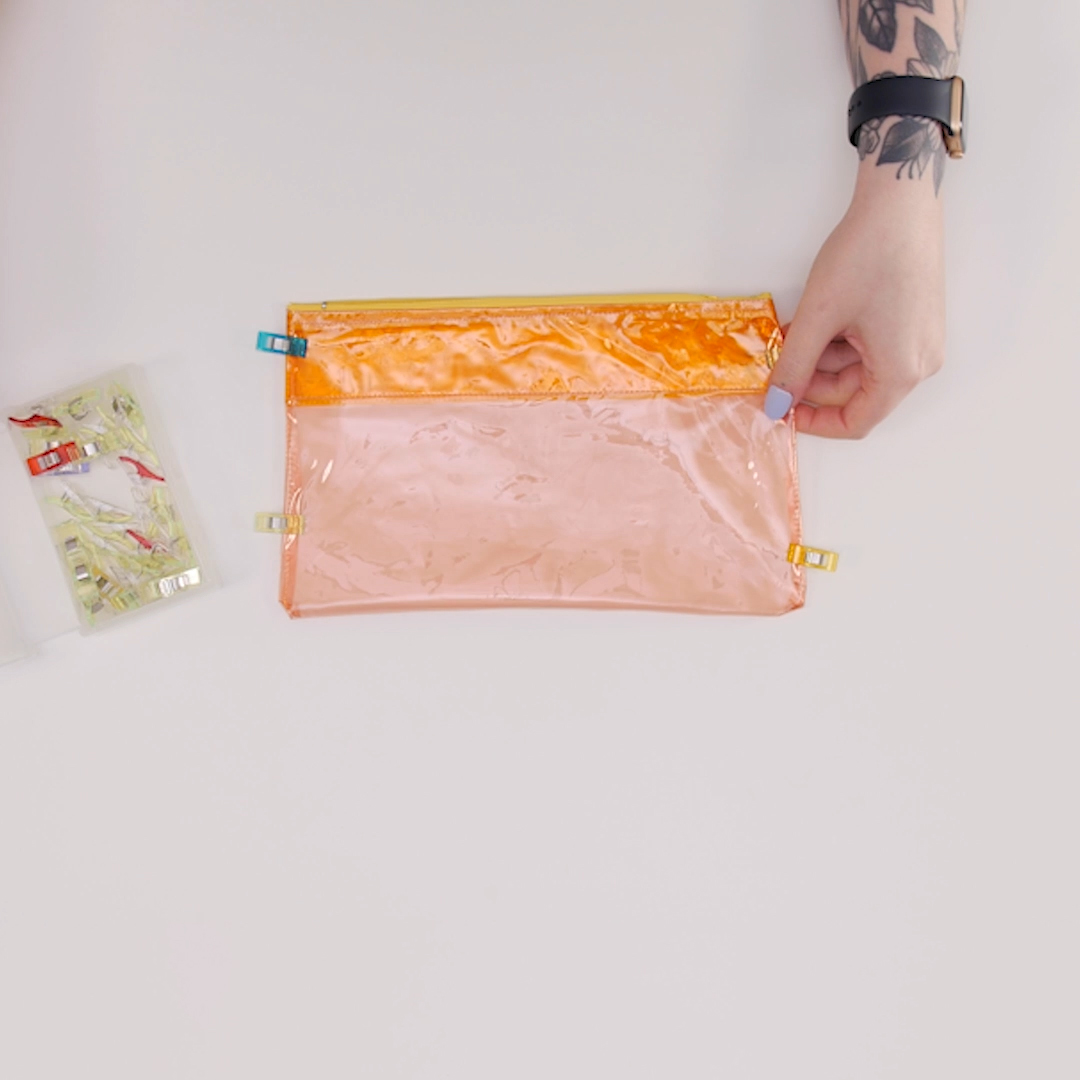
Place one of the zipper cover pieces on top, aligning all the raw edges. Again, you can add a little bit of glue to help the layers hold together. Wonder Clip the three layers together to hold. Be sure not to use pins with vinyl! Once vinyl is perforated, that hole is there forever.
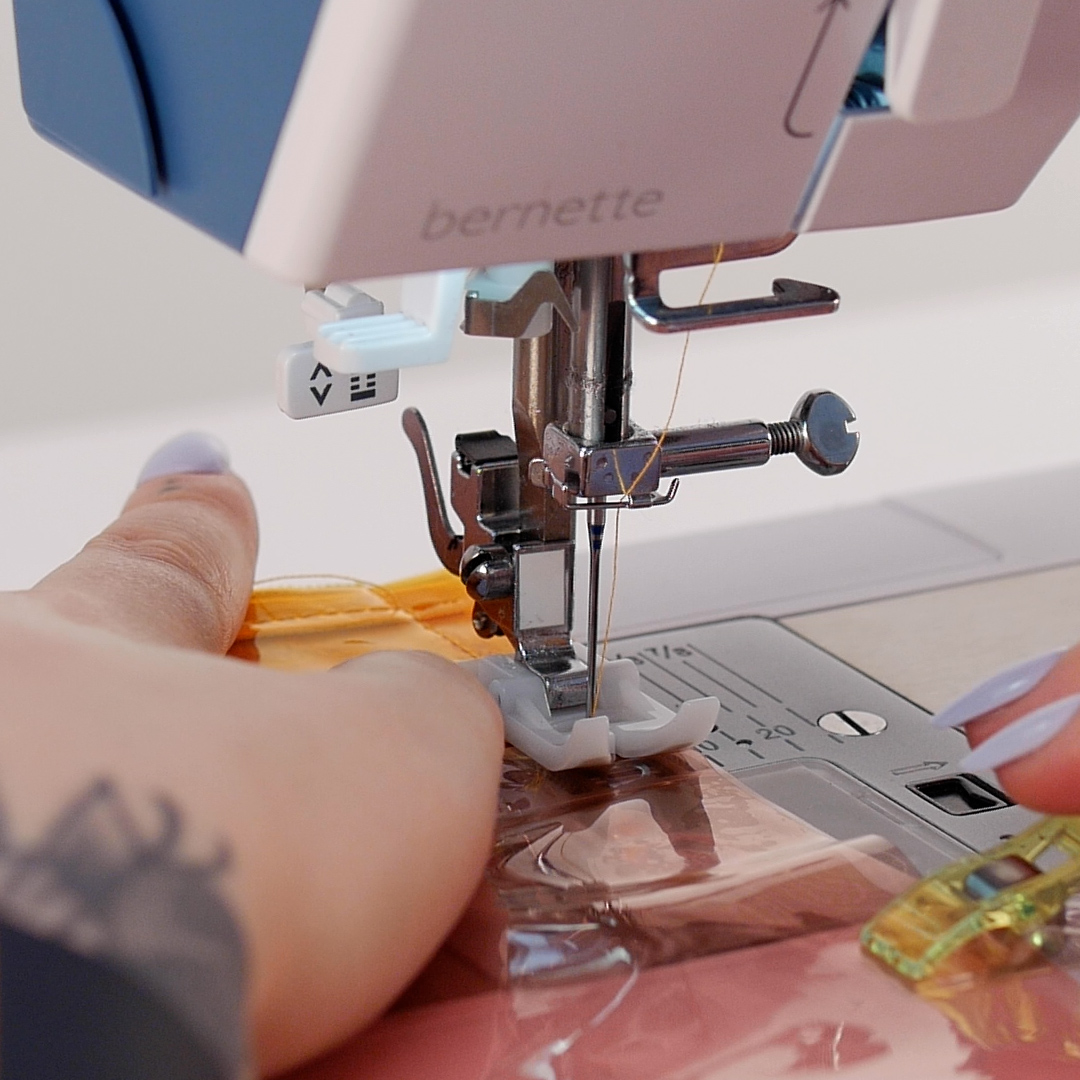
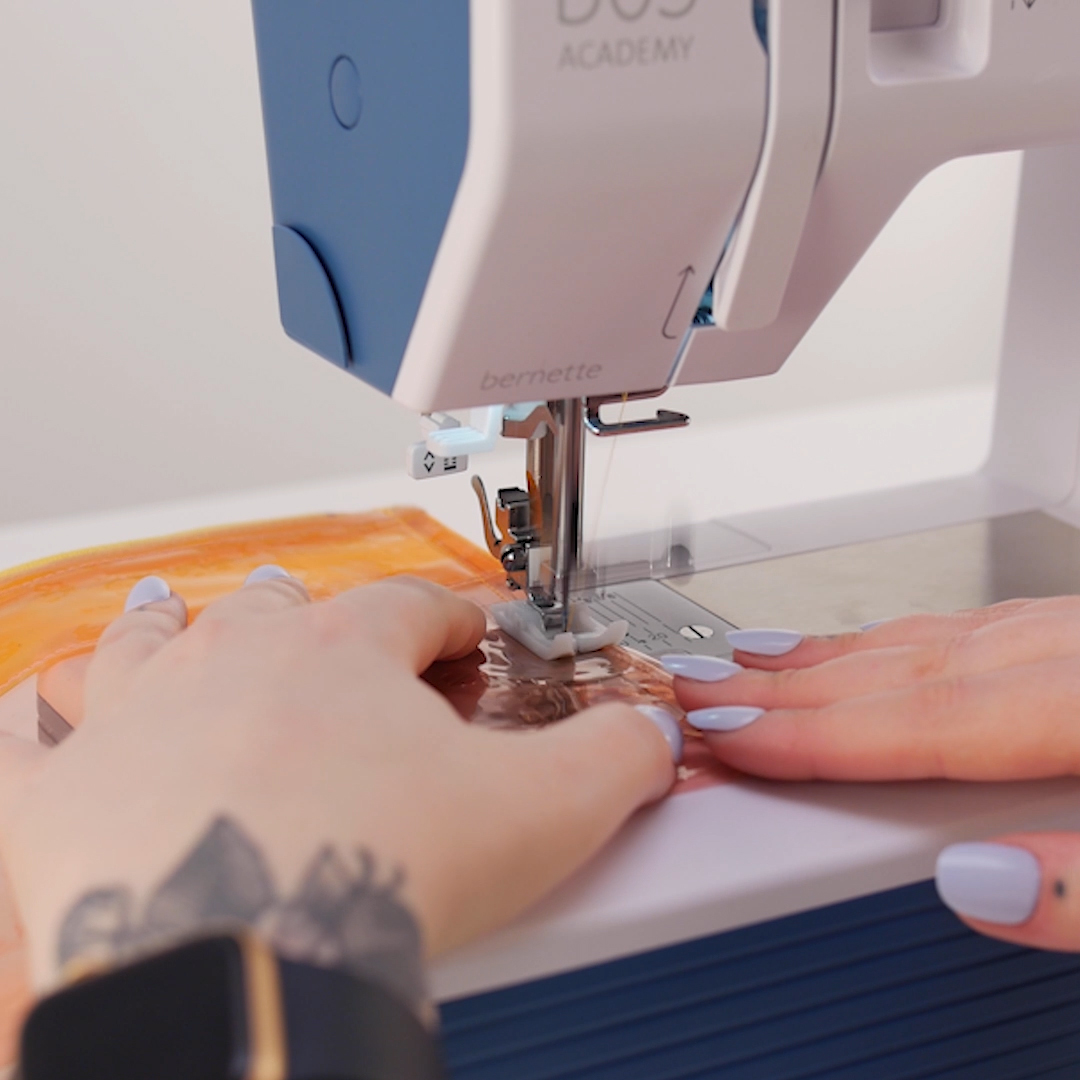
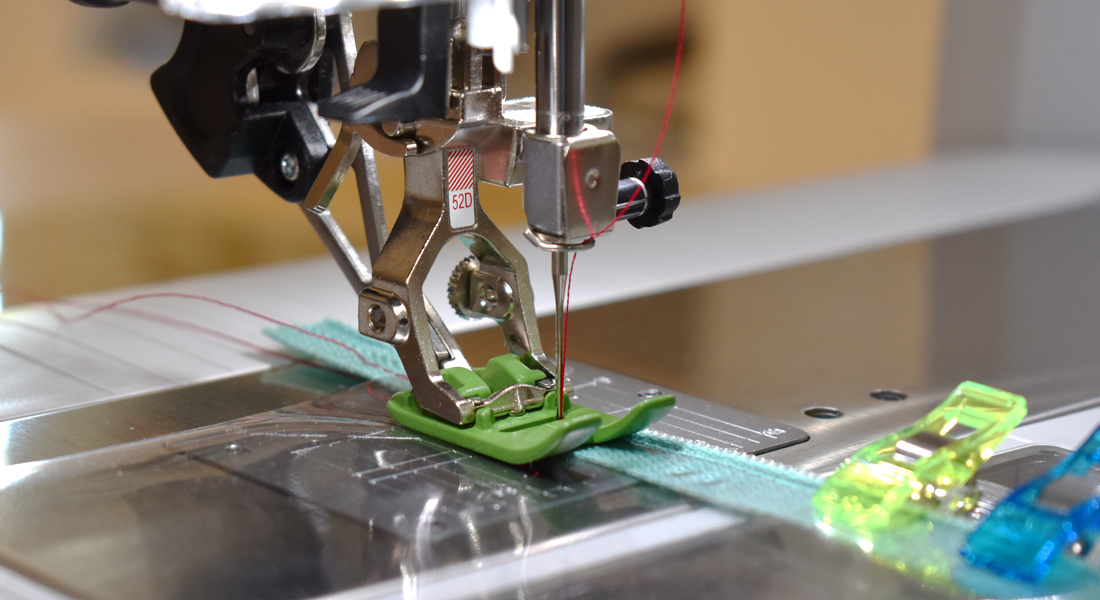
Increase the length of your straight stitch to 3.0 mm using the upper dial on the front of the machine.
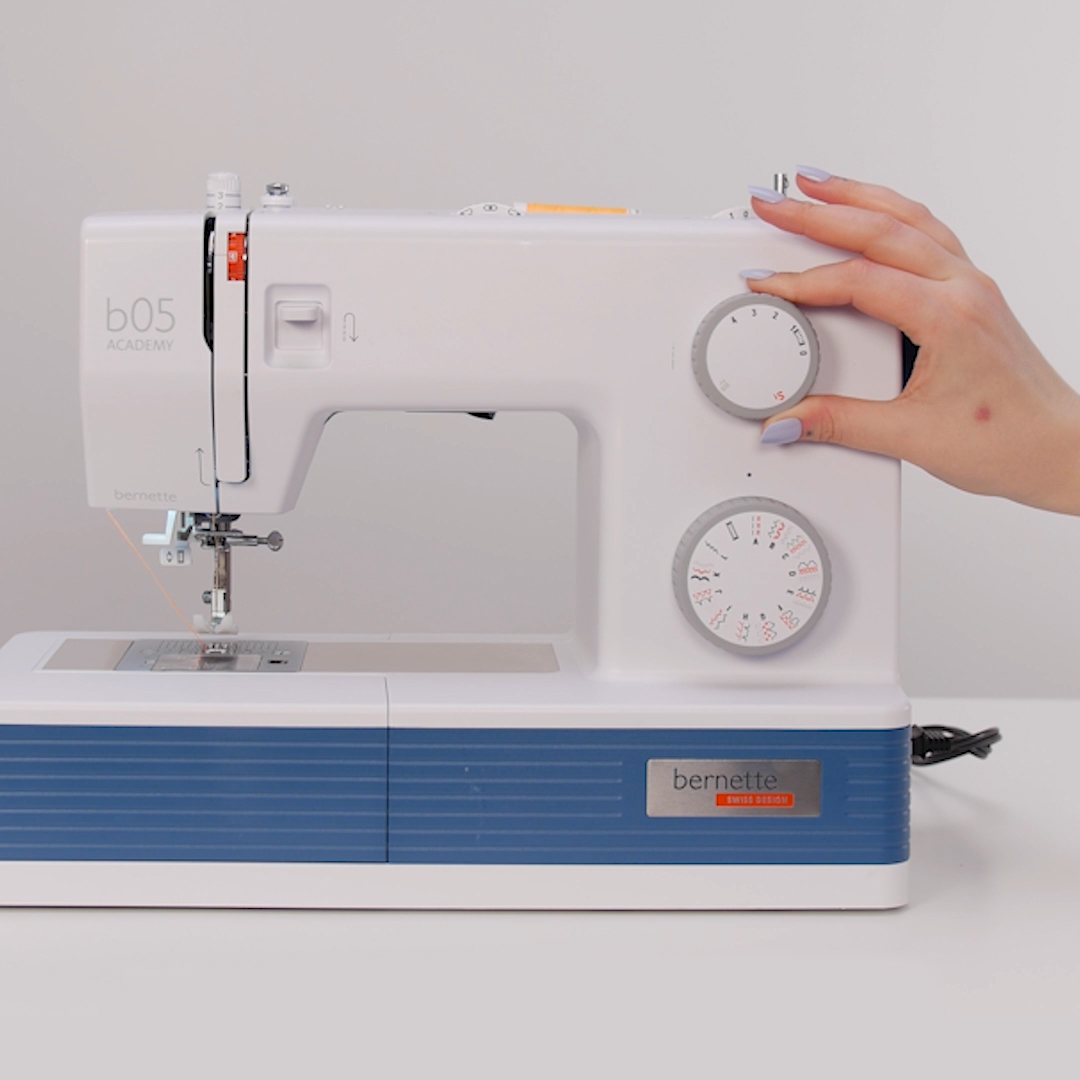
Move your needle position to the left using the dial on the top of the machine.

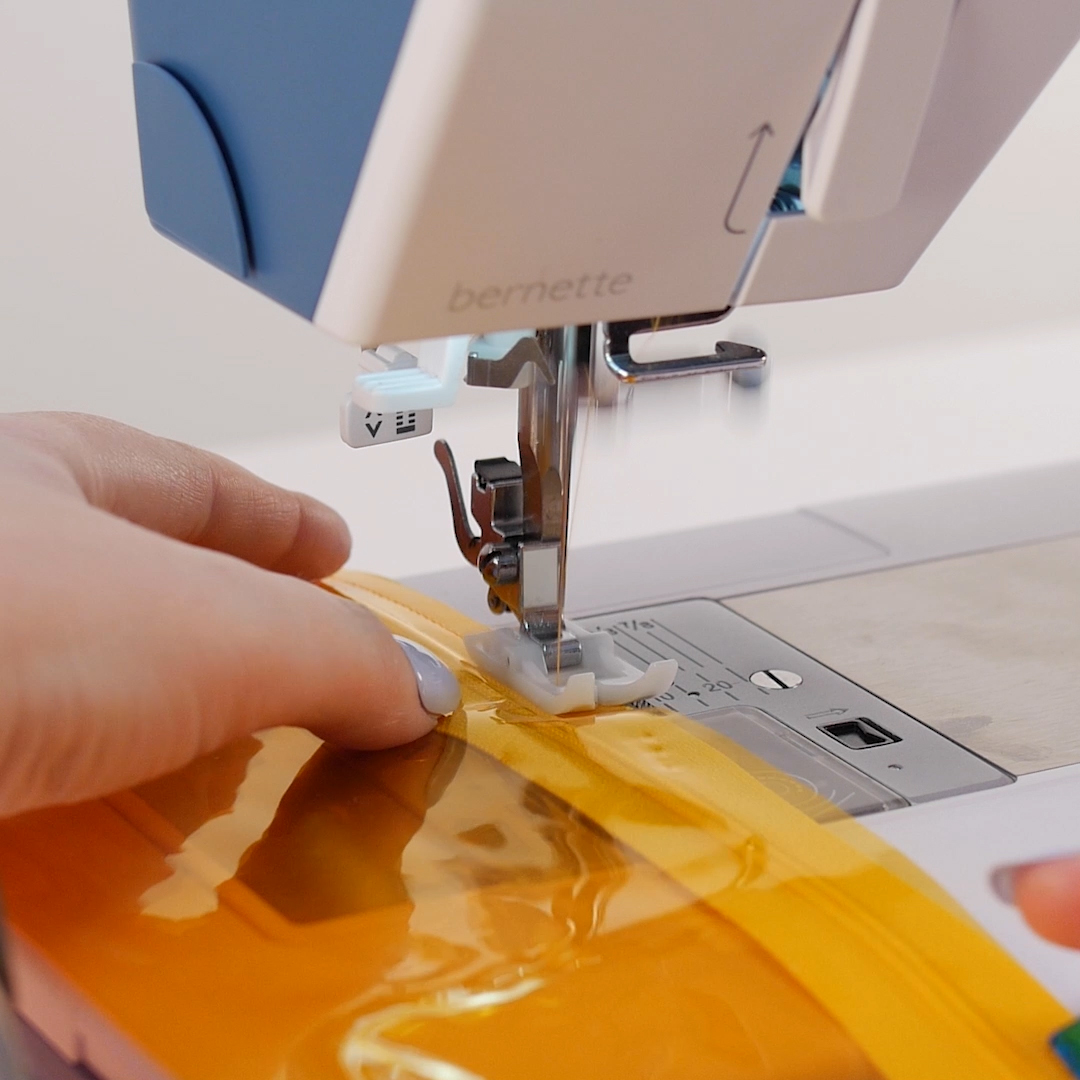
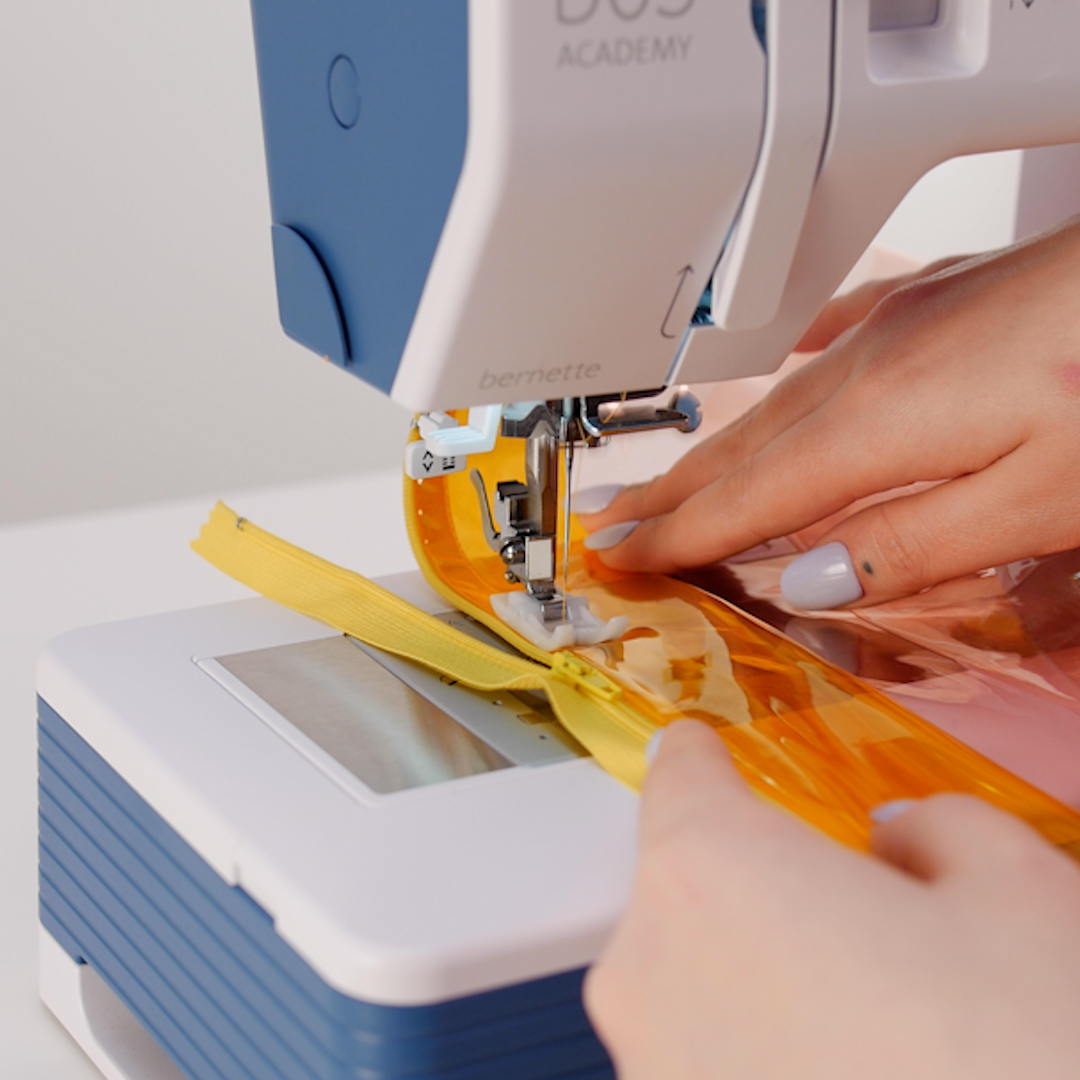
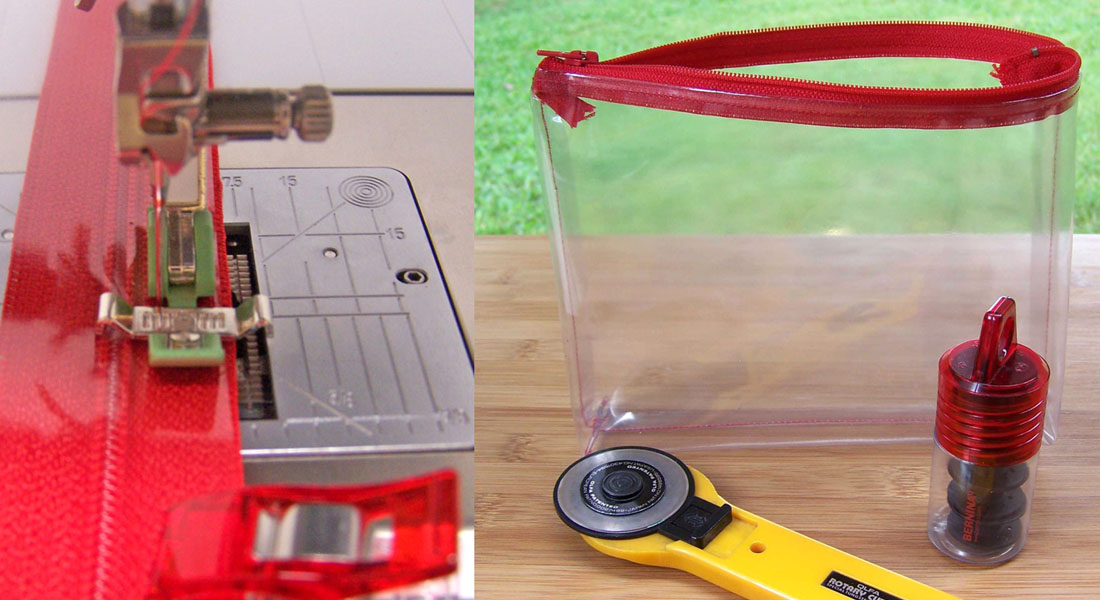
Attach the non-stick presser foot sole to the b05 ACADEMY.
Place the vinyl and zipper under the presser foot. You may need to partially unzip your zipper in order to have it feed smoothly. The edge of your presser foot should sit right against the coils of your zipper. Sew down the length of your zipper and cut your threads.
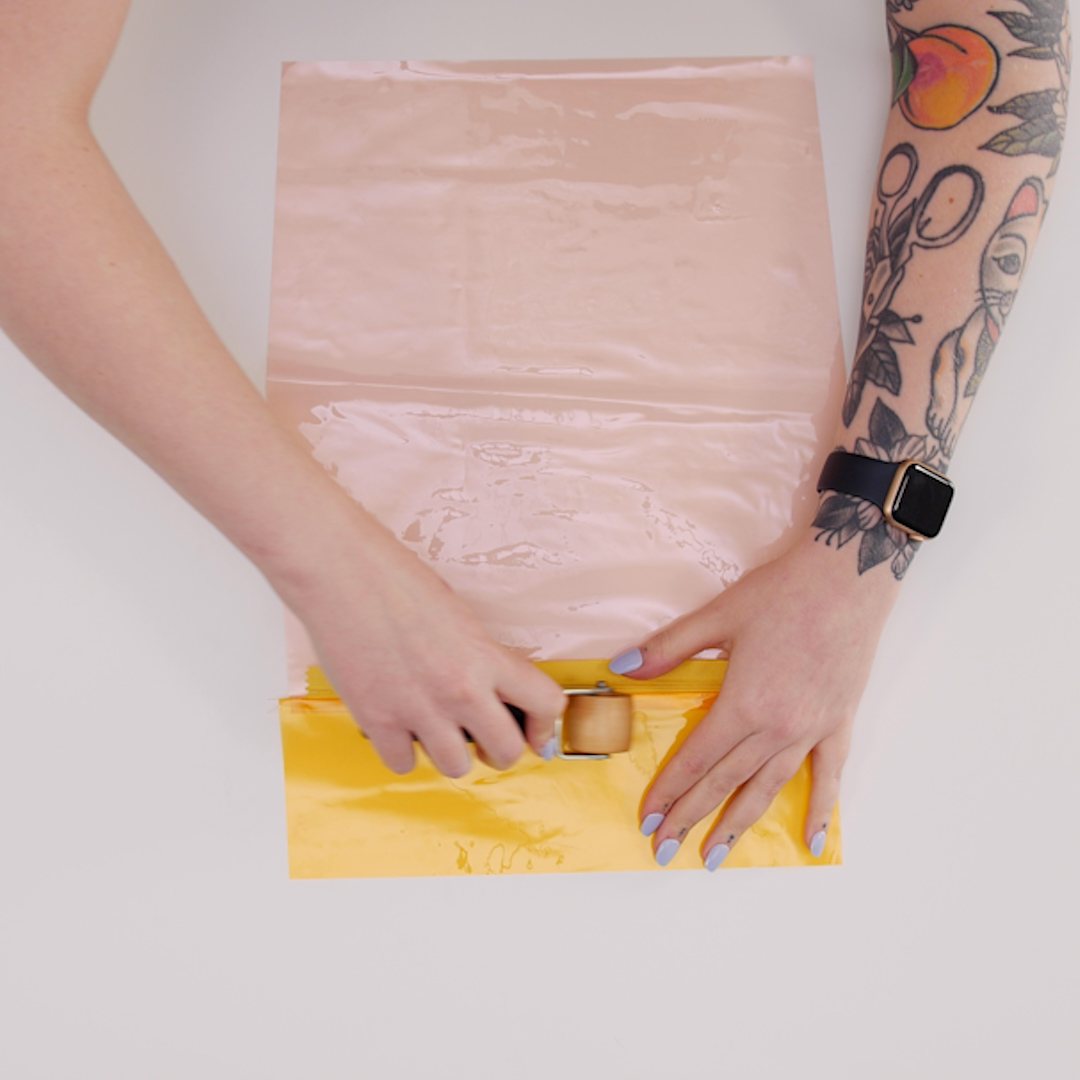
Open up the vinyl pieces and use a seam roller to press the zipper cover piece away from the zipper coils. Since we can’t press vinyl with an iron, a firm seam roller does a great job of pressing our seams in place.
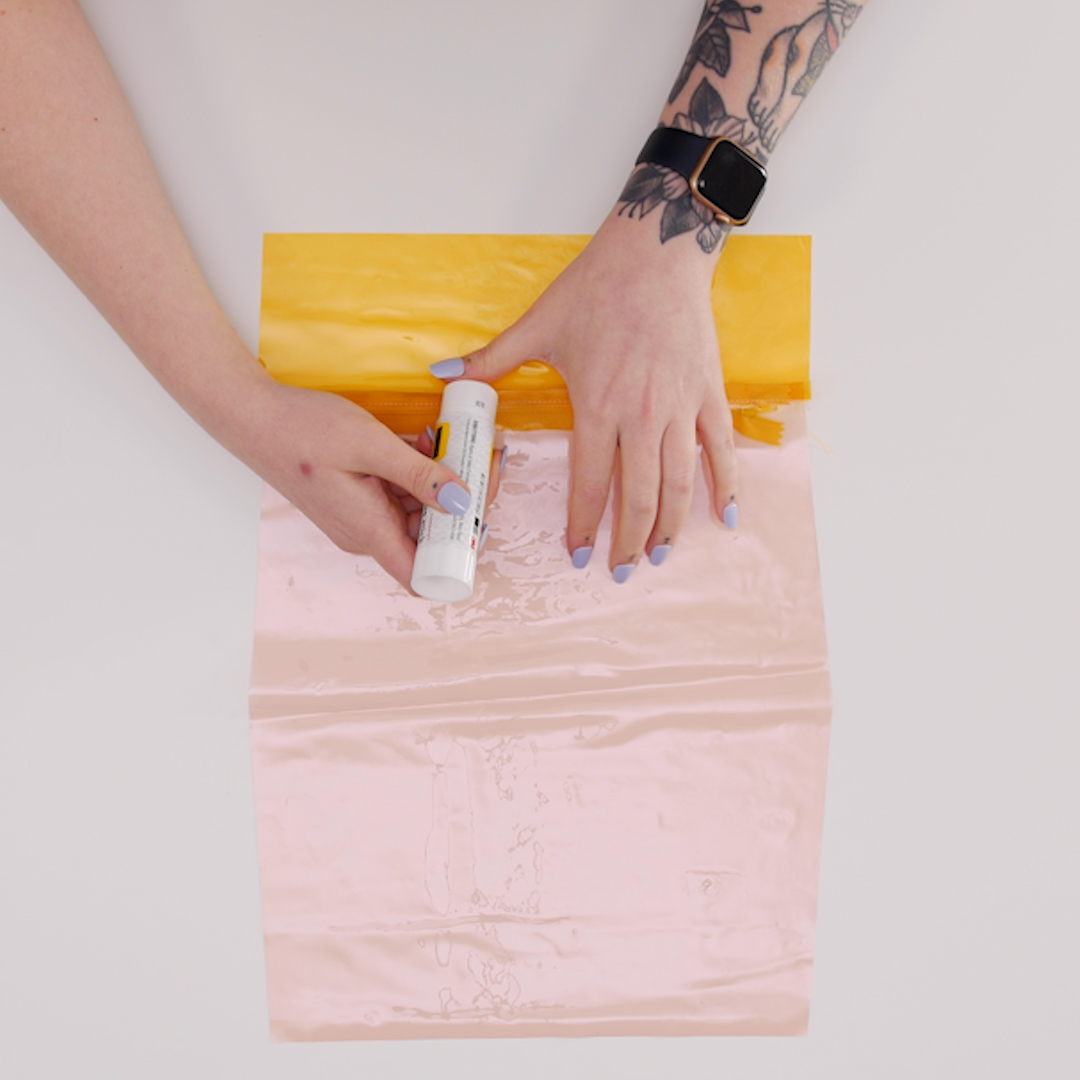
Add a few dabs of glue in the seam allowance to the main pouch piece of vinyl. Fold the free raw edge of the zipper cover in and sandwich it between the seam allowance and the main pouch piece.
Press the folded edge down using the seam roller. Use Wonder Clips to hold the zipper cover in place.
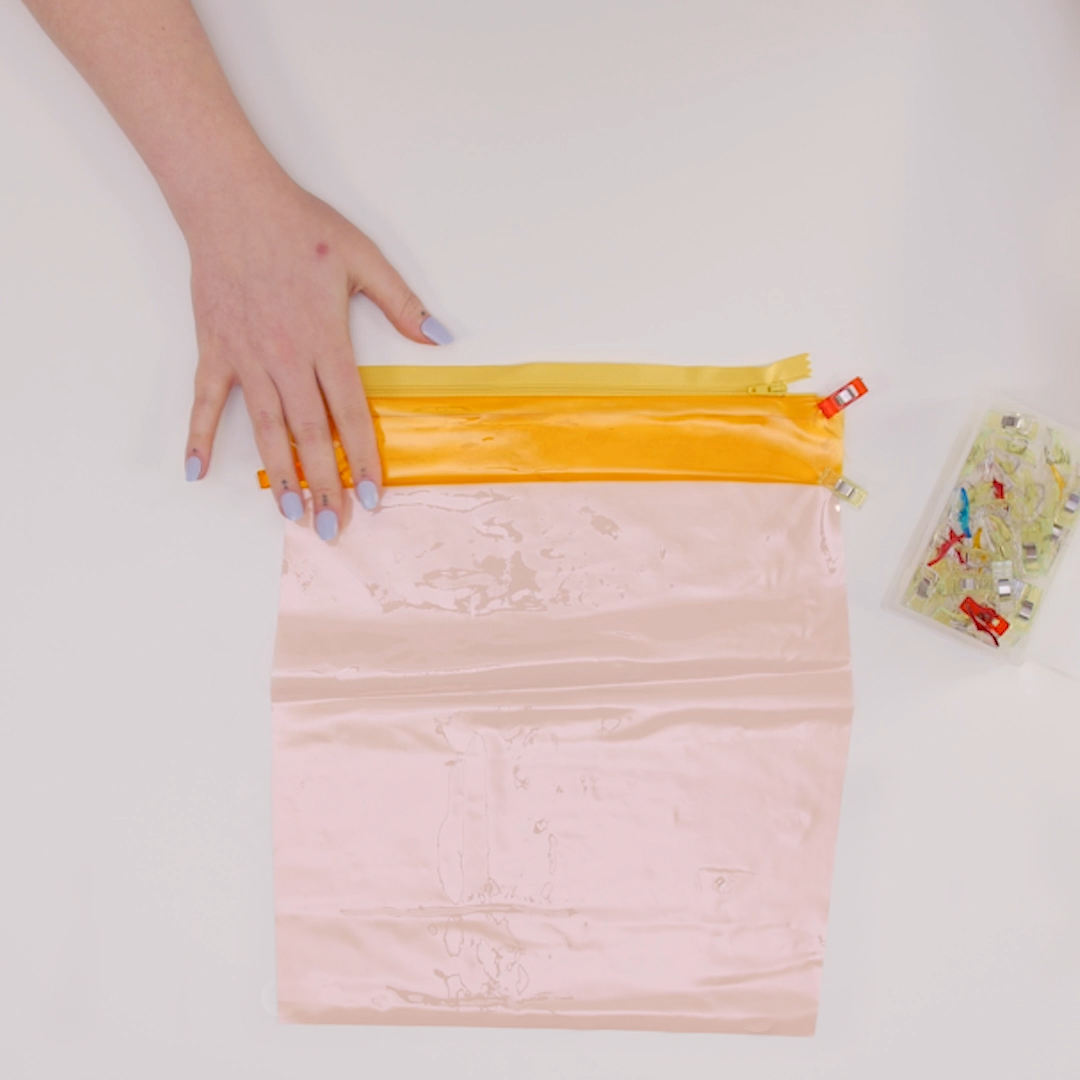
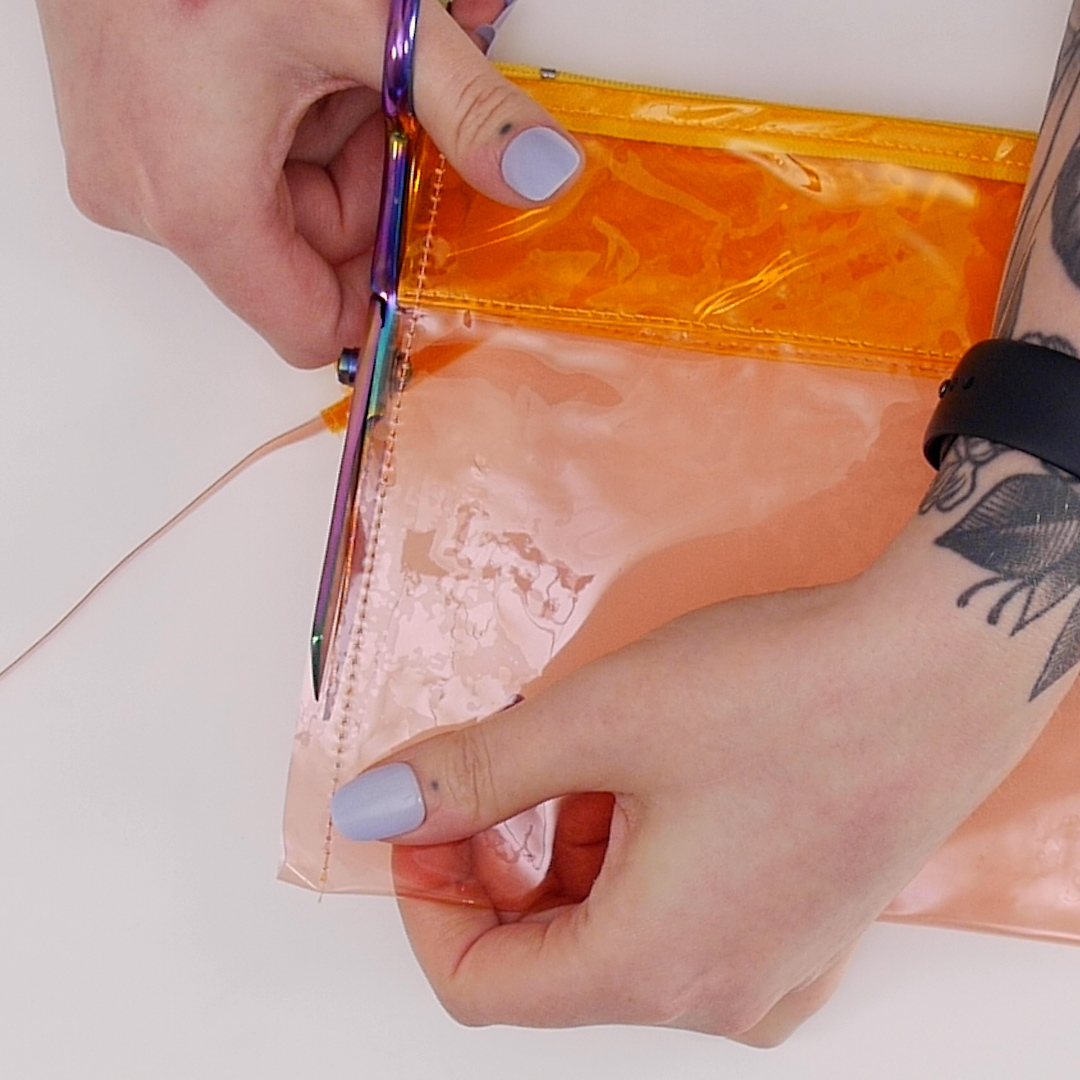
Move the needle back to the center position. Stitch along the zipper, topstitching and securing all layers in place. Topstitch the folded edge of the zipper cover as well.
Repeat the process to attach the other short end of the main pouch to the other side of the zipper. This may take a little bit of maneuvering to stitch with the zipper connected at the bottom but just be patient!
-
French seam the sides
Once your zipper has been inserted with the cover pieces, everything should be assembled in a tube shape. Lay the pouch flat, with the zipper along the top edge. Use Wonder Clips to “pin” down the raw edge sides.
Sew down the side seams with a 3/8” seam allowance.
Use scissors to grade the seam allowance down to 1/4″. Then, open the zipper and flip the back inside out.
Use the seam roller to press the side seams flat. Use Wonder Clips again to hold the sides together.
Sew down the side seams again with a 3/8” seam allowance, backstitching at the beginning and ending of the seam. Trim excess thread tails.
Turn the back right side out and press the bottom corners out with a smooth or rubberized point turner. Be careful not to poke holes through your vinyl!
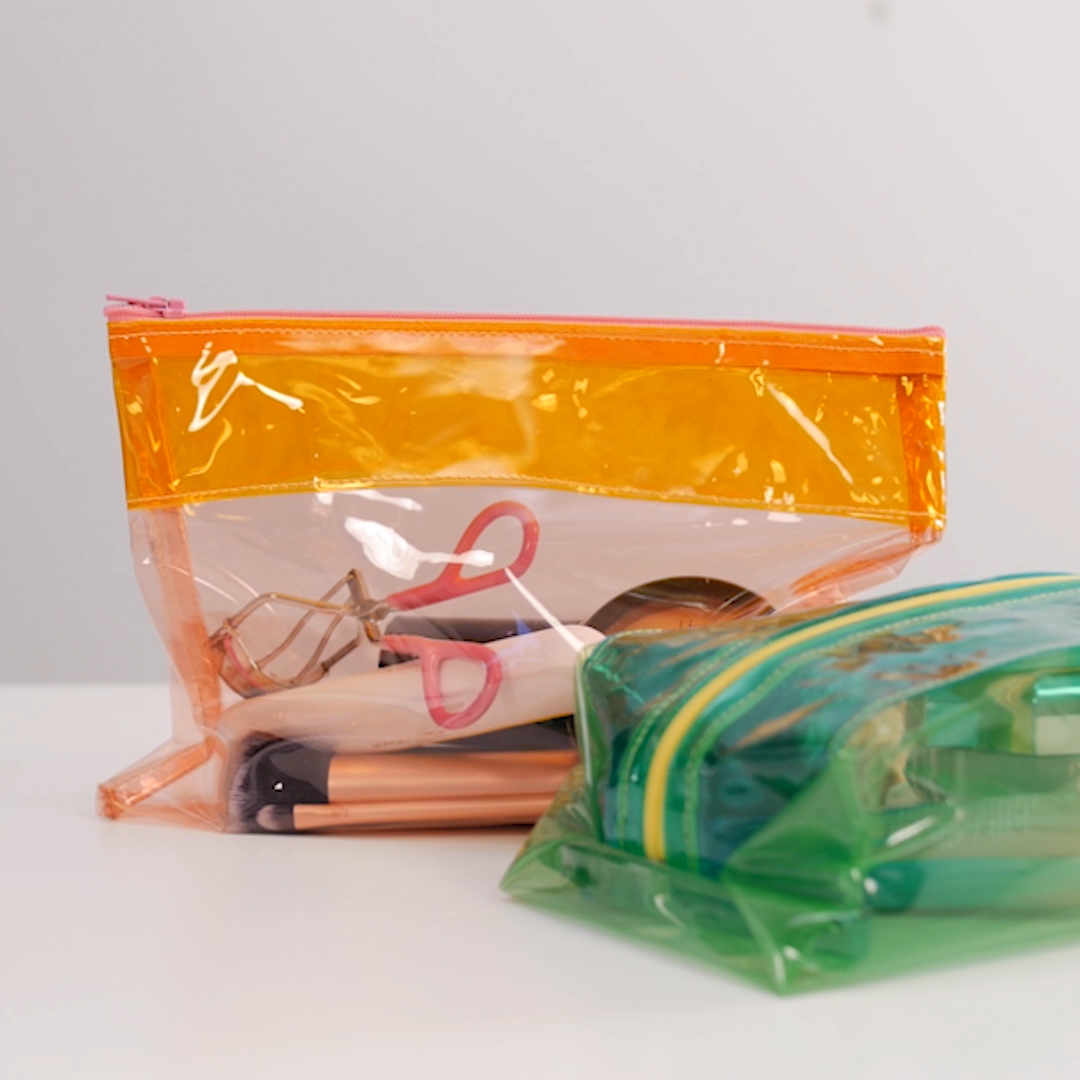
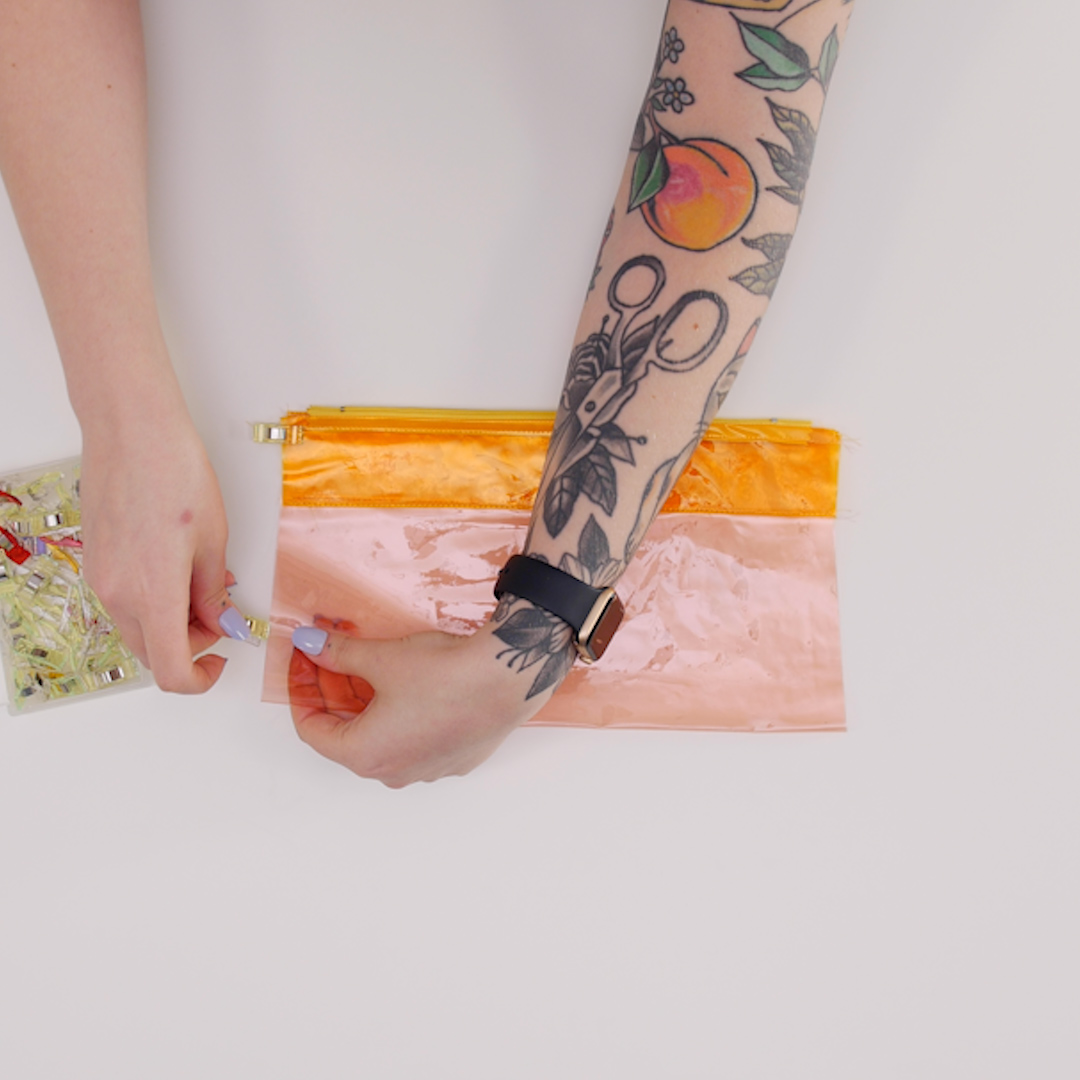
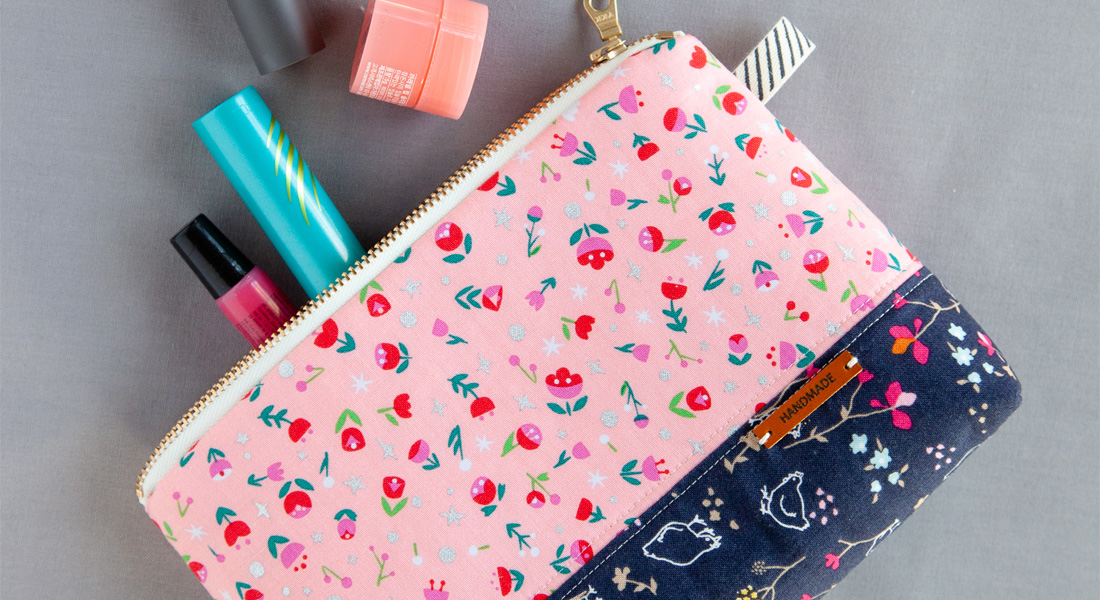
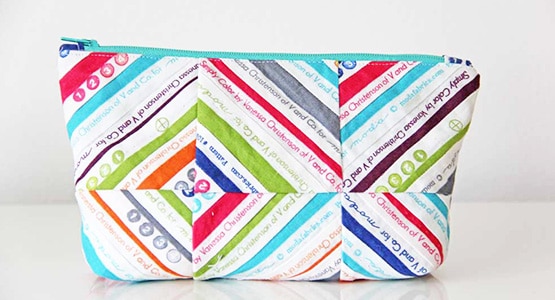
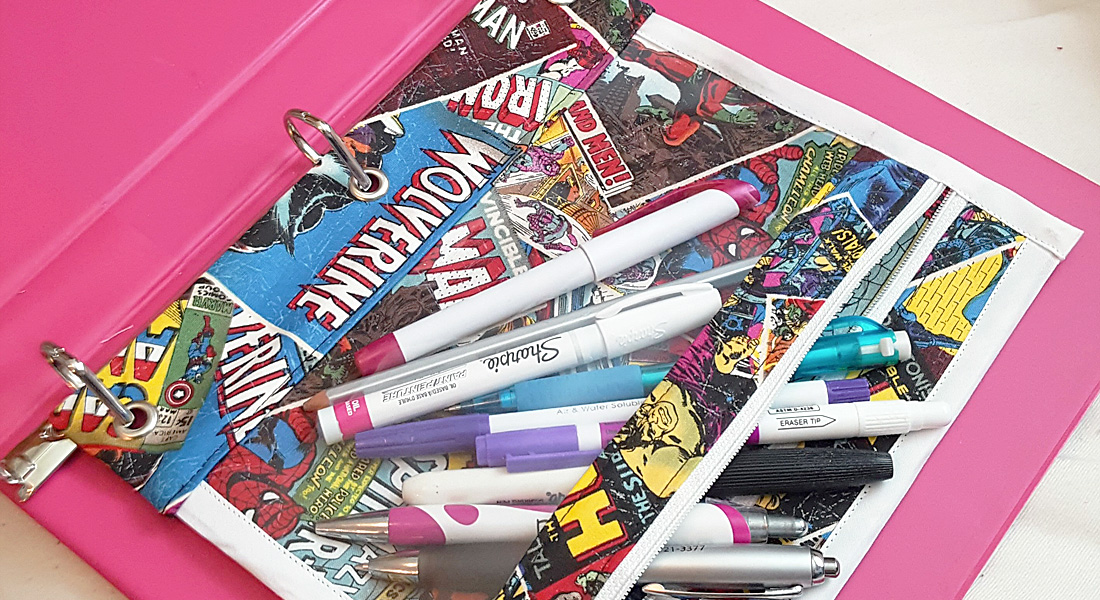
All you need to do now is put your bag to use! I love using mine for makeup and travel toiletries because they are (mostly) waterproof and can be wiped clean easily. This simple pouch shape is great but the vinyl is also great to use for a boxy pouch like this one.


I would like to know what size and type of needle should be used for this project.