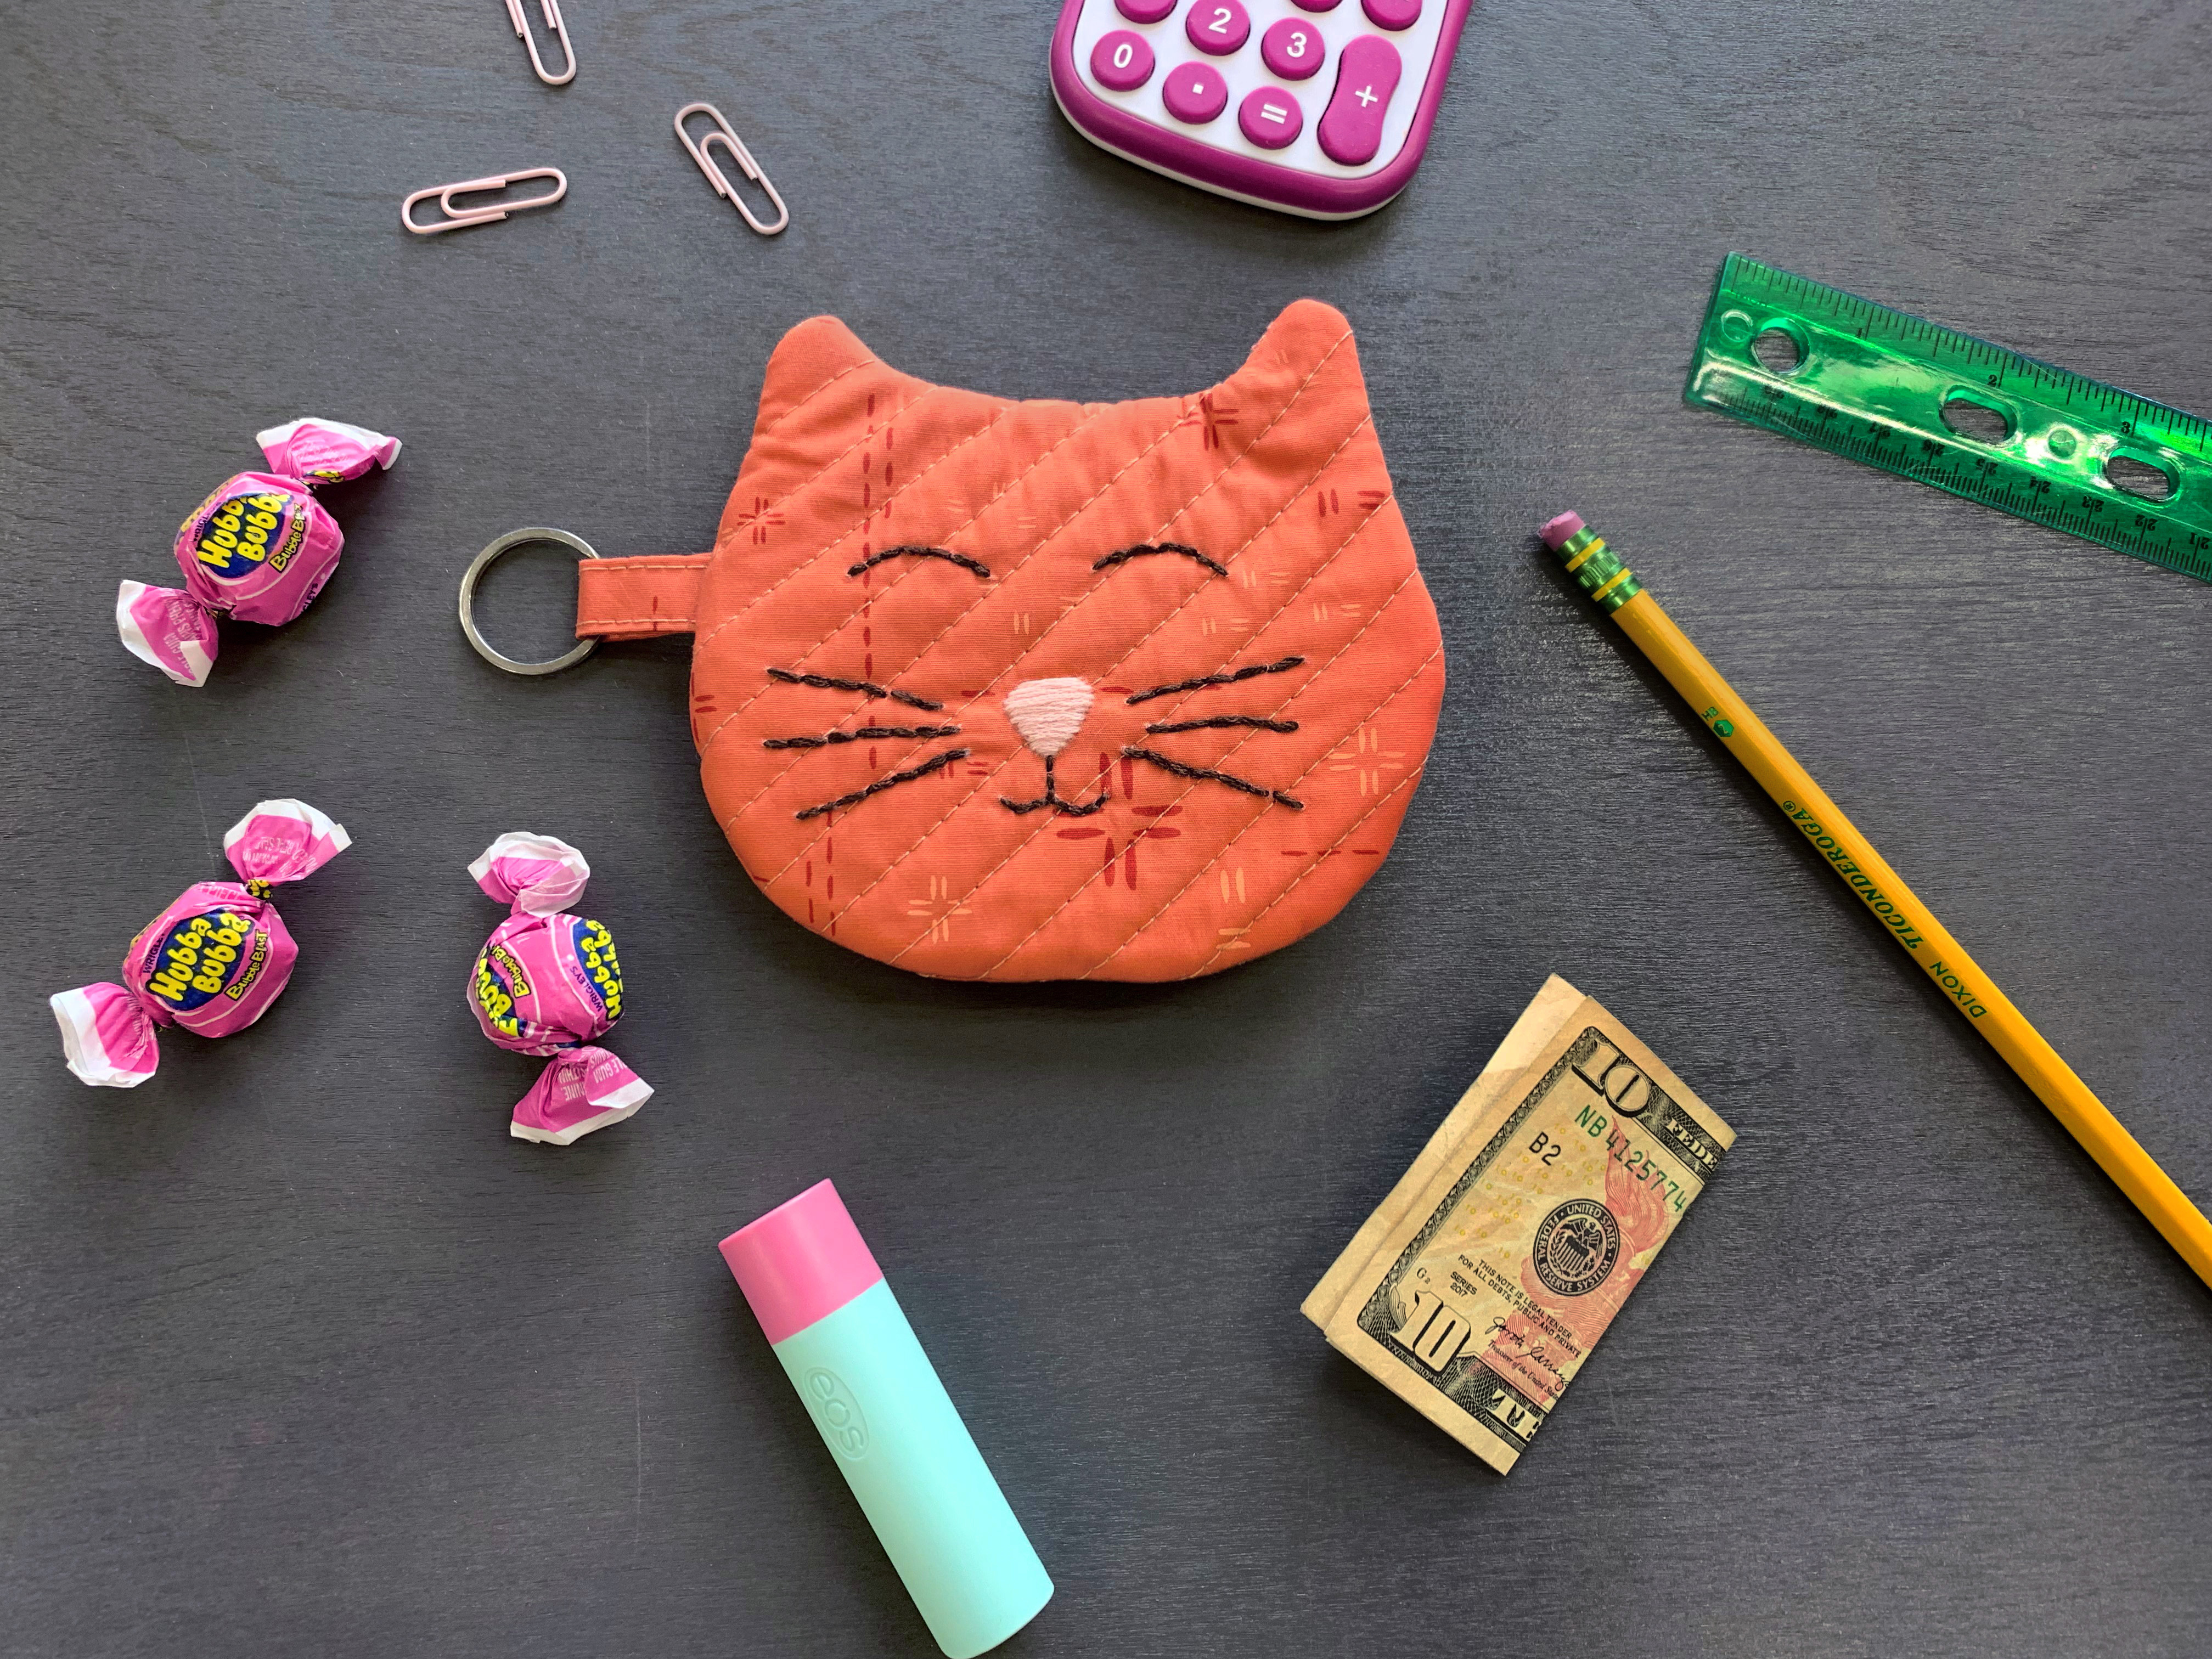
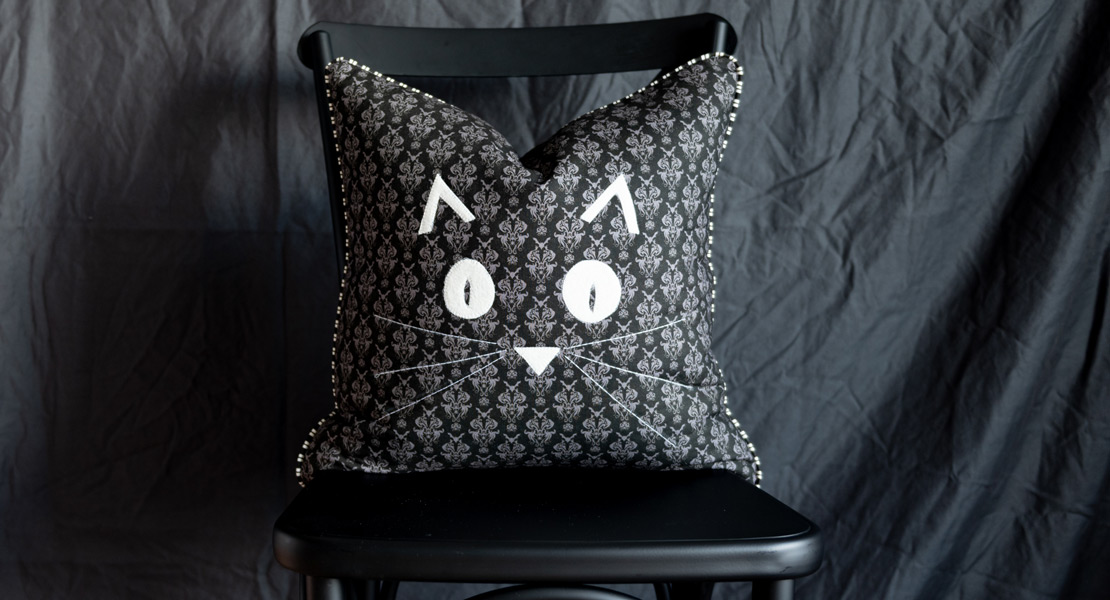
Cat Zipper Pouch Tutorial
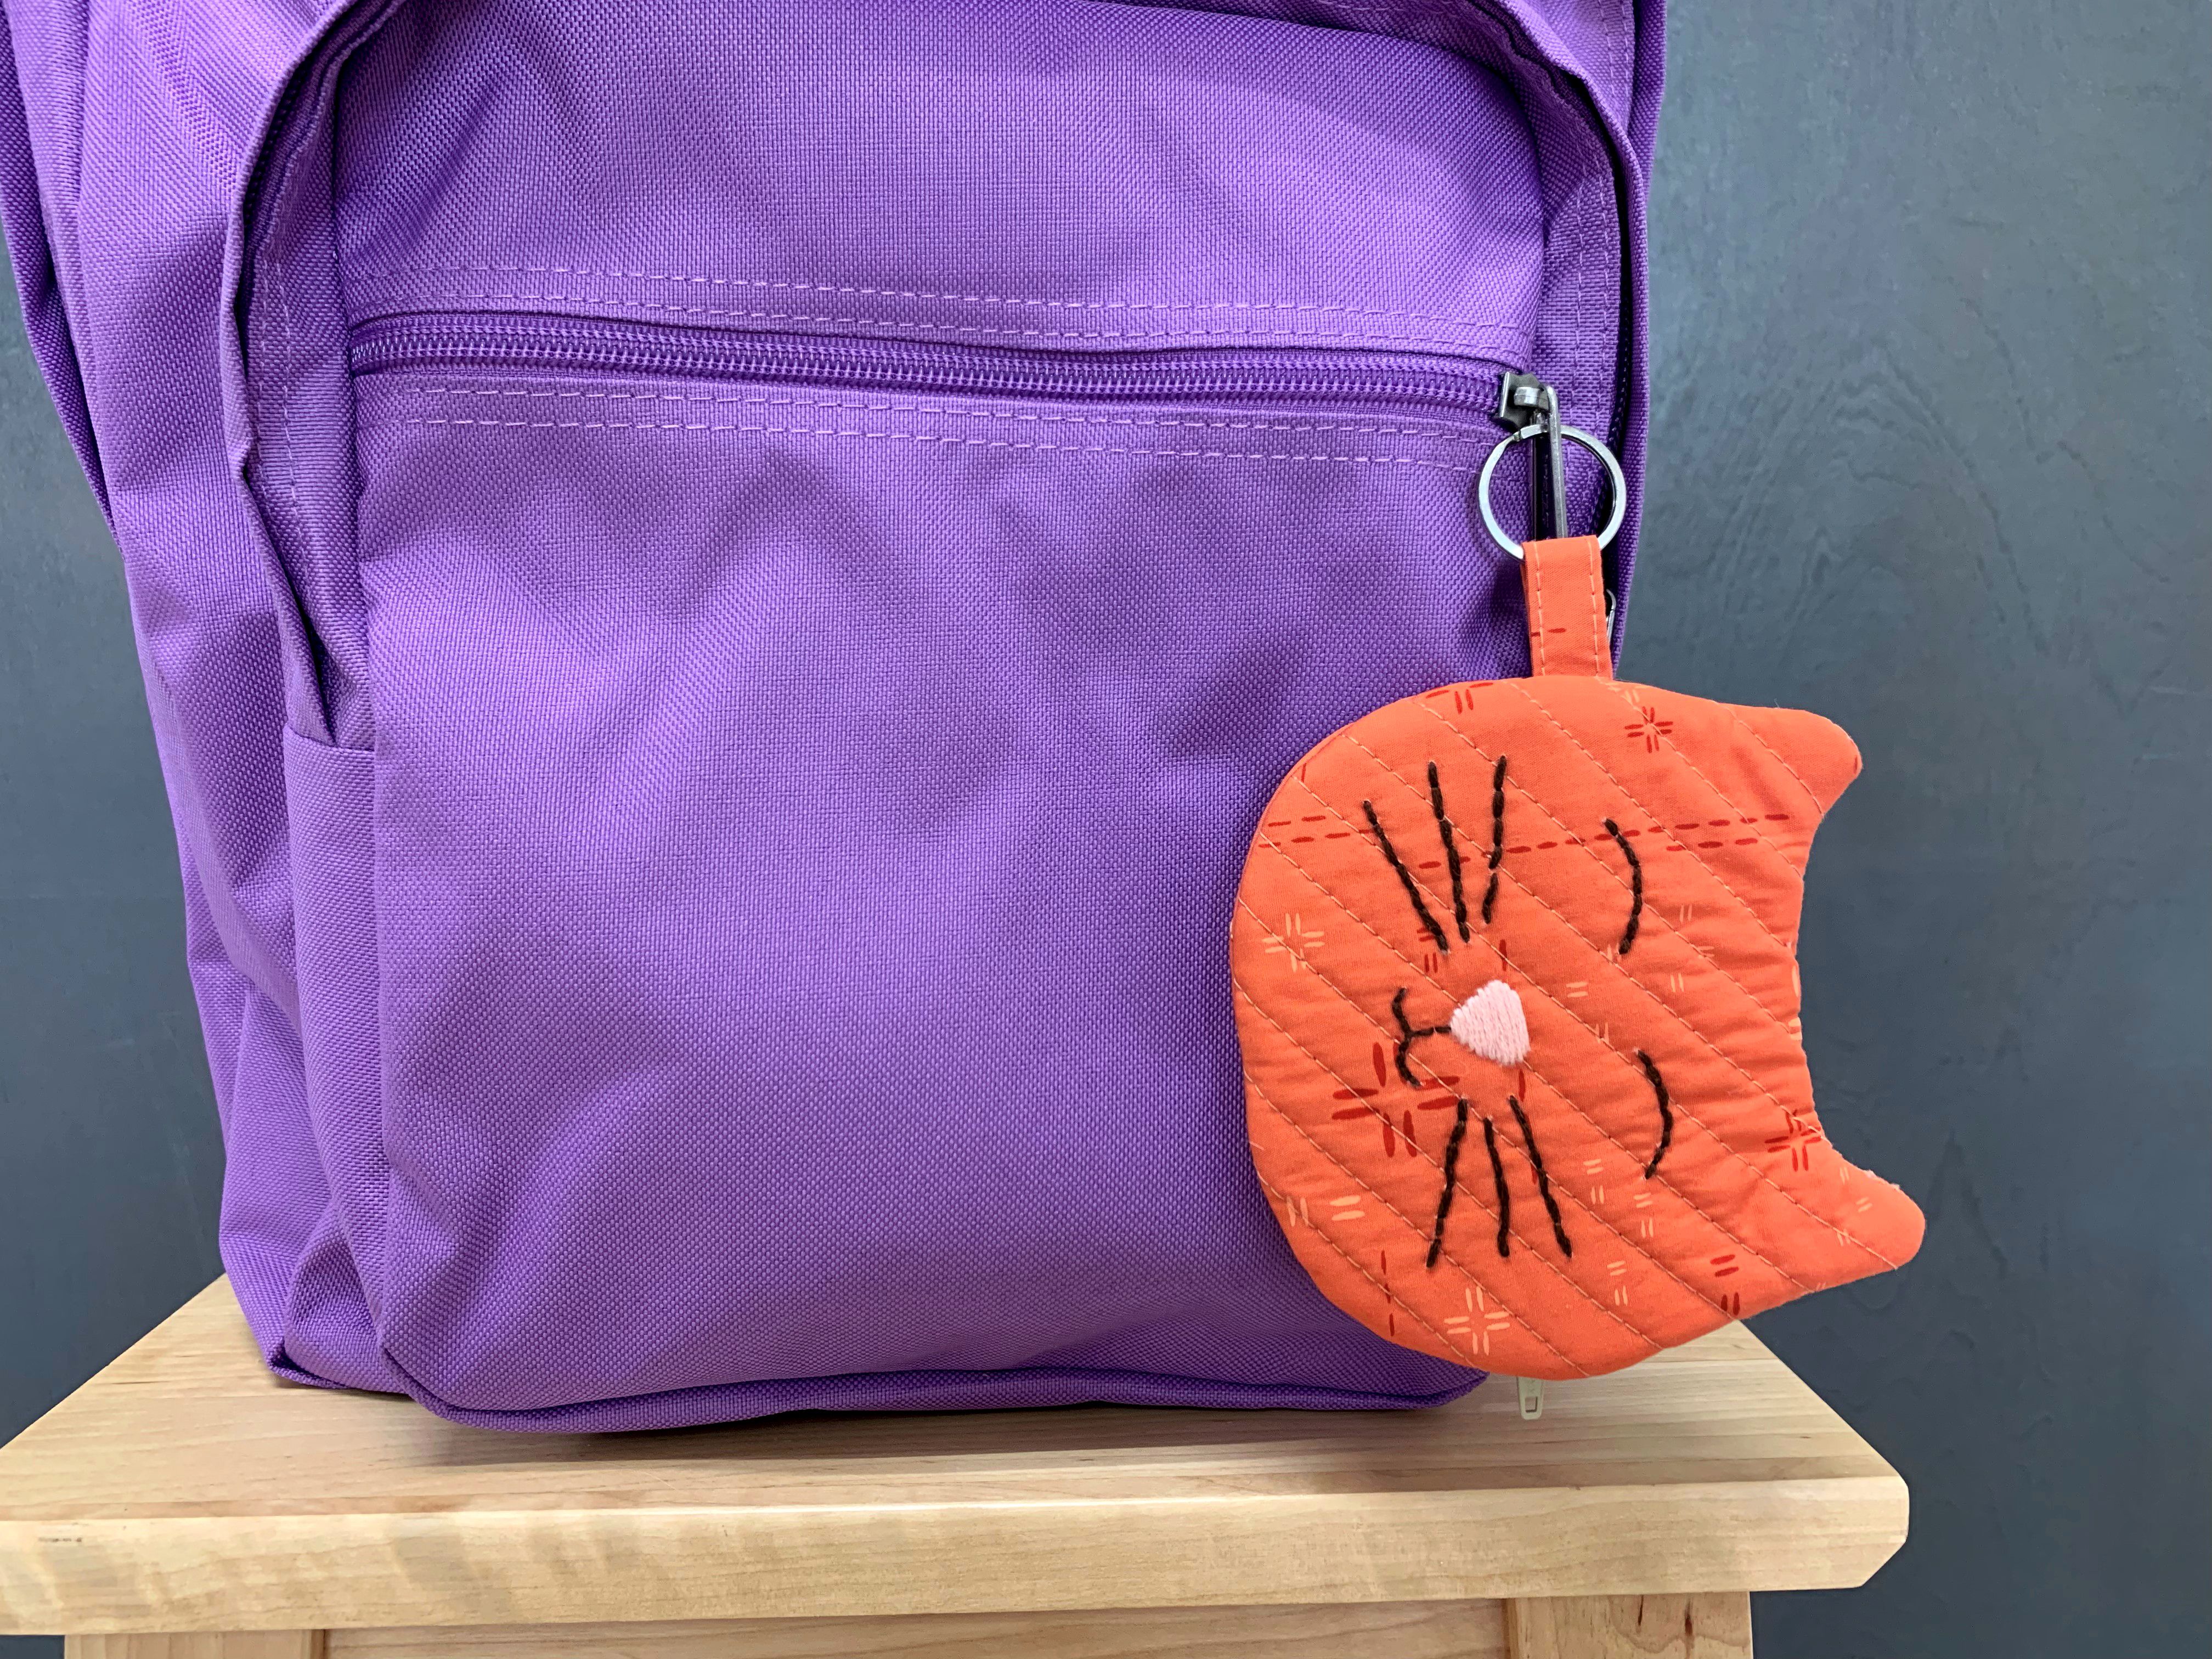
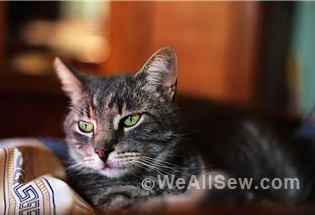
It’s that time of year once again. Summer is coming to an end and the kids are headed back to school. You may be busy buying new school supplies, clothes and getting them ready for a year of fun experiences and memories but make sure to send them to school with something homemade and from the heart that will set them apart from all the other kids. We thought it would be super fun to make “Max” the cat zipper pouch with a key chain for your littles to attach to their backpacks. Perfect size to add some lunch money, lip balm, and whatever other small trinkets they want to keep out and in the ready!
Have fun following along to the tutorial below and have a happy new school year!
Materials to Make a Cat Zipper Pouch
- Batting
- Woven Interfacing
- Key chain ring
- Embroidery thread
- 10″ zipper
- Zipper Foot
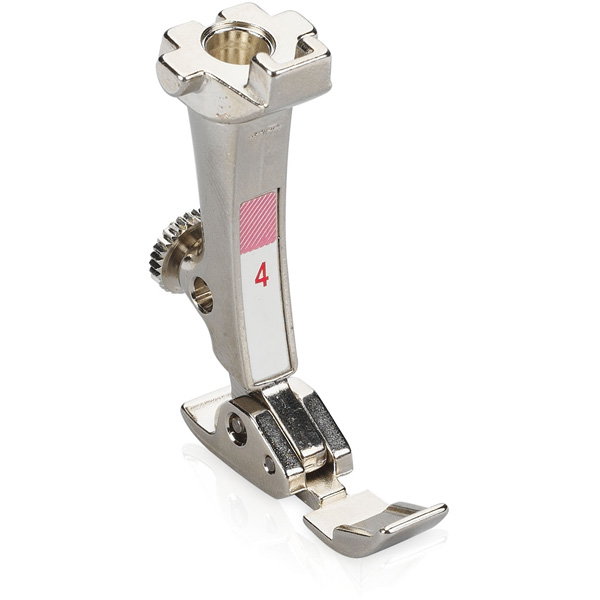
- Walking Foot
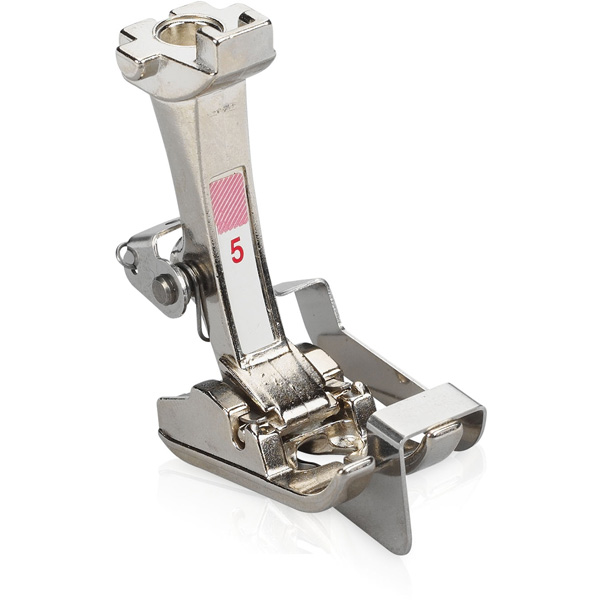
- Blind Hem Foot
- Download the Cat Zipper Pouch Templates here.
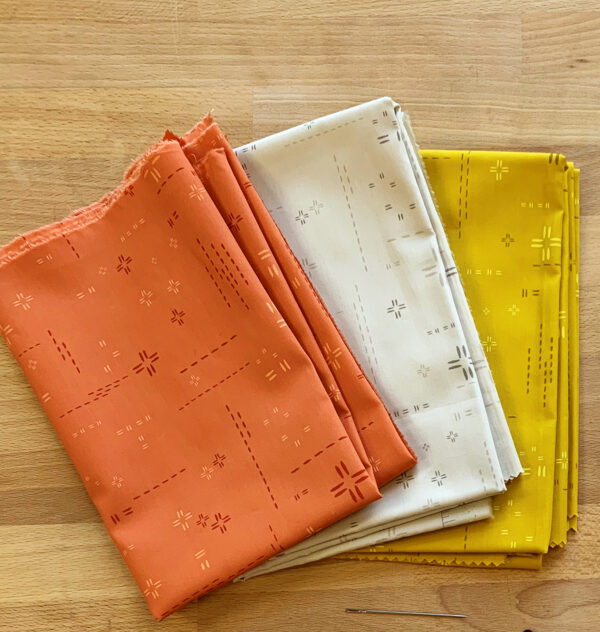
Fabrics Used:
Fabric A- DSE-713- Red Desert
Fabric B- DSE-706- Sunglow
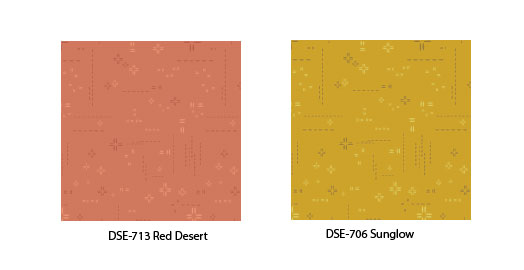
AGF Decostitch is a great blender print for this project choose from a variety of fun colors!
Cutting Directions:
Two (2) 6″ x 6 1/2″ rectangle from Fabric A, B, batting and
woven interfacing
One (1) 2″ x 2 1/2″ strip loop Fabric A (loop)
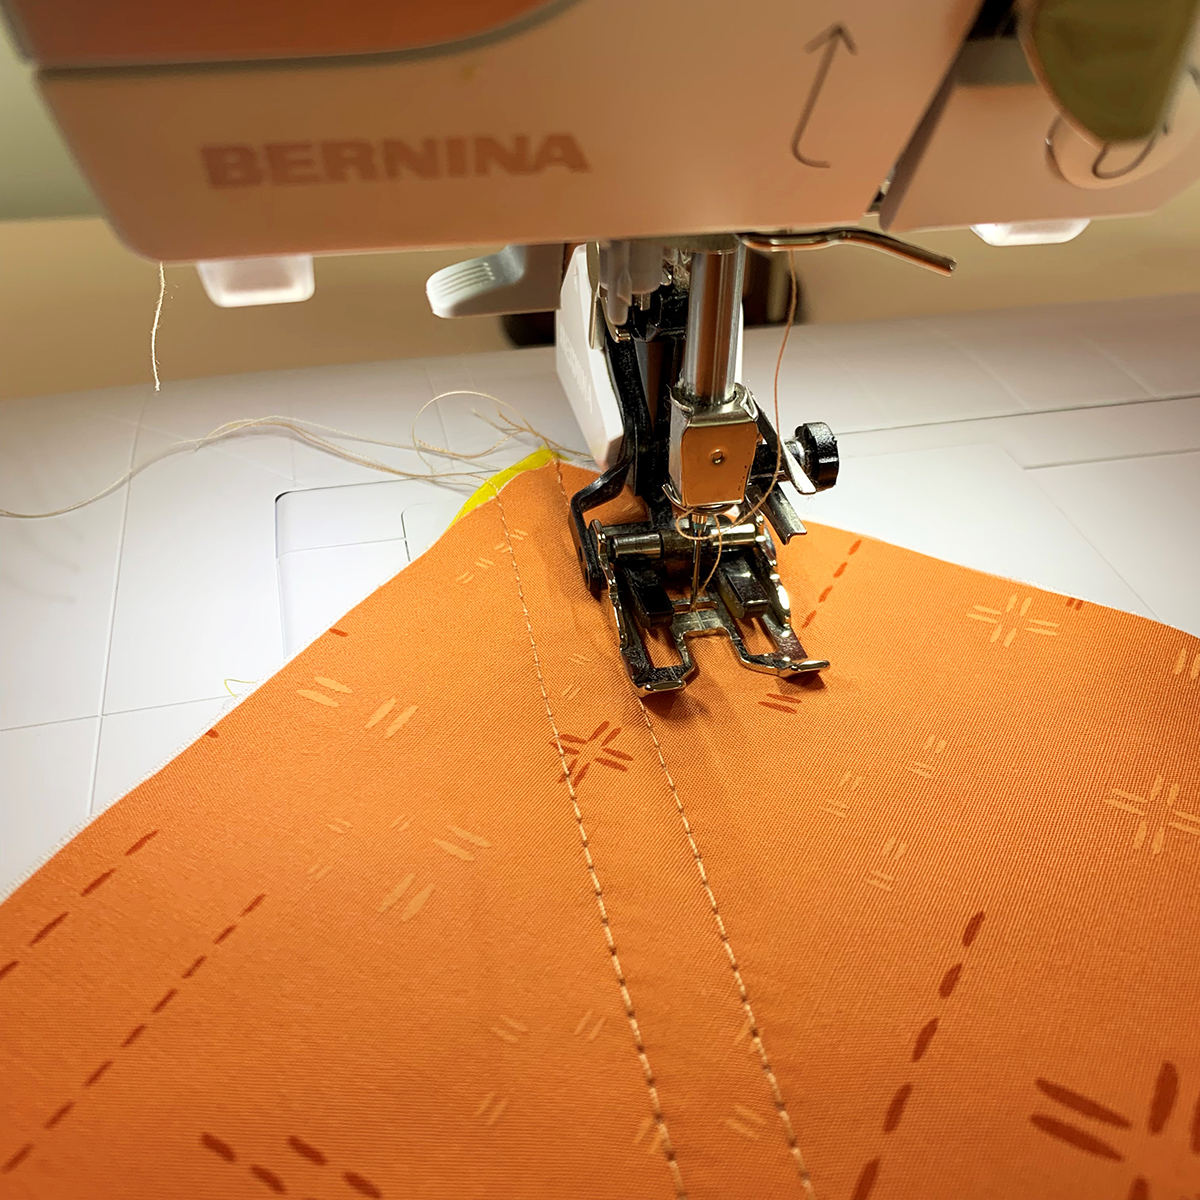
Step One- Quilting your pieces
Fuse a piece of woven interfacing to the wrong side of your rectangles from Fabric A. Sandwich a piece of batting between a Fabric A and B rectangle and sew diagonal lines
from corner to corner.
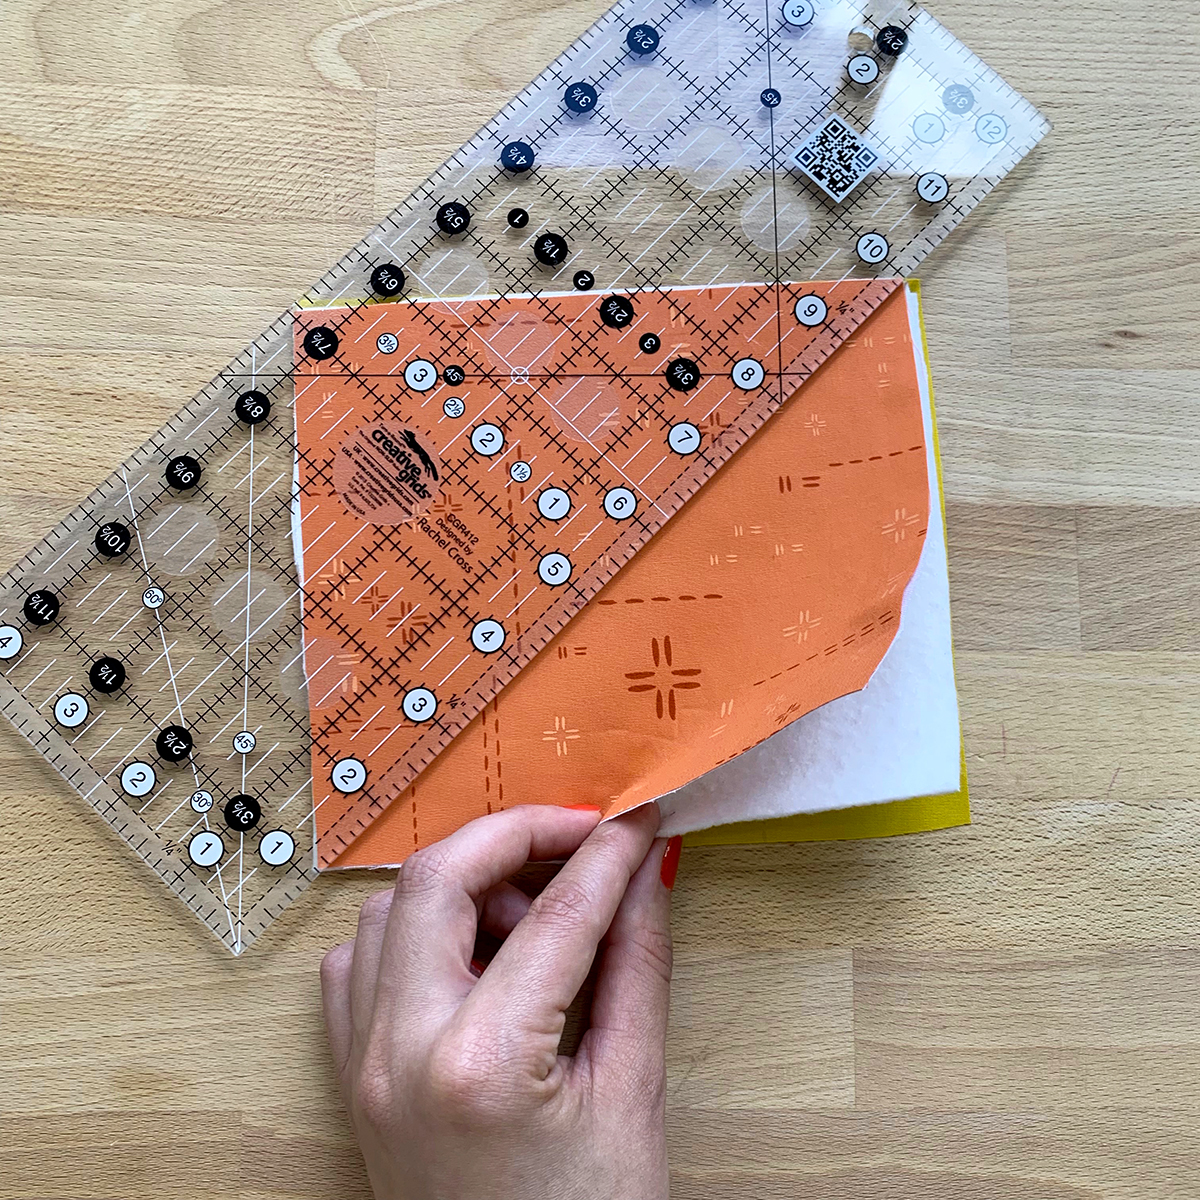
We always love to attach our walking foot to our machine to help create professional even stitches.
With the remaining Fabric A and batting repeat the same process.
Step 2- Tracing your pieces and Embroidery
Once your template is cut out, trace your front cat and back cat to your pieces. Cut out two sets of back pieces and one front face piece.
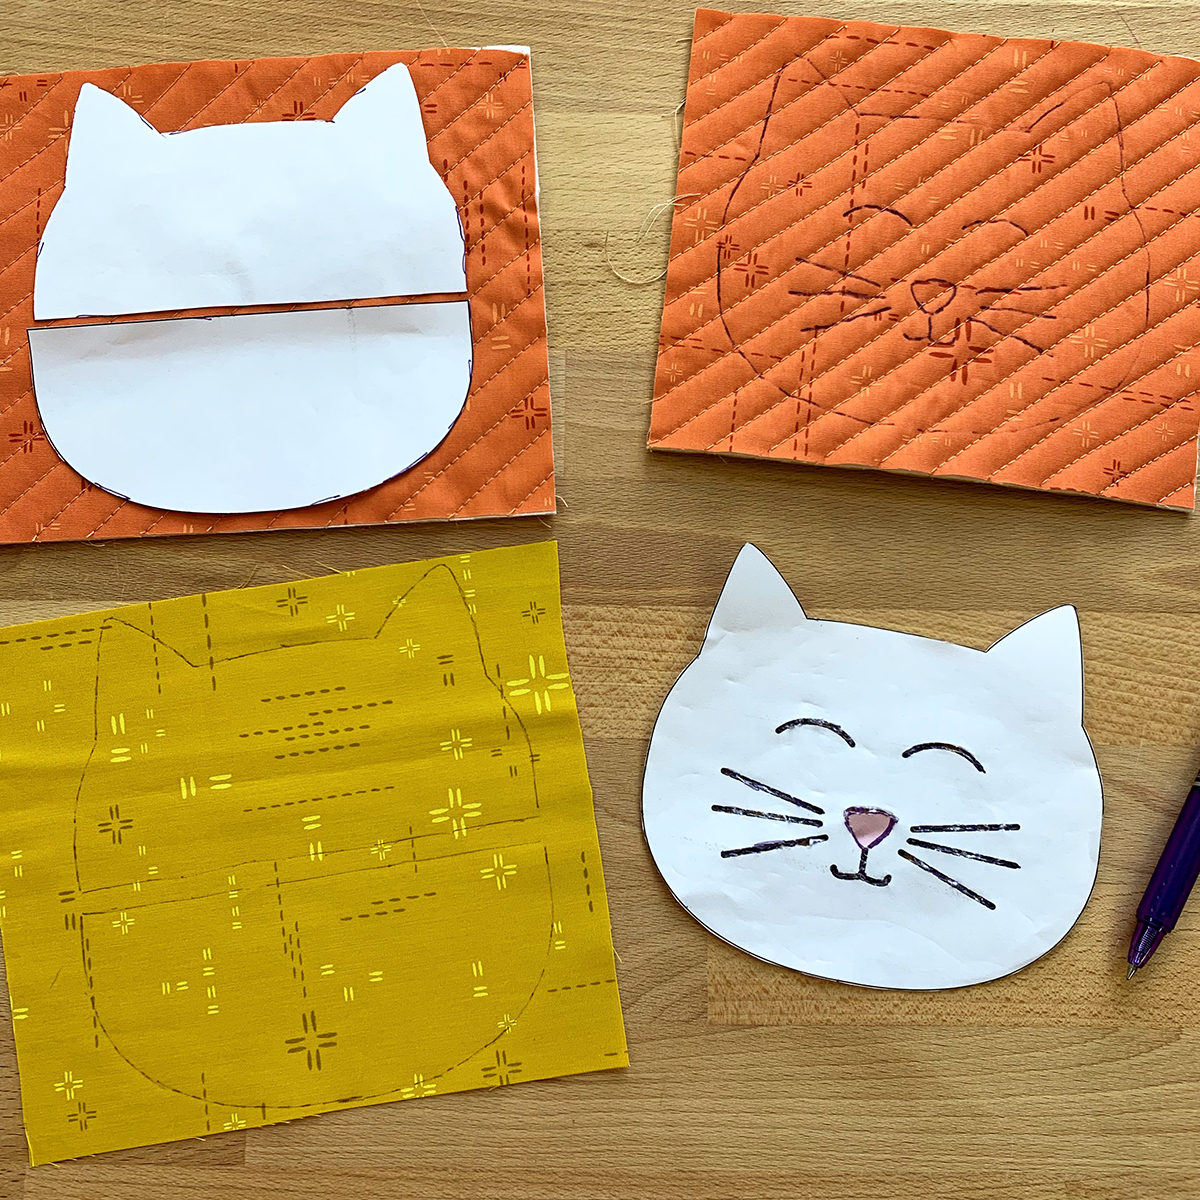
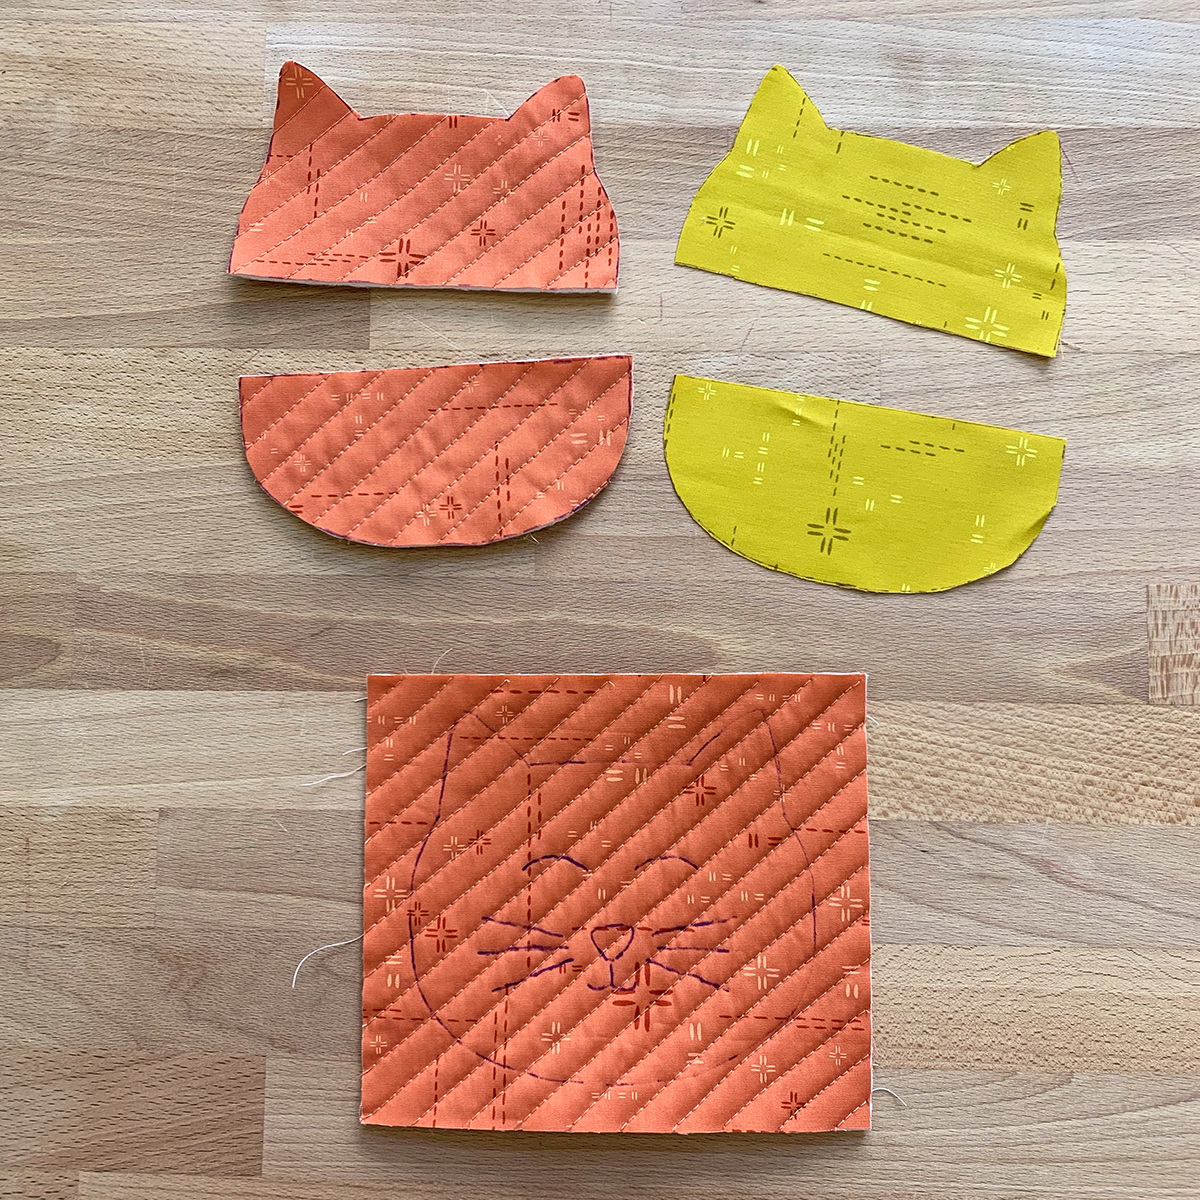
Stitch up your face with your embroidery thread of choice.
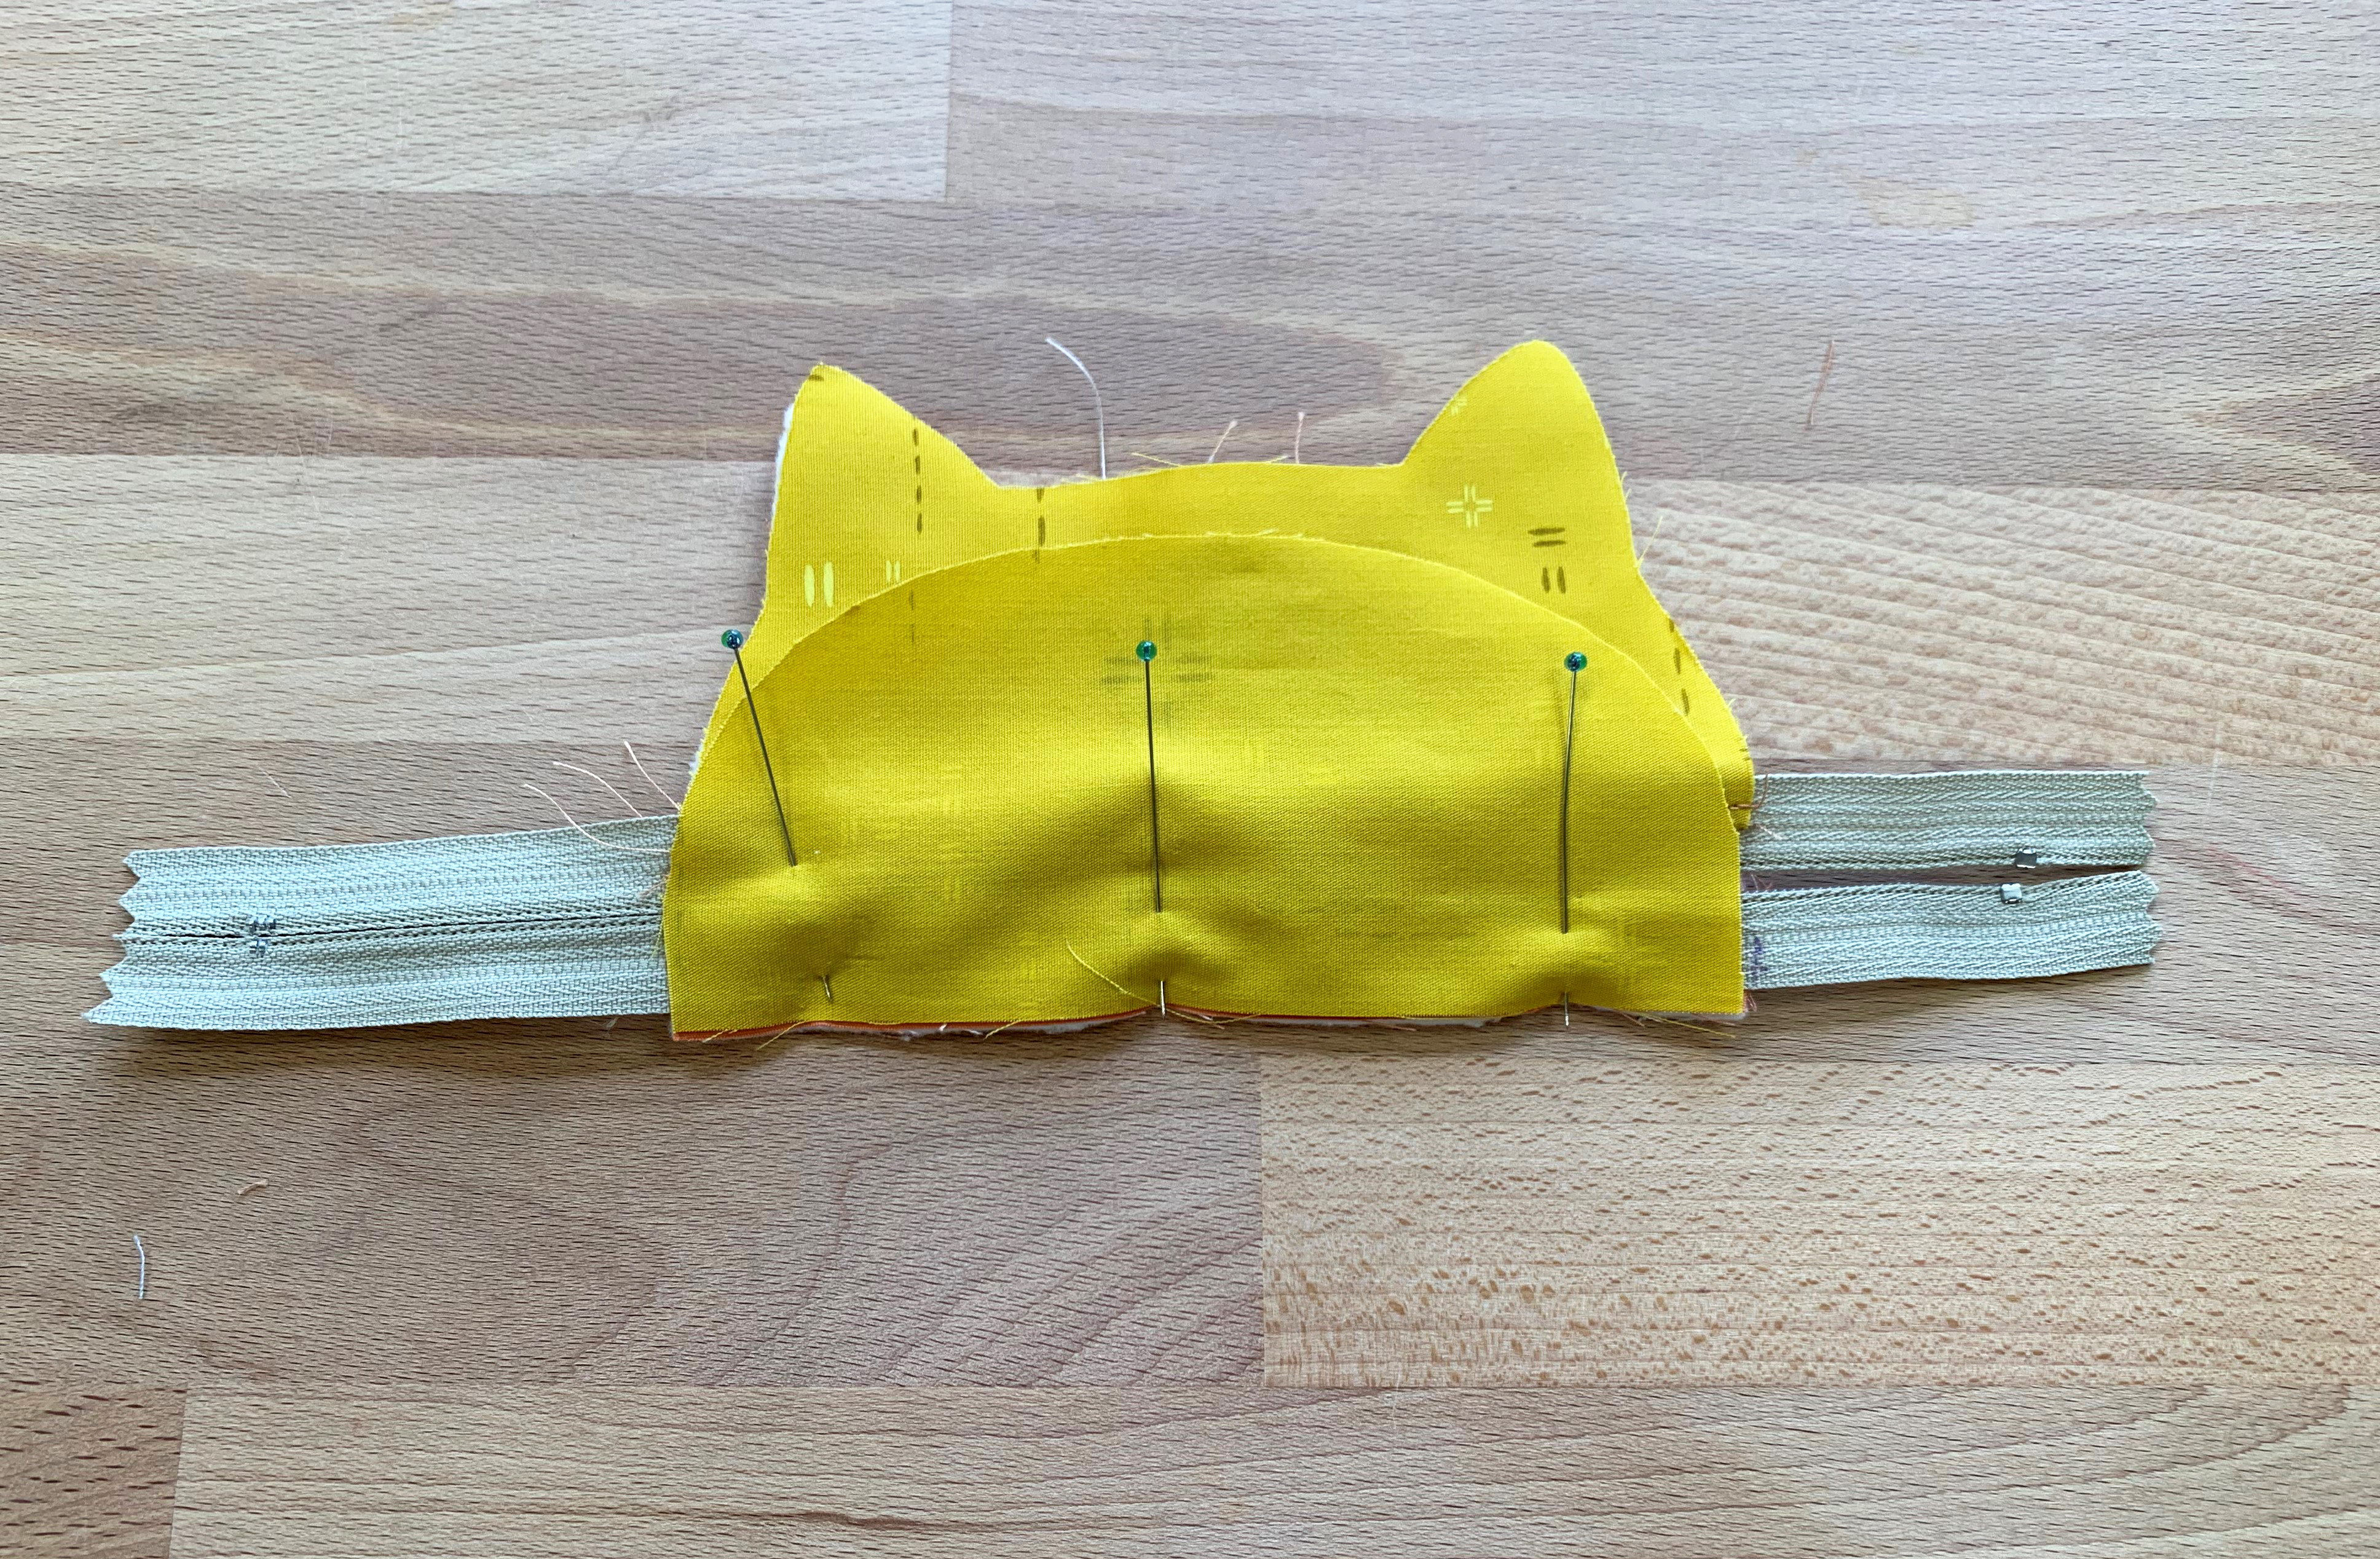
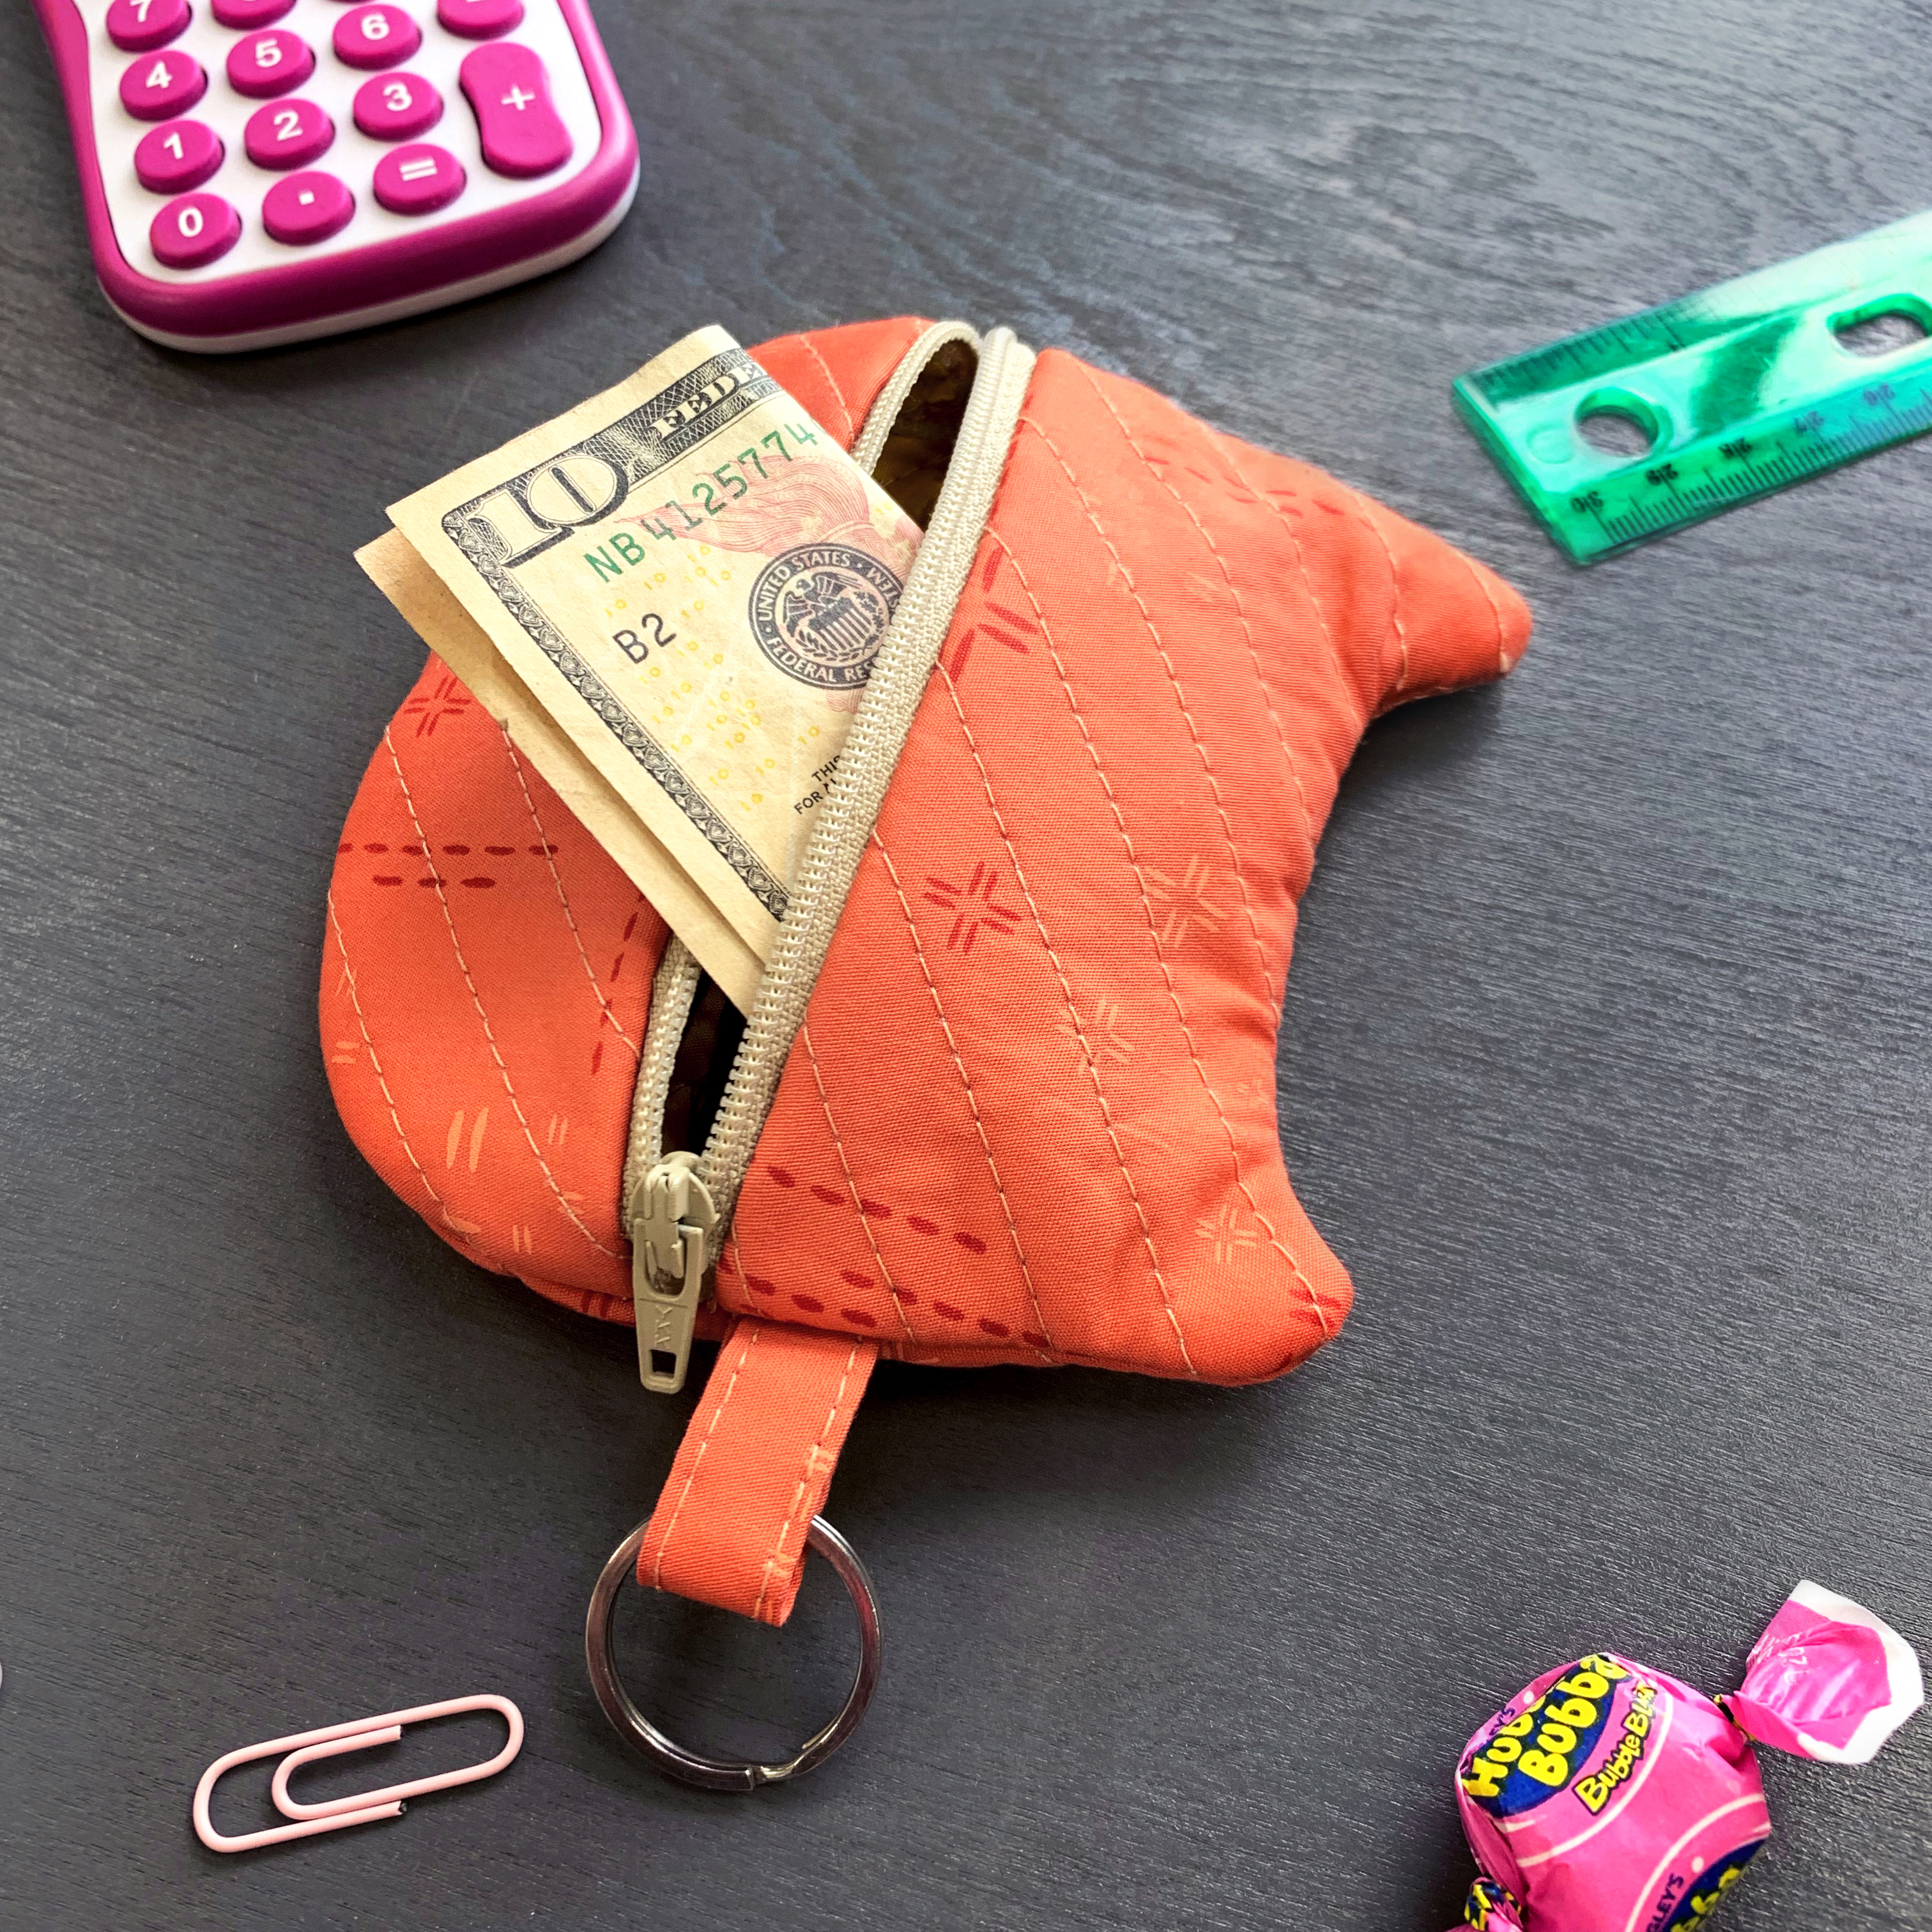
Step 3- Attaching the Zipper
Sandwich your zipper right sides down to your outer cat piece and place the lining piece on top making sure pieces are right sides together. Pin into place and with your zipper foot attached to your machine, make sure your needle is all the way to the left. Sew as close to the zipper teeth as you can.
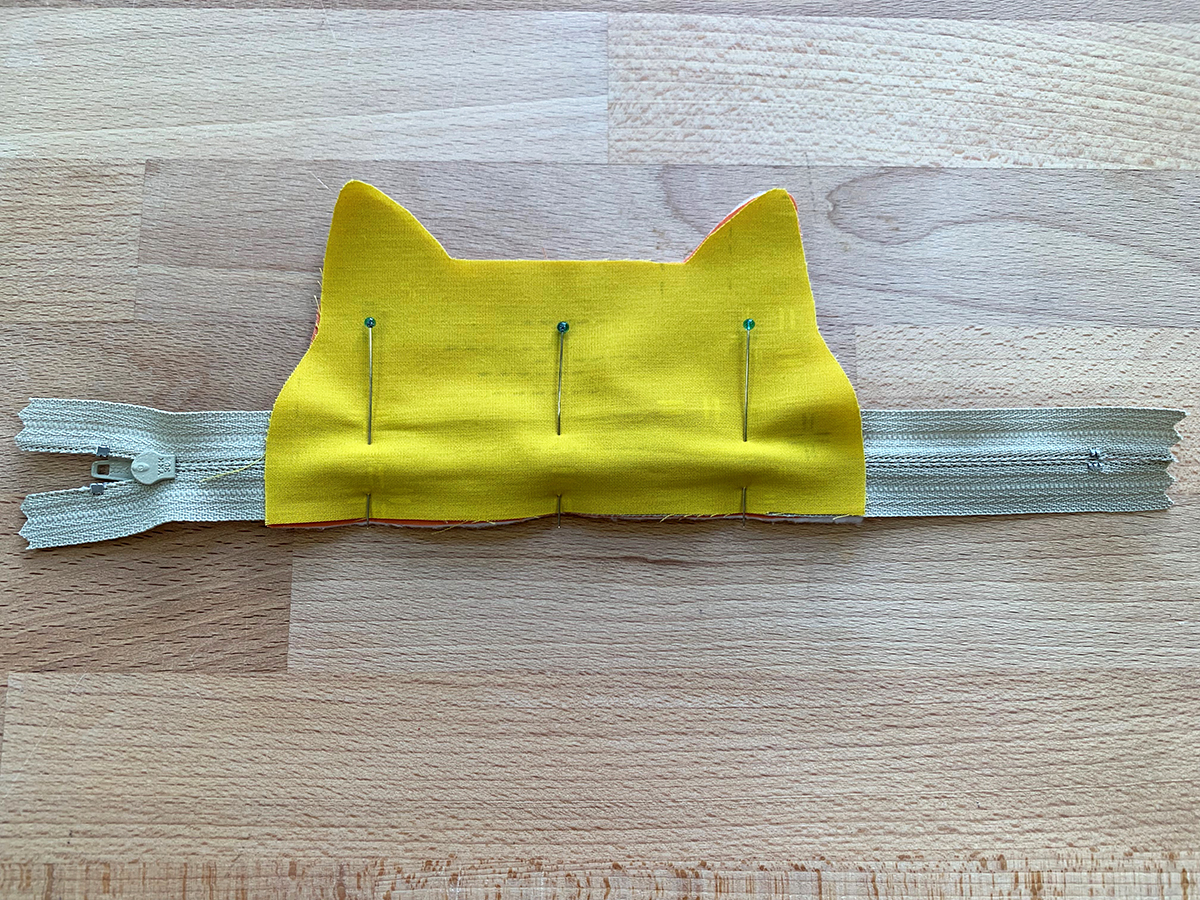

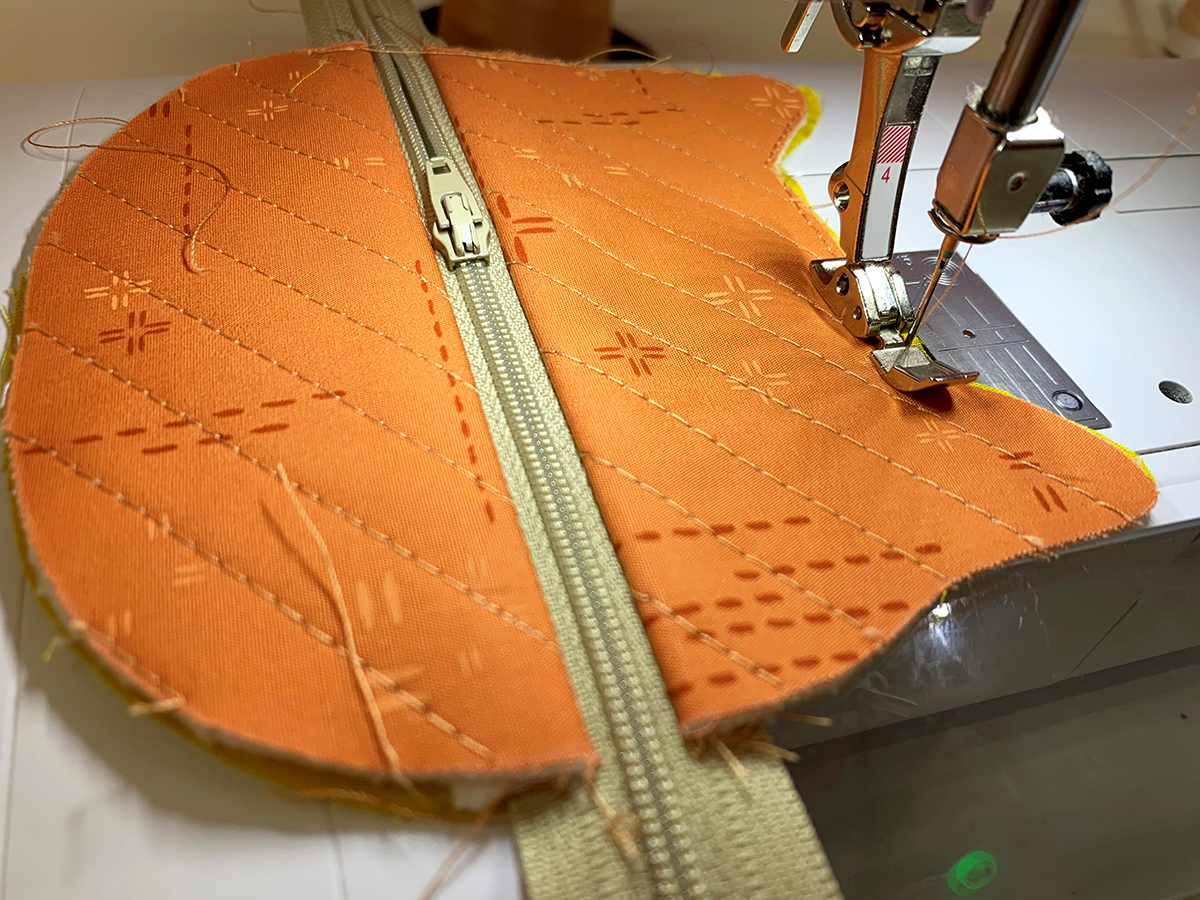
Edgestitch your seam allowance to your lining piece to make sure it won’t get in the way when you zip and unzip your zip.

Repeat this step with the other side of your back cat.

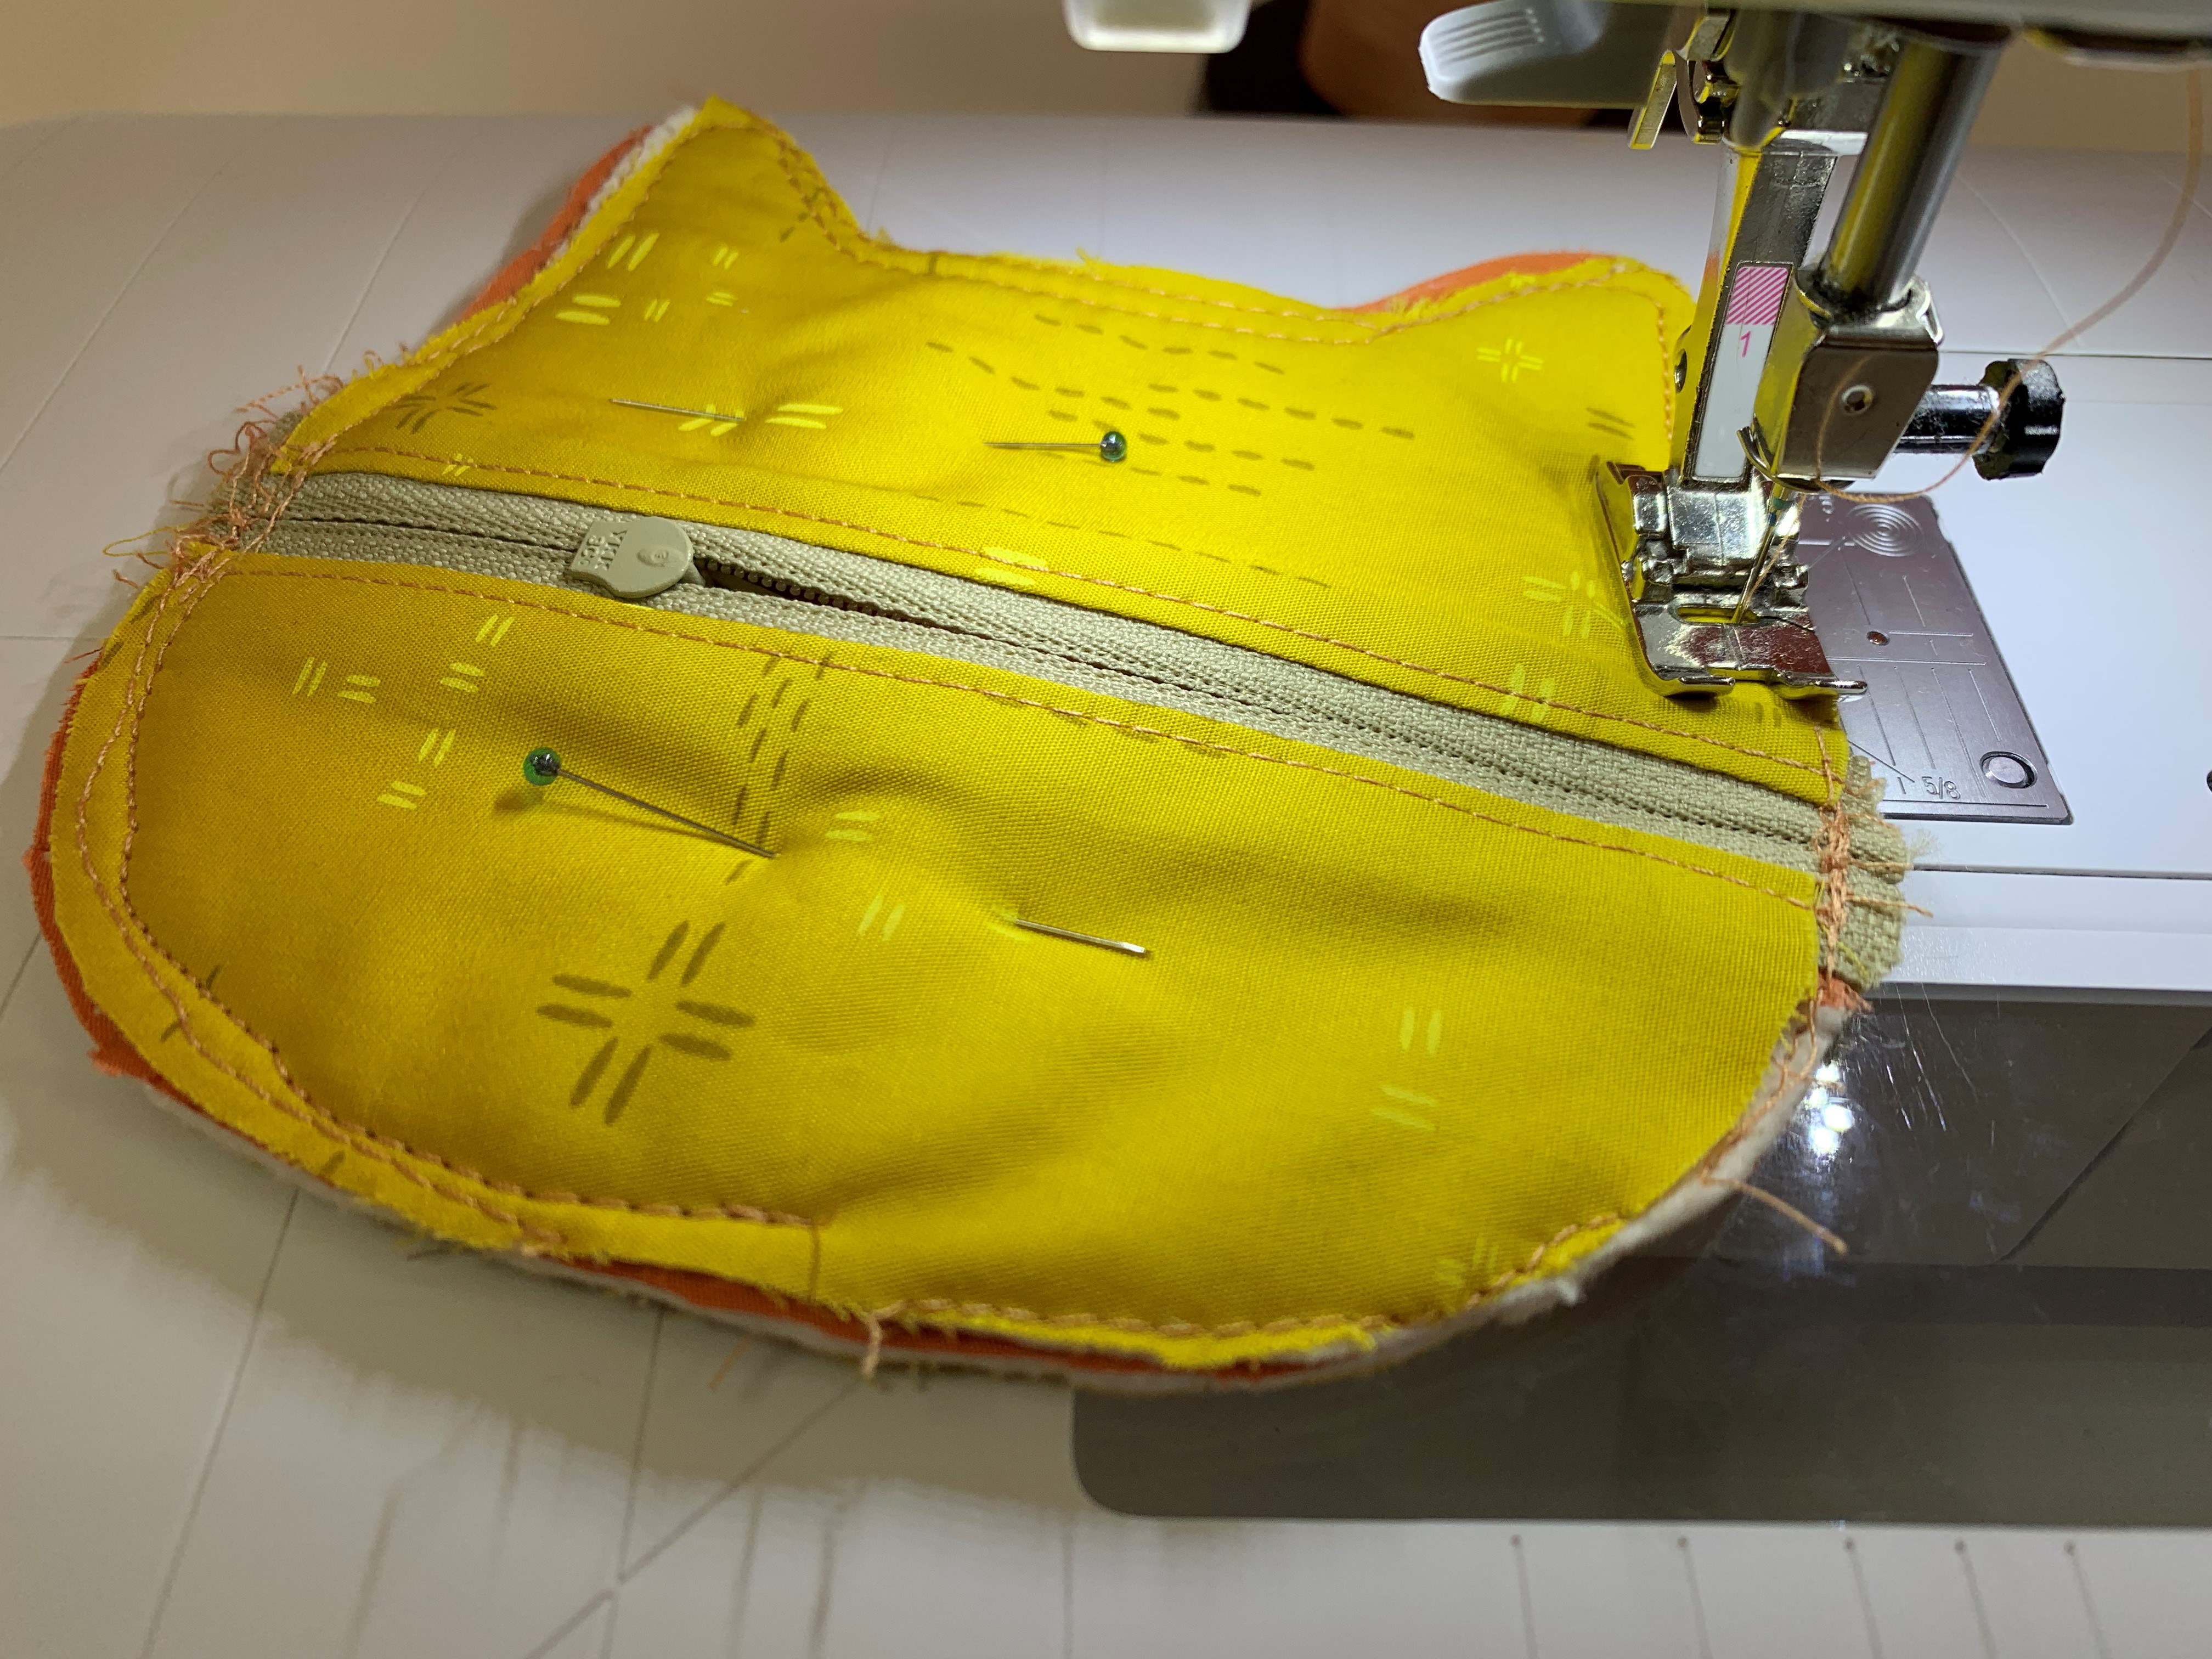
Once the zipper is secured, open zipper halfway and sew around your entire back cat to secure layers together.
Step- 4- Finishing
Make sure your back and front cat are the same sizes by using the back cat as a template to cut out your front cat.

Make a loop with your 2″ x 2 1/2″ strip from Fabric A by folding the raw edges to the center of your strip and then folding in half and pressing to make a strap. Topstitch on each side to secure your strap. We love using the blind hem foot to make perfectly straight lines by using the metal guide on the foot.
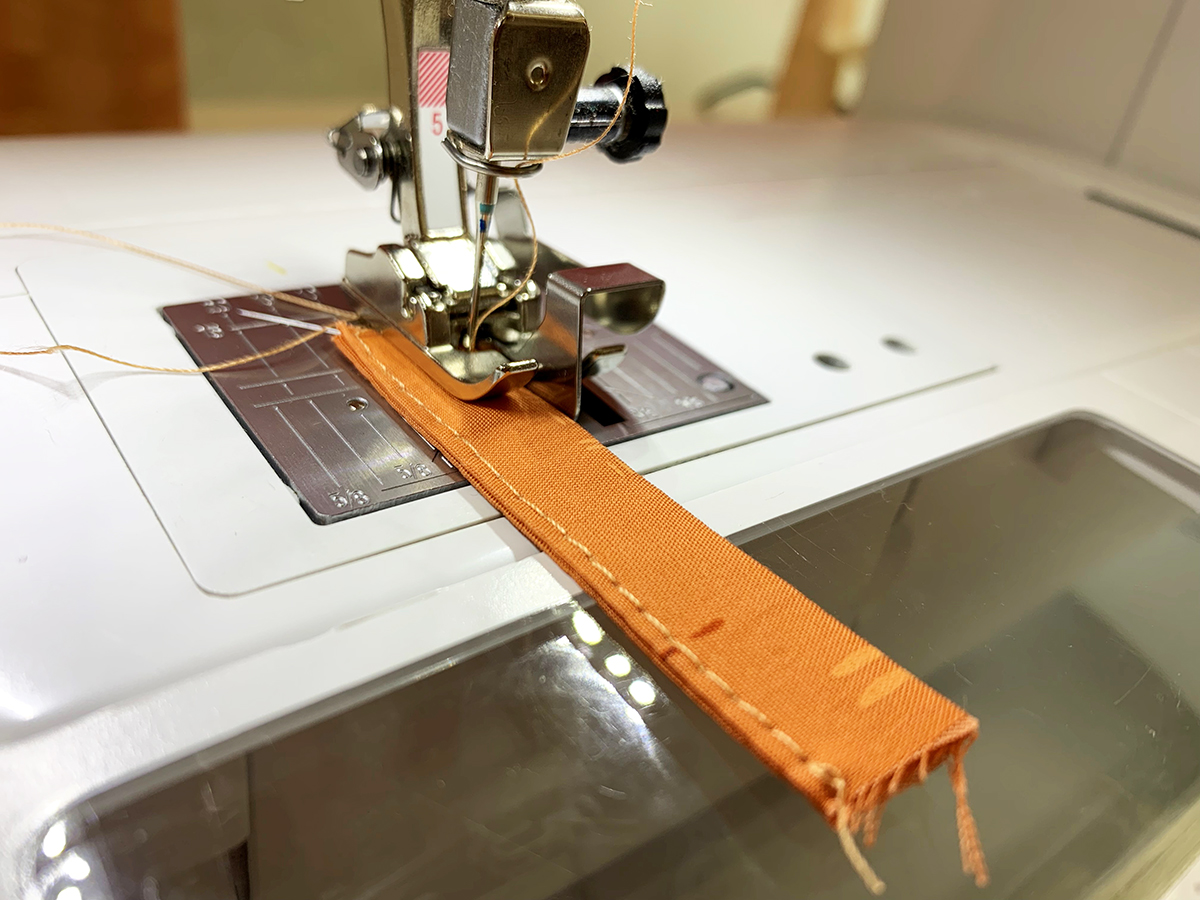
Thread your loop into the key chain ring and secure the ends together.

Secure it to the side of your front cat by basting it into place.

Place your front and back cat right sides together and stitch around your entire pieces at 3/8″. Make sure your zipper is open first! When you get to the ears lower your stitch length to 1.5.
Flip the right side of your cat through the zipper and poke out the corners of your ears. Give your cat a good press and your Cat Key Chain pouch is complete!


What you might also like


4 comments on “Cat Zipper Pouch Tutorial”
-
-
Yes, the interfacing goes on your Fabric A Pieces! We applied the zipper to the back pieces and then trimmed off our excess zipper ends. Once you have the back of your cat complete you can use it as a template to cut out your front cat face to make sure they are both the same size! Let me know if you have any more questions. So happy you are making this project!
-
-
I’m having trouble visualizing this, do you have a video tutorial of this being made?
It looks like the yellow piece is not interfaced nor is it attached to any batting. Is it sewed as a single layer in the picture where you are attaching it to the zipper? -
I wish I found your pattern before I used a different one. Your instructions are so much easier to follow and much simpler to sew first THEN cut out the face. Such a time saver and neater appearance for me.
Leave a Reply
You must be logged in to post a comment.

Hi! I just wanted to be sure that the interfacing goes on the A pieces of fabric only (cat face and face lining). The cat face should be cut out after the back zipper is inserted…correct?
Thanks!