Tool Caddy Thread Catcher Tutorial
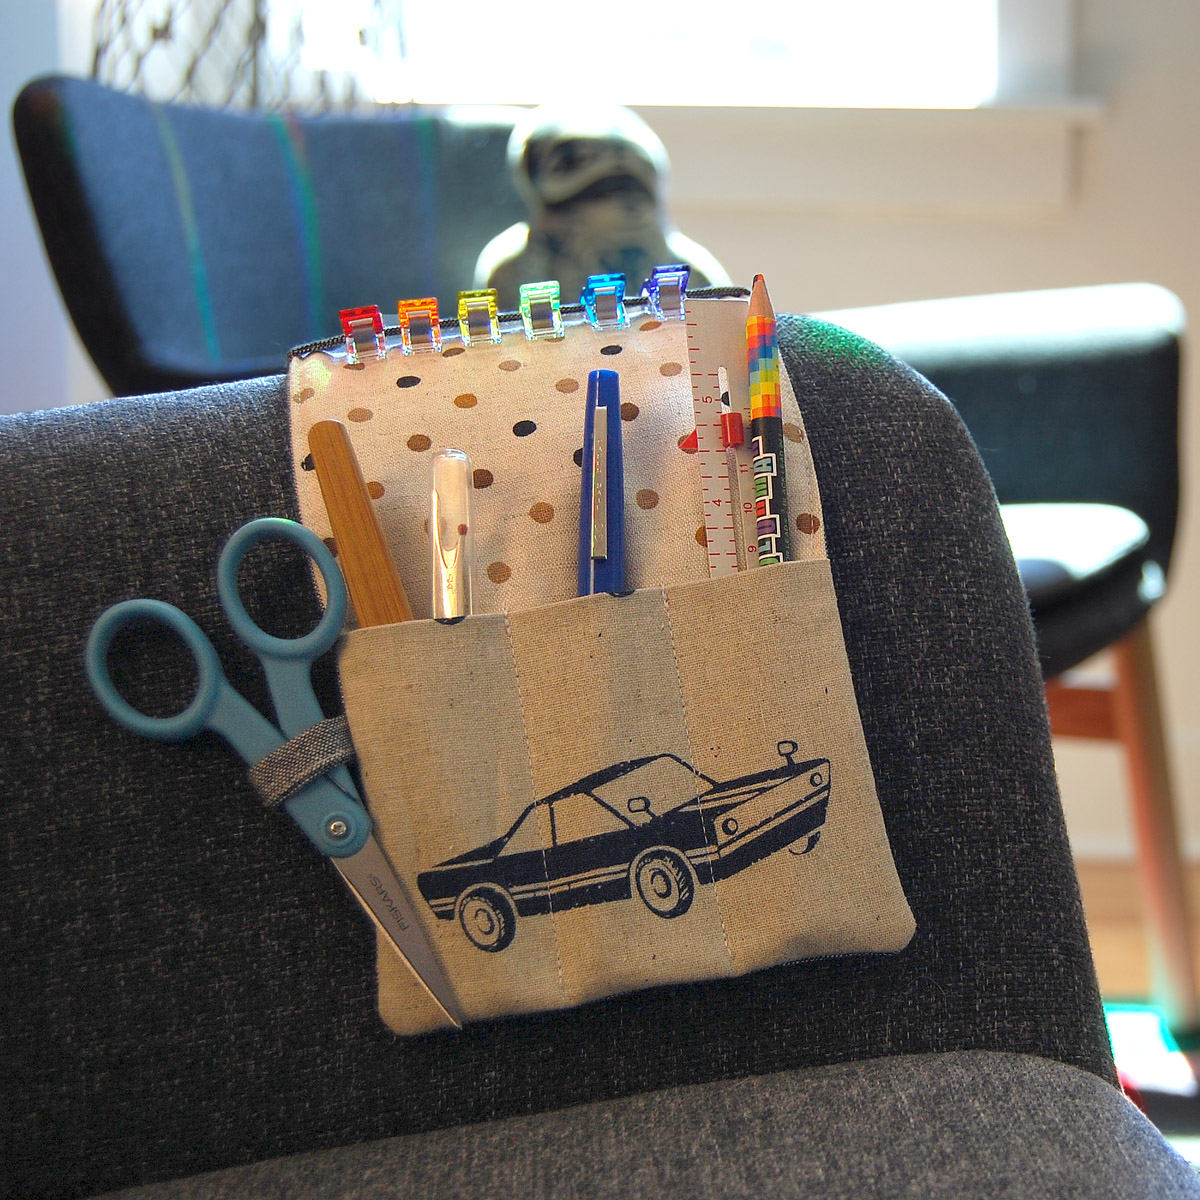
I sat in an armchair the other day to do a bit of hand-stitch finishing on a project and found myself with a lap full of thread, scissors, clips, and needles. It wasn’t easy to balance it all, there was lots of dropping this-and-that, plus I left a bunch of thread bits and scraps all over the floor.
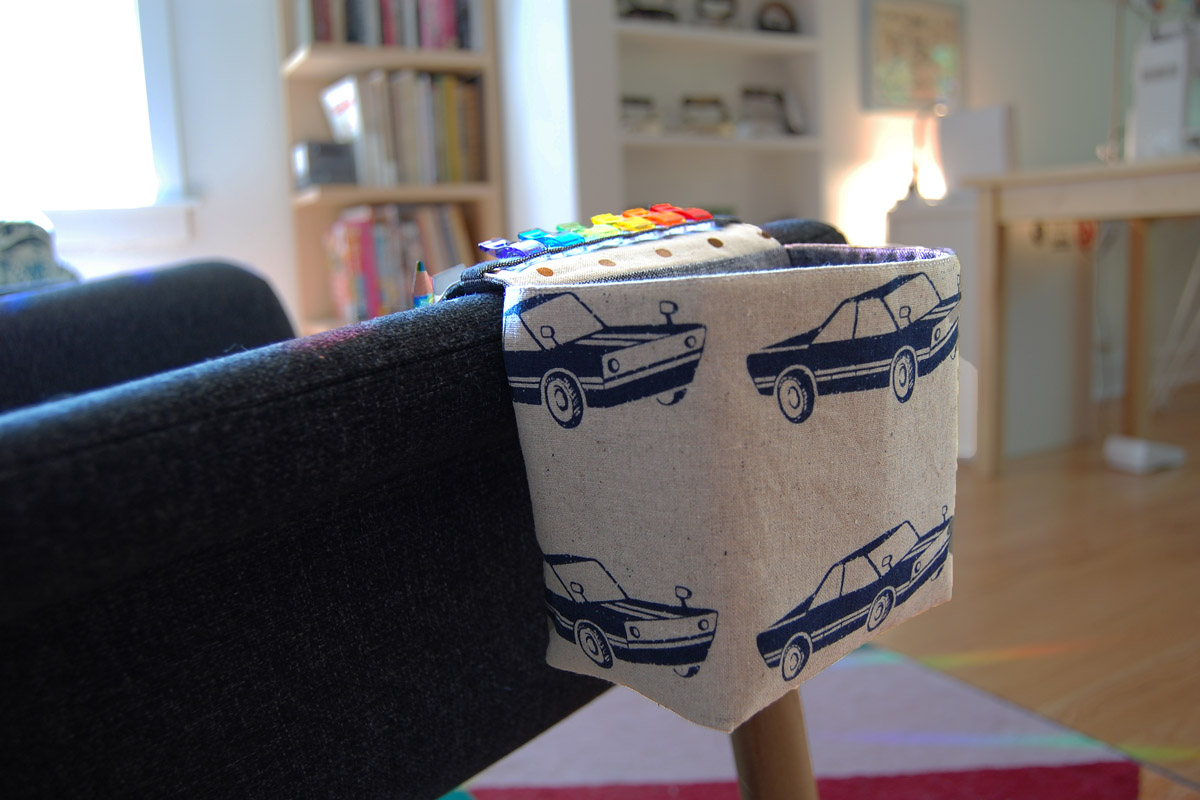
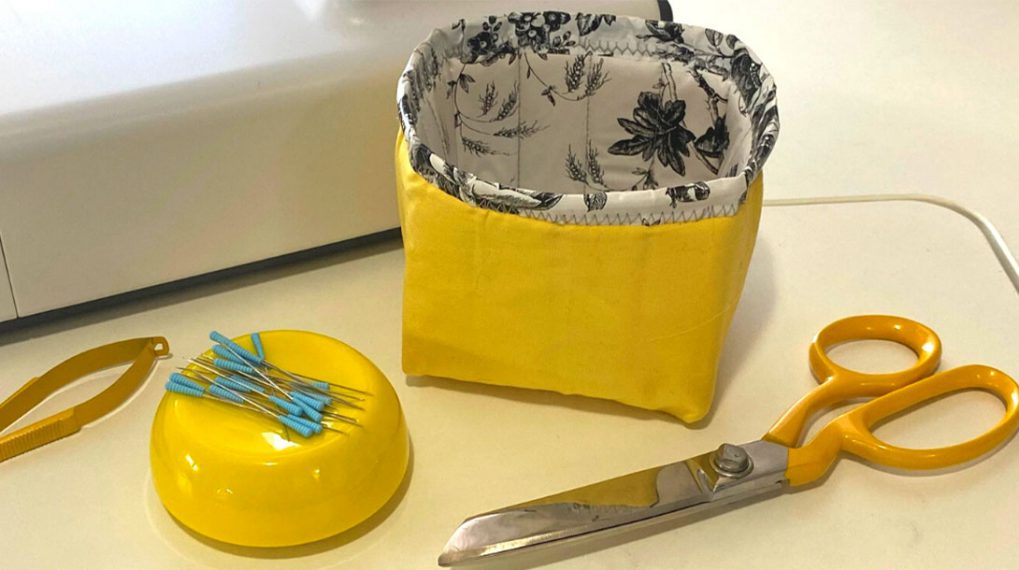
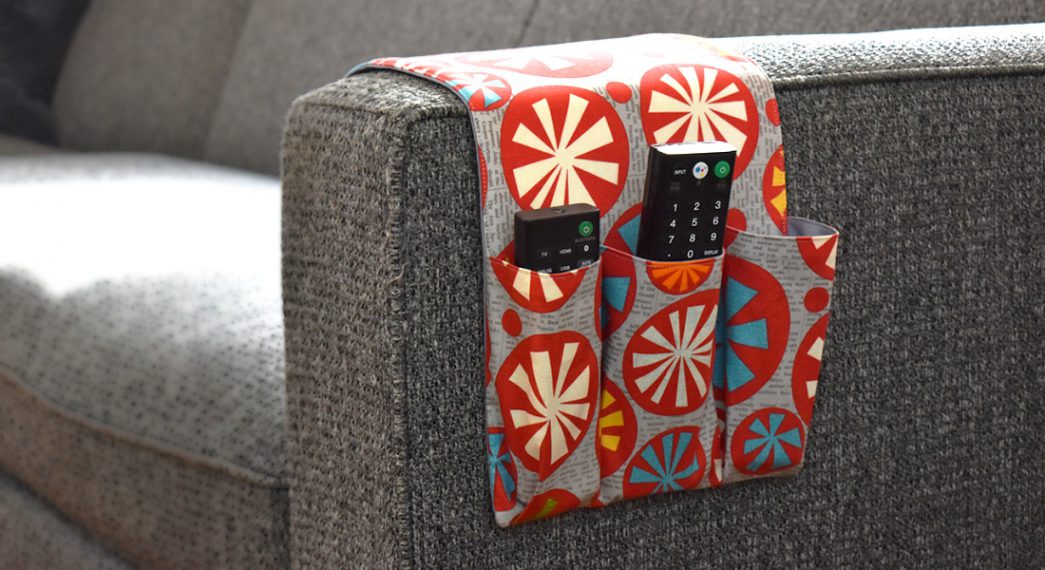
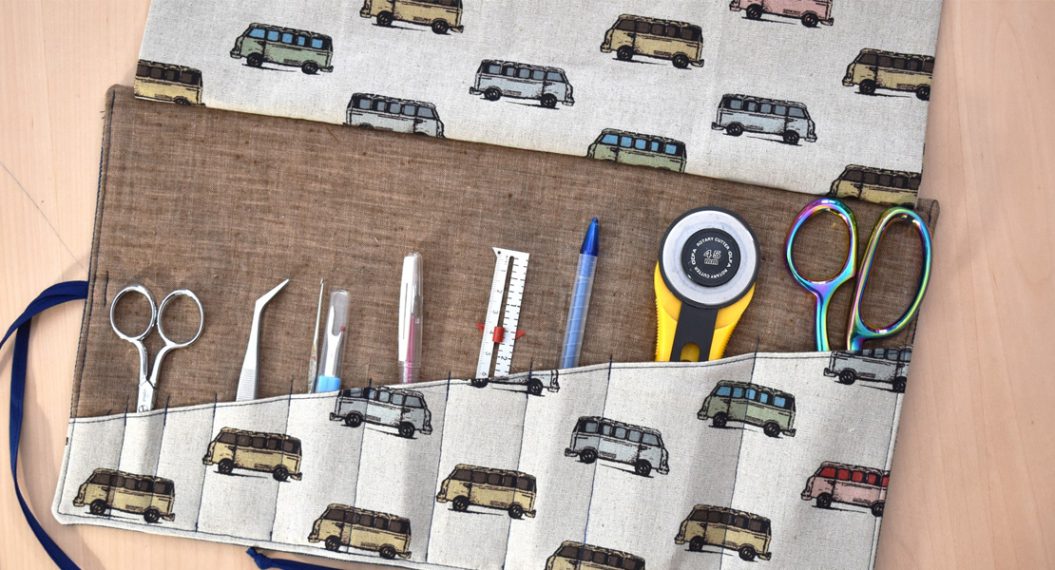
That’s when I decided a tool holder with attached thread catcher was just what I needed! It drapes right over the arm of a chair or couch, holds all kinds of small tools, and has a big open thread catcher to keep those bits and scraps off the floor. The pockets in the tool holder are so handy, I even use it to hold pens and pencils when I’m drawing in my sketchbook. You can make one with two or more coordinating fat quarters and a few other supplies in just an evening.
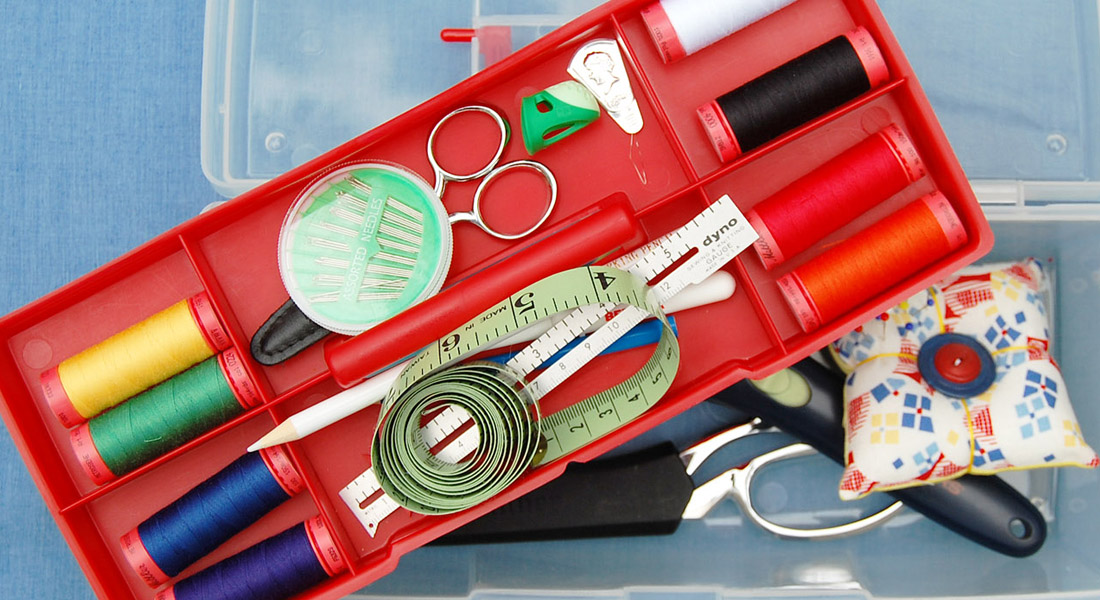
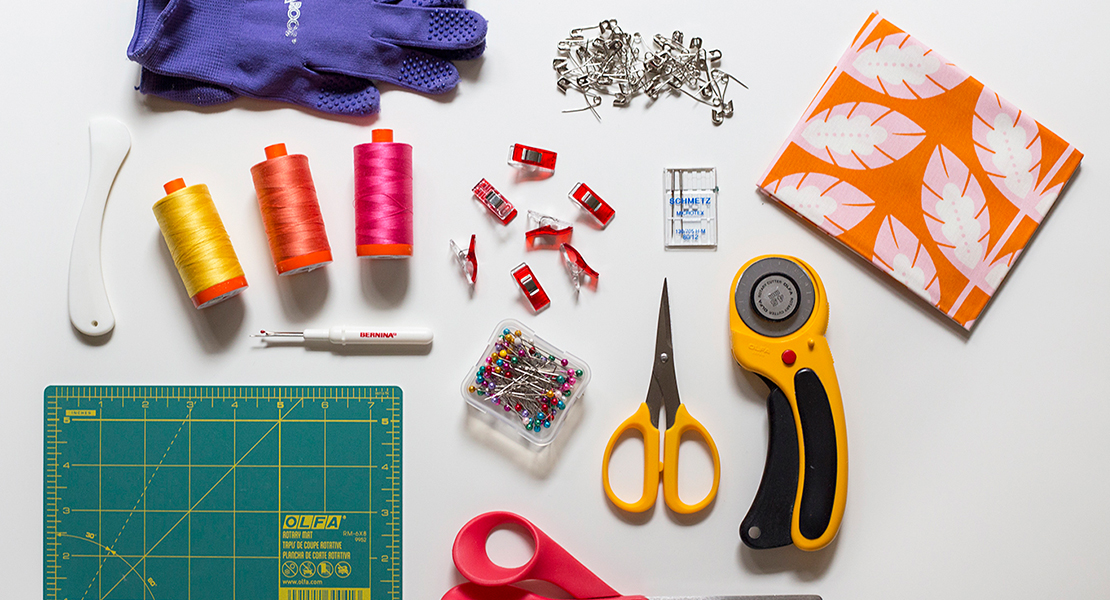
Materials to Make a Tool Caddy Thread Catcher
- Two or more coordinating fat quarters (I used a fat quarter bundle of Japanese fabrics)
- 1/3 yard heavyweight fusible interfacing
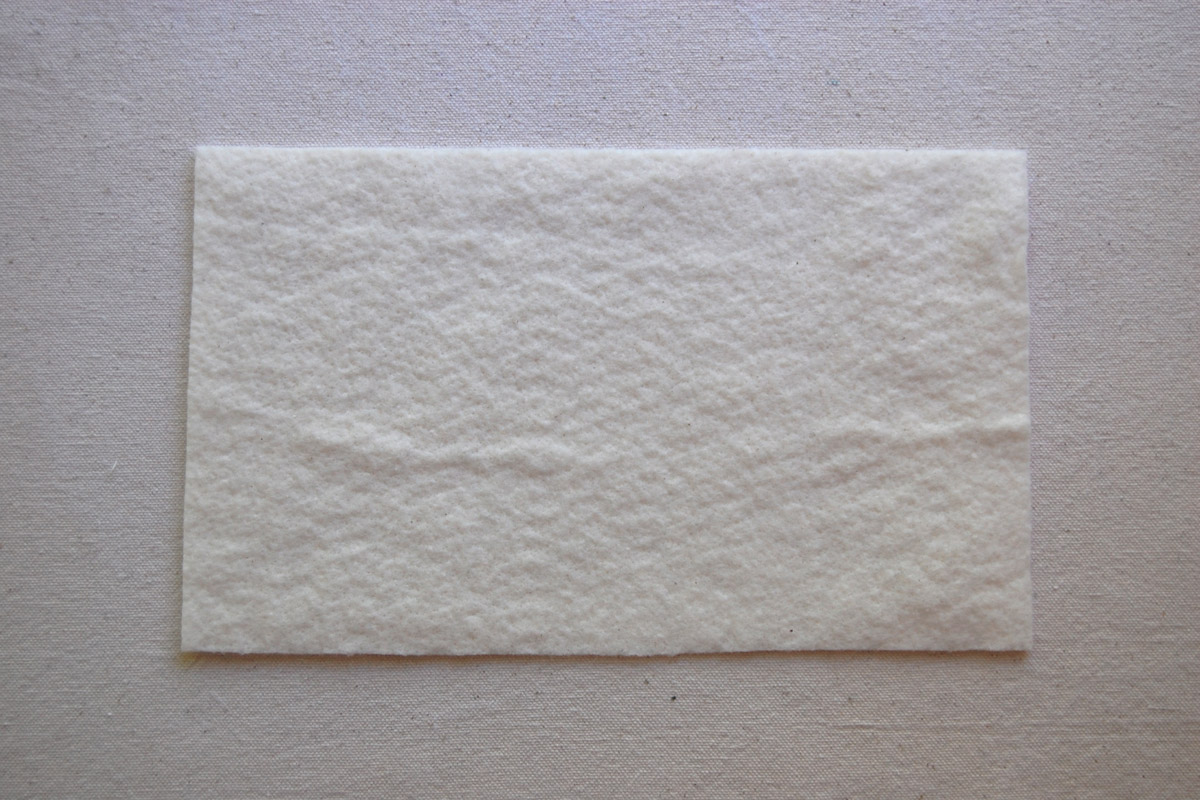
- Small scrap of 100% cotton quilt batting
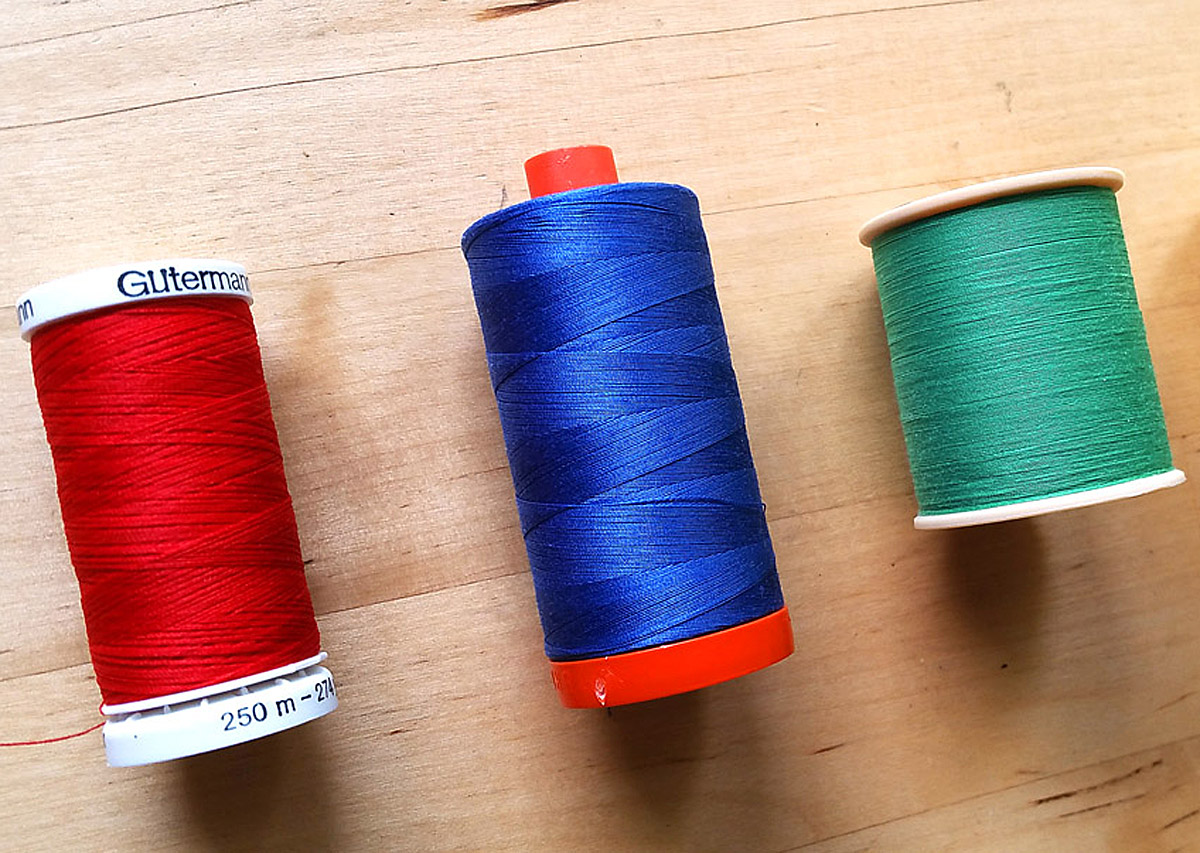
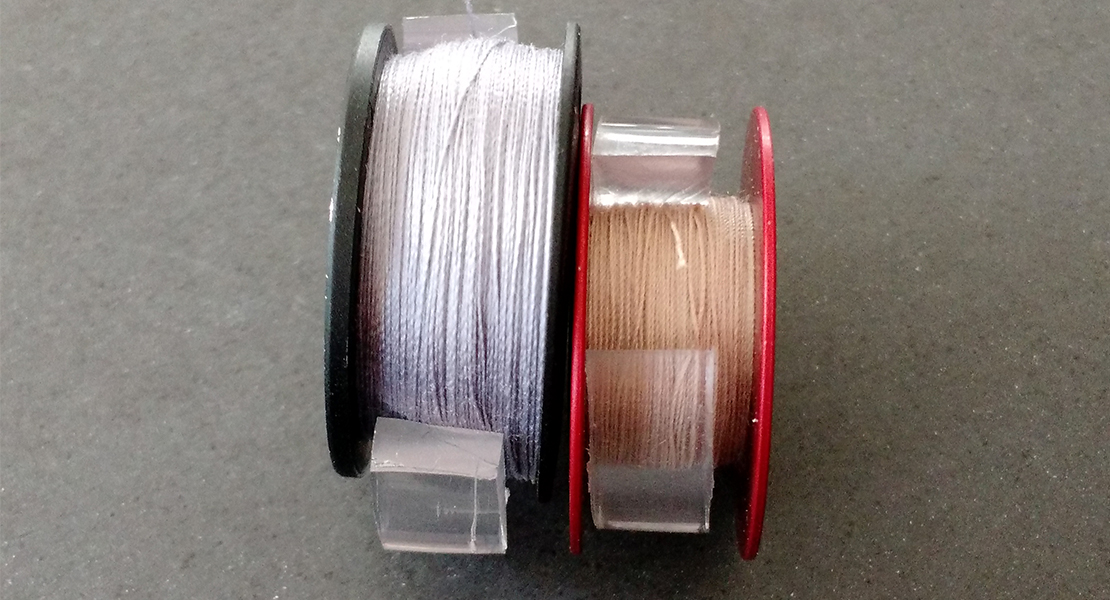
- Coordinating thread
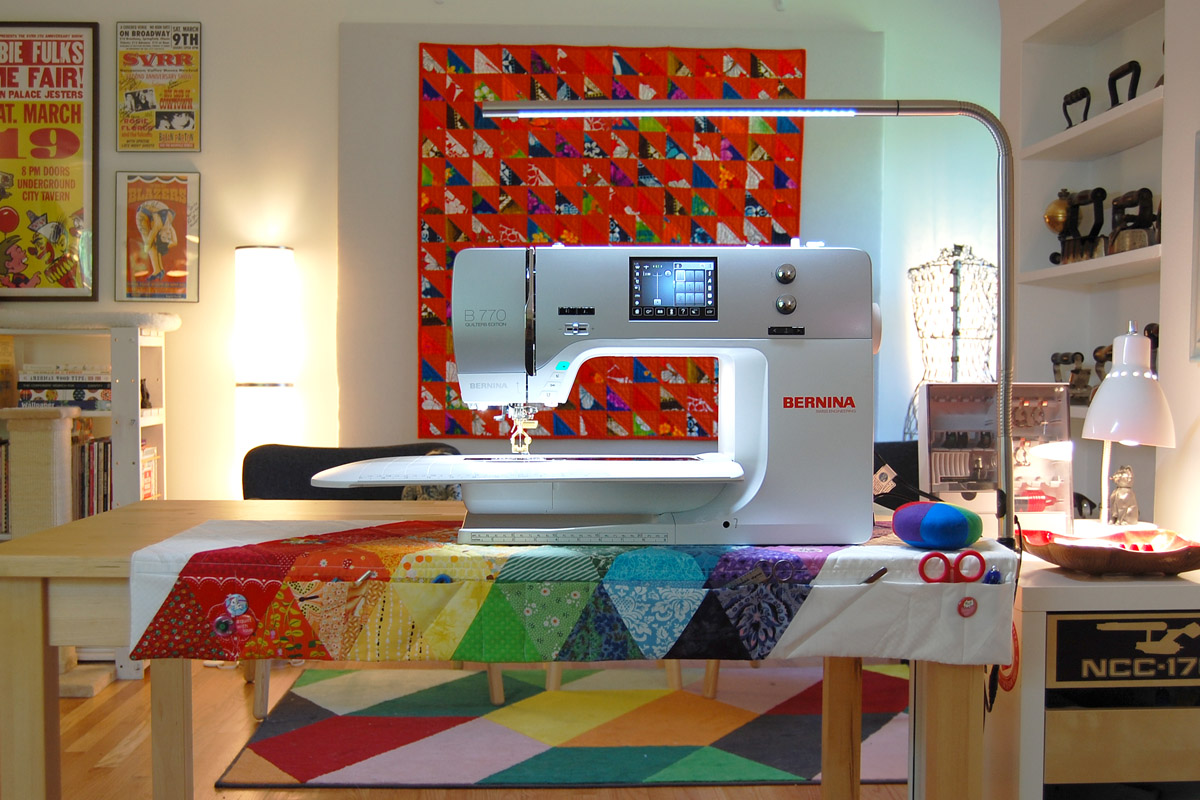
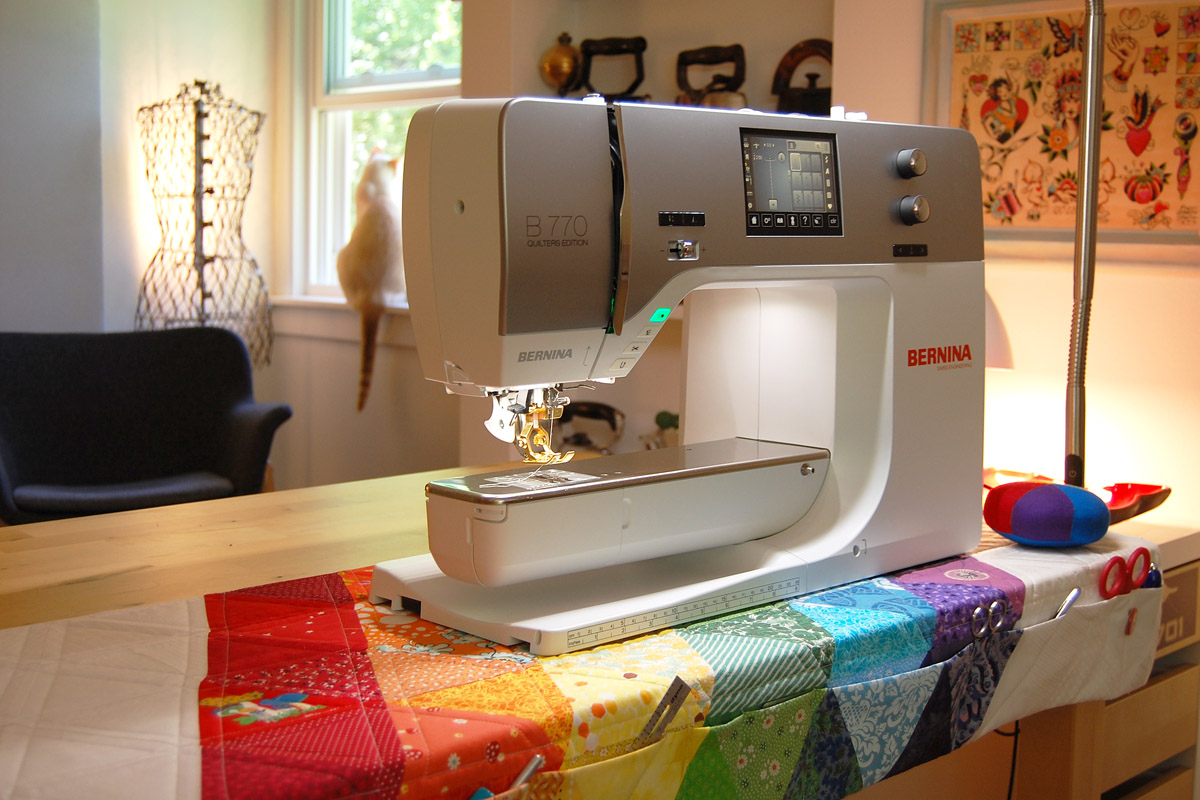
- Sewing machine (I use a BERNINA 770 QE)
- Reverse pattern foot #1/#1C/#1D (I use my Golden Anniversary Reverse pattern foot #1D)
- Rotary cutter, cutting mat, and quilting rulers
- Iron, flat pressing surface, and sleeve board
Cutting Instructions to Make a Tool Caddy Thread Catcher
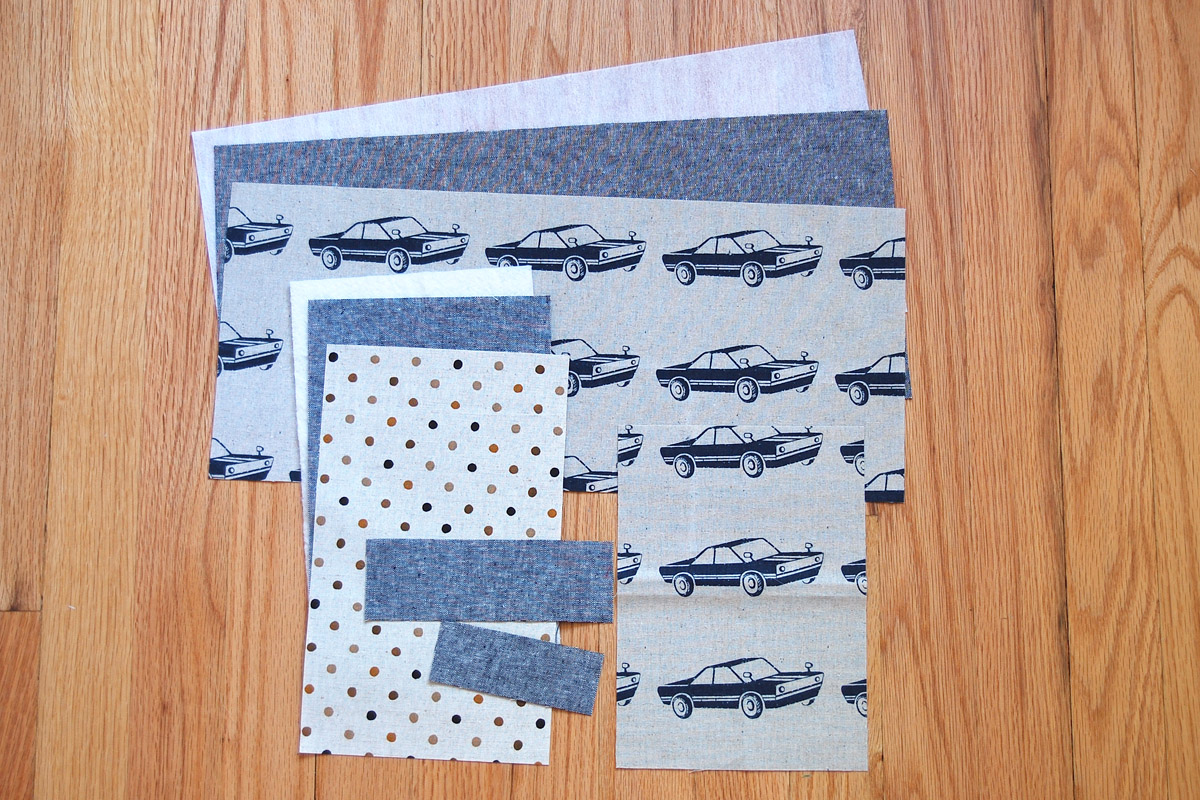
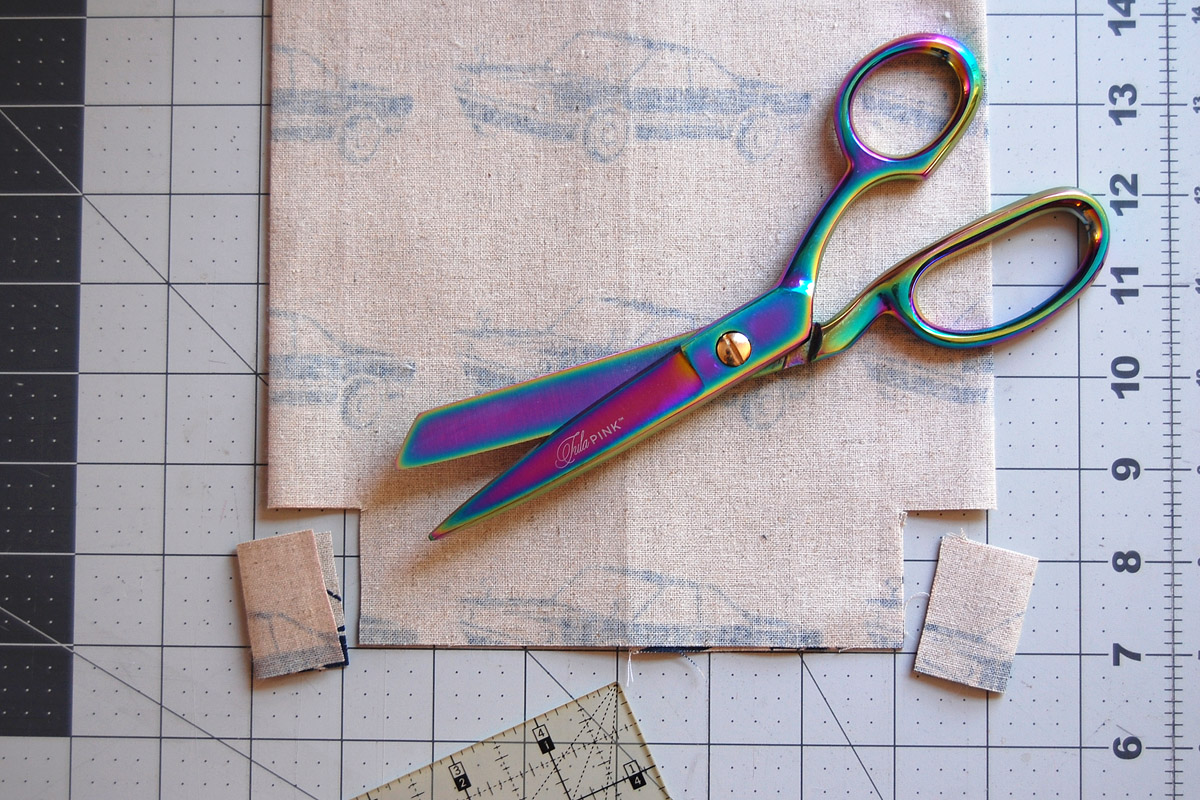
First, cut all fabrics, interfacing, and the quilt batting to size.
Fabrics
- Outside of thread catcher, one piece 17″ x 7.5″
- Inside of thread catcher, one piece 17″ x 7.5″
- Top of tool caddy, one piece 10″ x 6″
- Bottom of tool caddy, one piece 10″ x 6″
- Pocket of tool caddy, one piece 8.5″ x 6″
- Clip strap, one piece 6″ x 2″
- Loop strap, one piece 4″ x 1.5″
Interfacing
- Once piece 17″ x 7.5″
Batting
- One piece 10″ x 6″
Sewing Instructions to Make the Tool Caddy Thread Catcher
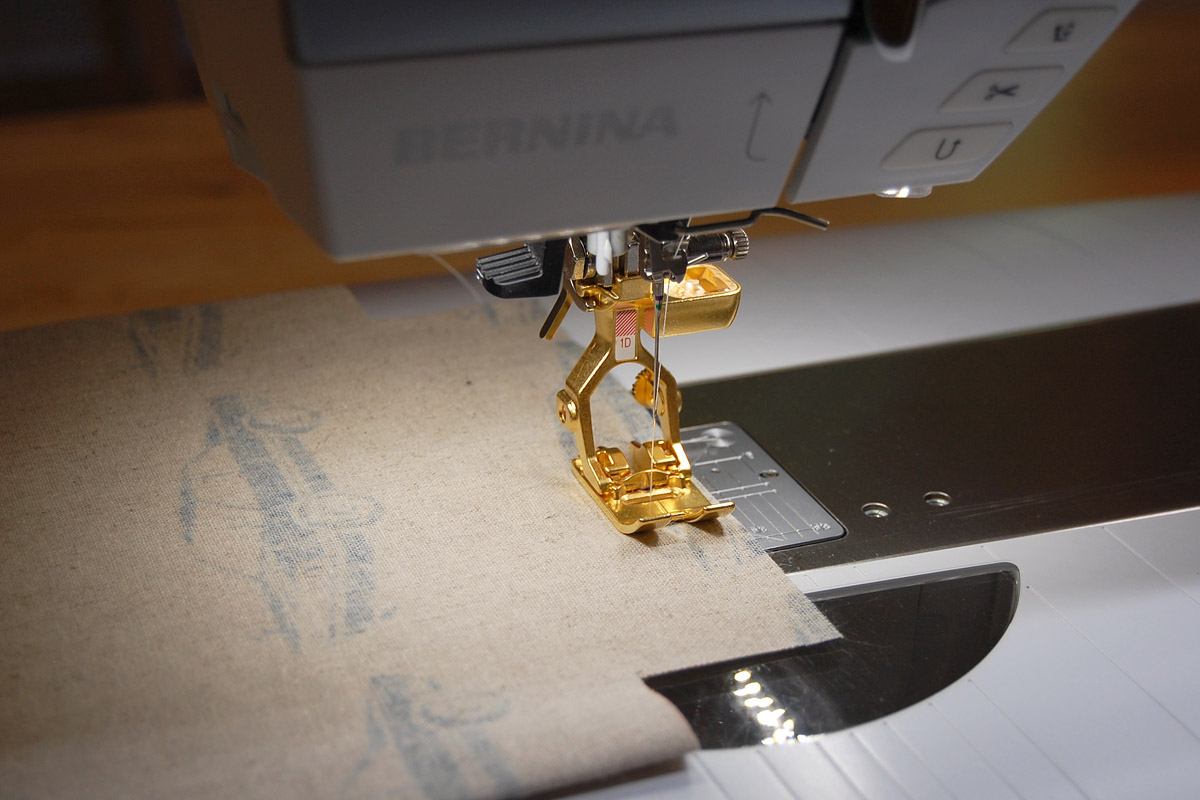
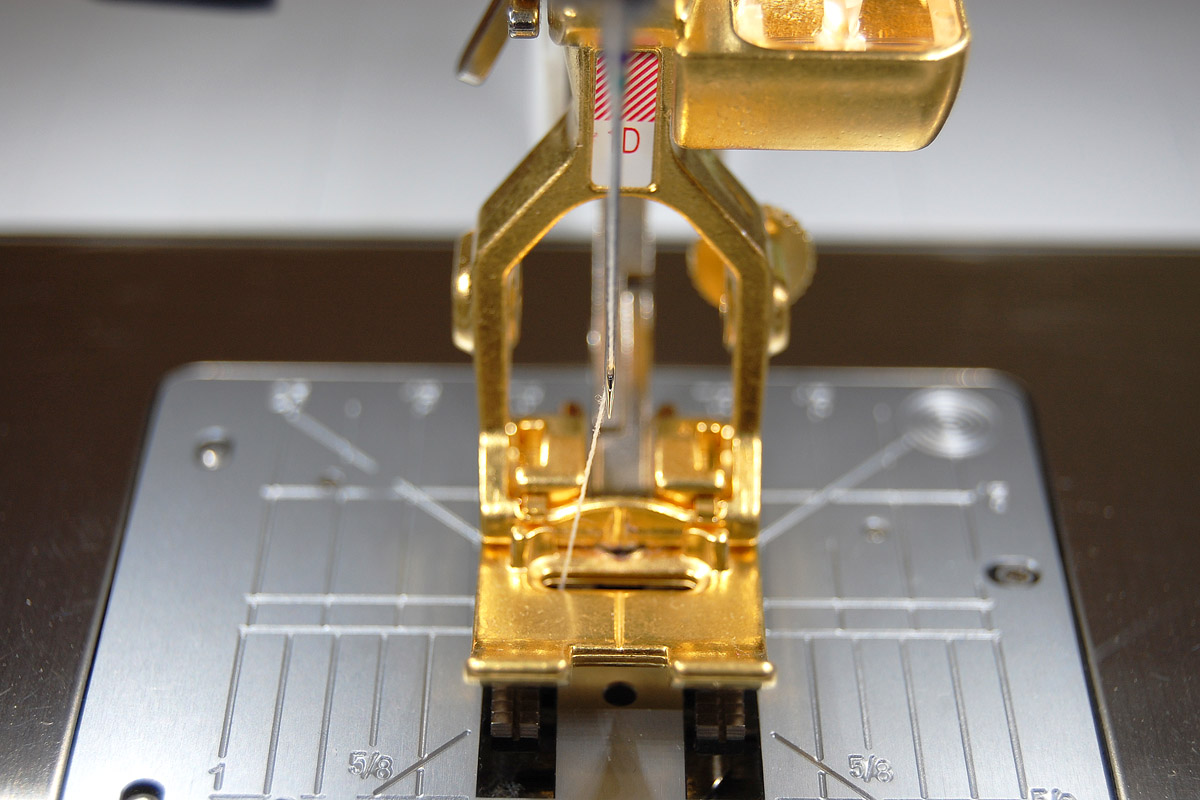
Set up your sewing machine and get ready to sew. Use a zigzag foot for this project to accommodate moving the needle position later in the tutorial.
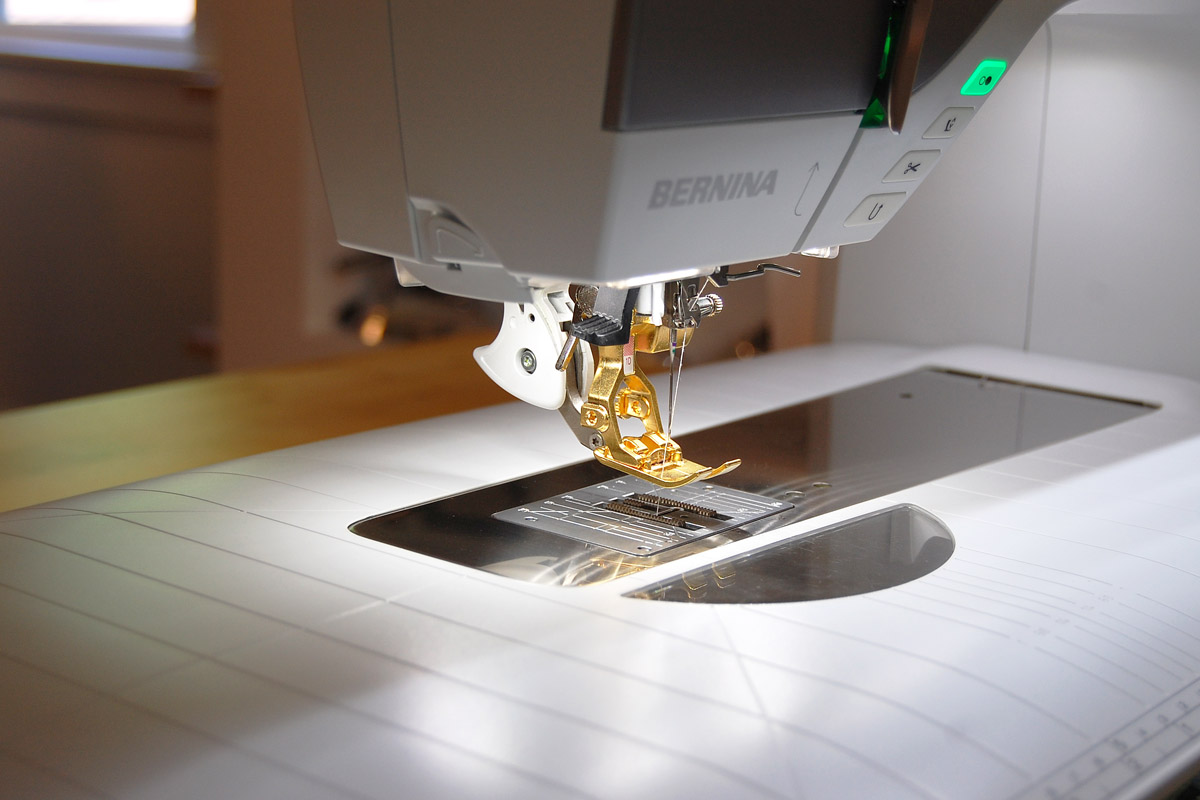
If you are using Reverse pattern foot #1D, be sure to engage your Dual Feed!
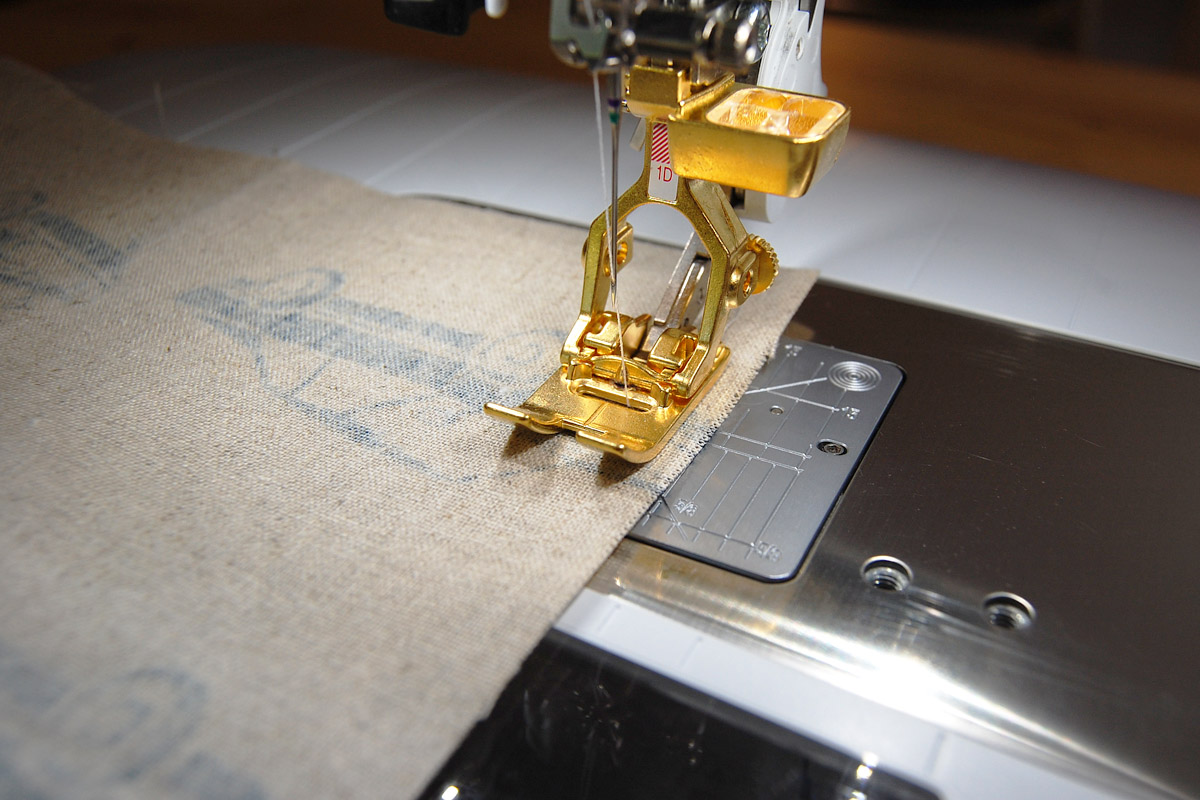
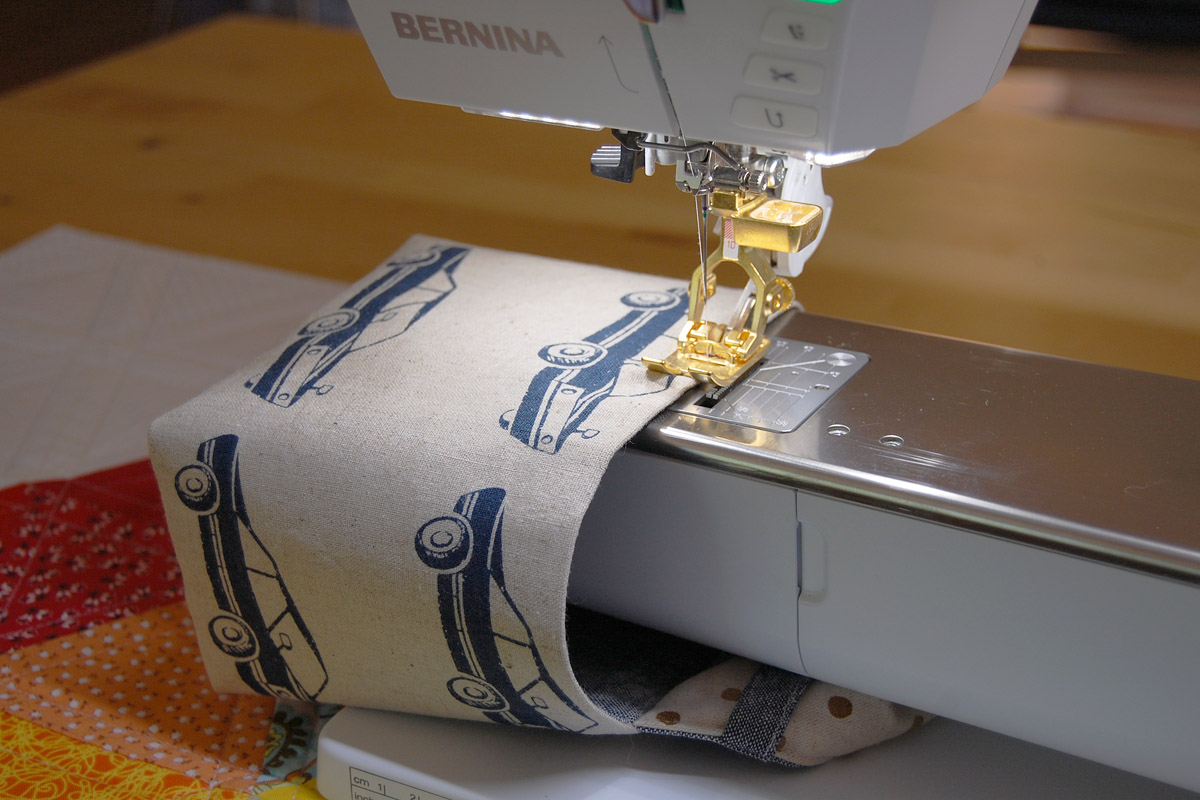
Begin with the outside 17″ x 7.5″ piece for the thread catcher. Fold in half with short edges meeting, and stitch with a 1/2″ seam allowance.

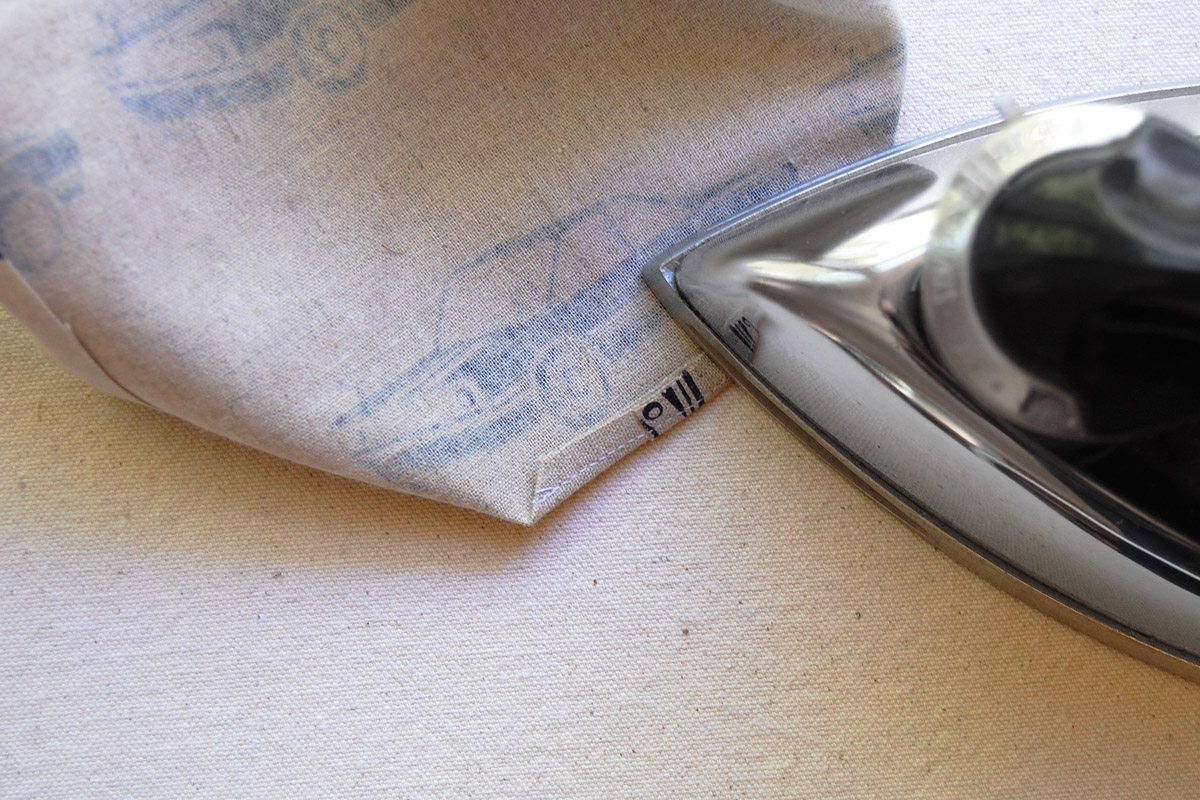
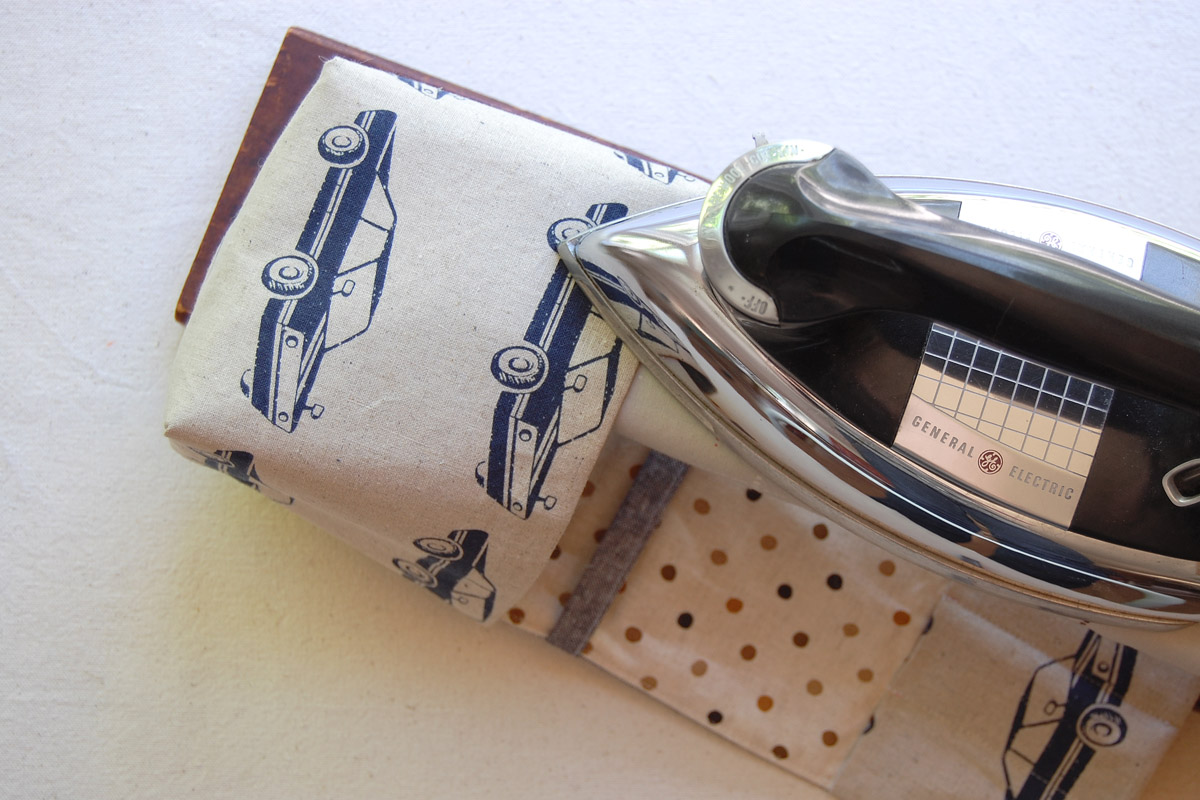
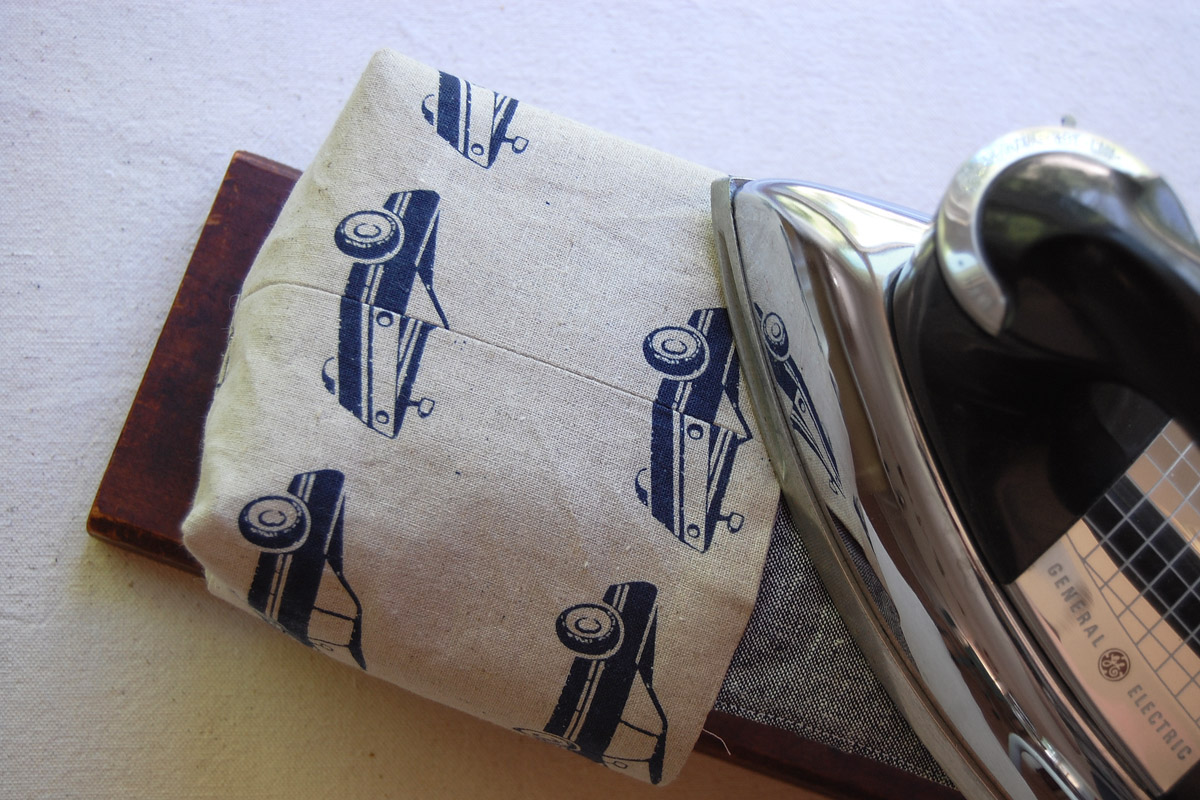
Press the seam flat, and lightly press a crease in the folded edge of the fabric.

Open the tube, matching the seam with the center crease and press the seam allowance open.
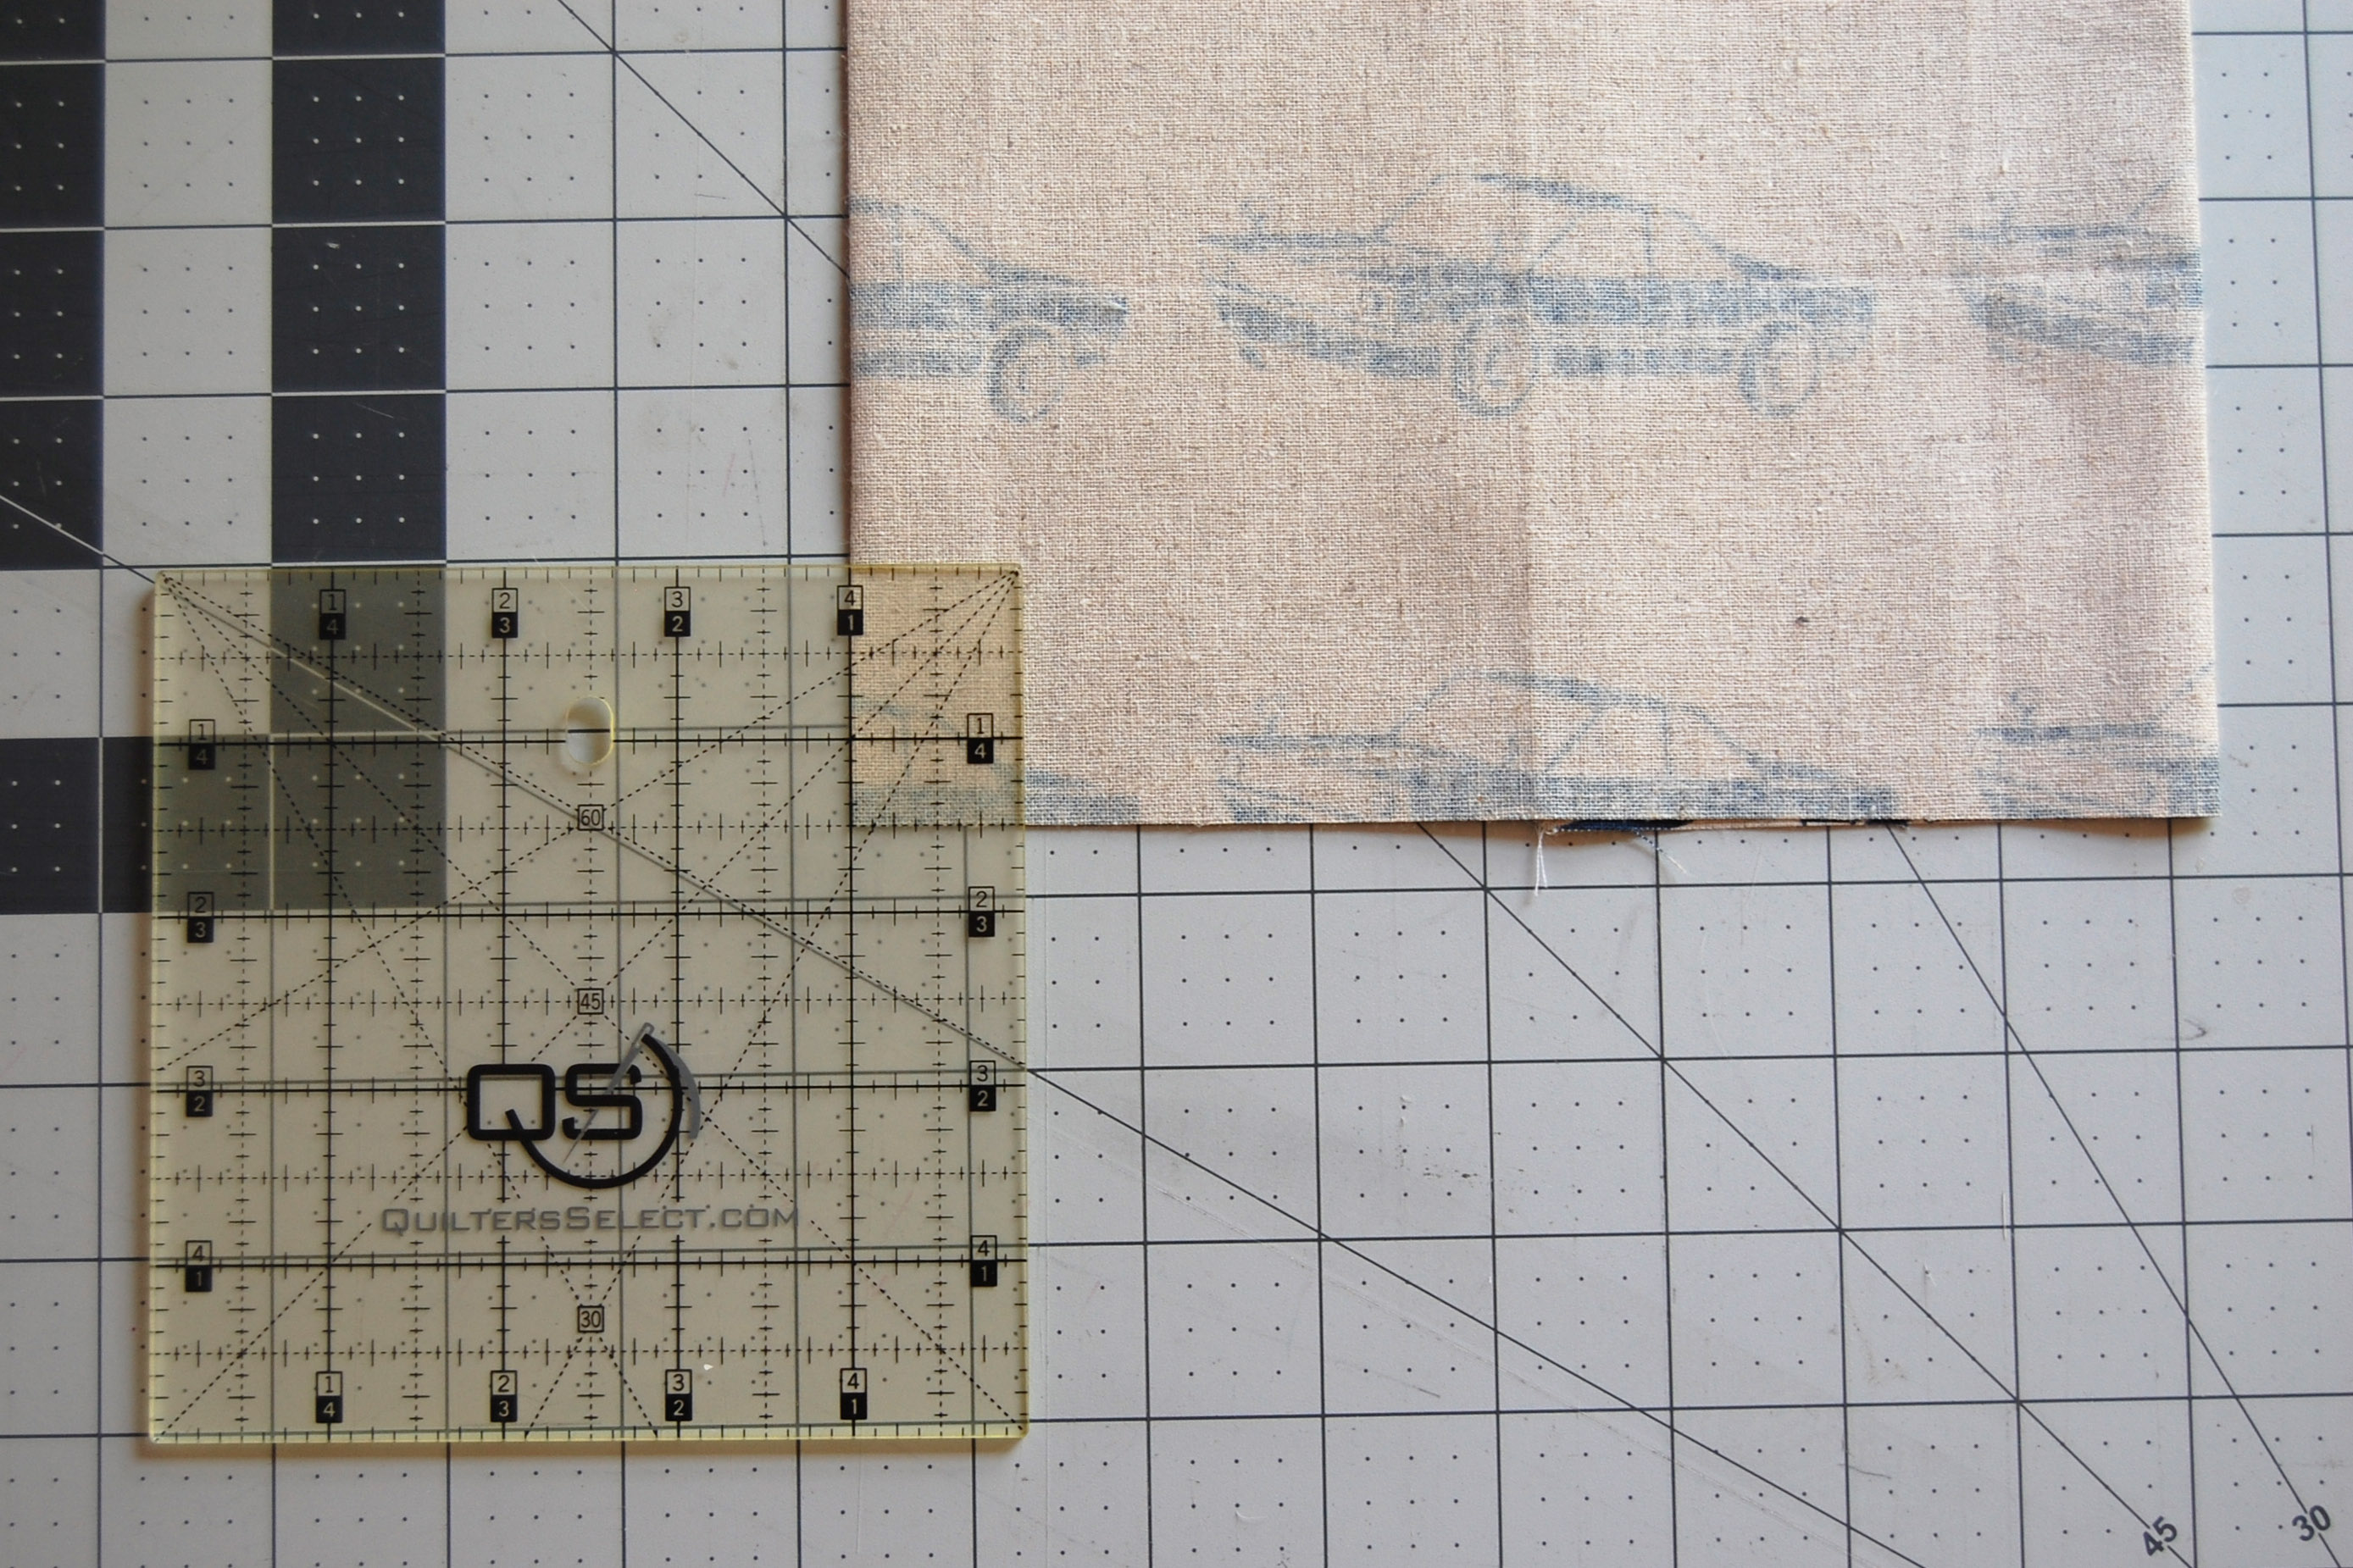
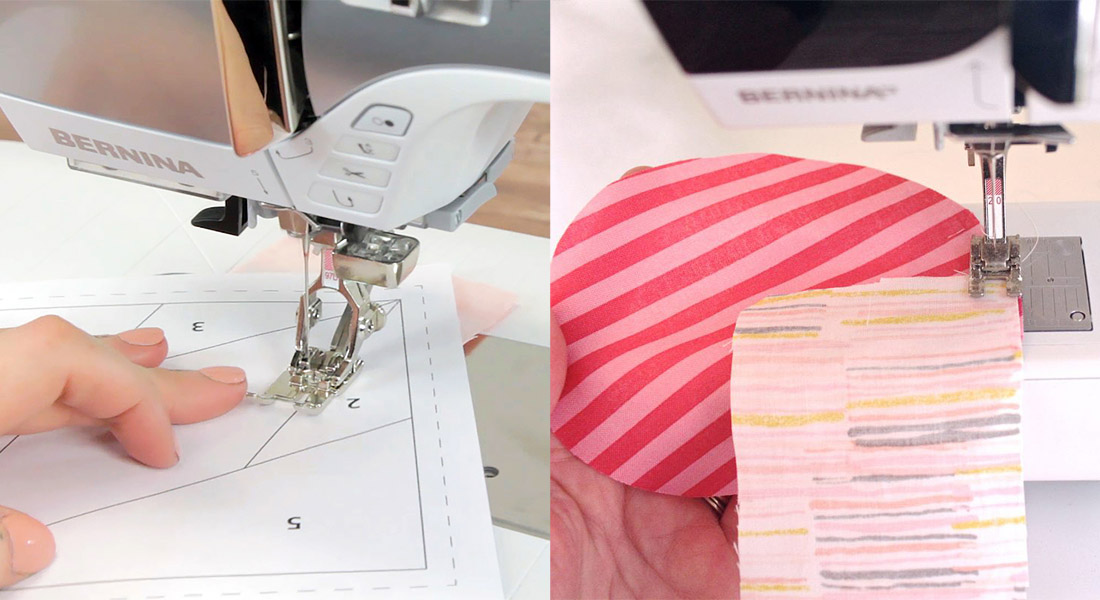
Take the pressed outside piece of the thread catcher to your cutting surface. Measure and mark each bottom edge 1 1/2″ up from the bottom raw edges and 1″ over from the folded side.
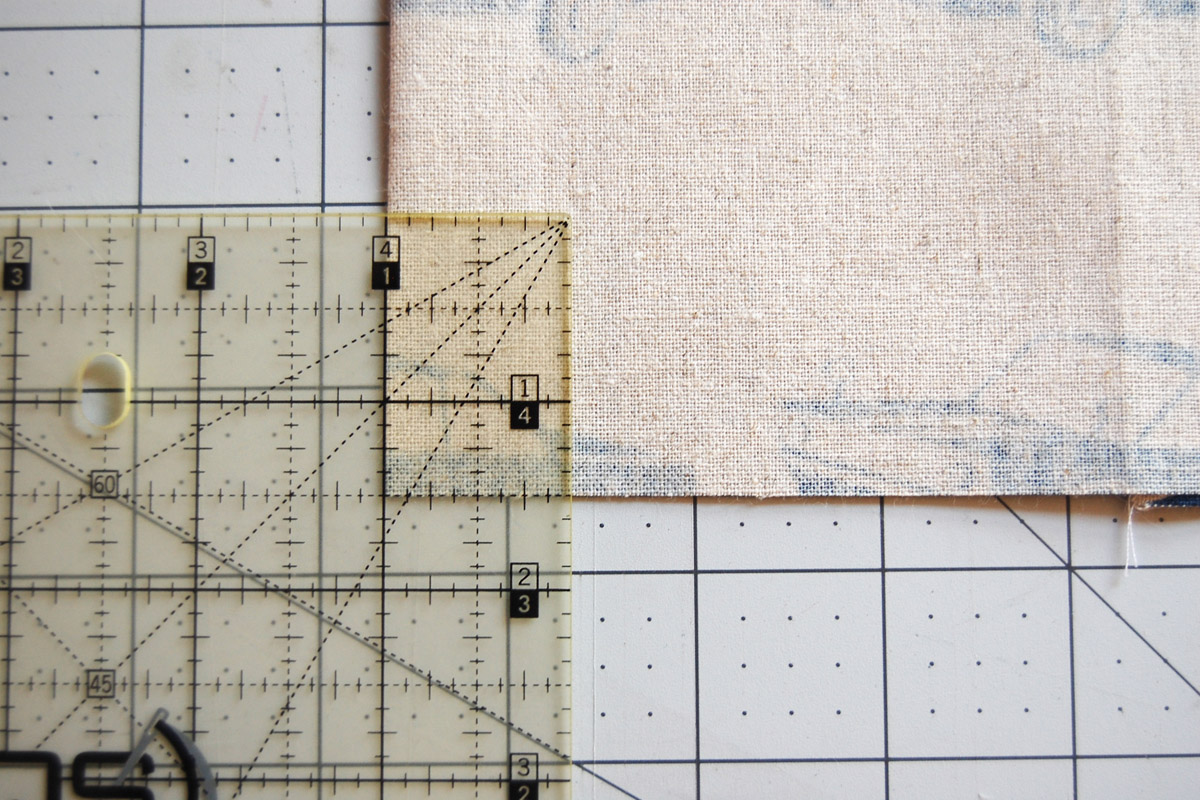
Cut along the marks. These cutouts will form the boxed out bottom of the thread catcher in a later step.
Sew along the bottom edge in between the cut outs at 1/2″ seam allowance.
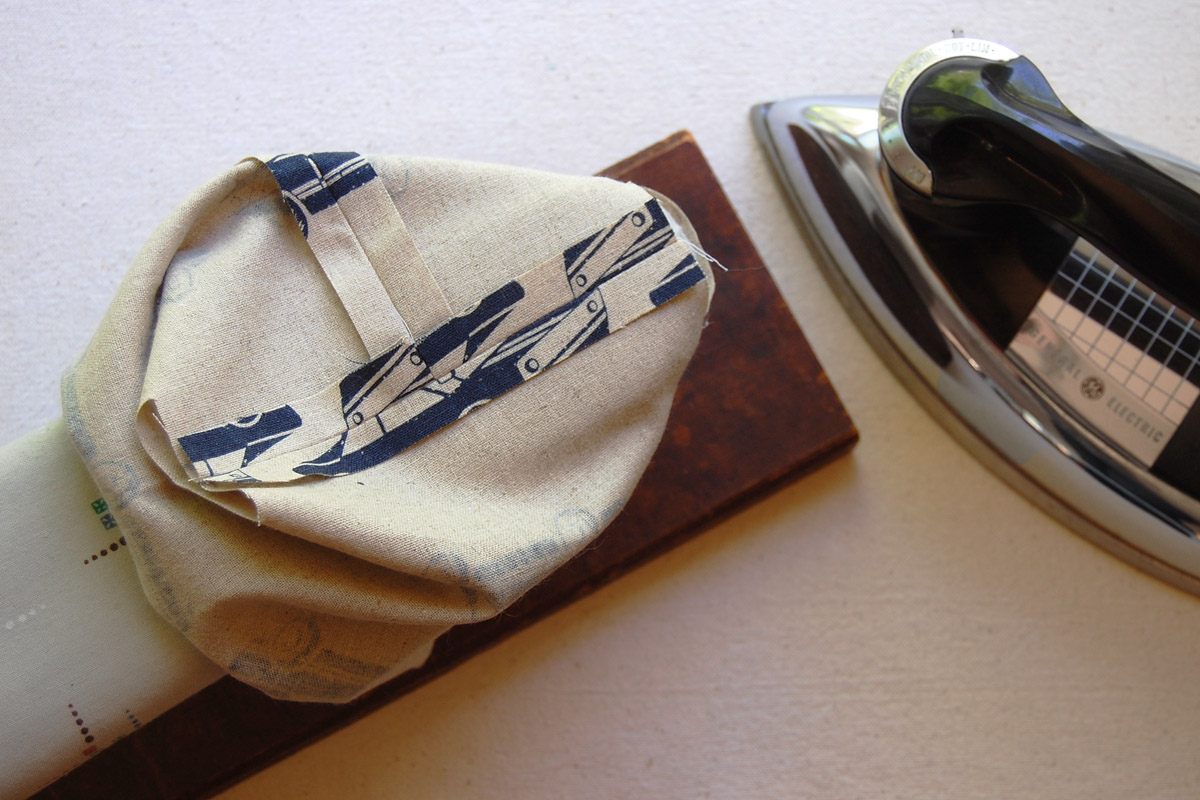
This is the time that a sleeve board comes in handy for pressing in tight spaces. Slip the bottom over the thin end of the sleeve board and press the bottom seam open. If you don’t have a sleeve board do the best you can on your ironing surface.
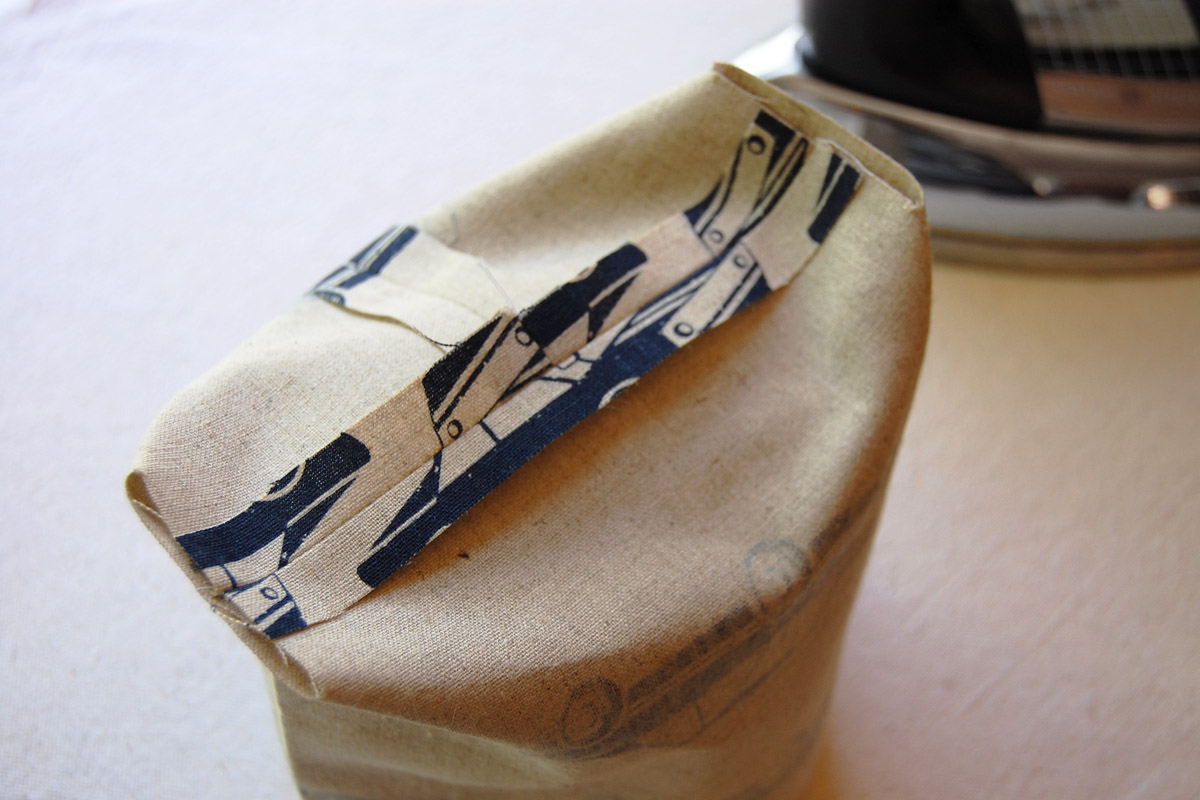
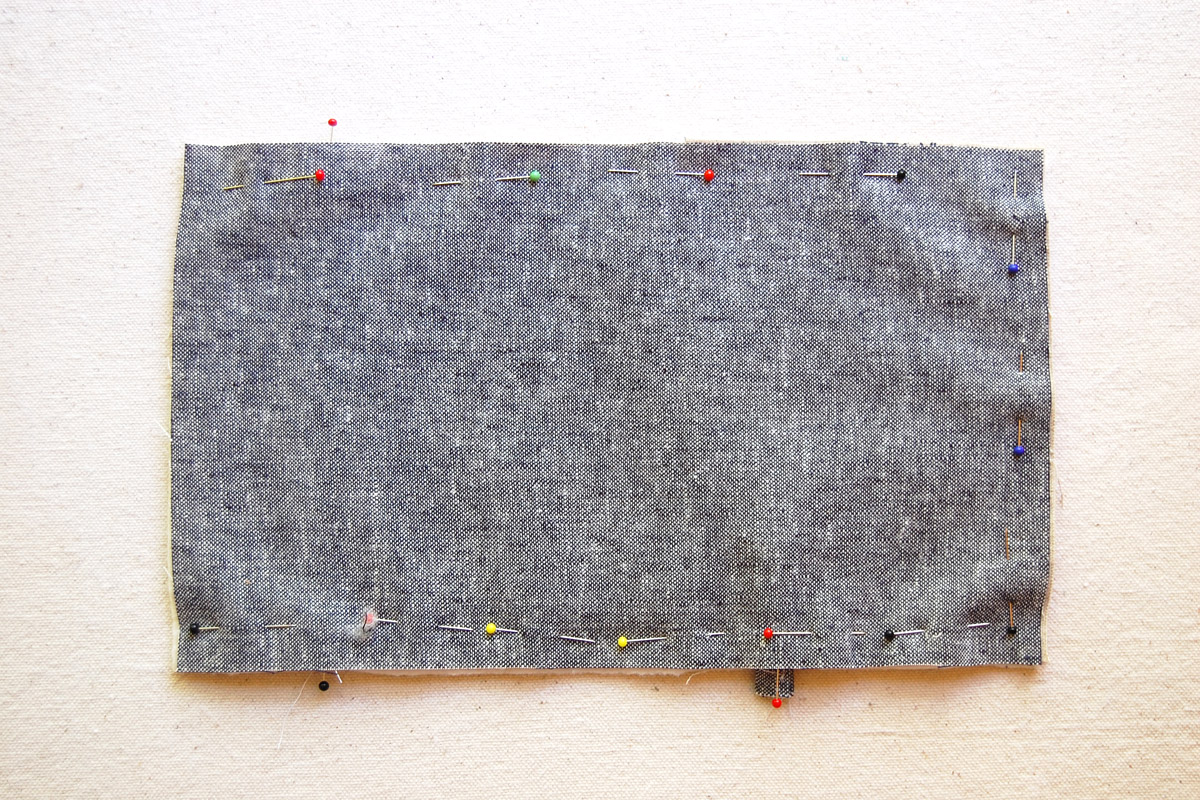
Now you can see the boxed out bottom of the thread catcher starting to form. Pin the openings together at each side of the thread catcher and stitch across at 1/2″ seam allowance.

Trim seam down to about 1/4″.
Press seams up towards the sides of the thread catcher. Set the finished outside of the thread catcher aside.
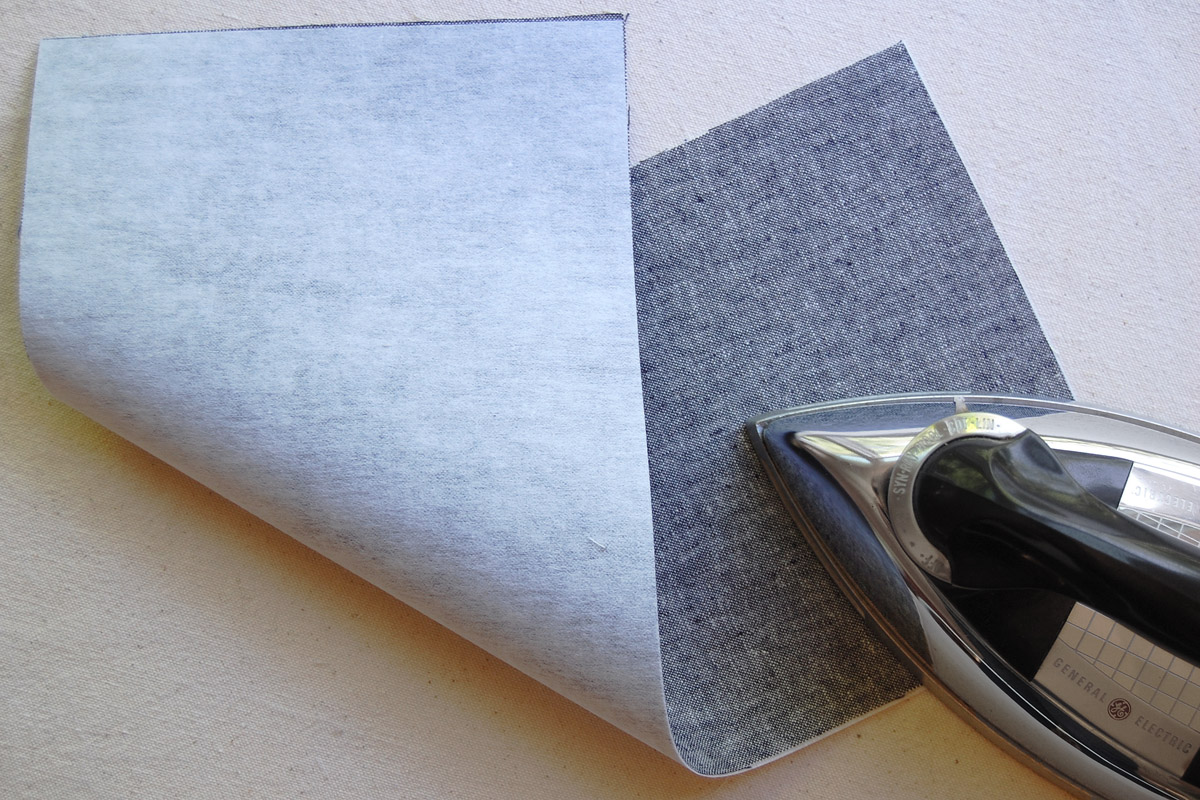
Next, grab the inside thread catcher piece of fabric 17″ x 7.5″ and the cut heavyweight interfacing piece 17″ x 7.5″. Following the manufacturer’s instructions, fuse the interfacing to the back of the fabric.
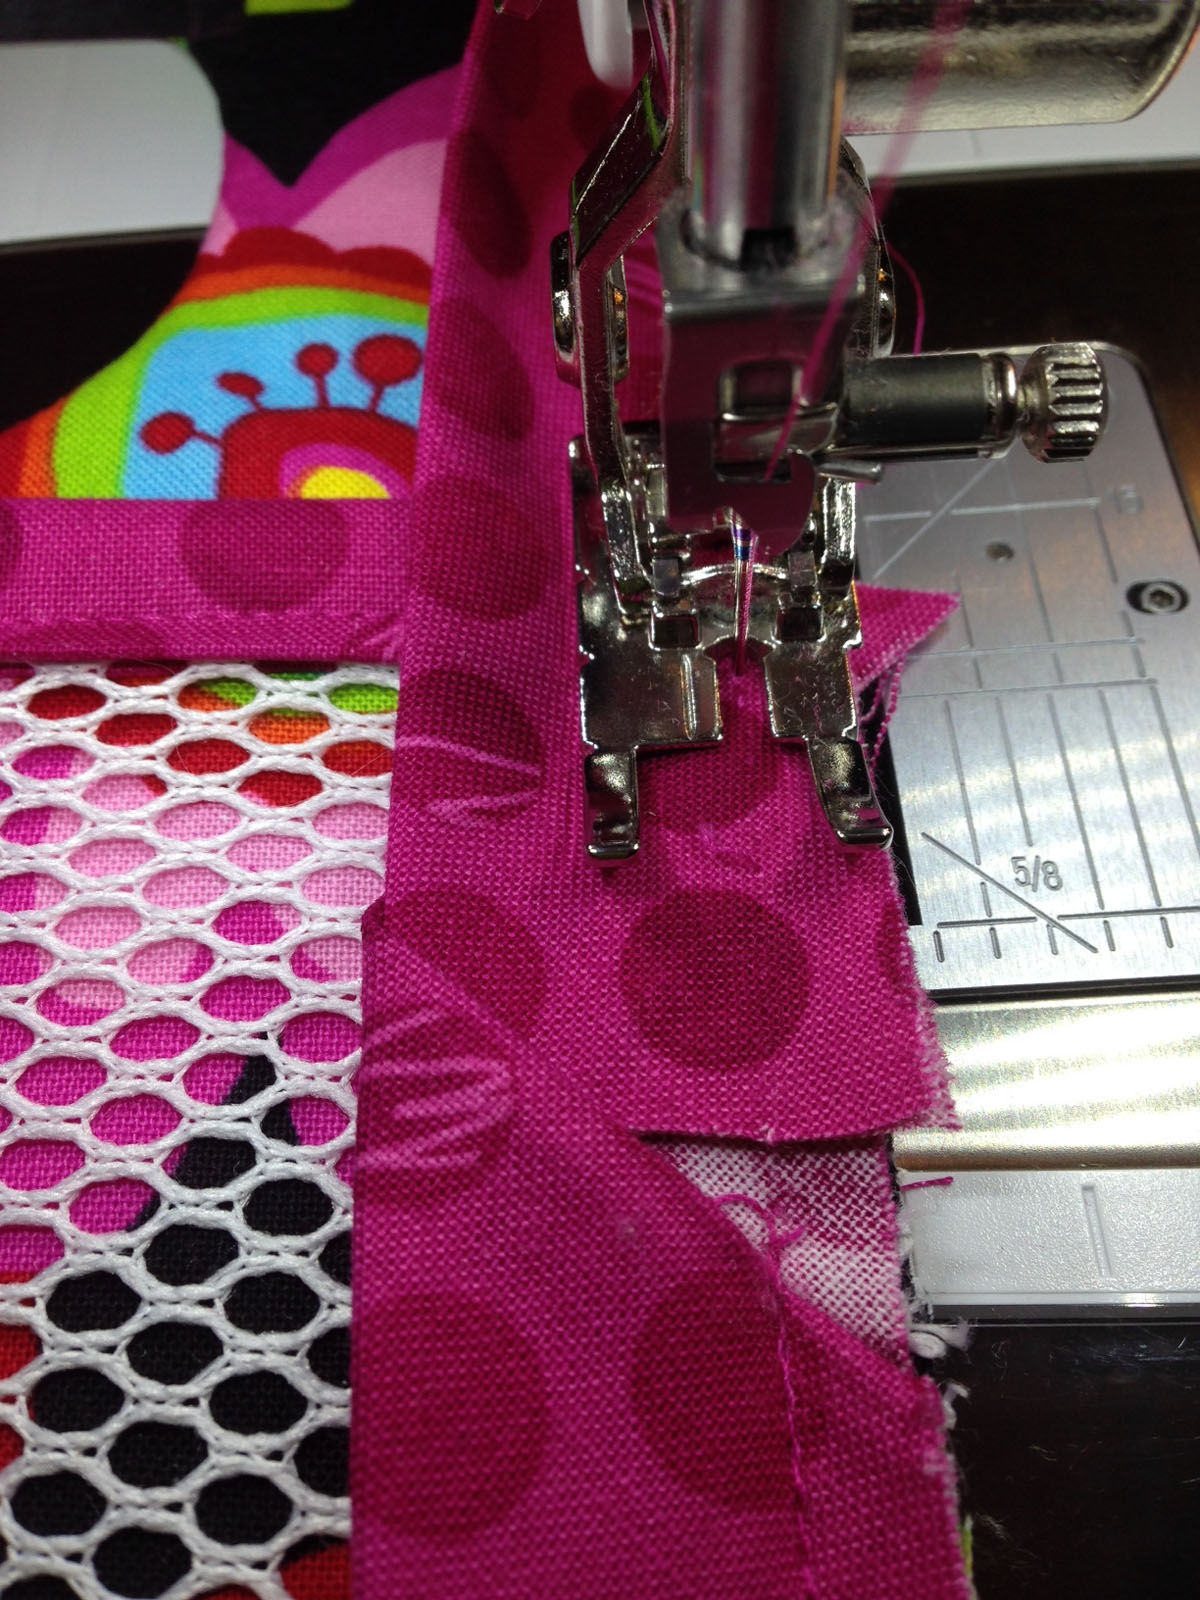
Before beginning to stitch the inside of the thread catcher, move your needle position one click over to the left. If you aren’t sure where your needle position control is, look for the symbol of a needle with one dot underneath it.
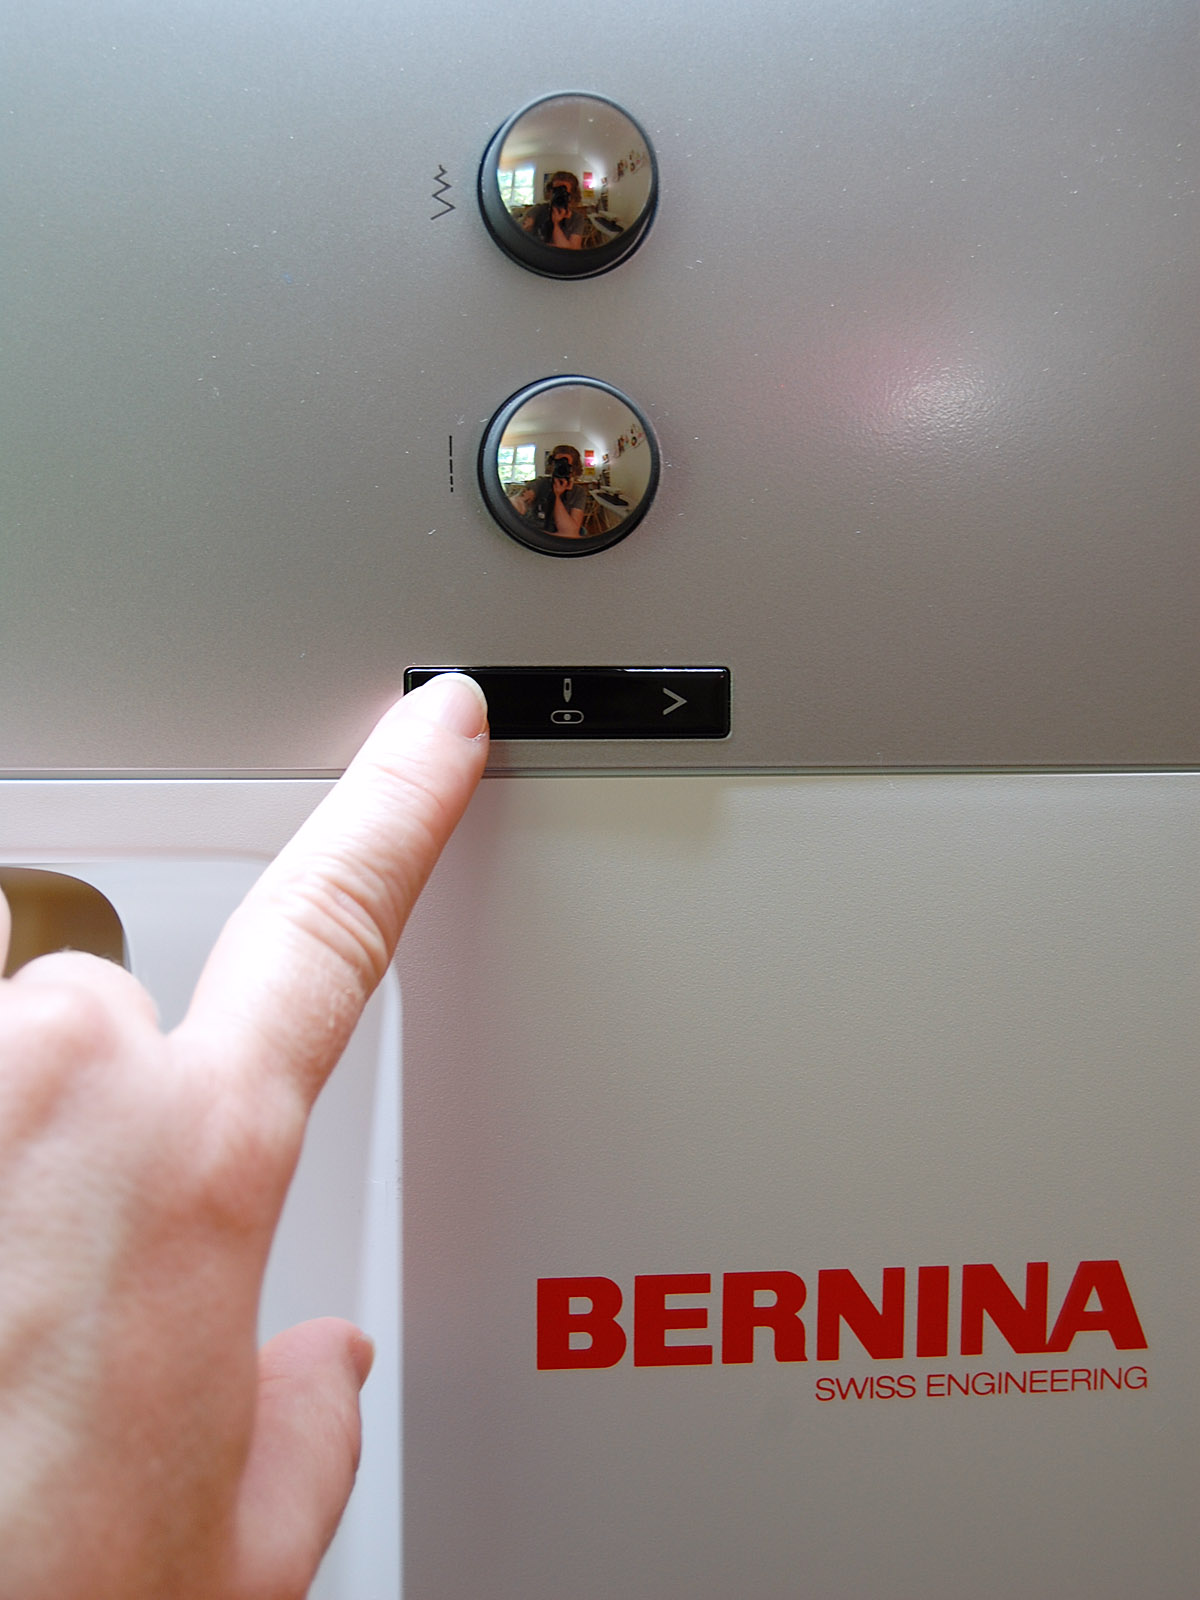
And move the needle to one position to the left of center.
It’s not a huge amount, but you will see the needle move slightly to the left of the center mark. You will follow all the directions above to sew the inside of the thread catcher and use the 1/2″ seam allowance mark on your needle plate. Because we’ve moved the needle slightly to the left of center, the inside piece will finish slightly smaller than the outside piece, allowing them to nest together nicely and avoid puckering.
When you have finished completing the inside of the thread catcher be sure to reset the needle position back to center BEFORE continuing on with the tutorial!
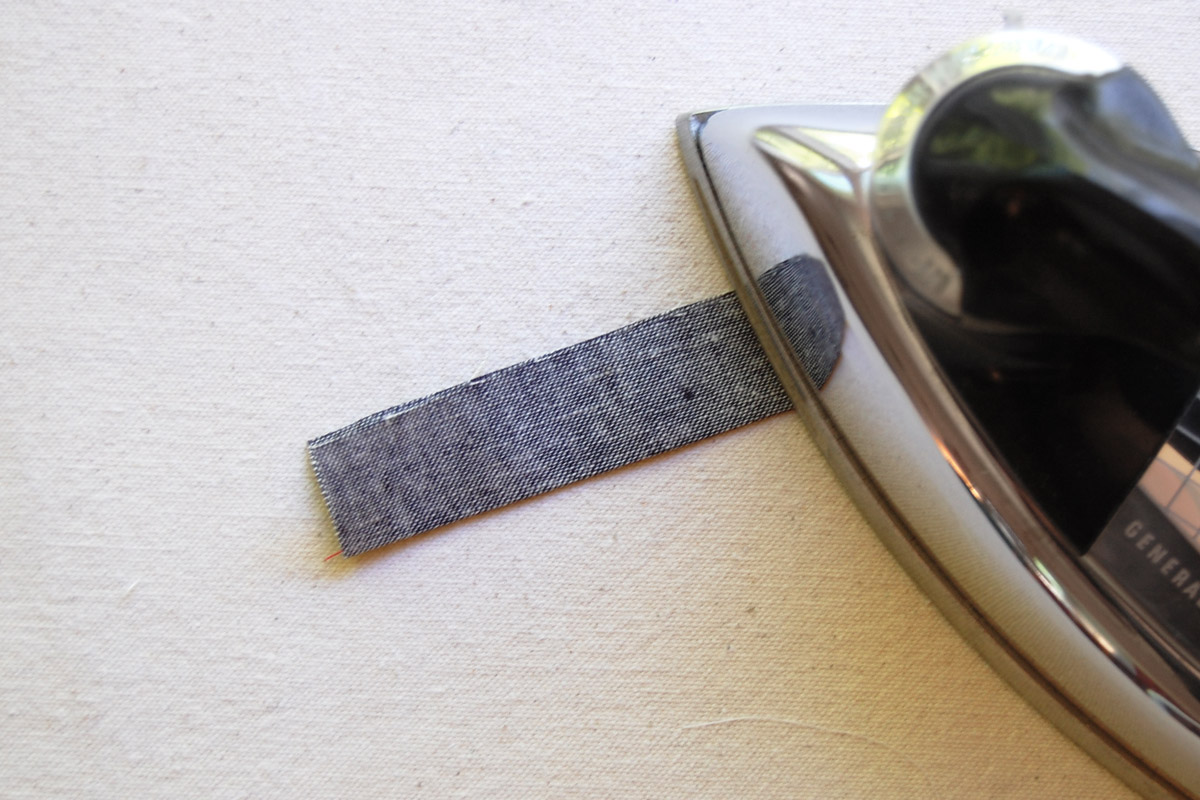
Let’s create the clip strap and loop for the tool caddy. Grab the 6″ x 2″ piece and the 4″ x 1.5″ piece. To create each long piece, begin by pressing together long ways with a sharp crease.
Open the fabric and press each side in to meet the center crease.
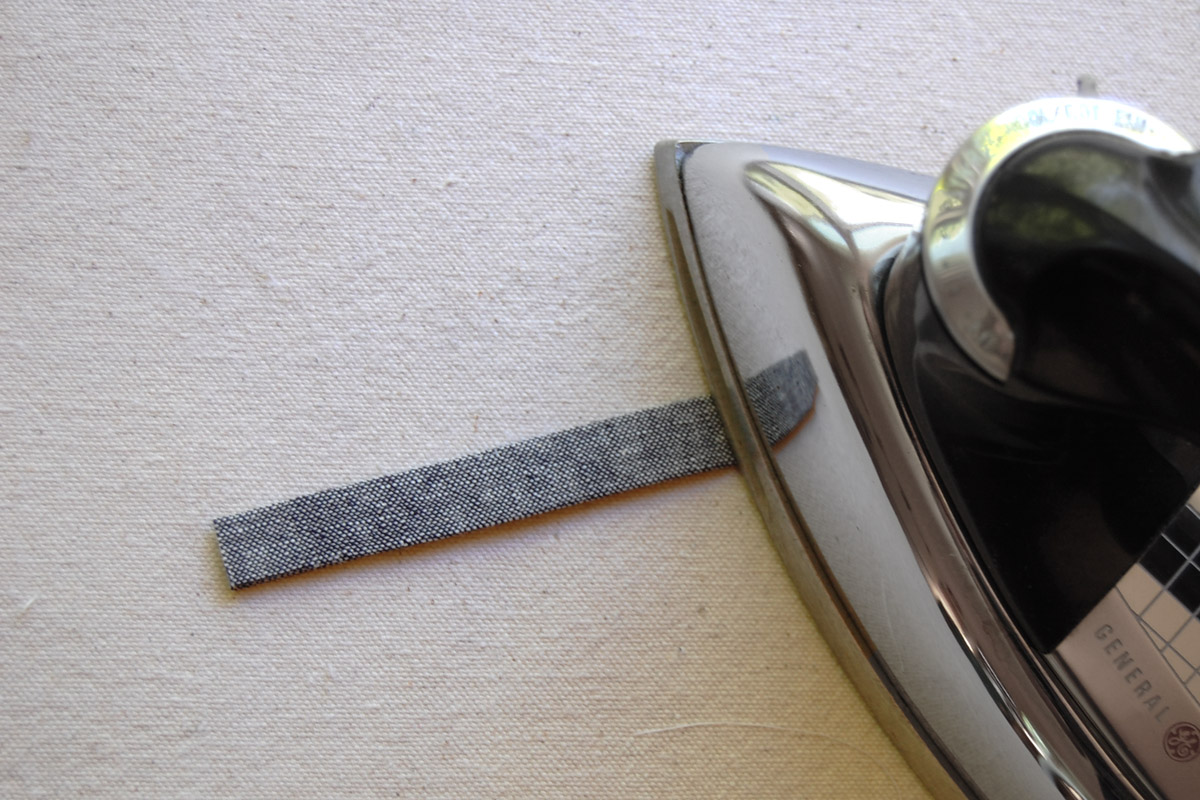
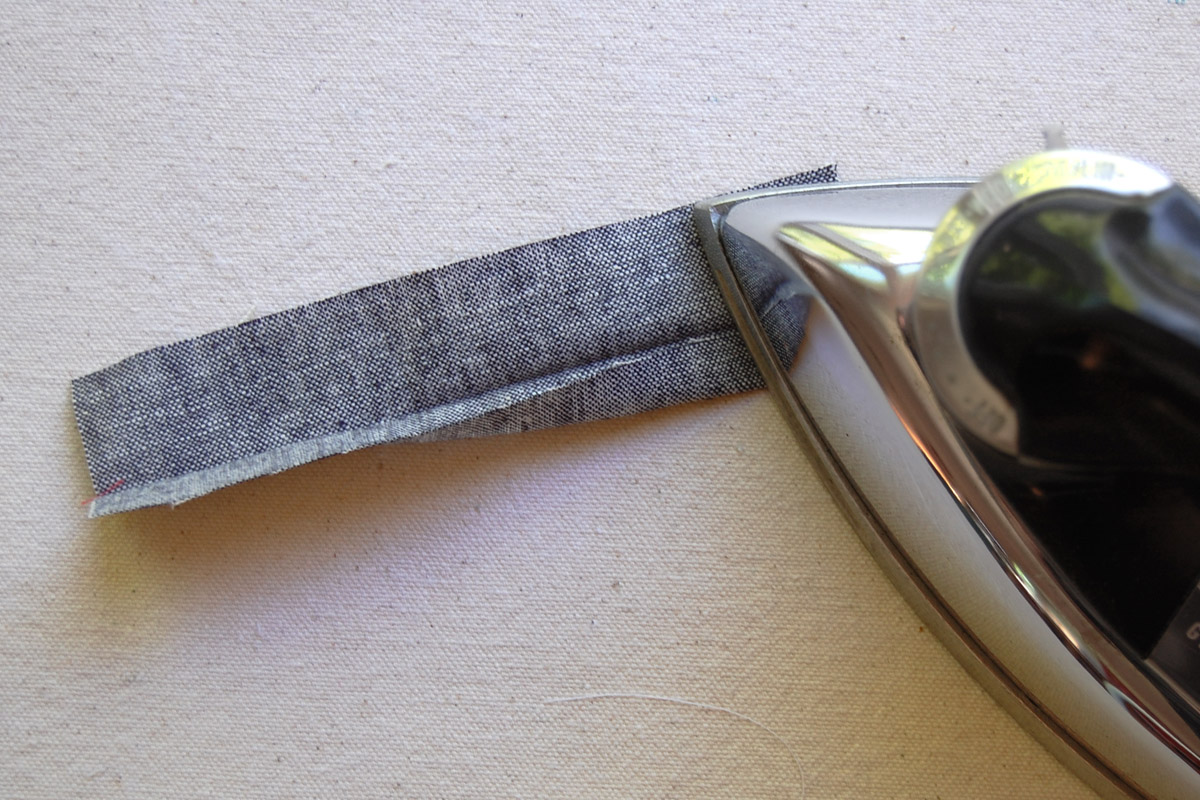
Then fold the piece in half, raw edges sandwiched inside, and press well. Stitch close to the edge to hold the piece together. You will now have one strap finished at 1/2″ x 6″ and one piece for the loop finished at 3/8″ x 4″.
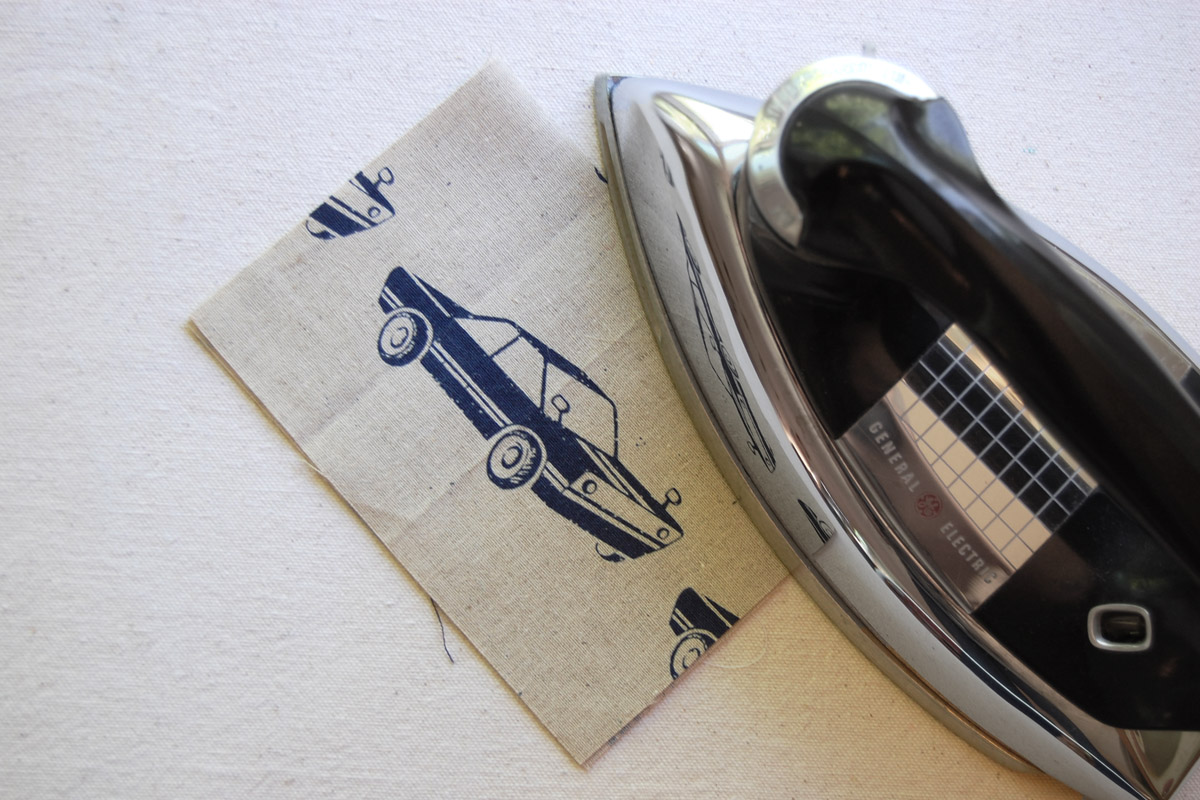
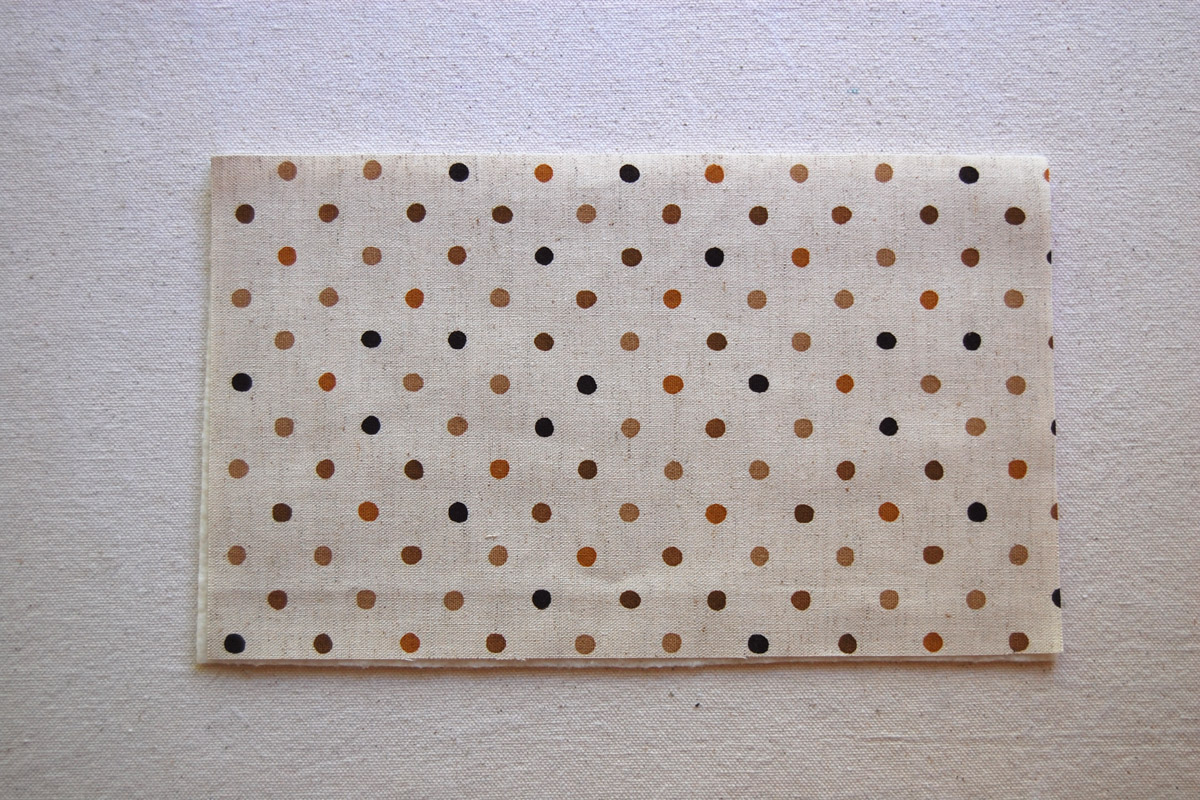
To prepare the tool caddy pocket, take the 8.5″ x 6″ piece of fabric and fold in half, wrong sides together with short edges meeting, and press well.
It’s time to layer together the tool caddy. Follow the photos to lay out and pin the layers.
First layer = 10″ x 6″ batting.
Second layer = top tool caddy 10″ x 6″ fabric.
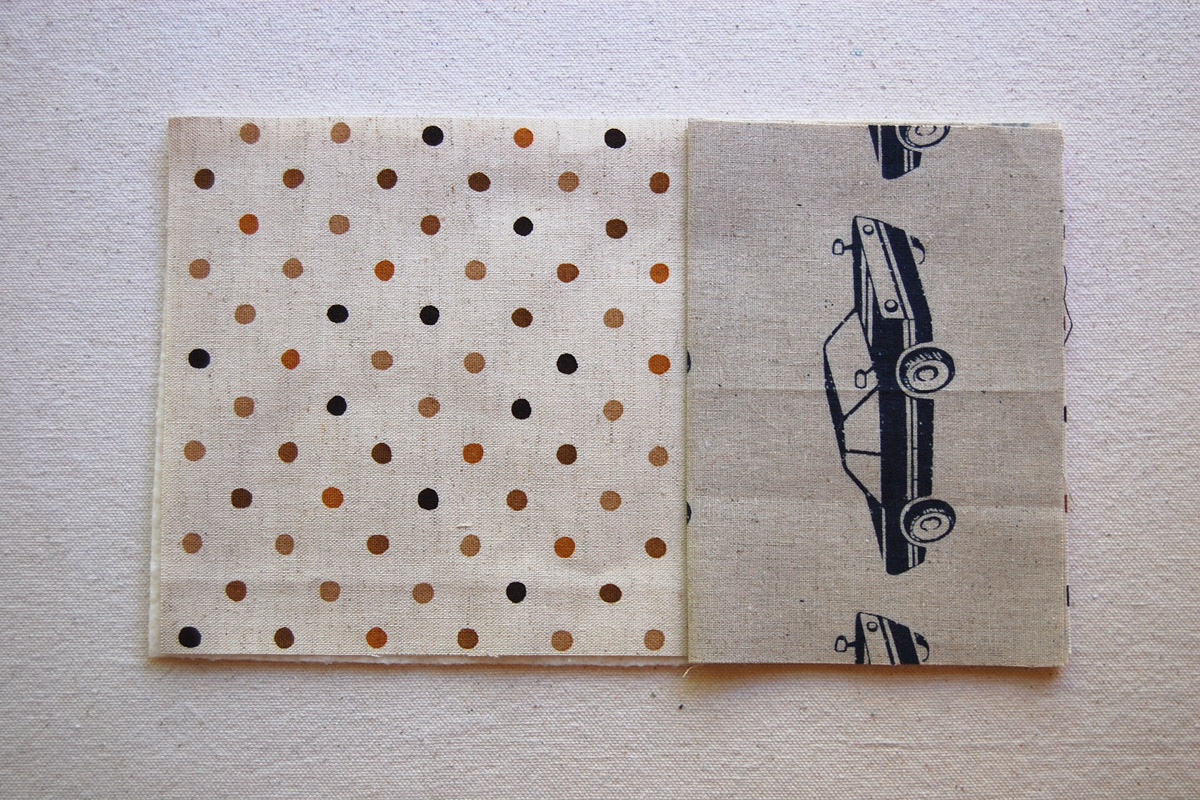
Third layer = folded pocket to the right, matching raw edges.

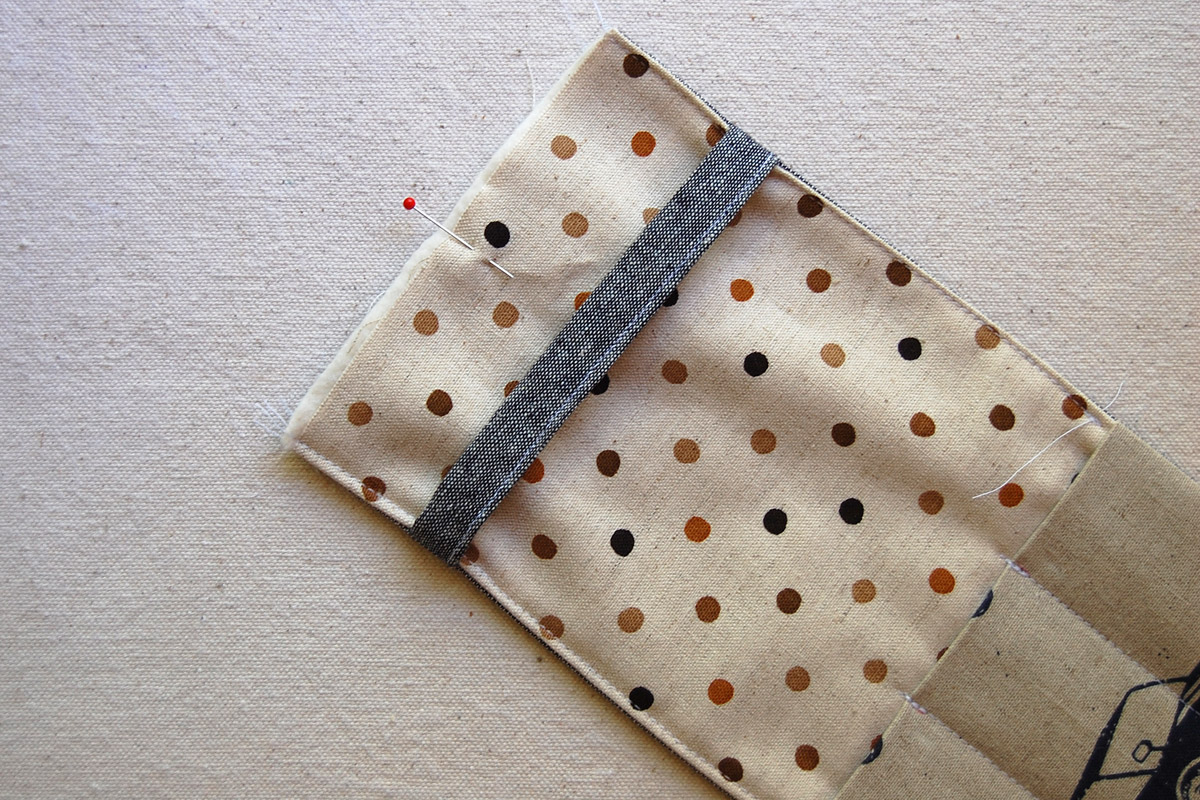
Add the clip strap 1 1/2″ to the right of the raw edge and pin in place.
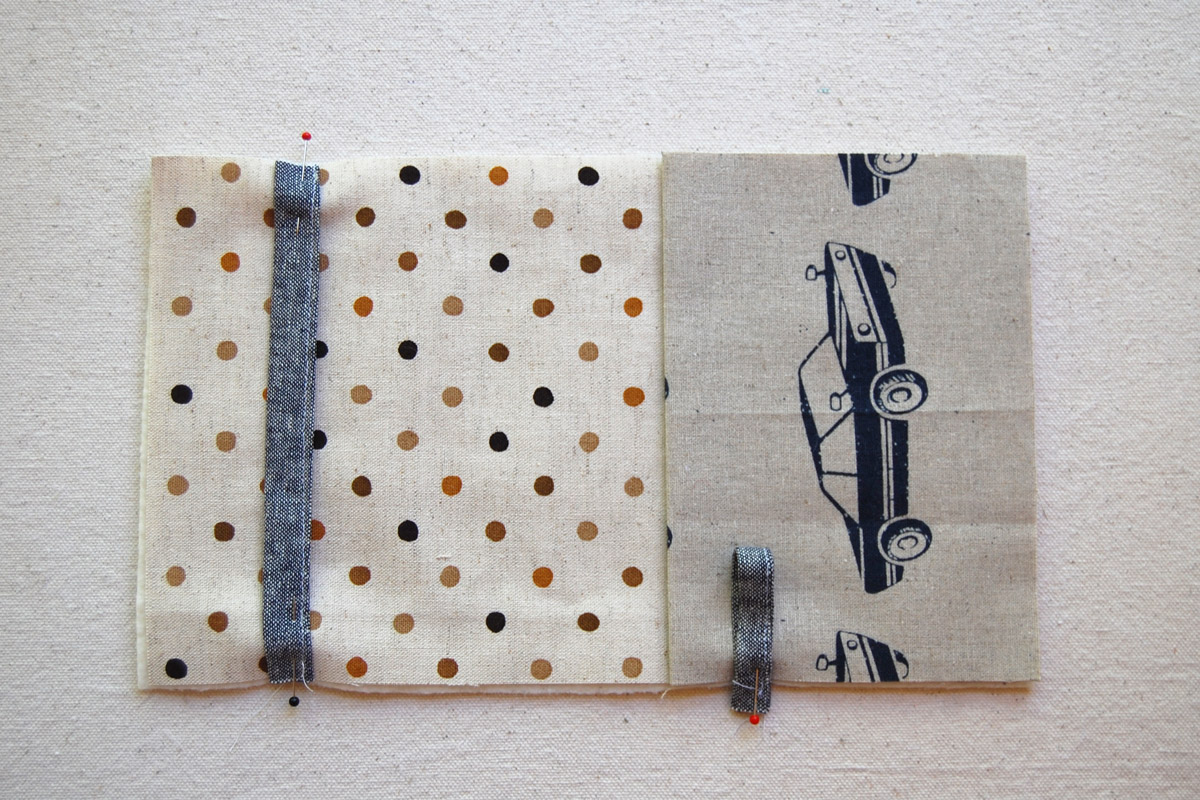
Add the loop piece 1/2″ down from folded pocket edge, folded in half with raw edges sticking slightly off and pin in place.
Fourth layer = back of tool caddy. Pin all around the sides and bottom along the pocket, and be sure to leave the other side open for turning inside out.

Stitch around the sides and bottom with a 1/2″ seam allowance.
When sewing over the straps and loop, go slowly to accommodate sewing the many layers. Backstitch over these sections to keep the loop and strap secure in the caddy.

Trim seams to 1/4″ and clip corners close to stitching.
Turn inside out, making sure that you are only fliping out the back section and not the pocket. Use a point turner or eraser end of a pencil to push out the corners, and press well.
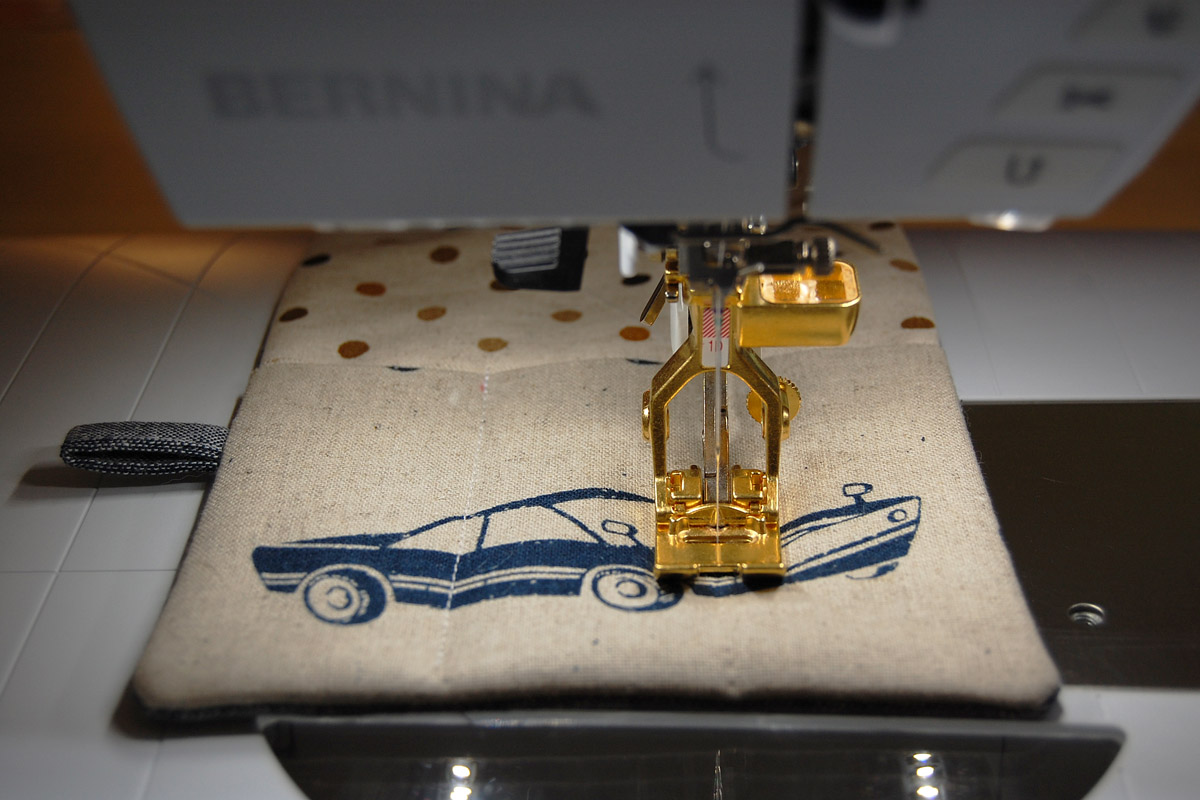
Top stitch the pocket dividers on your tool caddy. I just eye-balled dividing the pocket into thirds and marked lightly. Backstitch at the top of the pocket to make it secure.

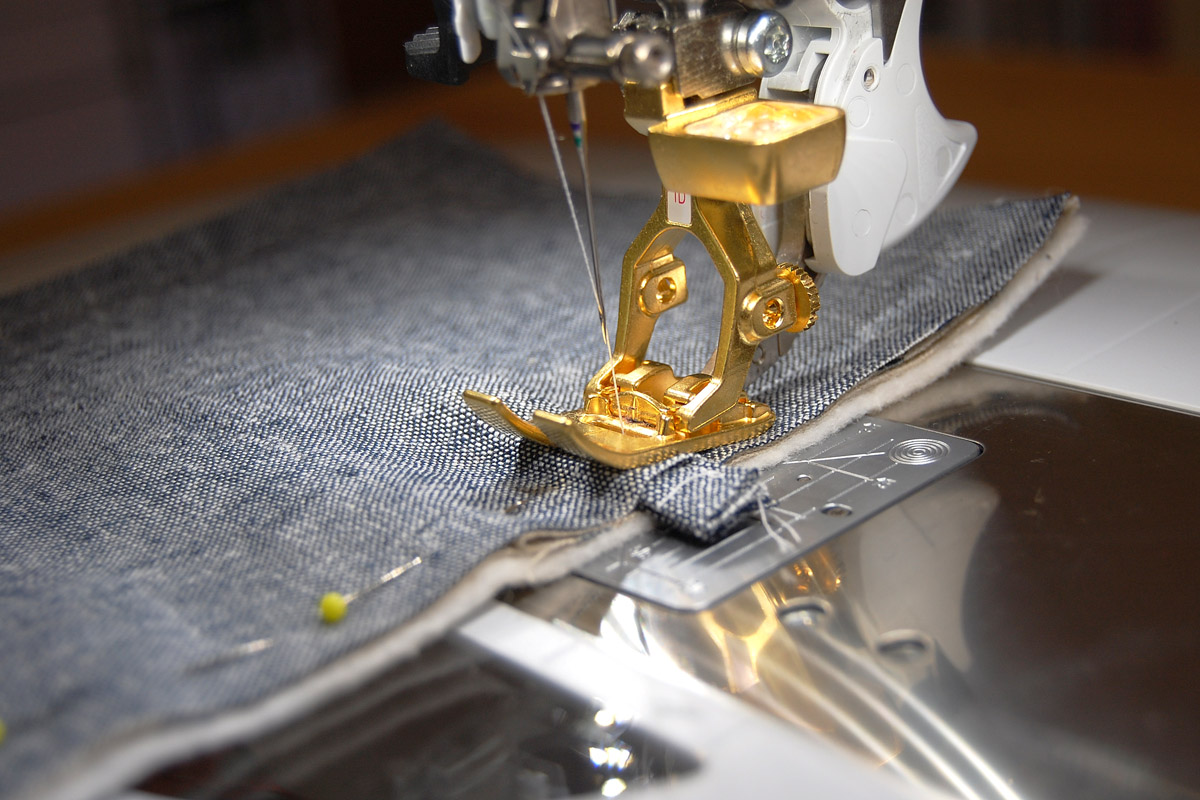
Edge stitch along each side of the tool caddy beginning just above the pocket.

Carefully move the clip strap over the foot and out of the way to stitch along each side of the tool caddy.
Next steps are attaching the tool caddy to the thread catcher. Mark the center at the top of the tool caddy.
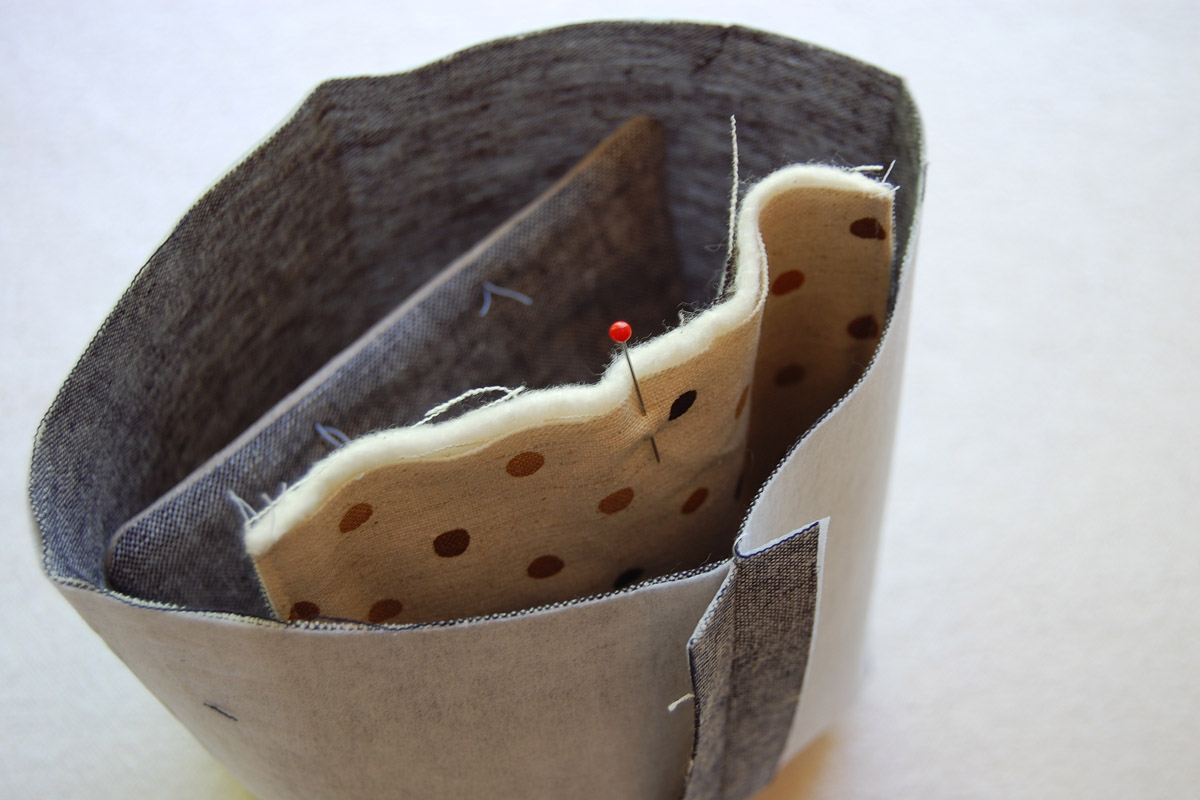
Grab the finished inside part of the tool caddy. In this step you will line up the center top of the tool caddy with the center back seam of the thread catcher. Fold the tool caddy in half so the pin is facing you and is oriented up. Next, drop the folded tool caddy in the inside thread catcher so the pin is near the back center seam.
Match pin with center seam and pin the raw edge of the tool caddy to the back of the inside thread catcher.
For the remainder of the tutorial we’ll be sewing on the free-arm of the machine. Remove your sewing table to access the free-arm.
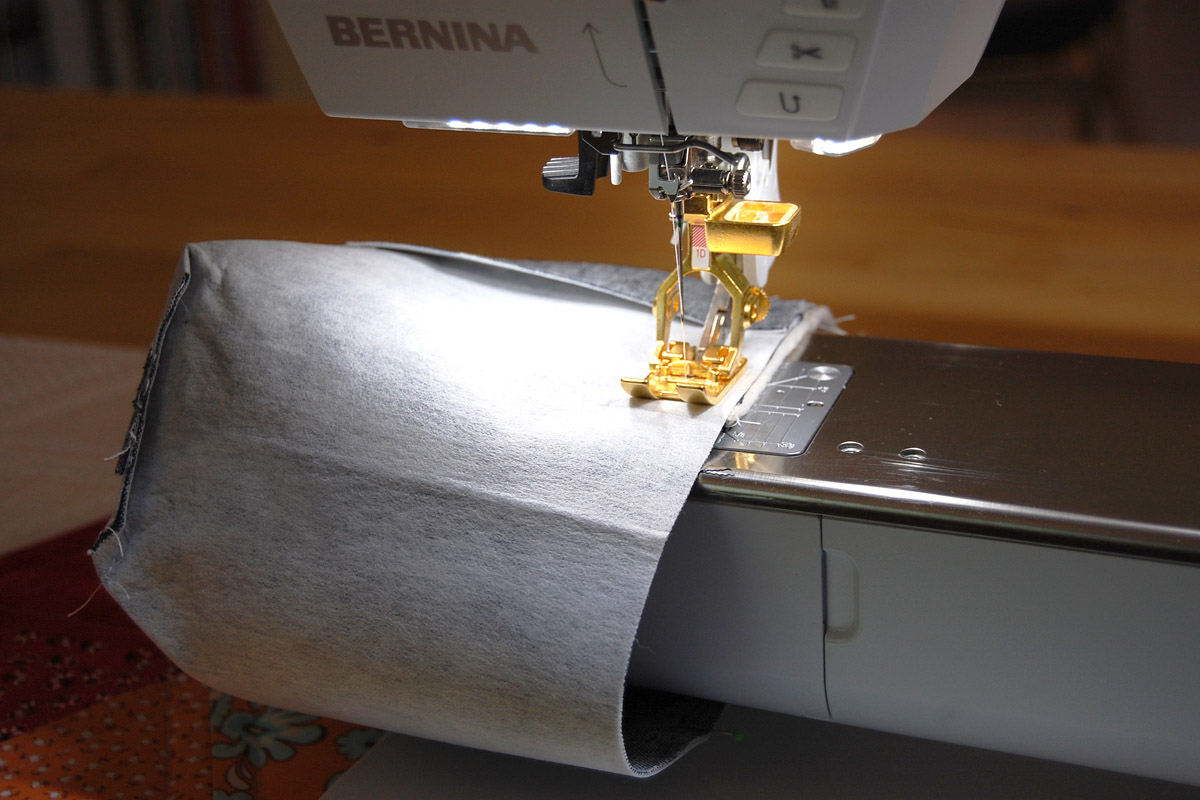
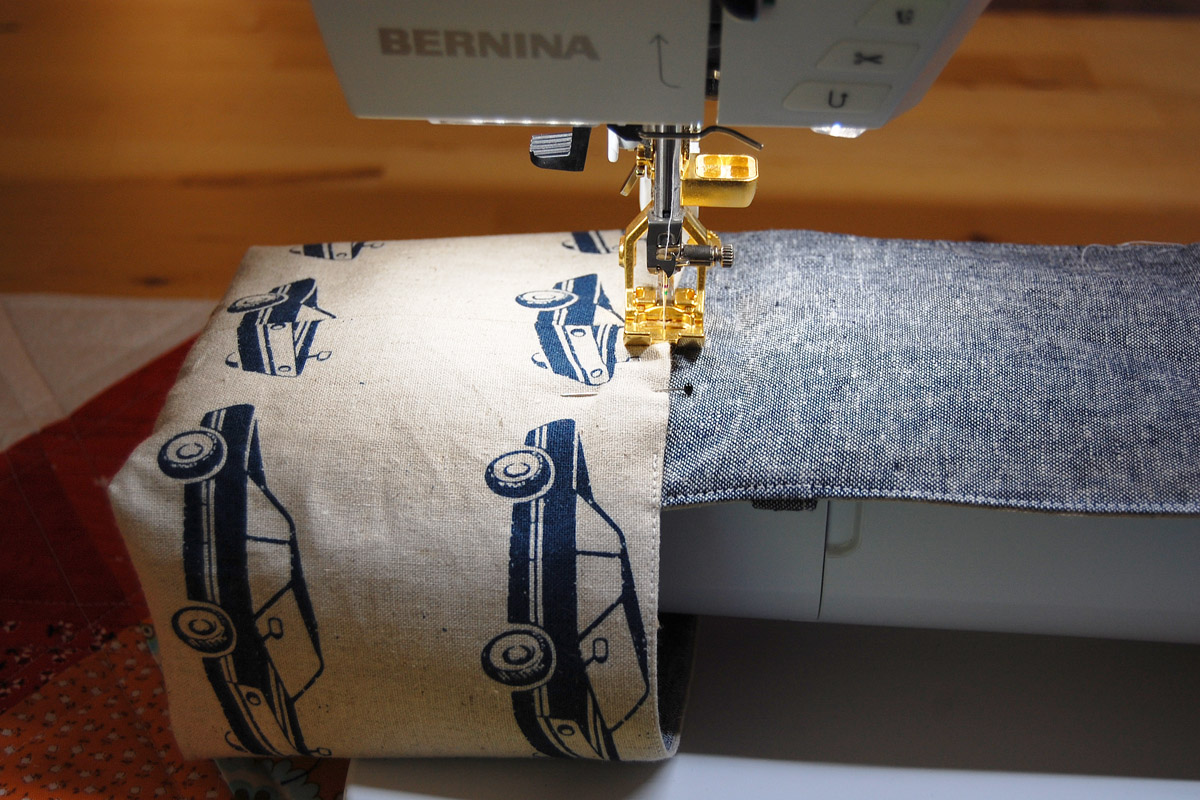
Pop the inside thread catcher on the free-arm, and stitch just along the tool caddy with a 1/2″ seam allowance.
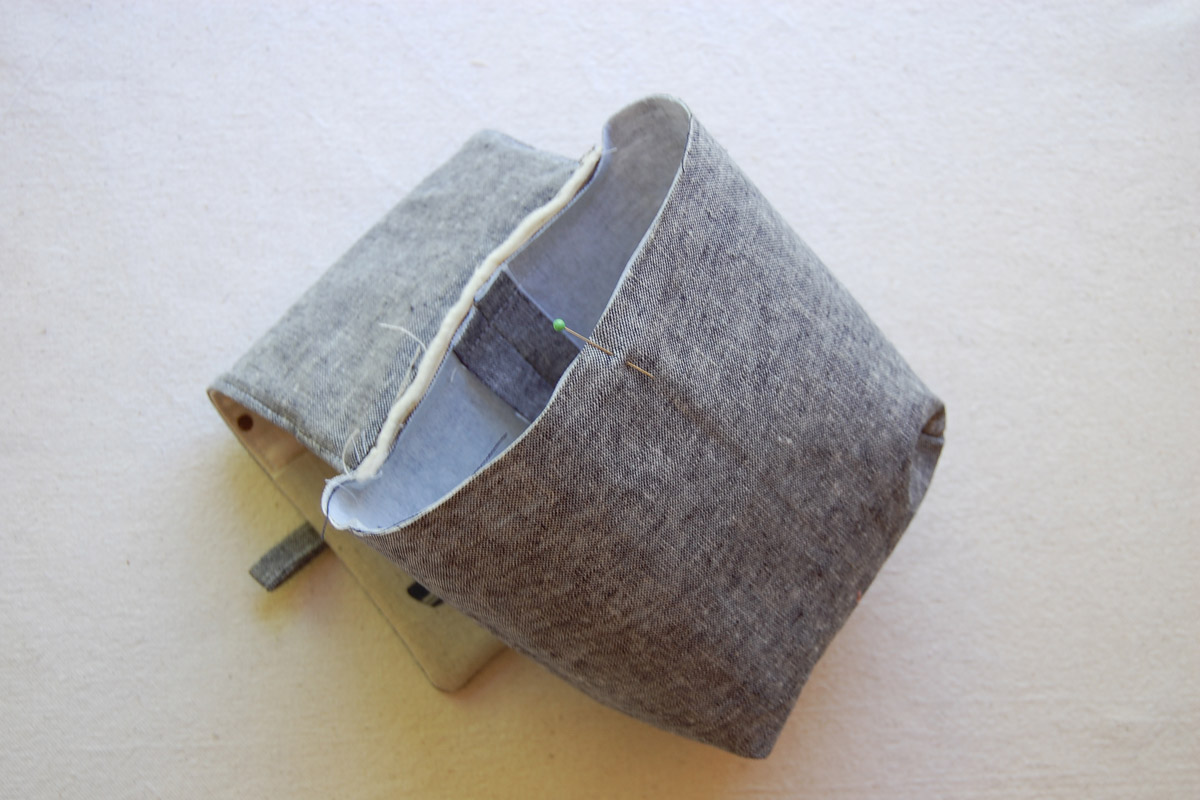
After stitching the tool caddy to the inside thread catcher, flip the thread catcher right side out, and mark the center front with a pin.
Grab the outside thread catcher and turn in so the wrong side is facing out, and mark center front with a pin.
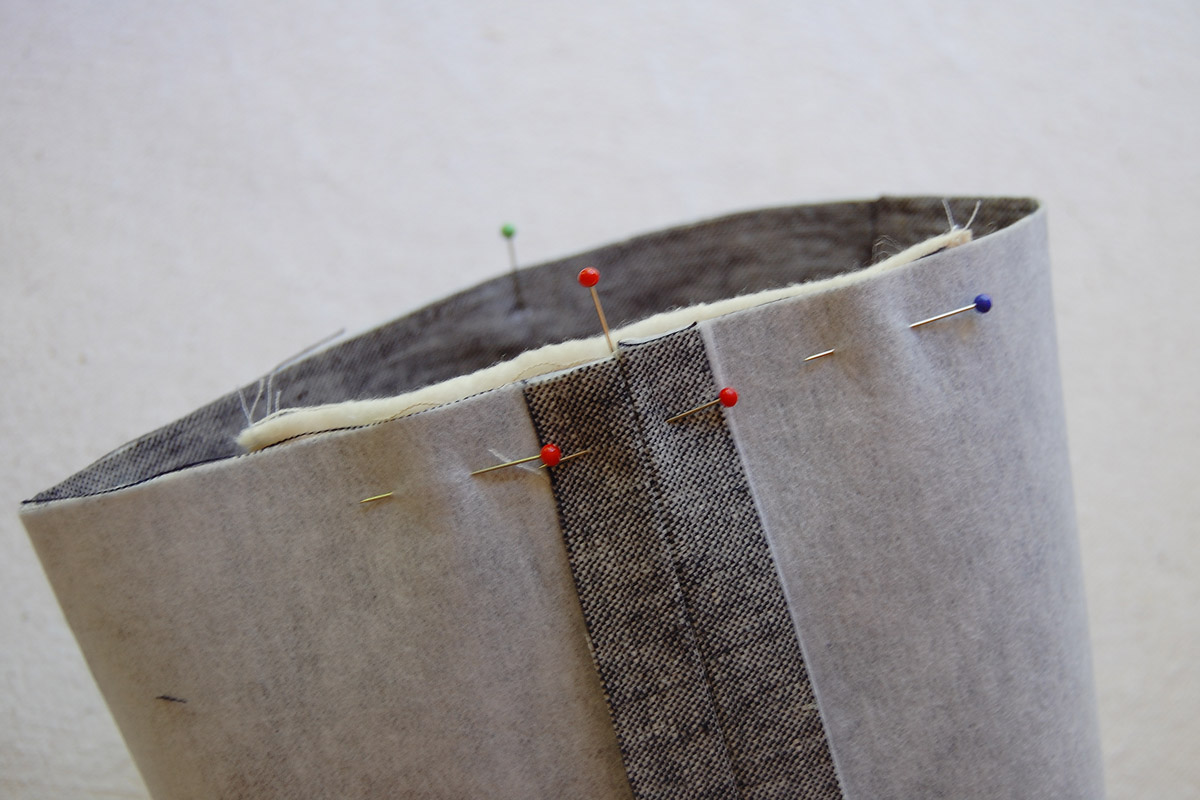
Slip the thread catchers together, setting the inside piece in the outside piece, right sides together, matching pins at the front.
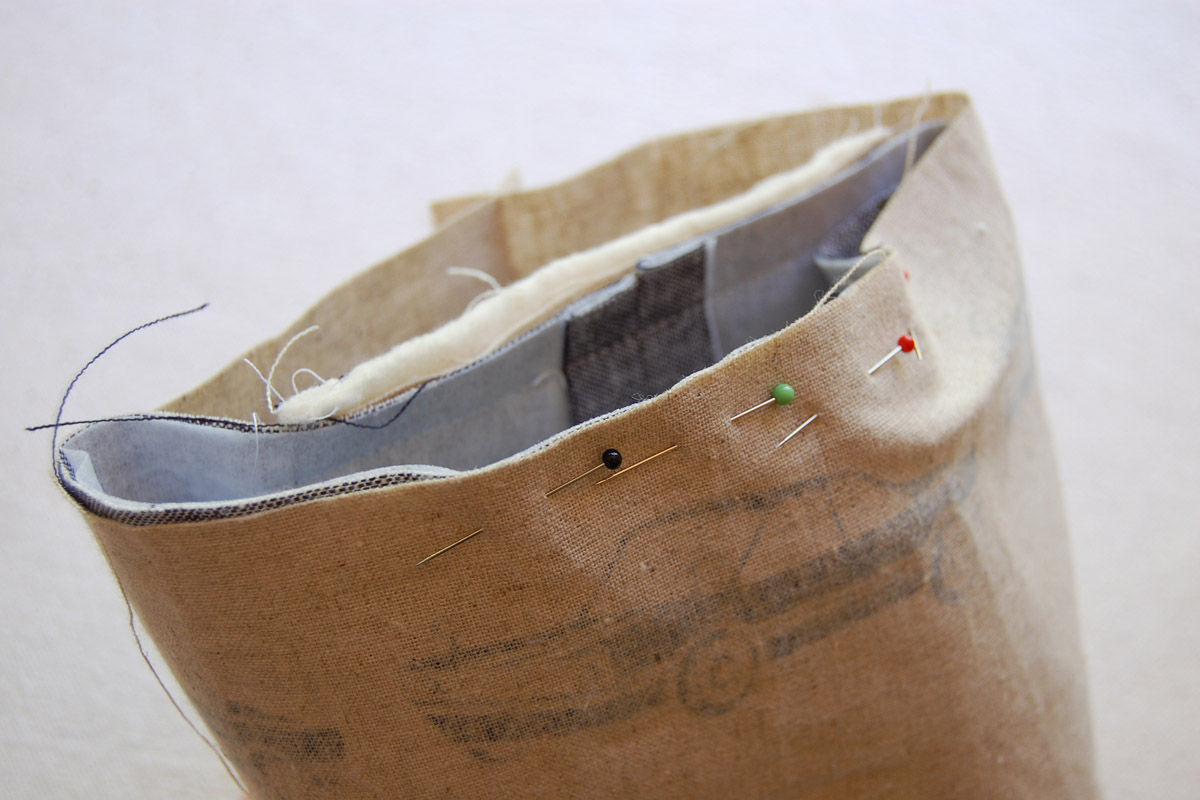
Begin to pin together at the front.
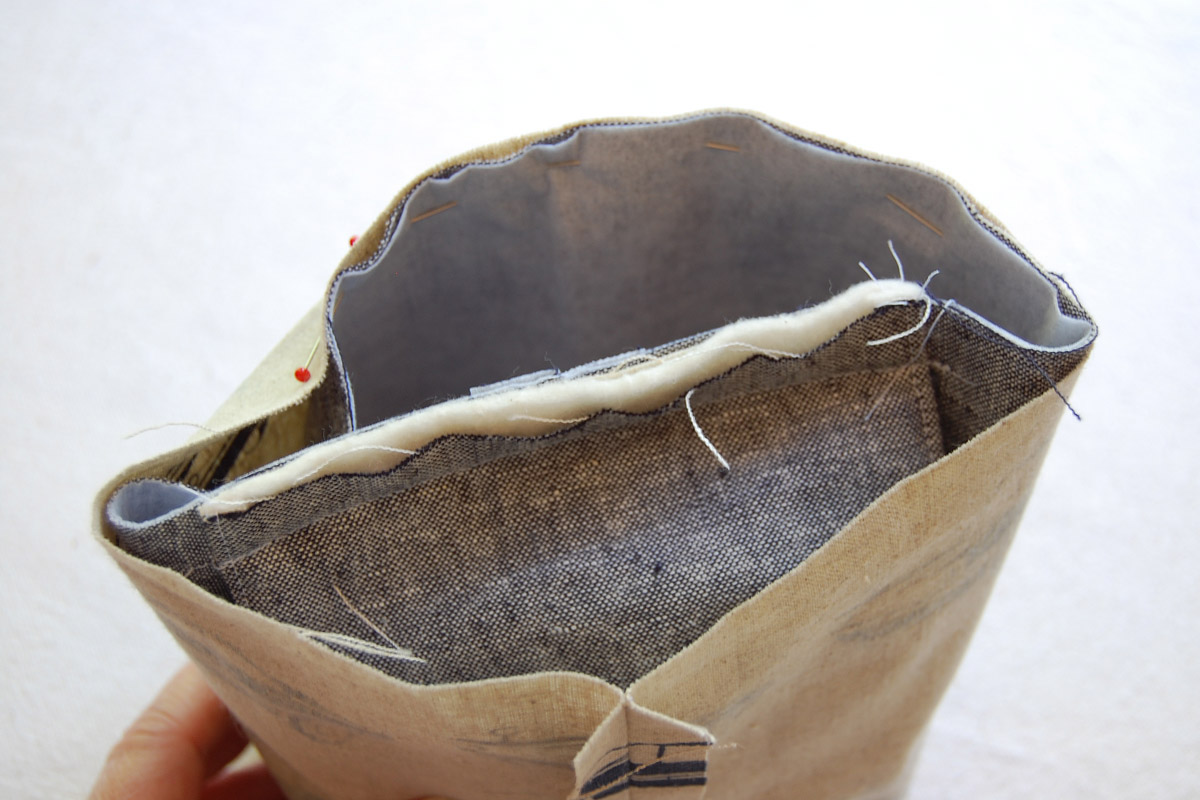
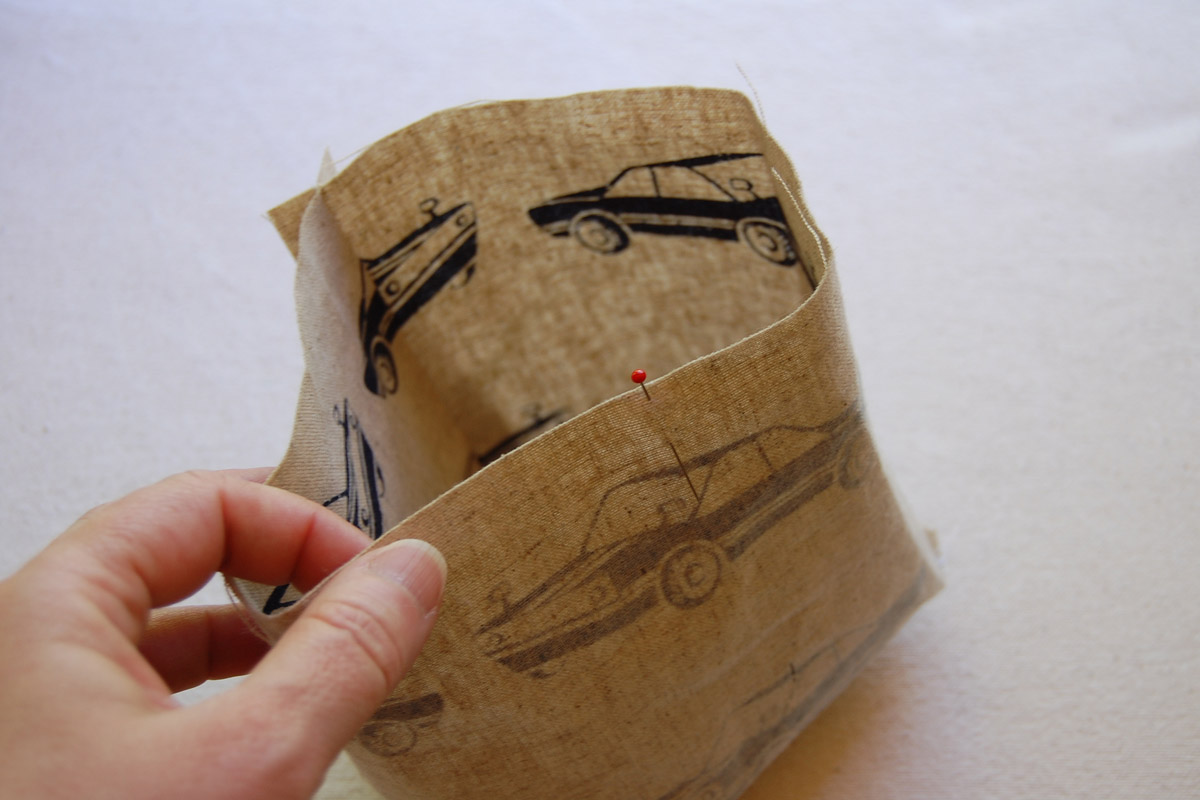
Move to the back center seams of the thread catcher, and fold the tool caddy all the way in between the thread catcher layers.
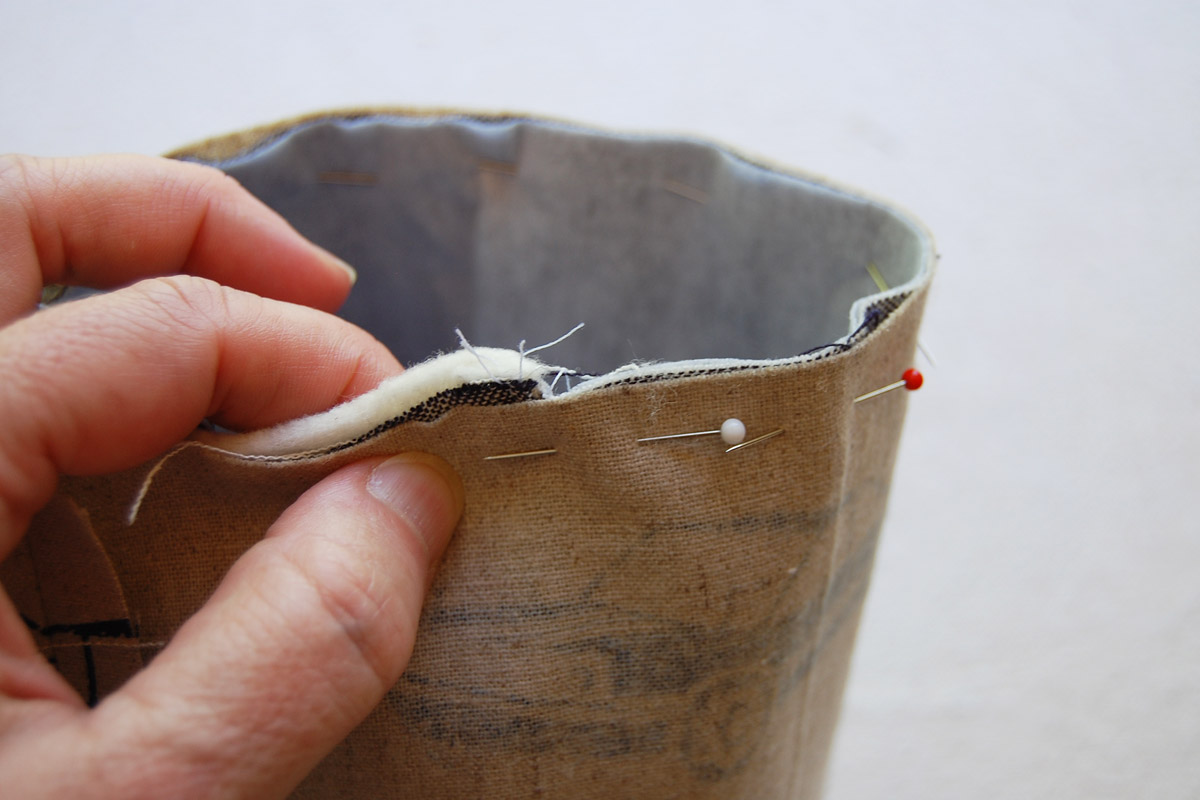
Continue to pin around the thread catcher. When you reach the back, pin about an inch into the tool caddy section. Don’t pin or sew all the way across the tool caddy section, this section needs to stay open so we can flip the whole thing inside out after this step.
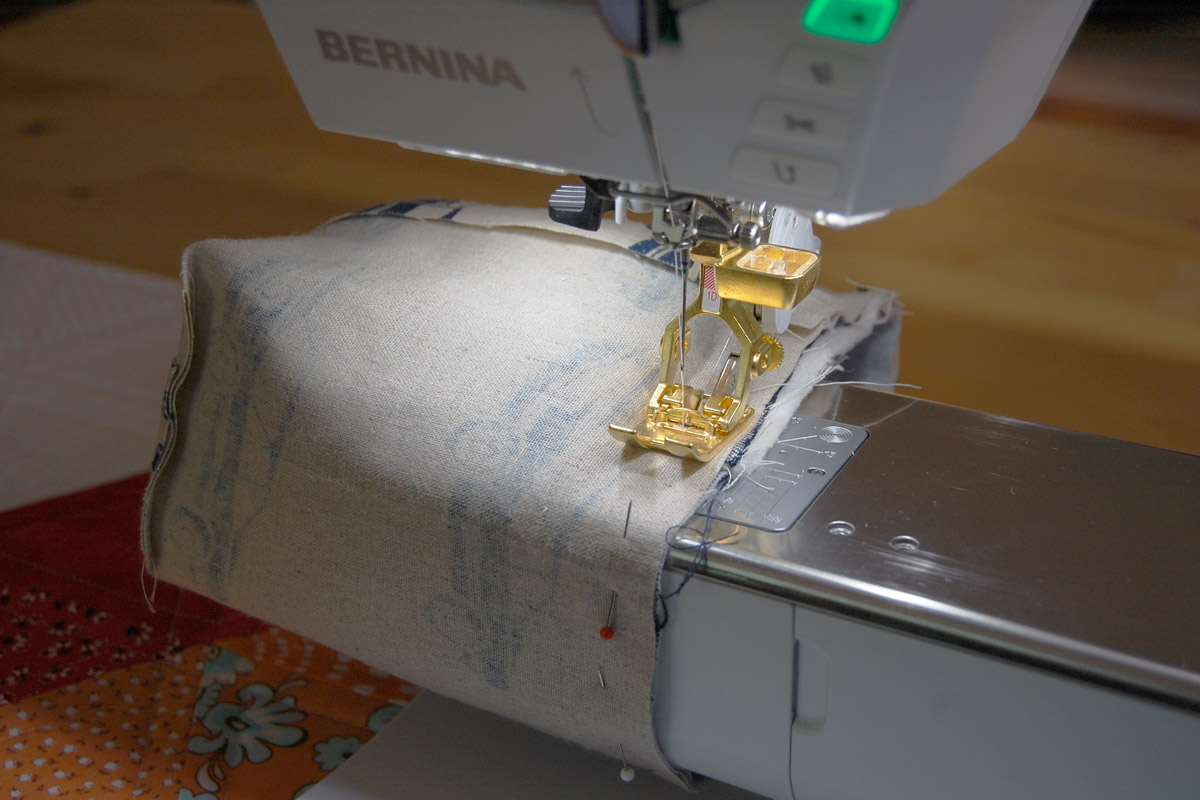
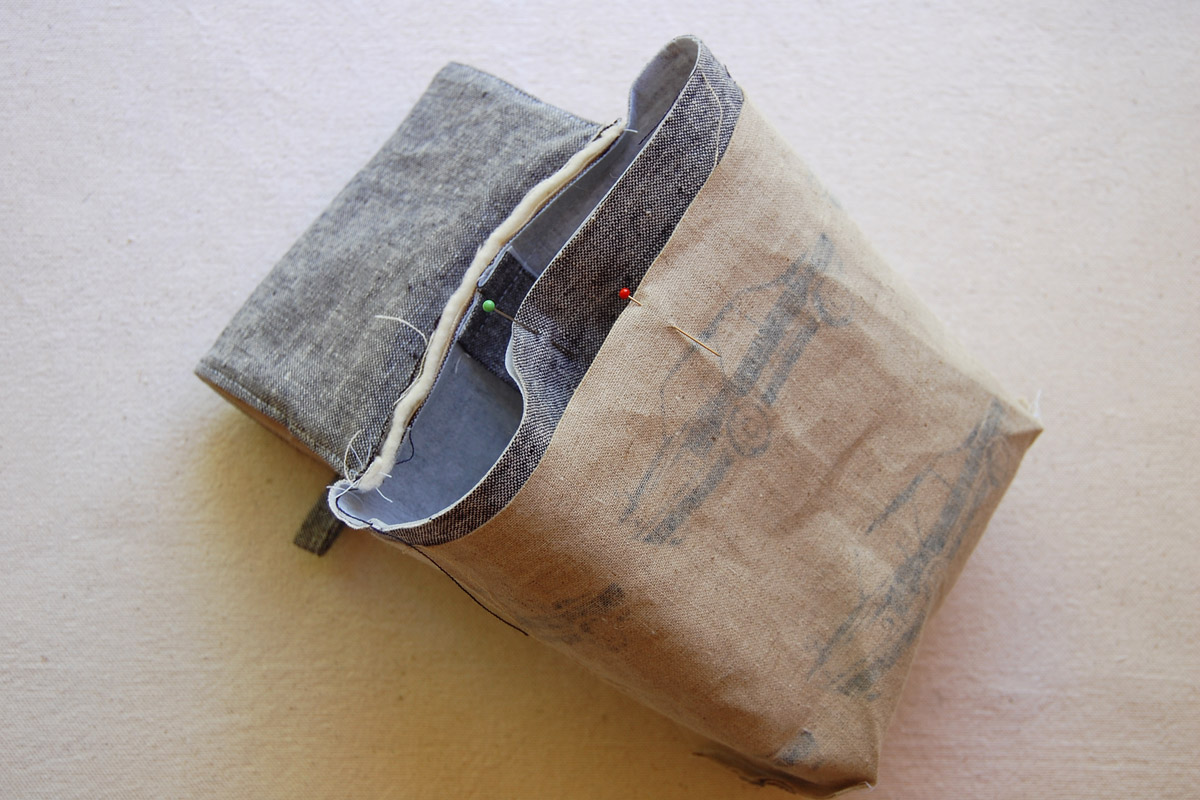
Slip over your free-arm, and begin stitching about 1/4″ – 1/2″ where the layers overlap the end of the tool caddy. Stop sewing at the same spot on the other side when you begin to sew over the tool caddy sandwiched in between the thread catcher.
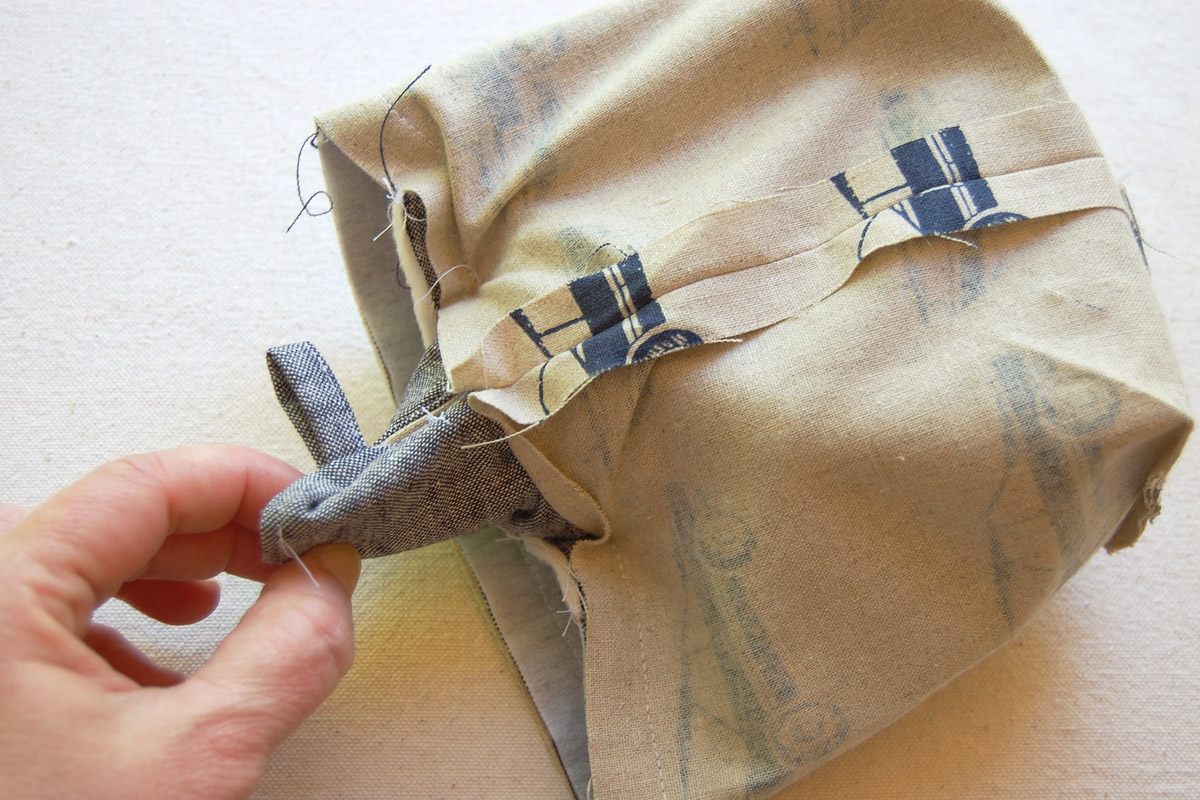
Start to pull the tool caddy through the opening.
Be careful to pull gently so you don’t stretch out the seams or the tool caddy.
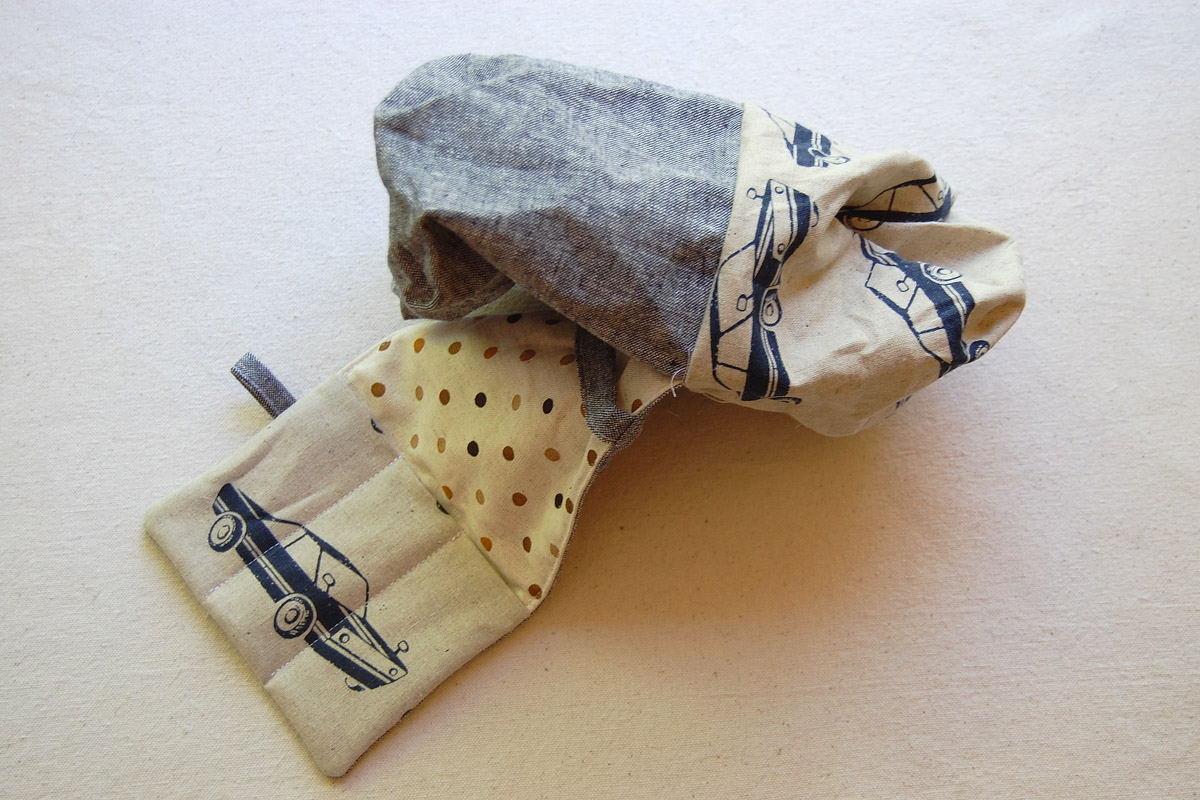
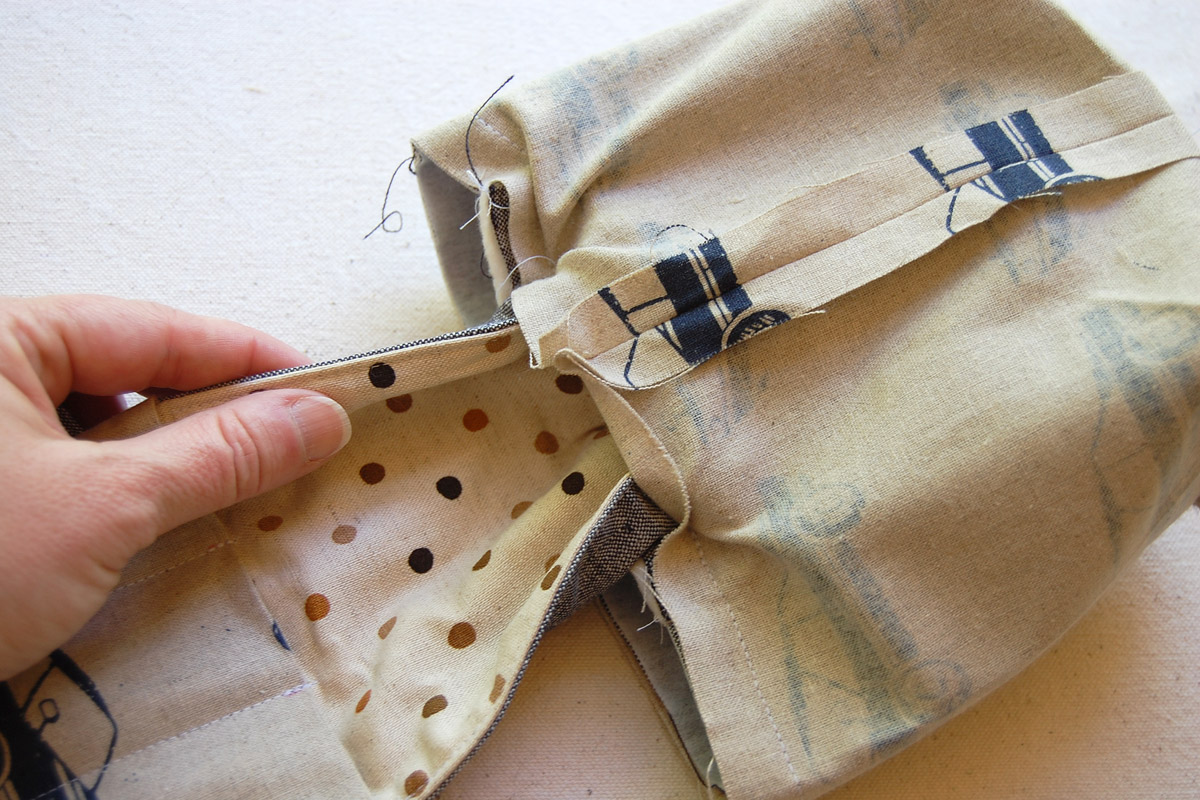
Once the tool caddy is out, begin to pull the thread catcher inside out. This is what it looks like when it’s all turned out.
Start to push the thread catcher lining inside, pushing out the corners to match with the outside.
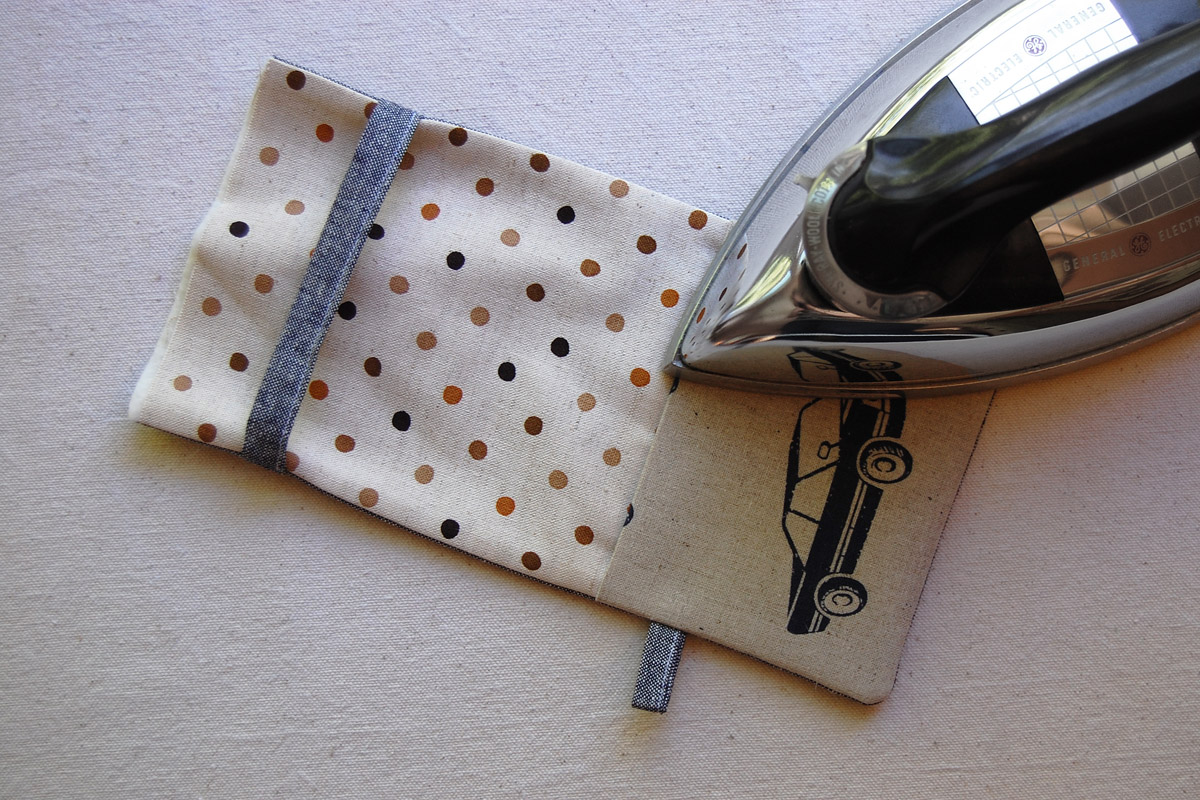
Slip the thread catcher over the sleeve board and give it a good pressing all the way around.
When you press the back of the thread catcher, press the opening down and pin closed.
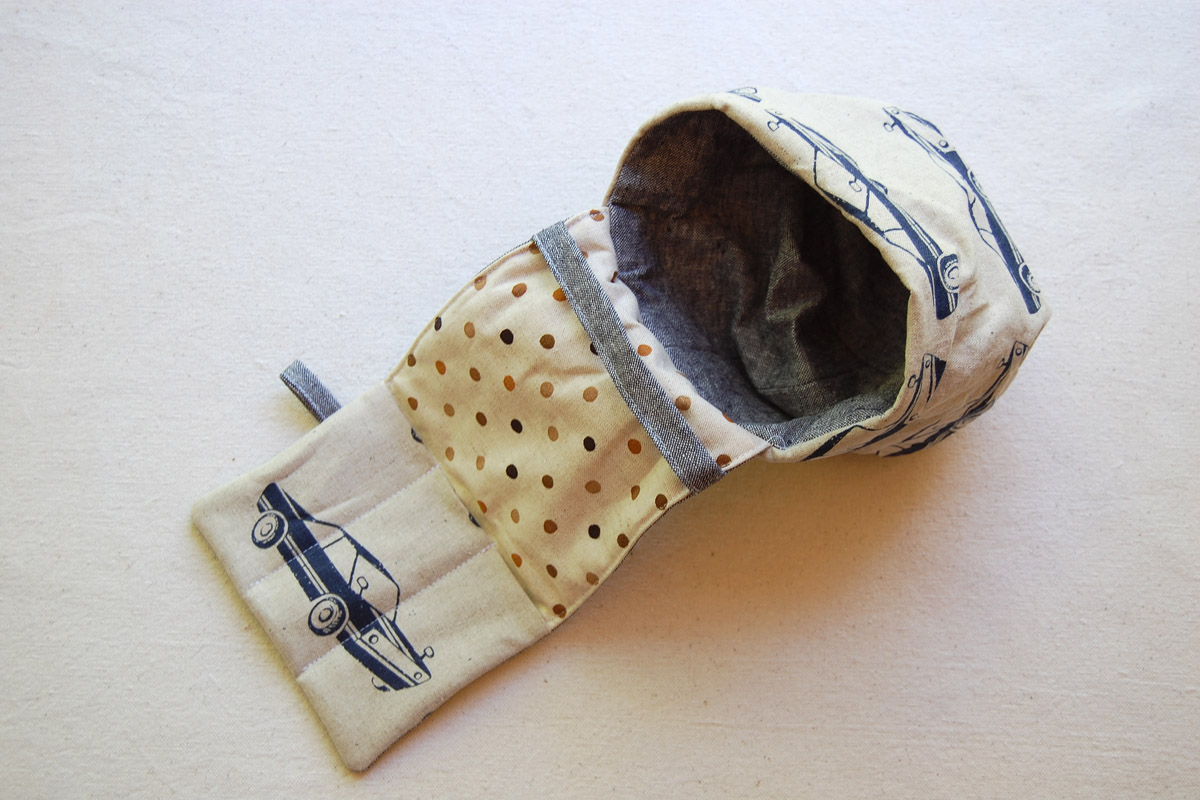
Finally, topstitch all around the upper edge of the thread catcher.
Stitch the opening closed when you are sewing around the back of the thread catcher. And you’re finished with the tool caddy thread catcher!
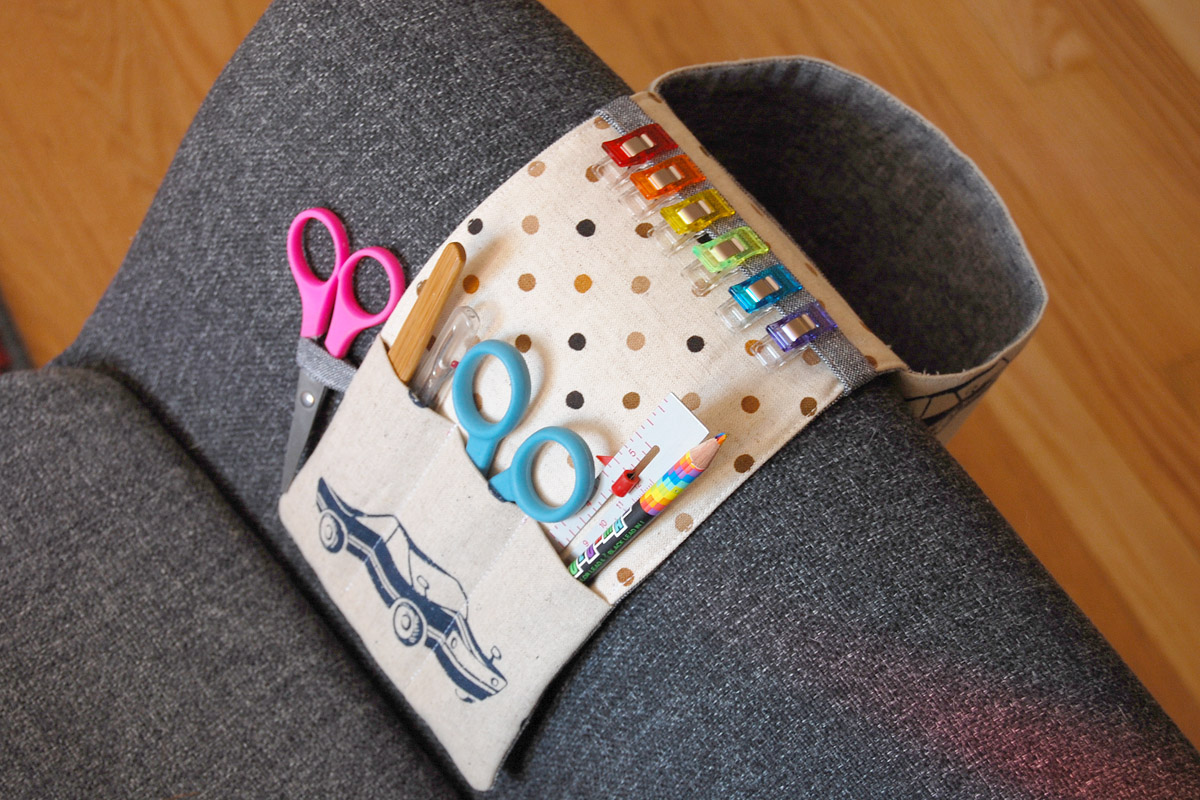
Drape it over your favorite armchair and load it up with your favorite tool!
Used Products


What you might also like


10 comments on “Tool Caddy Thread Catcher Tutorial”
-
-
Made this this afternoon. It was easy and the instructions were great!
-
I like this project. Totally a “made to create” project for everyone who sews. I see myself making this for the upcoming week. Clear and easy to follow directions with great pictures. Thanks.
-
I love the projects Bernina gives us. Thank you so much for the quick and east ideas.
-
I made one years ago and would advise others to consider using a slippery fabric like satin, taffeta or clear vinyl for the inside of the catcher. The threads and clippings stick to quilting cotton and are virtually impossible to empty. It always looks like a mess otherwise.
-
Another possibility – drop a small plastic container like icing container or solo cup into the catcher and easy to just dump the threads, bits & bobs. 🙂
-
-
I’m having some difficulty with the fabric part. Not understanding top of tool caddy, bottom of tool caddy, then pocket. I thought the top was the armchair strap but then, based on that, instructions got confusing. I’m using three different fabrics. I know this is me and not the instructions.
-
Hi njduncan, there are essentially two parts to this project, the thread catcher that consists of the bucket to hold scraps, and the tool caddy that hangs over the arm and has a pocket to hold tools. Once you pay attention to which part of the project you are putting together, the tool caddy part or the thread catcher part, it may make more sense to you. Thanks so much for checking out my project on WeAllSew! – Erika
-
-
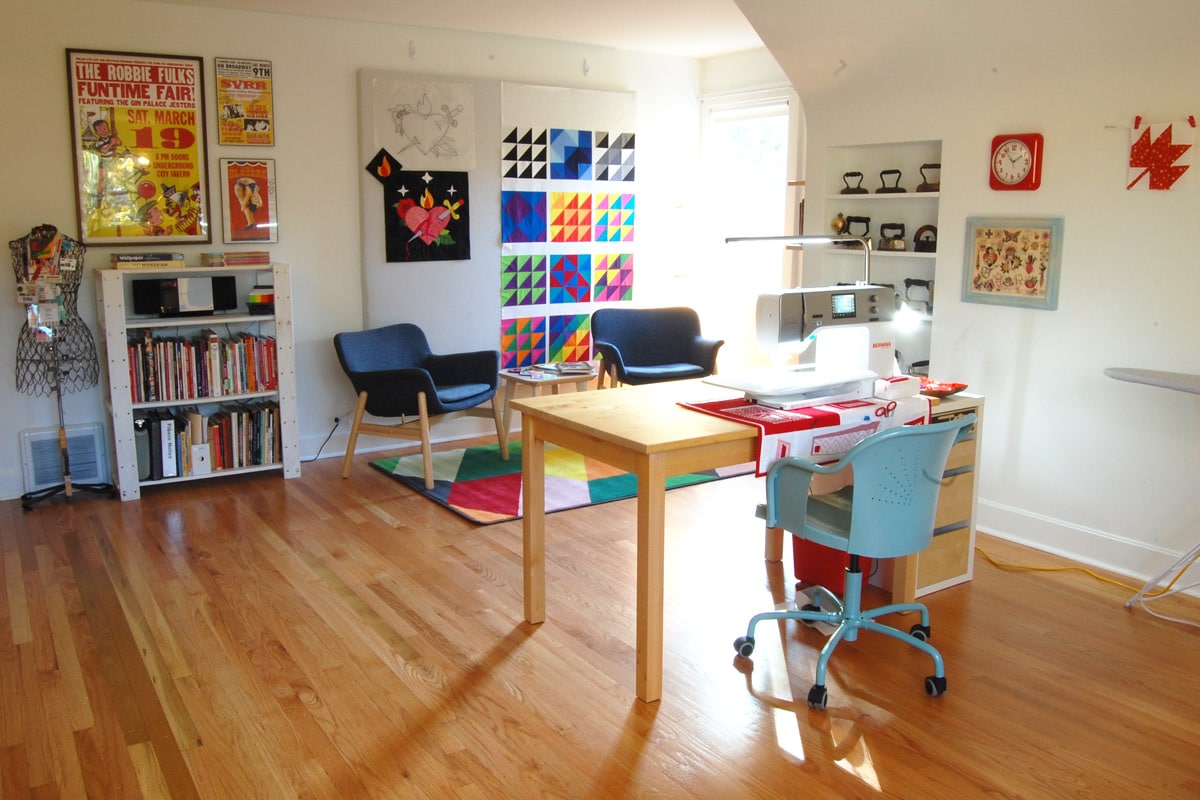
Do you have instructions for making the mat under your sewing machine? I love it-nice and big.
-
Hi @nolesgirl, yes! I did share a tutorial for making the sewing machine mat, find it here: https://weallsew.com/sewing-machine-mat-tutorial/ or search for “sewing machine mat” in the WeAllSew blog search box. Cheers!
-
Leave a Reply
You must be logged in to post a comment.

I find the same problem of a lap full of tools and bits of yarn when I am doing a knitting project!
I will be making one of these today! Thanks!