Tips for BERNINA Zipper Feet
Zippers are great closures for all types of projects. Dresses, slacks, purses, backpacks and cosmetic bags are just a few places where a zipper is the logical choice for a closure. This post has a few tips for success when stitching zipper applications. For more information on sewing zippers, click here for a FREE BERNINA eBook, Zipper Applications.
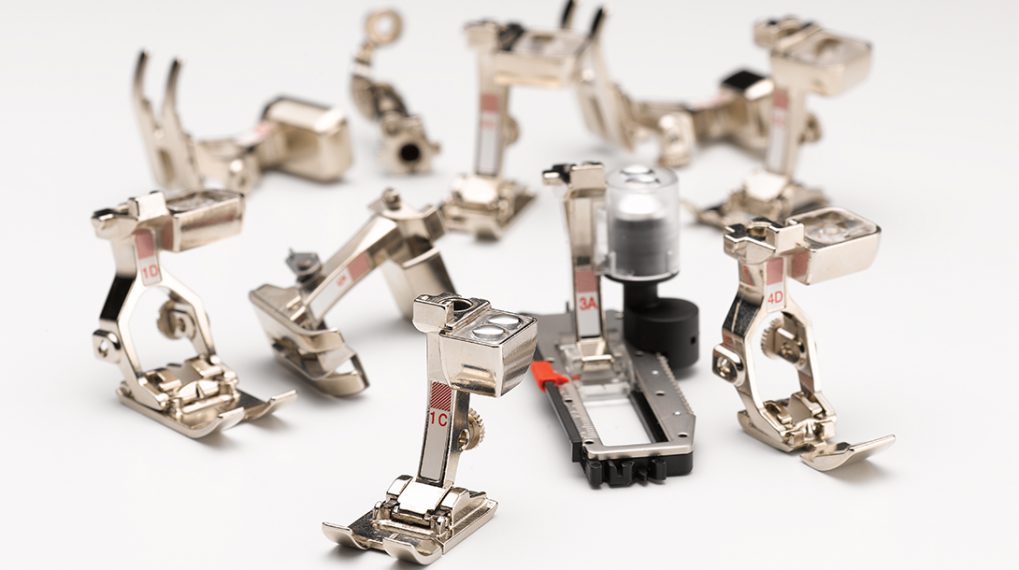
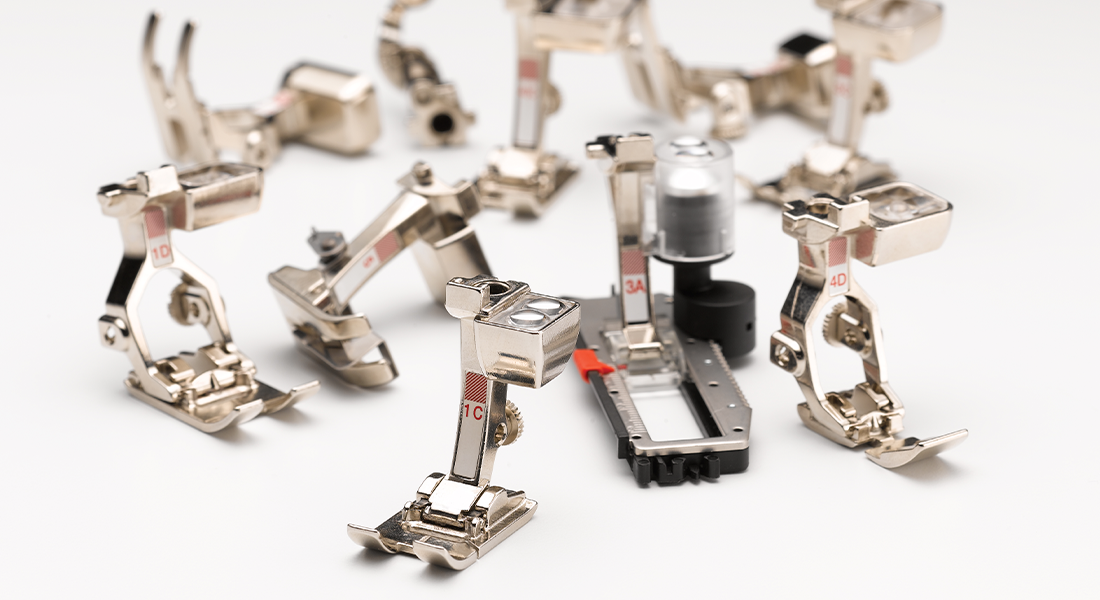
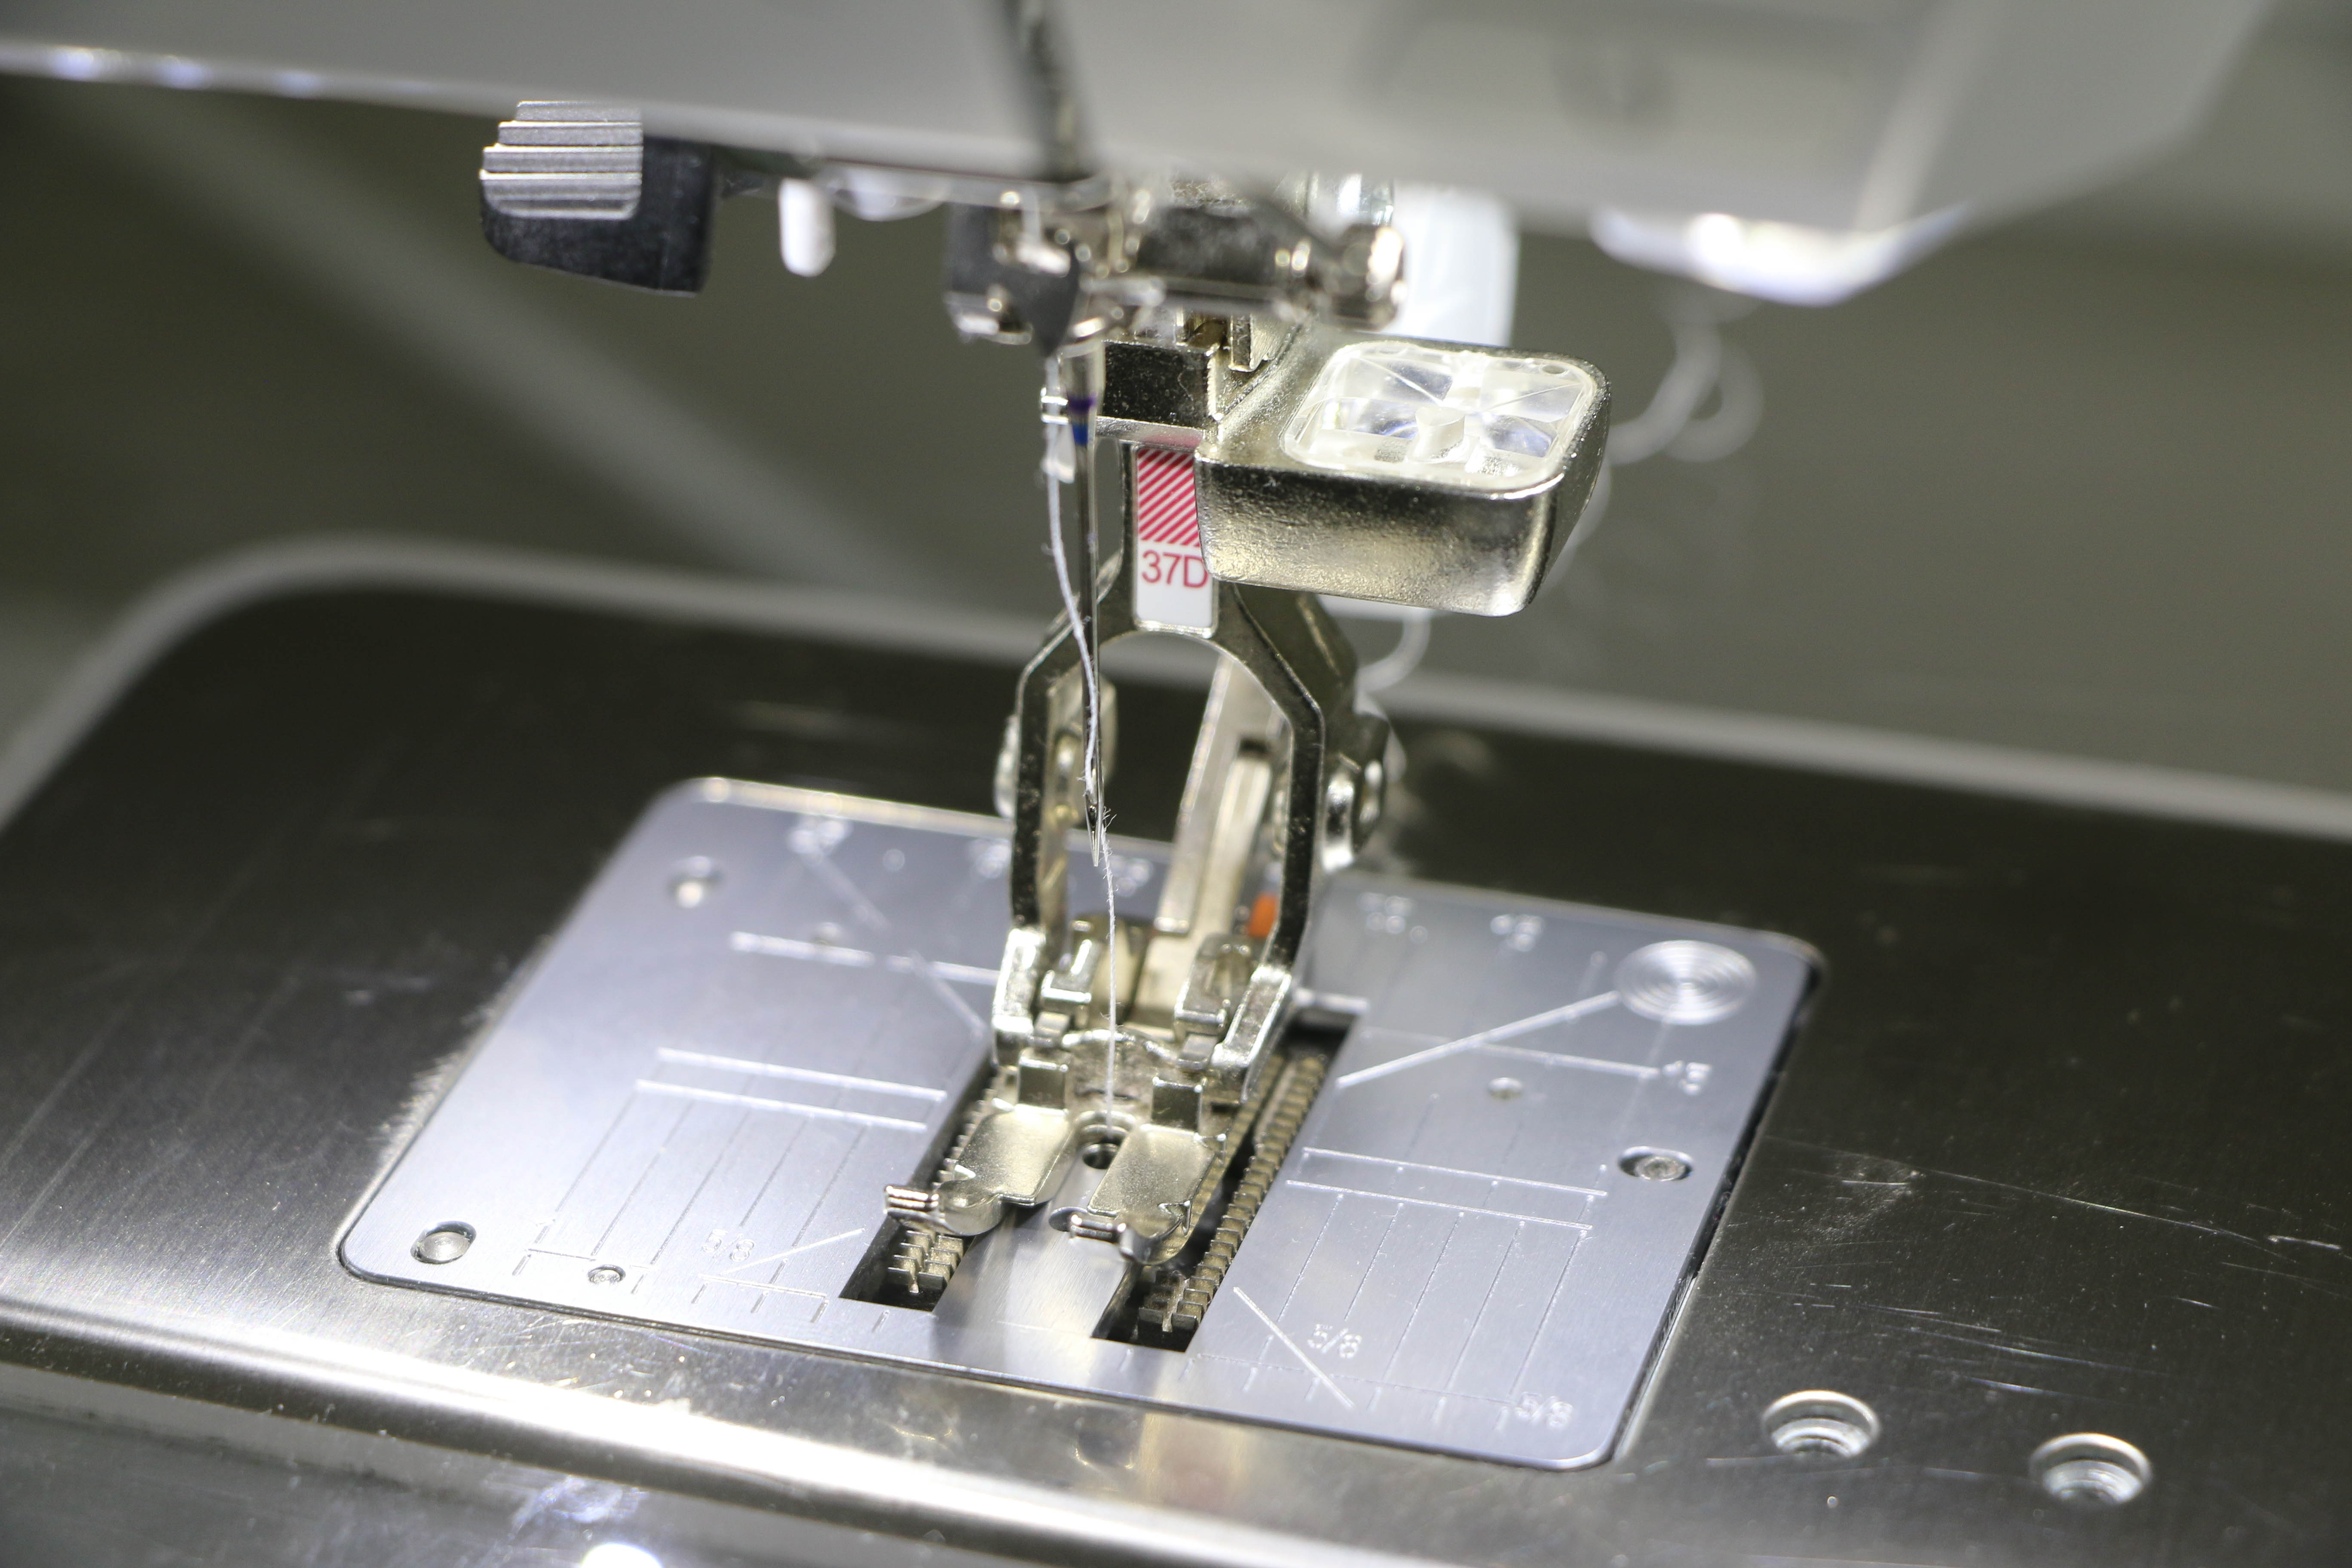
Zipper Presser Feet
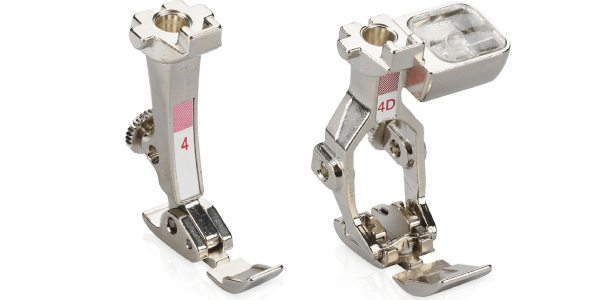
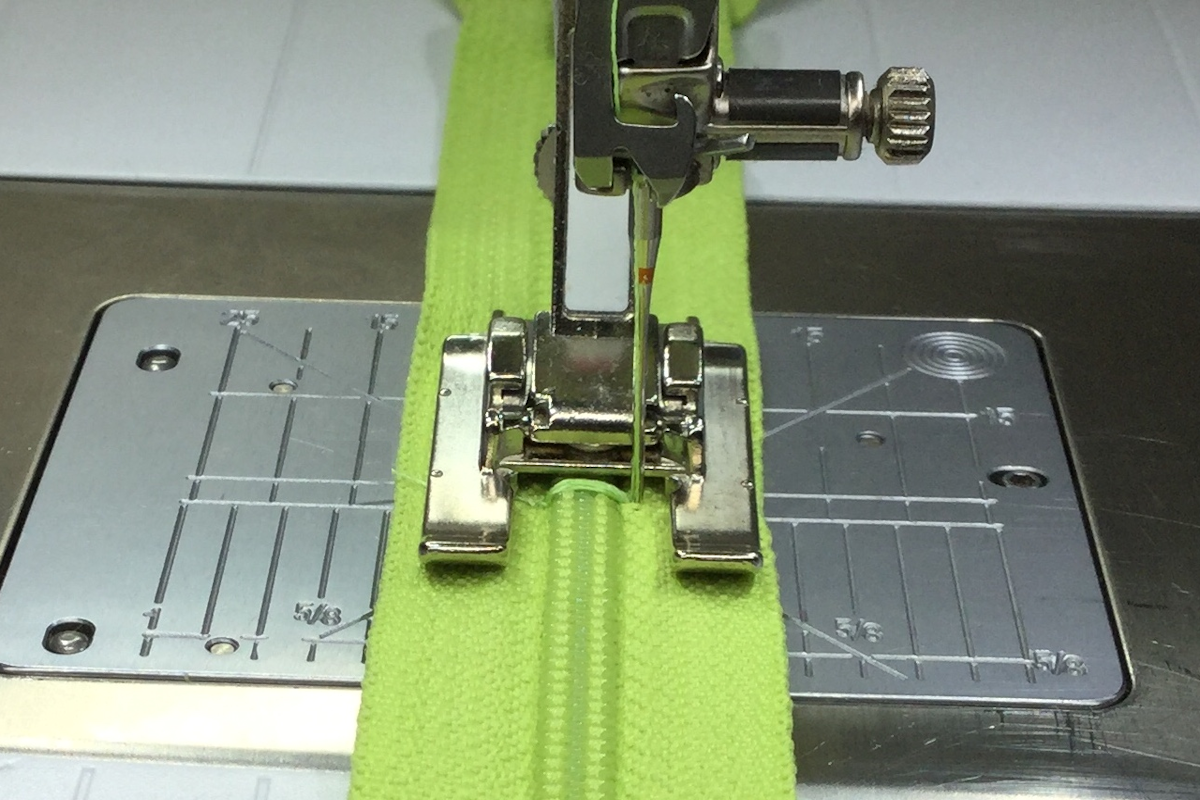
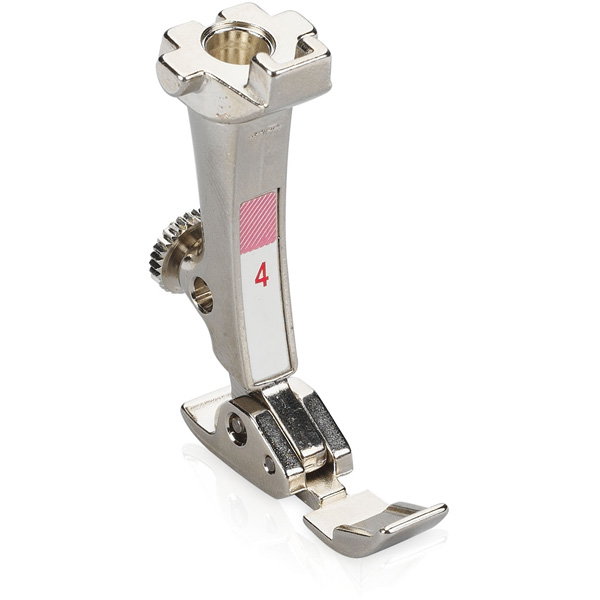
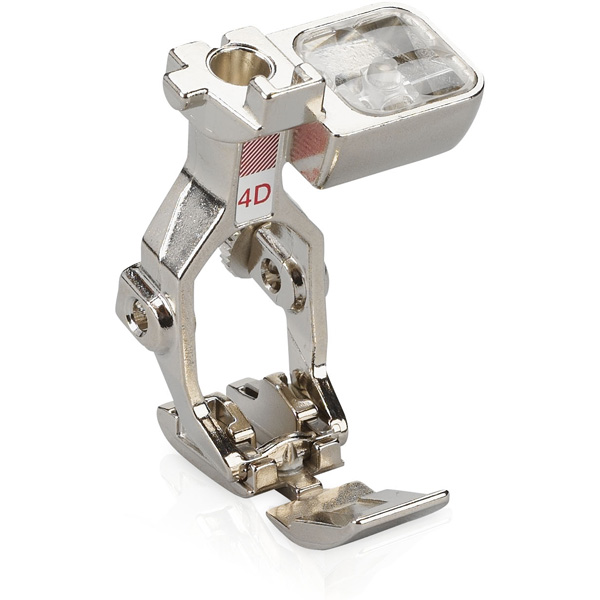
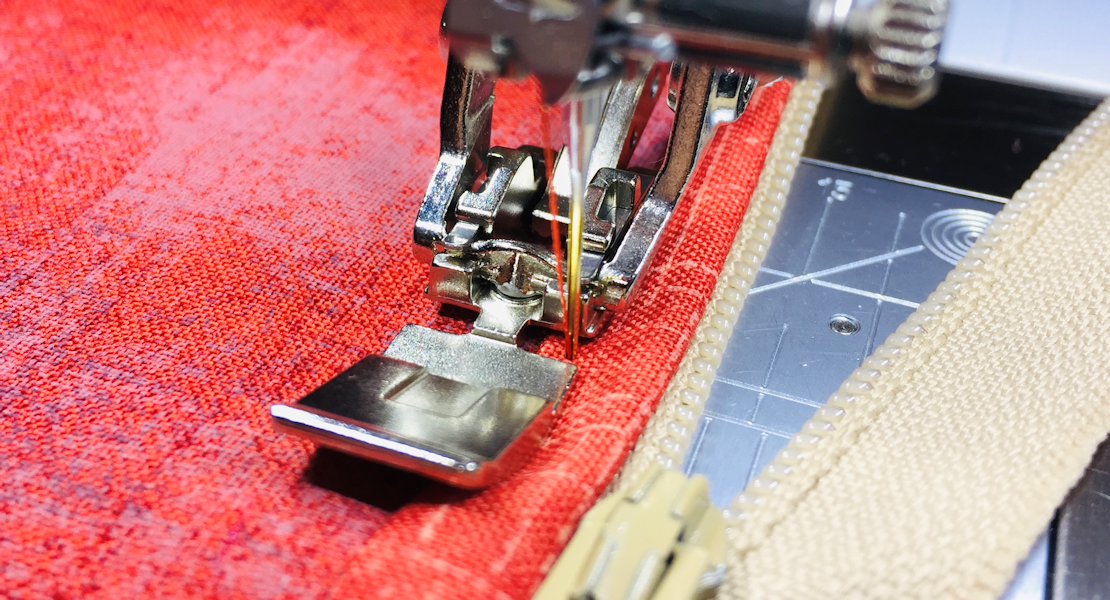
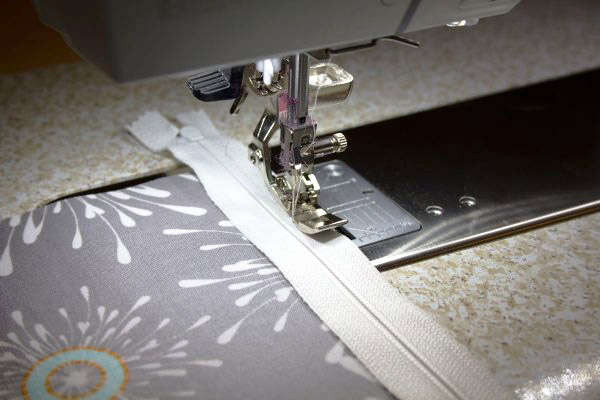
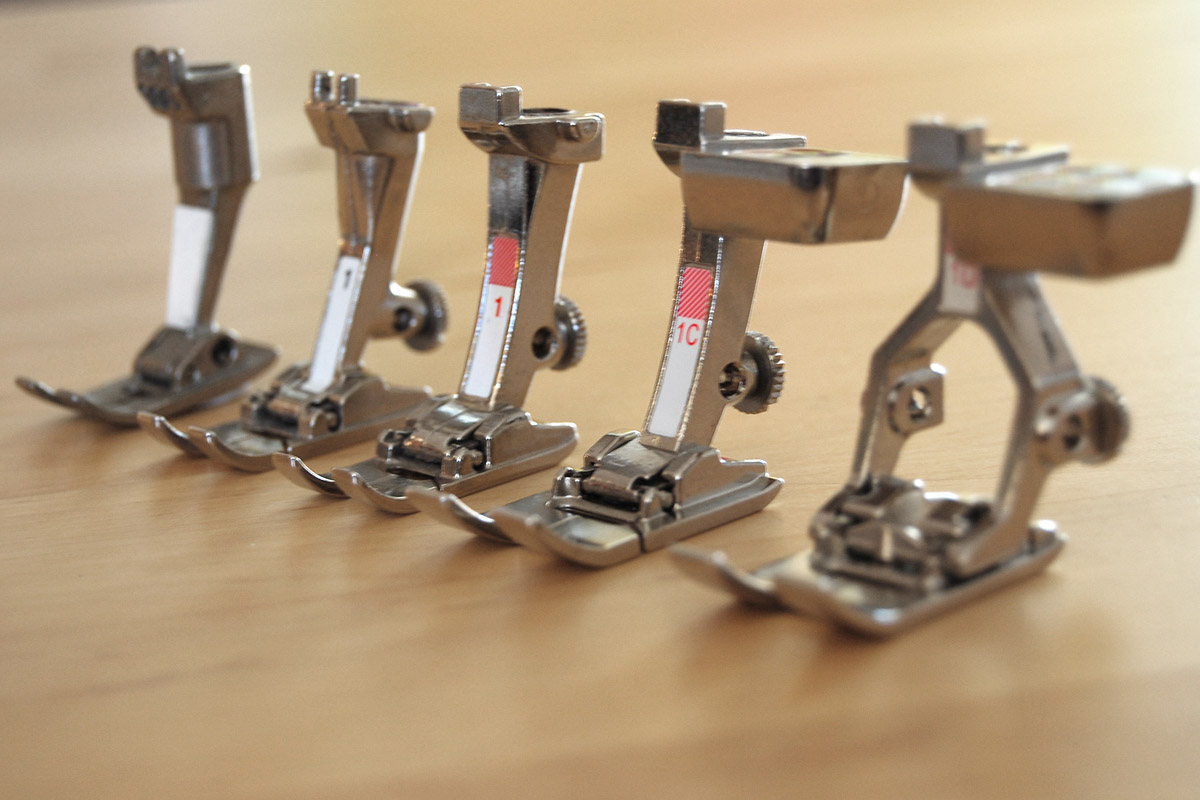
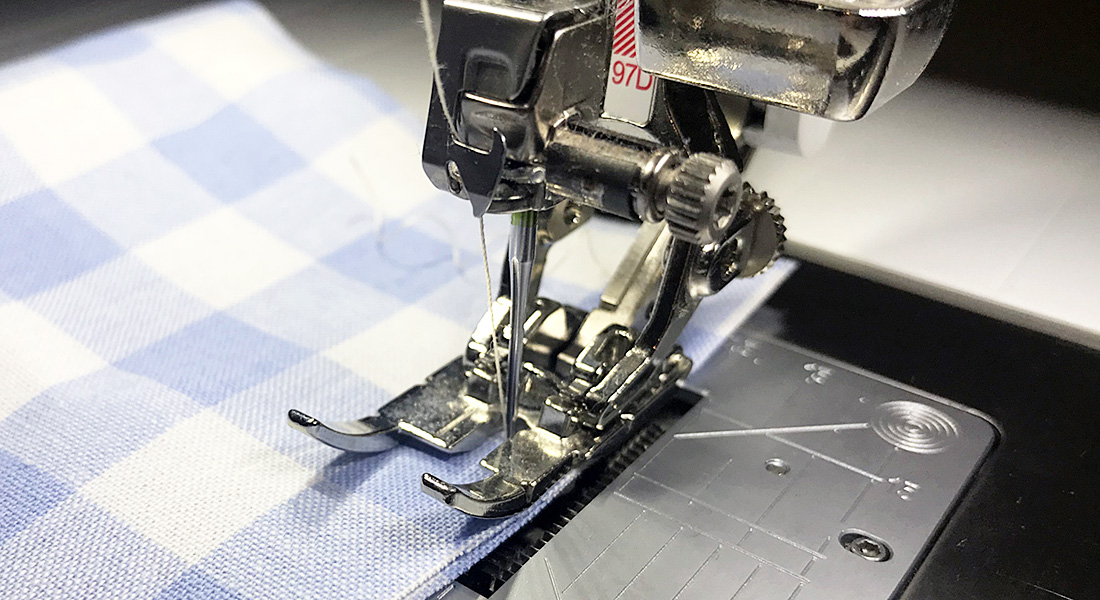
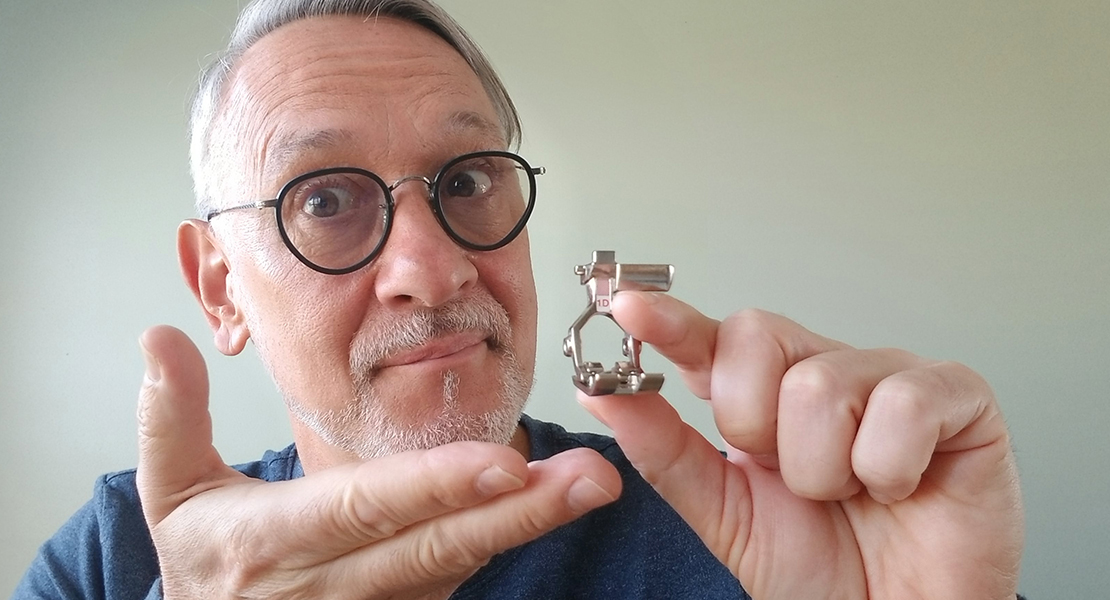
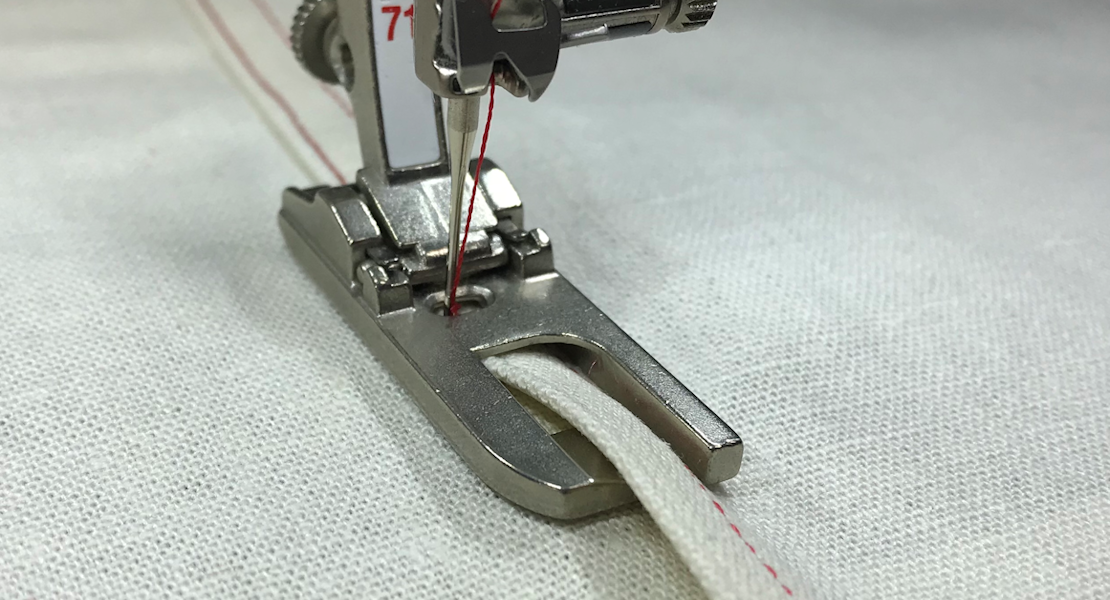
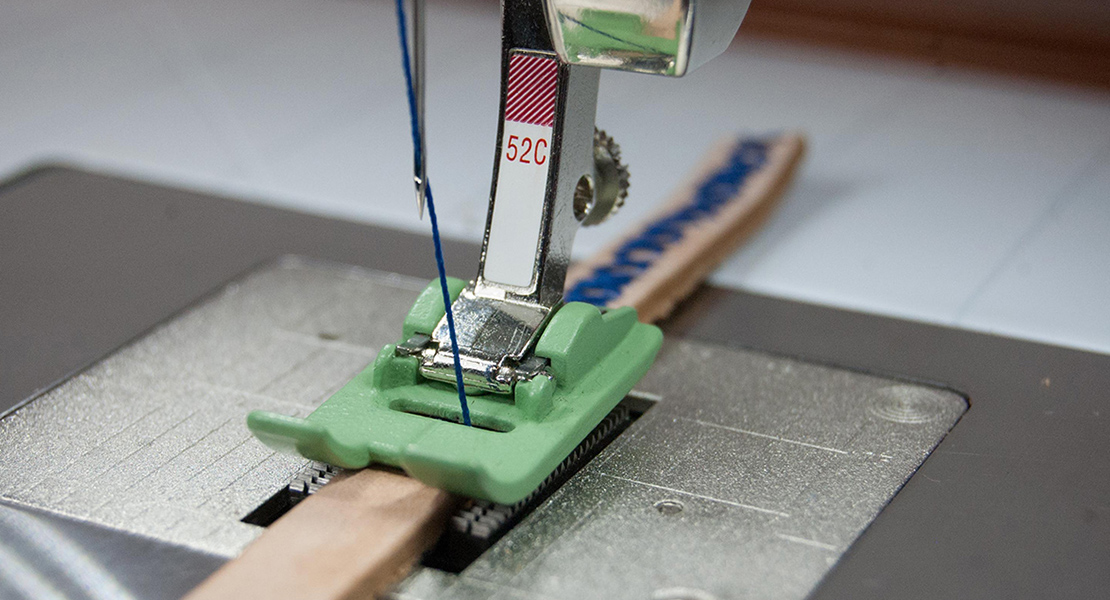
The key to sewing zippers is always the presser foot. The foot allows the stitching to be placed close to the coils. BERNINA has several zipper feet that work for traditional and designer zipper applications. Foot #4 is the original BERNINA zipper foot. It has one narrow toe and is used with the far right or far left needle position. Zipper Foot #4D is the Dual Feed version that feeds the fabric and zipper under the foot with no slipping or shifting.
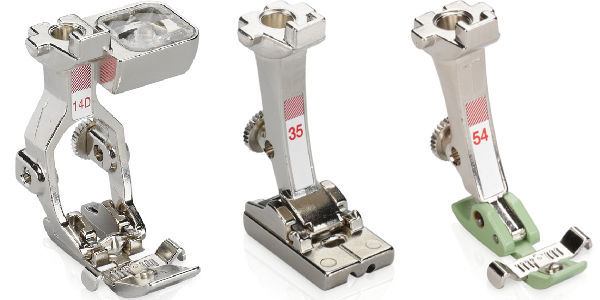
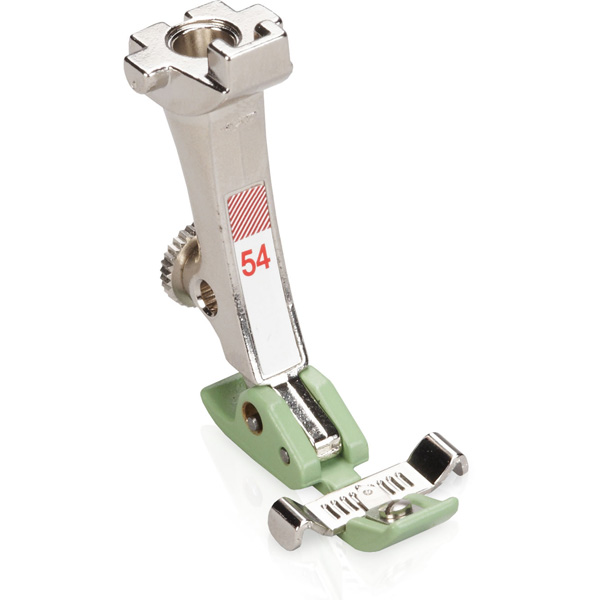
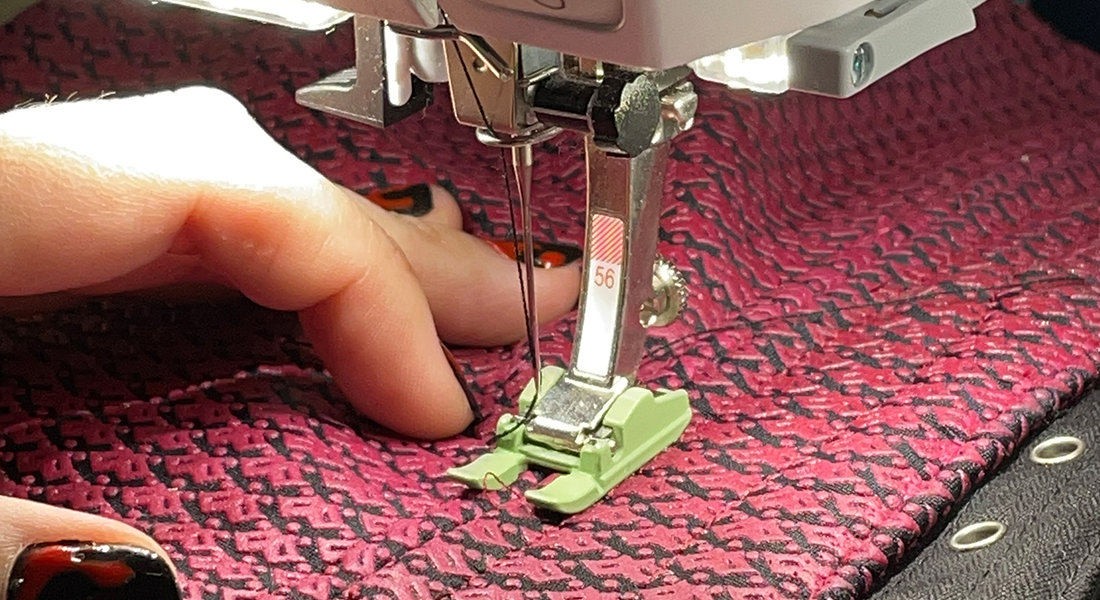
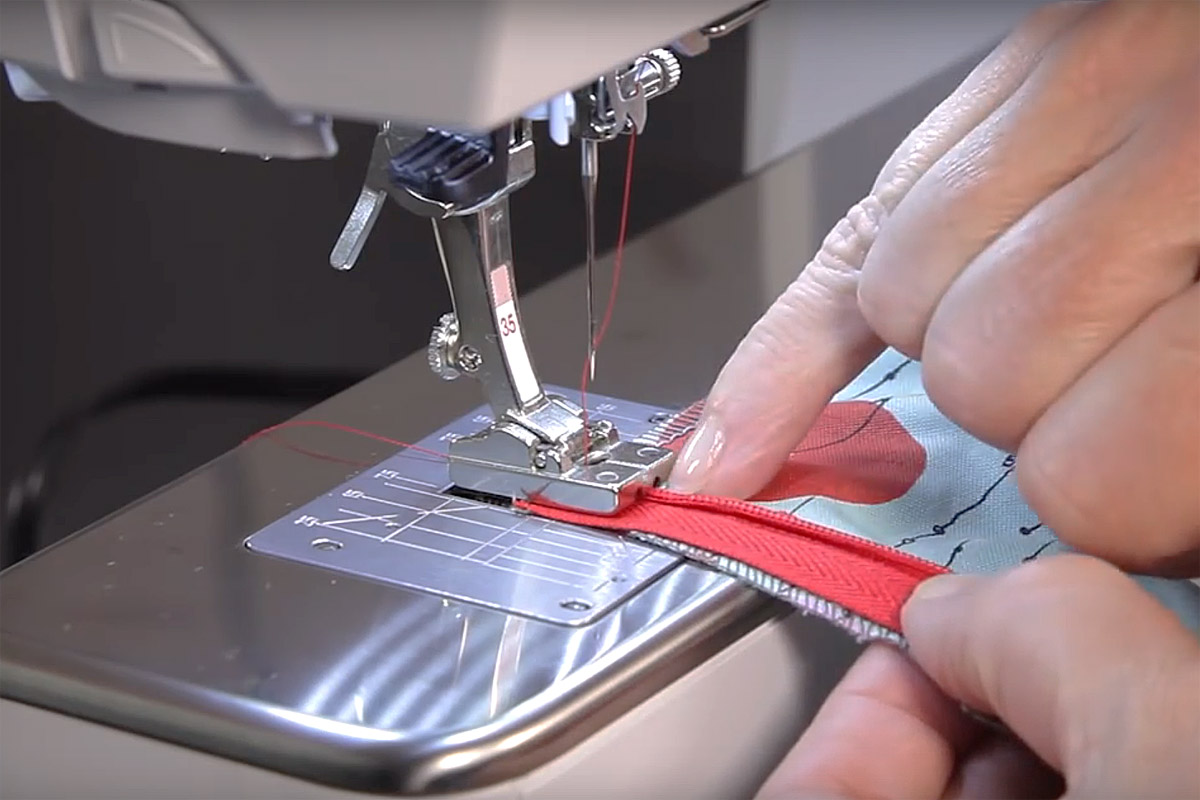
For perfect topstitching when sewing a zipper, use Foot #14D (for models with the Dual Feed feature). Adjust the guide the desired measurement from the needle and align the outer edge with the seam, resulting in stitching that is parallel to the seam. Invisible Zipper Foot #35 is designed to sew a particular type of zipper that is hidden in the seam. Non-Stick Zipper Foot #54 is for stitching zippers on materials such as leather and plastic. It also has an adjustable guide to help keep you stitching straight as you sew a lapped zipper.
Longer Zipper
When possible, use a zipper 2”-4” longer than the opening it will be sewn into. This eliminates the need to sew around the pull tab. Close the zipper for stitching, so the tab is above the upper edge of the project, but don’t forget to unzip it before trimming it even with the upper edge.
Shorter Zipper
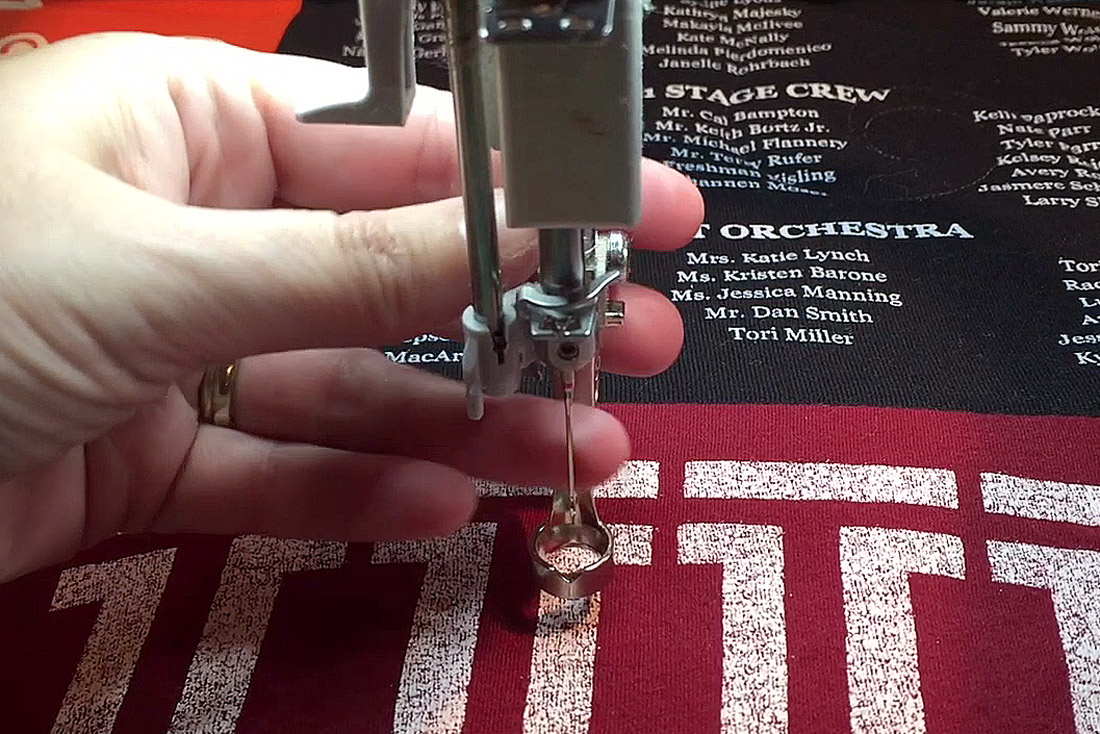
Conventional zippers are easy to shorten if a shorter one is needed. Find the desired length by measuring from the top down. Zigzag in place (feed dog lowered) across the coils at this point and then trim the zipper tape below the stitching. Note: Open Embroidery Foot #20/20C/20D works well for this.
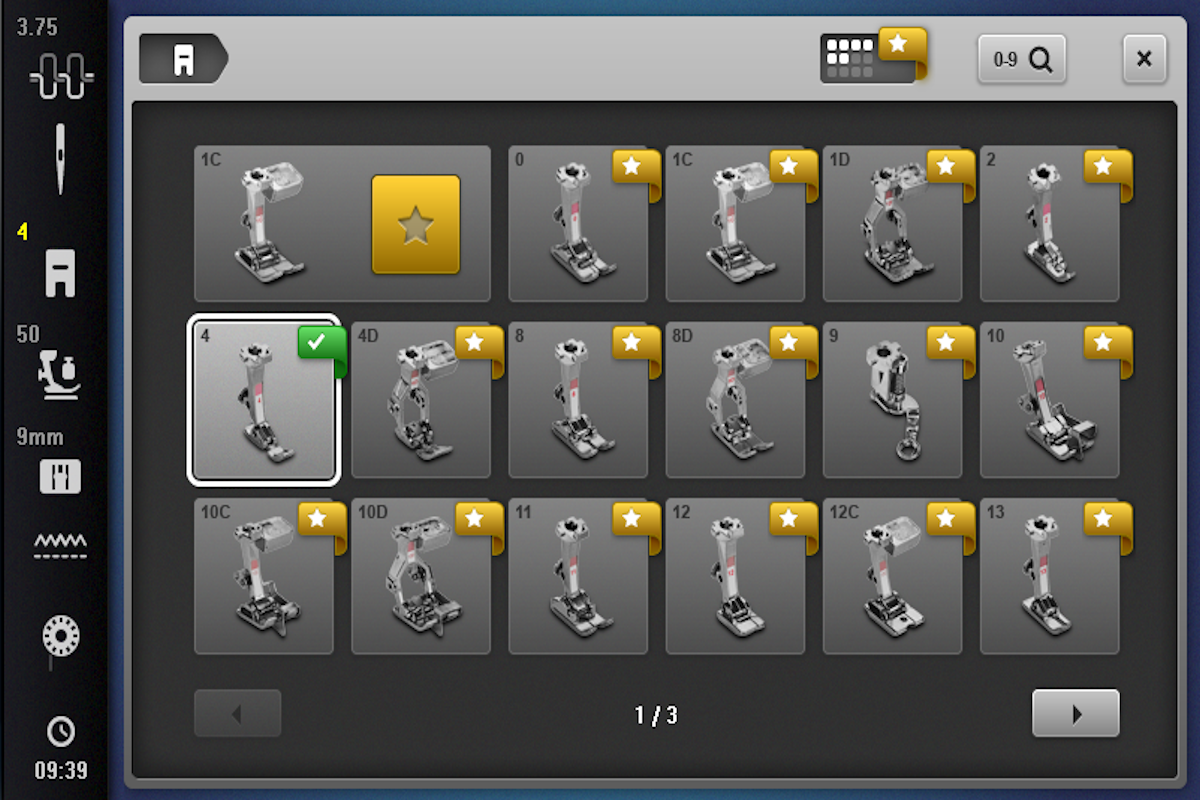
Foot Recognition
If your machine has a foot recognition feature, select the presser foot being used. This will limit the needle positions so the needle will not strike the foot and break. If the needle is in the wrong position for the zipper foot, the stitching will show as red and the machine will not stitch.
Don’t forget to download the Zipper Applications eBook.
For more information on all of the BERNINA Zipper Feet, see The Big Book of Feet at your local BERNINA store.

Used Products

What you might also like


10 comments on “Tips for BERNINA Zipper Feet”
-
-
Important part left off. You’re going to sew your neck facing before any cutting is done. Should read- from a prior zipper article.
“Buy 2-4” longer zipper than your finished space. Leave 2“ past the top so you can pull the zipper tab out
of the way when basting and then sewing the zipper in. Take out basting then pull tab down to open
zipper. Sew facing and then cut off excess zipper tape when trimming seam.
-
-
I thought those instructions sounded problematic too. I’ve always placed the zipper pull even with the edge and folded the extra tape down into the seam of the facing, waist band or what ever, when it’s sewn on.
-
Good Morning, I thought about that and what I did was make a few stitches over the teeth on the zipper. After that everything worked out perfectly.
-
I agree that this is very tricky and does not make much sense. I also think it’s great that between the three of you posting responses you may have solved the problem. But I would like to hear what Bernina have to say on this because the instruction seems to be lacking some very basic advice, ie how to keep a zip fastened. It might look neat but what’s the point of it if you have destroyed the whole mechanism?
Please give us firm answers Bernina -
I have a 570 QE, new edition.
I purchased an Invisible zipper foot #35. I used it successfully on a cotton fabric dresss with a zip purchased from a local repair shop, not sure what make. It went in fine.
I have just made another dress using cotton fabric, quilting weight. I bough a YKK invisible zipper. It just wouldn’t go in. Tiny stitching, teeth seemed to stick in the foot. Eventually I compared the zip to other non YKK zips I had used and played around with and realised the YKK coil/teeth we slightly bigger.
I contacted the well known supplier, and was sent a replacement in case it was faulty. How ever, same problem. I ended up shortening and using another locally sourced uncommon brand zip bought from the local seamstress.
After looking on line, it seems YKK invisible zips are very commonly used in dressmaking. WHY can I not use them with my (expensive!) Bernina 570 QE machine and #35 Foot?
I have used basting stitches, and tried ironing the zip (even though I have read that this is not necessary now with modern invisible zips and proper invisible foots)
I have also read that YKK are 3mm wide, and wonder if the ones I’ve used successfully are actually 2mm. If so, does this mean I will have to source only 2mm zips to use with my #35 Foot?
Has anyone else had the same problem? Am I missing something?
I’m disappointed and frustrated.-
I have used the coats and Clark invisible zippers you buy at Joann’s and my Bernina invisible zipper foot works just fine with my 590. But I never looked at the zipper to see the size.
-
-
I have a 770QE and have exactly the same issue with foot #35 and YKK zips. Currently sewing invisi zips using my old machine and a plastic zipper foot which works beautifully, but not the point when you have a Bernina.
Agree its frustrating. Anyone have any help, ideas? Am considering getting a bernina adaptor foot and using a snap on plastic invisi zipper foot but again not really the point. Thx. -
I am looking for a lapped zipper application that used to be in the Bernina 930 Electronic manual. Not a 930 Record. It would have been when Bernina first made these machines. It is very simple application on 2 to 3 pages. In black and white. Not a comb bound book. Stapled together.
-
I’m having the same issue with #35 foot and YKK invisible zippers as well, after several attempts but to no avail, ended up sewing the invisible zipper on my old machine. Looked up in the accessories catalogue, #35 is supposed to work with “all sizes of invisible zippers”..hope someone out there, especially Bernina, would come up with a better solution for us please.
Leave a Reply
You must be logged in to post a comment.

About the longer zippers idea… there’s a wee problem. You say to trim it even with the upper edge, once you’ve sewn it in… but all that happens is you cut off the two stops at the very top of the zip, which stop the zip pull from coming off. If you cut the zipper in the way you suggest, your zip pull flies off the end of the cut-off teeth when you close the zip, and no more working zipper.
You can’t (well, I couldn’t) get the pull back on the teeth, when this happens. Thinking about it, if you put the pull right down the bottom of the zip, cut the excess length, then recreated the stops with little bar-tack stitches at the top of the zip, that might stop the pull coming off. It might not as well.
Been there, had this happen and said very bad words when it did. So I decidedly don’t cut zips in this way.