Sewing with Leather on the BERNINA 535

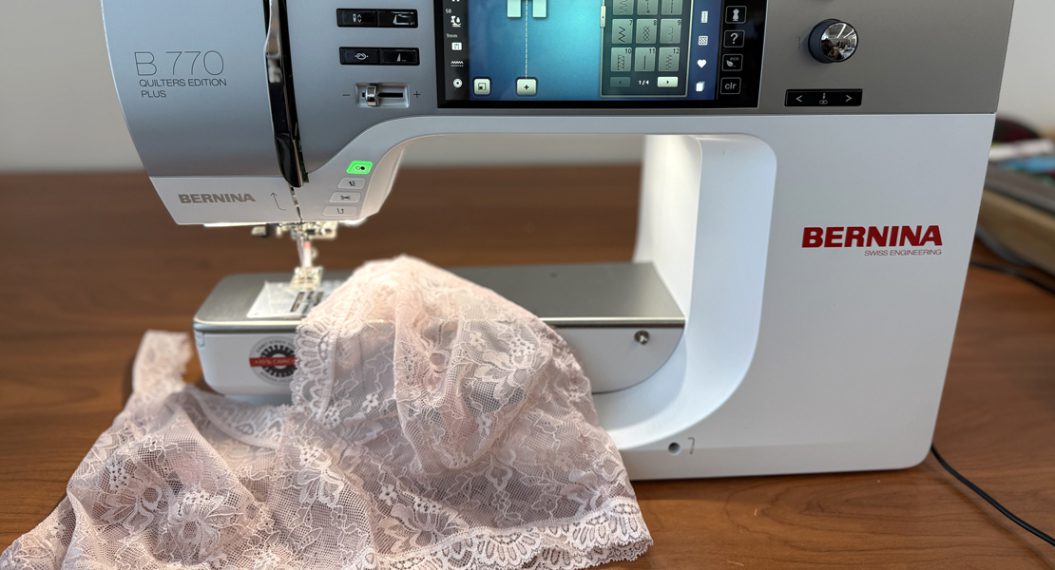
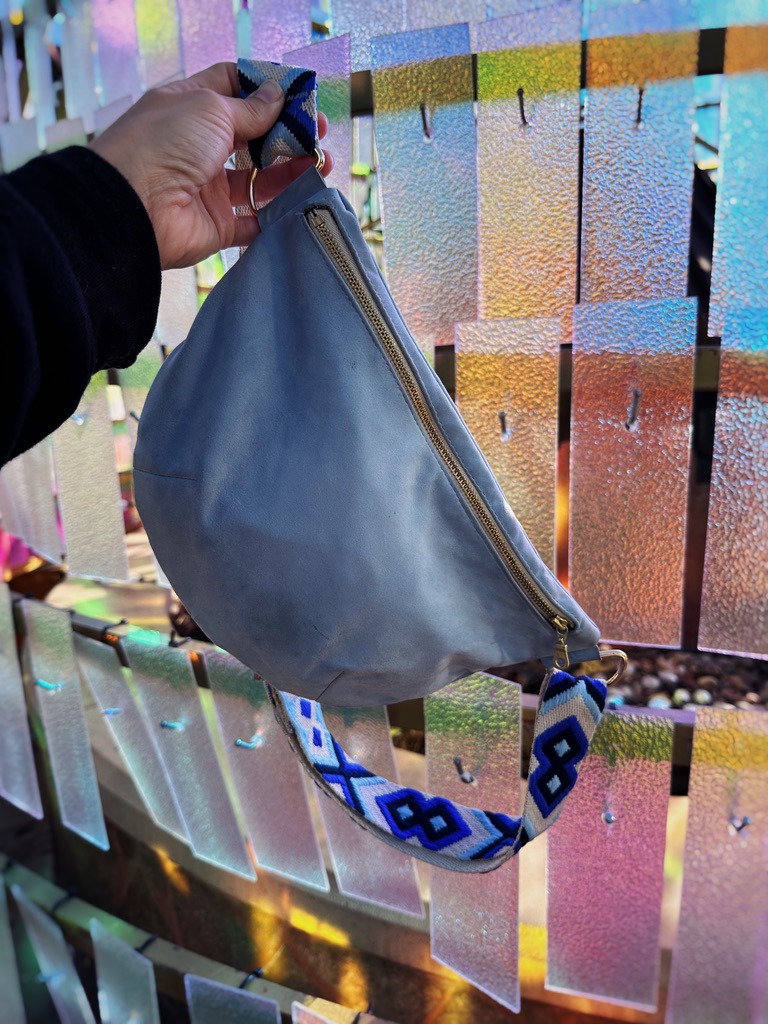
Garment sewing has my heart and is the primary reason I chose my B 535 as a BERNINA Ambassador. I don’t just love to *sew* a pretty garment, I love to STYLE those gorgeous pieces too! One of the easiest ways to add a pop of color or texture to an outfit is a great bag, and I’ve just sewn up the Nicola Pouch by Liberty Crossroads with a gorgeous lambskin leather and beautiful webbing to add that little some-something to my fall style. It was my first time sewing leather on my new machine, so I wanted to share a few of my favorite features and things I learned with you!
First things first: this pattern is such a quick make. Only two pattern pieces, you’ll cut one each of outer, fusing and lining (if you’d like, I didn’t add any this time but I will next for sure!) and one piece of stabilizer for the back. I did make my own bias tape as I didn’t have any in my stash that worked, but you need so little that it takes just a few minutes to add that step or pull from your stash.

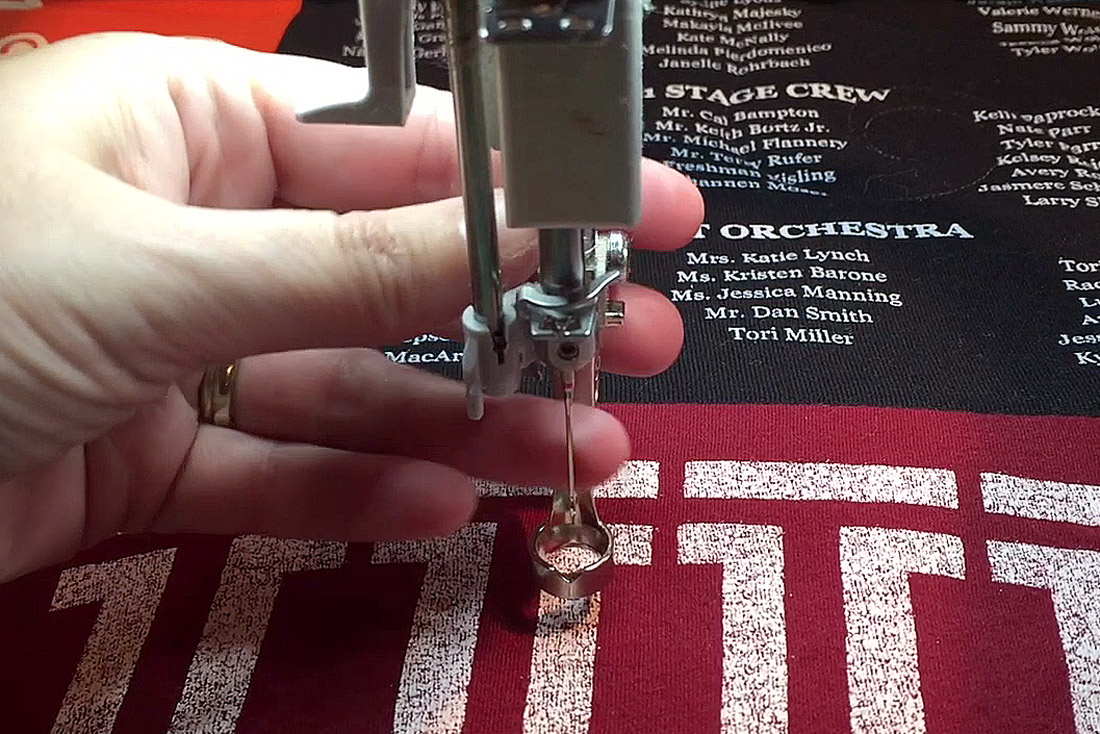
Next, I used masking tape for really clear stitch lines on my welt zipper insertion. A quick pass of rubbing alcohol on the needle made sure I wasn’t gummy for next steps!
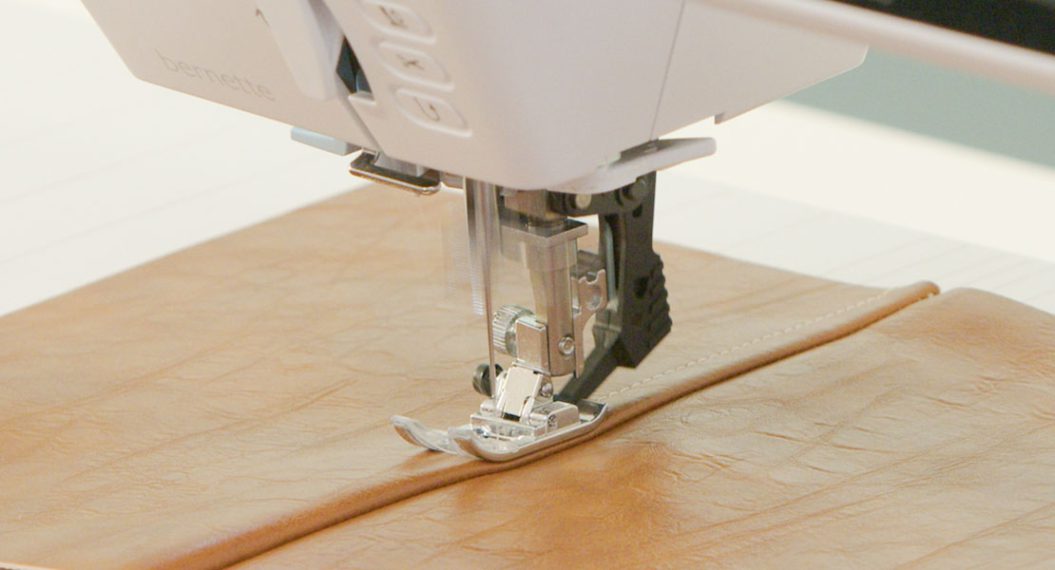
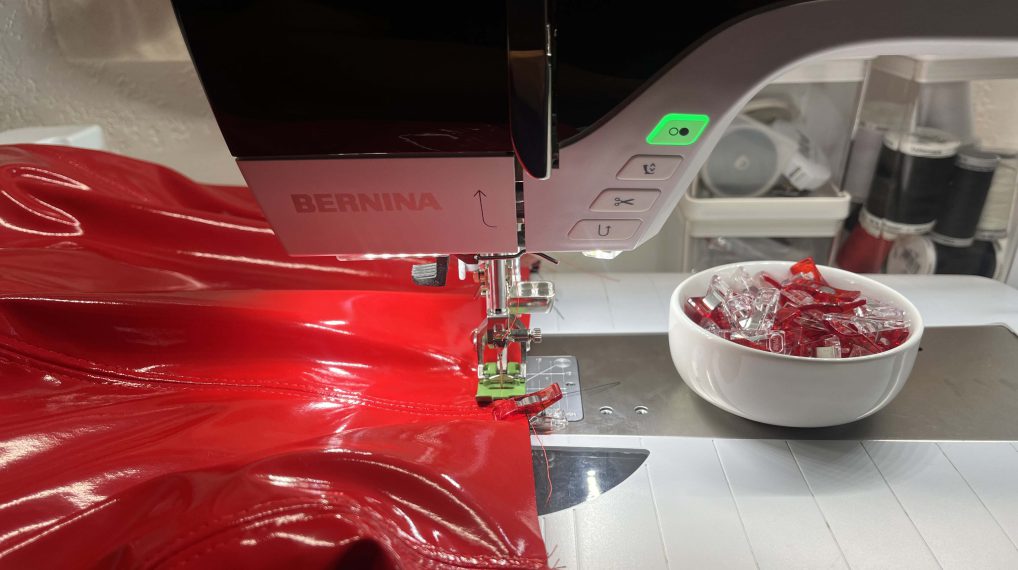
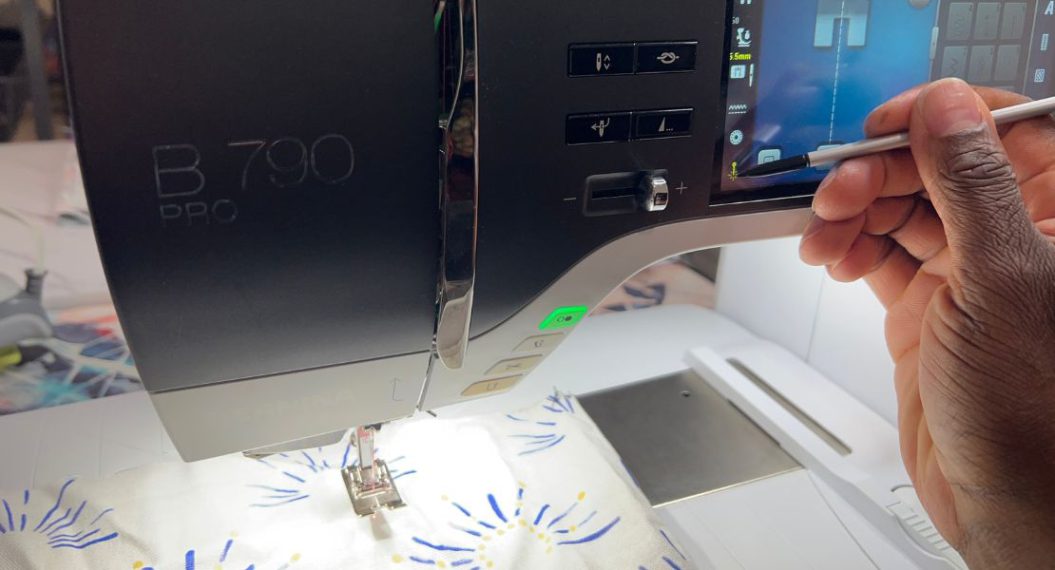
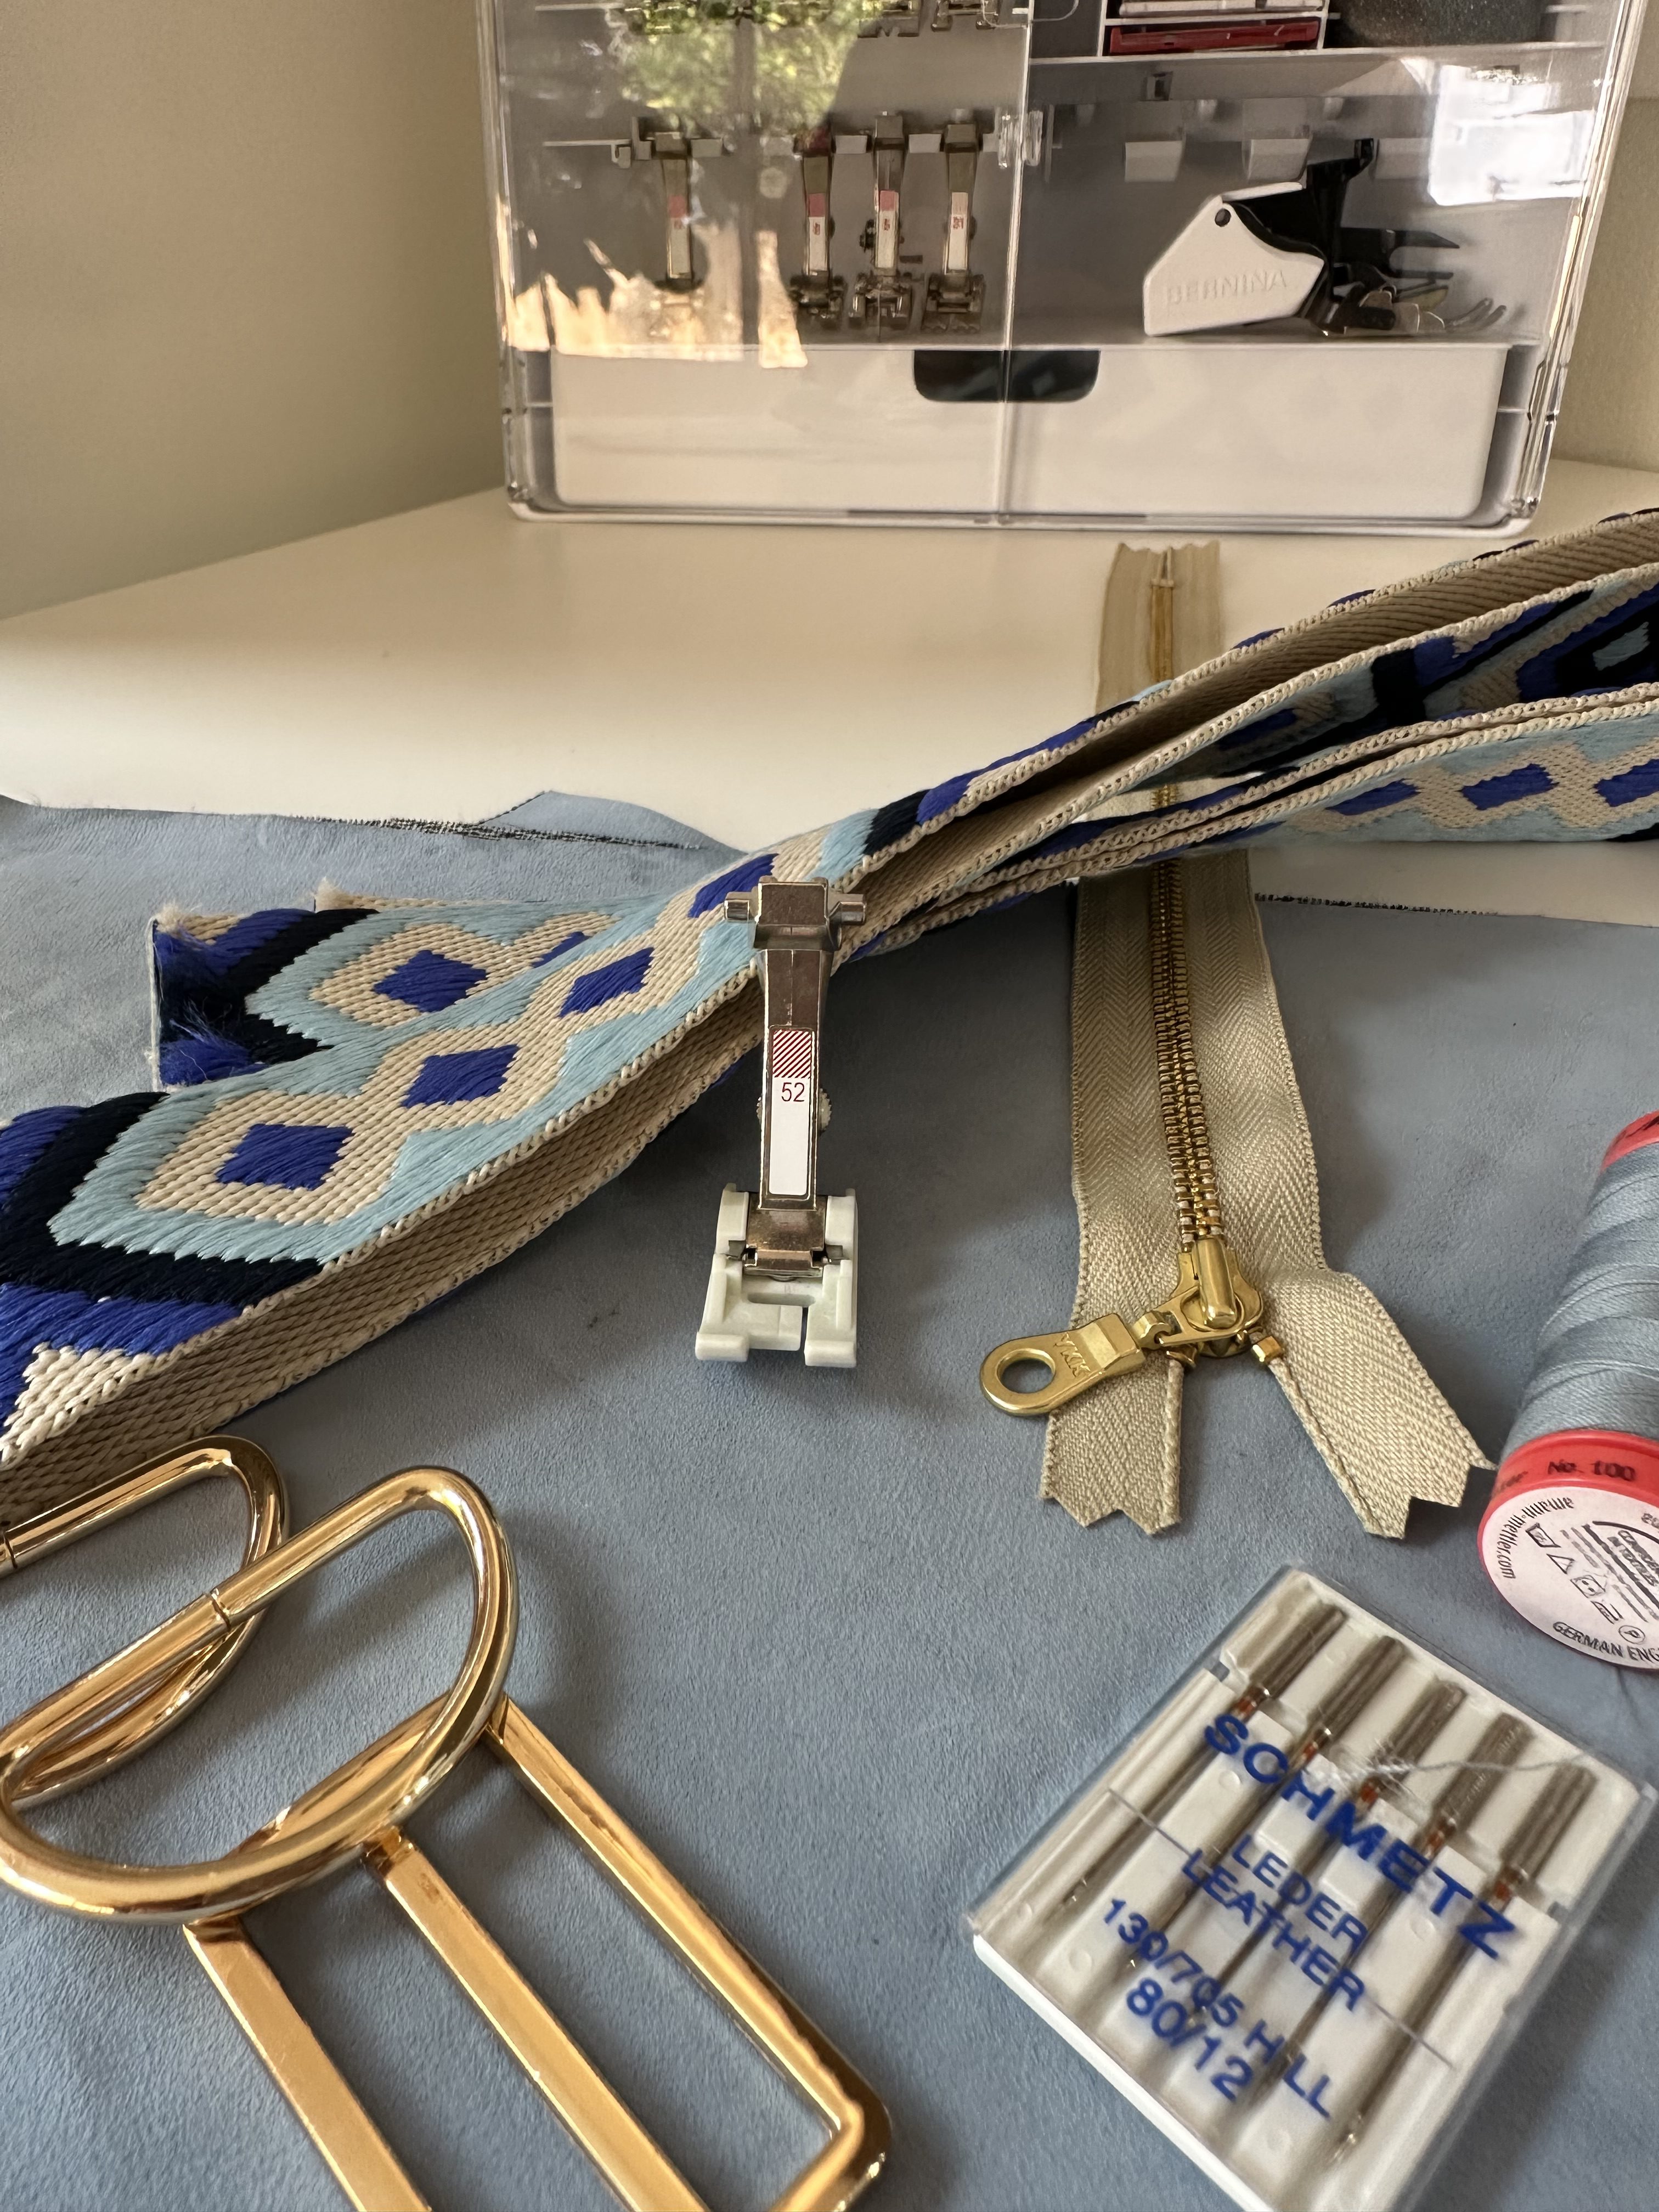
I used my BERNINA Creative Consultant to quickly set the machine for sewing with leather-it’s such a useful tool to automatically adjust tension and stitch length when using textiles that aren’t part of your everyday sewing practice. I set my machine with the recommended Zig Zag Foot with Non-Stick Sole #52, and a brand-new leather needle and got to work.
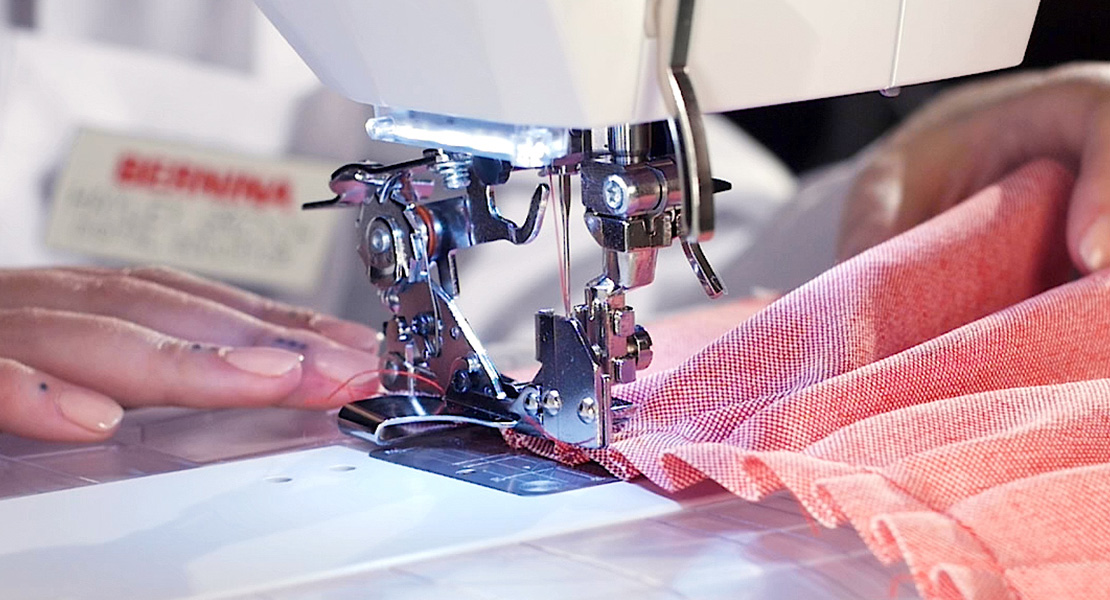
I had one major learning moment in sewing this bag. Adjusting presser foot pressure on the B 535 is a breeze but it is not a feature I always remember to use proactively. (Models like the B 570 QE and B 790 PLUS will adjust automatically for you!) Due to the thickness and uneven fabric height from the zipper tape, my first pass of stitches didn’t have the beautiful BERNINA precision and tension I was expecting. A simple turn of the presser foot pressure knob and a few practice passes to ensure I had the settings correct made for a gorgeous welt zipper!
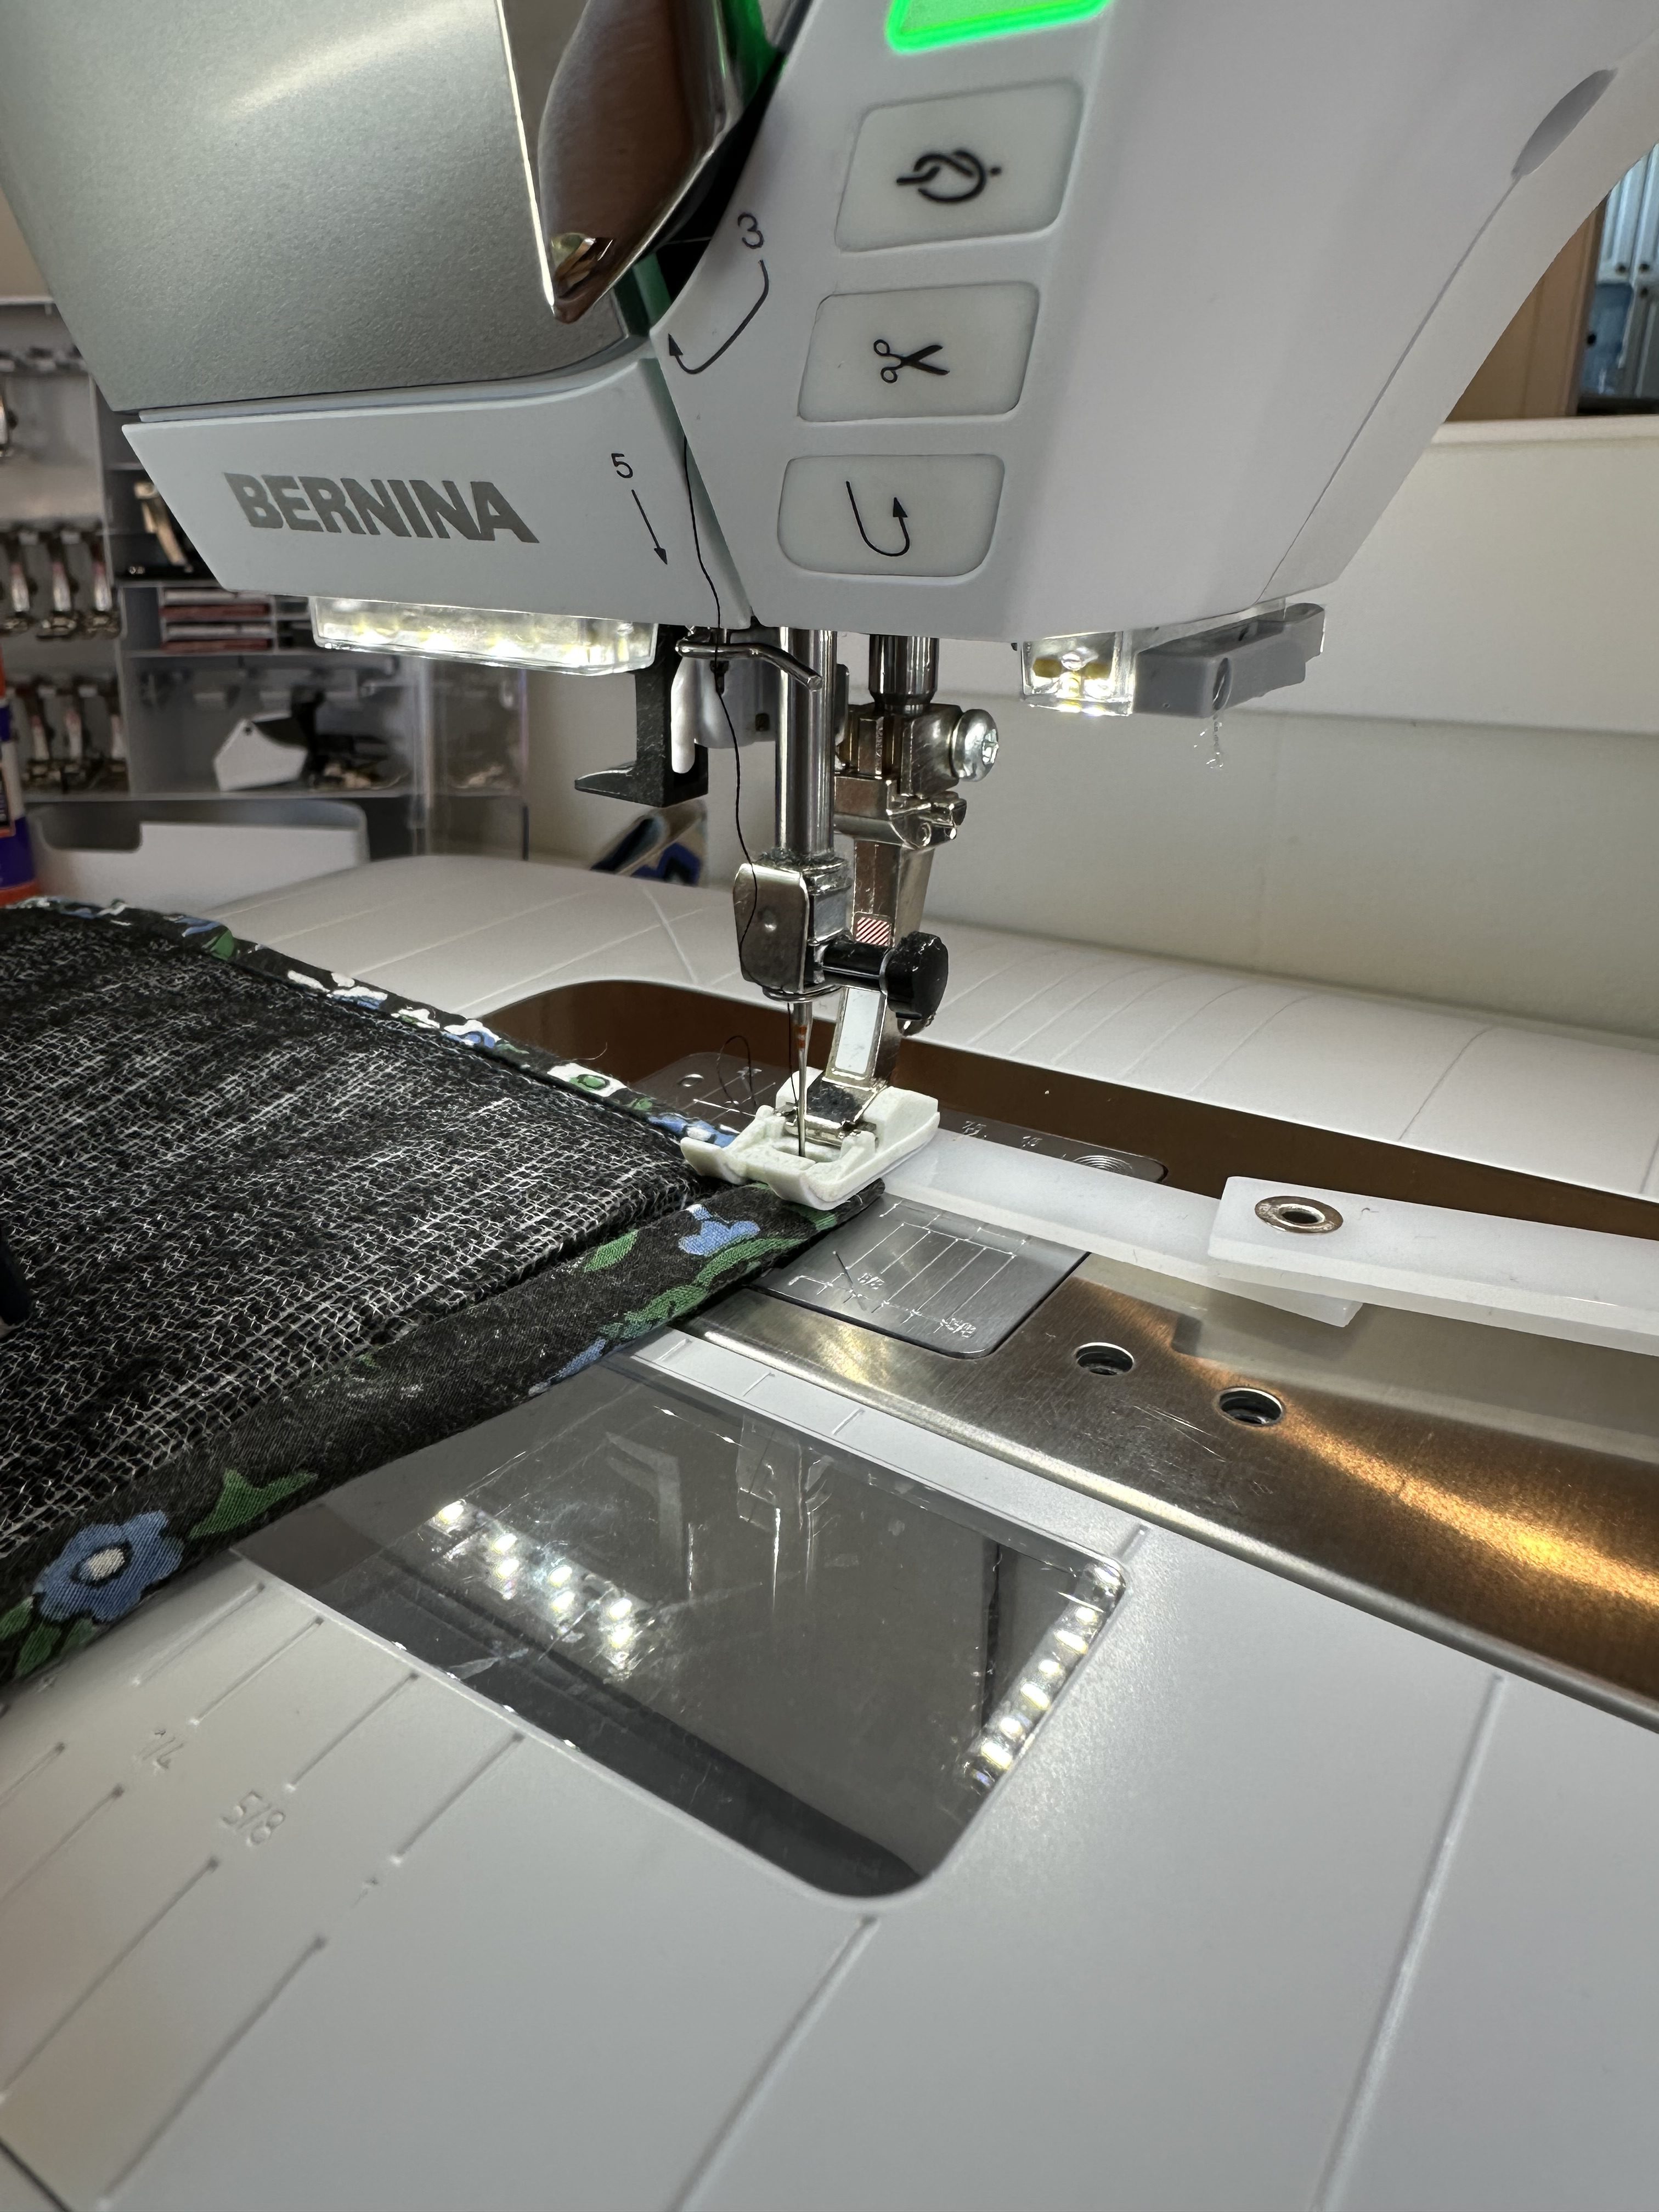
After installing the zipper, it’s just down to applying bias binding! Because of the varying thickness at the D ring attachment, my preference for a small project like this is to baste the two mains+hardware together around the full project before setting up my first pass with bias tape. Using the height compensation tool included with my machine was the key to beautiful, smooth stitches here.
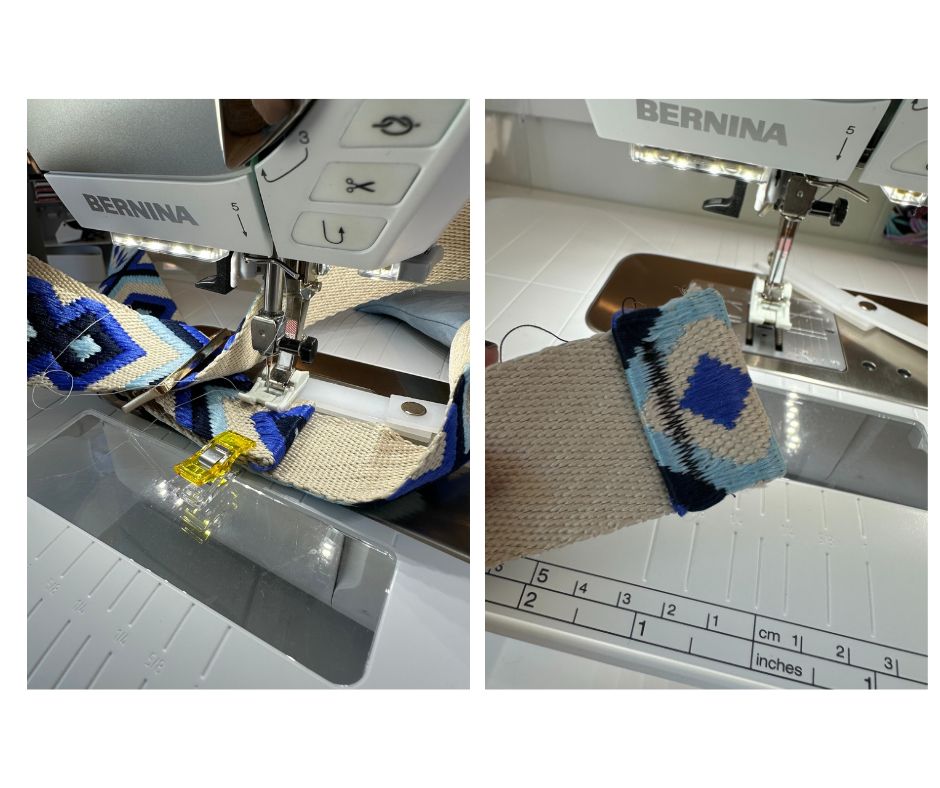
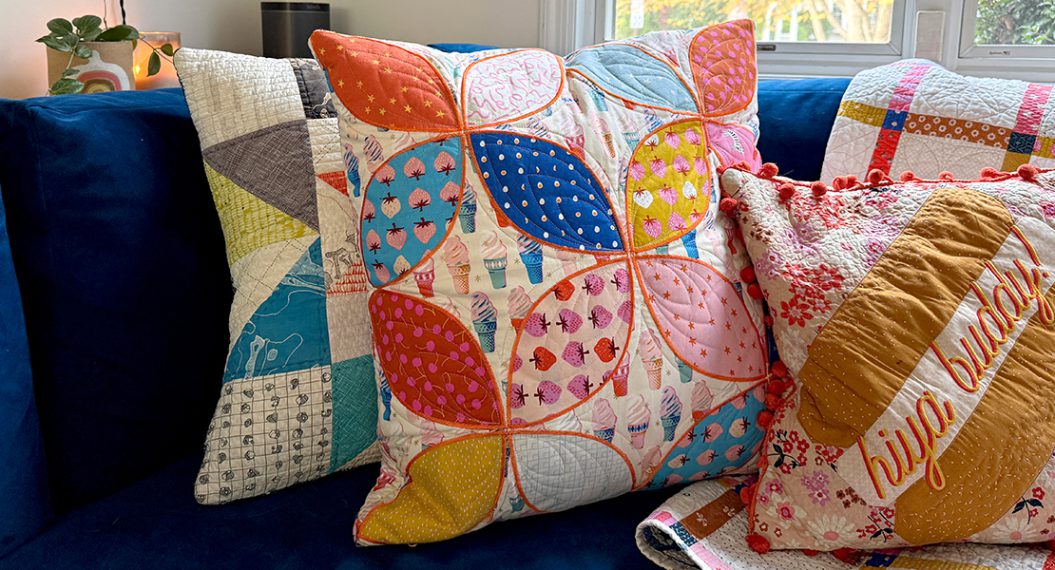
The Nicola Pouch is a super quick sew perfect for gifting and scrap busting, and there are SO MANY beautiful webbing options easily available today. Try adding clip on hardware for swappable belts, or reuse the hardware from a unique vintage/thrifted bag! The right combo of needles, thread and a BERNINA machine means professional, gorgeous bags are just an afternoon away.
Supplies Used
- Nicola Pouch Pattern
- Lambskin leather from Mood Fabrics
- Hardware and webbing from Stitch Supply Co
- Fusing
- Masking Tape
- Zigzag Foot with Non-Stick Sole #52
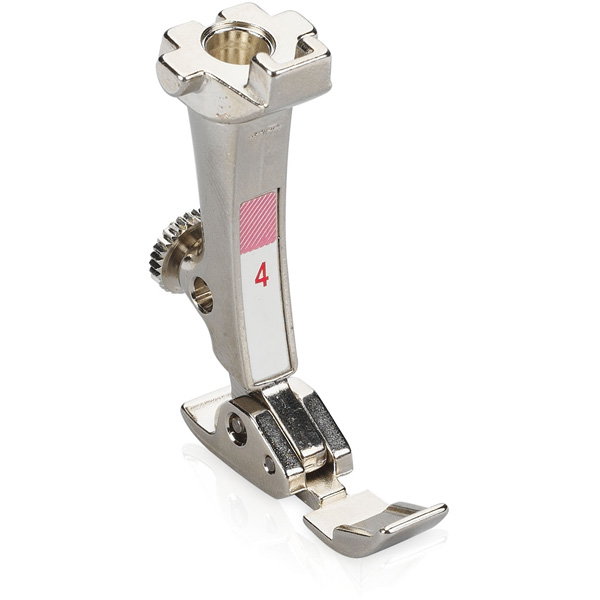
- Zipper Foot #4
- 80/12 Leather Needle
- Scrap fabric for binding