Thread Painting with the BERNINA Q 20
Grüezi mitenand! Hello BERNINA Q . . . Quilters?! It’s been a while!
Here is Carolina Asmussen from the BERNINA Ambassador Class of 2021 and of course, my “new, old friend”, the BERNINA Q 20 Sit-down model.
In my previous posts, we discussed the three different types of BERNINA Stitch Regulator, the famous BSR for the Q Series longarm. We also worked with projects to illustrate how to use them and today we will be talking about thread painting and the Manual Mode.
I should start by saying that I totally underestimated the amount of content for this post. Because thread painting is such a fun subject and I have so much information to share with you!
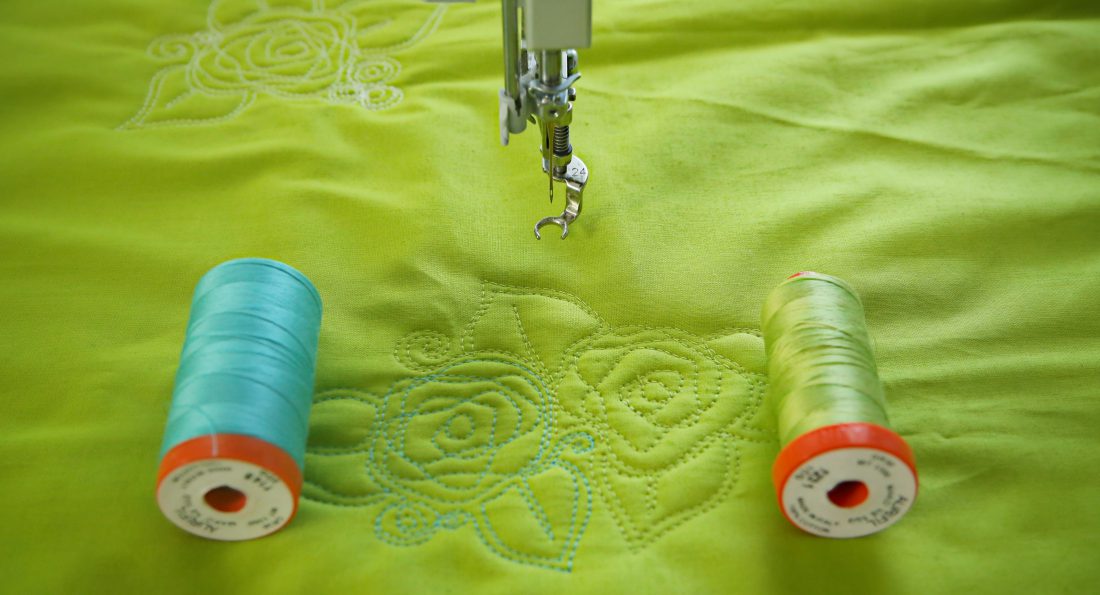
First of all, it’s no right or wrong! (Quilt Police: please read this again!) Thread painting is pretty much drawing with threads and fabrics. It is about your personal preferences, about density, light and shadow, colors and texture… it is pretty much about your own handwriting. It’s also a really fun and forgivable technique, an awesome way to practice free-motion quilting without the pressure of practicing free-motion quilting.
For this project, a wall hanger, we will work with the Manual Mode. We don’t need to change any configuration. Just press the Manual icon from your machine screen and we are ready to go.
How to Thread Paint on the Q 20 Sit-down

Materials Needed
- Embroidery Hoop, 8″ size
- (1) fat quarter fabric with florals or leaves design (I used Lesley Riley‘s Foliage Collection for Northcott fabric)
- (1) 16″ x 16″ square of batting (I used an 80% cotton, 20% polyester blend)
- (1) 16″ x 16″ square of coordinating backing fabric
- Assorted sewing threads coordinating with the floral fabric (I used silk, cotton and metallic threads)
- Water-soluble marker
- BERNINA Free-motion Embroidery Foot #24
- 80/12 topstitch needle
- Quilting gloves are optional but recommended
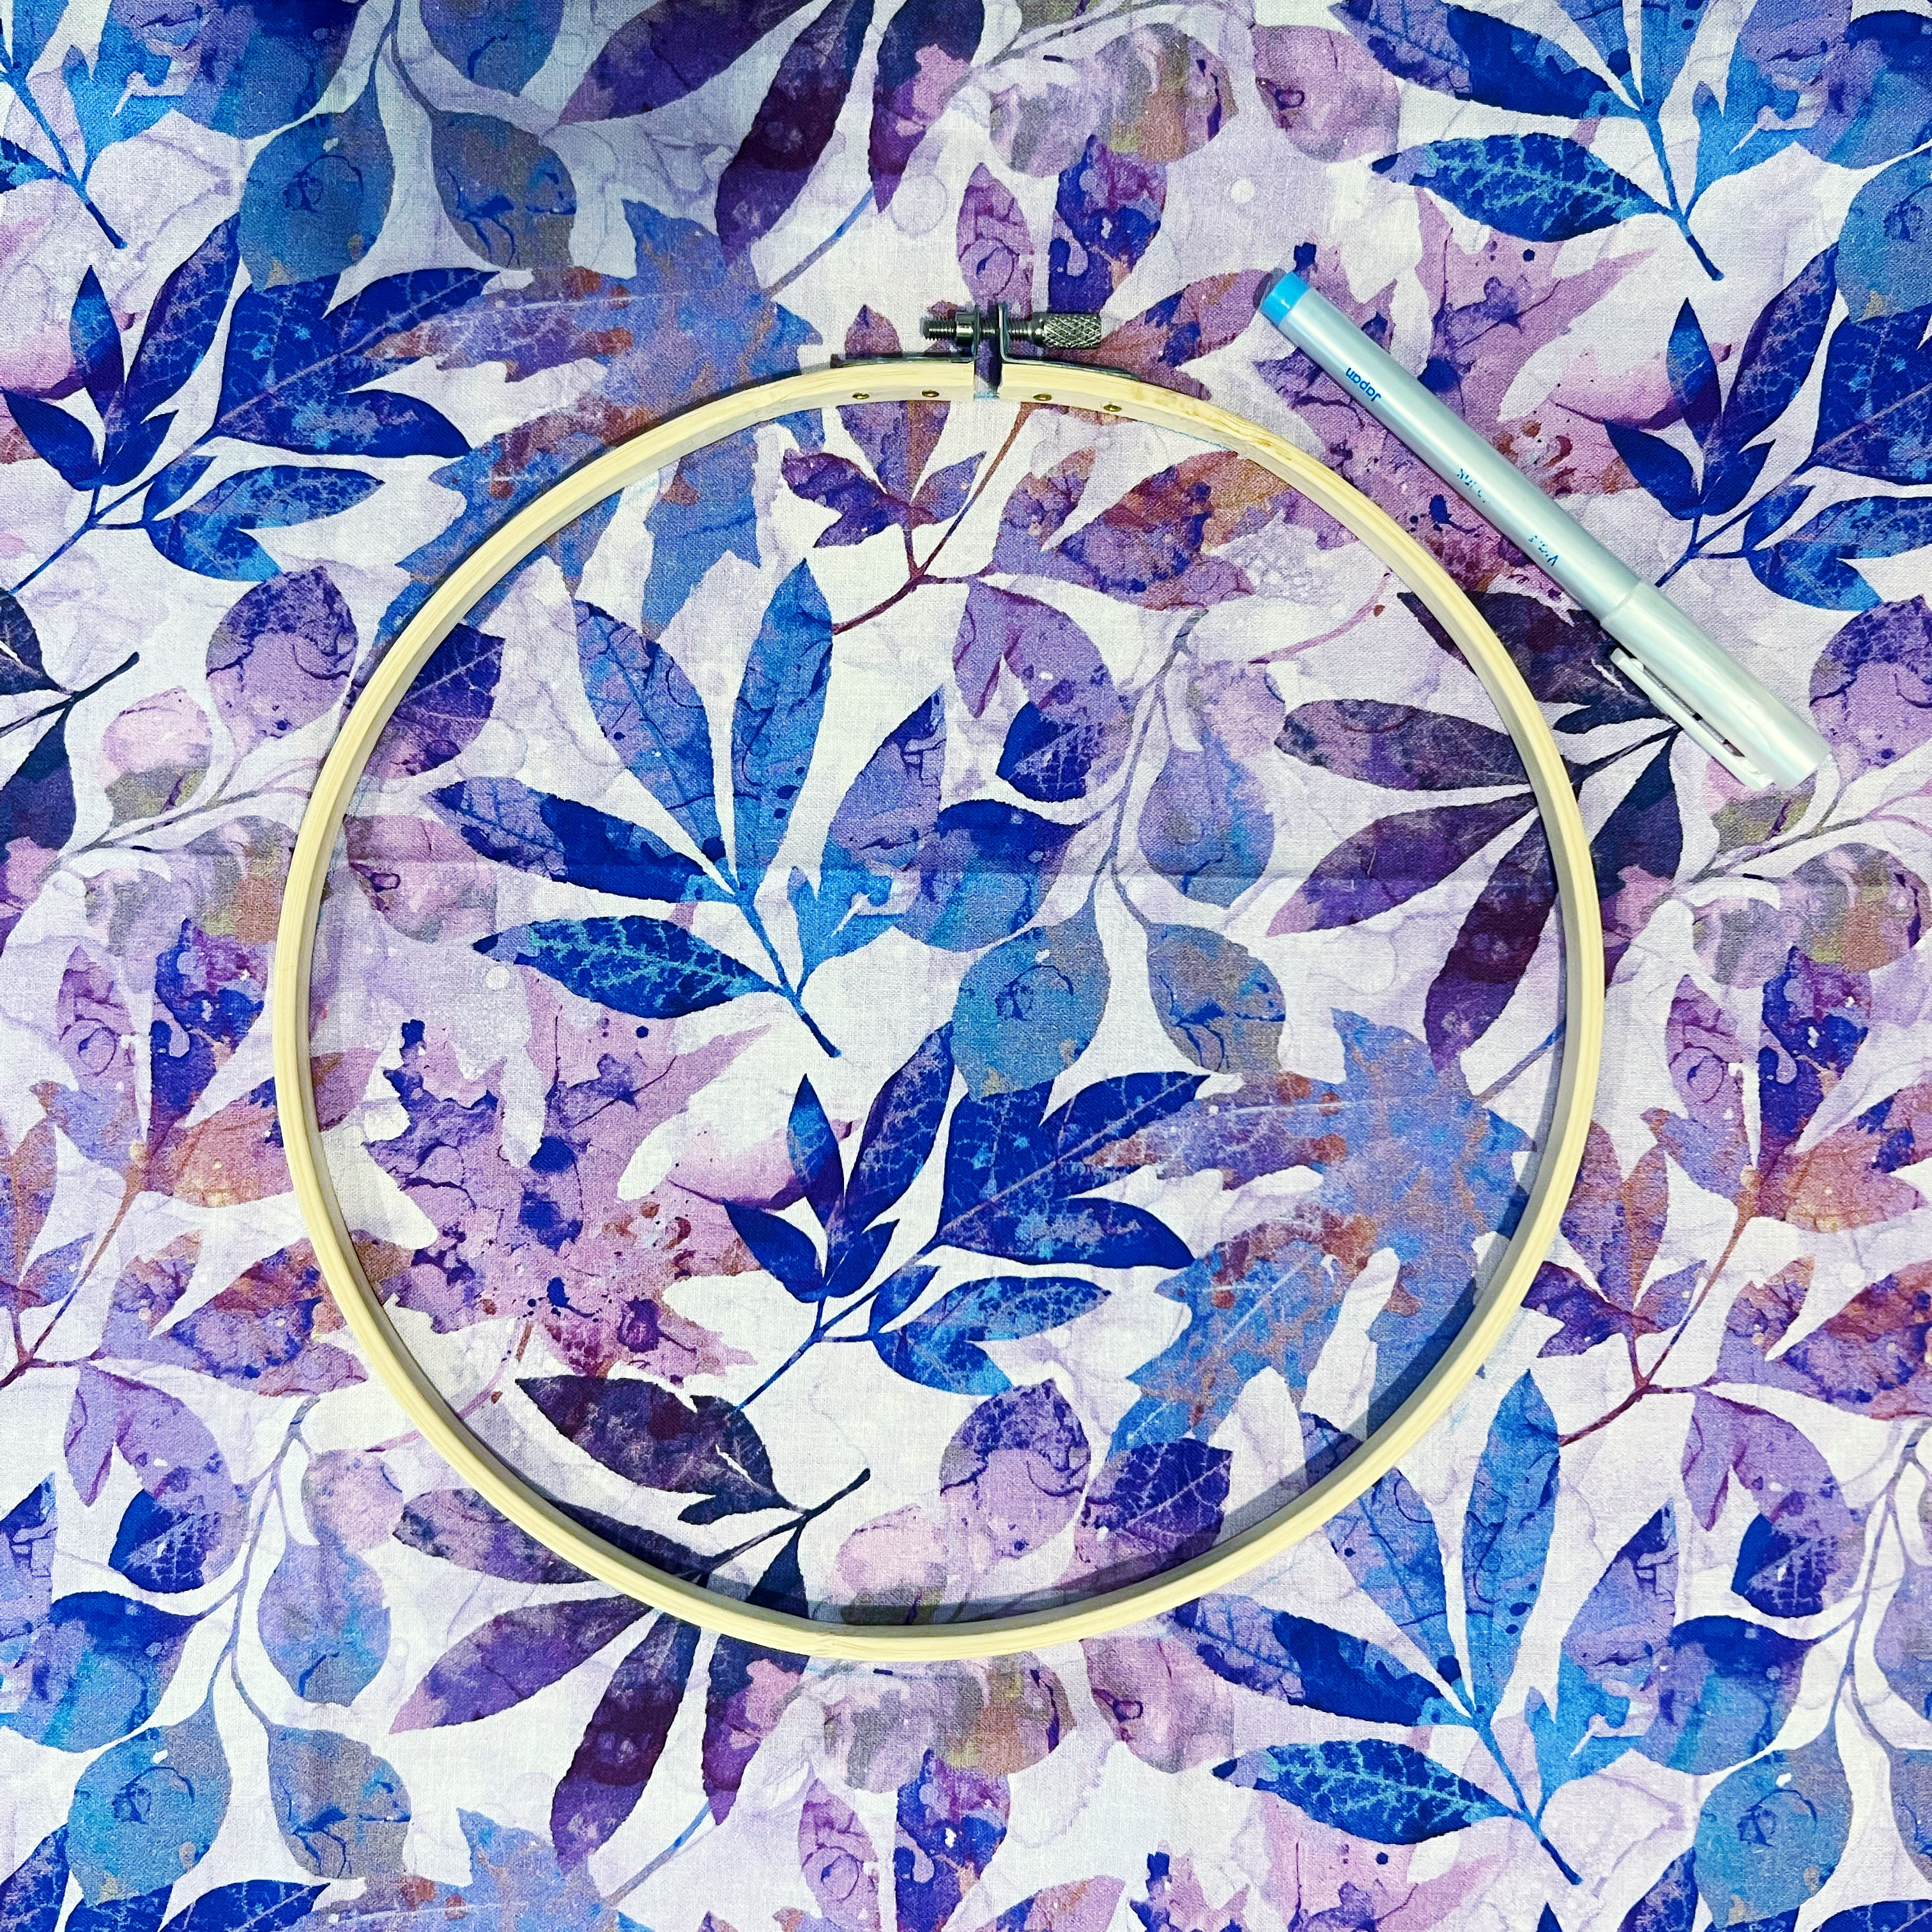
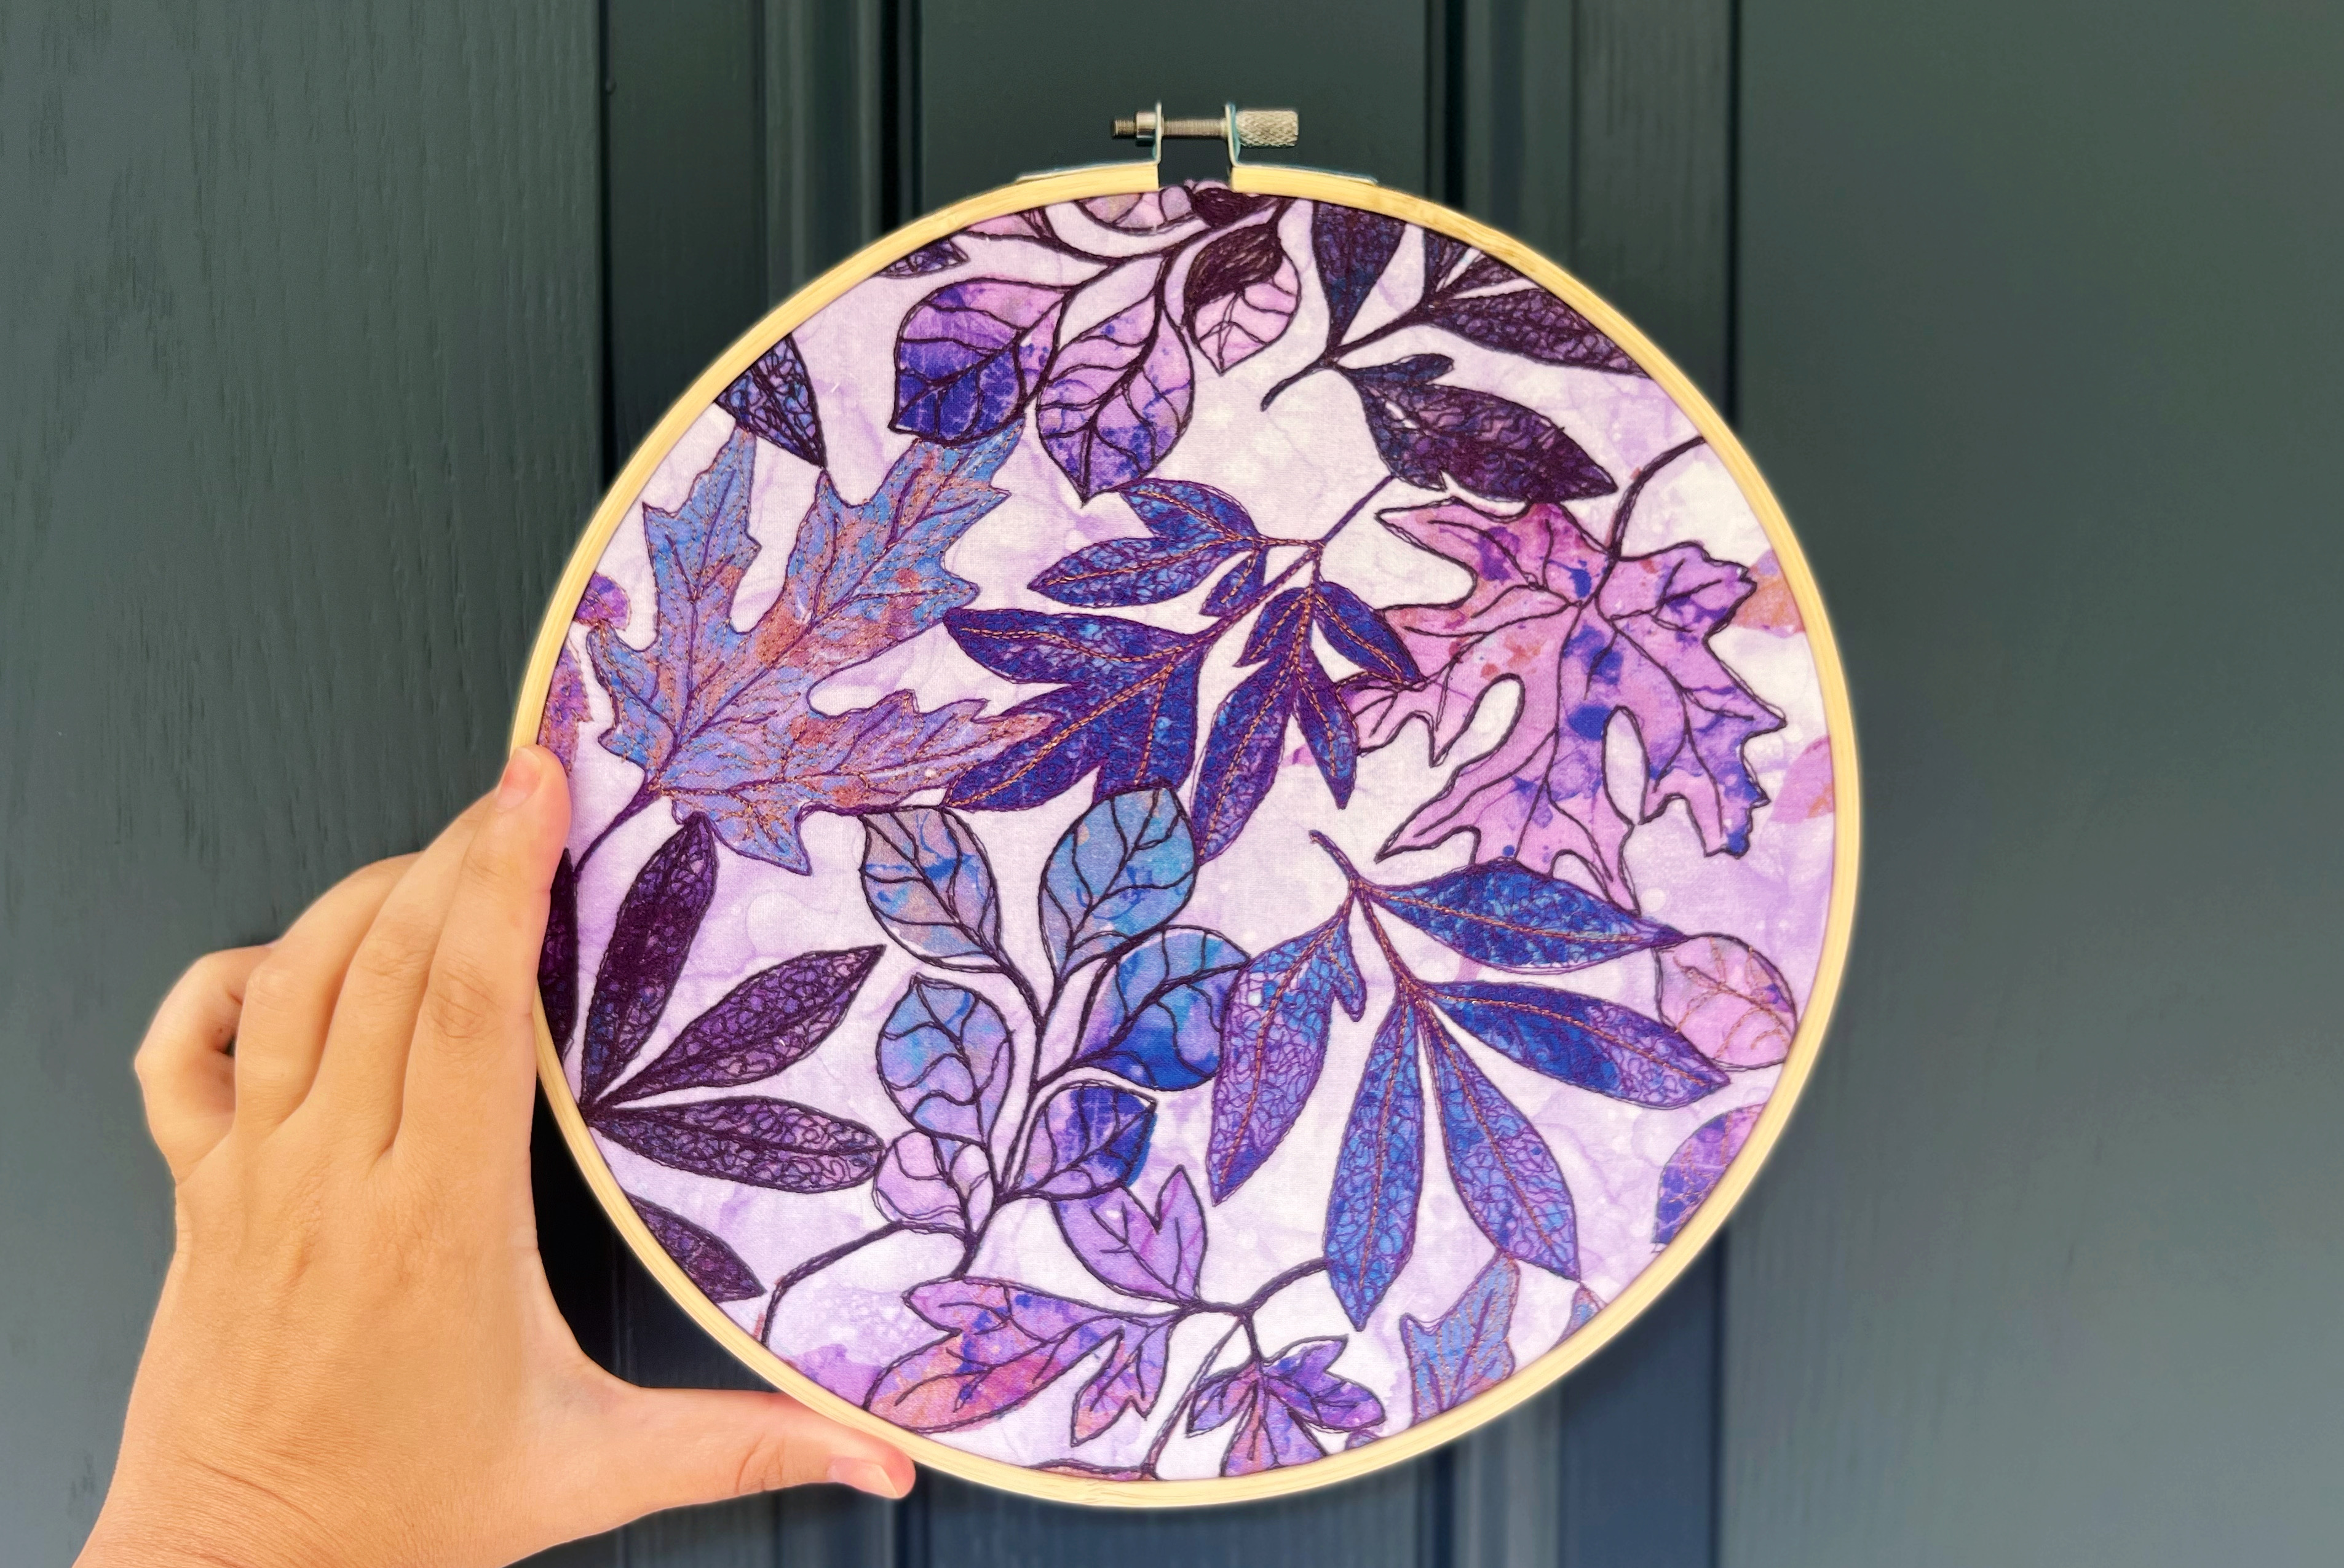
I asked for an entire fat quarter for the top fabric, because you maybe want to use the embroidery hoop to “frame” the specific area that you want to highlight with thread painting. After you decide, use the hoop and the water-soluble marker to mark the working area. Don’t forget to leave at least 2″ “borders” of fabric outside around the hoop, for finishing the wall hanger properly. See the image below:
Trim the top fabric to a 16″x 16″ square. Prepare the quilt sandwich in this order, backing fabric with the wrong side facing you, batting square and the floral fabric with the right side facing you on the top. Secure the layers with your favorite method.
How to Plan your Painting
If you are following my posts here, you probably noticed that I like to use my iPad and Procreate app to visualize my quilting plan. So check the video below:
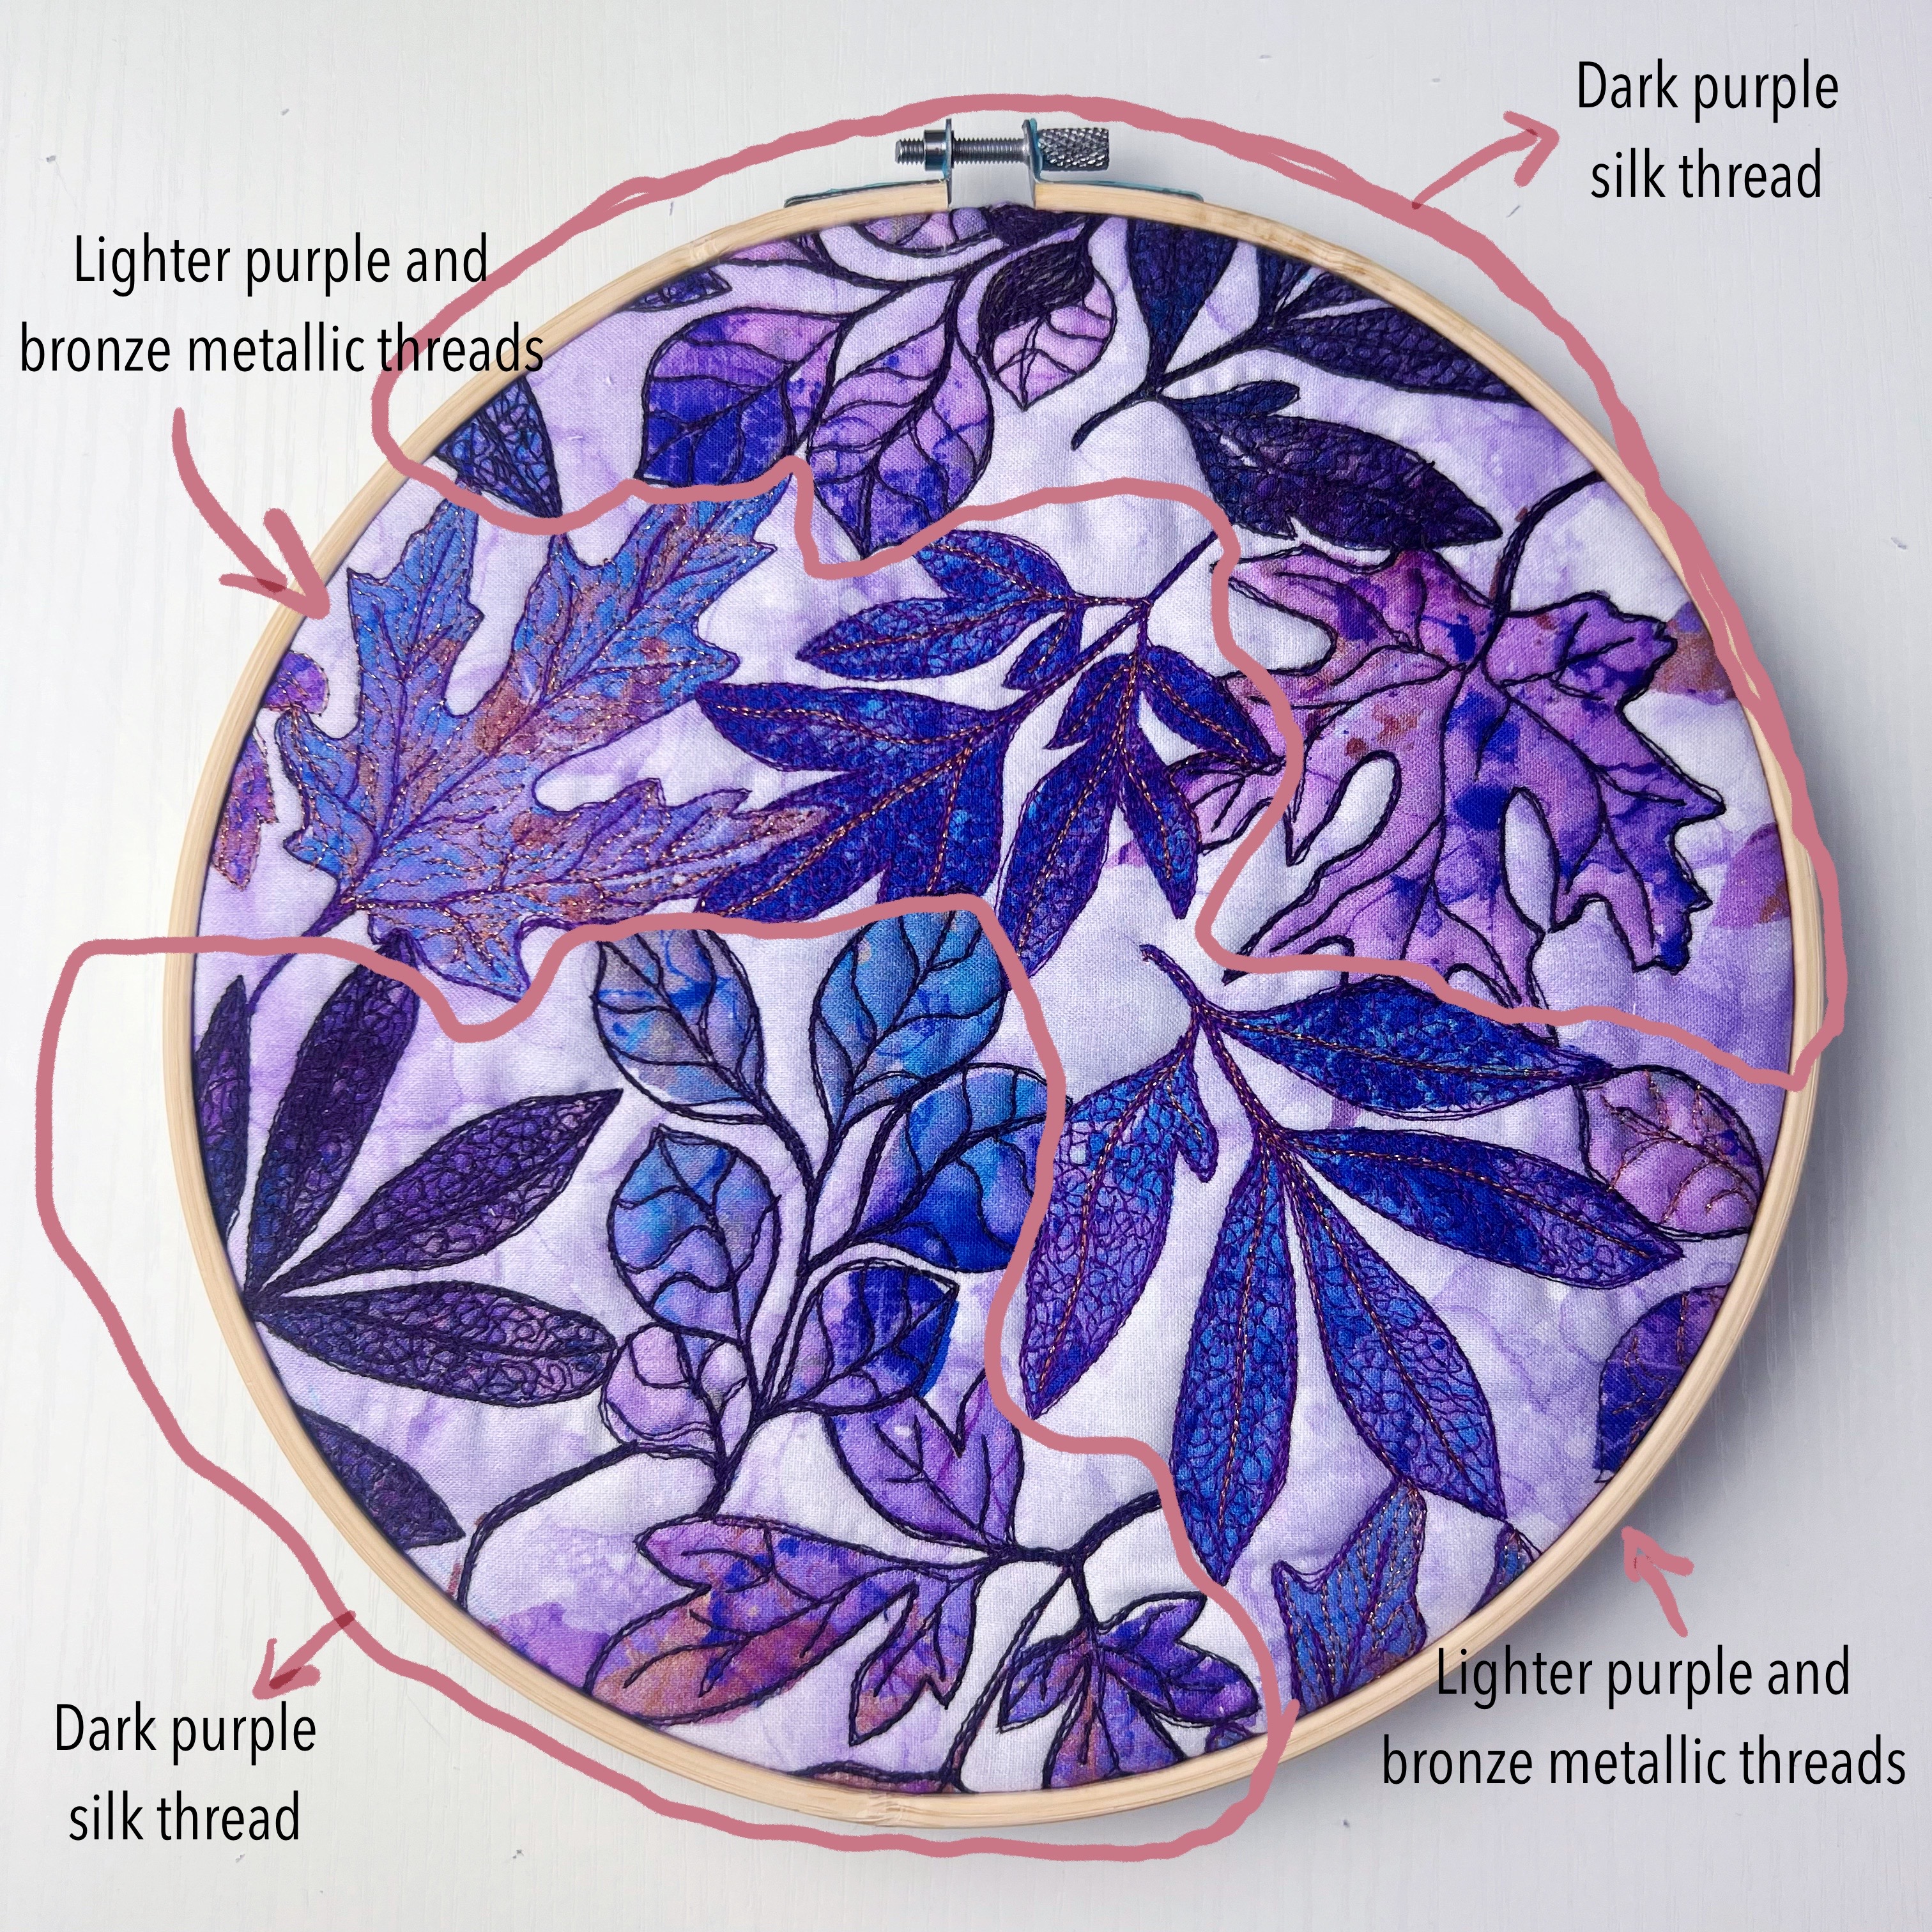
And a little “thread map” to show what I used and where.
Let’s Paint!
As I mentioned before in this post, there are many different ways to work with thread painting. In the following videos, I will demonstrate some of my favorite styles and techniques, considering the design of the fabric that I chose as the “base”.
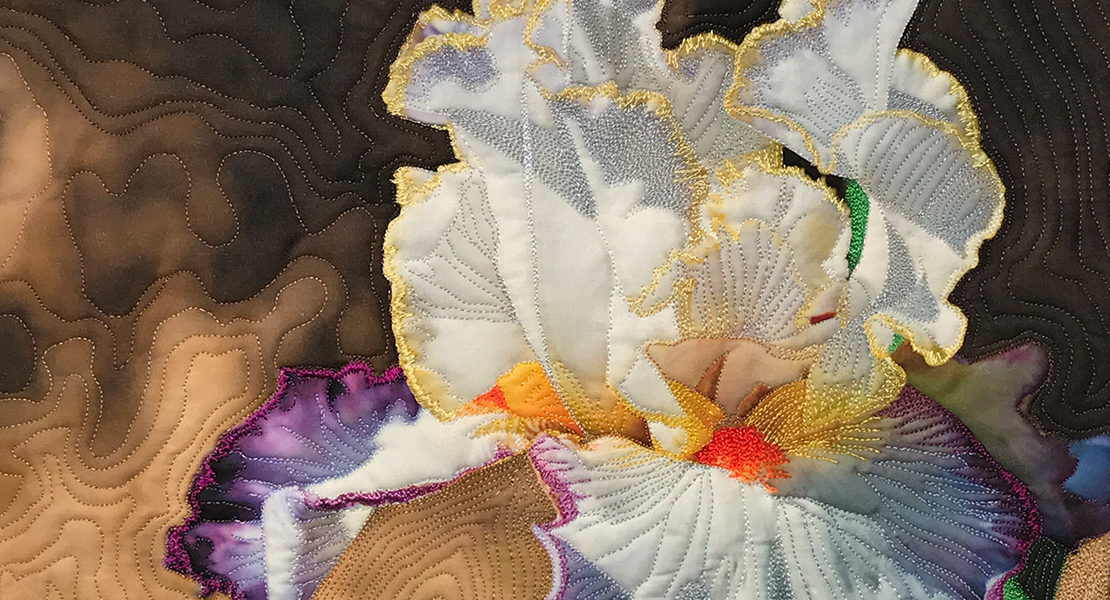
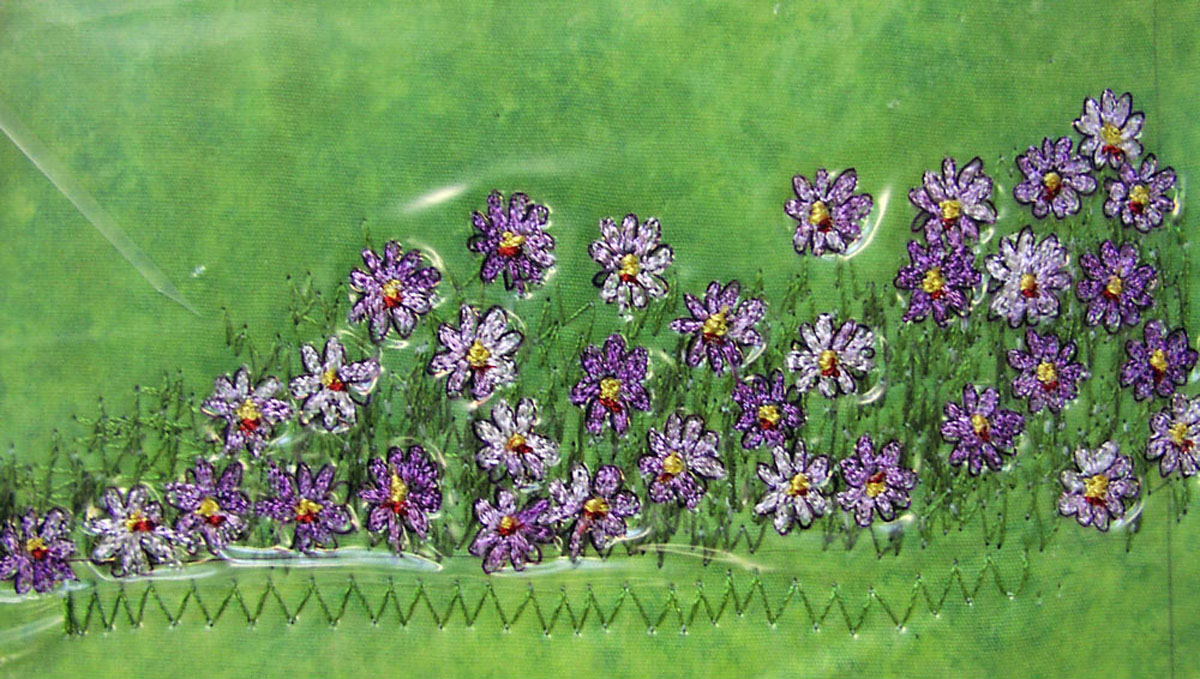
If you never tried thread painting before, an excellent way to start is stitching around the elements of your fabric. For this group of leaves, I decided to use the darker shade of thread from my selection. You can repeat the outlining 2 or three times and also add some “veins” inside the leaves, like in the next video.
For the next leaf, I decided to make something really dense inside, to add a lot more texture. I started outlining the outside shape, like the one before, then I added much more veins to the center of the leaf. You can check the quilting “motion” for this step by watching the video below.
I decided to change the thread color, to a lighter purple to paint the leaves in the center of my sample. For the “grand finale” I added more stitches on the previous lighter purple designs with the bronze metallic thread.
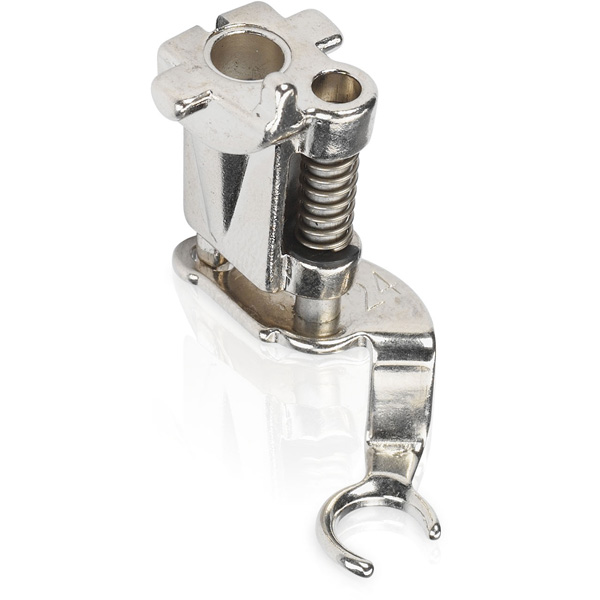
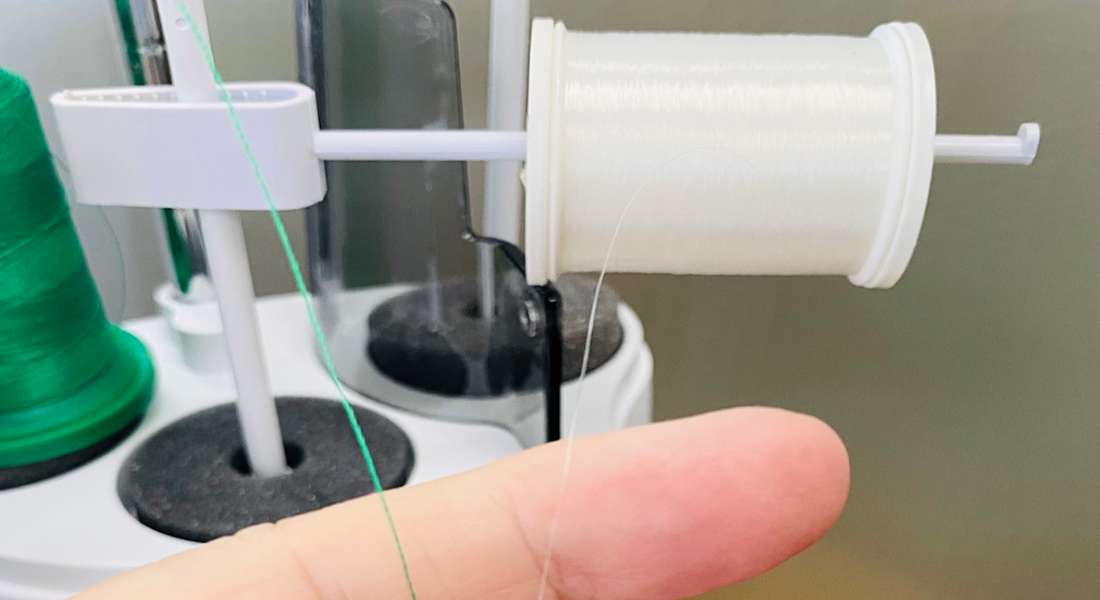
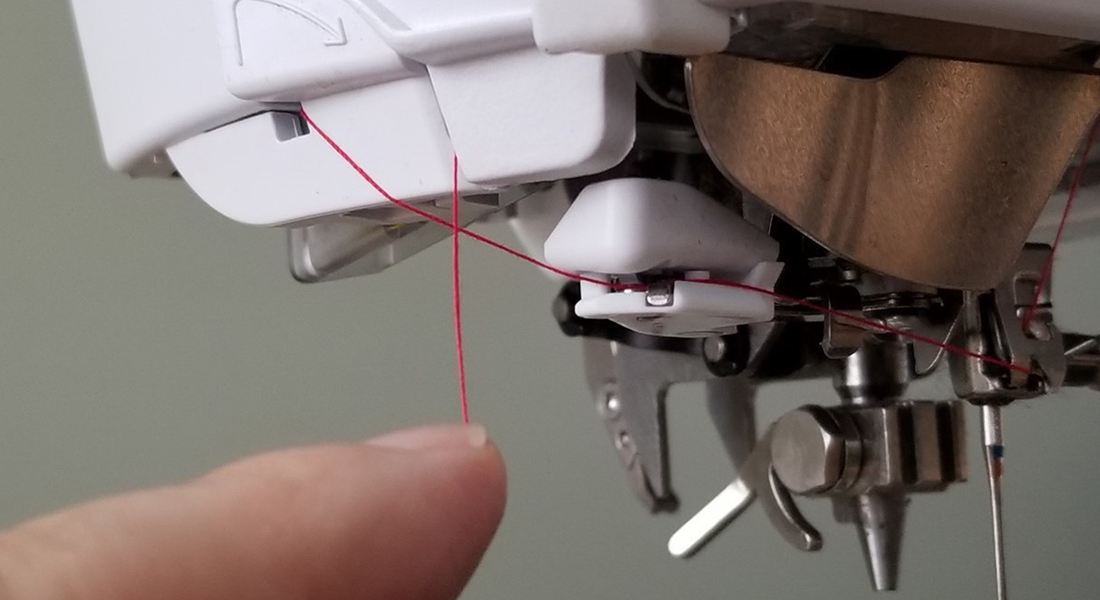
Before you start stitching with the metallic thread, I would like to remind you to add 2 drops of the silicone oil, that came with your BERNINA Q Series, to that little cotton pad inside of the thread guide. If for some inexplicable reason the cotton pad is not there anymore, our BERNINA folks added an extra one inside of the Accessories Box. I added an image of the silicone oil to refresh your memory in any case!
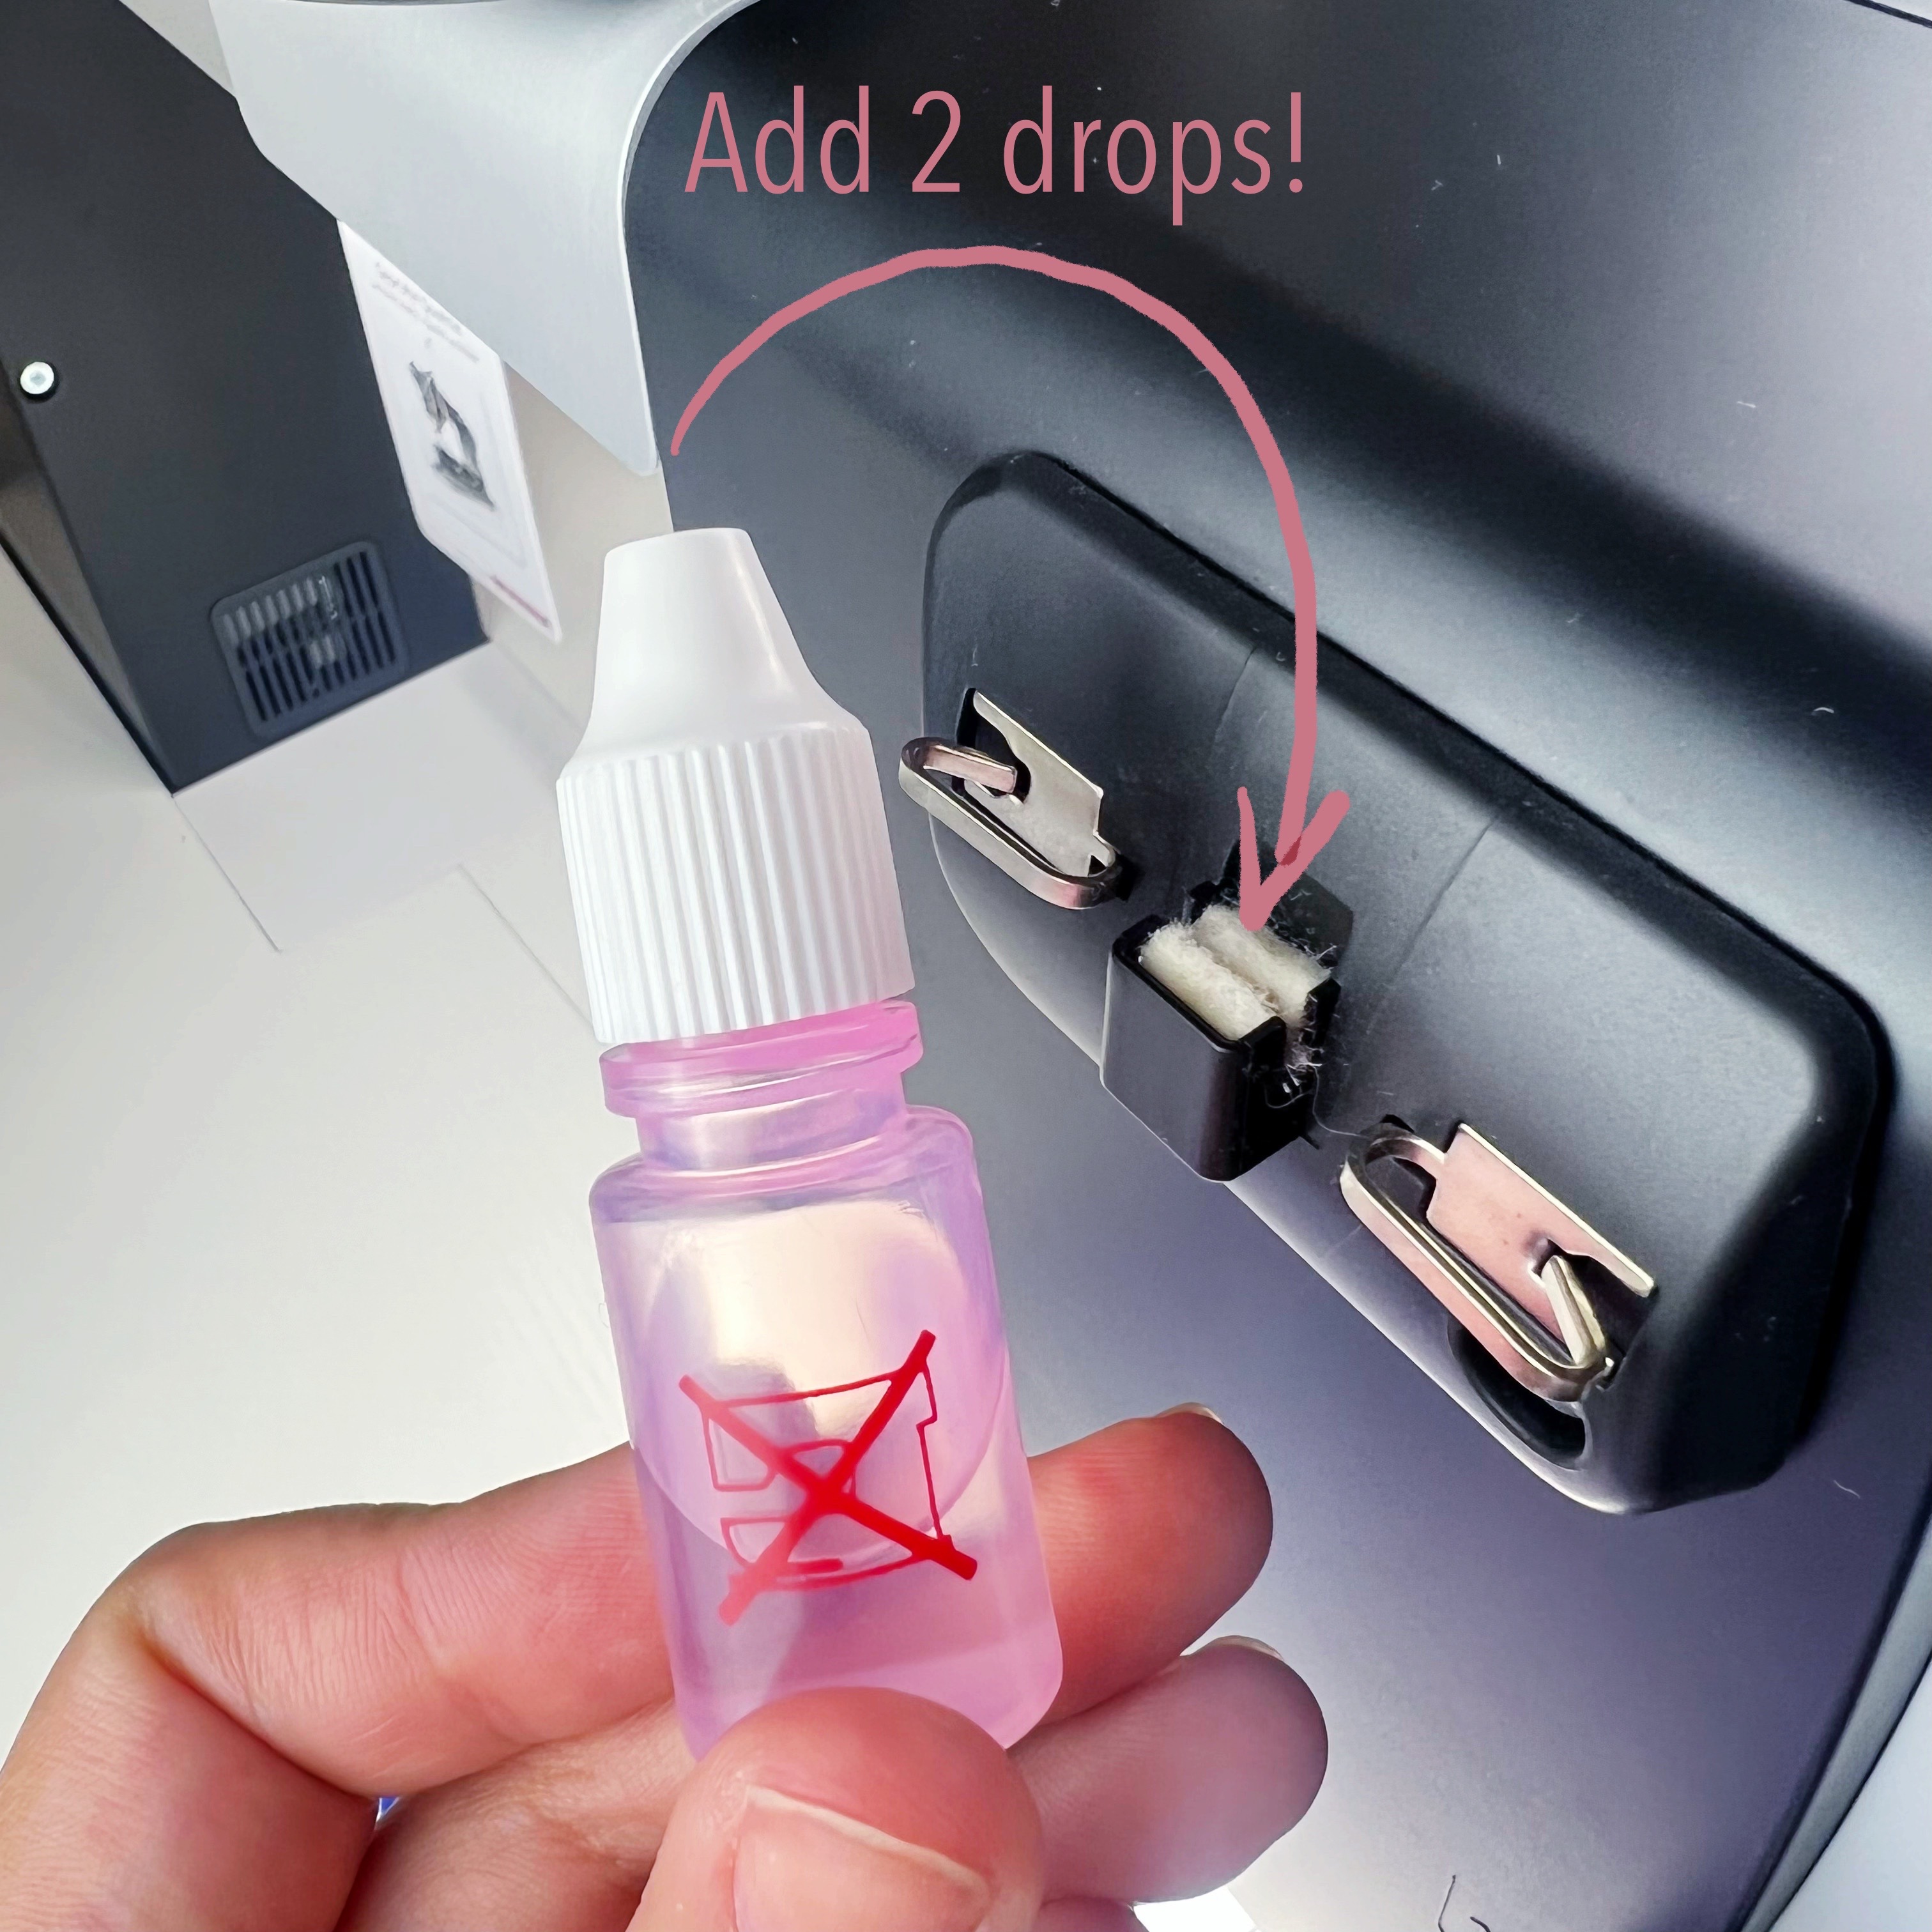
And of course, when you are threading the metallic thread make sure that is passing through the cotton pad too.
Before we wrap, remember, it’s a lot of experimenting and see what works for you. Always use layers, starting from the background/base layer and adding one after other until the last top layer. As you just saw, the last layer, the metallic thread was just a detail. Keep this in mind!
I know that at this point the biggest question is “how the backside of the work looks like?”… I know you so well, right?!

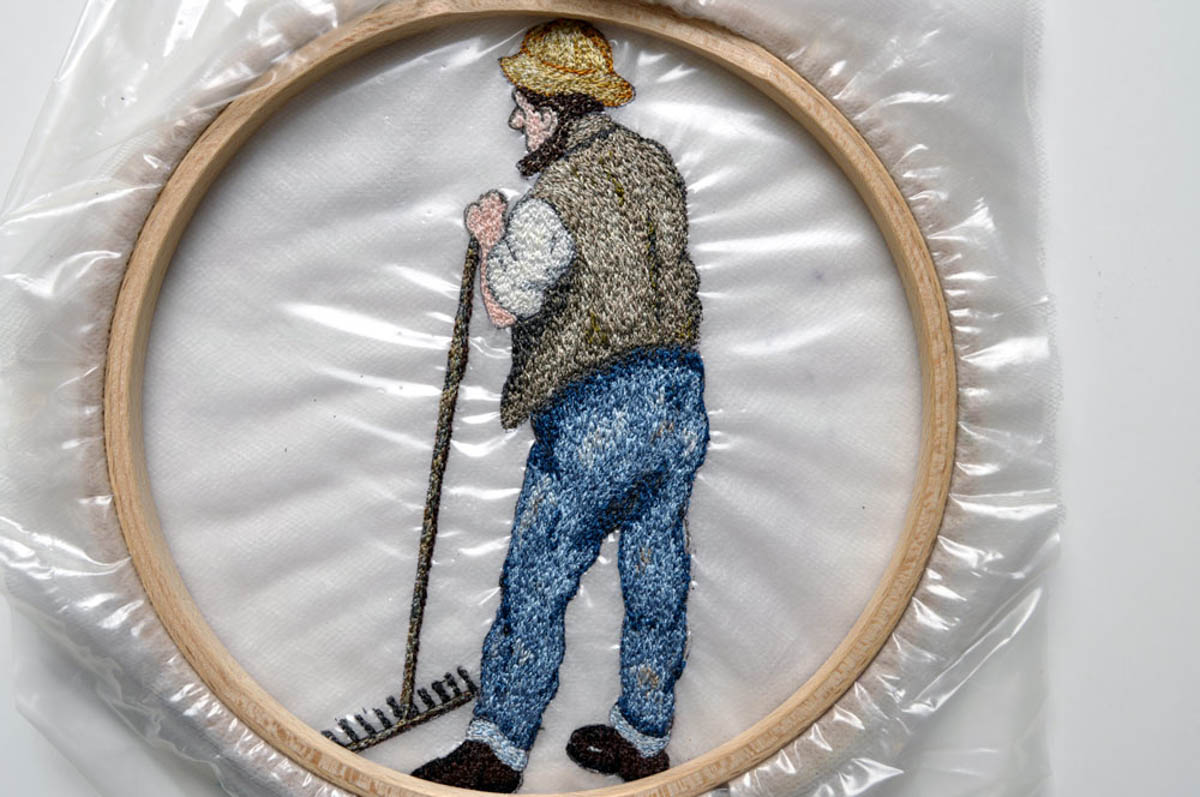
How to Finish your Work
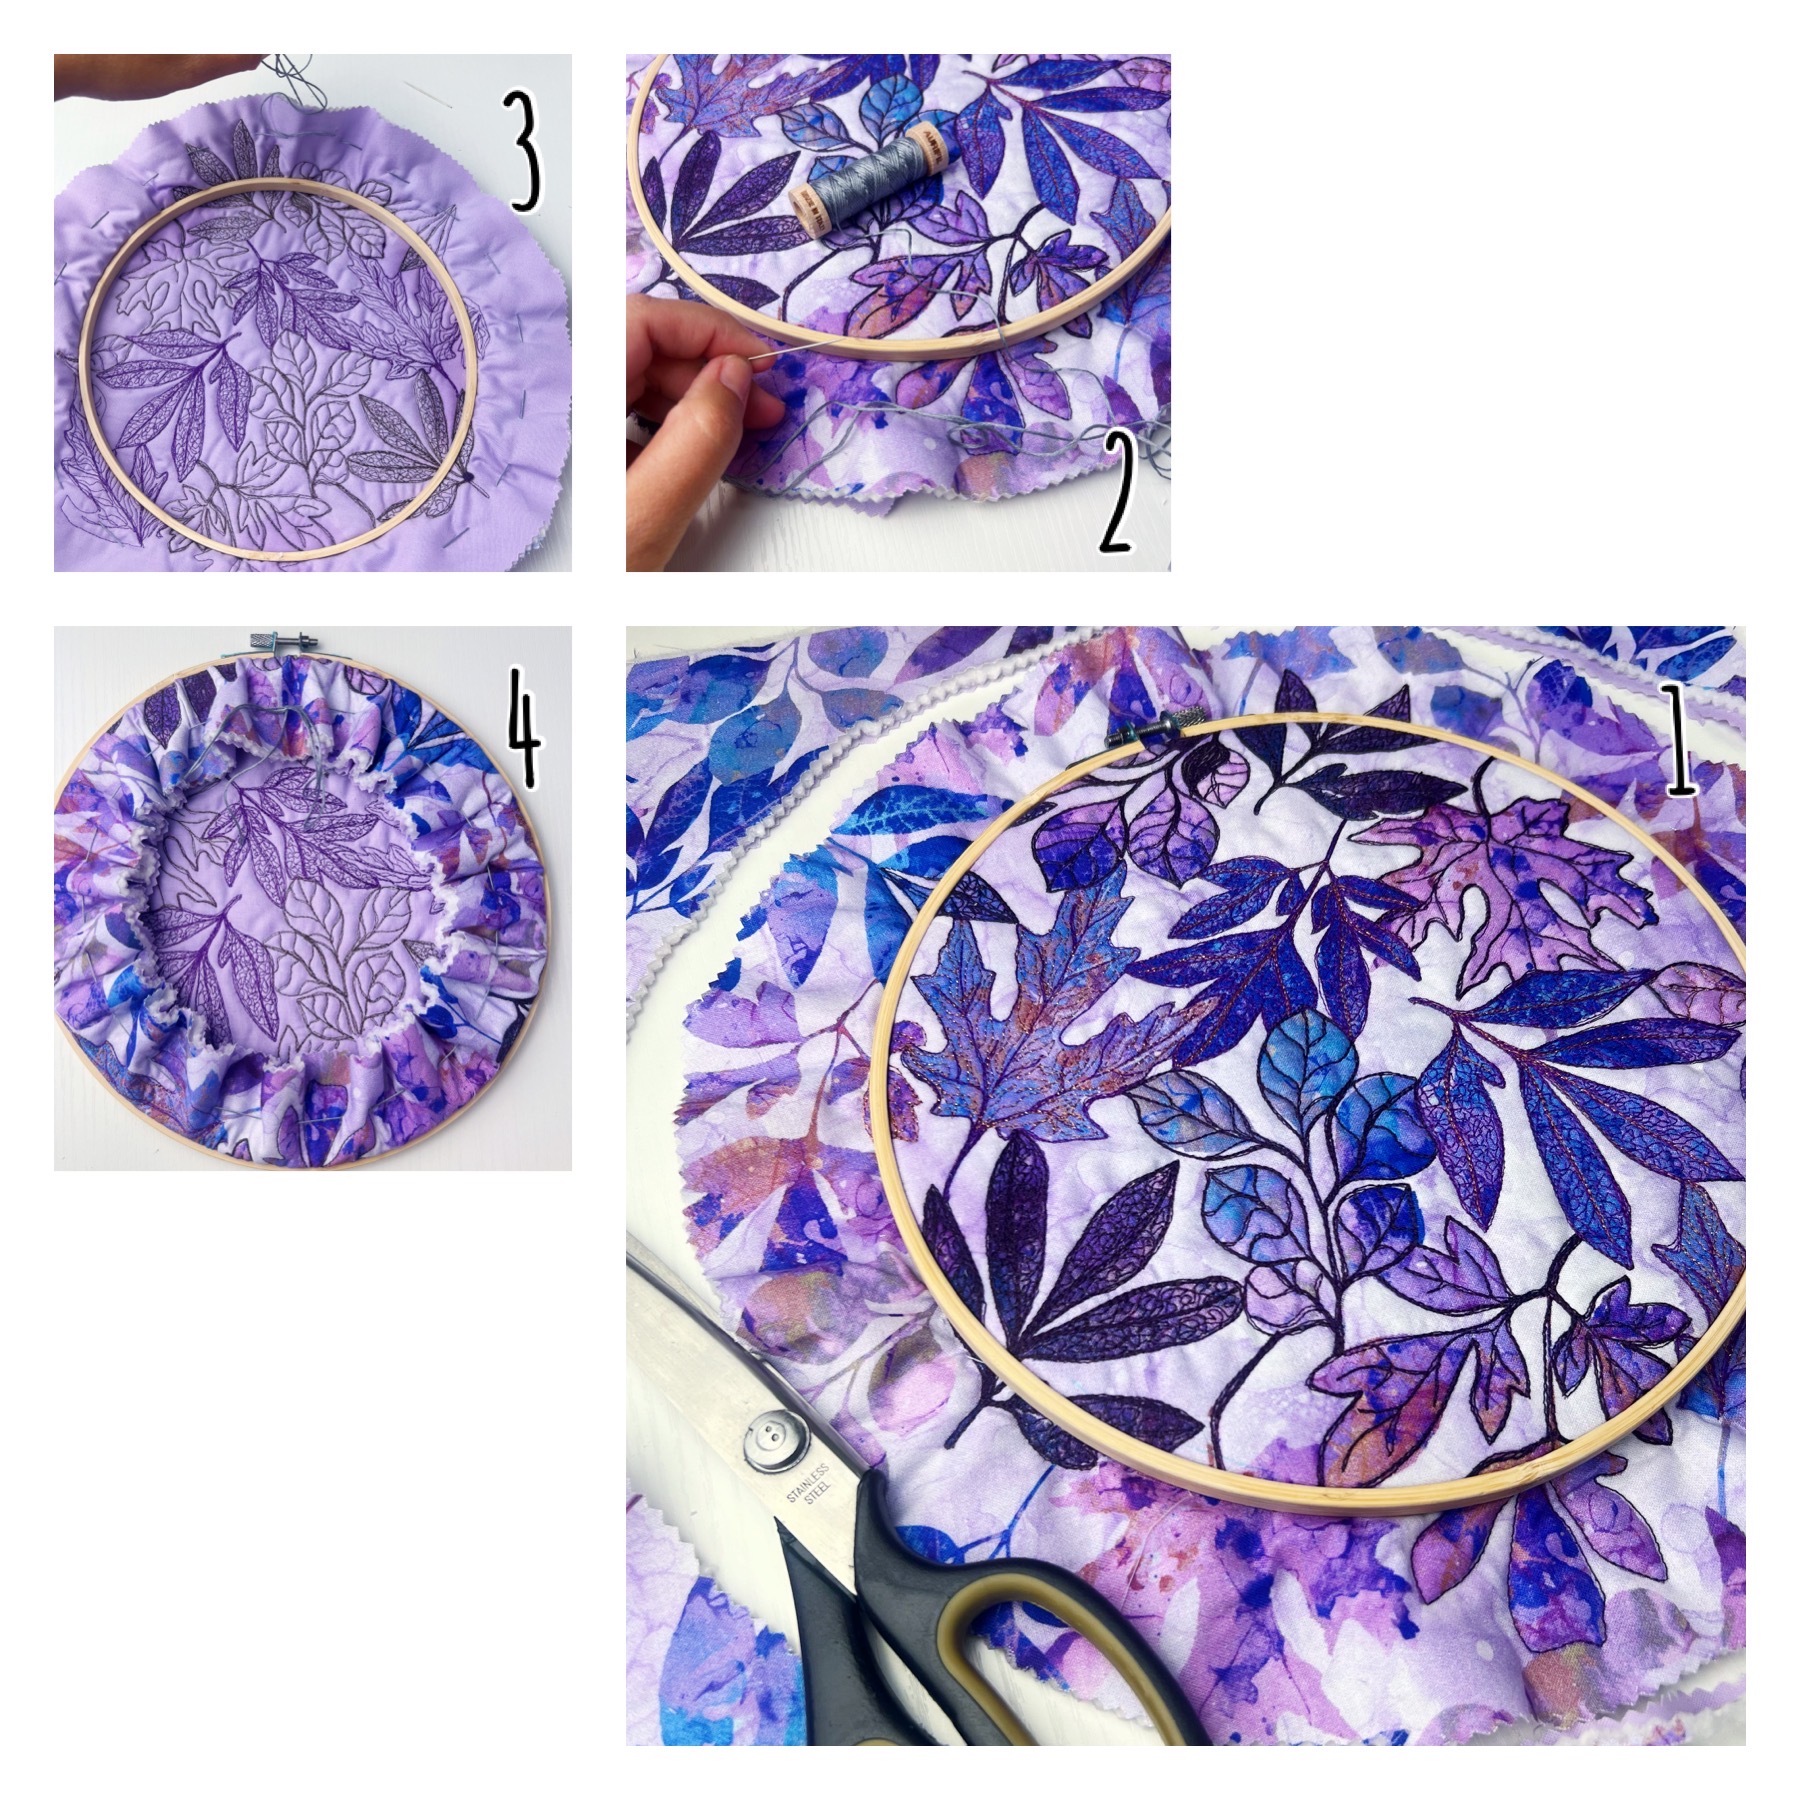
When the stitching part is finished, set up your work on the 8″ embroidery hoop. I like to use a zigzag circle to trim the excess of fabric 2″ apart following the hoop. Use an embroidery floss to stitch around the circle (remember to leave about 12″ of floss at the start and other 12″ after finish), starting on the top of the hoop and stitching from the front side of the work to the back. My stitches are about 1″ in length. When you complete the circle, turn the work, backside facing you and pull the both sides of the floss together. Tight firmly and finish with a knot and bow.
Congratulations, we are done! Now you can hang your work on the wall and be very proud about it!
Uf Widerluege! (See you soon)
Used Products

What you might also like


2 comments on “Thread Painting with the BERNINA Q 20”
-
-
Sometimes we think that to make a thread painting project we need to have first a very elaborated top quilt as base and it’s not really necessary. You can use a fabric design that you like, floral, geometric, something in your style and just try the technique. Have fun and happy quilting!
-
Leave a Reply
You must be logged in to post a comment.

I want to try this. I have never done thread painting. I will be on the search for leaf fabric!!!