Bobbin Work with the BERNINA Hook System
In 2012, with the launch of the 7 Series, BERNINA presents a world’s first, the BERNINA Hook. This new hook combines the two best hook technologies for smooth, quiet and high precision stitching. It offers a Jumbo Bobbin with 70% more thread than an average sewing machine. The BERNINA Hook is patent pending. When doing bobbinwork, a technique using large threads or cords in the bobbin for decorative applications, this large bobbin size is especially helpful. This Jumbo Bobbin is now available on almost all the new BERNINA machines, including the new 4 Series.
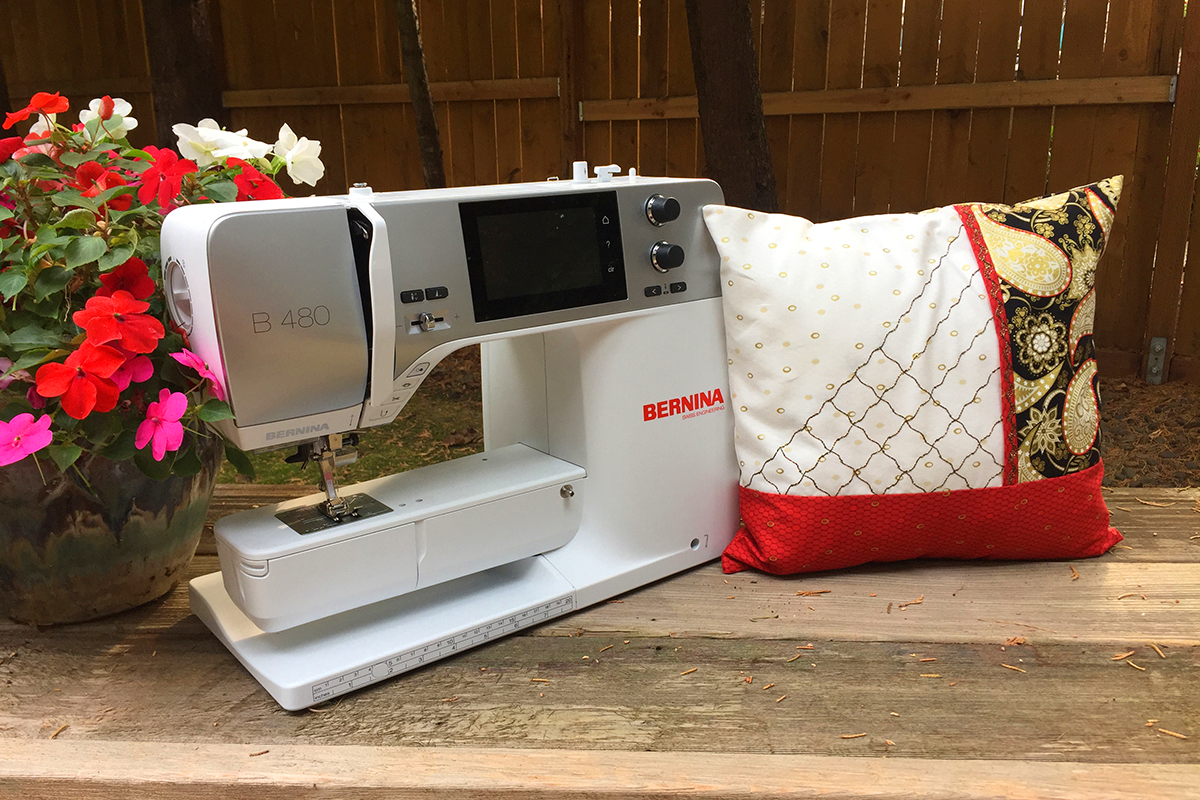
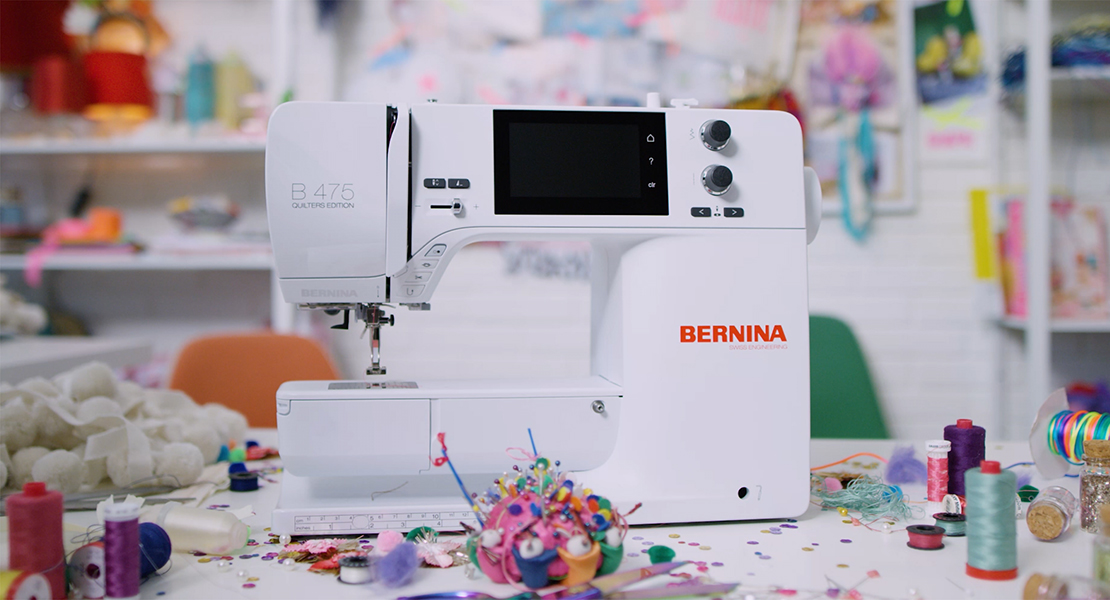
I used the new BERNINA 480 for the bobbin work technique on a small pillow. This new BERNINA sewing machine has 7 inches to the right needle, a beautiful color touch screen and lots of pretty stitches!
Bobbinwork is beautiful, a lot of fun and an easy-to-accomplish technique that will give your next project texture and character. Simply, it means that you wind any cord or thread on the bobbin that is too large to fit through the eye of a needle, then sew with the fabric upside down, so that the pretty bobbin cord is on the right side of the fabric.
Here are some general instructions for bobbinwork, as well as a few tips for success.
Enjoy!
General Instructions for Bobbin Work
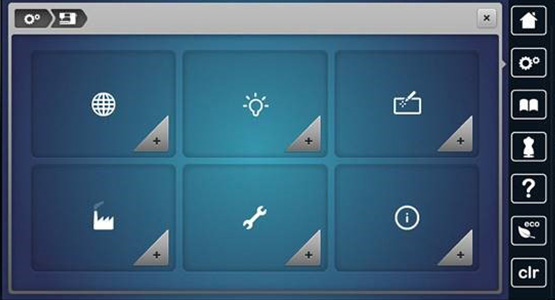
Machine setup
Decide what bobbin cord or thread you prefer and fill a bobbin.
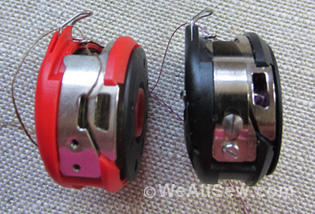
BERNINA’s exclusive Jumbo Bobbin makes it much easier to do bobbinwork because it holds 70% more thread than regular bobbins.
Wind bobbin with decorative cord or thread of choice. Decorative threads for bobbinwork could be, but are not limited to: narrow silk ribbons, Pearl Crown Rayon, Pearle Cotton, Superior Razzle Dazzle, Wonderfil cords, or Cordonet.
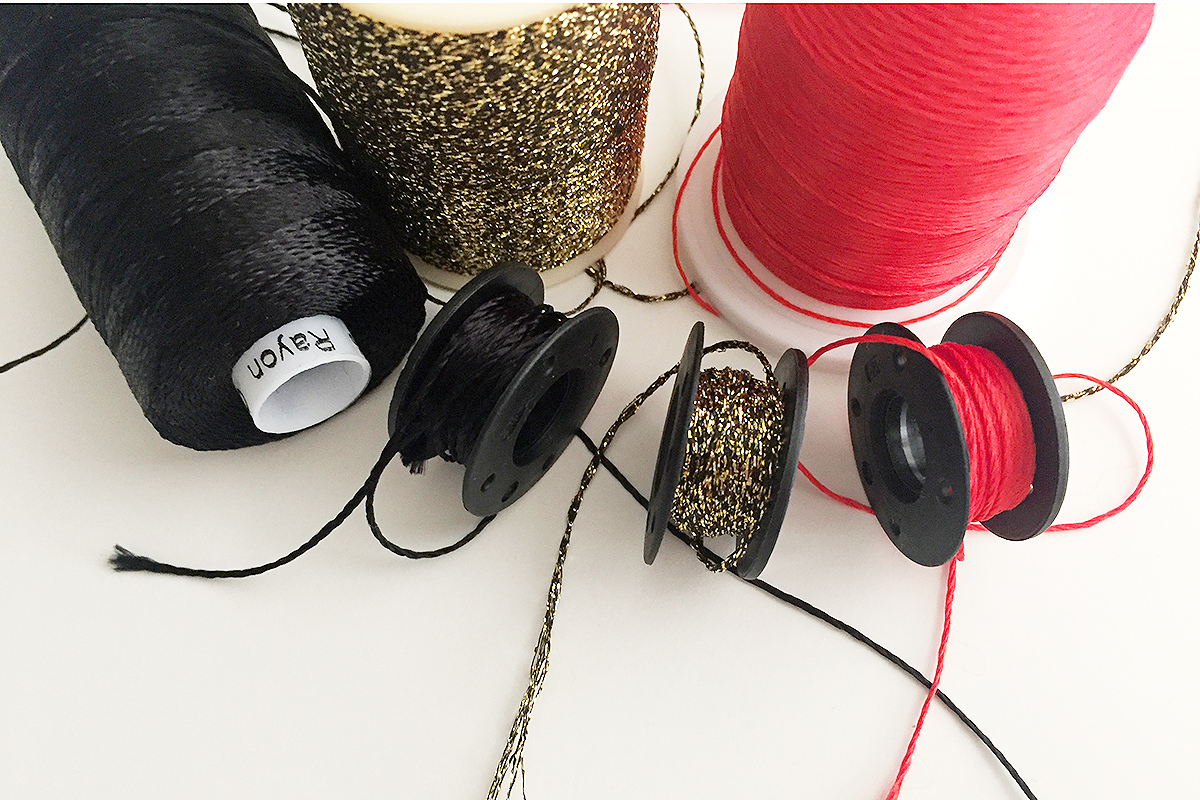
The top thread should match the bobbin thread color for best results.
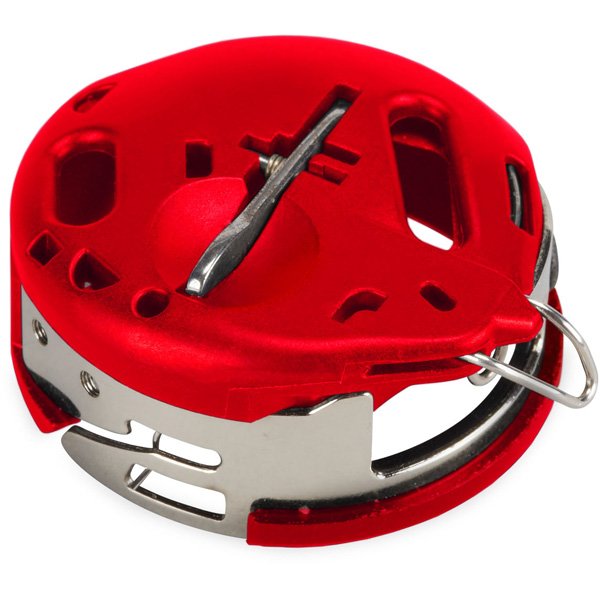
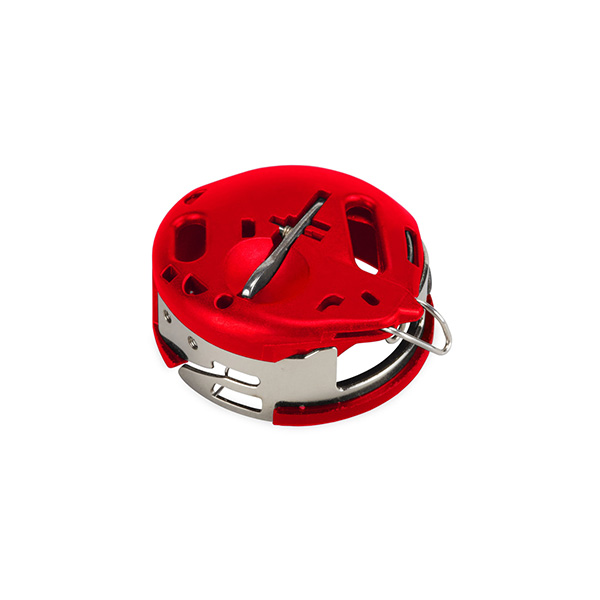
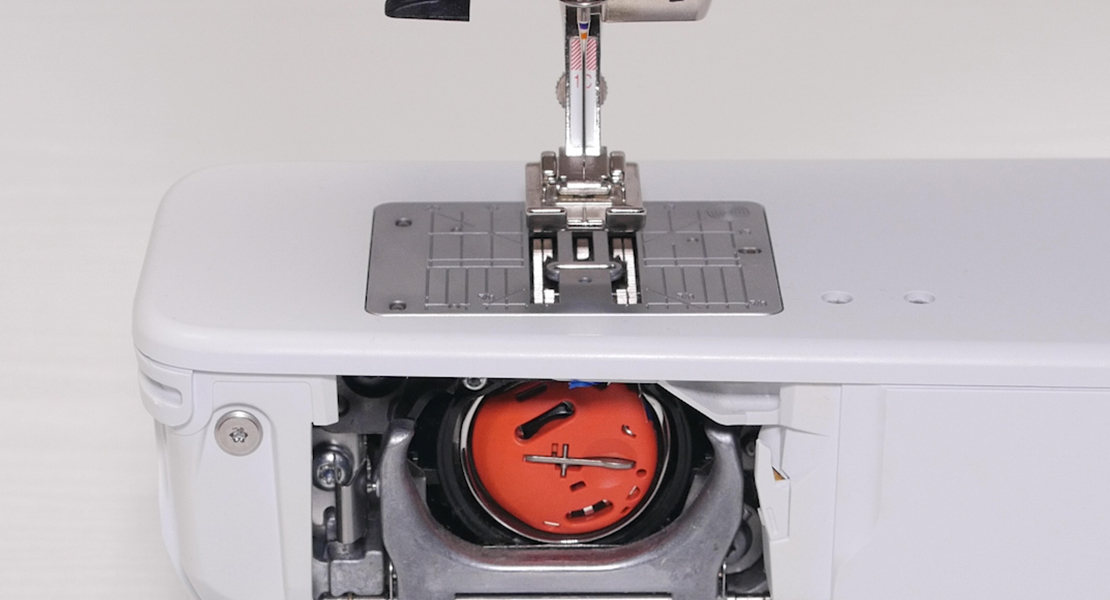
Insert the Jumbo Bobbin into the Red Bobbin Case. This is a special accessory bobbin case designed specifically for heavier weight cords and threads.
Turn the handwheel so that the needle will pull the bobbin thread to the top, leaving a long thread tail about 6-7” long.
Turn off any Automatic Securing Stitches.
Reduce the sewing speed.
Test sew and adjust top tension until you are happy with the stitch.
Because the weight of the bobbin thread is heavier than the top thread, the top thread may pull down and end up being visible on the right side of the fabric. You will need to test sew to know if this is happening. If it is, simply increase the top tension until you no longer see the top thread on the right side of the fabric. And yes, sometimes the tension will have to be as high as it will go!
Not all stitches will look great using the bobbinwork process, but that is for you to decide.
Prepare the fabric
If using decorative stitches, a tear away stabilizer will help support the fabric while stitching. You could also lightly starch the fabric, or use Best Press for additional support.
You may also wish to draw the design on the wrong side of the fabric or stabilizer.
Choosing the best stitch for bobbin work
Use simple practical or decorative stitches with low density. Do use not satin stitches, as the cord will stack upon itself.
Increase the stitch width or stitch length to allow room for the cords.
Test sew each stitch before applying to your final project.
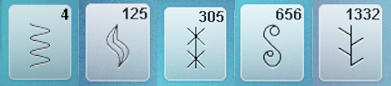
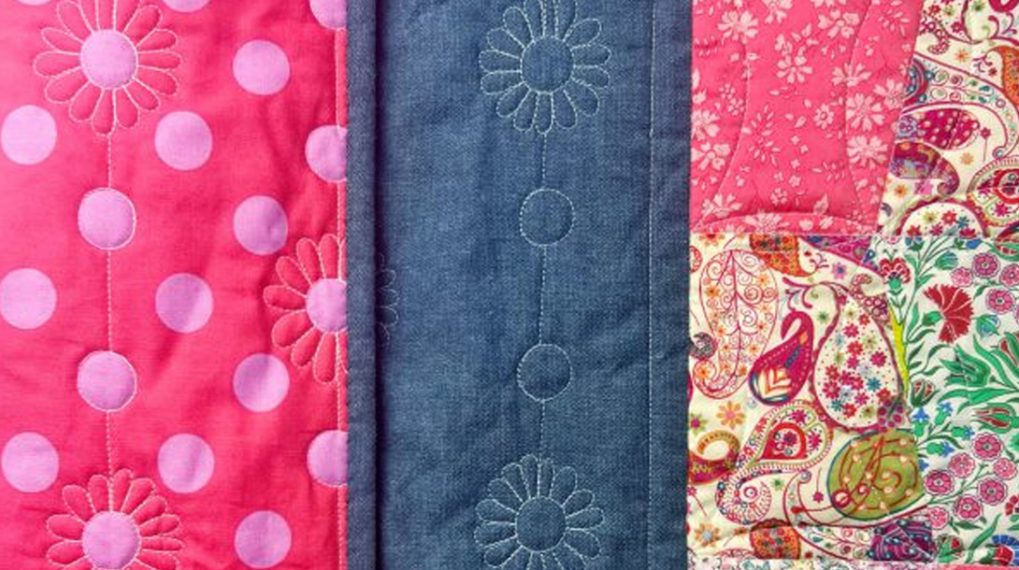
Here are a few examples of stitches that typically work well:
Sewing Directions:
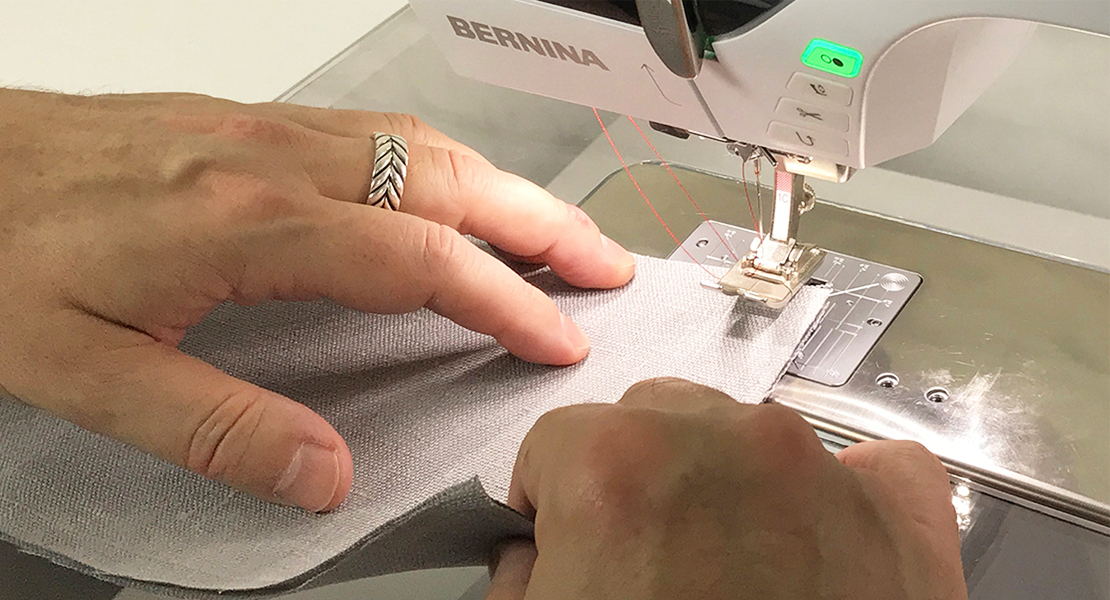
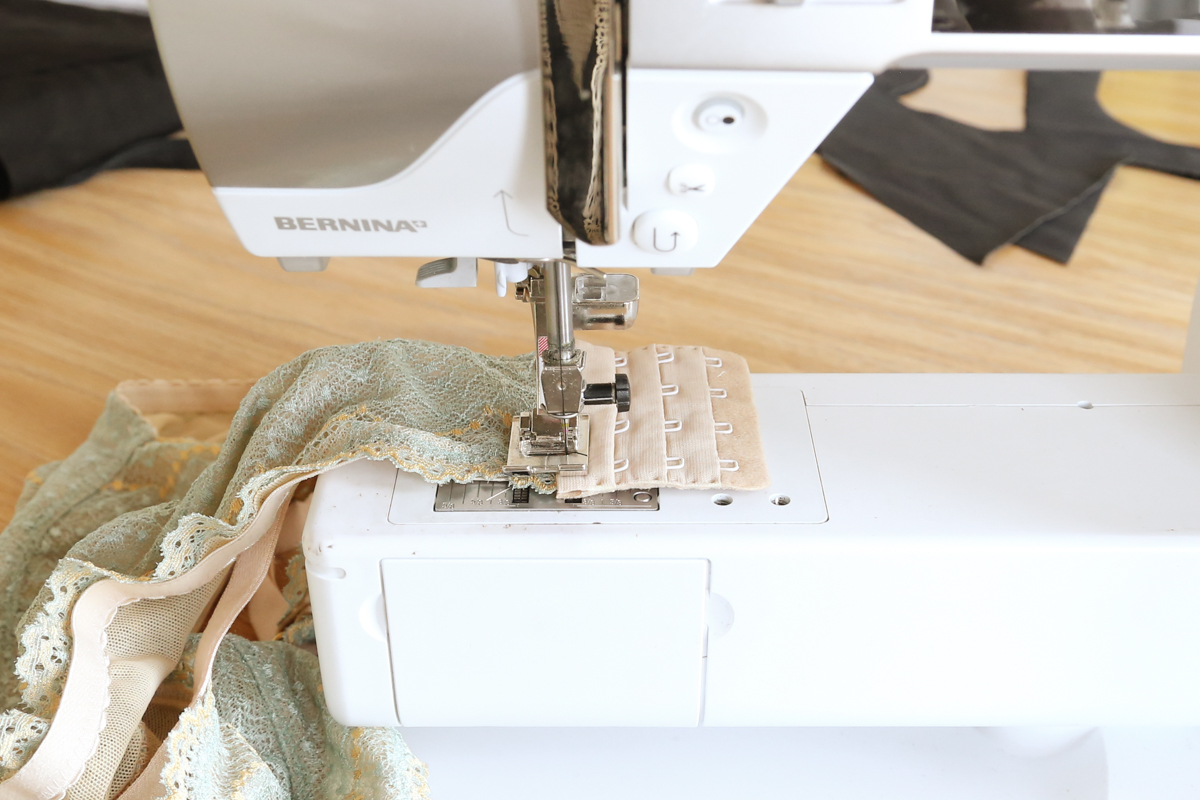
Place fabric under the presser foot right side down.
Stabilizer, if needed, should be placed on top of the wrong side of the fabric.
Hold on to the bobbin thread/cord as you begin to sew to be sure it does not get tangled under the presser foot.
Once you have finished sewing, do not use the machine thread cutter. Instead, pull the fabric from under the foot, keeping a long bobbin thread tail.
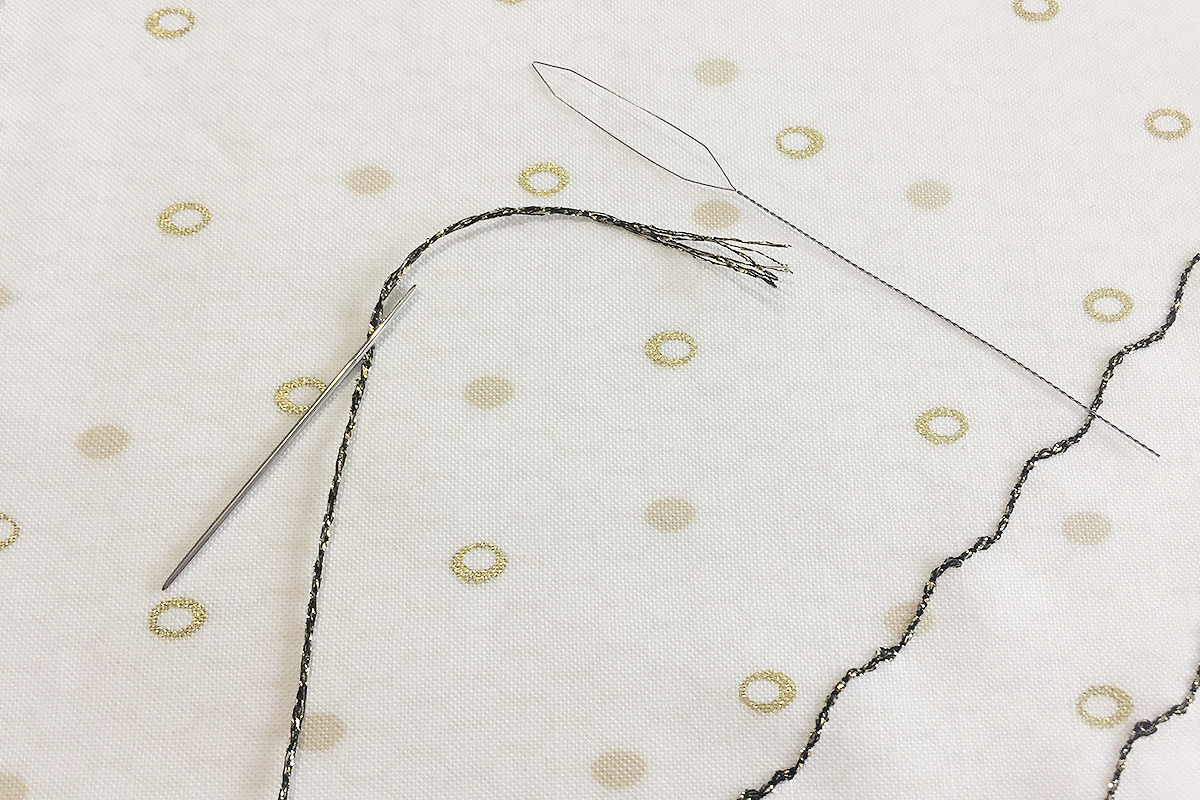
After clipping long thread tails, both thread tails will need to be pulled to the wrong side of the fabric using a large eye or tapestry needle as shown.
Now that you understand the basic process, here are the bobbin work applications that I used in the pillow.
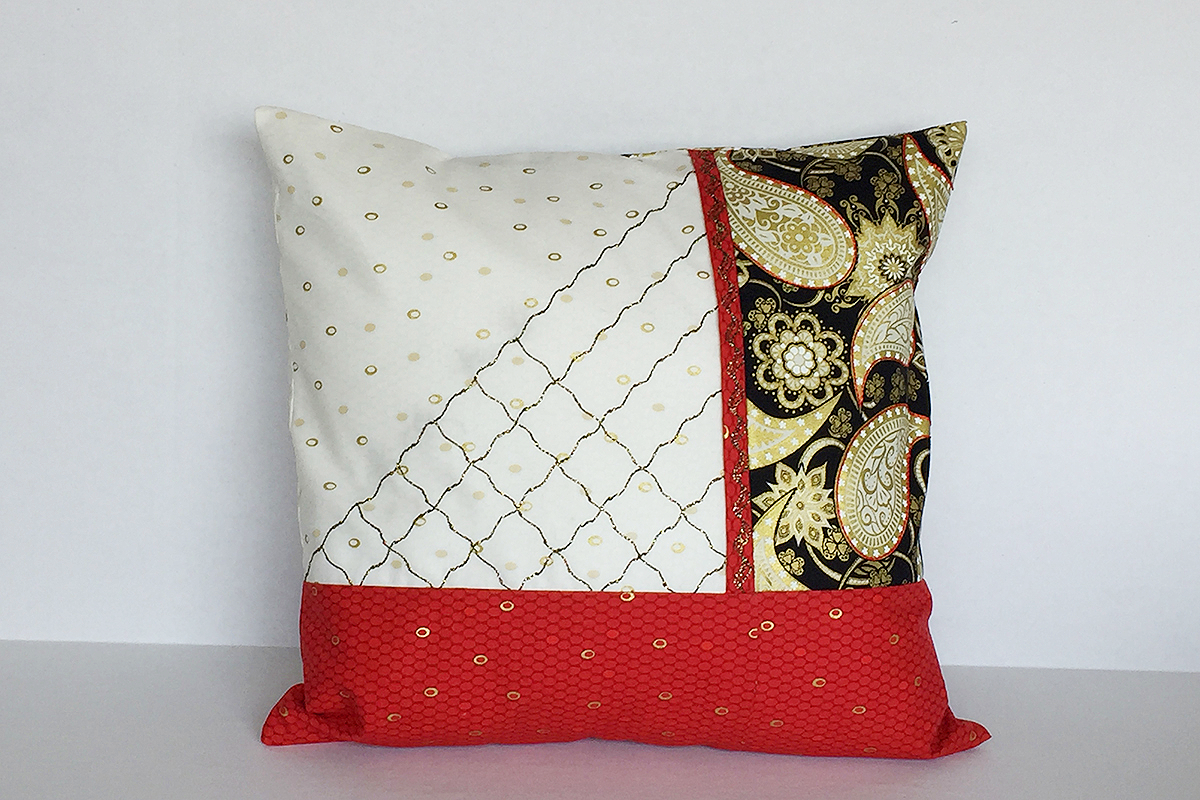
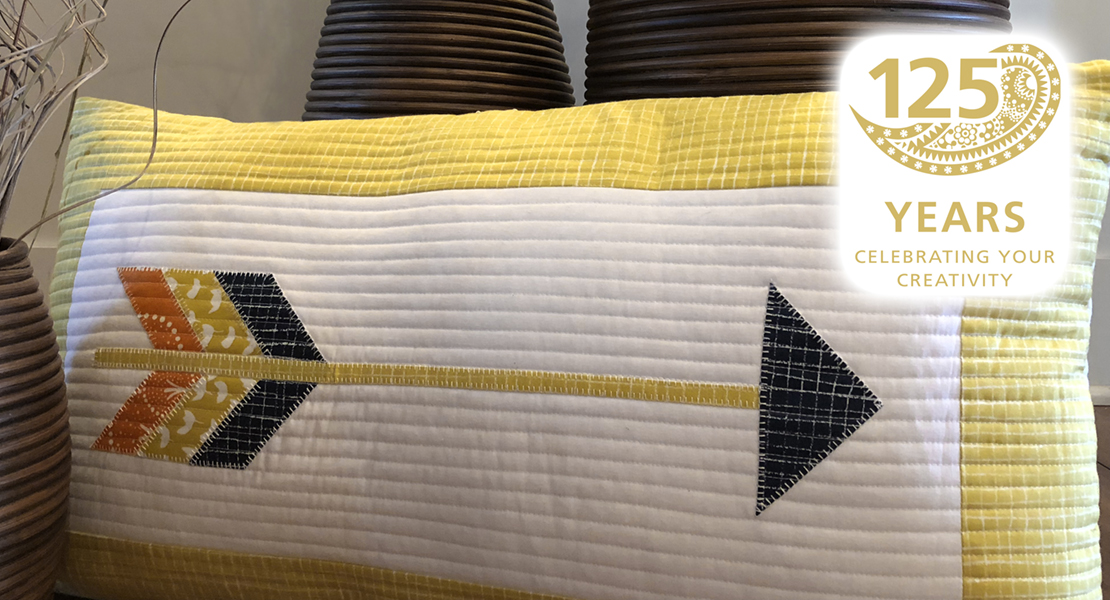
Project: Bobbin Work Pillow
Sometimes it is just creative fun to be able to choose a fabric and create something unique. For this pillow, I used pre-cut pieces and texturized them with bobbinwork just because I thought it looked pretty! No other reason! And that is the fun of sewing! Each segment below will tell you how I created the texture on each piece. Feel free to rearrange anything you like to build a pillow that suits your style.
Fabric: Selected from the Jubilee collection by Amanda Murphy, 10” x 10” pre-cut pieces, Contempo Fabrics by Benartex
Segment #1: Cross-hatching with Bobbin work
Using the 10” square of cream tone-on-tone with metallic gold circles and Razzle Dazzle cord by Superior, I created a decorative cross-hatch design for the front of the pillow.
Set up your machine following the general directions above.
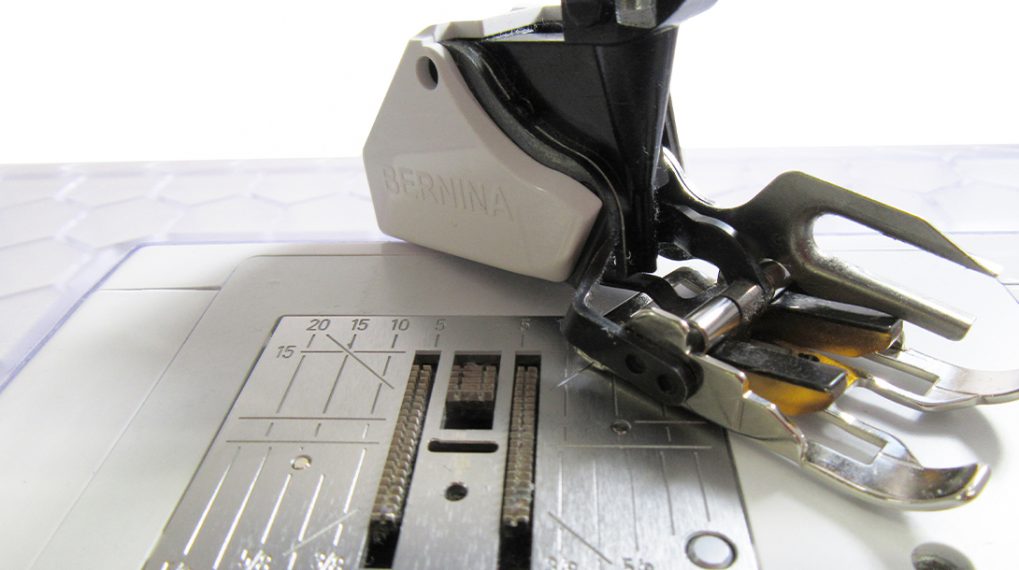
Attach Reverse Pattern Foot #1/1C/1D or Clear Foot #34/34C/34D
Select running stitch #4; increase stitch length and width to 2.0 mm.
Place the fabric square right side down under the foot.
Note: After testing, a stabilizer was not necessary with this particular stitch.
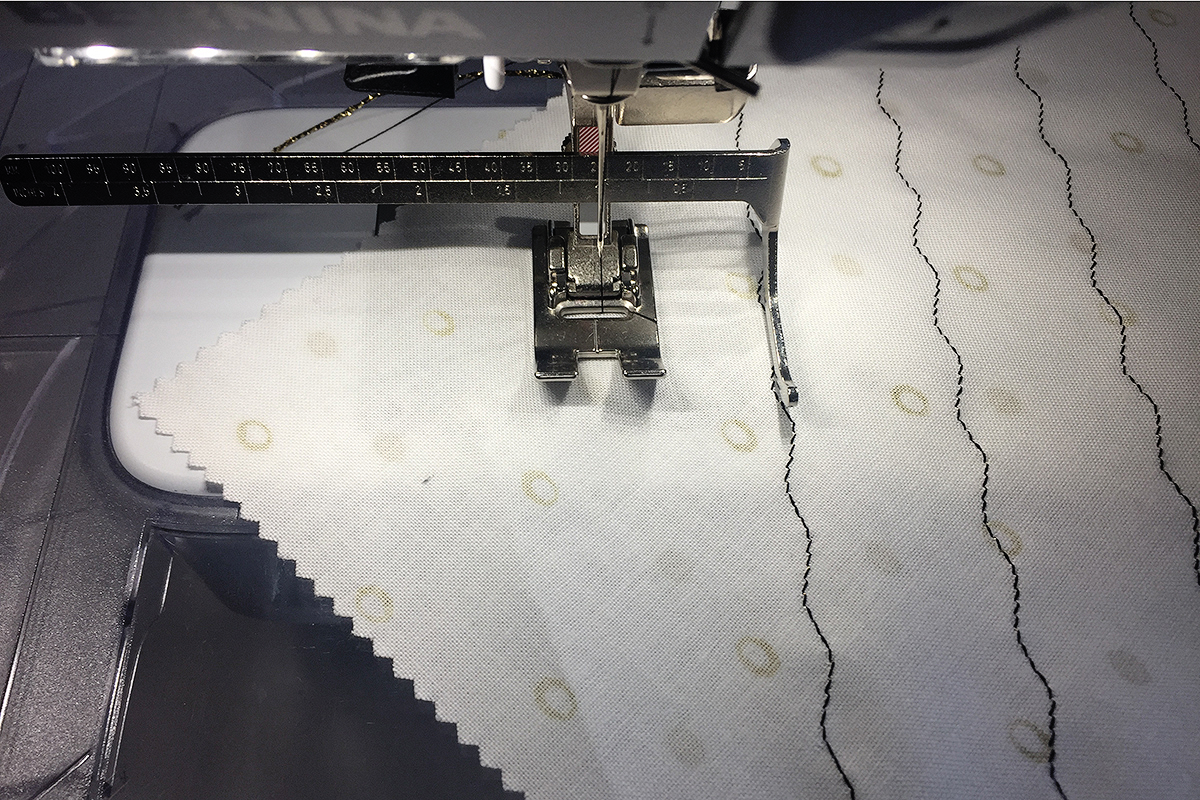
Sew the first row of stitching diagonally, corner to corner.
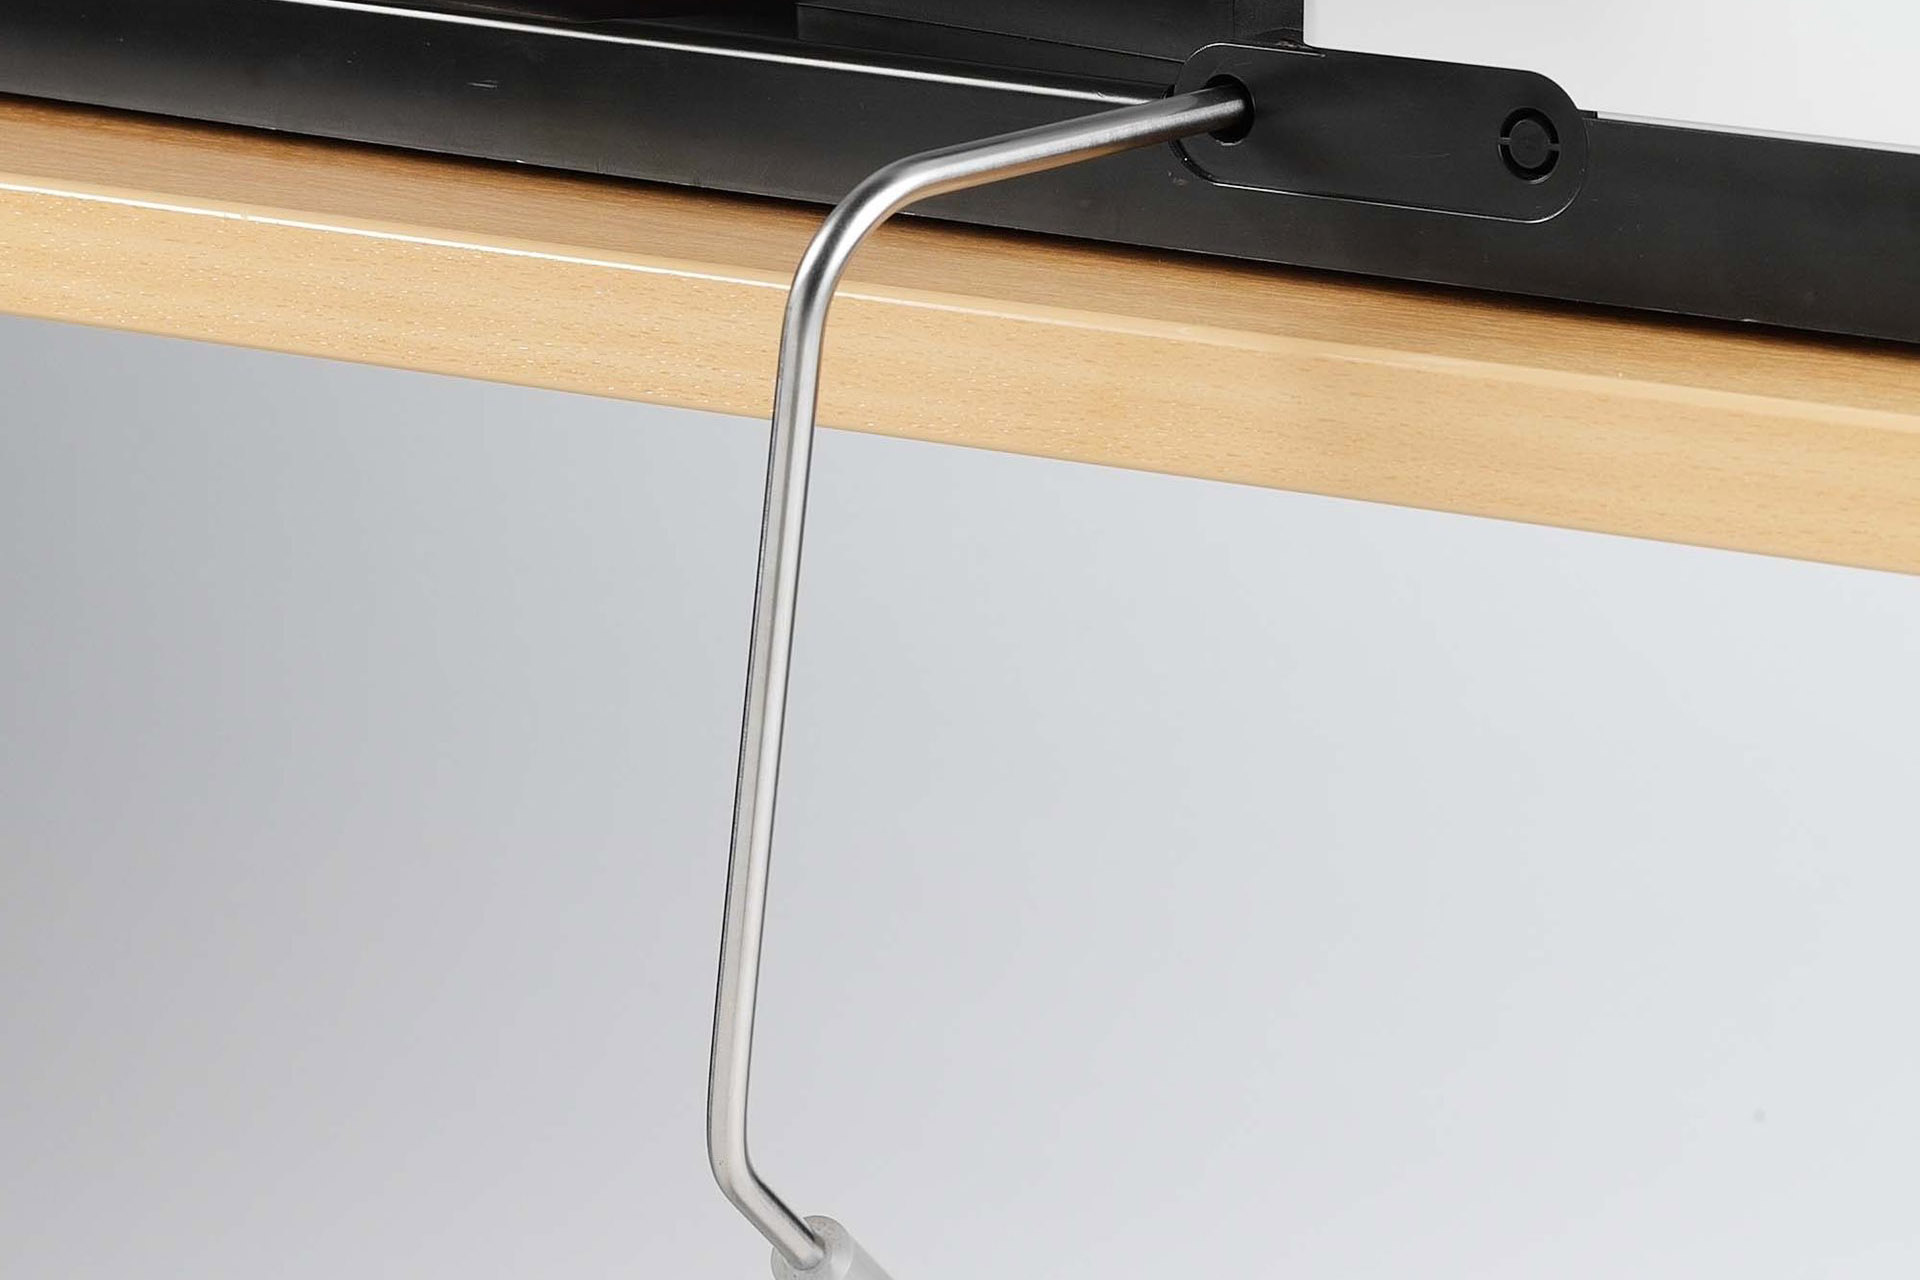
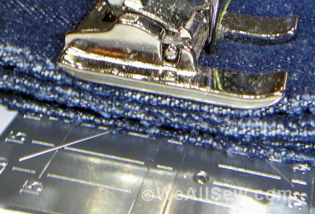
Attach the Seam Guide with Scale and set at 1” from the needle.
Sew 5 more rows toward one corner, each 1” from the last.
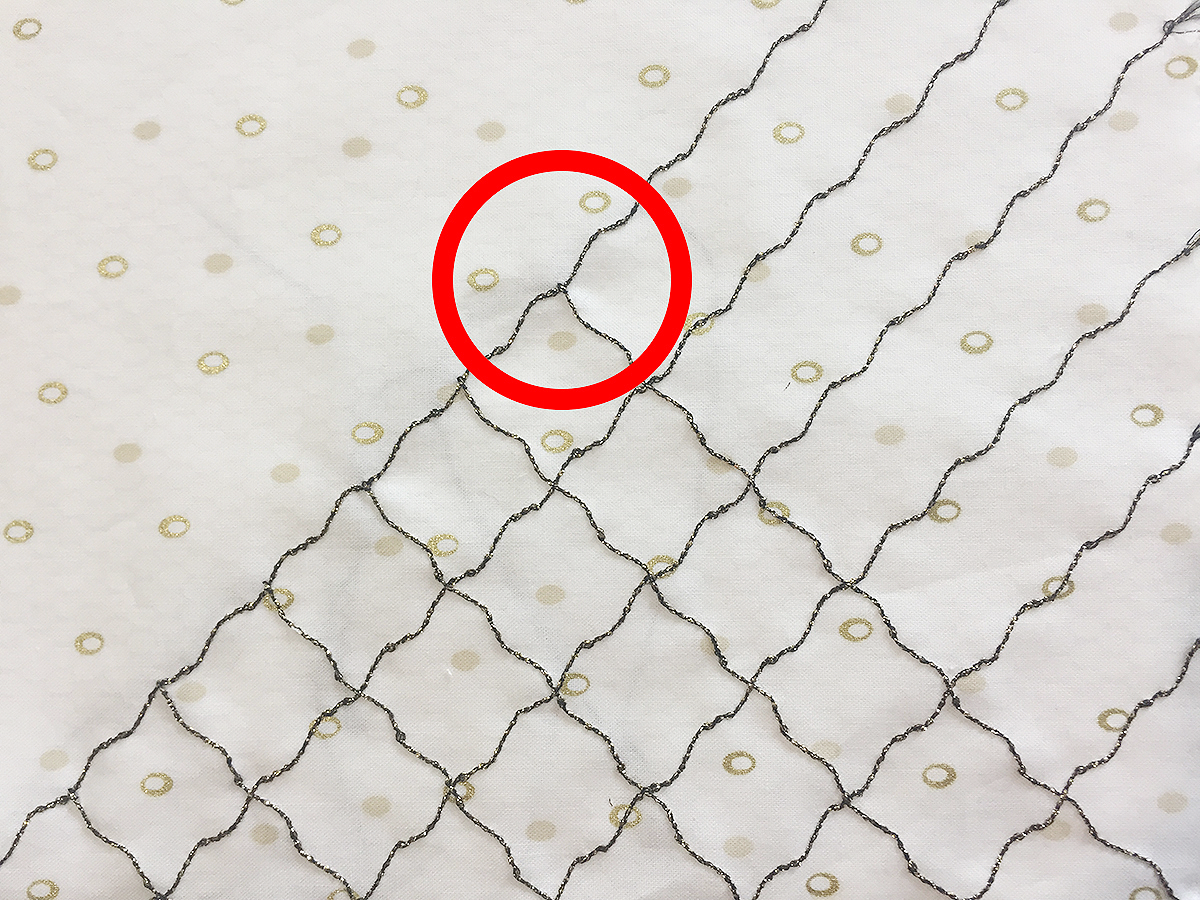
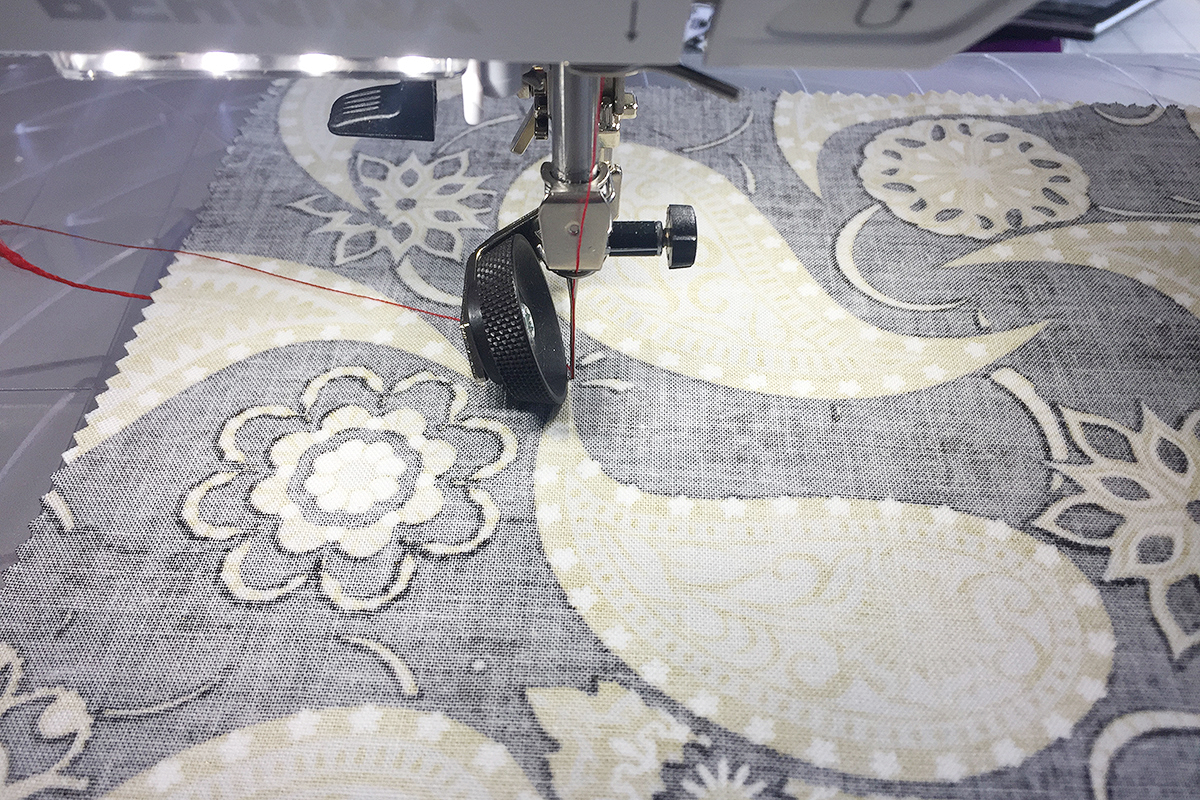
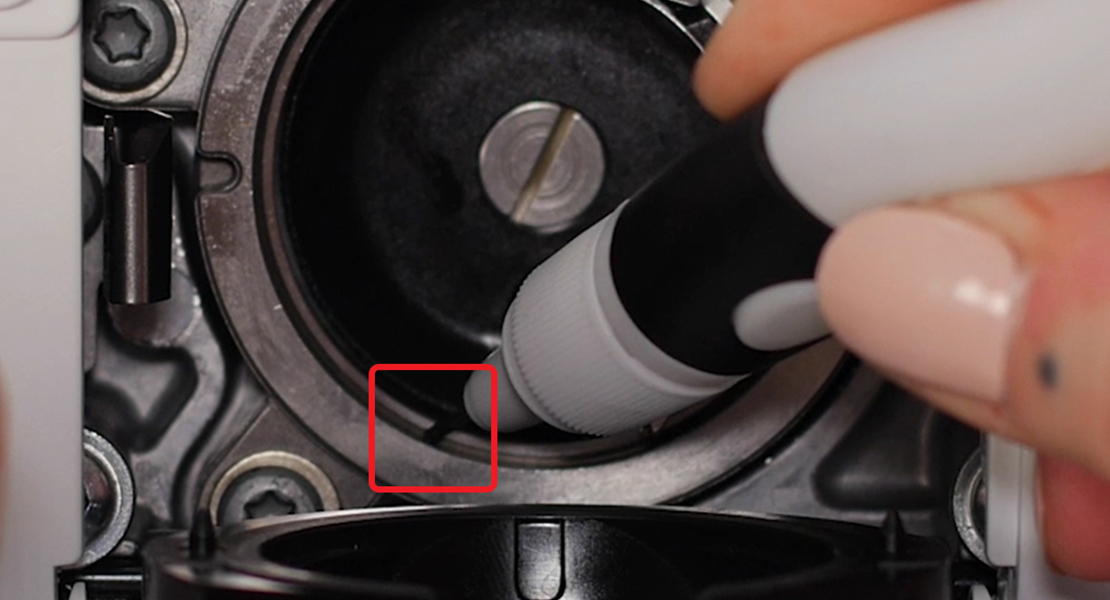
To sew the cross rows, start by dropping the needle at the center of the fabric into the cord previously sewn (see red circle in picture below). Be sure to leave that long thread tail, as you will need to pull it to the wrong side when complete.
Move across the fabric in 1” increments toward one corner to complete the design as shown.
Pull all cords to the wrong side with tapestry needle, tie off by hand.
Press and set aside.
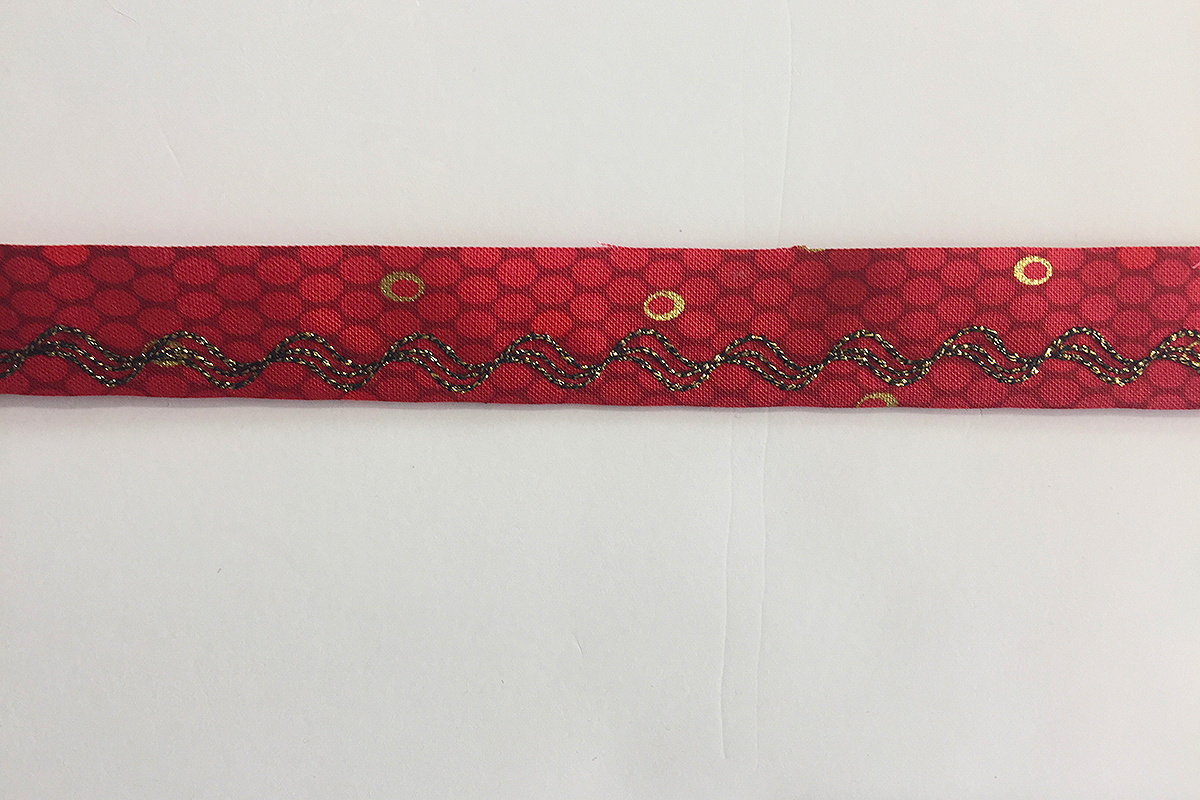
Segment #2: Decorative stitching on the red flange
Using the red/gold 10” fabric piece, cut a 1 ½” strip and press in half lengthwise.
Cut a strip of tear away stabilizer the same size, marking pressed center.
Place red strip right side down under foot, adding stabilizer on top.
Select decorative stitch #125 at default settings.
Again, using the same Razzle Dazzle cord, sew the stitch so it is placed just to the right or left of the center pressed line.
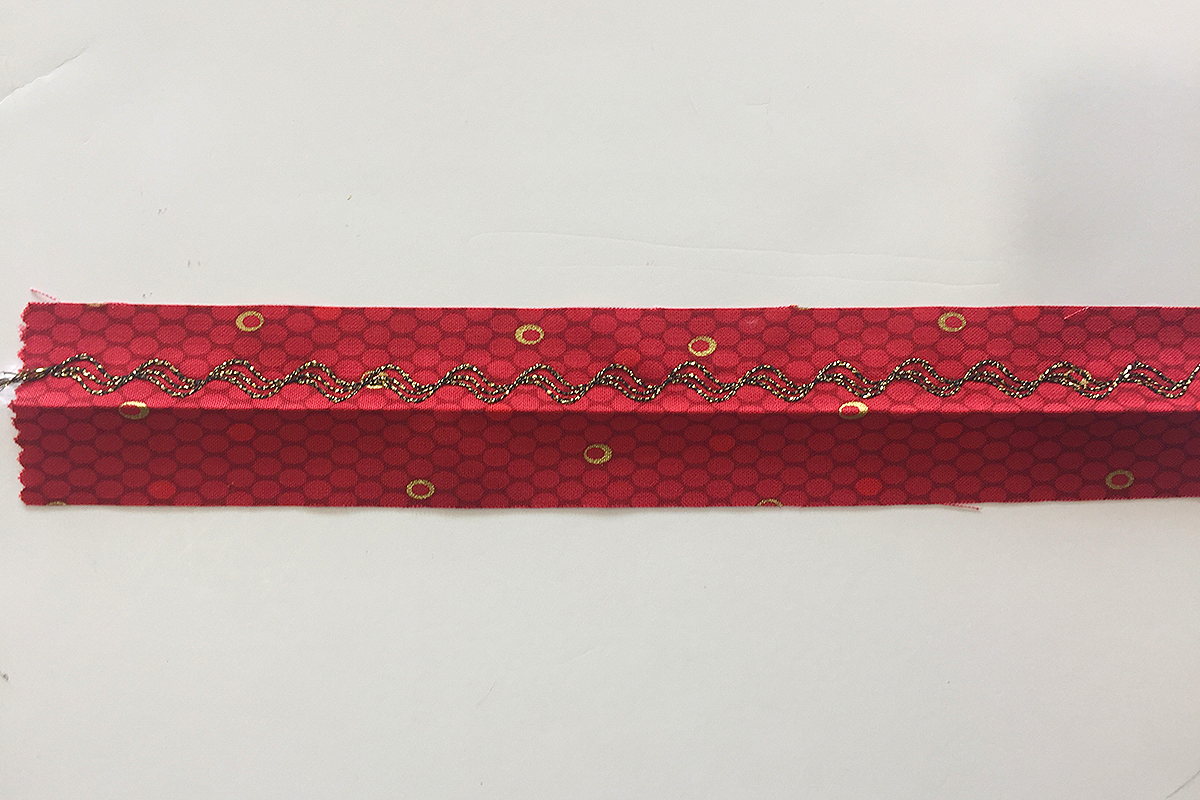
After stitching, tear away the stabilizer and press the strip in half lengthwise as before.
Set aside.
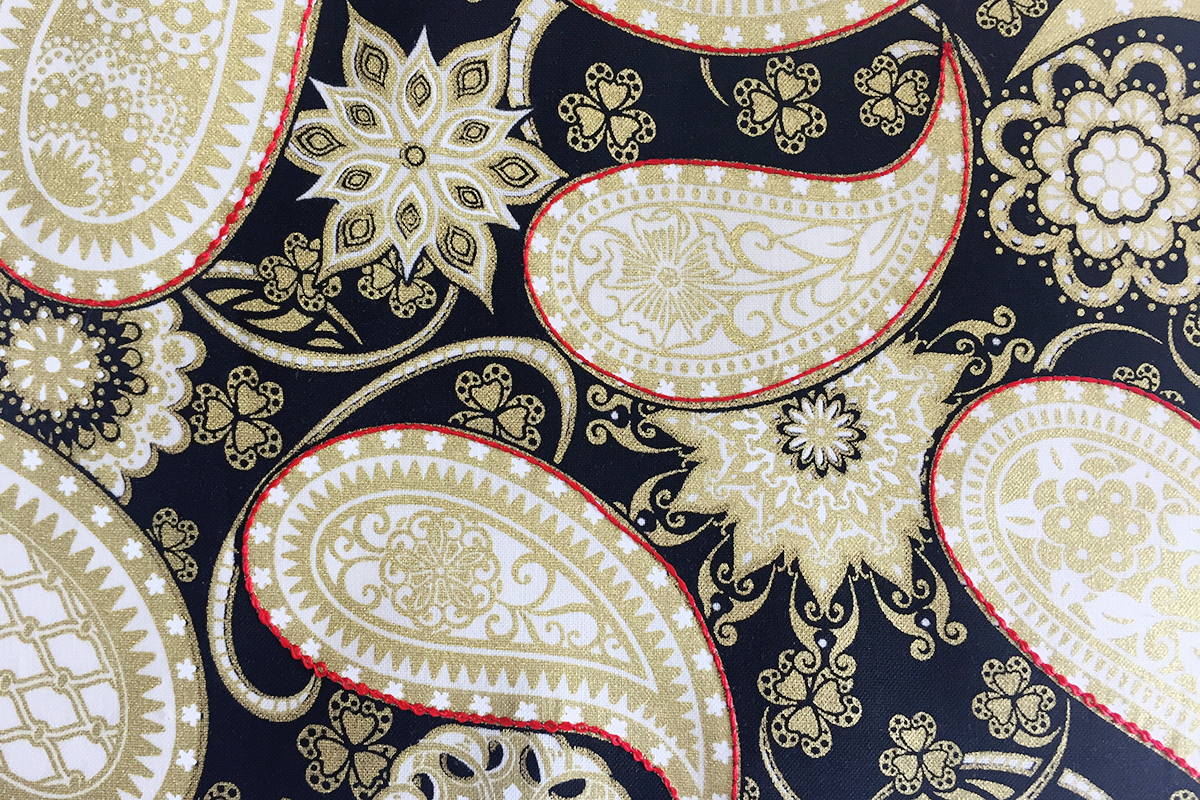
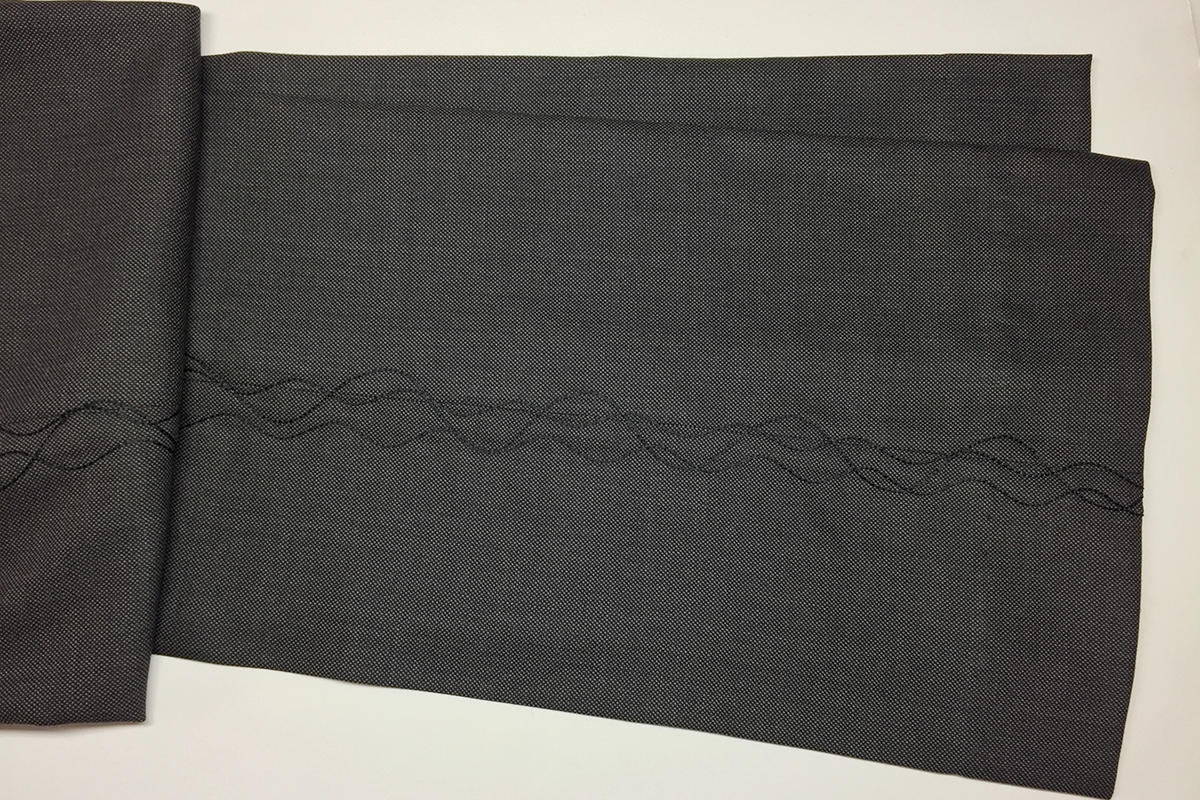
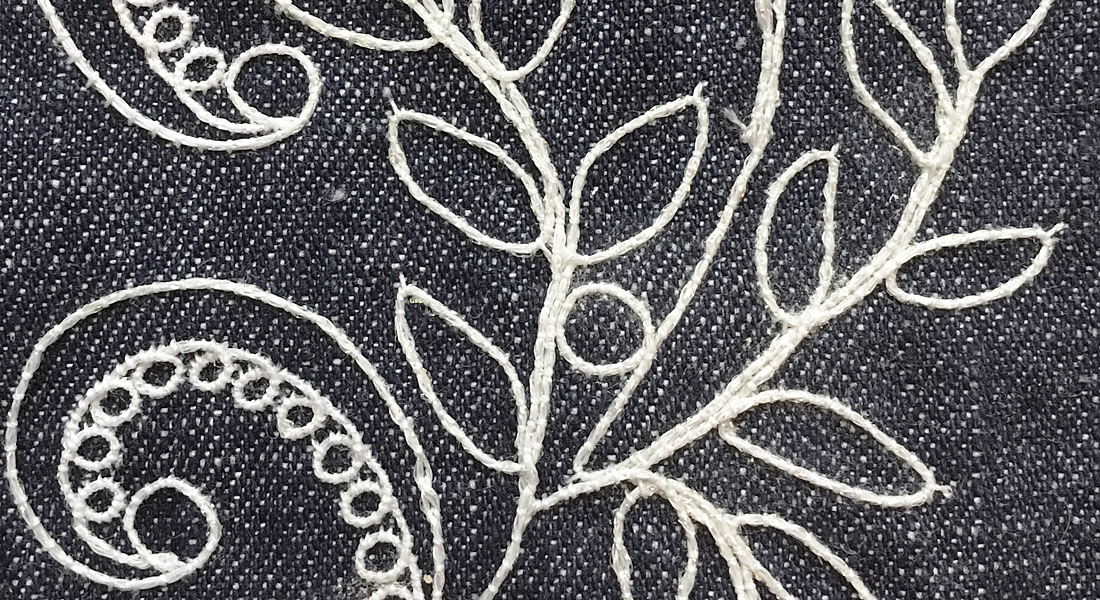
Segment #3: Accent a fabric print with Bobbin Work
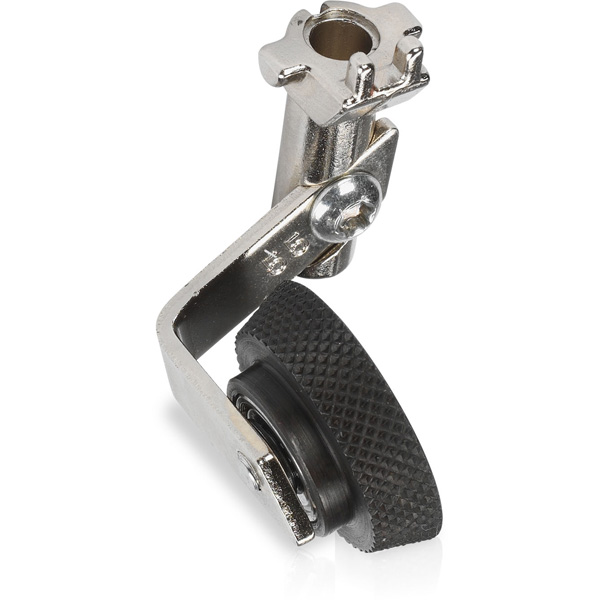
Using the 10” square of black & gold paisley print from Amanda Murphy, and the Leather Roller Foot #55, I created a red accent outline around the larger paisley prints to pull the pillow colors together. The red cord is YLI Designer 7 cord.
Select stitch #1302 with default settings.
Place the fabric under the foot and move the needle position to -4 or -5, so it is just to the right of the wheel on the foot.
From the wrong side of the fabric and without stabilizer, start sewing at the point of the paisley, keeping the needle on the edge of each paisley.
Be sure to keep the thread tails long so you can pull them to the wrong side of the fabric with the tapestry needle.
Press and set aside.
The pillow I created is 14” x 14”, but you can make it any size you desire by using any of the matching pieces from the fabric collection. The closure on the back is double folded using the envelop style, but you could always add buttons or other decorative elements.
You can add bobbinwork on just about anything including quilts, placemats, purses or bags, and even on garments.
I hope that you will try bobbin work on one of your many projects, but most of all, my wish for you is to always think outside the box and create something fresh and new that you love!
Here are a few more pictures for inspiration!
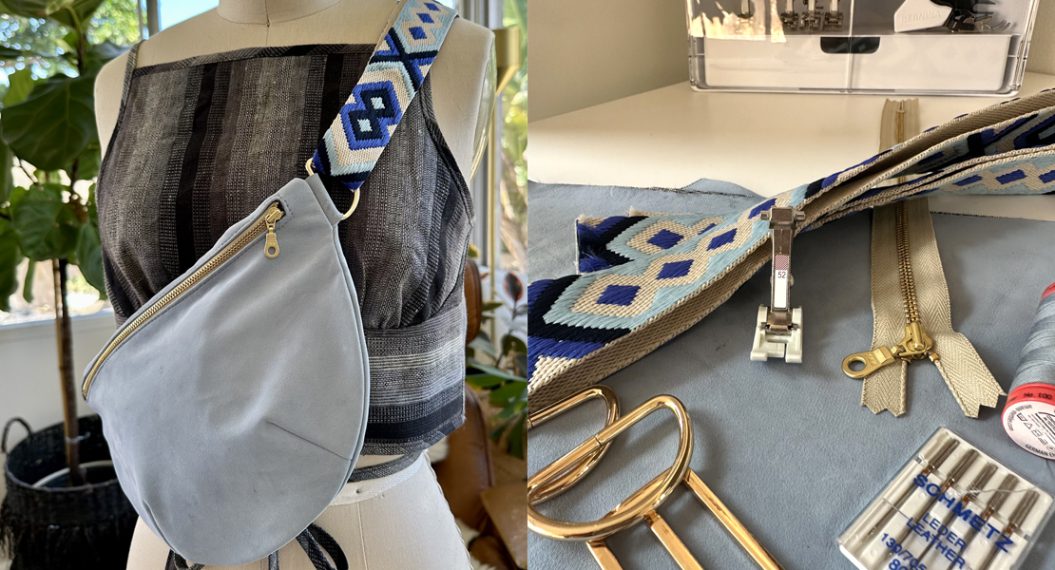
Bobbin work fashion application
Bobbin work on piping

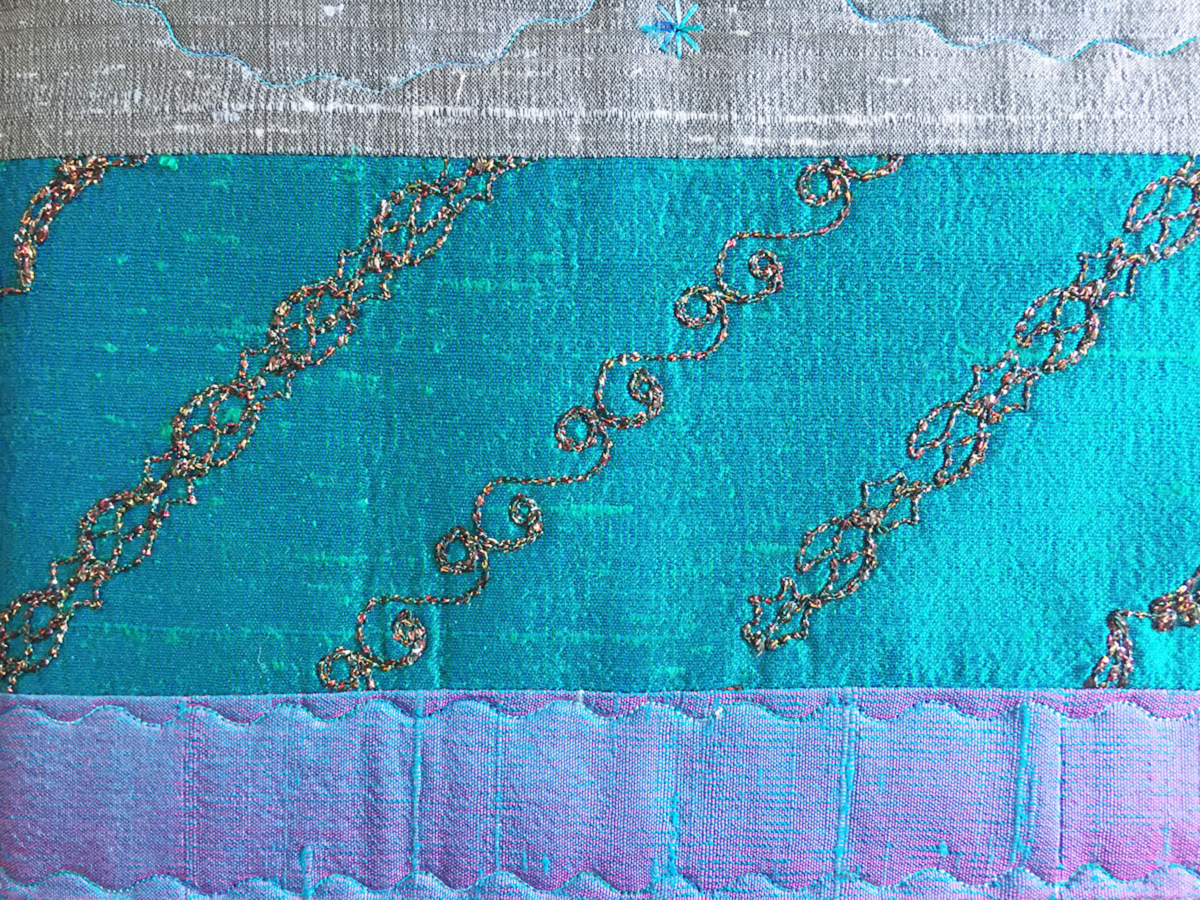
Bobbin work on silk
Used Products

What you might also like

4 comments on “Bobbin Work with the BERNINA Hook System”
-
-
I would use bobbin works on my cloth handbags and doll clothing.
-
are there instructions for using bobbins/bobbinwork using the B880?
-
I will use the bobbin work to quilt a dog coat. It would also look great as a decorative edge.
Leave a Reply
You must be logged in to post a comment.

I would like to embellish fabric to make some small/medium zippered bags for gifts.