Your Sewing Machine: How to Work With It (Not Against It)
Sewing machines are incredibly simple to use. Place fabric under the presser foot, push down on the pedal, and you’re off. No problem, until something goes wrong.
When you first start sewing, or even if you been sewing for a while, it’s easy to become frustrated. Maybe you’re having tension problems, or bird’s nests on the back of your fabric. Or maybe you’re getting extra fullness, thread/needle breakage or skipped stitches. Before you start tearing your hair out, give up, and throw your machine out the window, you’ll want to read this post.
Nine times out of ten, the cause of the problem is not understanding how your sewing machine works. Even though the concept of a sewing machine is fairly simple, a lot of complex actions must take place to achieve the desired end result. In this post, I’m going to walk you through 5 common problems and how to fix them, just by understanding your machine.
#1 Sewing Machine Tension Problems
I could write a book on thread tension and still not cover every possible issue. That being said, you can solve pretty much every tension issue by checking five things.
Stitch Length
Yes, stitch length can affect tension. Base your stitch length on fabric type and thickness.
Thread Path
Unthread and rethread your machine. Make sure that you follow the correct thread path, and nothing is catching or binding.
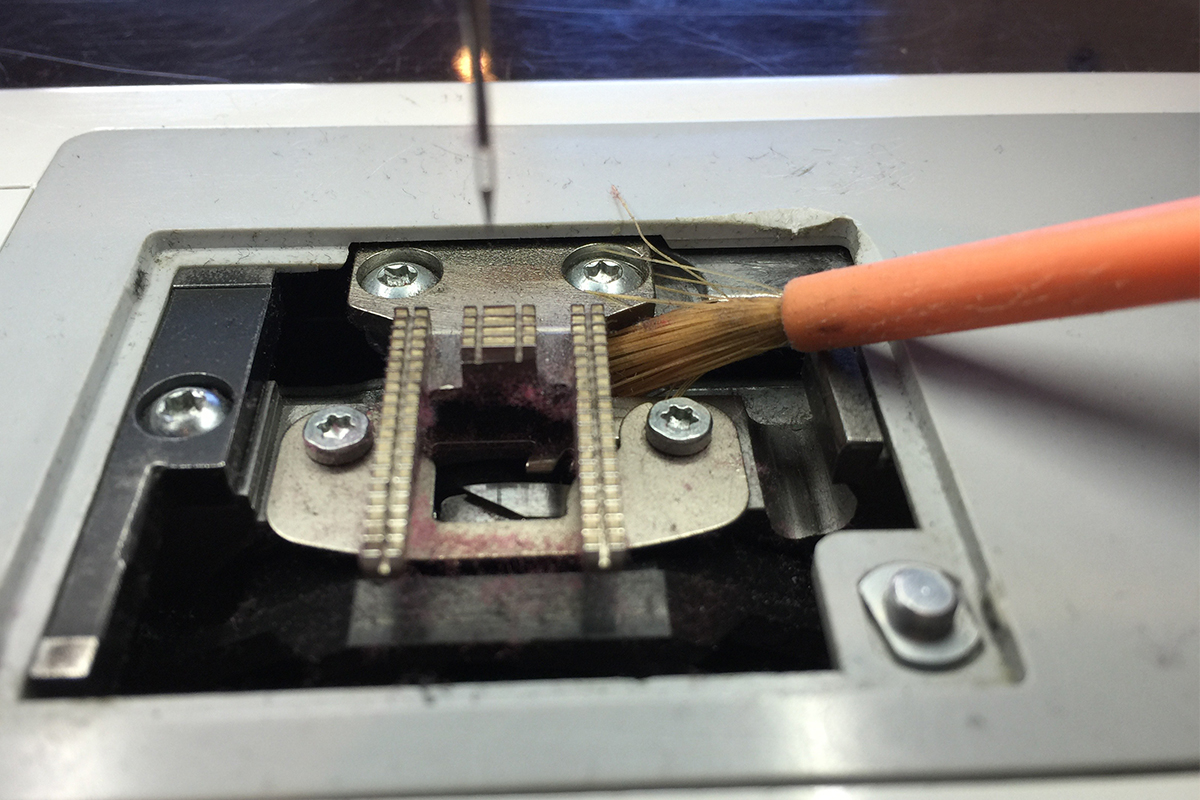
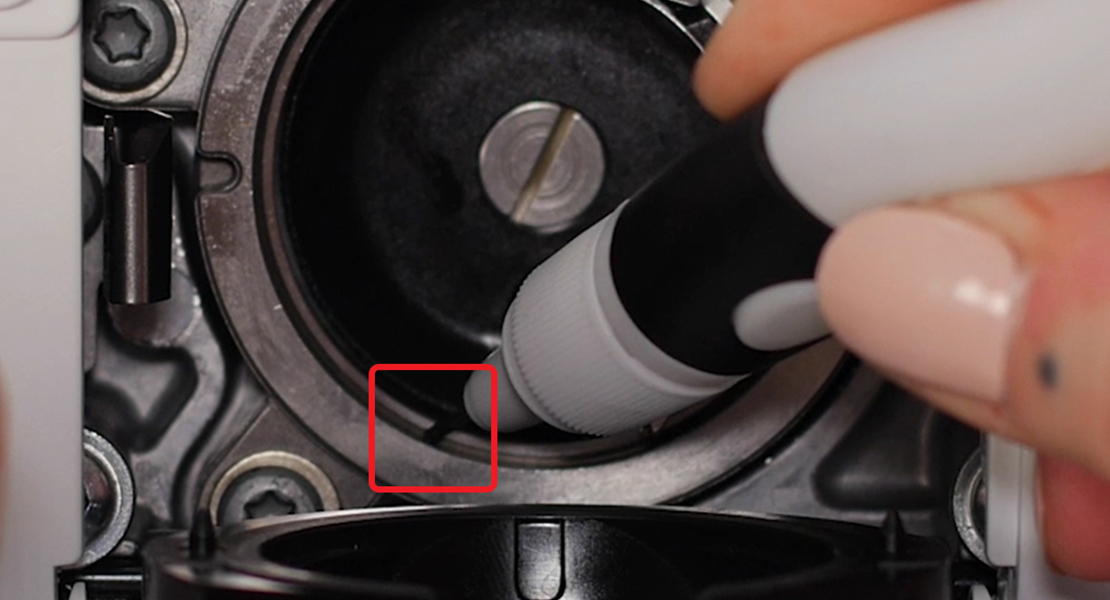
Bobbin Area and Sewing Hook
Even a small amount of lint, or a tiny piece of thread, caught in the bobbin area can cause tension issues. Make sure to clean your machine regularly and have it serviced at least once a year.
Top Tension
Make sure to set your top tension to the correct setting for the thread and fabric you are using. If your machine has an adjustable bobbin case, you will also need to check it for the correct tension.
Presser Foot
If your machine has an adjustable presser foot, make sure and set it at the correct level. Too much or too little pressure, and the fabric will not advance correctly, or you might get knots on the back.
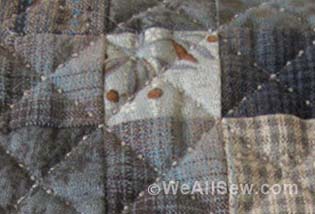
#2 Sewing Machine Making Bird’s Nests

Those annoying tangles of thread on the bottom of your fabric. Usually at the start of your stitching but occur at other times too. The most common cause of bird’s nests is not pulling up your bobbin thread before starting sewing. It’s not enough to have the bobbin thread loose behind your fabric, when starting sewing. It needs to be under tension. You accomplish this by holding on to the top and bottom thread while taking a couple of stitches. If you’re providing tension, but are still getting nests, or getting nests in the middle of a section, you most likely have a presser foot problem.
It may seem like a no brainer, but the first thing to check is if the presser foots engaged. It’s easy to forget, especially when starting on a thick seam. It feels like the foot is down because of fabric thickness. However, if the lever on the back isn’t down, the foot is not engaged and can’t regulate tension as designed. You can also disengage your presser foot if your machine has a knee lift, and you bump it while sewing. This is a common cause of a nest in the middle of the seam.
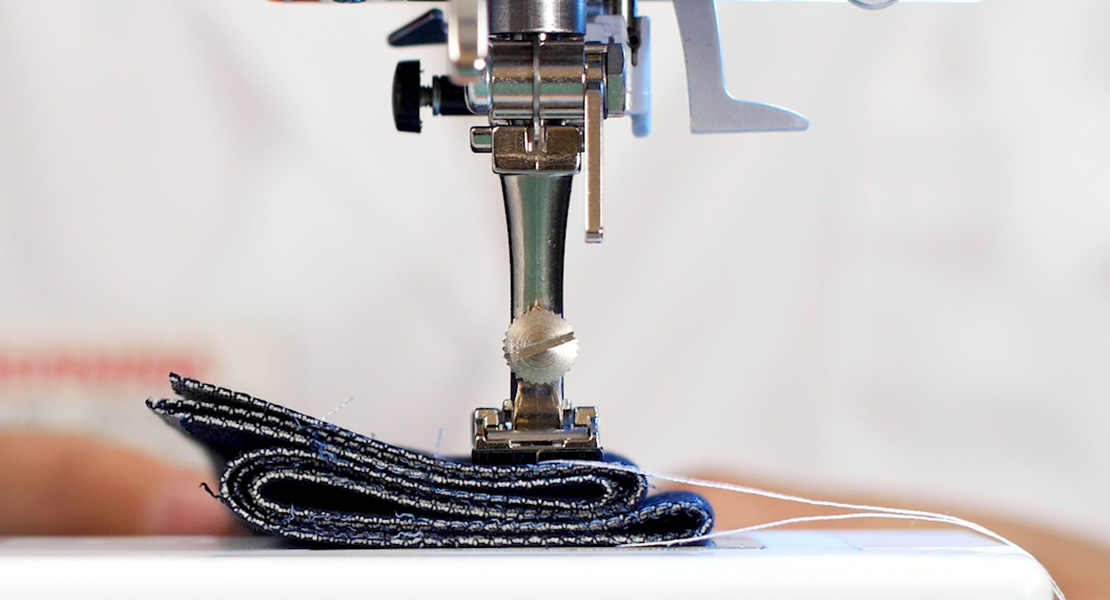
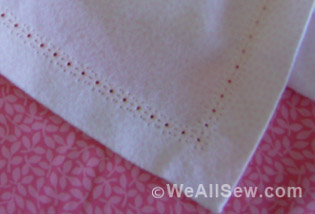
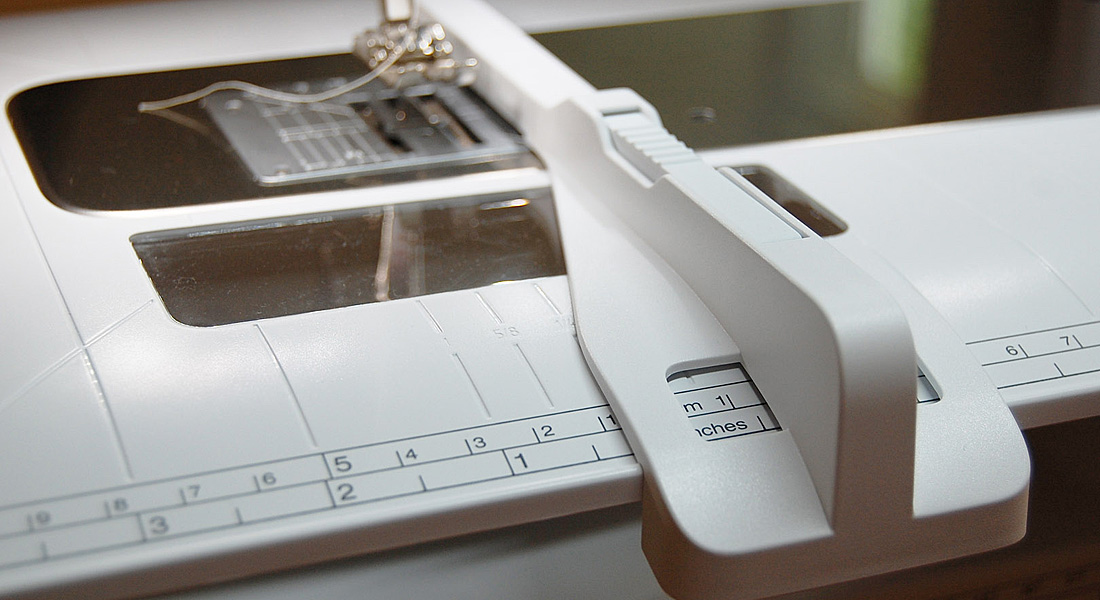
Another cause of nests in the middle of a seam is a thicker section of fabric. When sewing a hem, for example, there is usually a spot that is thicker than the rest of the seam. When you reach this spot, there is a moment when your presser foot is basically high-centered, and the result is the same as not having the presser foot engaged. There is a cool tool designed just for this purpose, the BERNINA Height Compensation Tool. You can also put a folded piece of fabric underneath the back of the foot to achieve the same result.
#3 Sewing Machine Skipping Stitches
Sewing machines are designed to sew in a straight line and anything that interrupts that straight line is going to cause a problem. The most common interruption is needle deflection. Something that causes your needle to flex in any direction is called needle deflections. If the deflection is slightly forward, or back, it is not going to pass the sewing hook at the correct time, and it won’t interlock with the bobbin thread. This results in skipped stitches.
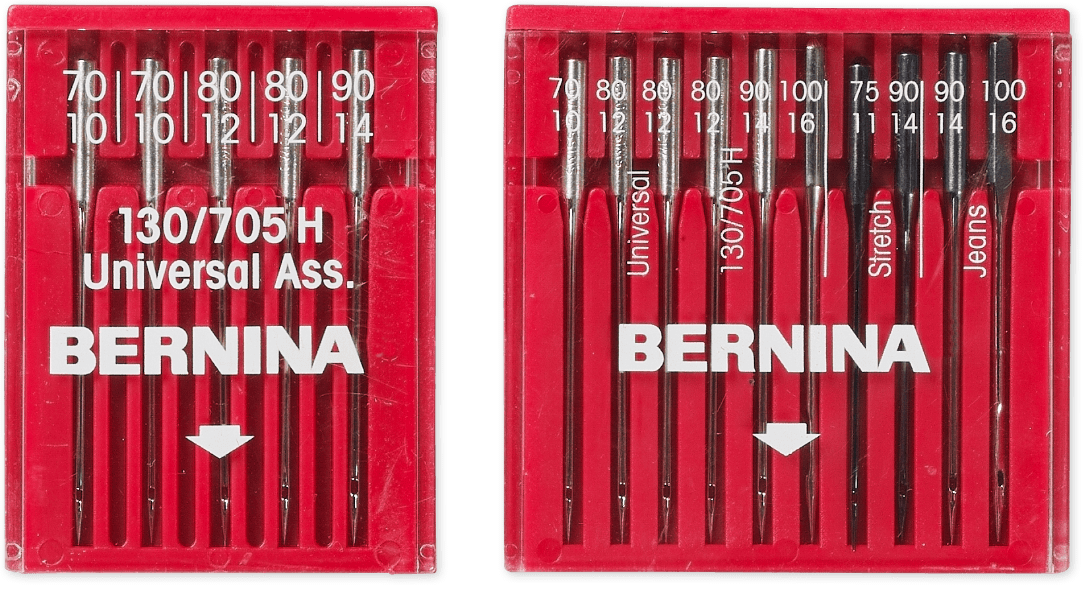 The best way to prevent this deflection is to use the right size/kind of needle. Heavier fabrics need thicker needles, knits need a ball point needle, and thicker threads need a needle with a bigger eye called a top stitch needle. If your thread is too thick for the EYE of your needle, regardless of how thick your needle is, it can cause the thread to catch and flex the needle backwards.
The other way to prevent forward/back deflection is to allow the feed dogs to feed your fabric. (The feed dogs are those jagged pieces of metal under your pressing foot that help advance the fabric while sewing.) Don’t try to pull on the fabric to move it faster or to feed it under the presser foot slower to ease in fullness. The first will cause your needle to flex backwards the second will cause it to flex forward. I’ll cover how to deal with fullness correctly in the section on dealing with unintended tucks and pleats.
#4 Sewing Machine Thread Breaking/Needle Breaking
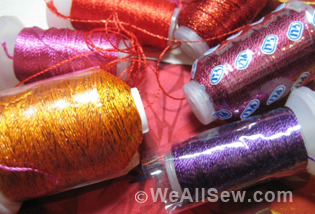
 Just like sewing machines are designed to sew in a straight line, thread is designed to unspool in a specific direction. This direction varies depending on whether you are using a cone or a spool. Spools are designed to load horizontally and unwind as you sew. Cones are designed to load vertically and unwind from the top. If you try to mount a cone like a spool, or vice versa, it will cause the thread to catch as you sew causing the thread to break, or, if it catches enough, it can even break your needle.
Using the wrong sized needle can also result in thread breakage. If the eye is not big enough to accommodate the thread it will create excess friction leading to shredding and breaking of your thread. Make sure and change your needle regularly, as it can become dull over time. Also, always change your needle if you hit a pin. Even if the needle doesn’t break, it may be slightly bent, and the point will definitely be blunted. This can lead to skipped stitches, as discussed above, and snags in your fabric.
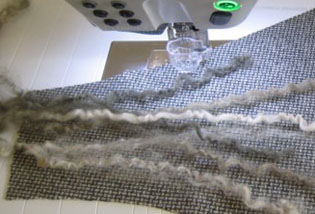
#5 Unintended Tucks, and Pleats

Feed Dogs and BERNINA Walking Foot
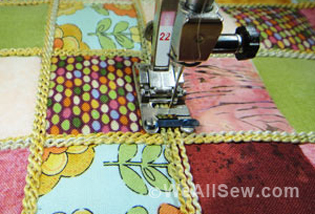
The feed dogs on your sewing machine are designed to advance the fabric forward while the presser foot applies downward pressure. This works great most of the time but can cause unintended tucks and pleats. Especially when joining two sections that are slightly different sizes, like setting in sleeves, or maybe your quilt blocks didn’t turn out all the same. This is because the feed dogs advance the bottom fabric faster than the top fabric.
There is, however, an easy fix. If your pieces are the same length, a BERNINA walking foot will work with the feed dogs to move both the top and the bottom fabric at the same speed. This also helps to prevent cupping when applying bias tape or binding.
If you don’t have a walking foot you can pin the sections (removing the pins as you sew), or glue them together. (Only use Elmer’s School glue as it is water-soluble and non-toxic, so it won’t hurt your fabric. Make sure to heat set your glue before sewing to prevent gumming up your machine.) This makes the two separate pieces of fabric act as one, and they then advance as you sew at the same speed.
When joining together two pieces of slightly different lengths or easing in a garment seam, make sure that the longer/fuller piece is always next to the feed dogs. This way the feed dogs will automatically ease in the extra fullness. Just a little bit of forethought and preparation will make unintended tucks and pleats a thing of the past.
Now that you understand a little bit more about how your sewing machine works, you can ditch the frustration and hair pulling and start having fun. Let me know your favorite sewing tip/hack in the comments below.
Used Products

What you might also like

2 comments on “Your Sewing Machine: How to Work With It (Not Against It)”
-
-
It could very well be the cause of your thread breaking. Glad I could help. Happy Sewing
-
Leave a Reply
You must be logged in to post a comment.

I didn’t know about how thread is intended to come off the spindles!
I’ve been putting spools in the wrong position frequently, and never realized that could be why my threads broke so frequently when doing embroidery?
Thanks for the tip!
Valerie Corson