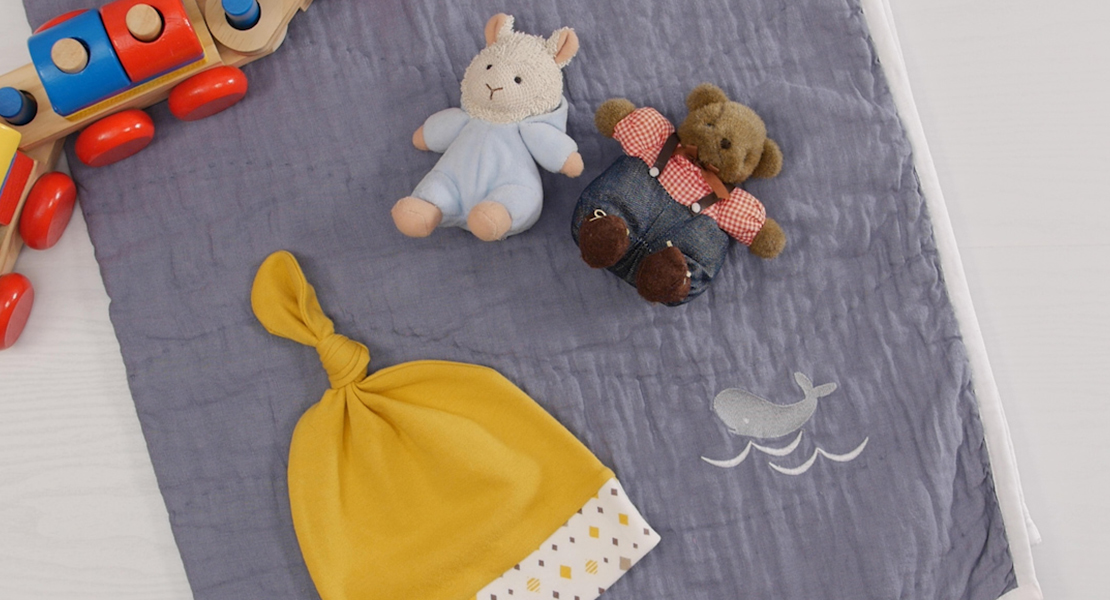
“Just Wing It” Baby Receiving Blanket
Vicki Konrady loves teaching Stitch Fun Mastery Classes at The Quilt Block in West Des Moines, Iowa, especially when she sees students getting excited about the creative things they can do besides straight stitching. This receiving blanket is a big hit! We asked if she’d share her instructions with us, and here they are. Just in time, too – I have baby showers to go to!
![]()
Flannel Receiving Blanket with Wing-Needled Hem
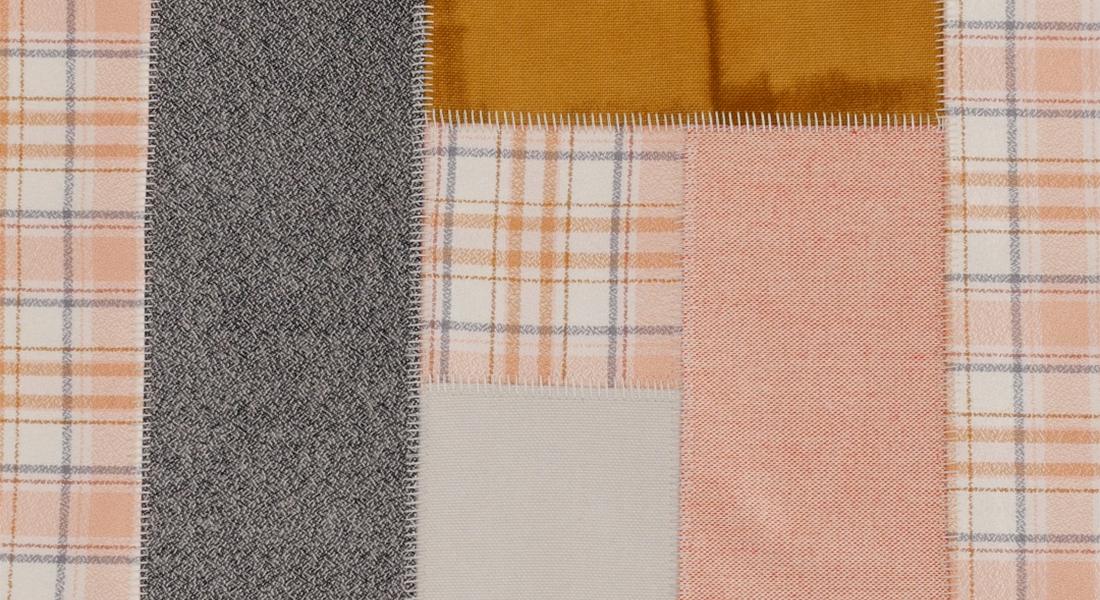
I started with 1¼ yard of flannel “squared up” to 40”. I like to use flannel with a low contrast between the right and wrong sides. Using a heavy spray starch, I starched the edges, making sure the flannel was starched approximately 3” in from all sides. Be sure to let the starch dissipate into the flannel before pressing with a hot iron.
Cut a strip from a manila folder 2” wide by the length of the folder. Using a permanent marking pen, draw a line 1″ from the long side of the manila strip. Use this template to press a perfect 1” hem to the wrong side around all four edges of the flannel square.
Now you are ready to miter the corners. Don’t let the word “miter” scare you – I use Linda Lee’s simple technique from her book Sewing Edges & Corners.
[Here’s a link to a video I found on Wisconsin Public Television: Sewing with Nancy, Runway Finishes with Cool Edges, Part 1, in which Linda Lee demonstrates her mitered corner technique – Jo http://video.wpt2.org/video/1811682182/ Also available on DVD]
At the corners where the hems meet, place a straight pin on each hem edge where the two raw edges intersect. Open up the corner and turn the fabric right sides together matching the two pinned intersections. With a marking tool, draw a stitching line from the pinned intersection to the corner fold line. Sew along this marked line with a straight stitch. Trim away the excess fabric from the point and turn the hem right side out. A perfect mitered hem!
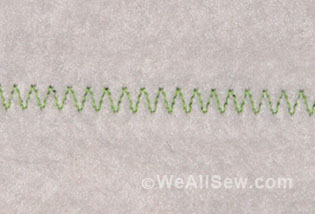
Now that you have a hem pressed to the wrong side and all four corners mitered, use a fabric marking tool to draw a stitching guide on the right side of the flannel square 1” from the edge around the entire square.
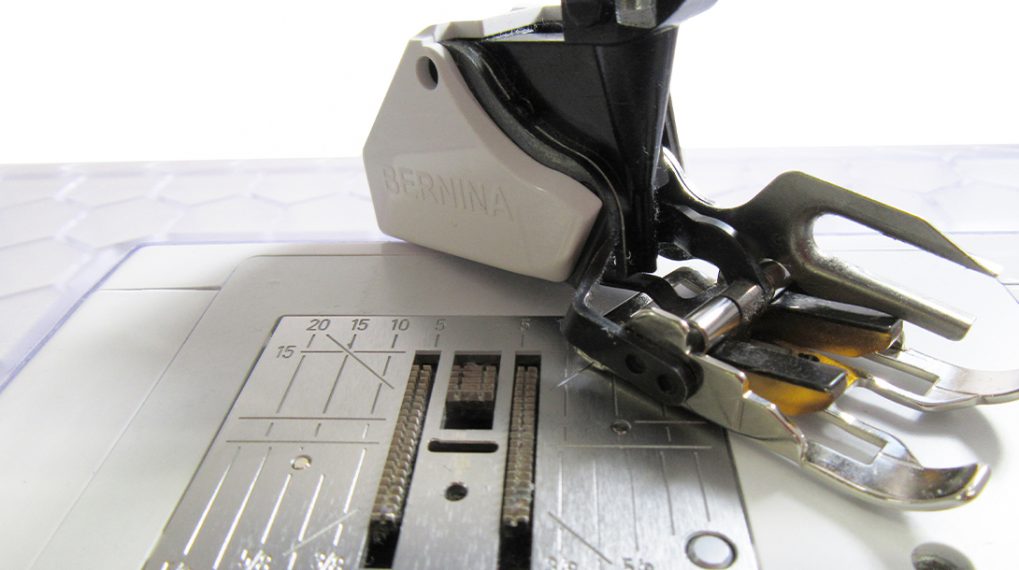
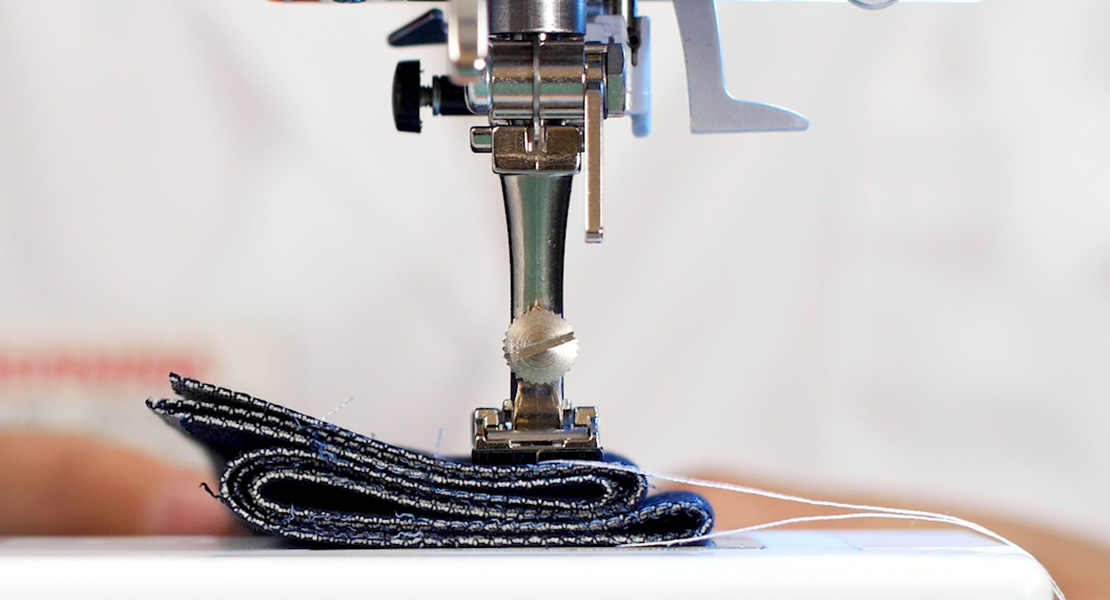
Place a Wing (Hemstitch) needle in your sewing machine (I have used both the 100/16 and the 120/18 with equal results). Put Edgestitch Foot #20/20C or Clear Embroidery Foot #39/39C on your machine. Thread your needle and bobbin with fine 60/2 Mettler 100% cotton embroidery thread.
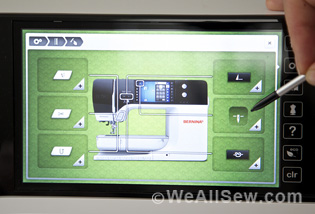
 Select the entredeux stitch (#711 on Artista and 8 Series machines; for other models, check your machine manual). With 5.5 mm machines, I stay with the default settings, however, with the 9 mm machines, I use 6mm width and 3mm length. Practice this stitch on a scrap of your flannel to understand how the stitch forms so you know when to stop stitching to pivot at a corner. (I found this to be one stitch before the final stitch, which means Pattern End does not work in this situation.)
From the right side of the flannel square, sew this stitch with the center of the stitch following the marked line. By centering your stitch over this line, you are catching the raw edges of the hem in the stitch.
You now have a lovely quick and easy baby gift for that precious newborn! Do you also have an embroidery machine? Consider stitching a low stitch-count design in one corner or along one side to further personalize your gift.
![]()


3 comments on ““Just Wing It” Baby Receiving Blanket”
I would love it if these projects could be downloaded as a PDF so that I could keep it on my computer and iPad.
Thanks for your efforts to keep folks working with their machines!
Peggy
I have found that you can copy the information, then go to your e-mail program, start a new e-mail and paste the information and send it to yourself. Then I save the e-mail to a file. This preserves all links, too. I suspect it will not work if the project is removed from the server.