Stitch in the Ditch with BERNINA Walking foot #50
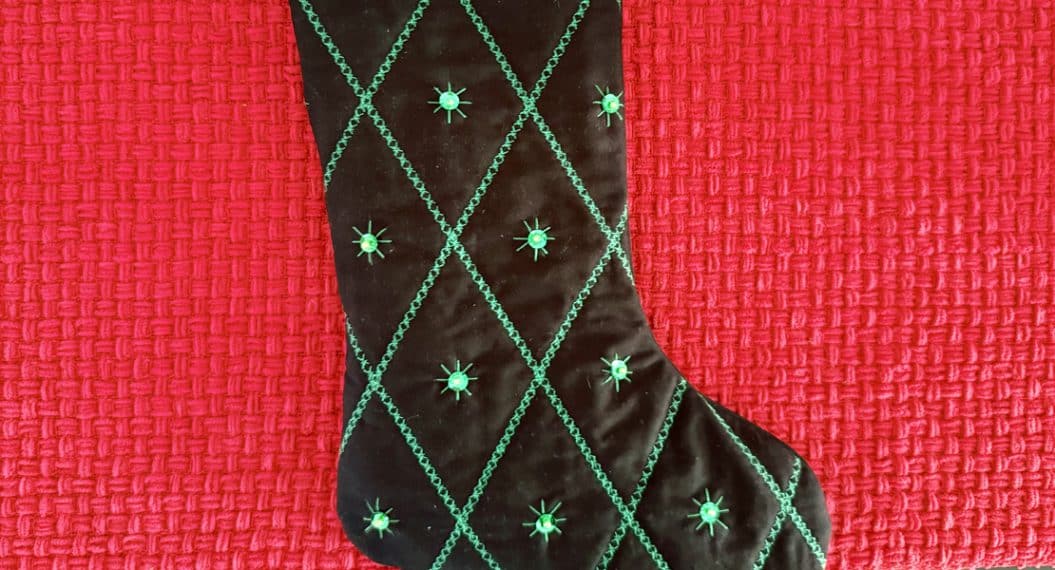
Stitching in the ditch is a quilting technique of sewing directly in a patchwork seam. These stitches sit down in the seam and can accentuate the patchwork piecing in the finished quilt.
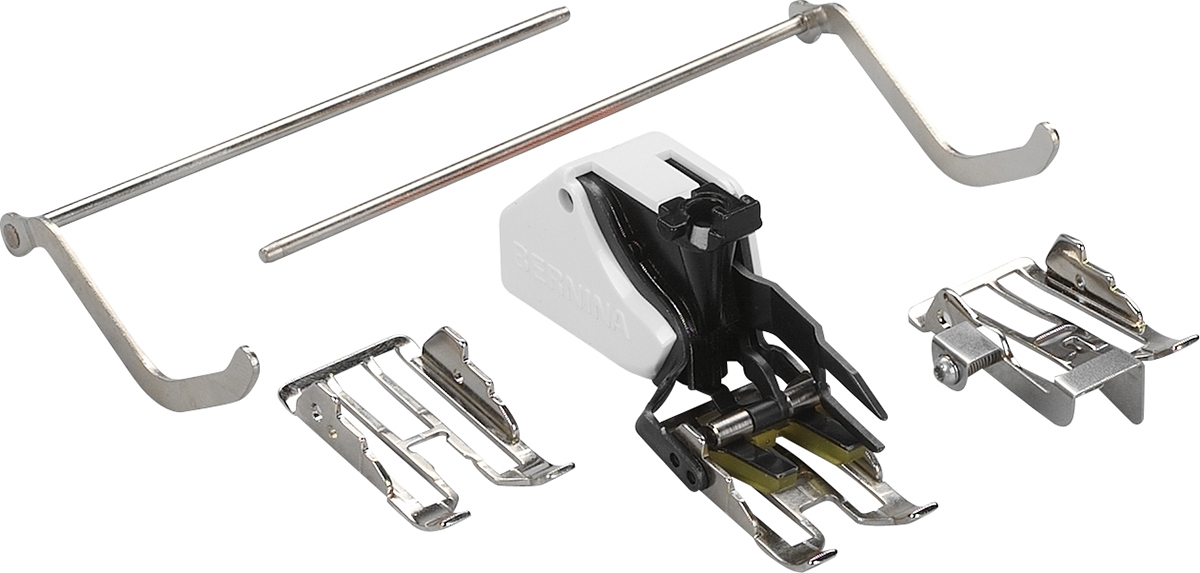
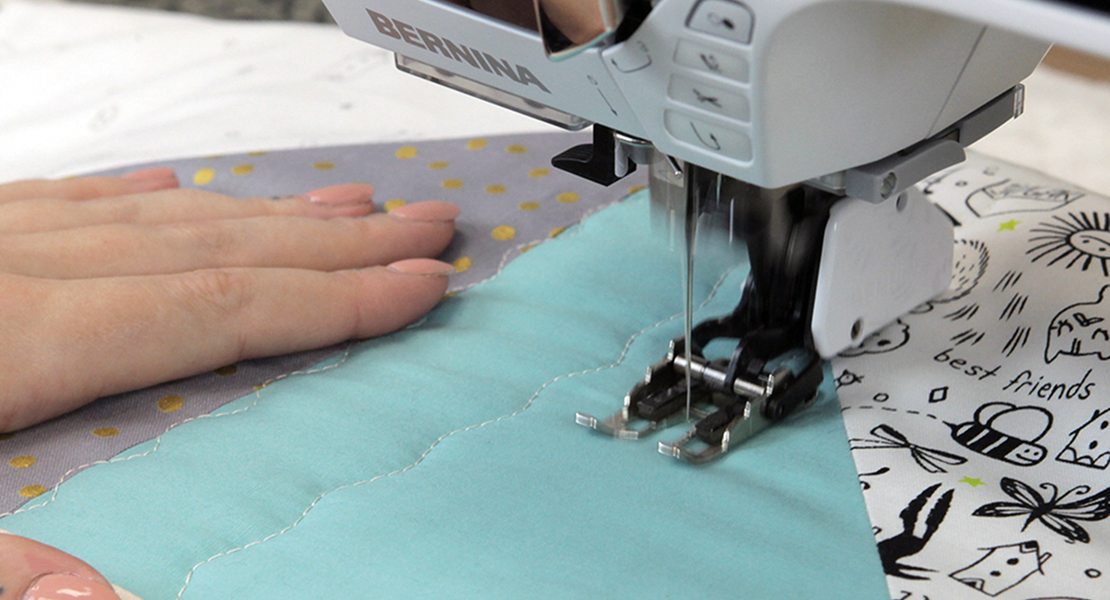
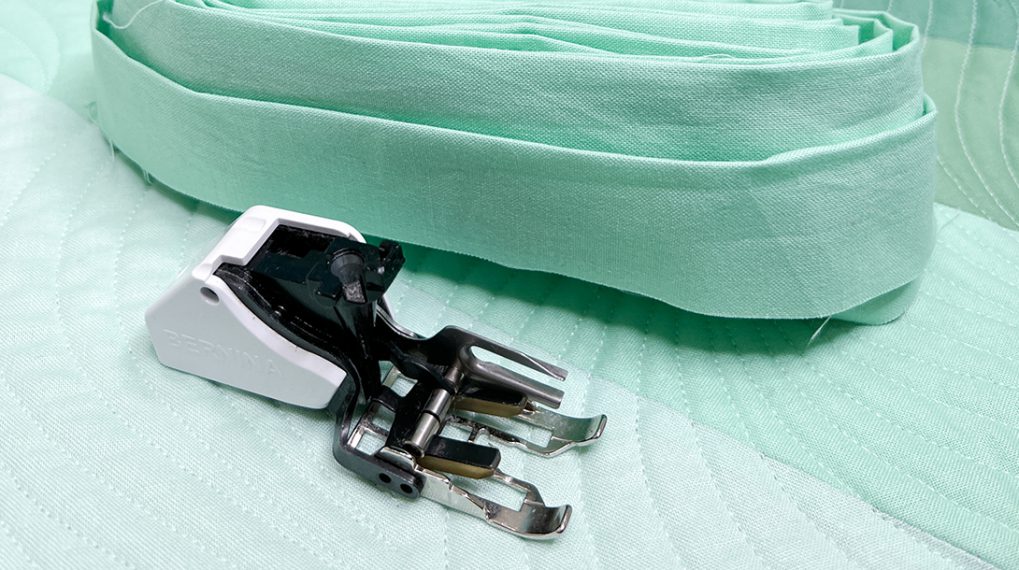
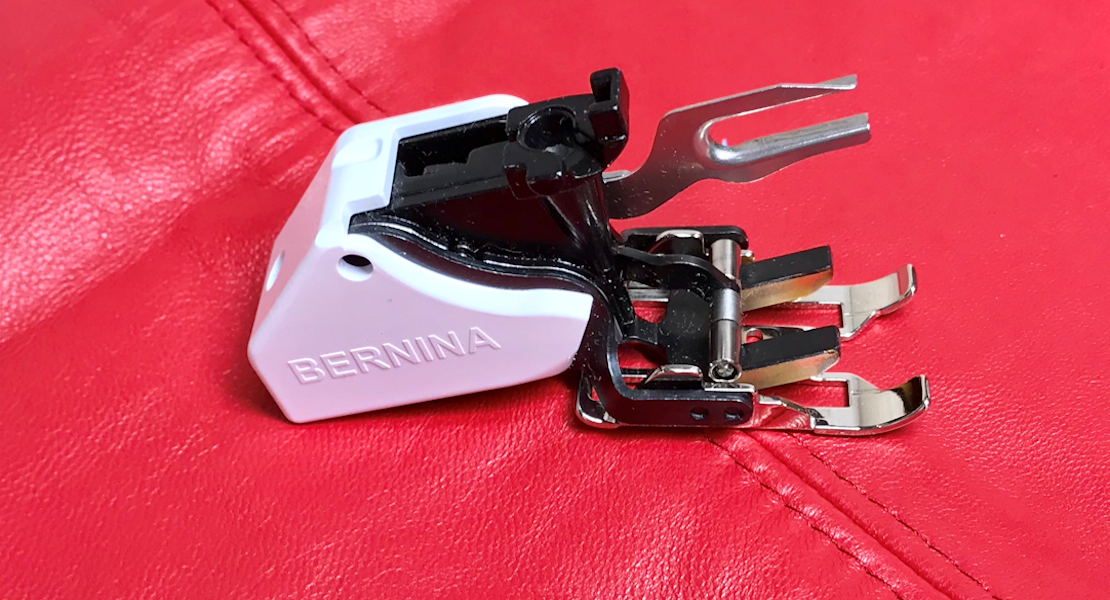
BERNINA offers three different soles with the Walking foot #50, one of which has a central guide designed specifically to assist in the technique of stitching in the ditch.
I use the Walking foot #50 with this sole whenever I’m straight line quilting in the ditch. Here are some helpful tips for using this foot and sole with central guide for this technique.
Attaching the Walking foot #50
The Walking foot #50 can be a little tricky to attach the first time, and these simple tips can help you get the foot connected in just a few seconds. Watch me run through the steps in this quick video, and read details about each step below.
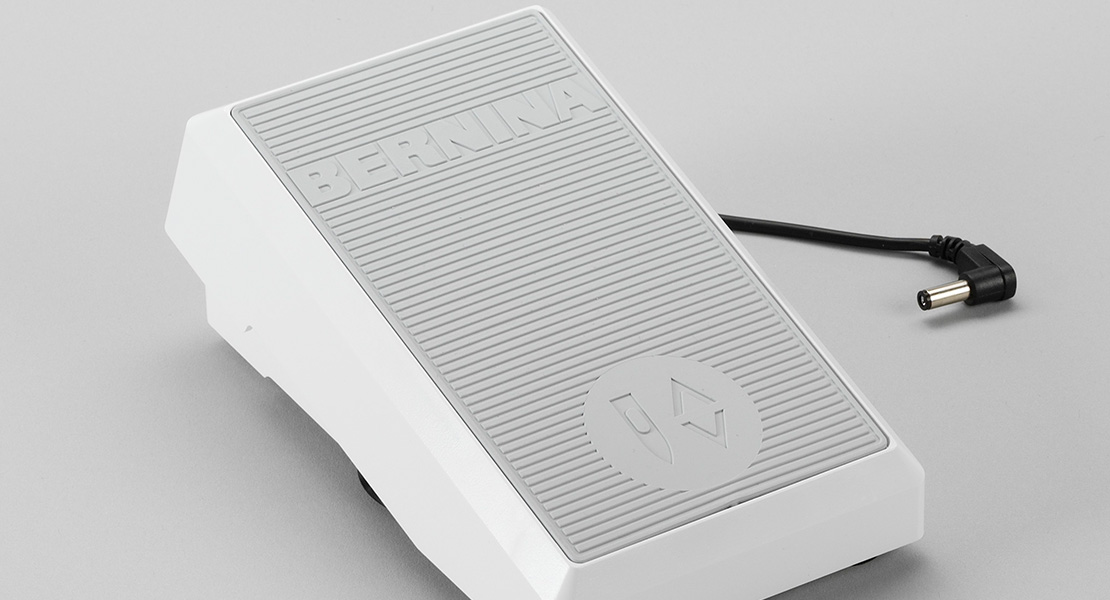
Step 1: Leave your sewing machine turned off until the Walking foot #50 is attached. The very first step is to lower the feed dogs to give you a little extra room to maneuver the foot and attach it to the machine.
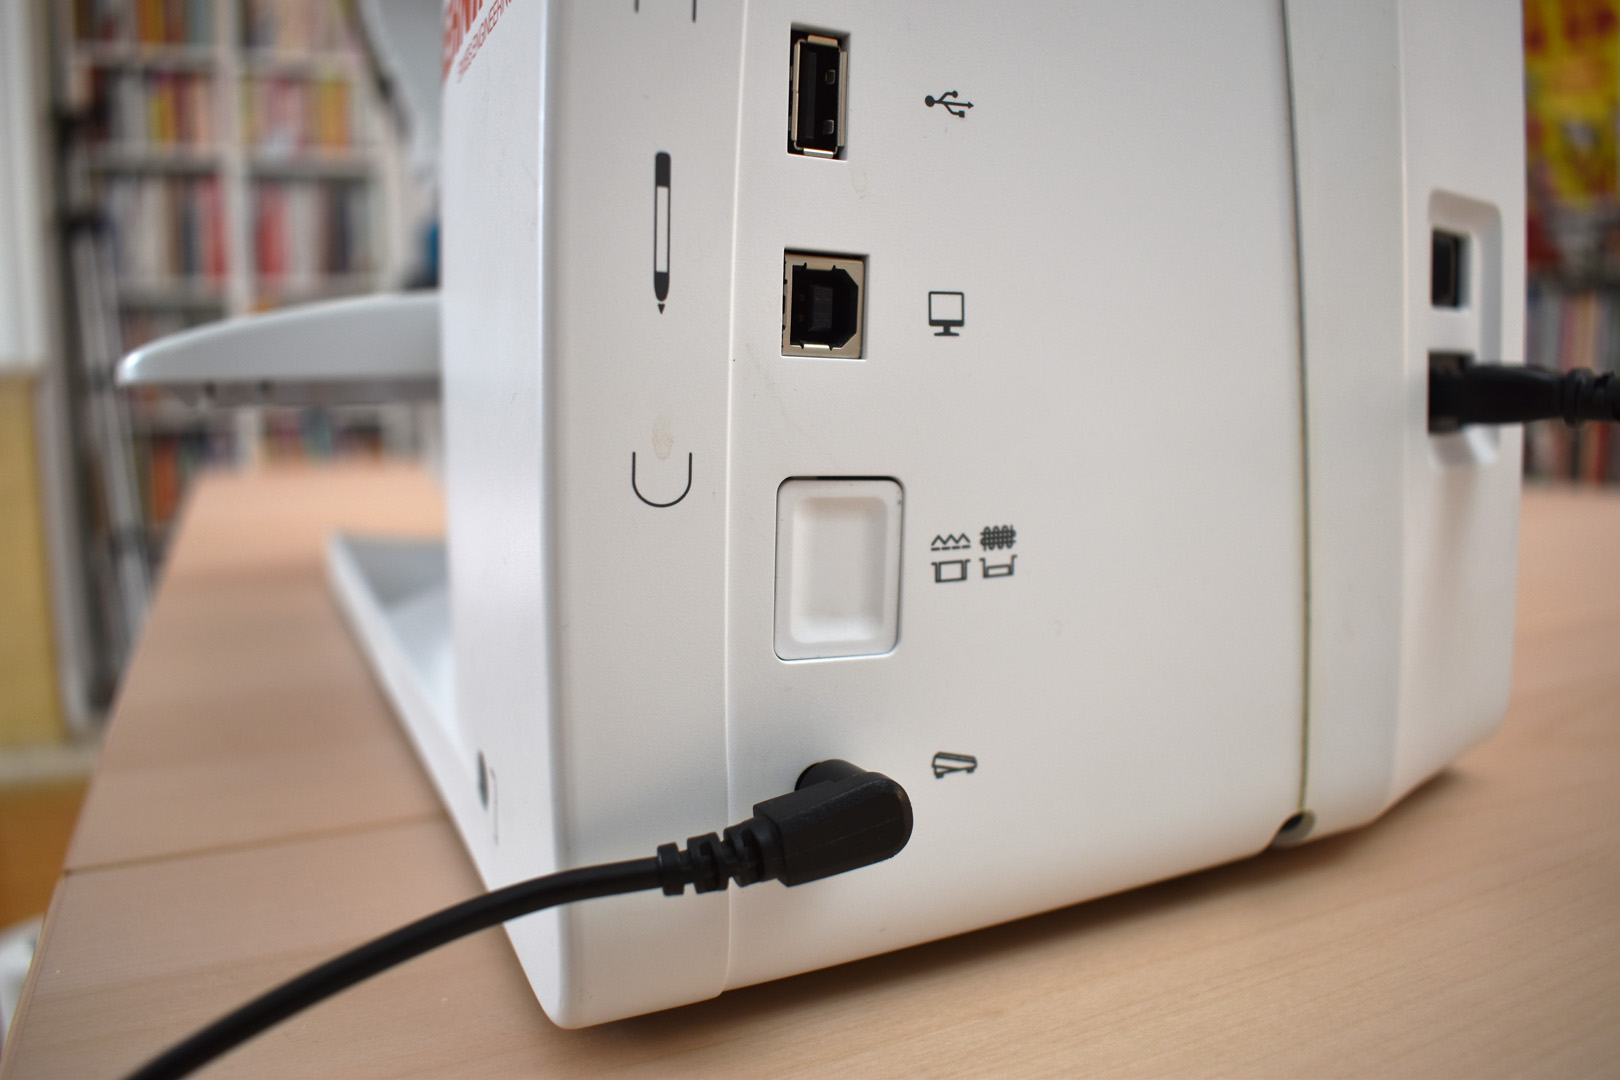
My BERNINA 570 QE has a button on the end of the machine to lower the feed dogs, look in your user’s manual if you need help finding this feature on your model.
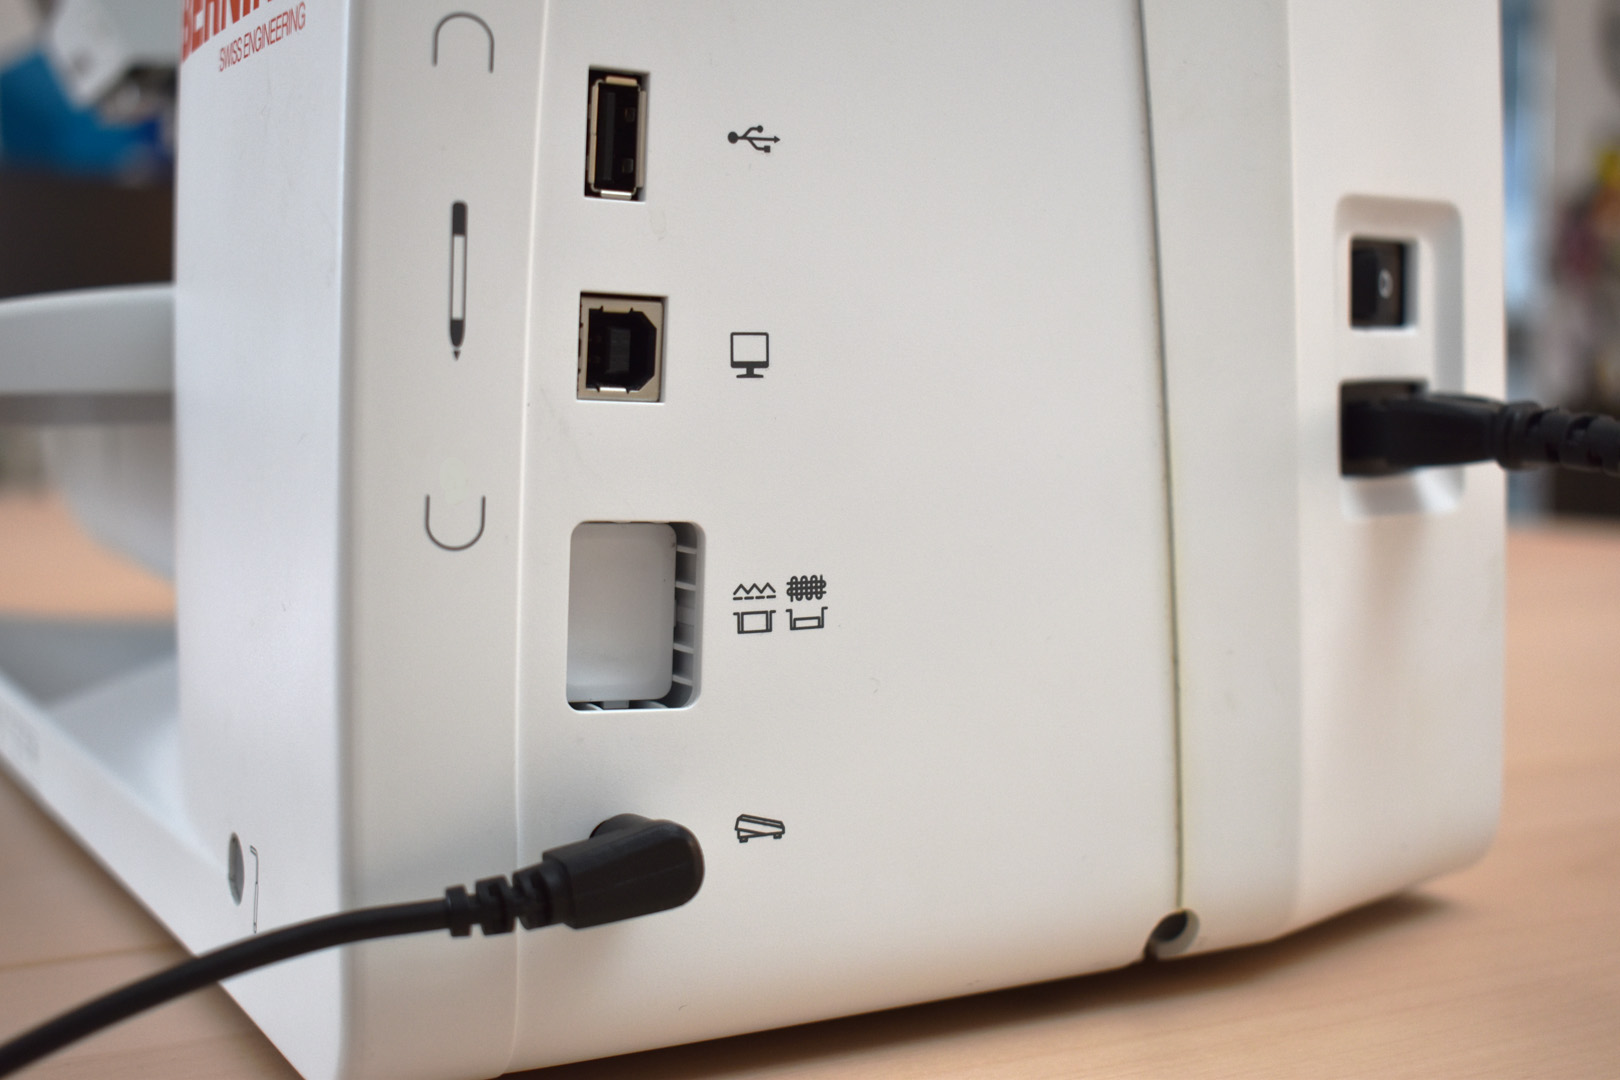
With the button depressed, the feed dogs are lowered and out of the way.
Step 2: Attach and thread the needle.
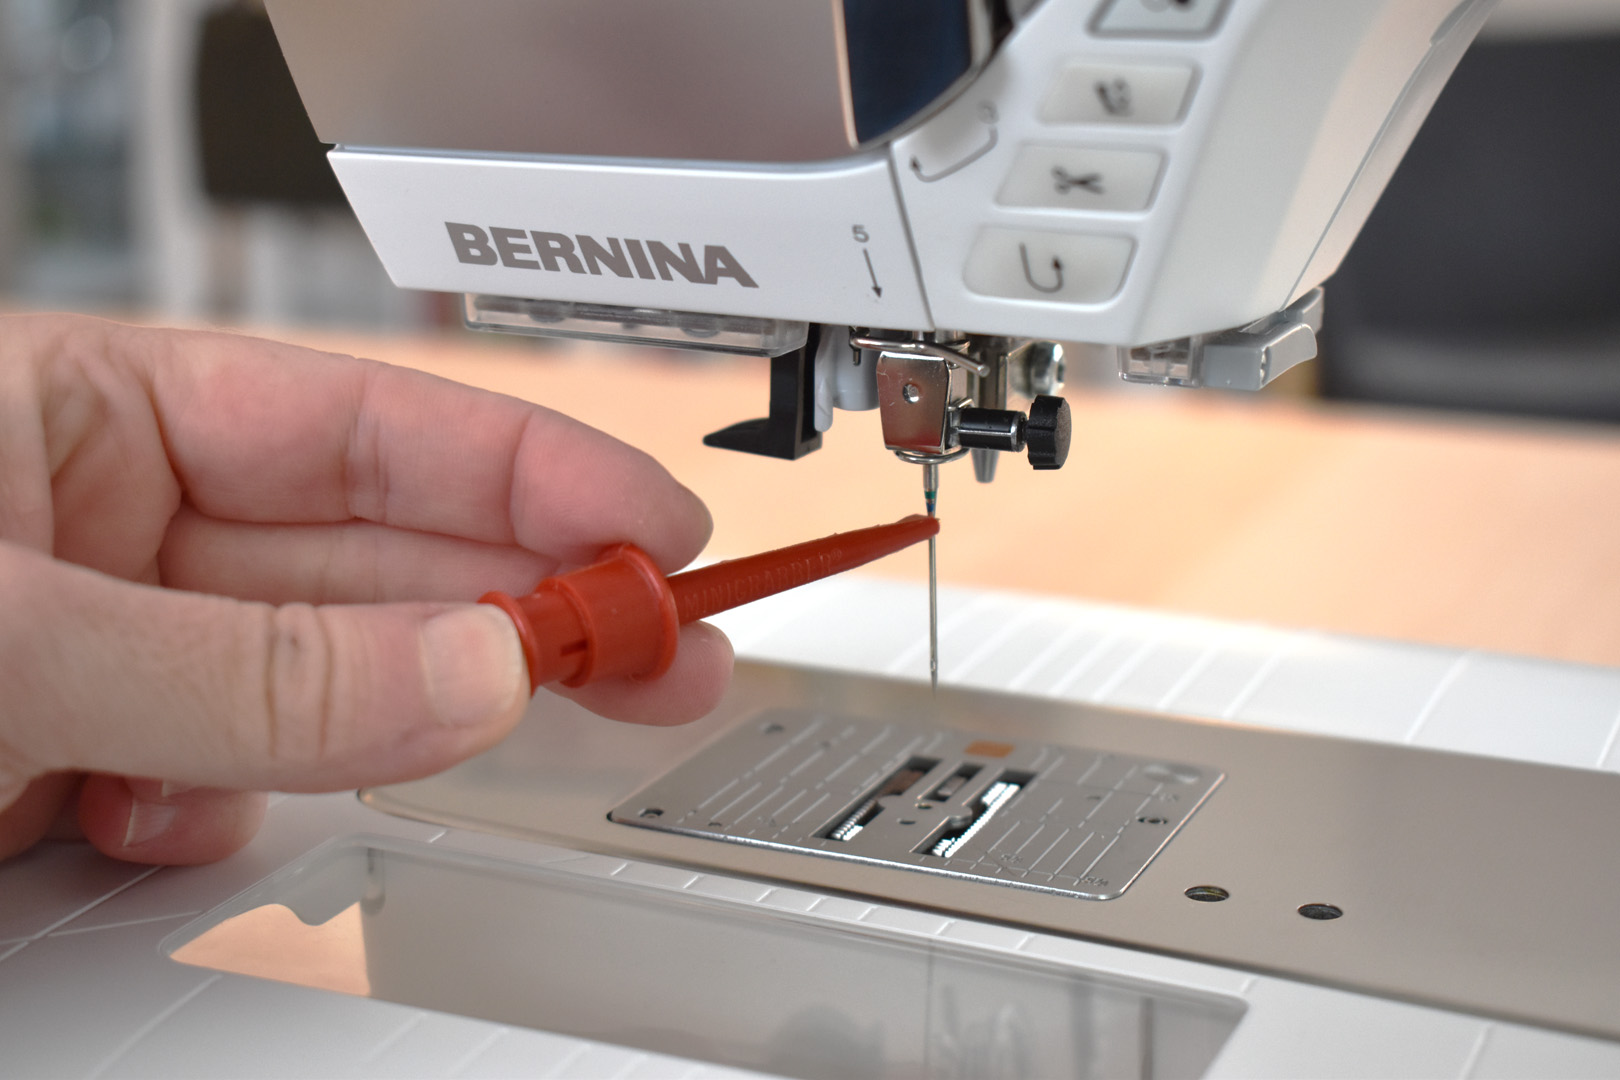
Get your needle inserted and threaded before attaching the foot.
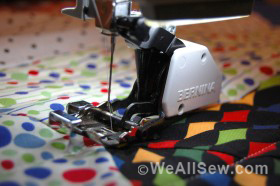
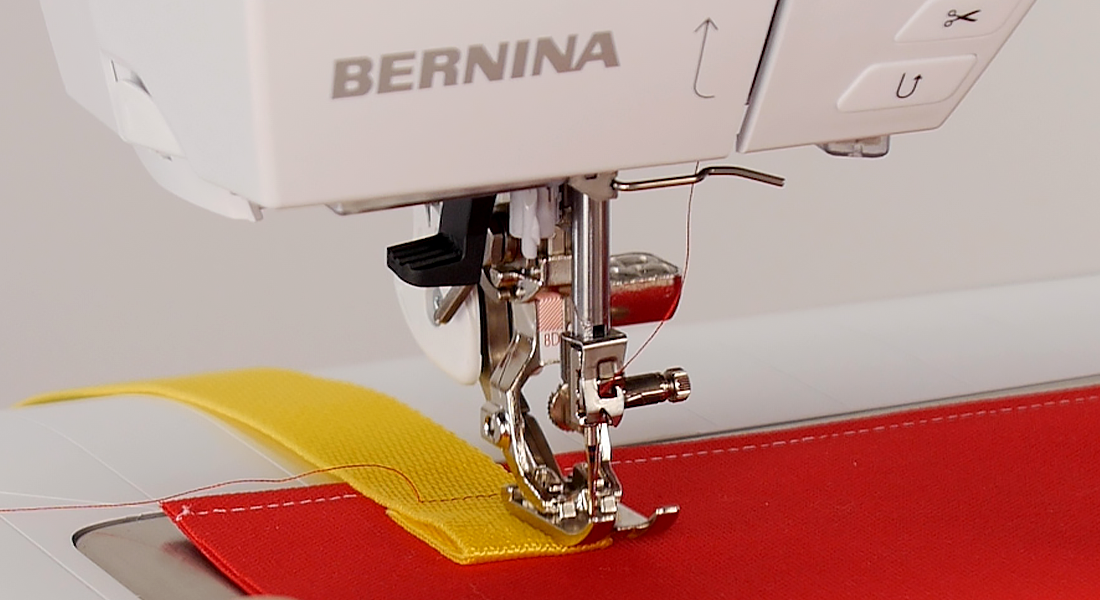
Step 3: Attach the foot.
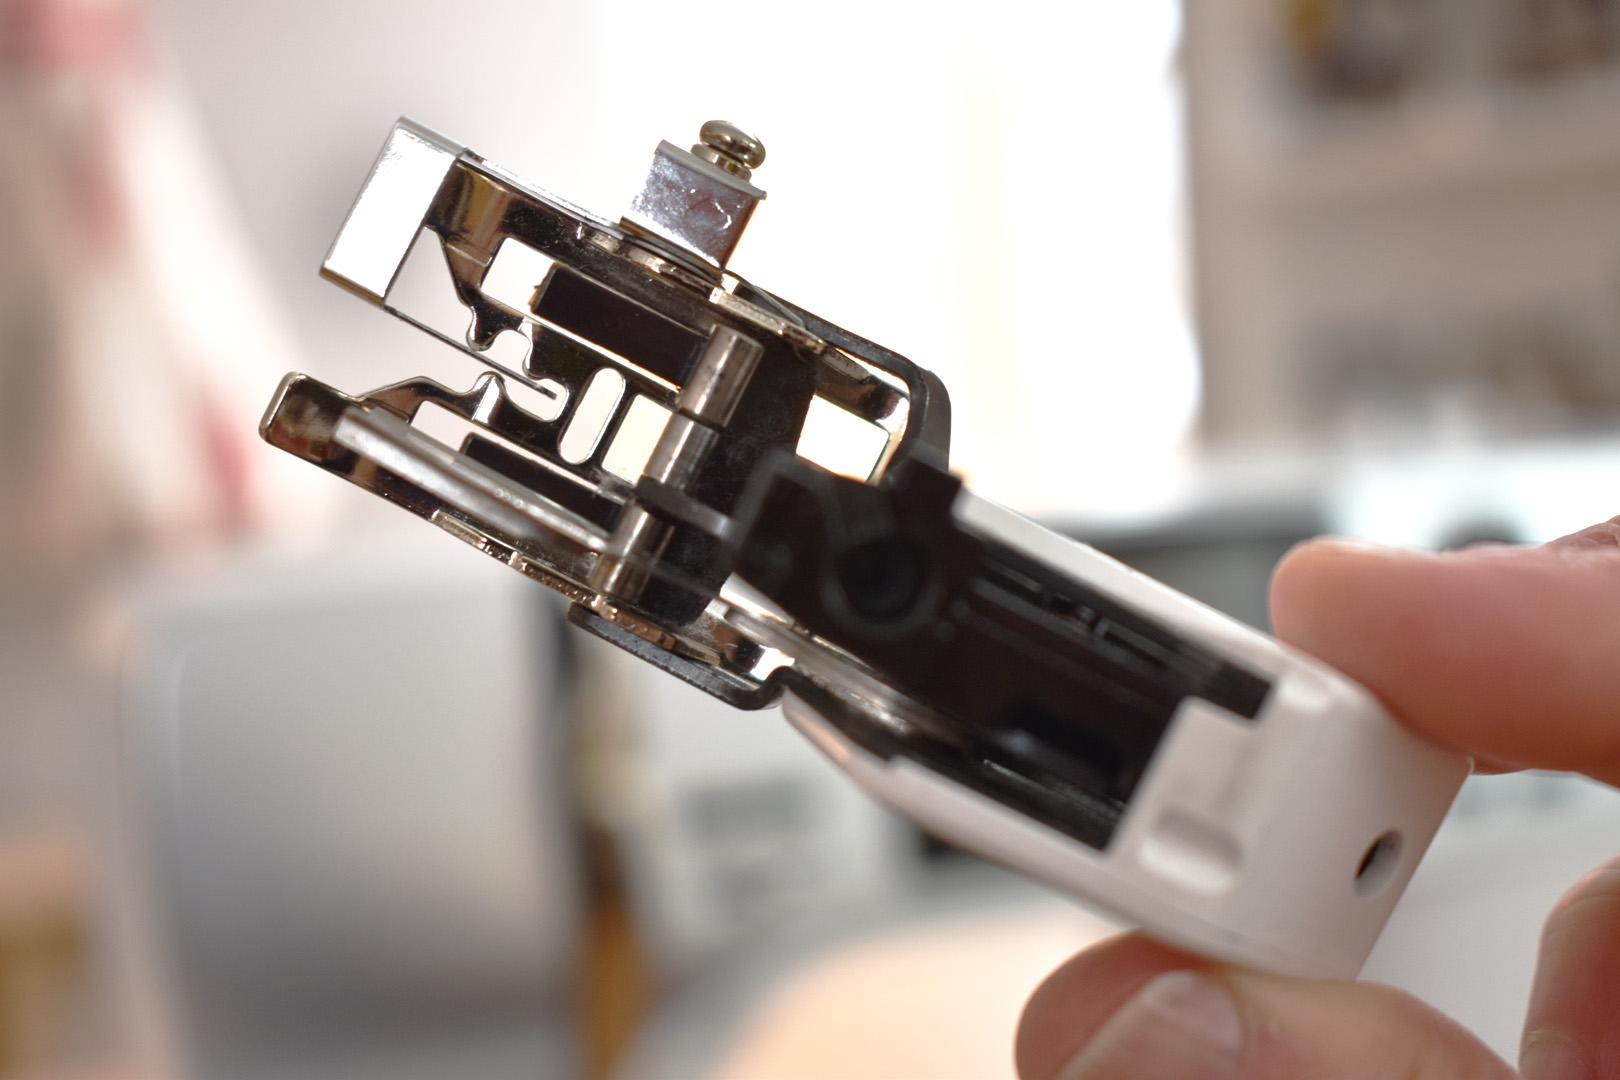
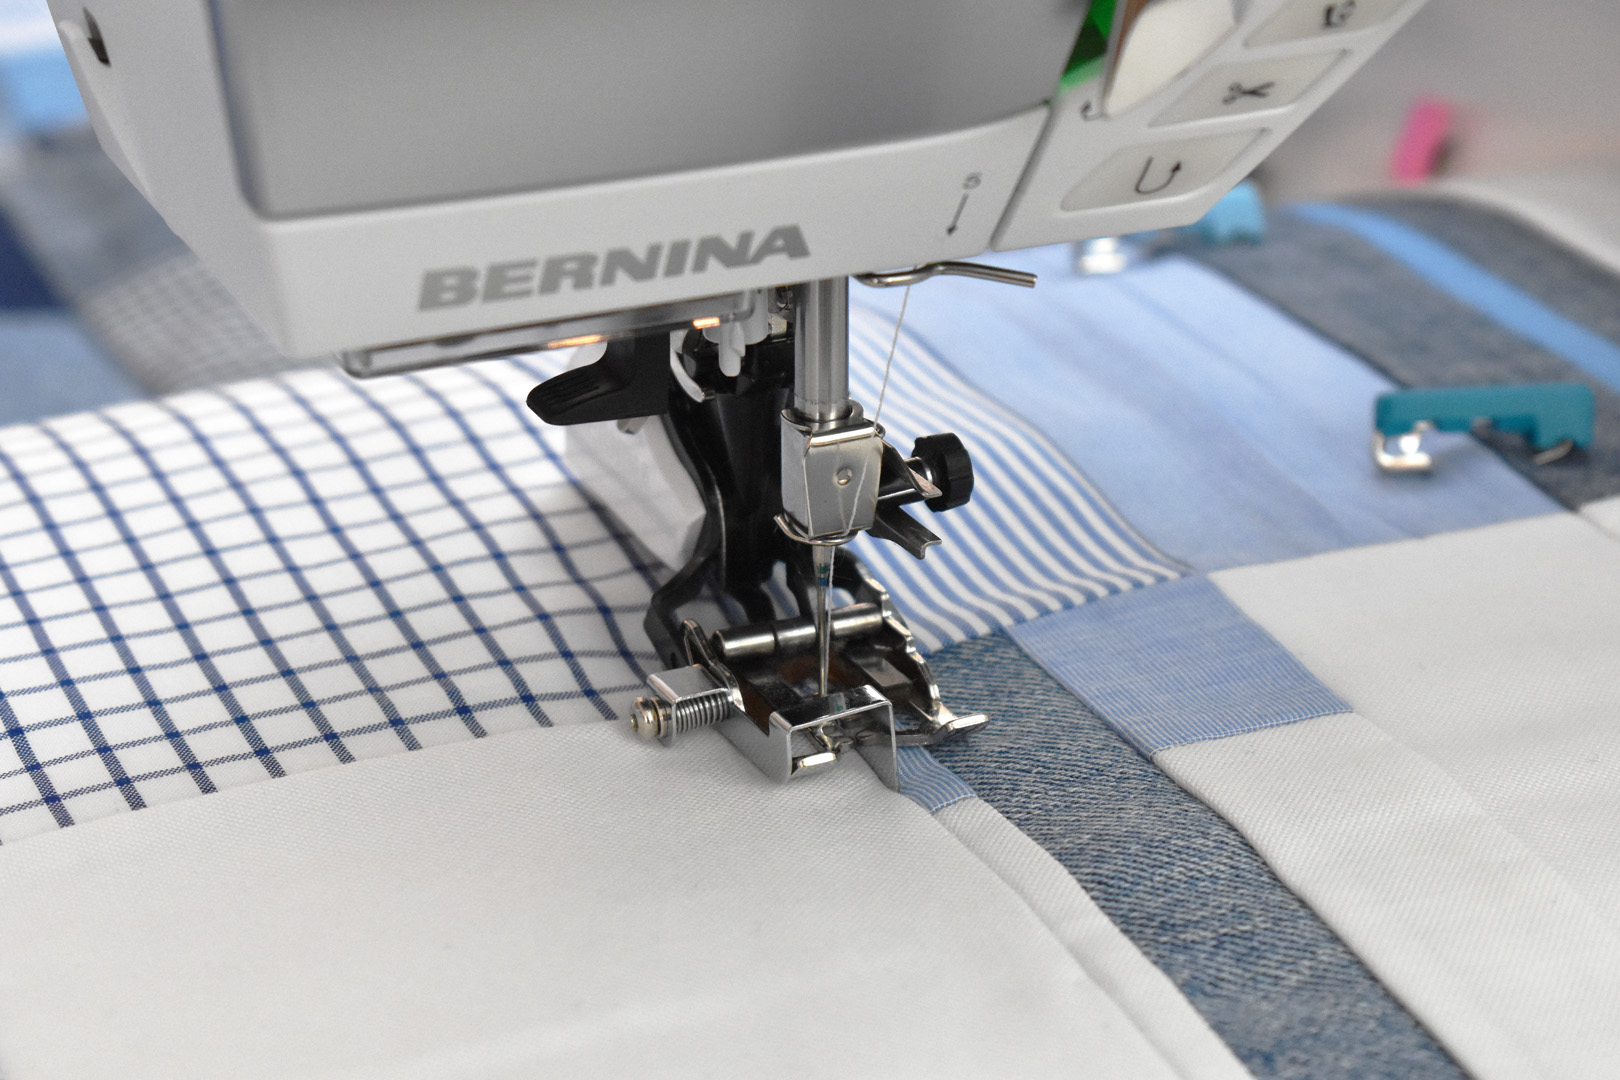
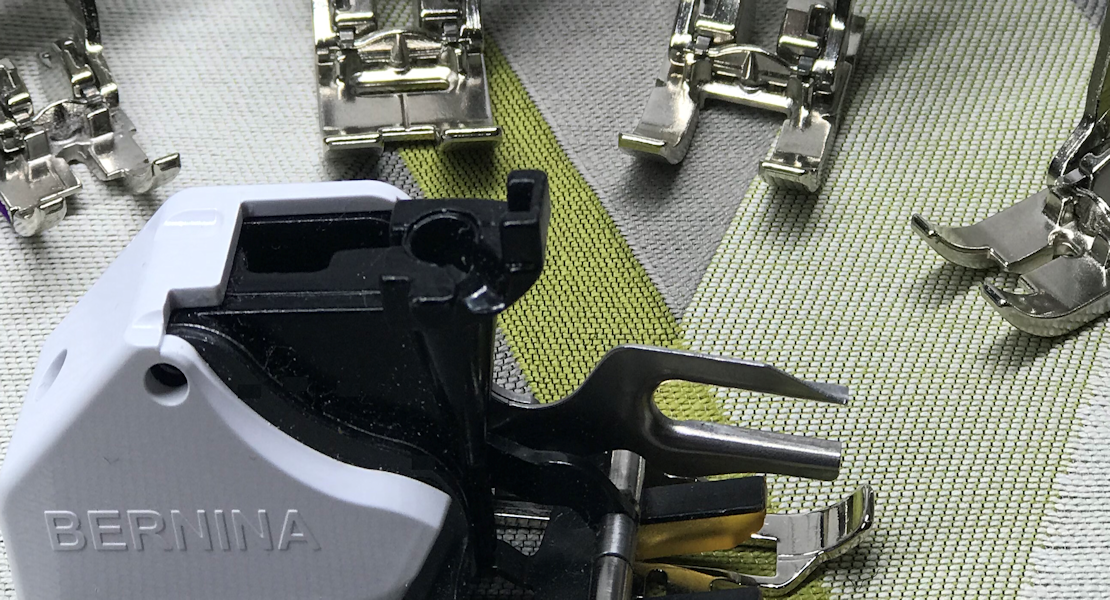
Using the screwdriver in the Walking foot #50 kit, attach the sole with a central guide (check the booklet in the box for more on changing the soles). This sole features a closed area around the needle.
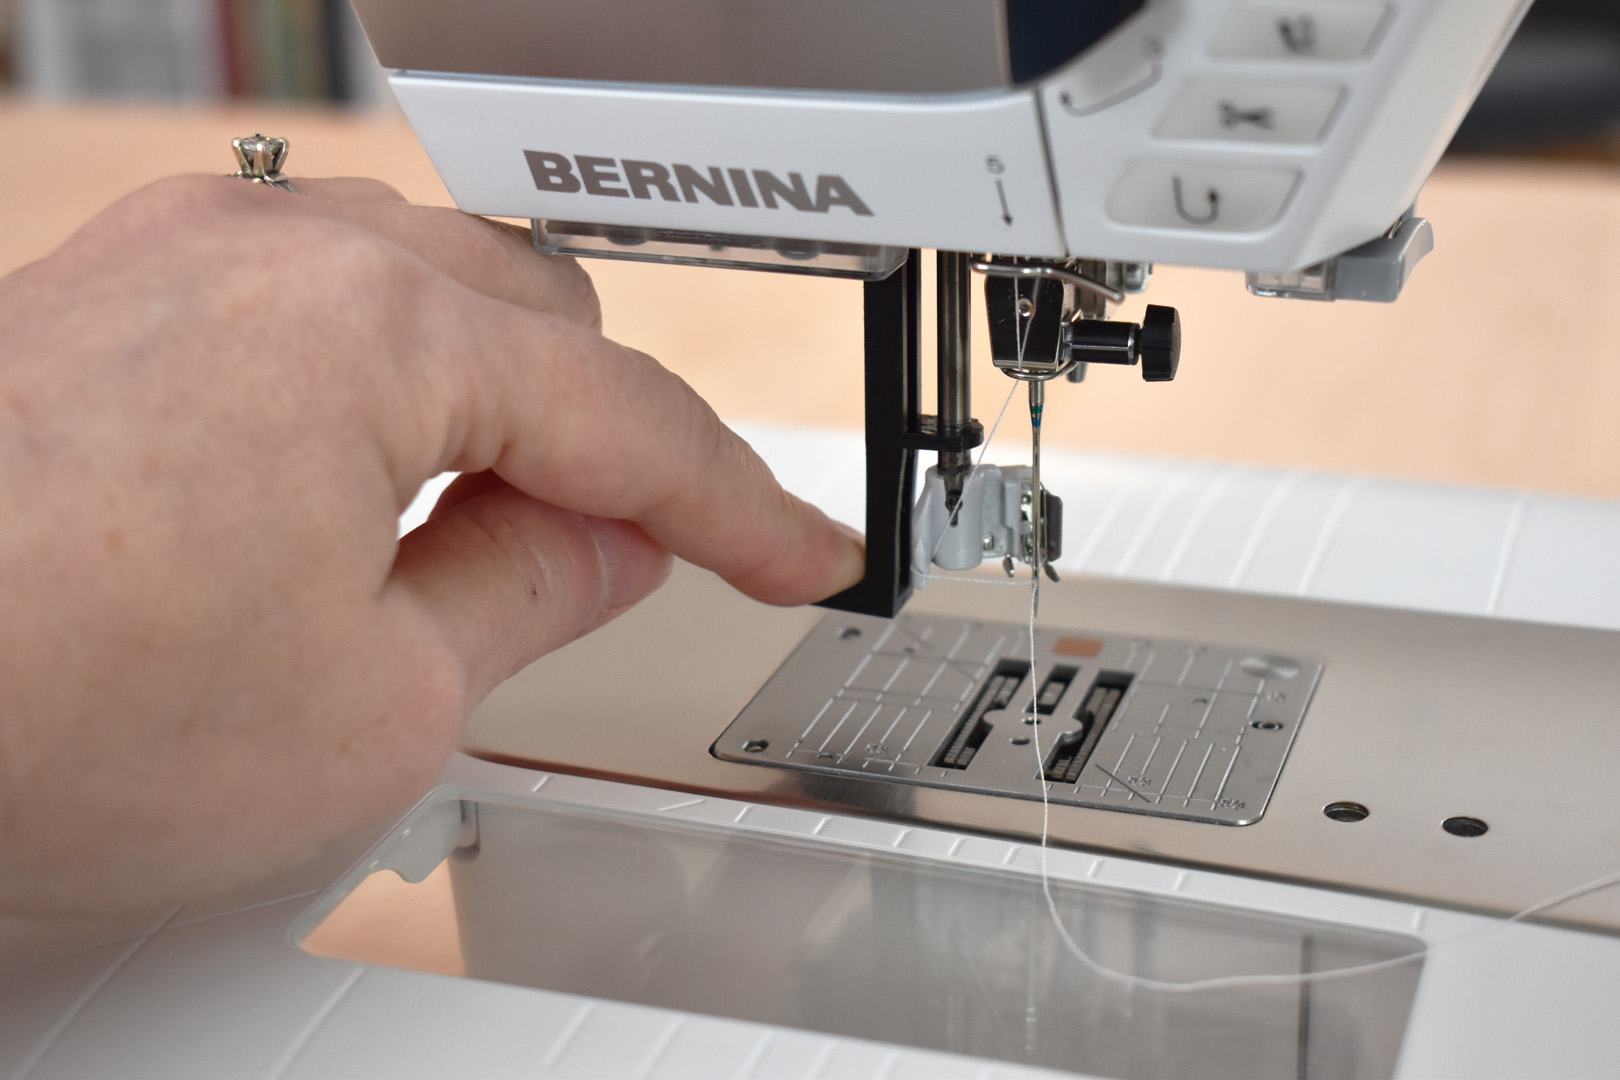
Slide the needle opening up over the needle and pull the thread through the opening.
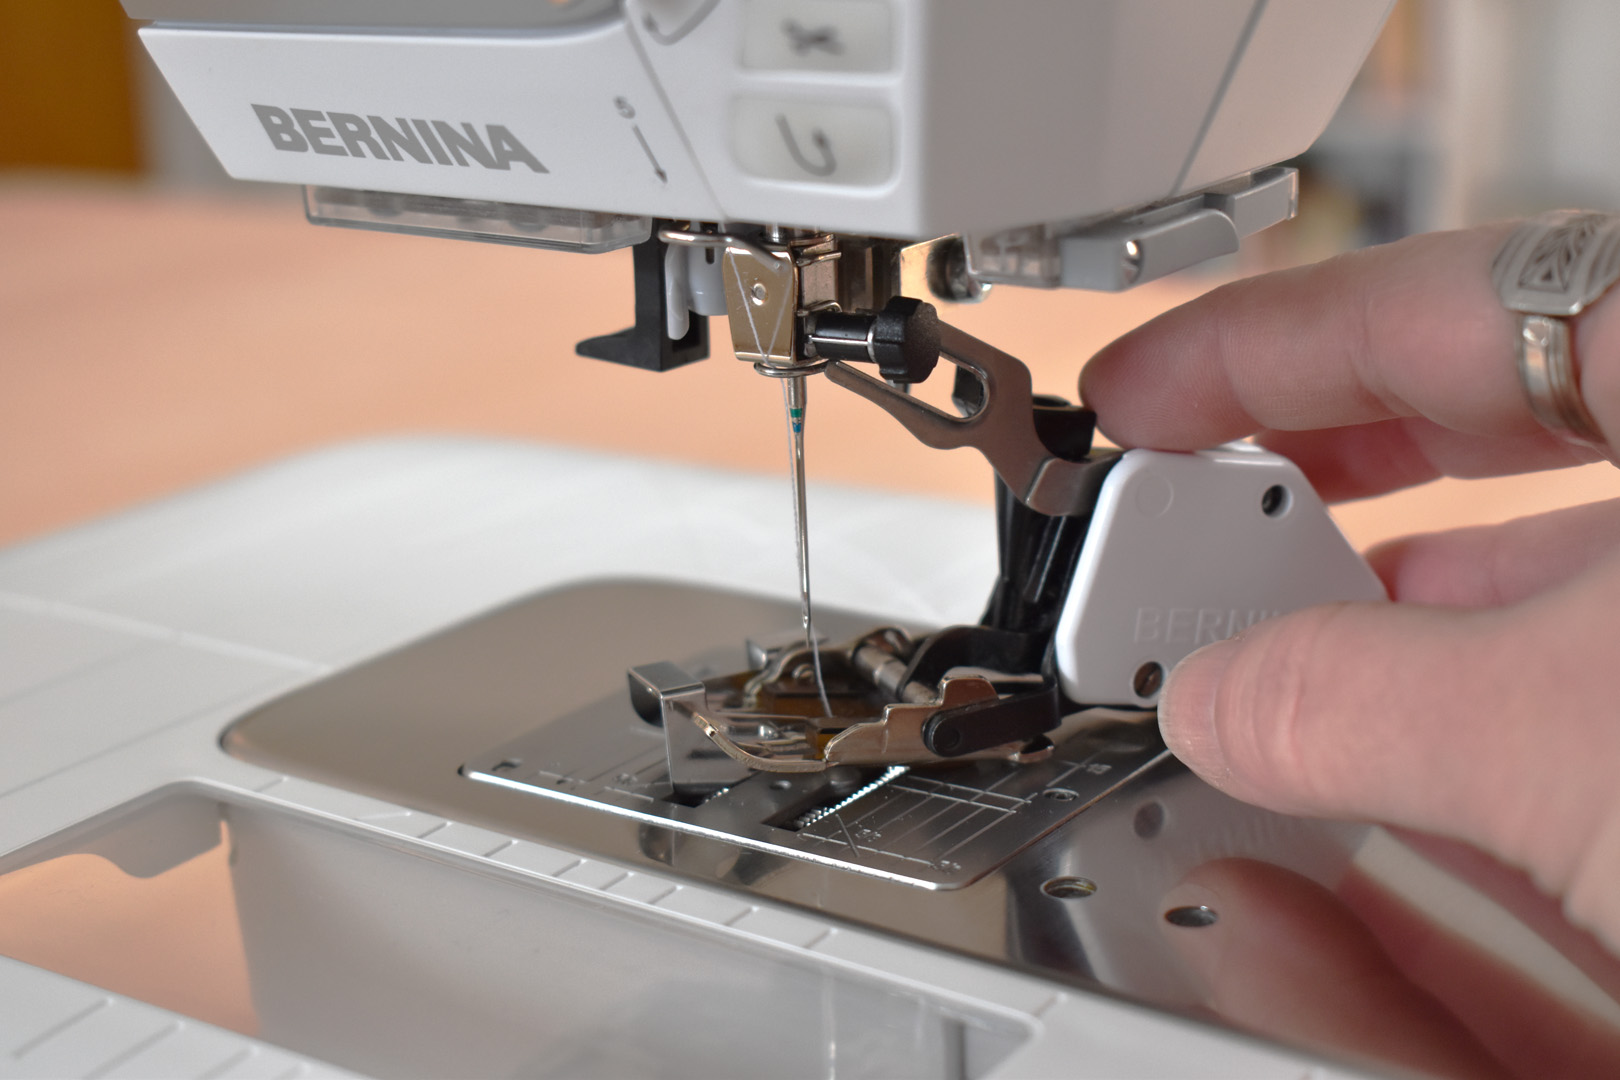
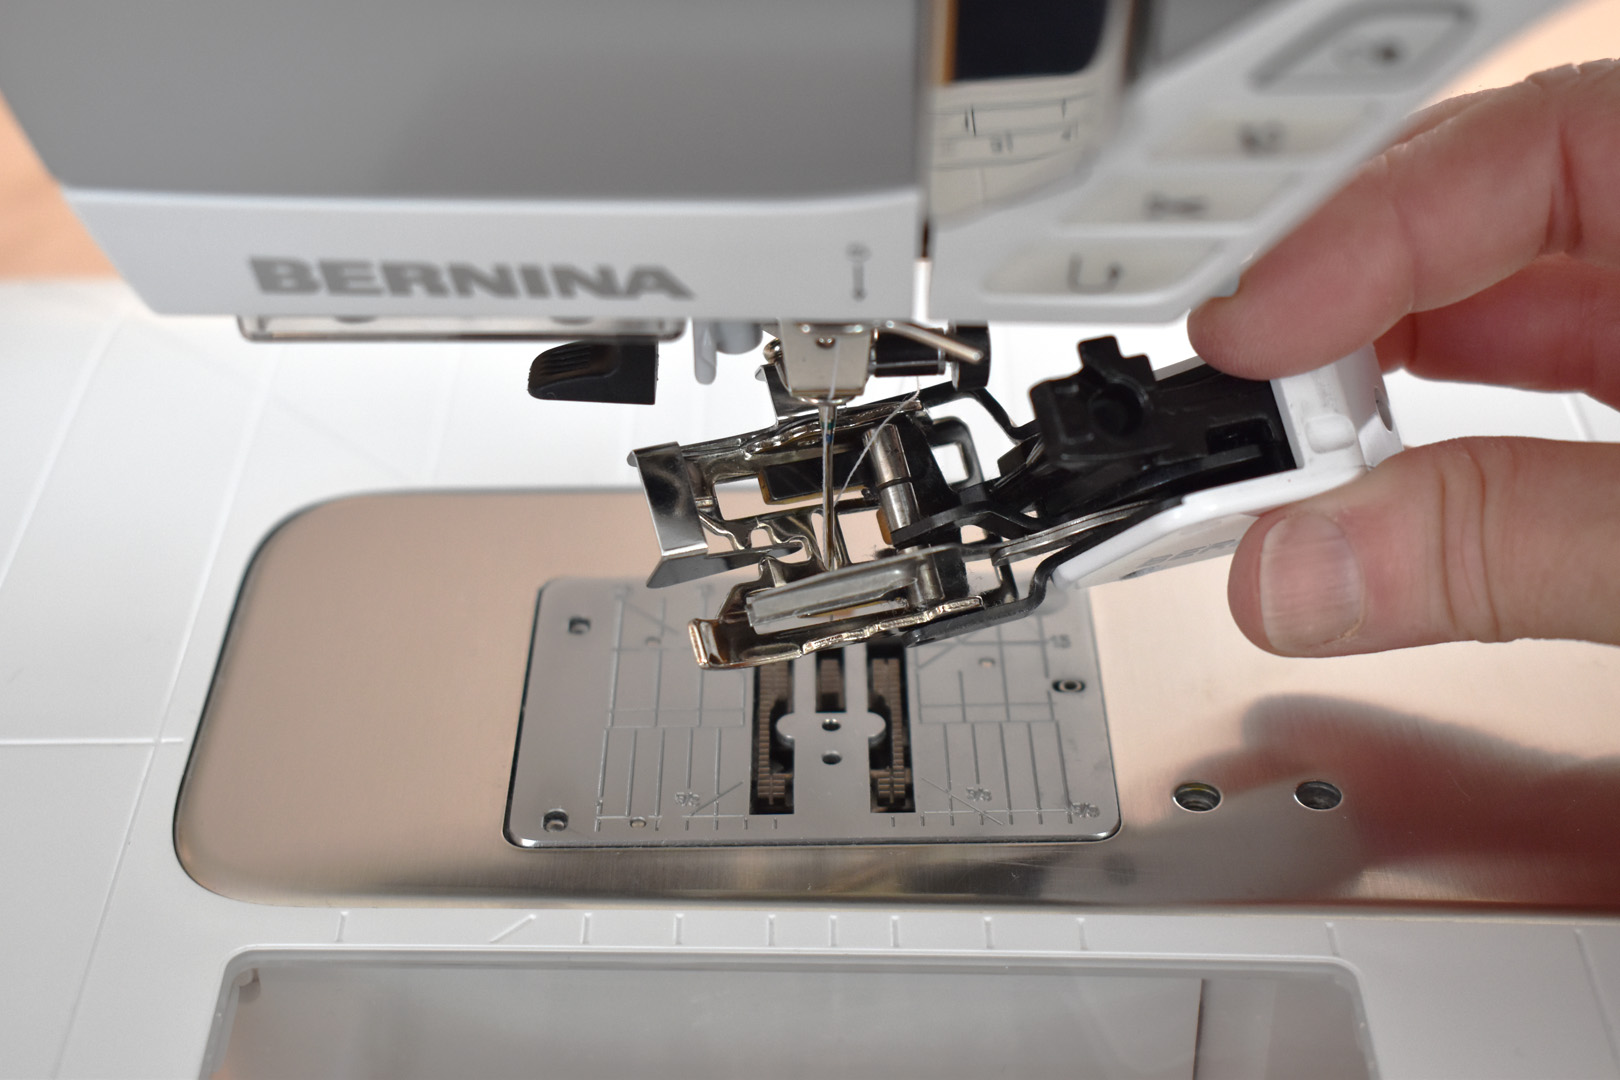
Position the fork on the Walking foot #50 over the needle bar from the side.
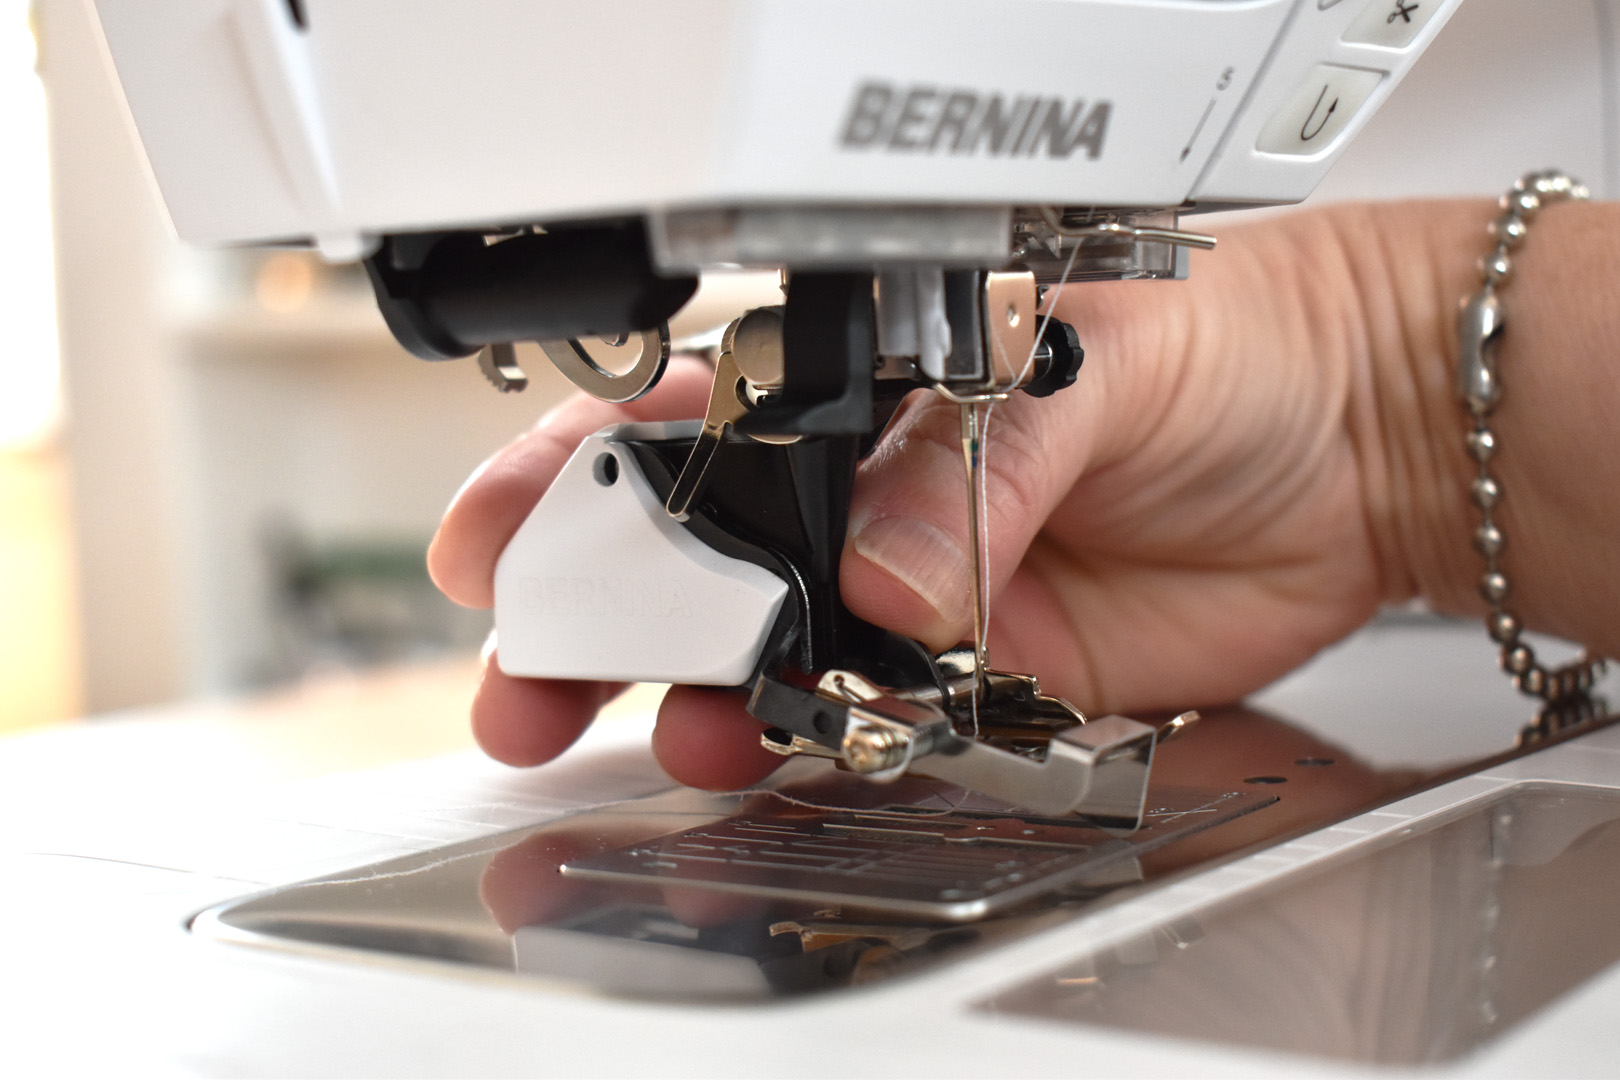
Then slide the foot under the machine and attach with the lever.
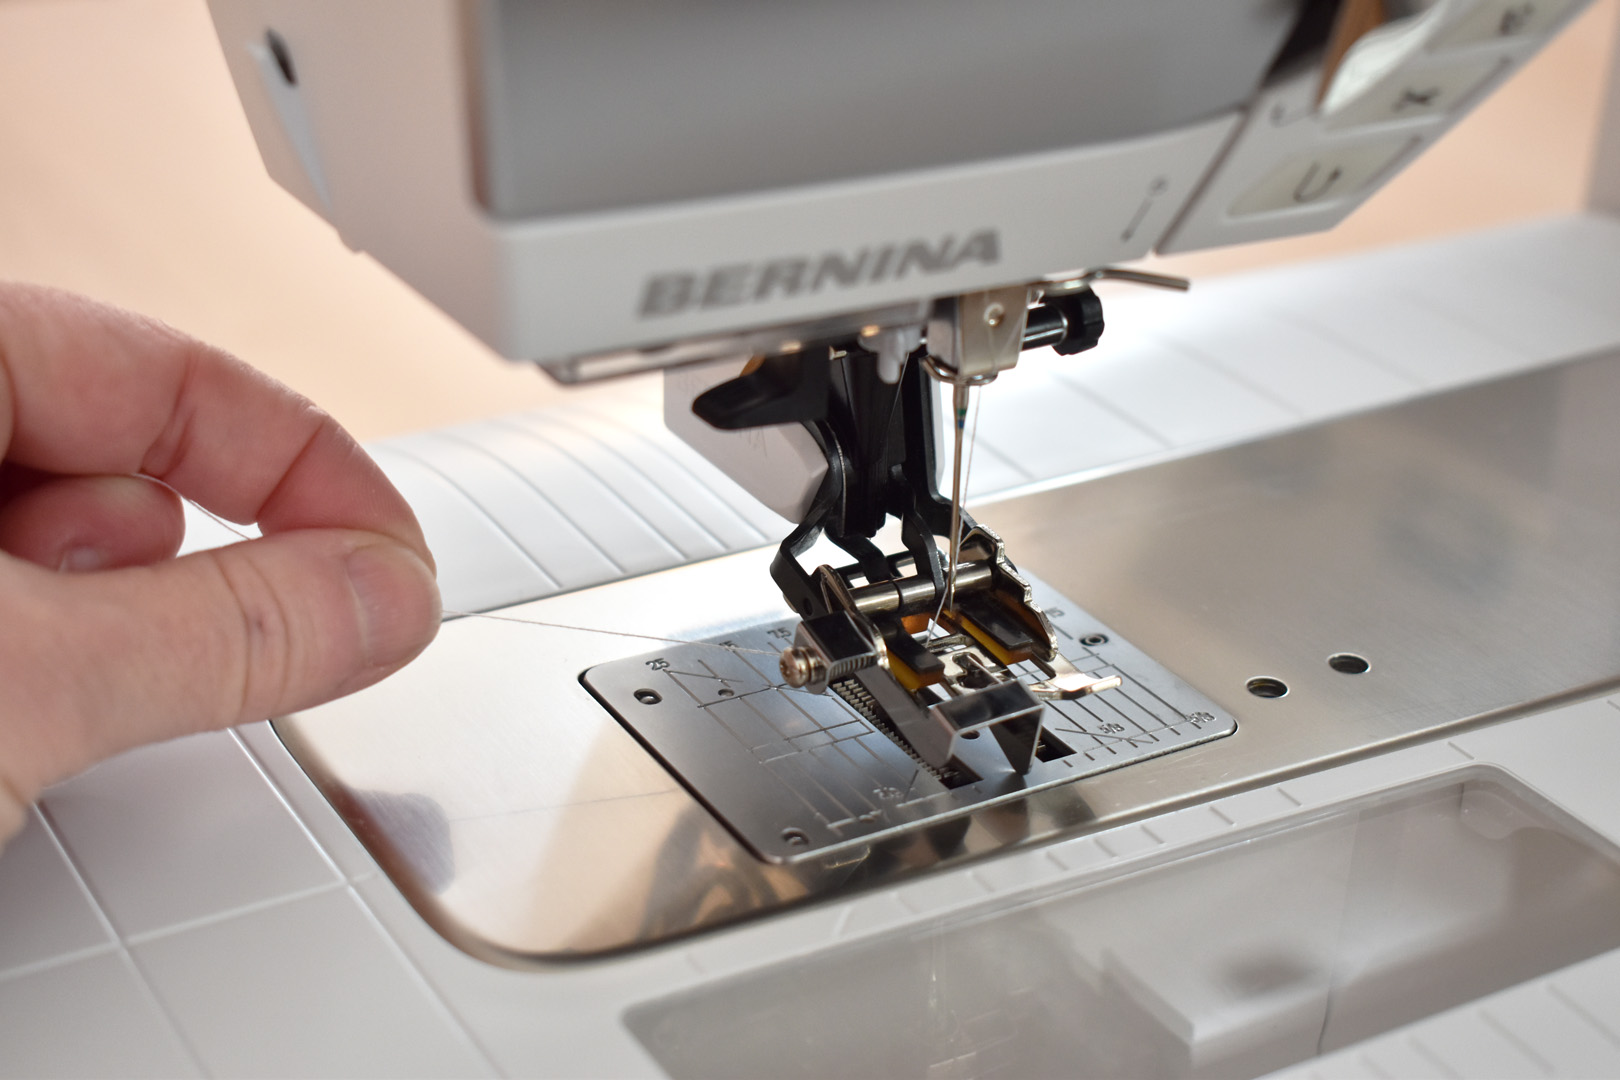
Pull the top thread clear of the foot.

Remember to re-engage the feed dogs before turning on your machine! Now you are ready for some stitch in the ditch quilting.
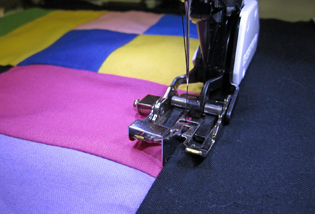
Stitch in the Ditch Quilting with Walking Foot #50
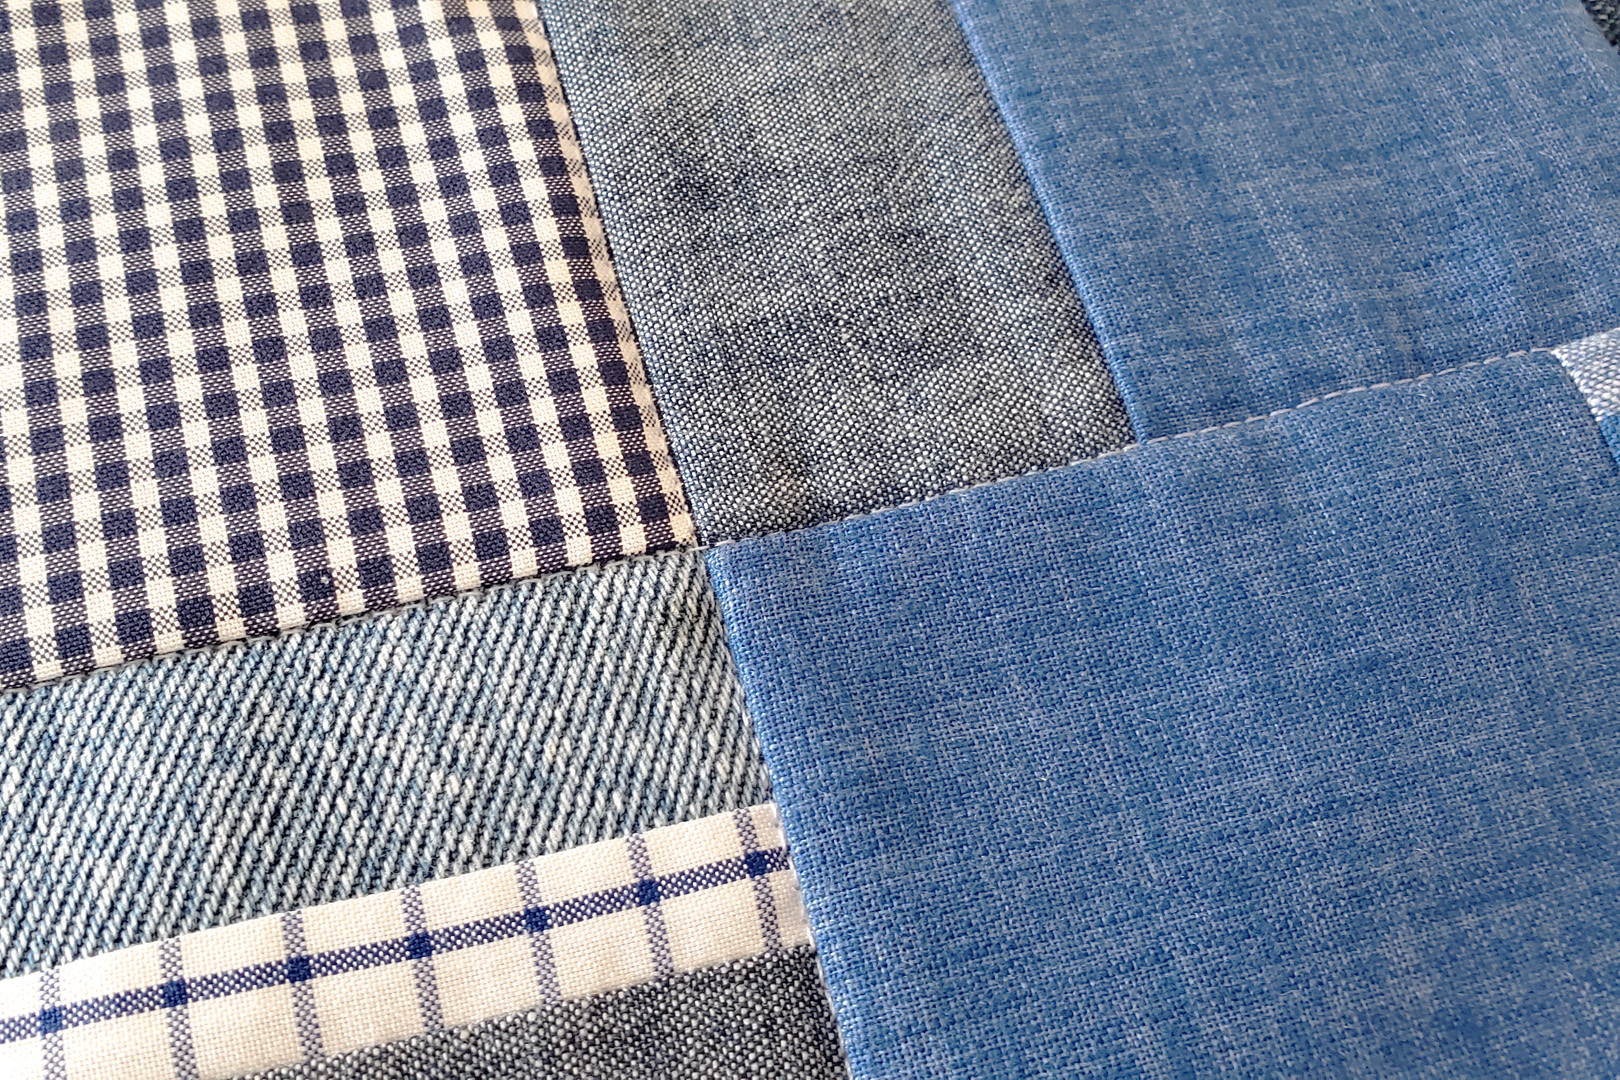
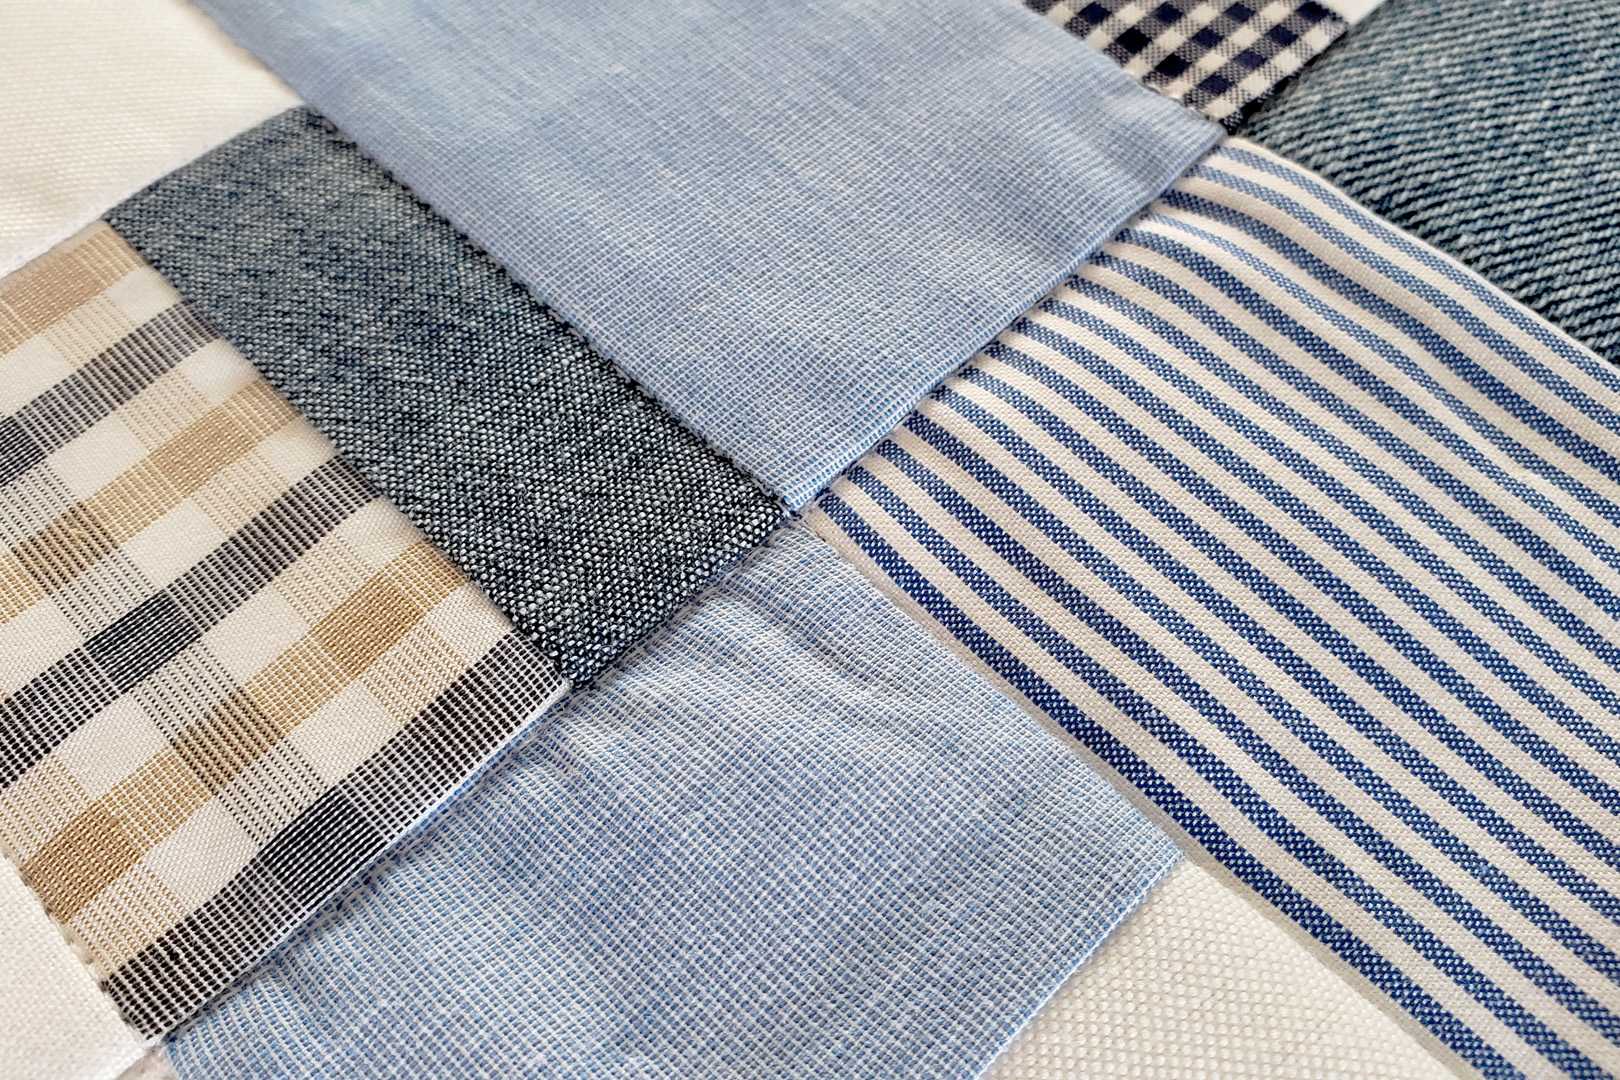
The ditch you are stitching in will vary depending on how you have prepared the patchwork seams. Seams pressed open to create a central ditch, while seams pressed to one side create a slightly lower ditch opposite the side where the seam allowance has been pressed.
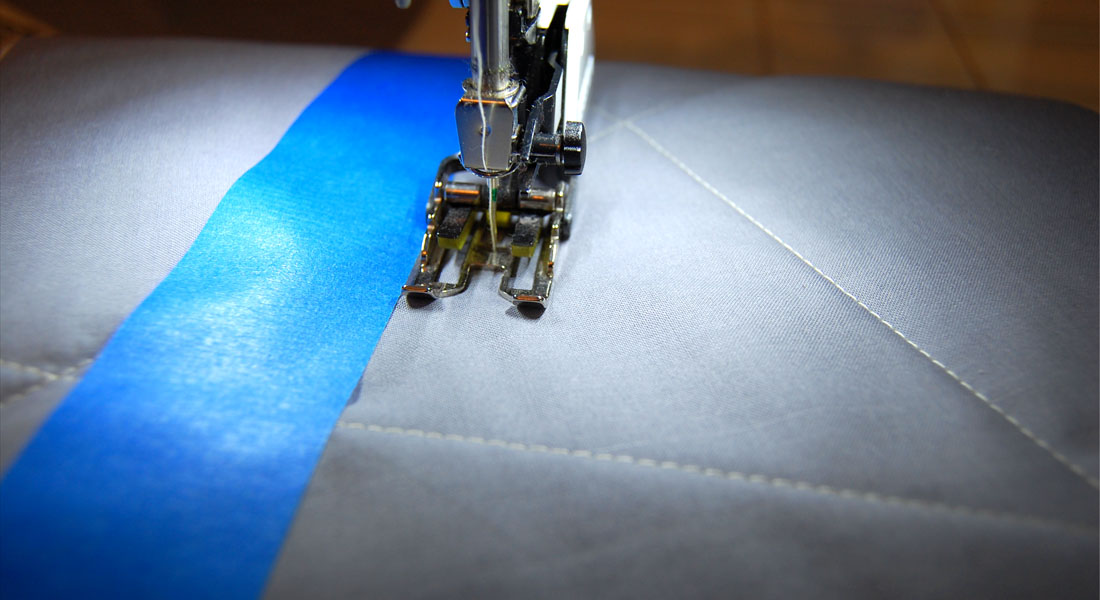
For best results with this foot, guide the quilt gently with your hands as you sew so that the guide aligns with the patchwork seam. For seams pressed open, the guide will naturally fall in the center of the ditch.
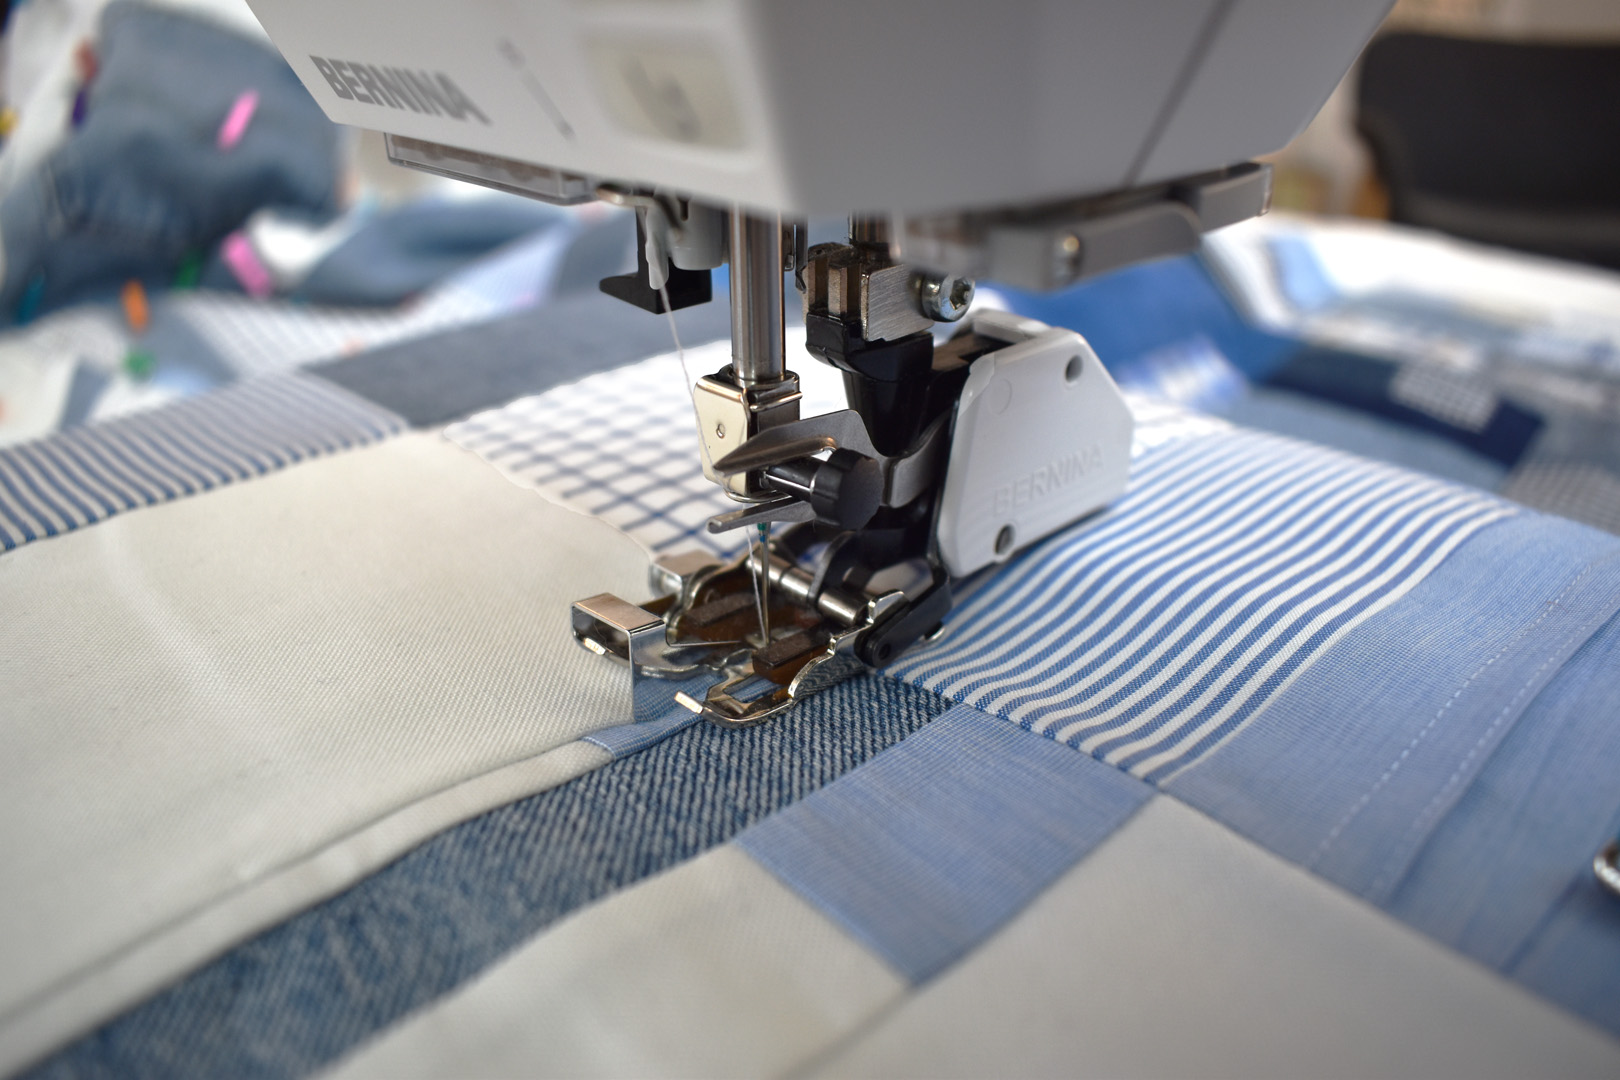
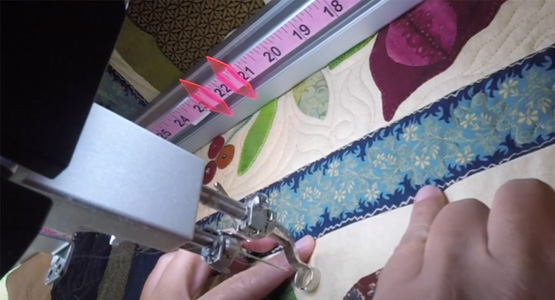
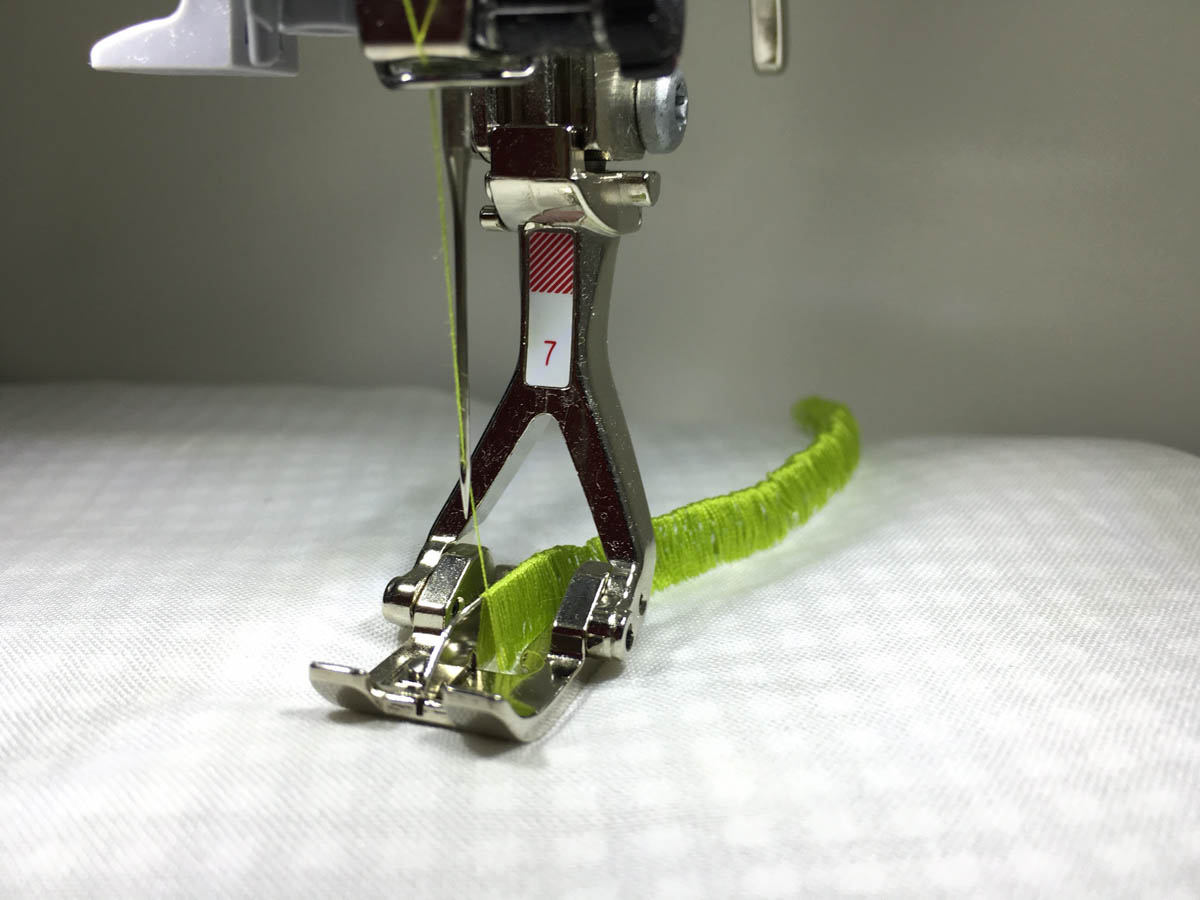
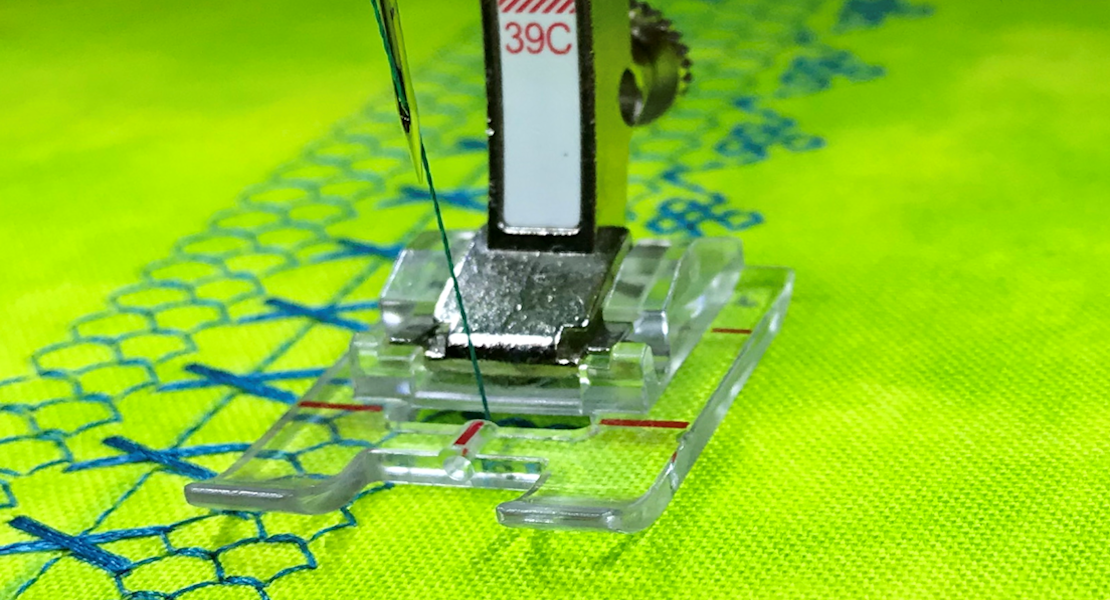
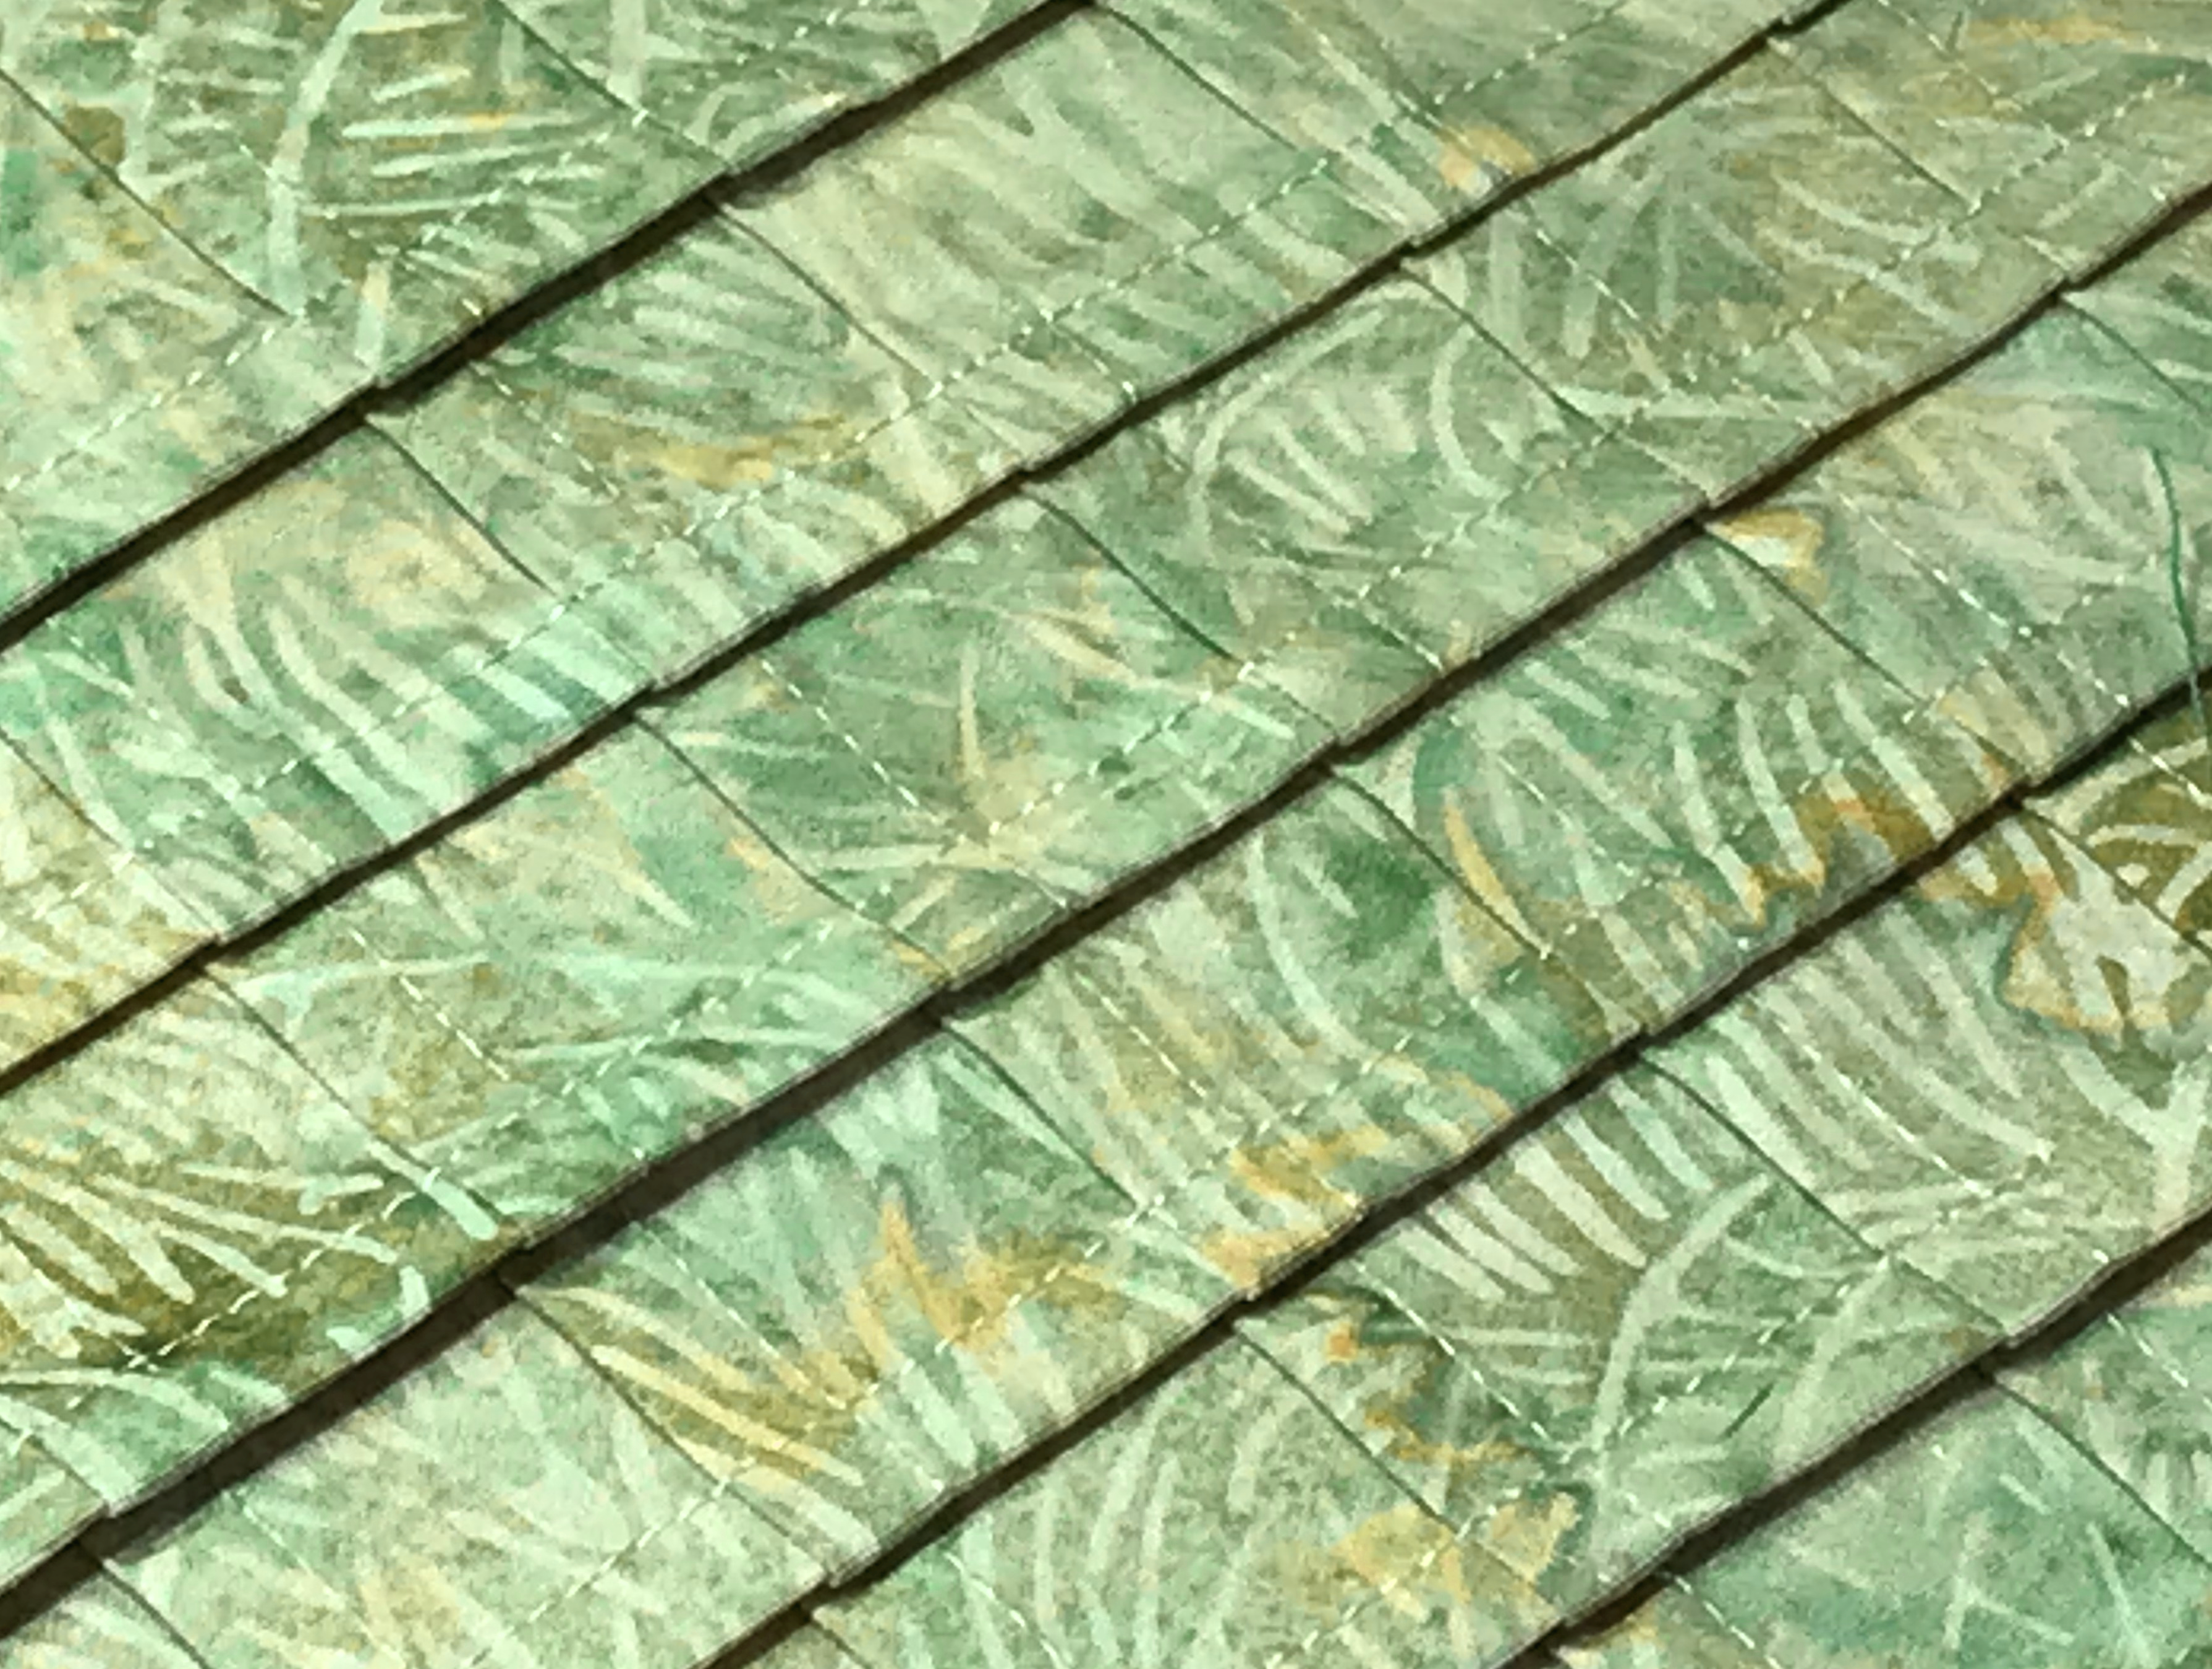
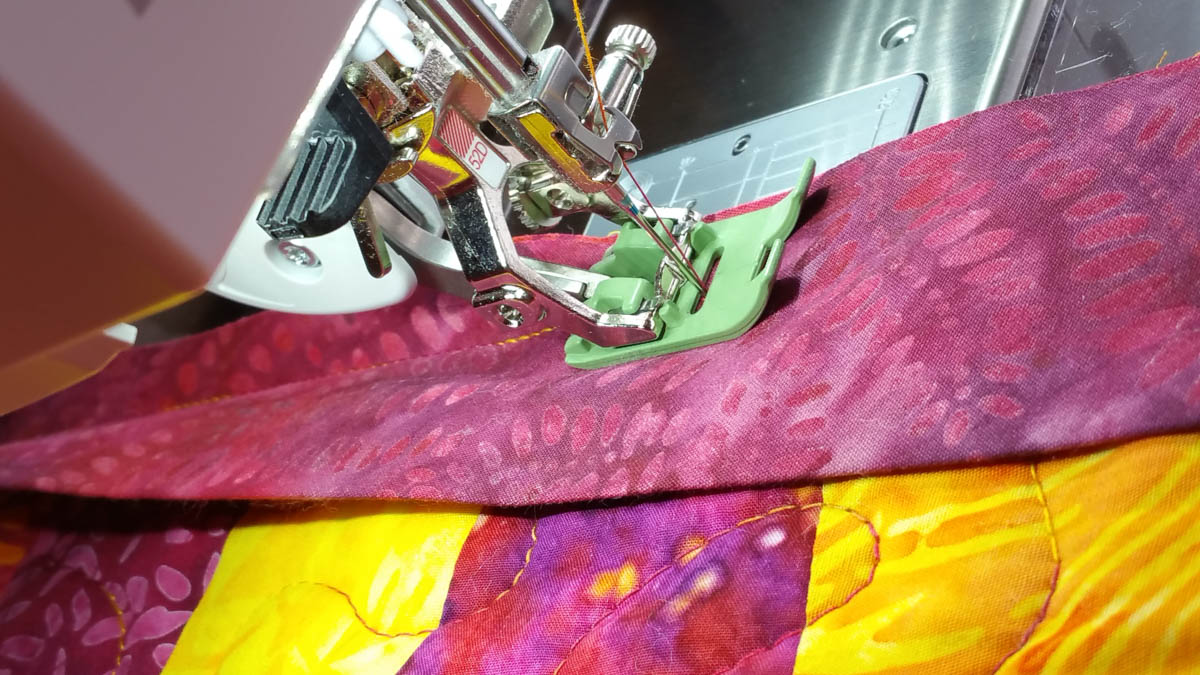
My seams are pressed to one side or the other on this quilt. The blade will naturally want to follow along the lower side of the ditch or the edge opposite where the seam lays. In the photo above, the seam has been pressed to the left side of the seam, and the blade naturally falls just to the right side of this seam where the ditch is lower.

If your seams are pressed in different directions along your seam, the blade will want to follow along the lowest edge. In this case, be sure to slow down when crossing over and keep the blade as centered over the seam as possible. Watch the video below to see how this looks while sewing.
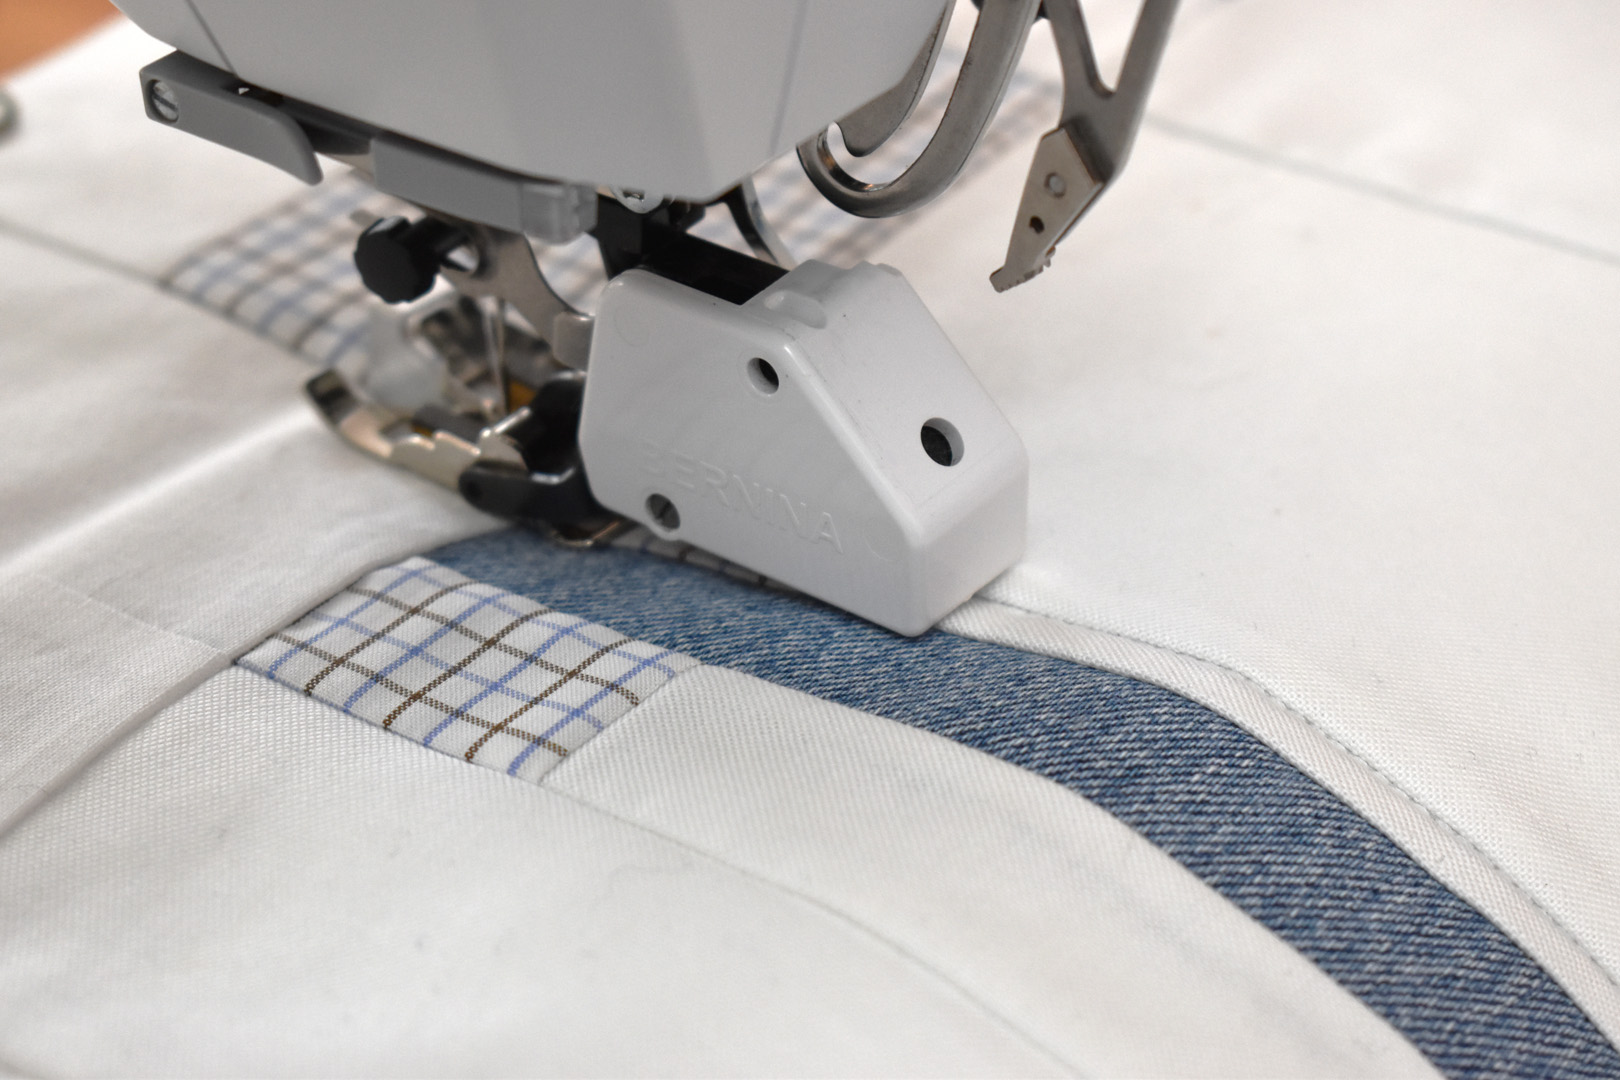
Using the sole with central guide on the Walking foot #50 will help make sure the stitches are placed perfectly in the ditch every time!
Used Products


What you might also like


9 comments on “Stitch in the Ditch with BERNINA Walking foot #50”
-
-
Same here.
-
-
Hi – just a note to remember. When attaching your walking foot, be SURE to tighten it all the way using the lever in the back, and then check it again before sewing. I accidentally did not have mine tightened all the way when I began sewing, and it caused me to lose my machine to the shop for 4 months with massive repairs. The shop owners had to send it back to Germany to figure out exactly how to fix the damage – needless to say, I now triple check that all my feet are firmly attached!
-
OMG- thank you for that tip! Sorry that happened to you.
-
-
It would be helpful to review how to center the foot. There have been several comments on Facebook
. Many people are confused about how to adjust the center blade.-
I agree. For me, the center blade looks crooked, or angled to the diagonal over the seam, when I attempt to stitch in the ditch with this walking foot sole attached. The earlier post about moving the needle a bit also seems necessary, in order to ensure the needle is actually stitching ” in the ditch.” I’ve ripped out more “in the ditch” seams than I care to remember.
-
-
Though I don’t have the stitch-in-the-ditch sole, this video was helpful to me. I never knew to lower the feed dogs and that clever way of getting the needle thread through the sole. Thanks for these tips!
-
I love the #10 foot for stitching in the ditch on garments and will love the walking foot too. I have only tried out the sole on a straight seem as suggested, but do you find that the front of the walking foot s-i-d sole plate obscures your vision when you need to see where to stop the seam? Maybe there’s a marking I haven’t observed. It might be nice it this plate were available in a clear material, at least at the front, the way some other feet are available.
-
Hi @mhwhitaker, and thanks for checking out my tip! I have only used the stitch-in-the-ditch technique with Walking foot #50 and the sole with guide when I’m stitching in seams from edge to edge across the quilt. I’ve never needed to see where to stop under the foot before. It is possible you could leave the needle down in place and raise the presser foot to get a peek at how close you are to your stopping point. Cheers!
-
Leave a Reply
You must be logged in to post a comment.

Helpful. I often find that I have to move the needle over a smidge.