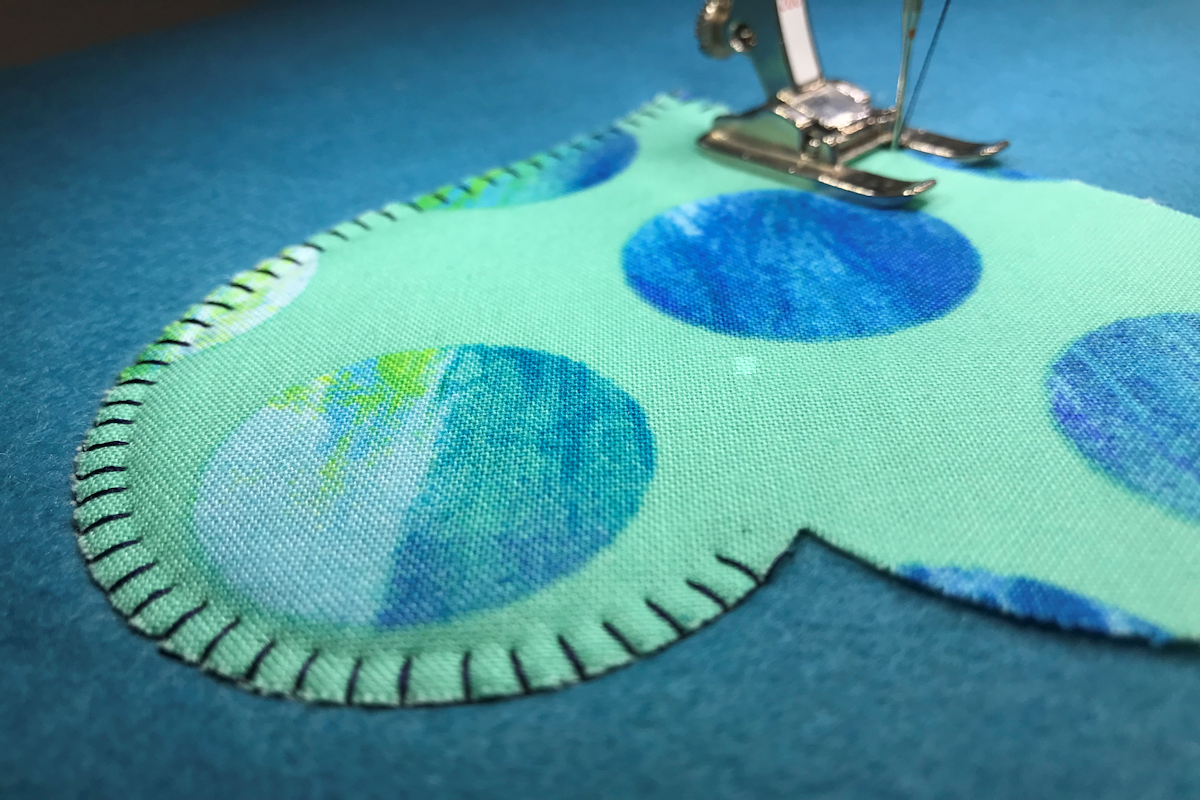
Blanket Stitch Appliqué with BERNINA Open Embroidery Foot #20/20C/20D
Most sewing machines have a blanket stitch (sometimes called the buttonhole stitch) and it is a favorite choice for appliqué, especially if you want a hand-stitched or primitive look. It’s faster than other types of appliqué because of the openness of the stitch. With the help of the right presser foot, it’s easy to place the stitch exactly on the edge of the appliqué shape. So, in this post, I want to show you the ins and outs of blanket stitch appliqué with Open Embroidery Foot #20/20C/20D
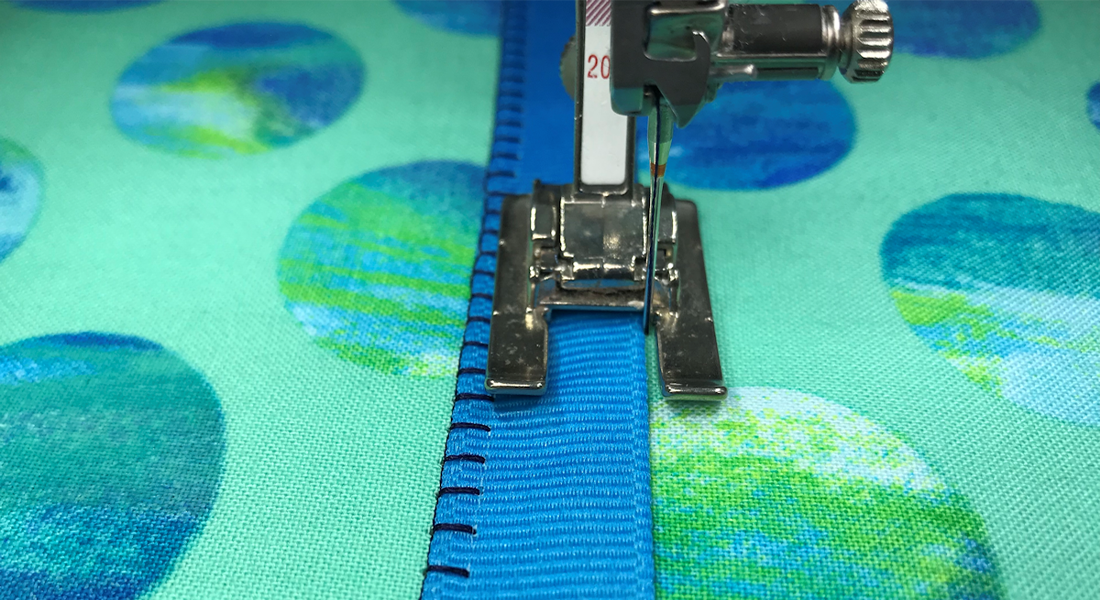
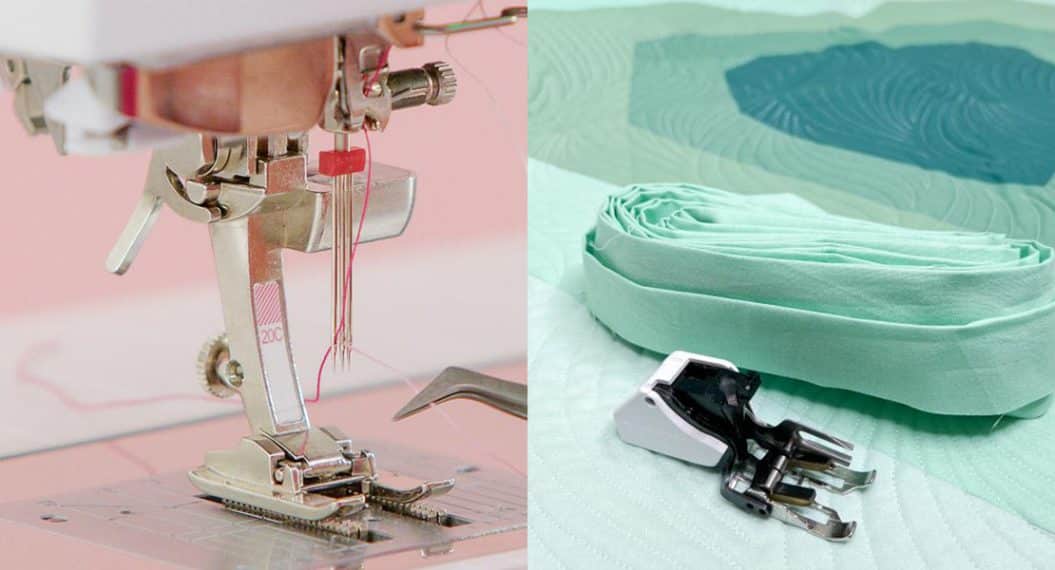
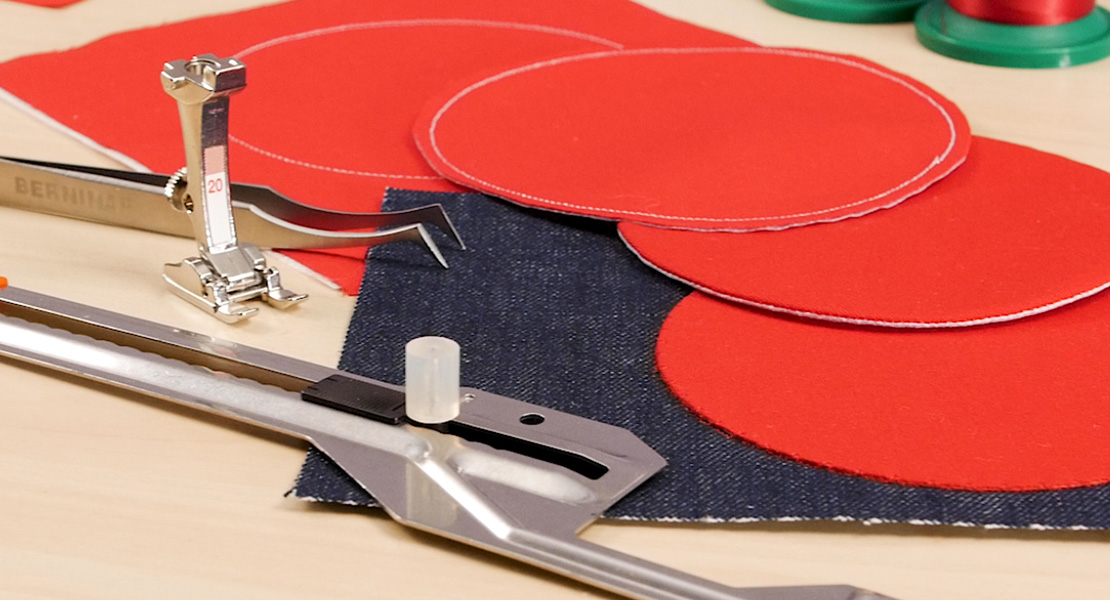
Open Embroidery Foot #20/20C/20D
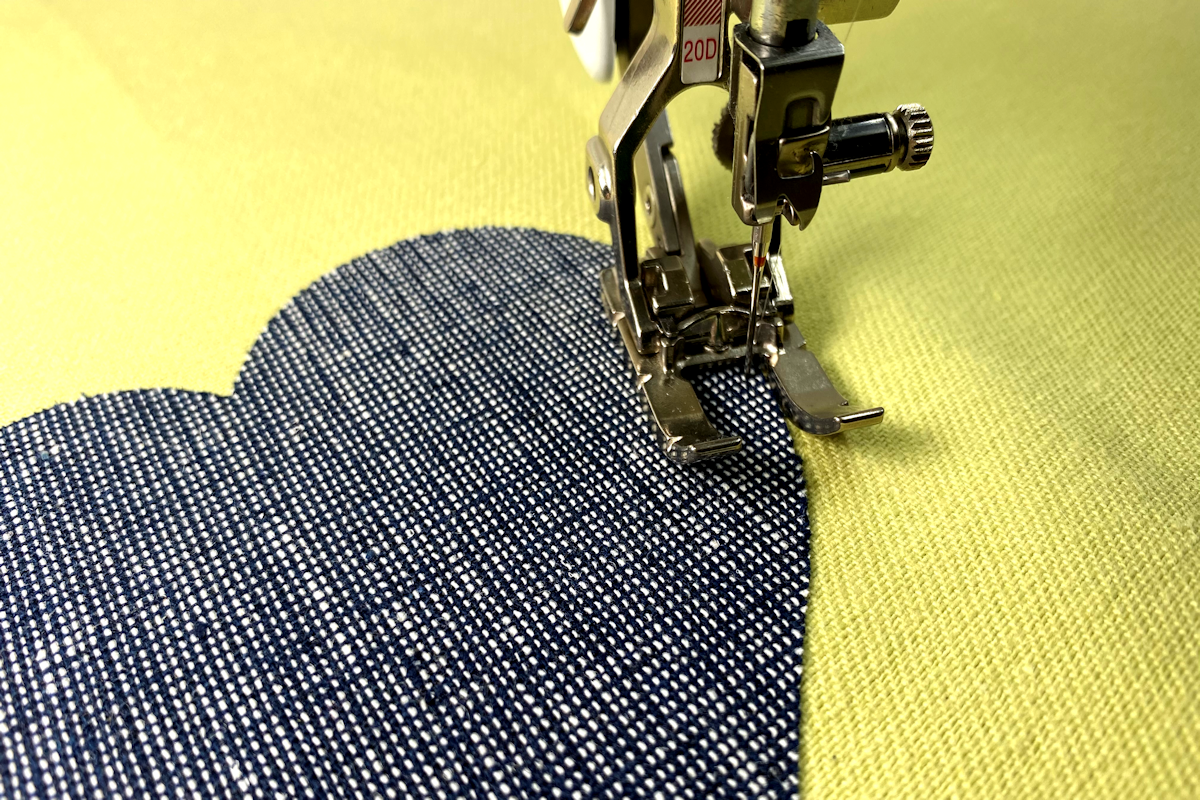
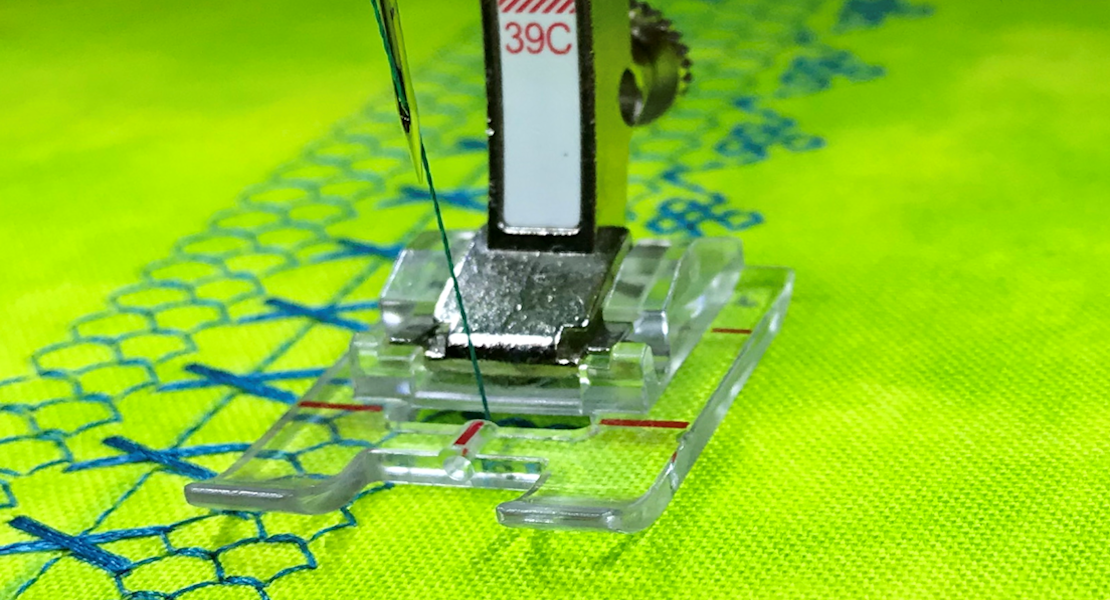
The presser foot I use for blanket stitching is Open Embroidery Foot #20/20C/20D. The open area between the toes lets you see exactly what the needle is doing. When you add an adjusted needle position, you can use the foot as a guide for perfect stitch placement. When the needle is adjusted to the far right, you can guide the edge you’re following along the inside edge of the right toe and the stitch is perfectly placed. If you adjust the needle to the far left, you guide along the inside edge of the left toe. 
Machine Setup
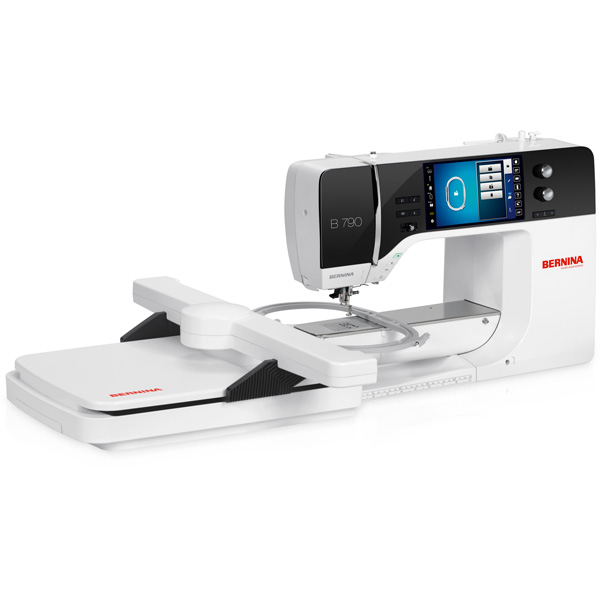
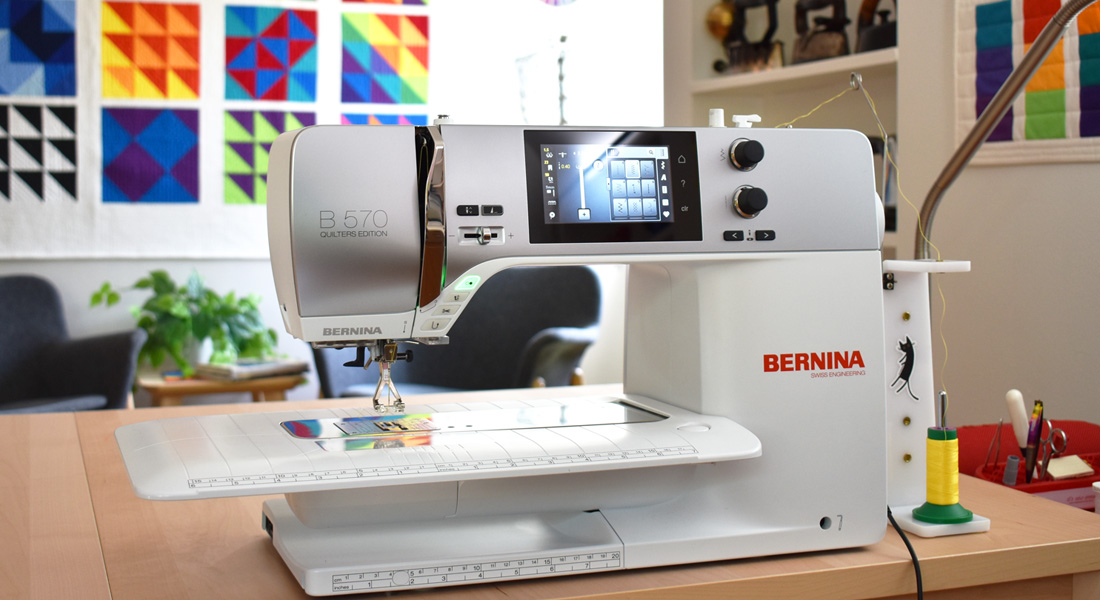
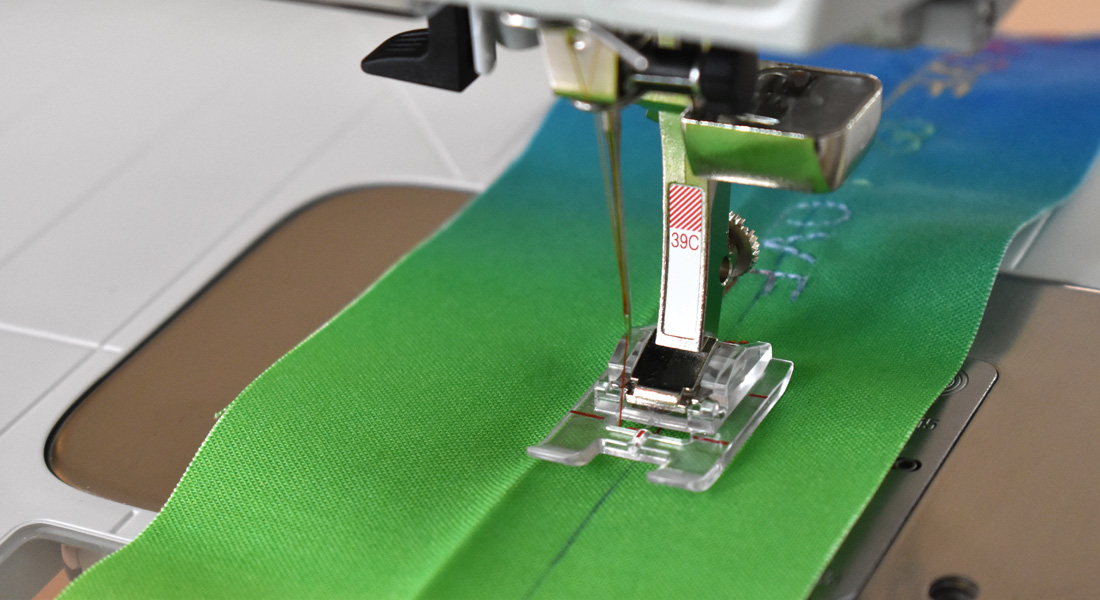
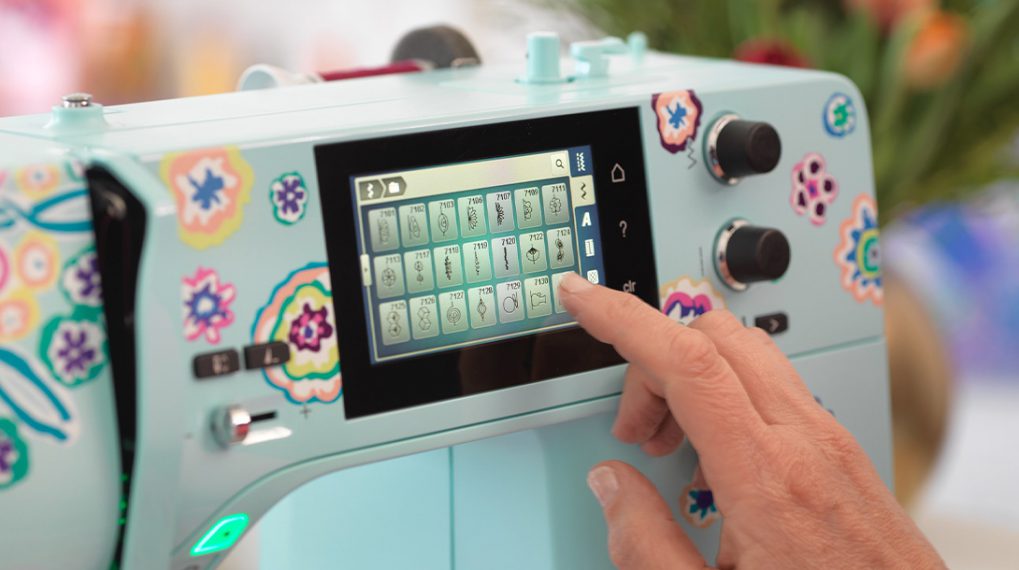
Use the same color thread in the needle and bobbin. Select the blanket stitch from the Quilting menu and engage the Needle Down feature. I sew blanket stitch appliqué on my B 790 but this technique can be stitched on any model that has the blanket stitch. Fuse appliqué shapes to a background fabric and use stabilizer behind the fabric for the best stitching results. Place the fabric under the foot and align the edge of the appliqué or ribbon with the inside of the toe.

The Power of Pivoting
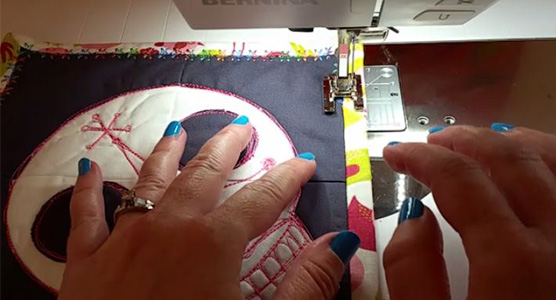
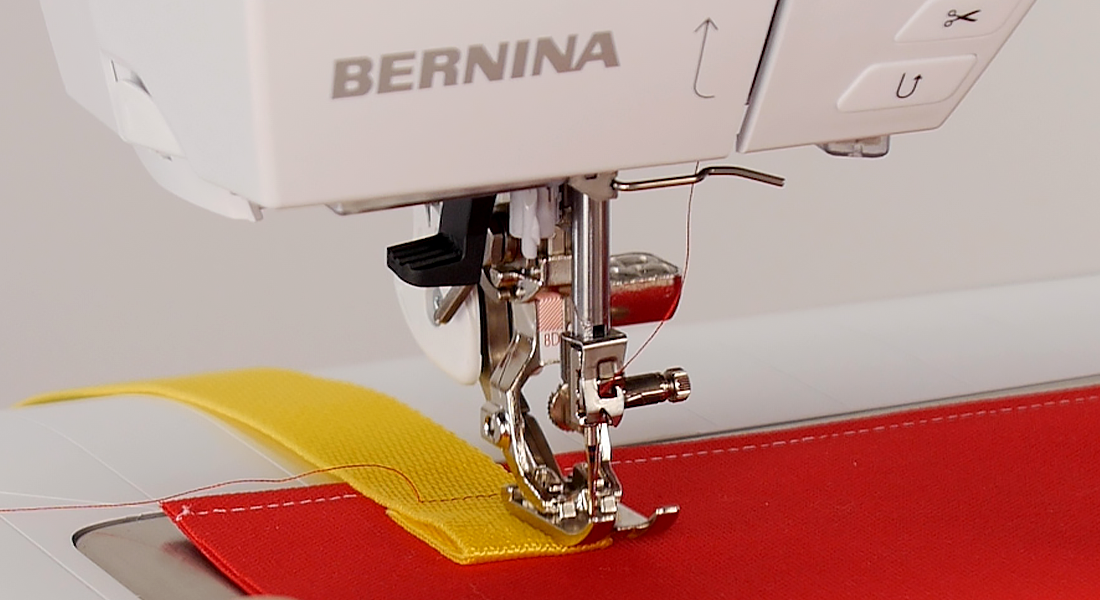
When stitching with the blanket stitch, you are usually following an edge – stitching around an appliqué shape, along the edge of a ribbon, or securing binding. You want the vertical part of the blanket stitch to be just outside of the edge while the horizontal part of the stitch falls on the appliqué, ribbon or binding. Pivoting is important for both corners and curves.
Corners : Stitching a corner with the blanket stitch is a lot like pivoting with a straight stitch, but it takes two pivots to get a 90° turn. Stop with needle in the fabric at the corner; pivot 45° and sew the first part of the stitch. Turn another 45° and continue stitching along the edge of the appliqué or ribbon. For outside corners, pivot with needle in the outside edge and for inside corners, pivot with the needle in the inside edge.
Curves: It may sound counter-intuitive to pivot on curves because we associate pivoting with 90° turns that form corners. But, the best way to stitch a smooth curve is to stop and pivot slightly on a frequent basis; pivots should be made with the needle in the fabric at the outside edge of the curve. Use the Freehand System to barely lift the foot and micro-pivot as needed to follow the curve.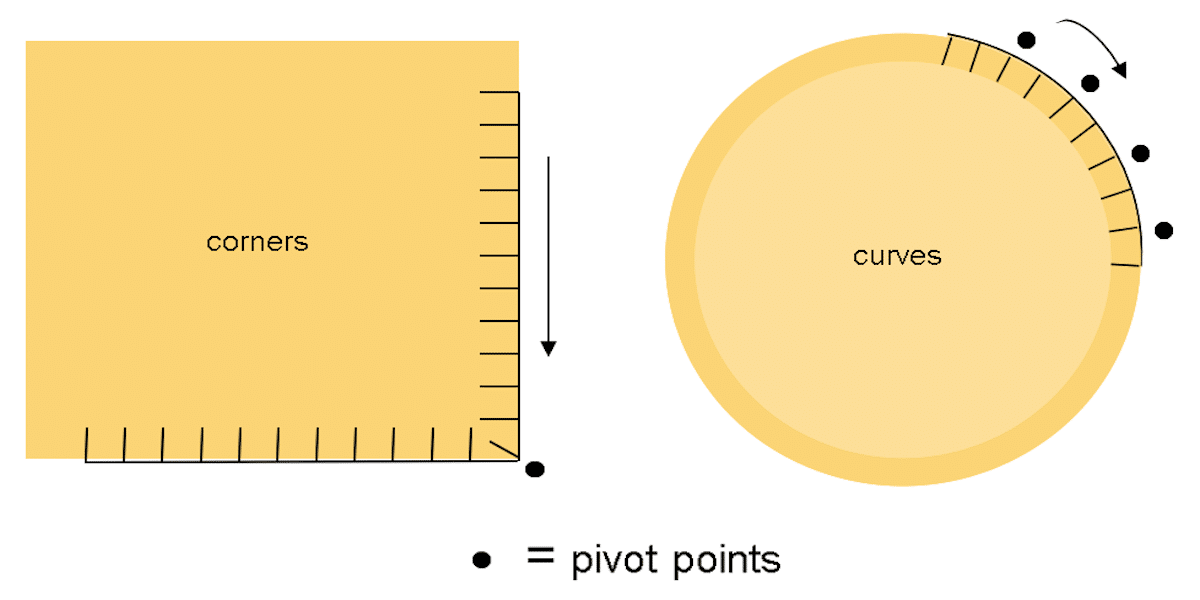
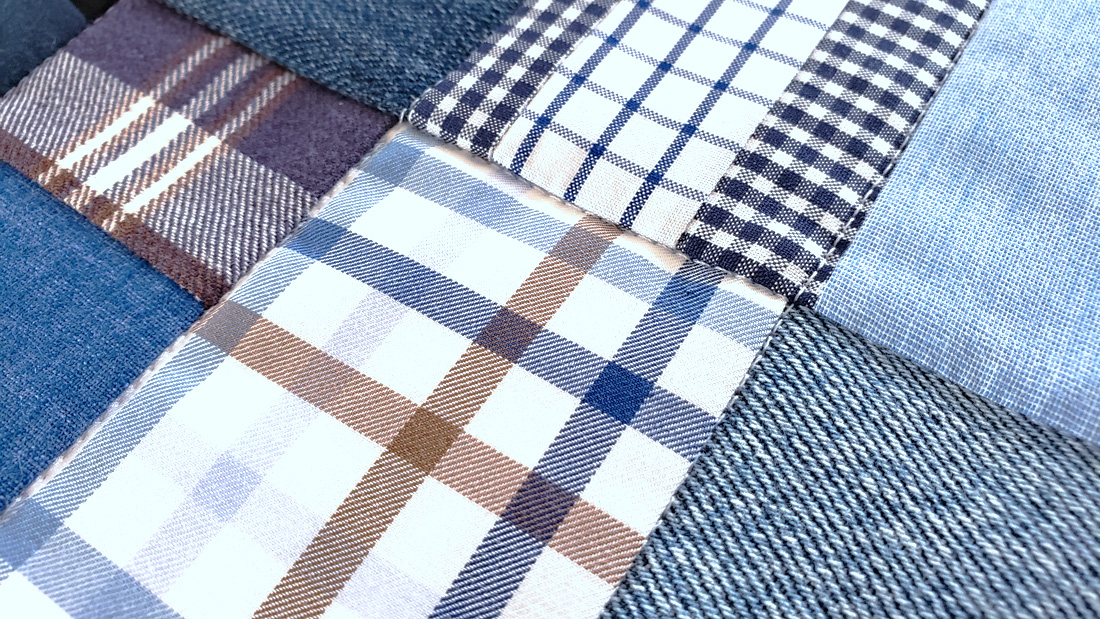
Practice Piece
One of the best ways to practice blanket stitch appliqué is to to cut a heart from fabric and fuse it to a background fabric. Hearts have a combination of curved and straight edges as well as inside and outside points that are similar to corners.
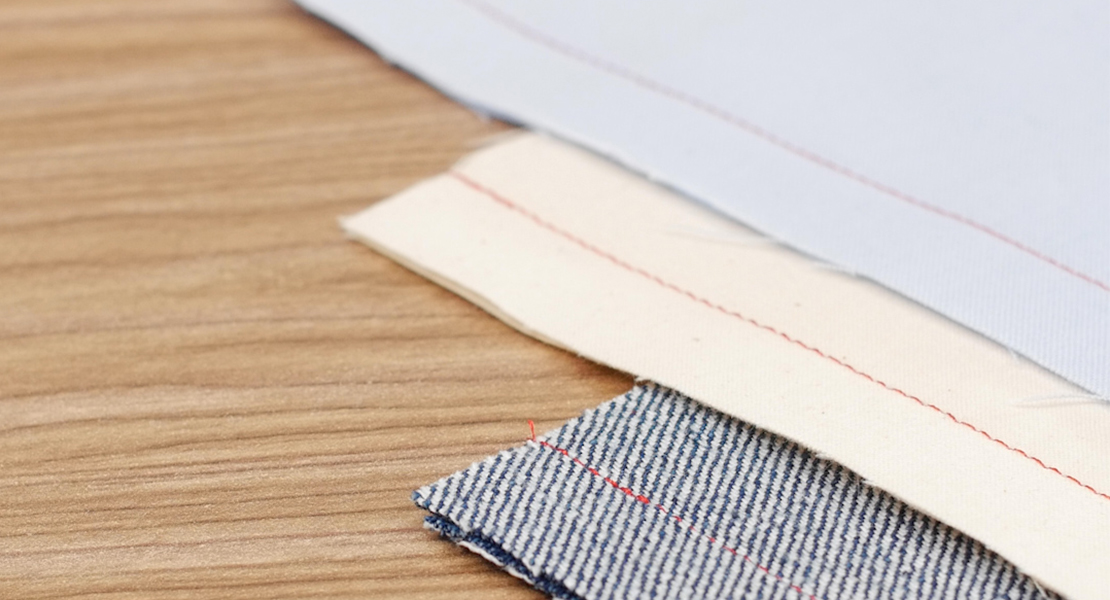
Click here to see how to stitch binding using a blanket stitch.
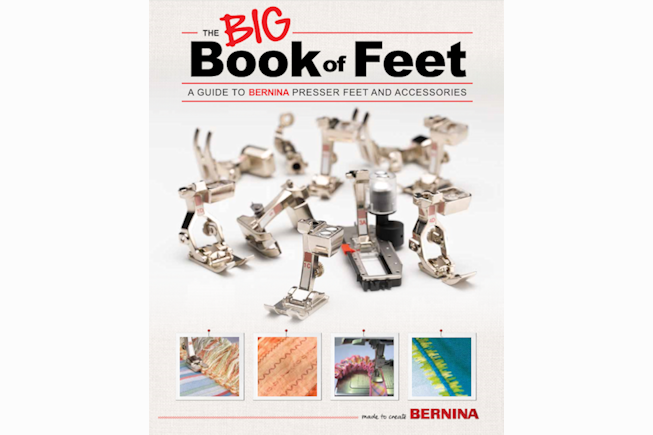
For more techniques using Open Embroidery #20/20C/20D, see the Big Book of Feet at your local BERNINA store.
Used Products


What you might also like


8 comments on “Blanket Stitch Appliqué with BERNINA Open Embroidery Foot #20/20C/20D”
-
-
I am putting together a quilt and trying out the blanket stitch on a scrap before I start. I am using foot 20. What would cause the fabric to pucker? My sewing looks normal with regular straight sewing. I changed the needle. I practiced on the applique project and it puckering also just like the test piece? It is a simple adjust somewhere I could do?
-
-
I have 770 machine. I used my 20D foot to do the blanket stitch applique on my project. Used HeatNBond to fuse item. Had numerous problems with skipped stitches. I purchase this machine earlier this year and took it to my dealer. Repairman ran it for quite awhile on His non fused sample of fabric and never had a problem. Had same issue when I went back home. I assume it was from the fusible product gumming up the needle and causing it to skip stitches. I changed needles to different kinds to try to avoid the issues. I had best luck with titanium needle, but wasn’t 100% better, still skipped some. I also used alcohol wipes to clean needle frequently.
I would appreciate your insight on this issue.
Thank You
Sharon Root-
Hi! I found I have a lot of problems with Heat N Bond. I switched to using Steam A Seam Light. Love it❣️ Appliqué is my favorite technique & I have had no trouble since switching. Happy quilting ?✂️
-
-
What kind of thread are you using? Is the needle size right for the size of the thread? I have found that rayon threads just don’t have the strength to go through something that has been fused. I have done a lot of fusible applique and know that the products used to fuse fabric are quite different. The lighter the product (Misty Fuse) the less likely you will get buildup on your needle. This does happen and I wipe my needle down with silicone quite frequently. You can see the buildup of glue on your needle and I use the silicone to clean my needle as well. It really helps keep the buildup of glue from sticking to your needle. Hope that helps.
Bev E -
This link misdirects you.. “Click here to see how to stitch binding using a blanket stitch”
-
Please post the link for the blanket stitch. The link is wrong.
-
The correct link for the Blanket Stitch Tip for Binding page is:
https://weallsew.com/blanket-stitch-tip-binding/
Leave a Reply
You must be logged in to post a comment.

Have used many times.