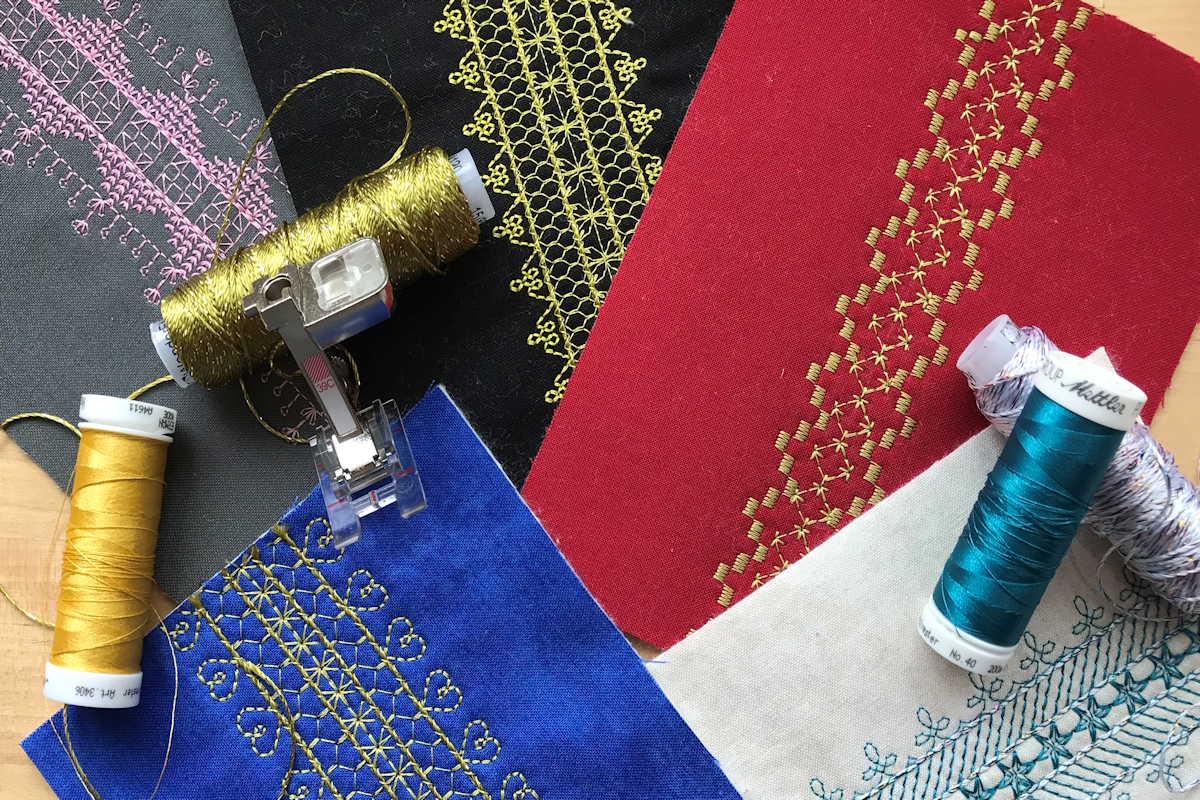
Stitch by Stitch with Clear Embroidery Foot #39/39C
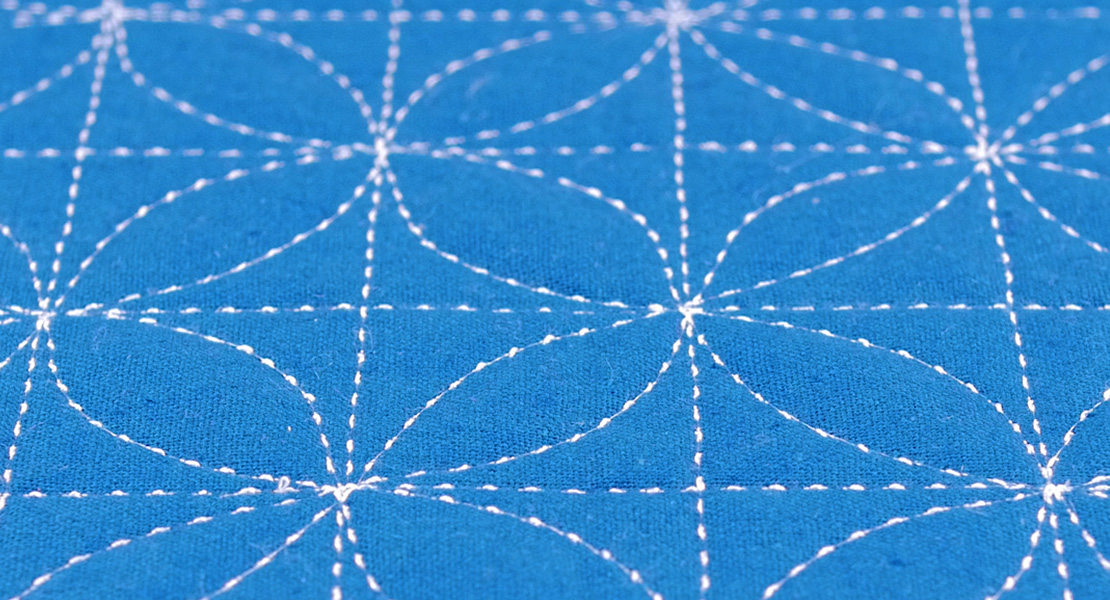
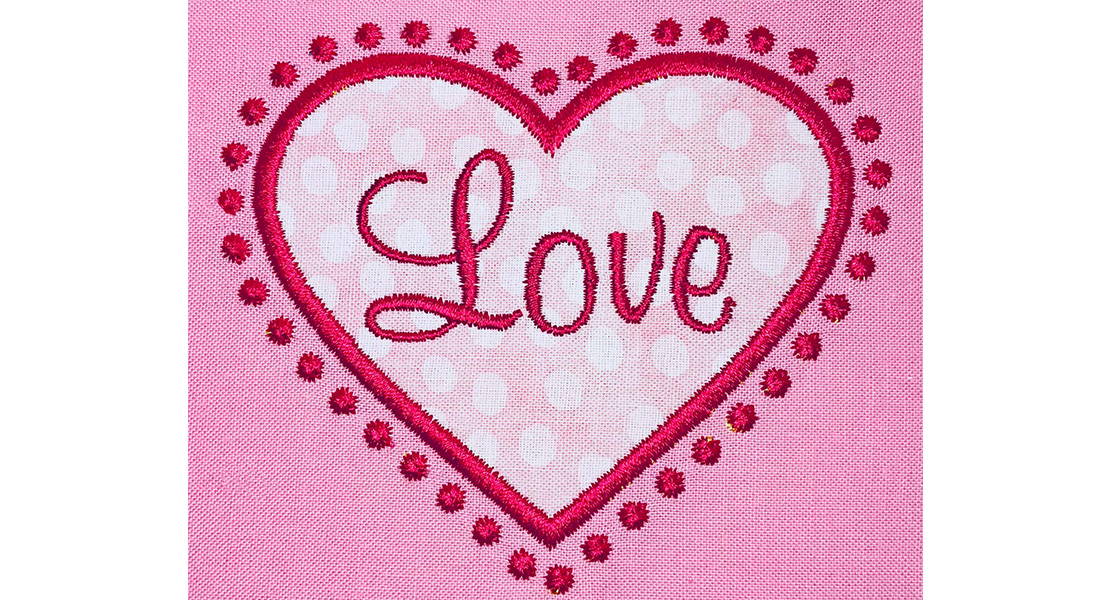
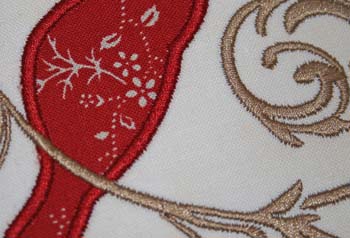
I love stitches! From the plain straight stitch to fancy decorative stitches, I love the look of thread on fabric. Something about a perfect line of topstitching or a band of intricate stitch patterns appeals to me. Today’s sewing machines have loads of stitches (My B 790 PLUS has 1,352!), some for practical purposes and some purely for decoration. This post is about decorative stitches and what you can do with them as you sew, stitch by stitch with Clear Embroidery Foot #39/39C. Fancy bands of stitches can be used in a variety of places – down the front if a blouse, around the hem of a little girl’s skirt, as part of a decorative throw pillow, on the front of a purse or to embellish a quilt border. So, let’s look at some of the mechanics of creating these bands – combining rows of stitches, aligning them perfectly and placing them exactly where you want.
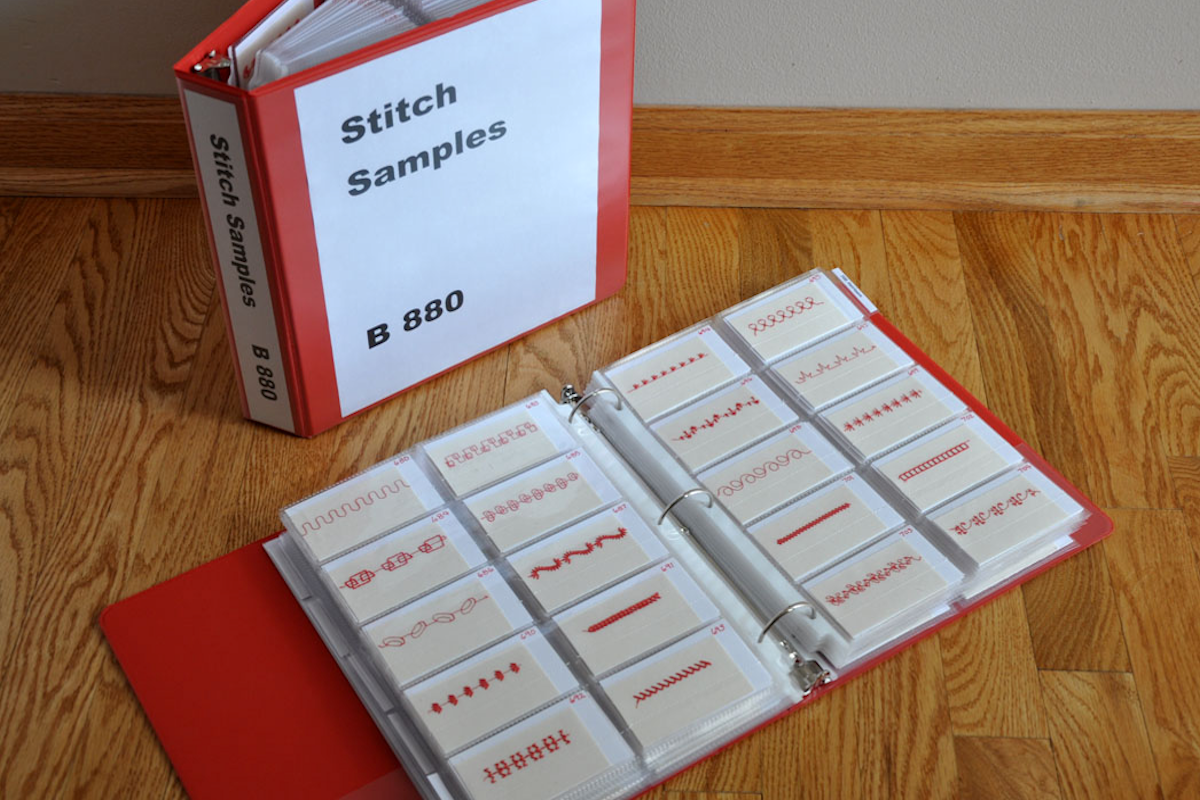
While we’re on the subject of stitches, here are a couple of previous posts about creating a stitch book. We all know the way the stitch looks on your sewing machine screen can be very different than the way it actually sews out on fabric. Even thought it can be a bit time-consuming, making a Stitch Book can save lots of time in the future when you are looking for stitches and trying to decide what is going to work for your project. Click here and here for tips on putting together two types of stitch books that in the long run will help you be creative.
Presser Feet Facts
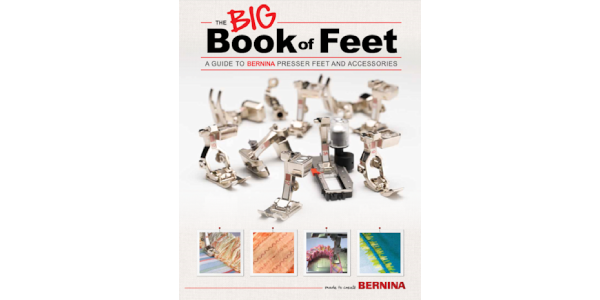
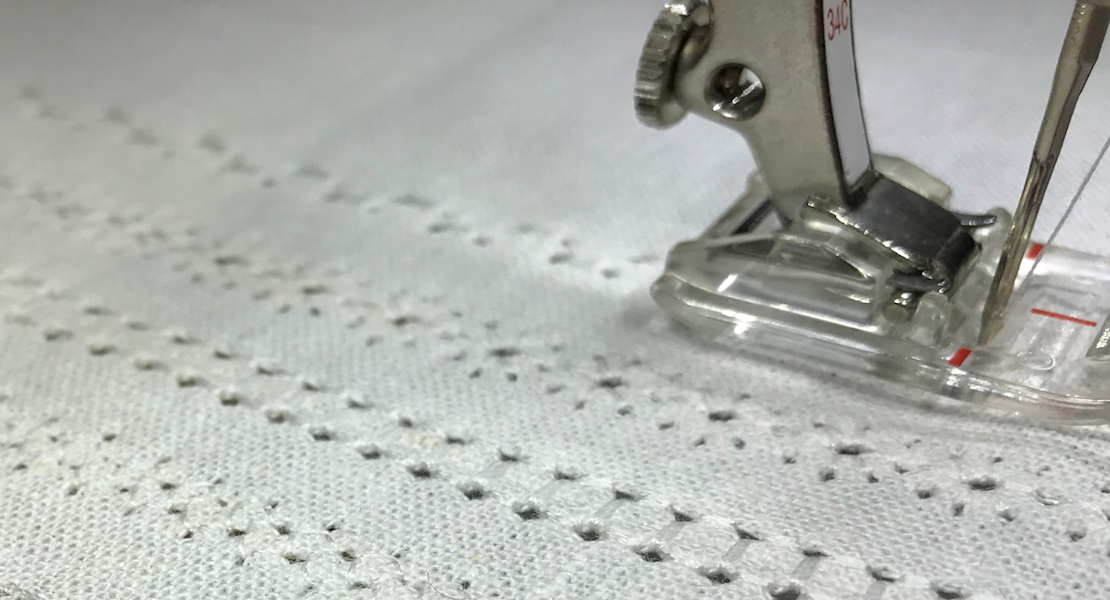
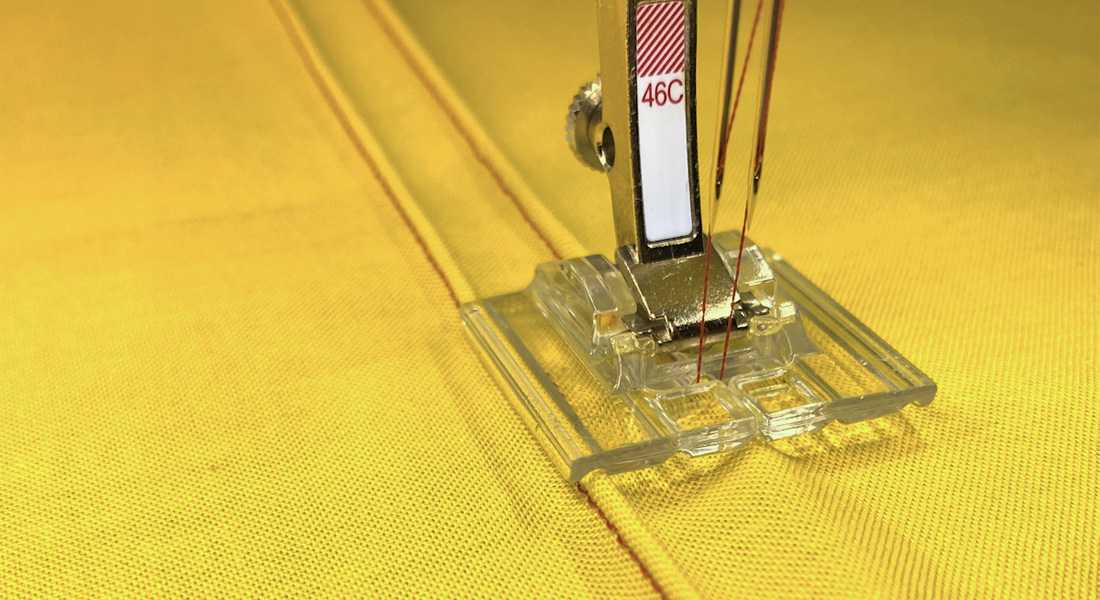
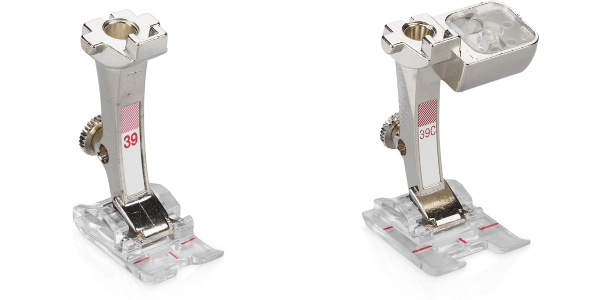
One of the most important things about successful machine stitching is using the correct presser foot. It can make the difference between perfectly formed stitches and mismatched patterns. The presser foot I use most for decorative stitching is Clear Foot #39/39C. This foot has a clear sole that lets you see the fabric and stitches under the foot. Take a look at the bottom of the sole of Foot #39 and you’ll see a wedge-shaped indentation. The purpose of this is to let the presser foot ride easily over heavy thread build-up. It is perfect for satin stitching and compact decorative stitches.
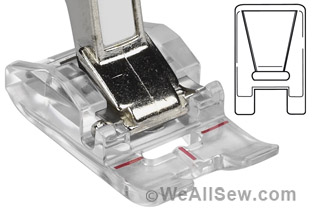
Red Presser Foot Markings
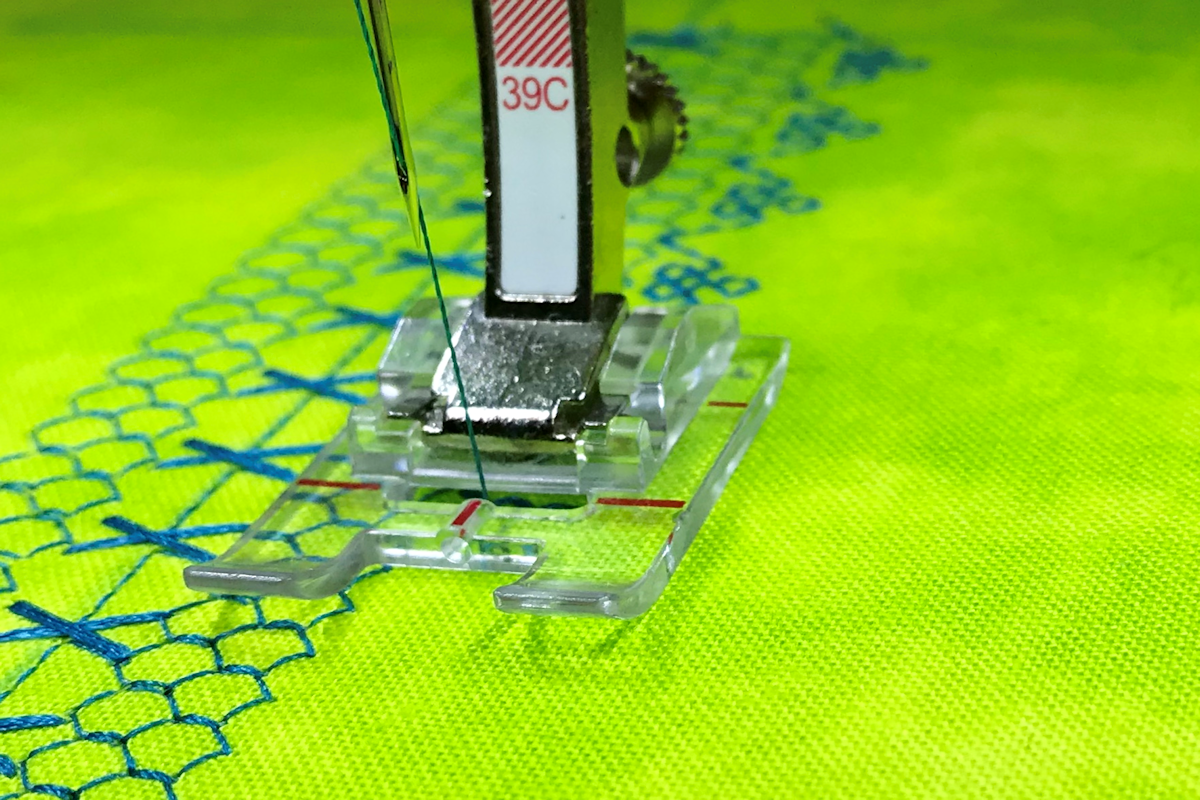
Foot #39/39C has markings that can help you when aligning rows of stitching. These are highly visible red marks, one in the center and one on each side of the foot. The side marks align with the needle and lets you position the needle exactly so lines of stitching are even as you start each line. The center mark lets you easily follow a guideline to sew straight lines.
Marking Guidelines
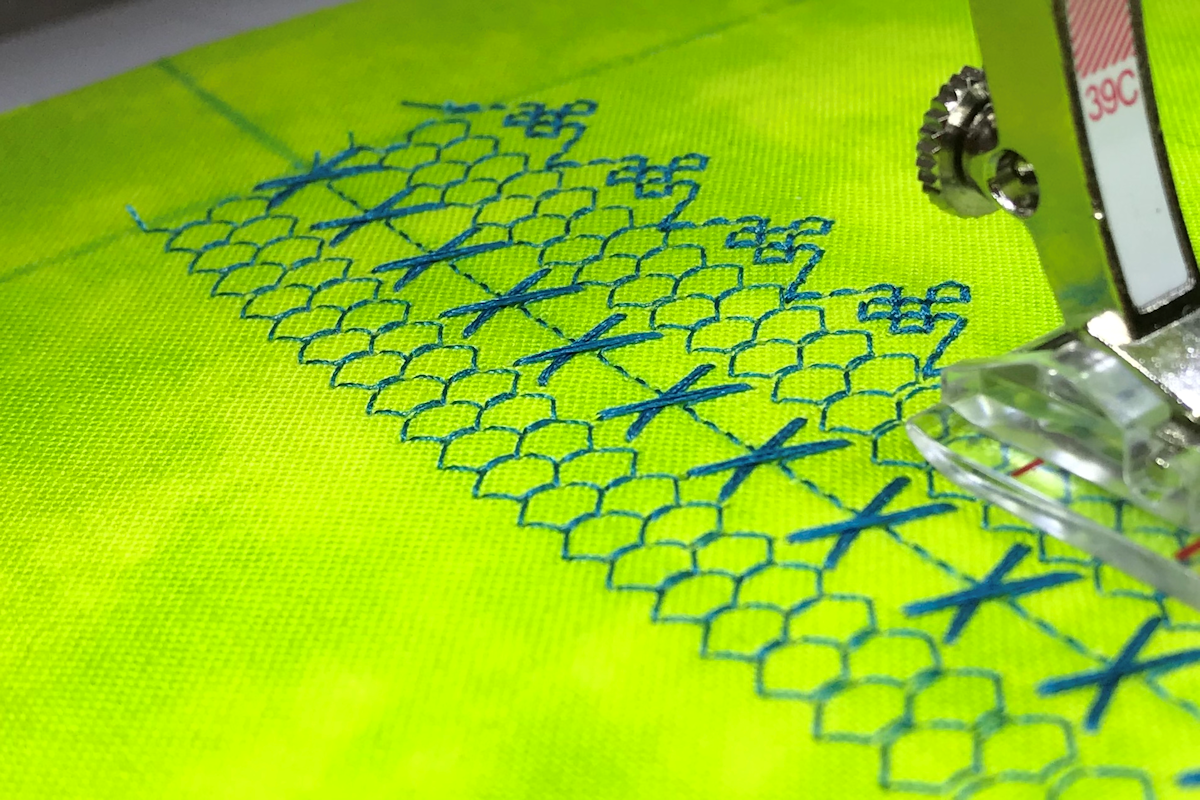
Using a fabric marker, draw a vertical line to mark the center of the group of stitches. In this case, I drew the line down the center of the fabric swatch, but you would place it where you want the center to be on your project. Next, draw a horizontal guideline on your fabric at the place where you want the stitches to start. When stitching vertical lines of decorative stitches, you want to start them at the same place, especially if you have two identical shaped stitches facing each other. If you start them at the horizontal guideline, the shaped part of the pattern will be aligned opposite each other. The horizontal and vertical lines are necessary to align your rows of stitching. Additional lines can be added to form a grid pattern. These are not essential but often make it easier to see if the fabric is drifting as you sew.
Selecting Stitches
Any stitch can be used for these bands and you get to decide which ones to use. I have a formula that I use but it is really up to you to build a finished look that you love. I usually look for three types of stitches to build the bands. The center design is a symmetrical pattern that looks the same on both sides, giving me an edge or point to build on. Next, I find a filler stitch that stitches completely from side to side and will fill the 5.5 mm or 9 mm space. To finish the band, I select an edging stitch that adds shape to the outer edge. If you want wider bands, just keep adding stitches, leaving the edging stitch for last to add a finishing touch. The graphics below show just a few examples that work for my formula. Note: Some stitches may be used in more than one place on the band.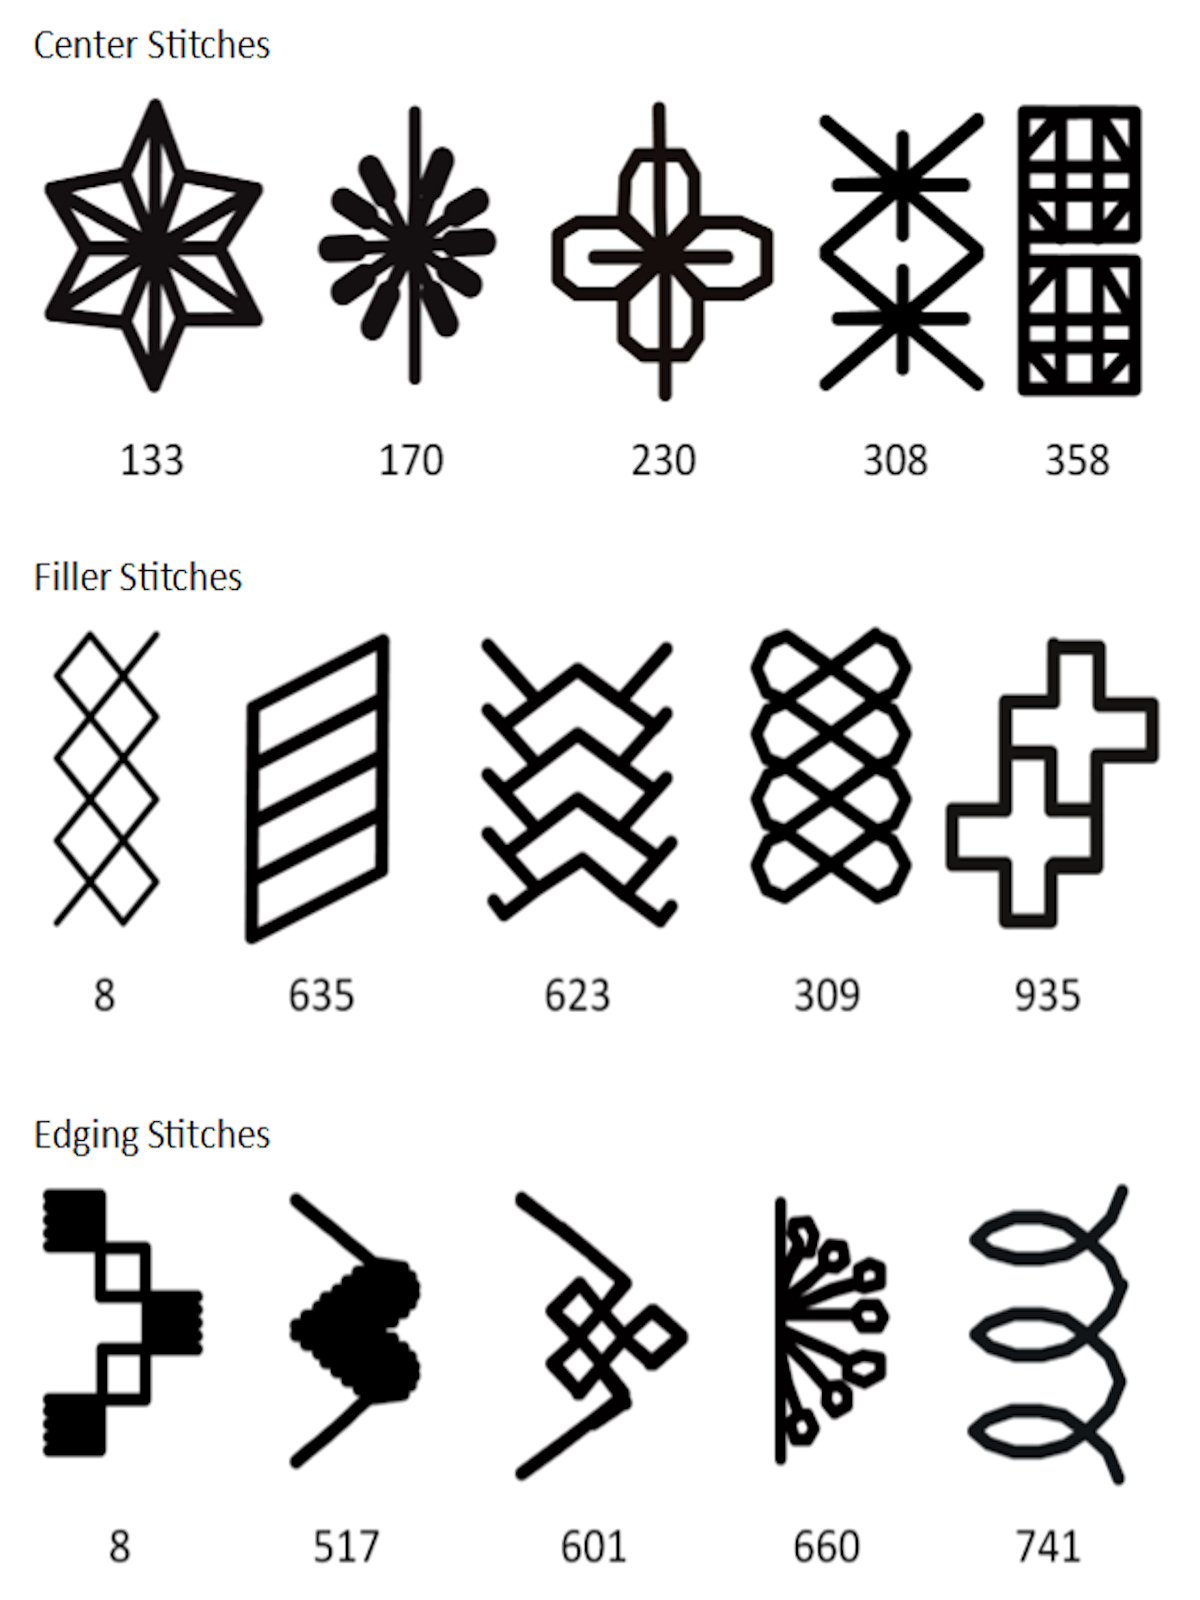
Controlling the Fabric
The best way to monitor the stitching is with fingertip guiding. Let the machine feed the fabric as you lightly place your fingertips on each side of the fabric. Do not push or pull the fabric in any way but gently use your fingers to make sure that the fabric stays in place and the stitching follows the markings on it. When attempting to sew stitches with precise placement, engage the Needle Stop Down function on your machine. This minimizes the chances of your fabric shifting as you start and stop while sewing a line of stitches.
Spacing Options
To sew the rows of stitching next to each other, make the stitch as wide as the presser foot allows and then align the edge of one line of stitching with the edge of needle opening or inside toe of the foot. For more space between the lines of stitching, guide the edge of the foot along the previous line of stitching.
Don’t expect all of your stitch combinations to turn out perfect the first time. Sometimes the stitches you choose just don’t play well together. And, sometimes it is the stitcher who just doesn’t get it right. When this happens, just start over and keep going. You’ll find the right stitch mix with precise stitching techniques and you’ll love the bands of stitches you create!
To see more techniques using Clear Foot #39/39C, see the Big Book of Feet at your local BERNINA store.