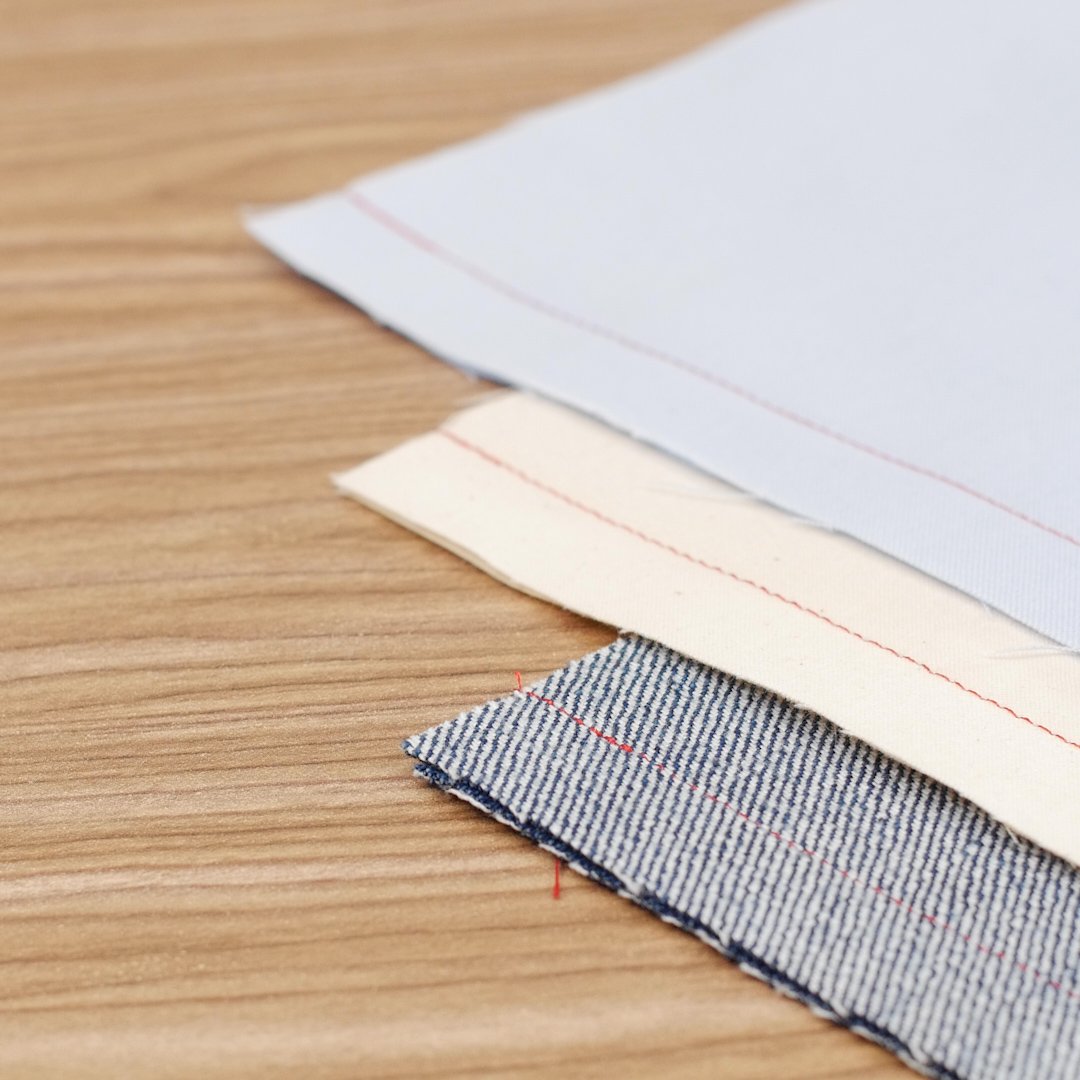
Securing Seams Three Different Ways
The best way to enjoy the fruits of our sewing efforts for a long time is to secure our seams. After all, if a seam is meant to hold pieces of a project together, logic dictates that we should see that our seams stay put securely.
Most of us were taught the classic 1-2-3 method of securing our seams. It is indeed a classic. It works and is very dependable. That being said, there are alternatives available that offer both simplification and advantages for your seams. So, let’s explore our basic options!
The classic 1-2-3 Method: Sturdy but bulky
This is the ‘traditional’ method where you:
- Start sewing at the edge of the fabric and sew about 1/2 inch into the fabric.
- Touch and hold the Reverse button and sew backwards to the starting edge.
- Once back at the starting edge, release the Reverse button and let the machine sew forward for the length of the seam
At the end of the seam:
- Sew until you reach the end of the fabric.
- Touch and hold the machine’s Reverse button and sew backwards for about 1/2 inch.
- Release the Reverse button and resume sewing forward until the end of the fabric and cut the thread.
Advantages:
- Very sturdy
- Excellent for heavy wear projects like tote bags, upholstery, curtains, etc.
Trade-offs:
- It’s the bulkiest method (it adds bulk to the start and end of the seam line) especially if using a thicker thread.
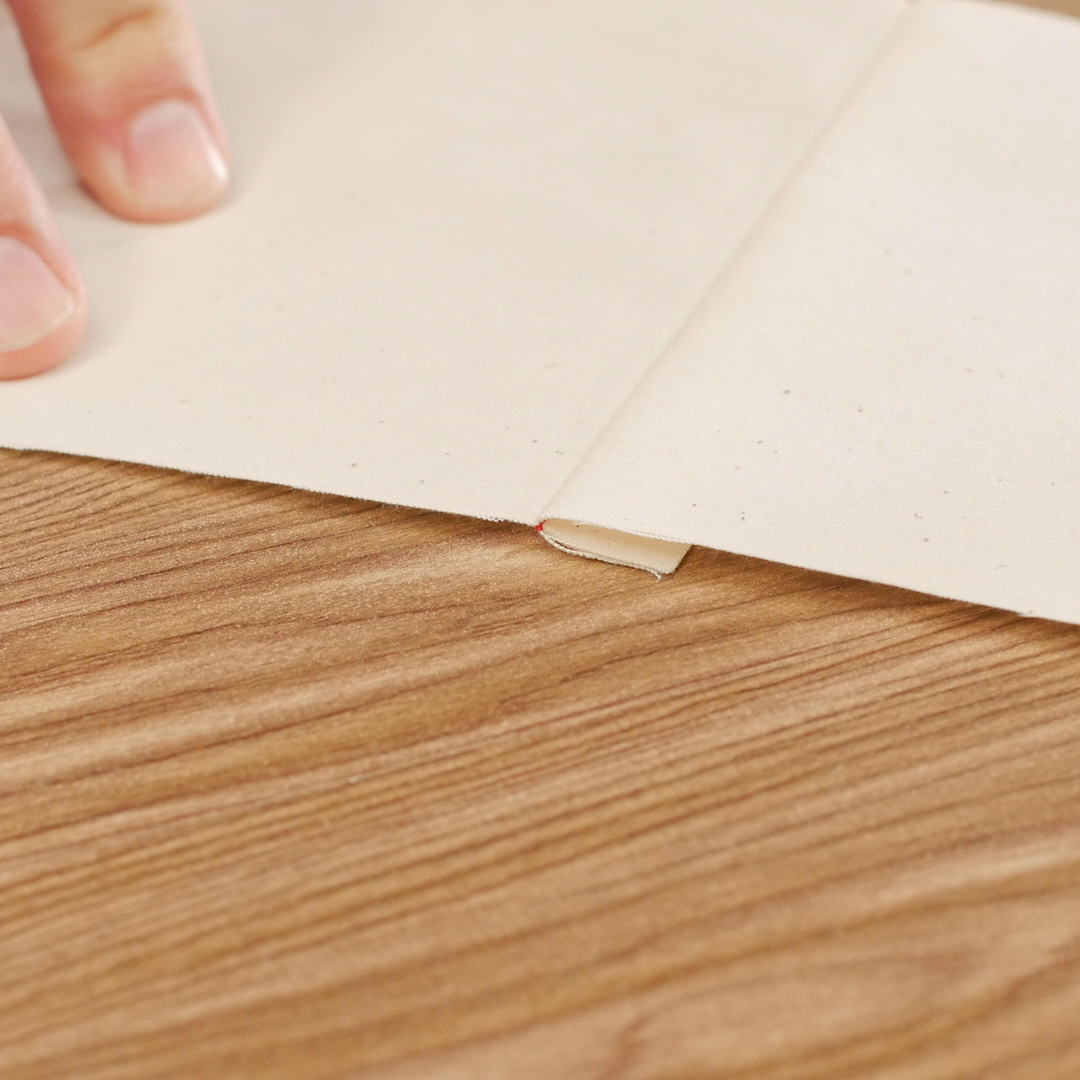
- It is not recommended for applications like quilt piecing where added bulk in the seam results in a wider net seam allowance, reducing the surface area of the finished pieces. It can throw off the measurements over a large quilt with many small pieces.
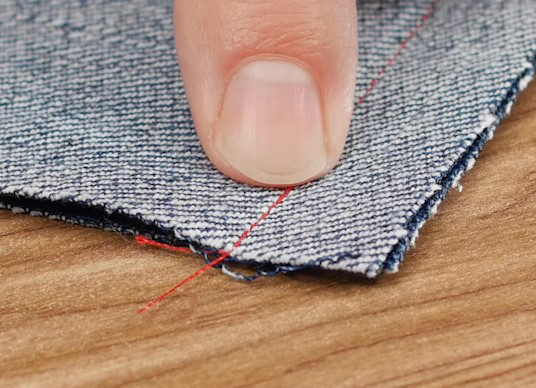
TIP: To get a good clean start of this securing method (as well as for any seam, really), start on the fabric near the edge but not off the fabric. This avoids loose thread tails being pulled under the stitch plate with unpredictable results.
The streamlined 1-2 Method: Sturdy but faster and less bulky
This is a modified version of the 1-2-3 method, with one step omitted:
- Start about 1/2 inch into the fabric and sew in reverse back to the edge

- Once back at the leading edge, resume sewing forward for the length of the seam
At the end of the seam:
- Sew until you reach the end of the fabric
- Hold the machine in reverse and sew backwards for about 1/2 inch and cut the threads.
Advantages:
- Faster
- Less bulky
- Very sturdy
- Excellent for heavy-wear projects like tote bags, upholstery, curtains, etc.
- Since the start of the securing is well onto the fabric, this method simplifies thread tail management
Trade-offs:
- It can still generate bulk at the start and end of seams, especially if using a thick thread
- Not recommended for applications like quilt piecing where added bulk in the seam results in a wider net seam allowance, reducing the surface area of the finished pieces. It can throw off the measurements over a large quilt with many small pieces.
The Automatic Method: Similar to the 1-2-3 method, but programmed for simplicity
While the two methods above work really well, they do require a bit of coordination to change sewing direction while handling the fabric layers. What if the sequence could be automated so that you could select a straight stitch and have the machine automatically do the 1-2-3 sequence for you?
Well… Shazzam! Your wish is granted!
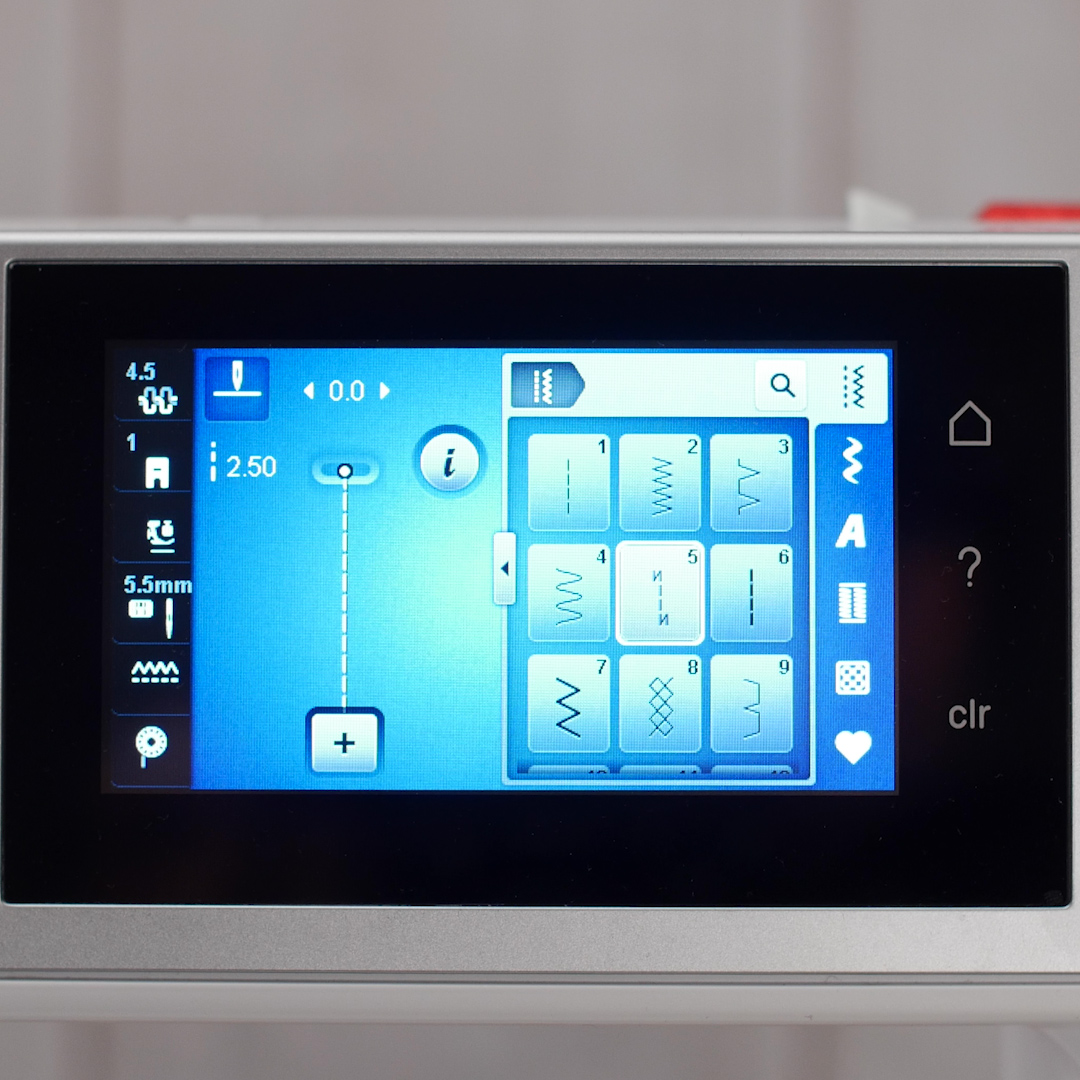
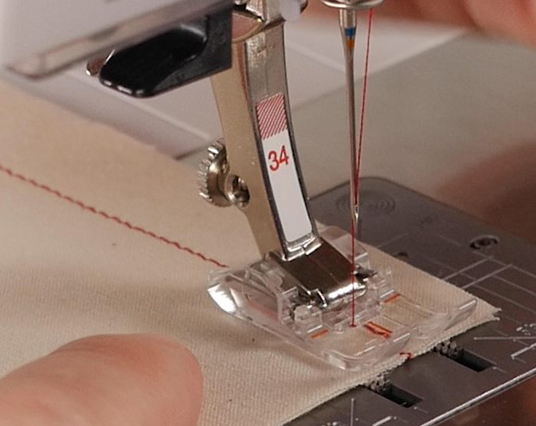
On touch-screen BERNINA machines, select Stitch # 5, which is a Securing Program. Here’s how it works:
- Start at the edge of the fabric (or better yet, just one hair over the fabric)
- Sew forward. The machine will automatically go through the process without you having to do a thing. It will:
- Sew 6 stitches forward
- Sew 6 stitches in reverse (back to the starting point)
- Resume sewing forward
- Keep sewing forward until you reach the end/edge of the fabric and STOP.
- Press the Quick Reverse button and release it.
- Resume sewing. The machine will automatically:
- Sew in reverse for 6 stitches.
- Sew forward 6 stitches and it will then stop automatically.
Advantages:
- Simpler to operate
- Very sturdy
- Excellent for heavy wear projects like tote bags, upholstery, curtains, etc.
Trade-offs:
- Same as for the 1-2-3 method on precision applications on light fabrics
BONUS: the BERNINA 2-Step (2 Stitches) Method: Awesome For Decorative Work!
This method takes advantage of one of BERNINA’s best features (albeit with a very long and ungainly name): The Temporary Altered Stitch Memory. This memory feature lets your BERNINA remember alterations you make to every stitch in the machine and will remember the stitch settings when you return to that stitch, as long as the machine is left ON, hence the ‘Temporary’ part of the name. (Note: some older models can remember only 2 stitch alterations). The machine will remember the details so you don’t have to!
TIP: Hello eco mode! By using eco mode while working on a project instead of turning off the machine, your BERNINA will remember all the stitch alterations you made for the duration of the project. It’s a welcome time saver… and it helps prevent stitch mistakes (aka… how did I set that stitch yesterday?)
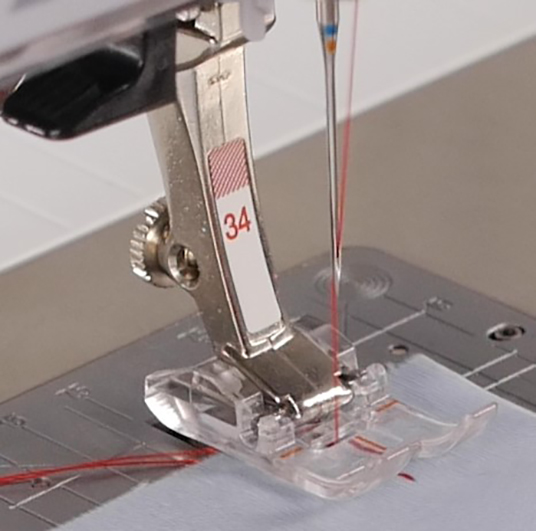
Let me give you an example of how it works. Say you are doing appliqué with a blanket stitch with fairly typical settings like the following:
- Regular Blanket Stitch #1329 (on my B 790) from the Quilting menu
- Far Right (+5) needle position
- Stitch length of 0
- Stitch width of 0
- Using Open Embroidery Foot # 20/20C/20D (use Dual Feed with # 20D)
- Sewing the stitch so that the spine of the stich (the straight line) is just inside the right toe of the foot
This is a classic application using this stitch.
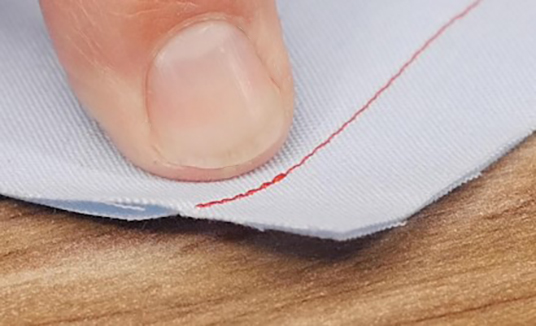
Now to securing the beginning and end of the appliqué run:
- Select a straight stitch (e.g. stitch # 1 or # 1326, also in the quilting menu)
- Shorten the stitch length to 0.5 mm (similar to how quilters would tie off their quilting stitch lines)
- Move the needle position to the far right ( +5 )
- Note: this stitch is now aligned with the spine of the blanket stitch so that it will blend in with the blanket stitch
How this works:
- At the start of the seam, use the straight stitch for about 5 stitches.
- Switch to the blanket stitch and sew around the whole appliqué.
- Return to the straight stitch and sew about 5 securing stitches at the end … and cut!
The best part s when you secure the end of the decorative stitch, the securing stitch is already selected and ready for the start of the next seam!
TIP: If you use a technique regularly and have set up your securing and main stitch (e.g. blanket stitch) so they align, take advantage of your Personal Program (Heart Tab) and save both into the same folder. This way both stitches will be ‘ready mixed’ for you when you next turn on your machine.
This method works very well for satin stitch appliqué as well, using:
- Stitch #2 (Zigzag) set to a satin stitch length / Far Right needle position
- Using Stich # 1 (straight stitch) / Stitch Length 0.5 mm / Far Right needle position
You can now do your satin stitch appliqué with secured ends just by alternating between the two stitches. It’s easy and convenient so your focus stays on the creative aspect of your project. Typical BERNINA!
In conclusion
There are many ways to secure seams and the right method will vary depending on the project, fabric type and thickness, thread used, etc. That being said, having a precise machine that offers flexible options like altered stitch memory and needle positions makes it possible to tailor your seam securing method to the project. Have your machine suit your seam needs… and not the other way around. That’s at the core of a BERNINA’s DNA.
Used Products

What you might also like


One comment on “Securing Seams Three Different Ways”
Leave a Reply
You must be logged in to post a comment.

Excellent article; thanks!