Couching Three Different Ways
Historically, couching was a hand-sewing embellishment technique used to adorn tapestries creating visual interest and flair. This form of embroidery involves stitching heavier strands of cord, yarn or trim to a textile surface. Adapted to machine sewing, this is a fun way to add decoration to your projects.
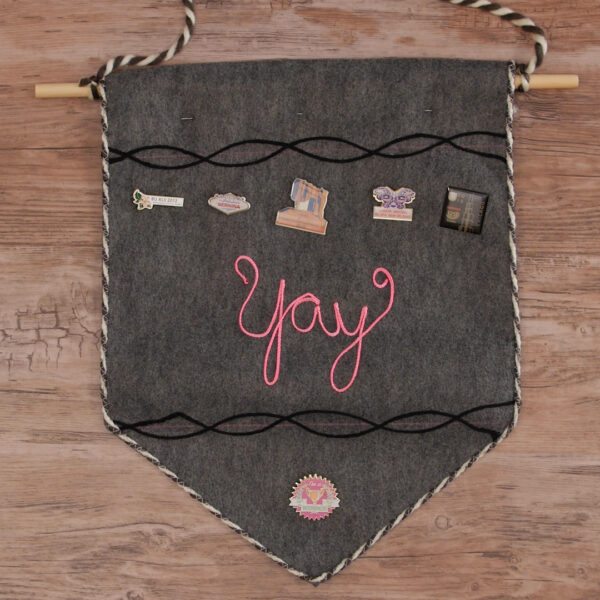
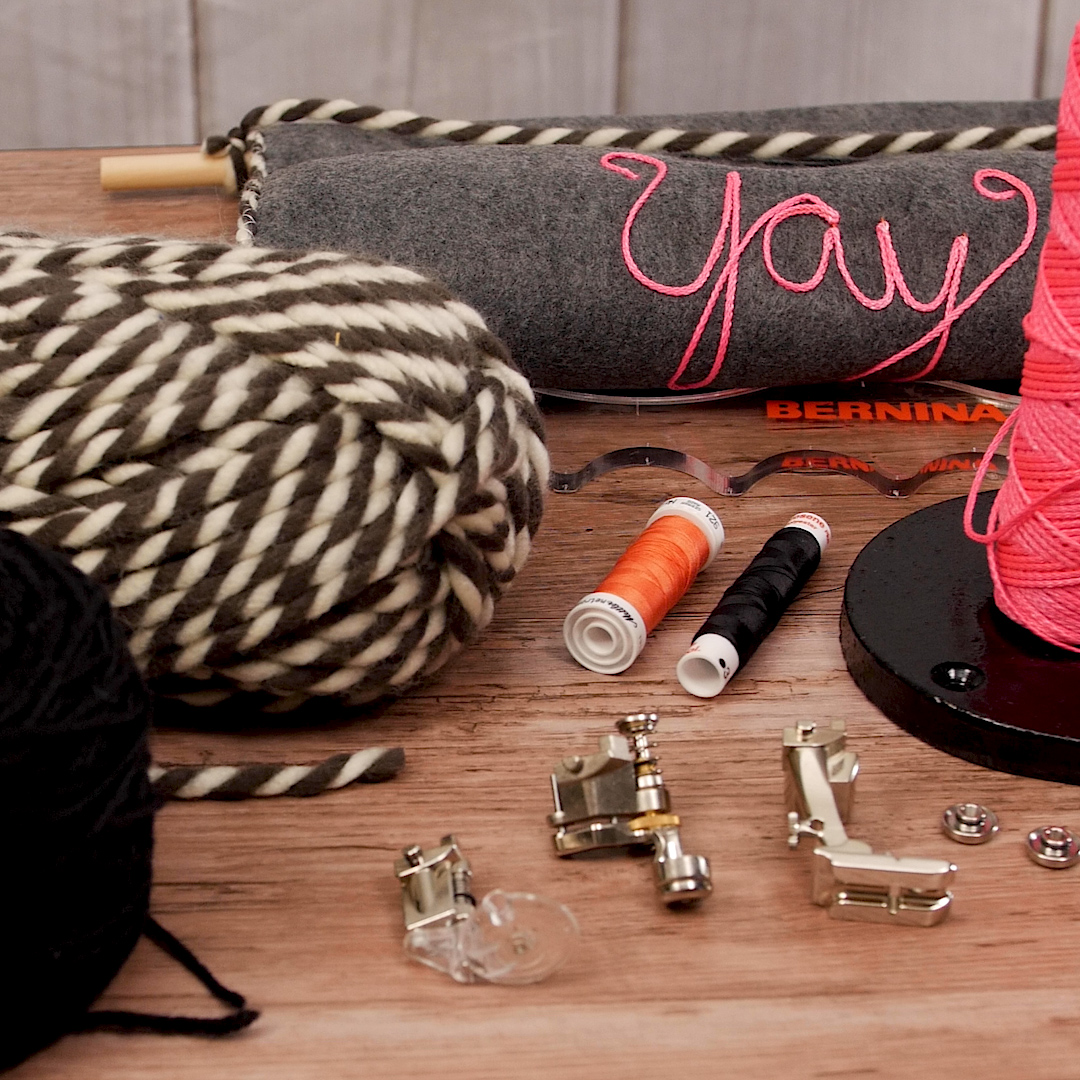
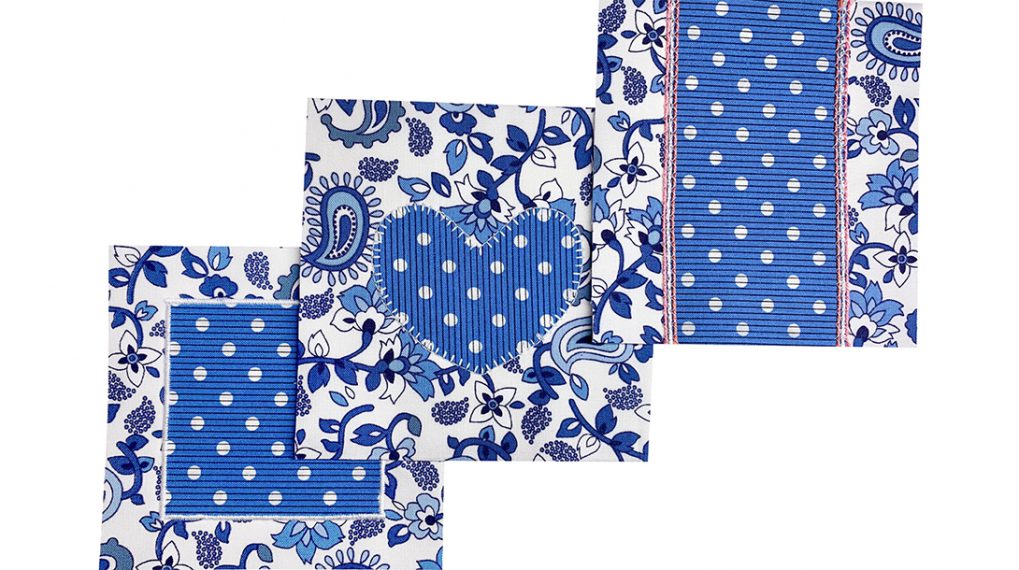
There are several presser feet that can help you accomplish this technique too. I created a simple felt pennant banner to showcase three ways to do couching on your BERNINA, but the possibilities are limitless.
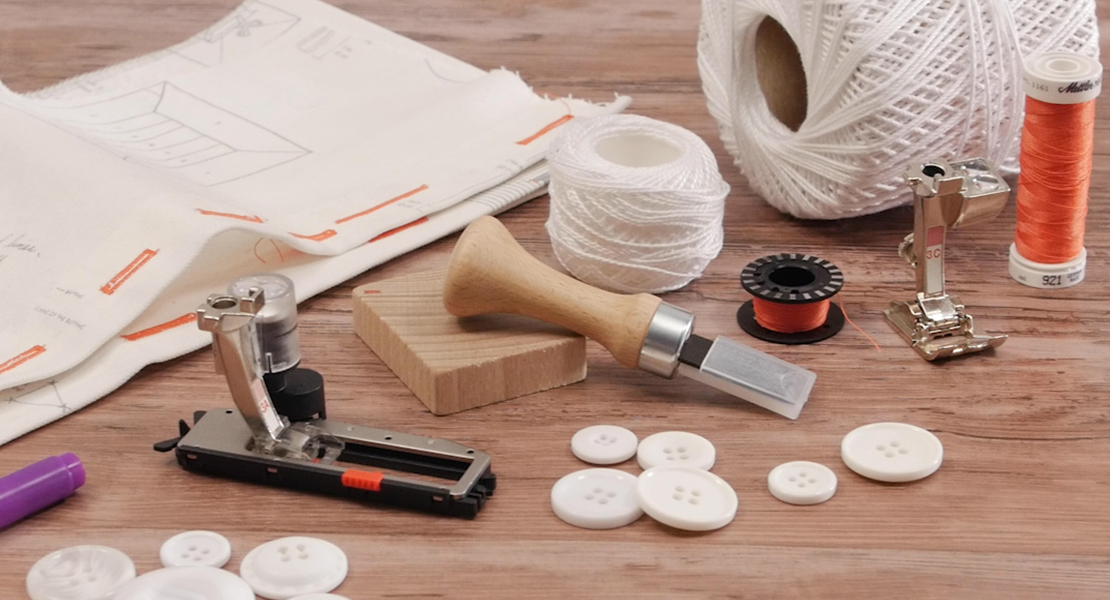
Materials for Couching 3 Ways
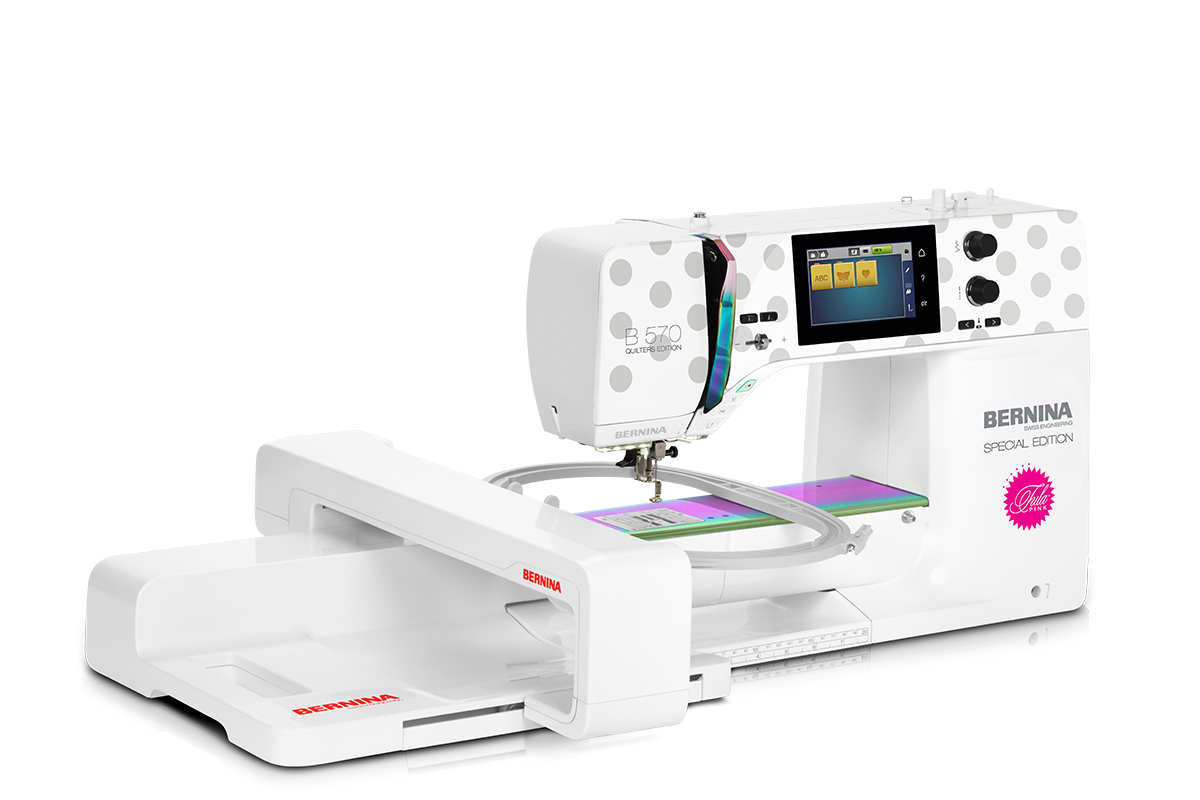
- BERNINA 770 QE Tula Pink Special Edition
- Free-Motion Couching foot #43
- Adjustable Ruler Work foot #72
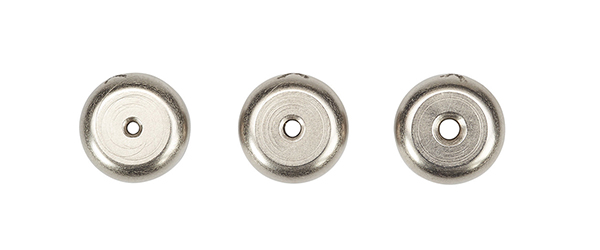
- Couching Inserts for foot #72
- Ruler Kit specially made for Adjustable Ruler foot #72 and Ruler foot #96
- Bulky Overlock foot #12C
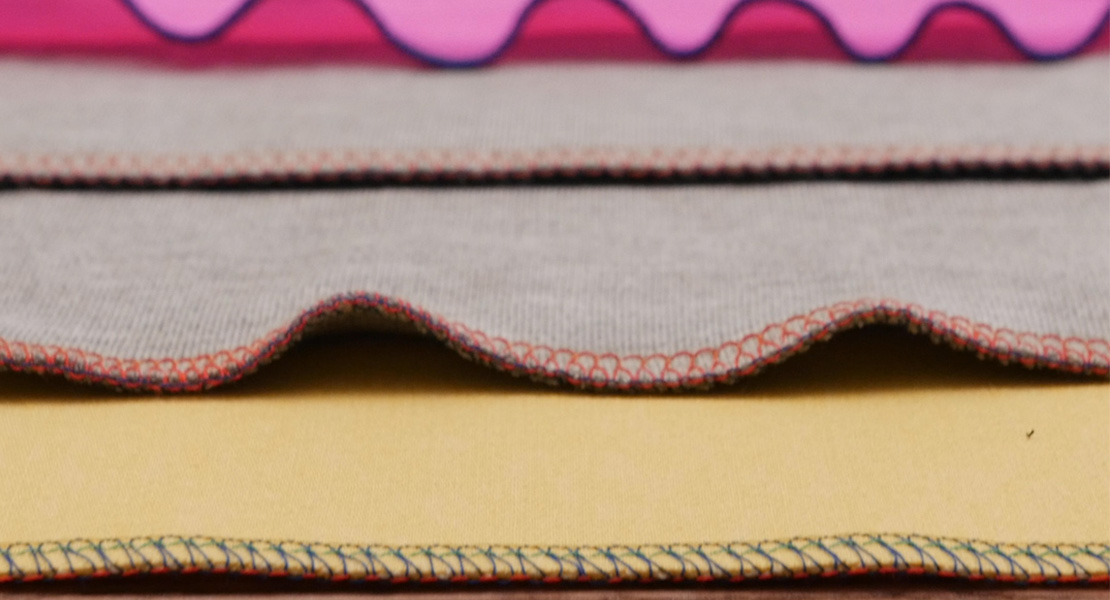
- Felt or other sturdy/stabilized fabric
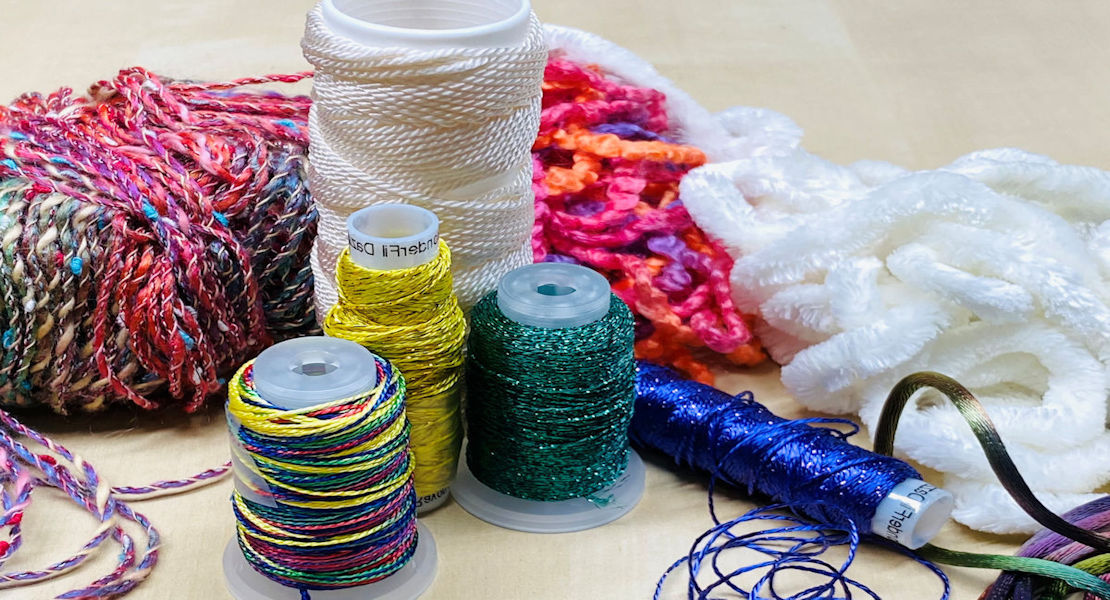
- Decorative Yarns or Cords (Masonry Line works great)
- Matching Thread
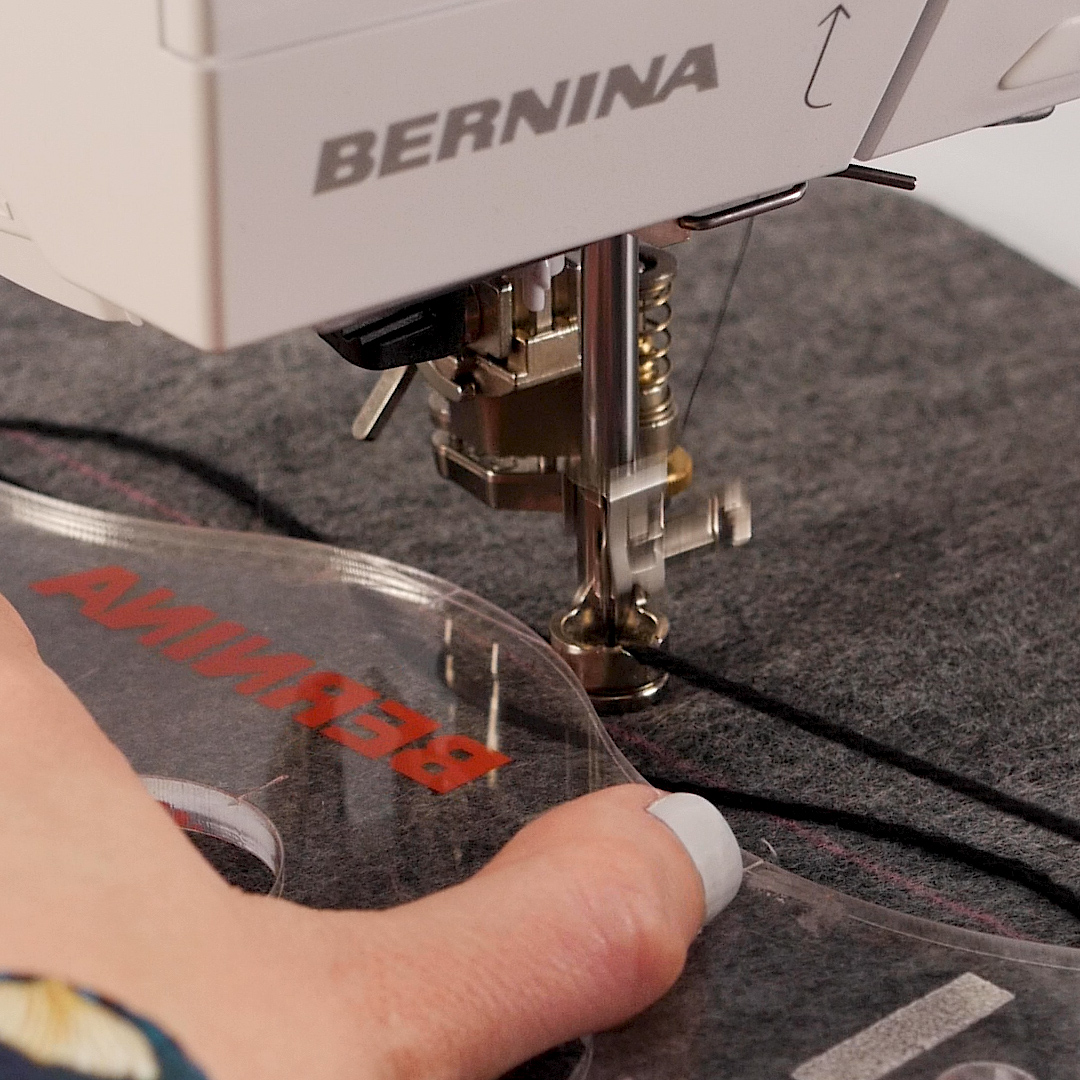
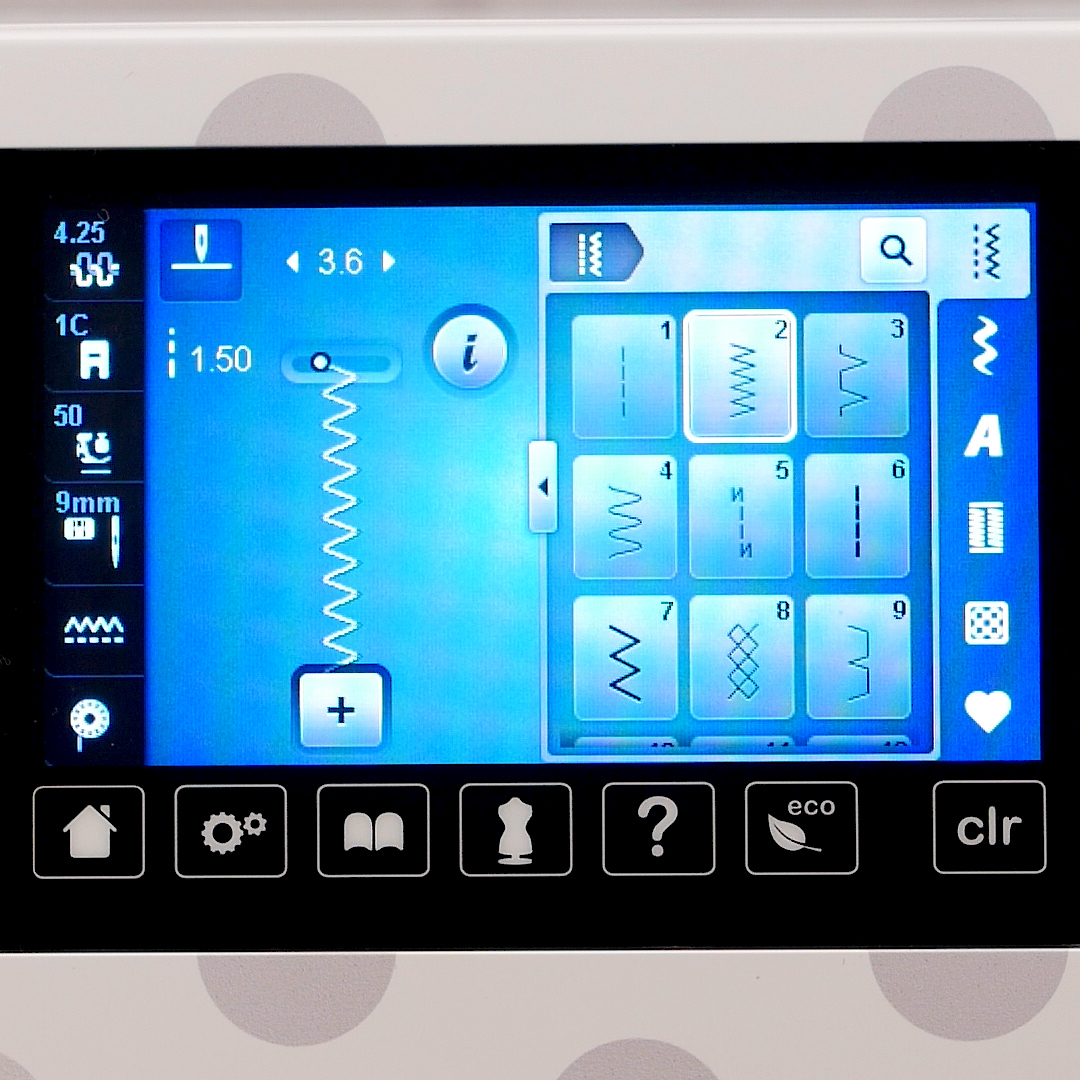
Using the new Tula Pink Special Edition machine for this project was a truly magical experience. The B 770 QE machine has 10” to the right of the needle, providing a nice large area to do free-motion and decorative work. This machine is so pretty with the fun polka dot face plate and the oil-slick finish on the metal free arm and needle guard.Technique 1: Free-Motion
- Free-Motion Couching foot #43
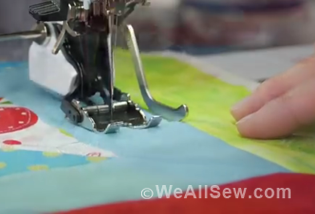
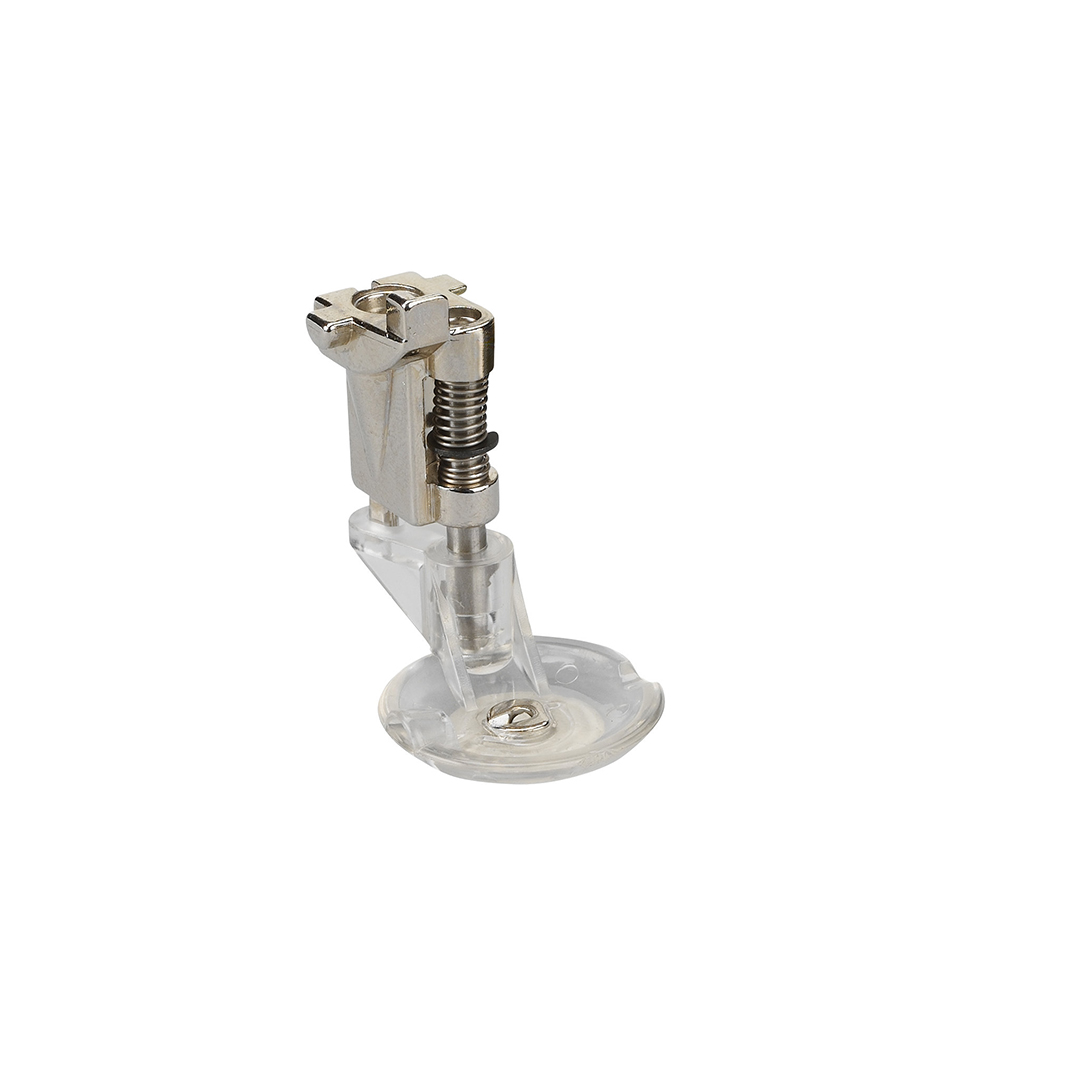 The Free-Motion Couching foot #43 is designed to be used with smooth flexible cord that is approximately 2 mm (3/32”) in diameter. I love using masonry cord that I found in the hardware store. It comes in bright fluorescent colors and moves through the foot perfectly. The large base of this foot is a cup shape and has a yarn guide leading to the opening in the center of the foot. It can only be used with a straight stitch. Included with the foot is a wire threader and two thread guides: one for 7/8 Series machines, and one the fits many other BERNINA models.
To prepare the foot for couching, use the wire threader to thread the cord into the yarn guide at the left of the foot and into the needle opening.
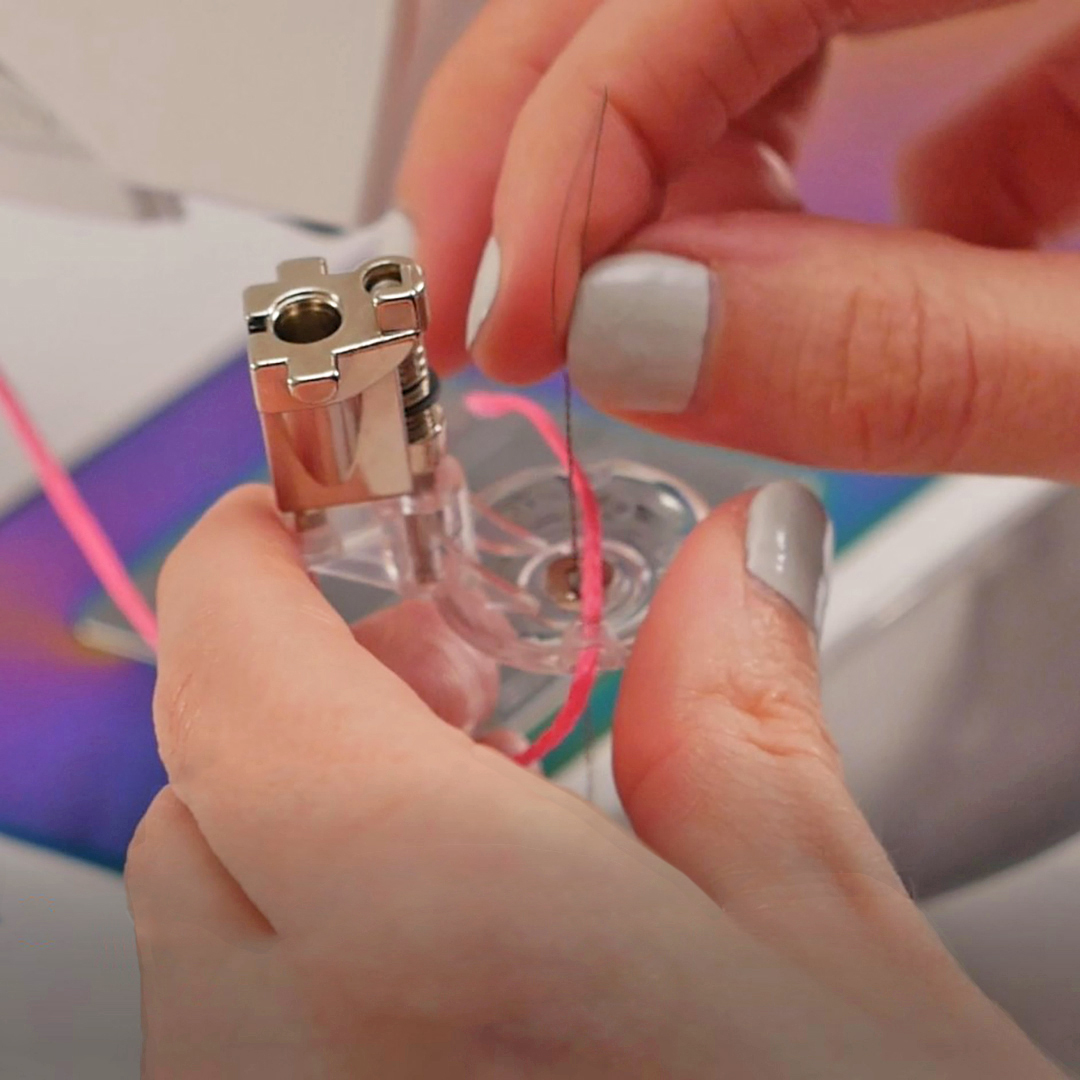
Lower the feed dog on the machine. Sew a few stitches in place to secure the cord and then move the fabric to create the embellishment you desire.
Tip: Ensure that the needle is penetrating the cord as you move the fabric; working in smooth motion will help secure evenly. Avoid cord that is too thin, as the needle will not always catch the cord. Matching thread color or using invisible thread will help disguise the stitches sewn into your cord.
Technique 2: Rulerwork
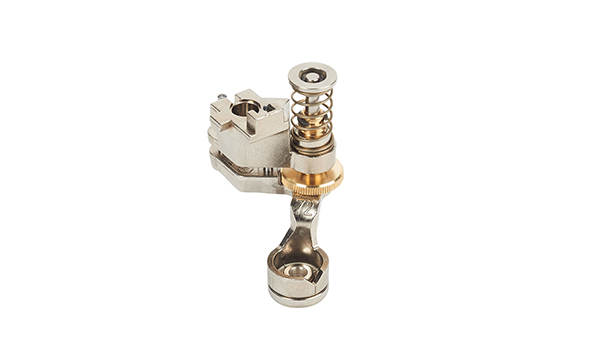
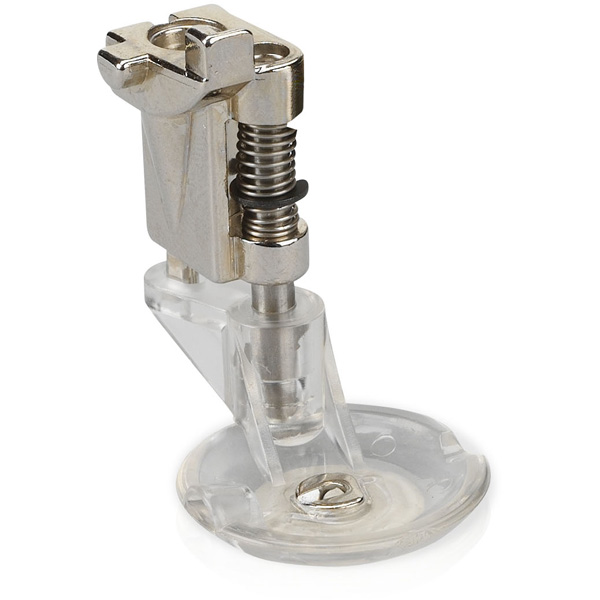
- Ruler Work foot #72 with Couching Inserts
Using the Adjustable Ruler Work foot #72 was a new experience for me, and adding the couching inserts to this foot was a fun way to try it out. The inserts were designed specifically for this foot to enhance the capability of how you can use it. The inserts are sold as a set of three to accommodate various cords and yarns. The insert snaps in easily to the #72 foot.
 This is also a free-motion technique and the machine is used with the feed dog lowered. However, with this technique there is the addition of an acrylic ruler to help achieve a specific shape. I used the squiggle ruler that comes with the BERNINA Ruler Kit—a package of 5 rulers that is suitable for all BERNINA Sewing machines as well as the BERNINA Q 20 sit-down longarm machine.
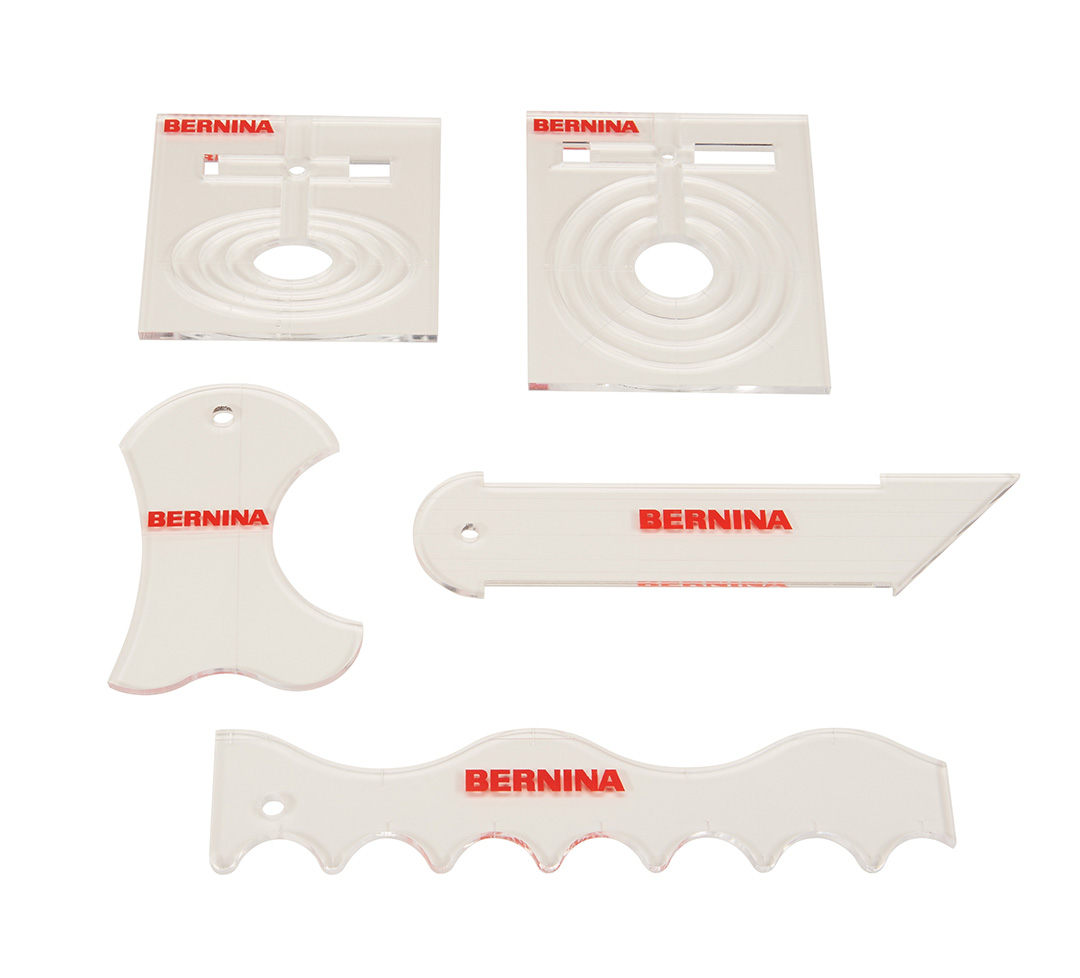 Rulerwork is a very popular technique right now and there are so many rulers in the market. Like any new technique, it was clear to me that it takes some practice and learning. Having a large work surface and extension table was a big help with even a project as small as a pennant banner. I also recommend using a non-slip sticker or tape on the rulers to help keep them from sliding around.
Tip: For best results, use a straight stitch needle plate.
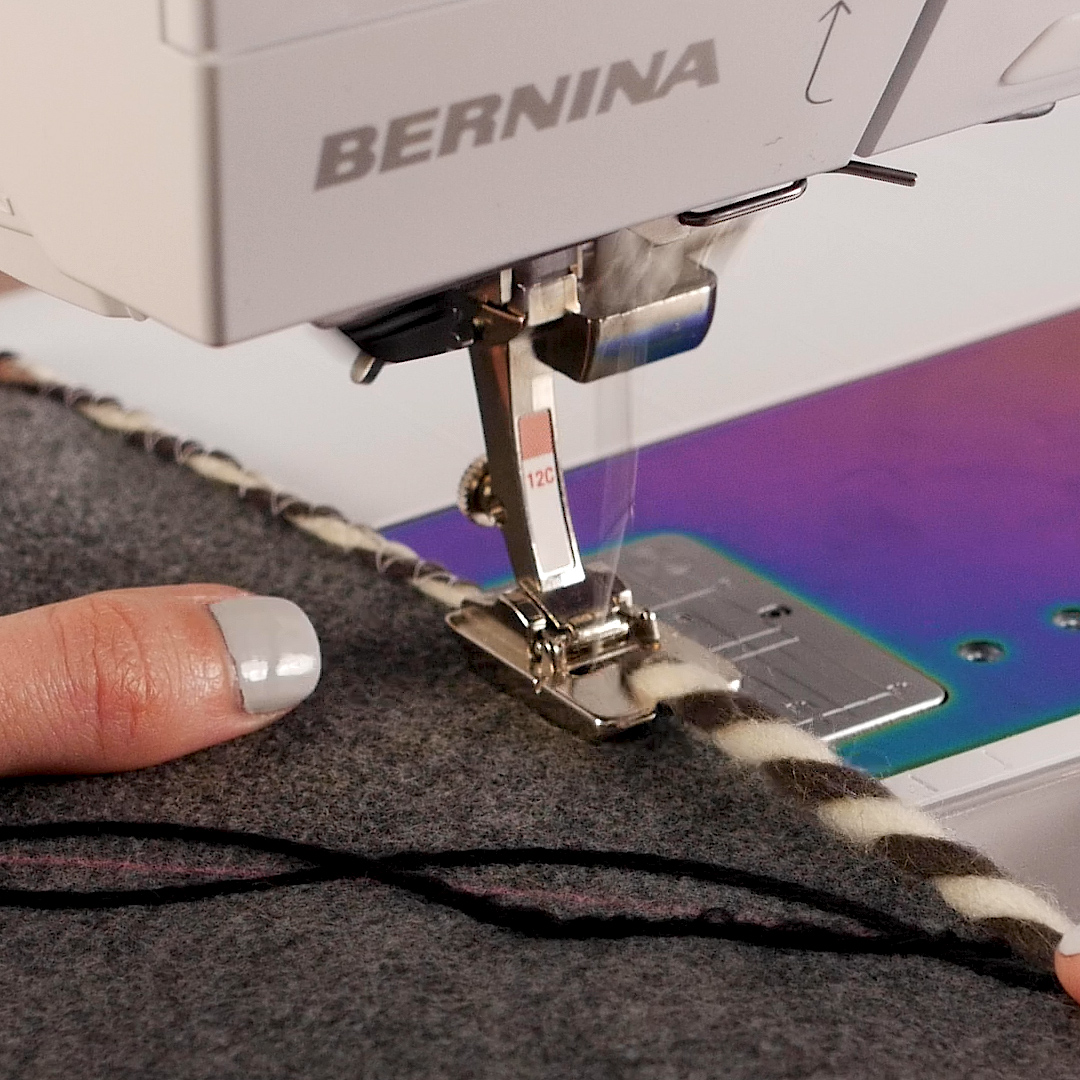
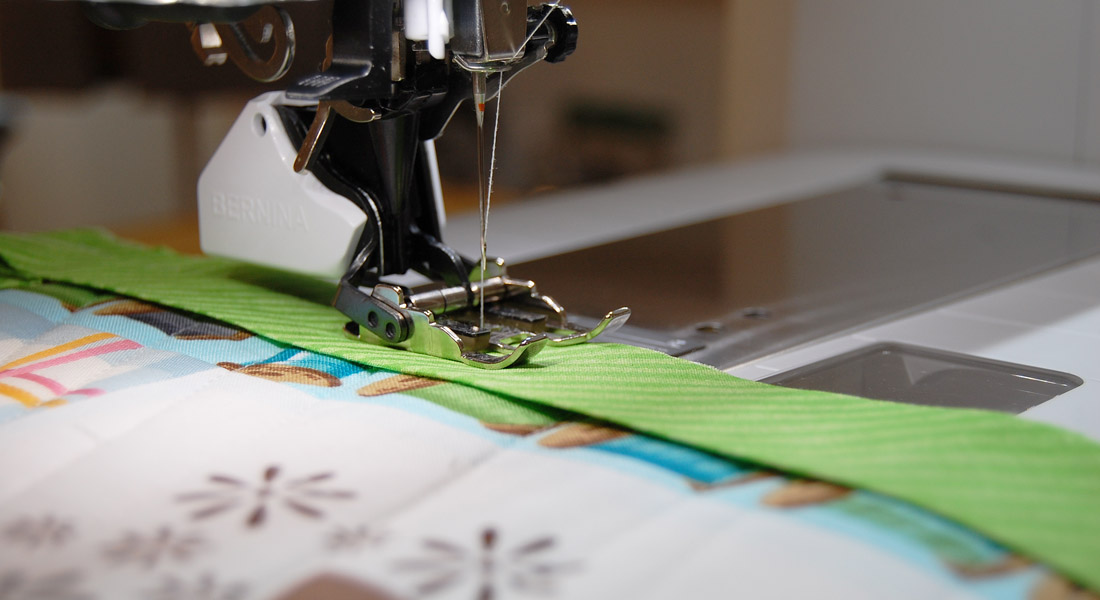
Technique 3: Corded Edge
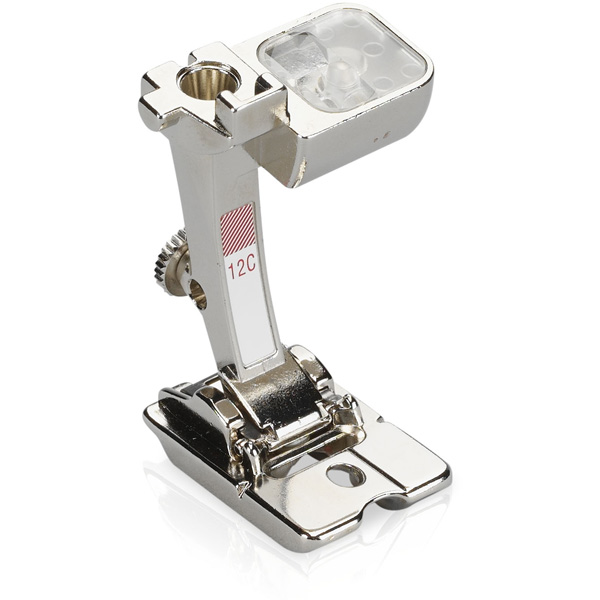
- Bulky Overlock foot #12C
The third technique is one of the first ways I learned to do couching on a sewing machine, and it use the Bulky Overlock foot #12C. Not only does this foot work great for couching in the center of a project, it also works great for applying a cord to the edge of a project like I showed on the pennant. The “C” on this foot means that it is intended to be used with a 9 mm stitch width machine. The Bulky Overlock foot #12 works for machines with 5.5 mm, however it does not have the hole in the center of the foot. I love that this hole allows you to thread your cord directly into the large groove on the bottom of the foot.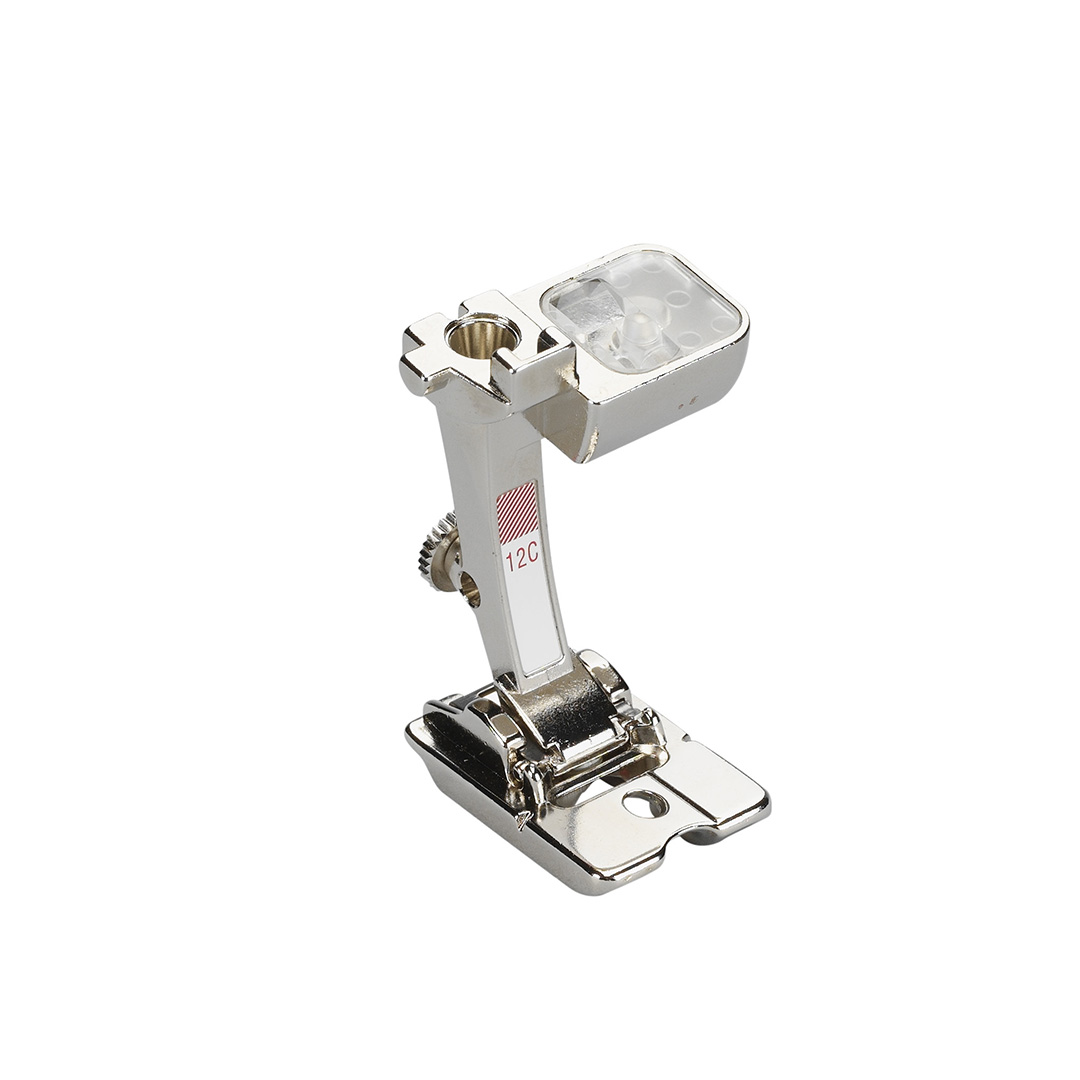 Set your machine to do a zigzag stitch wide enough to cover the cord you will be using. Then thread your machine with matching thread and begin attaching the cord to the edge of your project. The stitch should completely cover the width of cord and will meet at the edge, creating a nice secure stitch to hold your cord in place. Don’t forget to raise your feed dog, because for this application the machine is moving the fabric for you!
This is just a start to all the ways you can use your BERNINA machine to do couching.
For more information check out the eBook, The ABC’s of Couching.
Used Products


What you might also like


6 comments on “Couching Three Different Ways”
-
-
Thanks so much! Happy couching to you.
-
-
Your tips are very helpful. I love my 770QE. Everything is so easy working with it.
-
Thanks for the support, and so please you are happy with you 770QE!
-
-
With the bulky overlock #12 foot can you use on the 880 plus as I don’t know where to lower the feed dog? I do have a 200 and can you use this foot on it? Thanks Nileremsing
-
Yes, you will want to get foot #12C, which has the wider sole for 9mm feed dogs. It will also work on your Artista 200.
-
Leave a Reply
You must be logged in to post a comment.

I love the tip with the adjustable ruler & foot Couching Inserts
Elaborate quilting. Thanks