BERNINA Features: 11 Needle Positions
I love the fact that I can sew and place a stitch just where I want by simply moving the needle position and selecting the best presser foot for the job.
There are 11 needle positions available on most BERNINA machines. The needle position can be changed on any stitch as long as it is not already at the maximum stitch width of your machine. From the center position you can adjust left or right and position the needle and stitch exactly where you want.
What are some reasons for changing needle position?
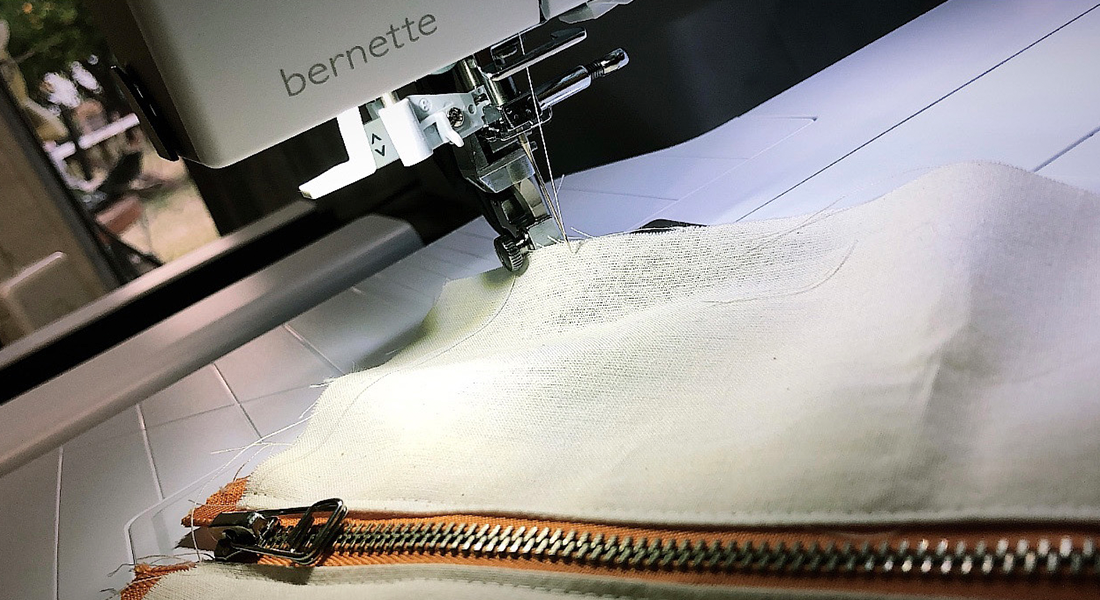
1) The selected presser foot requires the needle to be moved
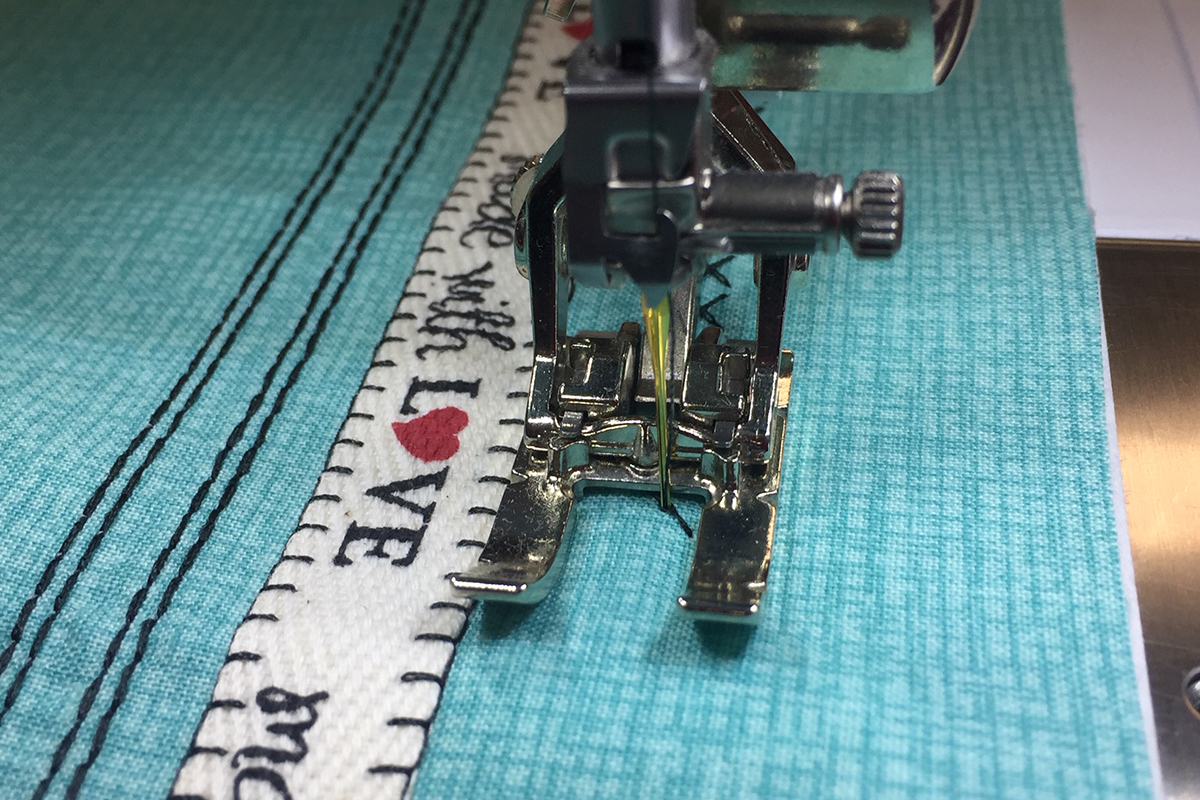
One example is when using the zipper foot, the needle will need to be on the left or right of the foot. Otherwise the needle would strike the center of the foot and break.
2) For the precise placement of stitches
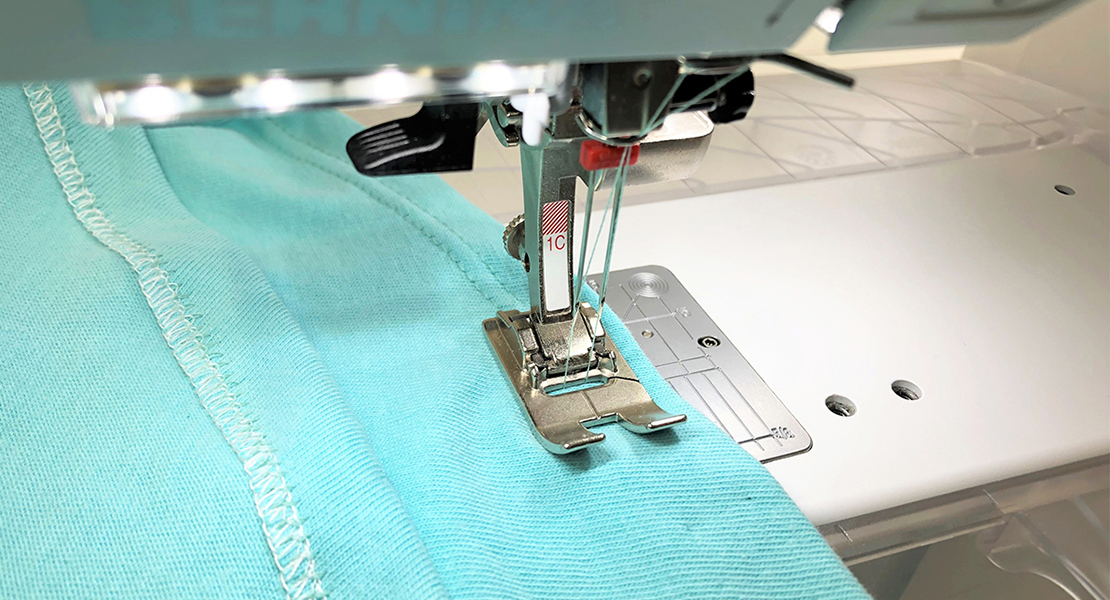
This includes things such as topstitching or edge stitching to get precise placement from the edge of the project you are sewing on. Simply align the guide of Edgestitch foot #10/10C/10D along the fold of the fabric and move the needle position to the left the desired amount for perfectly straight stitching.
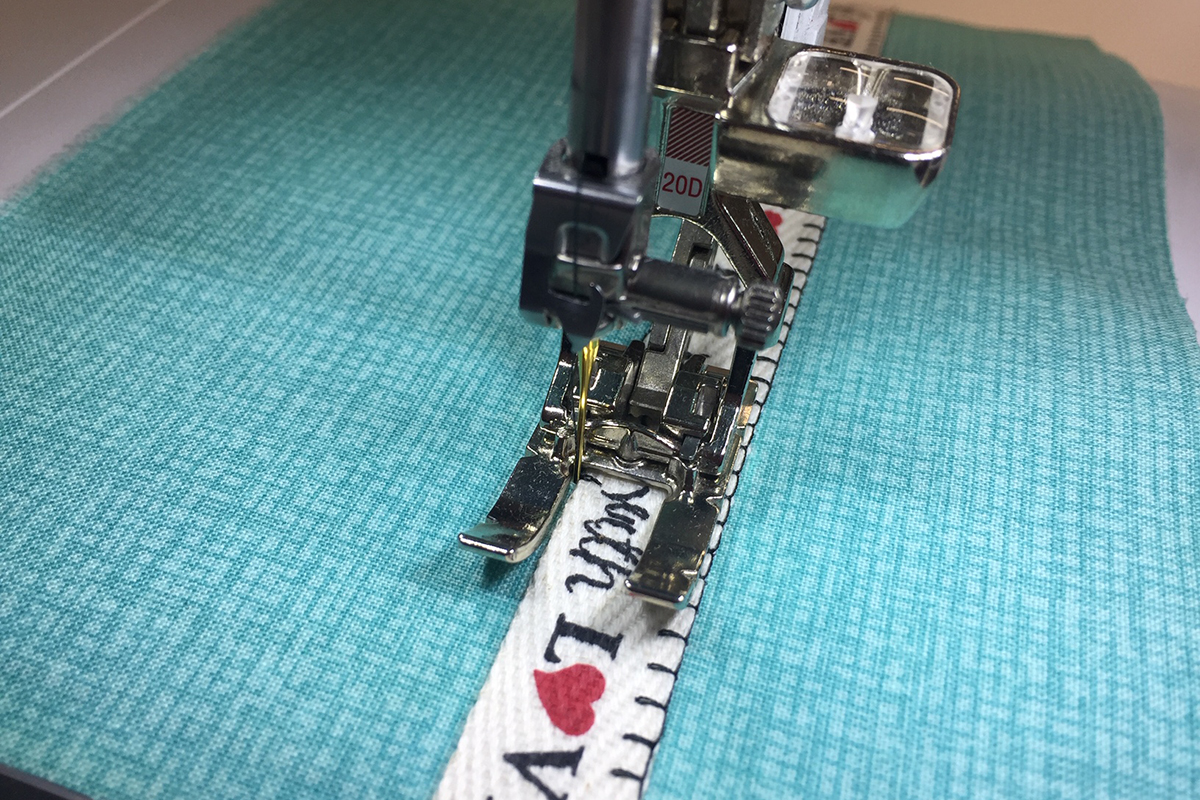
3) When using a stitch that is not symmetrical, you can adjust to the far left or right and use the toe of the presser foot as a guide
One example of this would be using a blanket stitch and Open Embroidery foot #20. If you adjust the needle position to the far right, you can use the inside edge of the foot’s toe to guide along the edge of the fabric as you stitch appliqué in position.
4) When sewing and combining rows of stitches, use the presser foot for a guide. Change the needle position to keep the spacing between the rows of stitches equal as you stitch. Now if you select Mirror Image Left/Right in combination with your choice of needle position it will mirror the stitch and also retains the needle position that is selected. So again moving the needle not the fabric, it really is that easy!
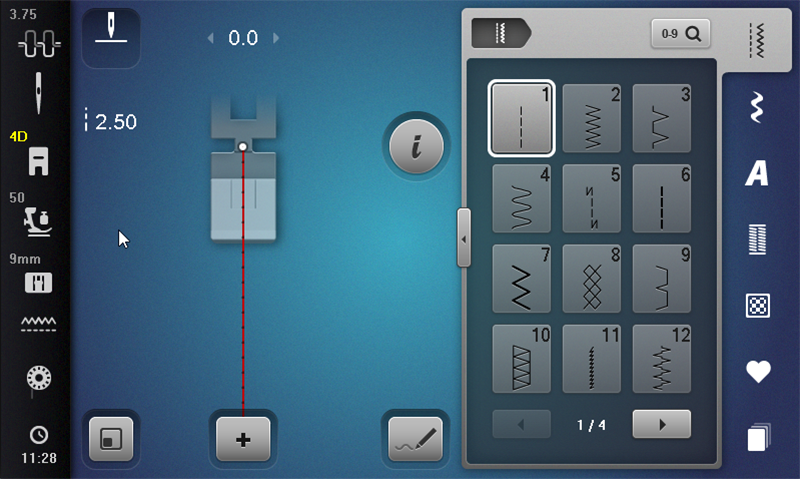
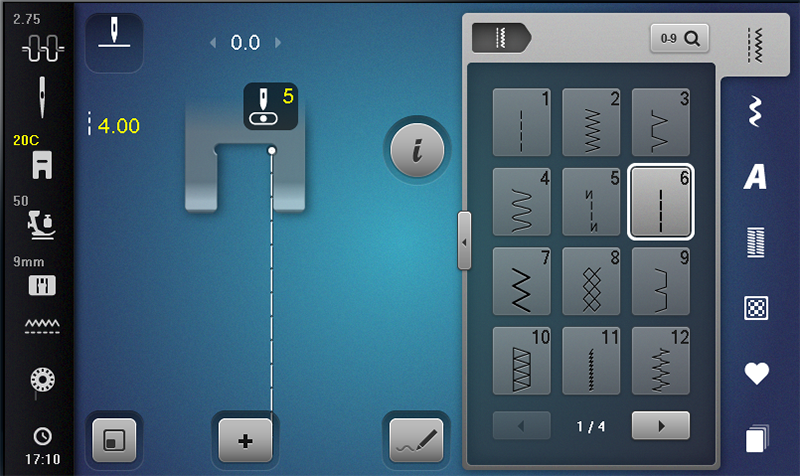
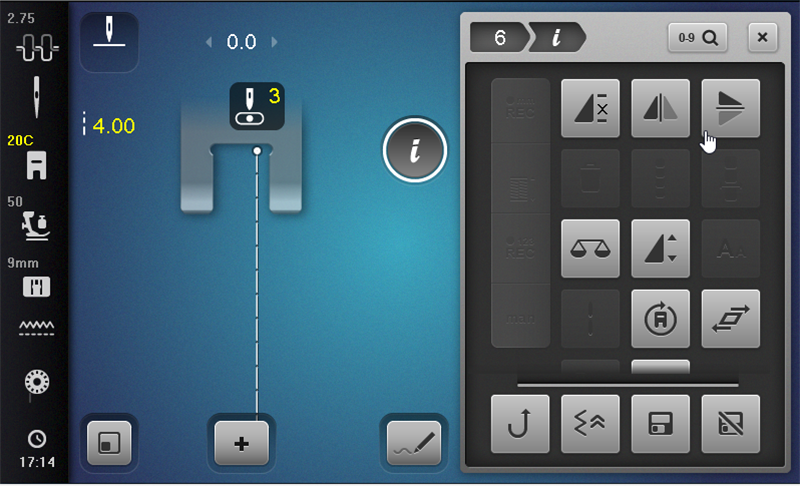
The first example is using Stitch # 6 Triple Stitch. Move the needle position to the far right needle position 5 and sew a row of stitching.
After the first row is complete touch Mirror Image Left/Right and stitch the second row.
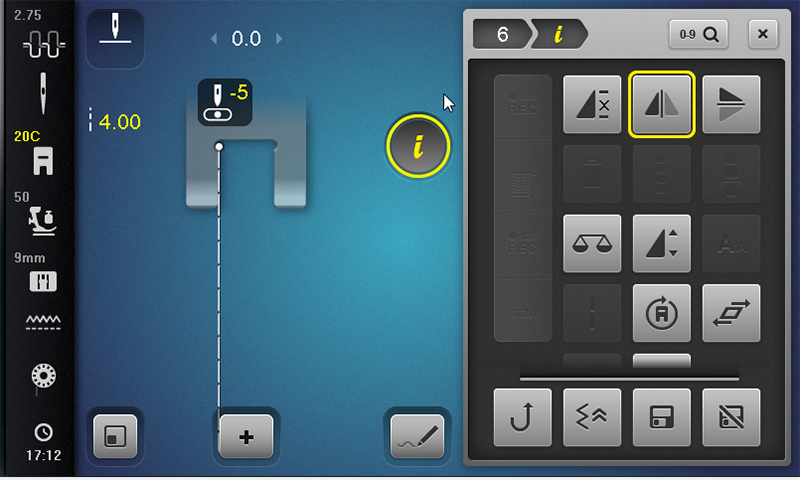
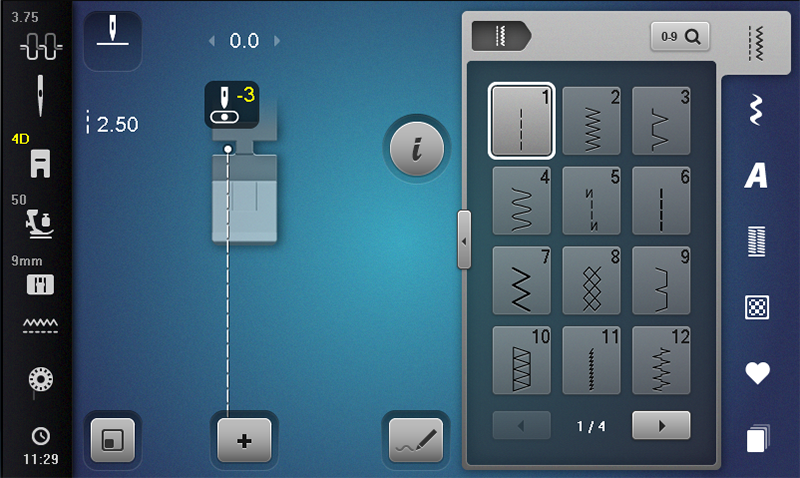
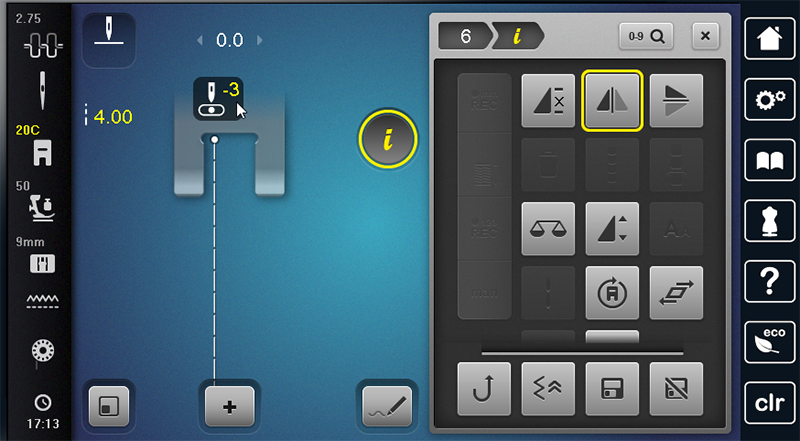
For the third row move the needle position to a -3 and stitch.
For the final row touch Mirror Image Left/Right to deactivate and stitch row four.
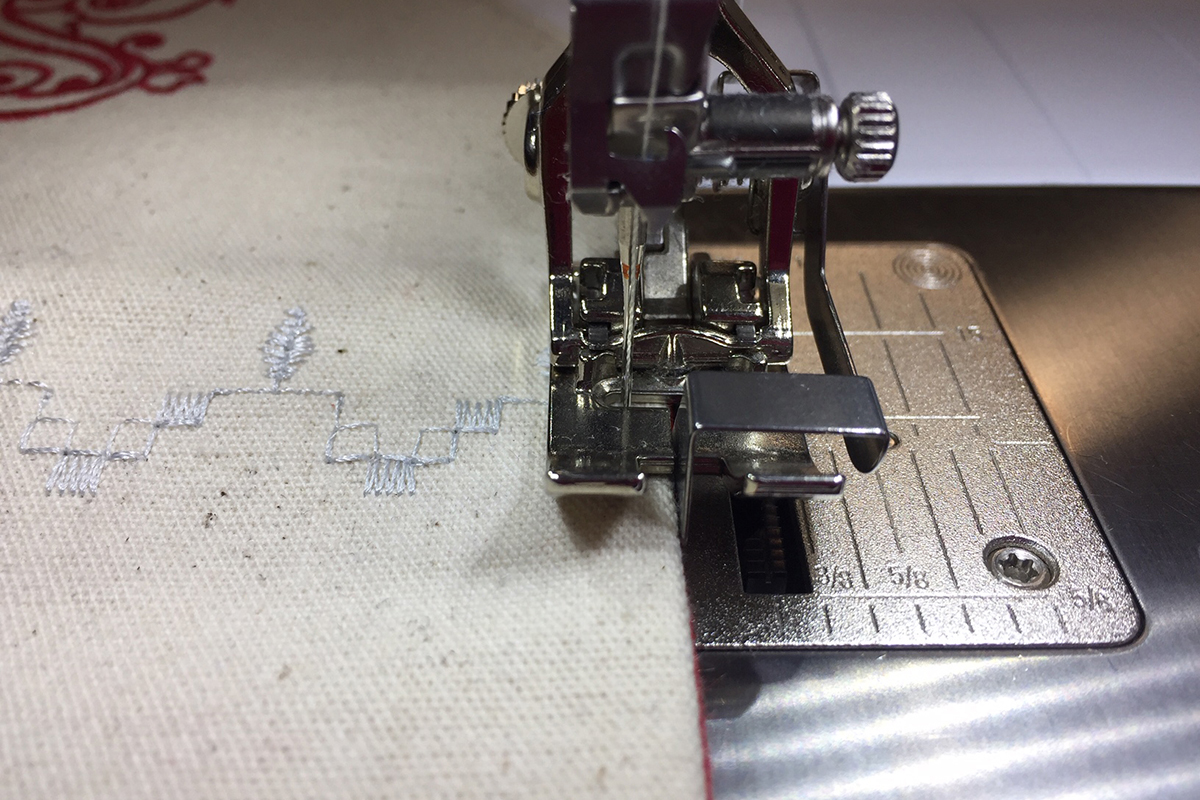
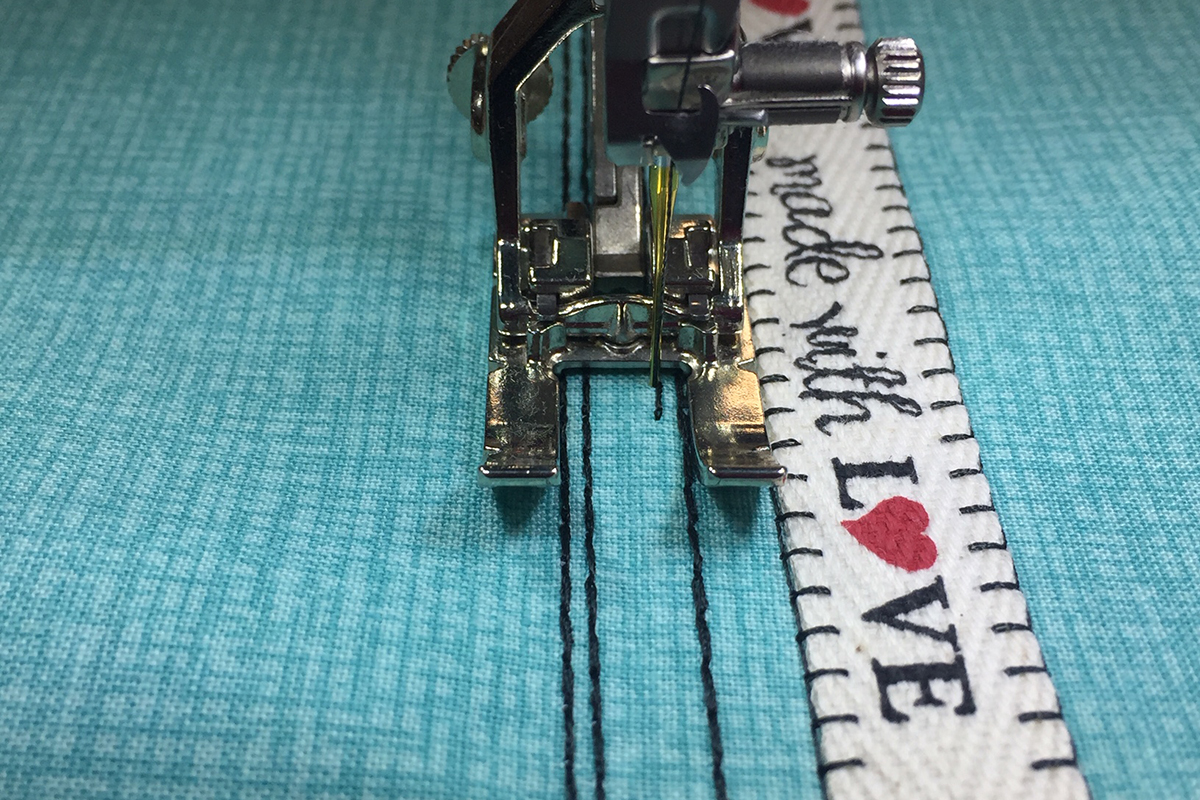
Finished stitch combination.
This is also very effective when using decorative stitches that are narrower than 9mm. Using Mirror Image Left/Right and changing needle position it can really assist in the precise placement of rows of stitching and opens up so many more creative possibilities with stitches.
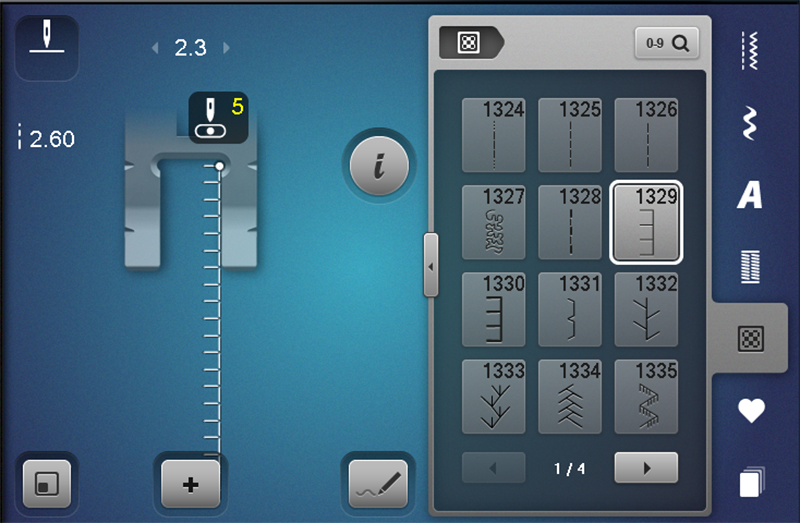
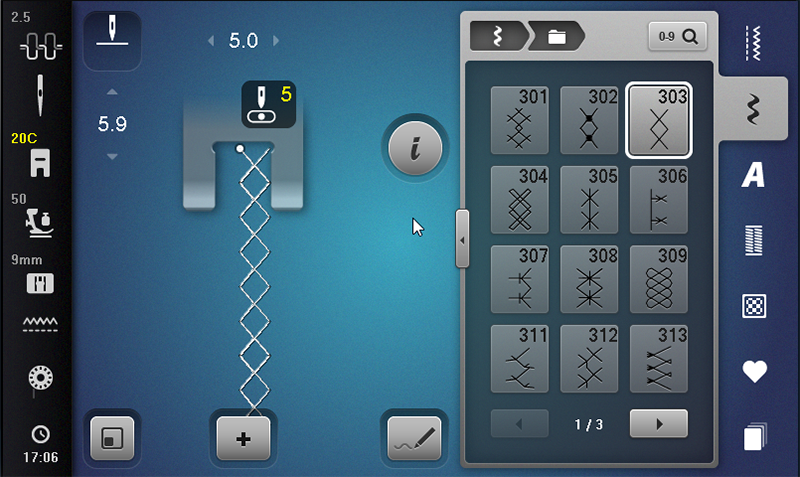
This example using stitch #303, a stitch that is only 5mm wide.
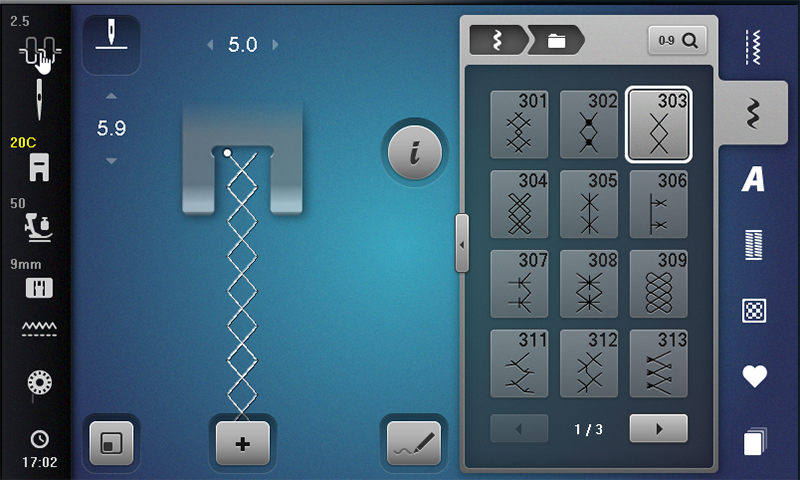
Move the needle position to 5, the far right position and stitch.
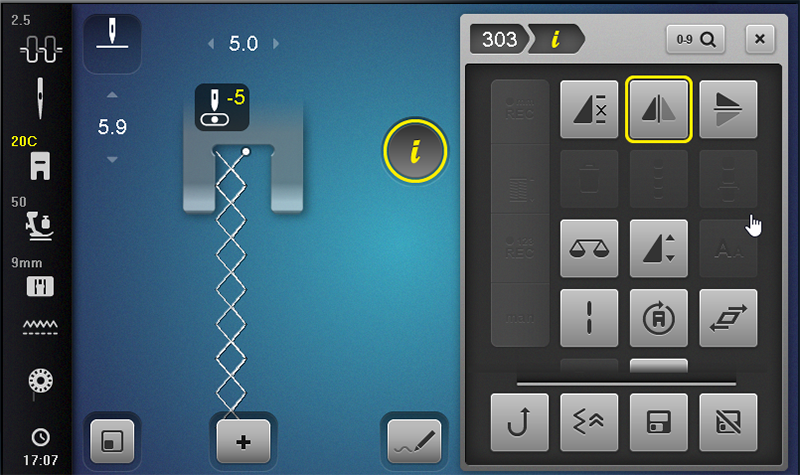
After the first row is complete touch Mirror Image Left/Right and stitch the second row.
Finished stitch combination.
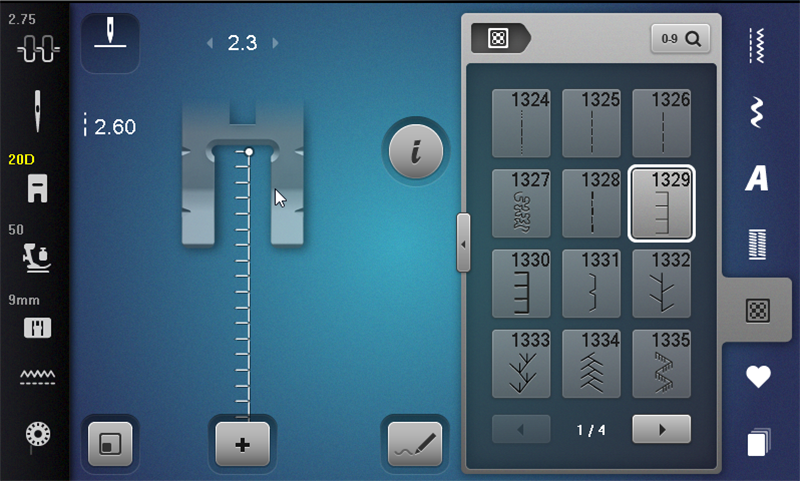
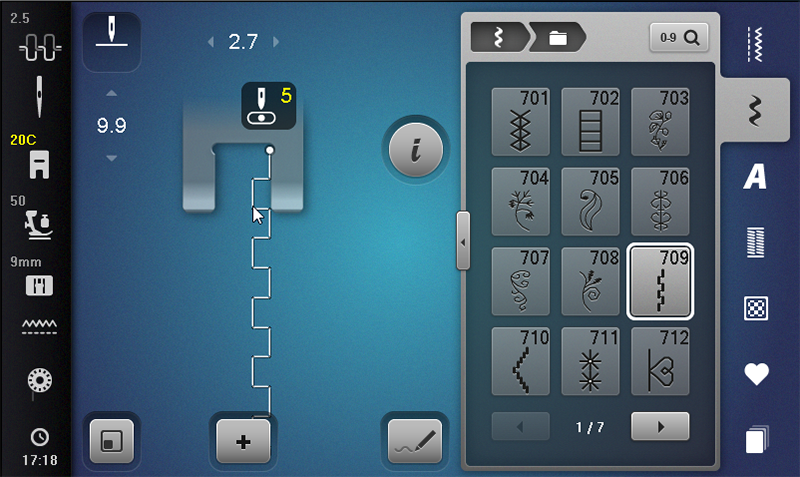
Here’s another example of changing the needle position and Mirror Image Left/Right used on stitch # 709.
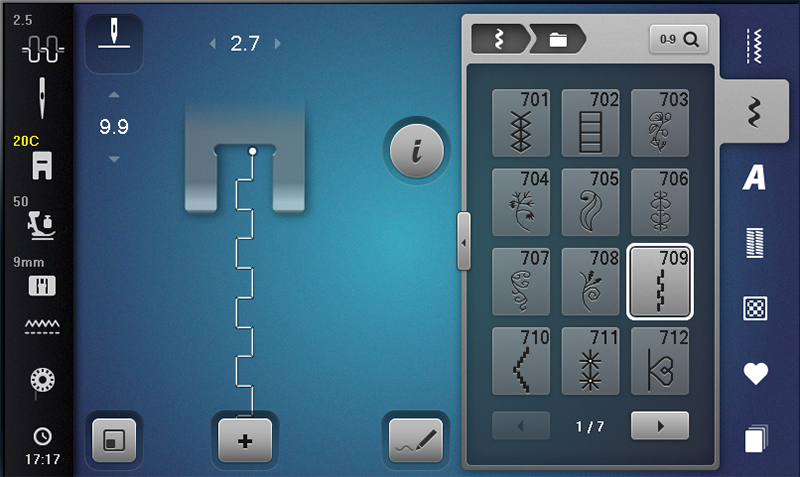
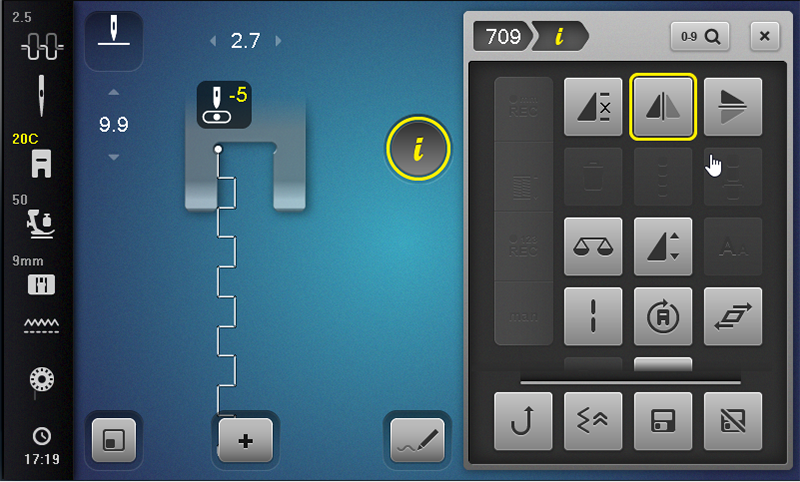
Move the needle position to 5, the far right, stitch the first row.
After the first row is complete touch Mirror Image Left/Right and stitch the second row.
Finished stitch combination.
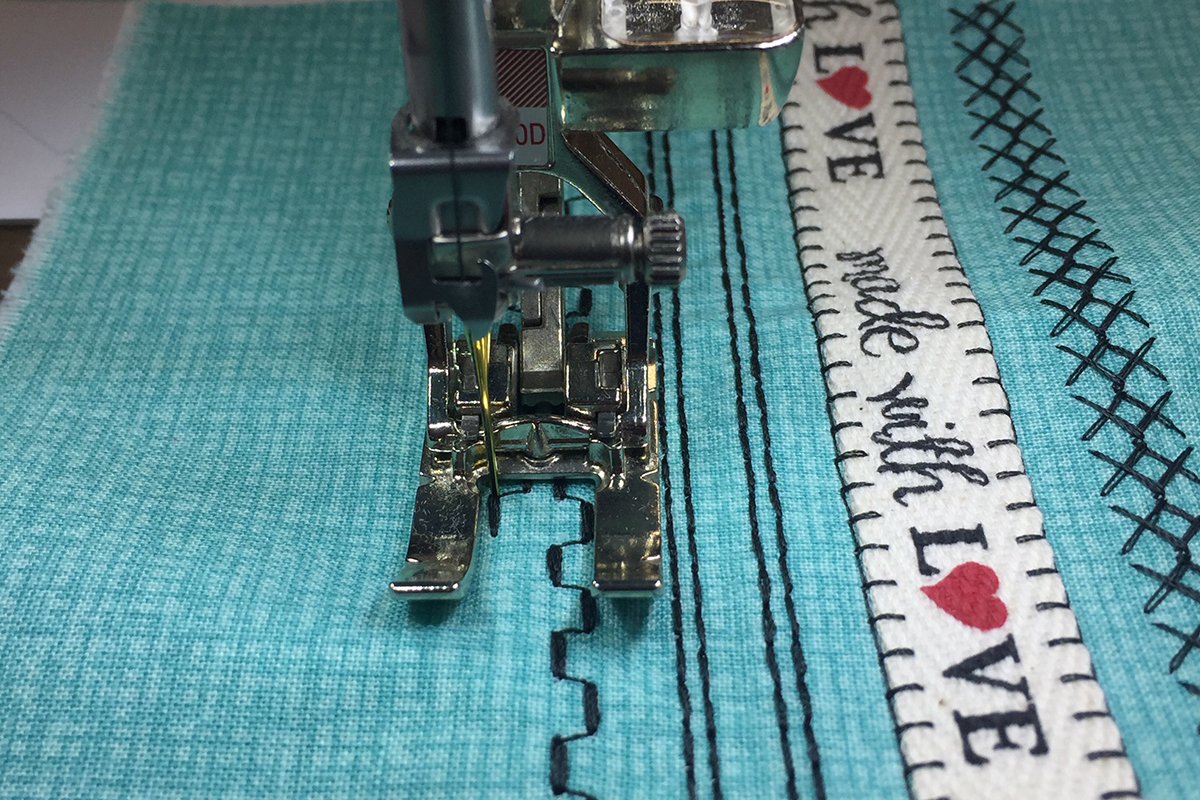
Here if the result of combining all the examples here to create a stitch band.
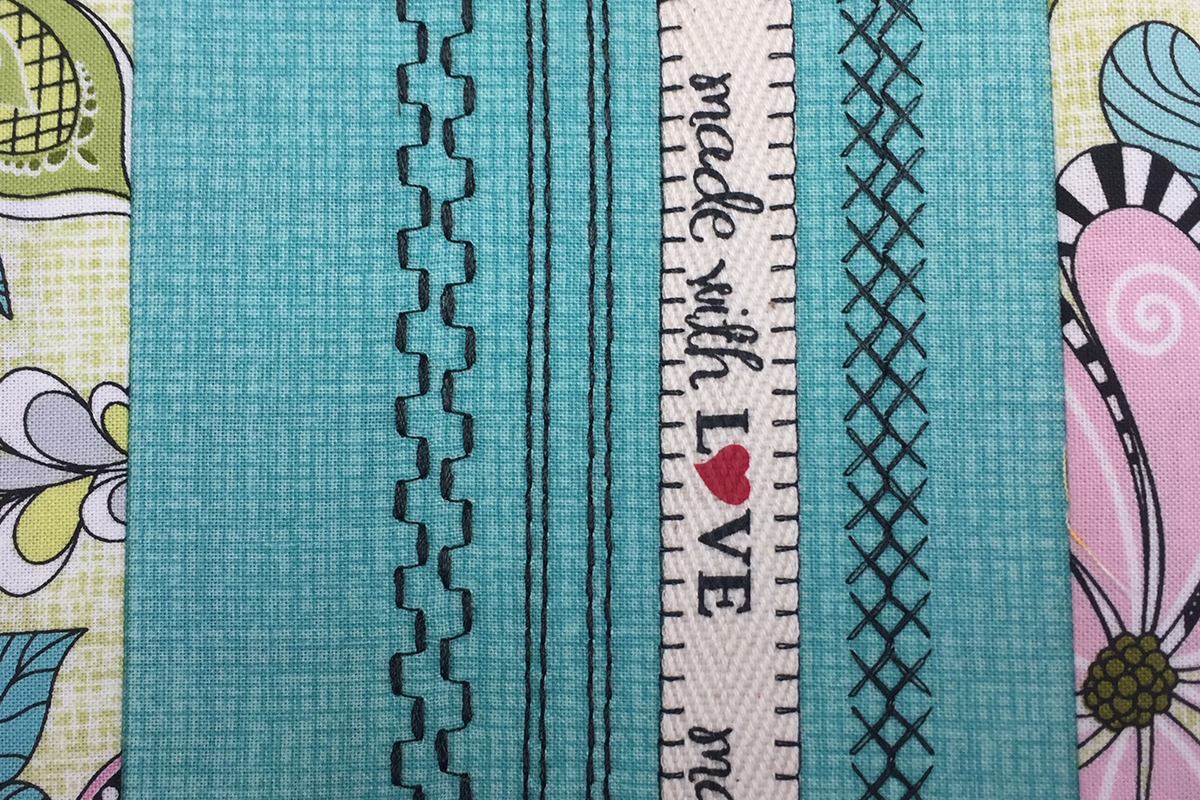
With 11 needle positions, you will just move the needle position instead of moving the fabric or marking the fabric for stitch placement. This option is like having a sewing assistant!
So be sure and take full advantage the ability to change the needle position on the machine to sew stitches exactly where you want them to be positioned on your project.
Follow these tips for changing needle position:
• Align the machine foot to your desired position and change the position of the needle to place the stitching line right where you want it.
• As you are stitching, always keep your eyes following the guide on the machine or the foot instead of the sewing needle; this will help you to keep your stitching straight.
• By changing the needle position and using the guide on the presser foot, you can sew any distance from the seam you choose.
• Practice stitching on scraps of fabric prior to stitching on your final project so you will be placing stitches exactly where you want them. With the best presser foot for the job selected combined with changing the needle position, you will be stitching like a pro.
• The best results when stitching decorative stitches will be achieved by using a light weight tear away stabilizer. Using a stabilizer will eliminate the fabric pull that puckers the fabric and prevents successful stitch placement.
The more you experiment with the needle position settings, the more skilled you will become. Check out the different settings on your BERNINA sewing machine today and see what a difference changing the needle position can make.


What you might also like


2 comments on “BERNINA Features: 11 Needle Positions”
-
-
With so many stitches I think we sometimes forget we can modify them by simply mirroring or changing the width, size or length to get more use from each stitch. Great topic
Leave a Reply
You must be logged in to post a comment.

Excellent information! Thank you.