Sewing with a Twin Needle
Ever had that T-shirt that is too long to wear? What about that dress that needs a shorter hem? Why keep ignoring that item in the closet when you could easily fix it yourself!
Many knit fabrics can be difficult to sew on, but stitching with a twin needle can help your hemming and altering go easier. Get that store-bought quality everyone is looking for, but do it yourself with a twin needle and a basic hemming technique!
Items Needed:
- Garment to be altered
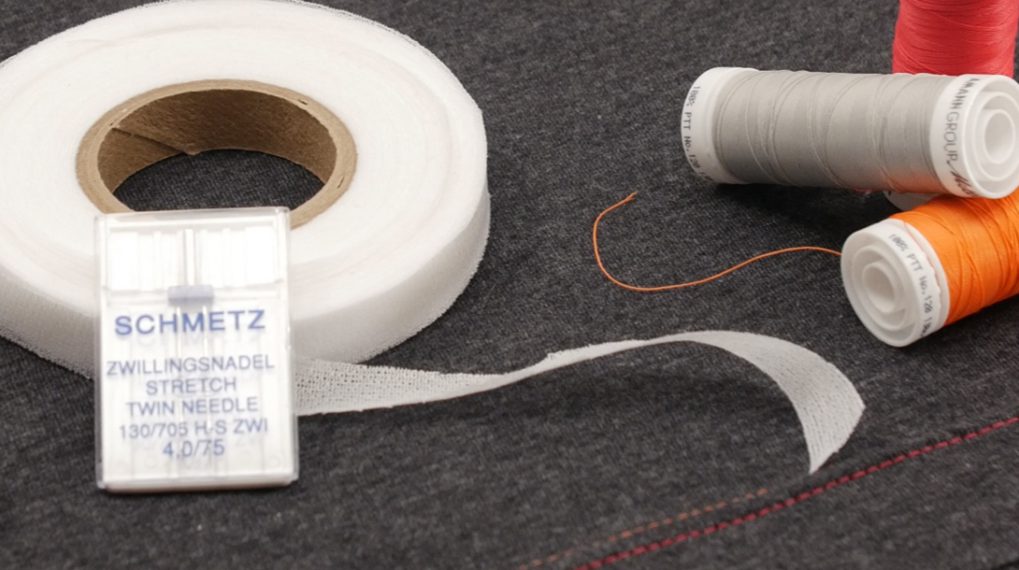
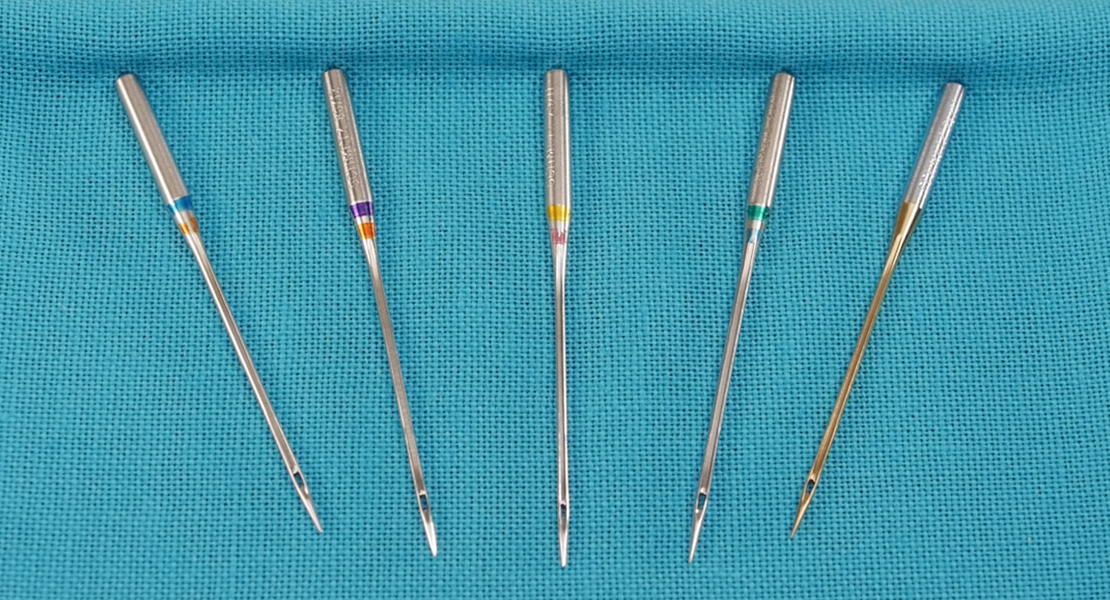
- Twin (Double) needle
- Presser foot of choice
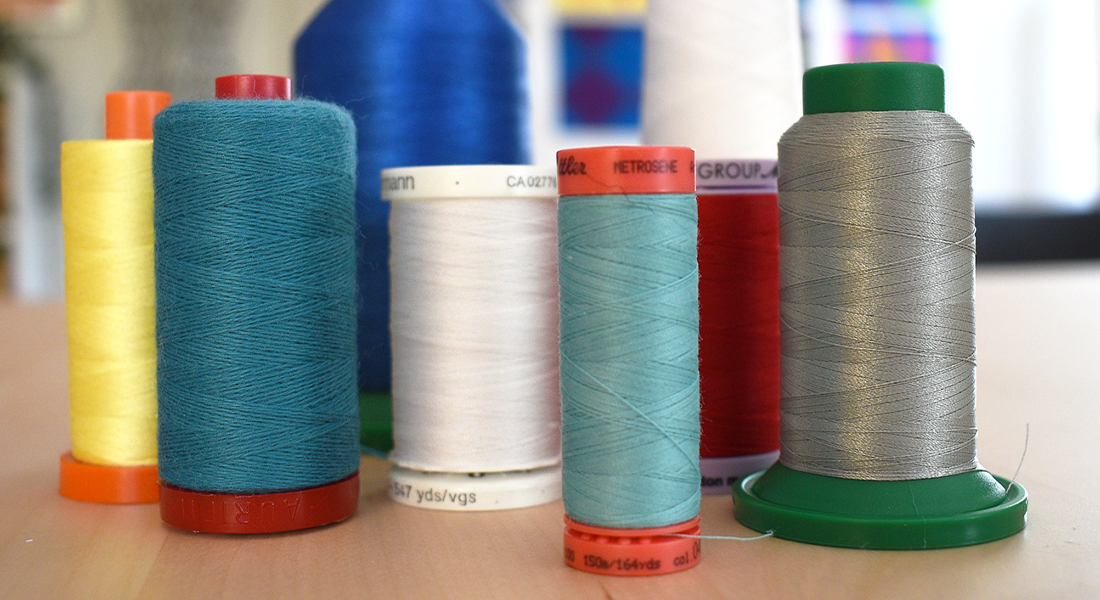
- Matching thread (two spools) and bobbin
- Seam gauge for marking
- Chalk or marking pen
- Pins
And of course, you will need a sewing machine. I used the new BERNINA 480 Sewing Machine. This machine has so many different great features!
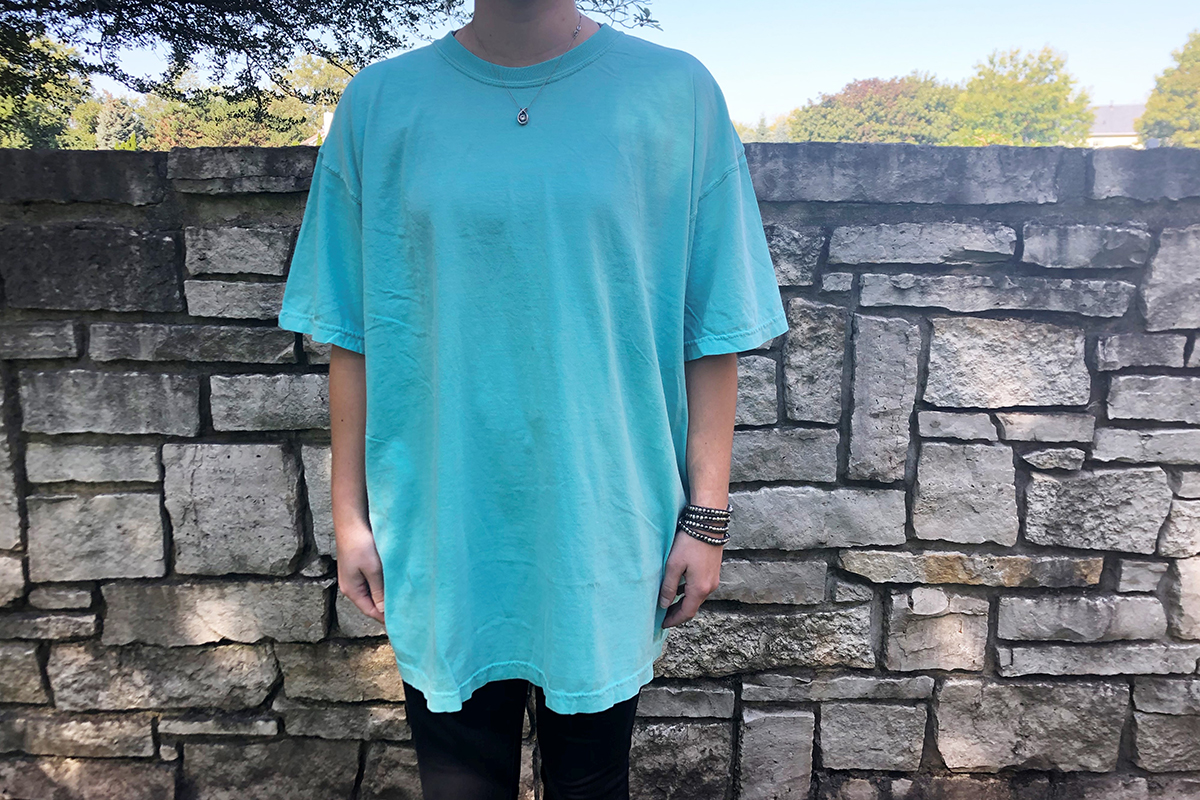
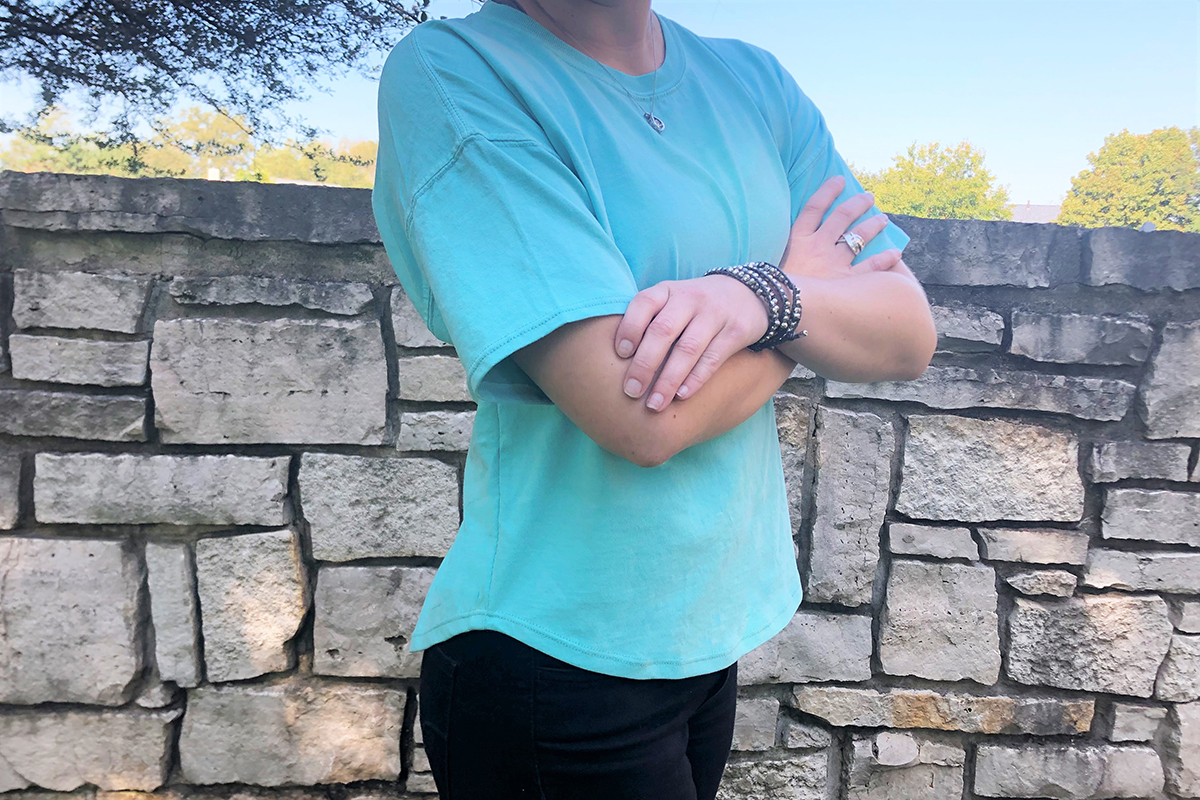
As seen in the picture, this shirt was far too big for me. I had purchased the shirt for a class project, but it never got used. I decided it would better suit my wardrobe if I transformed it into a high-low hemline shirt.
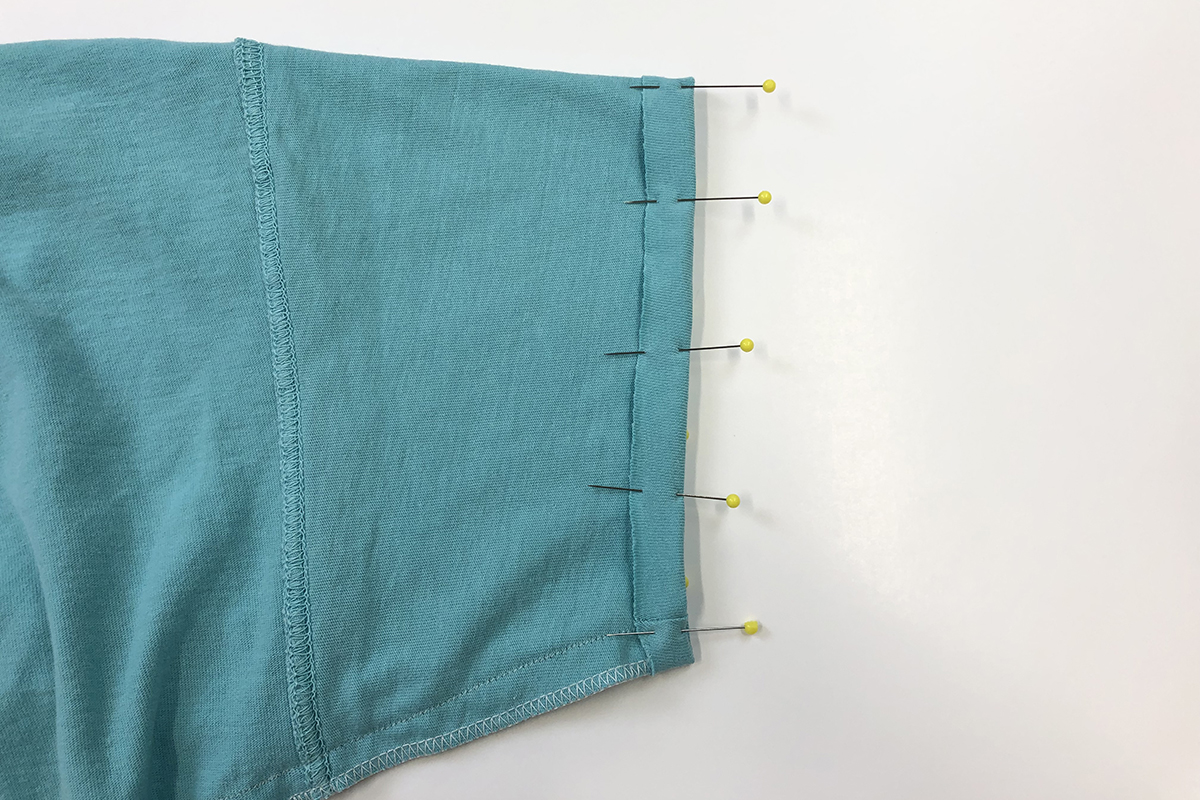
I started by fitting the shirt to my own body measurements. To do this, try on the shirt first and measure how much should be taken in on both sides. It may work best to try on the shirt inside out and pin down the seamline to create a comfortable fit. Be sure to mark the arm hole, as well.
After removing the shirt, pin completely down the side seams, starting under the arm. For an accurate alteration on each side, measure the amount taken in on one side and repeat that on the other side. If needed, mark the stitch line for the new seams with chalk or another marking pen. Sew the new seams for both sides. It is recommended to use super stretch stitch #11 for seaming stretchy fabrics.
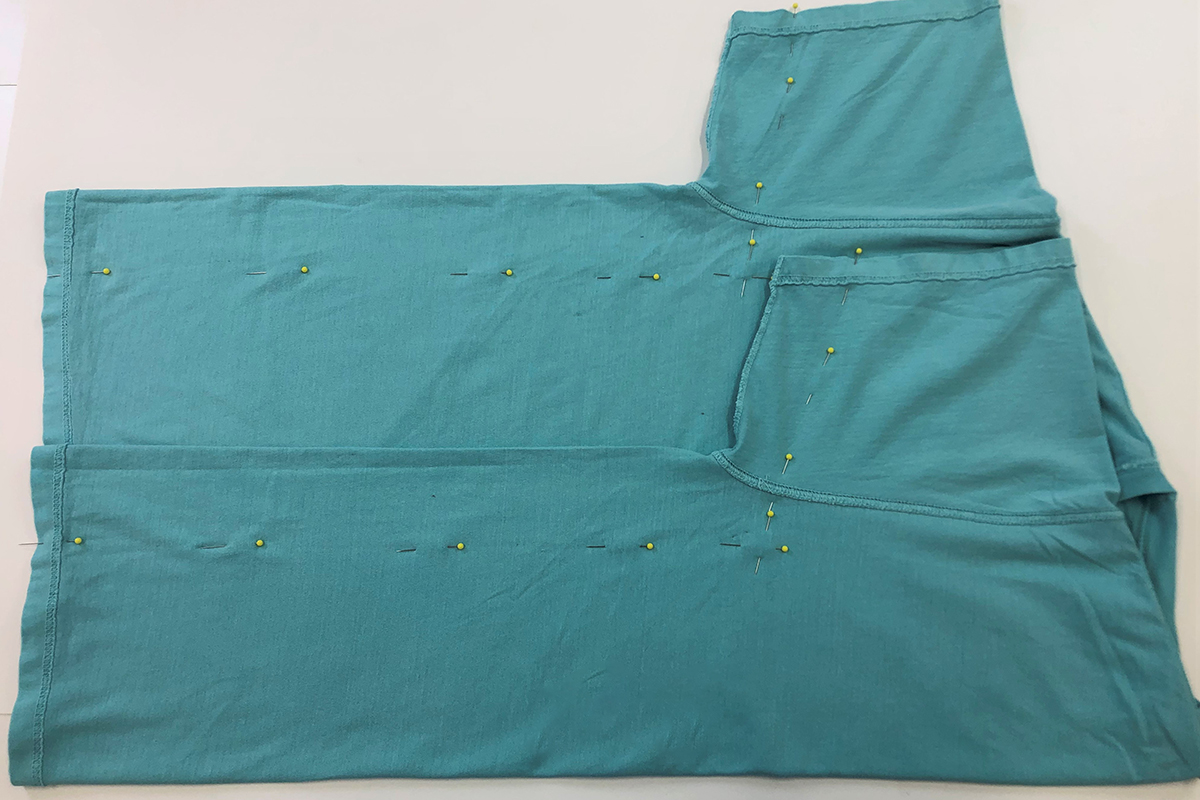
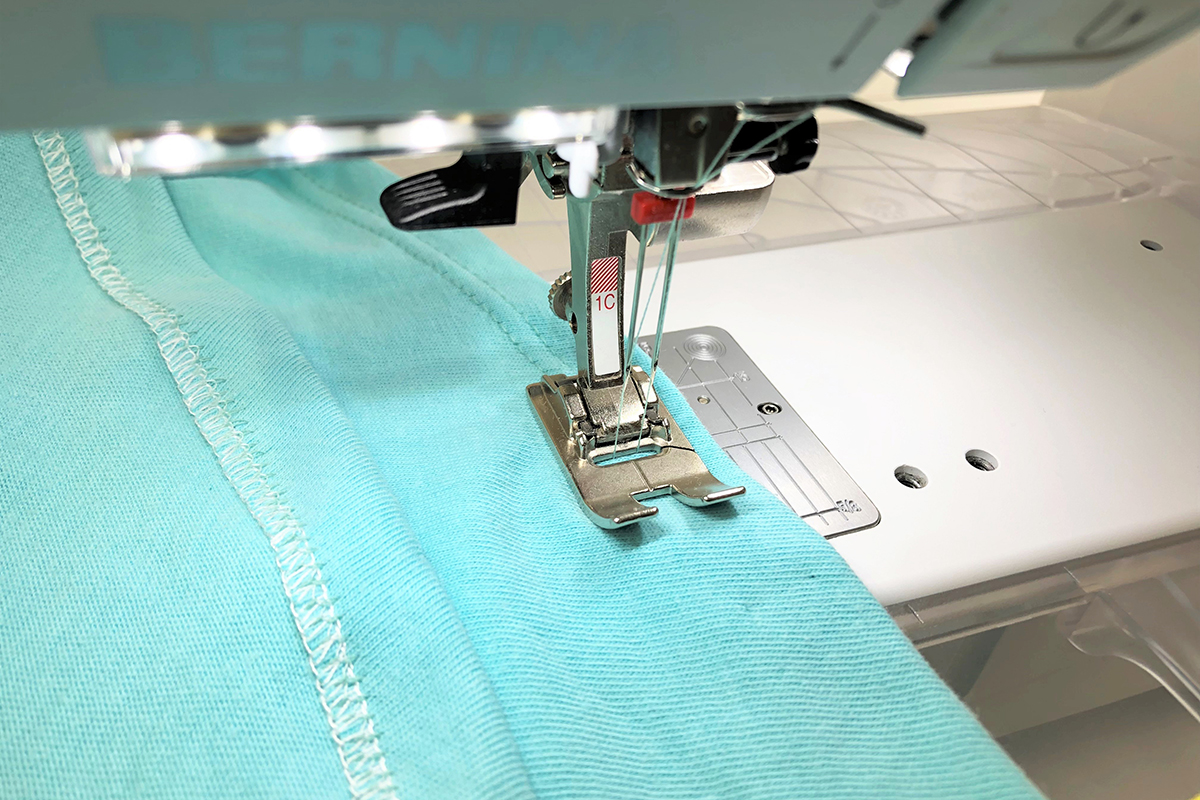
It never hurts to overlock the edges! I prefer to trim down the newly sewn seams to reduce bulk and finish them for a clean look. You may choose to overlock the edges together with an overlocker, zigzag stitch over them, or leave them as they are.
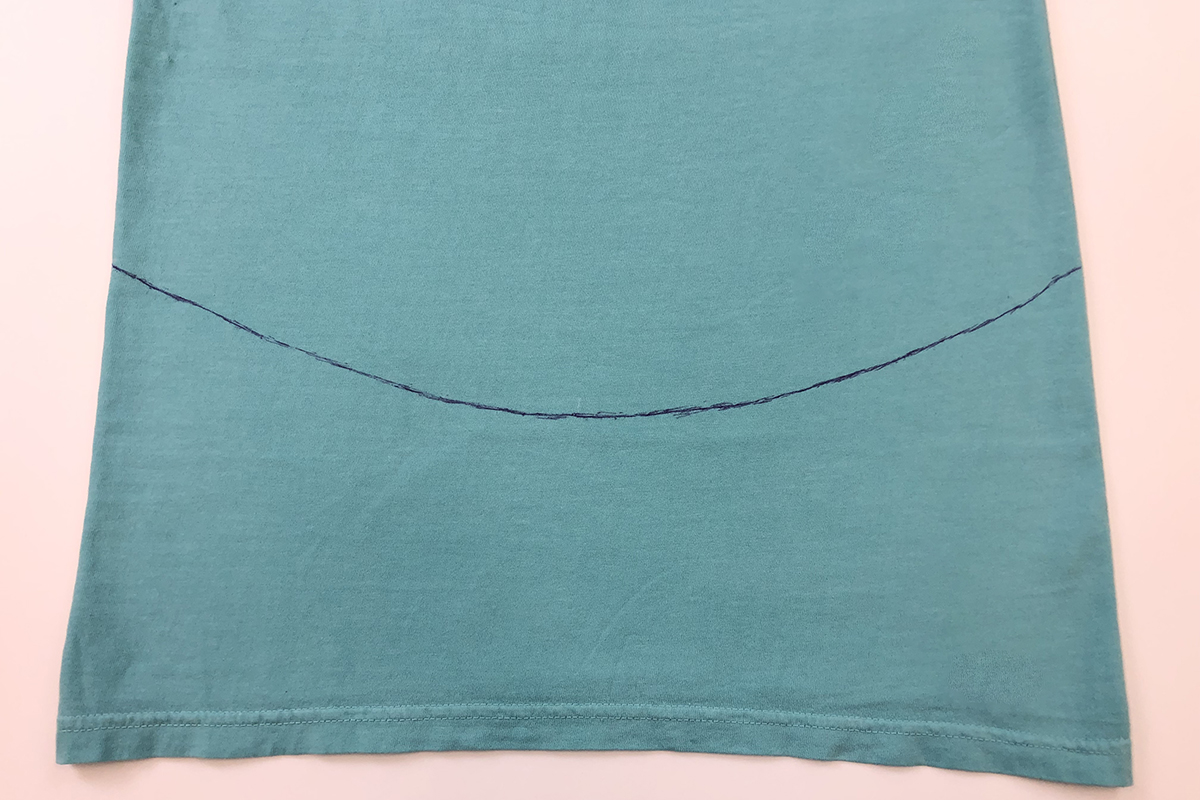
Now that the alterations are done and the shirt has a better fit, we can begin working on the hem of this high-low shirt. Mine has a bit of a scoop in the front and back, and has higher points on both of the side seams. I traced my new hem using a Frixion Pen. I used this because I knew I would be cutting off the excess and the color stood out against the color of the tee shirt, making it easier to see.
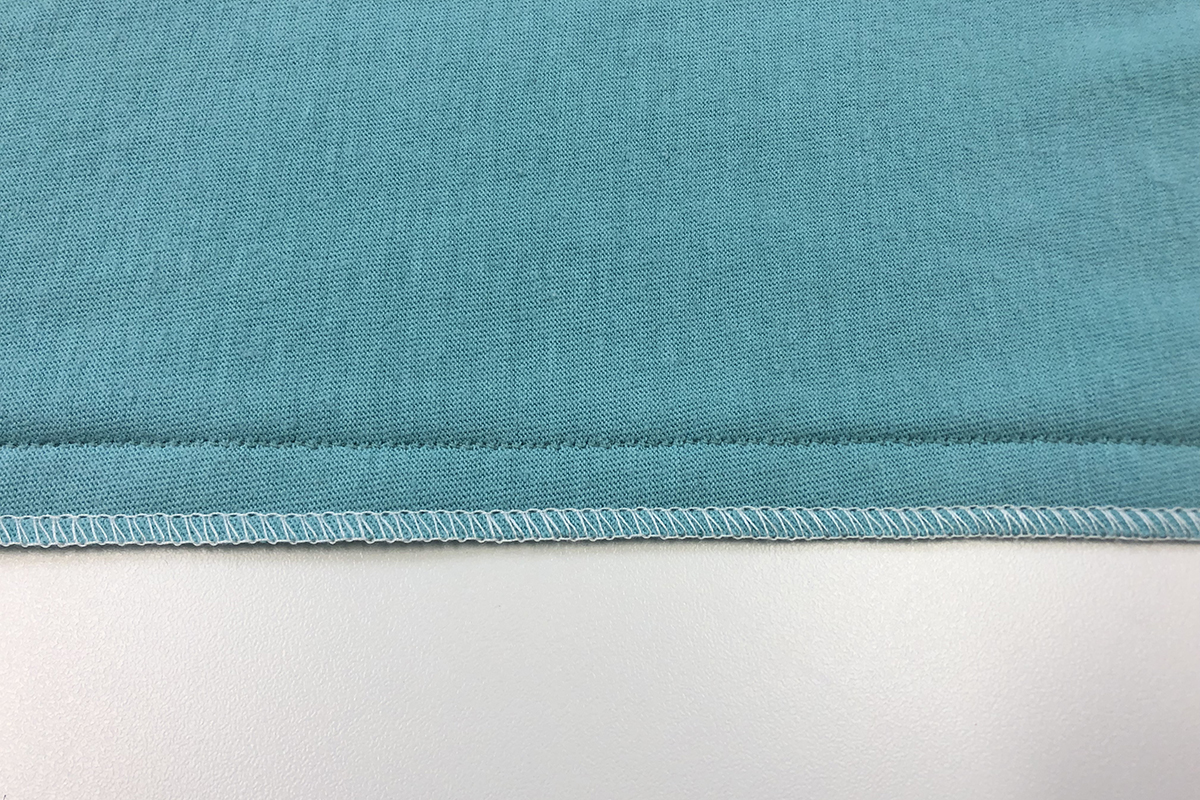
I then overlocked the edge to finish the raw edge and cut off the excess that was not going to be used at the same time.
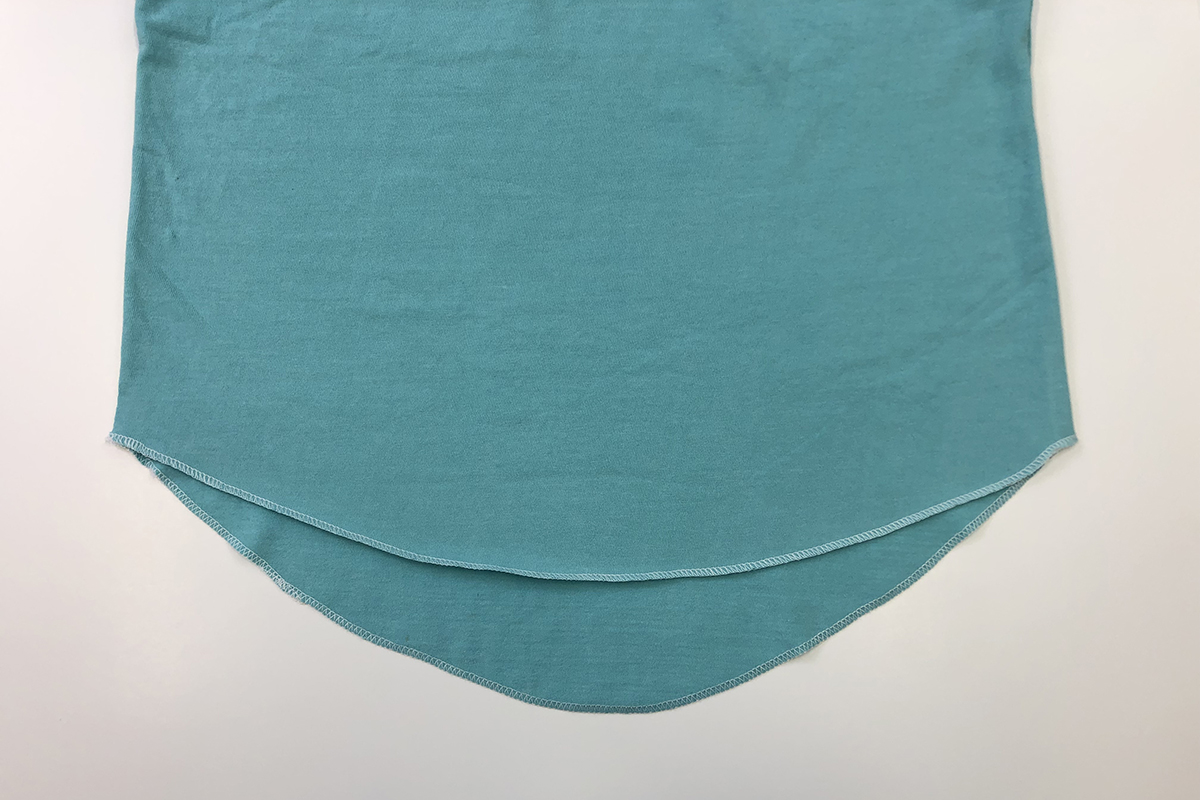
If you wish not to overlock the edge, trim the excess fabric around the curve to be 3/4” from your chalk line. You can use fabric shears or a rotary cutter to do this. This is the method I used on the sleeves.
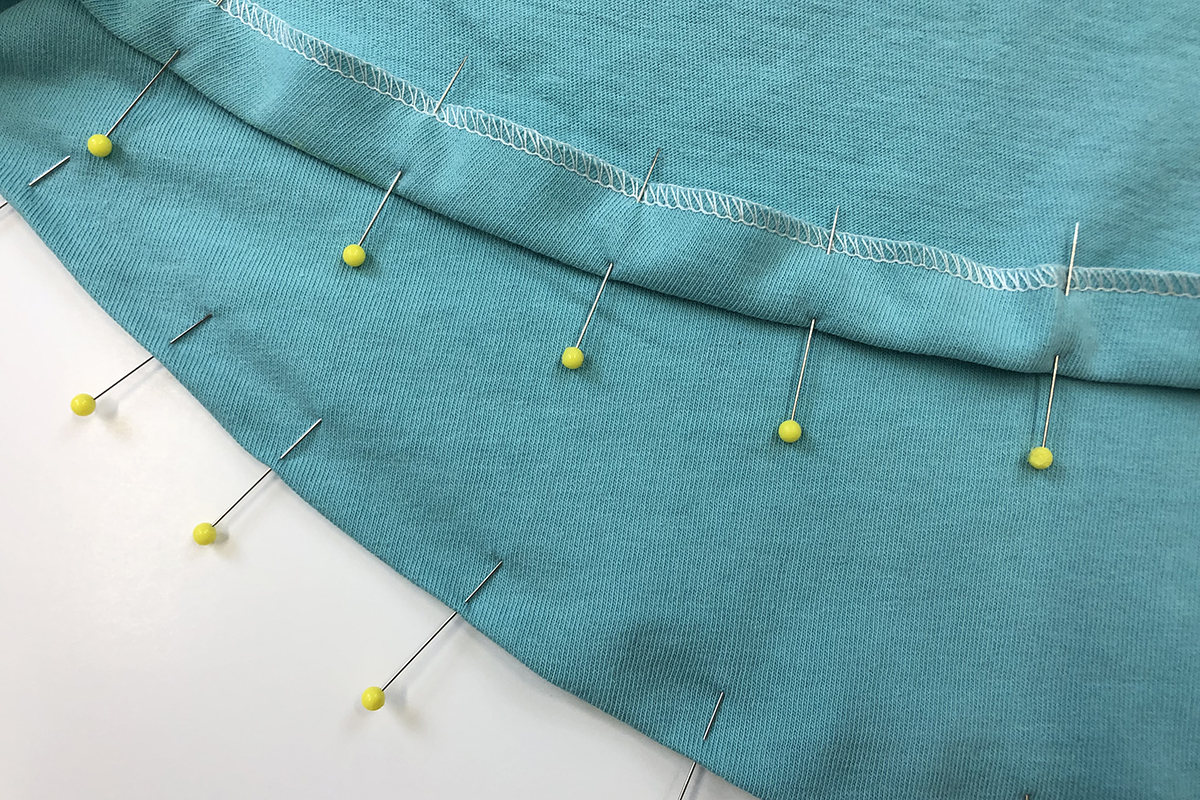
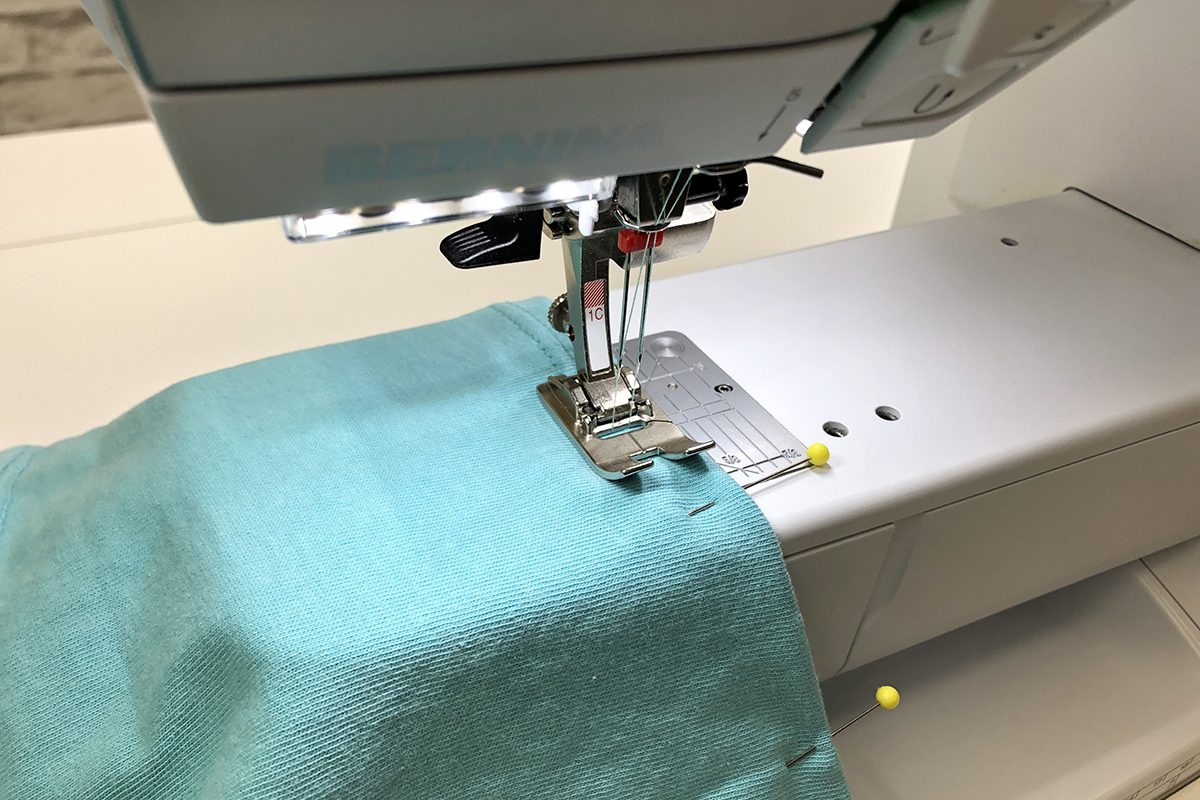
The next step is to turn up the overlocked (or raw) edge and pin in place. I pinned my hem up at 3/4” and my sleeves at 5/8”, but you may choose to do less or more depending on your curve and material. A straight hem with little curve, much like that of a sleeve, will not need as wide of a hem allowance.
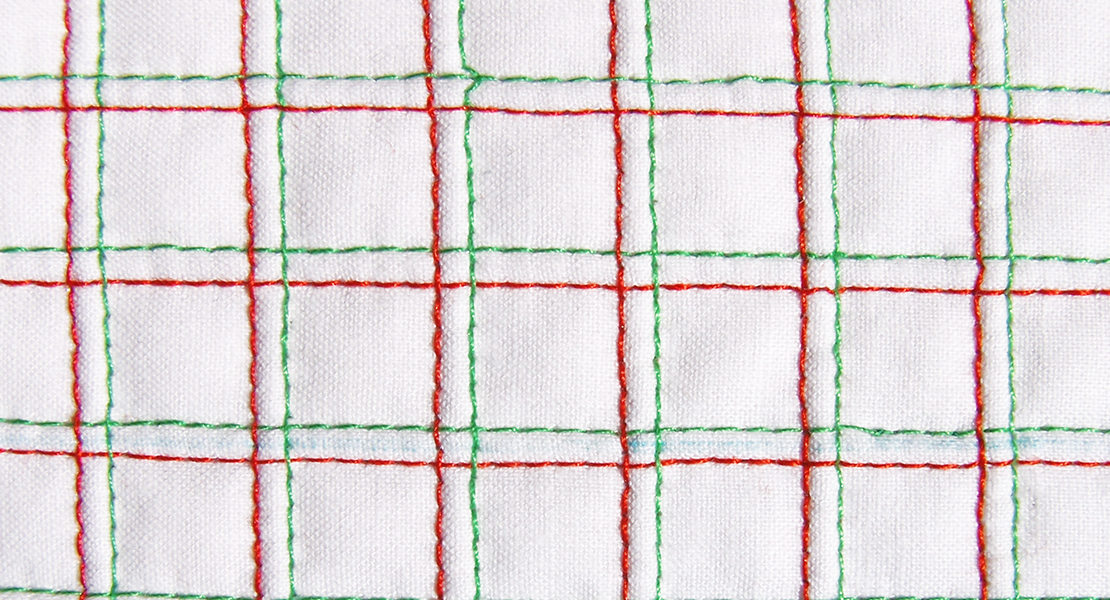
We are almost ready to start sewing! First, we need to thread the twin needle. You will need two spools of thread and a bobbin for this technique. Both spool towers will be used (the horizontal one and the vertical one that flips up). Starting with one spool of thread on the horizontal spool tower, thread the sewing machine normally. Guide the first thread to the right of the tension disk. When you get to threading the twin needle, thread through the right needle. Place the second spool on the vertical tower and thread normally, this time guiding the thread to the left side of tension disk and threading the left-side needle. You may find it easier to grab both threads at once and thread the machine simultaneously until you get to the needle. Do what is comfortable for you! You may also find it easier to thread the needles with the presser foot off.
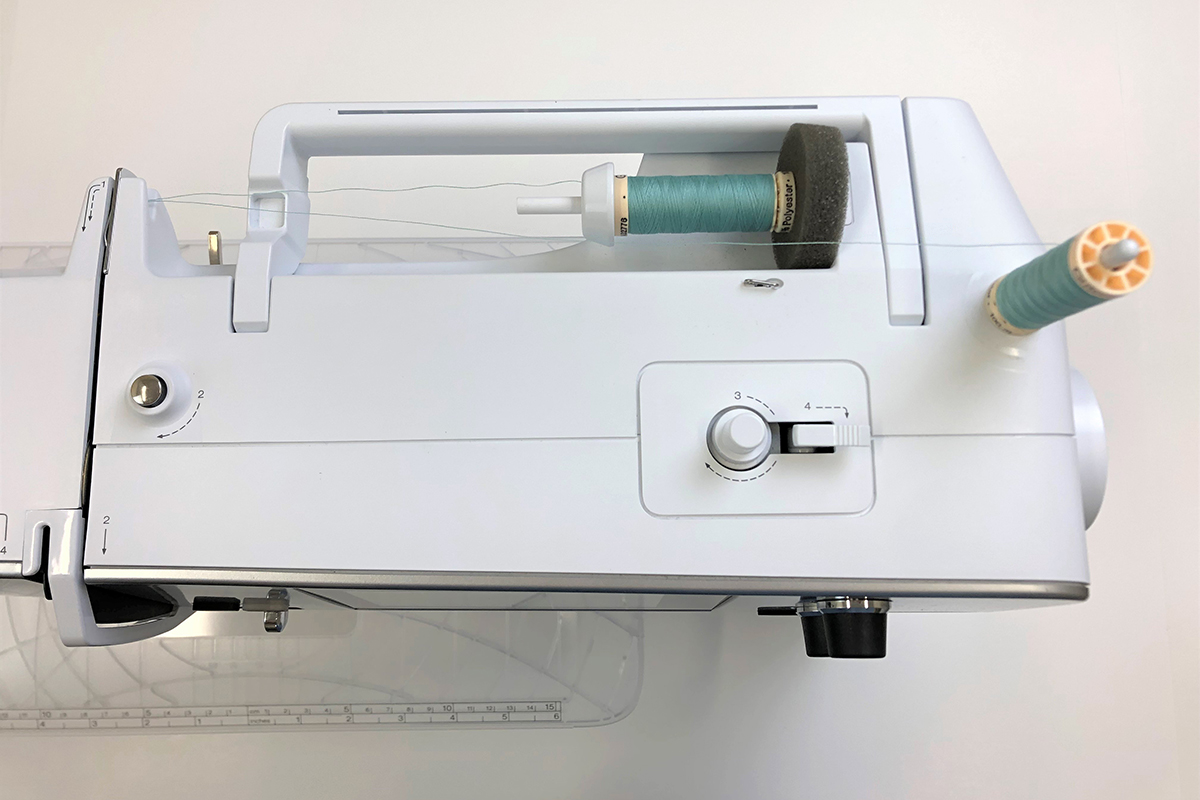
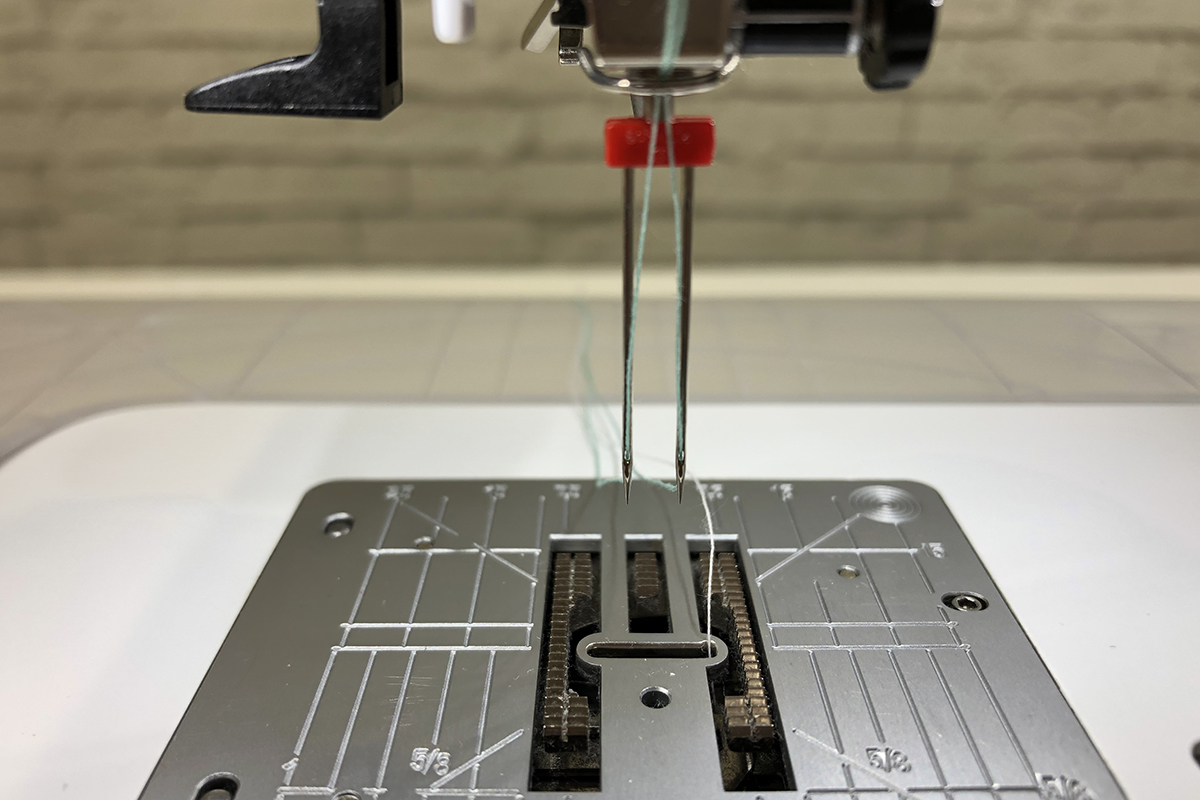
Insert the Jumbo Bobbin normally and attach your chosen foot. Take a couple of practice stitches on some spare fabric to ensure that the machine was threaded properly!
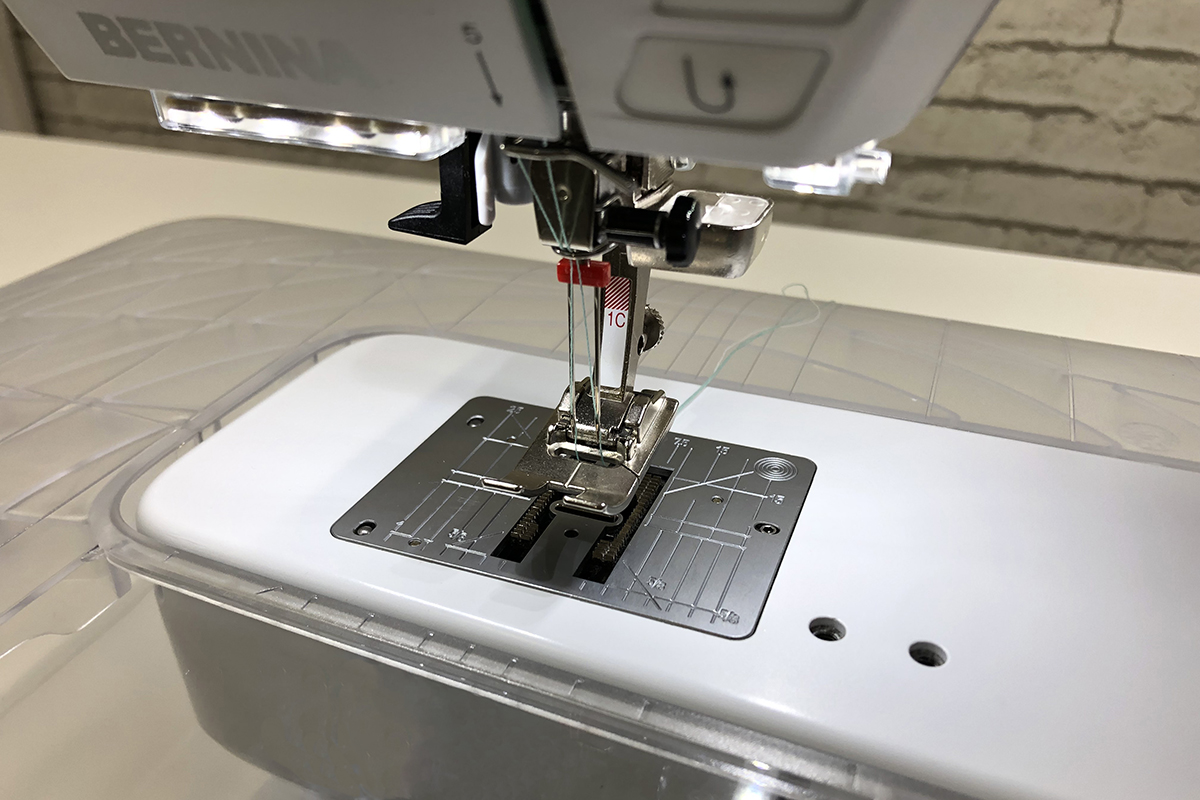
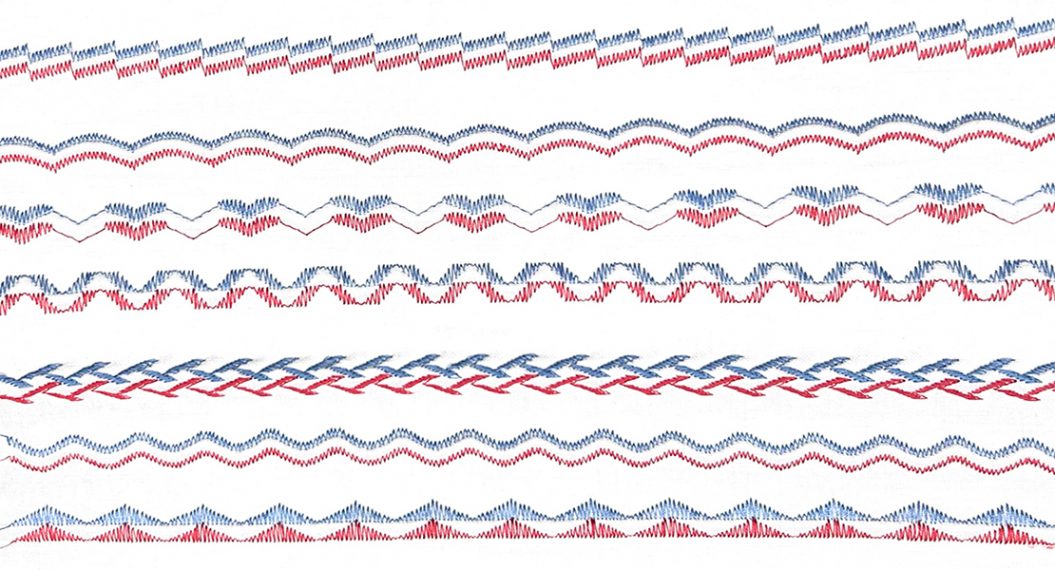
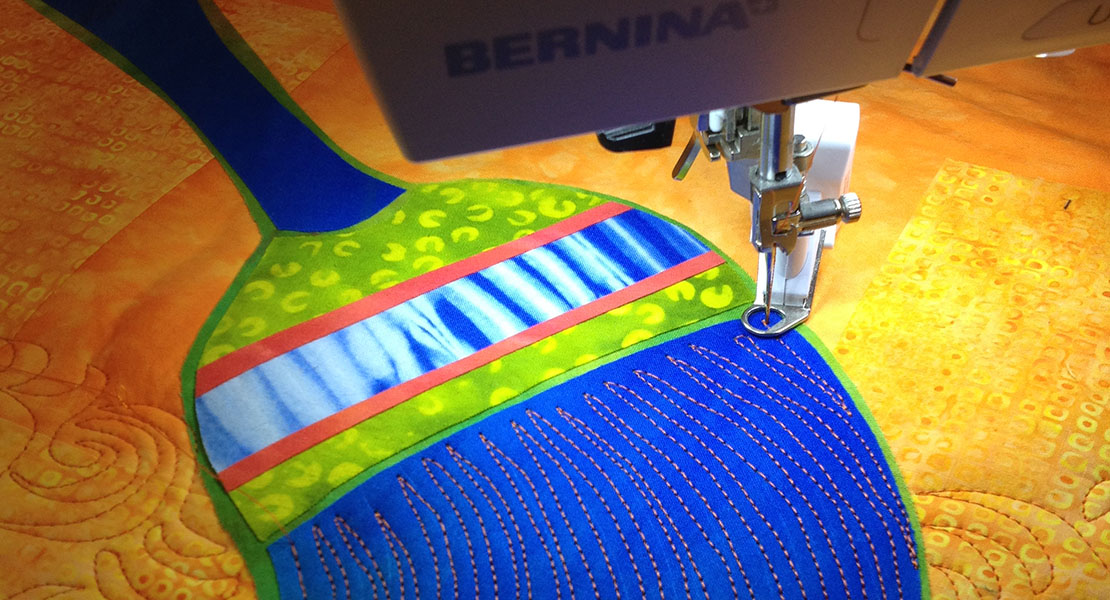
Now let’s start sewing! First, increase your stitch length to do topstitching. I choose to increase mine to 3.25 mm. You will have to stitch on the right side of the garment, as the bobbin thread simply moves back and forth between both needles, creating a zigzag-type effect on the back. Line up the edge of the fabric with the presser foot, or one of the lines on the bed of the machine. Stitch normally all the way around the hem. Repeat for the sleeves.
Repeat for the sleeves
Just like that, you have a completed look! Other projects that you could take on with the twin needle are turning a long-sleeved shirt into a short-sleeved shirt, shortening the sleeve length, or hemming a dress or pair of pants! Enjoy wearing your newly altered shirt! For more information on twin needles, their anatomy and sizing, as well as different twin needle techniques, refer to the Twin Needles eBook on bernina.com.
Used Products

What you might also like


7 comments on “Sewing with a Twin Needle”
-
-
Thank you! I agree with your rule of discarding a singular needle after completing a full garment.
I tend to hang on to my twin needles much longer because they are used less frequently. I do not have a formal way of tracking how often/how much use they are getting. Most of the time I look and listen for cues of dullness in my test sewing. Is there a loud popping noise during stitching? Are there any skipped stitches? These are typical signs that it is time to replace that twin needle! Always do a test sew first to ensure the needle is ready for your project!
-
-
I loosen my bobbin tension a bit to avoid tunnelling from the twin needle.
-
I have never had much success using a twin needle on t-shirts or athleisure knits, even when choosing a ballpoint version; the stitching tends to tunnel. How did you avoid that in your example? I have a B770 machine.
-
Loosing the tension should prevent any tunneling from happening. Make sure you are using the same weight of thread in the top and bobbin, as well.
-
-
I have used the twin needle for hemming knits for years. Recently, I was using it for machine quilting and I could not get the tension to look like it does using one or two layers of fabric. Should I have just let it be with the automatic tension setting? I ended up not using the twin needle this time although I have successfully quilted in the past.
-
There are definitely adjustments that should be made when switching from knits to a quilt sandwich.
For me, the first thing would be changing the type of twin needle being used. For knits, I use stretch twin needles, but I would switch to a universal twin needle for machine quilting. Secondly, depending on your model of sewing machine, you should adjust the presser foot pressure. Since there is more thickness going under the presser foot with a quilt top, batting, and backing fabric, you would want to lower the pressure. After checking both of those things, the tension might have to be adjusted slightly, but I would test sew with a quilt sandwich of the same thickness before beginning with the actual machine quilting.
-
Leave a Reply
You must be logged in to post a comment.

great post!
I have not worked with a twin needle yet. When do you know to discard/replace your twin-needle? Afaik the rule of thumb for needles is “Throw it away after using it for 1 garment”… but since you only use the twin needle for very certain process steps I am wondering how do you keep track of the usage?
thx!!