Twin and Triple Needles with BERNINA
Sewing with twin and triple needles may sound like an advanced technique but it’s simple to do and opens up another element of creativity. With these specialty needles, you can create dynamic visual effects and texture, especially when using different thread colors. And with the hundreds of decorative stitches in your BERNINA, you’ll have so much fun creating new stitch samples to use in future projects. You’ll be amazed at what your machine can do that you never knew!
Materials for Sewing with Twin and Triple Needles
- BERNINA 790 PRO
- BERNINA Open Embroidery Foot #20C
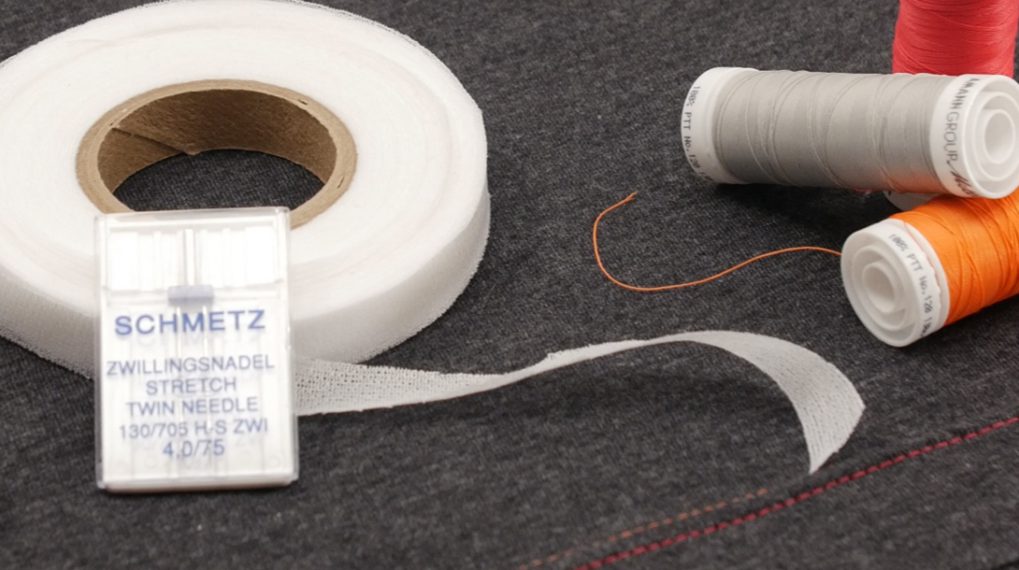
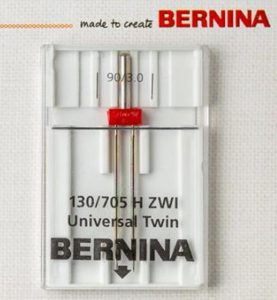
- BERNINA Twin Needles, size 3/80
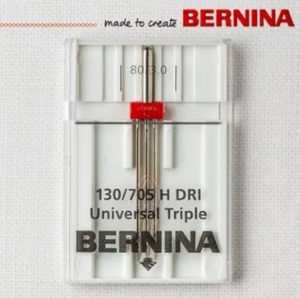
- BERNINA Triple Needle, size 3/80
- Fabric scraps – 8” x 10” pieces
- OESD Medium Weight Stabilizer – 8” x 10” pieces
- Mettler Silk-Finish Cotton 50 thread, 2 spools
- 1 extra bobbin
- Tweezers
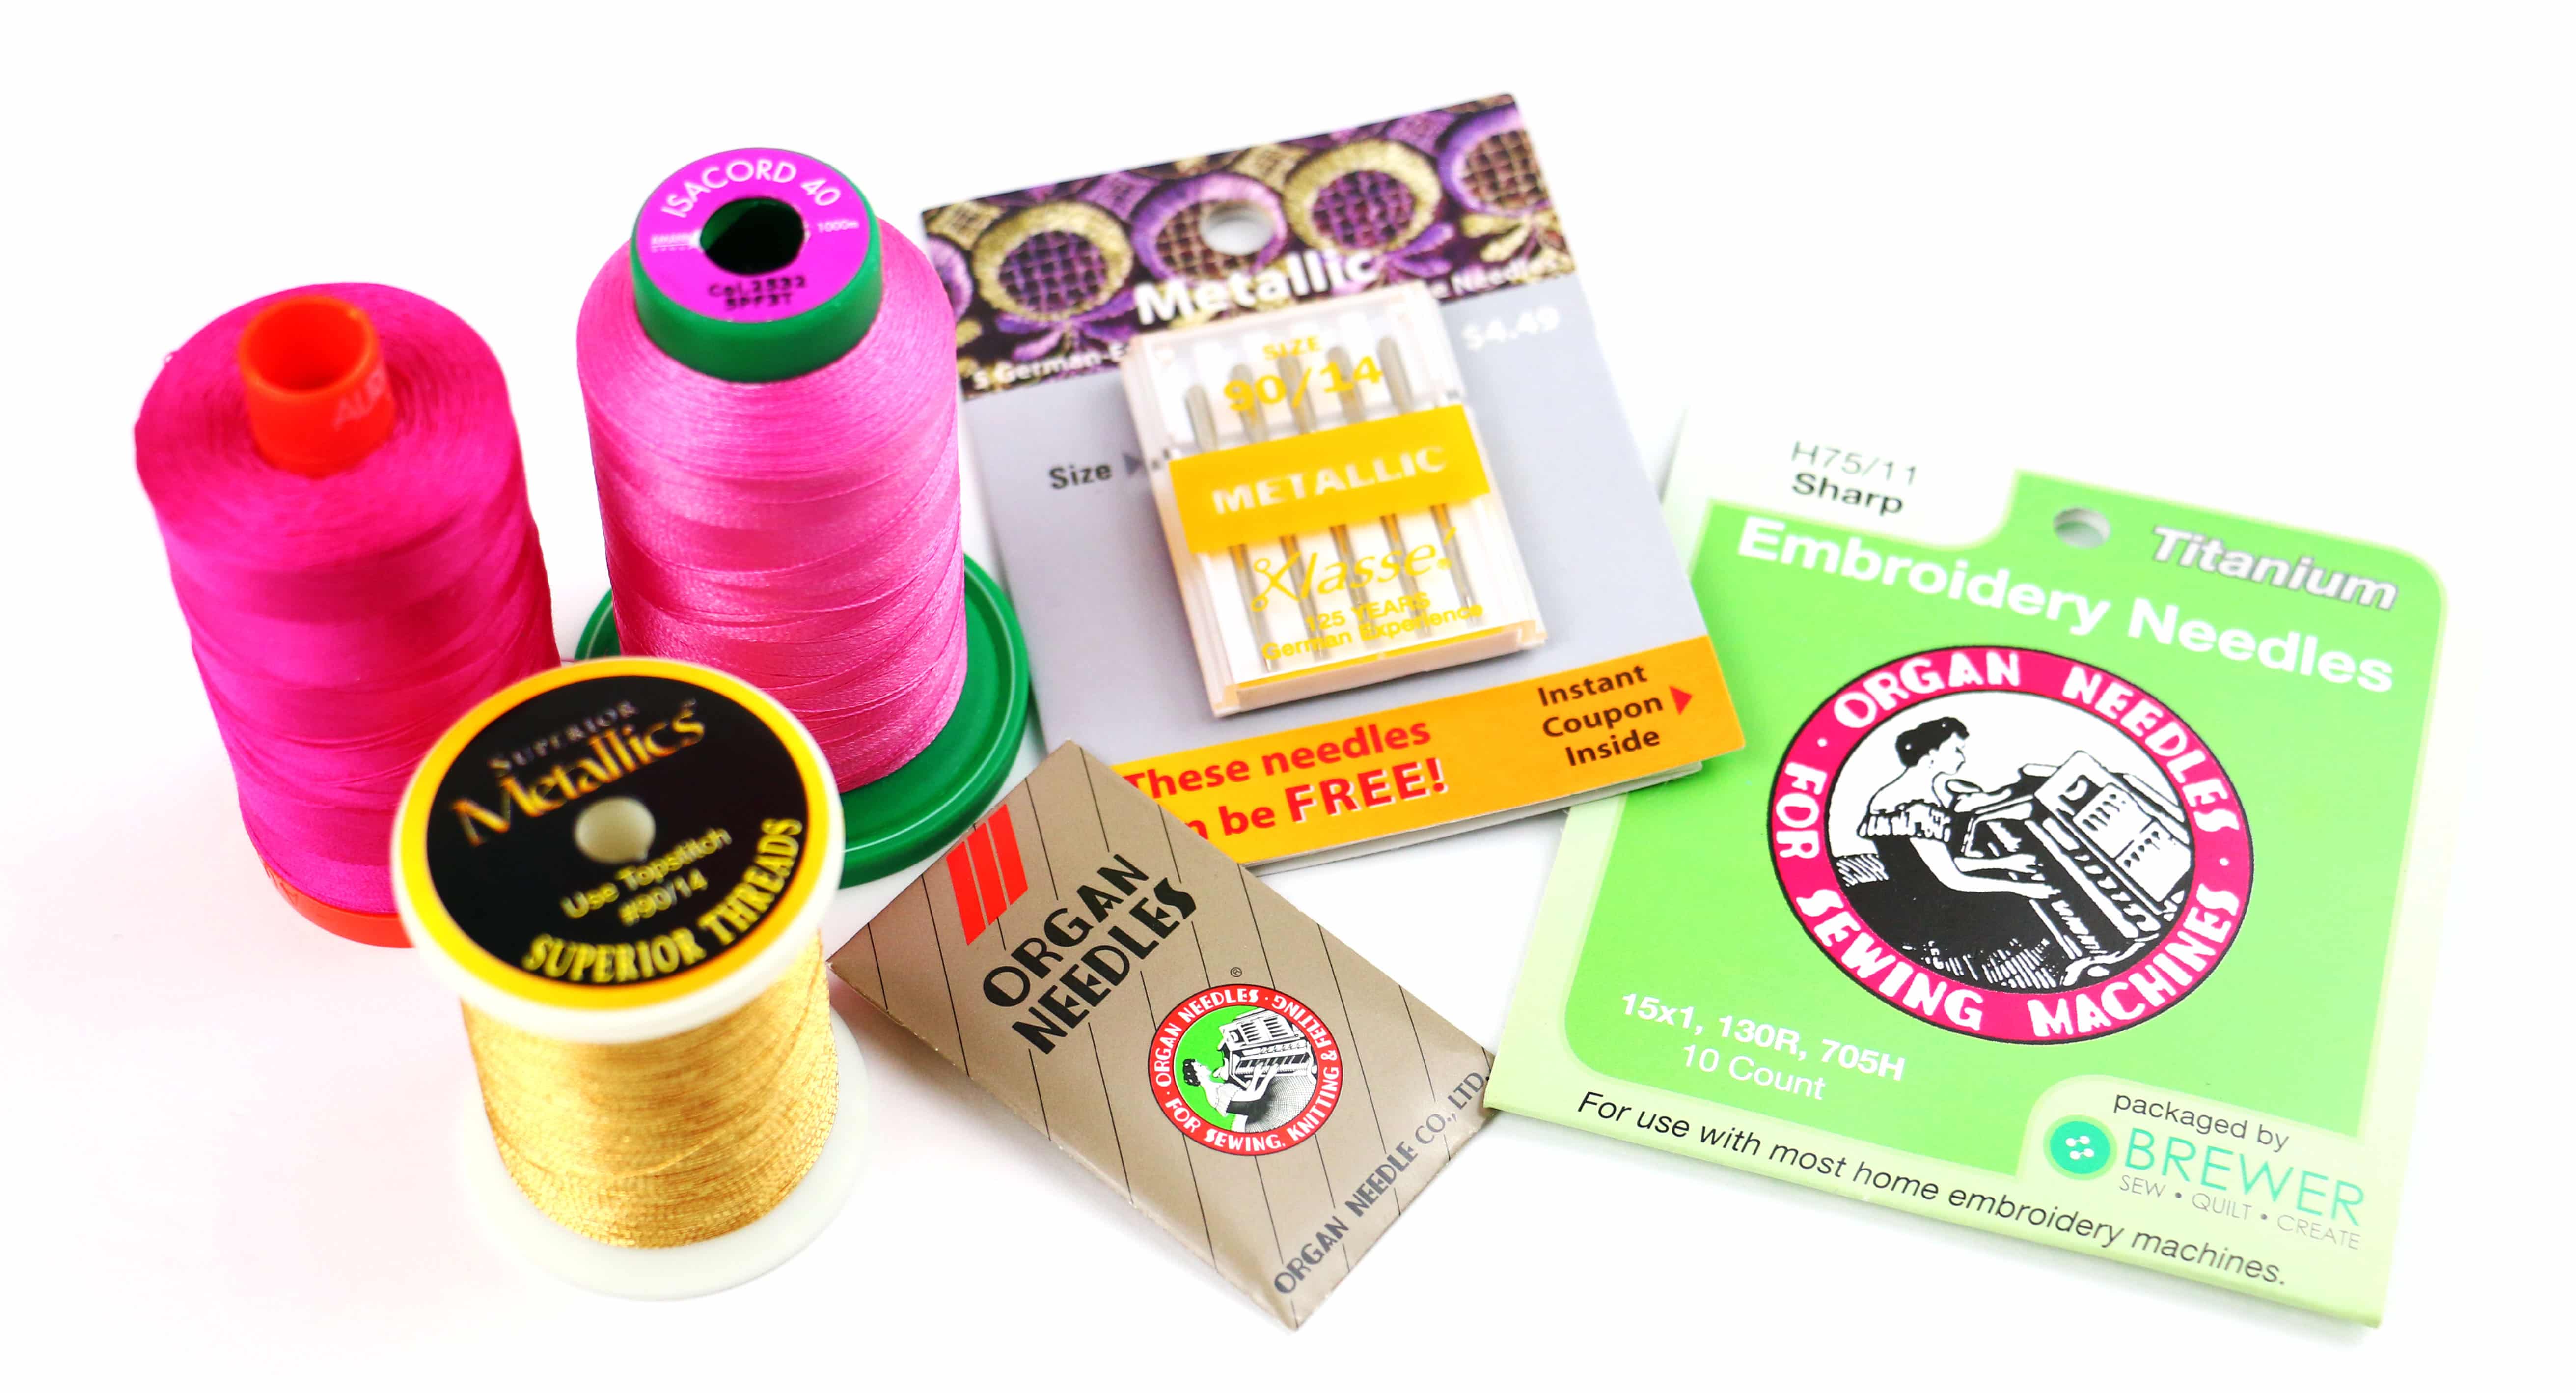
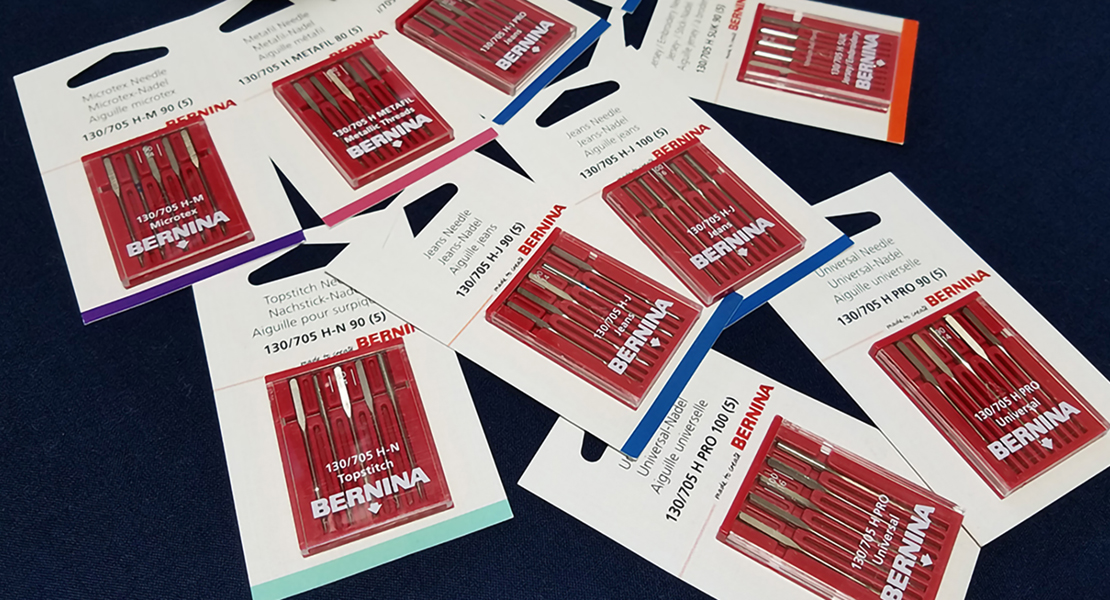
Step 1: Specialty Needles
The twin and triple needles have two and three needles, respectively, that are connected with a single shank and a red bar. The shank is flat on one side and fits into the needle bar the same way as individual needles.
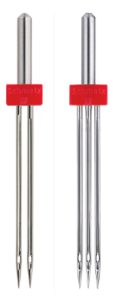
There are two numbers at the top of the needle package. The first one is the needle size and the second one is the distance between the needles.
We love the B 790 PRO automatic needle threader, but with specialty needles, we must go back to the traditional method. Here are a couple of tips to make it easier:
- Cut each thread at an angle with sharp snips
- Use tweezers to thread each needle
It’s the little things that make a big difference!

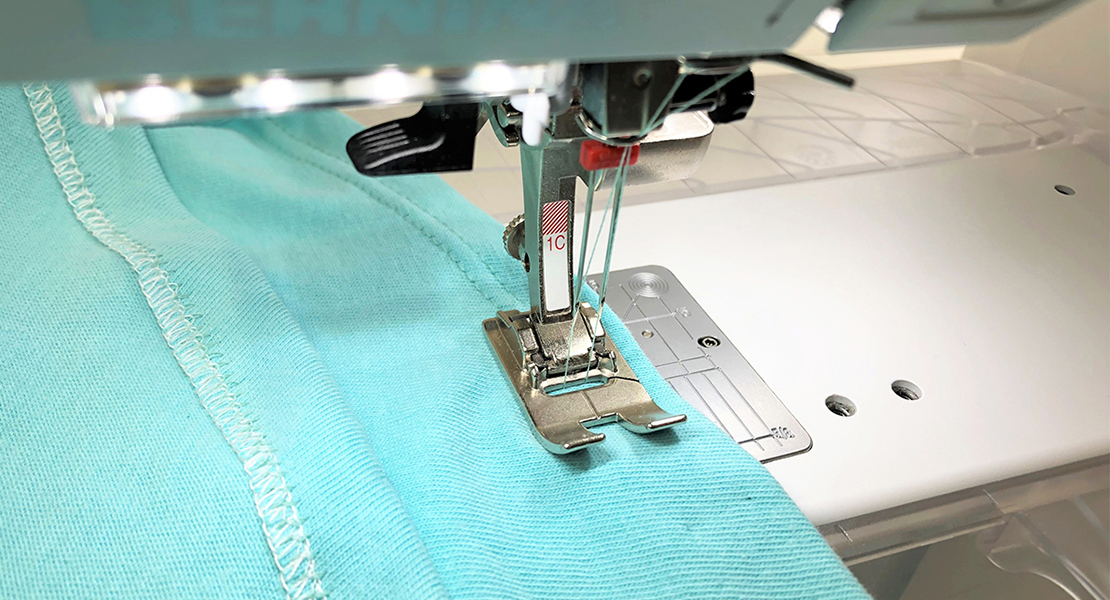
Step 2: Start with Twin Needles
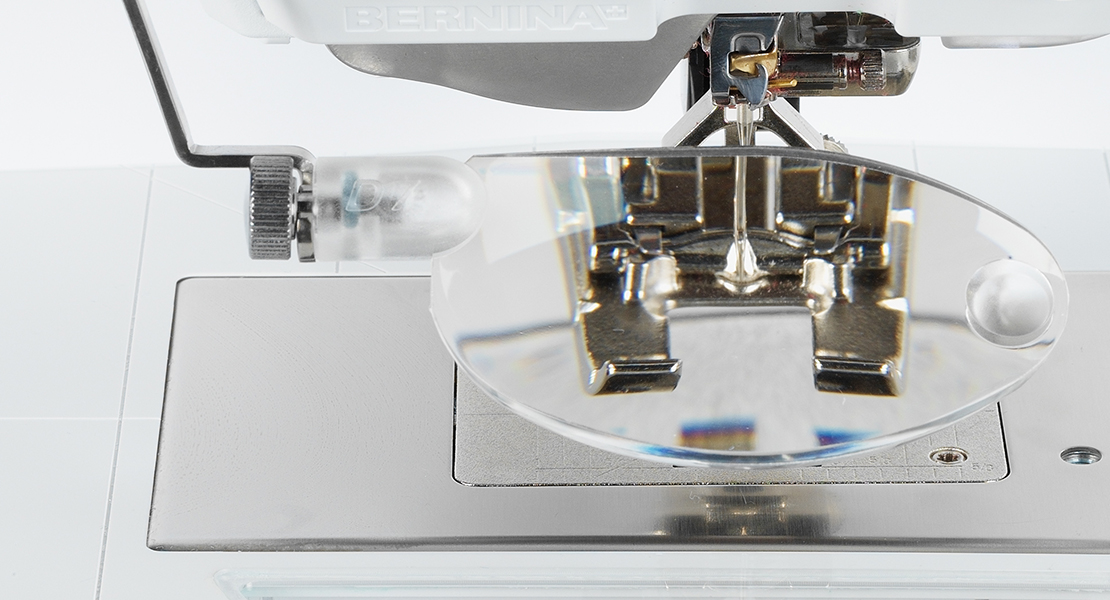
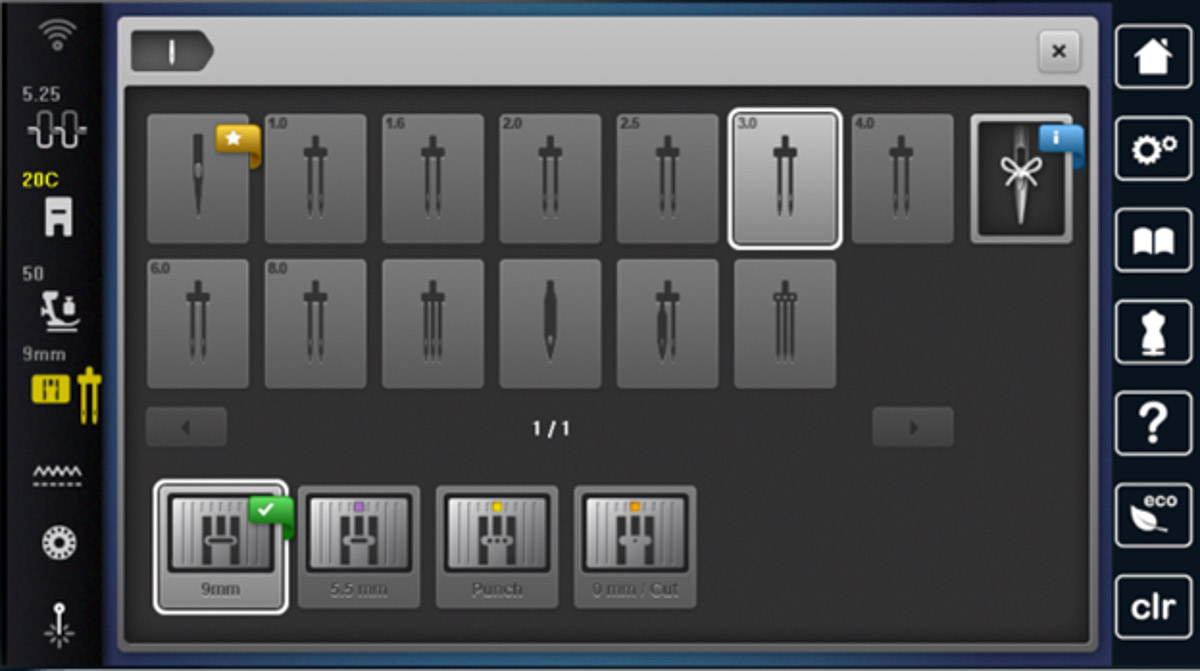
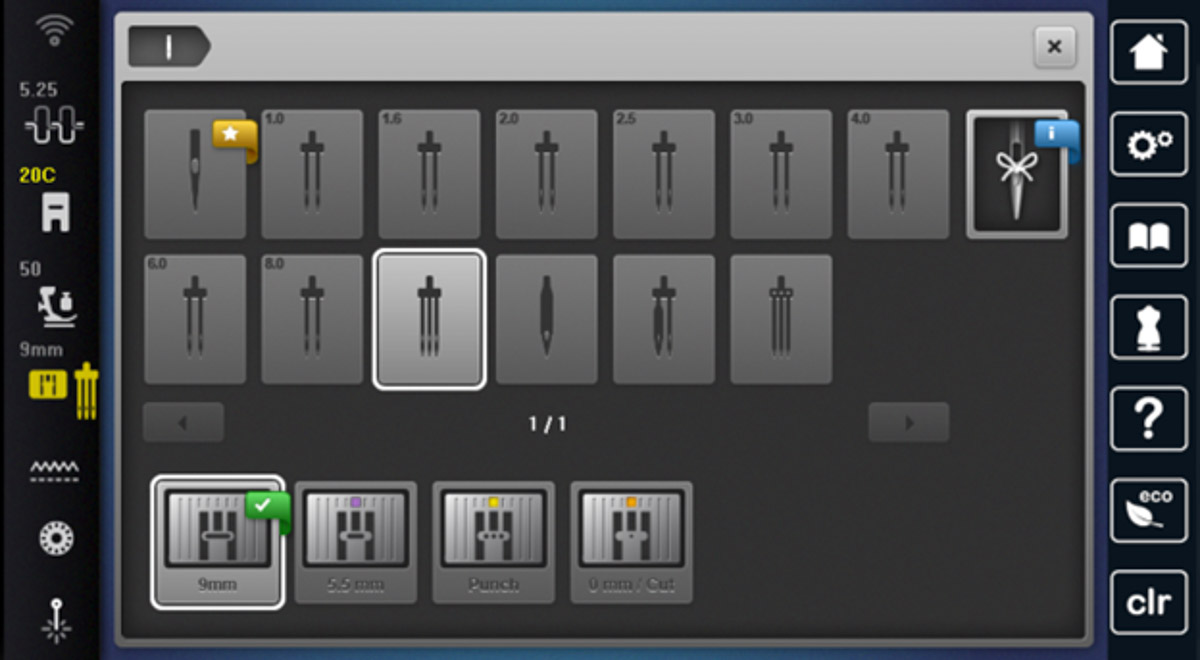
On your machine screen, select Open Embroidery Foot #20C. Go to the Stitch Plate/Needle Status Bar and select the 9 mm Stitch Plate and the 3.0 Twin Needle icon.
Insert a twin needle. Place one thread spool on the Horizontal Spool Holder and a second thread spool on the Vertical Spool Holder. Before threading, check that your presser foot is raised. This opens the tension discs to get proper thread tension.

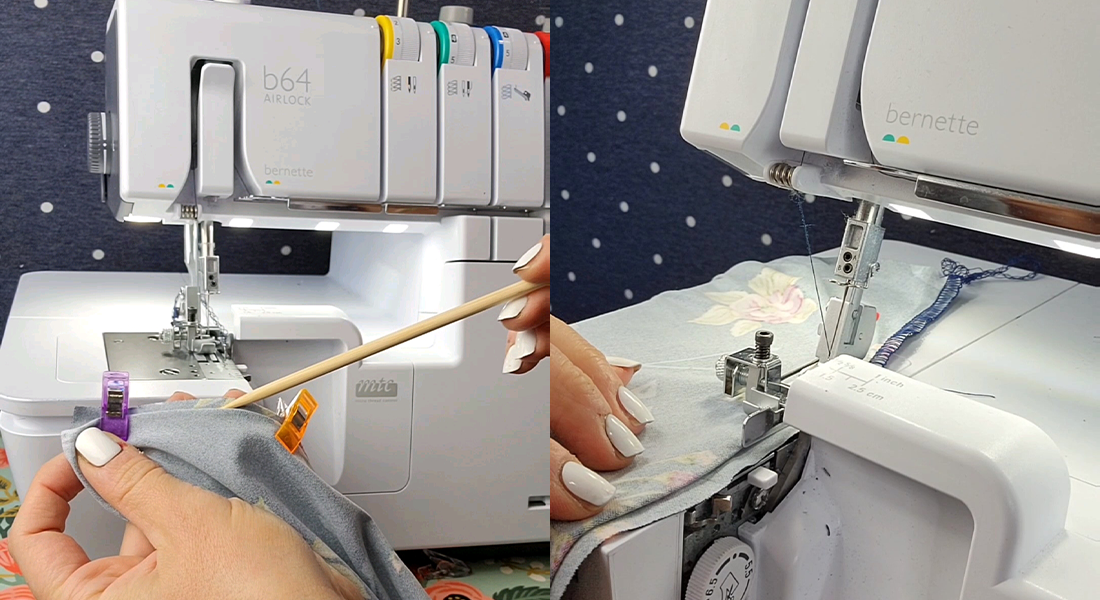
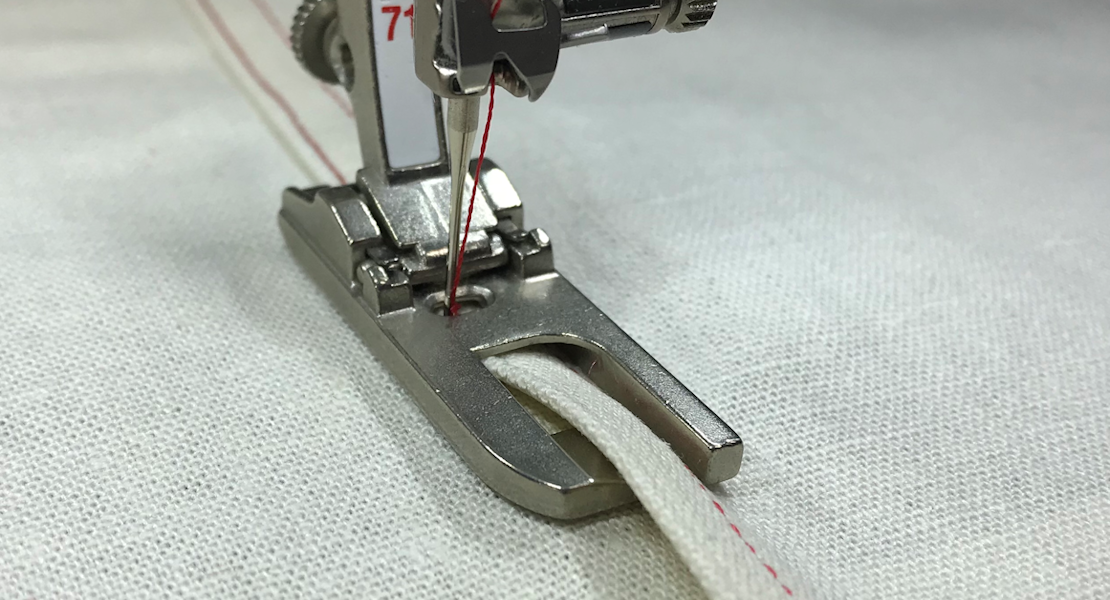
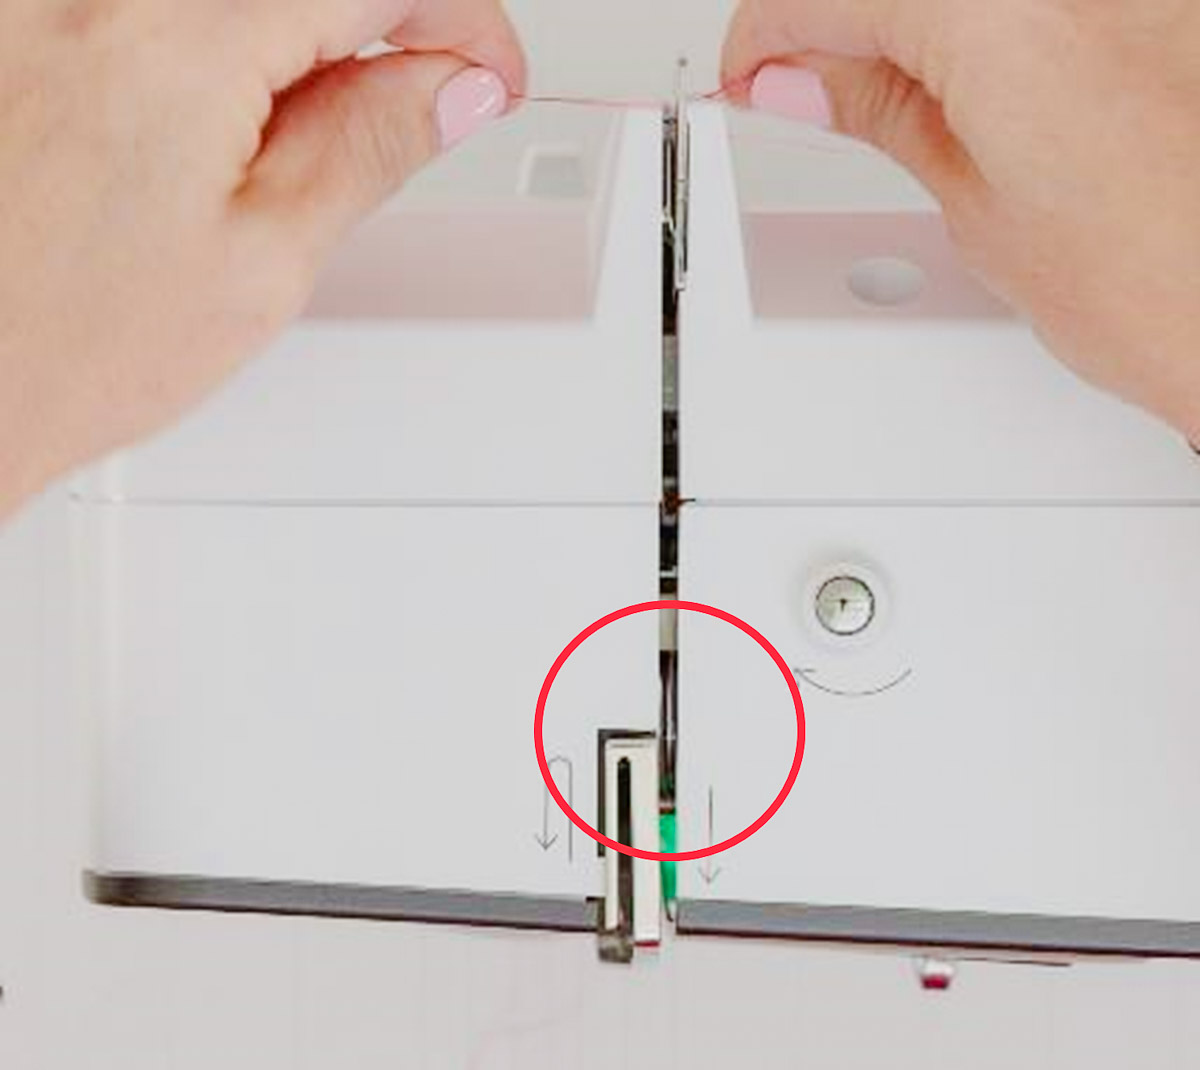
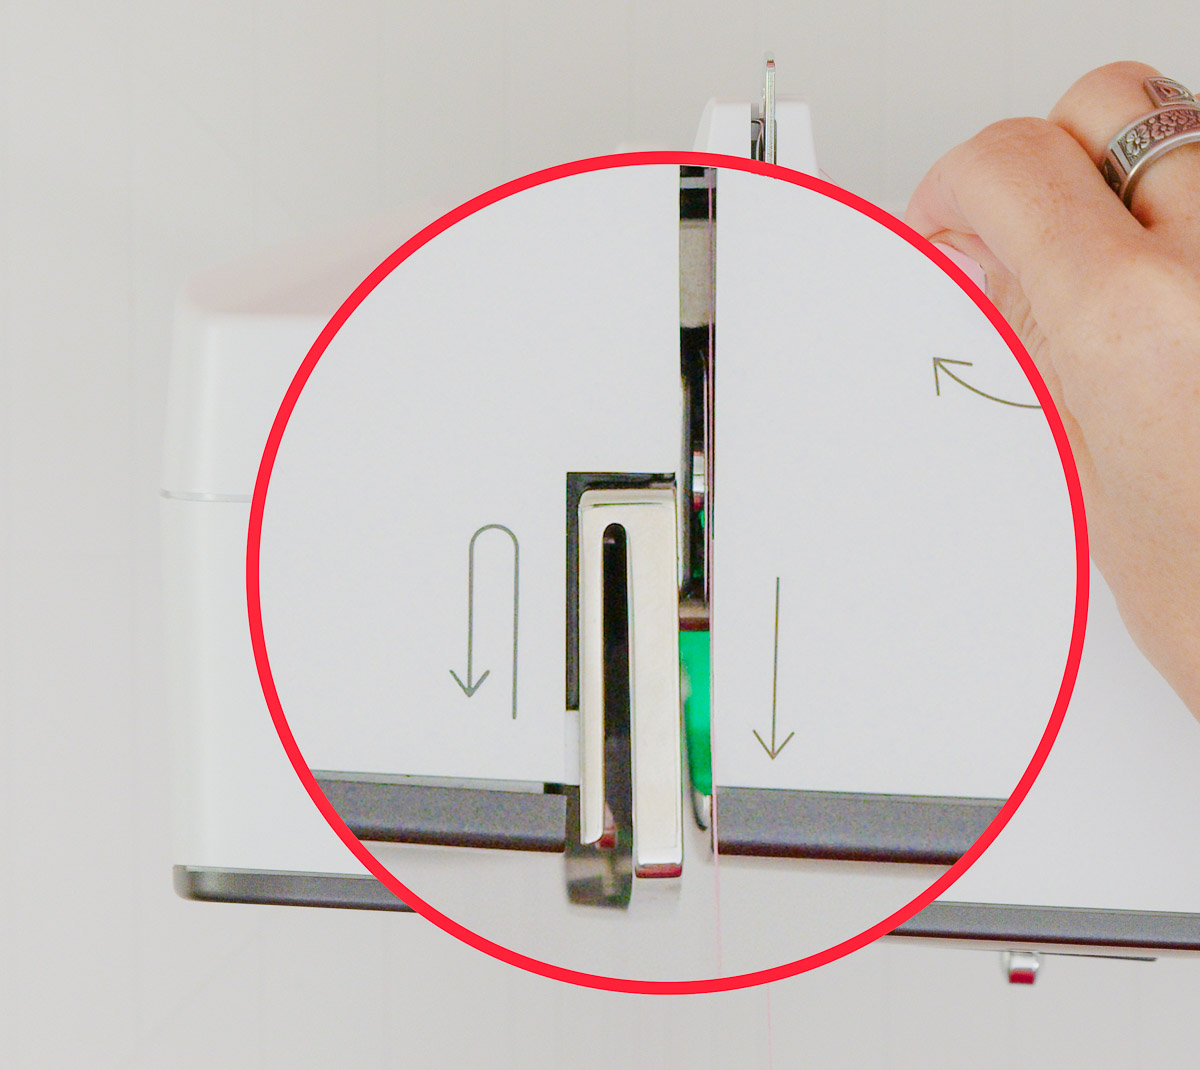
The threads are held together and threaded as one, following the usual path, except for one place. At the tension disc, separate the threads by placing one thread on each side of the disc. To keep things consistent, I place the horizontal spool thread to the right of the tension disc and the vertical spool thread to the left.
Then, separate the threads and thread through each needle with your tweezers. Here, I’ll lower the presser foot to get a better view of the needles or take off the foot altogether.
Step 3: Begin Sewing with a Twin Needle
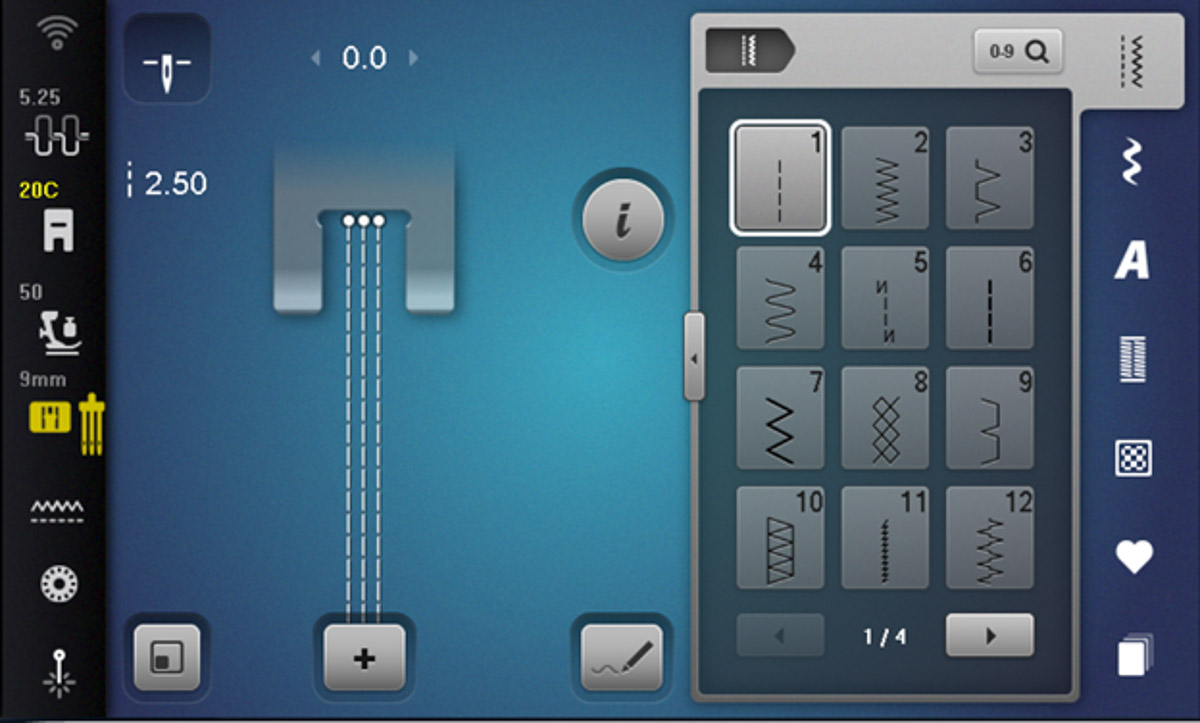
Let’s start with a straight stitch to ensure the machine is threaded correctly and the stitches look good. Select Straight Stitch #1. Notice how your machine screen shows two straight-stitch lines. Because we selected Twin Needle 3.0 in the Status Bar, the machine adjusts the stitch lines accordingly!

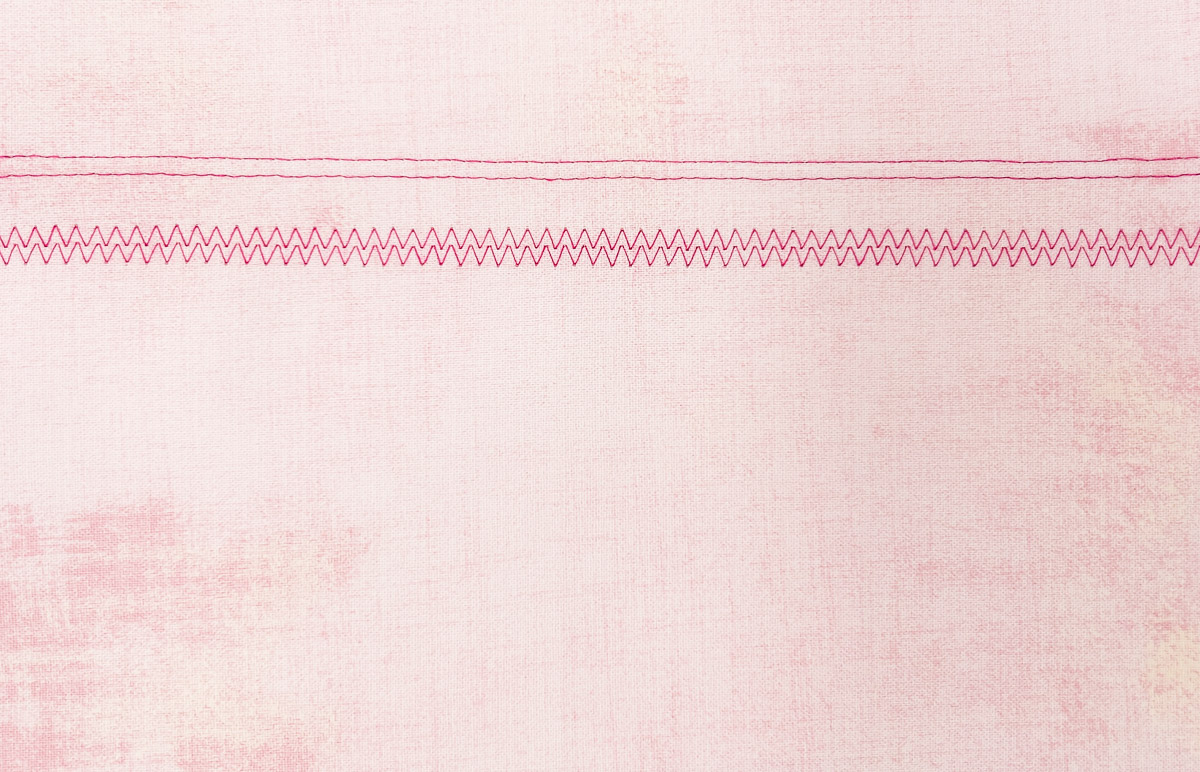
Place the fabric with stabilizer under Open Embroidery Foot #20C. Bring up the bobbin thread by tapping the Needle Up/Down button twice. Hold the needle and bobbin threads and sew a few stitches. Now you can let go of the threads and stitch to the end of your fabric. Check the front and back. Do the same with Zigzag Stitch #2.
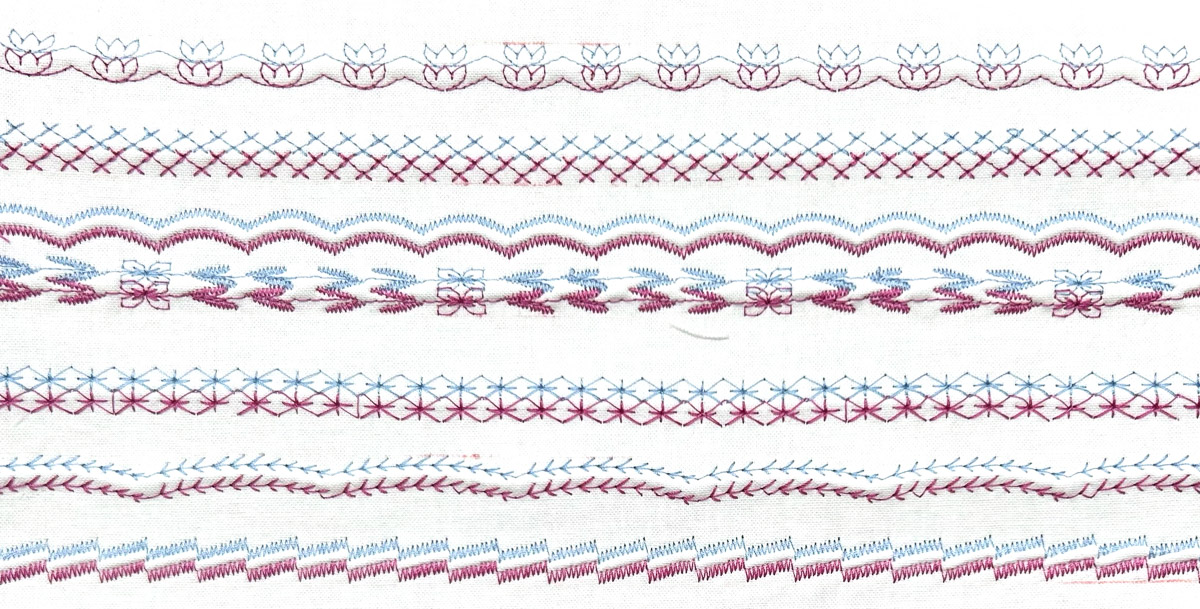
Step 4: Have fun with Decorative Stitches
Now, let’s play with a few decorative stitches. Start with stitch #1317. Remember to hold the threads to start. This prevents a thread nest from forming under the fabric, which can cause one of the needle threads to break. Next, try stitches #303, #721, #140, and #134.

Experiment with different stitches. A couple of tips:
- If your stitch is not lying flat, add another layer of stabilizer or a single layer of heavy stabilizer. This applies more often to the dense stitches.
- If bobbin thread is showing at the top, decrease the upper thread tension.
Step 5: Change to a Triple Needle
At the machine screen, go to the Stitch Plate/Needle Status Bar and select the Triple Needle icon. There is another icon that looks similar, but this is for needle felting. If you’re not sure, use your Question icon!
Select Straight Stitch #1. Do you see three straight-stitch lines?
Place the first thread spool on the Horizontal Spool Holder. Then, wind an extra bobbin with the desired thread and place it on the Vertical Spool Holder. Place the second thread spool on top of the bobbin. Both the bobbin and thread spool should unwind in the same direction. Insert the bobbin thread through the extra tension guide.
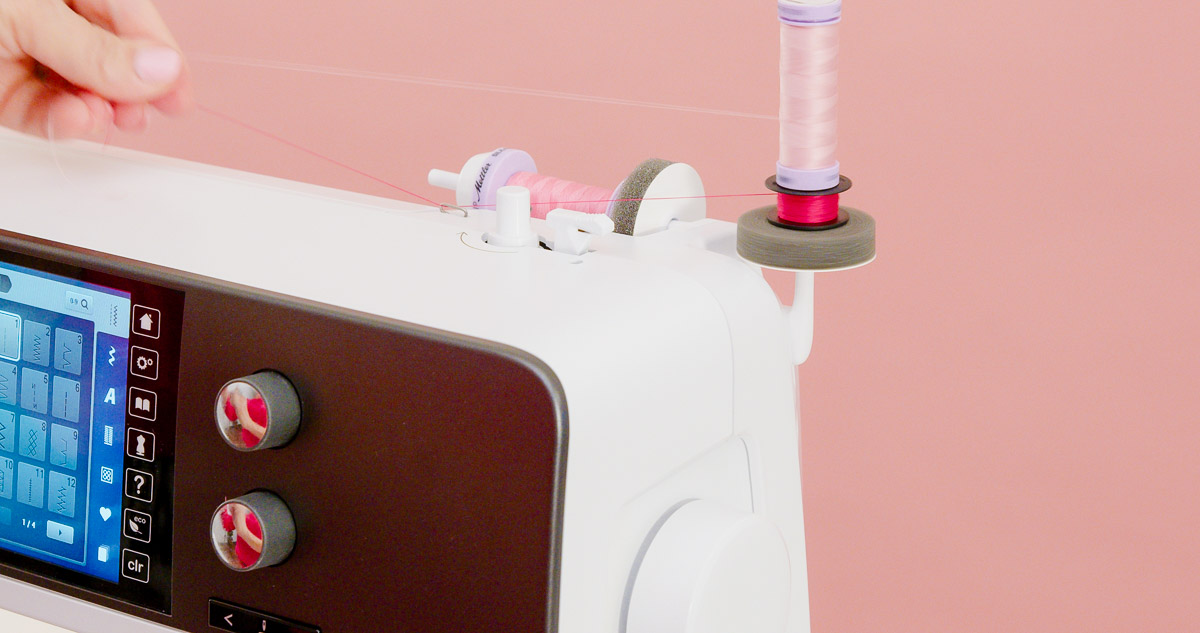
Following the usual path by threading the horizontal thread, placing it to the right of the tension disc. Then, hold the threads on the Vertical Spool Holder together and thread as one, placing them to the left of the tension guide. Thread through each needle with a tweezer.

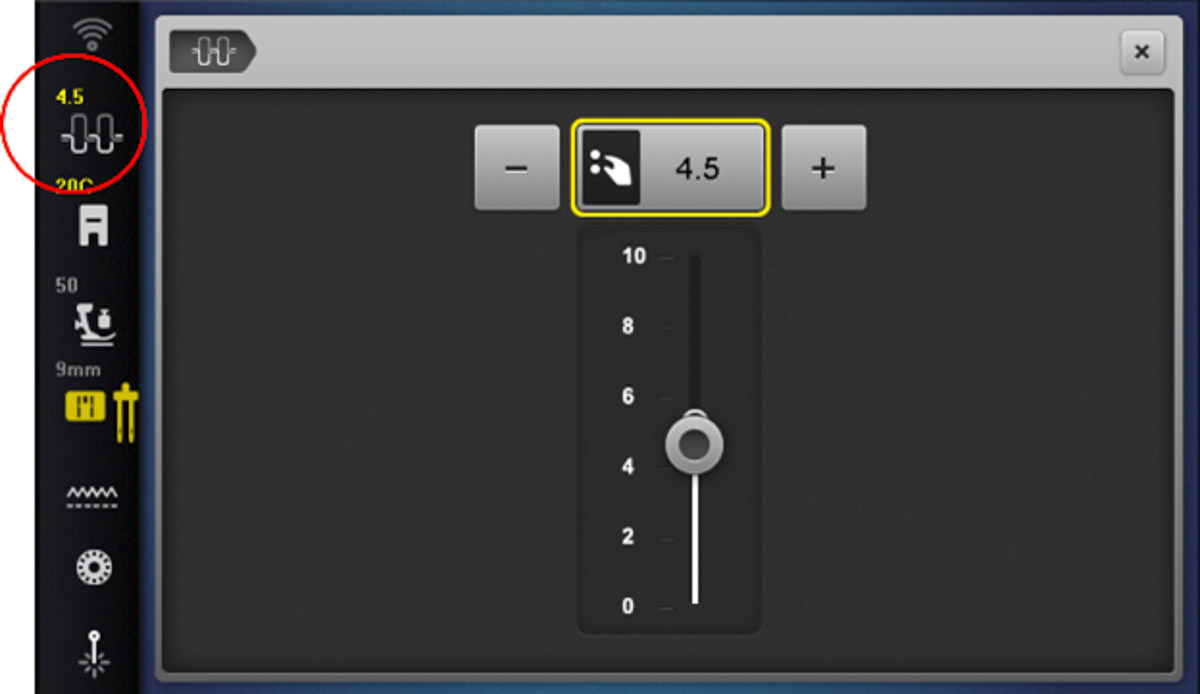
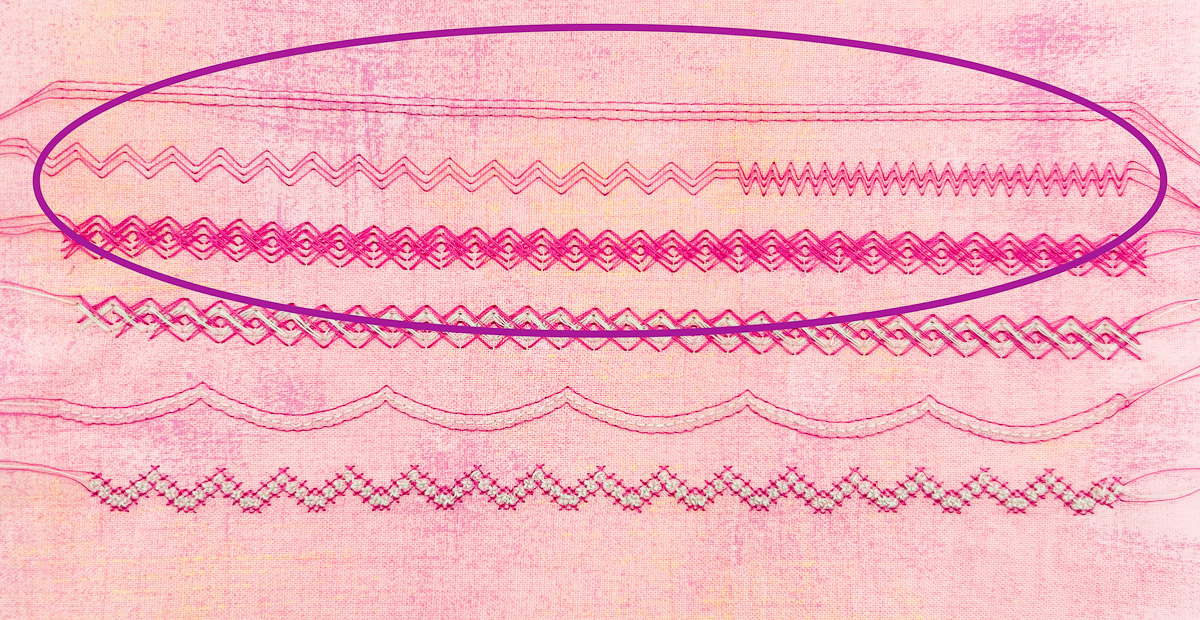
Go back to Straight Stitch #1. Same drill — place fabric and stabilizer under Foot #20C, bring up the bobbin thread, hold the threads, sew a few stitches, let go of the threads, and stitch to the end. How does it look? Stitch Zigzag Stitch #2 halfway down the fabric. Stop and increase the stitch length to 4 mm. Stitch to the end of fabric. Now try stitch #303. Notice how different the same stitch looks from the twin needle sample.
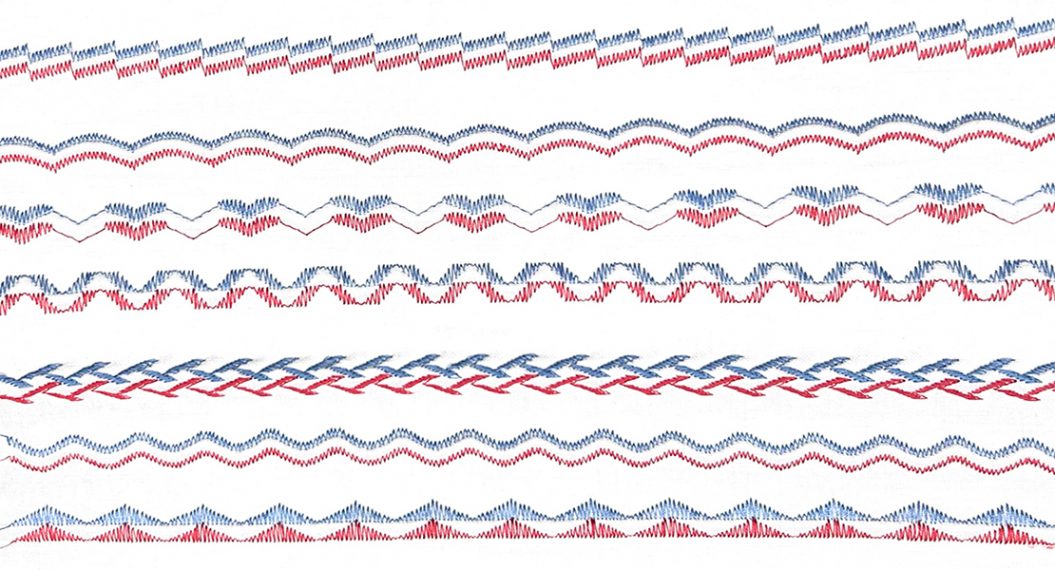
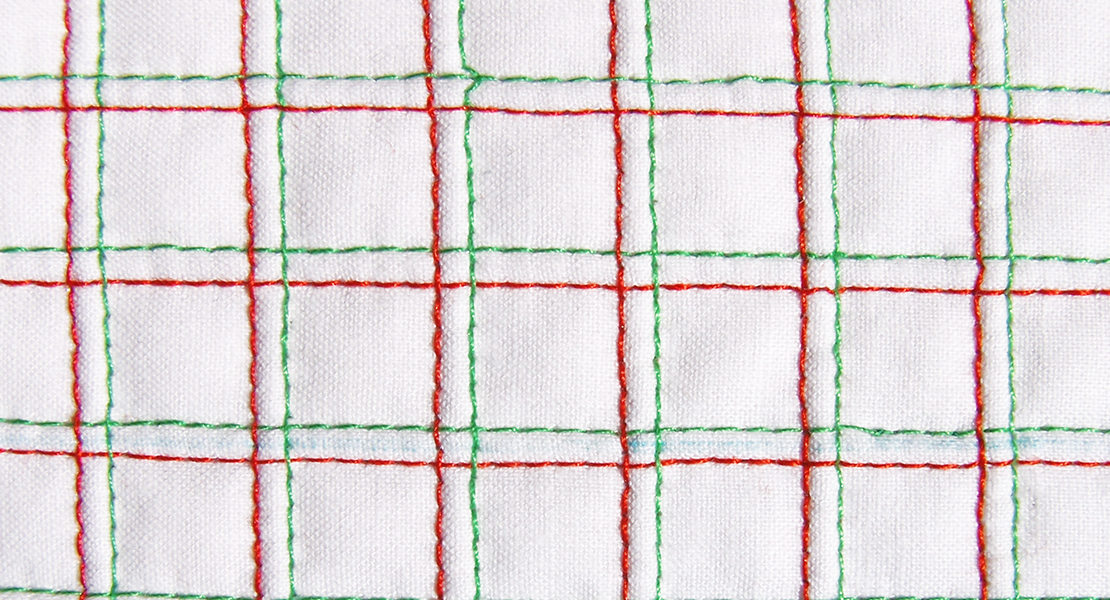
Step 6: Experiment with Multiple Thread Colors
With three threads, why not try different thread colors? Here, I replaced the middle needle thread with a pale green color. You can try something patriot with red, white, and blue or BERNINA colors with red, black, and gray. Try decorative stitches #729 and #326. You can get interesting visual effects with so many of the decorative stitches.

Of course, the same applies to twin needles using two different thread colors. Here’s a fun sample I made for another blog post called Twin Needles and Decorative Stitches.
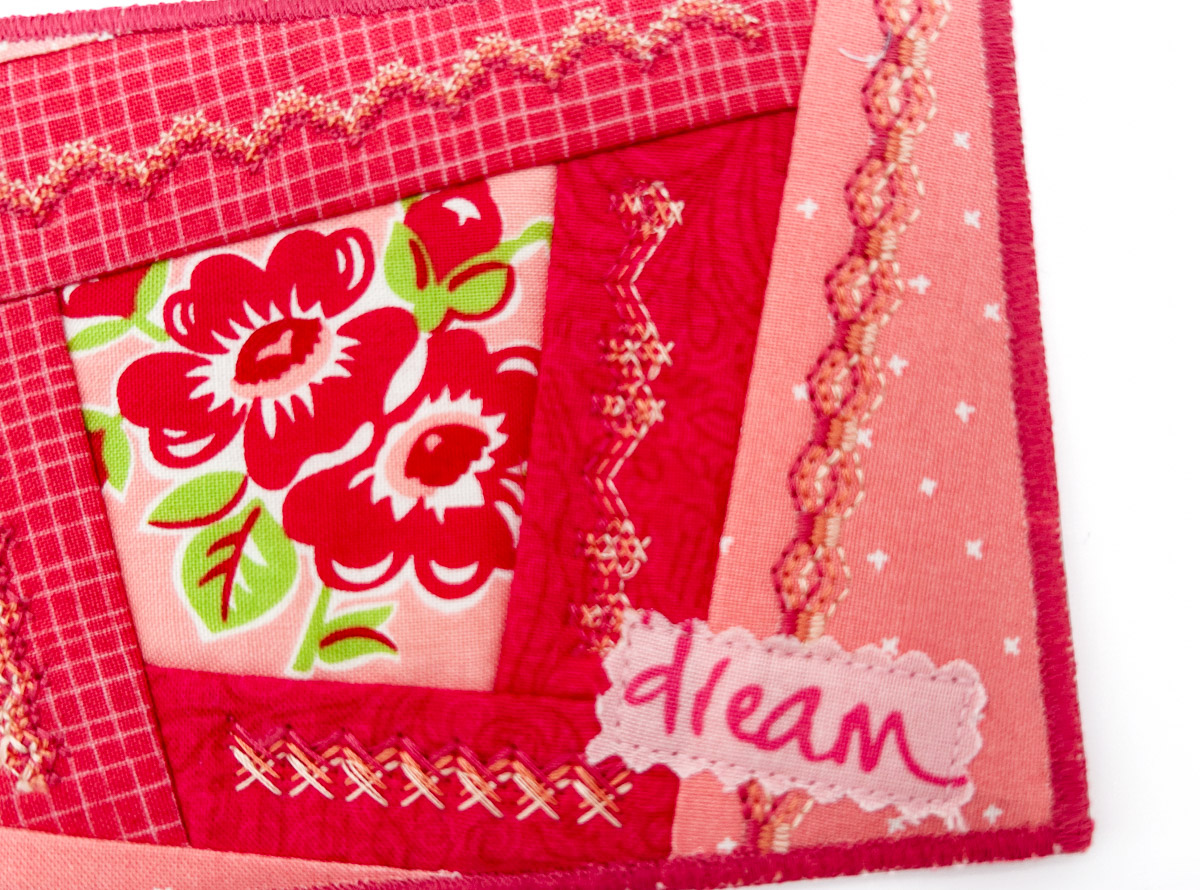
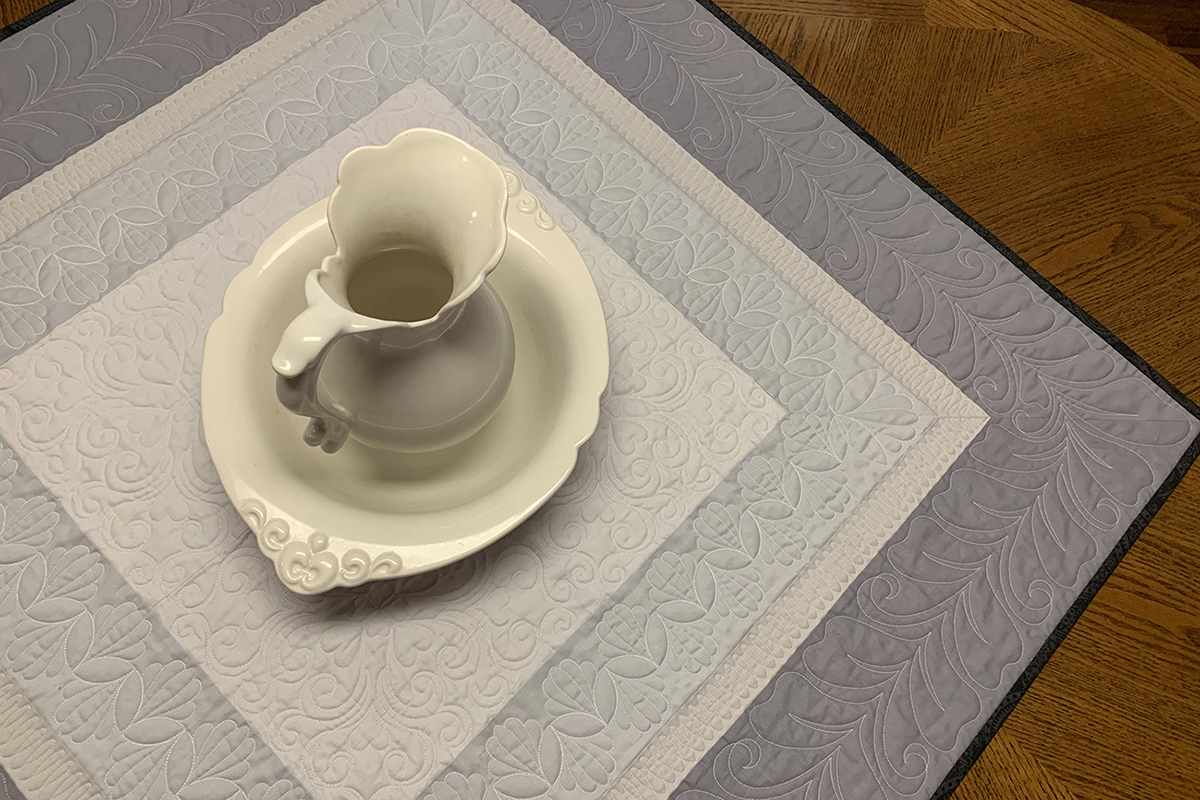
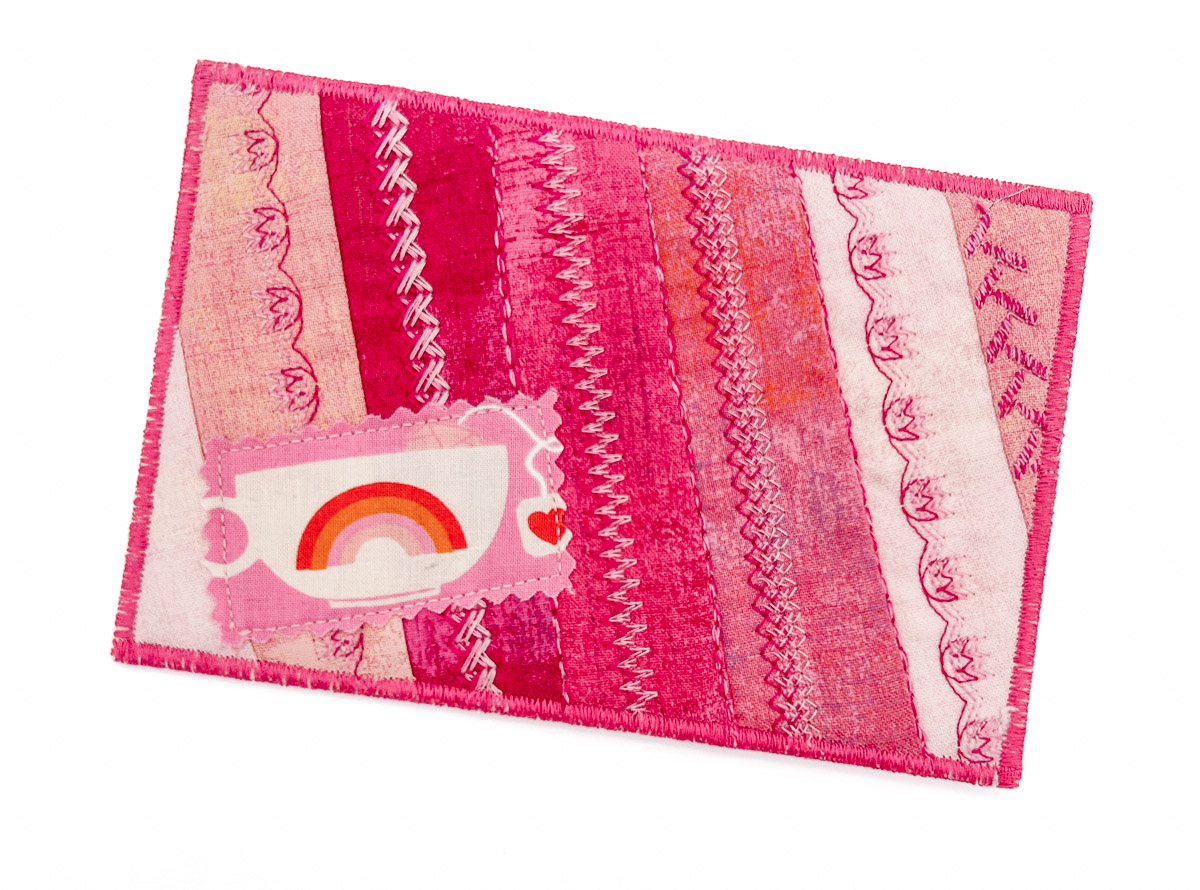
Step 7: Apply to Your Next Project
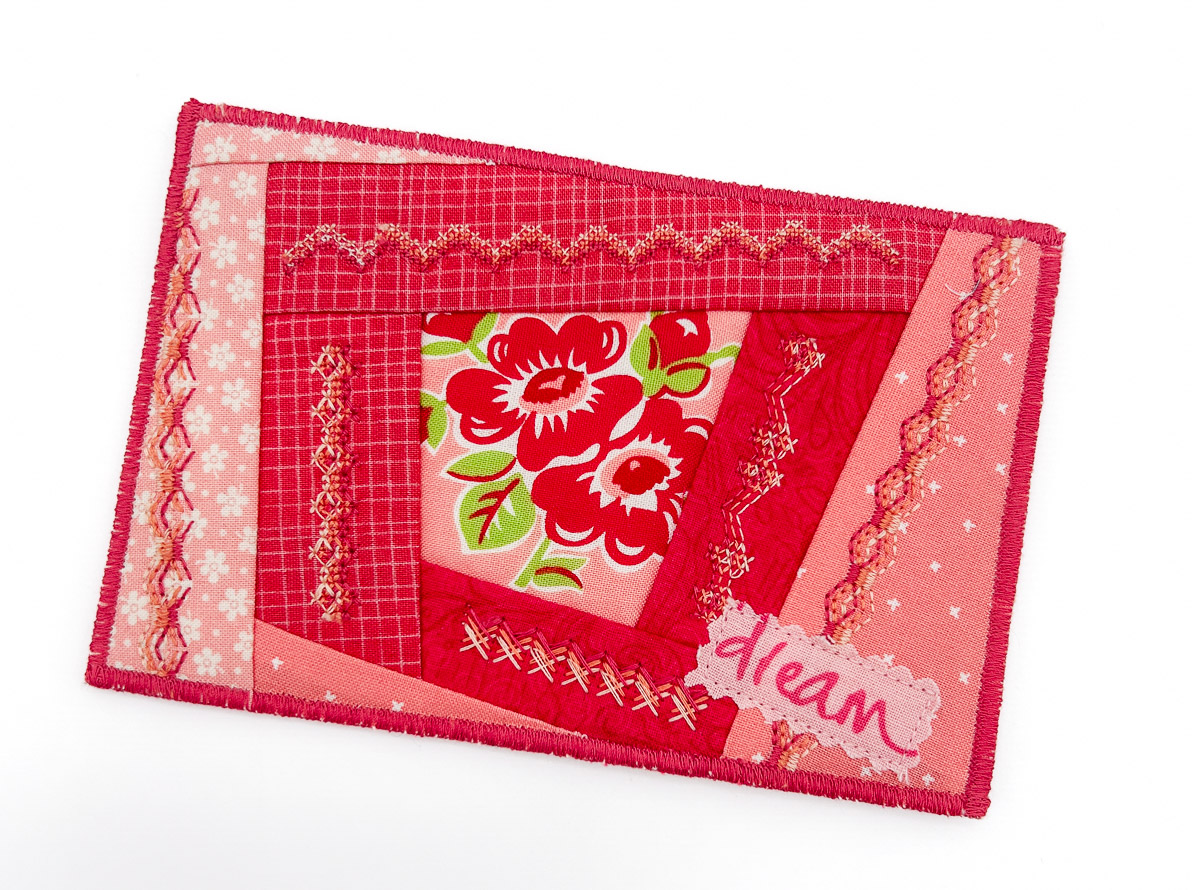
Now that you know how to create amazing color and texture with specialty needles, incorporate them into your next project. Here, I made quilted postcards with a triple needle that was threaded with three different thread colors. I hand delivered them to the post office and, yes, they made it to their destinations without an envelope. If you want them to arrive in pristine condition, I recommend adding a plastic sleeve or envelope.

Continue to learn, keep sewing, and have fun!