Flat Felled Seams
Whenever I’m starting a new sewing project, I often like to plan what the insides of my project will look like. I’m guessing that dates back to when my mom was teaching me cross stitch. I would bring her my work, very proud of how pretty the front was. She would immediately praise my work, but then she’d turn my cross stitching over and examine the back. She would comment how I should aim to keep my rows and stitches tidy and neat on the back too. There are several different ways to finish your seams when you are sewing clothes. Today, I’m going to share with you flat felled seams—when to use them and how to create them!
I know you have seen flat felled seams before, you just may not have know what they were called. If you look down at the inside leg seam of your jeans, you’ll see a seam with an extra (or two extra) stitch lines); those are flat felled seams. It’s a way to enclose all the raw edges in your stitches. Looking at ready to wear clothes, flat felled seams can also be found on button down shirts or sportswear. Flat felled seams are used whenever a clothing item is going to see a lot of wear. They provide a very strong seam, and leave the inside of the garment nice and tidy.
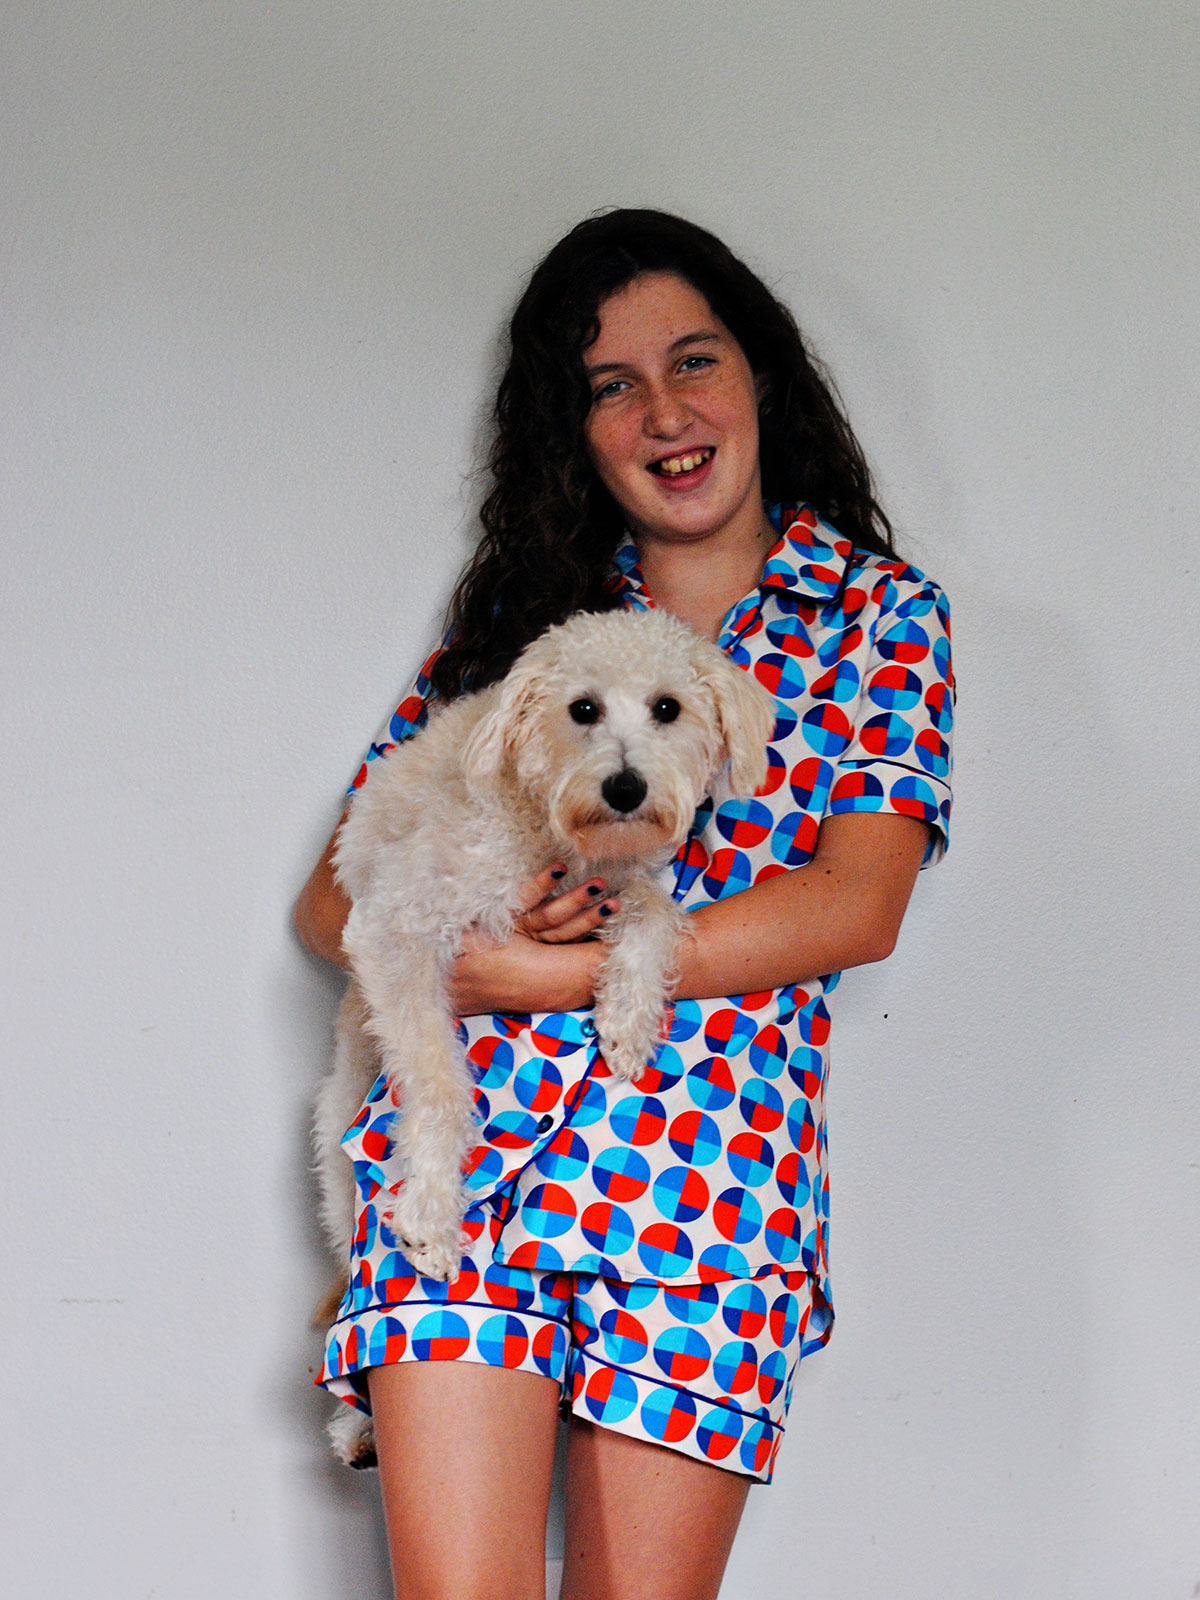
There are a few sewing patterns that walk you through flat felled seams, such as the Hampton Jean Jacket or the Jedediah Pants. But flat felled seams can be applied to any sewing pattern, or any sewing project for that matter. Here I am showing you flat felled seams on a pair of pajamas I sewed for my daughter. You can see more about this project over on my blog, Dandelion Drift.
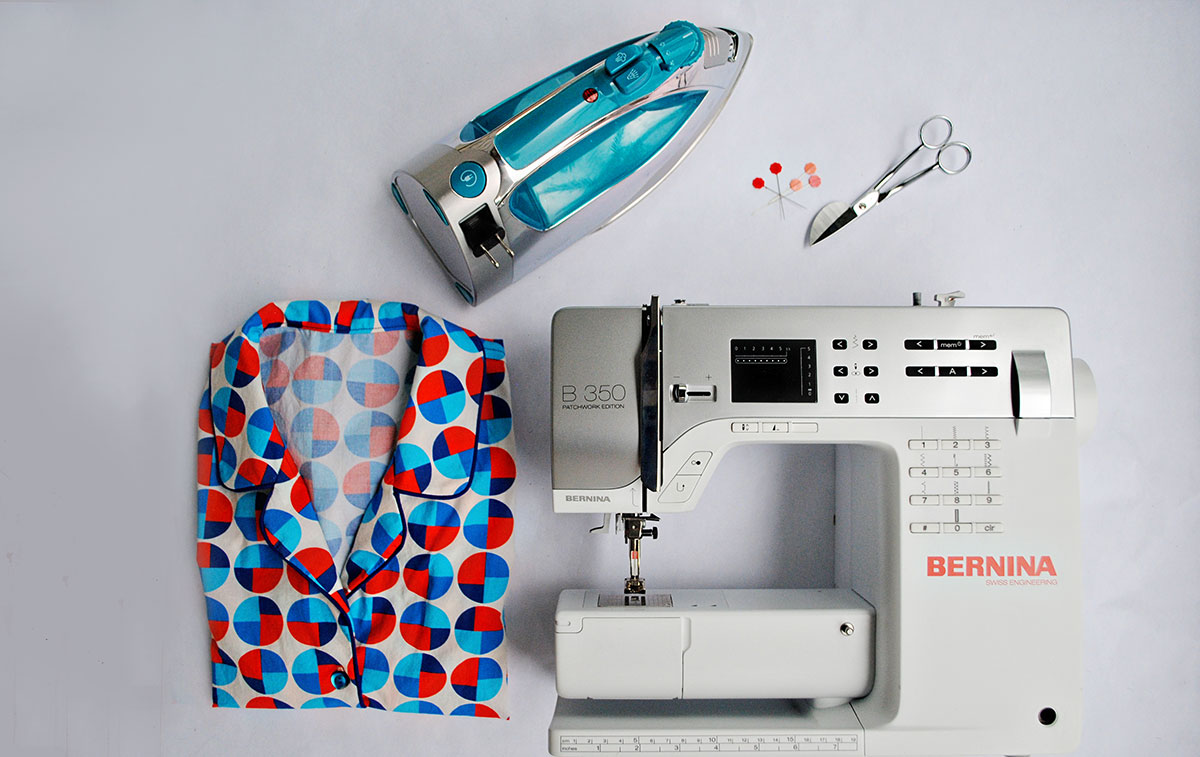
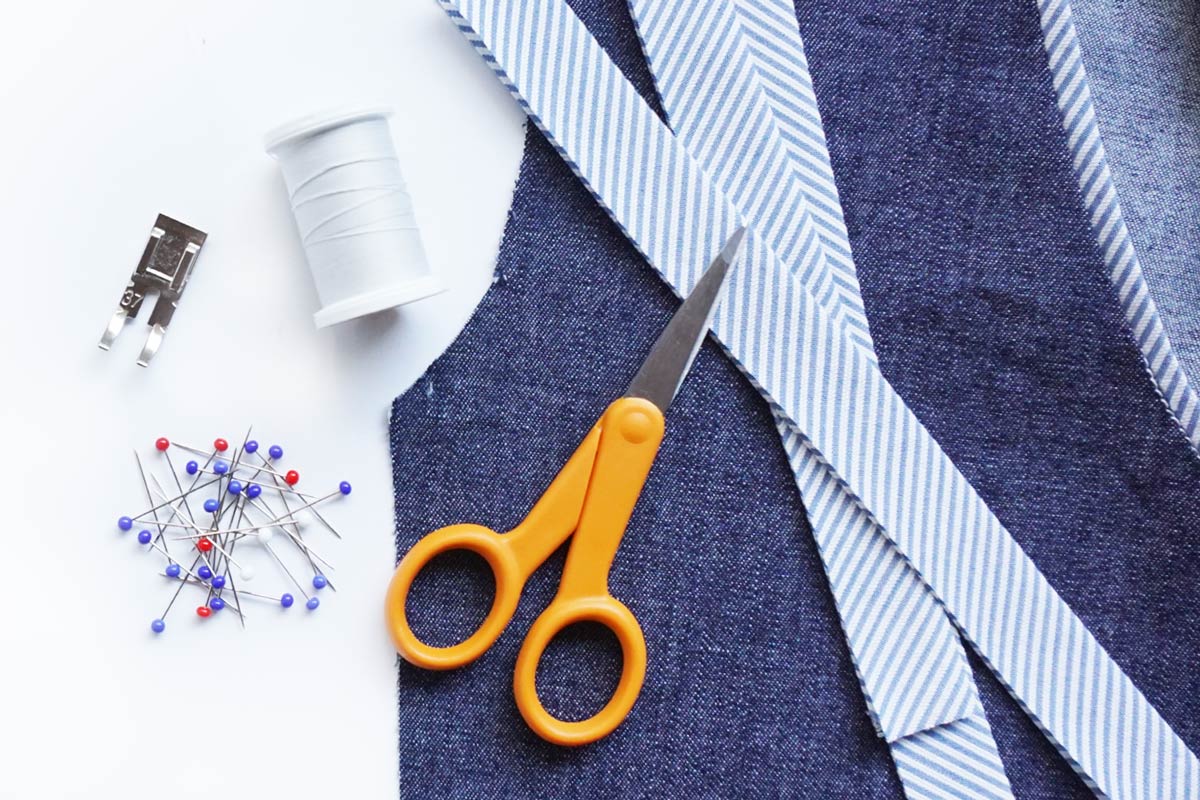
Materials for Making Flat Felled Seams
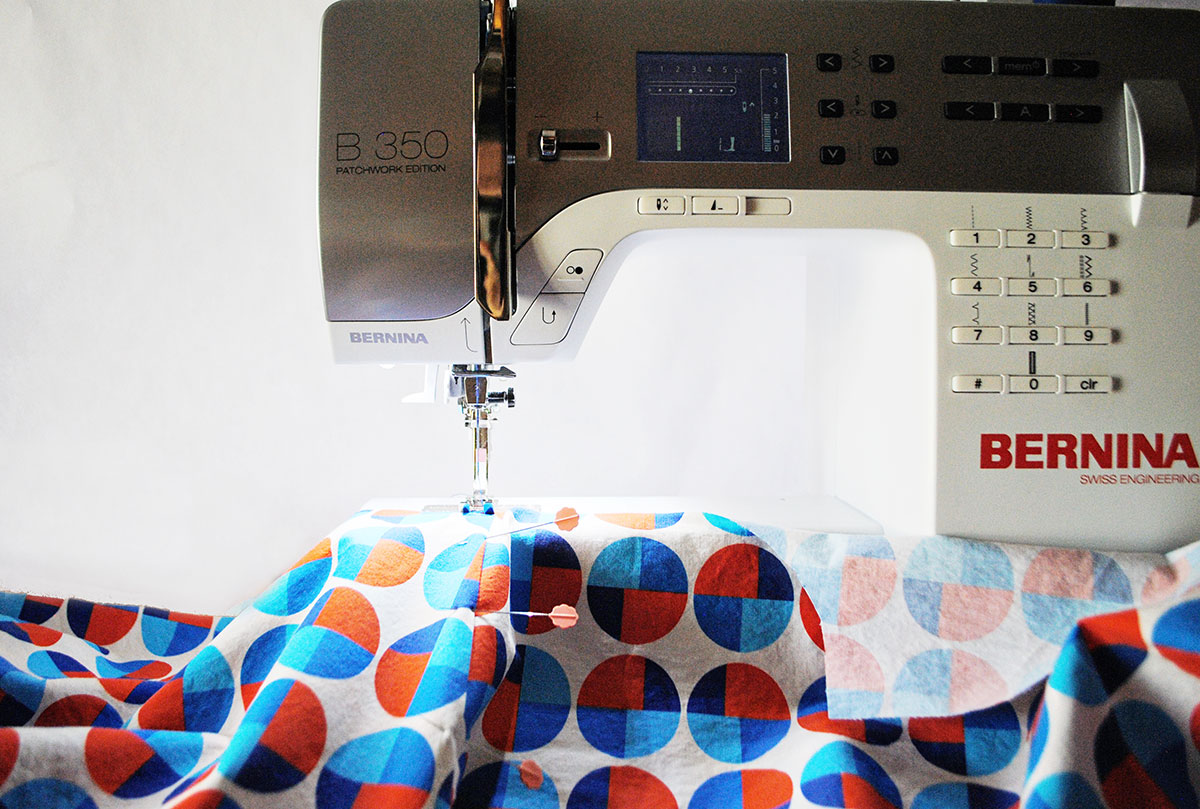
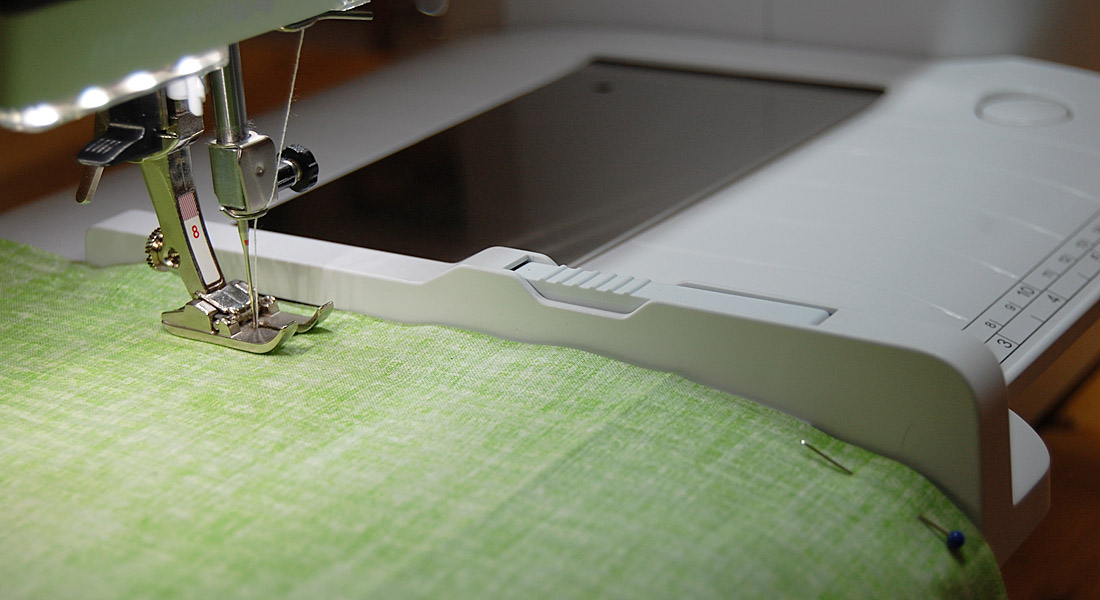
- sewing machine (I am using the BERNINA 350 PE)
- iron
- scissors (I am using applique scissors)
- pins
- sewing project
How to Sew Flat Felled Seams
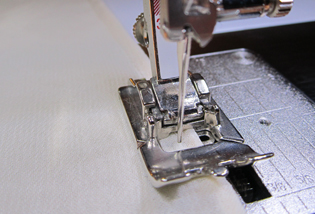
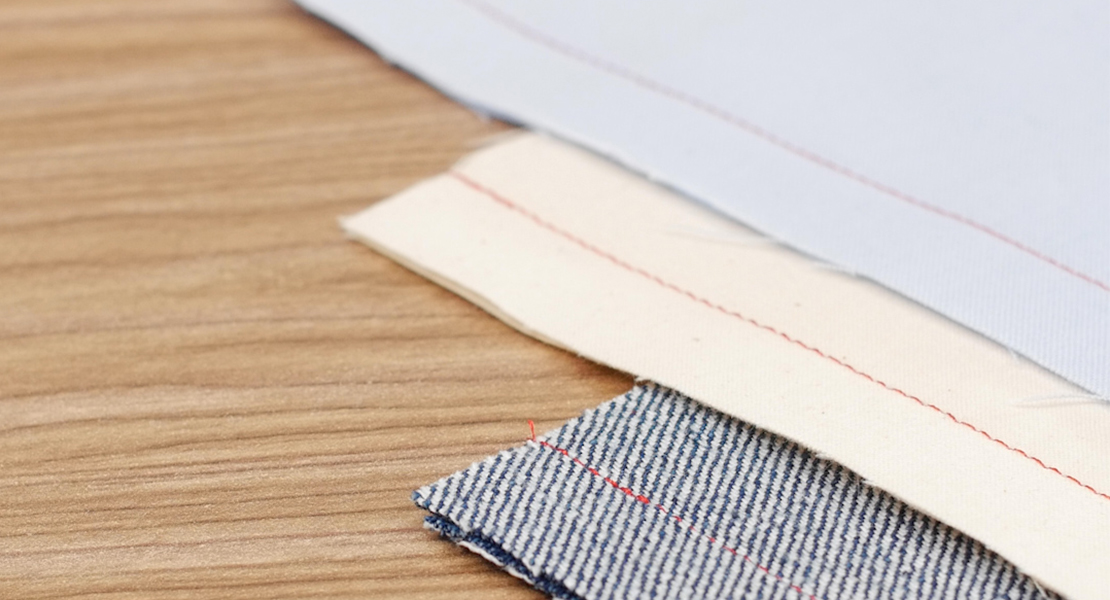
Follow your pattern directions and sew the seam, right sides together. I am sewing the Carolyn Pajamas here, which calls for a 5/8 inch seam.
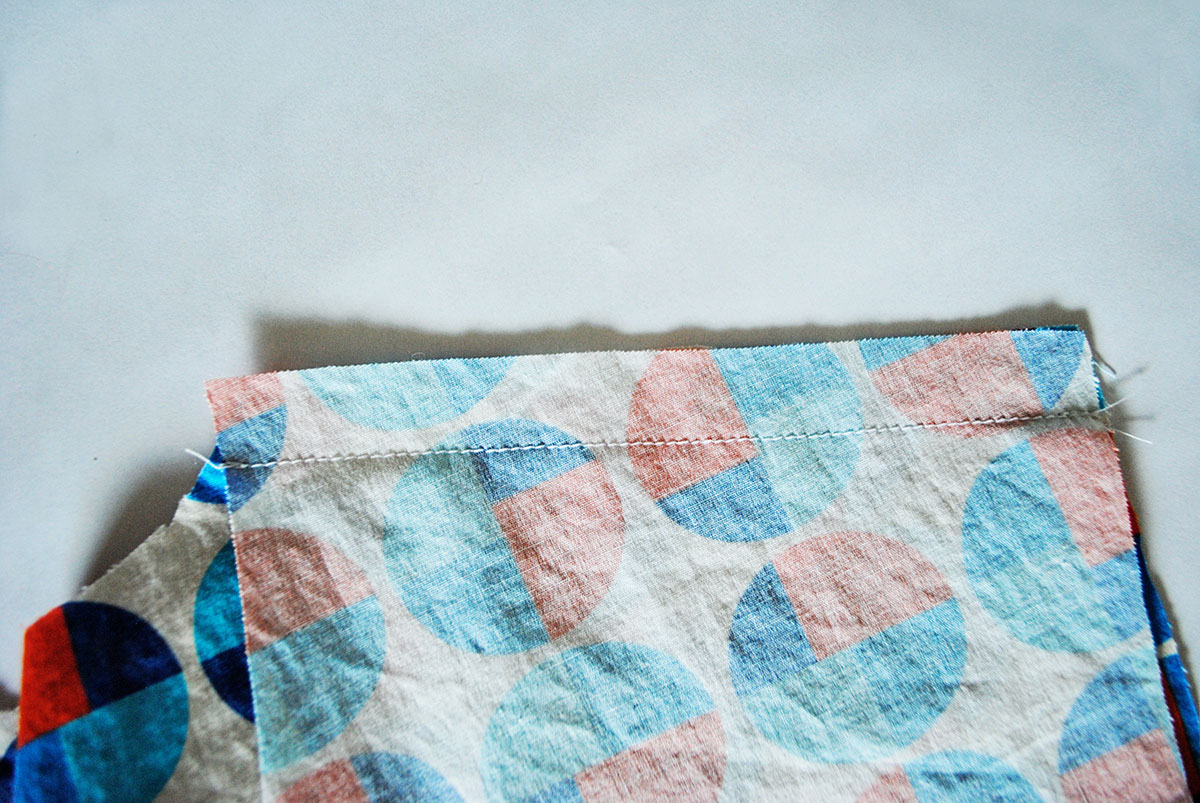
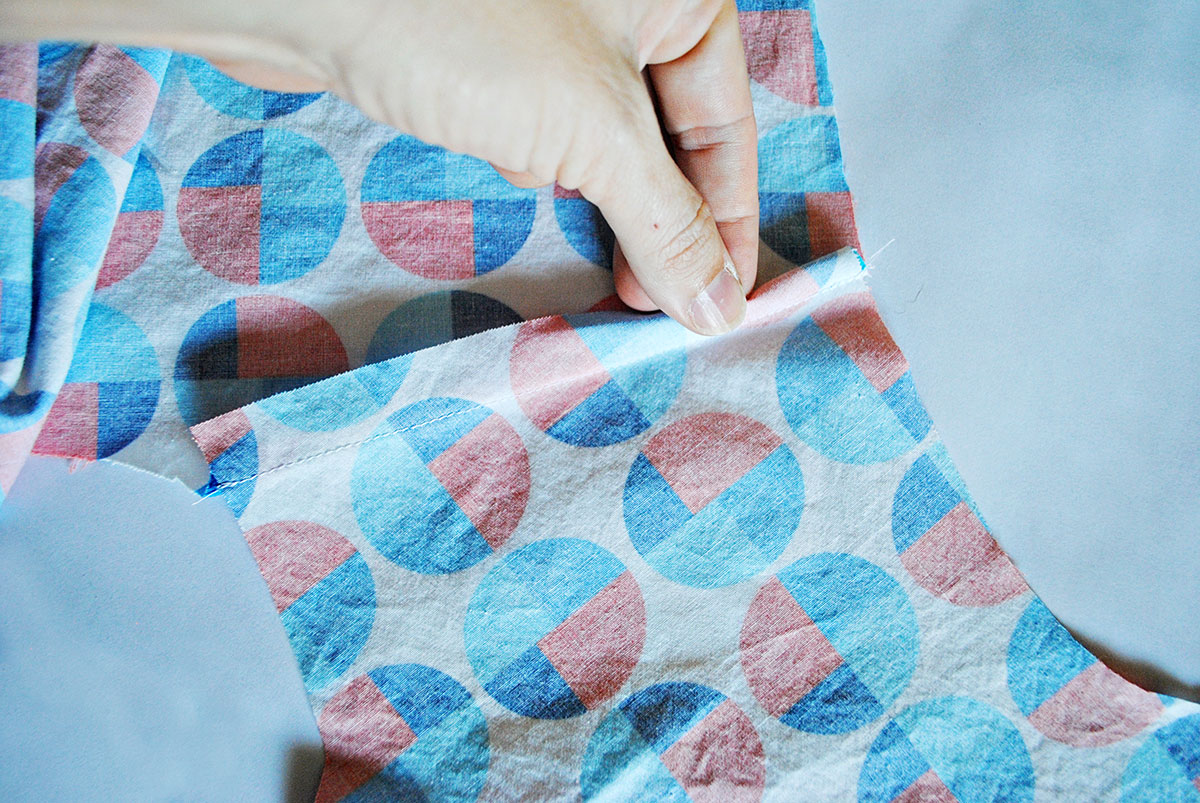
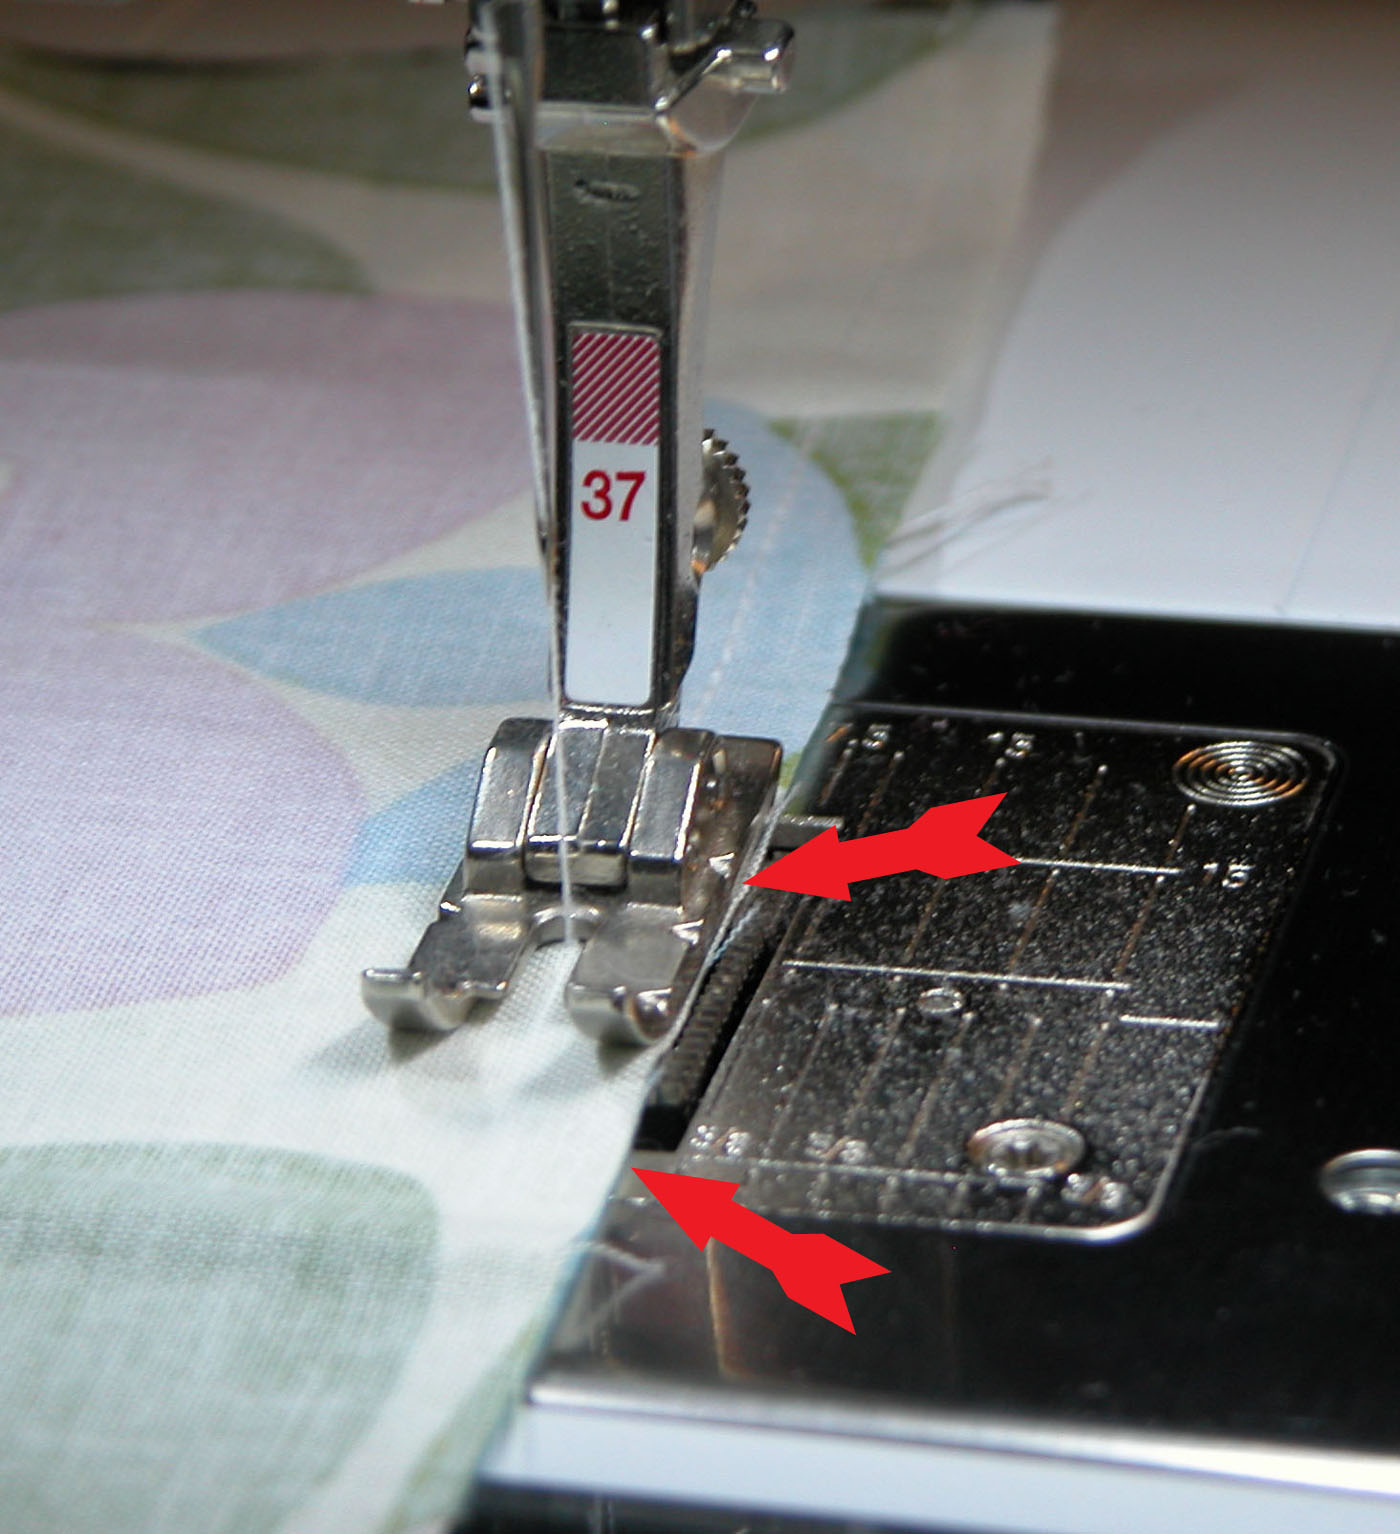
Once your seam is sewn, determine which side of the finished project you would like the top stitching of the flat felled seams to be on. In these photos, I am stitching the shoulder seam. I want the top stitching to be on the back. Trim only the back fabric within the seam down to half it’s original seam allowance.

Press the entire seam up towards the trimmed seam, in my case the back of the shirt.
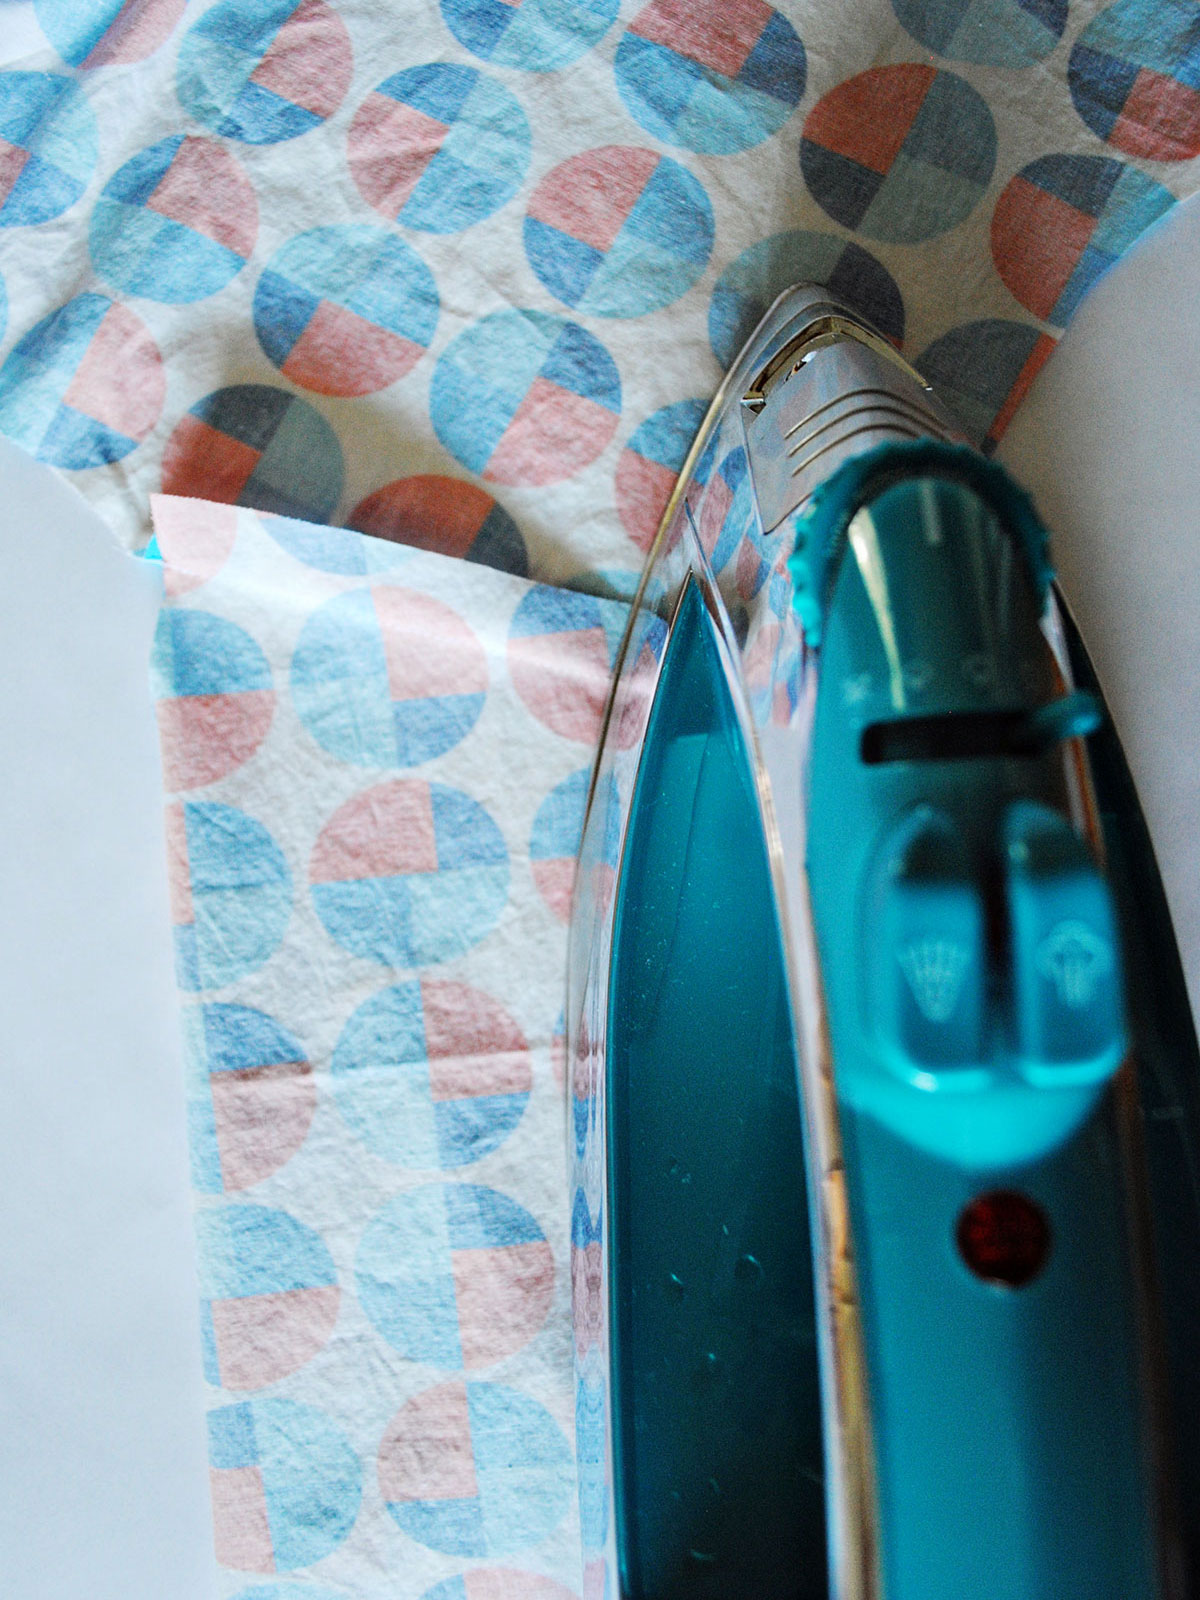
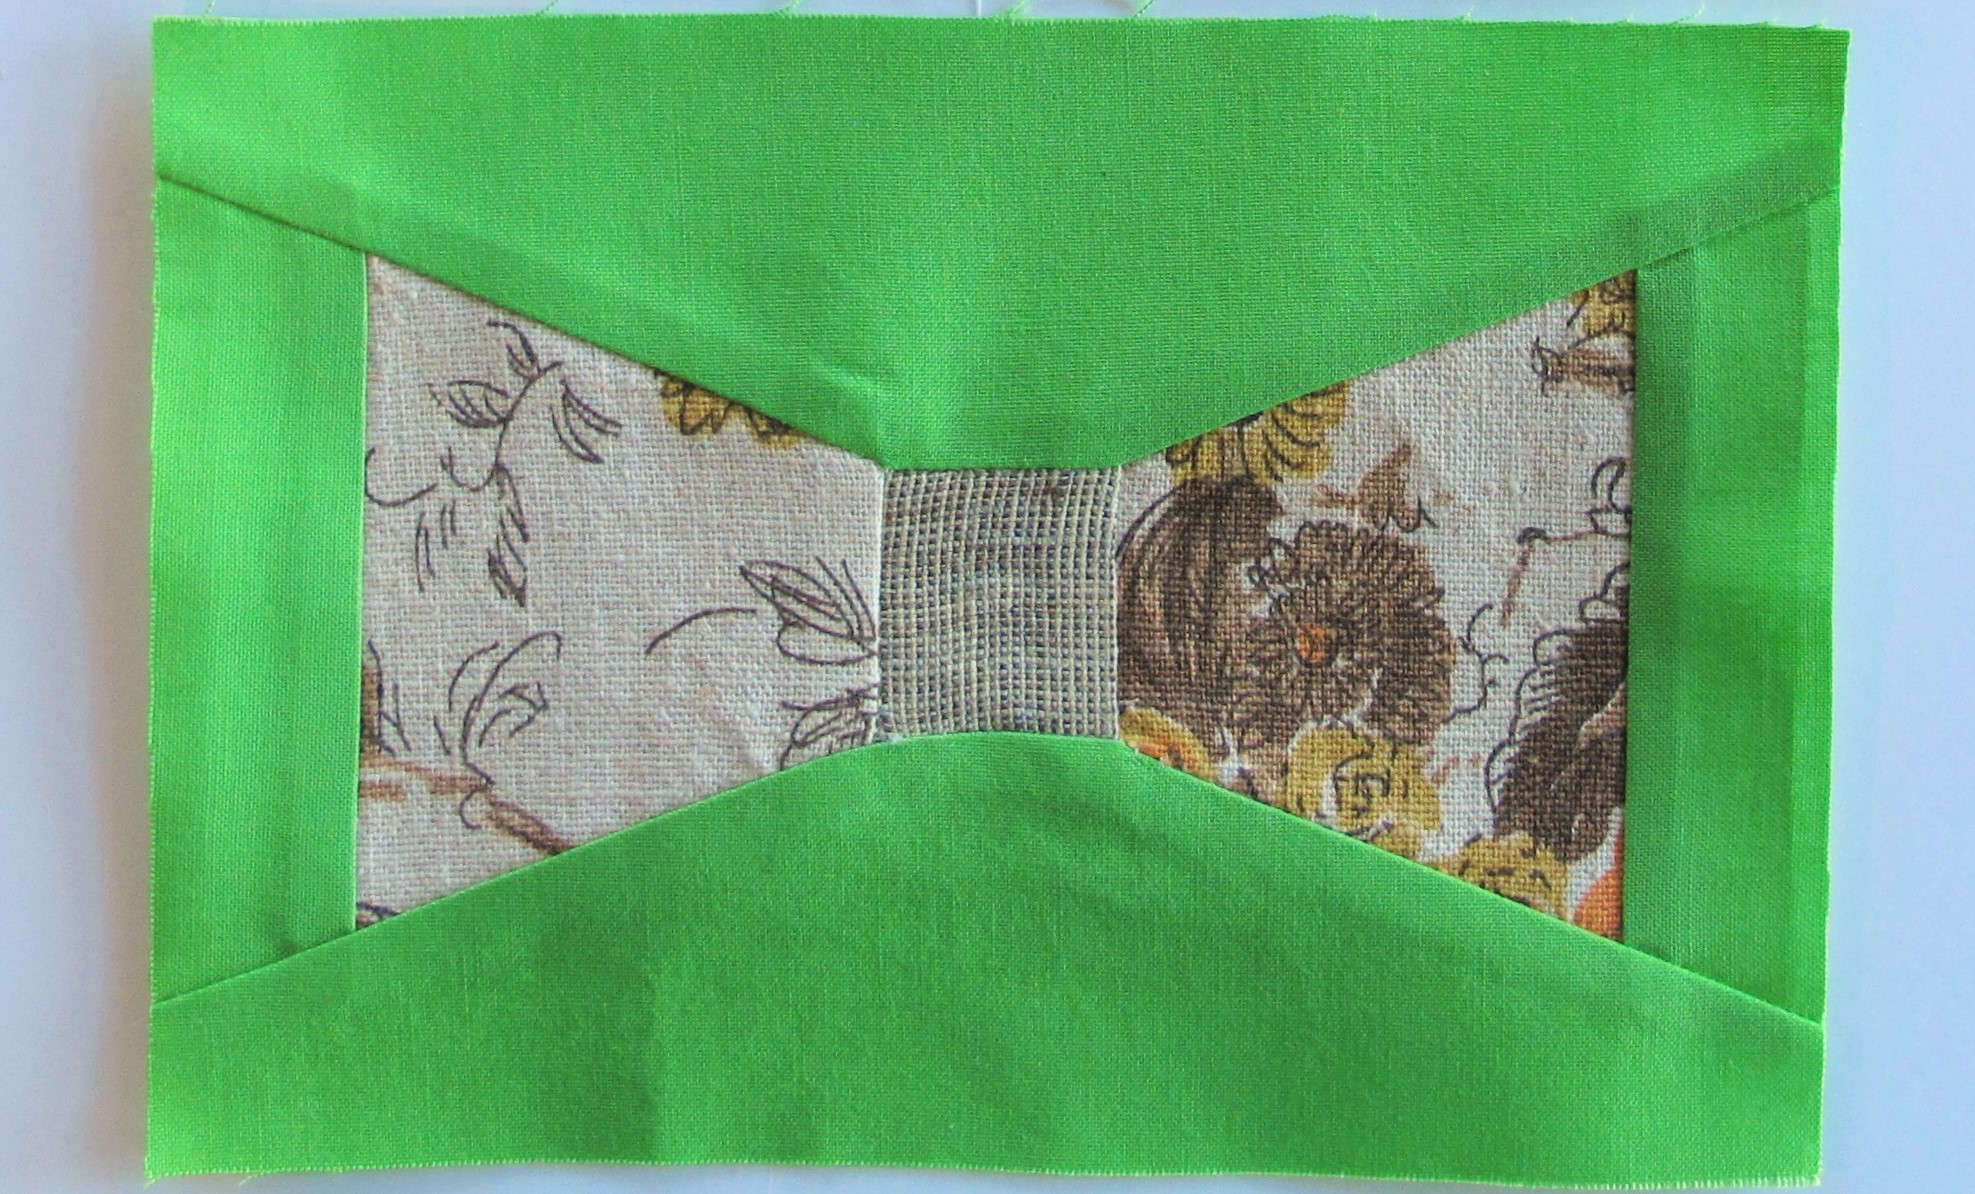
Fold the larger seam down to the stitch line. This fold will enclose the trimmed seam and enclose all of the raw edges. Press.
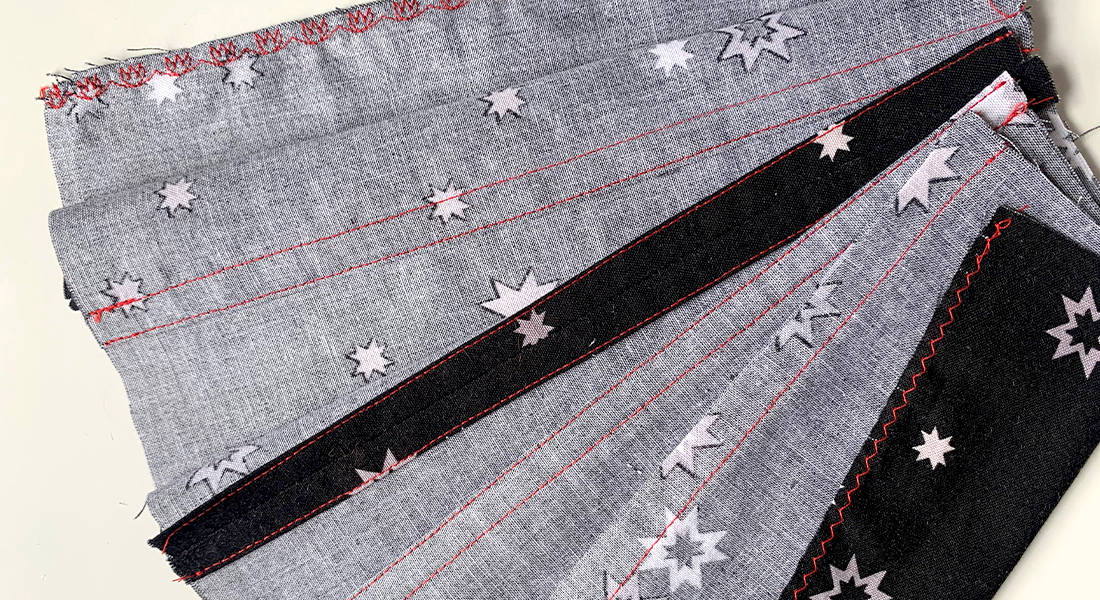
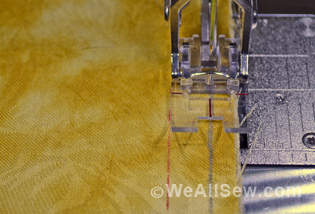
Flip your project over, and pin the pressed flat felled seam in place. Top stitch, making sure your stitches catch the folded seam. I top stitched this project with 1/4 inch seam.
That’s it! Flat felled seams provide a very durable finish, perfect for a project that will get a lot of wear!

Do you have a favorite seam finish?


What you might also like

8 comments on “Flat Felled Seams”
-
-
That is great too! I have had it taught to me both ways, this is my preferred method! I love that there are so many ways for us to sew!
-
-
I prefer to start a flat fell seam by first sewing the fabric wrong sides together. Then I proceed just as in the directions above. The finished seam has two rows of stitching on the right side of the garment. I think this looks like the seams on my husband’s dress shirts. I started using this seam in the 1960s when sewing oxford cloth shirts to get a “ready-to-wear” look. Try both methods to see which look you like.
-
That’s great! I love to see how things are done on ready to wear items and copy them in my sewing!
-
-
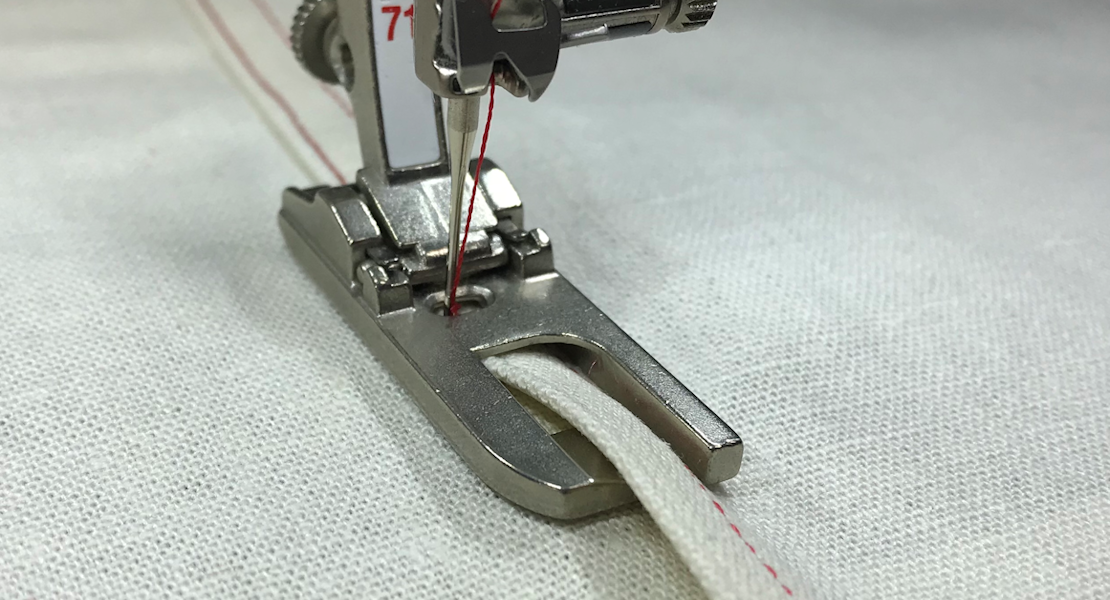
Great write up. Thanks. Might want to let the Bernina owner’s know that feet# 70/71 are great for flat felled AND bindings. Good job!
-
What’s the difference between this seam vs a french seam.
-
A french seam is not stitched down. This is the way I do them for a 5/8 seam: Start wrong sides together. Sew a quarter inch seam. Set the seam, then press the seam open and flat. Next, turn pieces right sides together, with the seam as the fold line. Press again. Sew a 3/8 seam. set seam, press to one side. I usually press toward the back. A flat felled, or lapped, seam encases the raw edge by lapping one seam allowance over the (trimmed) other and stitching it down. As discussed in the comments above there are two ways to accomplish this, each with a distinctive look. I use whichever method gives the best look for the particular project. French seams are not appropriate for heavy fabrics. Lighter weight fabrics can use either.
-
-
Lap seam foot #70 or # 71 are great for doing flat fell seams
Leave a Reply
You must be logged in to post a comment.

I was taught just the opposite of what you are showing. Initial seam has wrong sides together, seam is on the outside. Trim one of the seam allowances, press toward the trimmed allowance, fold and top stitch. You end up with 2 stitching lines on the outside, and you have the advantage of seeing where your stitches are being laid down – no guessing and hoping that you catch the turned over seam allowance. This way is much quicker and easily to make a neat even spacing between stitching lines.