Q-matic Troubleshooting: How to Fix a Loose Sew Head
“Help! My sew head came loose while quilting with the Q-matic.” Has this ever happened to you? Luckily, there is no need to panic! Let’s talk about how we can fix this.

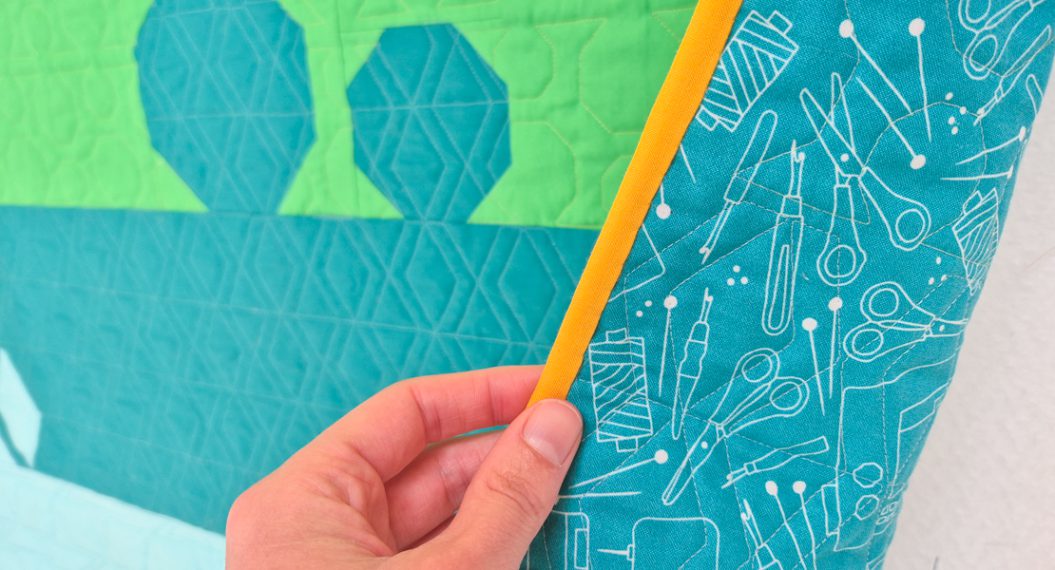
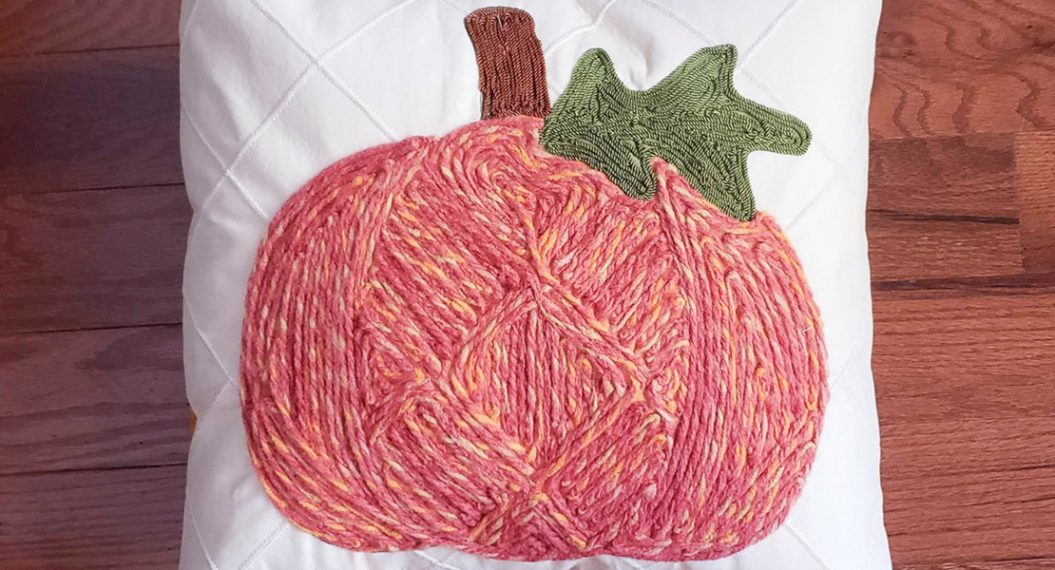
Cuddly Quilt on Minky
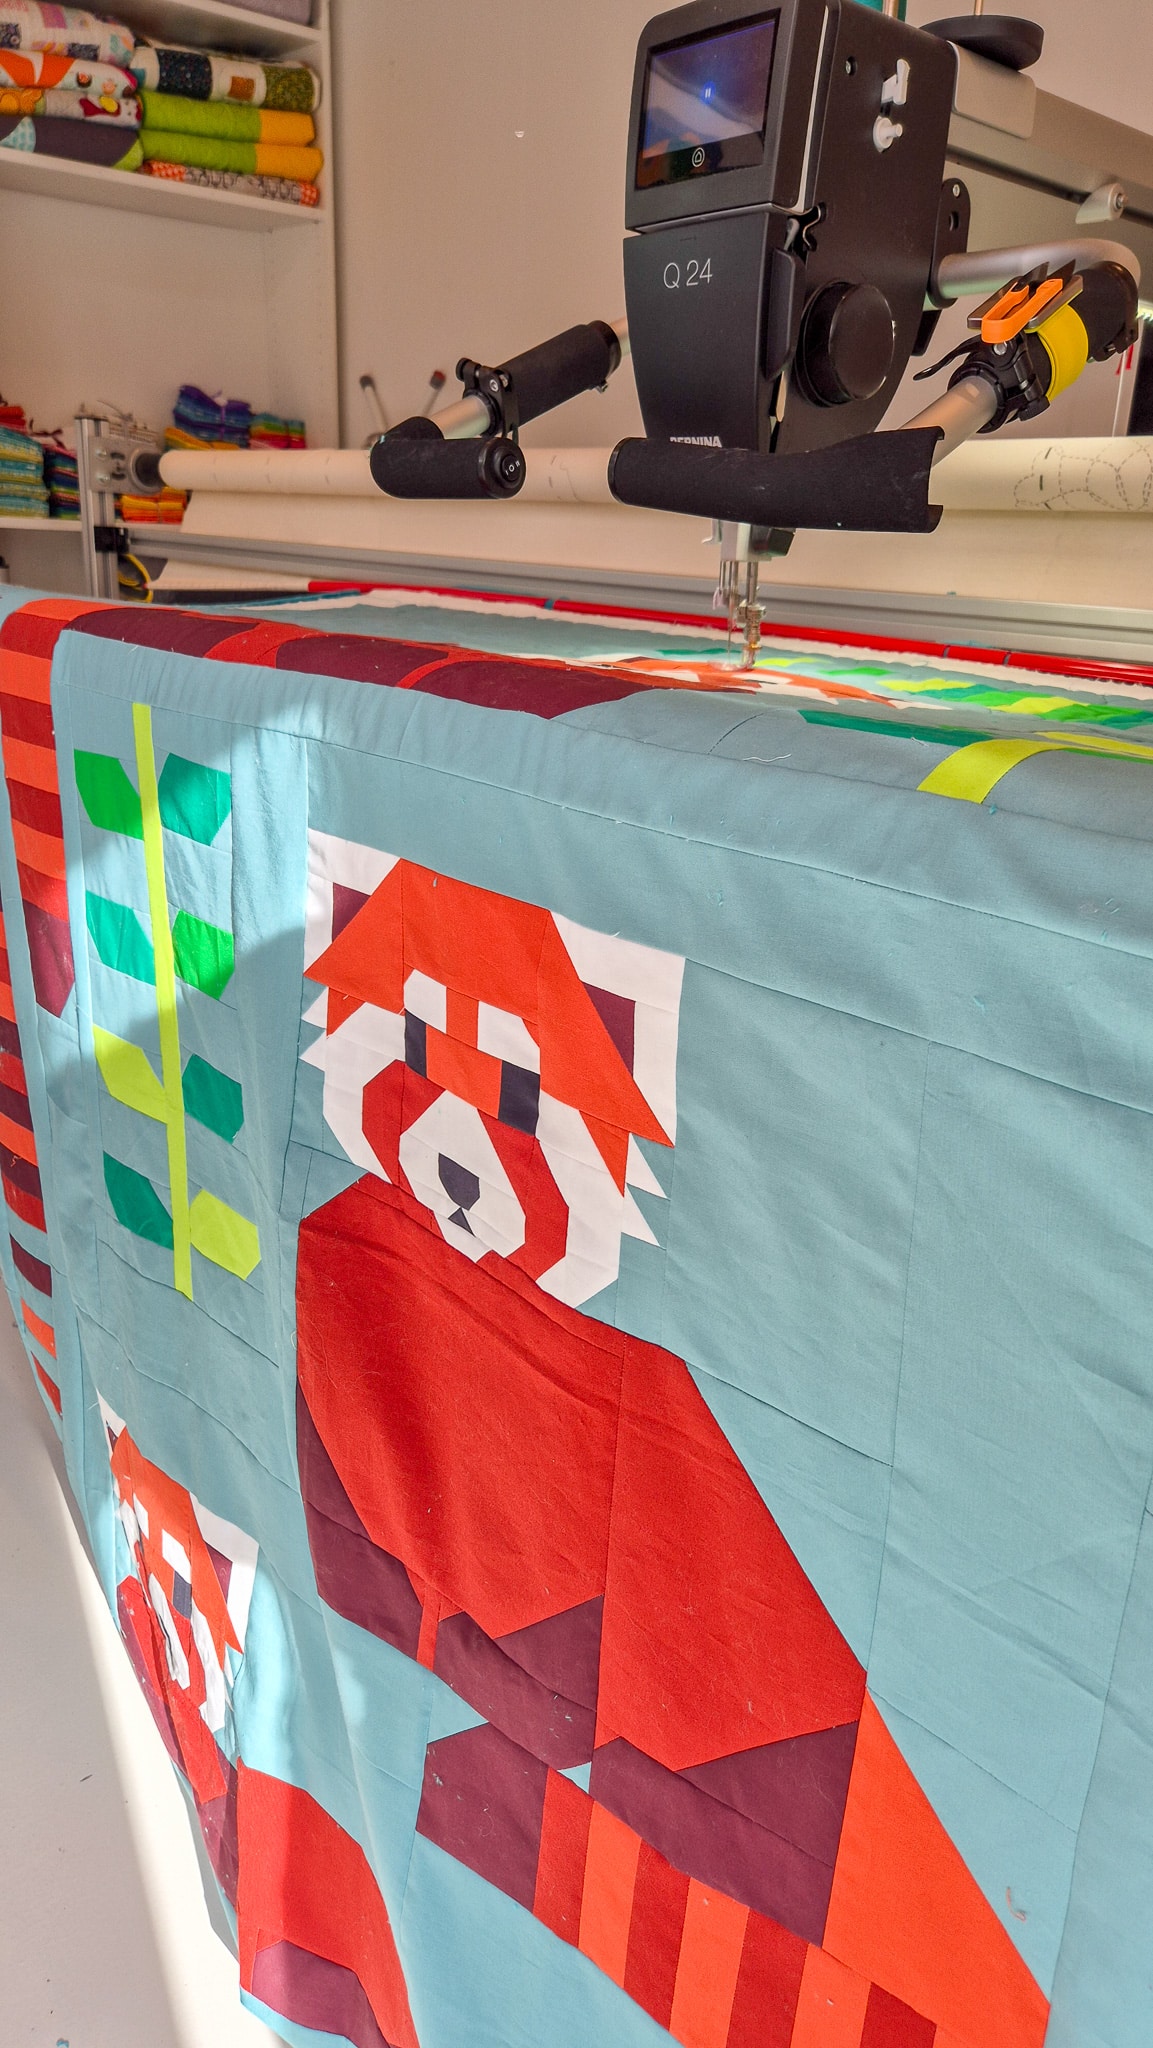
The project I was working on is this cute red panda quilt. After using a soft minky on a quilt for my daughter, I soon got the request for a quilt with minky backing from my son.
I was a little nervous before starting to quilt on a long arm with minky, but it all turned out very doable!
Stretchy Fabric
Minky is somewhat stretchy in one direction, more than quilting cotton. That is something to take into account. You need to decide if you want to place that stretch along the rails or perpendicular to the rails.
Placing the direction of the stretch along the rails makes it more difficult to pin your fabric to the leaders. You need to pay attention not to stretch the fabric too much while pinning.
When the stretch runs perpendicular to the rails, it makes it easier to load the backing to the rails. Because of the stretch in the fabric, it’s easy to roll it too tightly.
Unexpected Problem
While quilting this quilt, everything went perfectly at first. The Minky was loaded without problems, the first rows were quilted, and looking good!
It’s so satisfying to see those first stitches on the soft material on the back of the quilt on the take-up rail after quilting the first sections. So far so good.
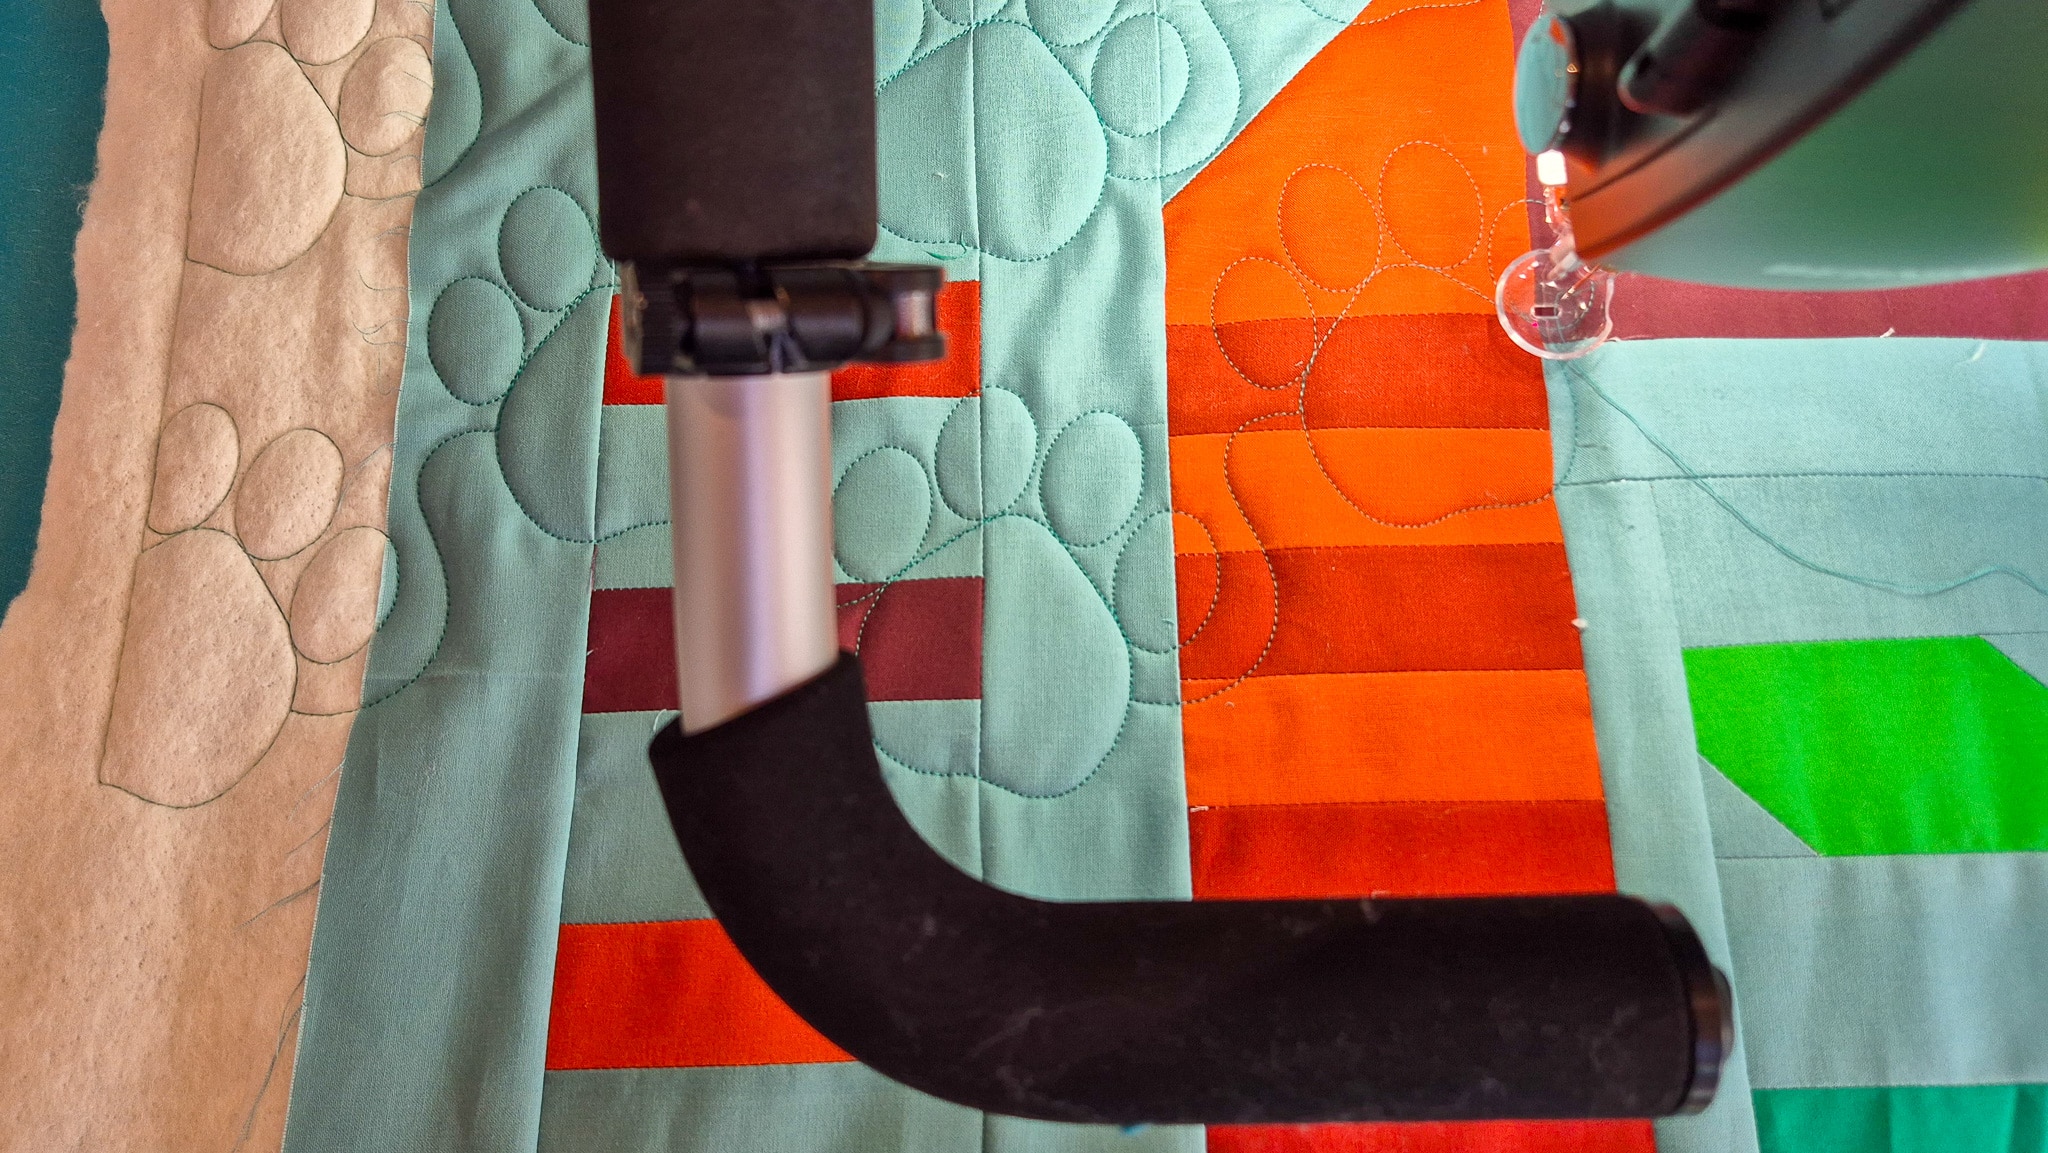
Then, after a few rows, I heard the machine speeding up in the middle of a row, and I stopped the machine. It turned out that one of the locks on the belts came loose!
What Happened?
The sew head came loose; it popped off the belt. How can this happen? The problem for me was that my Safe Area was too full of designs. This was no problem for the first few rows I stitched. But after moving the quilt further up, the take-up rail fills up and gets wider. And with the Minky, this gets even bulkier. So the sew head bumped into the rail and popped off the belt.
Other reasons for the sew head getting loose could be that it’s not fully set in the locked position, perpendicular to the belt. Always good to check if everything is locked fully before starting on a new project.
Or you could have pushed too hard when setting the sew head in position to mark the safe area. When you’re too enthusiastic with pushing it toward the rails, it could make the sew head pop off the belt without noticing. Take it slow when setting the safe area.
Sew Head location is lost
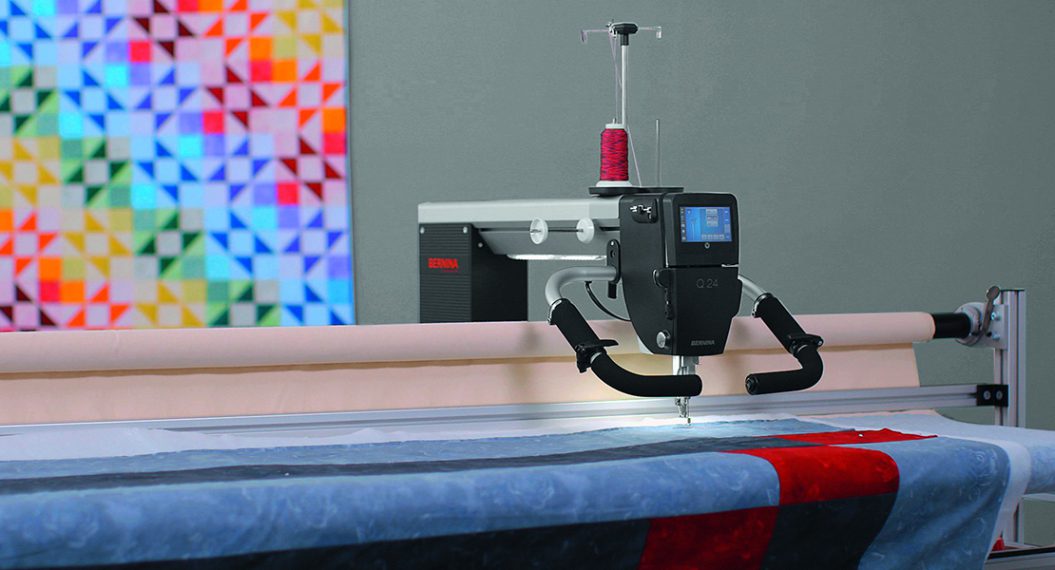
The Q-matic system runs by giving the sew head instructions on where to go in the X- and Y-directions. When the sew head pops off a belt, the Q-matic doesn’t know where the sew head is anymore. So just putting the lock back in position and continuing quilting won’t work, unfortunately.
What to Do If the Sew Head Comes Loose
Now we know what happens when the sew head gets loose, but how do we fix it?
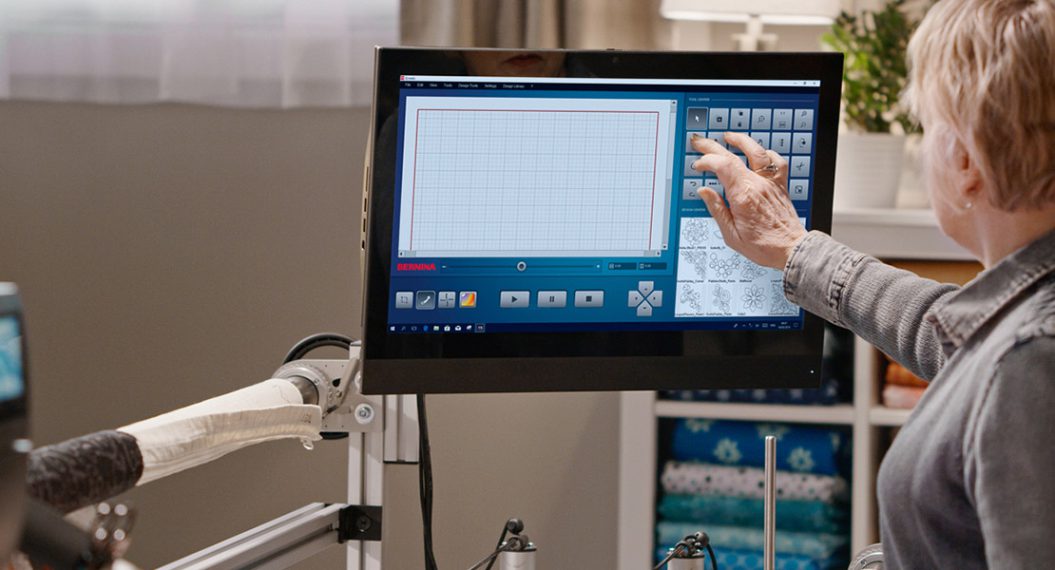
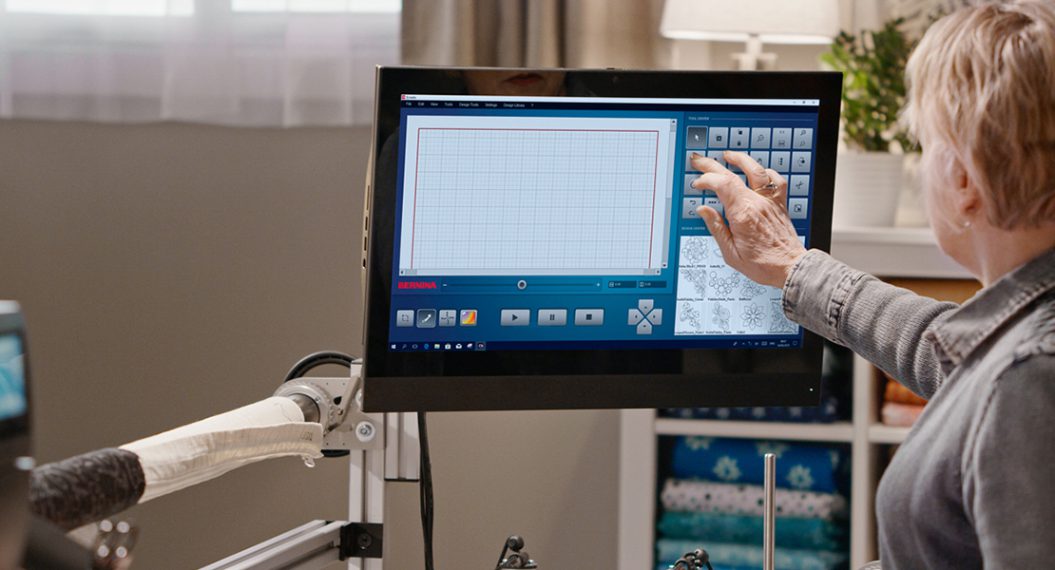
Step 1: New Safe Area
First, check the belt to see which of the locks came loose. Place the locks in the locking position, perpendicular to the belt.
Now we can set a new safe area.
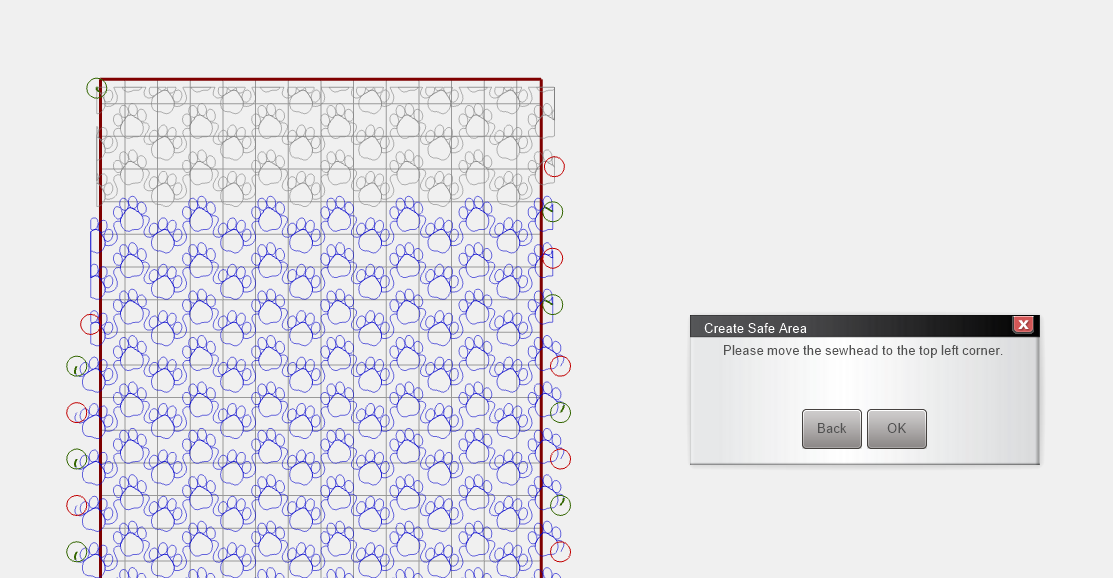
Bring your sew head back to the top right corner and bottom left corner to set the Safe Area.

Step 2: Snap to Point
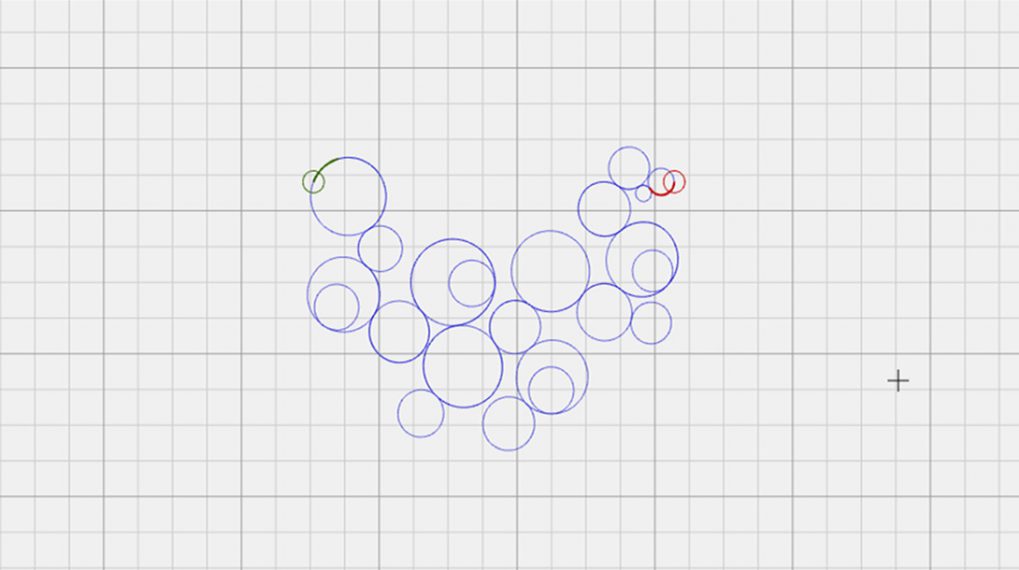
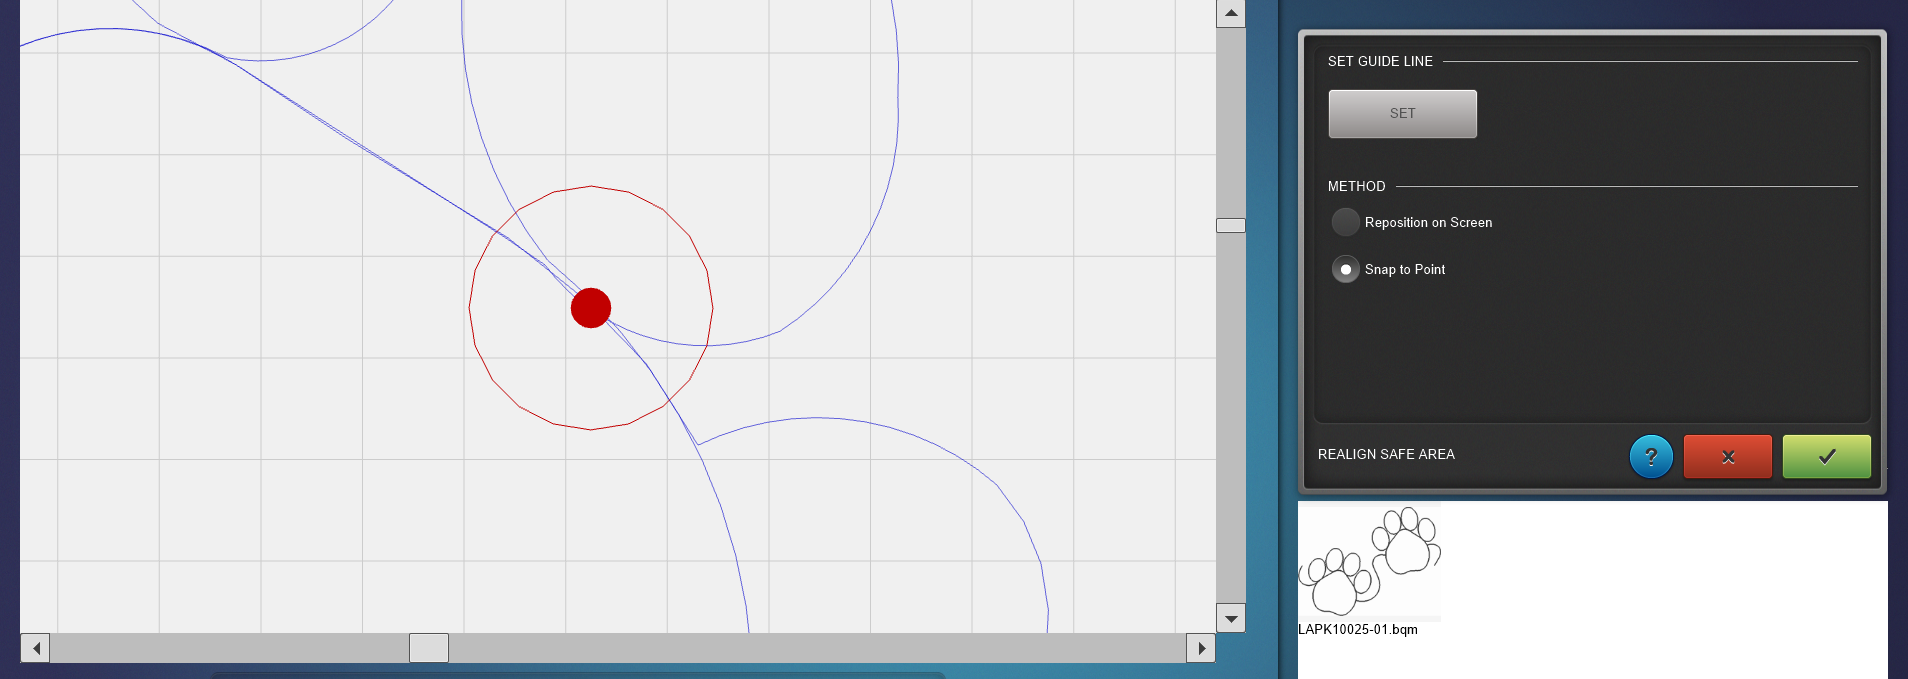
After the new safe area is set, use the function Realign Safe Area to let the Q-matic know where on the design the sew head is located.
I like to bring my machine to a point that’s easy to recognize and use the Snap To Point option in the realign the safe area function.
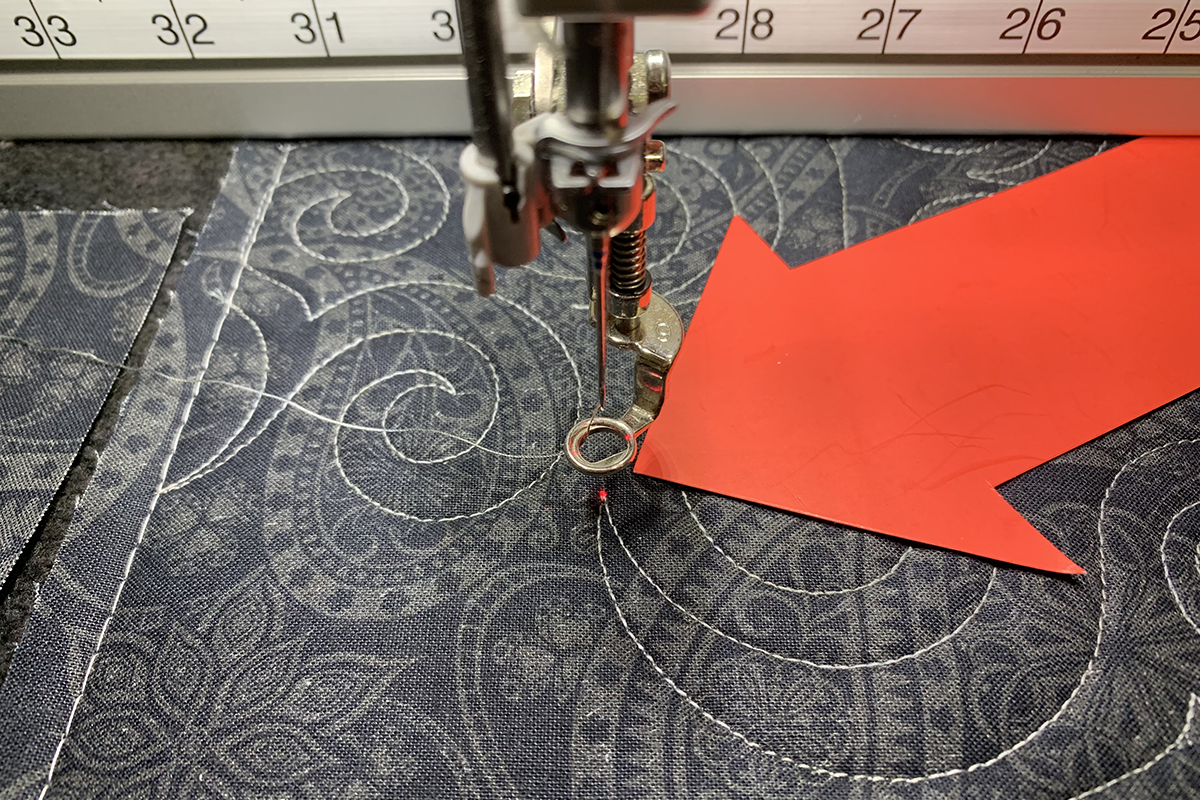
Needle Point Laser
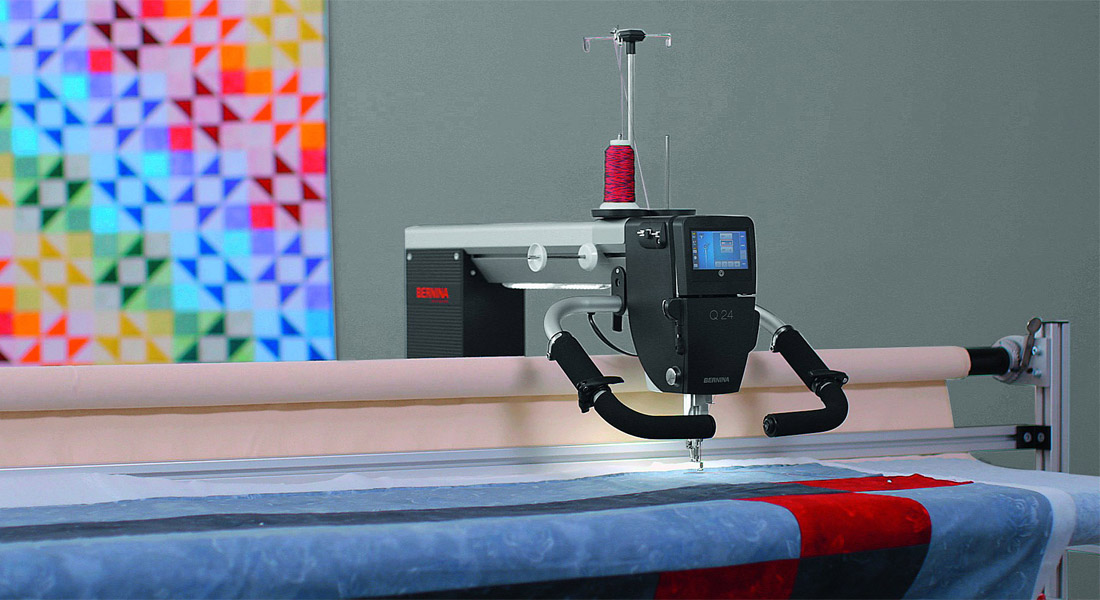
There is an add-on for the BERNINA Q Series that comes in very handy when realigning the safe area: the Needle Point Laser.
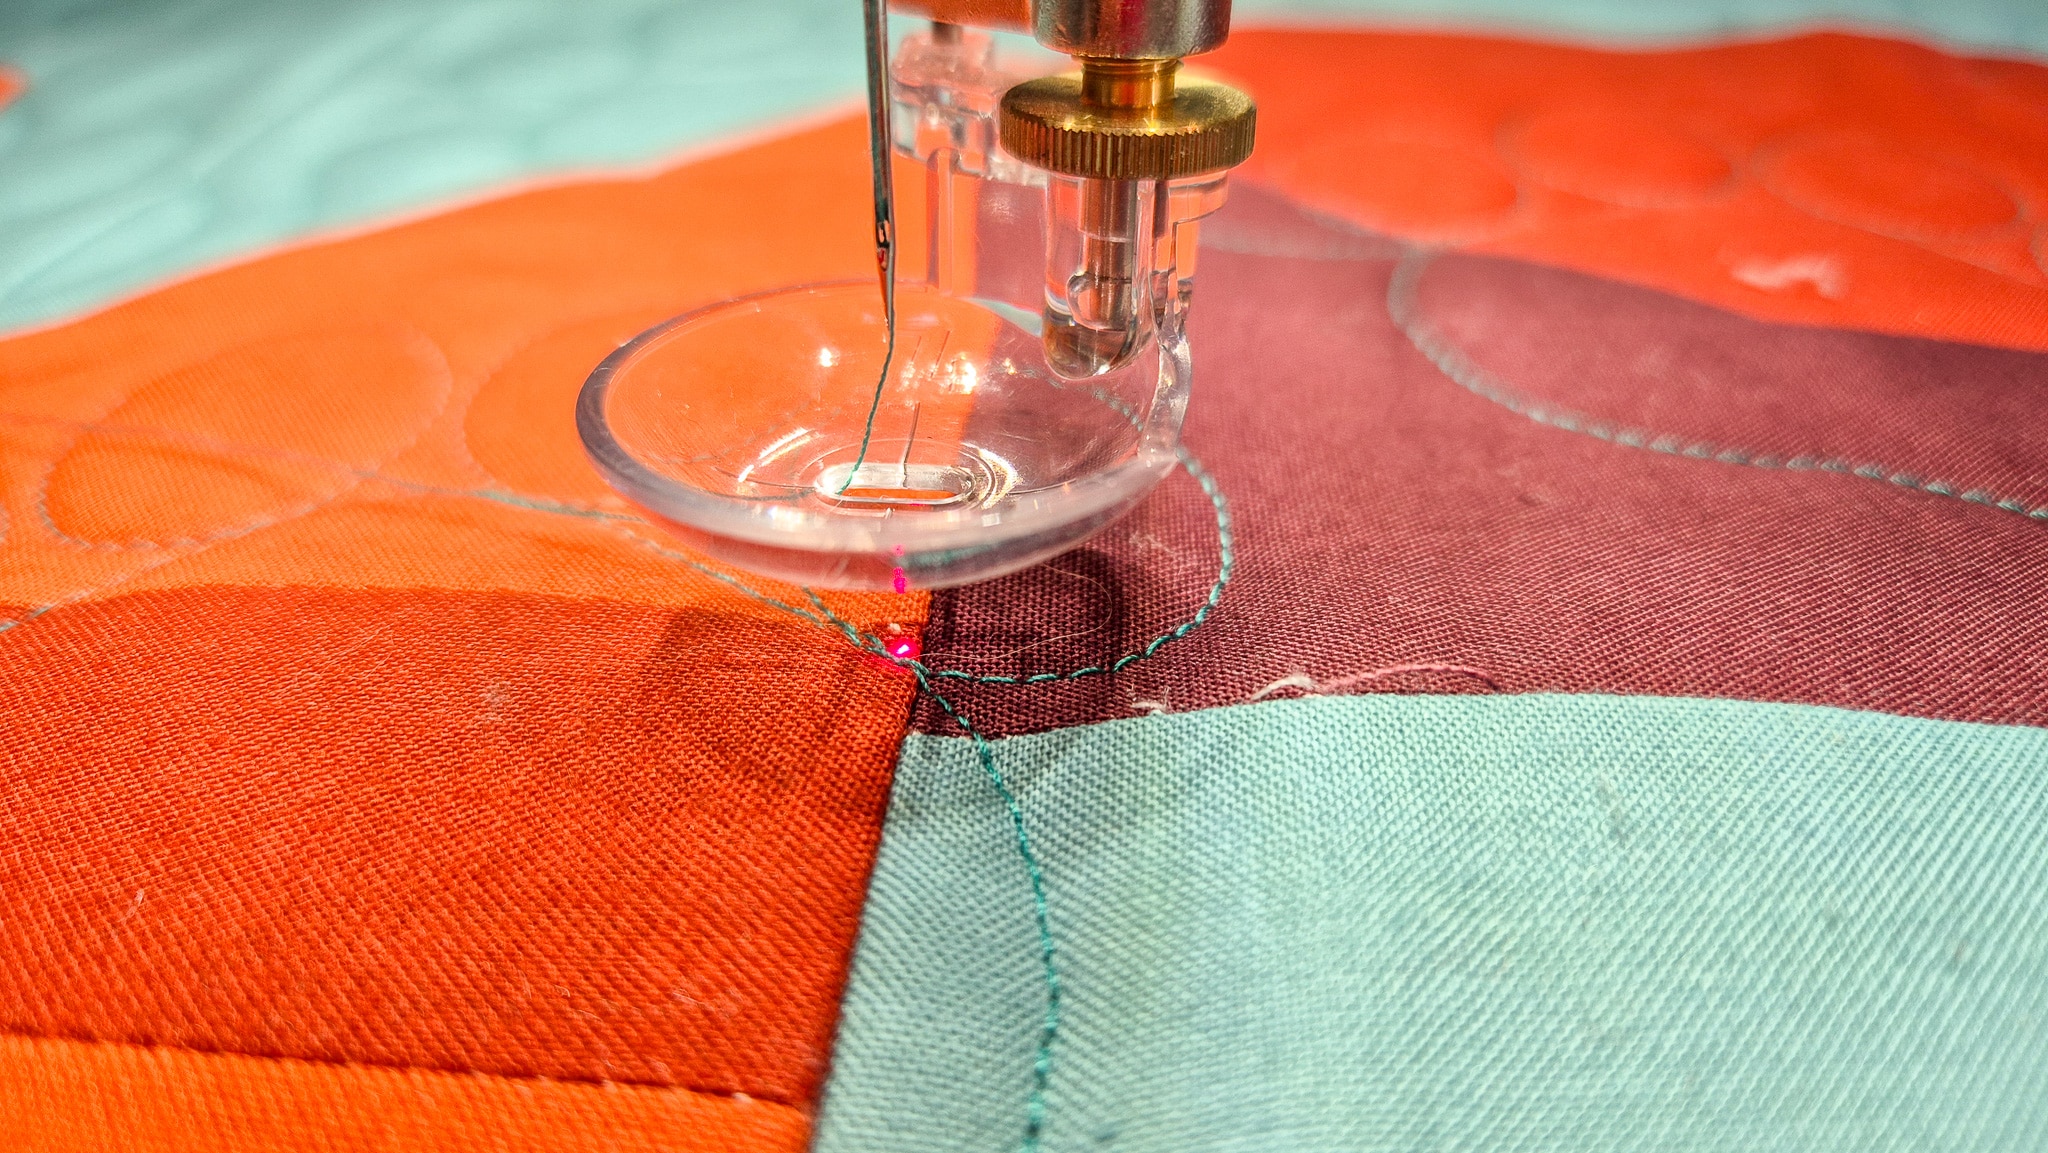
See that little red dot on the stitching? That is the exact location of the needle.
With the Needle Point Laser, you will be able to accurately place the needle without guesswork or using the handwheel! The Needle Point Laser shows exactly where the needle is going to stitch.
Back to Quilting
Now you know what can cause the sew head to lose connection with the Q-matic. And more importantly, you know how to fix it!
Time to get back to quilting and finish your beautiful project.
Happy quilting!
Irene