Sewing Pockets Using French Seams
Hi everyone! I love to sew on vaca—how about you?
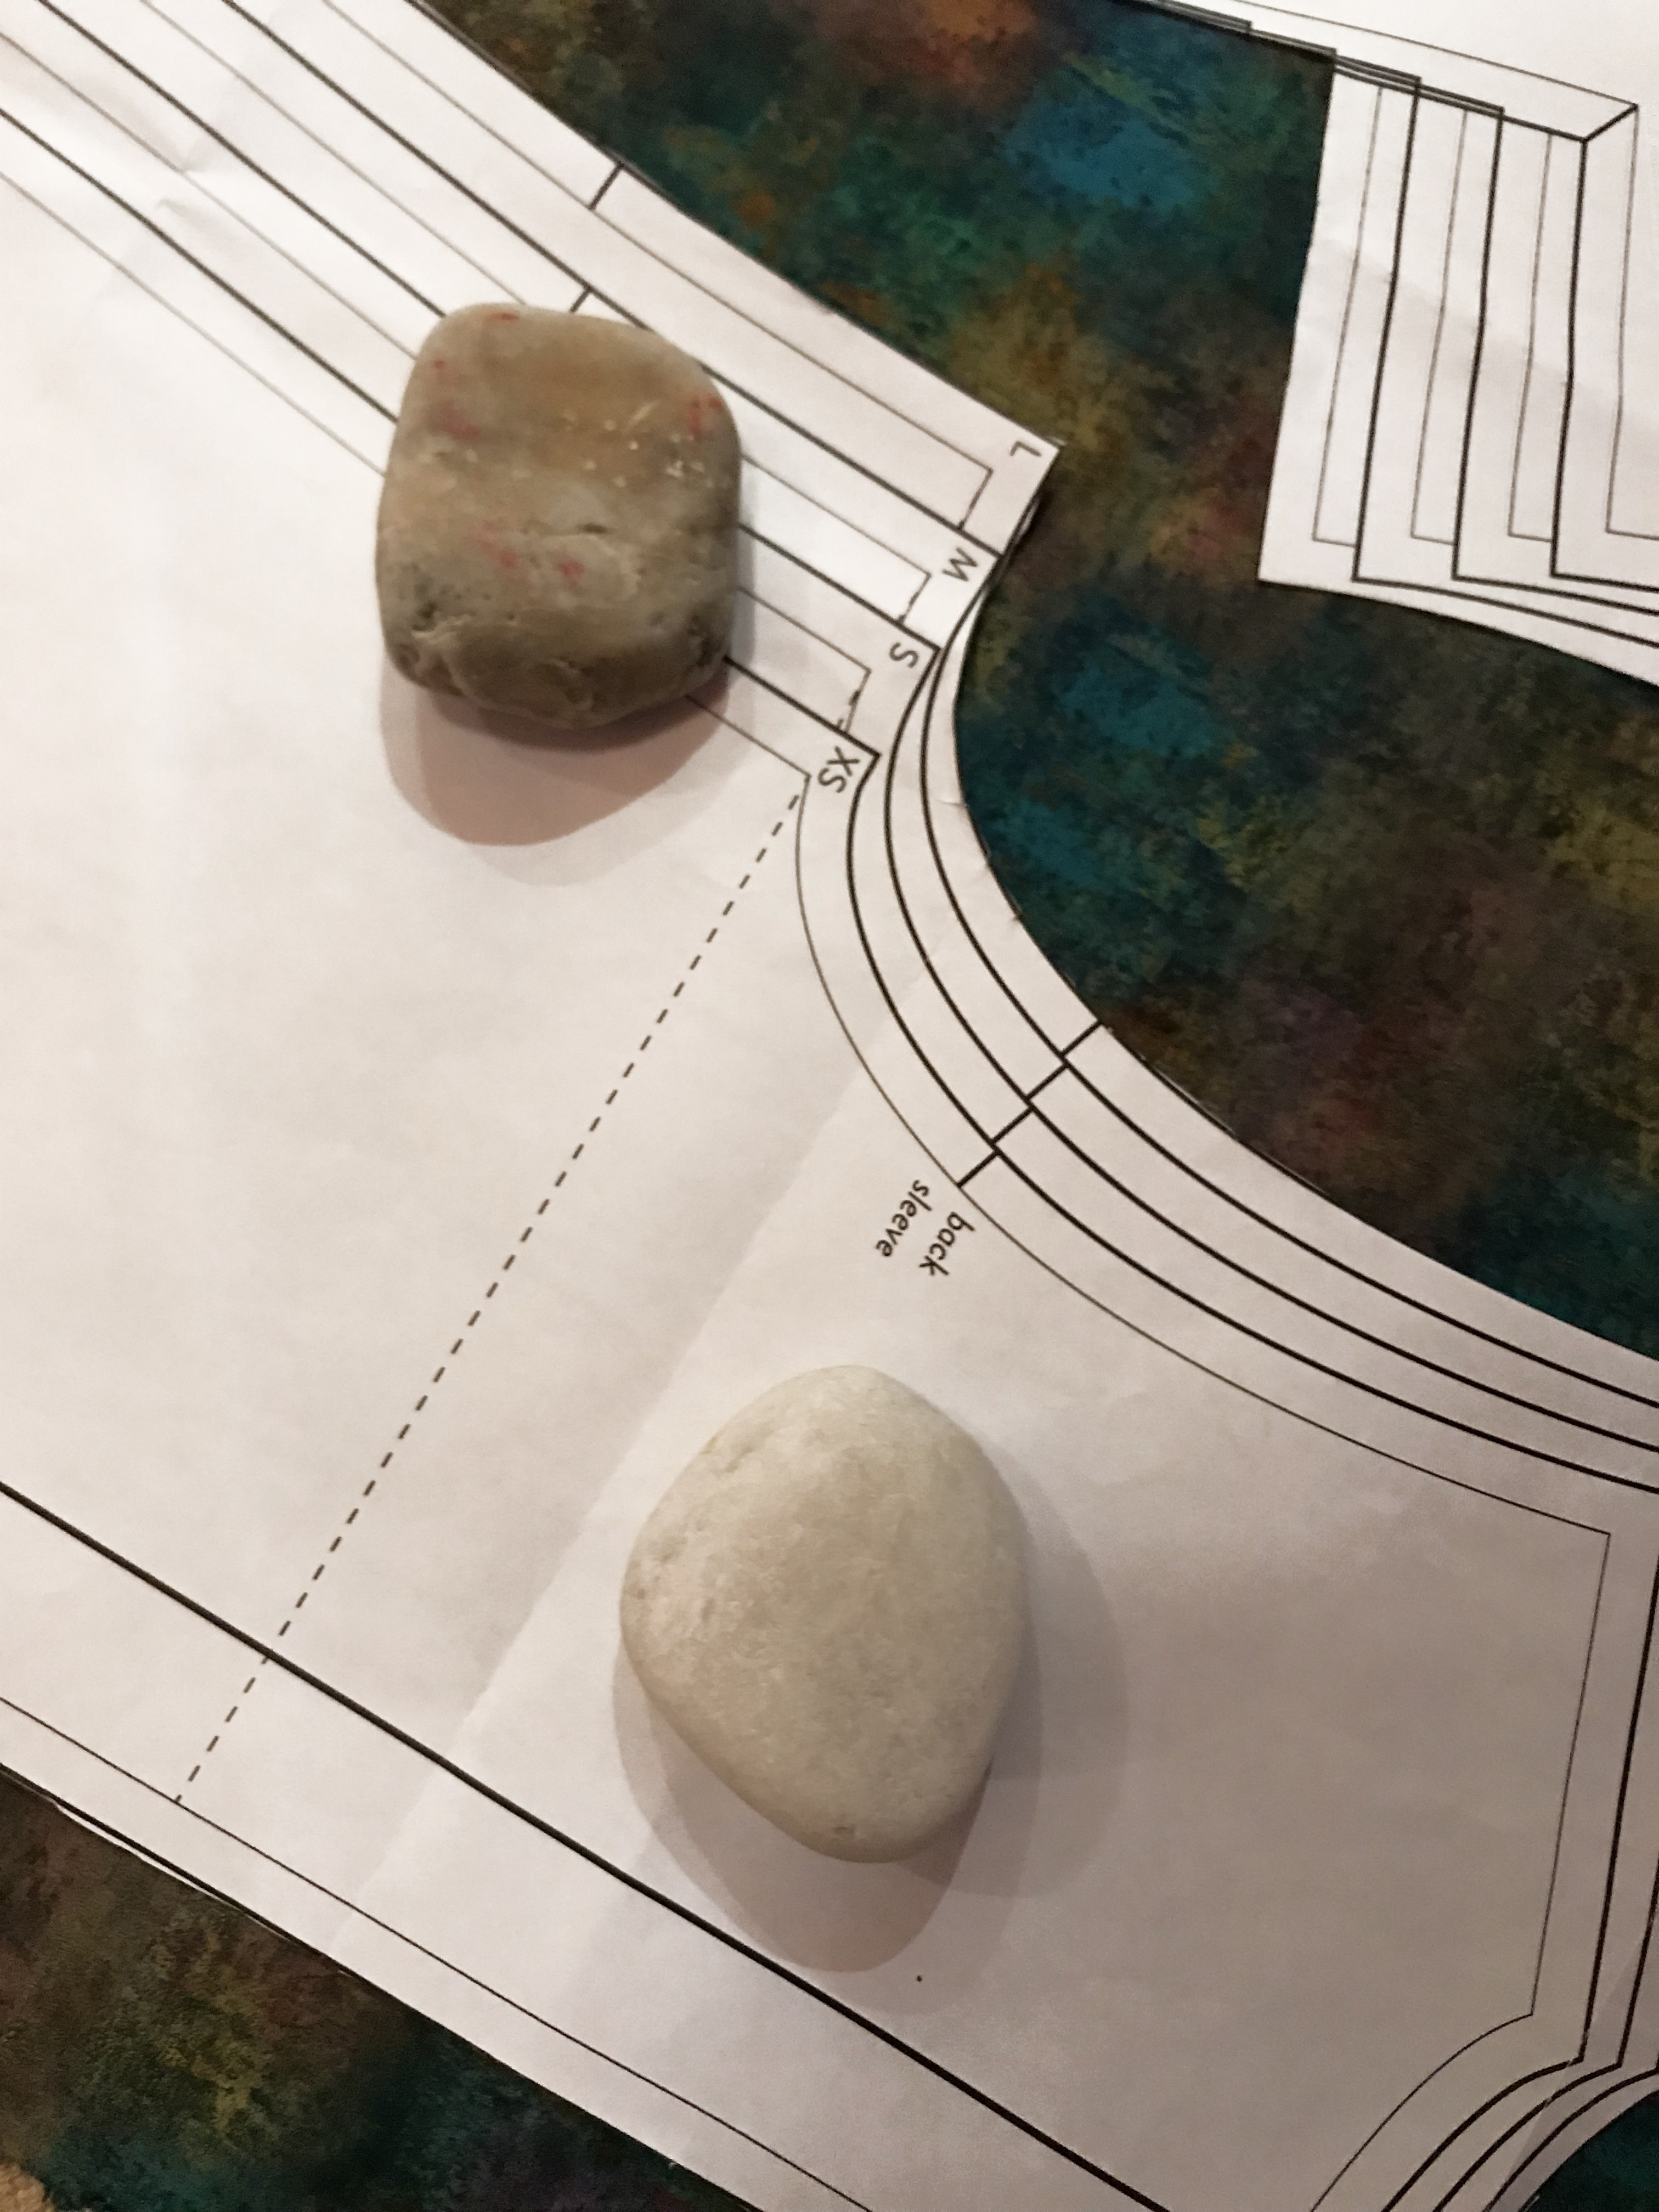
Last summer I spent some time on an island off of Cape Cod, sewing in the morning and beaching in the afternoon. My idea of a perfect day! And the pattern weights are free! (After you lug them home from the beach…)
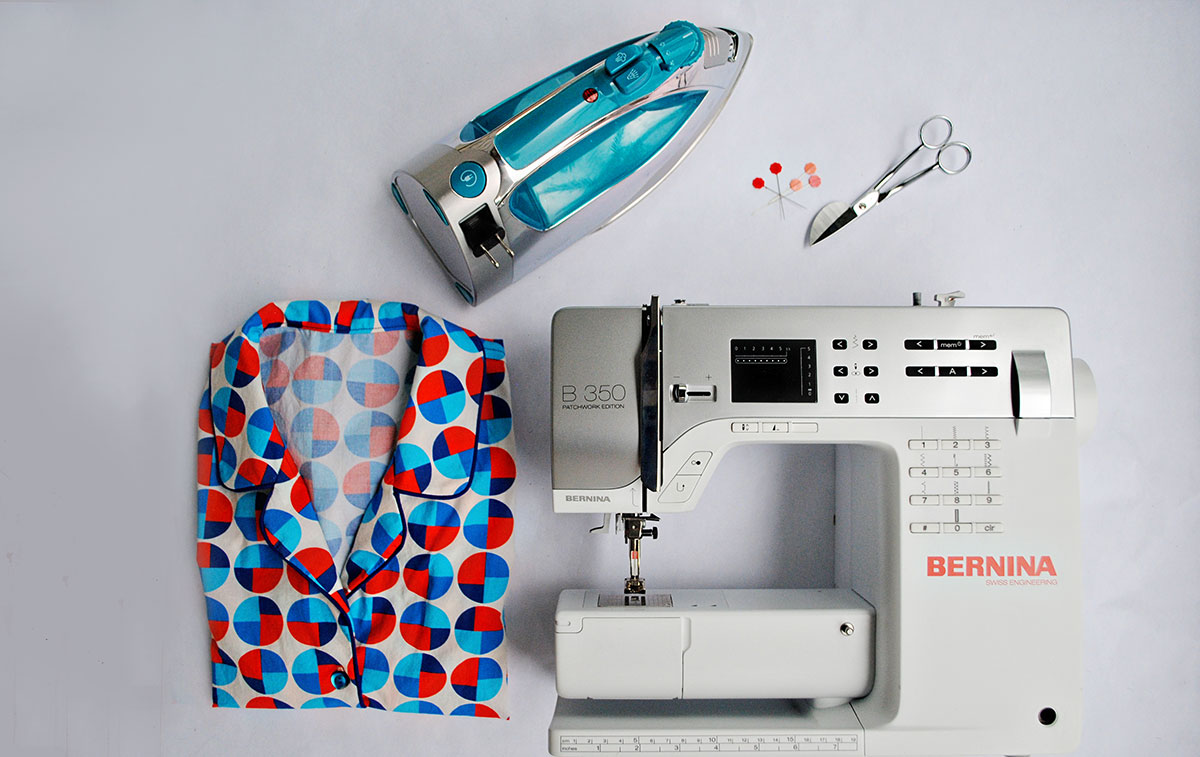
I always take my trusty BERNINA 215 with me when I travel. (She’s known around the sewing shed as “Coco,” named after you-know-who.)
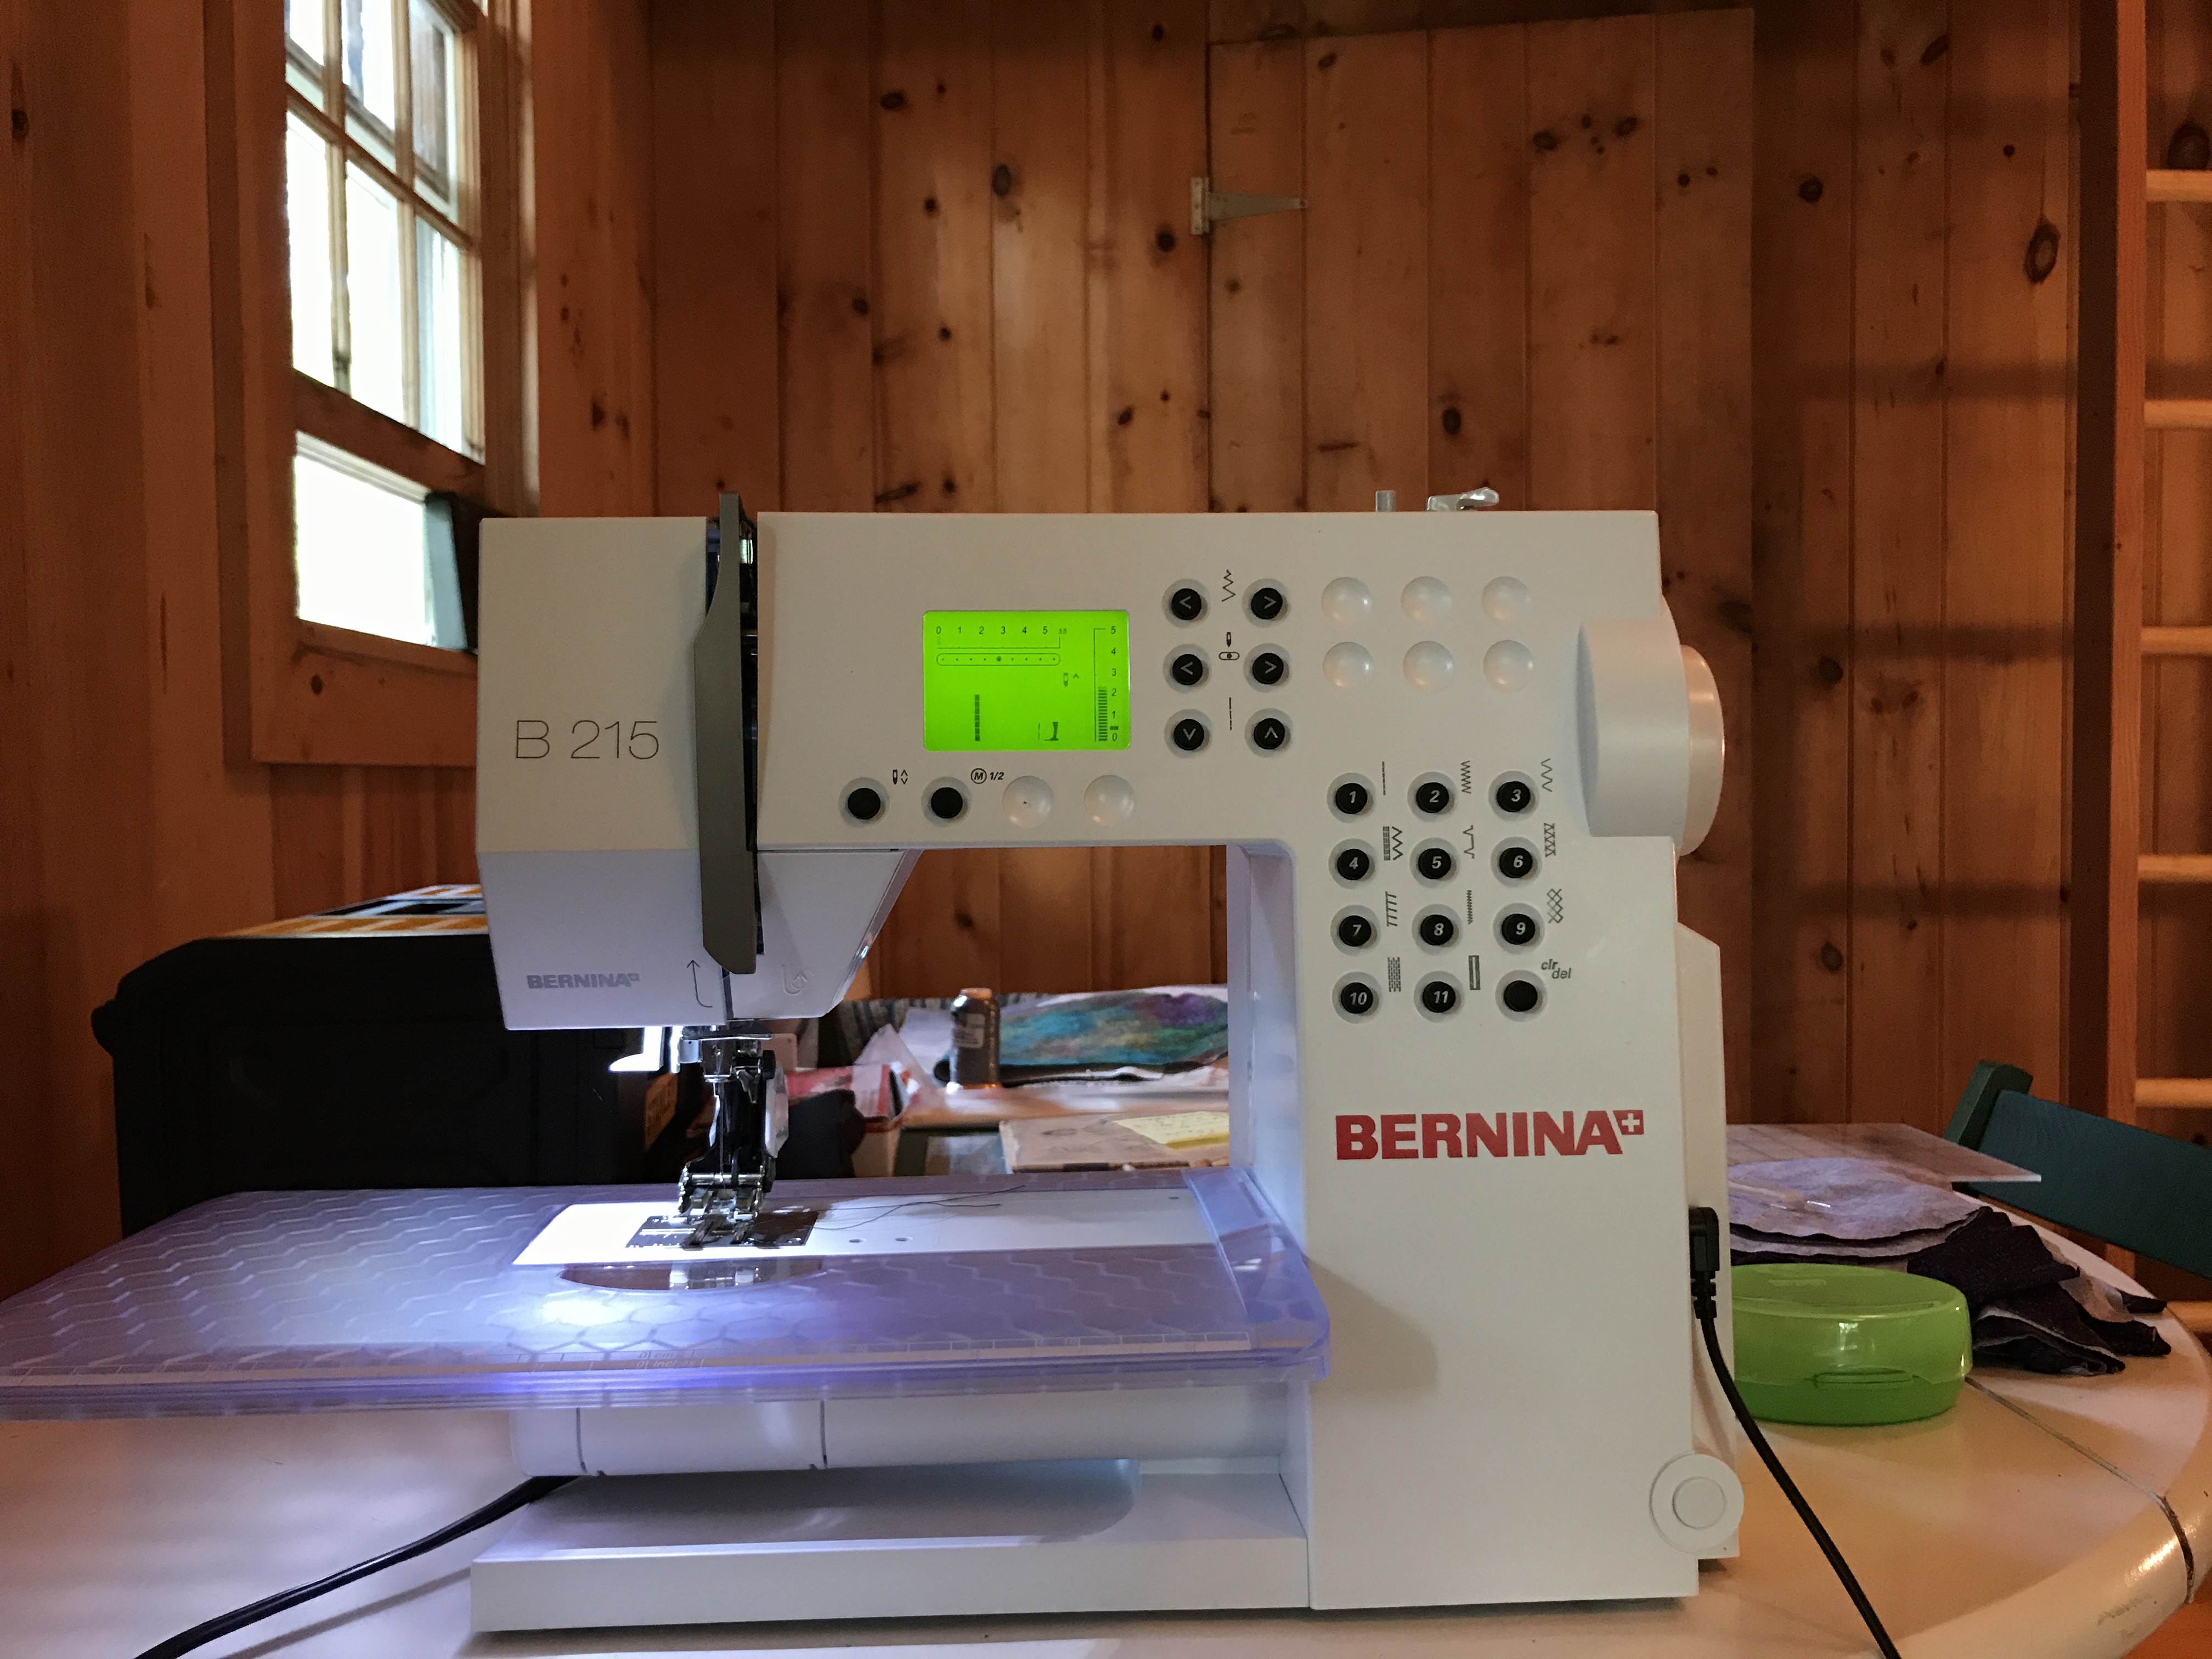
The B 215 is a great vacation machine because it’s a compact size for transport, and it still has that excellent BERNINA stitch quality and powerful feed. An added plus–I can use the same presser feet that I use at home with my 500 series BERNINA.
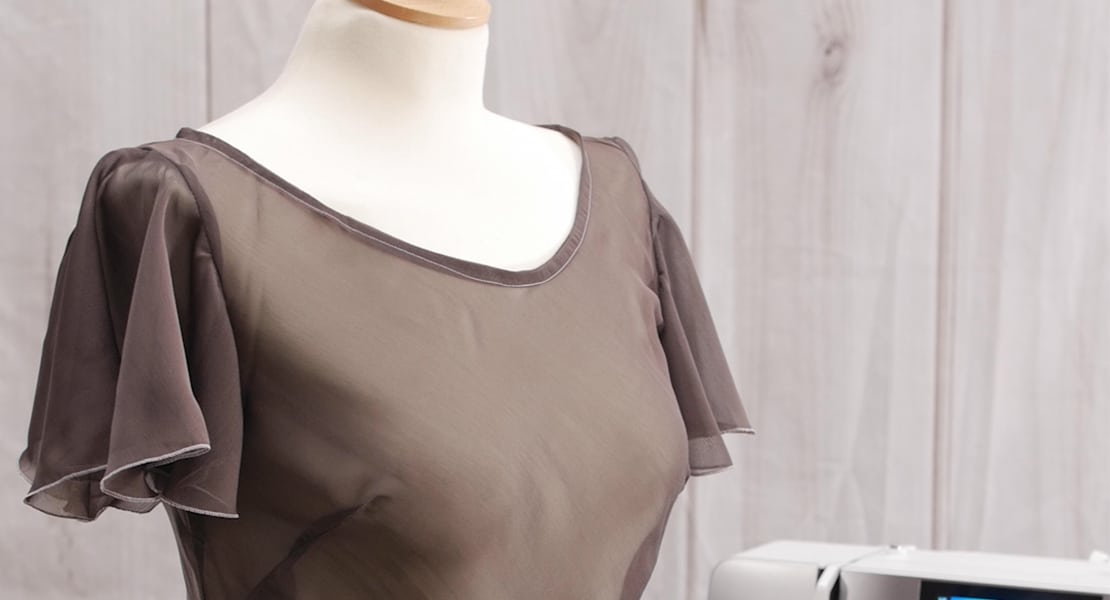
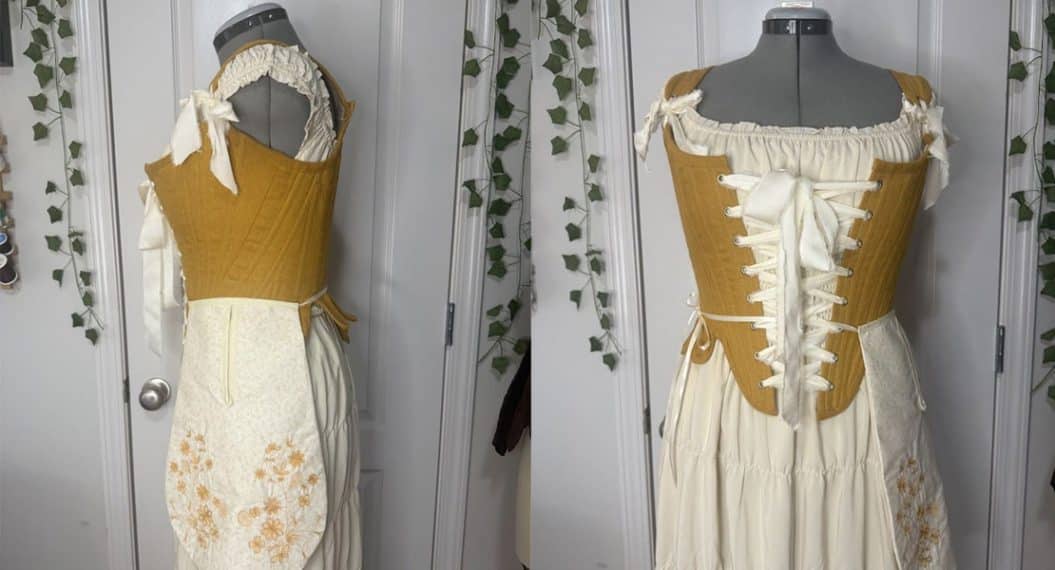
I was working on a summery dress that has hidden pockets on the side seams. I wanted a chic and clean finish for the inside seams, so I decided to go old-school and make French seams. This technique probably has been around for more than 100 years, and I knew it would work well on lightweight cotton lawn fabric.
To create a French seam, you first sew a very narrow seam WRONG sides together, then flip and press the garment pieces to be RIGHT sides together. You sew the seam again, a little wider this time, to enclose the raw edge inside of the two rows of stitching.
Now, it can be a little tricky to maneuver a French seam around a pocket, but by using this tried-and-true vintage method, it works just fine. It really helps to press each seam well at every step. I always “sandwich press” a seam first (press it just as it comes out of the machine), then press it open.
You can use French seams with just about any dress pattern that has interior pockets on the side seams. I’ll even add pockets to patterns that don’t have them, because who doesn’t love a good pocket?!
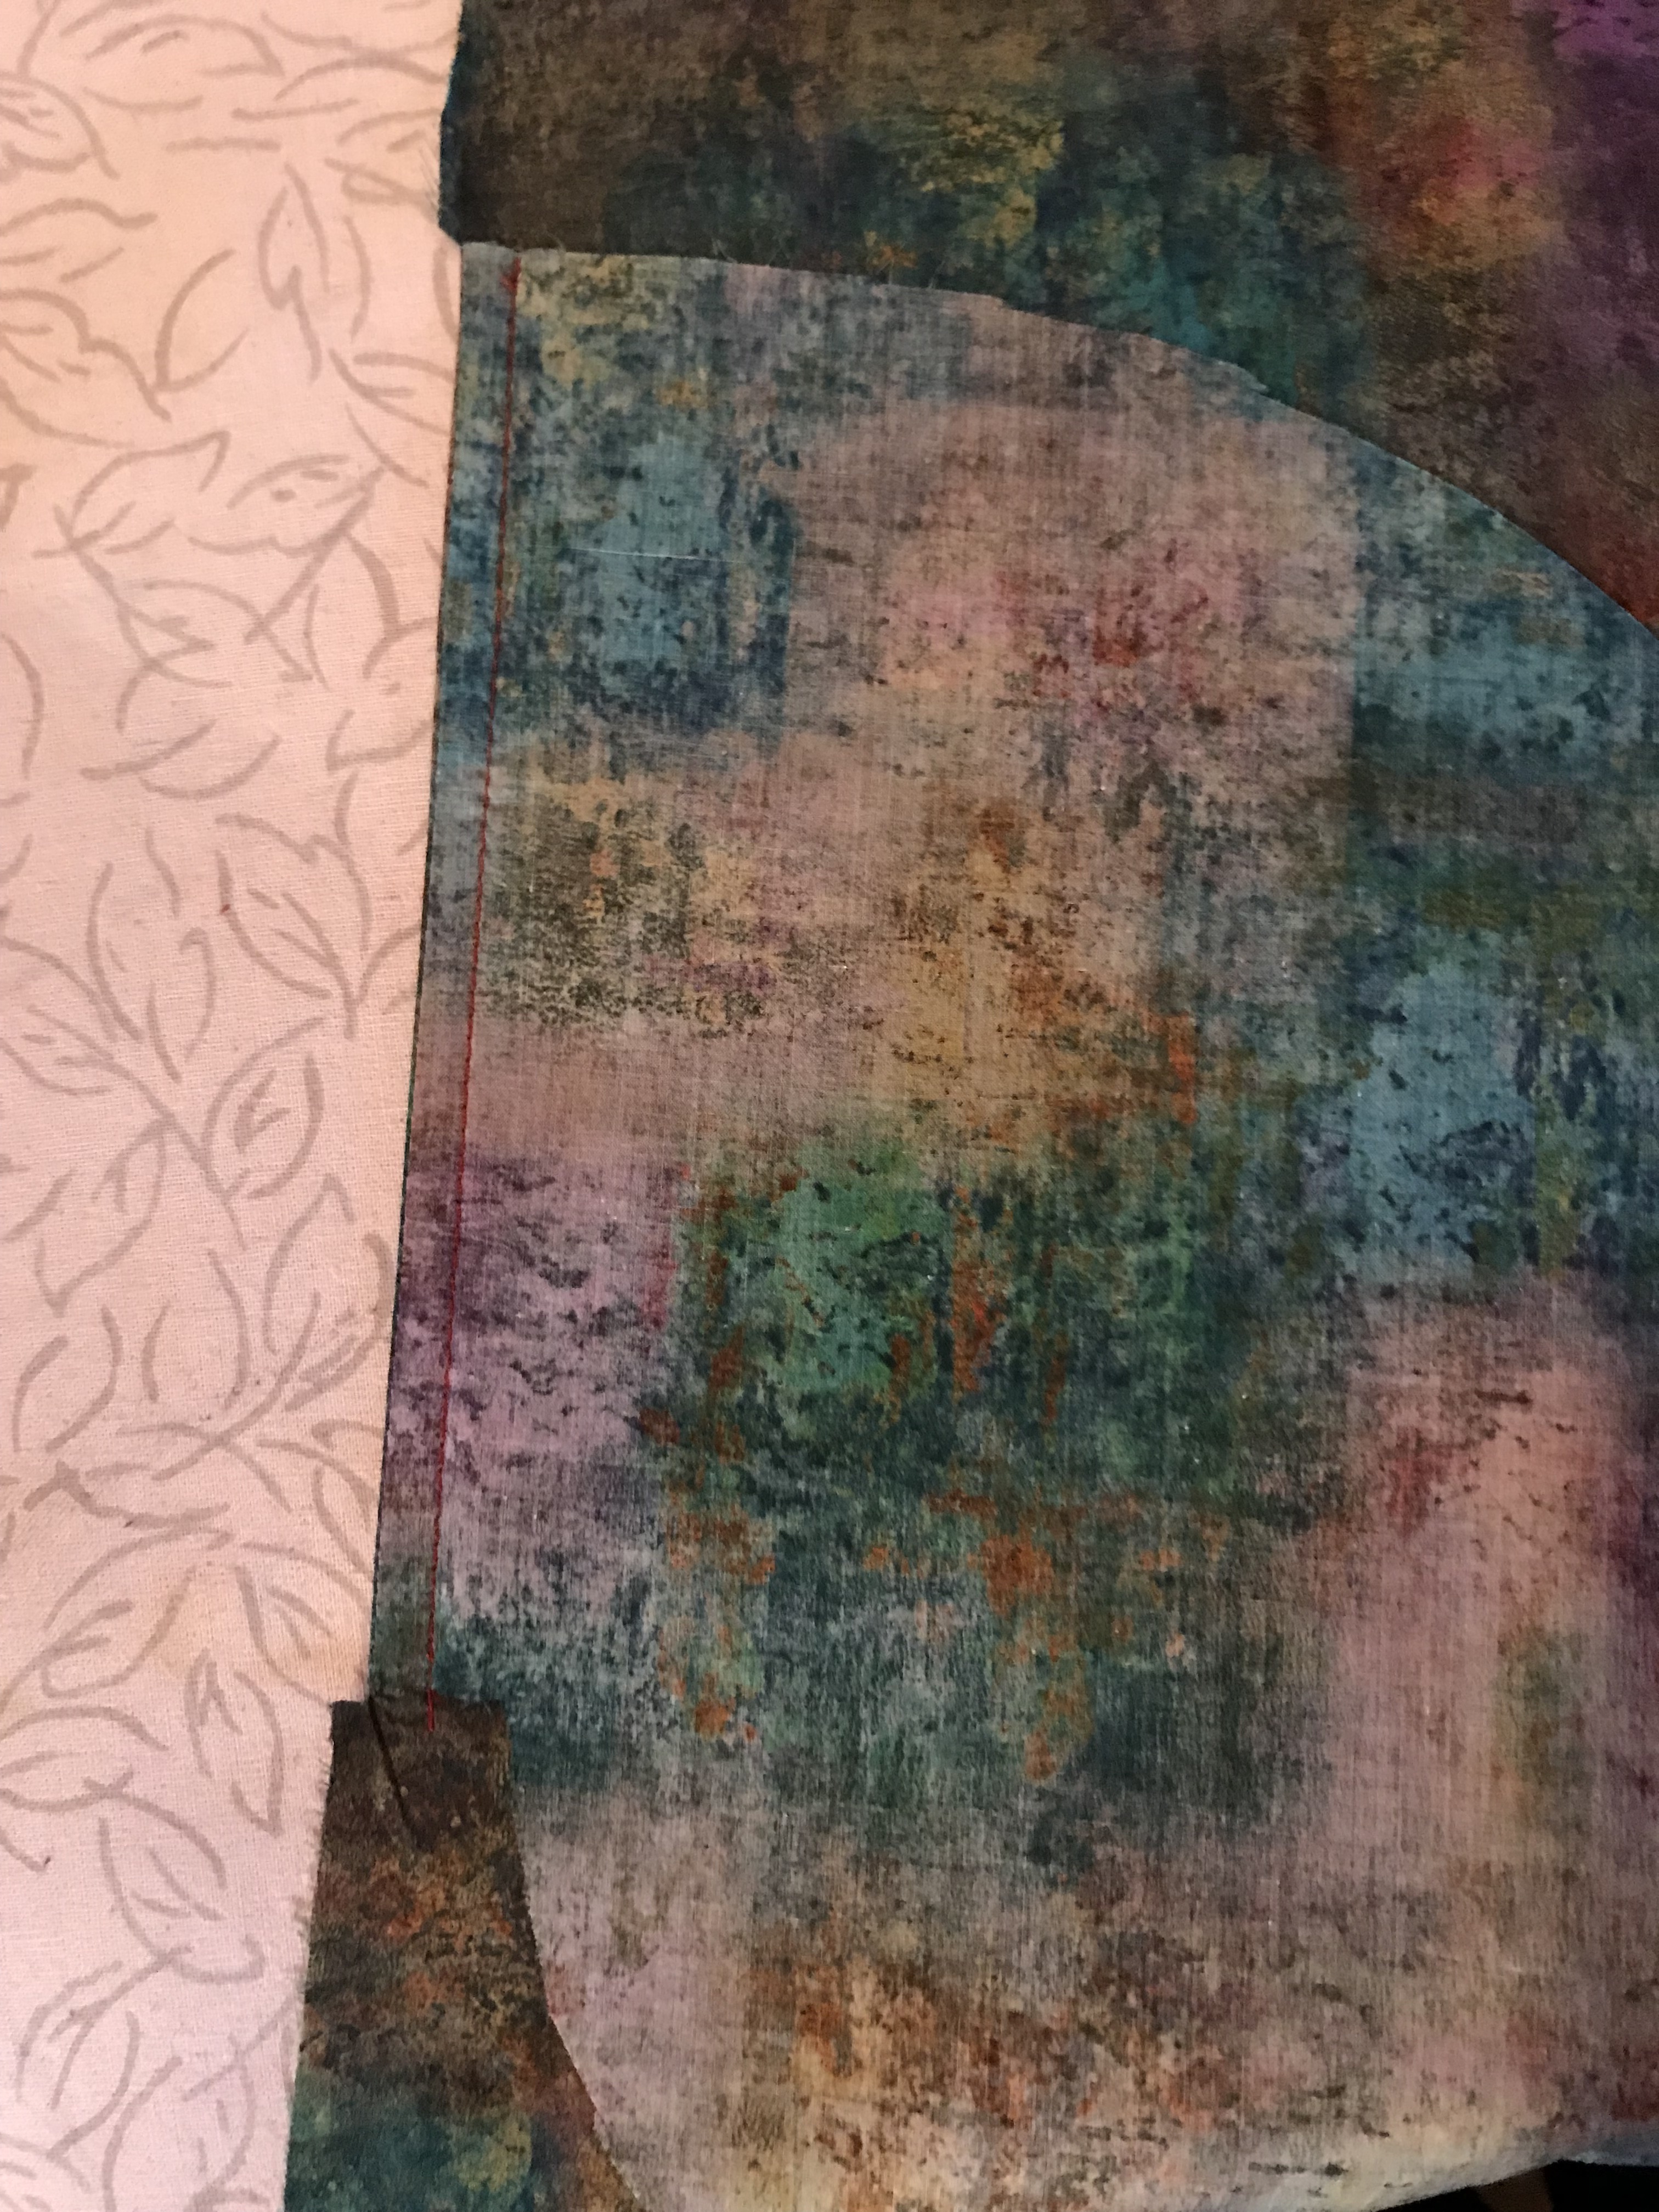
Step 1:

Pin the front pocket piece to the front side seam of the dress, WRONG sides together, at the place indicated in the pattern. It helps if you cut a little “shelf” at the bottom of the pocket’s opening, like this one.
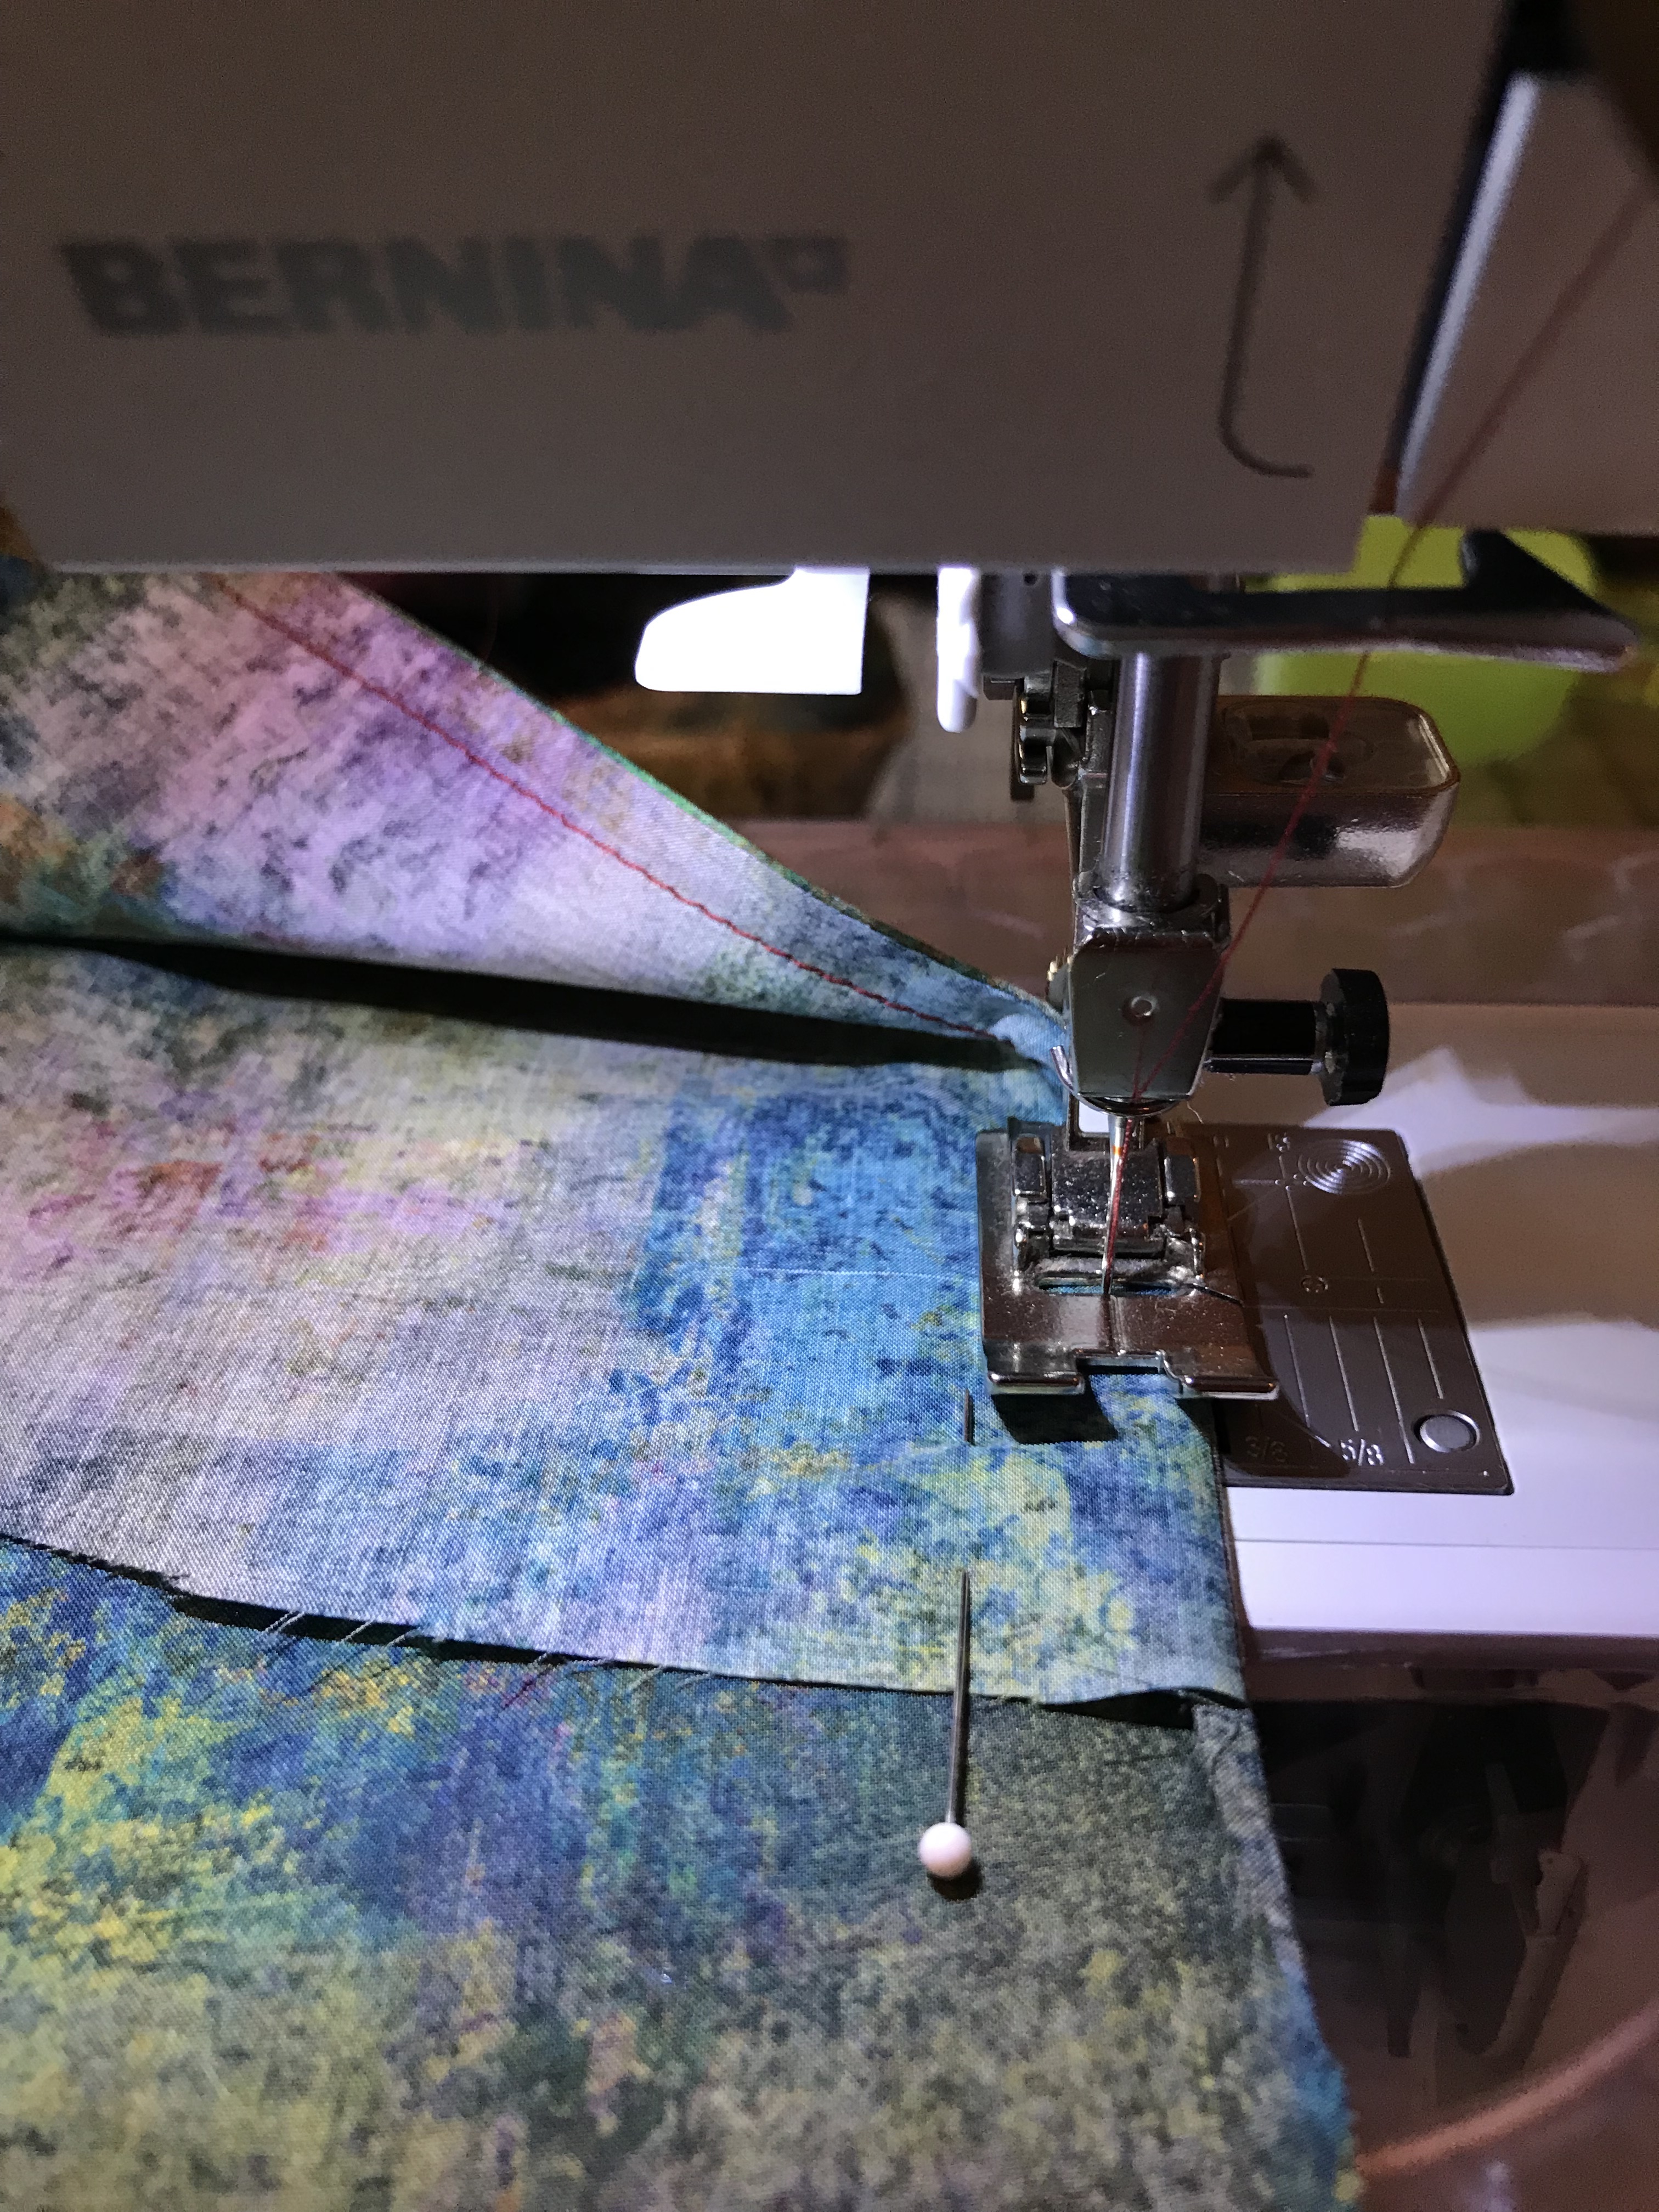
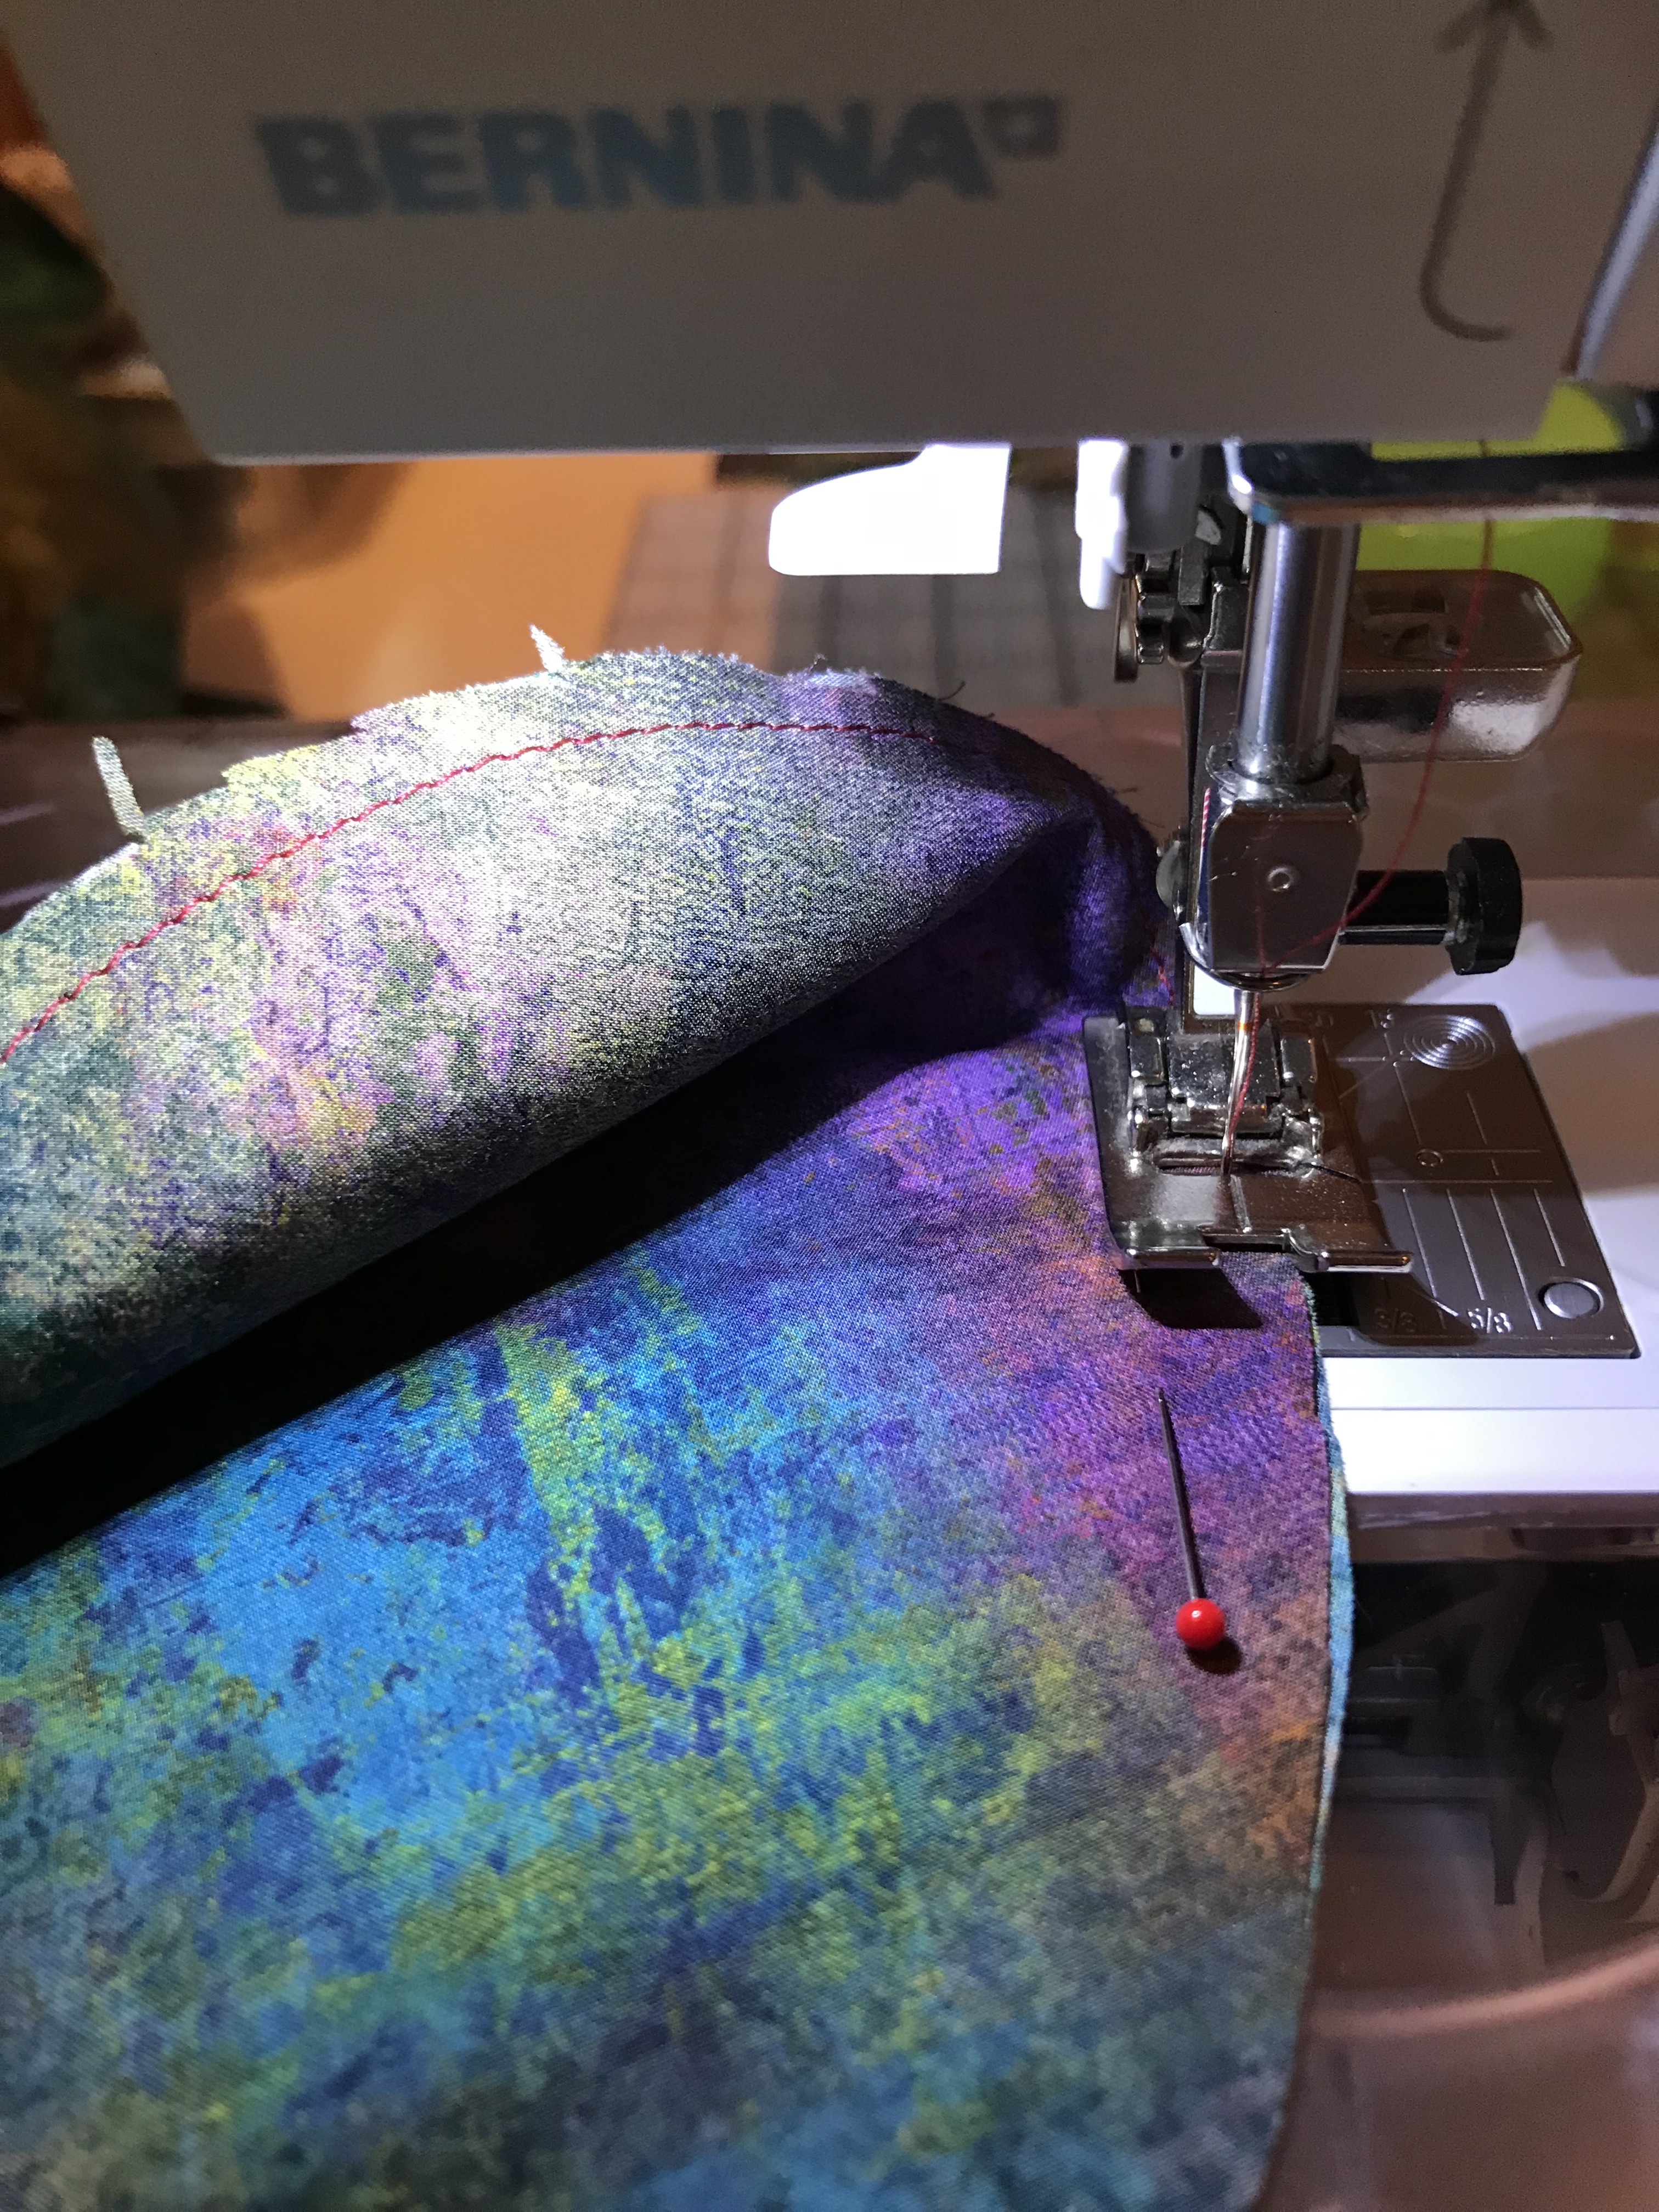
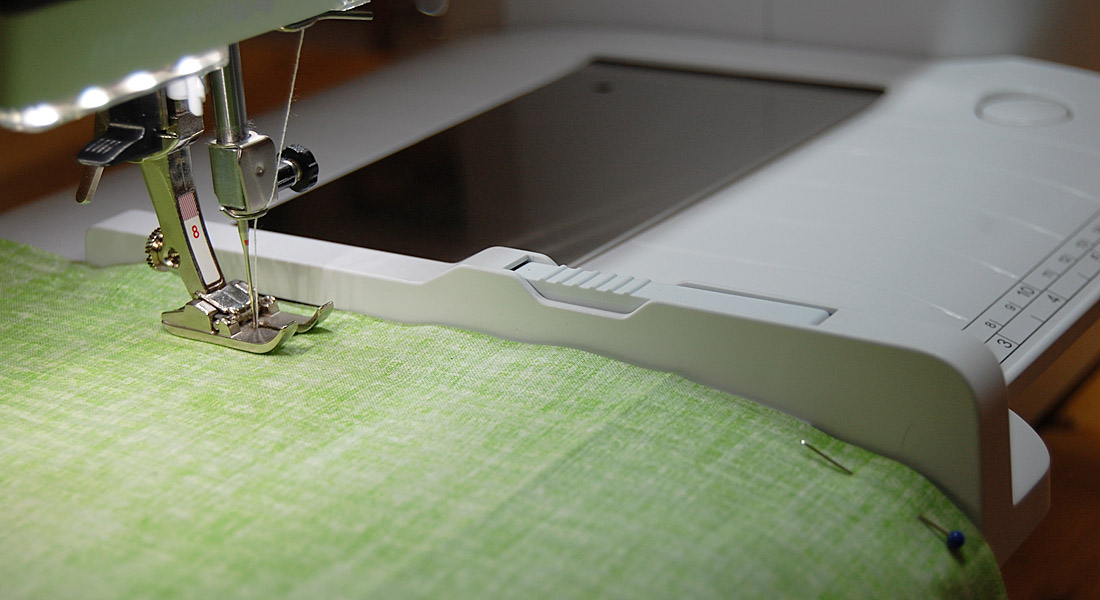
Step 2:
Stitch the pocket from top to bottom at the side seam, using a narrow 1/8” seam. You can use the inside of the right “toe” of presser foot #1C as a guide.
(Note: In the pattern I’m using, the seam allowances are designed to be 3/8” wide. If the seam allowances on your pattern are 5/8”, you can sew the first seam 1/4”, turn the garment, then sew the second seam 3/8” to enclose the seam.)
Step 3:

Press the pocket away from the garment.
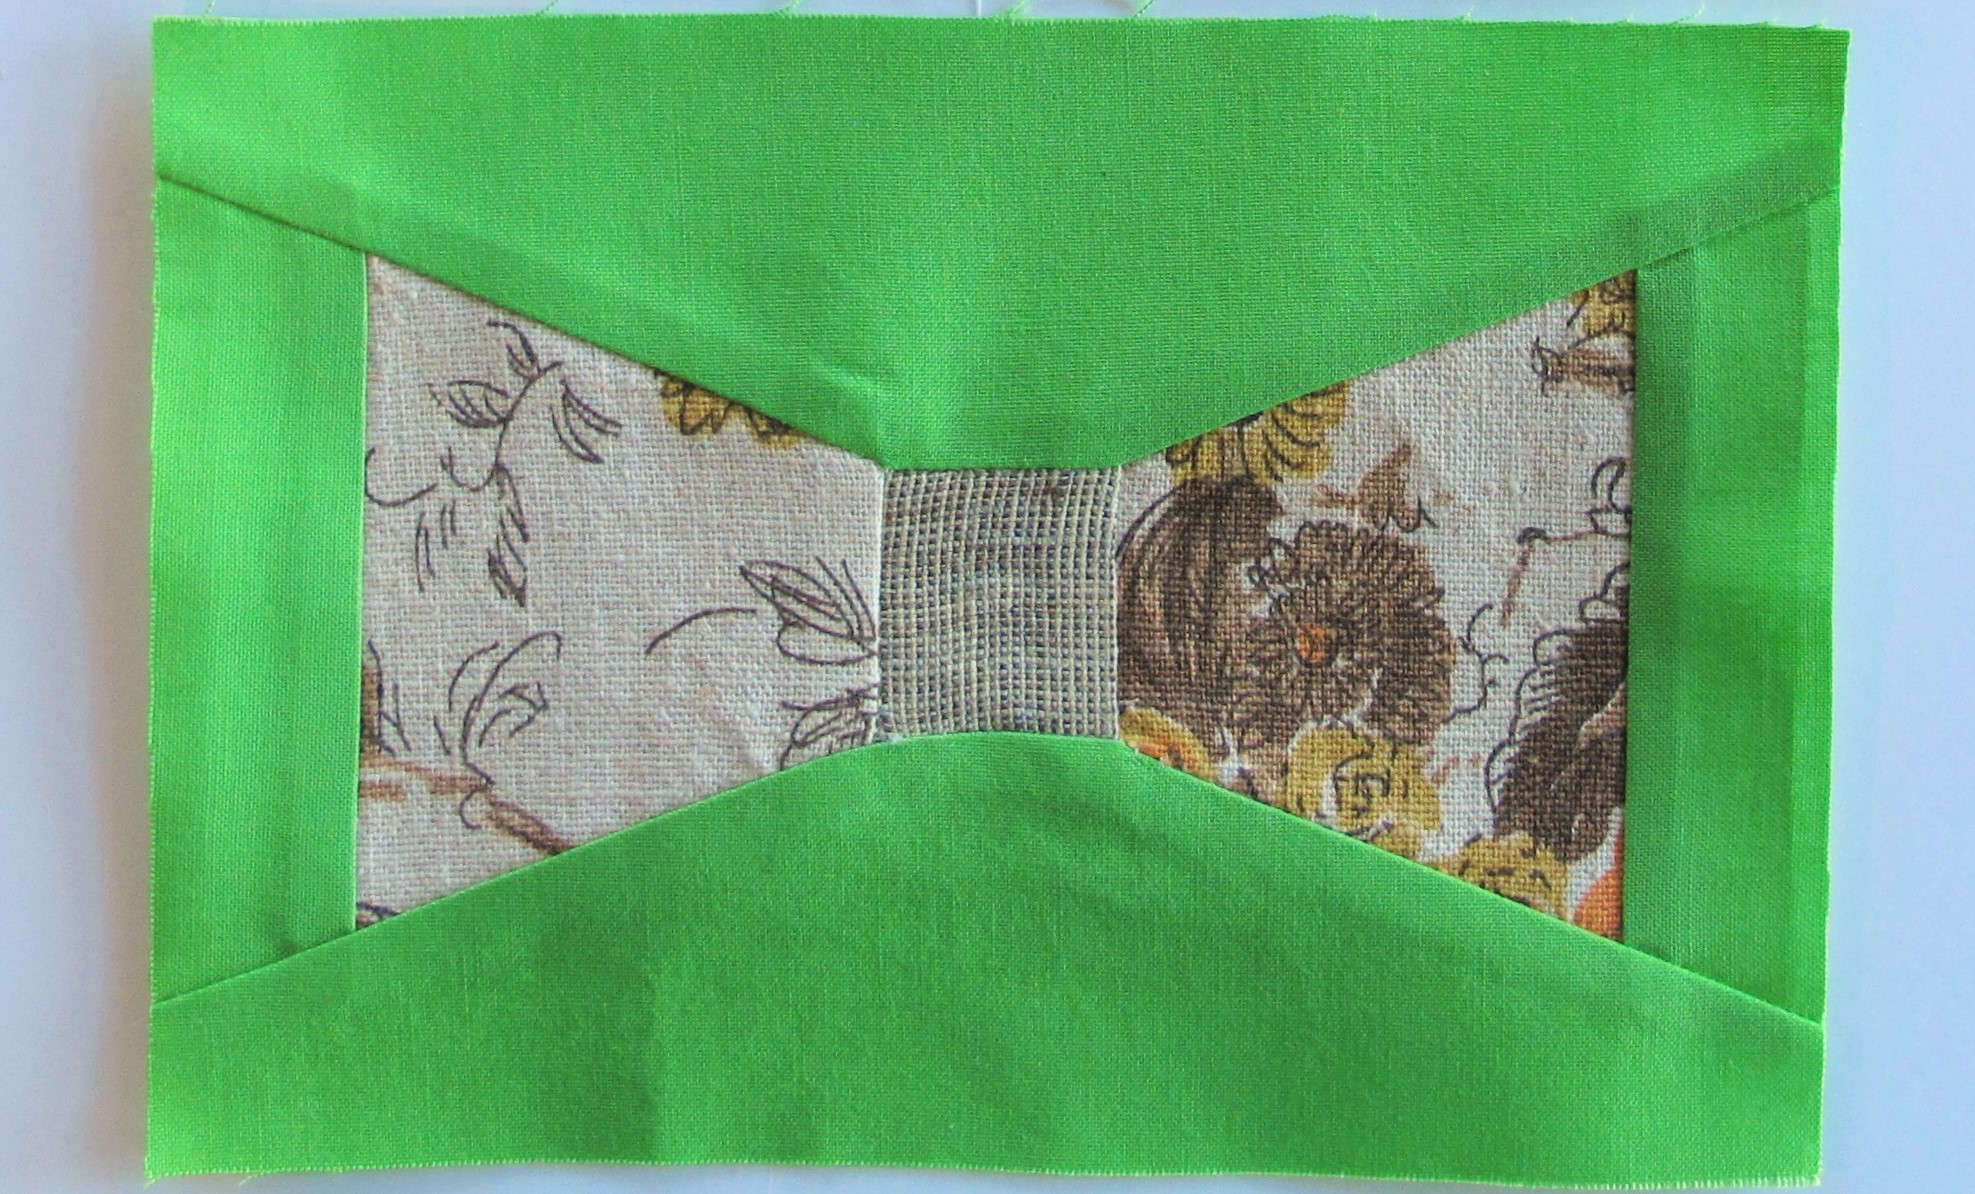
Step 4:
Turn the pocket back toward the garment, now RIGHT sides together, and press.
Step 5:
Stitch the pocket side seam again, ¼” from the edge this time. Be sure to enclose the raw edge inside of the new seam.
Step 6:
Press the seam flat and clip the seam allowance at the top and bottom of the pocket.
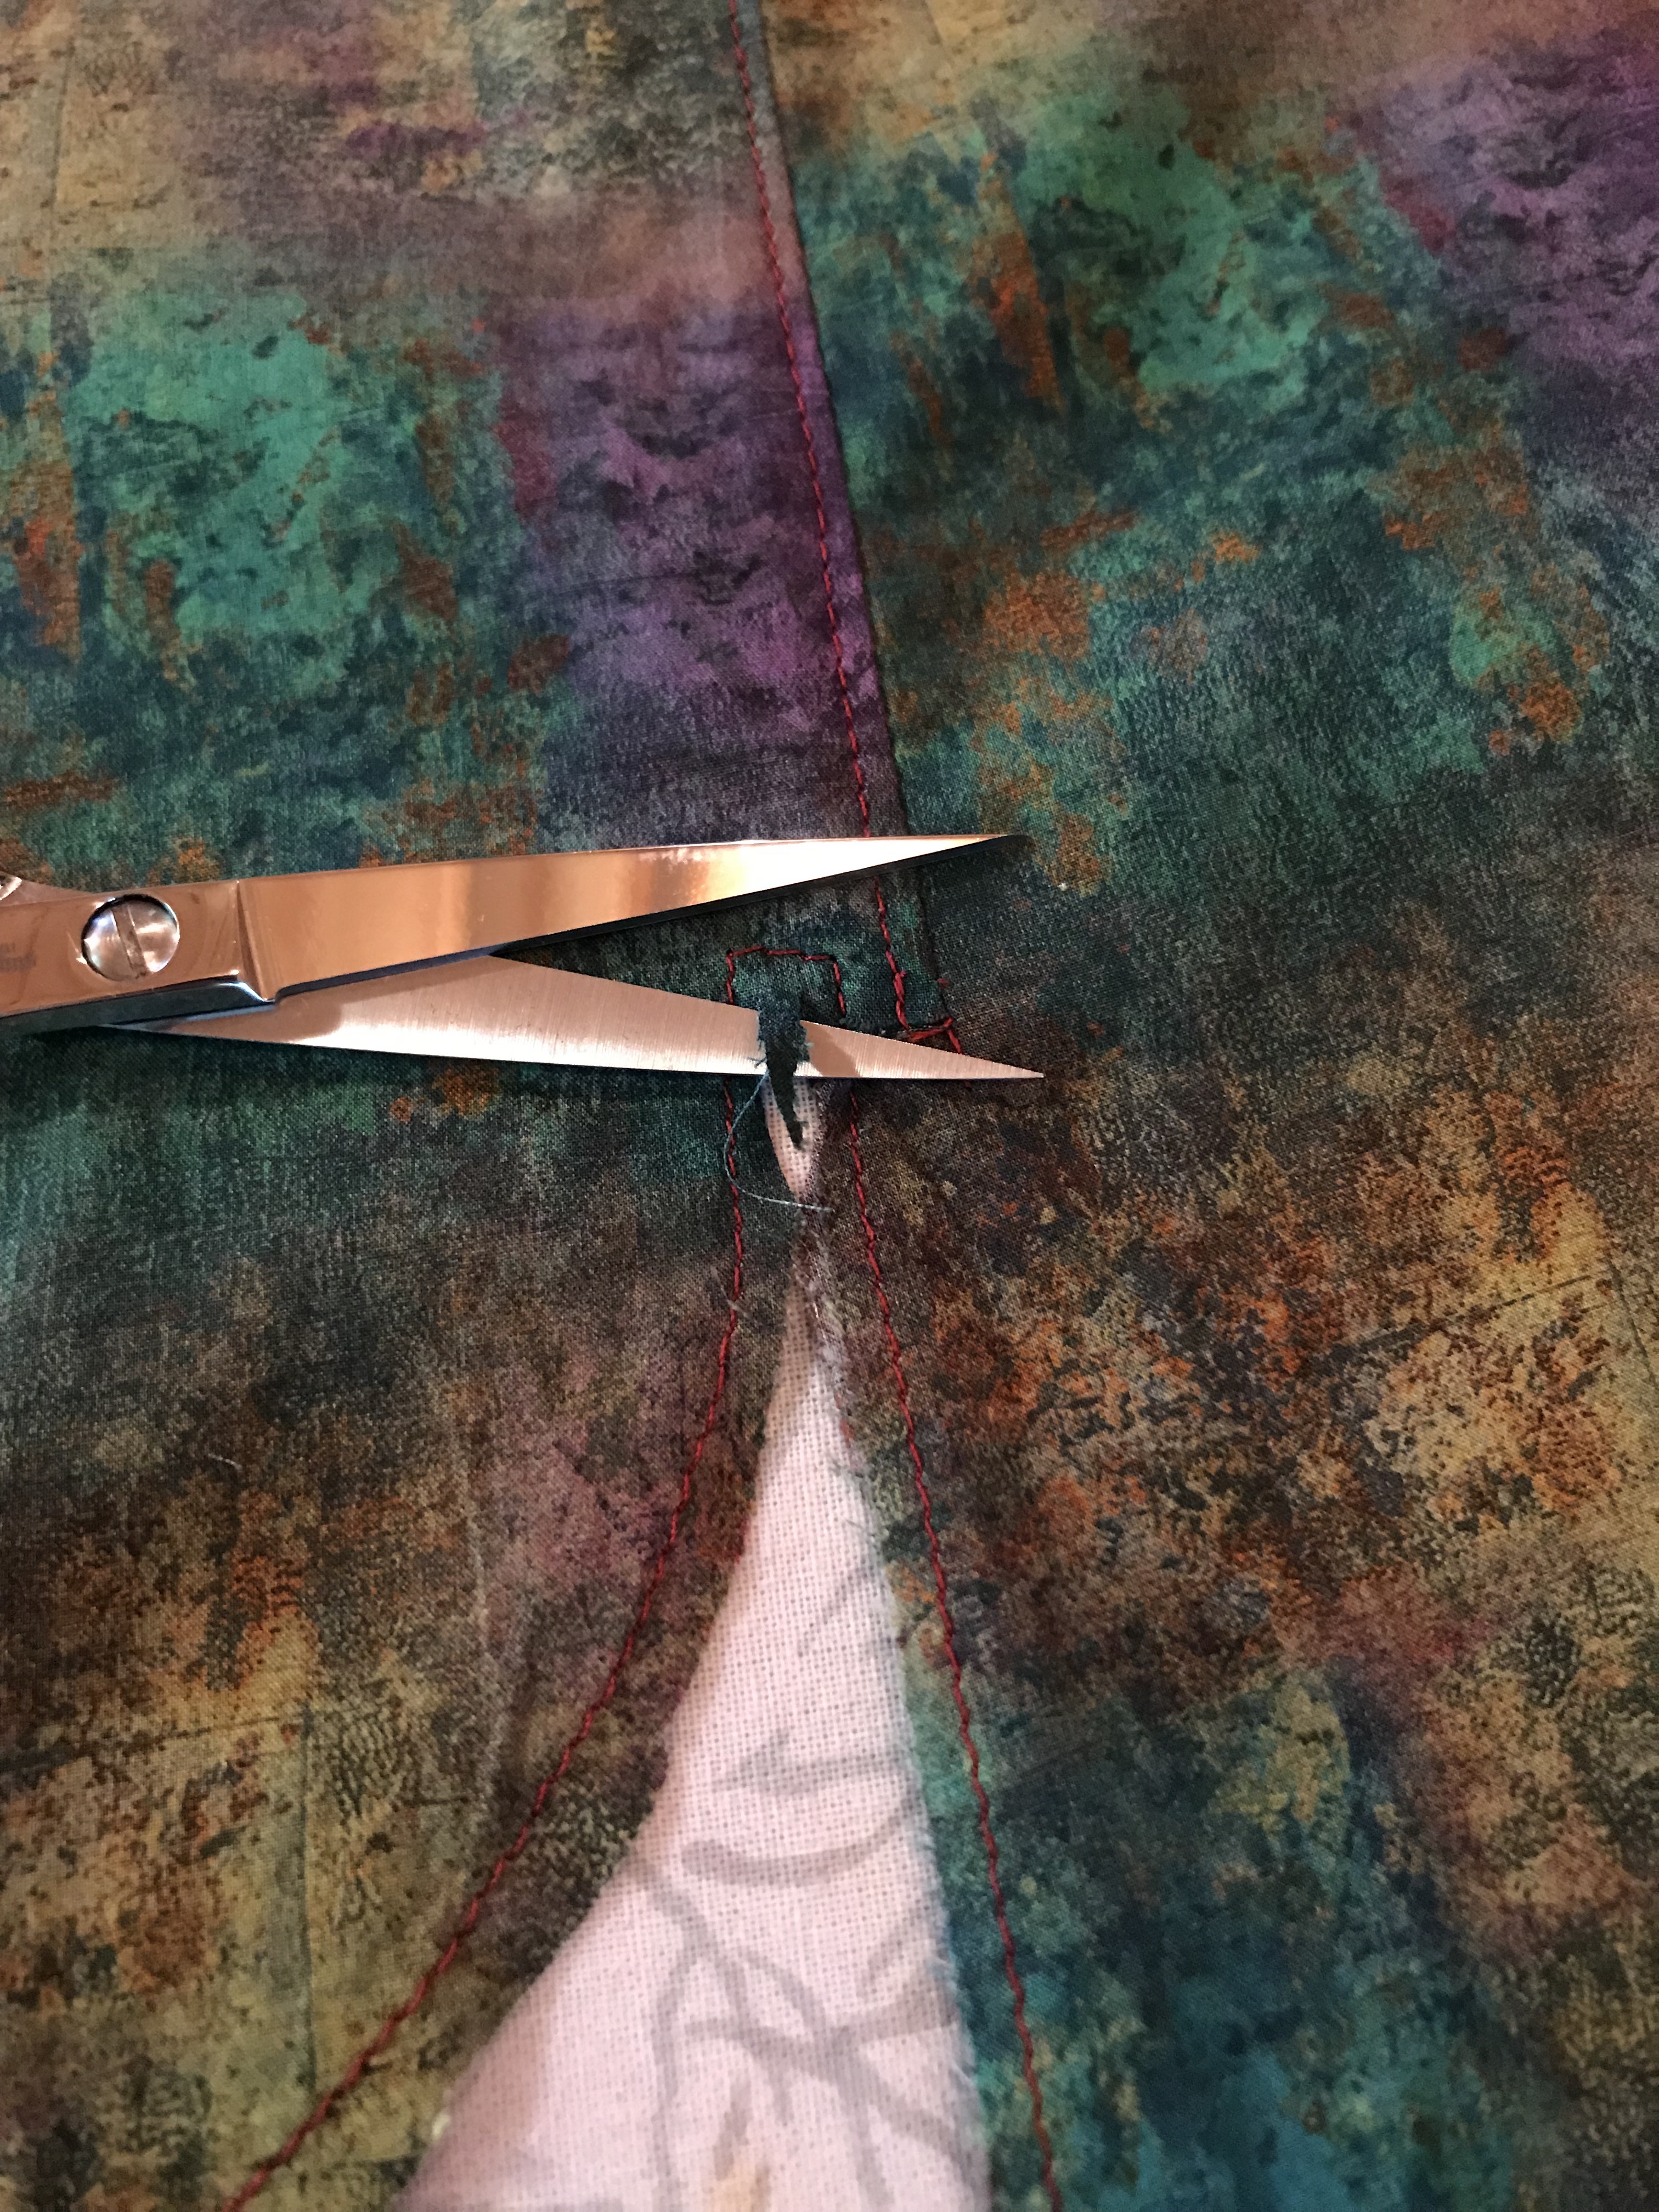
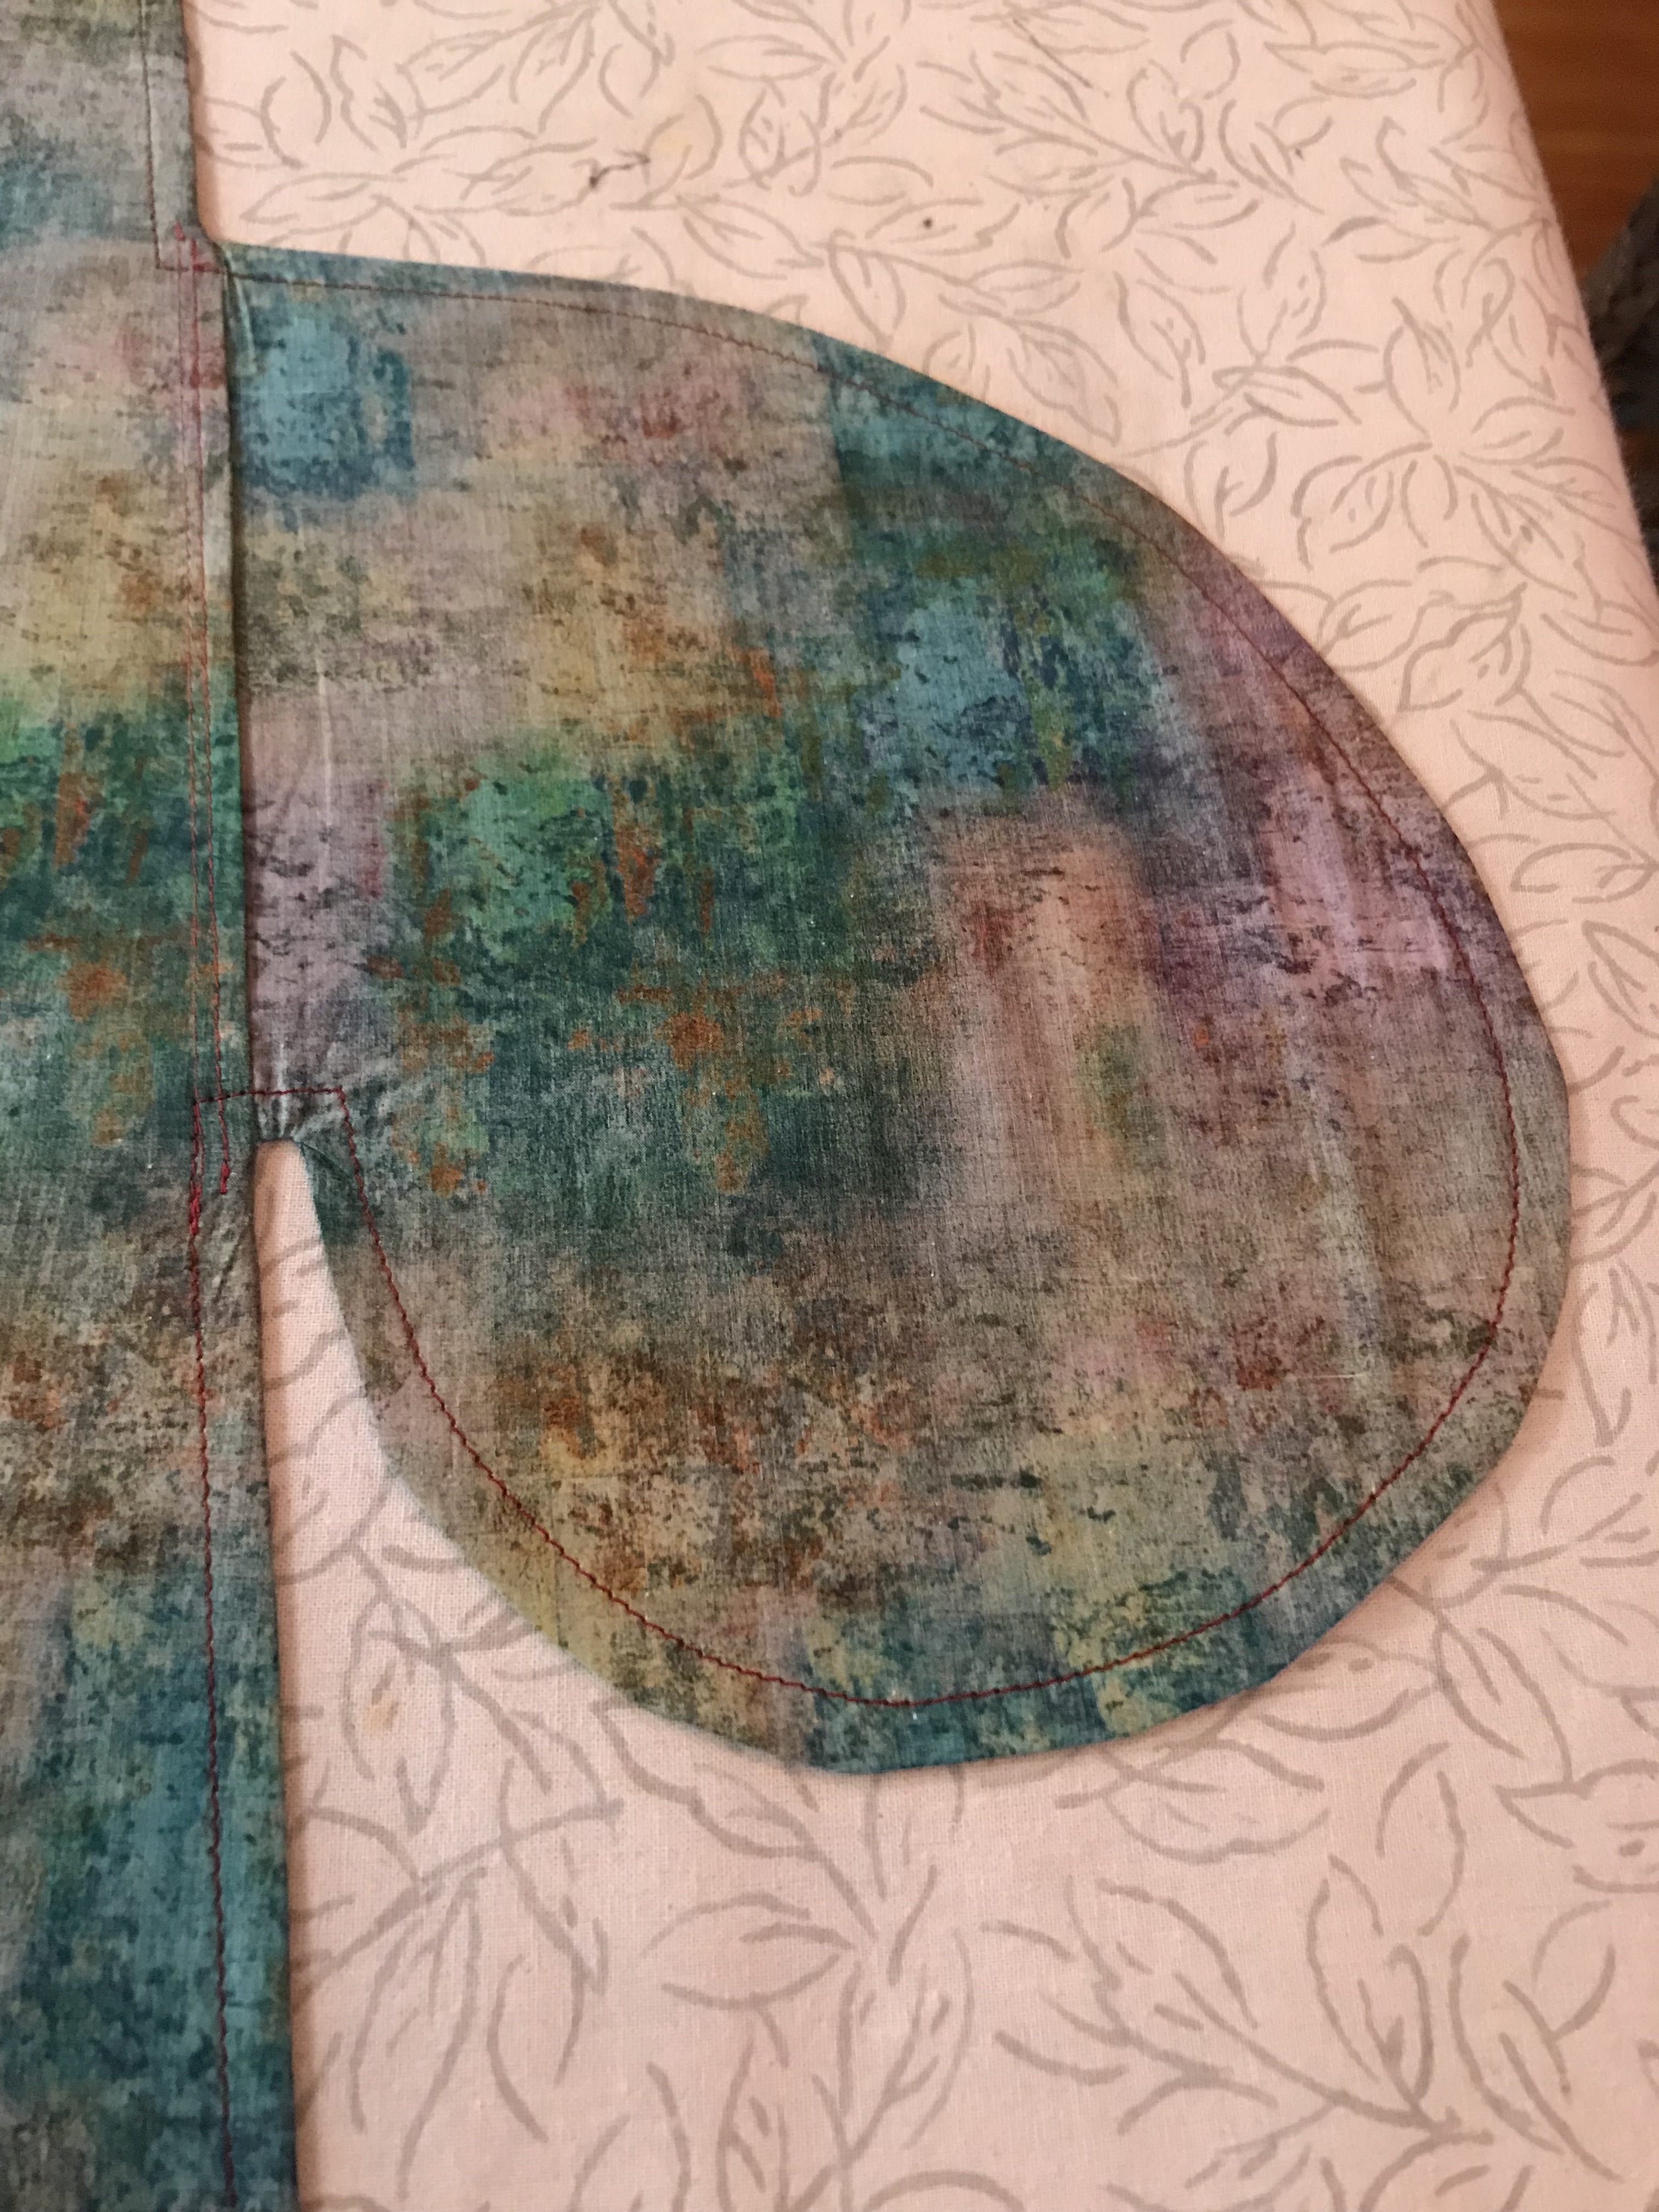
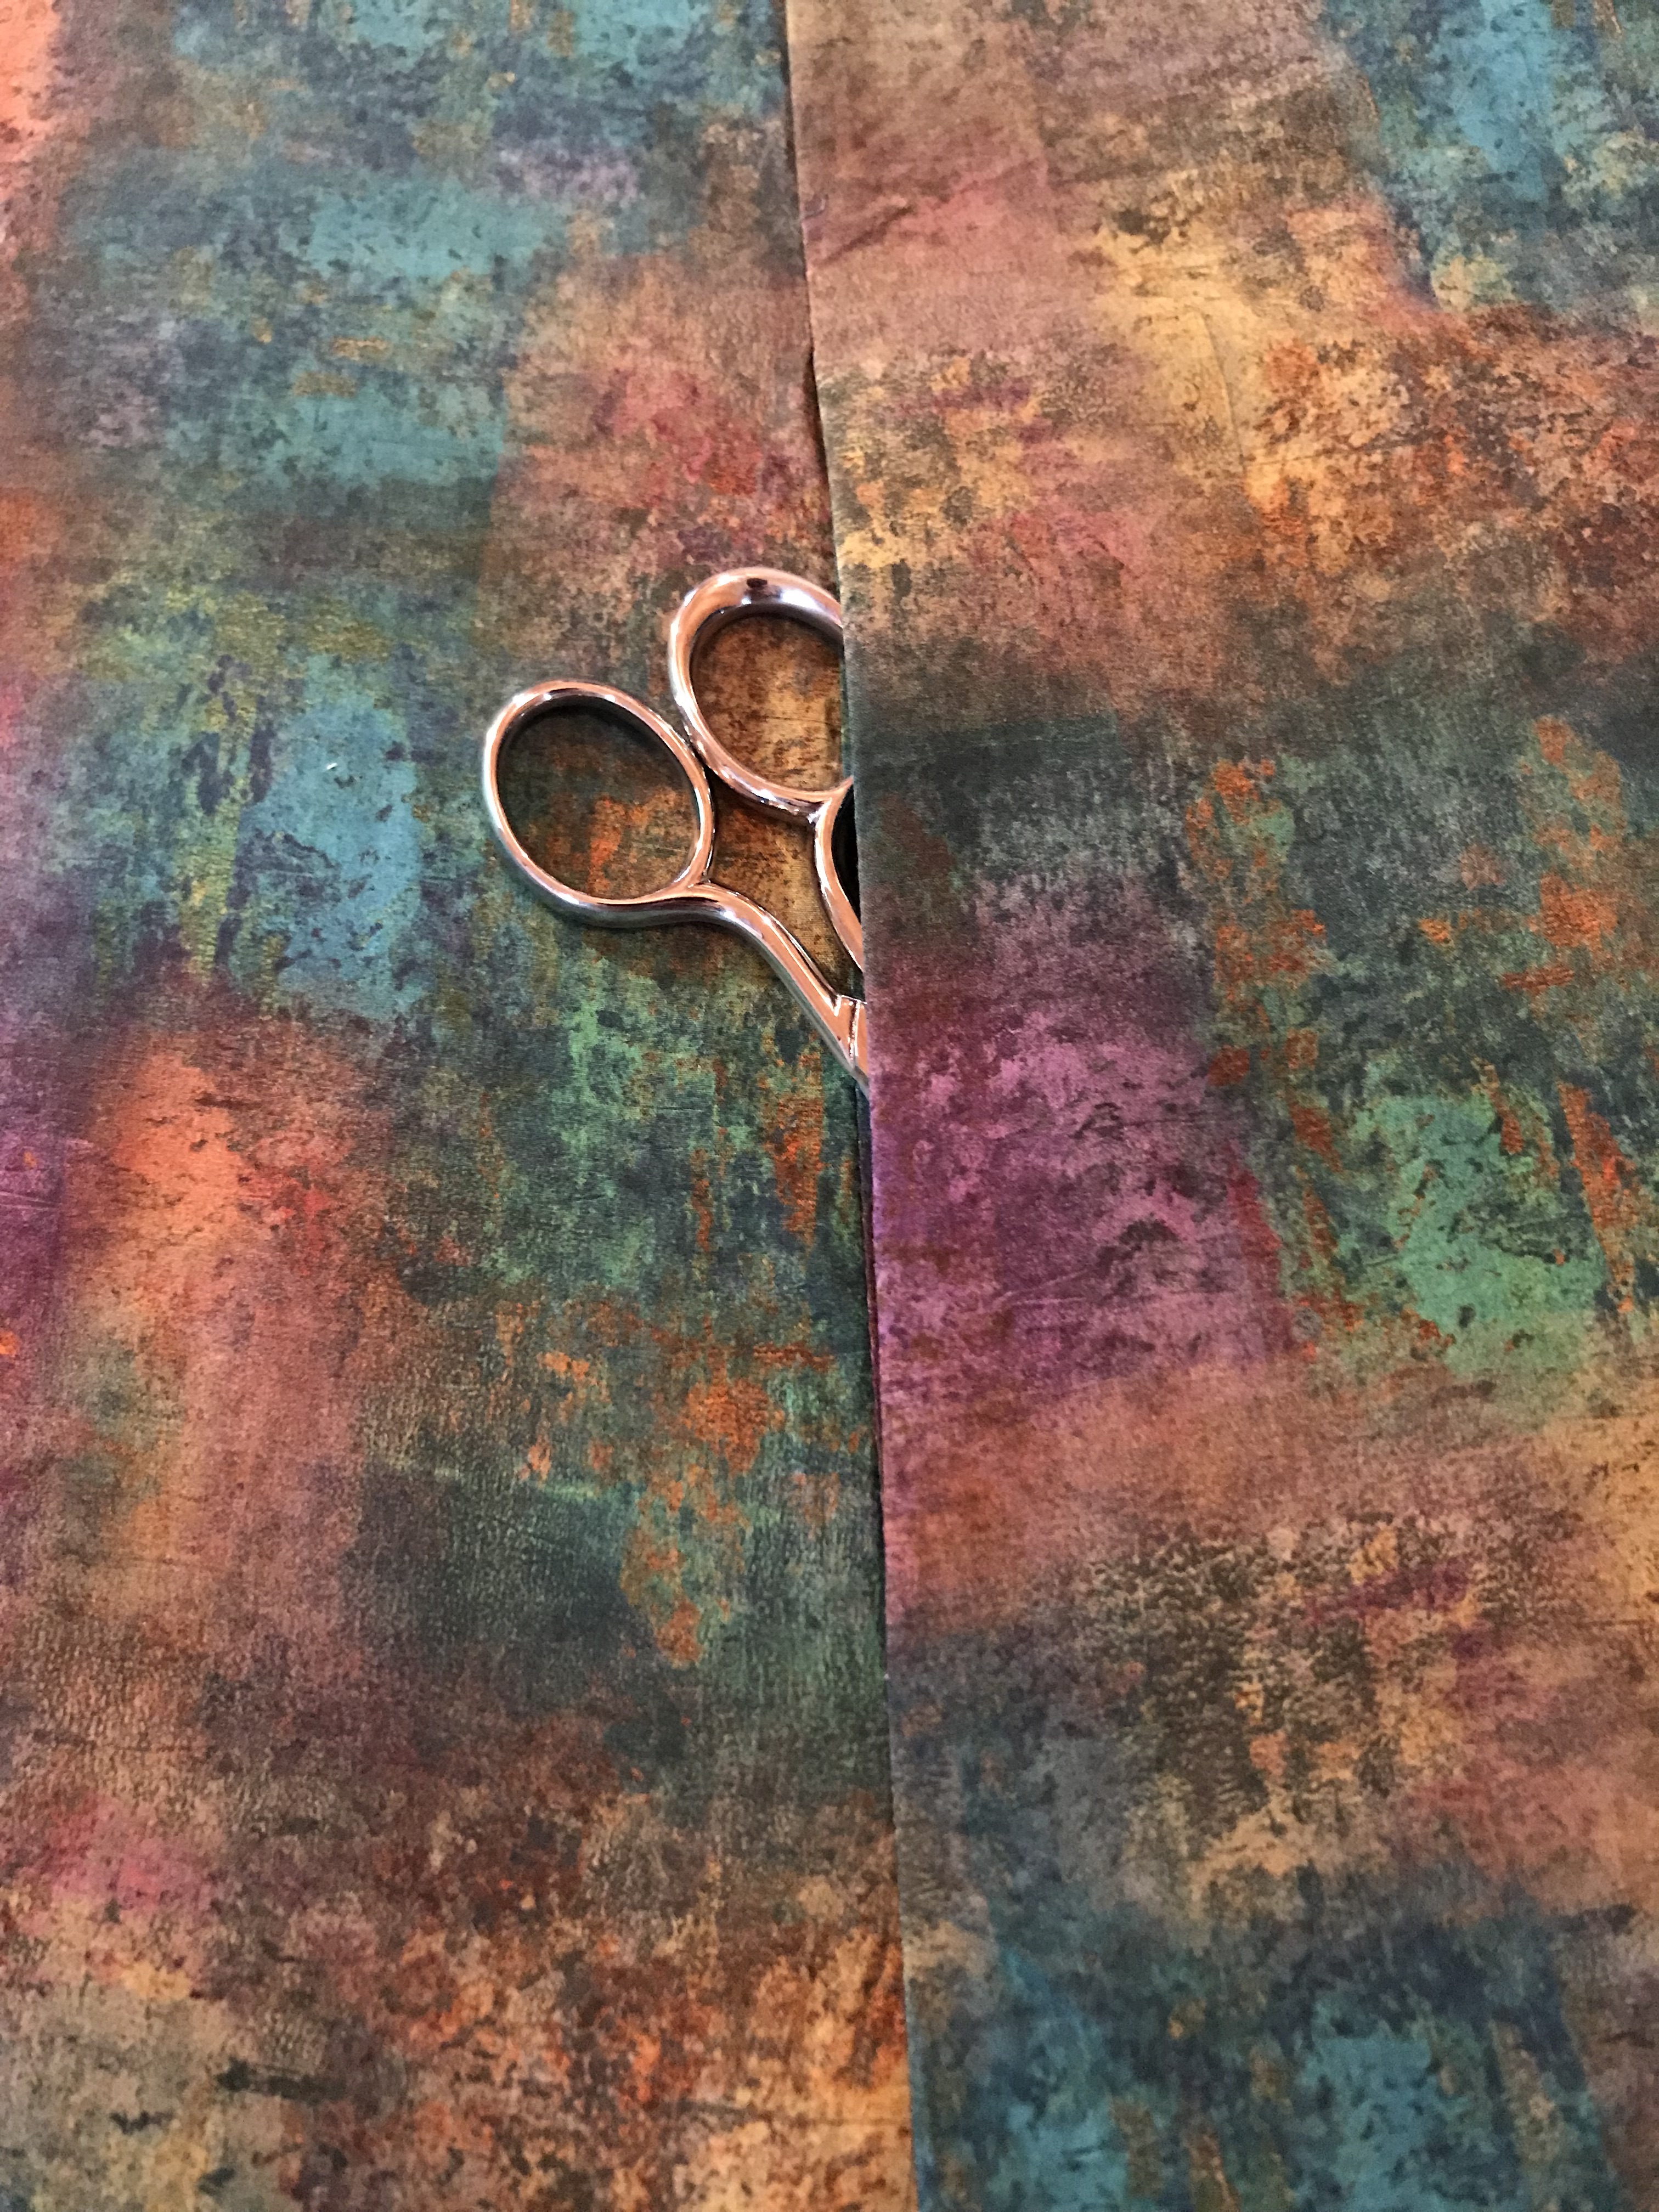
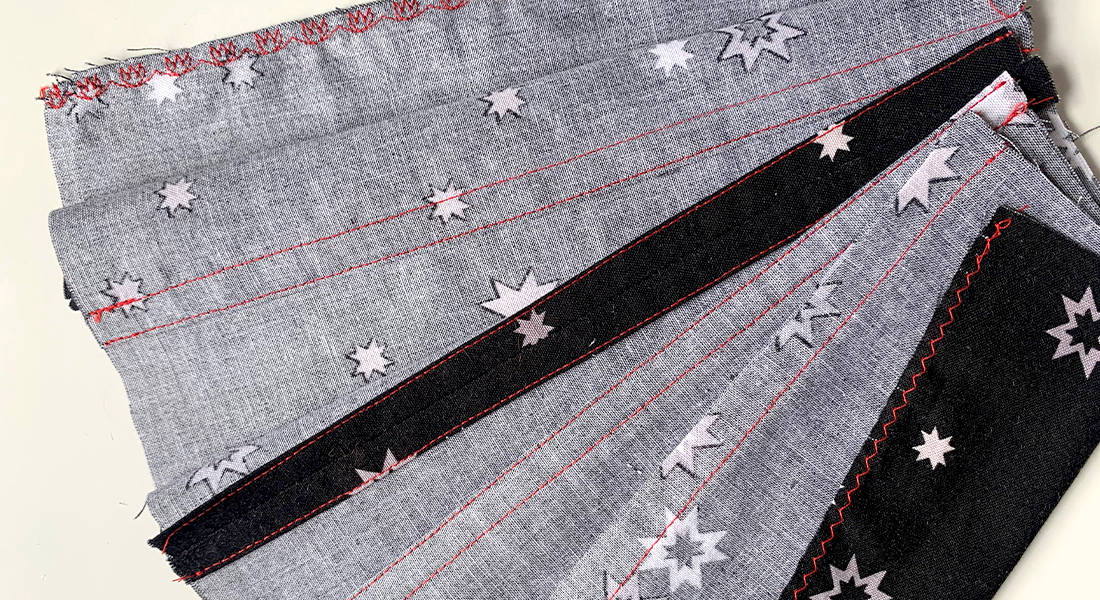
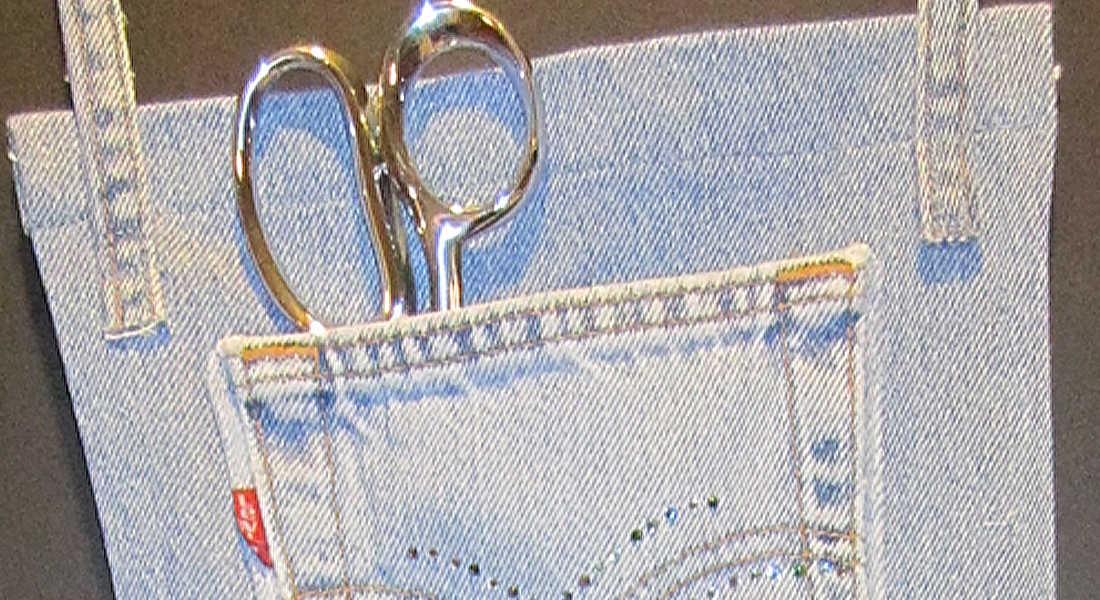
Step 7:
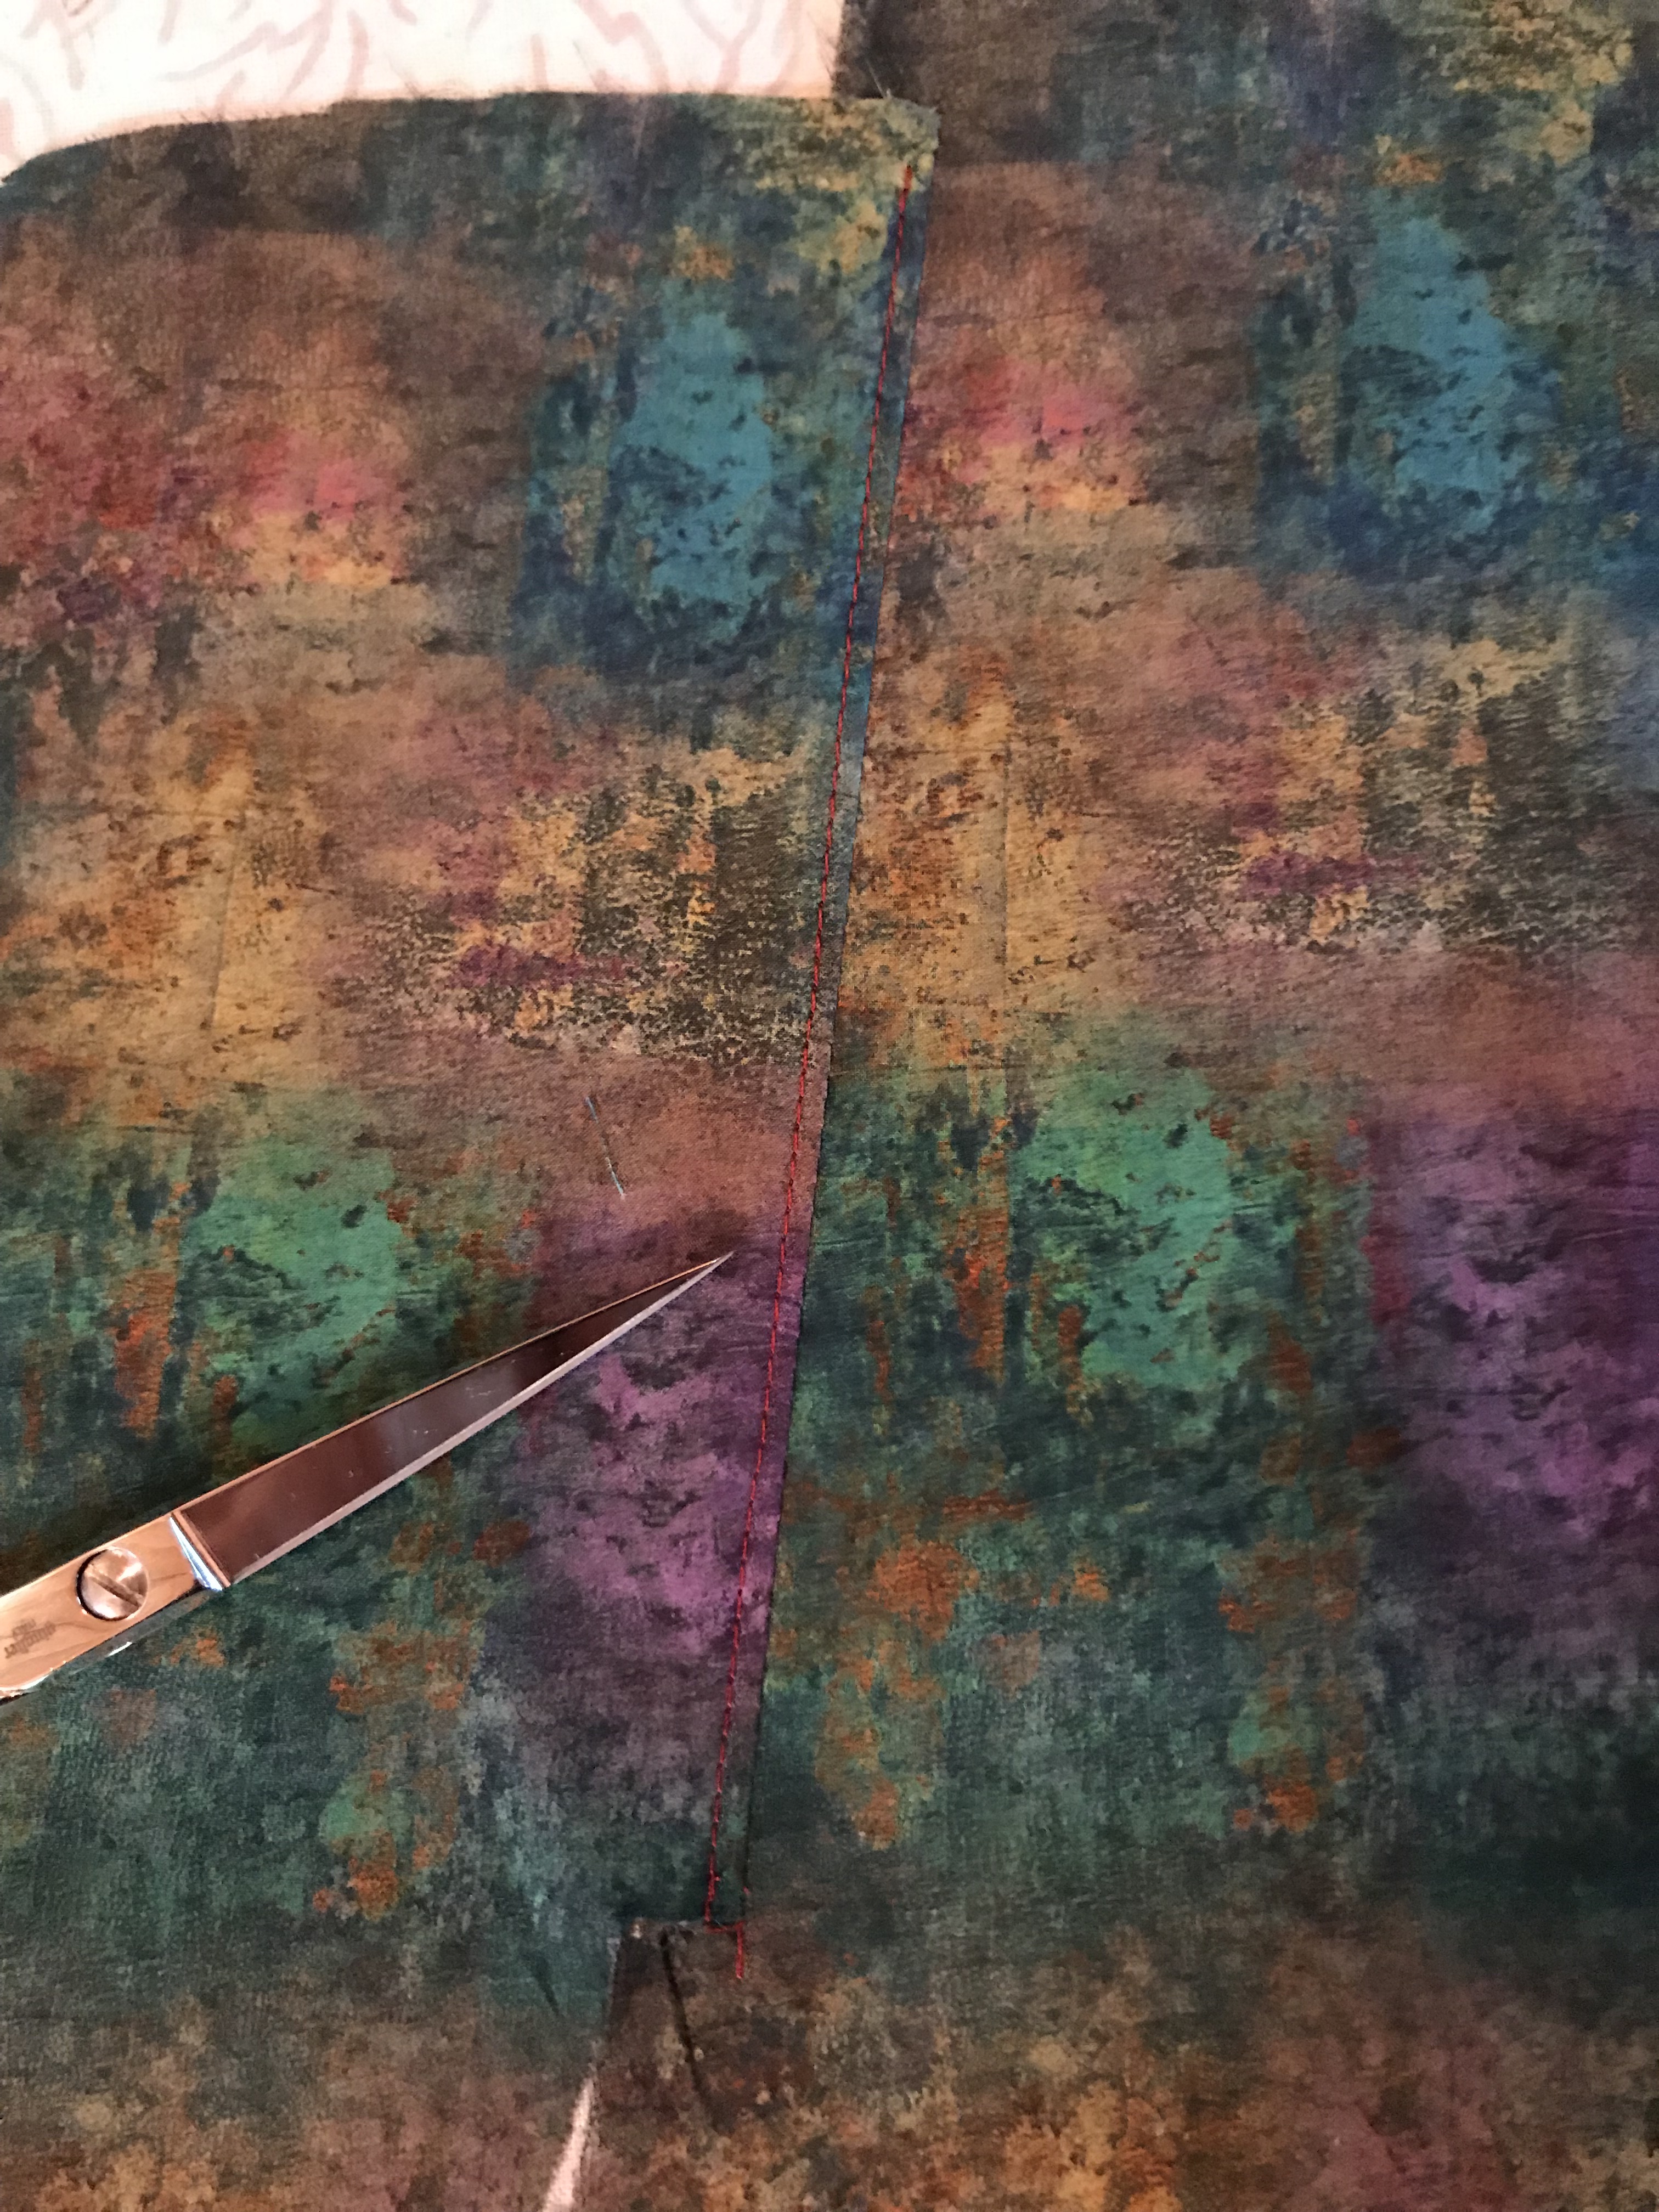
Press the pocket away from the garment again. Sew a row of stitching 1/8” away from the seam, on top of the pocket, catching both the pocket and the seam allowances underneath in the stitching. This “understitching” will help secure the pocket inside the dress, so it doesn’t come peeking out. (My scissors are pointing to the understitching.)
Step 8:
Use the same technique to attach the rear pocket piece to the back piece of the dress at the side seam.
Step 9:
On the opposite side of the dress, use the same method to attach the other pocket pieces.
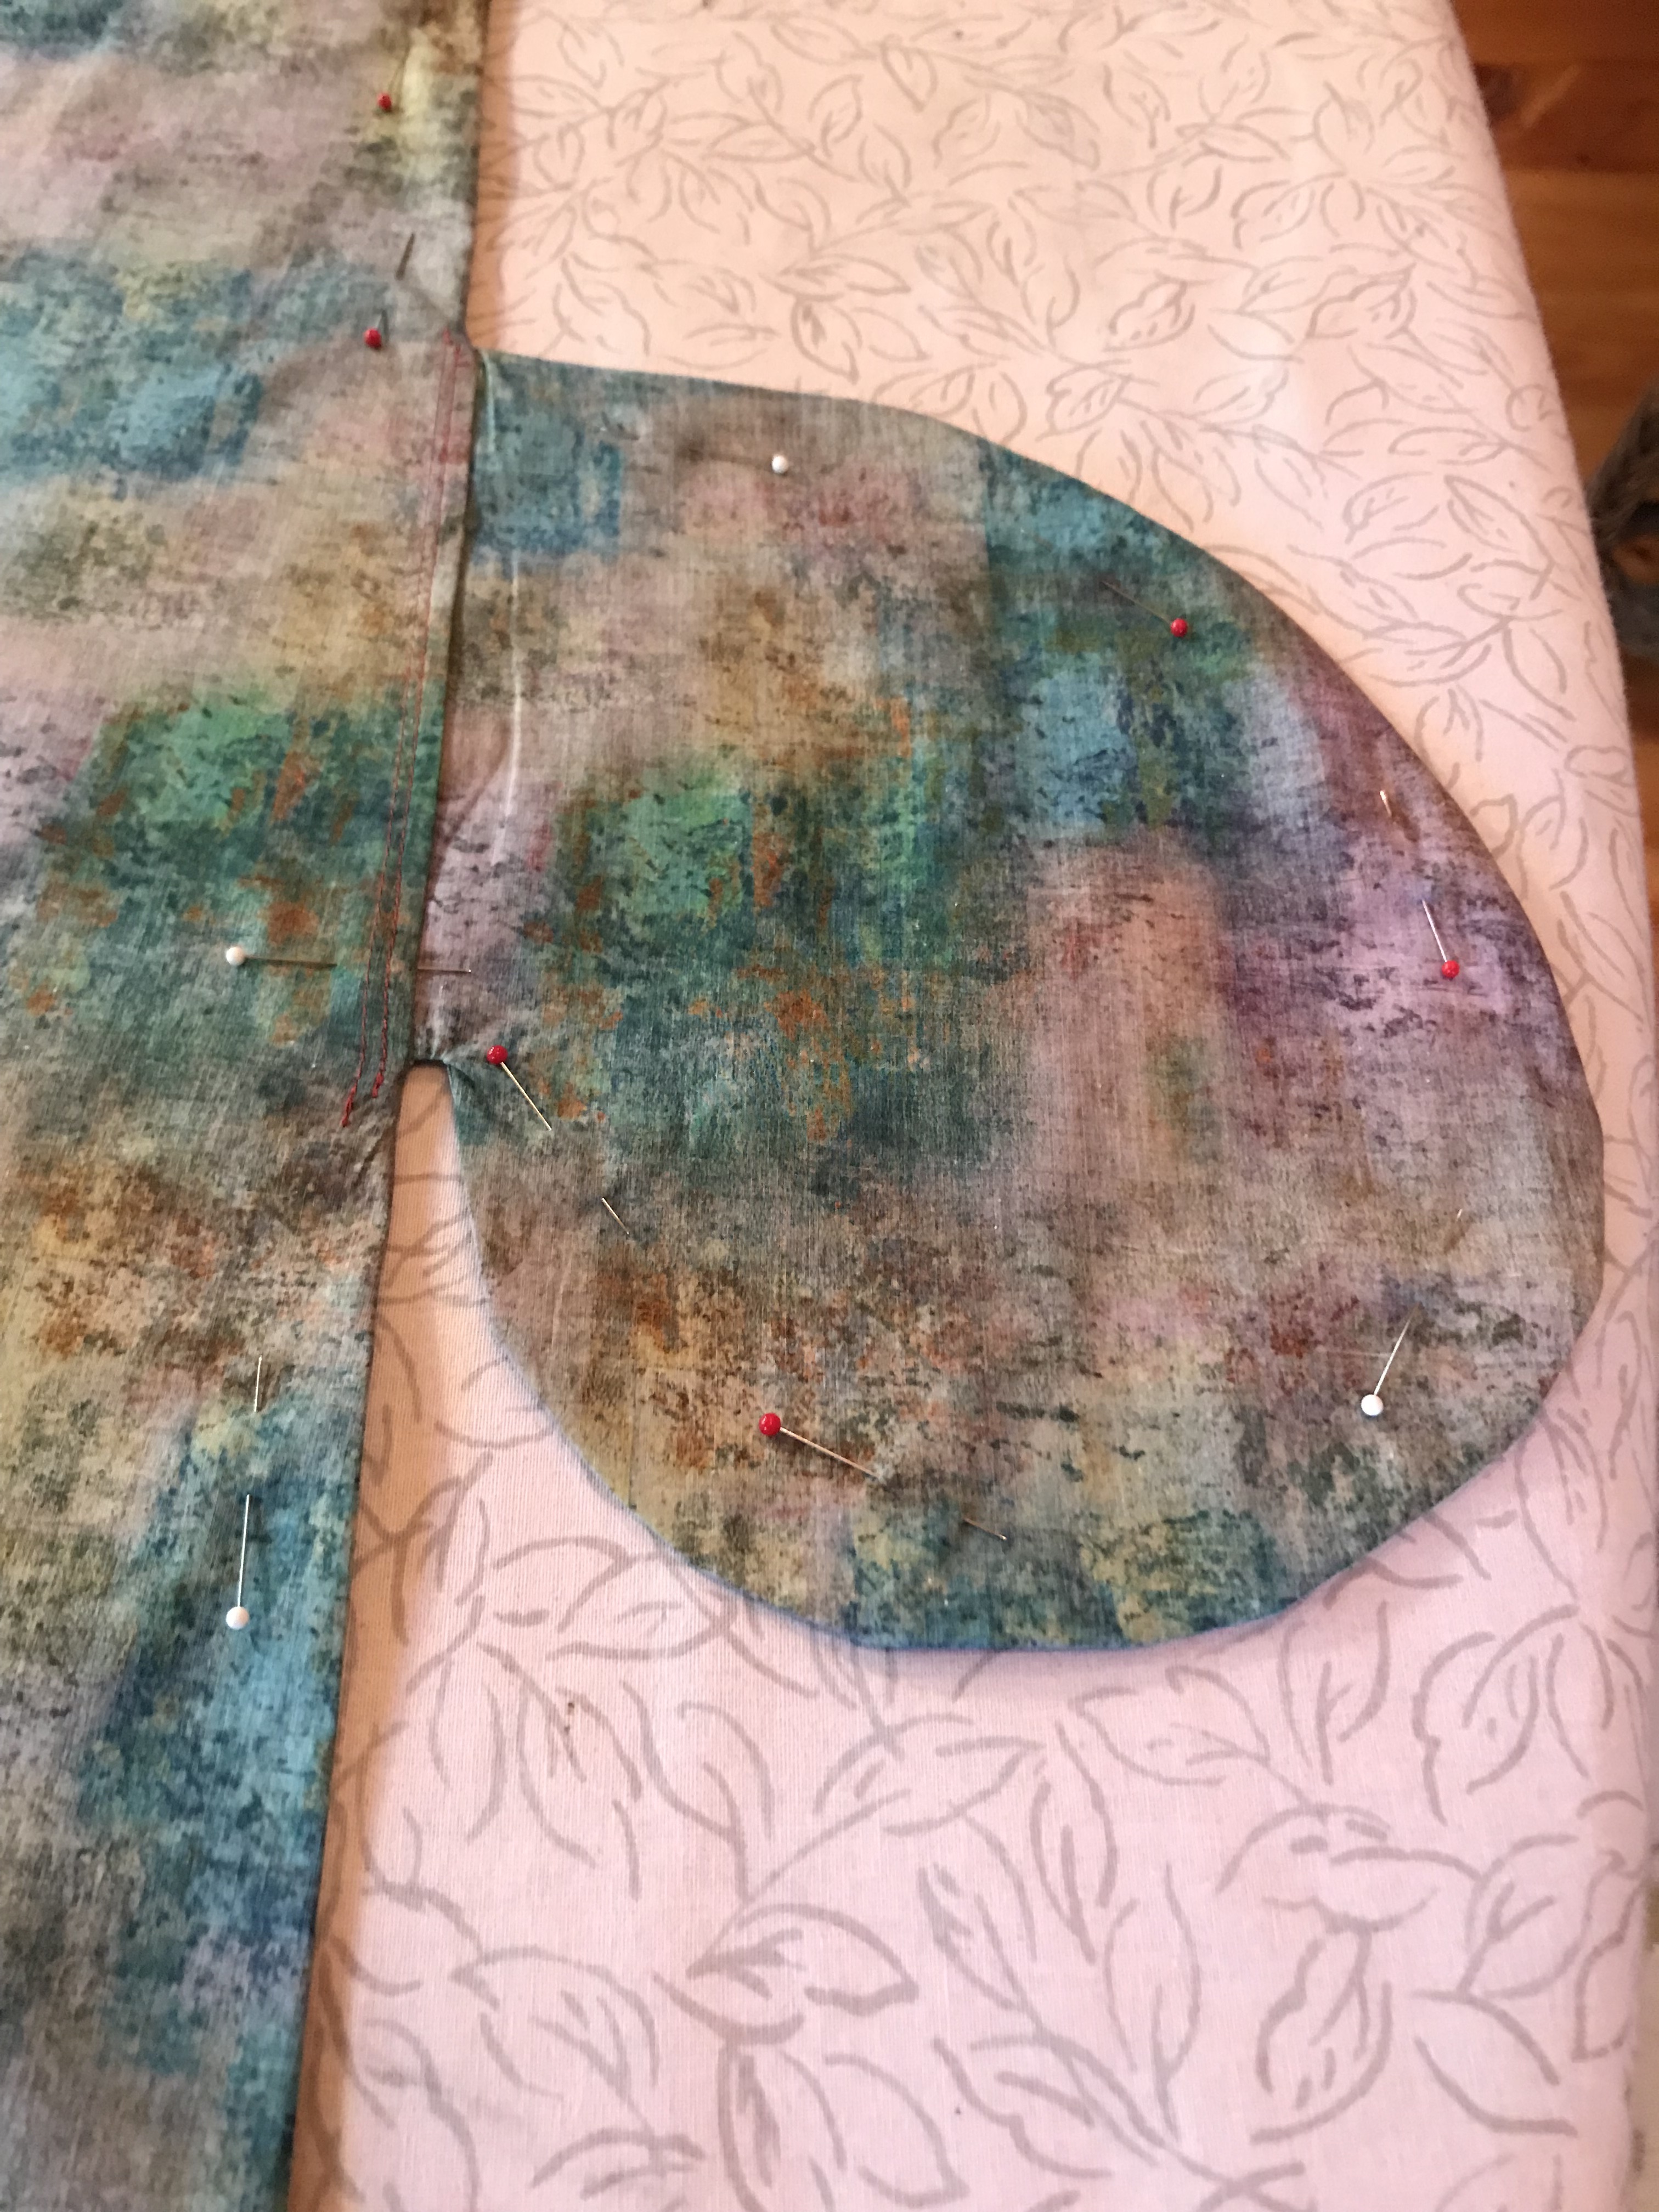
Step 10:
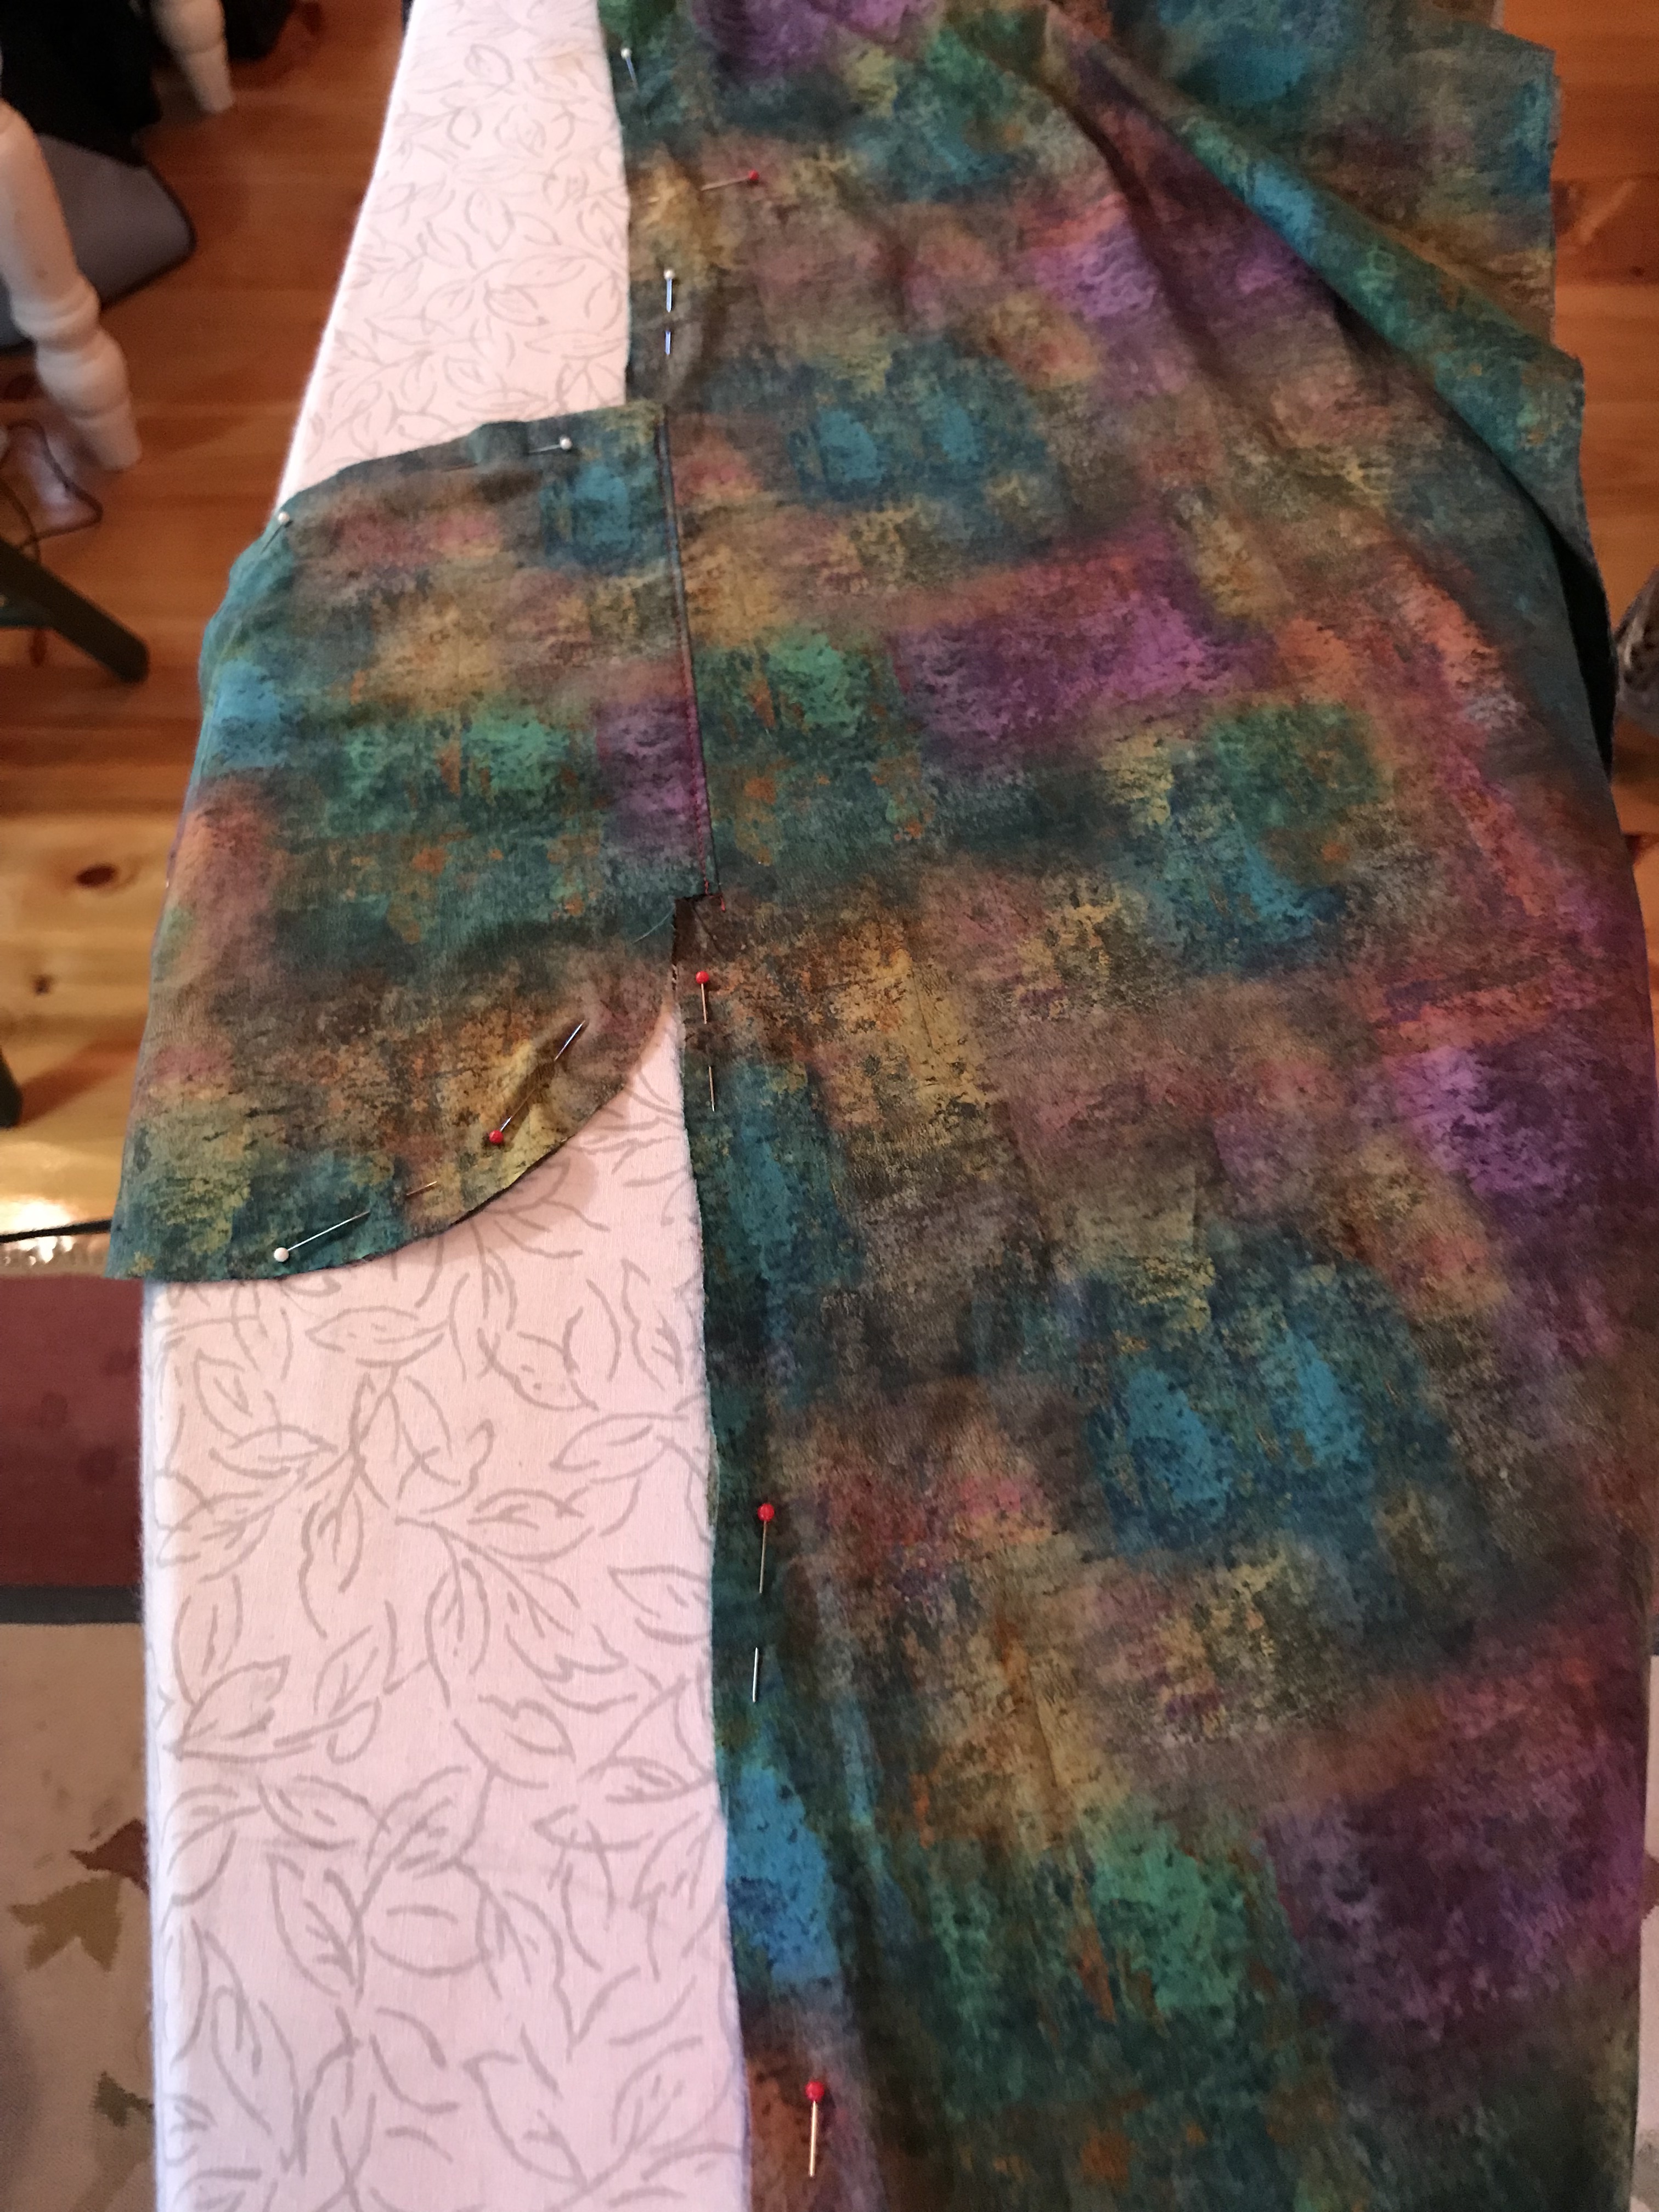
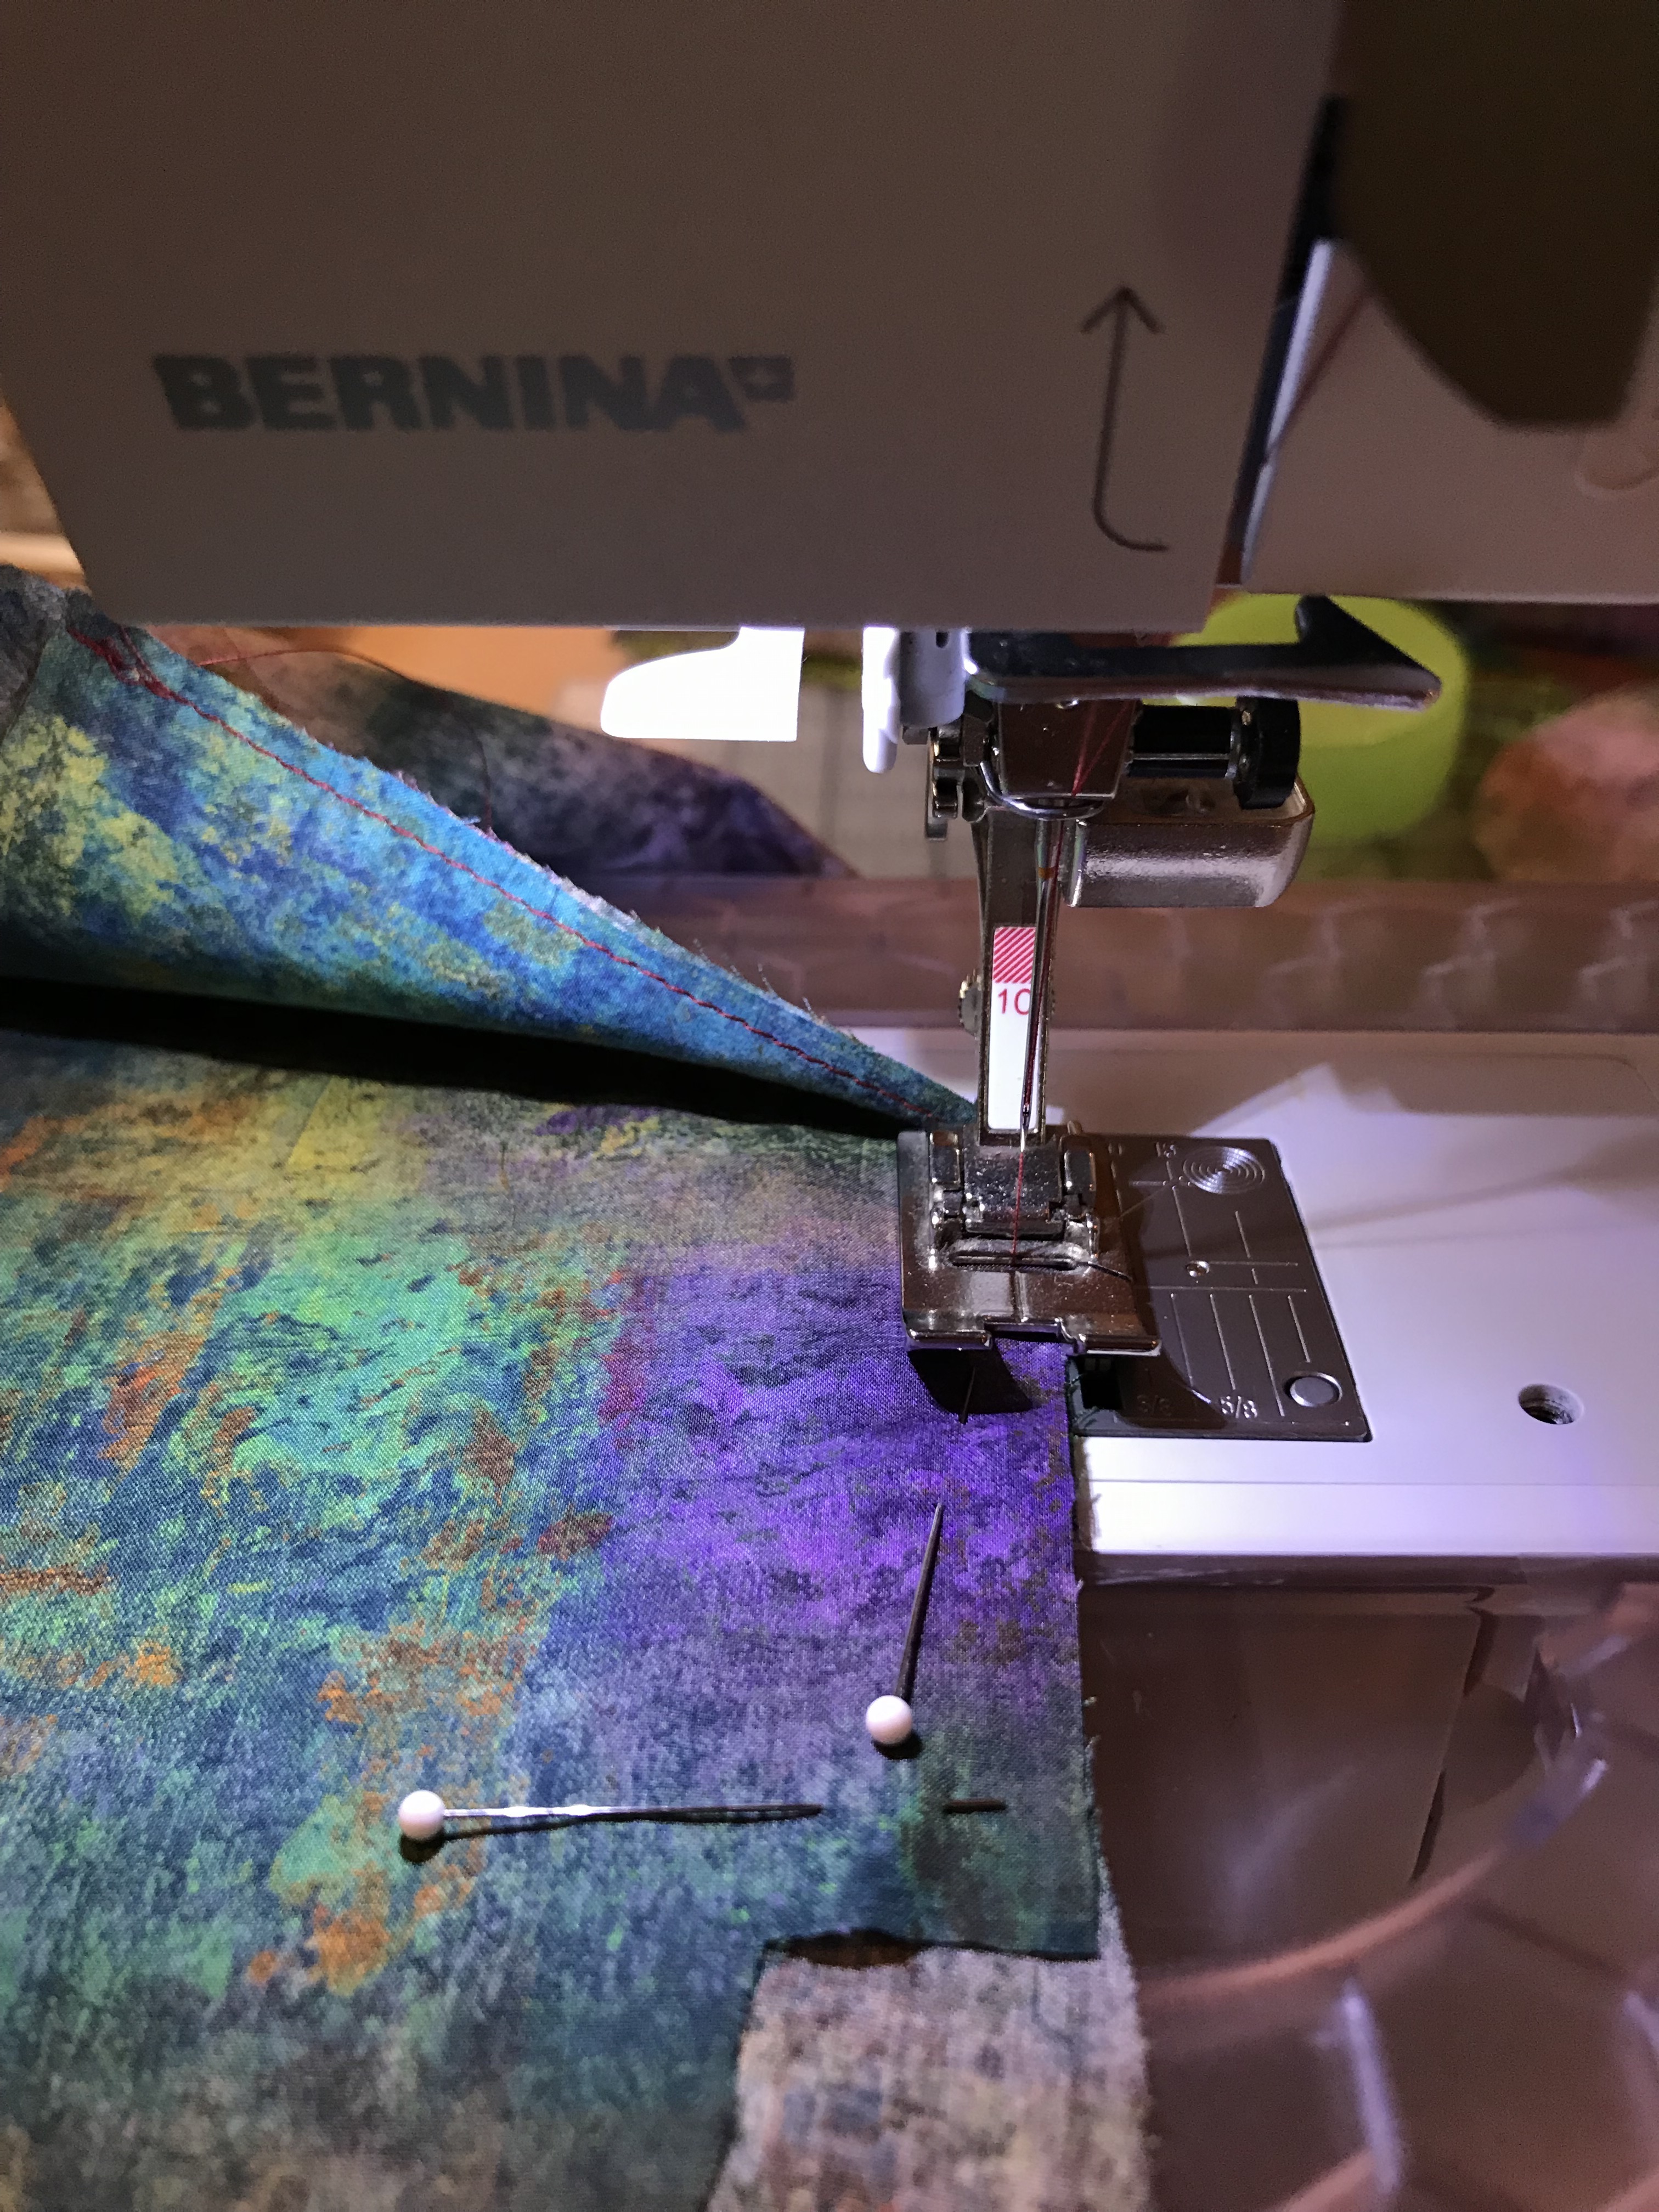
When it’s time to sew the side seams of the dress together, pin the front and back pieces WRONG sides together. Pin along the side seam and around the outside edge of the pocket. (Leave the pocket opening open.)
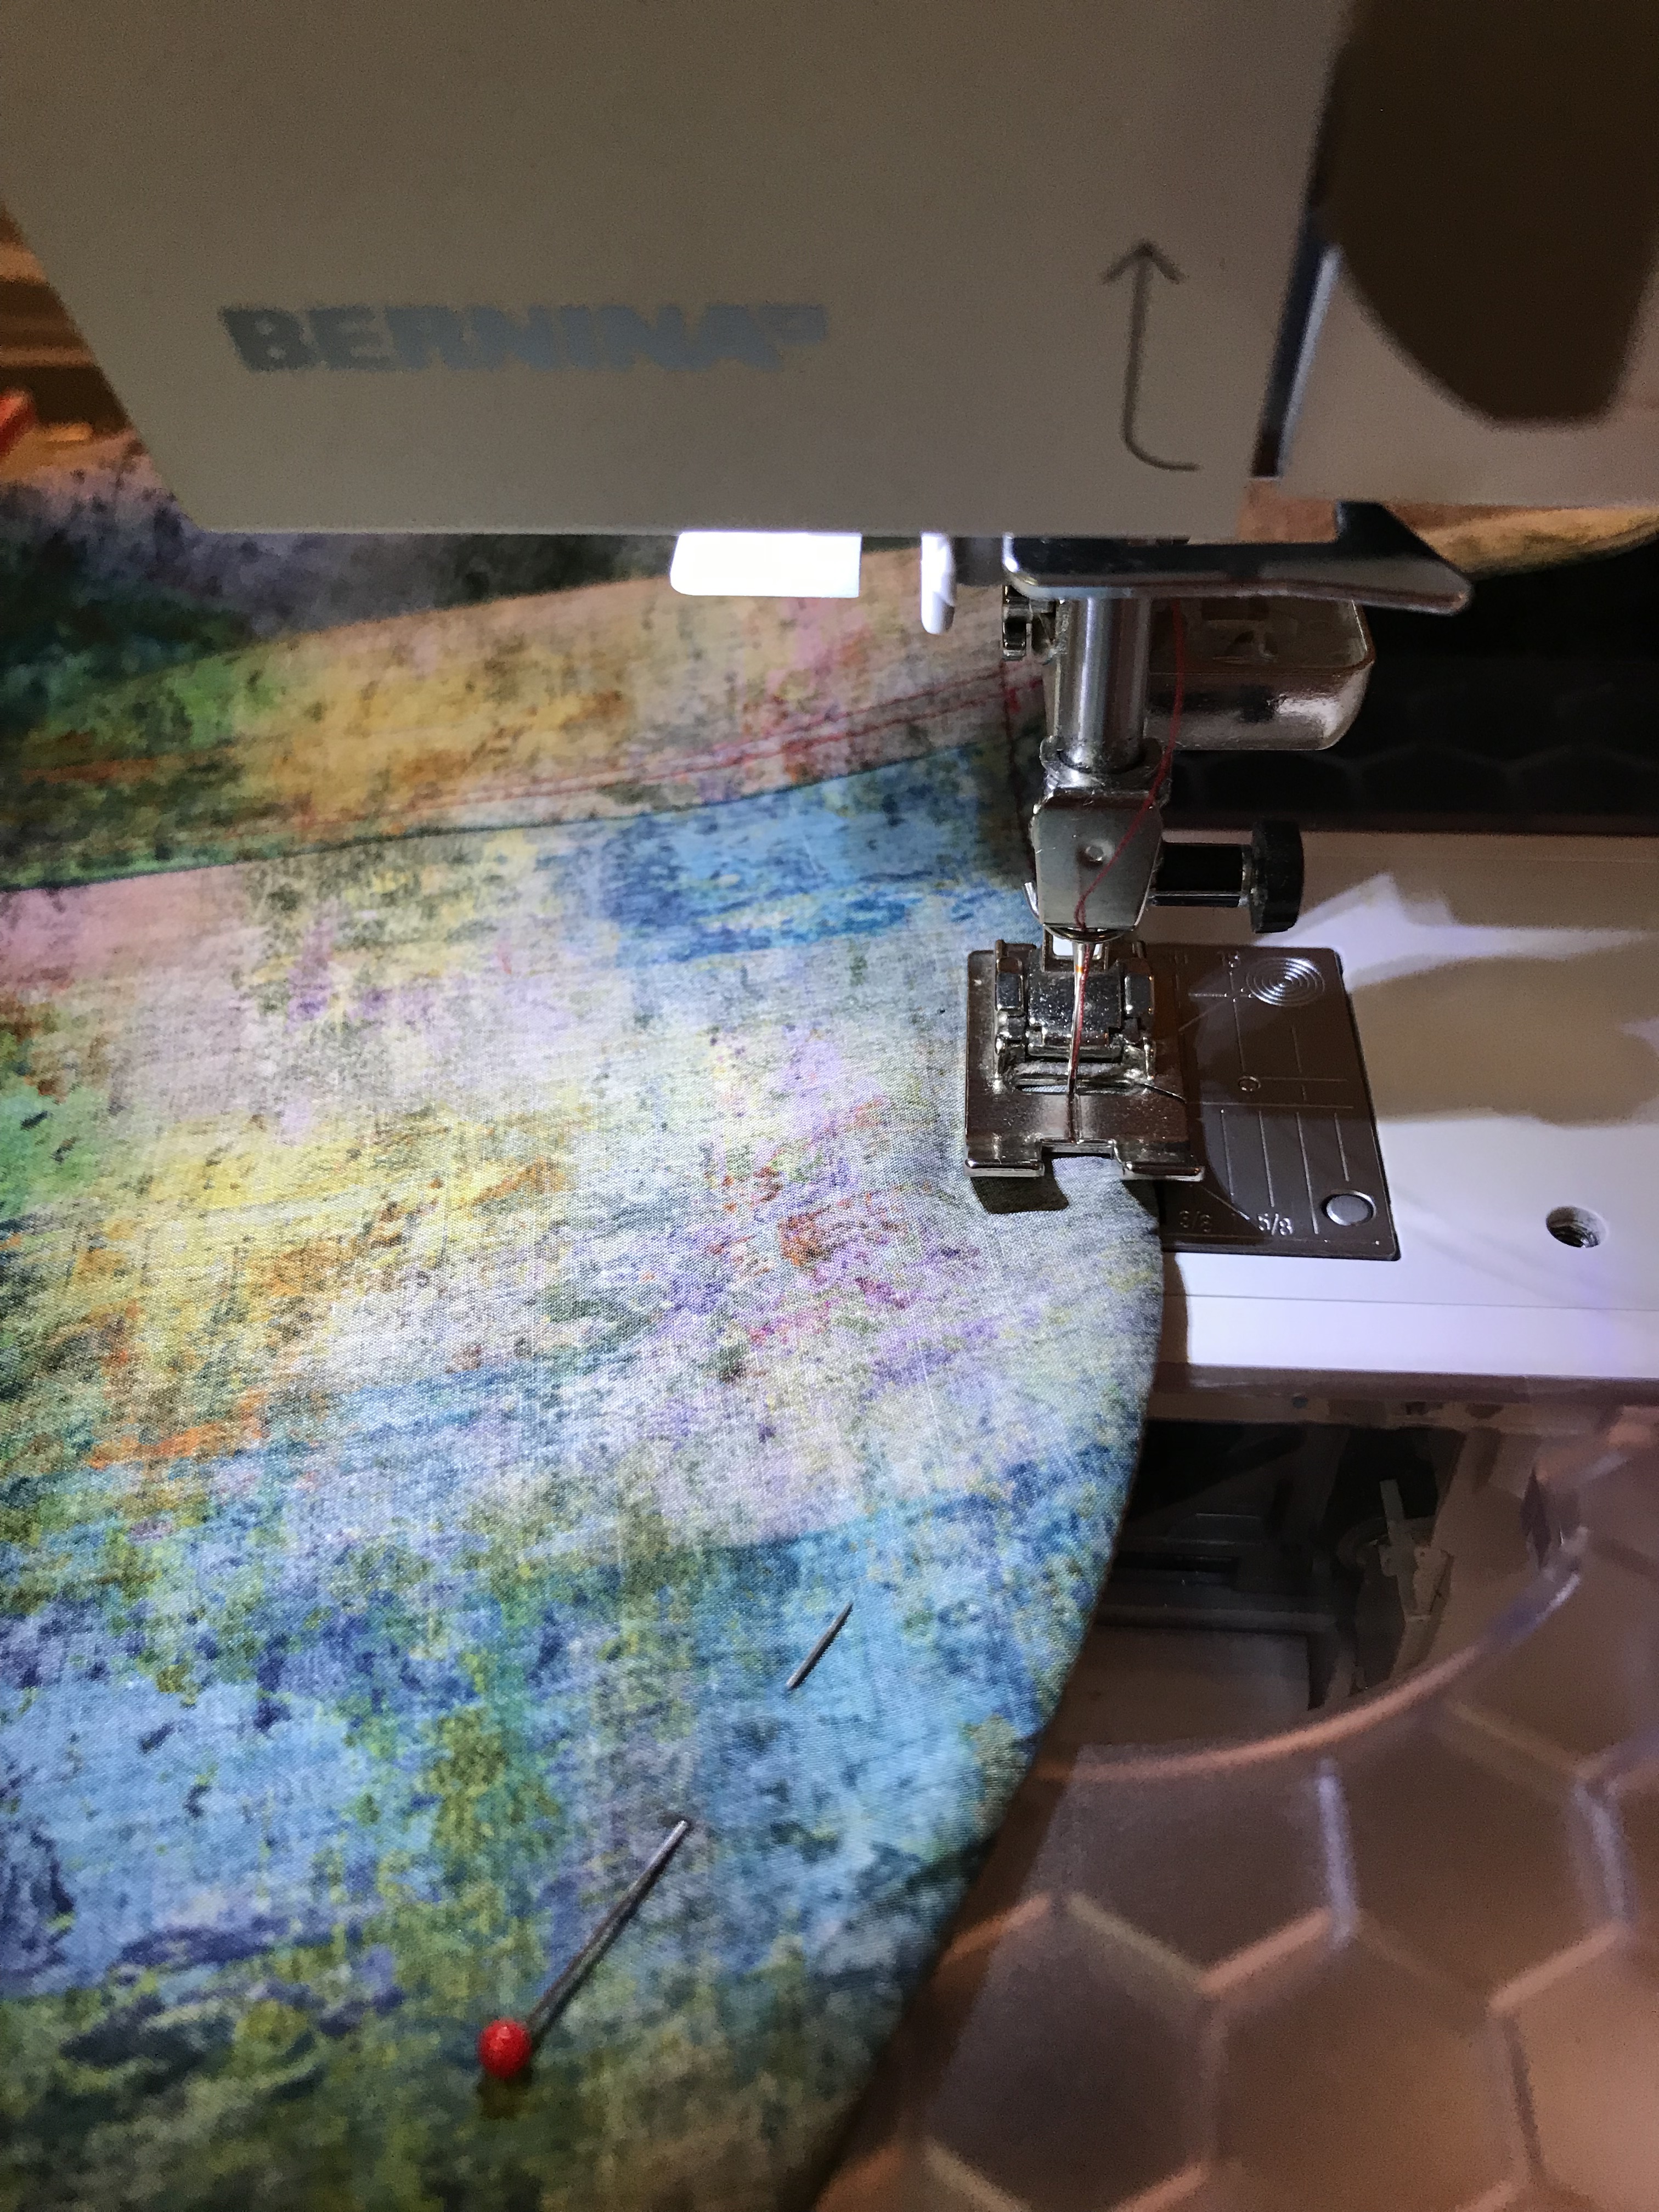
Step 11:
Starting at the bottom, you’re going to sew a 1/8” seam up the side seam, go around the pocket edge, and then up the rest of the side seam to the top. But read the next step before you proceed, because it’s a little tricky.
After you’ve sewn the side seam up to the bottom of the pocket, keep sewing about 3/8” straight up into the pocket, then pivot 90 degrees and sew perpendicular to the side seam (into the pocket) for a few stitches, then pivot down and sew around the entire outside edge of the pocket, 1/8” from the edge. Then sew the rest of the side seam up to the top of the dress.
Trim the spot between the dress and the bottom of the pocket as closely as you can without cutting the stitching. Note: this seam will not meet the pocket seam that you sewed earlier.
Step 12:
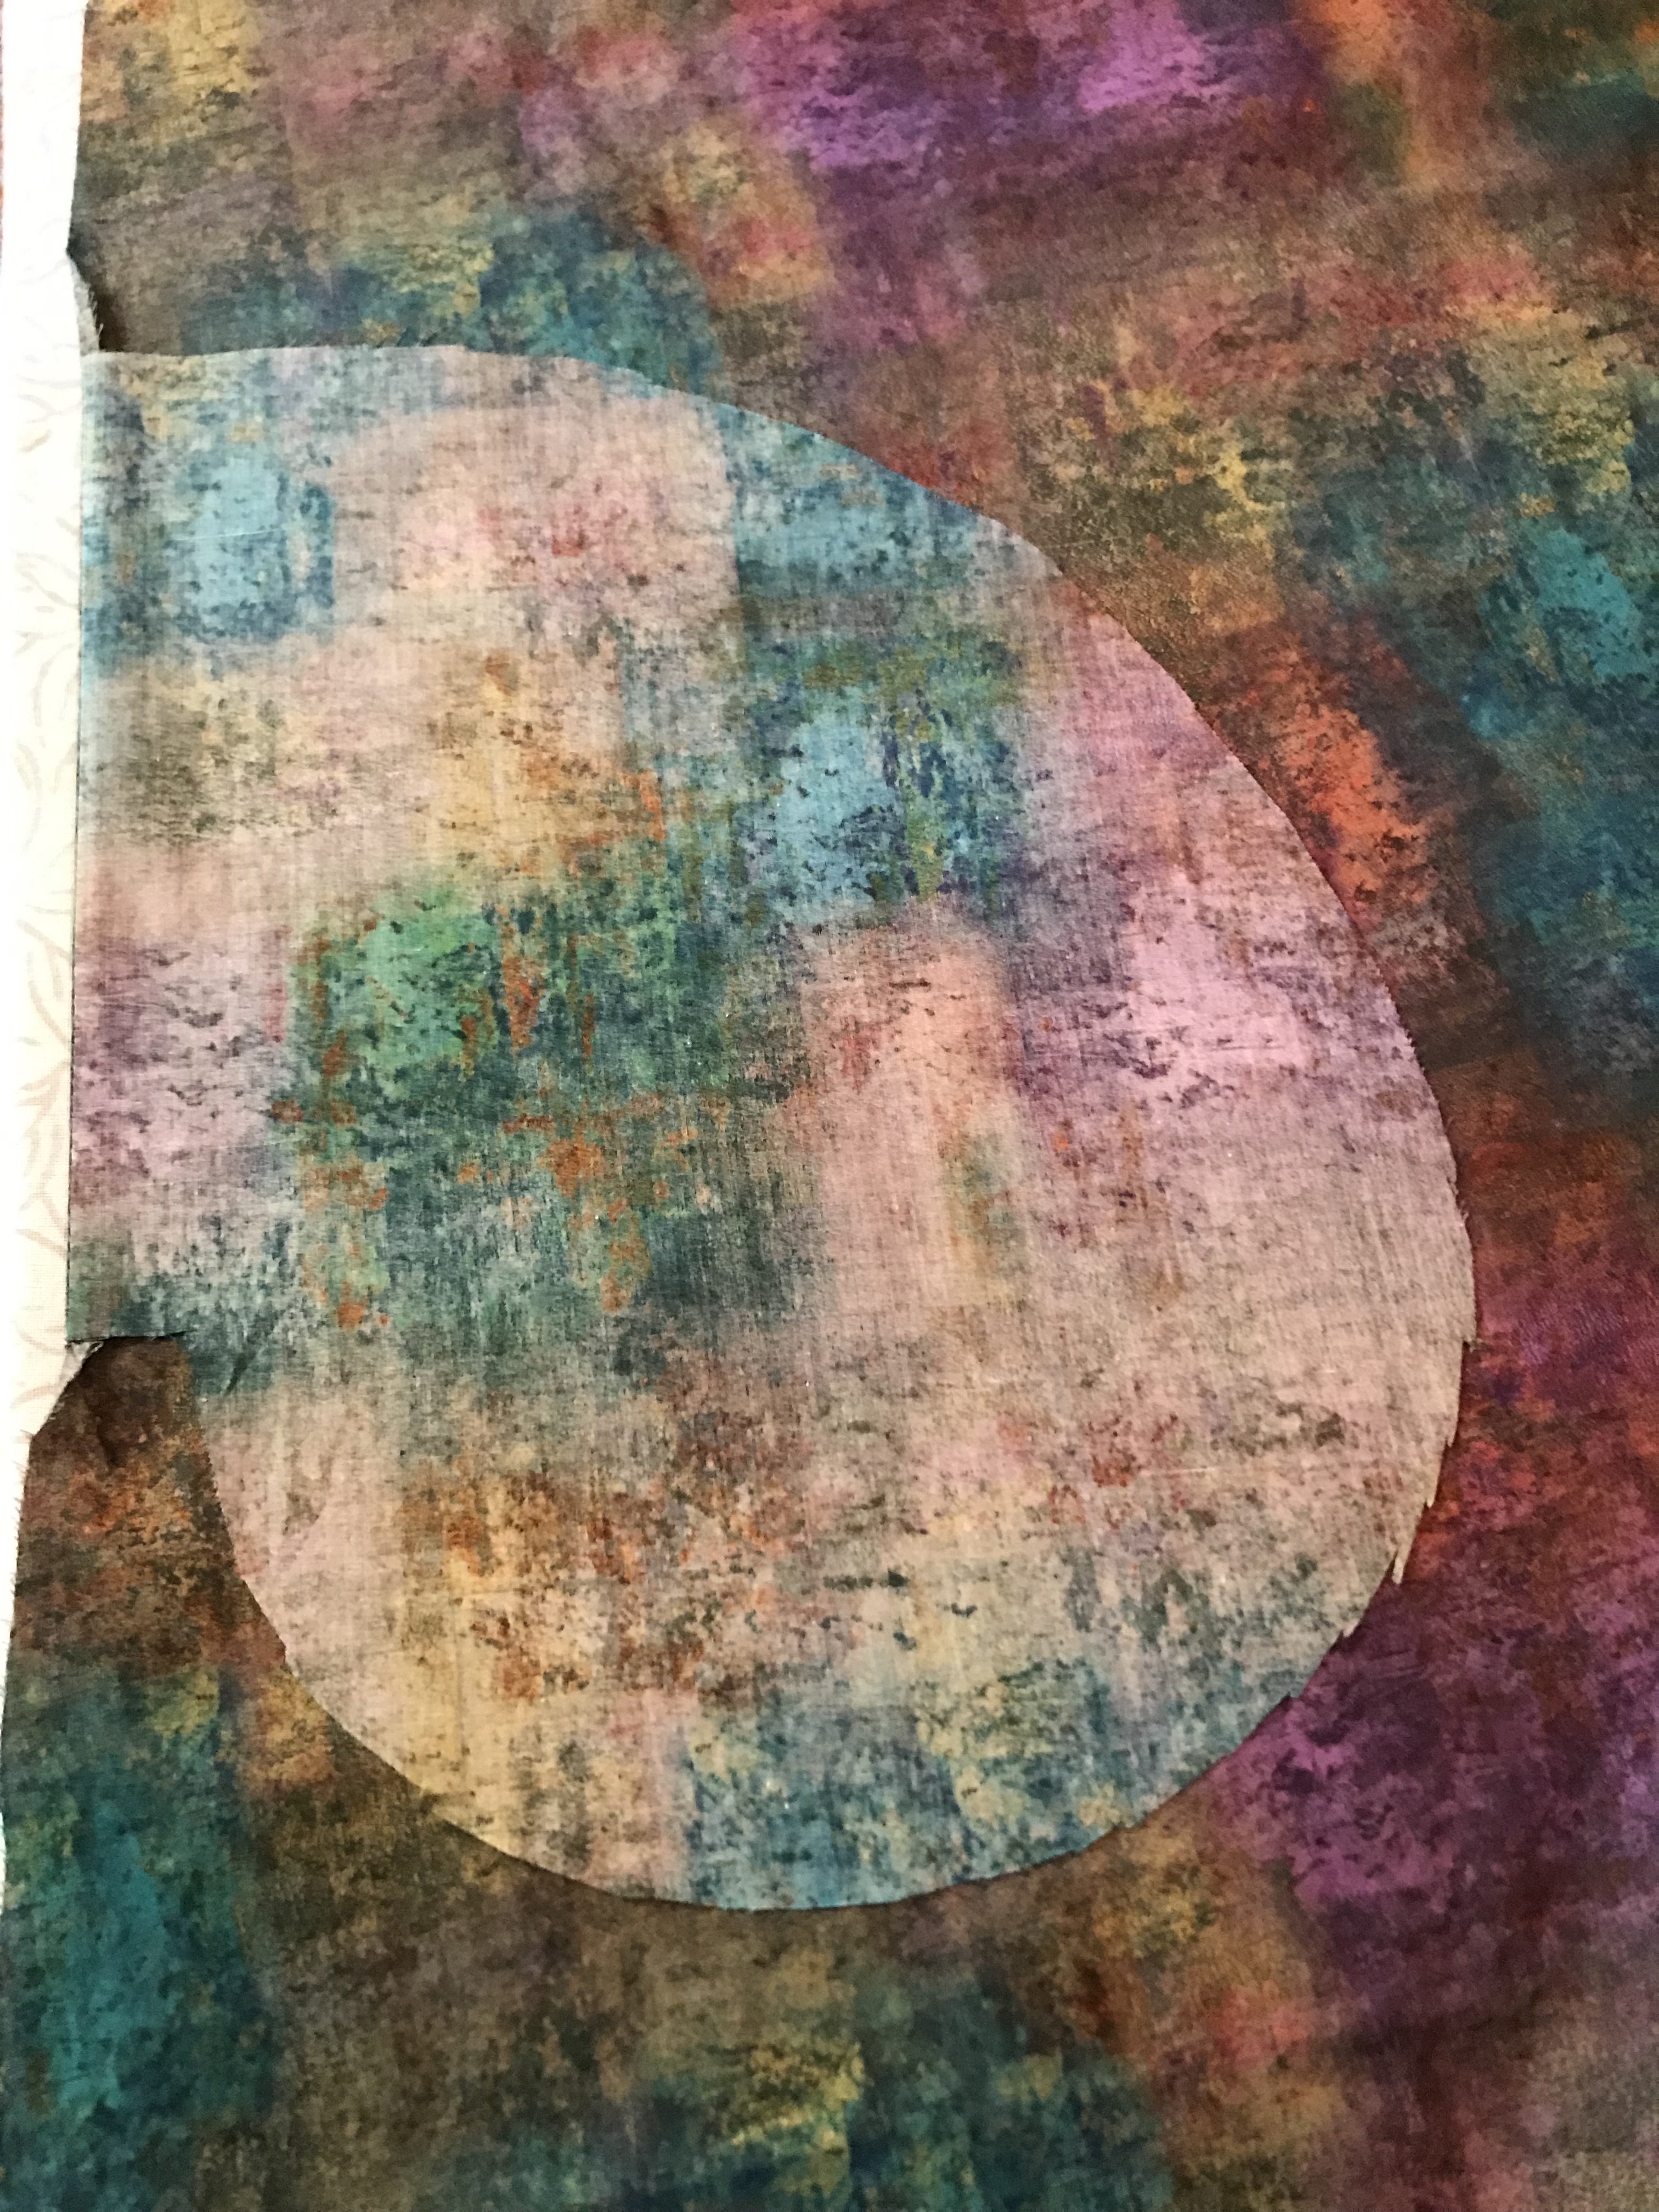
Turn the dress and the pocket inside out, so they’re right sides together. Make sure the pocket is completely turned out and pressed as flat as possible. (It helps if you put your hand inside of the pocket and push it out all along the seamline before you press.) Pin the side seam of the dress and outside edge of the pocket again.
Step 13:
Stitch the side seam and pocket edge again, ¼” from the edge, enclosing the raw edge of the seam inside.
Press the seam flat, and then press the side seam open, leaving the pocket inside of the dress. (The understitching will be hidden inside of the pocket.) Repeat on the other side.
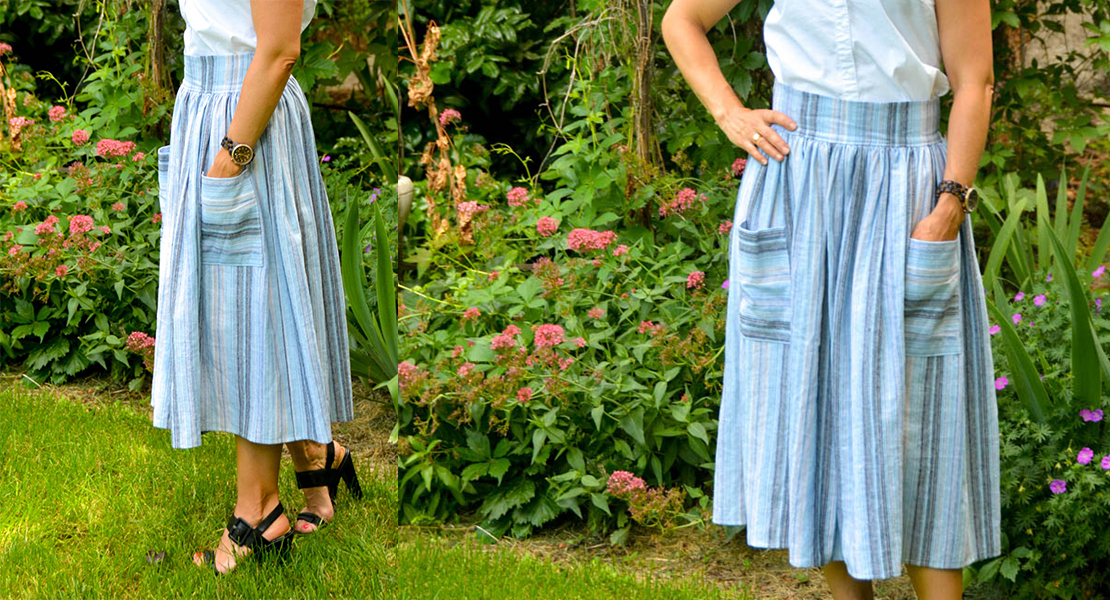
Voila! A nice clean finish inside and out, and handy pockets to boot! Enjoy your pretty dress!
Used Products

What you might also like


7 comments on “Sewing Pockets Using French Seams”
-
-
Hi Vicki, I used Liberty Tana Lawn. It’s great to work with. Nice to hear you were a student of my mom’s!
-
-
Thank you for this tutorial. I will try this technique. I am also wondering how you can do a french seam in an armhole?
-
I’ve never tried it, so recommend giving it a try using a muslin mock-up first. It’s such a nice finish for seams.
-
-
Thank you for this great tutorial, exactly what I was looking for to make a coat!!
-
My seam allowance is 5/8”. Could I sew 3/8, trim, then sew 1/4” instead of doing your recommended of ‘sew 1/4”, then sew 3/8”’?
-
The important thing with French seams is to make the first seam narrower than the second seam, which encloses it. You would need to trim your first seam to be narrower than 1/4″ if you want that to be the seam allowance of the second seam.
-
Leave a Reply
You must be logged in to post a comment.

Hi Julie,
This came at a good time with a new pattern I am working with. I loved the fabric and wondered what you used.
PS: had your mother for English. Loved Mrs. Eilber
Vicki Tilton (IAA65-69)