5 Tips for Beautiful Seams
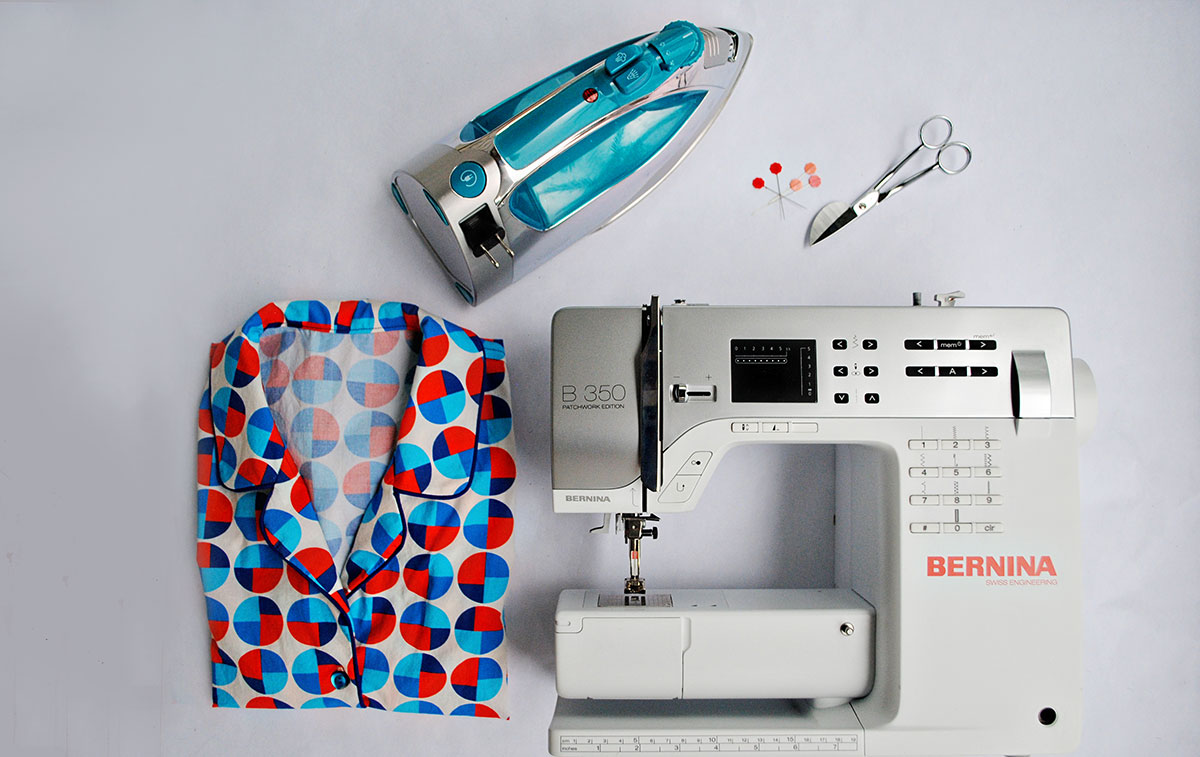
When sewing quilts, garments, or crafts, the success of your project depends on the seams. Here are five excellent seam tips from BERNINA Sewing Expert Debbie Cacciamani.
Creating beautiful seams can be a challenge if your sewing machine is not set up correctly. Follow these simple steps to set up your sewing machine. Remember when starting a new sewing project make sure that the thread and needle are the right type to go with the fabric.

1) Test sew. Look at the seam. Does it pucker or stretch or ripple? Make any adjustments needed in the upper thread tension, the stitch width, or stitch length.
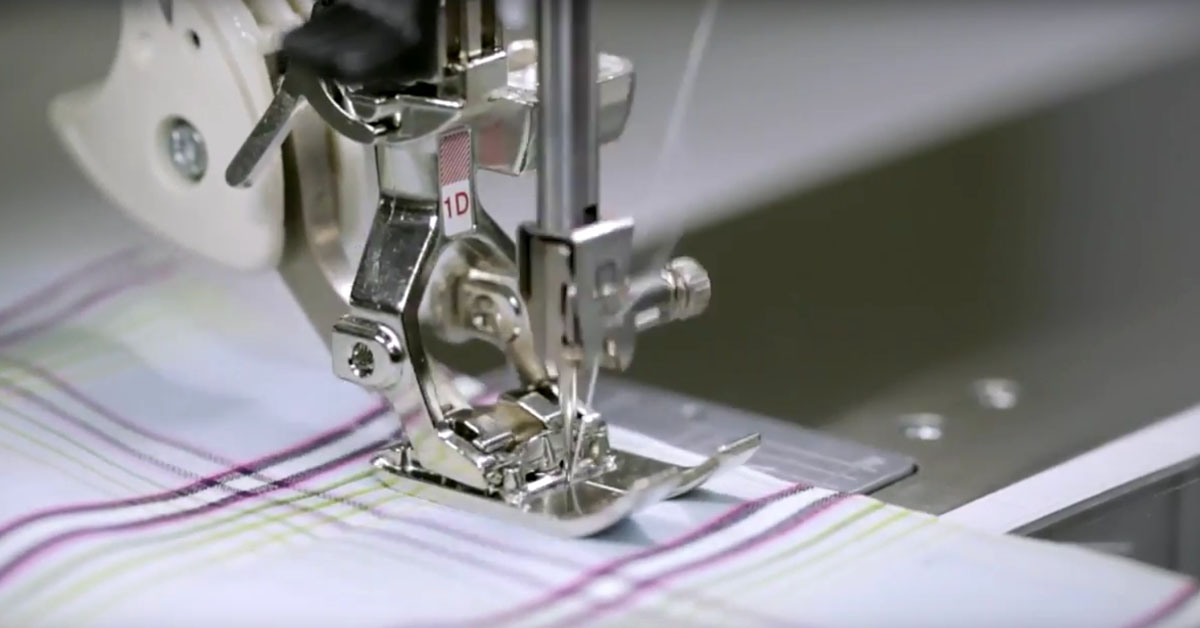
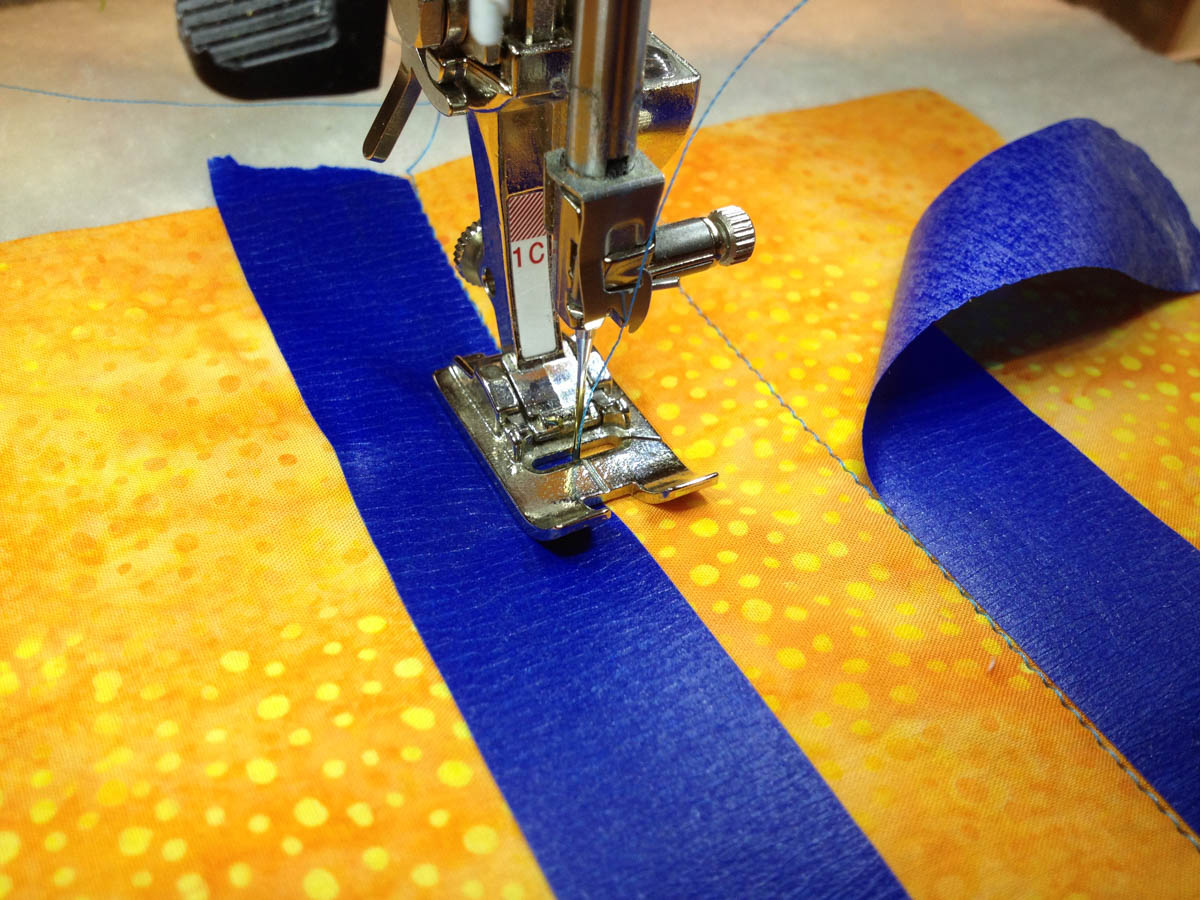
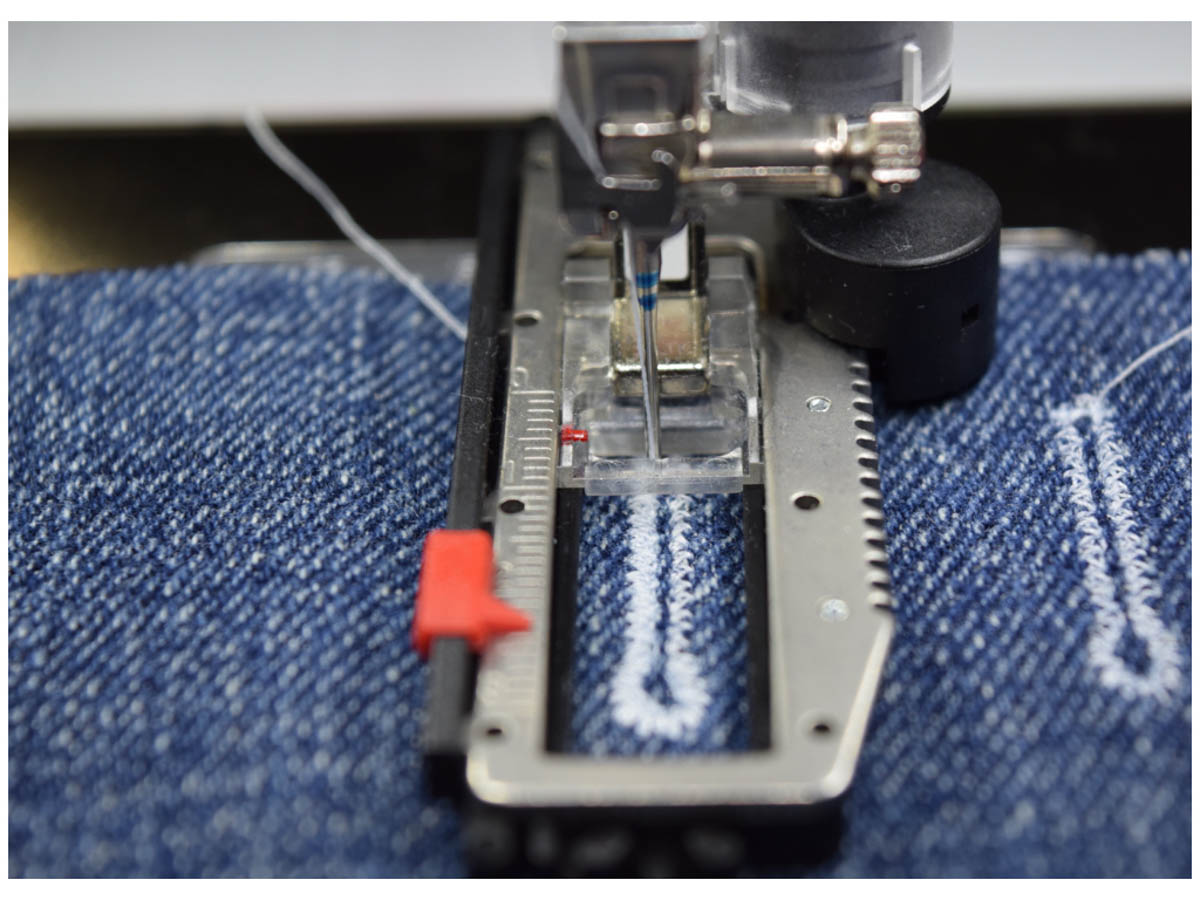
2) Use the right stitch plate for the job. This wonderful accessory supports the fabric around the needle and helps create a perfect straight stitch. Use a zig zag stitch plate (pictured on the left) for zig zag or decorative stitching, and the straight stitch plate (pictured on the right) for precise straight stitching.

3) Consider Presser Foot Pressure. This very important sewing machine feature controls how much pressure is pushing down on the fabric under the presser foot.
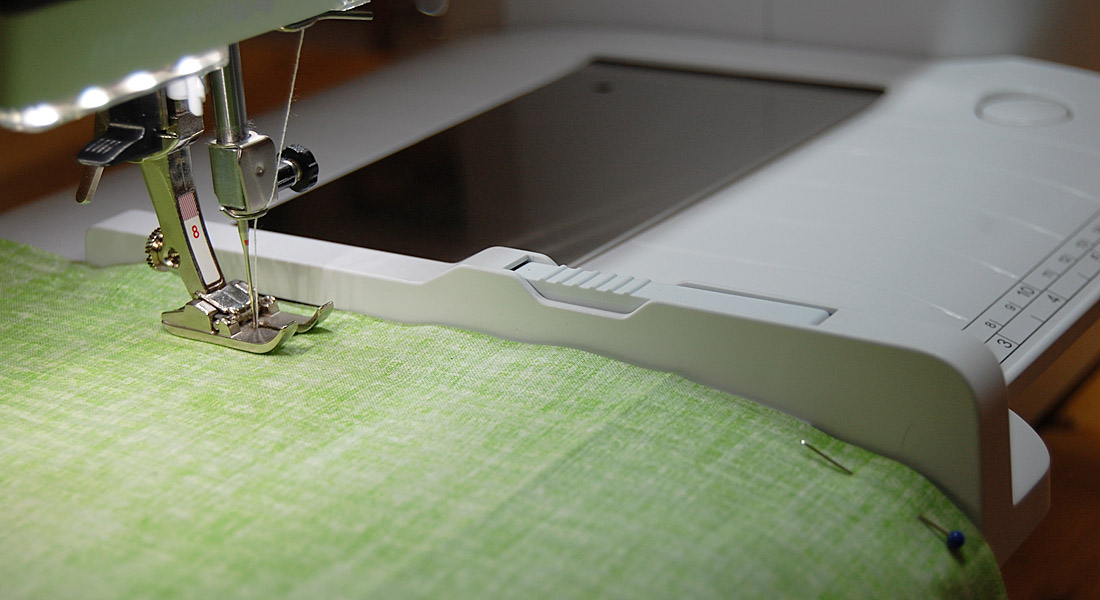
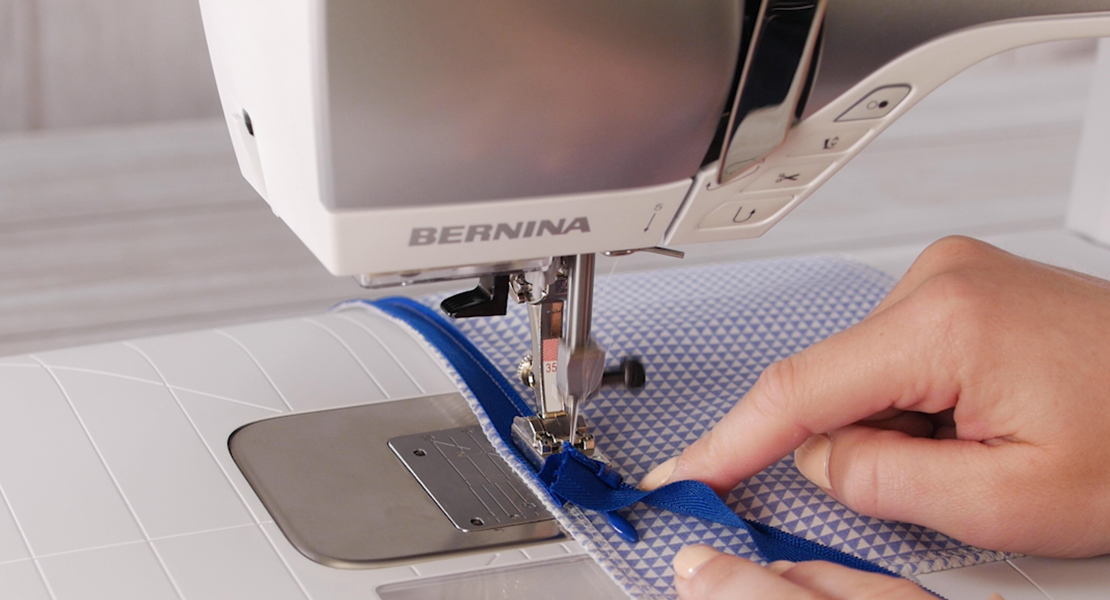
4) Consider a sewing machine with built in Dual Feed. This feature assists in moving the top and bottom fabrics evenly, with no slipping. On a BERNINA 8 Series machine, this Dual Feed action is adjustable! You can change how fast or slow the Dual Feed Foot pulls the top fabric. It is a great way to fine tune the stitching to create a really perfect seam with ease.
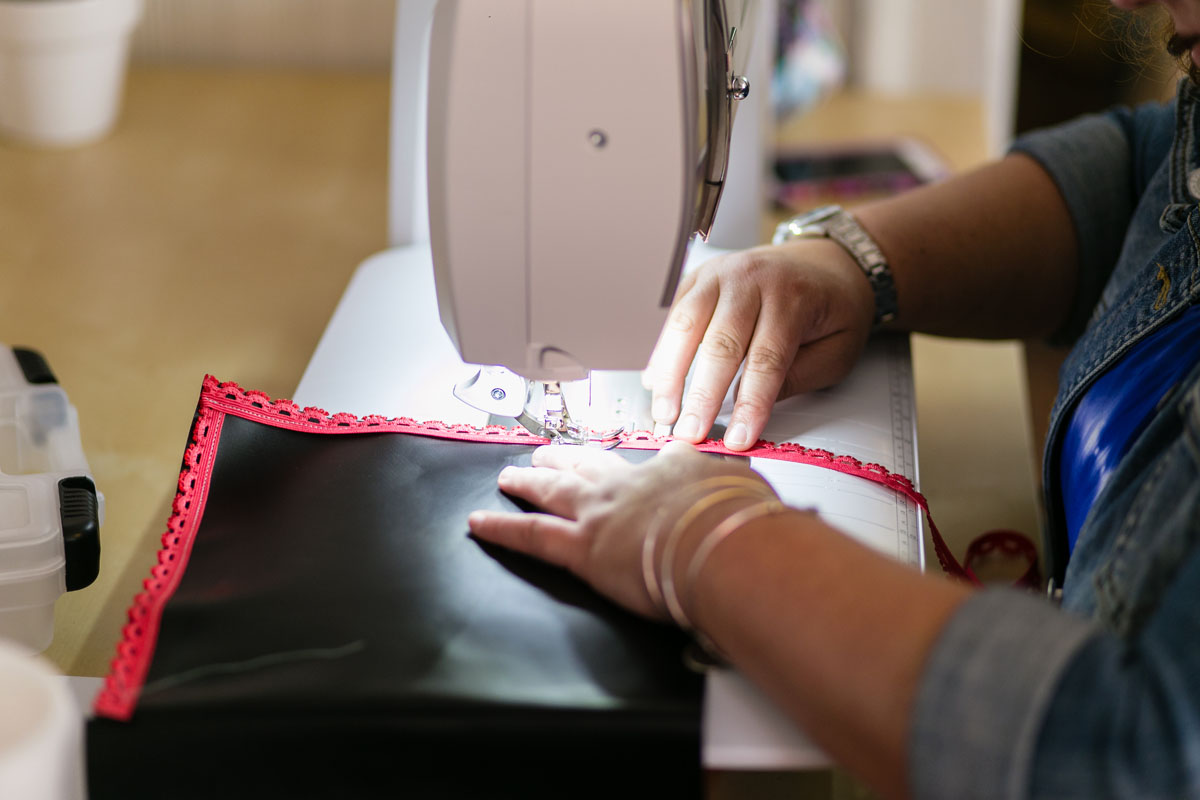
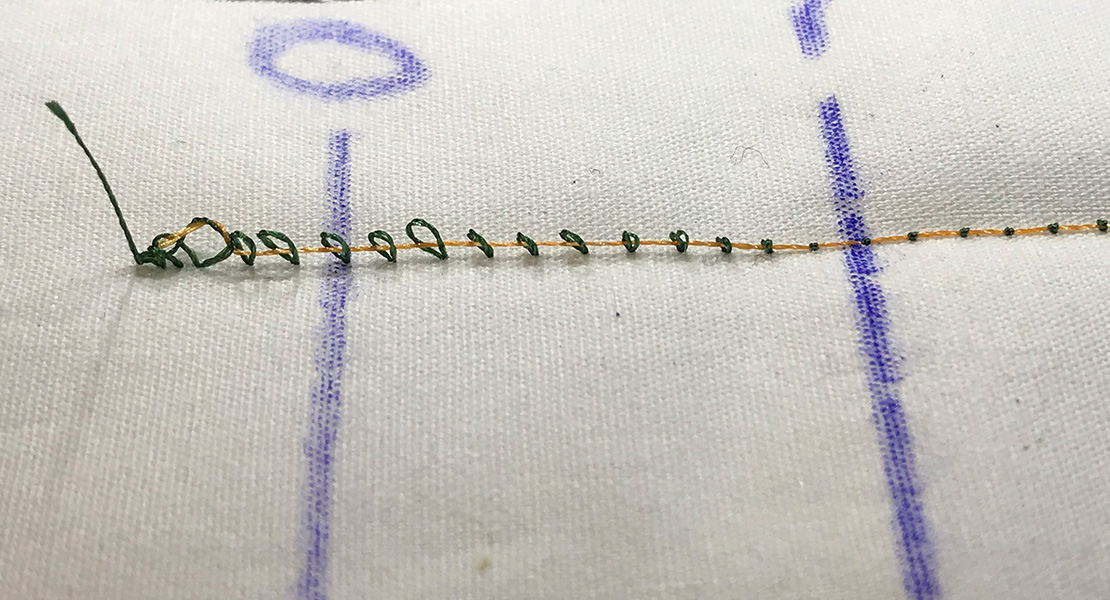
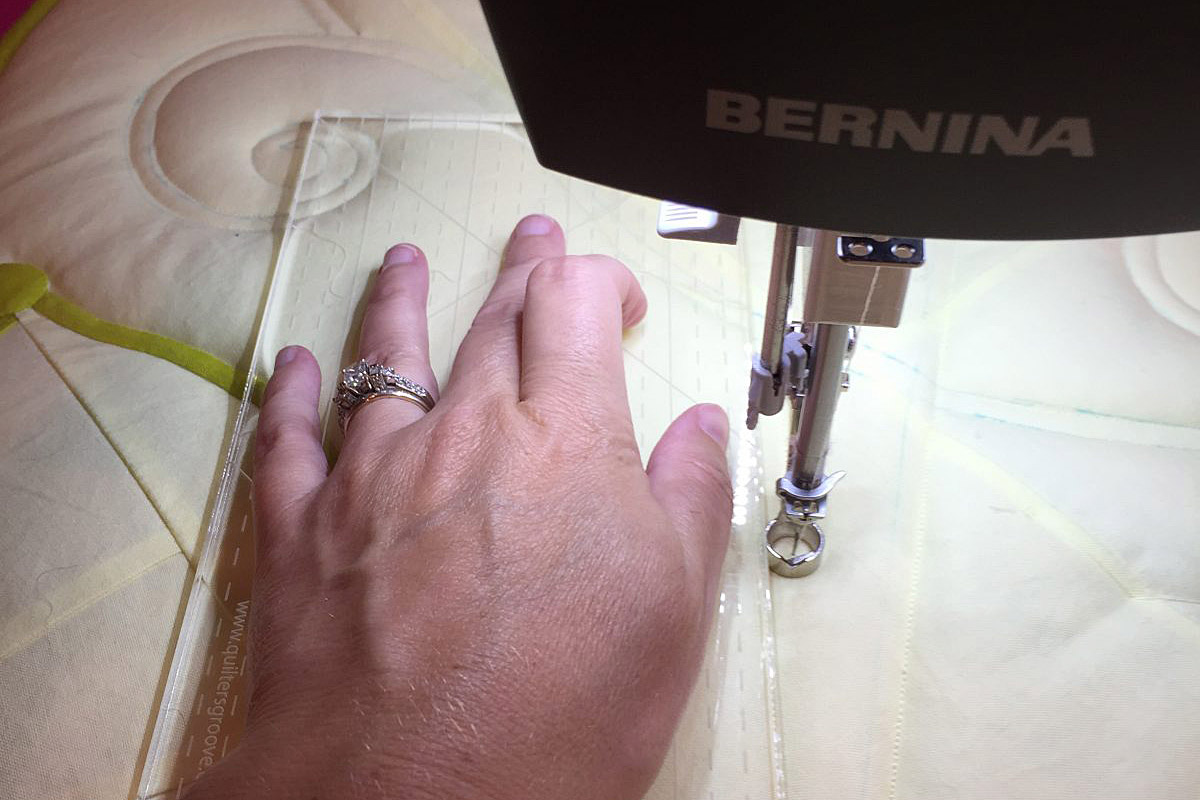
5) Never push or pull the fabric as you sew, just use “Finger Tip Sewing.” Do not rest your hands on top of the fabric, as you may apply too much pressure and change the stitching speed; the feed dogs will pull the fabric at the correct speed for the chosen stitch length and width. The best way to sew is to simply hold the fabric lightly with your fingertips while guiding it to the left and right. This will eliminate stretched out or stacked stitches. If available, presser foot pressure and dual feed adjustments can be used to fine tune the stitching process.
6) Always start and stop sewing IN the fabric, not in the air. Begin sewing 1/8″ to 1/4″ from the raw edge, press the reverse to sew back to the edge of the fabric, then release it and sew forward again. At the end of the seam, stop IN the fabric to backstitch or lock the stitch.

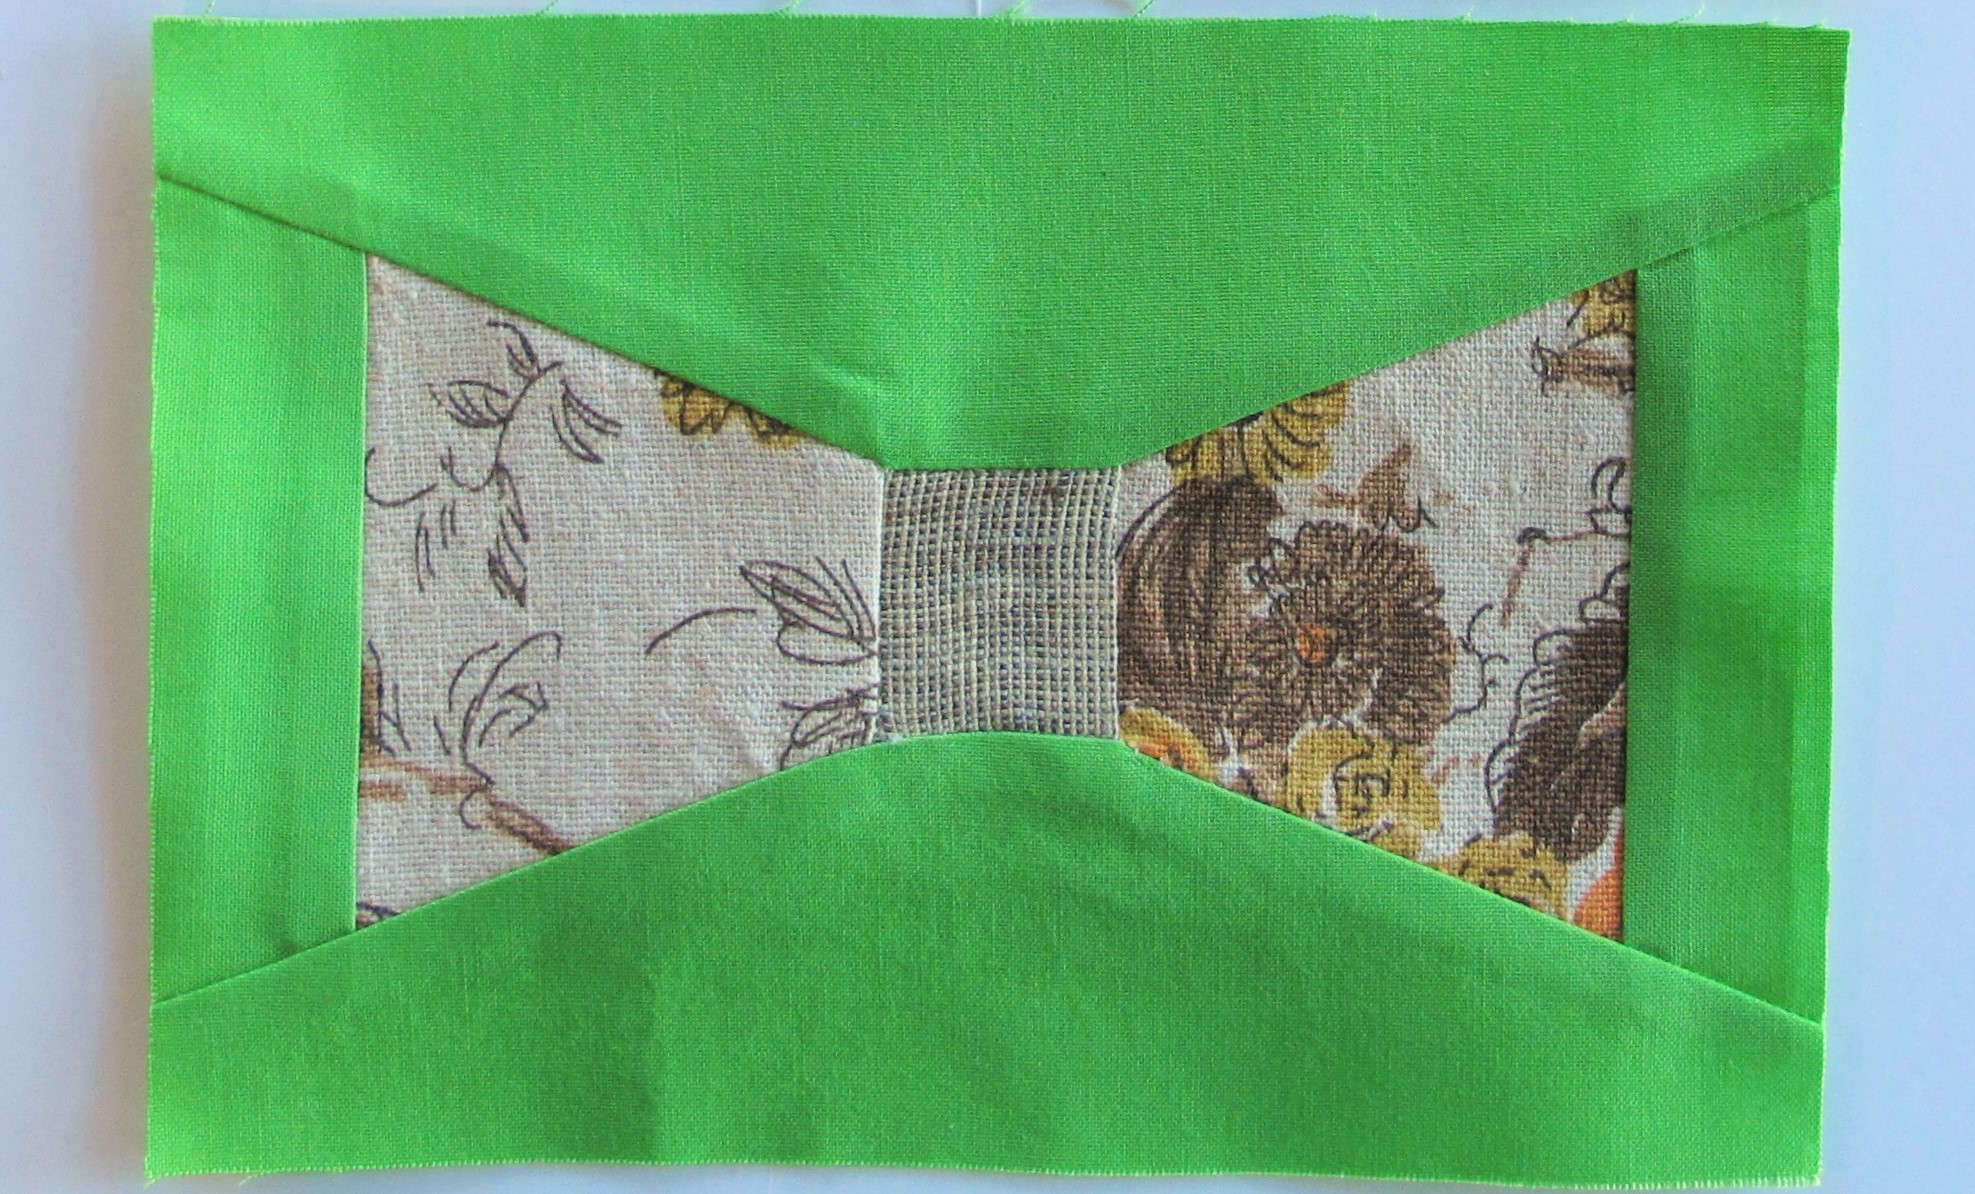
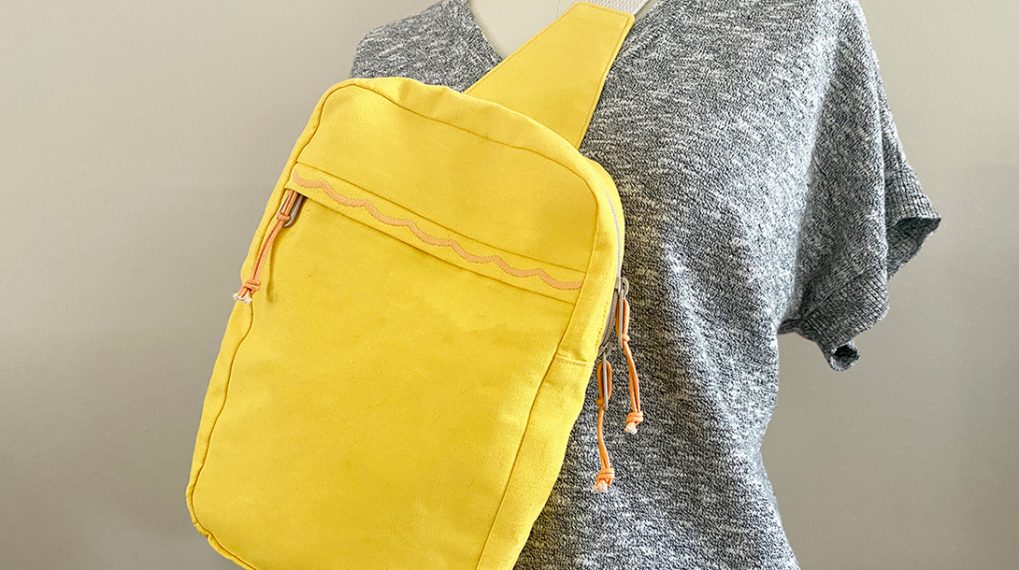
Try using these tips to help you sew better seams on any project from stitching patchwork to garment sewing.


What you might also like


5 comments on “5 Tips for Beautiful Seams”
-
-
Hello cath0450, that’s a great question! There are many, many ways to finish seams, and the seam finish usually depends on the application (what you’re sewing) and personal preference (how you want to sew it). For instance, when making a skirt with medium weight cotton, you may want to cut the seam allowance down to 1/4″ after sewing and finish with a nice zig-zag stitch to keep the fabric from unraveling. If the skirt was a lightweight silk, you may want to use a French seam technique to enclose the unfinished edge and give the inside a nice, finished look.
A good guideline to follow is to check the instructions for the sewing project you are working on to see what kinds of seam finish is recommended.
-
-
When you are chain piecing quilt block pieces you have to sew in the “air” and cannot start inside the fabric. You also do not want to backstitch on quilt pieces due to extra bulk in the seam. I was interested to see your comment about changing the foot pressure though because it seems that my quilt pieces want to slide to the left as I’m stitching. Maybe there is too much pressure.
-
I use a “leader piece” of scrap fabric under my foot that takes away the “in the air” sewing then sew right in to my quilt square without backstitching. Works really well when chain stitching.
-
-
Can you give us guide lines for adjusting the pressure? i never know which way to go–up or down? For example: lighter pressure for jersey knits?
Leave a Reply
You must be logged in to post a comment.

what is the proper way to finish a seam?