Tips for Sewing With Sequins

Hey everyone! I’m excited to be back with another awesome tutorial. As we all know, the holidays are upon us. I don’t know about you, but when I think of holiday parties, sequins come to mind, and especially when counting down into the New Year. In this post, I’m going to tell you everything you need to know about sewing with sequined fabric.
Before you begin sewing, there’s a few things to consider when working with sequined fabric!
There’s really two routes you can take when it comes to sewing with sequins, and I think it really comes down to the size of the sequins on the fabric you are going to work with and it’s as simple as this: removing the sequins within your seam allowance, or not. This decision can be made based on the size of the sequins in your fabric and the quality of your sewing machine. If you are working with a larger sequin, it’s probably best to remove the sequins from your seam allowance before sewing because the sequins will add a lot of bulk, and it is more likely that you could break your needle while sewing on your machine. If your fabric is made with a smaller, finer sequin, then you are less likely to break your needle, and bulk won’t be a big issue for your seams after being sewn. When it comes to the quality of your machine, a good rule of thumb to follow is that if it is able to sew through many layers of denim or thick wool without any issues, you should be fine to sew through your sequined fabric without removing the sequins. It’s ultimately up to you to decide what is best for your project and situation. I’ll walk you through how to do both.
Before we begin, let’s talk materials! When it comes to cutting your sequined fabric, you may want to use an older pair of fabric shears or make sure to have a scissor sharpener on hand. Cutting through sequined fabric can dull your scissors! You are also going to want to make sure to use a brand new extra sharp needle size 80, and I would recommend having a couple on hand just in case any break during the sewing process! Here’s a few more things you will also need:
Materials For Sewing with Sequins
- Sequined fabric
- Seam ripper
- Sharp scissors/snips
- New, extra sharp needle, I use a size 80
- Coordinating & contrasting thread
- Pins
- Colored chalk or Dressmaker’s Marking Pencil
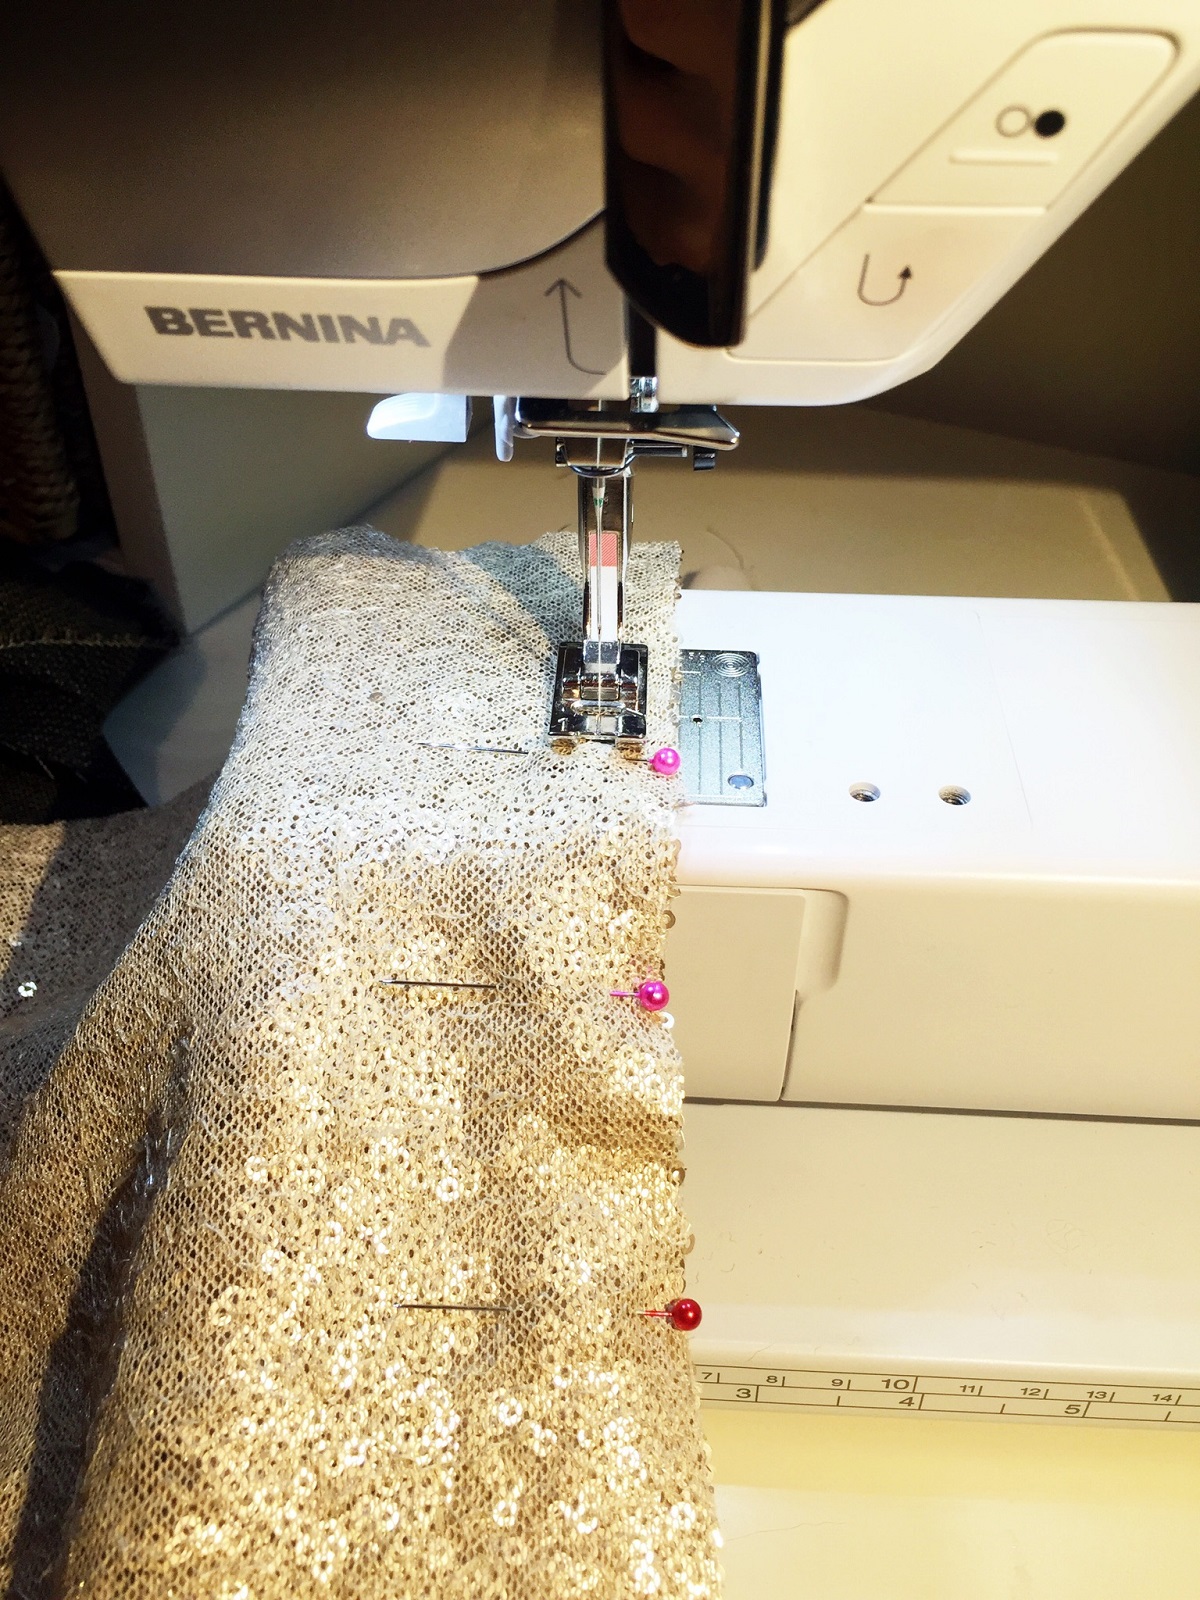
- Sewing machine, I use the BERNINA 350 PE
Let’s talk about the first tip, how to remove the sequins from your seam allowance.
Step 1: Before laying your pattern pieces down onto your fabric you need to find the direction of the nap of your sequined fabric. You can do this by simply petting the fabric with your hand, and find the natural direction of your sequins. Make sure to cut out all of your pieces going with the direction of the nap, this will help you make sure all the sequins lay in the correct direction on all of your pieces. Now, lay out your sequined fabric so the front side is laying face down. Lay out your pattern pieces one by one, and trace them onto the back of your sequined fabric.
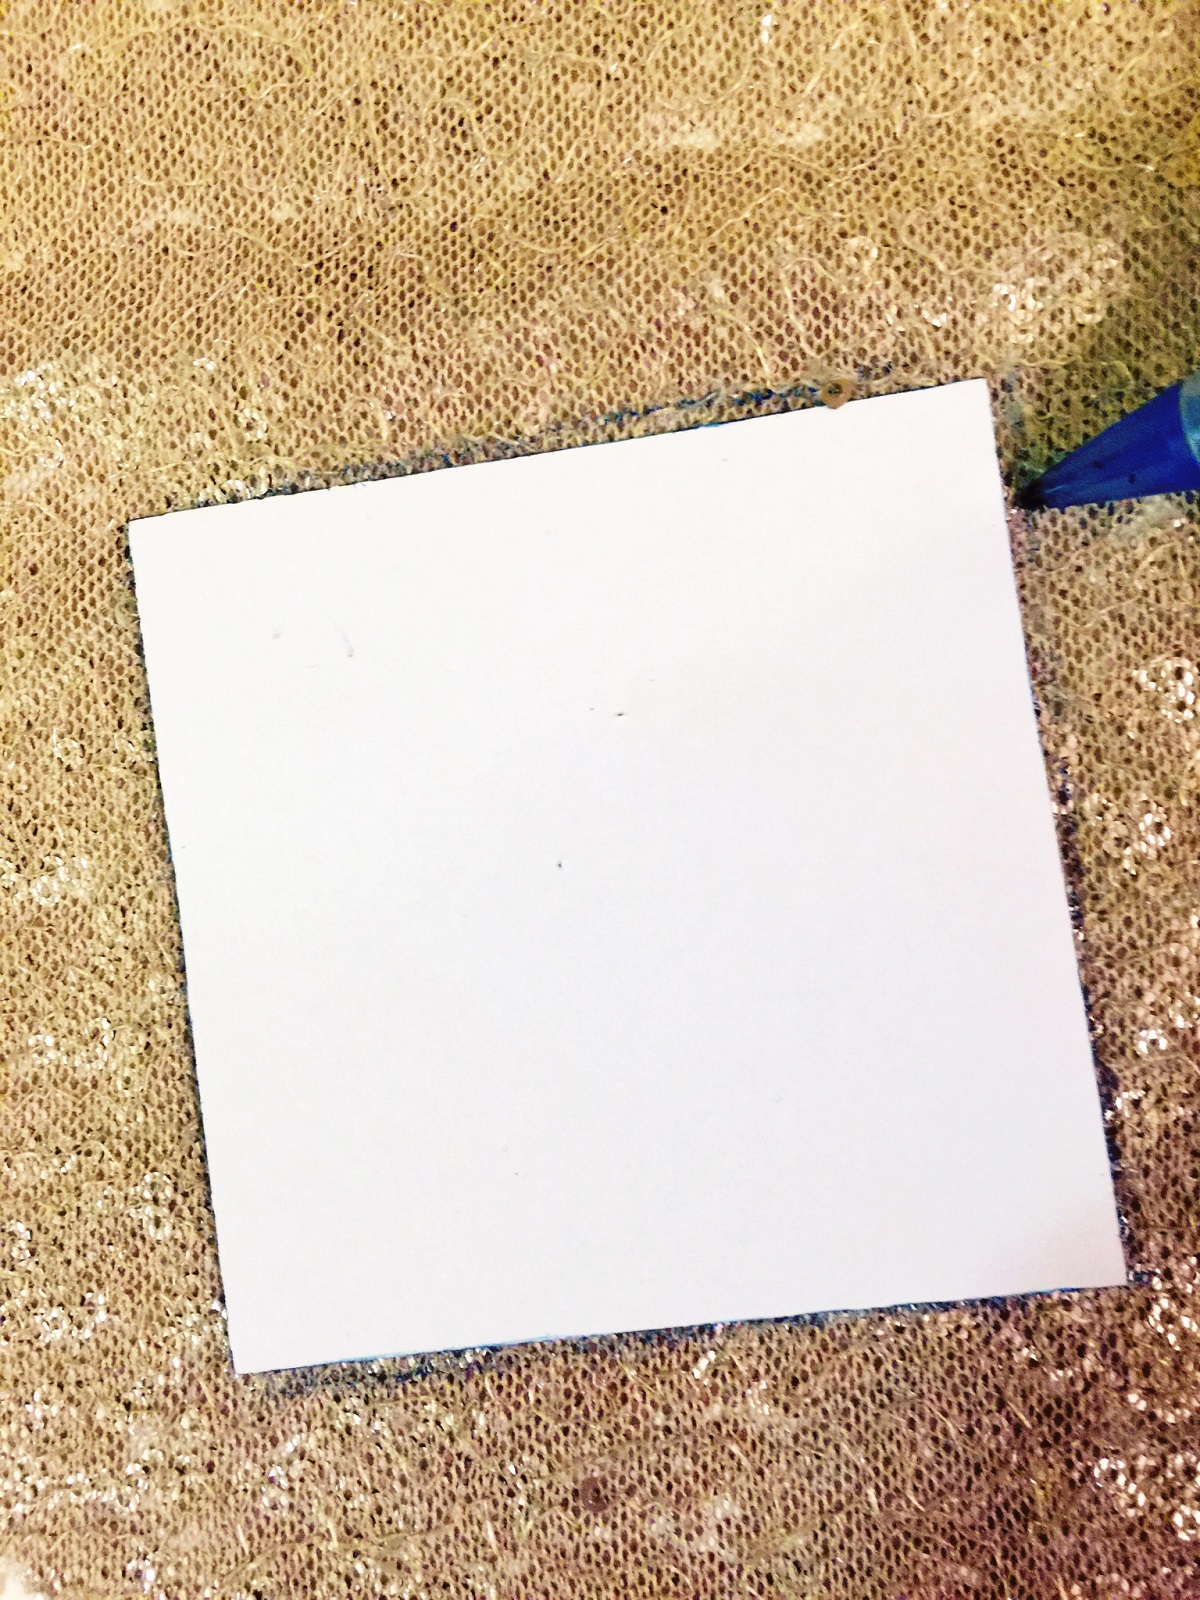
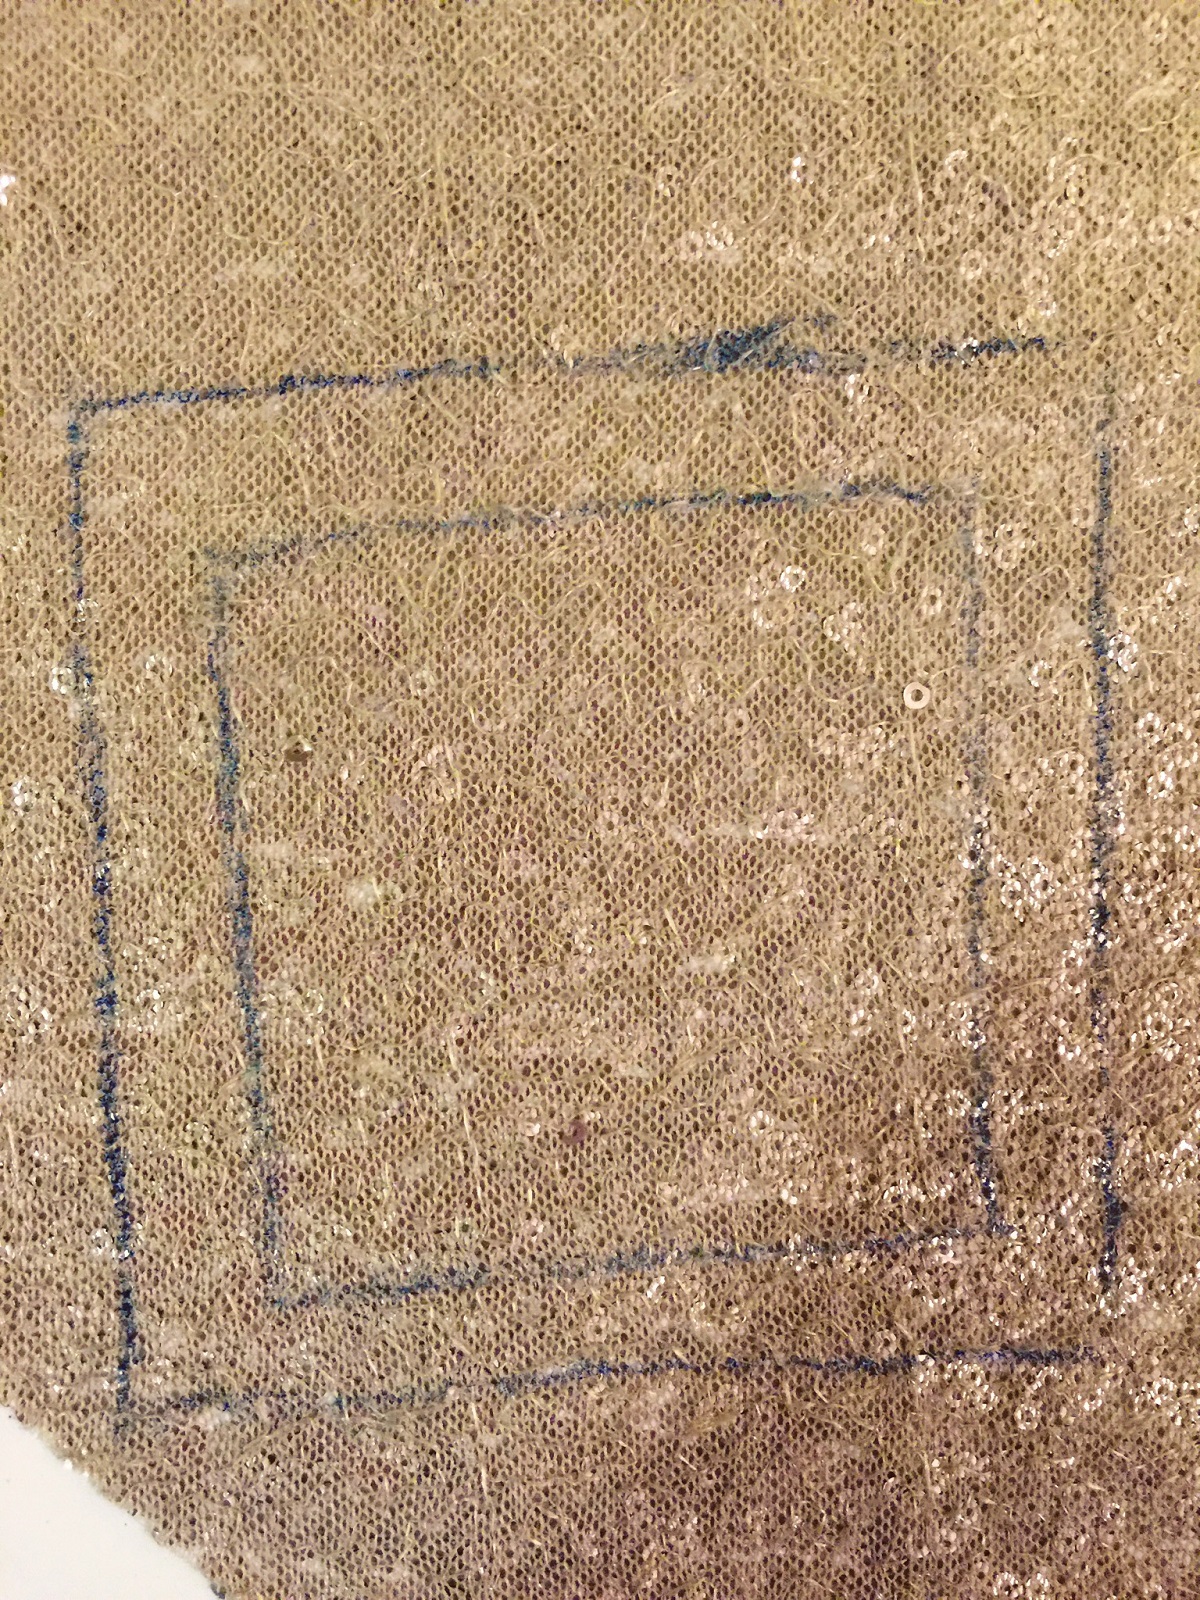
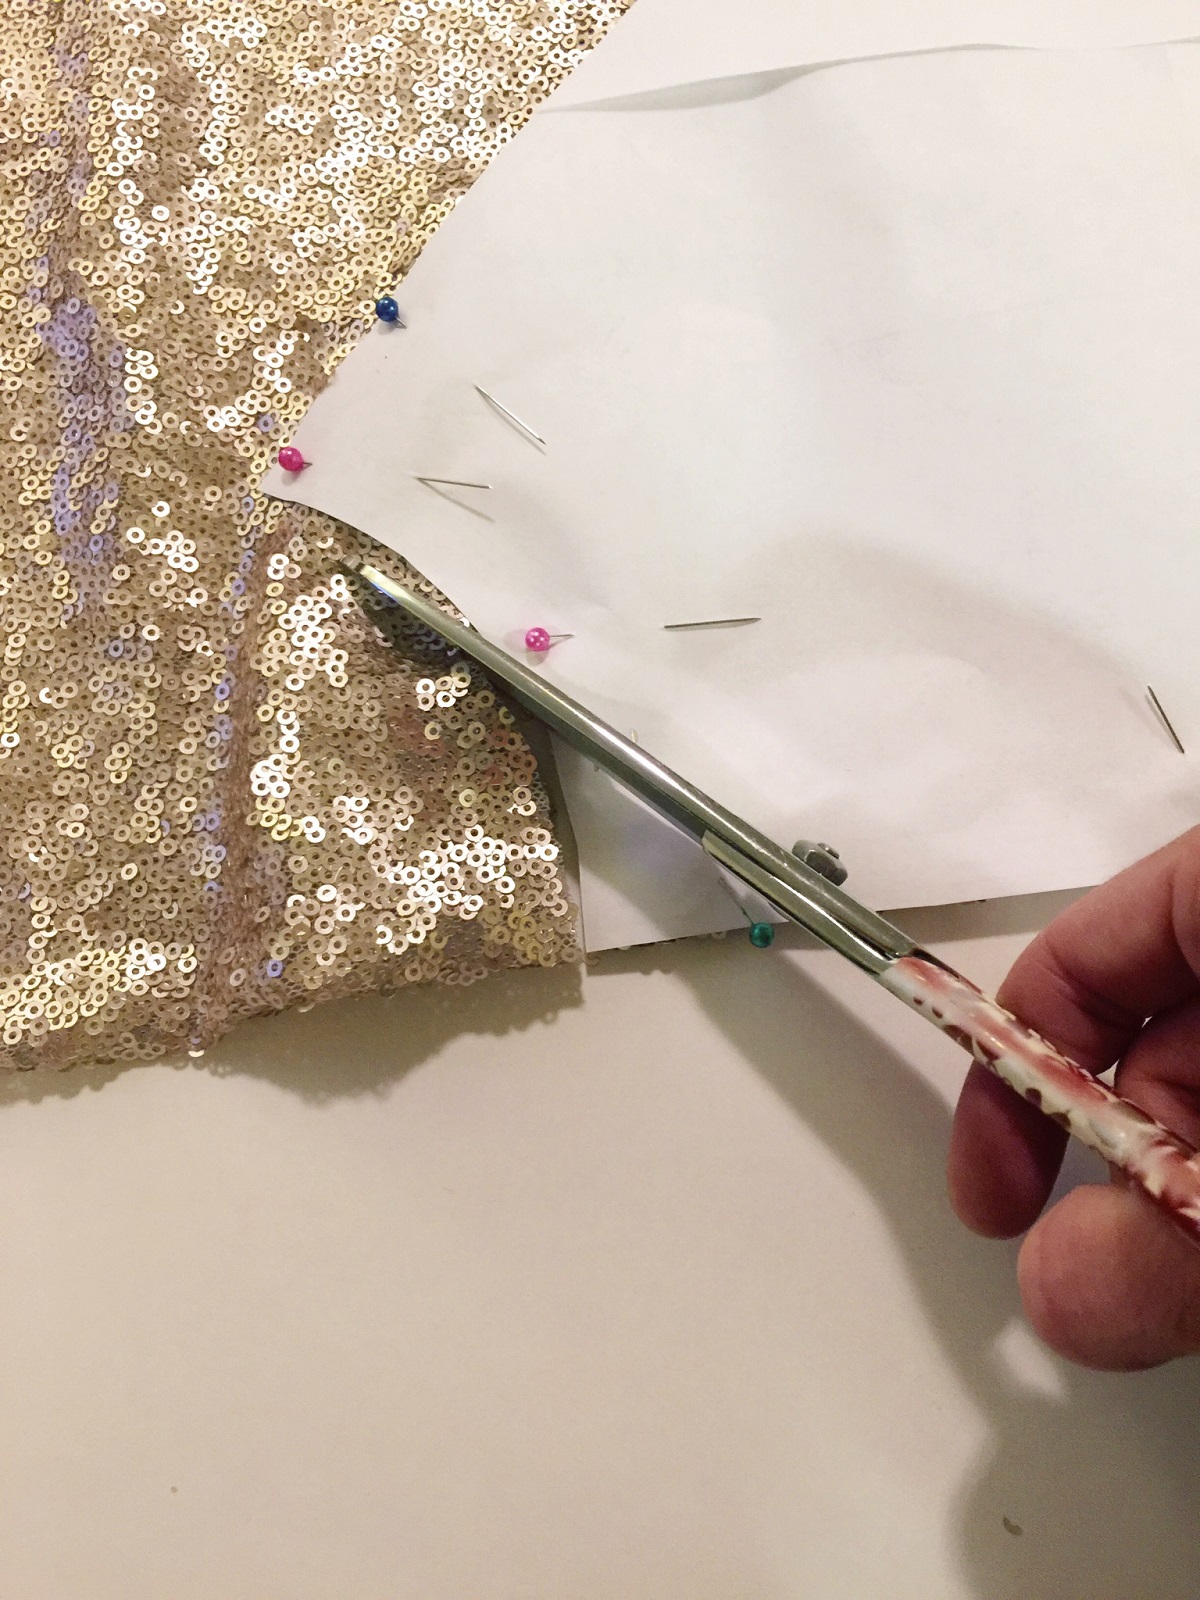
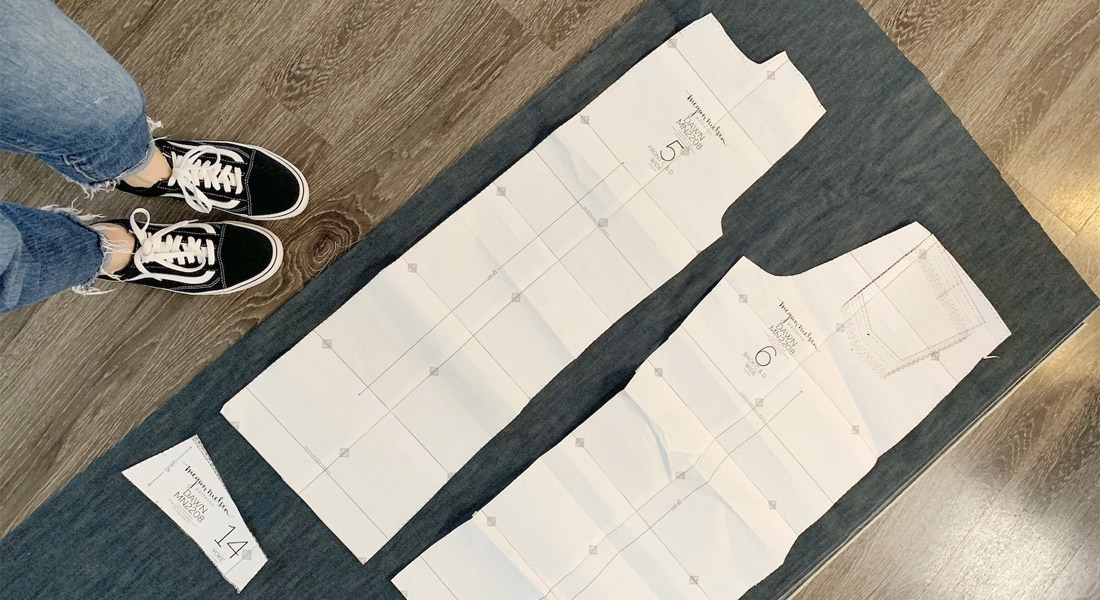
Step 2: If your pattern already has the seam allowance added to it, trace the amount of your seam allowance within the tracing you just made. If the seam allowance has not been added to your pattern, trace outside of the pattern with the added amount of seam allowance needed. I used this square piece of paper to act as my pattern. After I traced it, I added another 1/2″ around every edge. It should look like this:
Step 3: Cut your pattern piece out along the outer traced line.

Step 4: Using a hand sewing needle and contrasting thread, sew a running stitch around the inside traced line.

Step 5: Turn your fabric over so you are looking at the right side of the fabric (the sequined side), and begin removing the sequins in your seam allowance, outside of the contrasting thread. You can do this by unpicking the little threads holding the sequins onto the fabric running on the backside of the fabric, or you can unpick the sequins from the front side one by one, whatever is more efficient for you!

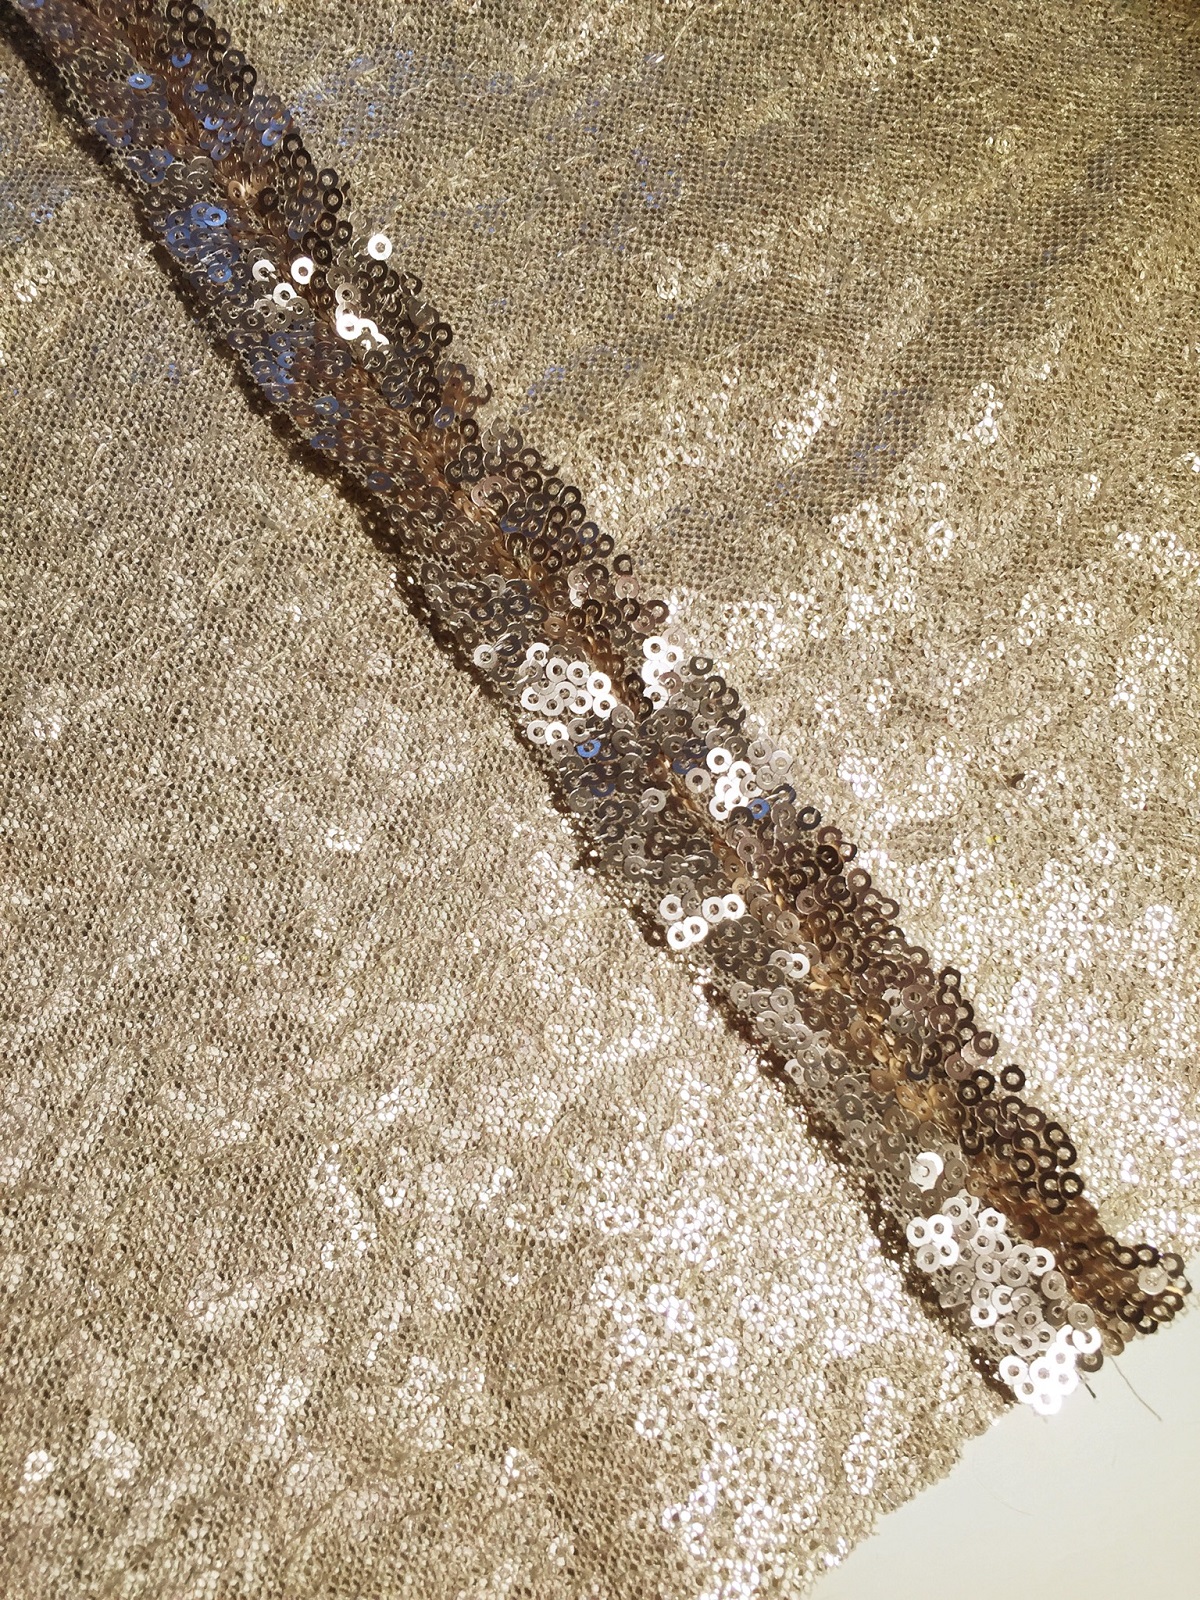
Step 6: Once you are finished removing all of the sequins, remove your running stitch contrasting thread, and your pattern piece should look like this:
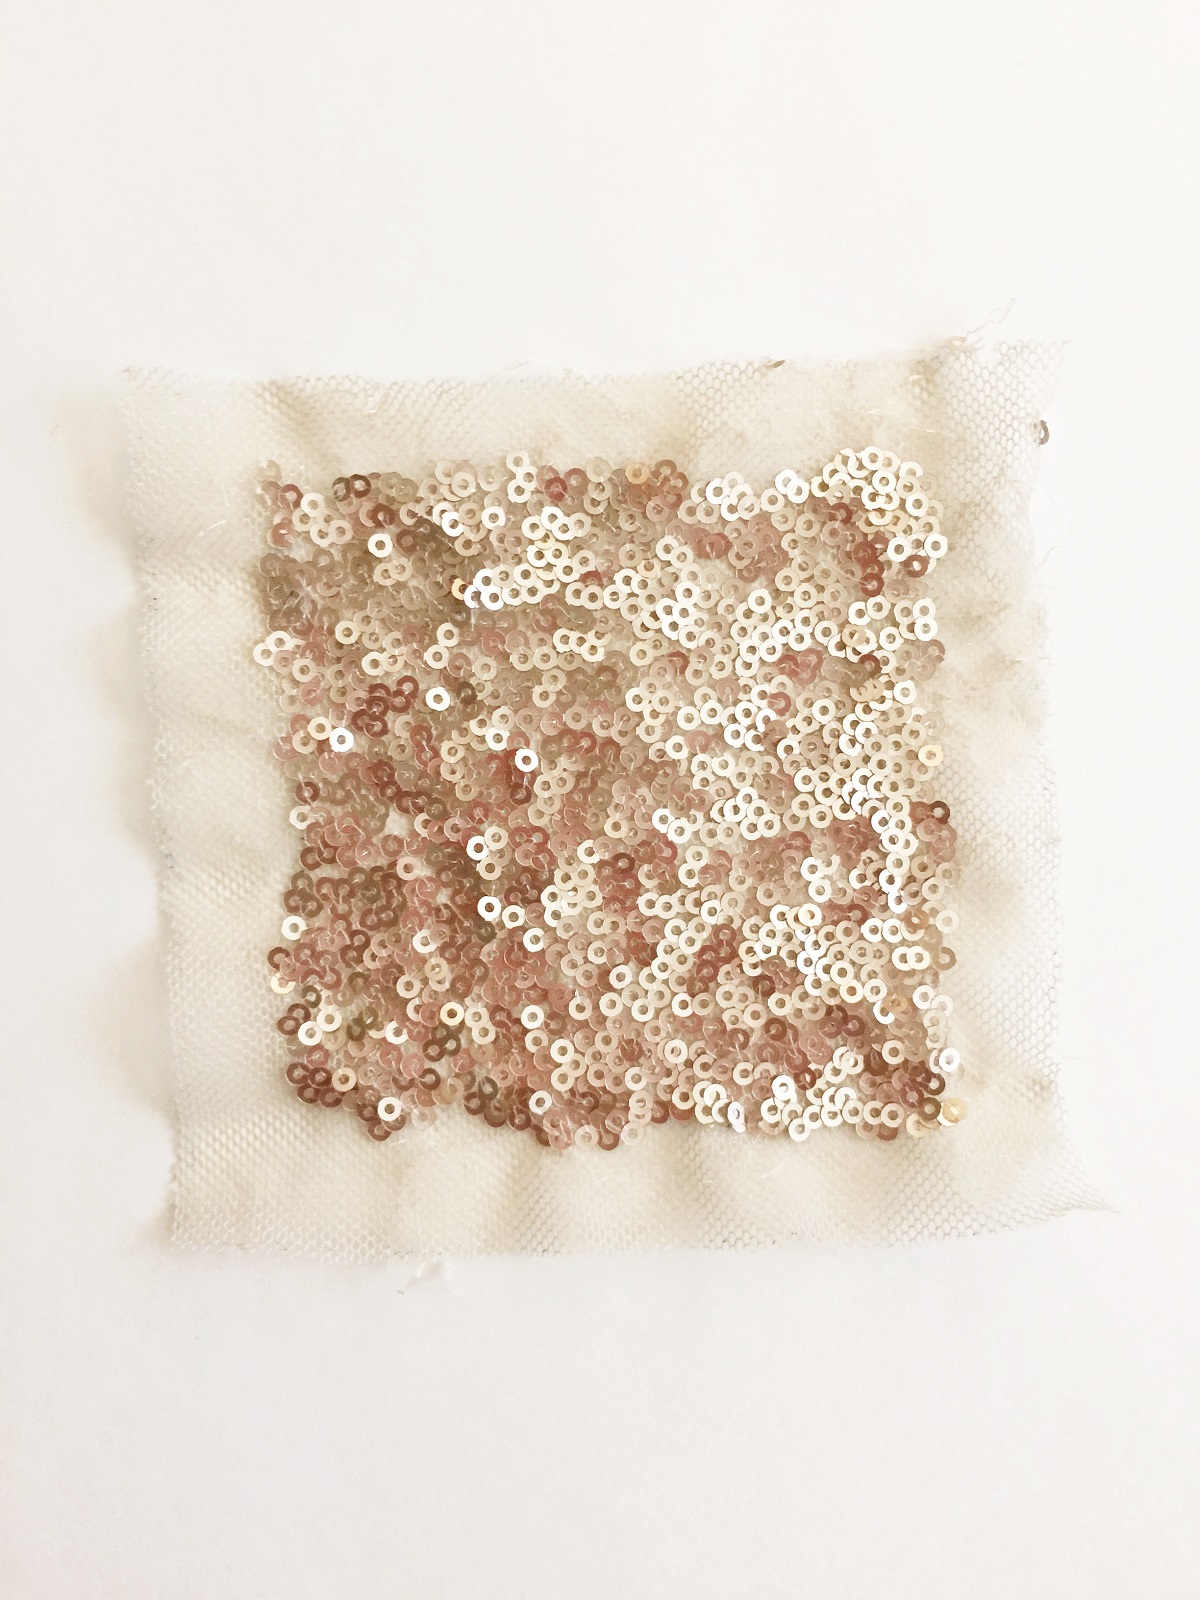
You can see the mesh outlining the sequins with a 1/2″ seam allowance.
Disclaimer: This method takes a lot of time, so keep this in mind when picking out your sequined fabric for your project. Once you have removed the sequins within the seam allowance for all of your pattern pieces, pin and sew your fabric as you normally would. If you find there are empty spots along your seam line after your pieces are sewn together, you can hand sew any missing sequins back in place using sequins from your scrap/extra fabric.
Now for the second tip, sewing with your sequins left in your seam allowance:
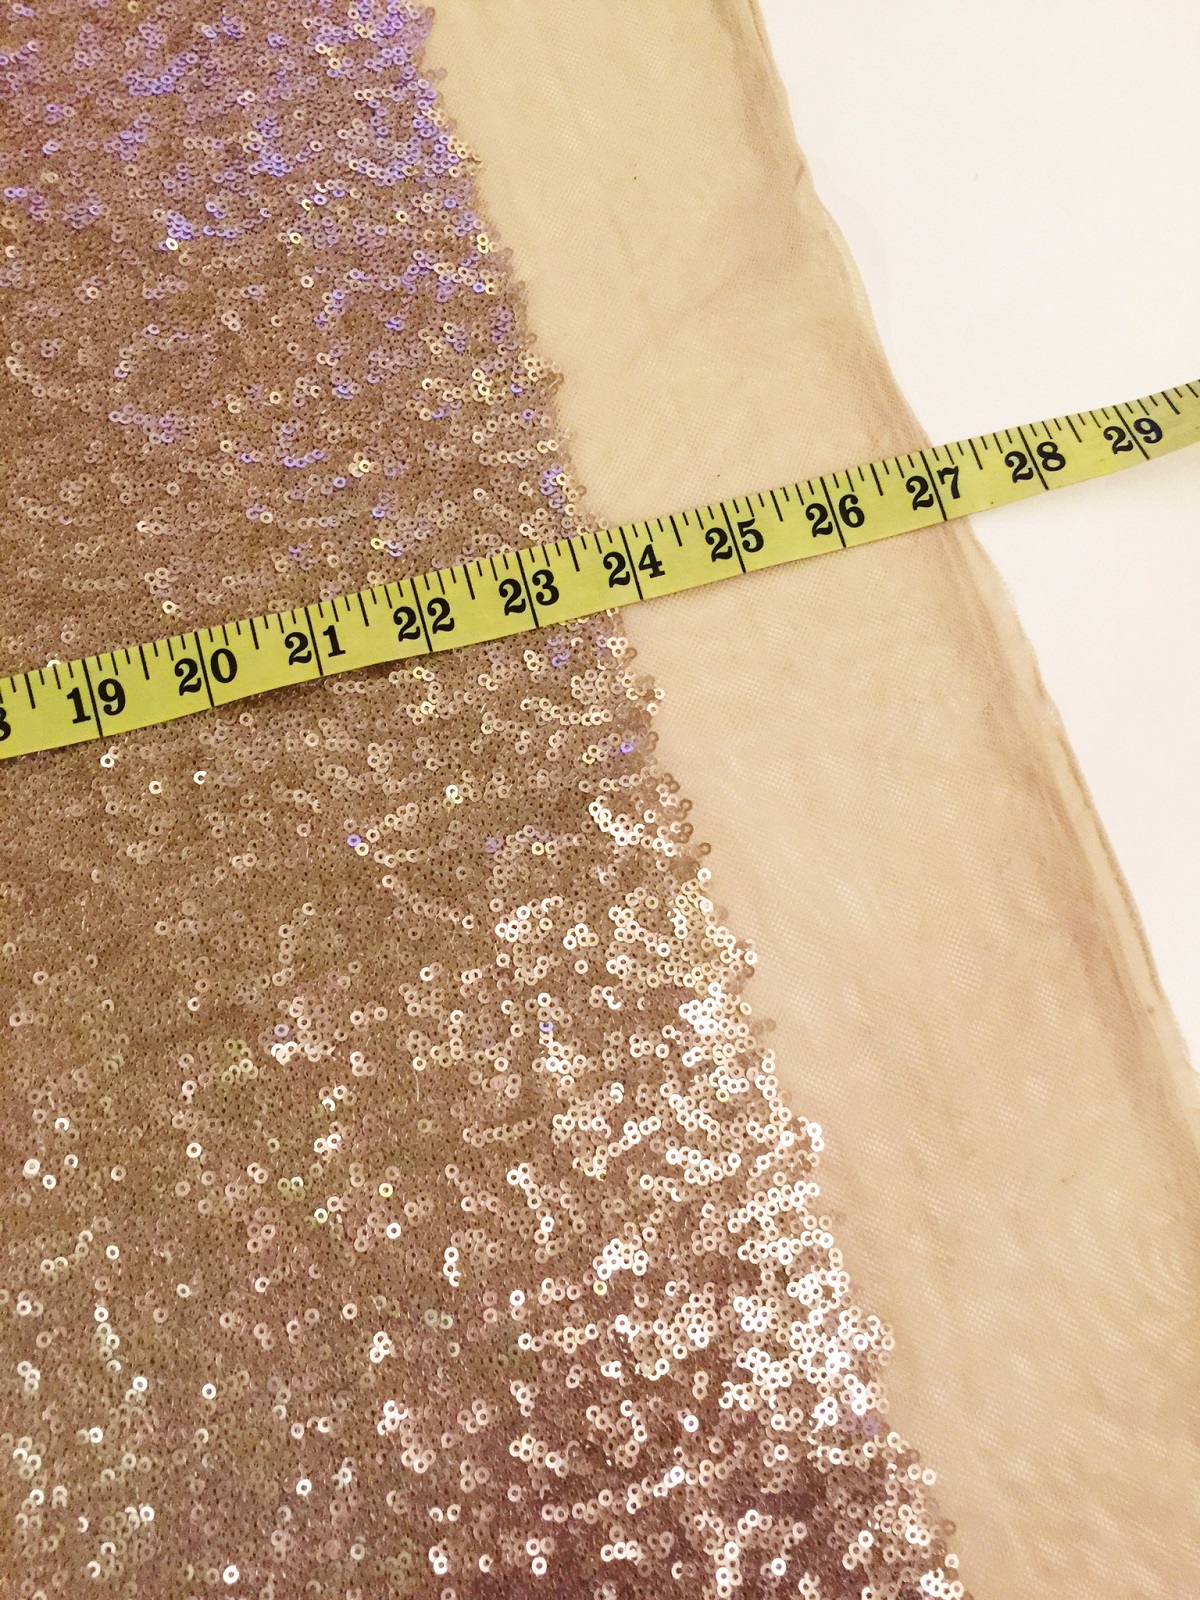
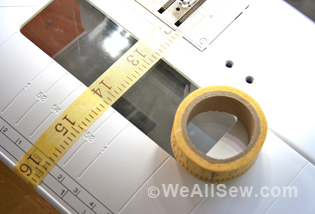
Step 1: First lay out your fabric, but instead of looking for the selvage edge, look for the edge that the sequins are attached too. Fold your fabric in half, and measure from this edge to the fold to make sure your fabric is lined up straight before pinning and cutting your pattern pieces.
Step 2: Place your patterns pieces along the fold, or doubled fabric as you normally would. Pin your pattern pieces to the fabric, using a few more pins than you usually would, and cut as you normally would.

Step 3: Sew your seam allowances right sides together as you normally would with regular fabric. Instead of pressing your seams open with an iron, you will need to finger press your seams open, smashing the sequins down to help the seam lay flat.
Step 4: Good news! There is no need to finish the raw edges of sequined fabric because each sequin is individually sewn on, so you don’t need to worry about them falling off, or your mesh raw edge unraveling.
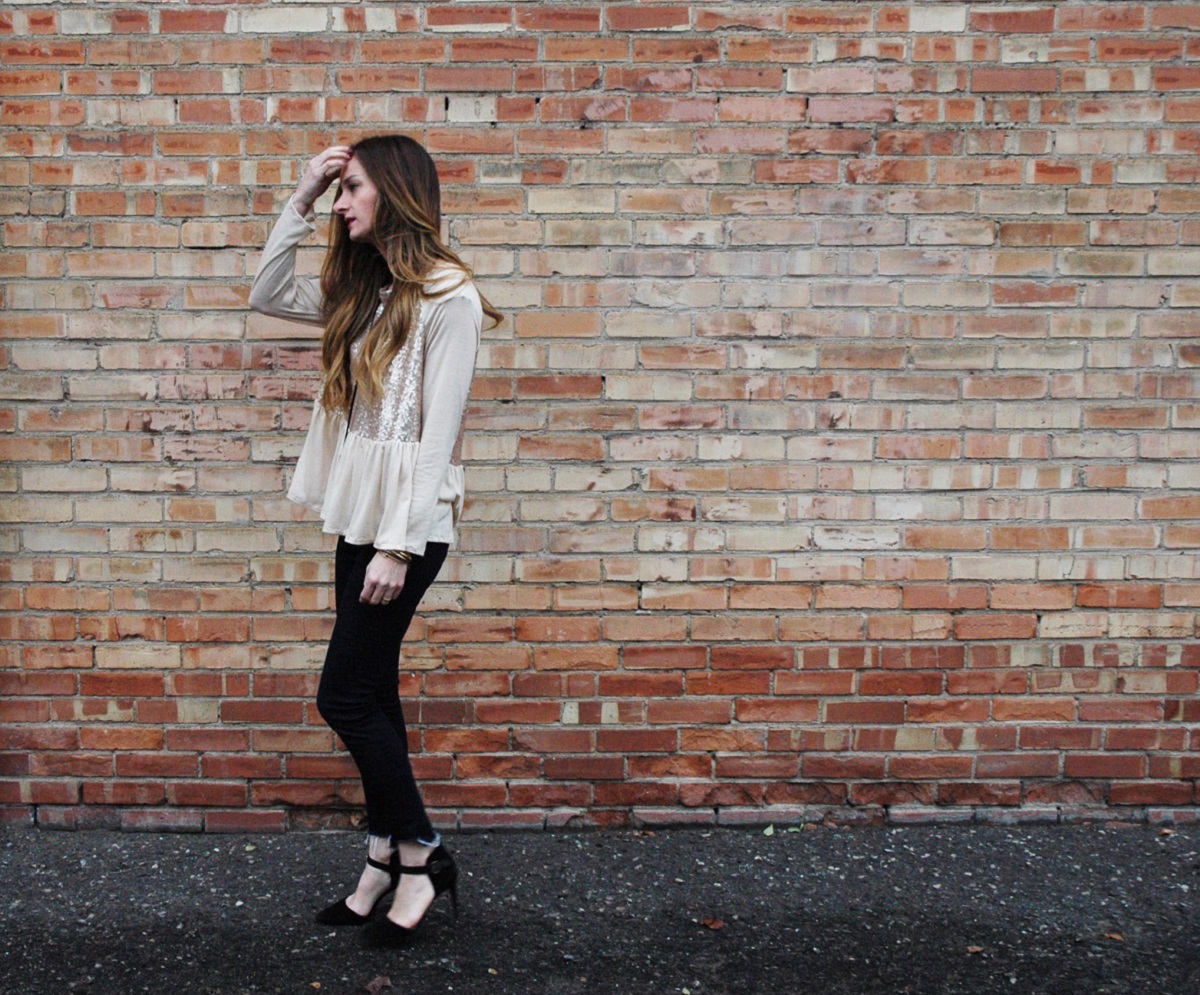
For my top pictured at the beginning and end of this post, I used a small sequined fabric and paired it with a sweater knit fabric (check the selection at your local BERNINA or fabric store, I got my fabrics from fabric.com) using the Marthe Blouse Pattern by Republique Du Chiffon. I decided to use the sweater knit fabric for the peplum and the raglan sleeves pattern pieces, and the sequin fabric for the bodice front and back pieces. I did not remove the sequins from my seam allowances. The sequined fabric I chose did not pose any issues with my needles or seam allowance bulk. I also omitted the invisible zipper to make sewing with sequins even simpler, (this blouse is easy to pull on and off by just slipping it over your head anyways!).
Now, go start planning your holiday outfit, and make sure to add some sparkle with sequins! Happy Holidays!
Our December 15 Gift for You:
A set of three BERNINA vinyl bags with zipper to store and/or transport sewing projects and tools.
All you have to do is post a comment below answering the following question:
Are you dressing up the for holiday celebrations this year?
A winner will be chosen at random on December 16, 2016 and announced the following week!
Good luck!
The contest is open for comments until December 15 at 12:00 midnight Central Time. Click here for contest rules.
Congratulations to our WeAllSew reader “annw,” the winner of our December 15th gift. Enjoy!


What you might also like


71 comments on “Tips for Sewing With Sequins”
-
-
Dressing up in winter clothes to stay warm outside to see fireworks at Copper Ski resort. Nothing like out door fireworks in the mountains – the sound vibrates off all the mountains!
-
A couple of dress up events planned.
-
-
I’m going to get dressed up this evening for a Christmas party at my church. It’s always a fun time and good food, and people are dressed in their holiday best!
-
Not dressing up/Just plan to dress warm to play with grand kids
-
No. We do casual. Just bought a new sweater.
-
I’m not really dressing up, but at family gatherings I’ll be wearing casual holiday clothes – such as Christmas sweaters, Christmas socks, Christmas earrings & pins.
-
Of course! Sweaters with sparkles in festive colors!
-
Almost all of my family is away this year, so we won’t have a formal gathering. We will dress semi-casual at our small gathering this year.
-
Unfortunately, we do not have any work or pleasure holiday parties lined up this year. Dressing up will consist of Christmas jammies, Christmas slippers, and our reindeer headbands for our family Christmas celebration.
-
Family voted for casual a long time ago. It is a time to relax and enjoy.
-
I was afraid to use sequined material – now not so! Thanks for this tutorial!
-
For one party, I shall go Christmassy. Otherwise just bright colors.
-
Nothing fancy this year! Just some Christmas themed shirts and socks.
-
This was useful, thanks! We’re doing the full-on Christmas Sweater thing.
-
We are dressing casual for Christmas and New Years Eve.
-
I am not dressing up either. Living in Montana just about anything goes as far as dressing up or down. I will wear some of my many Christmas earrings, Christmas socks and I have a few Christmas sweaters to wear. Nothing fancy like your sequinned beautiful top.
-
I did buy a new dress this holiday but it’s far from a party dress! No sequins at all!
-
Yes! The holidays are made for bling!
-
We’ve already had our dance Christmas parties and yes, we dressed up, but no sequins. I did have gold threads running through the fabric of my skirt though. Our square dance club is also having a New Year’s Eve party and we will also be dressing up for that – still no sequins, but thanks for the information, in case I decide to do something with sequins at a later date.
-
Of course! For Christmas Eve we bring on the bling! For New Year’s Eve we bring on the ski clothes!
-
All of our Christmas parties are festive, but casual. Christmas sweaters, socks, and embroidered corduroys are as fancy as it gets!
-
All dressed up…but no place to go. 🙁
-
I will probably dress up for our office party. I have a few shirts that I will wear throughout the season.
-
Unfortunately…..we have no plans that would involve getting all spruced up. We will dress up for Christmas Eve mass and Christmas Day at home. Thanks for the bag offer.
-
Yes, I’m giving a party on Monday for Solstice and I will be dressing up for that one plus another Holiday Party,
-
Dressing up in winter clothes to stay warm outside to see fireworks at Copper Ski resort. Nothing like out door fireworks in the mountains – the sound vibrates off all the mountains
-
Mostly casual. But for the special family get-together we all dress up.
-
No fancy dressing up, just casual red sweaters and Christmassy theme shirts for me.
-
Thanks for the tips on sewing with sequins. We like to wear bright colors to our small parties.
-
Not this year!
-
Thanks for all of the great info! I won’t be dressing up maybe a red vest that I made last year but if I had time this would be a fun top to have ! Thanks for the chance to play : )
-
Just had my final “dress up ” party for the season last night!
-
Nope, no parties very low key Christmas this year.
-
Yes, one big occasion for Dec.23rd. Our 50th wedding anniversary!! What a wonderful journey.
-
My minister is having an open house Christmas party, so I may dress up, but not formal.
-
Loved the blouse, especially the style and using only a small amount of sequined fabric set it off and was very stylish. Think I might try this one.
I love having either Christmas Eve or Christmas Day on a Sunday. I’ll wear my usual red dress to church on Sunday. This is the very first year we will have none of our 7 children or 15 1/3 grandchildren present on Christmas Day. Moving into a new stage of life I think. However, were they here it would be casual. I have a fun red sparkly sweater (not Christmas design) though that I would probably wear for our family party (which will, incidentally be held on Dec 31 when all of the kids are back in town). So no worries, we’ll have family for the holidays–just later than usual!! -
We dress up with wearing a new Christmas outfit. .
-
We are casual! Thank you .
-
I have a fun white sequined sweater that I pull out for the holidays.
-
Would love to wear some sequins on New Year’s Eve this year!
-
No, we have a very casual Christmas, blue jeans and sweaters worn by everyone. Love the tips on sewing with sequins as I have always avoided them.
-
We keep our holiday celebrations fairly casual.
-
Just my Christmas sweater over jeans. No fancy parties to attend. Maybe a sparkly top over black pants if we go out for New Years.
-
No! Quiet times at home with the kiddos in Christmas PJs are planned!
-
nothing planned so far
-
Mostly dress is casual. But I do wear holiday sweater or holiday jewelry.
-
I live in a very casual town…dress up means real pants not pj pants!
-
No I’m afraid not. This will be a very sad Christmas, so none of the usual celebrations this year.
-
‘Casual” is the word used at my house for all Christmas festivities at my house. Christmas eve dinner = casual; Christmas morning = pj’s; Christmas day itself = casual. We only dress up for our Church’s Christmas dinner.
-
Our parties are totally casual, yet I’ll put a little bling somewhere!
-
We’re going to a party on the 20th. and we will dress up.
-
We are celebrating in northern MN. It may be 20 below. Layers and layers.
-
We have my cousins and family over for Christmas dinner. We get out the China and put on our “Sunday Best” – just as we remember doing when we were kids growing up togethrr.
-
Well people might not call it dressing up. Christmas is the time I get to bring out my Norwegian Sweaters. They can be worn with skirts, slack and even jeans. Wouldn’t be the Holidays without wearing my sweaters.
P. S. I live in Arizona and the sweaters are wool so December is about the only time we can wear these. It was 78 degrees today. -
This is so pretty!! Great tips!! We are dressing up for disneyland next week and church on christmas but thats about it.
-
My activities are all casual. I do enjoy wearing red especially at Christmas.
-
I try to find something in the holiday season for an excuse to dress up a little. This top is so cute and the directions pretty straight forward….I may have to give it a try.
-
Our holiday celebrations are casual. Looking for a new sweater.
-
Love the idea of sewing with sequins! Have often thought of it, this gives the information! May dress up a bit but the weather here in Chicago area is freezing!! And more snow on the way!! Yeah love snow!!
-
No dressing up here, just casual clothing. 🙂
-
We will be casual this year. Not a big gathering so no fuss.
-
Is “business casual” getting dressed up? That’s usually my go-to look when I go out. Thanks for the giveaway.
-
Great tutorial. Thinking of making a sexy little sequinned dress. ?
-
Christmas, New Year and wedding anniversary have all passed. I did dress up for 2 out of 3. I have some further advice about sewing sequins. 1. In the past I used fabric that had the sequins sewn on with a chain stitch so examine the fabric carefully to see if the sequins are sewn individually before starting to remove them.
2. Your garment will be much more comfortable to wear if the sequins are removed from the seam allowances or if the garment is lined. -
Absolutely going to dress festively for the Holiday Season. More casual for Thanksgiving with a touch of bling. Dressier for holiday parties and Christmas performances. With this sequine tutorial and my Bernina 790, it’s easier to create bling on new garments and to redesign well-loved garments, from tops to coverups, even to the sides of pants.
-
My anniversary is Dec. 16 (wouldn’t a gift for me be nice?) so we don’t generally celebrate any more than that. I live in a small mountain town (but a ski resort) so things are casual here anyway. My kids live far away and I’m in Colorado.
-
Everything this year is low key and casual. No dress-up required.
-
Looking for a silly Christmas sweater to wear for our Christmas celebrations!
-
We are wearing our casual wear.
-
Yes, we dress up and attend church services.
Leave a Reply
You must be logged in to post a comment.

No big dress up parties planned!