Tips for Choosing a Sewing Pattern
Hey everyone! Sara of The Sara Project here. I’m so excited to take it back to basics with this post, and share some of my favorite tips for first finding a sewing pattern, and second using it properly! I love pairing the perfect pattern and fabric combinations, and using the resources of the pattern itself to create gorgeous handmade garments. We will discuss where to look for patterns, and everything you need to know about using sewing patterns! Let’s jump right in!
Where to find a pattern
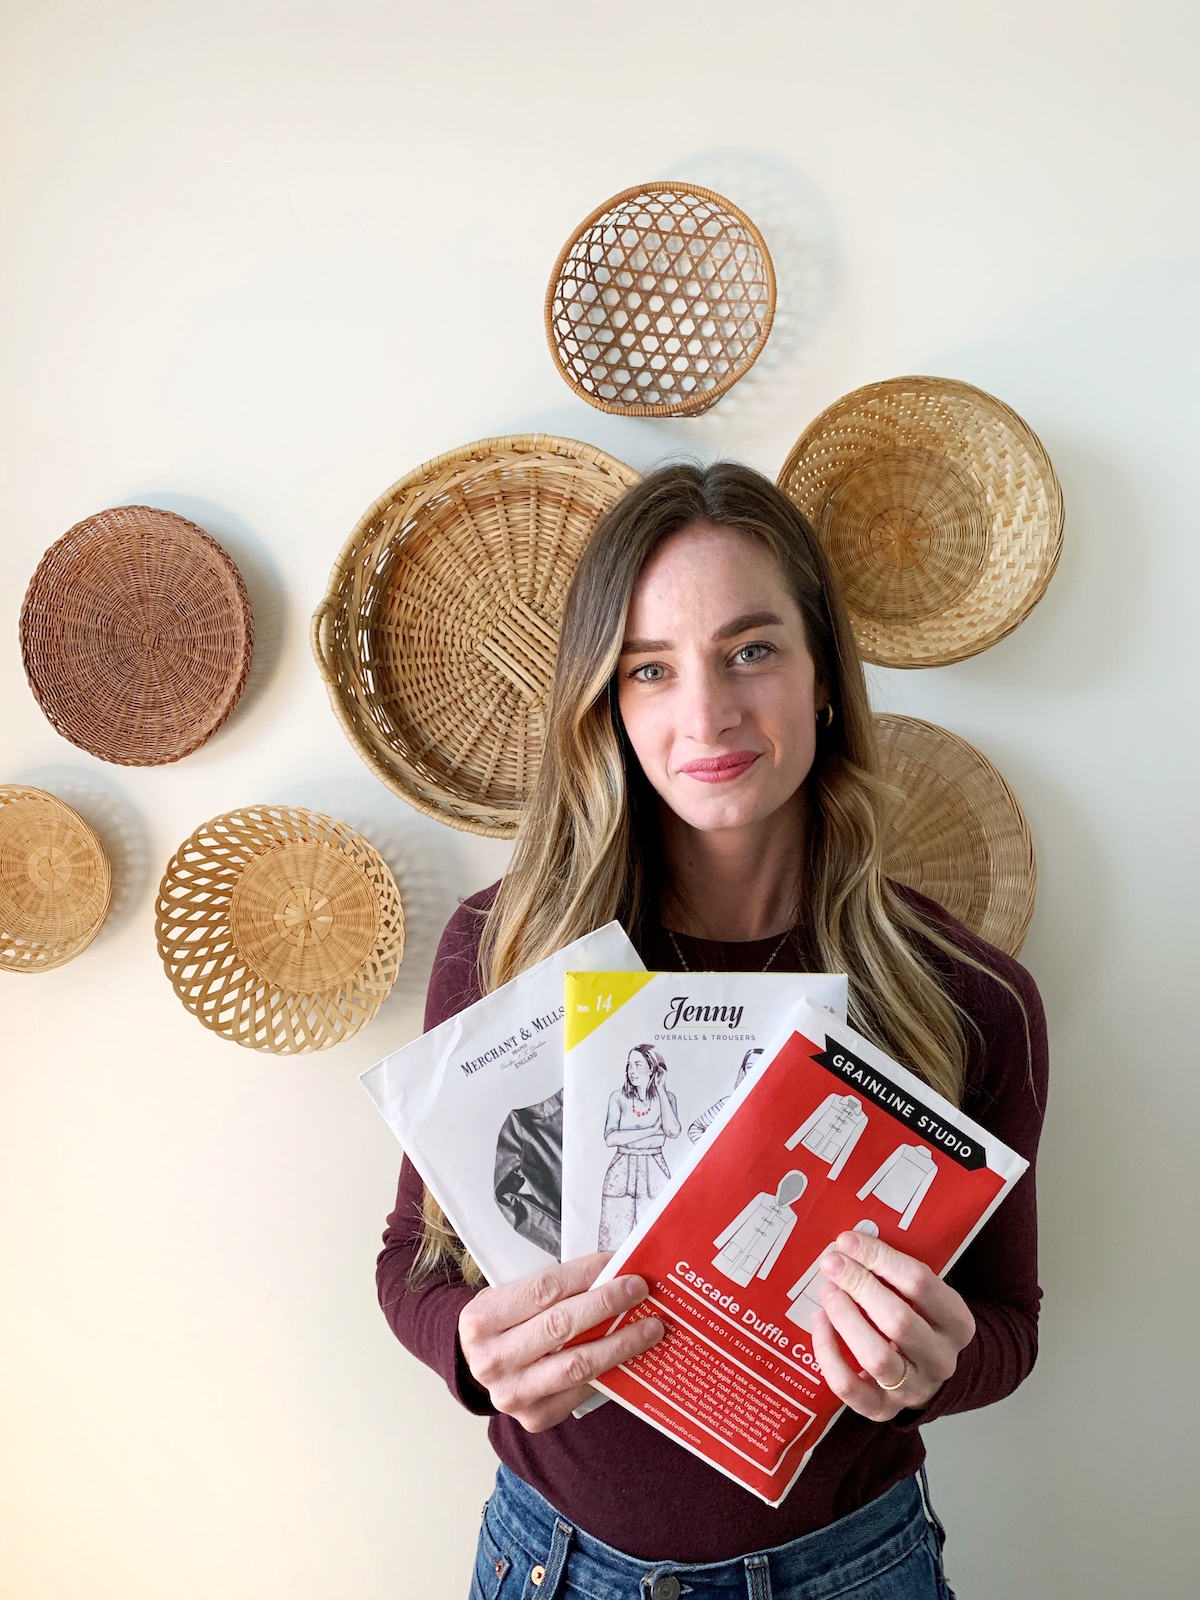
Whenever I’m looking for a certain pattern, I always go to thefoldline.com. They have an amazing pattern database with a search engine that helps you find patterns by garment type, fabric type, new releases, designer, sewing level and more! I love The Fold Line because they share everything from big four patterns (Simplicity, McCall’s, etc.) to independent pattern designers you’ve never heard of before. It’s such a great resource and a one stop shop for pattern searching!
PDF Pattern vs. Paper Pattern
So you’ve found your pattern, now what? Most patterns come with two options for purchase, either a paper pattern or a PDF printable pattern. Depending on your personal preference, both are great options. If I’m using a paper pattern, I will usually trace the size I need so I can preserve the original pattern if I need a different size in the future. If I’m using a PDF pattern, (most common choice for me), I’ll print it out, tape it together and just cut out the size I need since I can always print it out again if I need a different size in the future. You can decide what option is best for you. I personally prefer PDF pattern because I can buy them right when I need them, and begin my project the same day.
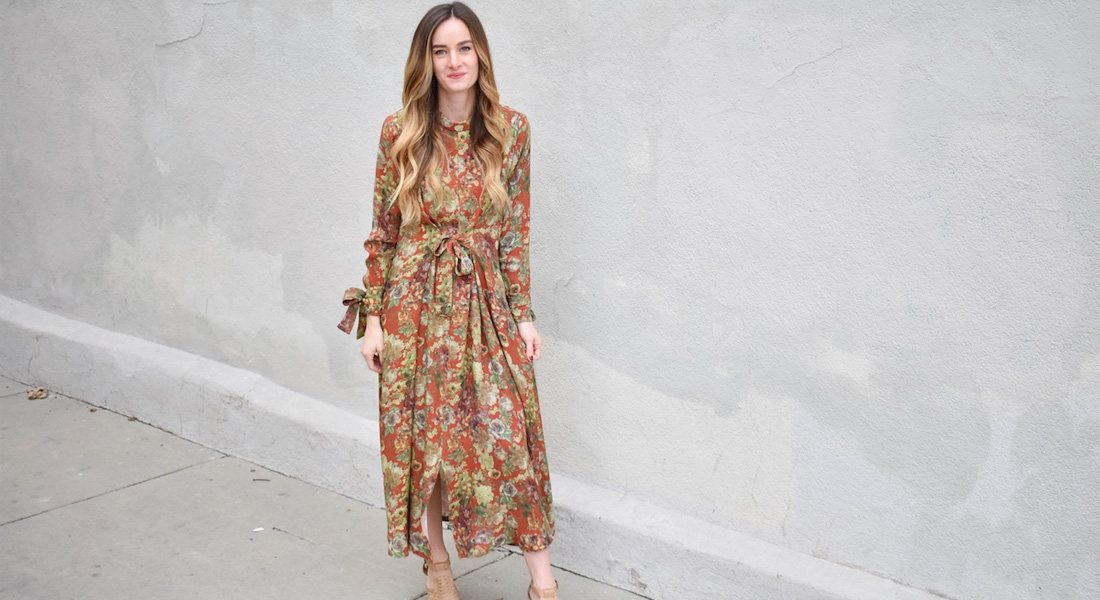
How to Measure Yourself to Find the Right Measurements Listed on the Pattern
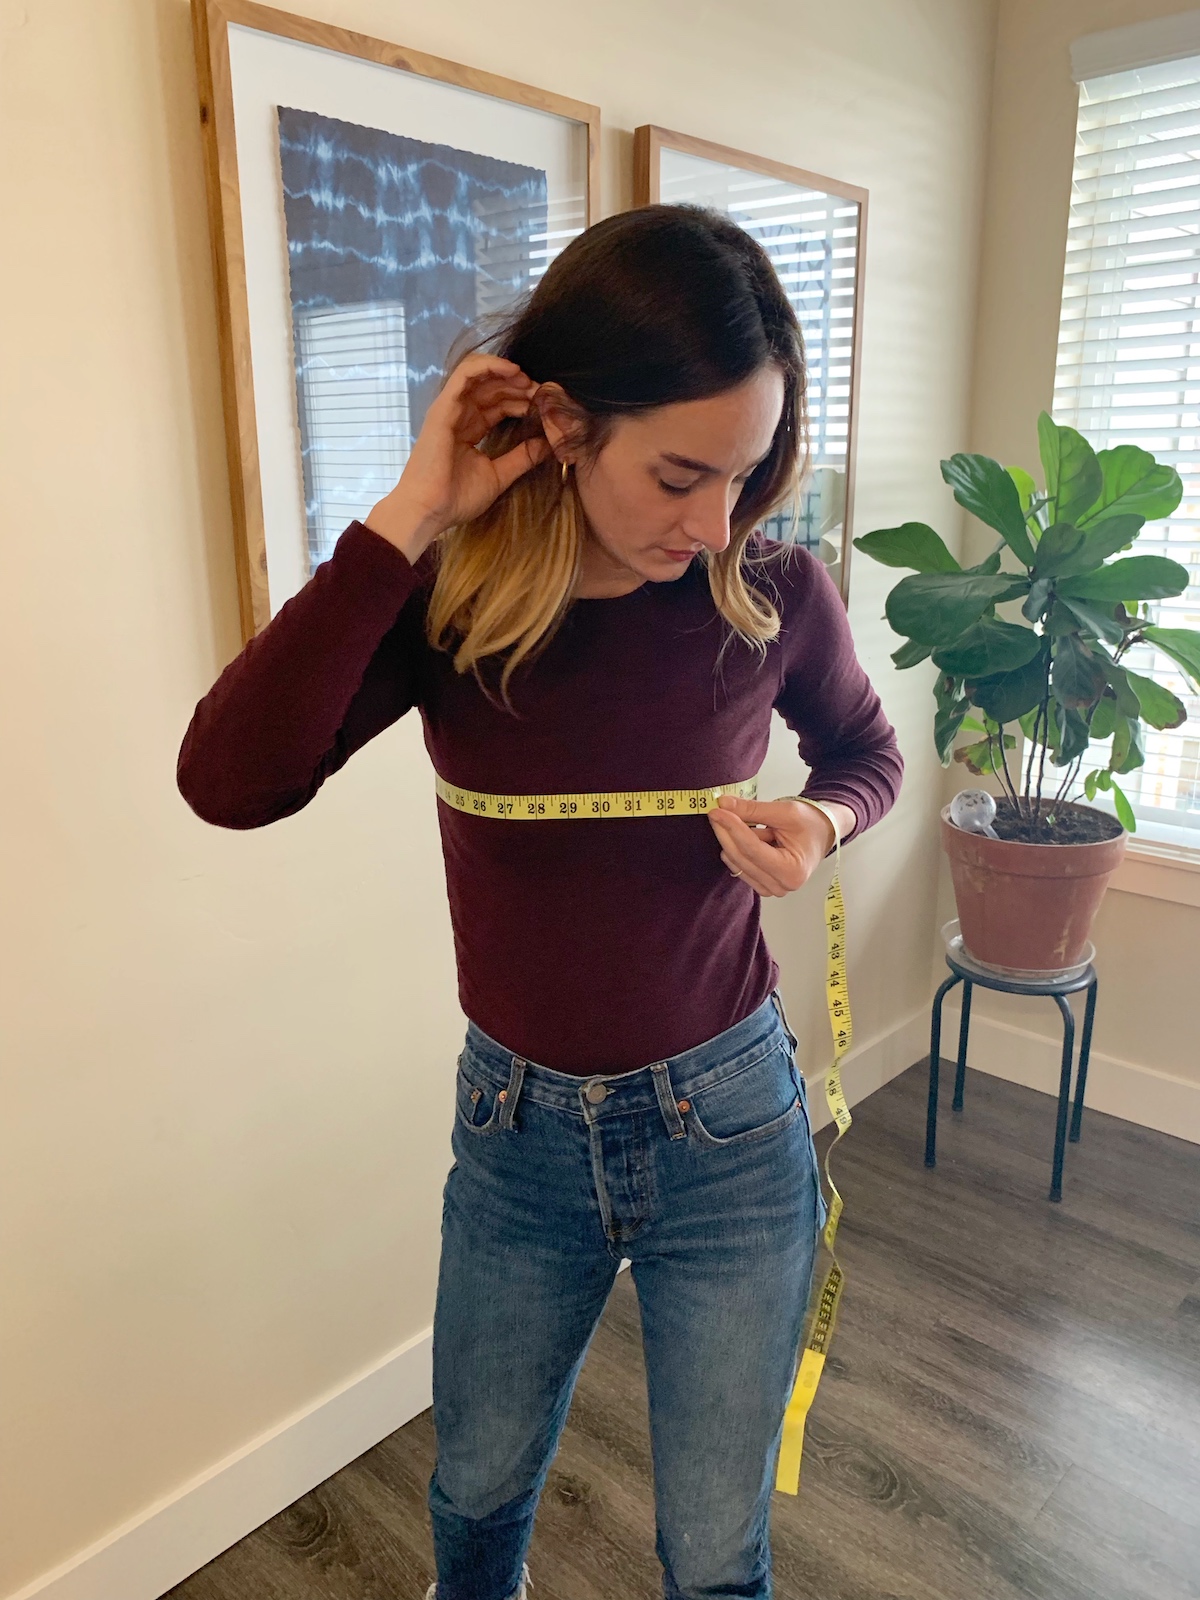
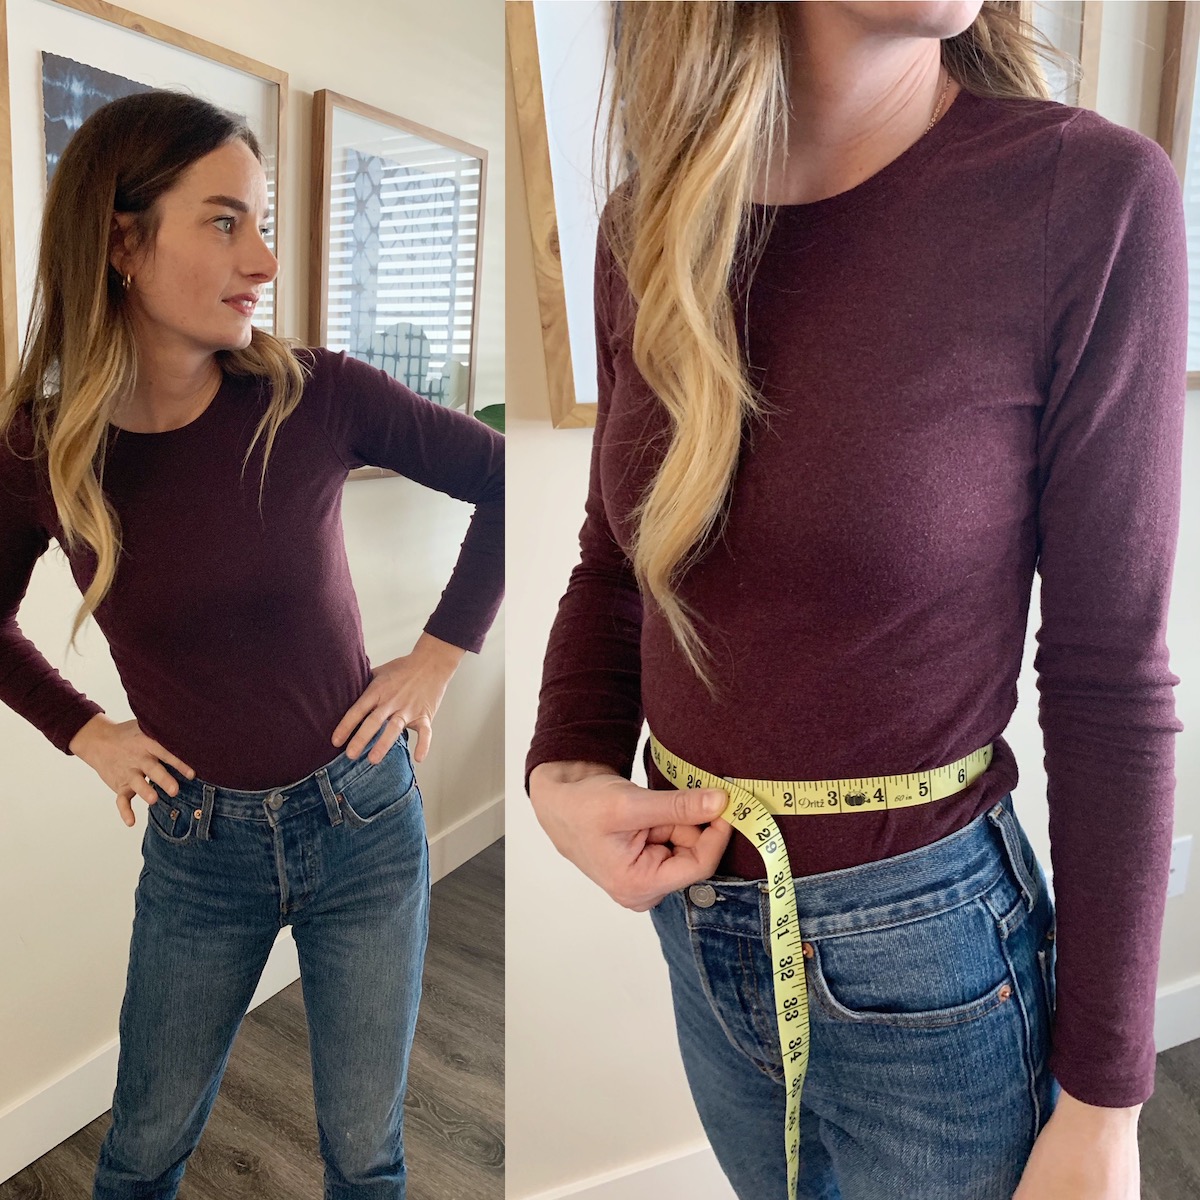
Okay so now you’ve got your pattern and you’re ready to begin your project! The first thing you need to do is figure out what size will work best for your body. In order to know this you will need to take a few basic measurements of yourself. It’s important to measure correctly so your garment will fit you properly! It’s best to wear fitted clothing to get more accurate measurements. I’ll take you through all your basic measurements and what they should look like.
Upper Bust: this measurement takes place around your rib cage right above your bust.
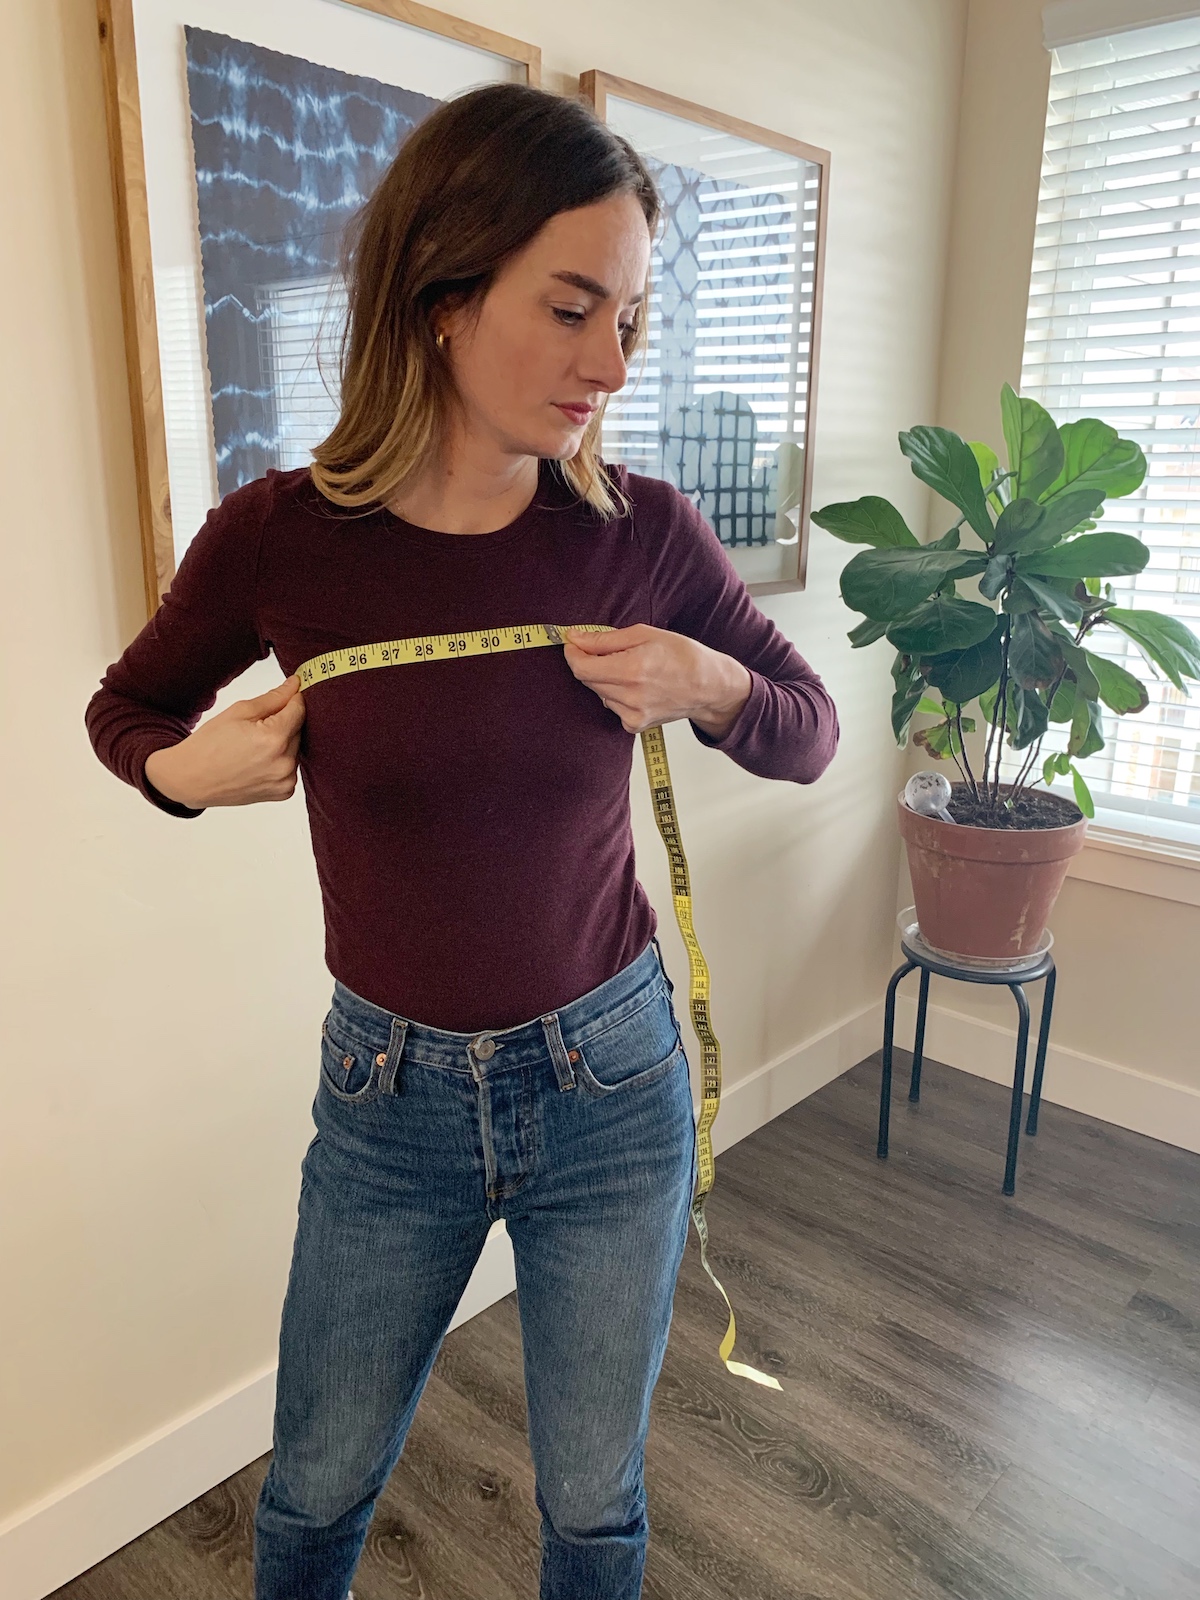
Bust: this measurement takes place around the fullest part of your bust.
Waist: put both of your hands on your waist and bend from side to side to find your true waist, you’ll want to measure here.
Hips: this measurement takes place around the fullest part of your backside.
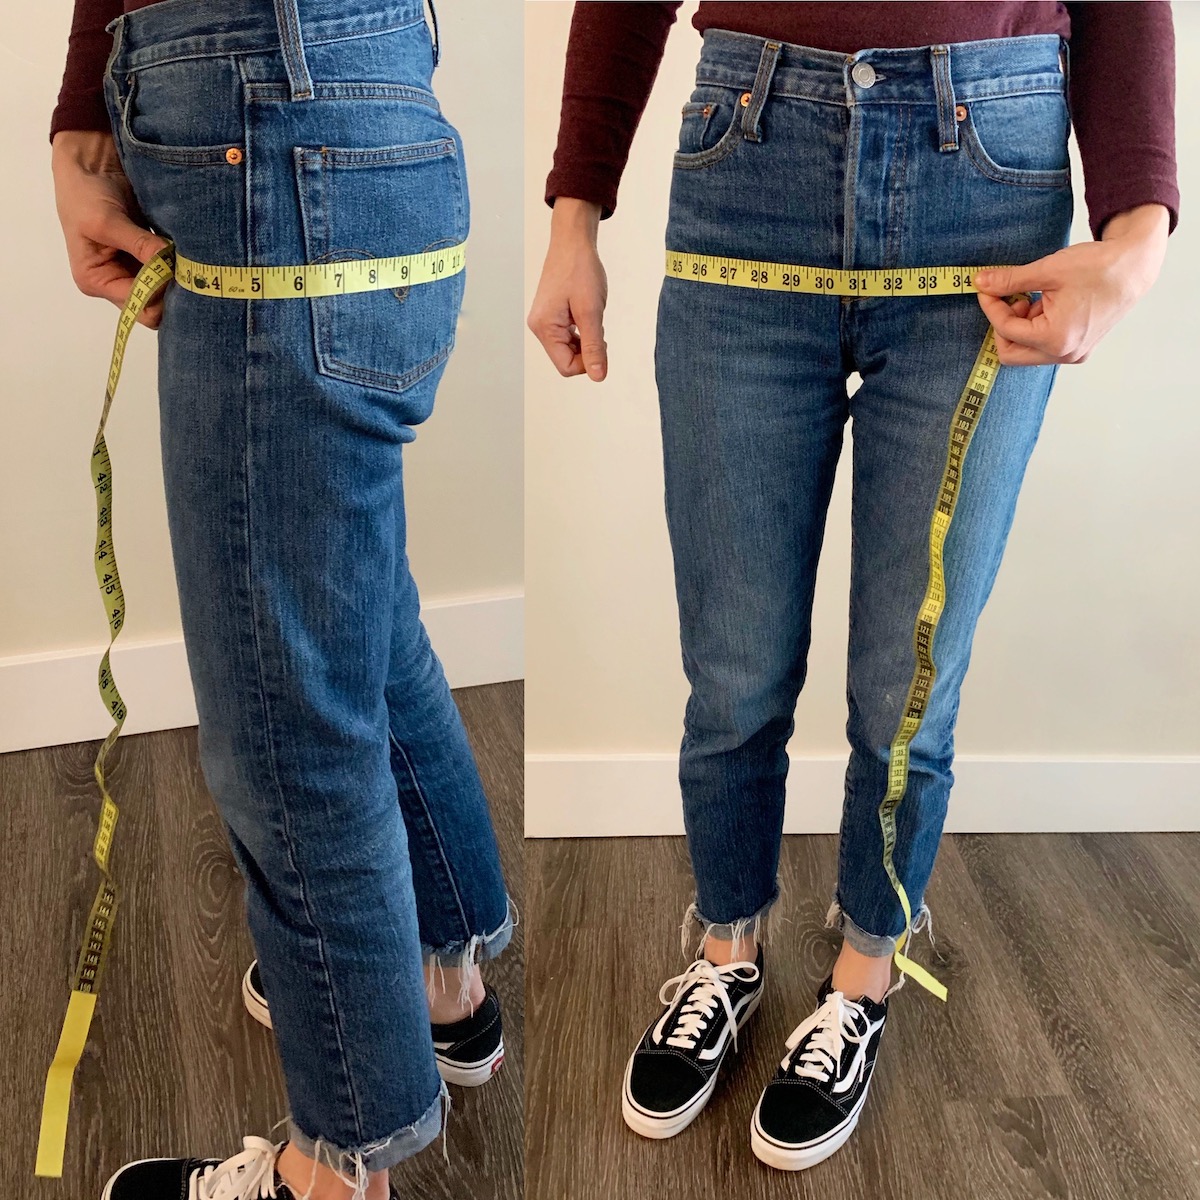
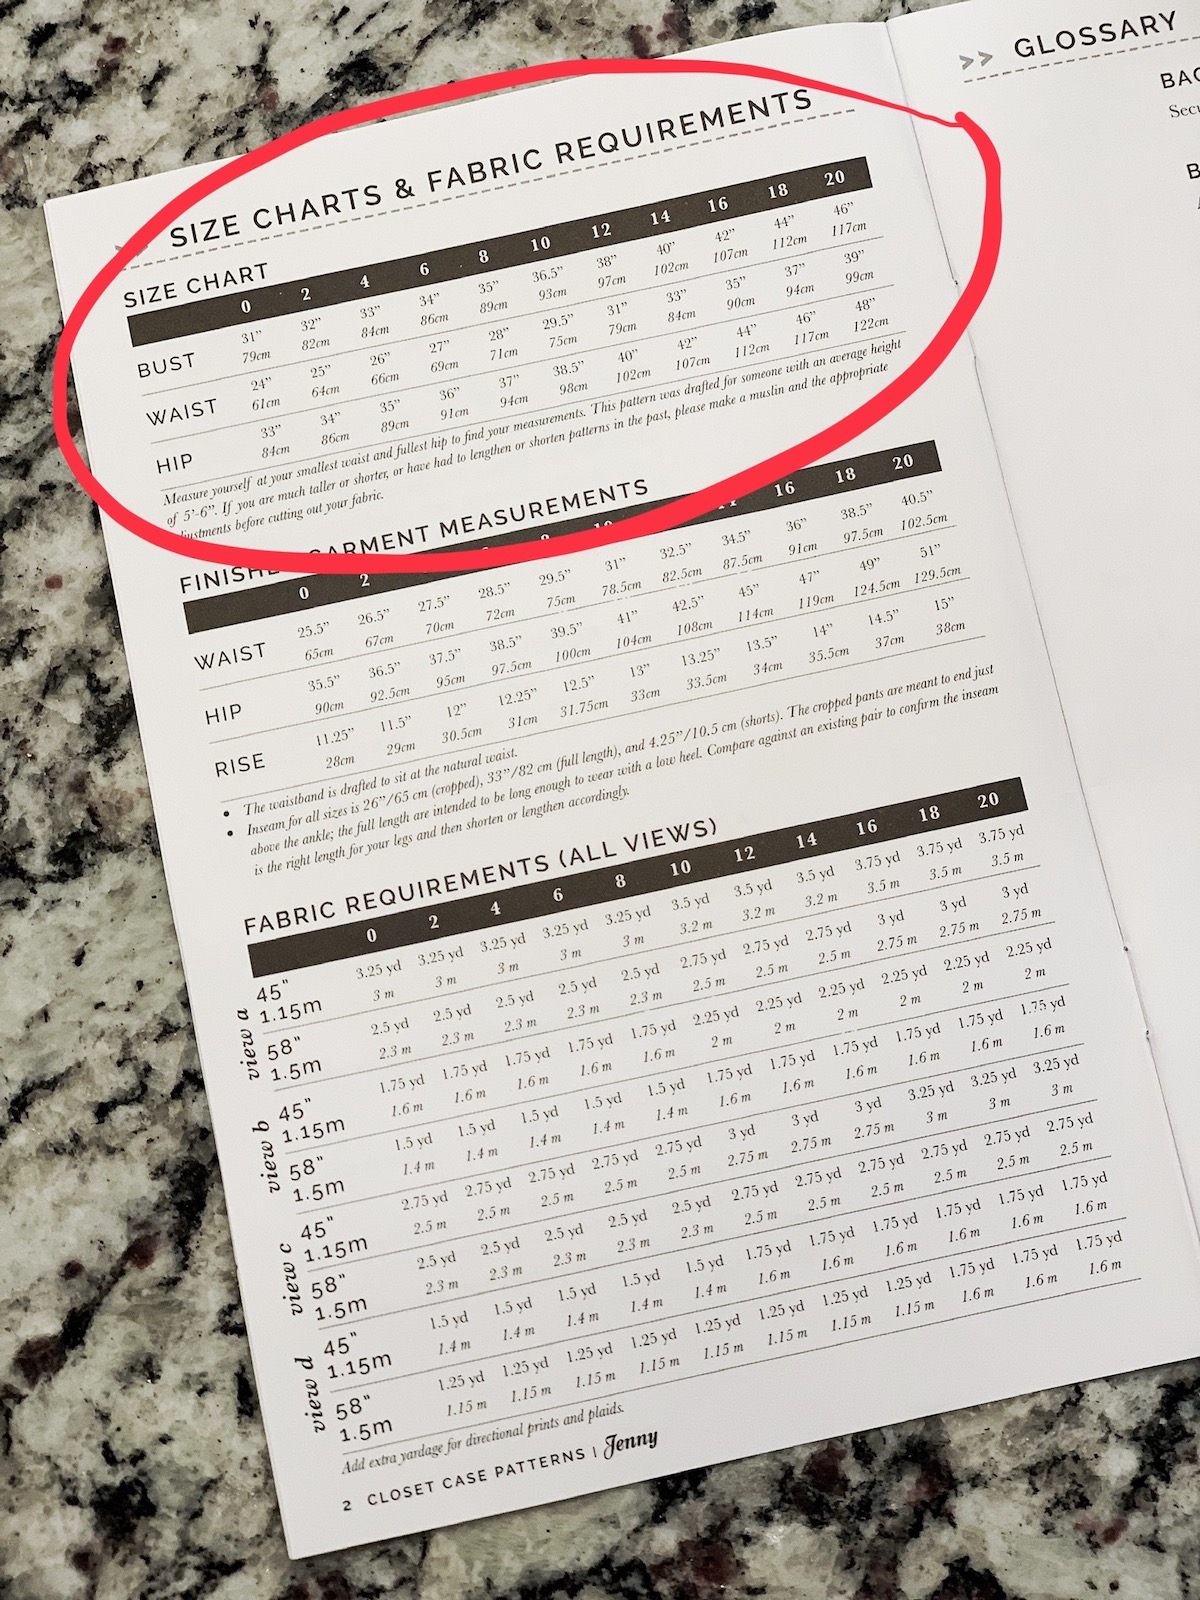
Write each measurement down and keep these notes as a reference for future projects. All patterns have a size chart to help you pinpoint the best size for you.
Pay Attention to Finished Garment Measurements
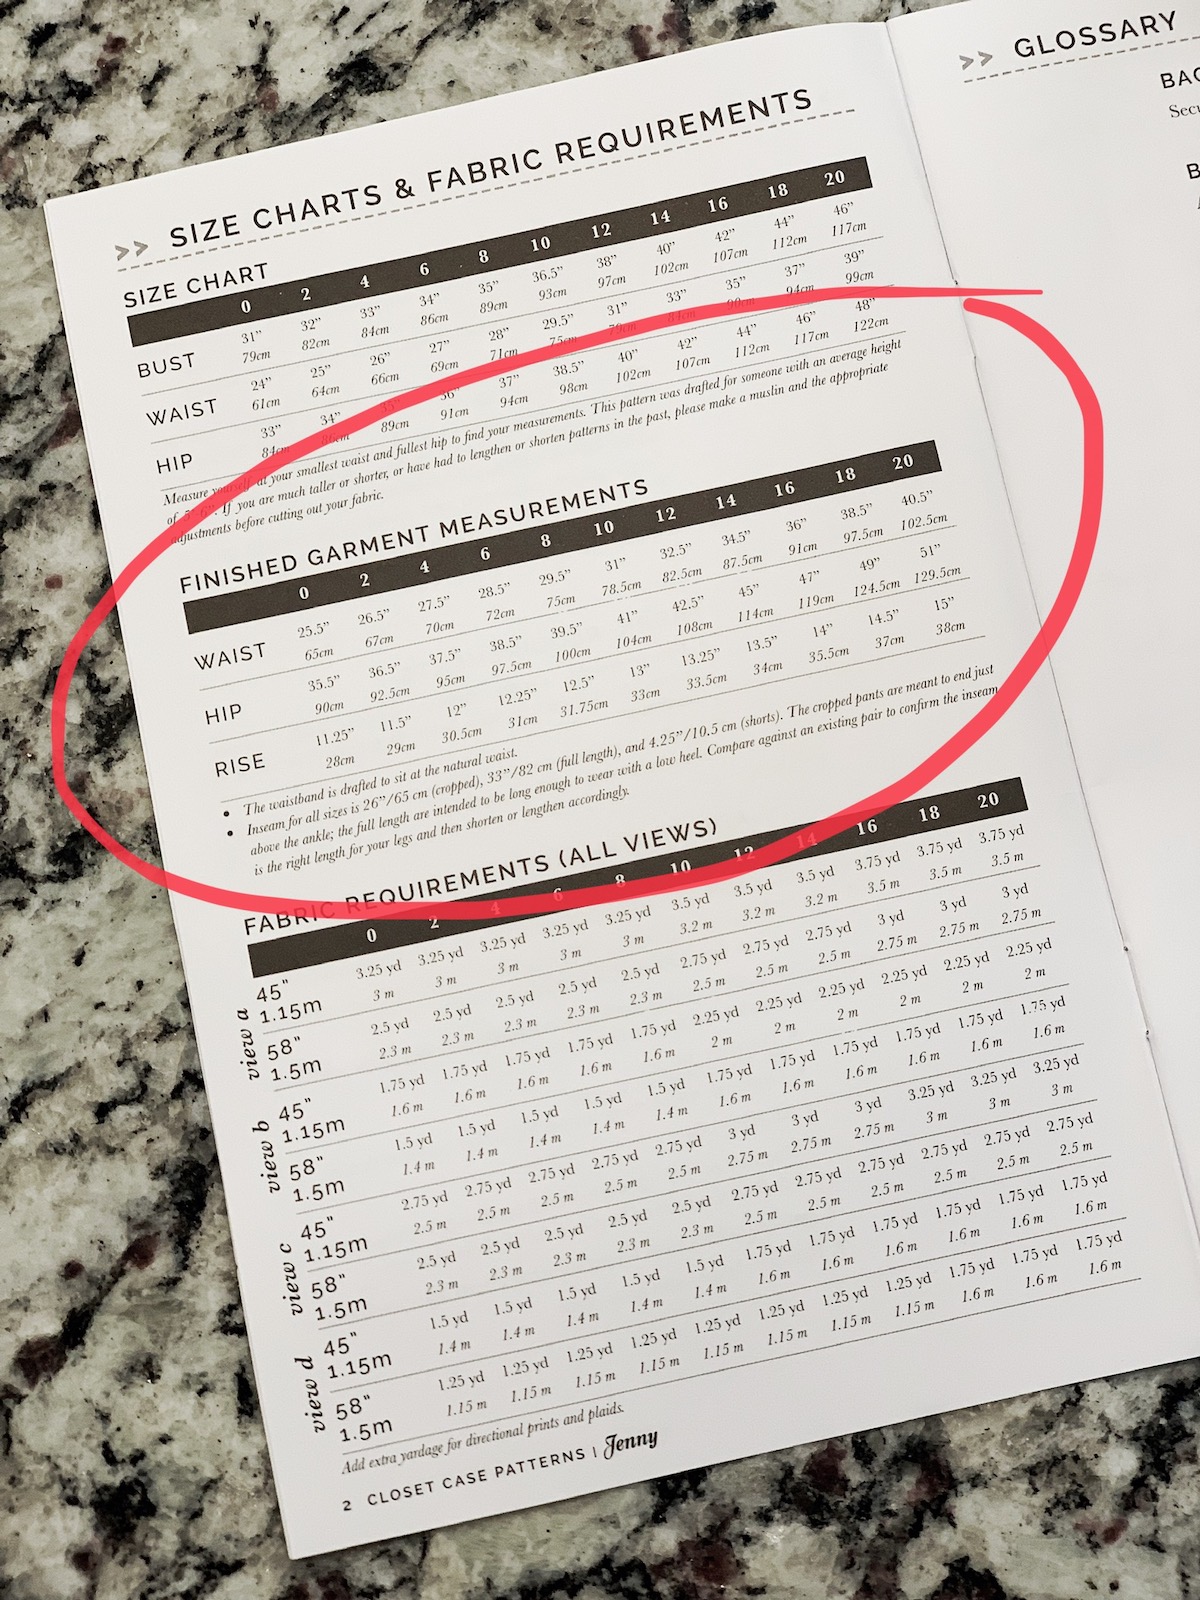
Most patterns provide a second size chart informing you of the finished measurements of the garments in each size. I like to take the time to study this chart as well and compare it to my body measurements. This can help you determine if you need to size down or up based on the finished measurements. Always remember to leave room for ease!
How to Grade Between Sizes
You may find that your body fits into many different sizes within the size chart. I usually fit into three different sizes based on my bust, waist and hip measurements. This is normal, and an easy fix. You can grade out or in between size ranges by simply redrawing the line between sizes to adjust for your personal measurements. I typically have to grade out from my hips to my waist, because my waist measurement is one to two sizes bigger than my hips. (Thanks to my three pregnancies). Use a ruler and a pencil and match up the sizes as you need. Pay attention to cup sizes on your pattern. Most patterns are made for a B cup, if you are not a B cup you may need to make a bust adjustment. Most pattern alterations can be found on blogs or YouTube if you need some help there! Google search is your best friend.
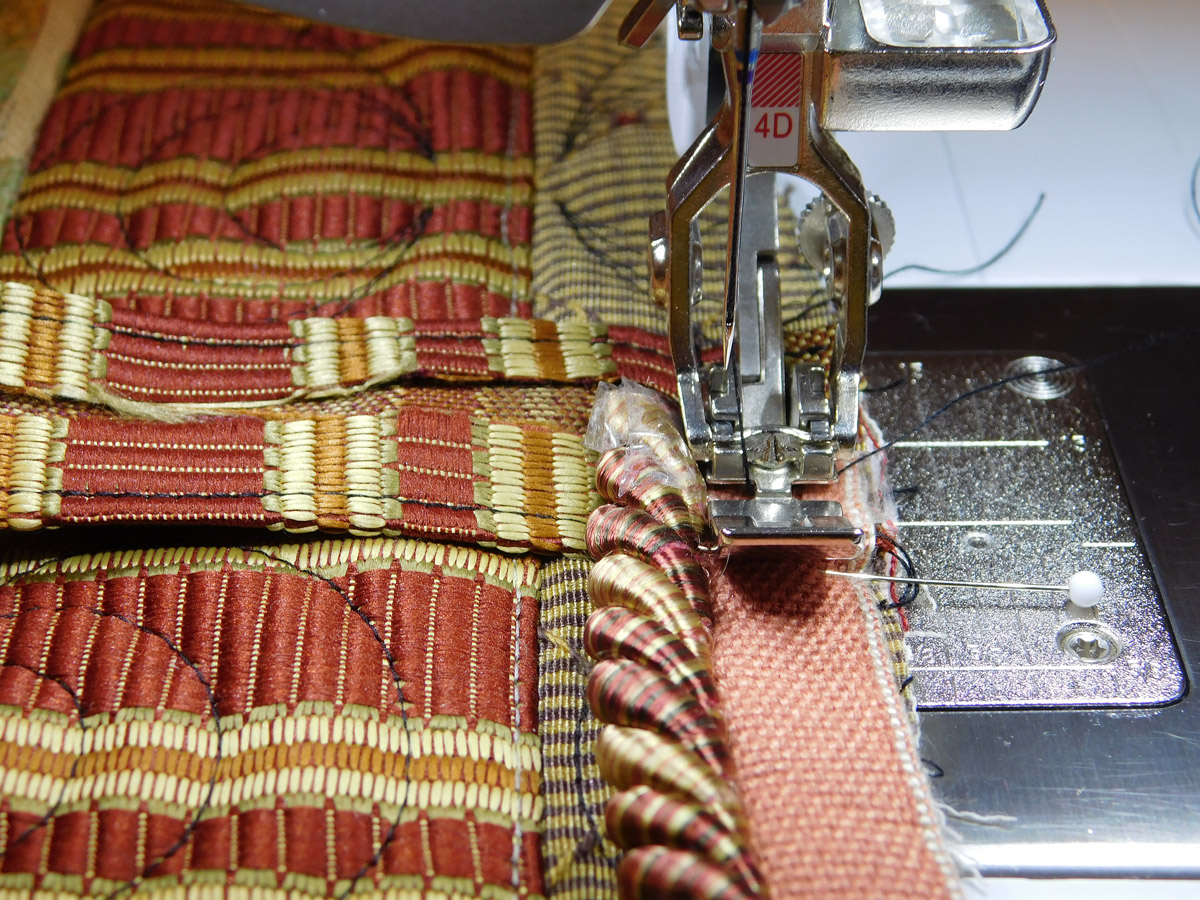
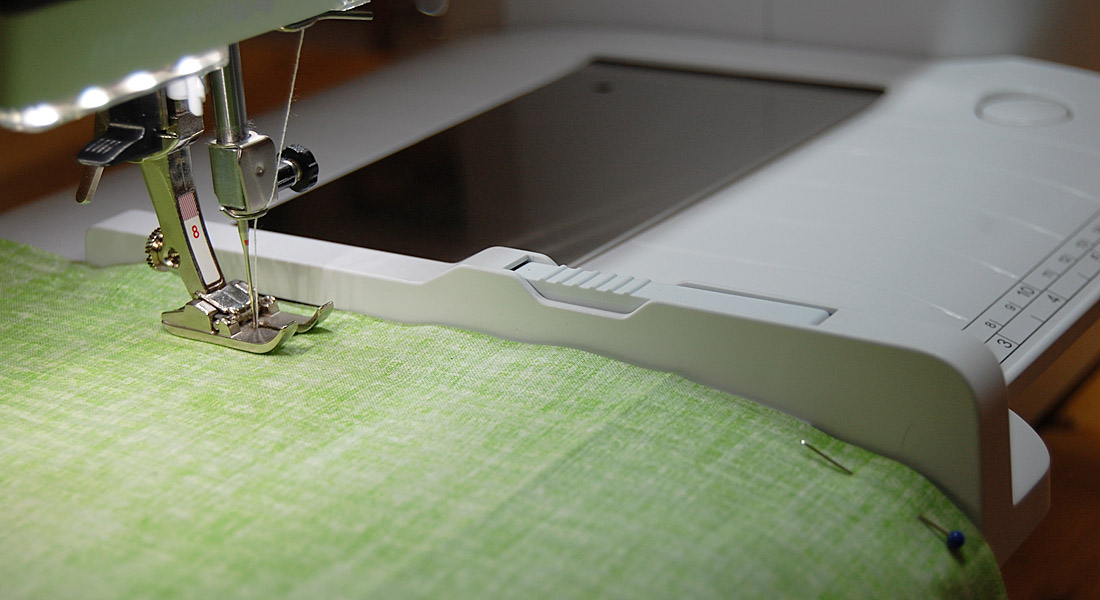
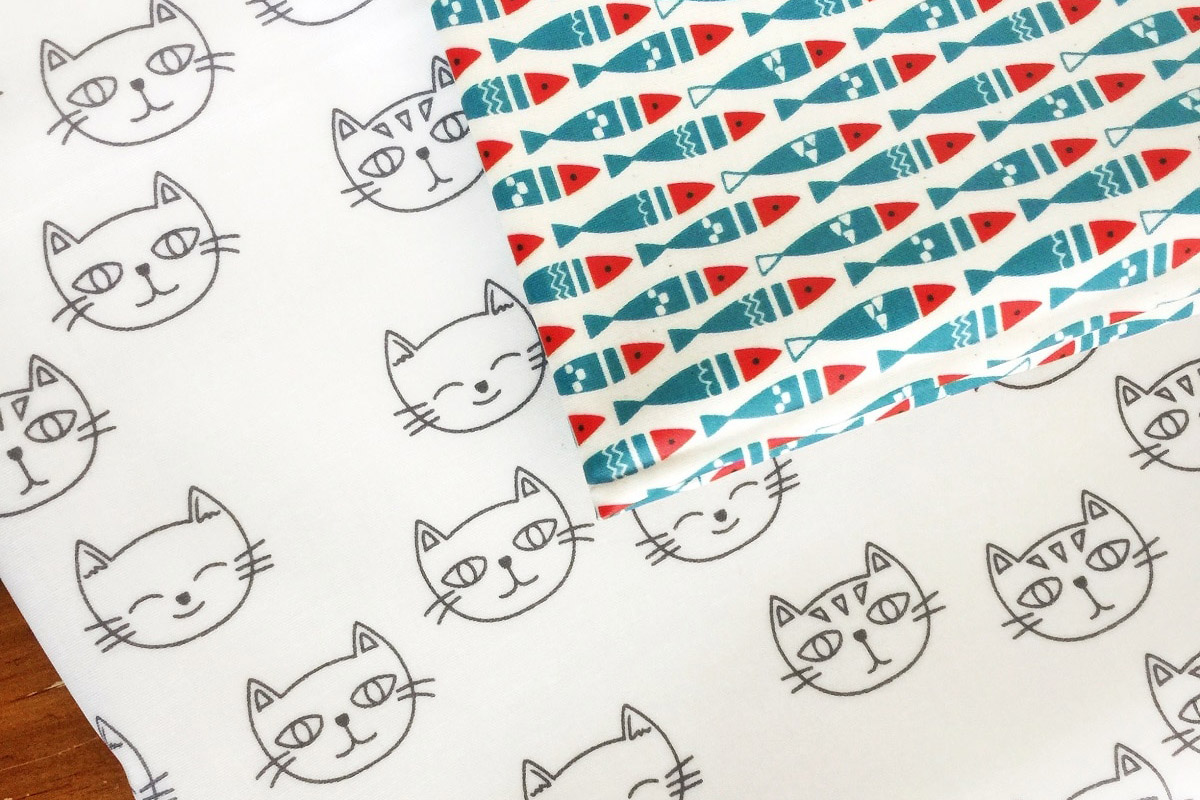
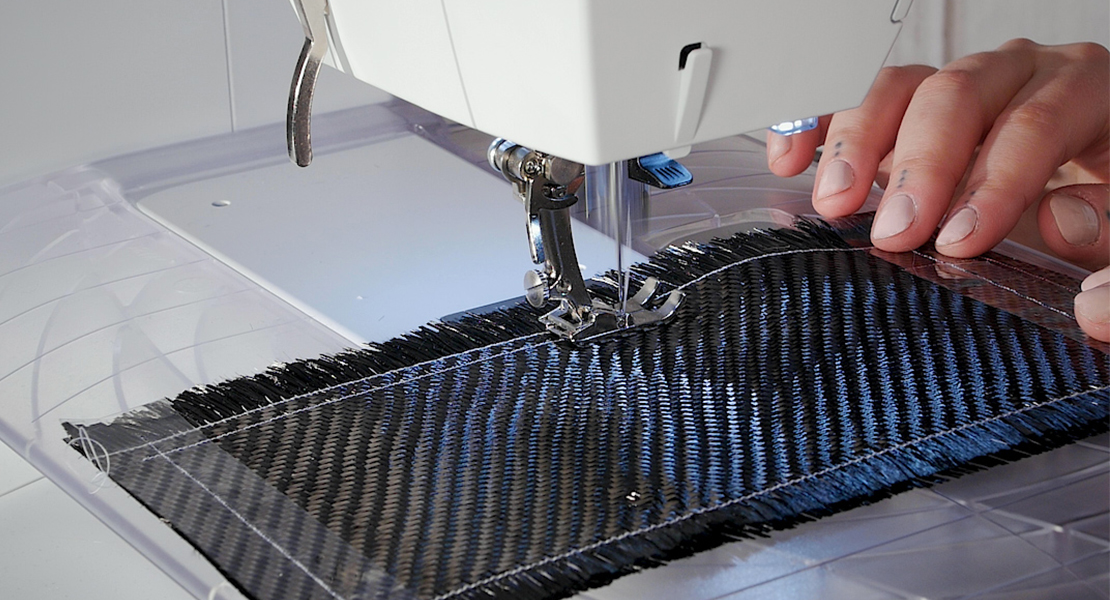
How to Pick the Right Fabric
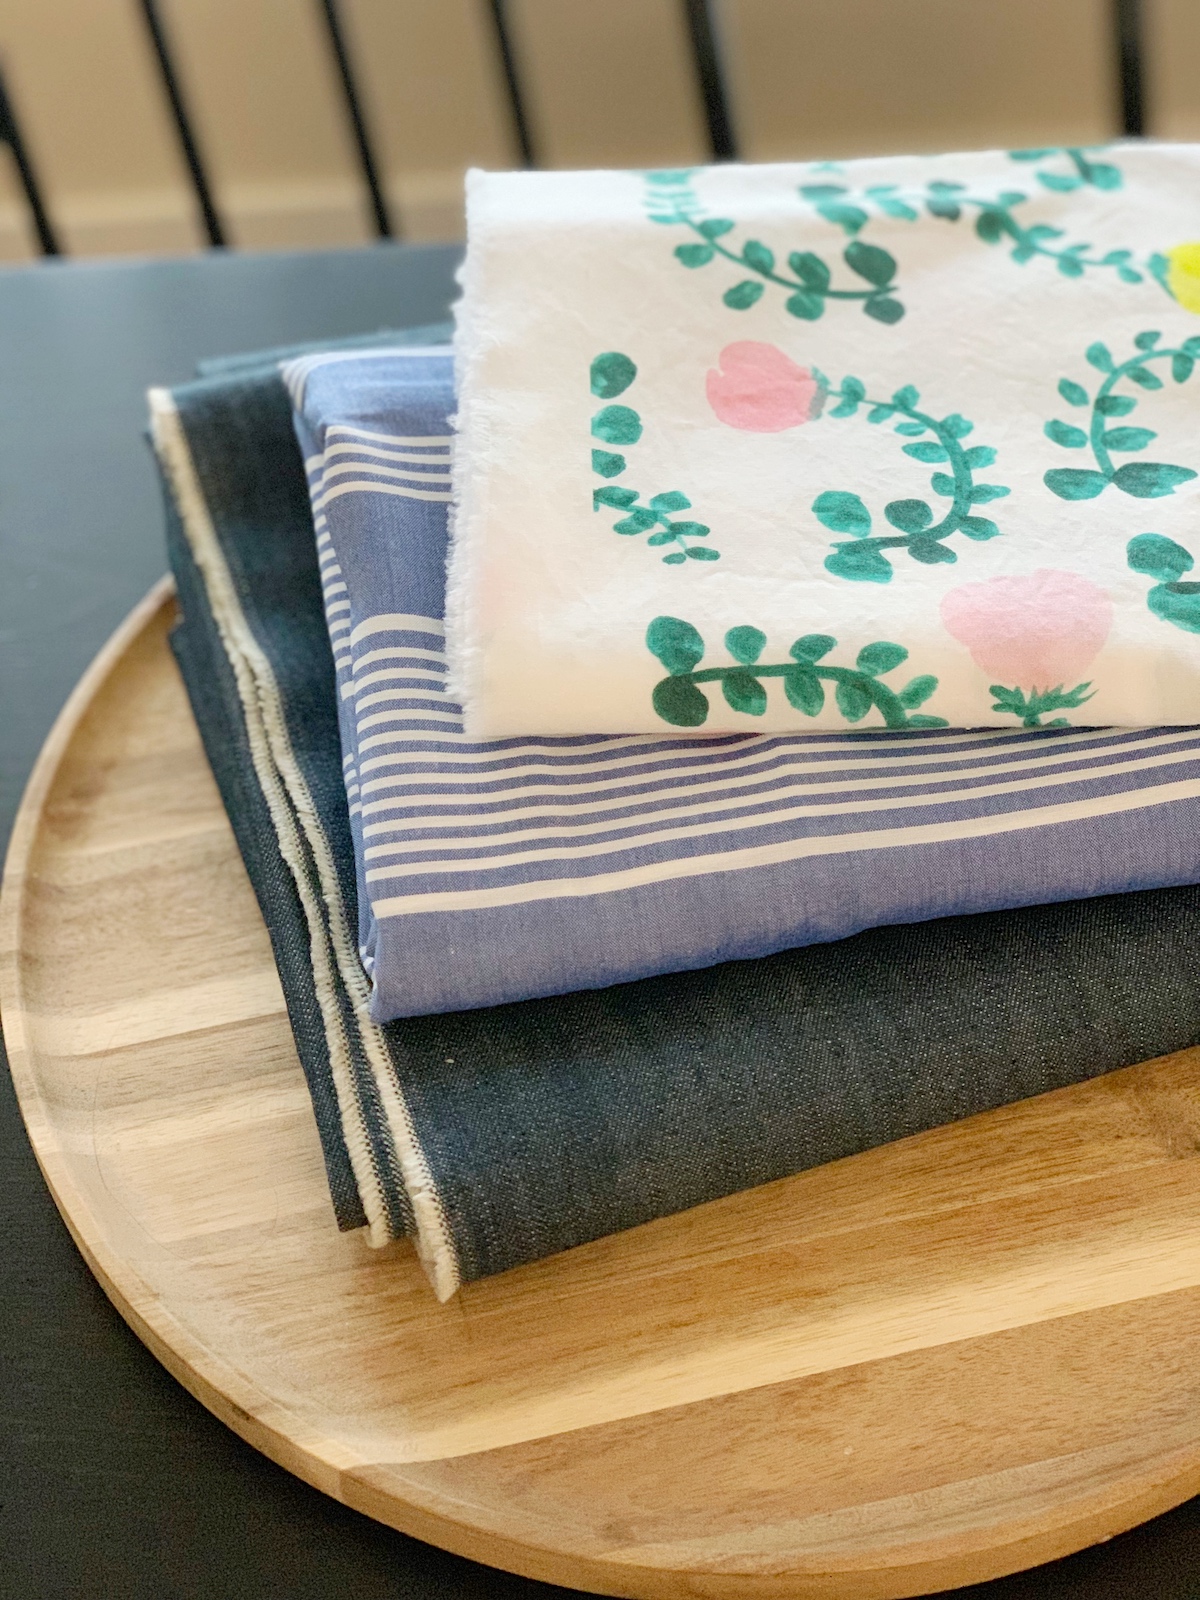
On to fabric! How do you know which fabric will be best for your particular pattern? All patterns have a section for suggested fabrics on their envelope or pattern description. I highly recommend sticking with their suggestions! If it’s a knit project, make sure it has the right amount of stretch for your project. It’s also important to pay attention to the suggested weight of fabric for the pattern. For example, you don’t want to use a heavy weight fabric for a light and flowy dress. The pattern will also let you know how much fabric you will need based off of your size.

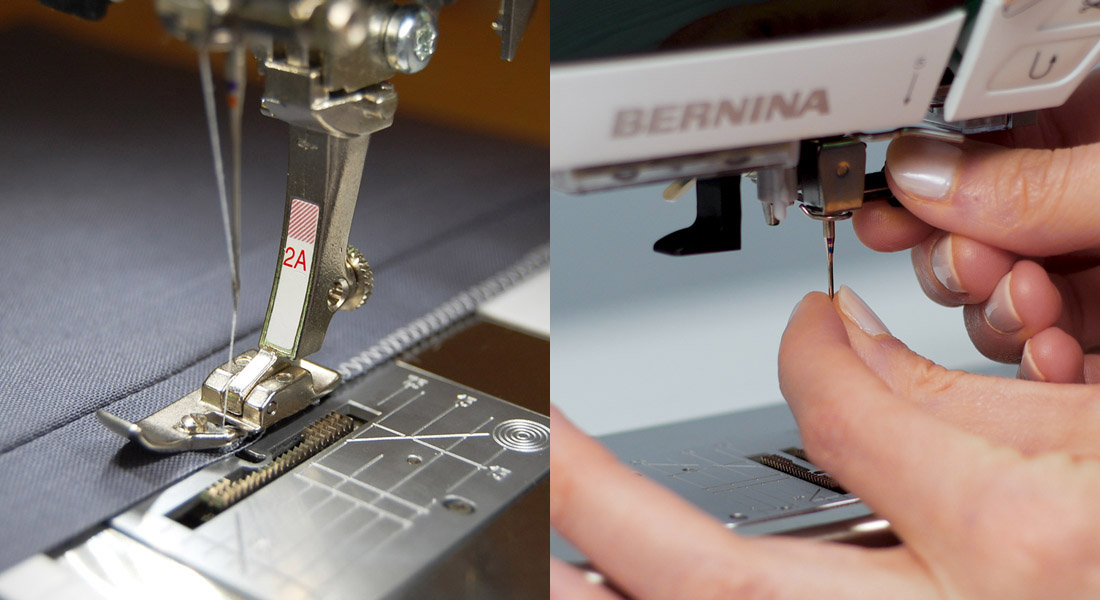
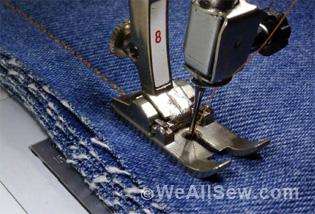
How to Make Sure You Have All the Right Notions
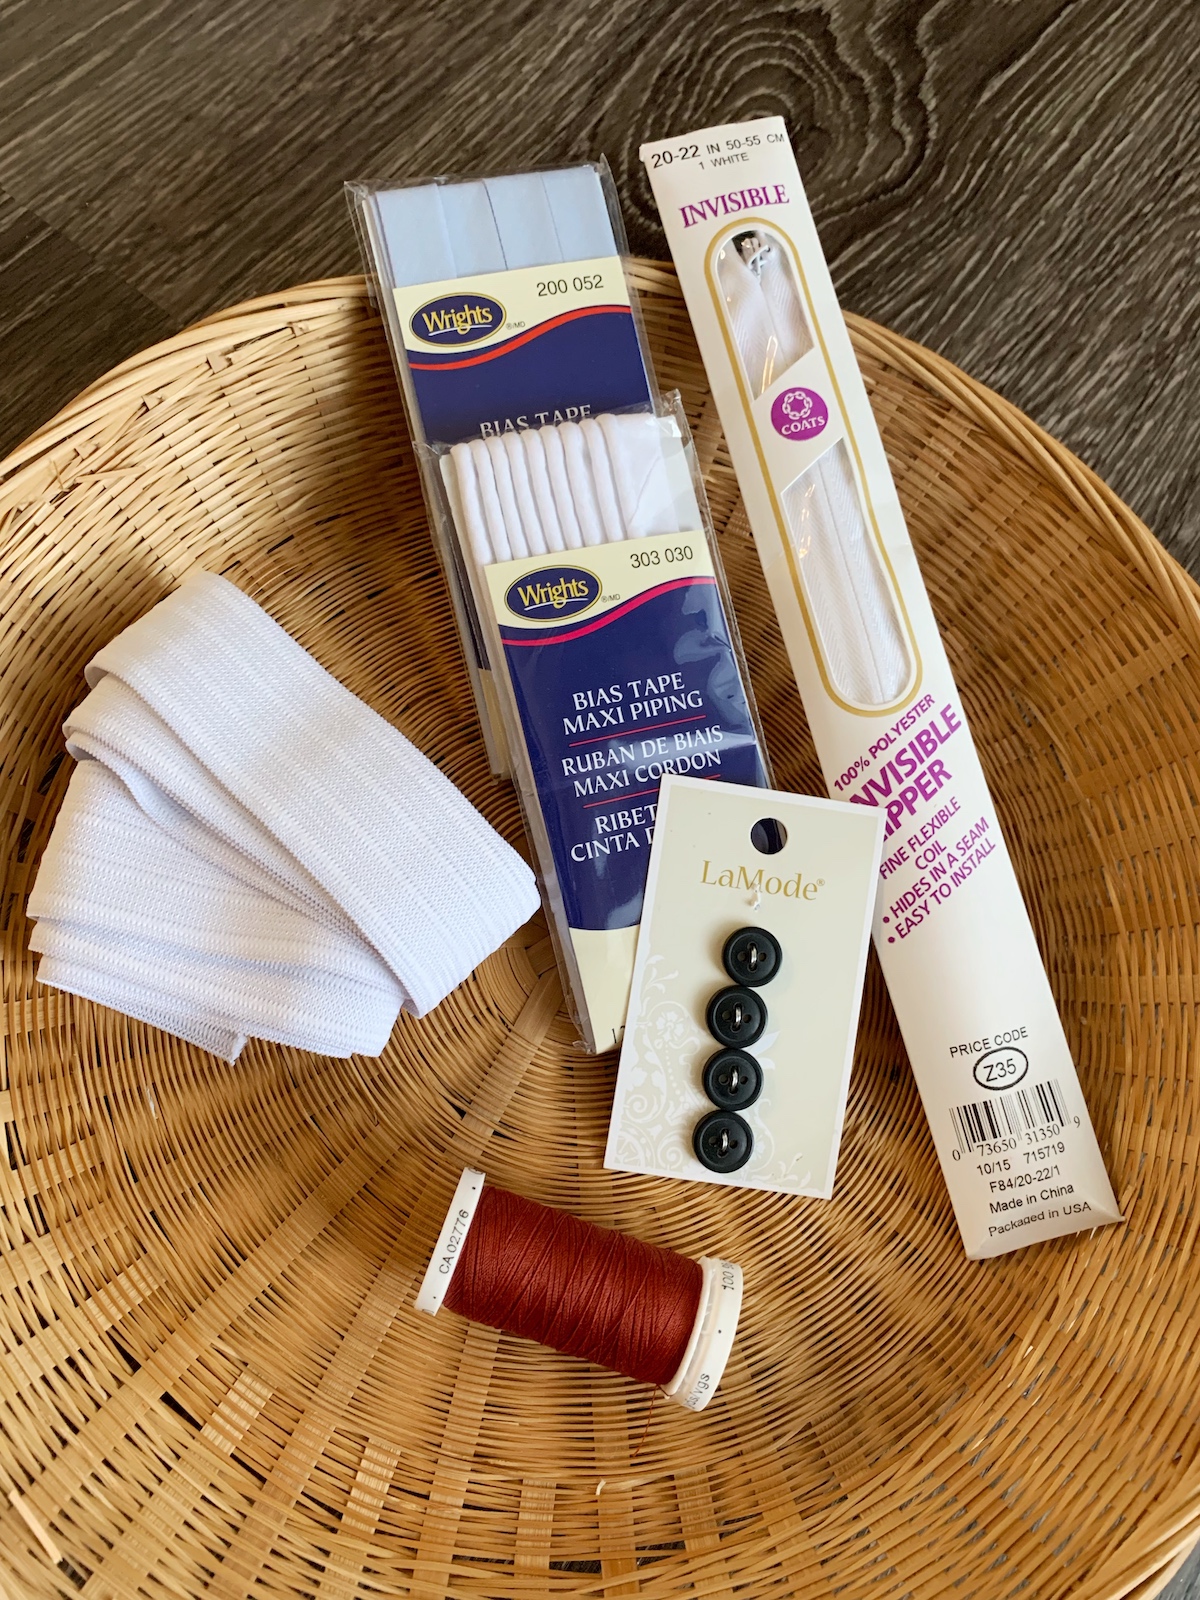
There’s a section on the back of the pattern envelope or pattern description that will let you know exactly what notions you will need. Make sure to stick pretty closely to what the pattern recommends for best results. Most patterns let you know if a certain notion is optional as well. This covers your thread type, zipper type, hardware, bias binding, buttons, elastic, etc. Don’t forget to take note of these things when you head out to the fabric store to gather your project supplies!
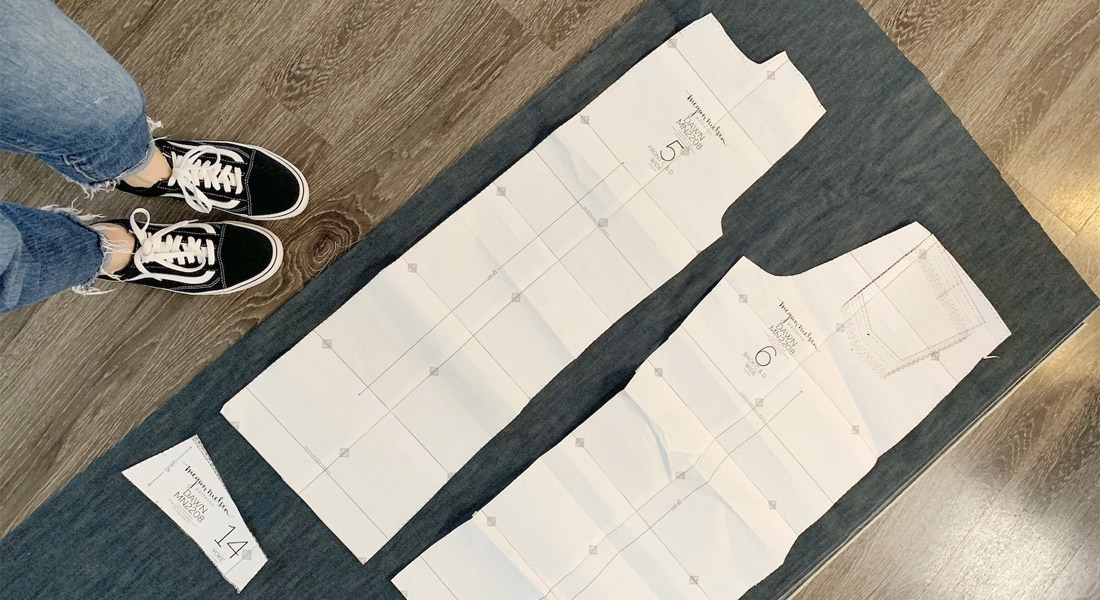
How to Read a Pattern

A good rule of thumb is to ALWAYS read the pattern before you start sewing. Yes, that means read through all of the steps! I’ve made this mistake many times and would have saved myself from a lot of trouble if I had just read ahead in the first place! Most all pattern instructions will provide a guide to what all the symbols mean on your pattern pieces, as well as a cut guide and glossary for sewing terms.
How to Store Your Pattern
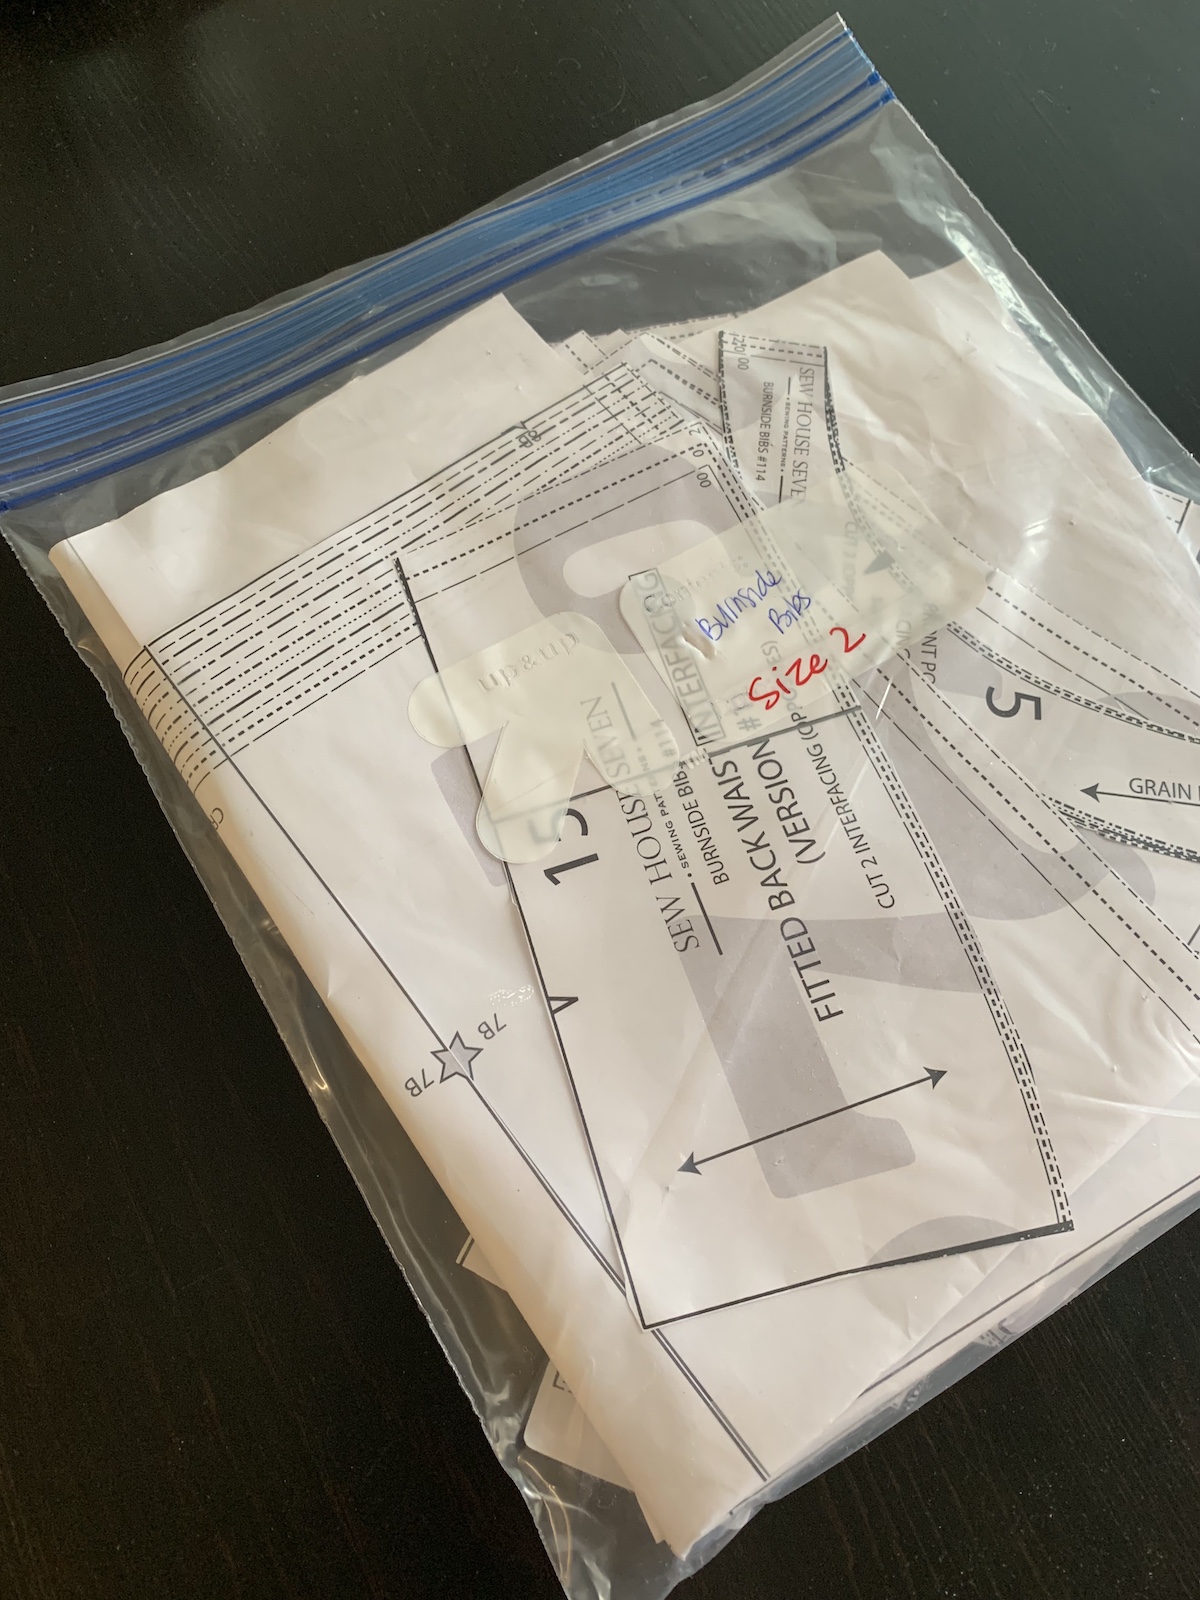
Once I’m finished with a project, (and I want to keep the pattern for future use), I fold up all the pieces and put them in a gallon size ziplock bag, and label the front of it with the pattern name, and size, and file them in a box. This also helps keep all the pieces together from getting lost among other pattern pieces from other projects. It’s very convenient for when I want to sew that particular pattern again! There are so many other great methods for storing patterns, this is just my preferred method.
I hope you find this information helpful as you begin your sewing project! Stay tuned for an in depth post all about tips for cutting out your pattern coming soon to the We All Sew blog!
If you would like to follow along with my sewing adventures, you can find more on my Instagram account! Happy sewing!


What you might also like


One comment on “Tips for Choosing a Sewing Pattern”
Leave a Reply
You must be logged in to post a comment.

how and where do you measure on the pattern when you have belly fat? Thanks