Mesh Bag
The Beach Can’t Wait Mesh Bag
I needed a mesh bag to take to the beach. My requirements were few and simple:
- Just large enough for my beach towel, suntan lotion, sunglasses and a book
- Easy and quick to make—I wanted to spend the day at the beach, not in the sewing room
- Cinched opening for quick access in-and-out of the bag
So I combined a polyester mesh fabric with some rip stop nylon fabric to make the bag. Both are completely fine around water and the ventilated bag will help prevent damp surprises should I forget the bag with a wet towel in the car.

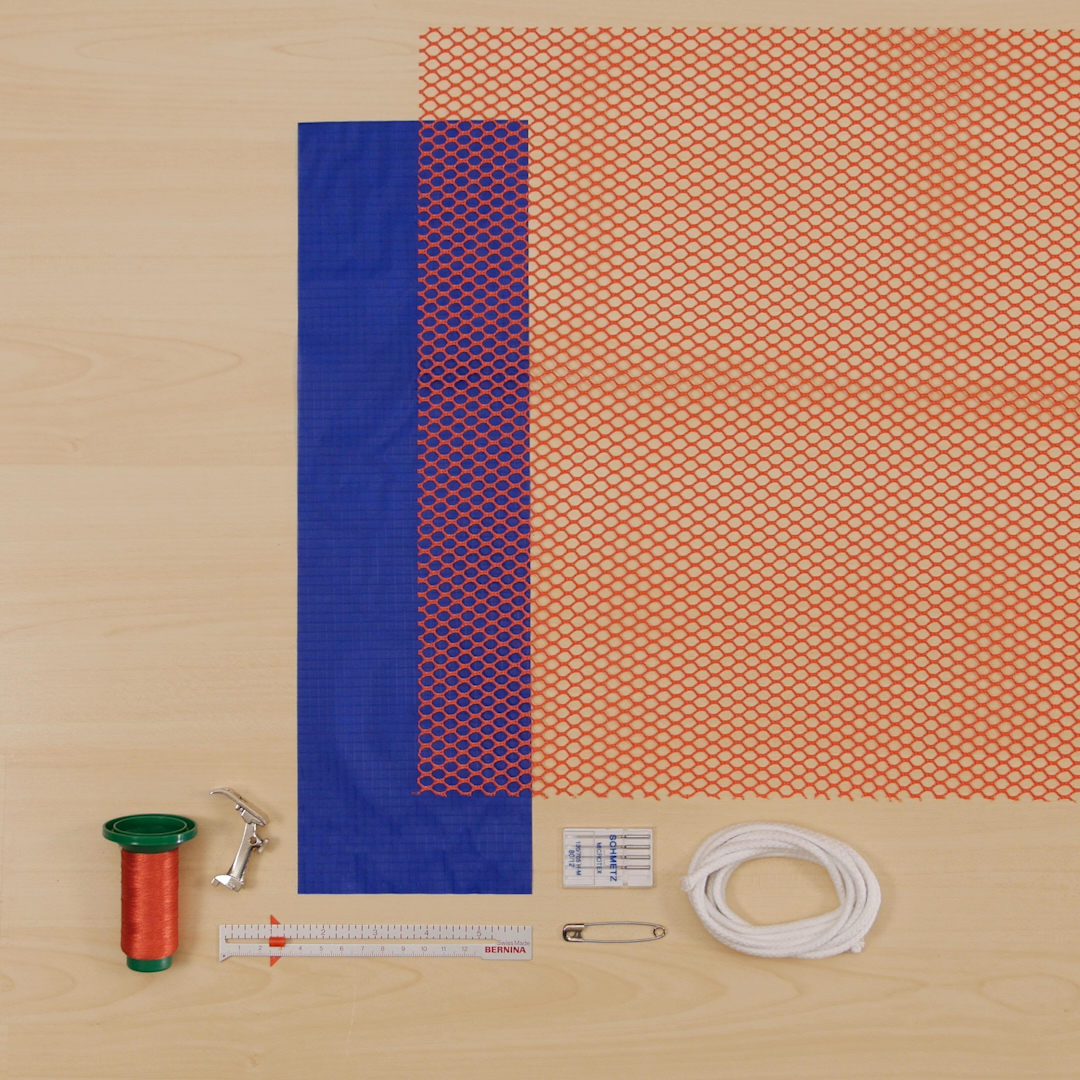
Supplies to Create a Mesh Bag
- 1 yard Red Medium Weight Mesh Fabric 36” x 50” (Nifty Notions NN1235)
- 1 yard rip stop nylon fabric in Royal Blue (I used kite-making fabric)
- 5 yard nylon cord (to cinch the bag)
- Polyester sewing thread (not cotton, so it will be water resistant) matching the mesh.
I used Isacord Polyester Embroidery Thread (40 wt) which is sturdy and can match pretty much any color.
Machine Setup
- Machine: BERNINA 435
- Reverse Pattern foot #1
- Stitch: straight stich—2.0 mm length
- Stitch Plate: 5.5 mm
- Jeans needle size 80
- Thread: Isacord in red to match mesh color
Mesh Bag Pattern
Good News! There is no need for a pattern!
Just cut the following pieces:
- Mesh (body of bag): 15 x 15 inches (2 pcs)
- Rip stop nylon fabric (top/bottom of bag):
- Top cord channel, 15 x 4.5 inches (2 pcs)
- Bag bottom, 15 x 6 inches (2 pcs)
- Cord: 20 inch length (2 pcs)
- Large safety pin (for inserting cord)
Making the Mesh Bag
The process is very simple:
- Make one side of the bag.
- Repeat, making the second side.
- Stitch sides and bottom.
- Box the bottom.
- Pass the cords through.
Cinch the bag and Done!
Making One Side of the Bag
You will be making each half of the bag separately, before stitching the two halves together.
Preparing and attaching the cord cinch header to the mesh
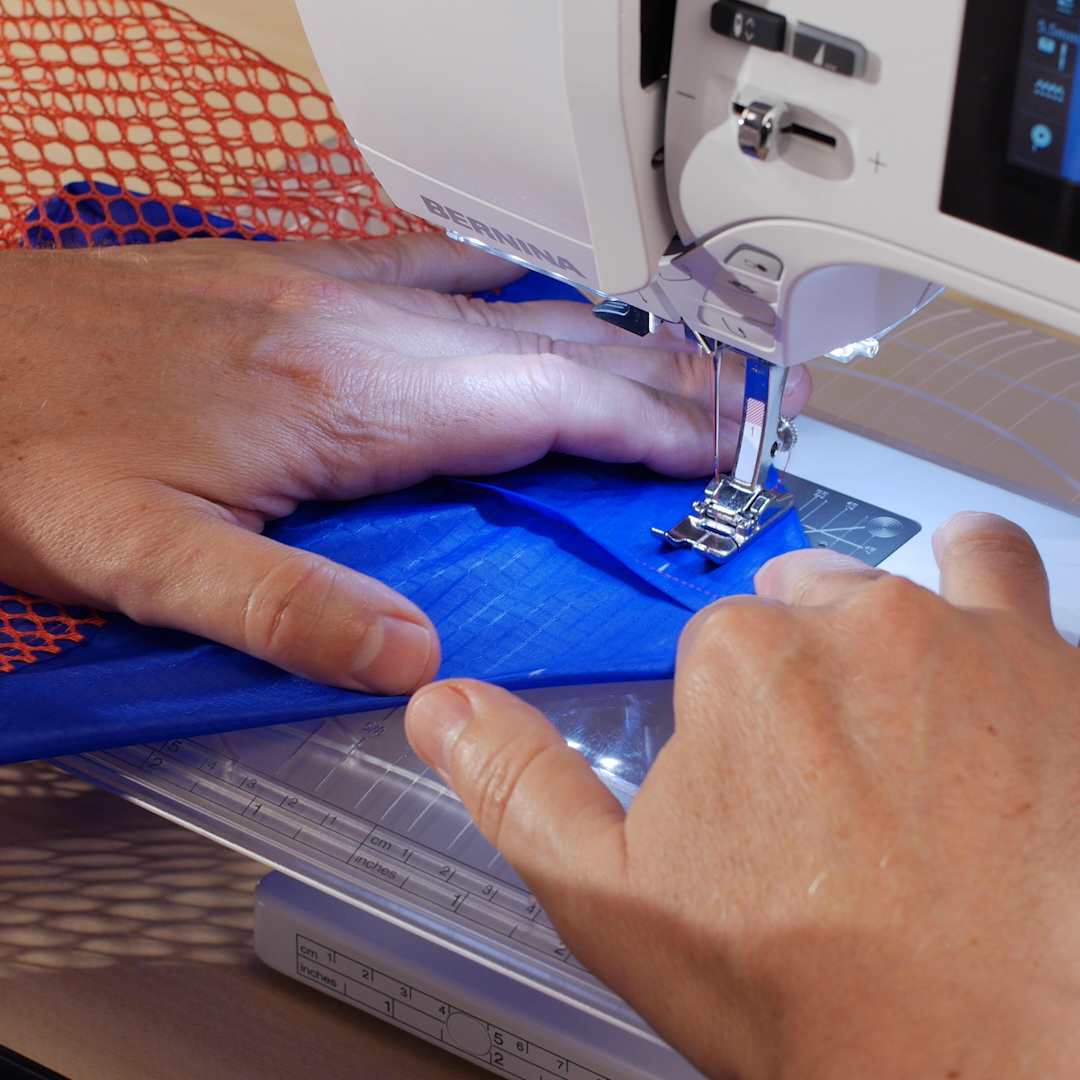
- Using a 15 x 4.5 inch rectangle of rip stop fabric, turn under 3/8 inch at both short (4.5”) ends.
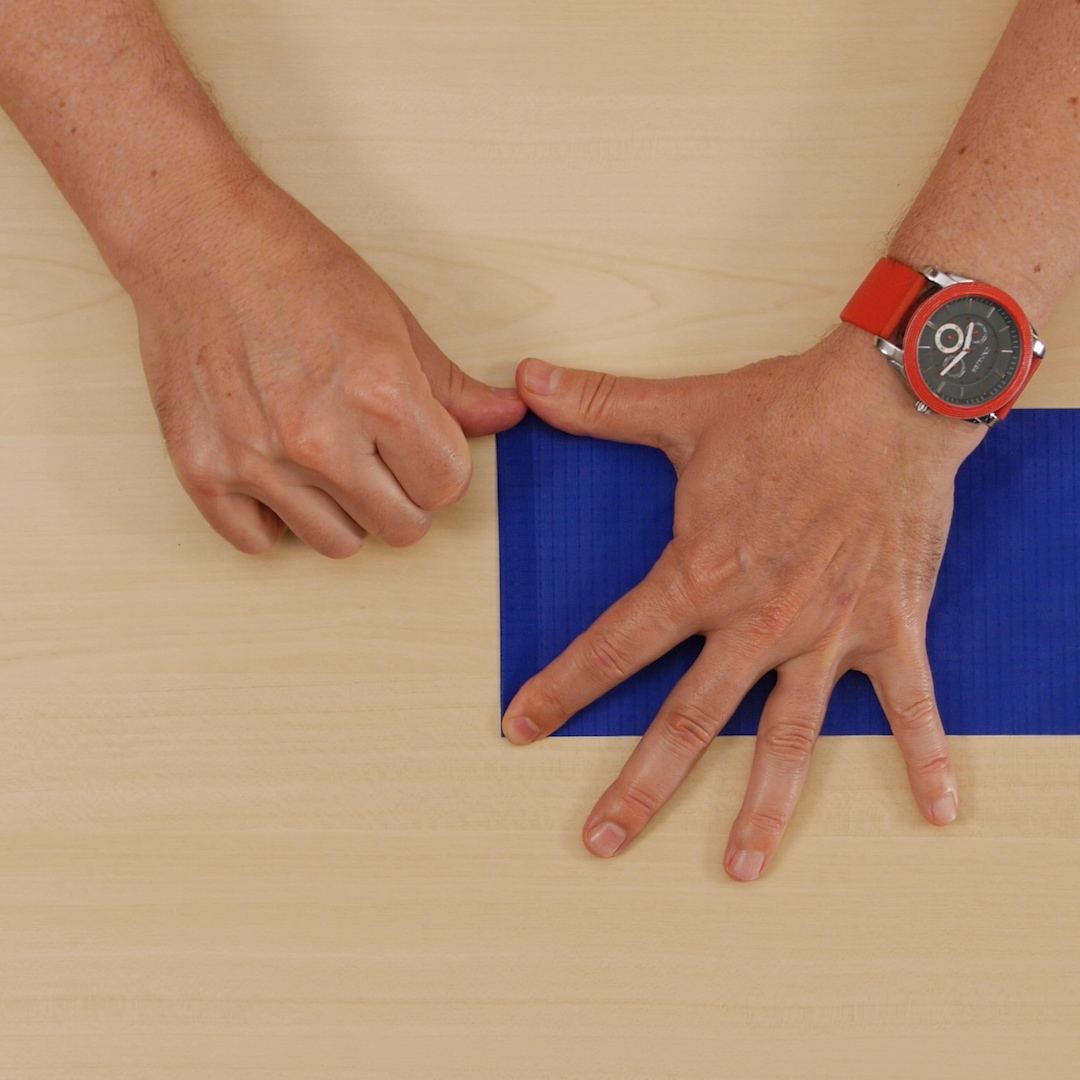
- Stitch 1/4 inch away from the fold by aligning the fold with the 1/4” seam allowance marking on the needle plate. The turned under hem should be against the feed dog.
- Repeat at the other end of the piece, turning the 3/8” under to the same side as for the first.
- Repeat these steps for the second 15” x 4.5” piece.
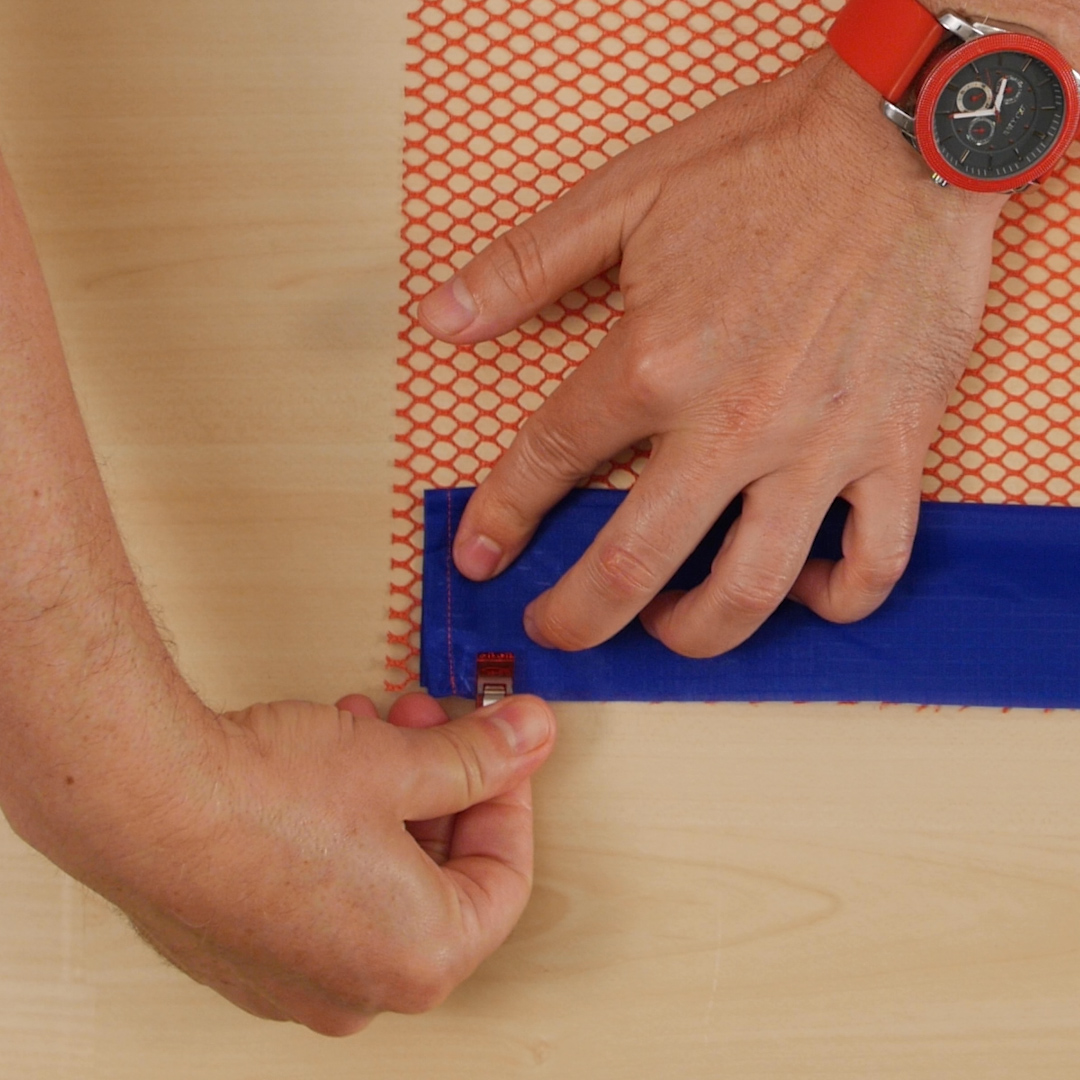
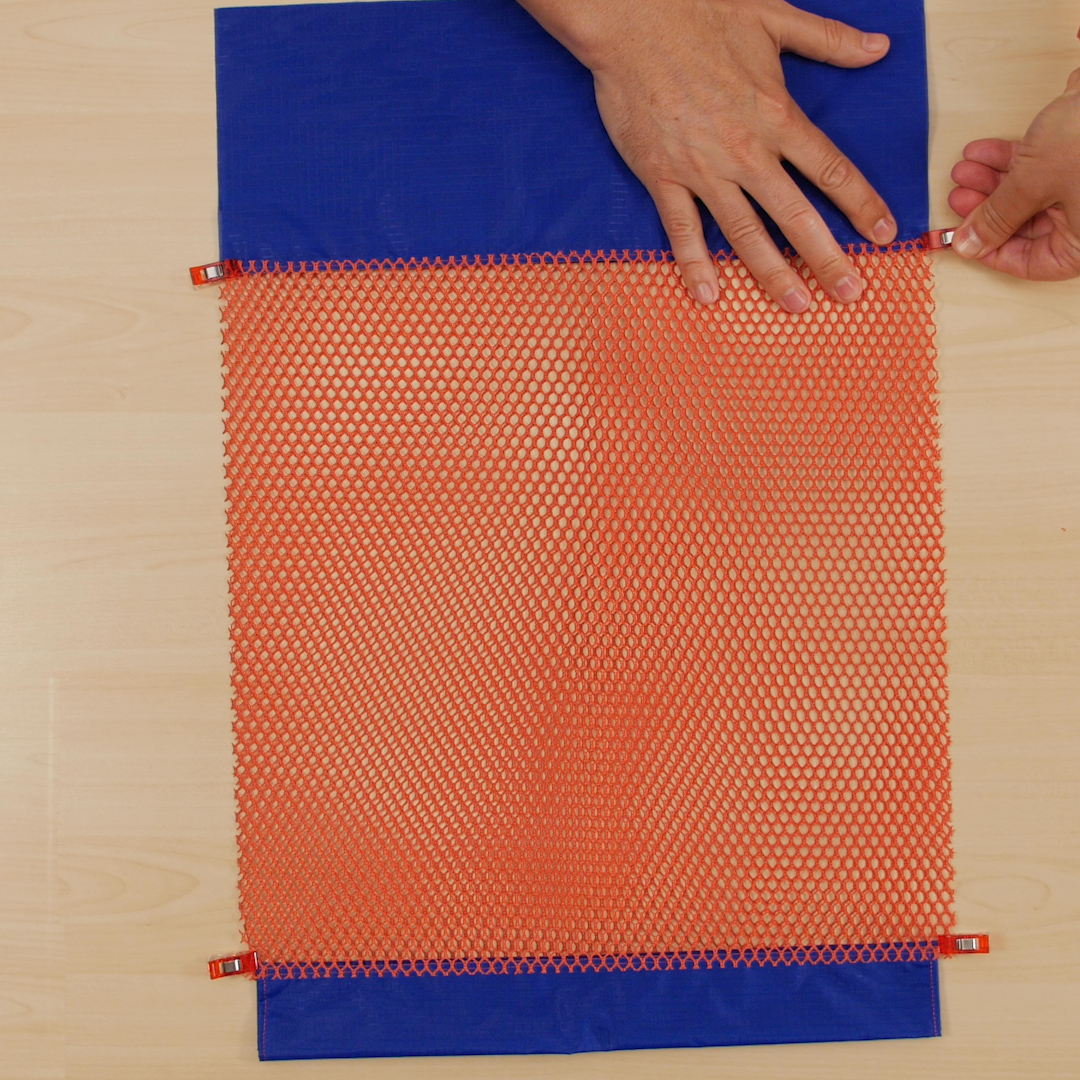
- Fold one of the hemmed pieces in half along the 15” dimension, wrong sides together.
- Align the raw edges of the folded fabric with the top edge of the mesh body piece while centering it. This will leave just over ¼” of mesh sticking out at both ends.

- Use Wonder Clips to hold the folded cord header to the mesh.
TIP: Mesh fabric does not pin very well, being full of holes. I find that wonder clips do a much better job while being easier to use.
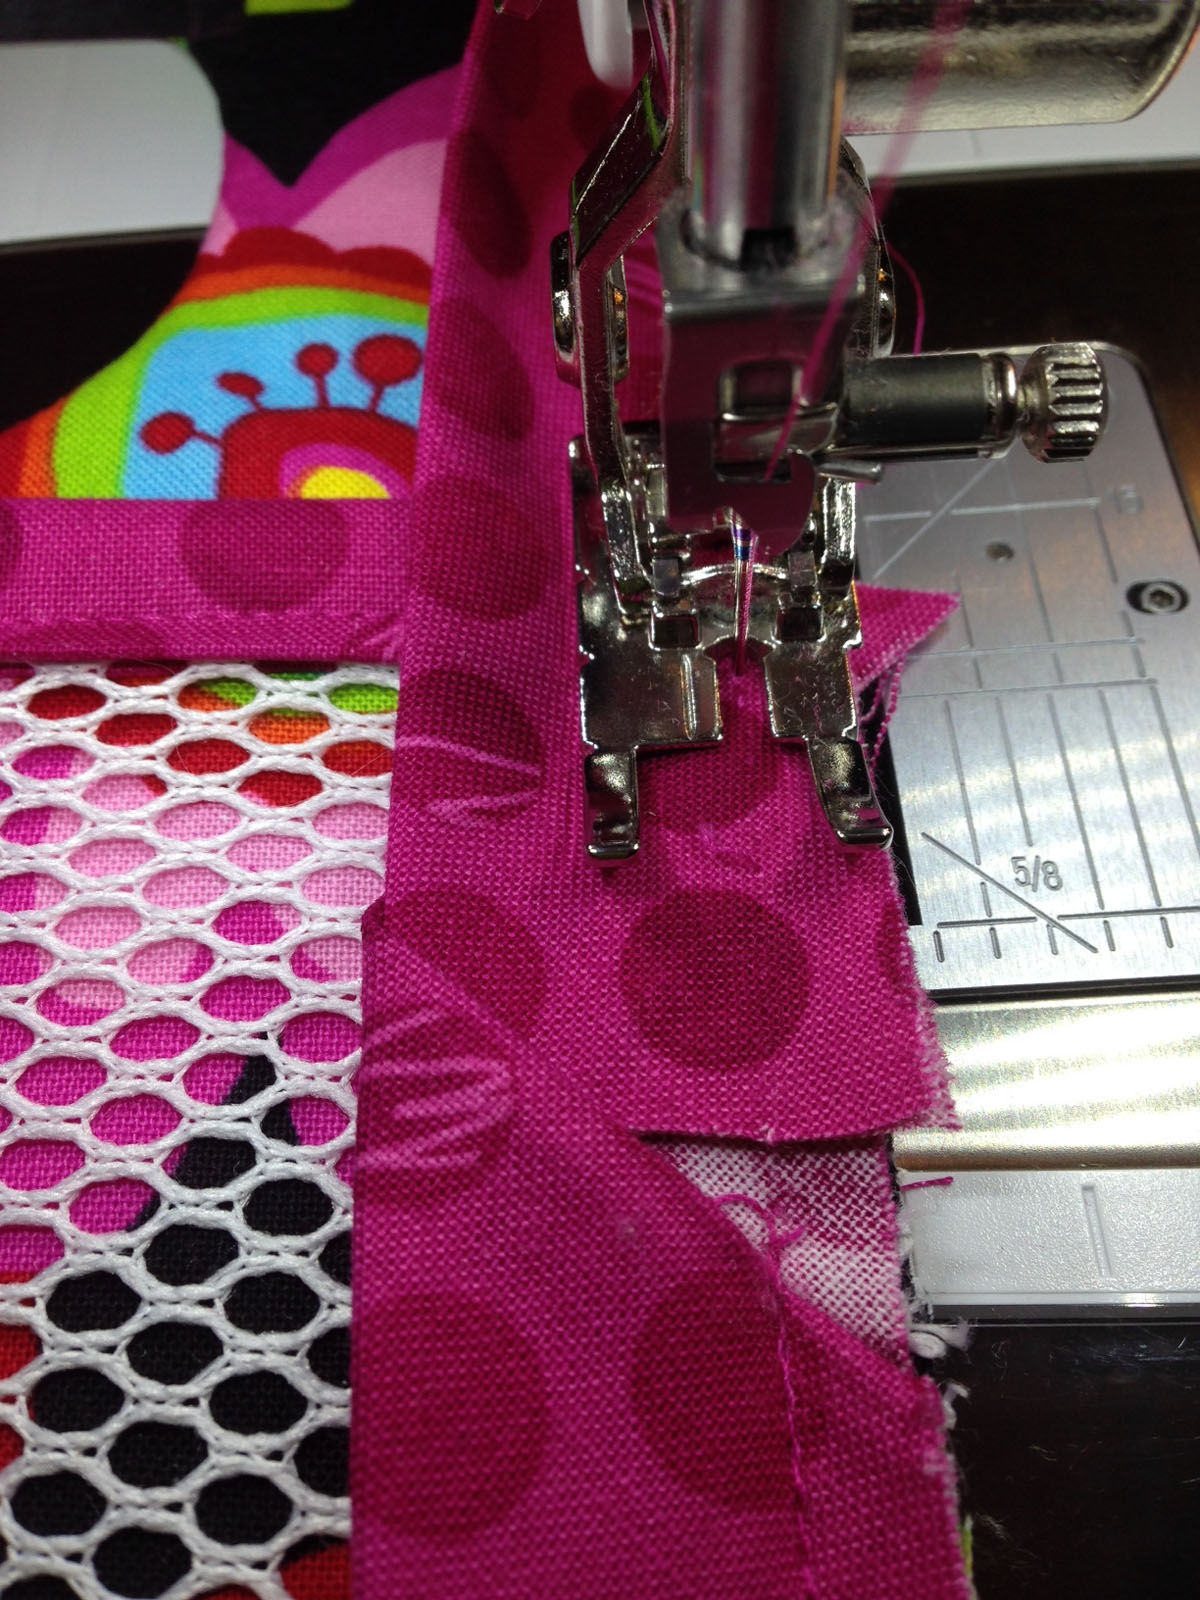
- Stitch with a 1/4” seam allowance, while backstitching at both ends.
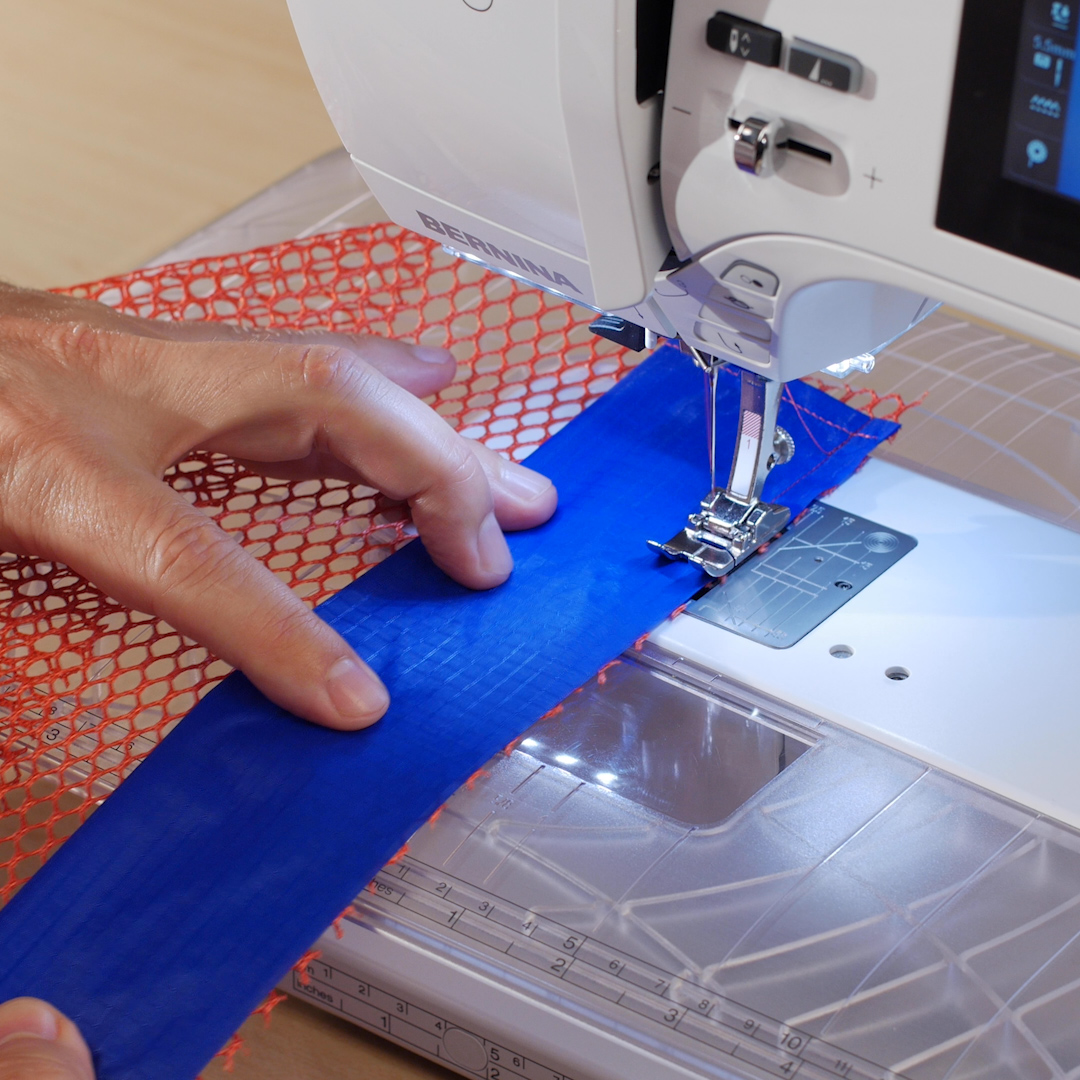
- Optional: Flip up the cord header and topstitch with a 1/8” seam allowance.
Attaching the bag bottom piece to the mesh
- Using a 15” x 6” rectangle of rip stop fabric, align the 15” edge of the rip stop fabric with the bottom edge of the mesh, right sides together.
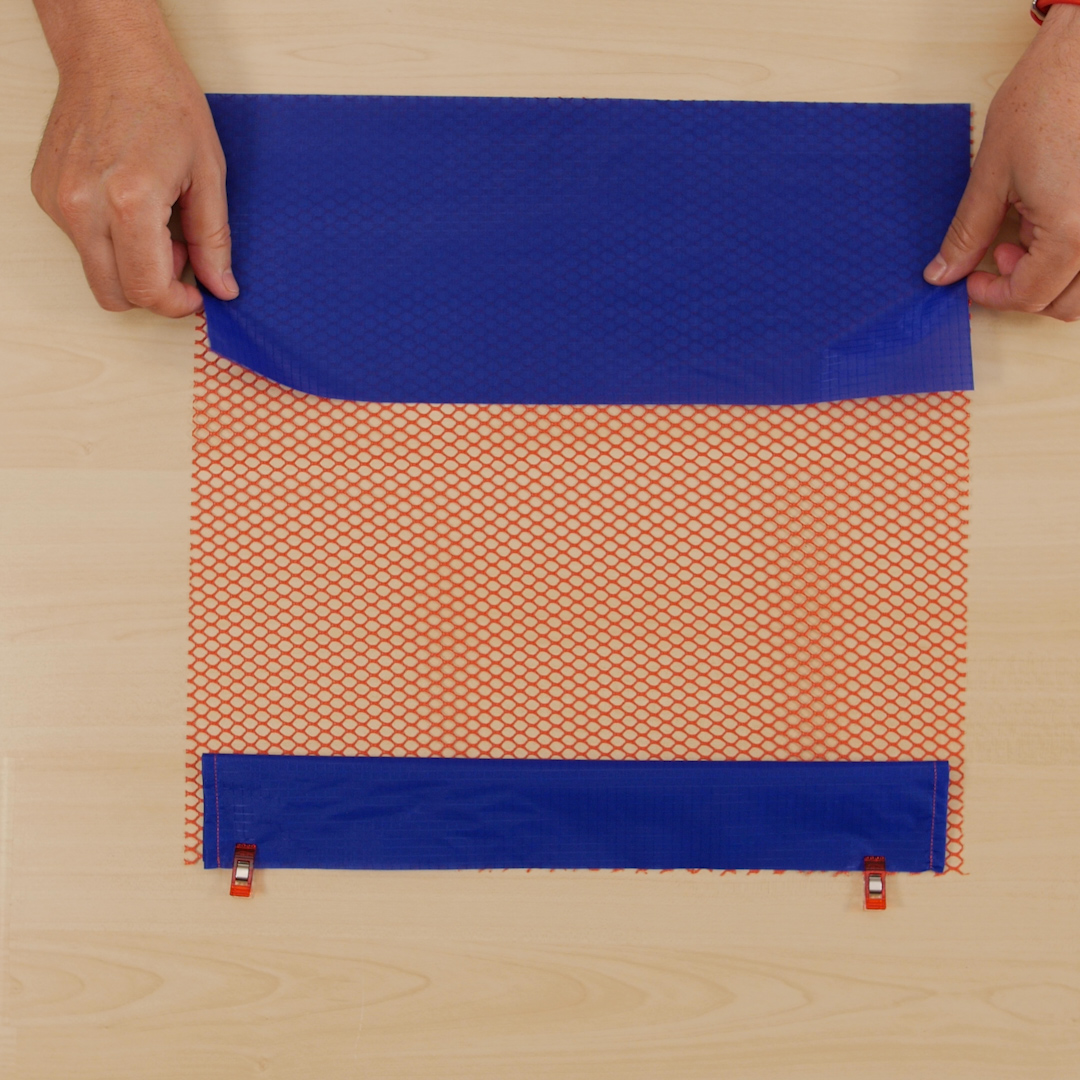
- Stitch with a 1/4” seam allowance, while backstitching at both ends.
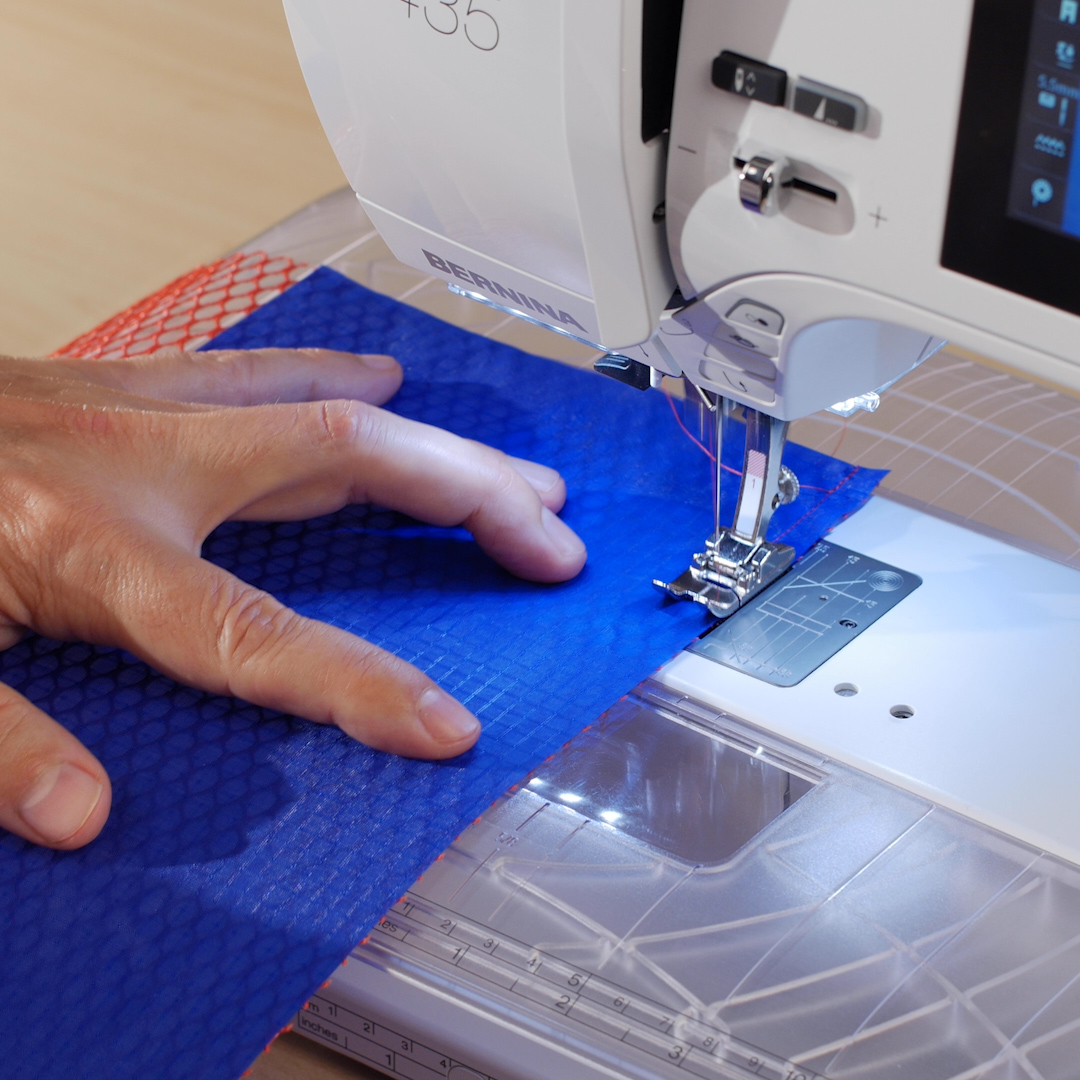
- Optional: Flip down the bottom piece and topstitch with a 1/8” seam allowance.
Make the Second Half of the Bag
- Repeat the steps above with the remaining pieces of mesh and fabric.
Assembling the bag
- Put both halves of the bag right sides together and sew along the side, bottom and other side with a 1/4” seam allowance, making sure to avoid stitching through the cord channels.Note: The cord headers should not be caught in this seam since we turned in 3/8” at each end.
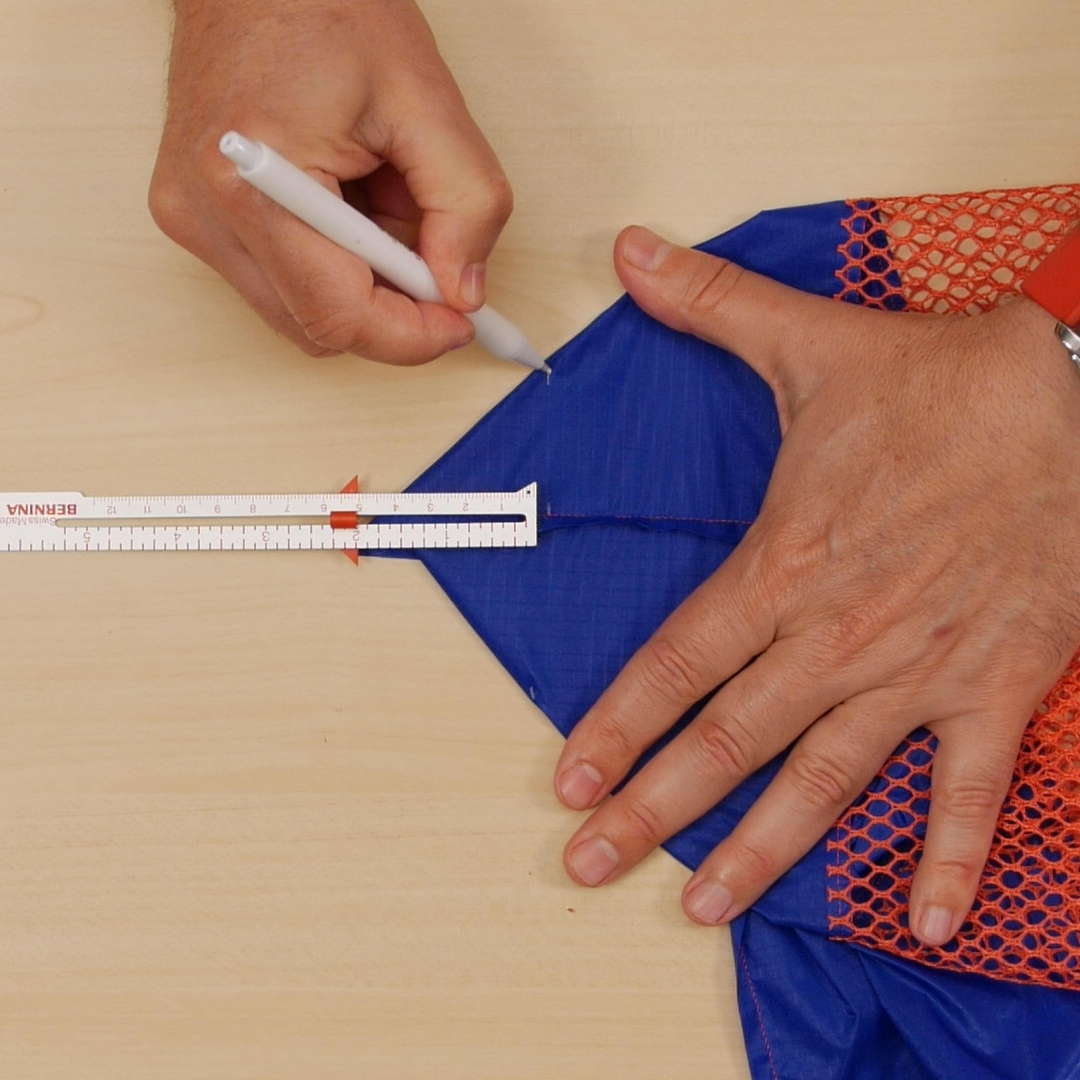
Boxing the bottom of the bag
- Flatten the bottom of the bag to form a point along the bottom seam.

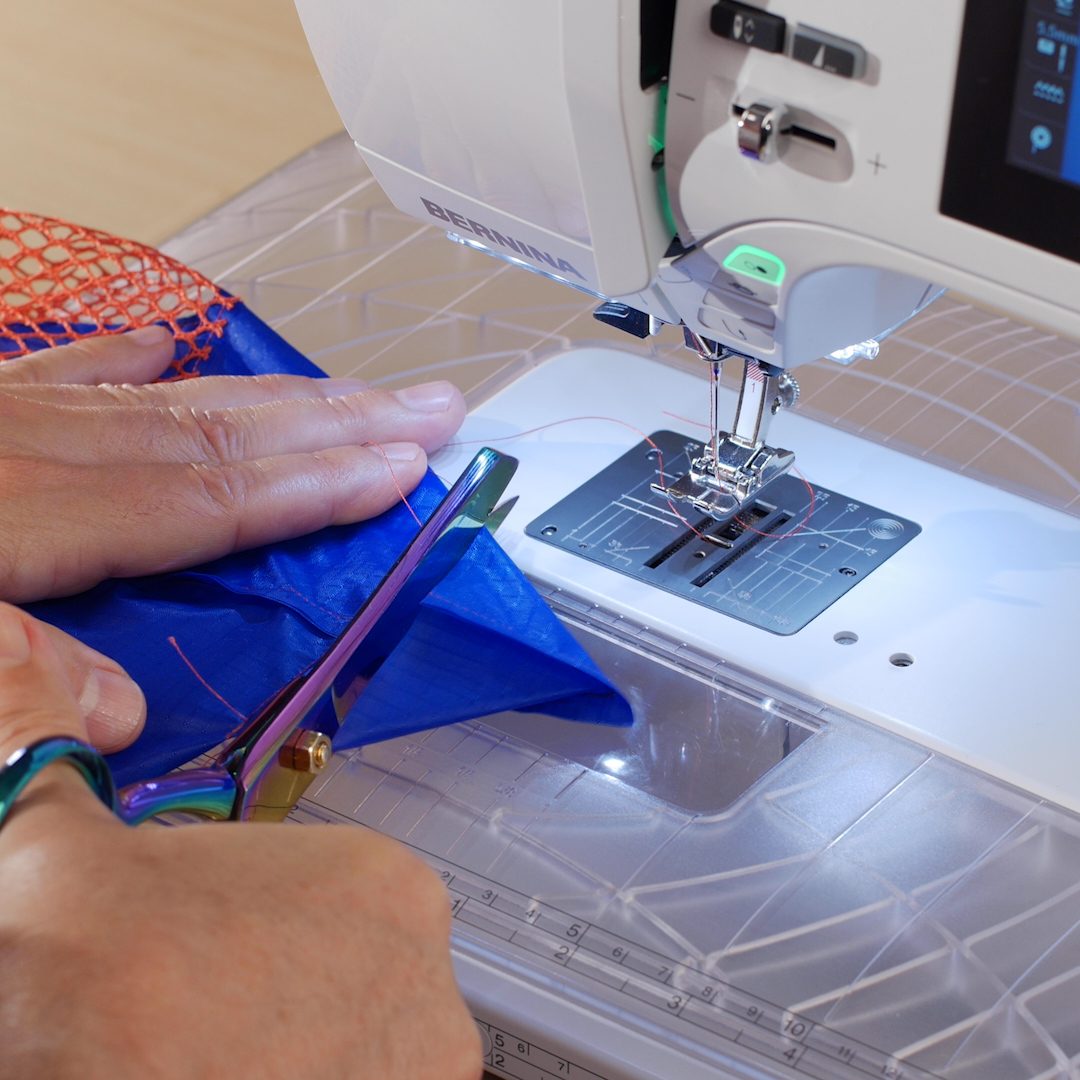
- Mark a line 2 inches from the point and stitch, backstitching at both ends.
- Trim off the point while leaving about 1/4” allowance from the seam line.
- Repeat on the other side of the bag bottom.
- Turn the bag right side out.
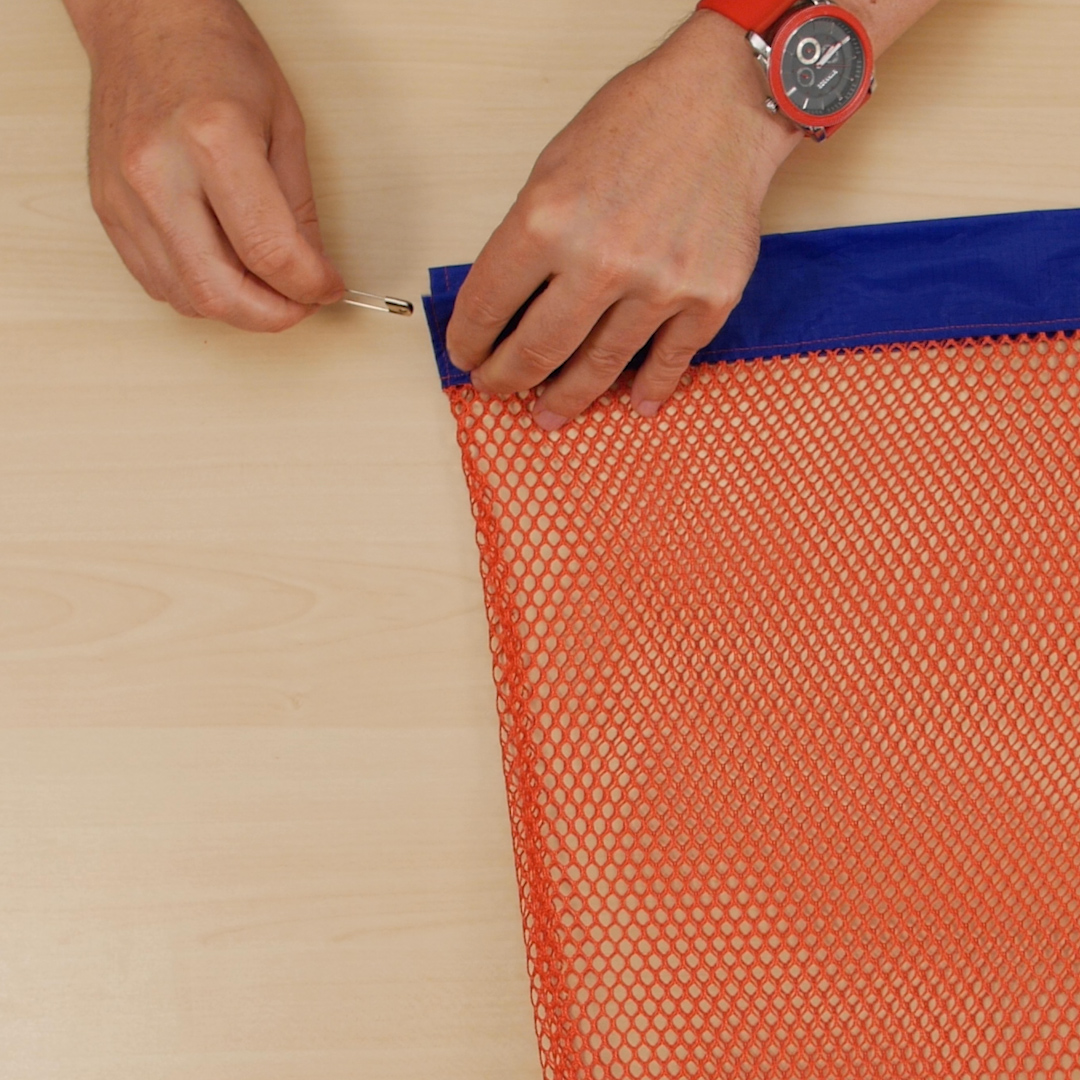
Passing the cords through the bag’s cinch header
- Attach the large safety pin to one end of a cord and close the pin.
- Pass the cord all the way through one of the channels and pull it out about 8” at the other end.
- Pass the same cord through the second channel in the reverse direction.
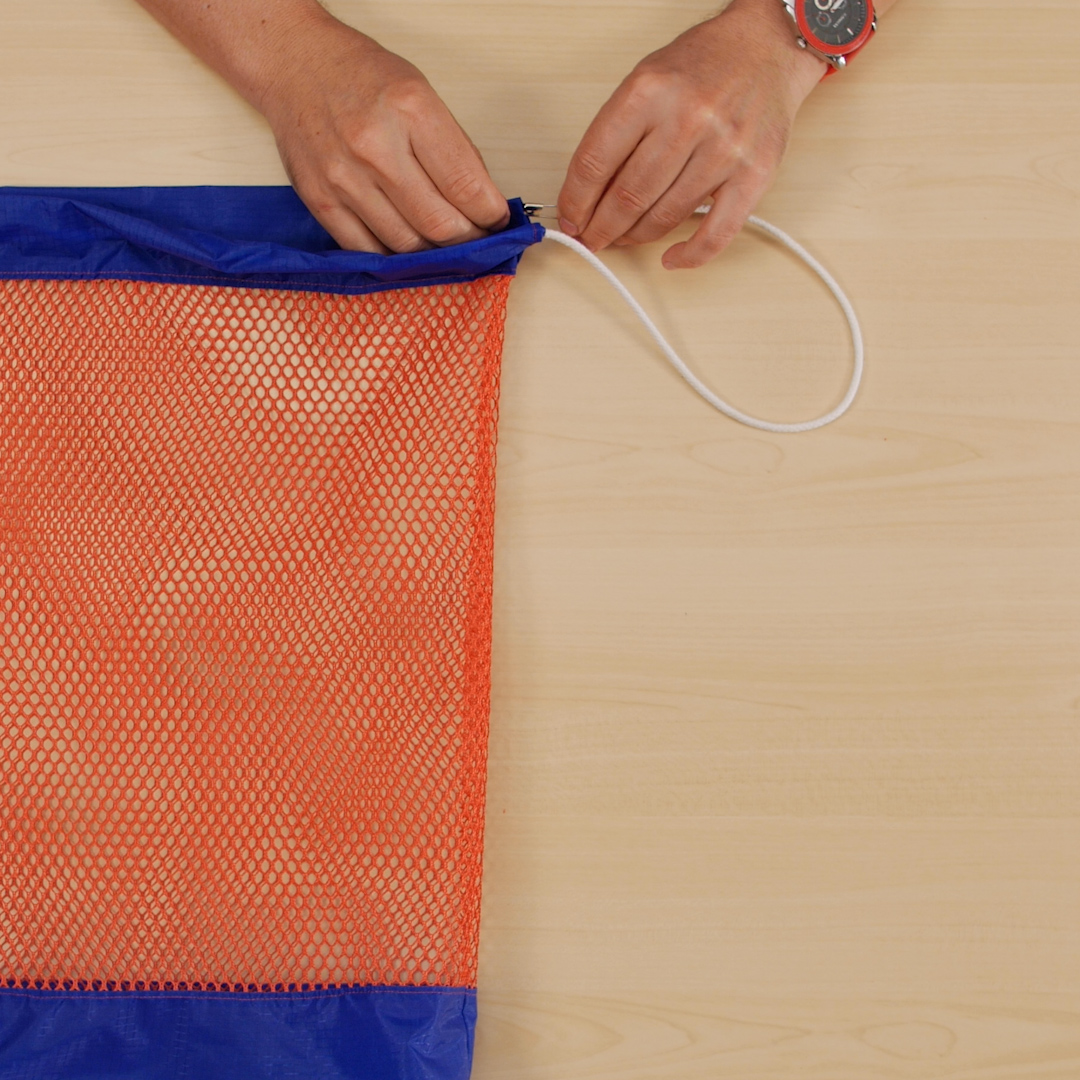
- When the cord emerges the second time tie the two ends together.
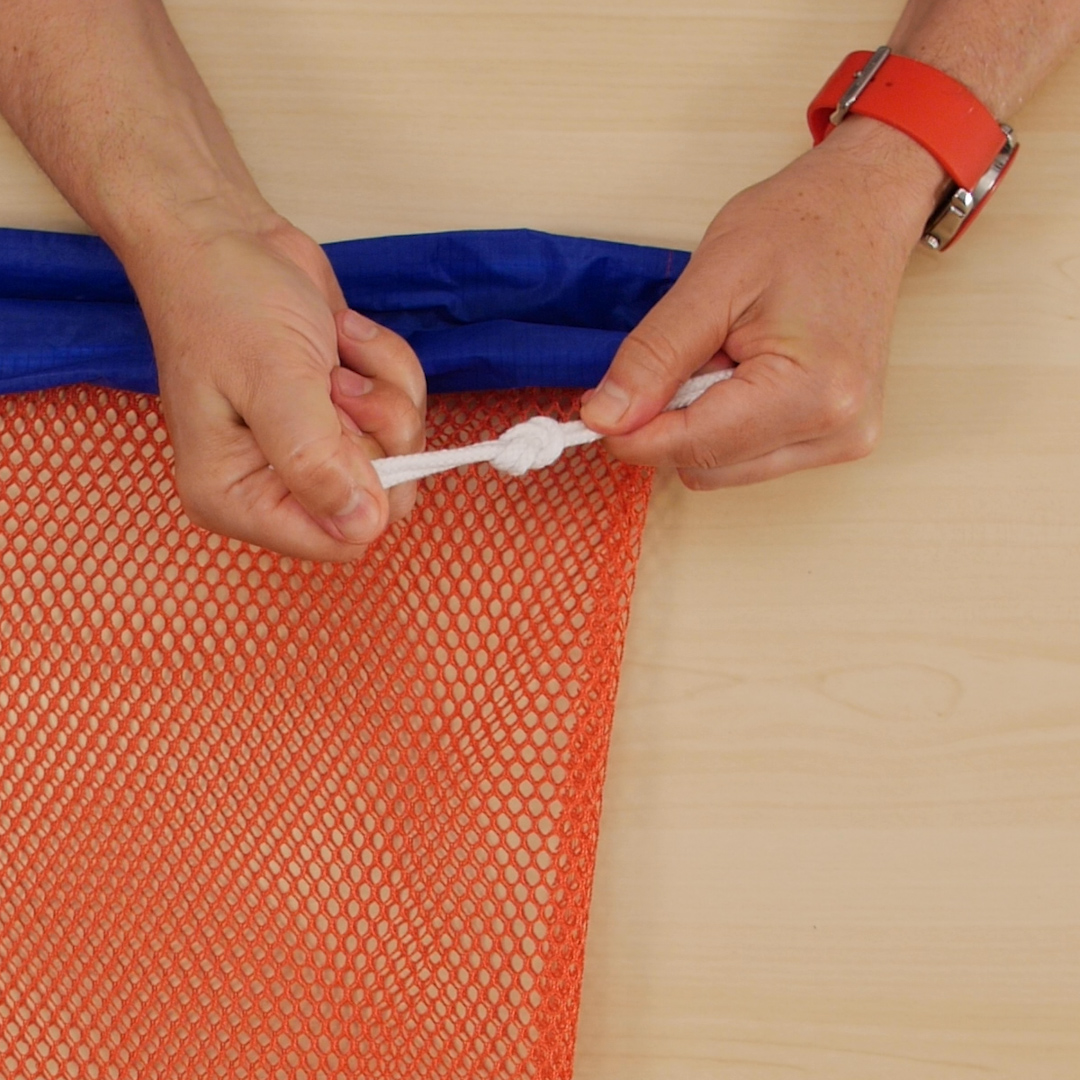
- Repeat with the second cord, starting from the opposite side.
And Voilà! Wasn’t that a cinch?

You now have a bag that will take your essentials to the beach. Now dive in!