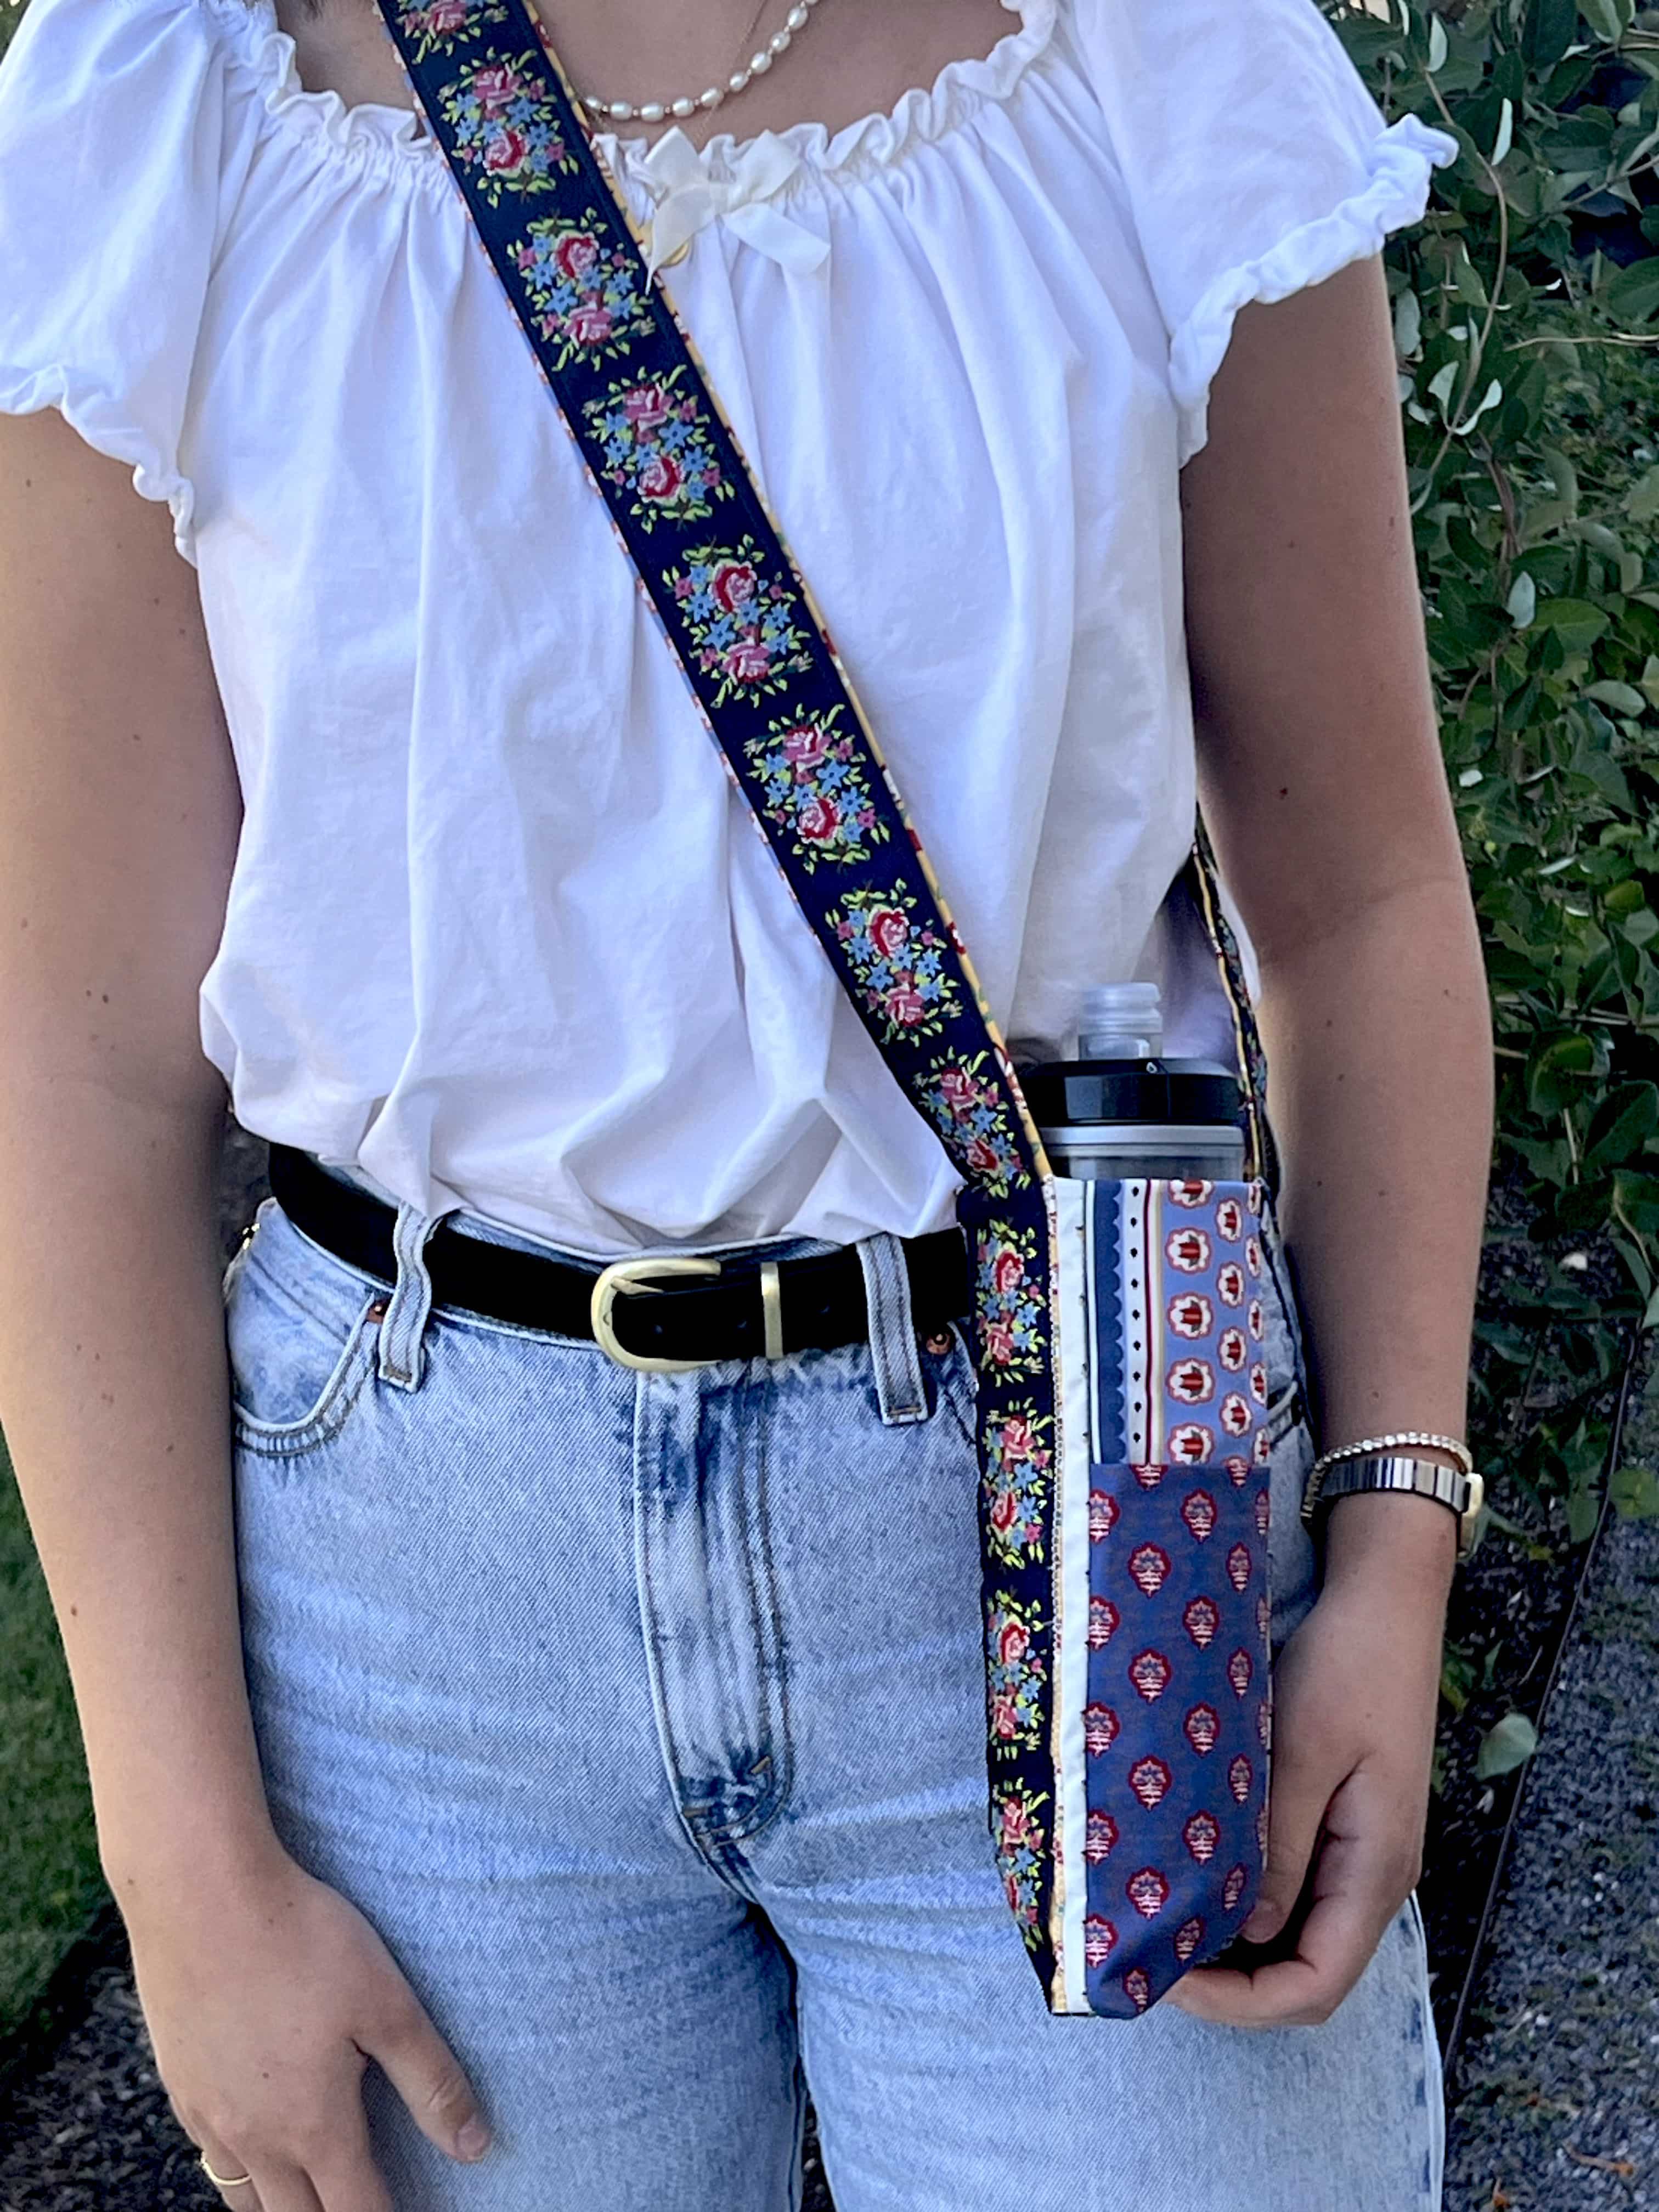
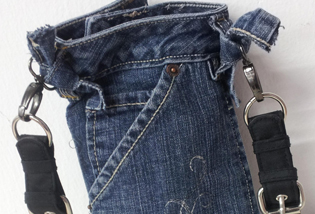
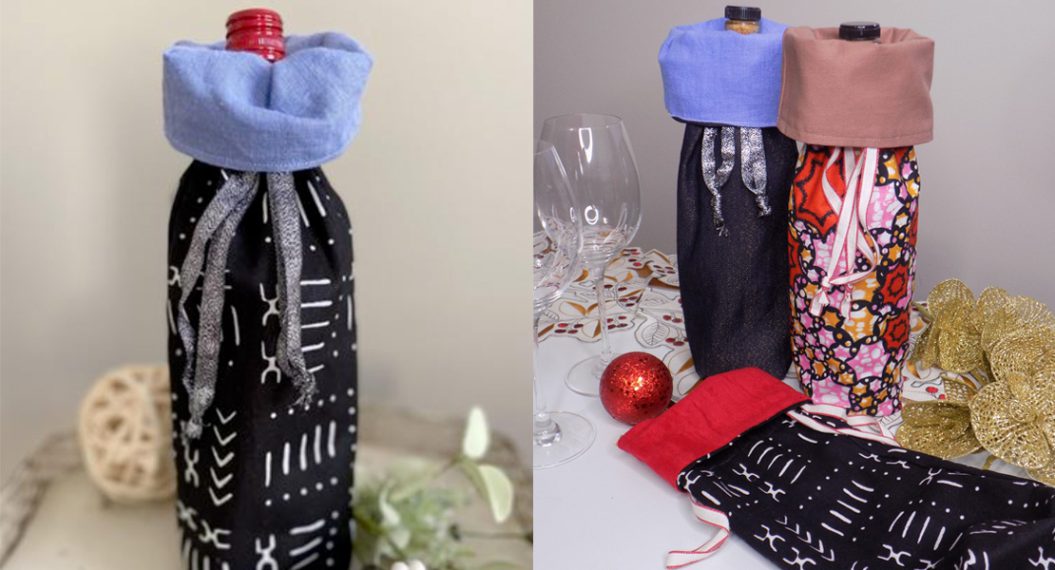
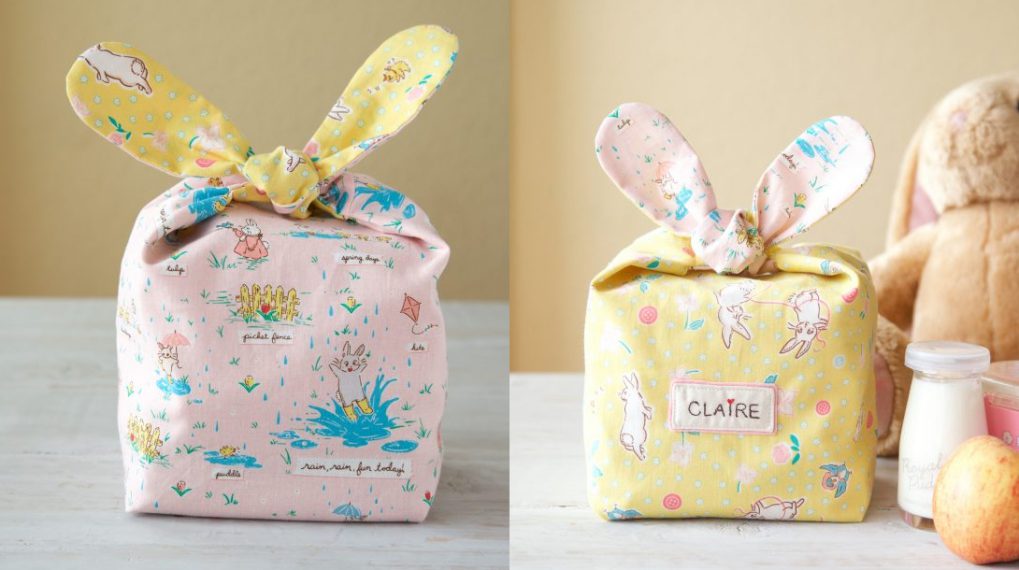
Water Bottle Bag
I love to carry a water bottle with me at all times — whether I’m traveling, hiking or going to a football game. I thought that it might be a great idea to create a bag designed just for carrying my water bottle, and maybe a credit card or driver’s license. After a little bit of experimentation, I think I’ve created the perfect bag and it’s incredibly simple to make!
How to Make a Water Bottle Bag
Step One
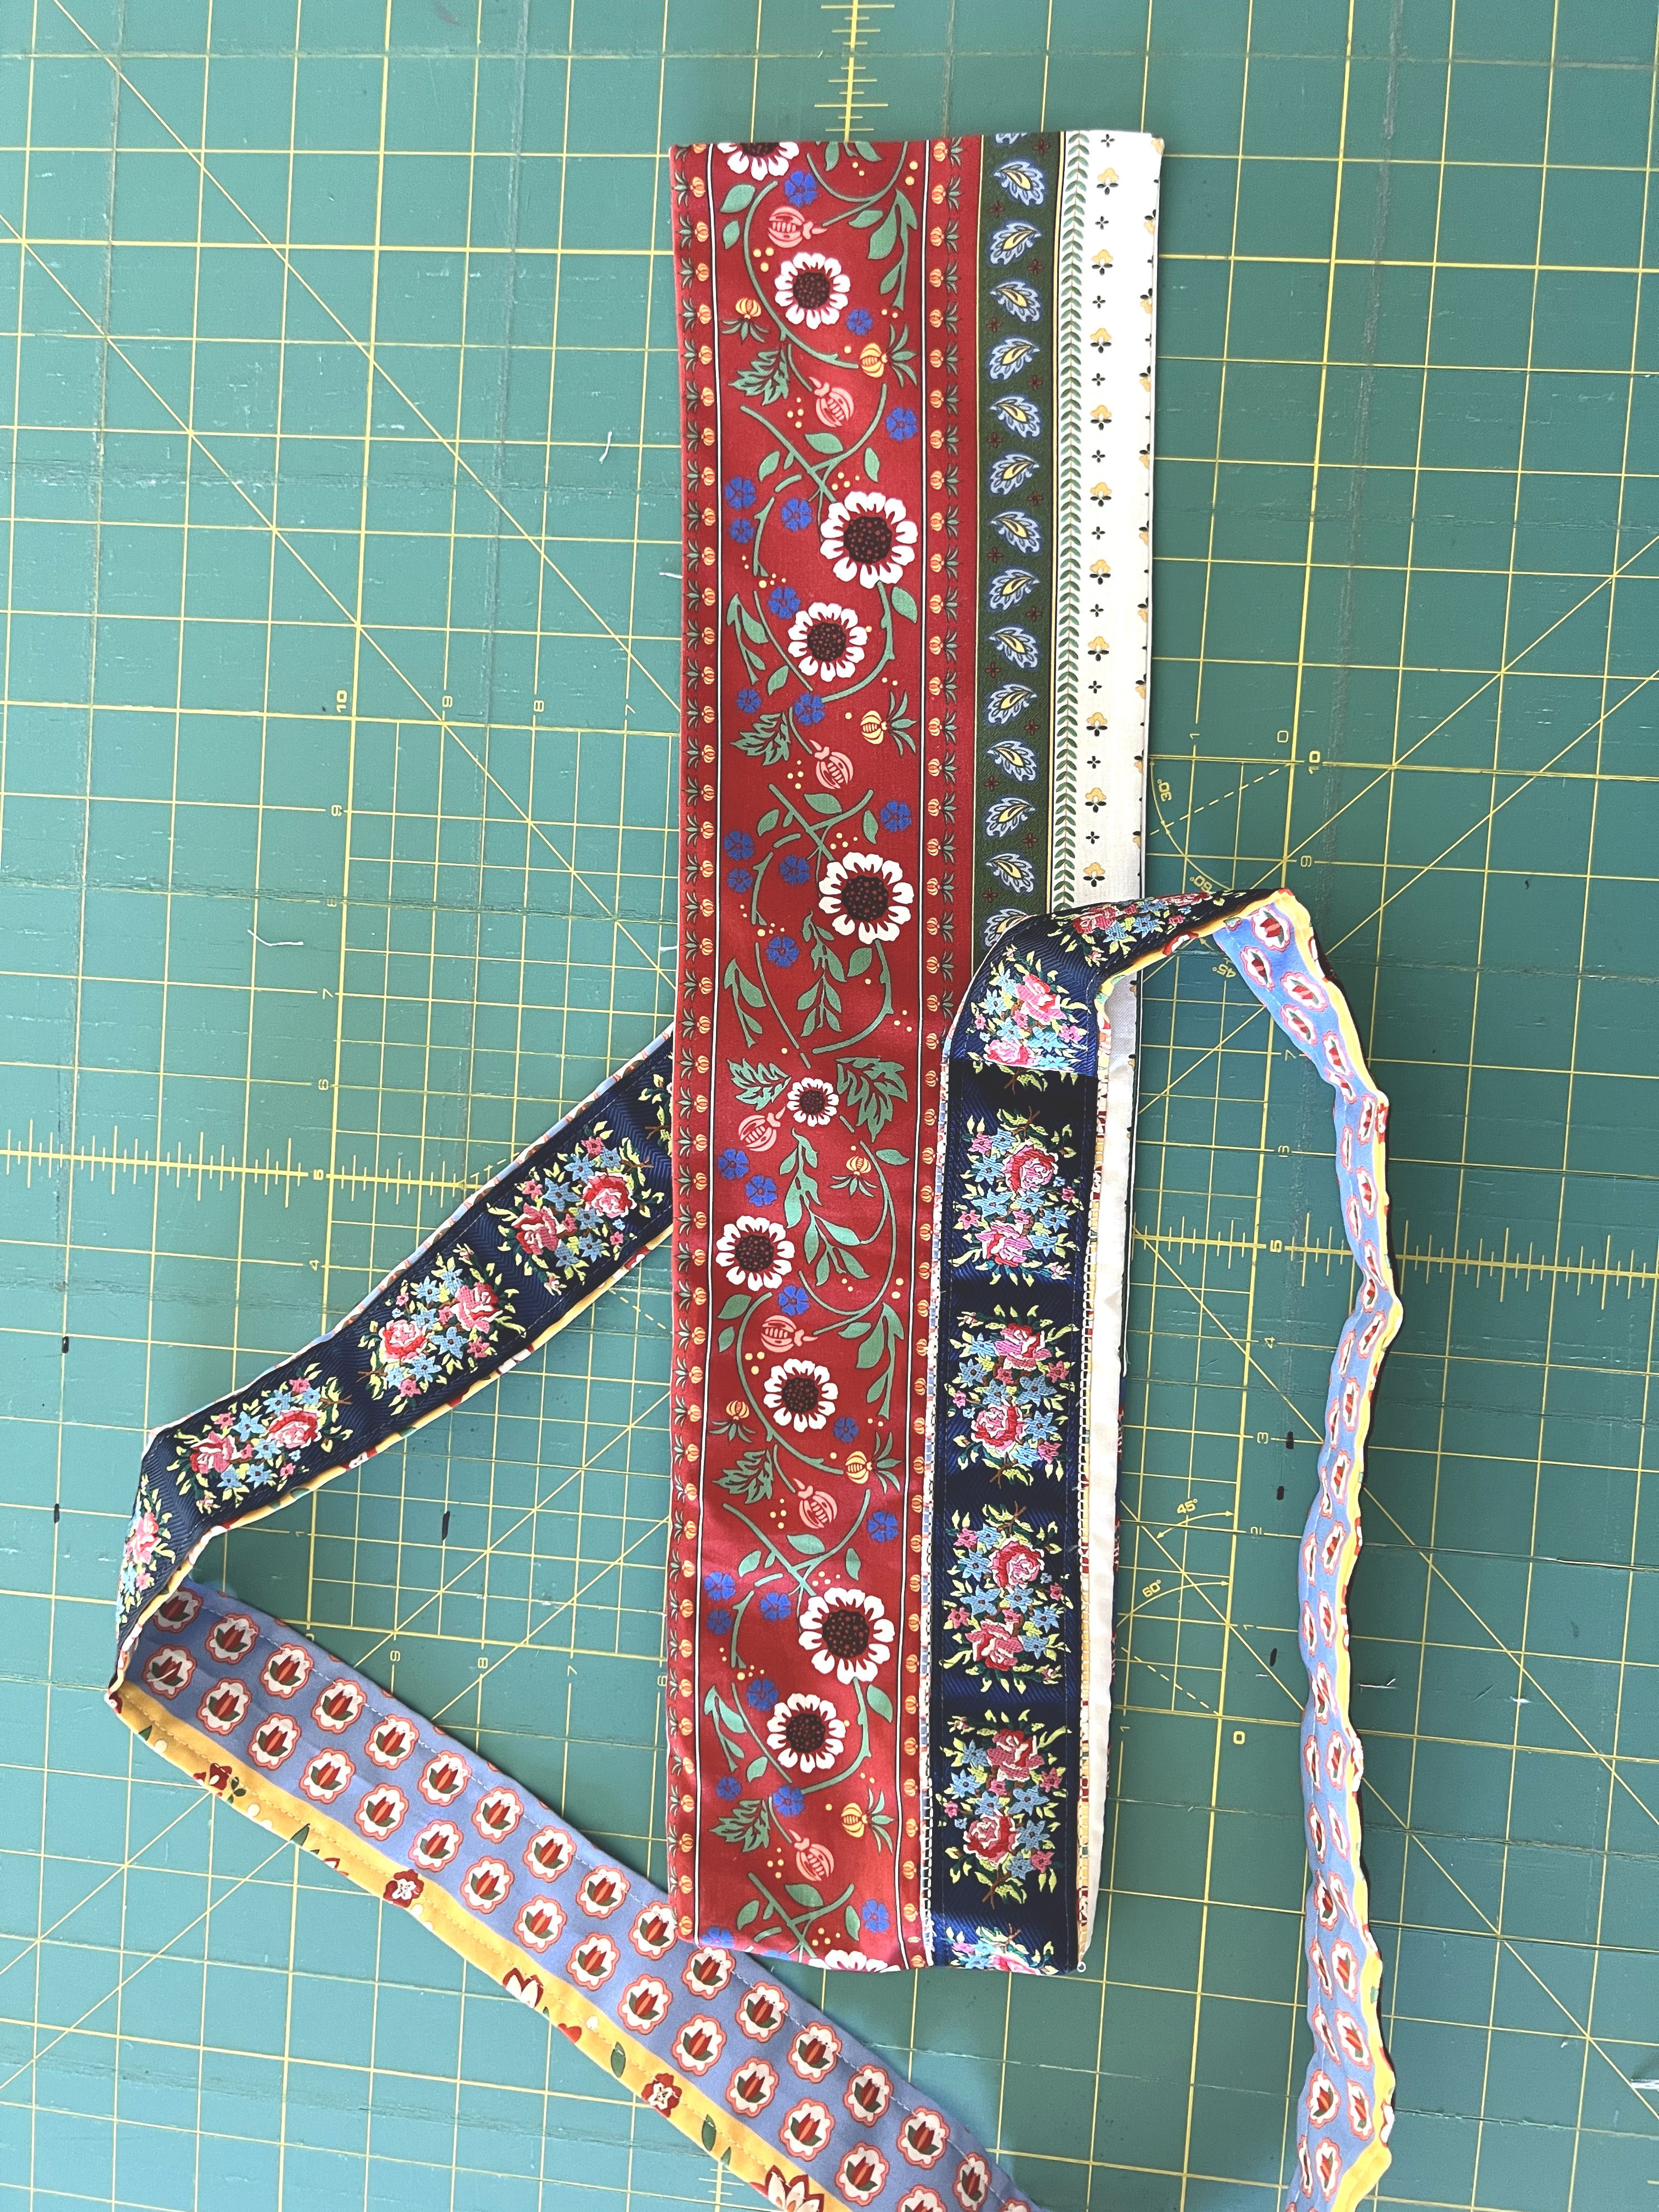
Cut a strip of fabric for the strap that is 66″ long x 3.5″ wide. Fold the edges of the fabric towards the middle and press.
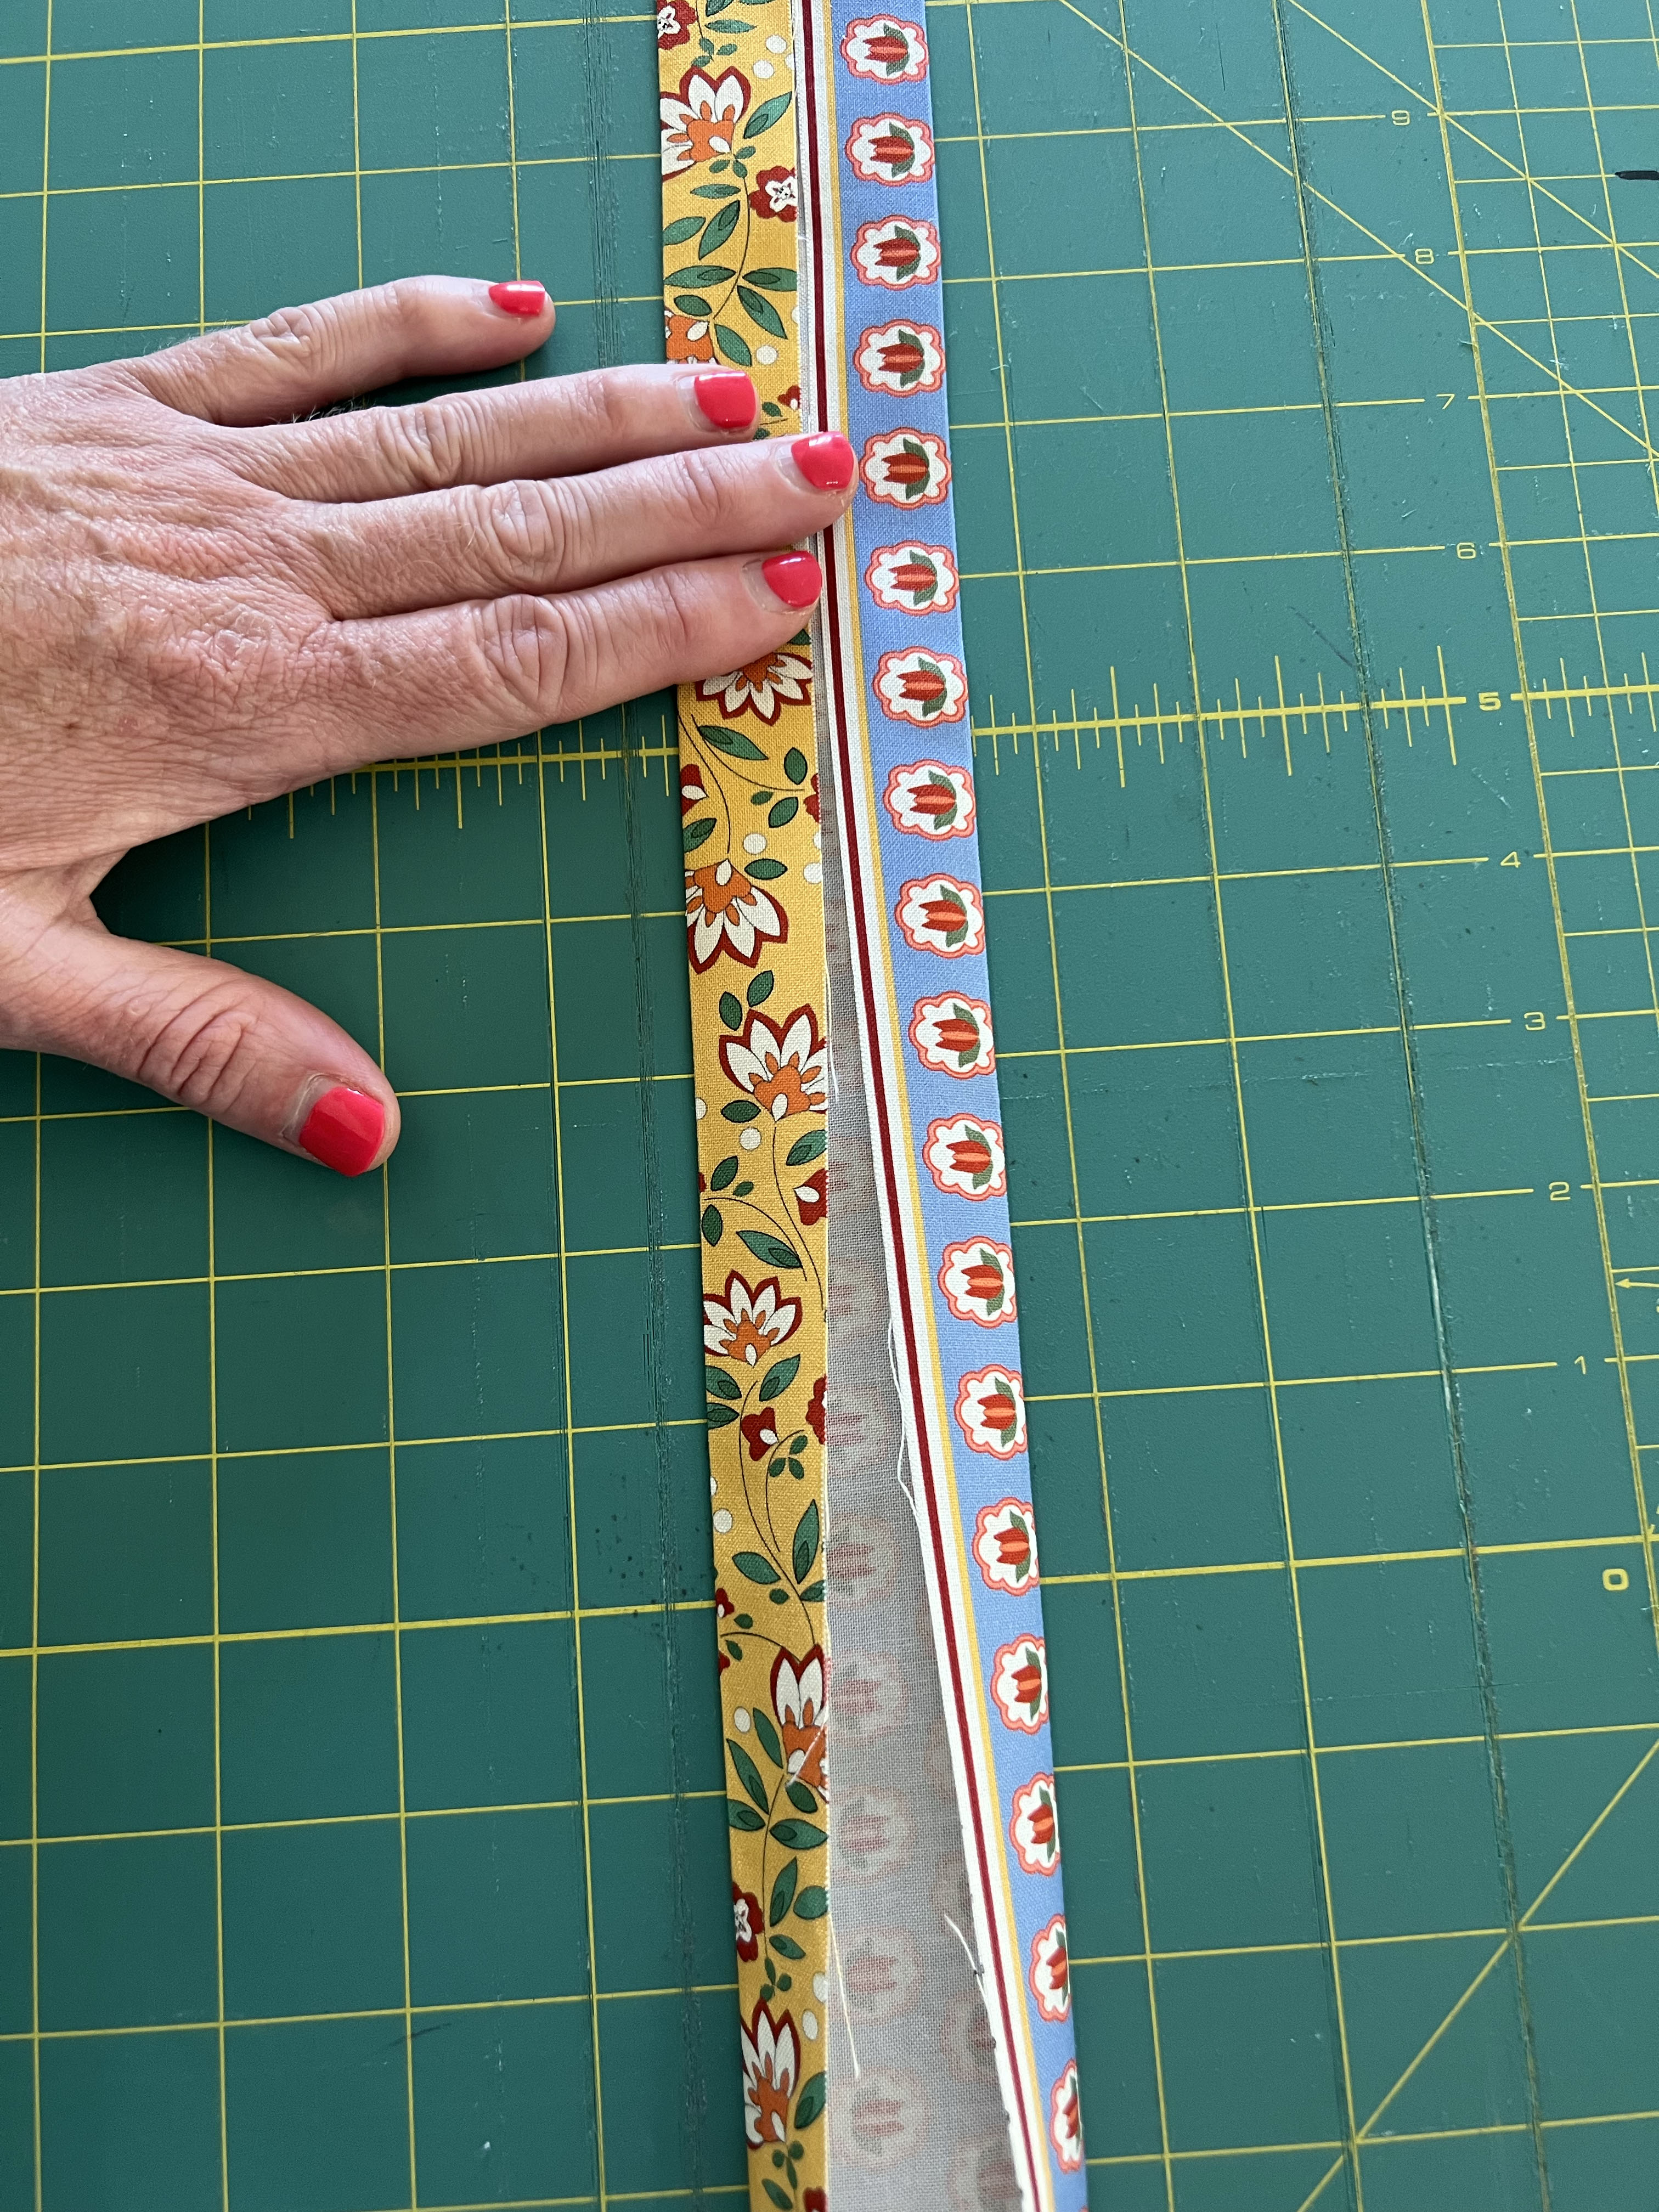
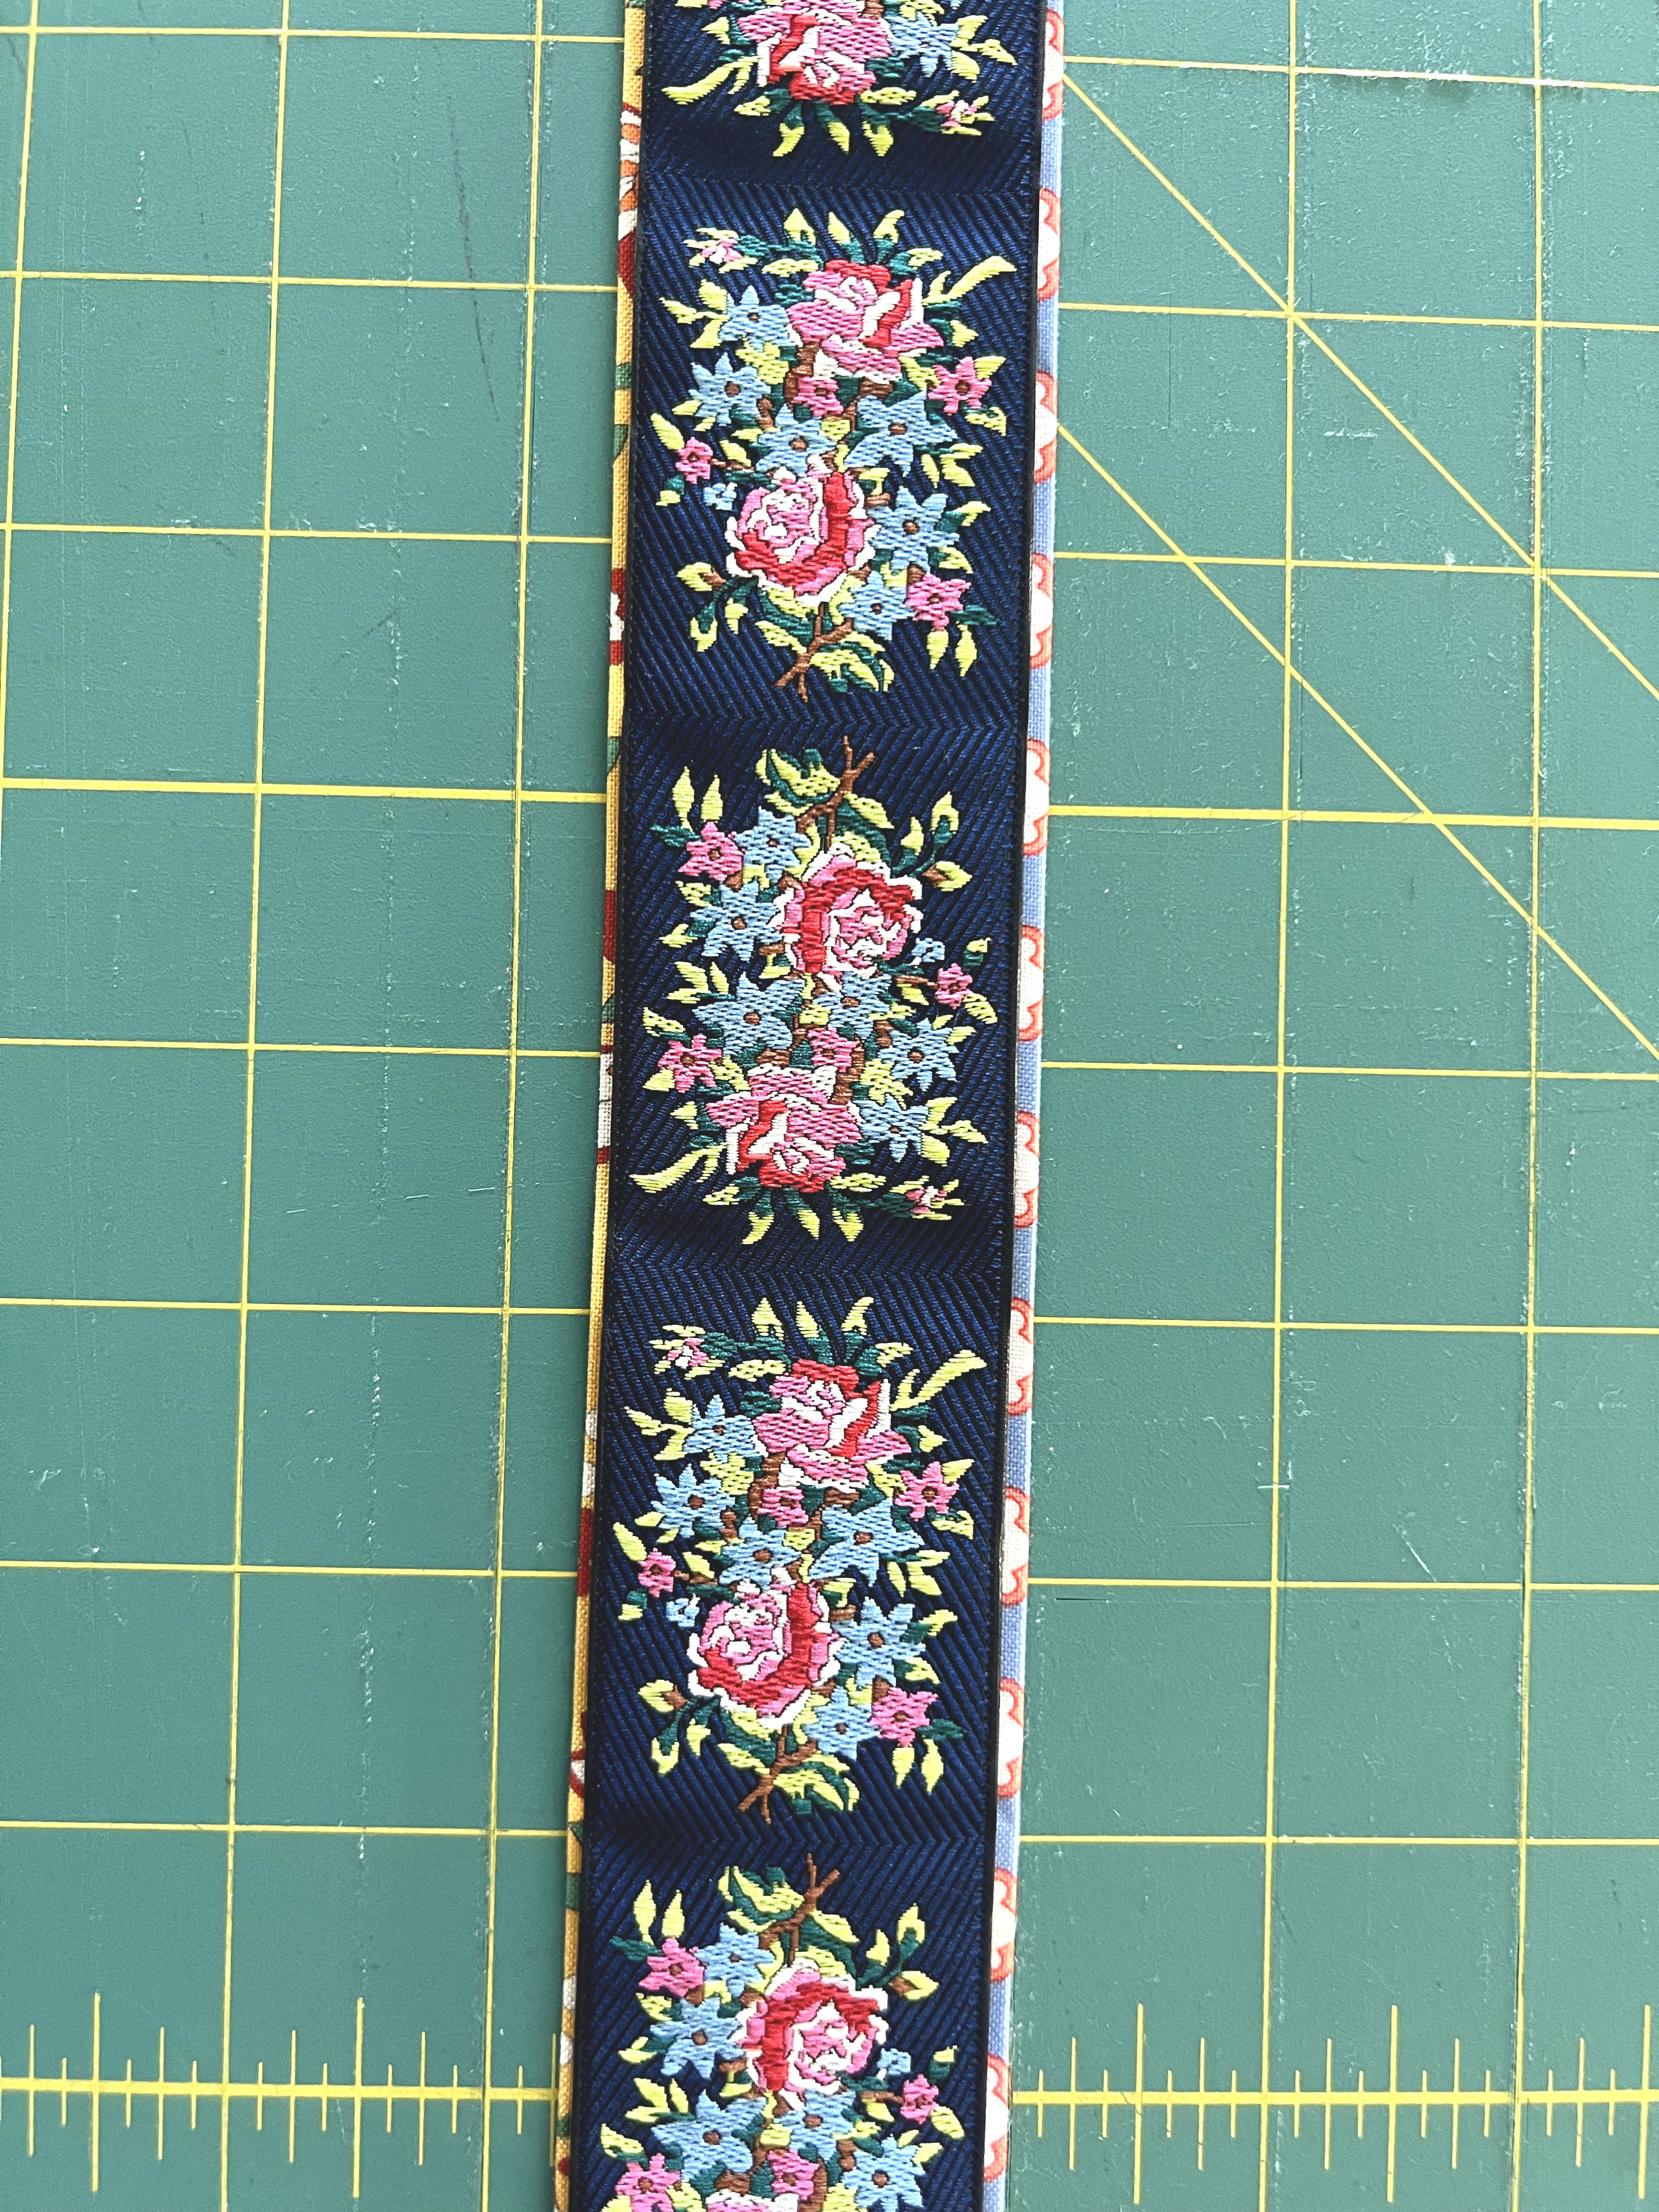
Step Two
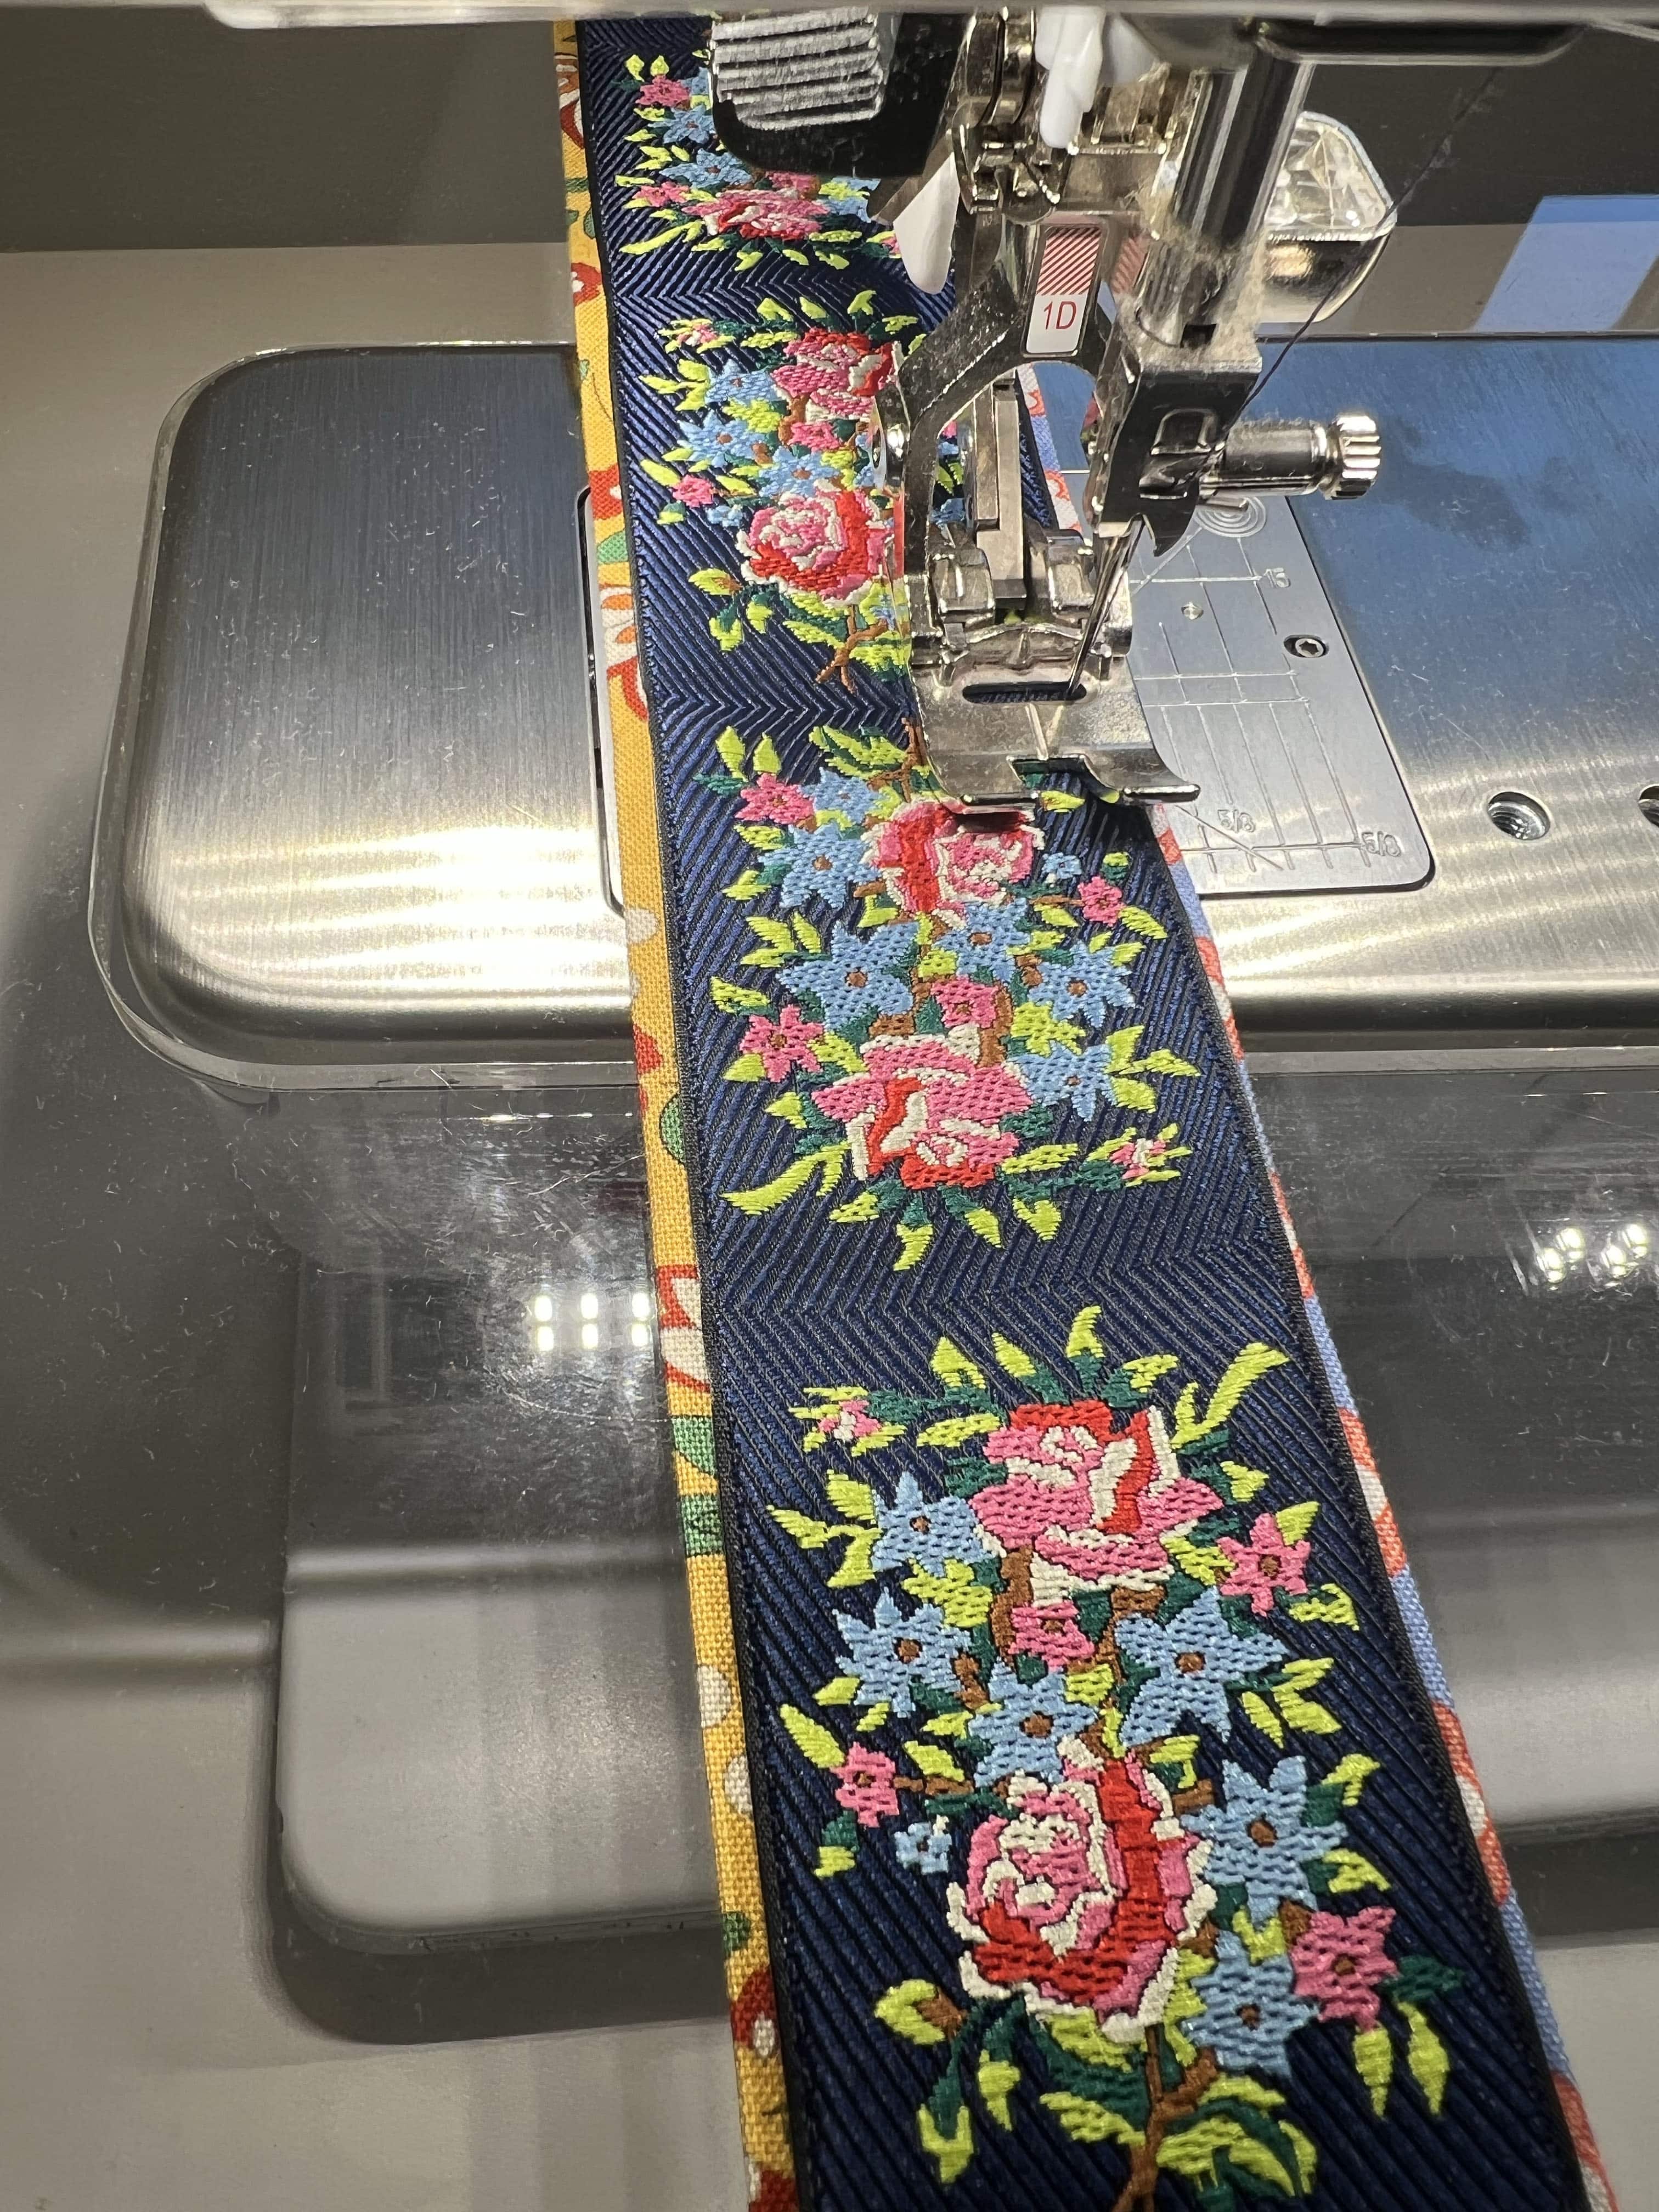
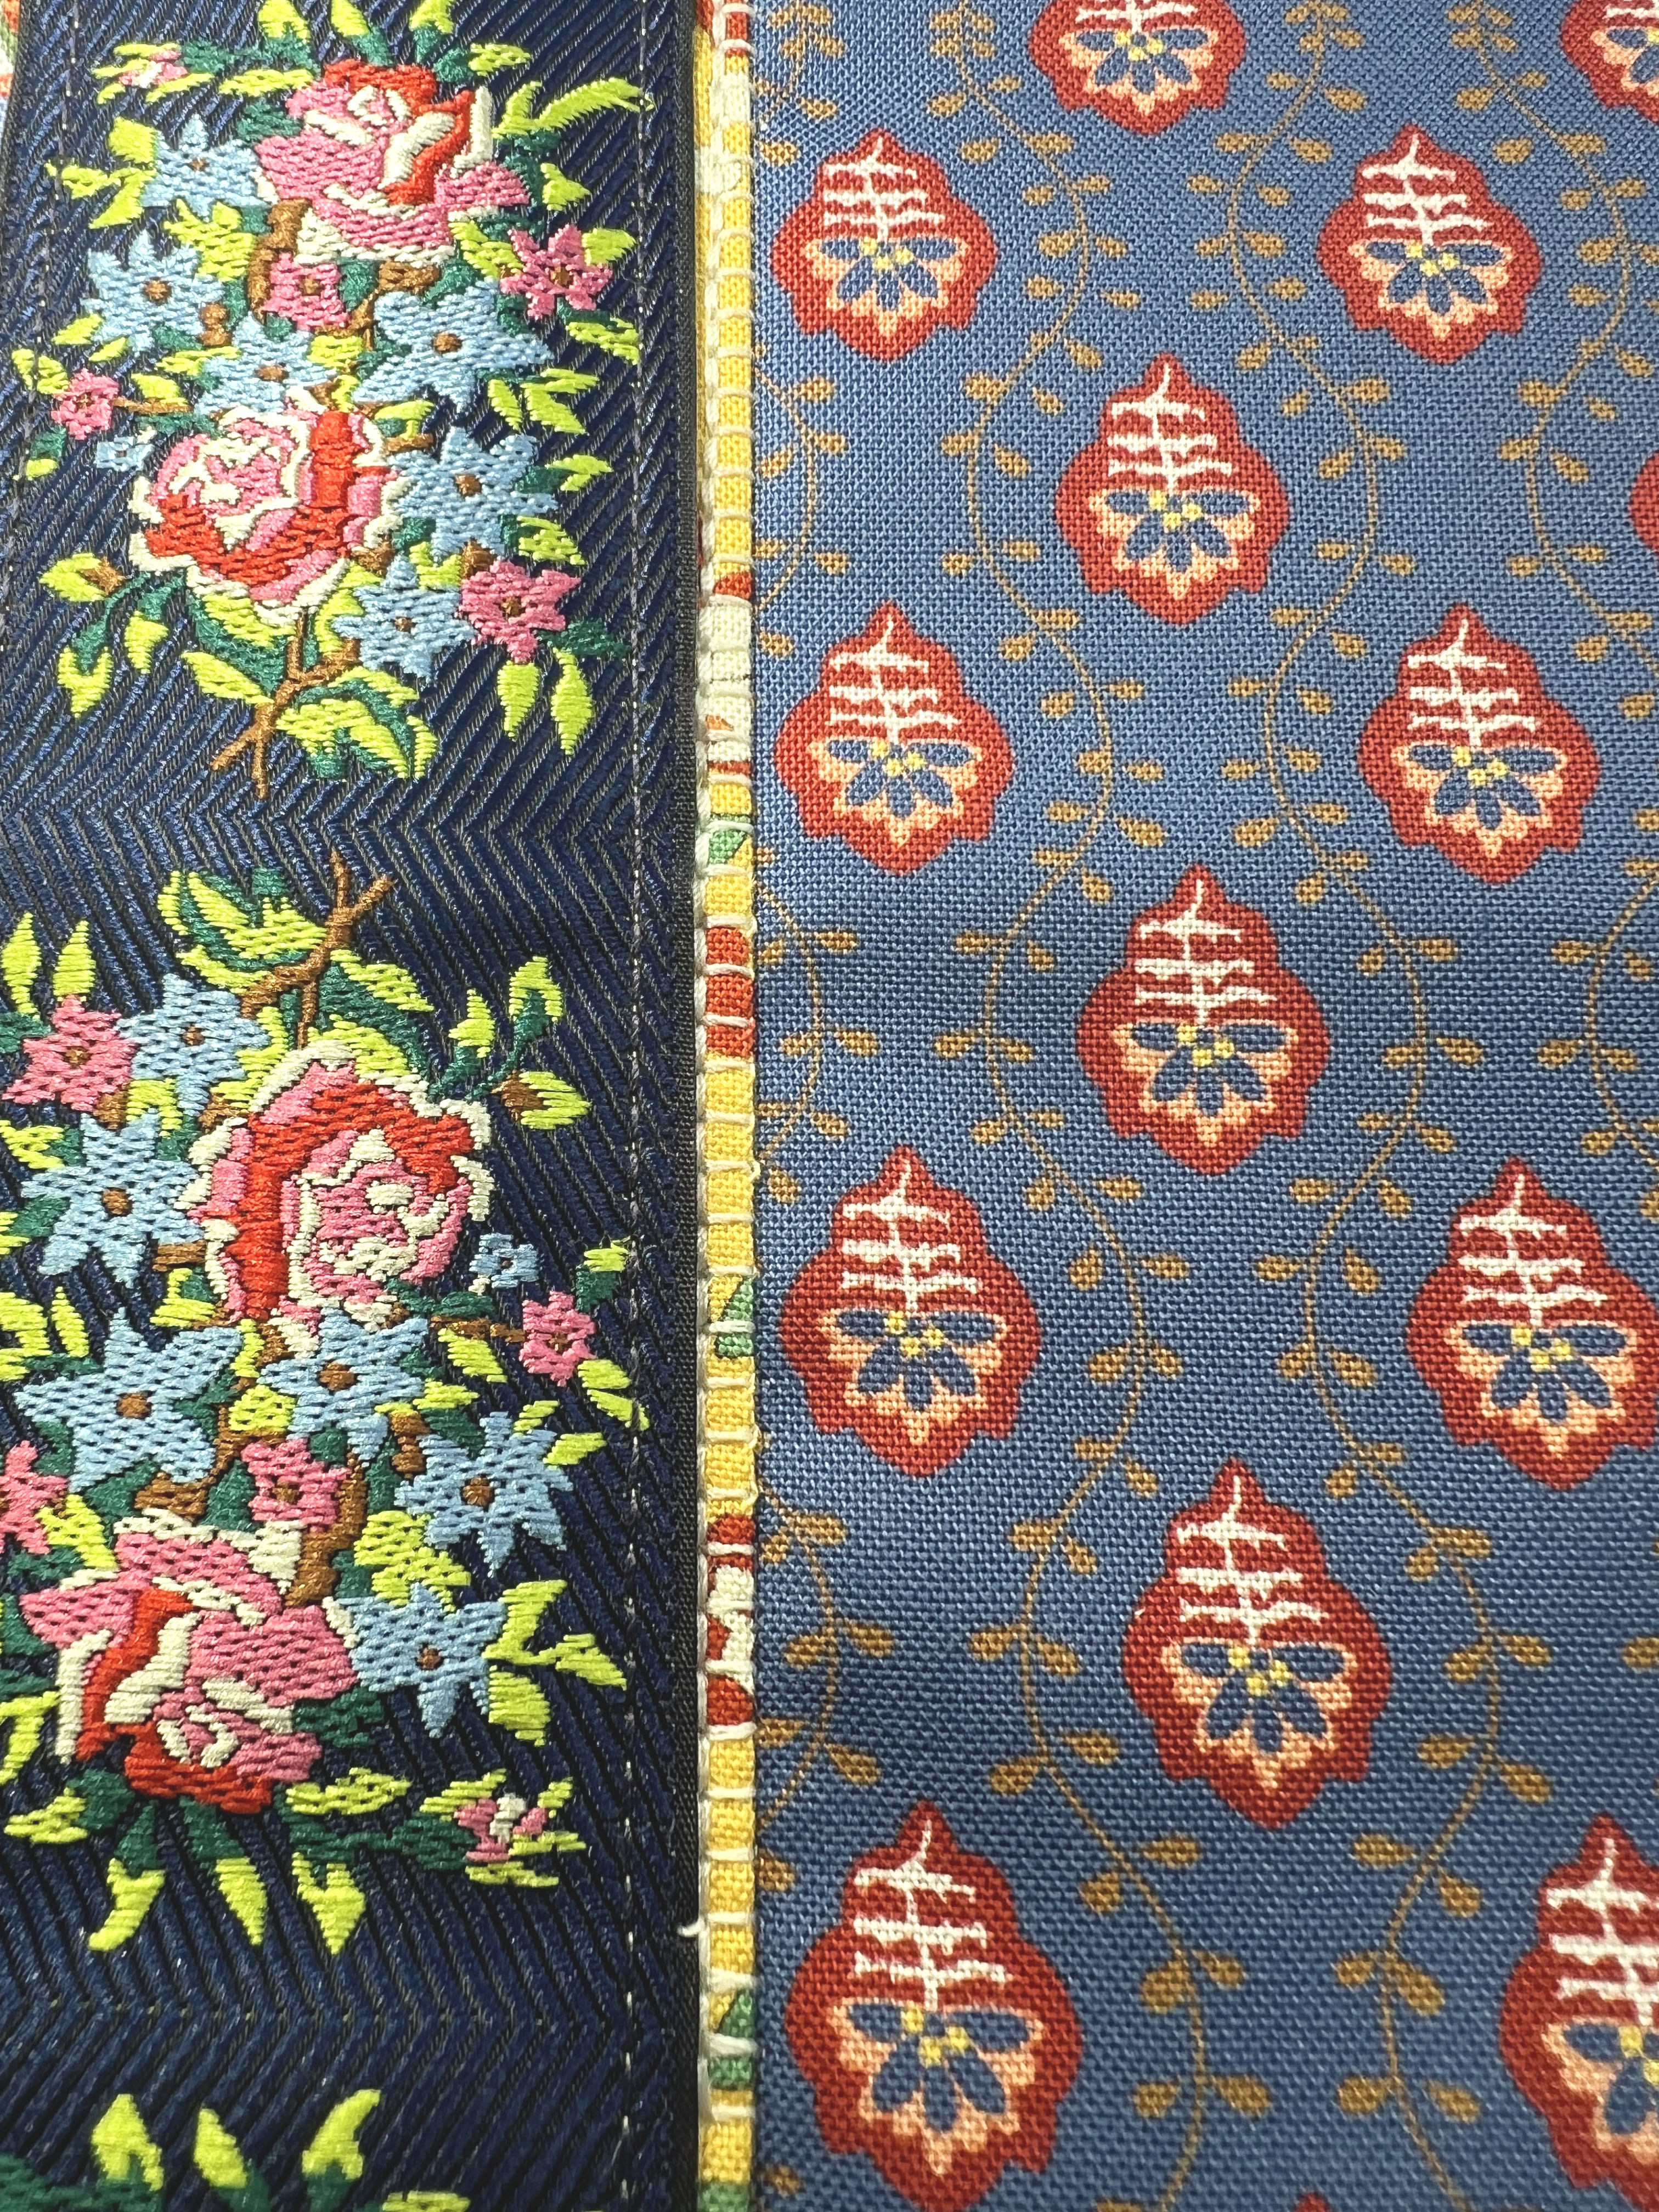
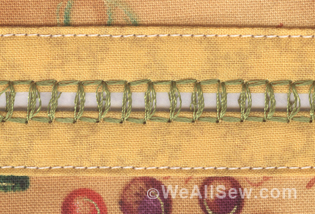
Select a lovely 1.5″ ribbon of your choice, and lay it along the length of the folded fabric. The fabric folds should just peek out from beneath the ribbon. Topstitch the ribbon to the folded fabric.
Step Three
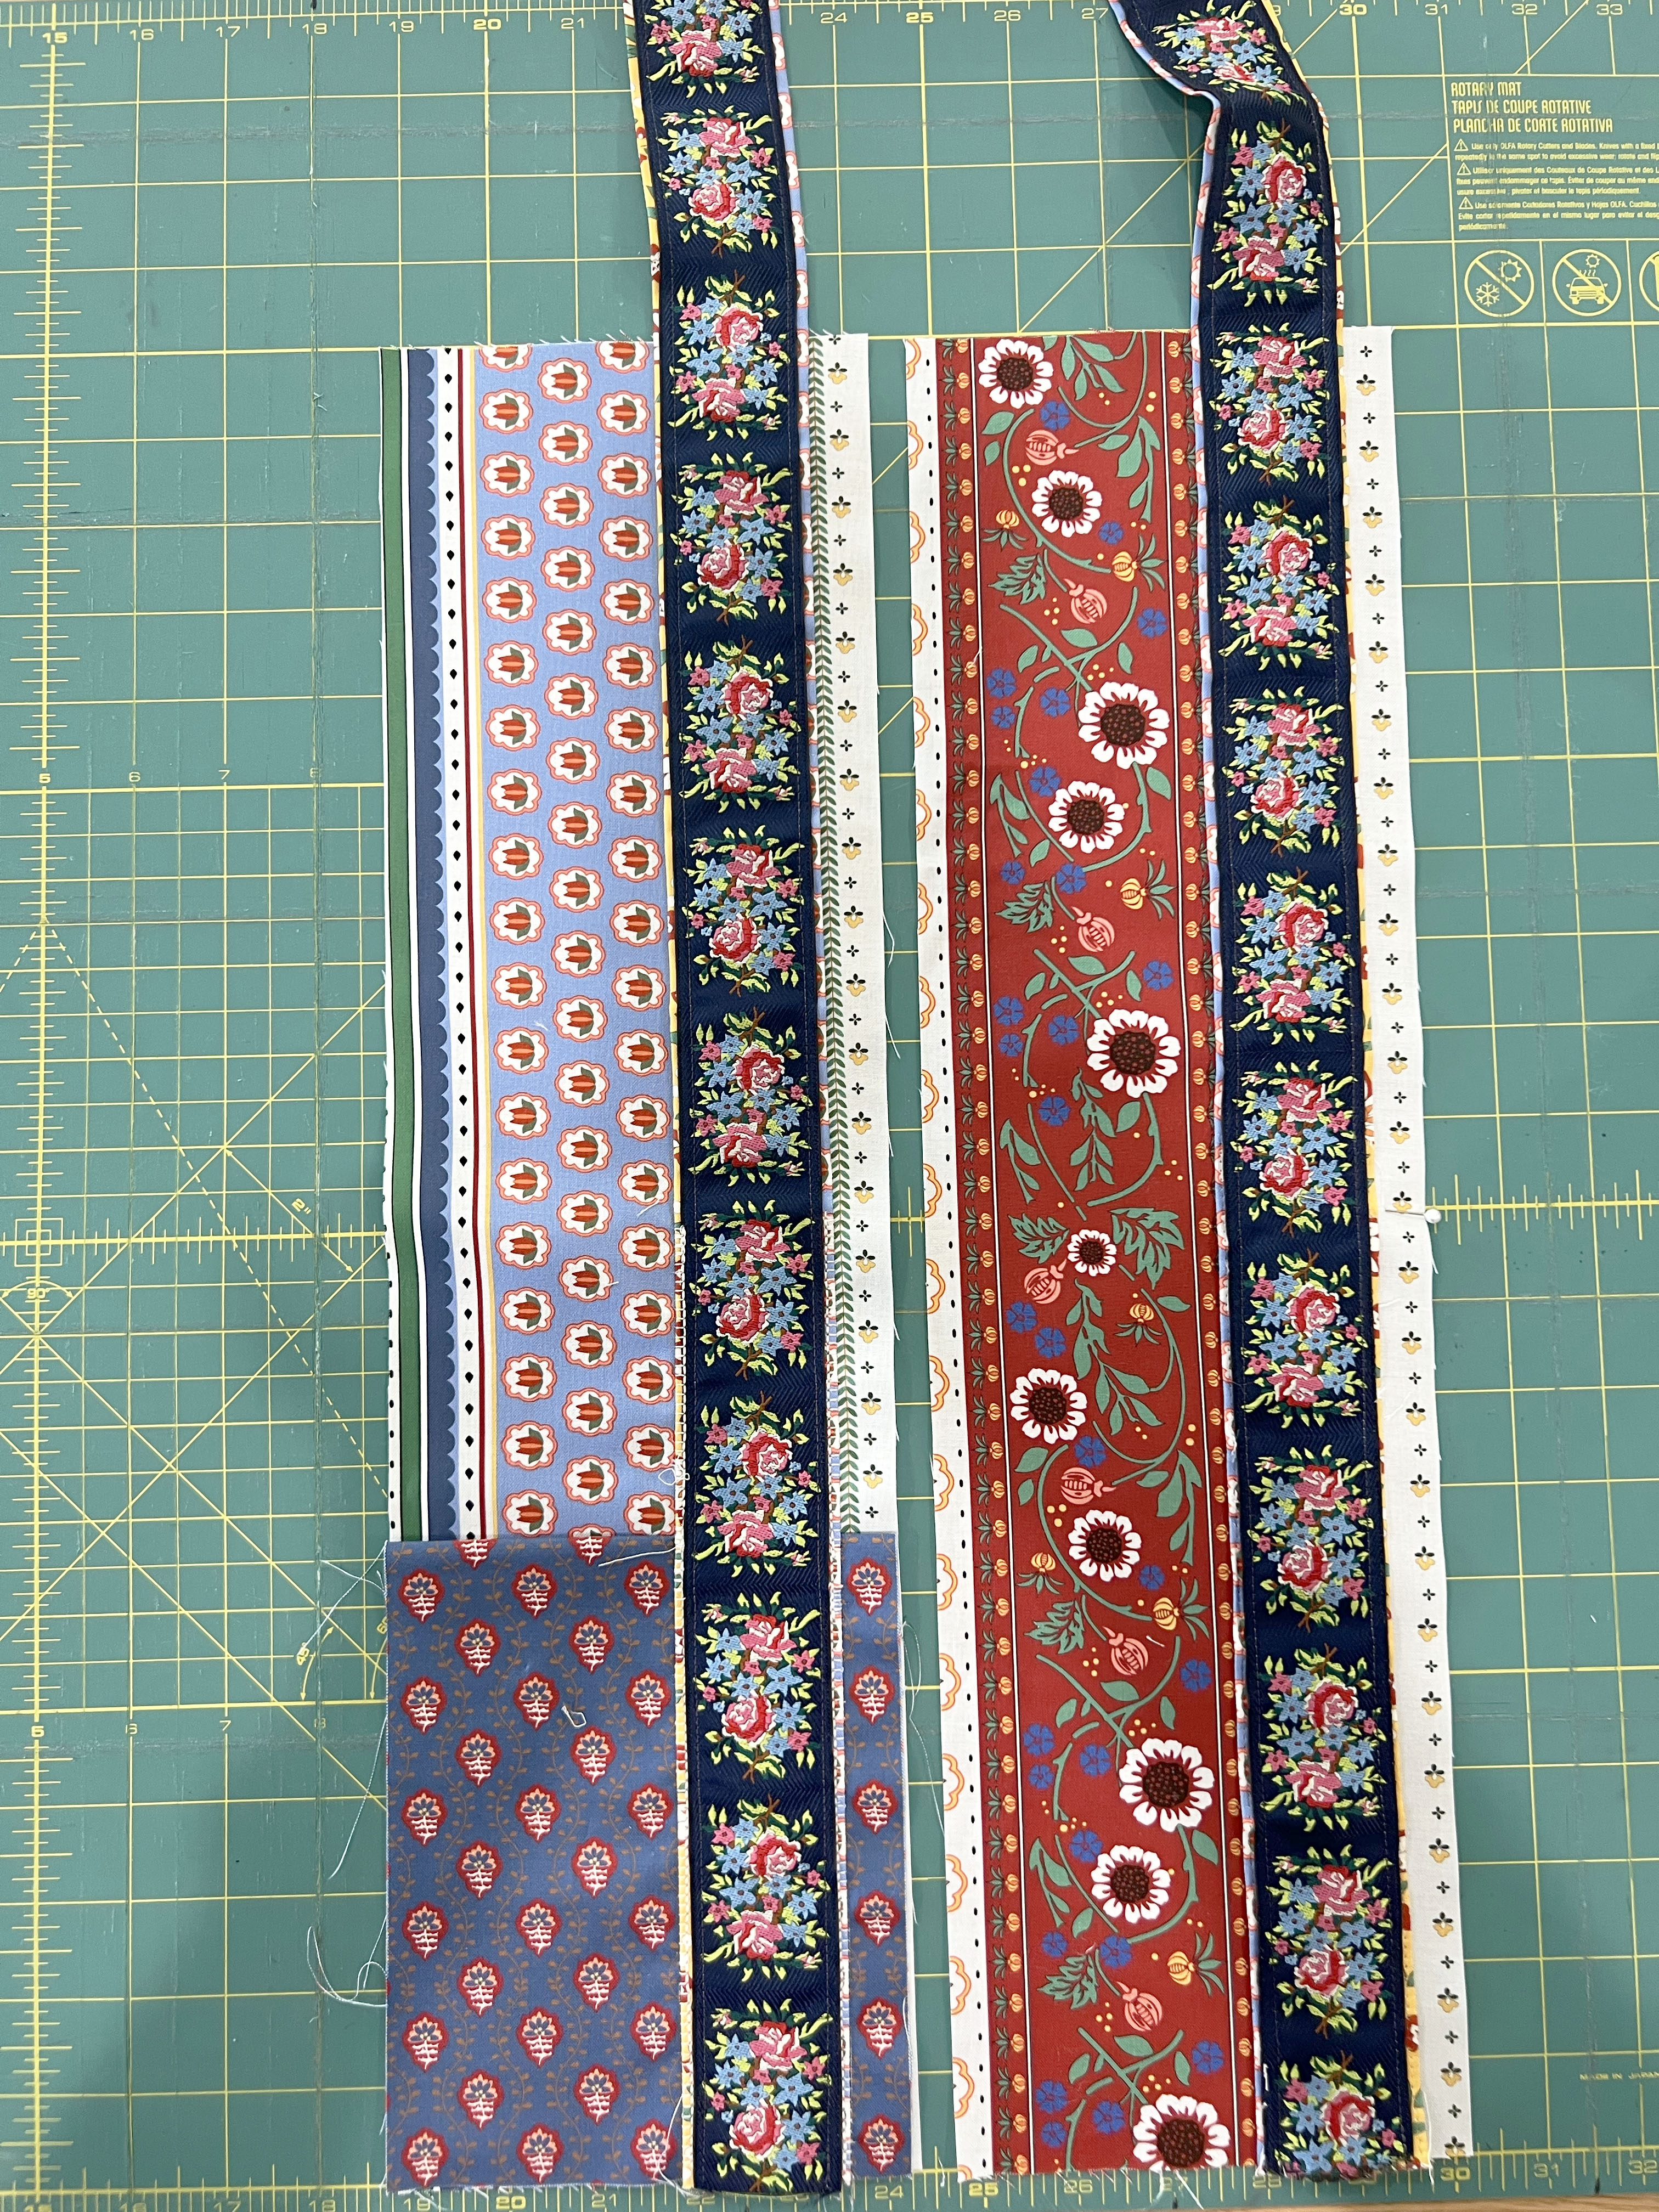
Cut two pieces of fabric that are 5.5″ wide x 20″ long for the bag and lining. Cut one piece of fabric for the pocket which measures 5.5″ wide x 12″ tall. Fold the pocket piece in half to create a piece that is 5.5″ x 6″.
Lay out the bag pieces, the pocket on one side and the strap on one side of each piece. Make certain that the strap is not twisted.
Step Four
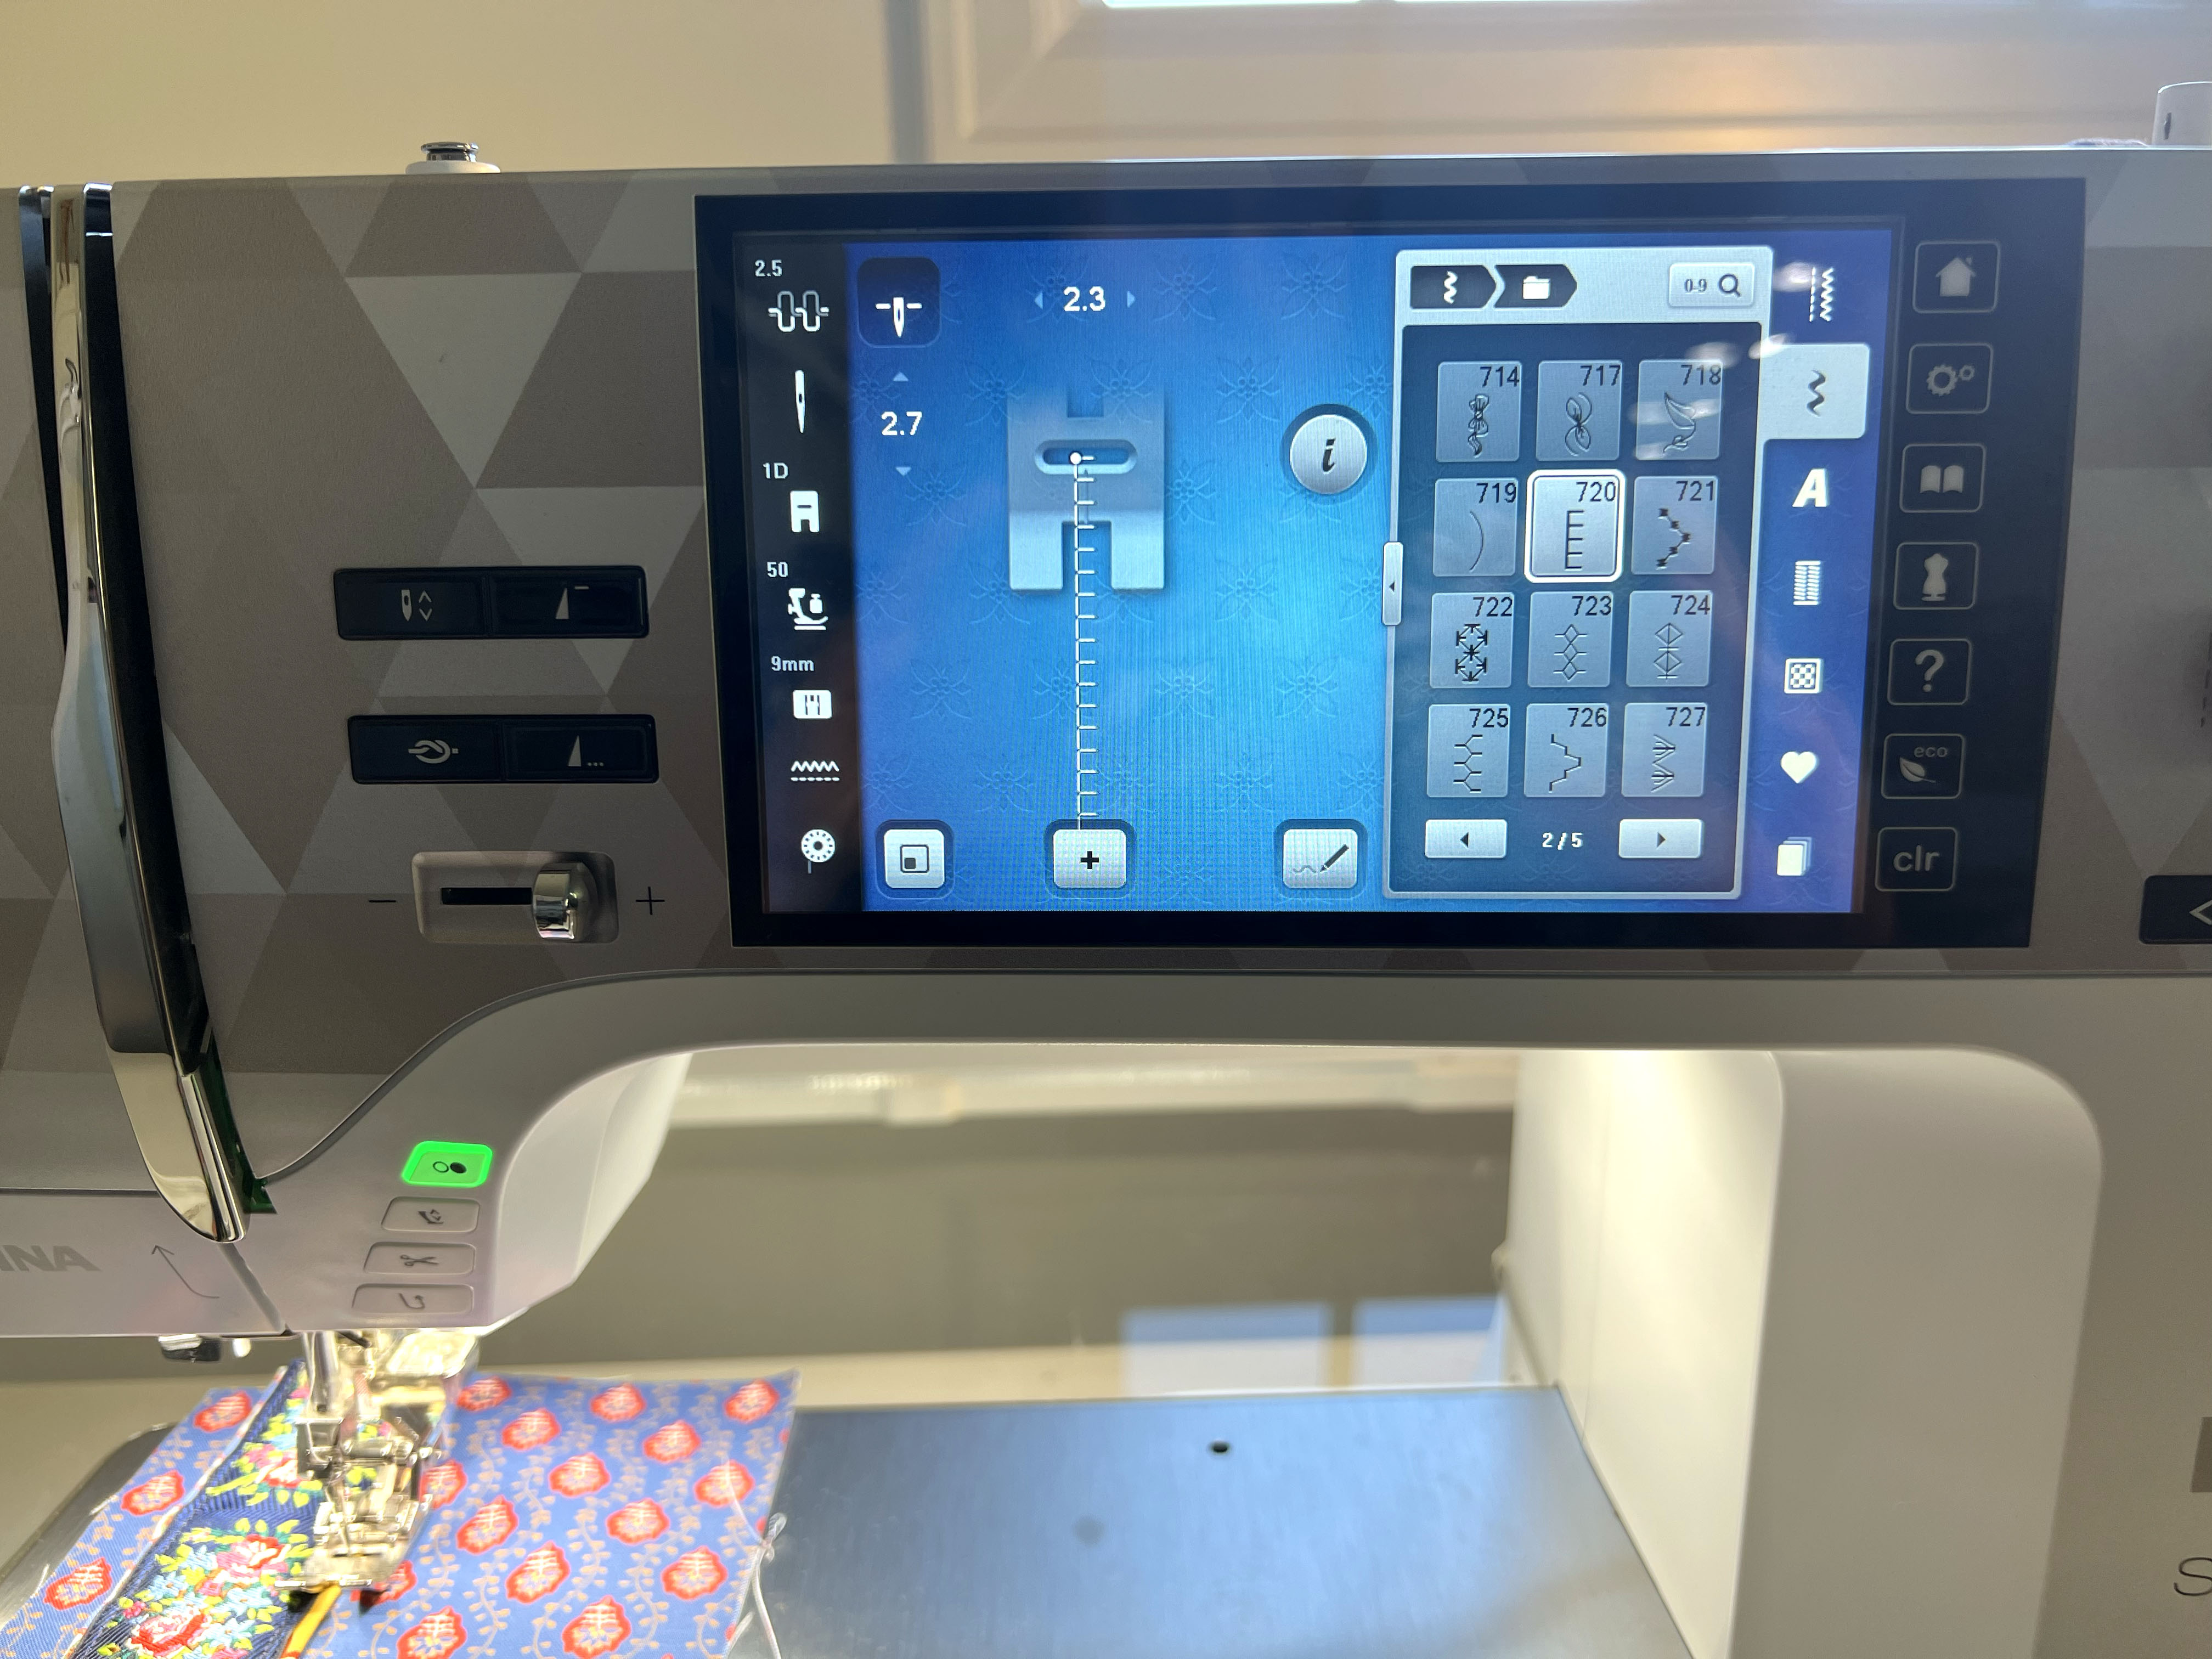
Topstitch along the thin flange of the folded strap fabric, starting from the bottom and ending at the 10″ mark (it’s helpful to mark the stopping point with a pin). Do this on both pieces of the bag. I used a decorative stitch on my BERNINA 790 PLUS to add some beautiful detail to the bag.
Step Five
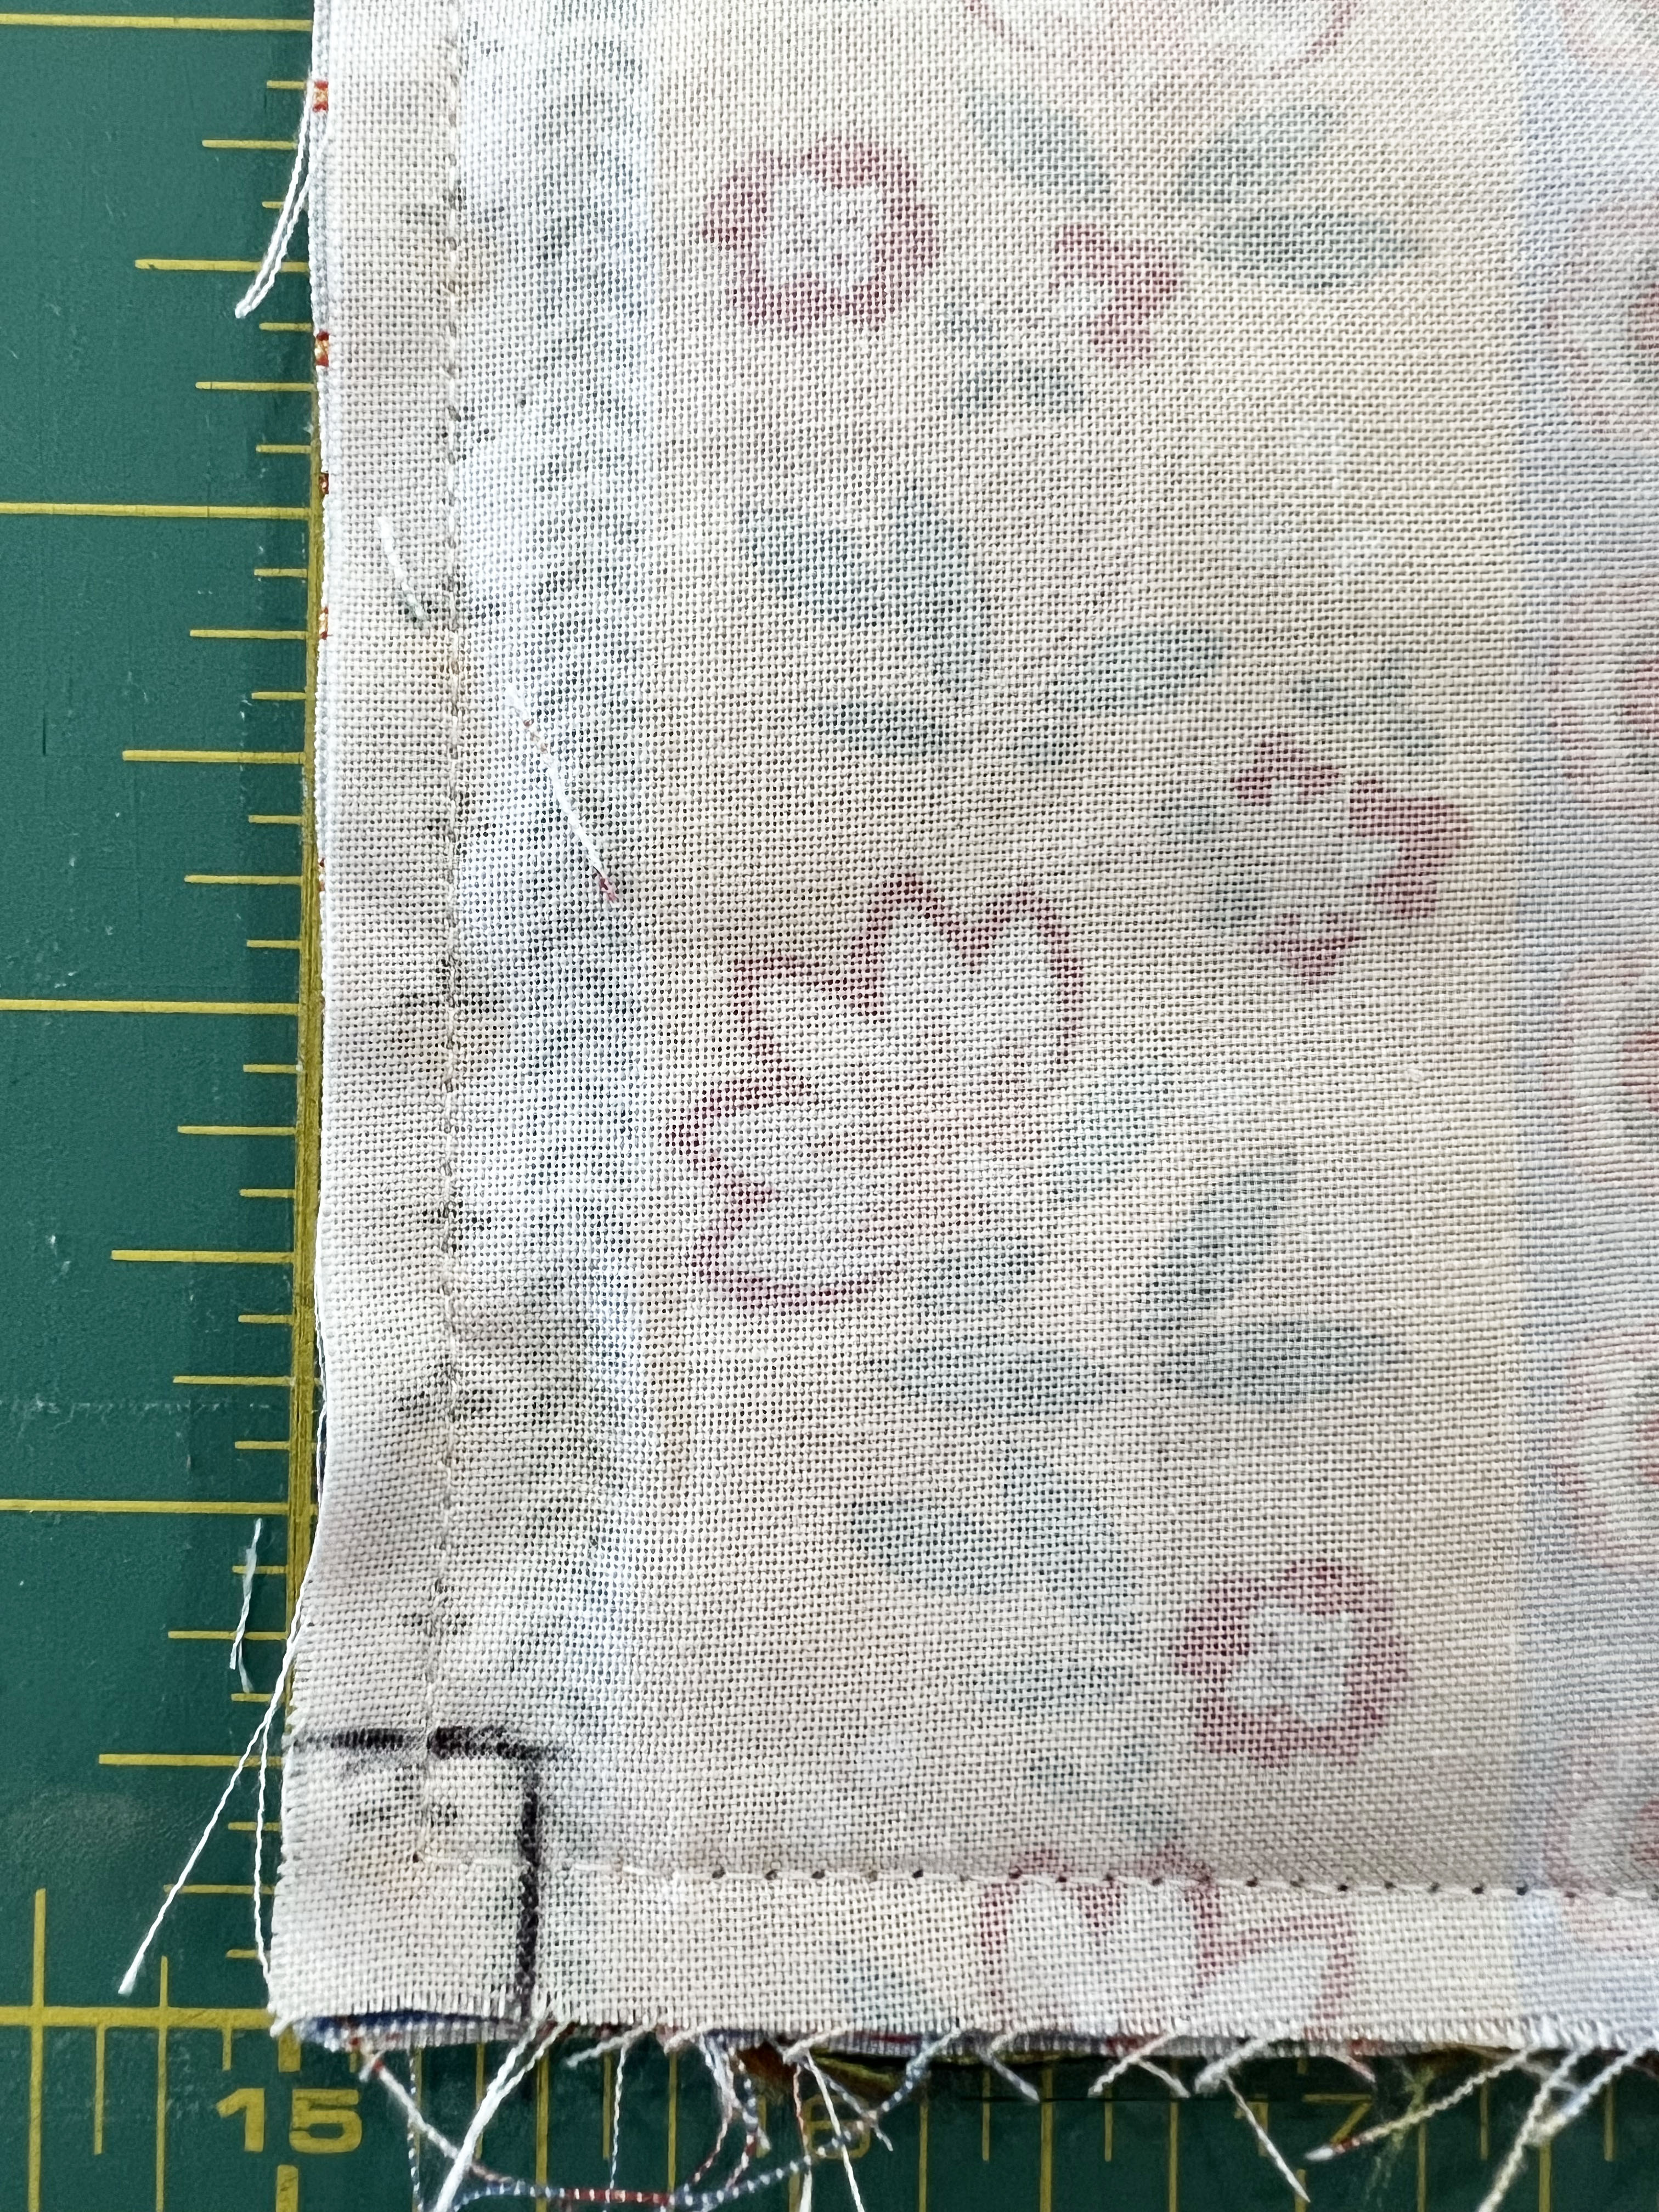
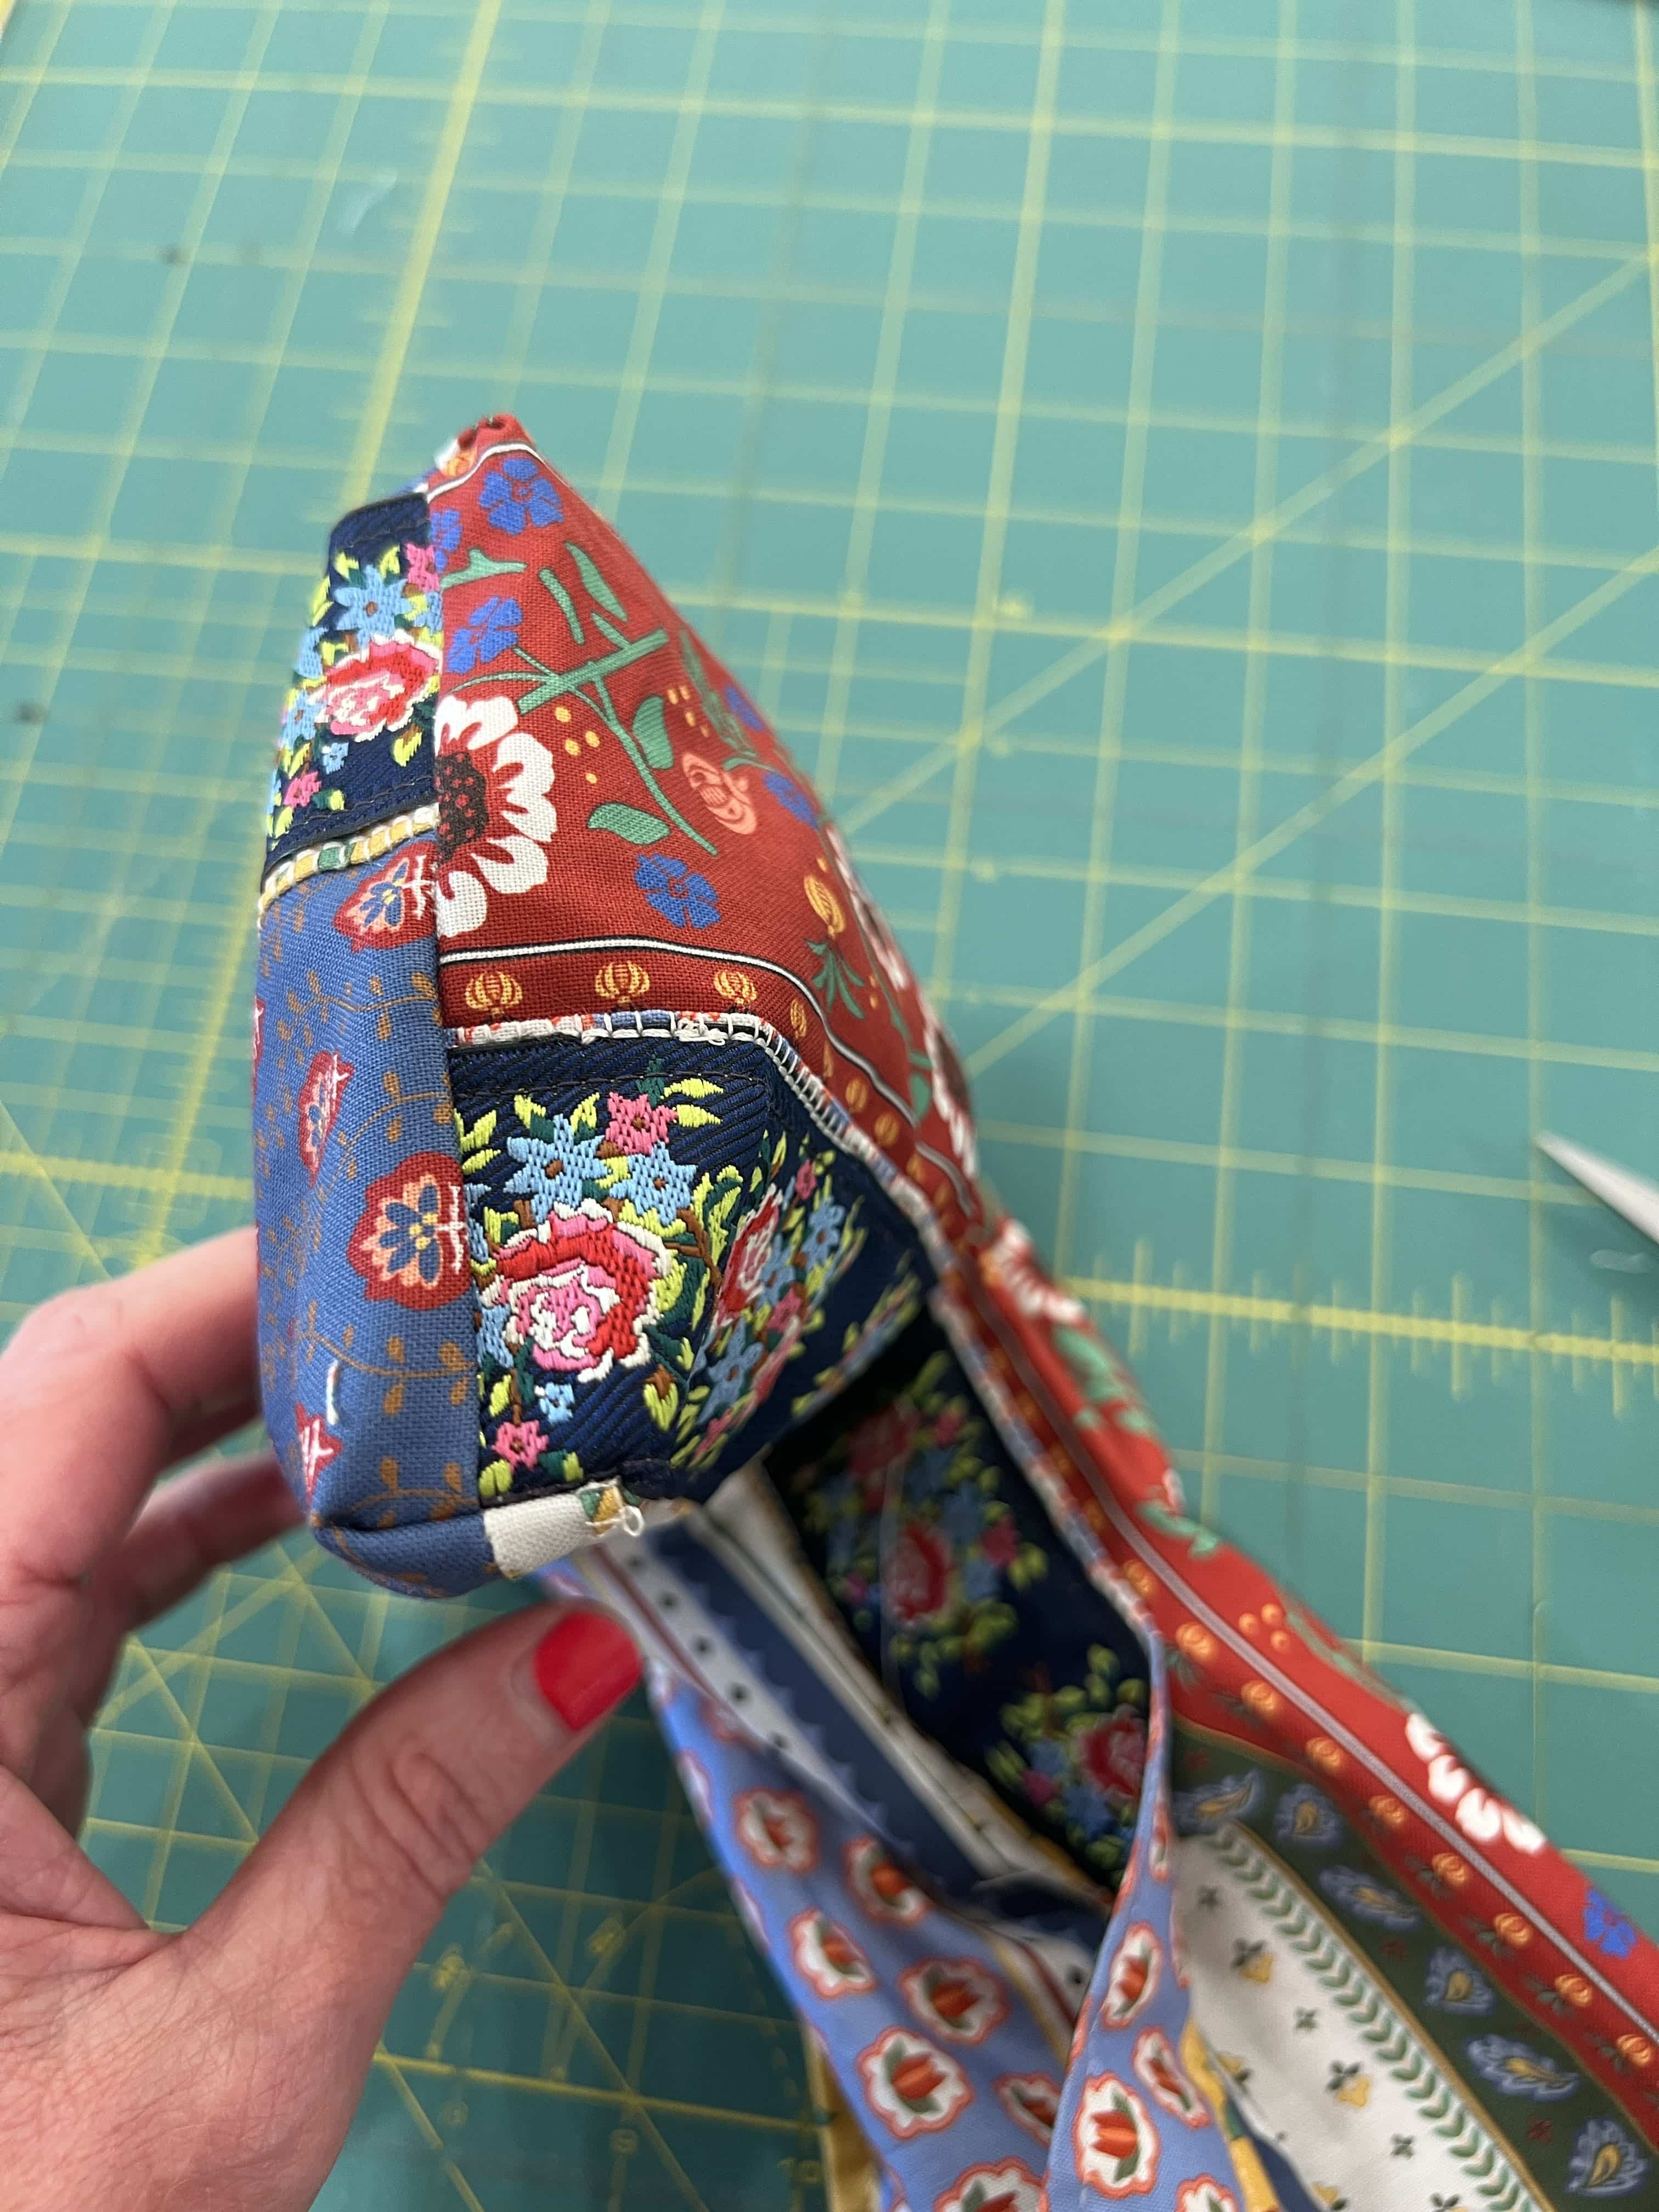
Using a 1/4″ seam and with right sides of the bag pieces together, sew along the bottom and two long sides (pin the strap to the sides so that it doesn’t get caught in the seams). Leave the top open for turning. In the bottom corners, cut a 1/2″ square away. Then pinch the seams from the bottom and the sides together and stitch along the diagonal to create some depth for the bottom of the bag and close the hole you cut.
Step Six
Turn the bag inside out, and stitch along the opening. Push the “lining” into the body of the bag.
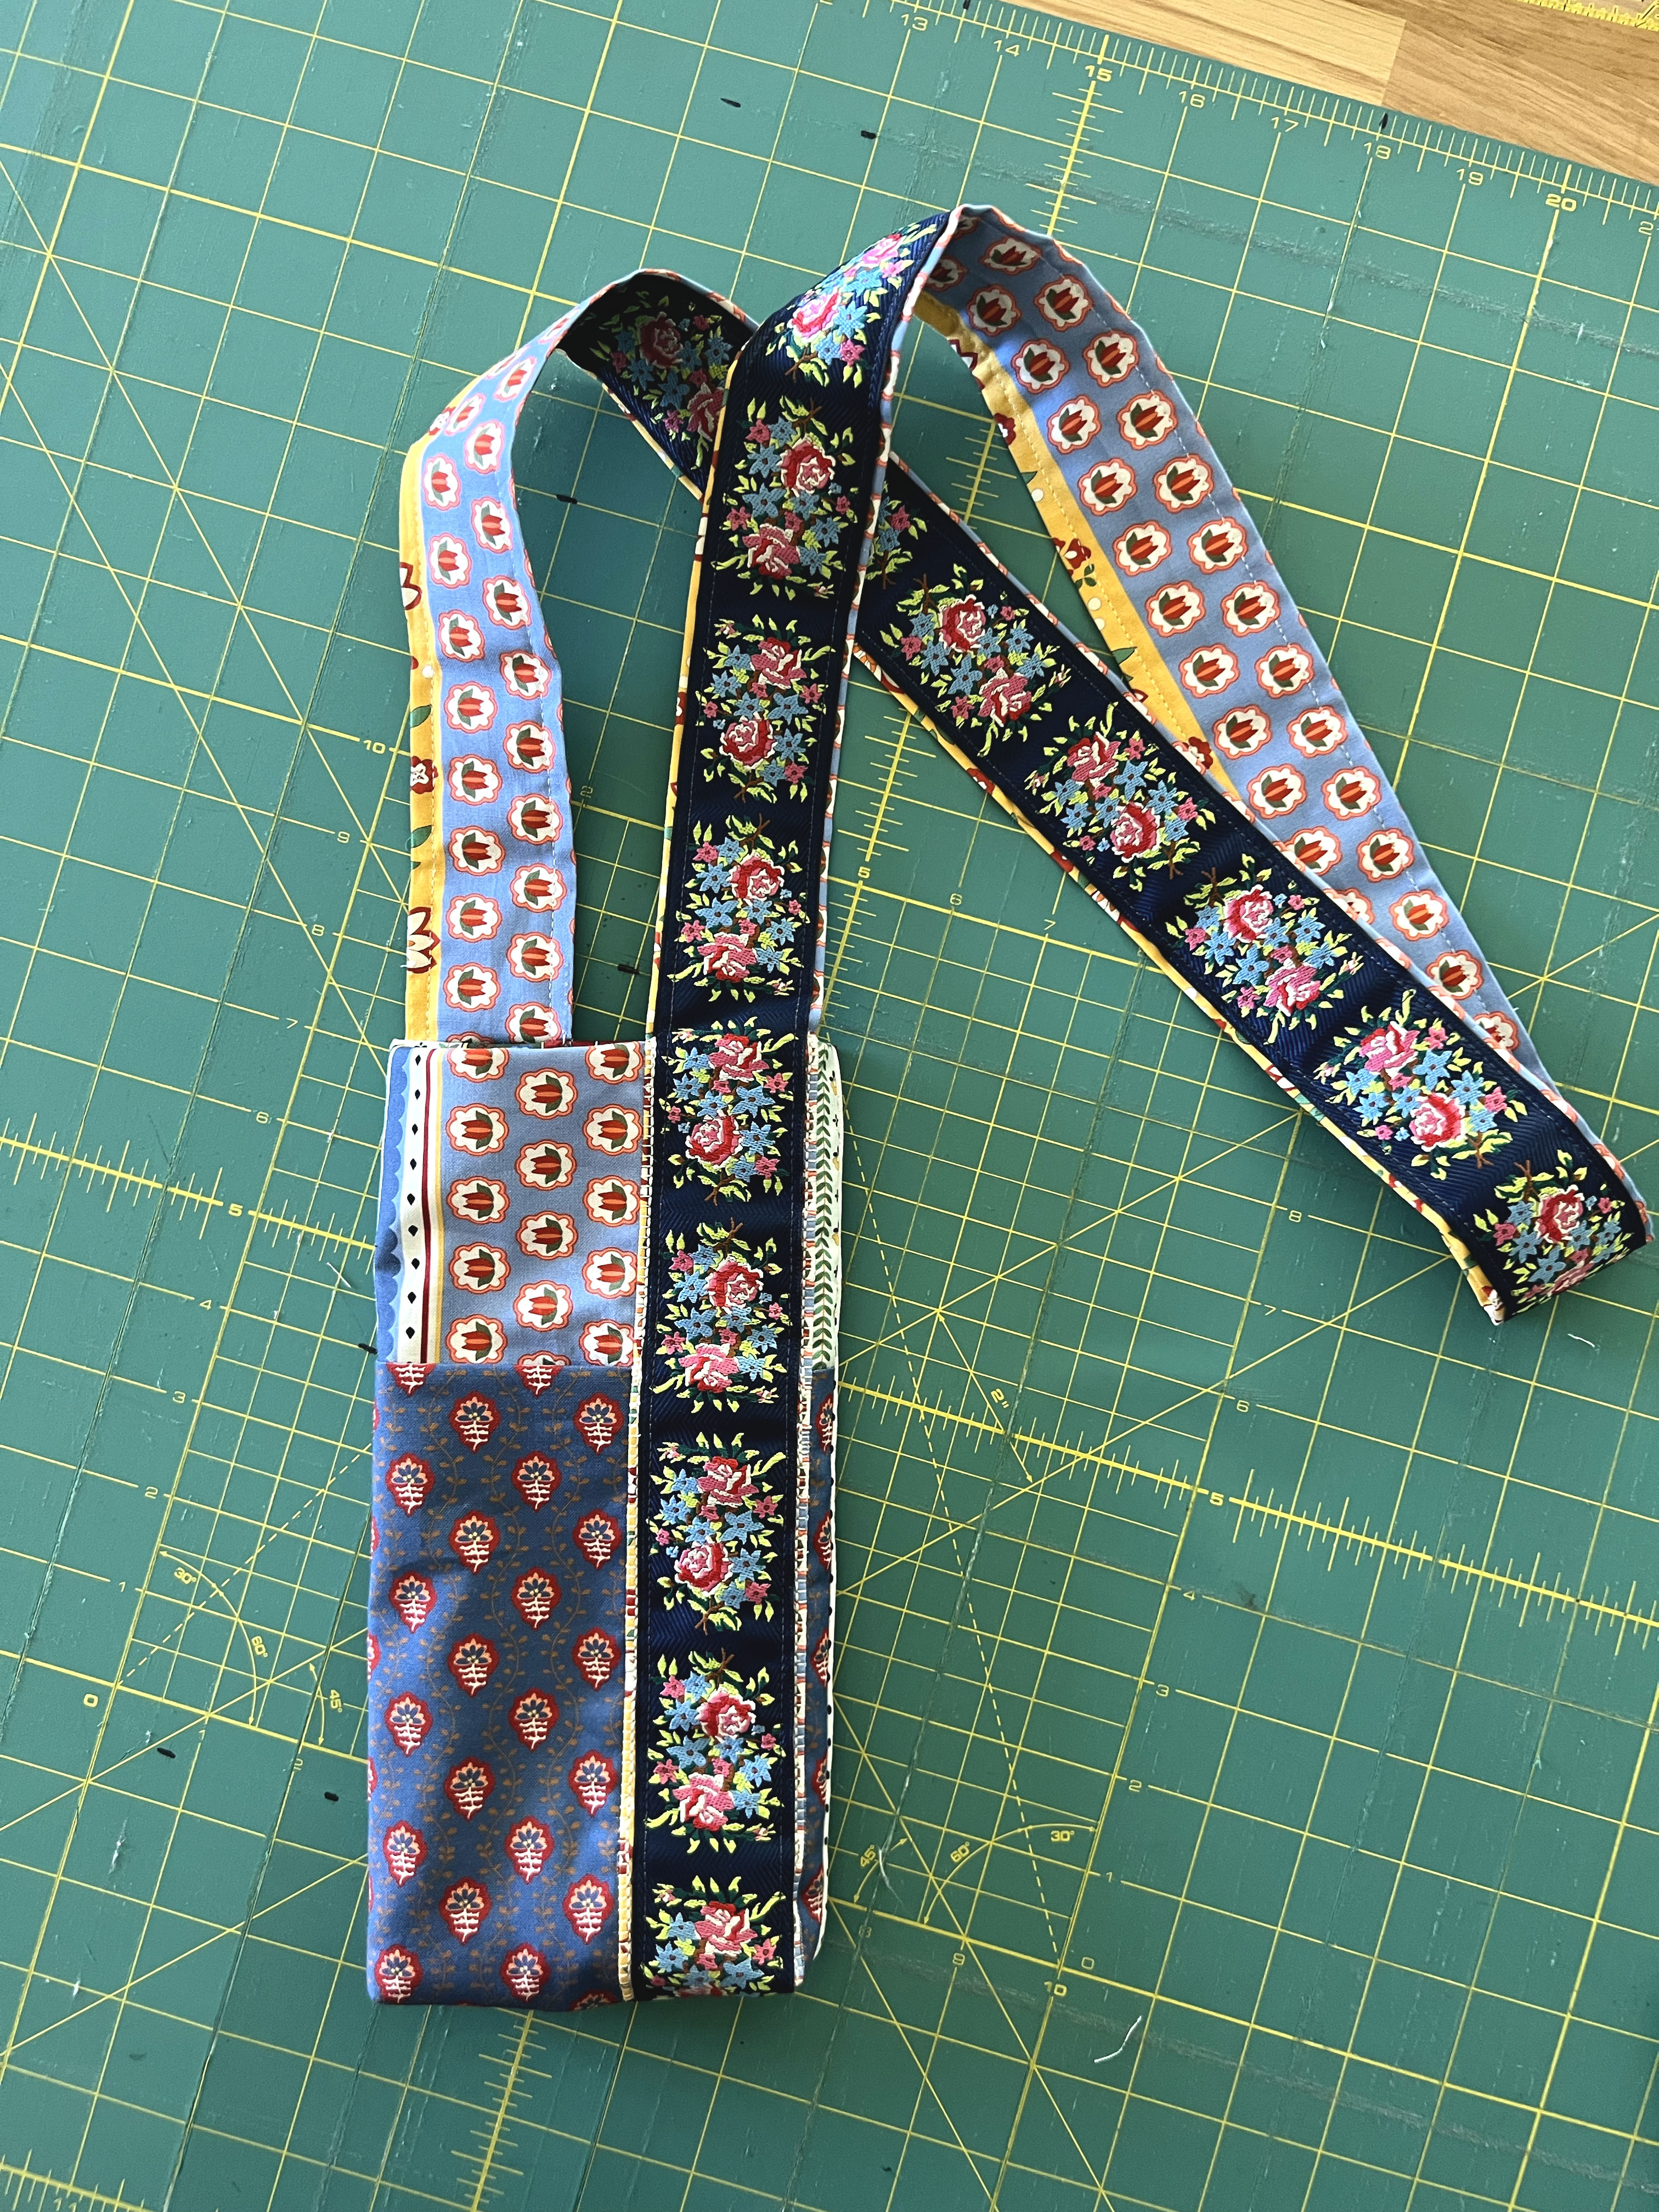
Voila! You have yourself a handy (and adorable) water bottle bag that you can use wherever you might need to bring a water bottle and a credit card!
Used Products

What you might also like


10 comments on “Water Bottle Bag”
-
-
Good to know! Thanks for your feedback!
-
-
I just made the strap but looking at the next step I am questioning sewing the strap over the pocket that would close off some of pocket opening ?? Also “stuffing the lining inside I don’t see the lining Is it sewn to the bag first ?
From the picture I am assuming you turn the top portion of the bag down inside ??
Confused-
Isabelle did you get an answer to your question? I can not figure out the lining. The instructions don’t say a lining is needed but what I sewed did. It work.
-
-
I don’t understand these directions and step 5 is particularly confusing. It would help if you could show a picture of the steps involved in that.
-
It did not work for me.
-
Hi Isabelle~ Yes, the top portion of the bag is stuffed down to create the lining– it is one piece of fabric. The stitch line where the strap is secured to the bag marks the top of the bag. The pocket opening is small, but just enough for sunglasses!
-
Thank you for your reply I figured that out but I added my own twist by using a vinyl lining, cutting to 12 in, sewing right sides together and turning right side out, sewing strap as shown and boxing bottom and top stitiching edge
I did cut to 6 1/2 in to make little wider
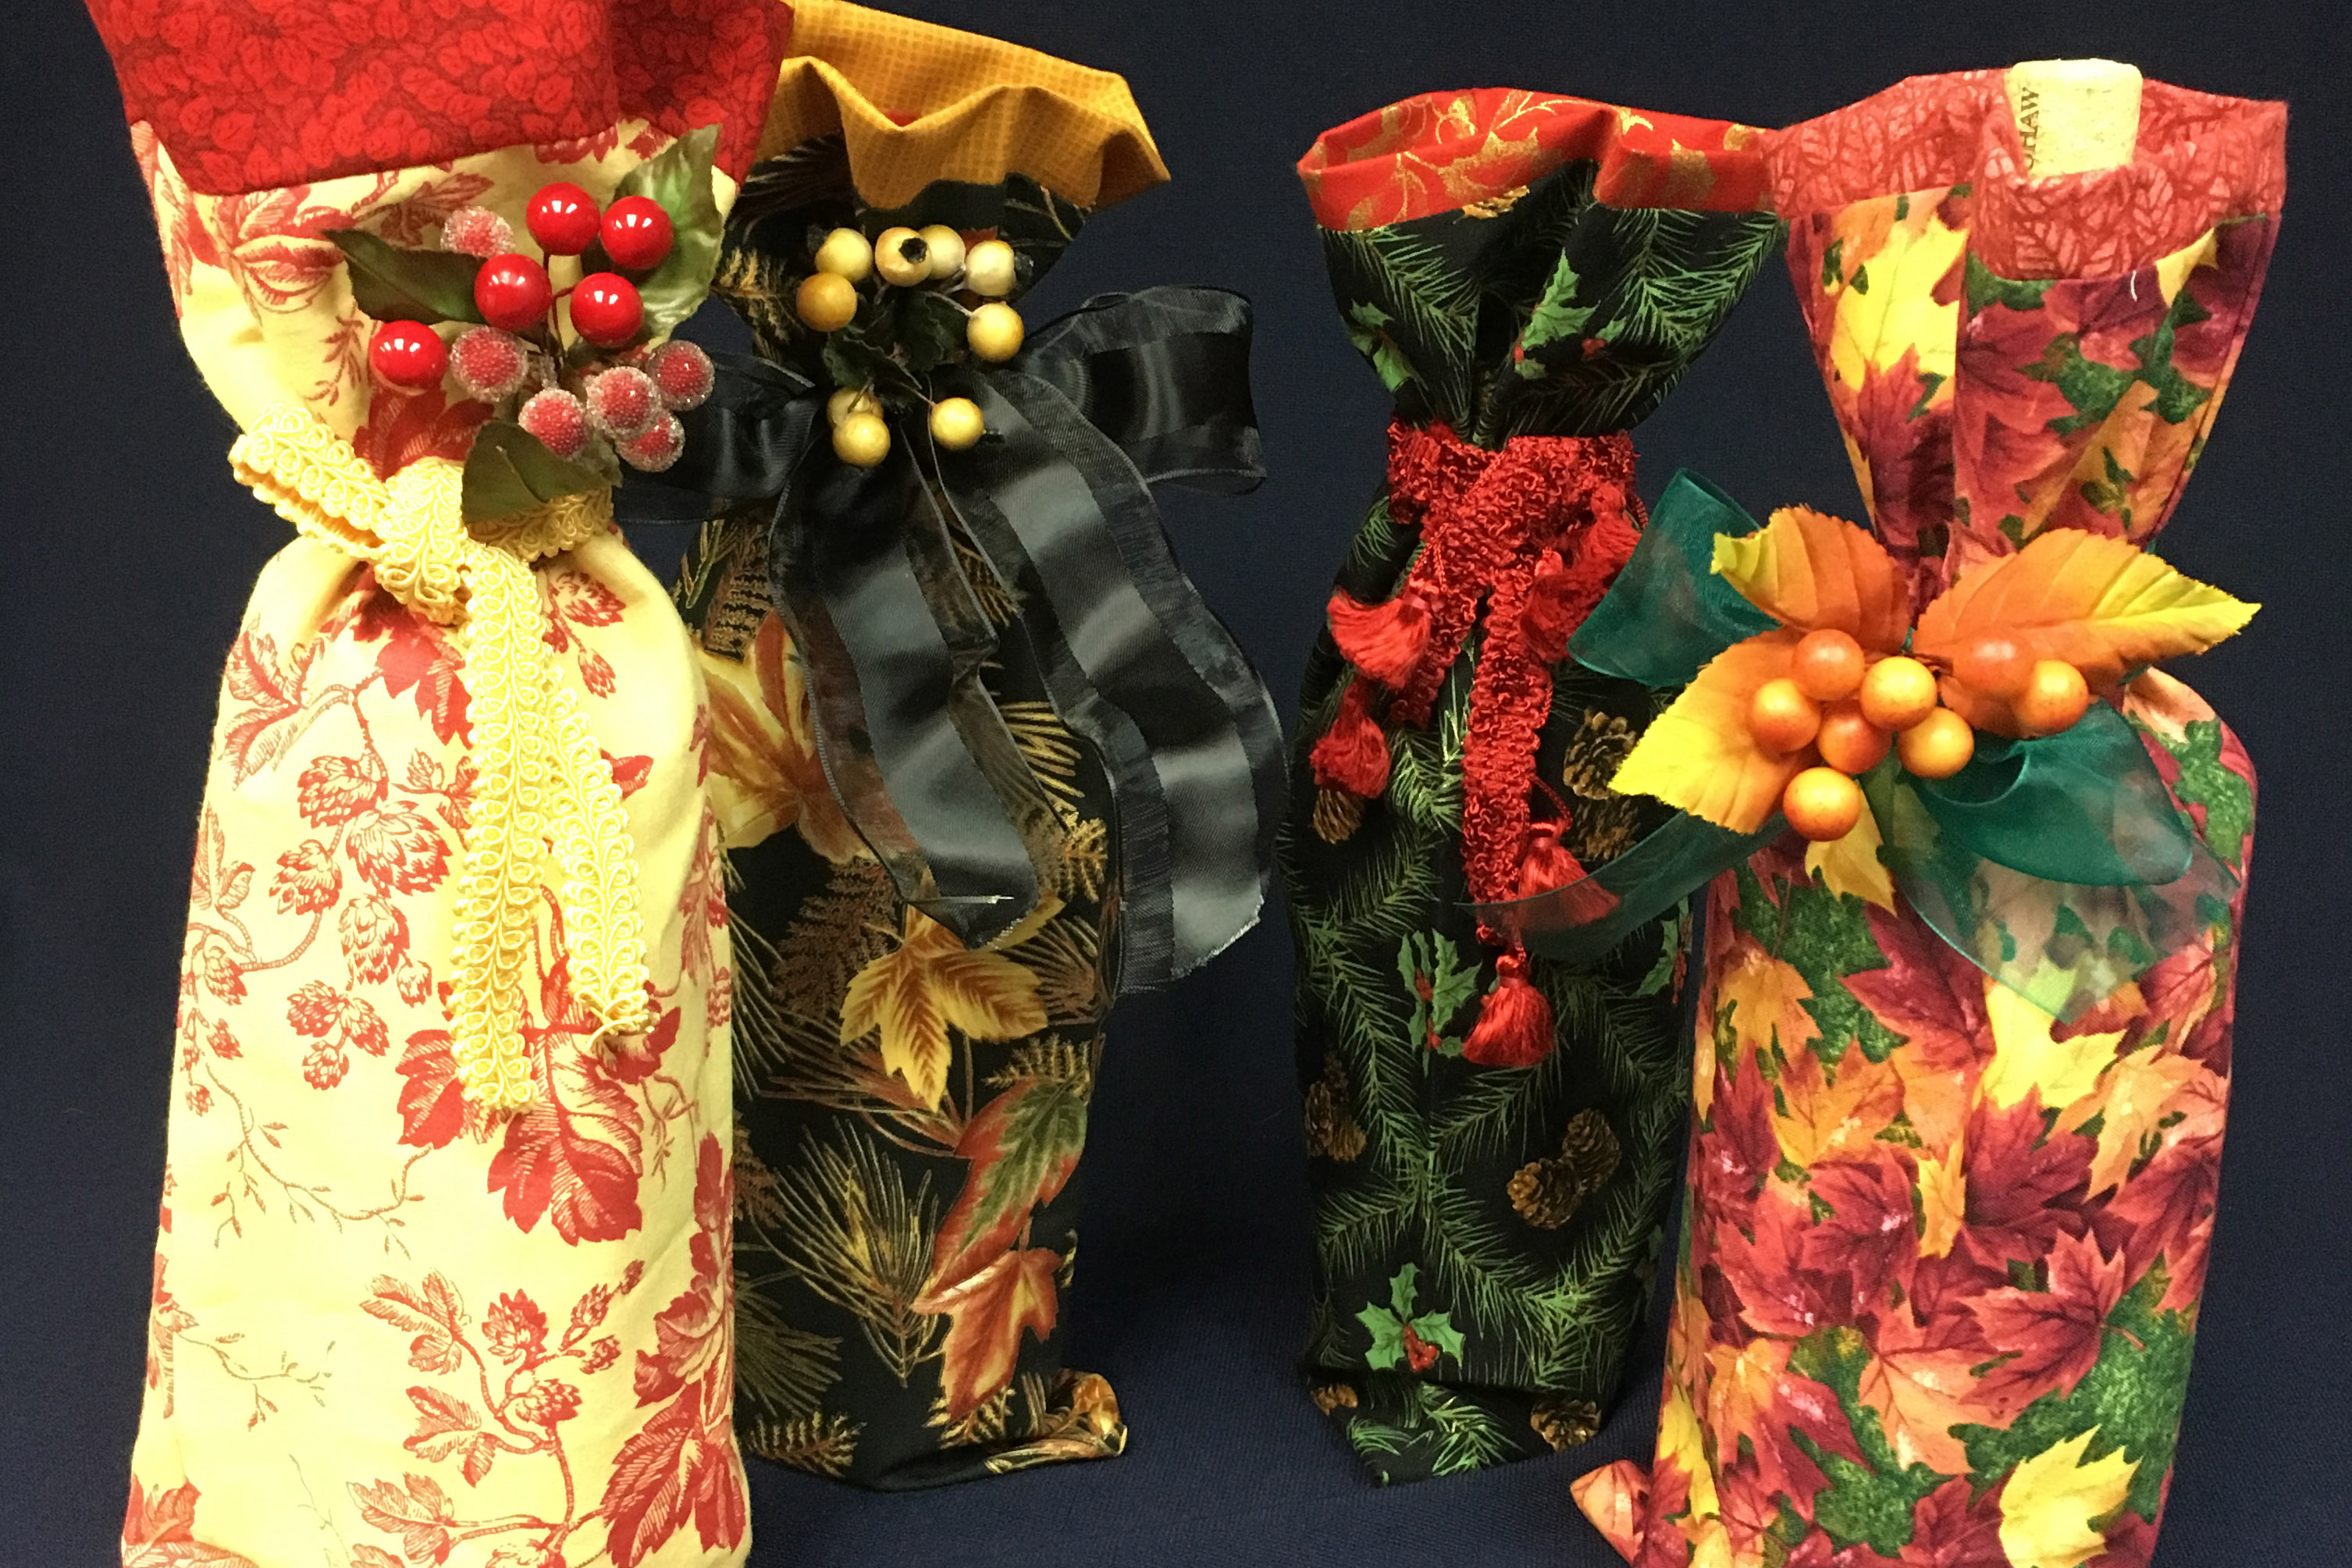
Might add pocket to inside on next one great gifts for holidays Thank you -
Beautiful project! Thank you Emily!
-
Thanks for the great water bottle pattern! It’s darling! Great 👍 idea! Thanks so much for clever details in your description. Makes it sooo cute! Perfect!
Leave a Reply
You must be logged in to post a comment.

While the finished look is very cool I wish the demo images were using plane colour fabric as I find following along nearly impossible.